Making bows from old magazines

Like many people I can lose a good hour or two to Pinterest, and I often pin craft things that I think I might make and usually I promptly forget about them in the hubbub of life. But when I saw this tutorial from How about Orange showing how to make gift bows from a magazine page I knew one day I'd be giving it a go.

I do like a good magazine and have quite a few here, including a large back catalogue of Good Food and Olive - don't worry I didn't use those. Usually I don't keep old copies of Good Housekeeping but on this occasion I'm glad I did.

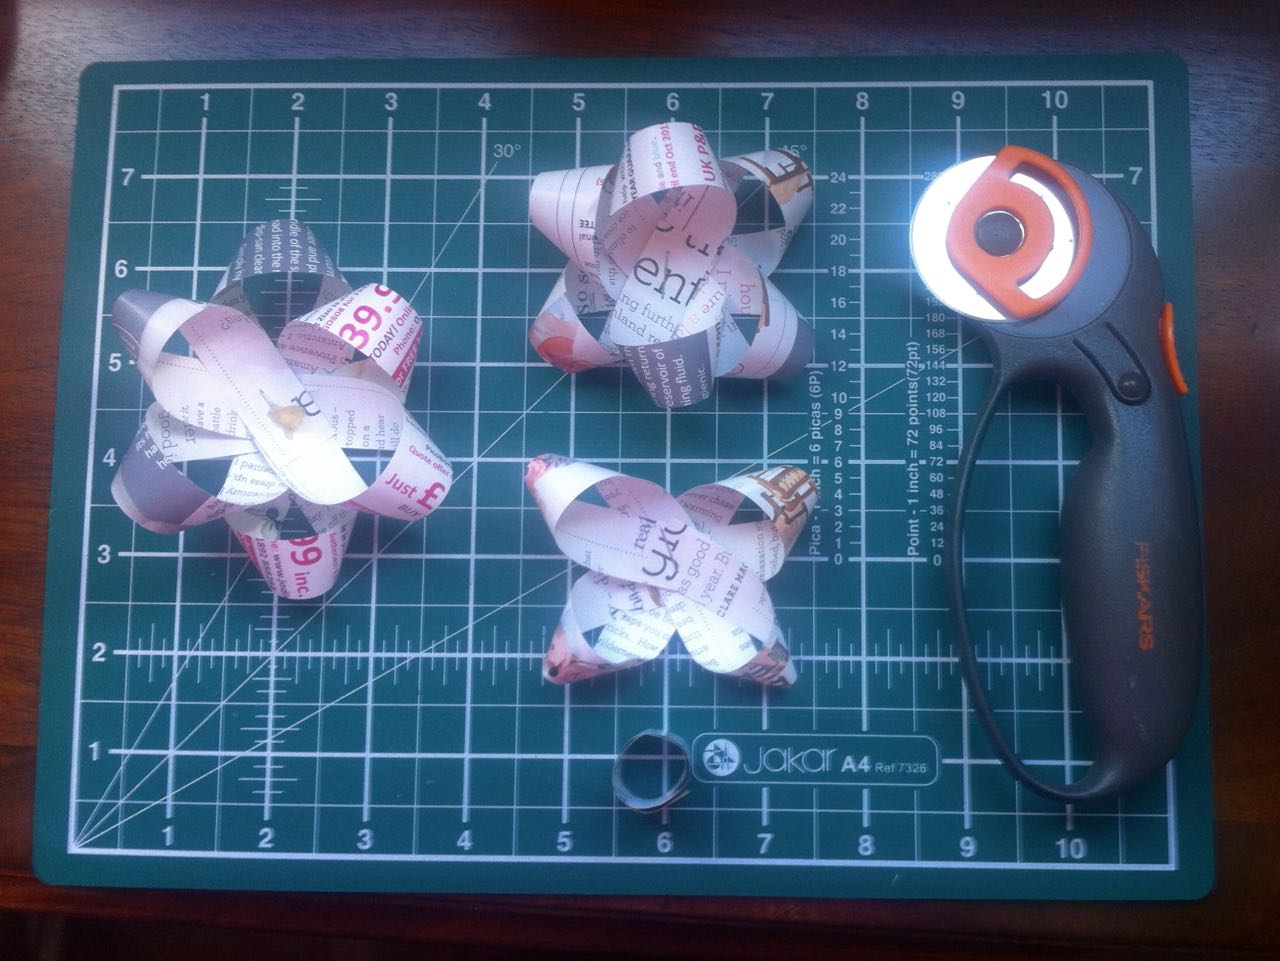
I made the first one following the tutorial with strips 3/4" wide and while I was impressed with how easy it was to make, it was a little big for my liking. So I made another one with strips 1/2" wide and while this was a better size it was much more fiddly, but not impossible to do. Deciding to give it another shot I made another with strips 5/8" wide and that worked much better for me.

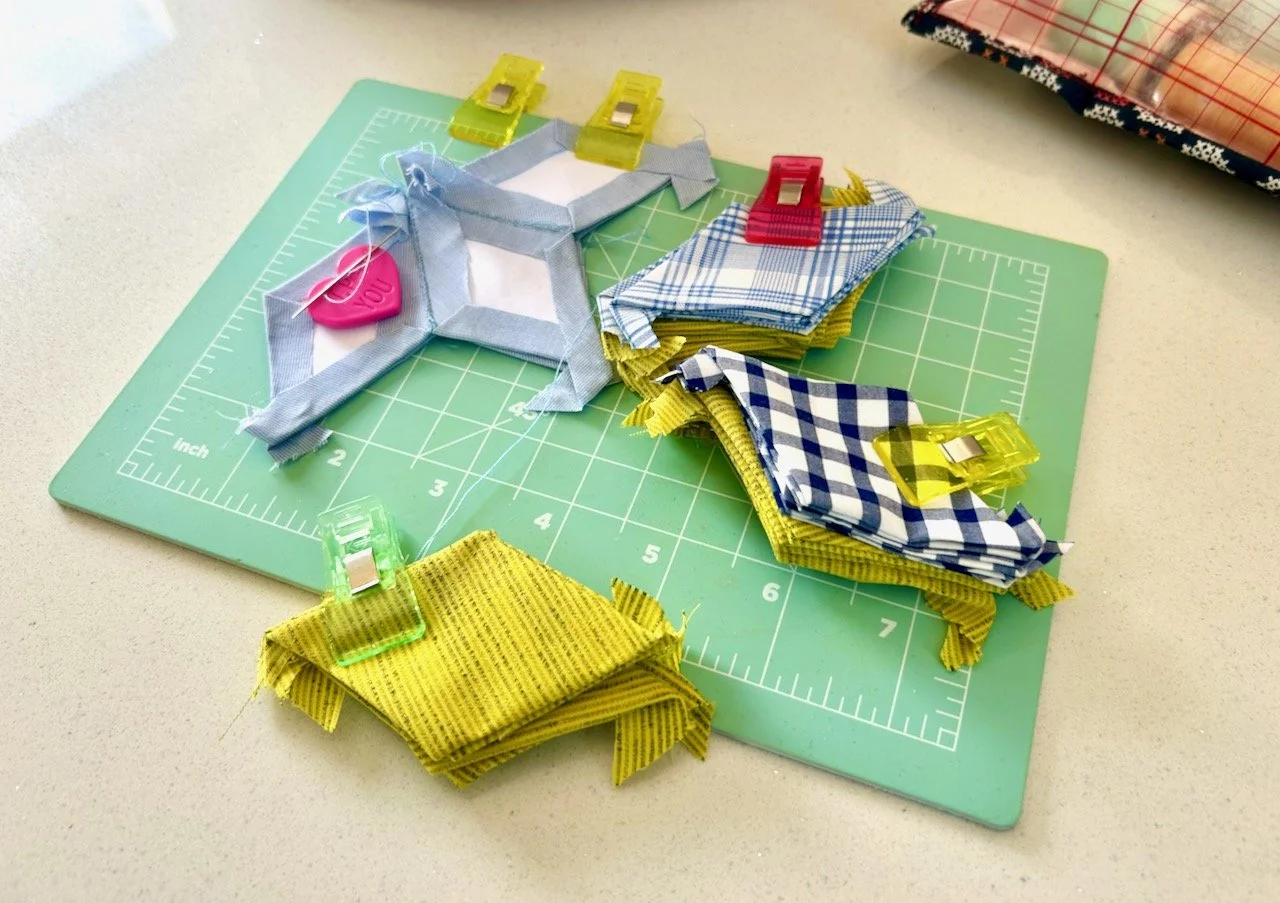
With the strips cut to varying lengths, I folded and twisted the eight lengths. Initially I found this confusing to do but soon got into a rhythm. For this stage I used a staple because it seemed a lot easier than glueing, and because I couldn't find the staple-less stapler I have! 

Step1MakingBowsFromMagazines.jpg

Next I assembled each layer of the bow so the loops were evenly spaced and secured these. In the larger version I used a staple here too, but on the smaller versions I used glue dots (or part of glue dots).

Step2MakingBowsFromMagazines.jpg

Then it's time to assemble the layers, again glue dots work well here.

Step3MakingBowsFromMagazines.jpg

And finally add the shortest length rolled into a circle in the middle of your bow. 

Step4MakingBowsFromMagazines.jpg

And there you have it, a gift bow.

Or in my case three gift bows! 

FinishedMakingBowsFromMagazines.jpg

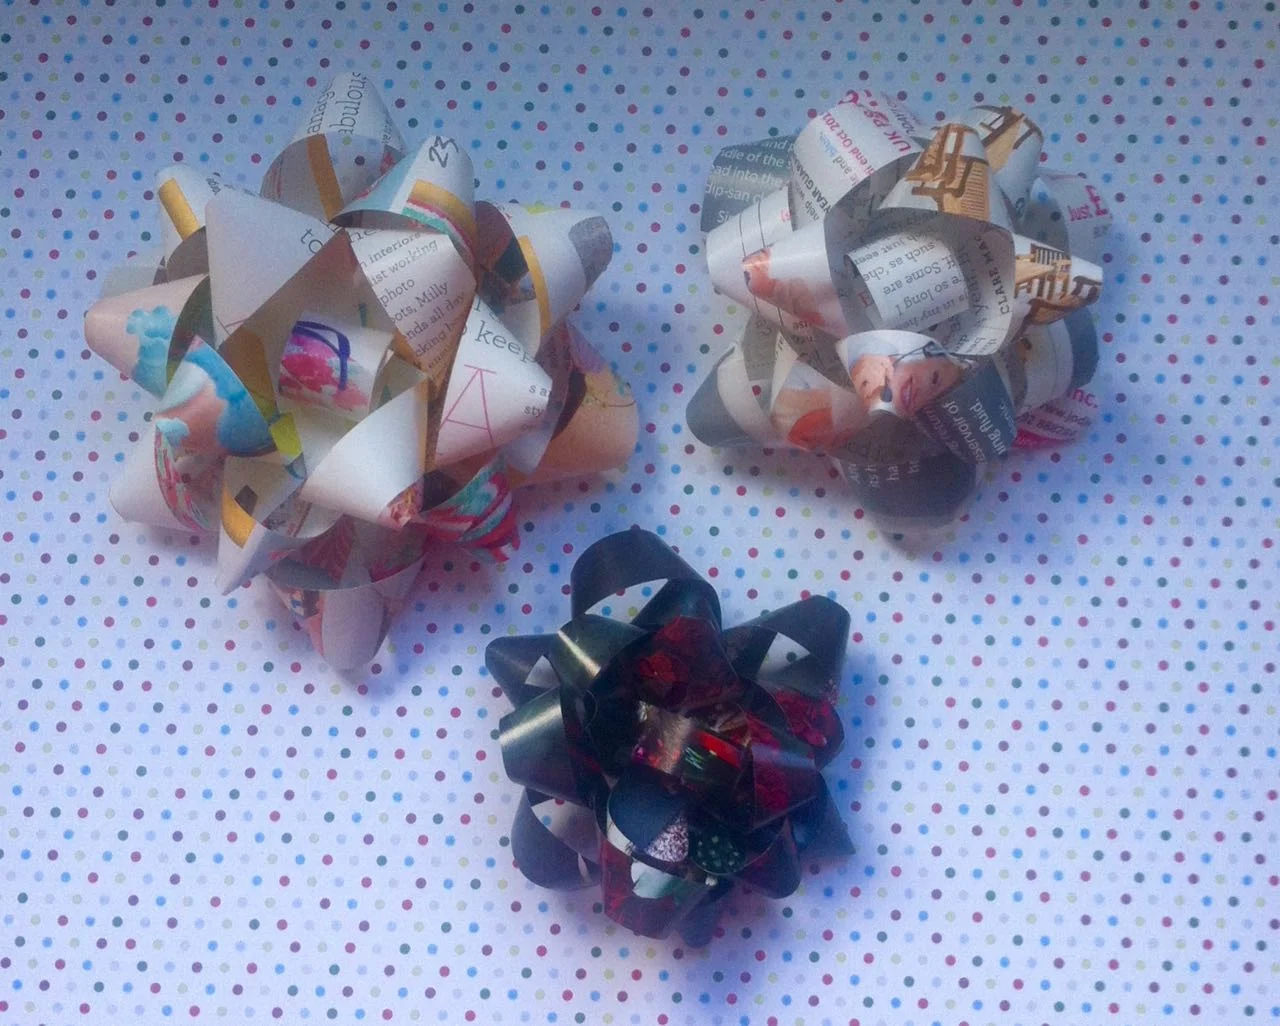
I think they look great, and I'll be making some more - I chose colourful pages from the magazine, but I think you could use any page, even one full of text. I think you could also use the offcuts from wrapping paper for a coordinated effect. The possibilities are endless!

What do you think?

The Reading Residence
www.mrscraftyb.co.uk

A coat of paint and some new cushions

A while back I bought some wrought iron garden chairs on eBay and knew they needed a bit of TLC. I also knew that I didn't want to repaint them white either, but I wasn't sure which colour to choose.  We already had an old iron table in Antibes Green - another eBay purchase which needs some work - and I was keen to keep the table the same colour, but was struggling to find the colour I needed and I absolutely refused to go the Hammerite route. I mean there's nothing wrong with Hammerite but i) they didn't have the colour I wanted and ii) I still wanted the table to retain its character, and some of its rust much to MOH's dismay.  

Anyway I've discovered that Annie Sloan's chalk paint comes in exactly the colour I want and although I haven't bought it yet, or started to tackle the table I knew that whatever I did with the chairs, they had to match the table I was planning.  When I saw that Farrow & Ball had a new yellow colour in their range I went to investigate. It is a bright yellow and has the fab name: Yellowcake - so with a name that includes two of my favourite things I was sold!

THE EBAY PICTURE

THE EBAY PICTURE

GETTING READY TO PAINT

GETTING READY TO PAINT

STIRRING THE PAINT: YELLOWCAKE 

STIRRING THE PAINT: YELLOWCAKE 

YELLOW!

YELLOW!

Before any painting could start the chairs needed to be rubbed down and a rust treatment applied and MOH set about this with gusto. I think he'd rather I'd bought new chairs as there was "years and years of paint on these" but I was less keen. So painting them became my job, so paint them I did.

Bright yellow. Yellowcake yellow.

In fact they're not as yellow as I'd hoped!  But I am pleased with them. I like that they're bright and cheery and I don't mind that the paint finish isn't smooth as a new chair would be. And most of all I like them because they're yellow and quite unexpected!

They're the sort of garden chairs that need a cushion and when I saw this material I knew it was perfect for my pre-loved chairs. So I bought some quizzing the lady in John Lewis about how much I'd need and checking my instinct on how to make the cushions I had in my mind - you know the sort, the sort with neat piped edges.  I had it in my mind that I'd make these cushions and overlooked the fact that I'd never done anything quite like this...

CUSHIONMATERIALS.JPG

So with foam inners that were cut to fit the seat of the chair I was running out of excuses so I set about finding a tutorial on how to sew the piping and get sewing.

FOAMCUSHIONINNERS.JPG
SEWINGPIPING.JPG

It turned out the lady in John Lewis was right when she said she wasn't much of a sewer as I've more material than I needed - which I don't mind as it's lovely - but quickly ran out of bias binding so came to a halt until more supplies arrived. It was quite a timely pause as it gave me time to work out how to do the next bit and to get some tips from my dressmaker mum.

CUSHIONSUNDERWAY.JPG
CUSHIONWITHPIPING.JPG

When the additional bias binding arrived I was flying and both cushions are now complete:

FINISHEDCUSHIONS.JPG

I added ribbon ties to the back of the cushions. I considered making ties from the bias binding but then remembered I had this grosgrain ribbon with the same yellow and liked the contrast it gives.

CUSHIONTIES.JPG

And here they both are together

FINISHEDCHAIR&CUSHION.JPG
REARVIEW.JPG
PAINTEDGARDENCHAIR.JPG
CUSHIONCLOSEUP.JPG
CHAIRBACKDETAIL.JPG

I'm really pleased with how both the chairs and the cushions turned out, and they look great at the end of our garden. They're comfy too - now I just need to get the French table sorted, and perhaps a smaller side table for everyday use, as it's always nice to have somewhere to my gin and tonic (or cup of tea!)

The Salvage Sitting Room for #NationalUpcyclingDay

I saw earlier in the week that it was #NationalUpcyclingDay today, and while there seems to be a day for everything now - yesterday was National Pink Day (!) - the upcycling one reminded me of a display by Remade in Britain that we saw at Grand Designs Live back in May. So I thought I'd dig out those photos and share them with you today.

TheSalvageSittingRoombyRemadeinBritain.jpg

You've probably seen airline chairs as easy chairs before, we watched a programme recently on how various parts of a plane could be reused. And yes that magazine rack is made of the tables that flip down often when you don't want them to on a plane. In the right space both of these would be quirky additions and definitely a talking point.  And for this one at least there won't be the person in front that insists on reclining their chair all the way back!

AirplaneArmchair&magazinerack.jpg

The upcycled Jerry Can looked more use to me - and I love that it's still carrying precious liquid...

A JERRY CAN MINI-BAR

A JERRY CAN MINI-BAR

ANOTHER USE FOR PALLETS

ANOTHER USE FOR PALLETS

You may be thinking these aren't very homely, but things are about to change. There was a rug made out of plastic bottles:

Rugfromplasticbottles.jpg

A revamped sideboard, looking way more stylish than its original 1970s brown colour

UpcycledSideboard.jpg
LeadedWindowArt.jpg

Some leaded window artwork and pictures glued onto scrap blocks of wood which made an effective paperweight and picture, and would be a good and relatively cheap way to introduce some pictures into a room.

My favourite was the demijohn lamp, with its funky cord and matching lampshade I think this would also be a cost effective way of having a unique lamp. The drunken Jaegermeister bottle made me smile too, now repurposed for oils and vinegars it'd look great for those al fresco meals when the weather warms up again.

DemijohnLamp.jpg

This chair also caught my eye, it'd been decoupaged with vintage papers which gave it its unique look. With a coat or two of varnish this should be hardwearing enough for regular use, but wouldn't it just look great in a home office?

VintagePaperDecoupagedChair.jpg

I like the idea of giving old things a new chance of life, but don't do it nearly as much as I'd like to. I'm repainting some old iron garden chairs and giving them a bit of a revamp and when they're finished I'm sure I'll share them on here, but in the meantime for more upcycyling inspiration I'm pinning things onto my Upcycling Pinterest Board

Happy National Upcycling Day!


Home Etc