

Made the dress, wore the dress

I’d had this dress earmarked as my next project for a while, and while I’d cut out the paper pattern the fabric sat on the side almost taunting me. On mum’s recent visit she looked at the pattern and declared I could do it, but pointed it out it had a facing. I think that’s because I’m not really a fan of facings which flap about and get in the way, not because a facing was tricky to sew, well I think so anyway.

But anyway with a family outing planned with a meal on the Bluebell Railway, I thought to myself that it’d be quite nice to have something new to wear the following weekend. That’s when my brain said, well you can make that sundress, can’t you? And when your brain challenges you like that, sometimes you just have to prove it right. Or wrong.

So that’s what I did.

On the Monday I took the fabric and the pattern to my sewing group, and pondered pattern placement. I took my scissors but didn’t really expect to cut it out there as I hadn’t measured myself against the pattern sizes, so after a fair bit of faffing, I folded the pattern pieces up in the fabric and got on with something else.

I don’t think anyone at that Monday night group thought I’d really make it in a week, and at this point I wasn’t sure either, but hey ho!

Overnight my brain percolated more thoughts: the pattern pieces I’d been struggling to fit into one half of the fold was solved when I realised the fold didn’t need to produce equal parts, simple really but I worked it out.

And my brain decided to add a further condition, when it remembered that I’d bought some fab labels at the Festival of Quilts, and that it’d be great to include one on this dress. My awake brain remembered that I’m not a big fan of labels in clothes as often they can be scratchy, and then wondered why on earth I’d bought myself some labels anyway (in my defence they are very cute!).

Then I realised the label could be on the outside of the garment, just because they’re traditionally inside a garment didn’t mean that that’s where I needed to place it. So sorted, it was going on the pocket.

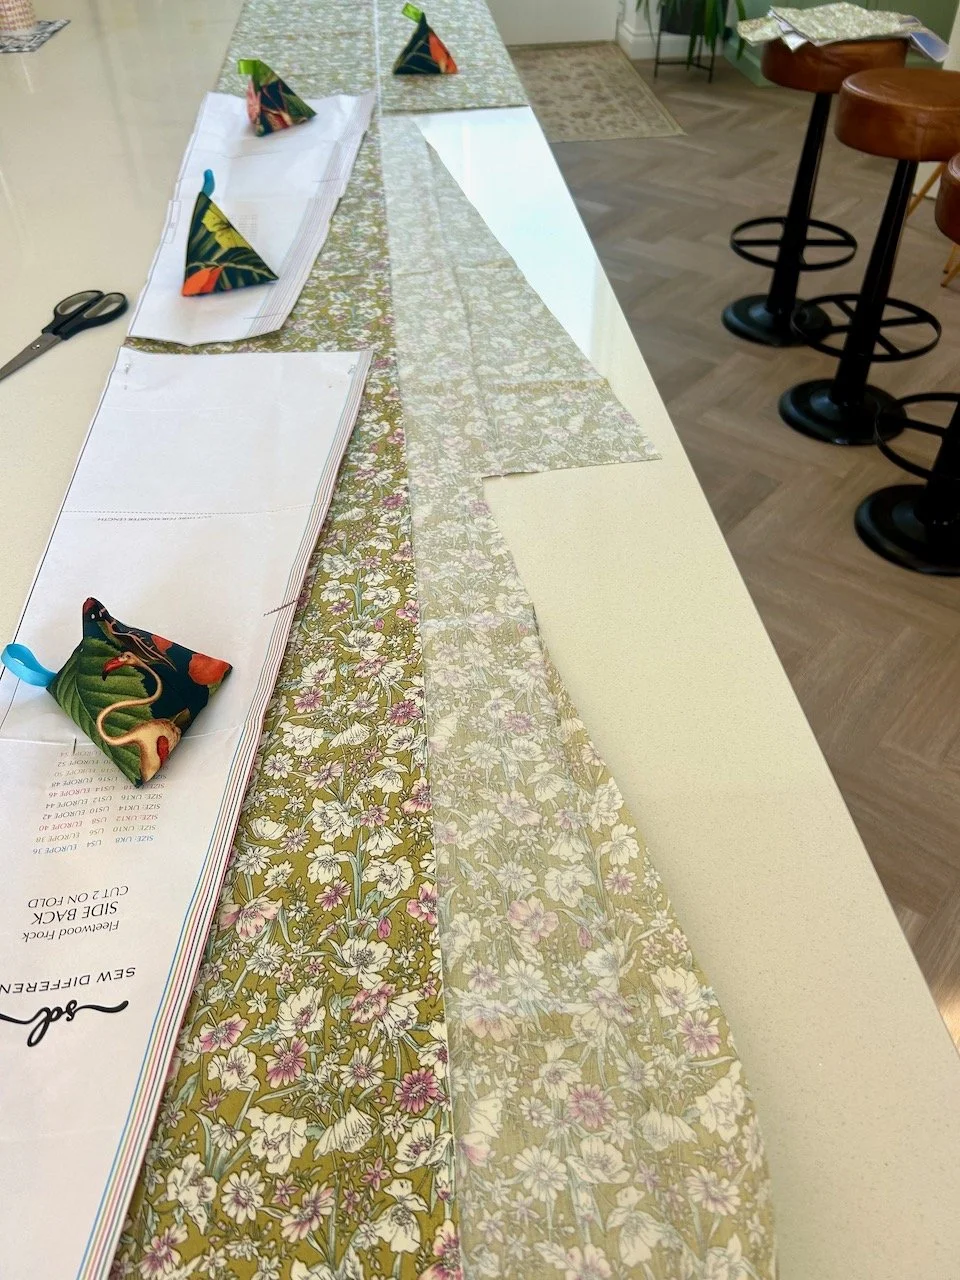
On the Tuesday afternoon I commandeered our oversized kitchen island to check if my overnight revelations were good. They were, and so the dress was cut out completely that afternoon.
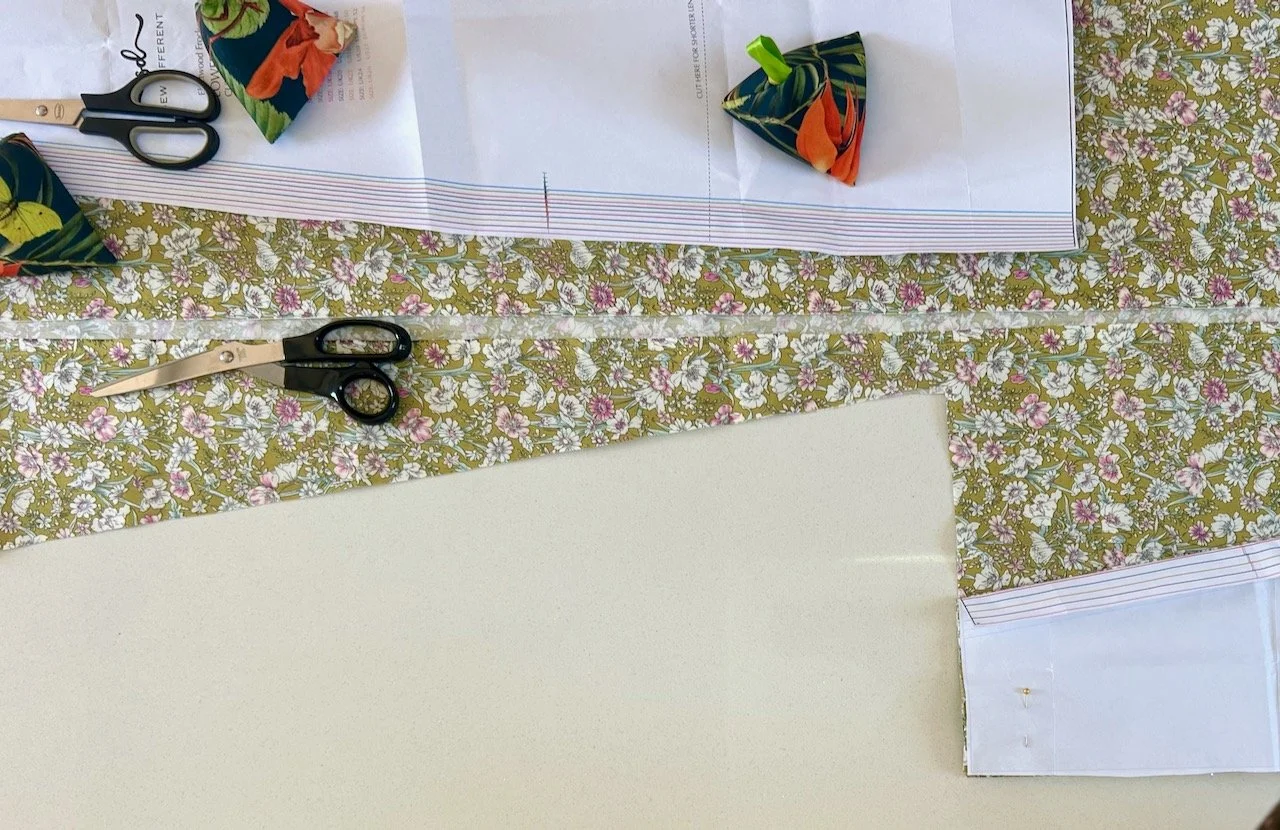
Looking down on the pattern laid out and the first piece cut
Looking along my kitchen island - its oversize comes in handy!

It was just as well that the shop had mis-measured the material when I bought it in the sale back in May, as I needed that extra 60cms. Well I needed some of it, as this was my first time using this pattern I decided to cut it to the full length even though I knew it would be too long for me, but I was unsure how much shorter I wanted it but I knew I could sort that out later. If I didn’t have enough then I’d have needed to work it out, but I was about 25 cms away from doing that.
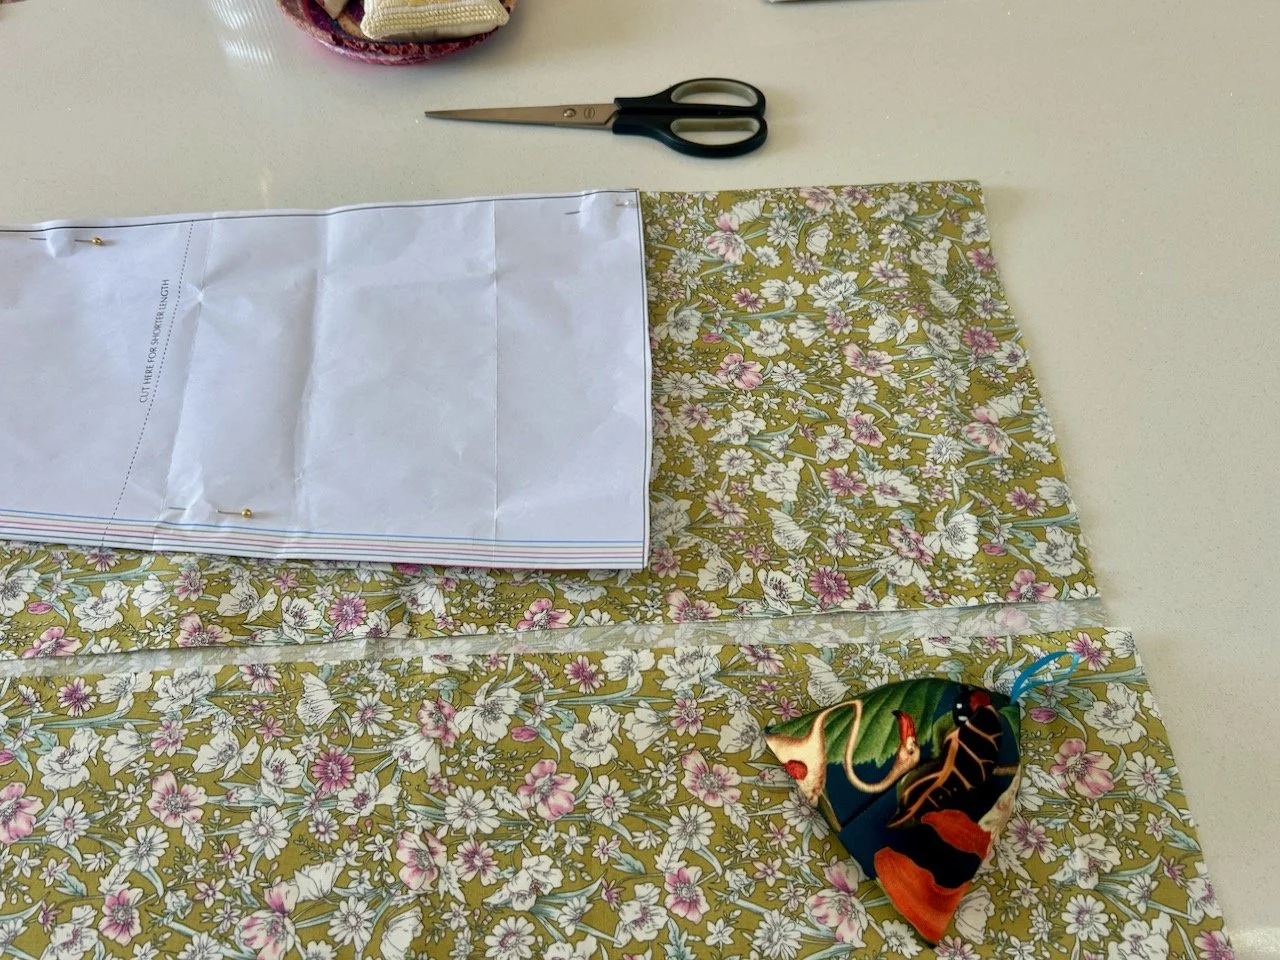
Phew - just about enough with about 25cm uncut

On Wednesday I started to sew, and the pattern started with assembling the pockets, so I got to check to see if my plan for the label would work out. It did, and remarkably well, though if I was doing this again now I’d add interfacing to the pink contrast pocket top as it’s a more lightweight fabric.
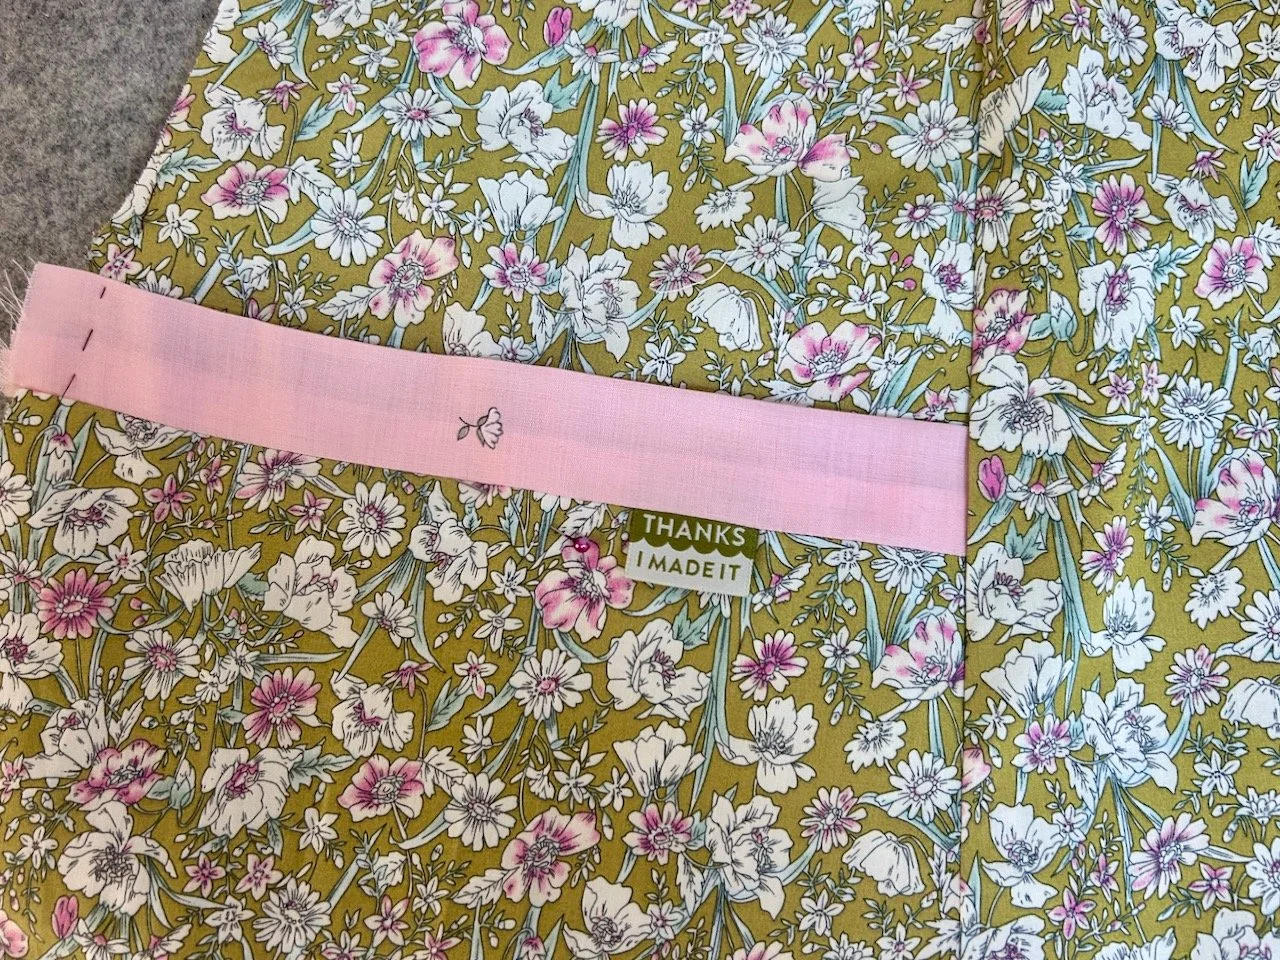
The pocket with pink trim and toning 'thanks I made it' label

And doesn’t it look as if it was made for this dress?

I also discovered the benefits of a well-stocked craft room, as not only did I manage to locate the exact size zip the pattern suggested, I also had one in a toning pink. Then I found some cotton that matched the green background, so I was sorted, and maybe, just maybe making the dress to wear at the weekend was actually a go-er.
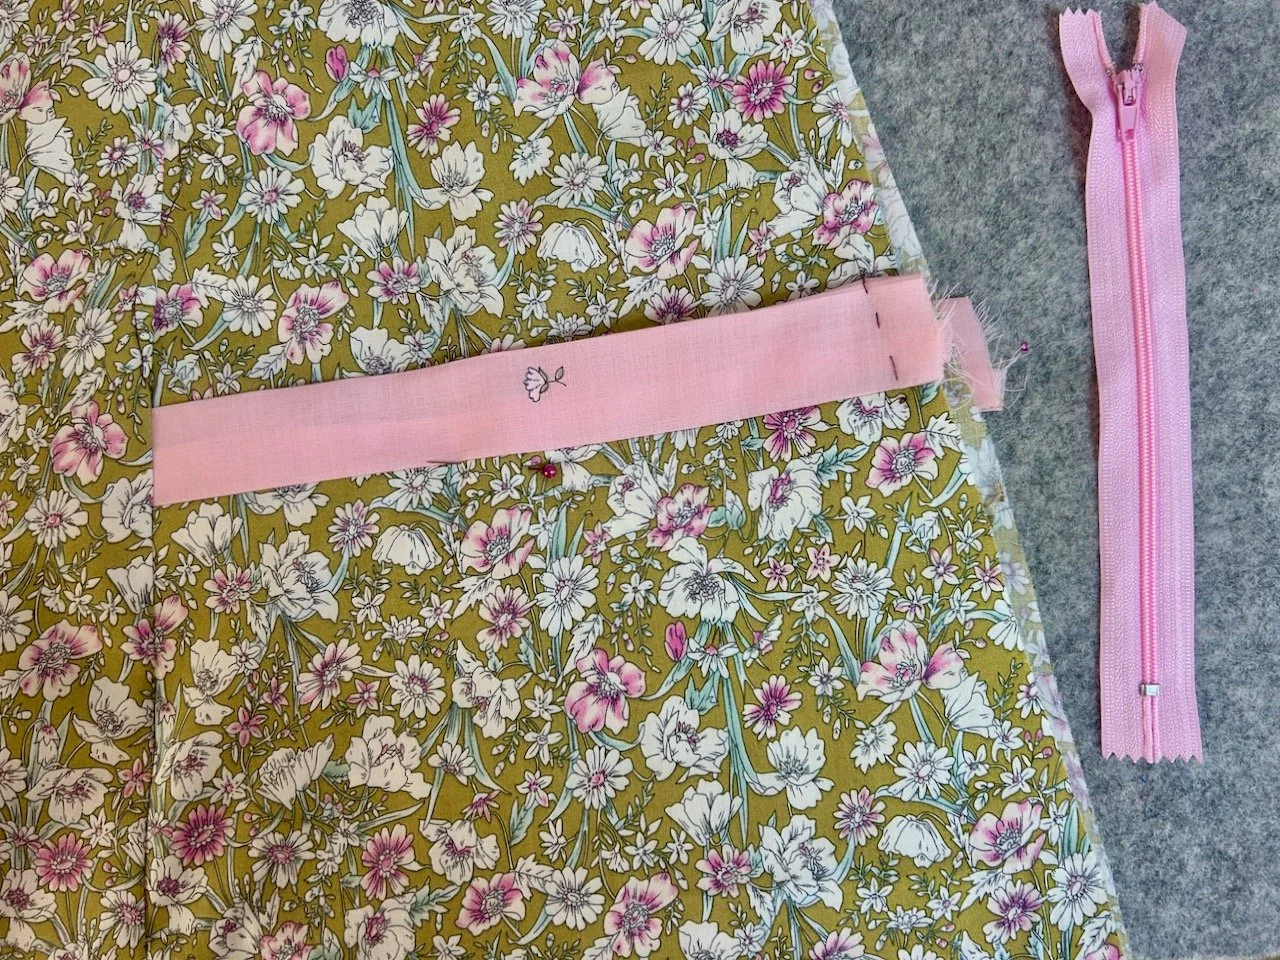
The other pocket with the pink trim basted in place and the pink zip alongside

Thursday there was more sewing, and the zip went in. It’s in, it zips and hasn’t fallen out yet so that’s all good, but I think it could be neater though I guess with practice that will come. There was a slight mishap to the sewing schedule as while I was putting the zip in the tape I’d used to secure it decided to stick itself to my sewing machine leaving a sticky gluey mark, not the best. So MOH was called in with some rubbing alcohol to resolve the sticky situation successfully.

By the end of Thursday most of the sewing was done, there was just the top of the bodice to finish and the hem, but I sensibly decided to leave that for another day.

So after a very hot day at this year’s Rutland Flower Show I decided I wasn’t going to be beaten by my own rather daft challenge, and so it was time to work out how long I wanted the straps, and what length I wanted the dress to be.

MOH was called into operation again, to check that the straps covered my bra straps and to mark the hem. He was ok with the first task, but unsure on the second - but we got there. In the end I cut about an inch off the straps, and six inches off the bottom of the dress, so that’s an adjustment I can make from the off next time I use this pattern.
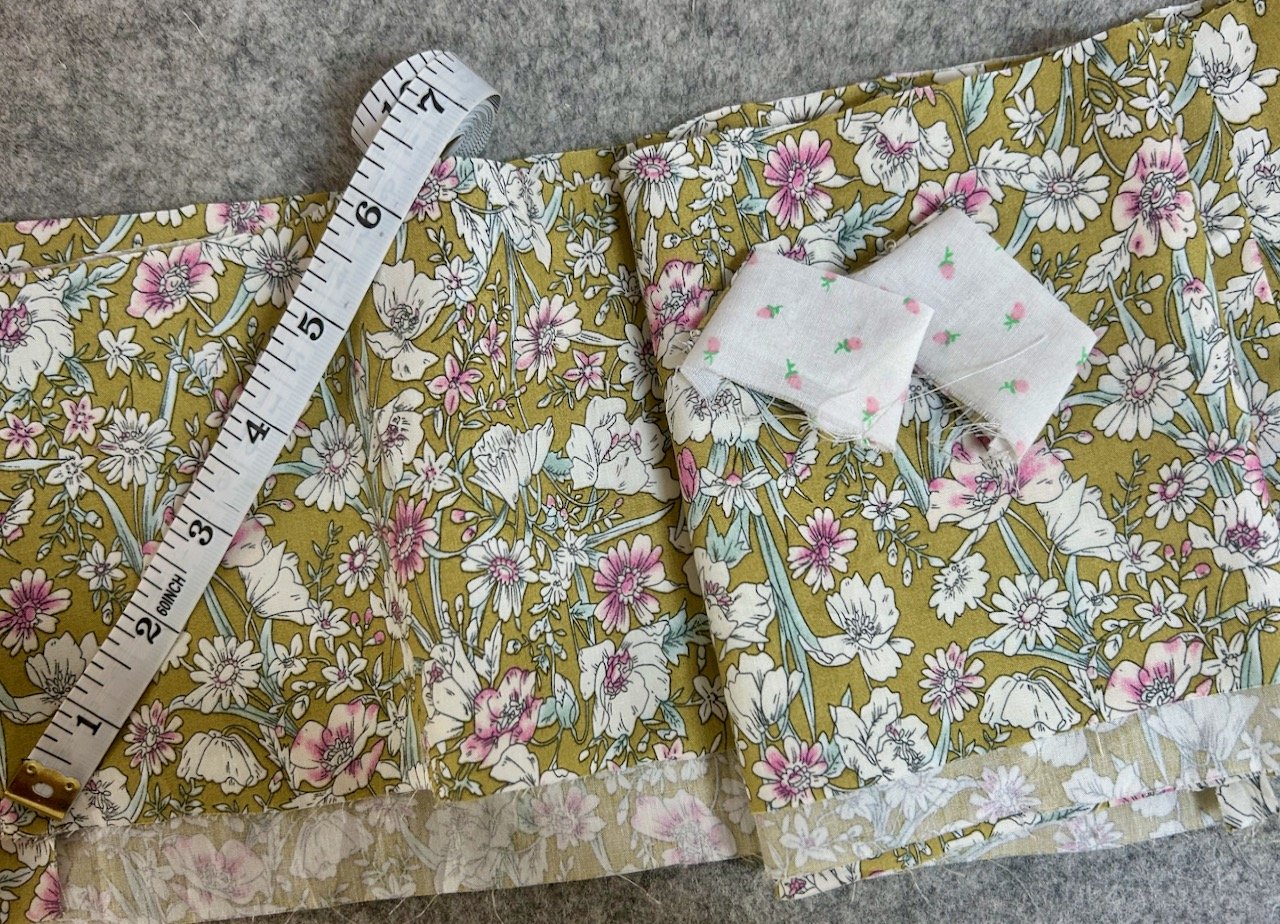
6 inches cut off the skirt length and about an inch from the straps - I'll adjust the pattern next time round

And so Friday night it was finished. I didn’t quite get the instructions for finishing the bodice so decided to wing it a bit, and added a row of topstitch around the armholes and neckline, and if I’m honest I like this kind of finish. It did mean that the contrasting rosebud facing was a bit flappy, which I’m not a fan of, so I sat there and hand sewed it into place.
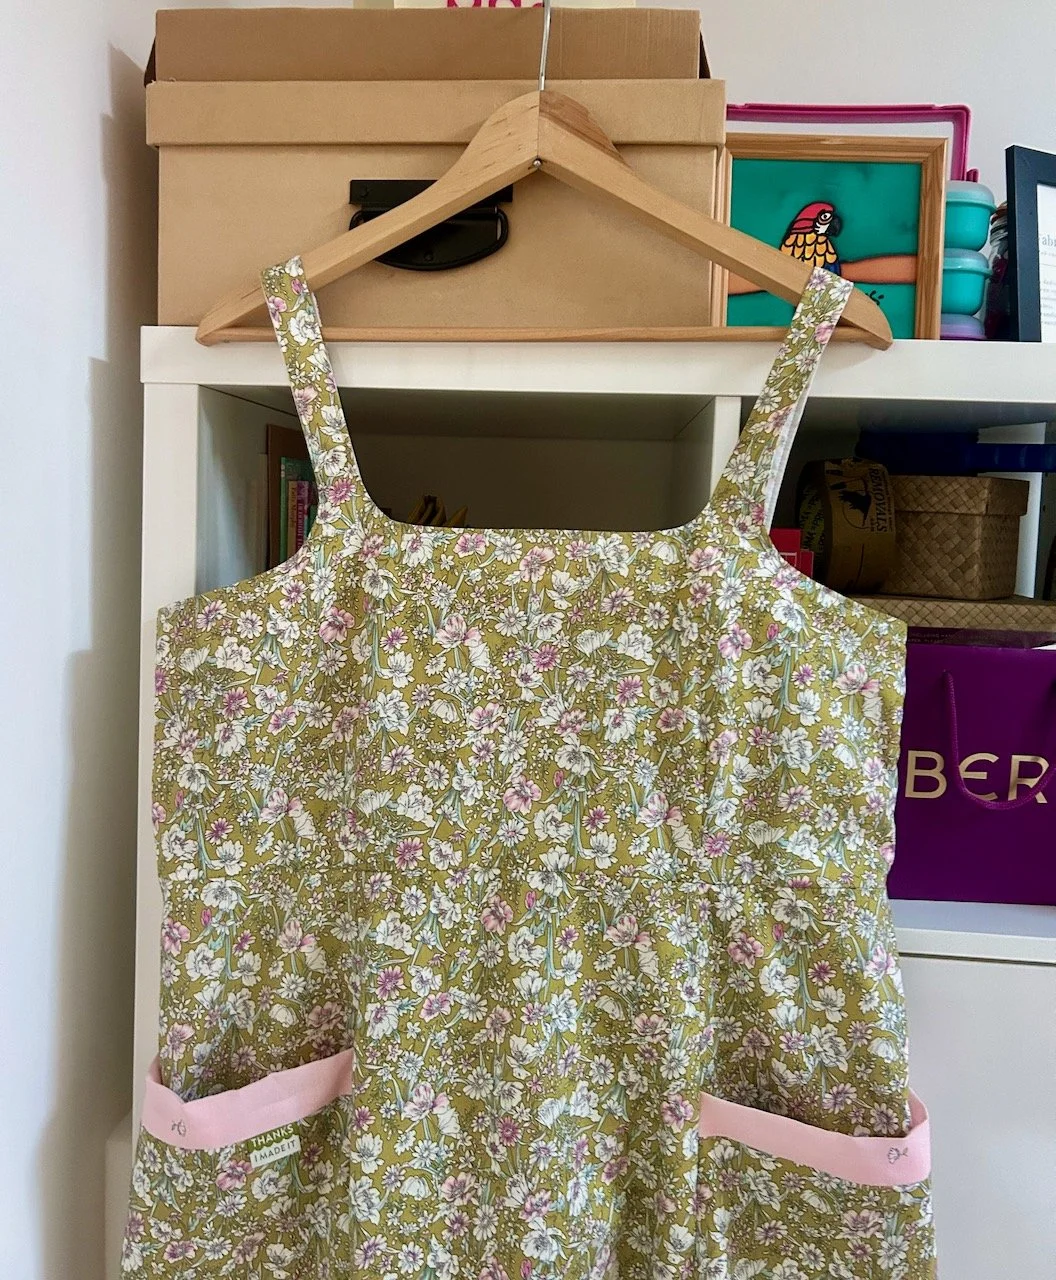
The dress completed and hanging in my craft room (top half shown only)

Then after whizzing round the bottom a couple of times for the hem, and a really good press, it was actually finished.
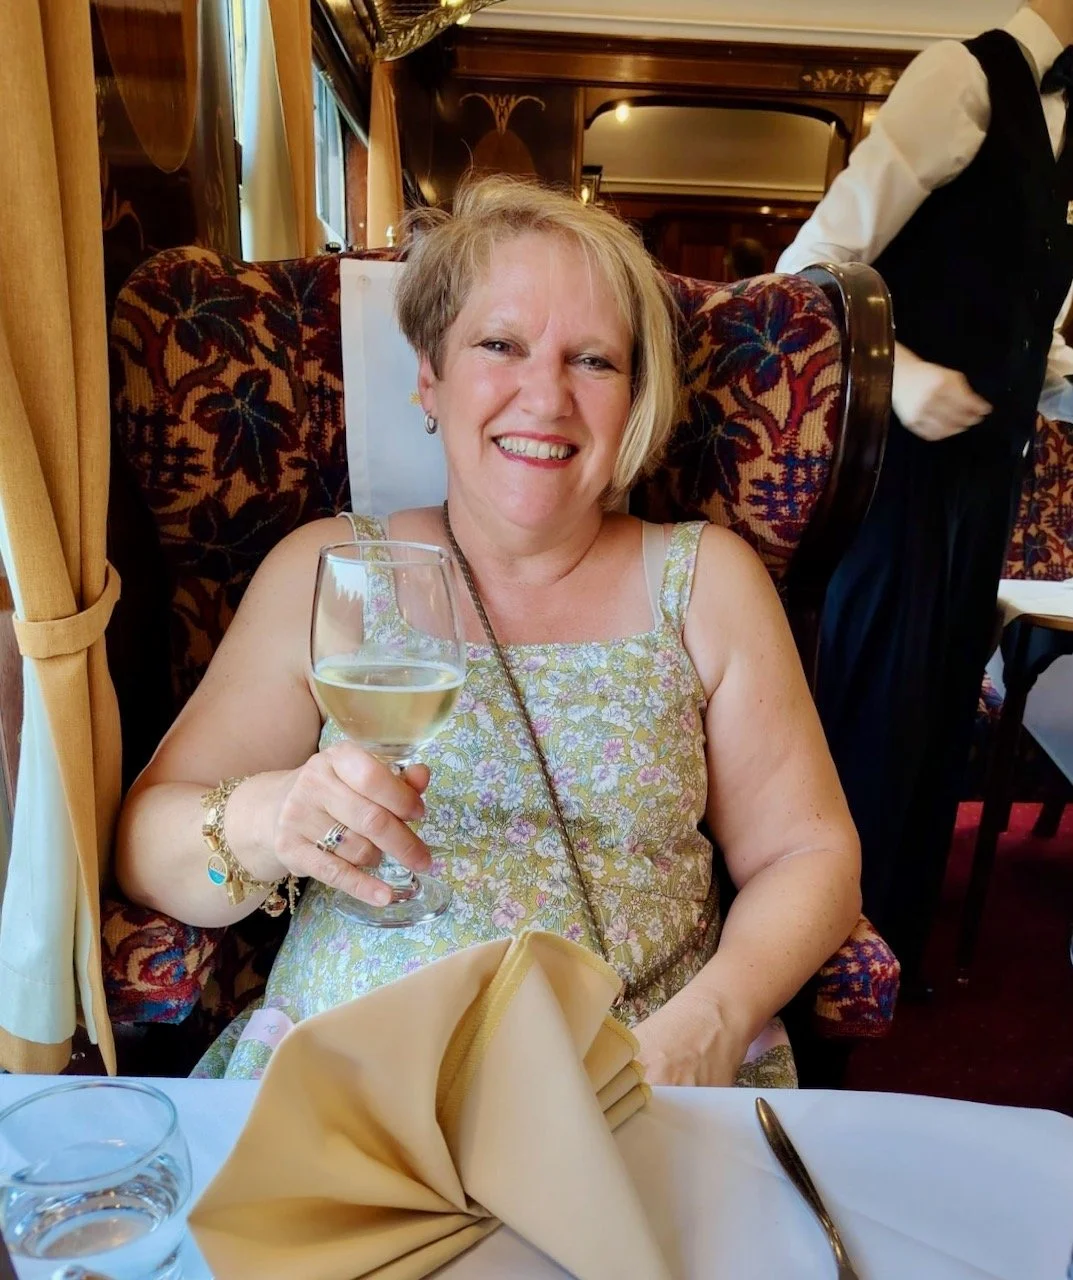
Me on the Bluebell Railway wearing the dress and enjoying a glass of white wine

So on Saturday night I wore the dress, and what’s more it looked and felt great - and not one single person asked if I’d made it, which I’m taking as a sign of success rather than everyone thought it was awful!

And while I’ll probably make another one, it probably won’t be in a week!
New to my craft room in July

This month I’ve been to the Festival of Quilts at Birmingham’s NEC and despite thinking I didn’t need or want much, my heart said otherwise when I got there in person. It’s the leading quilt show in the UK, perhaps Europe and happens once a year so while there’s lots to see quilts-wise, there’s also plenty of vendors.

I went along armed with a list of potential purchases, some for me and some requests for mum. Of those I was only successful on one, and probably the one I least expected to be, but let’s start with my purchases from the show.

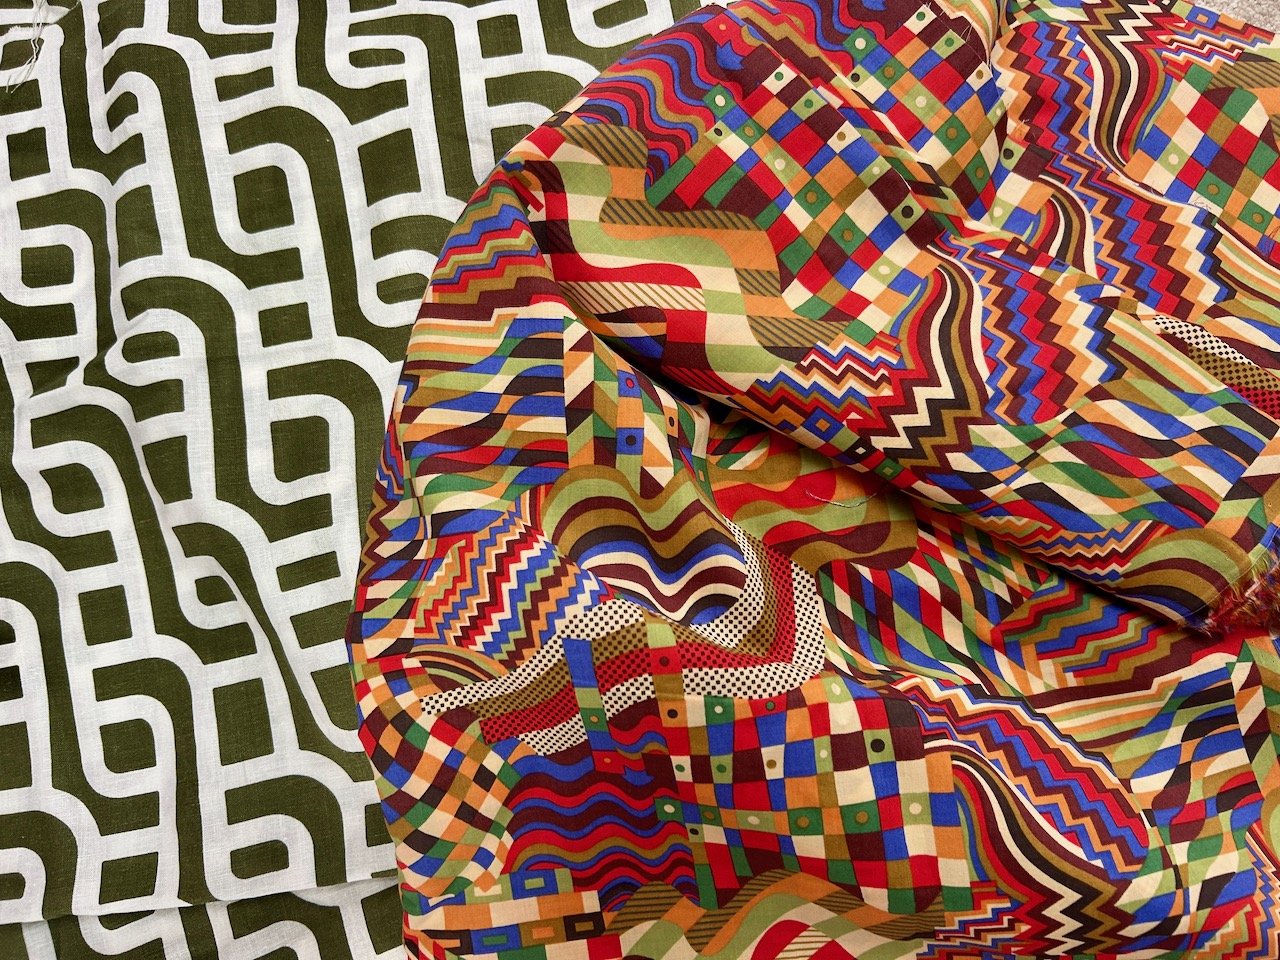
It was the Bauhaus inspired fabric on the right that broke my resolve, which to be fair was early on in the day so it hadn’t had much to resist. But I fell for the fabric immediately, I was only walking past and it was just discarded on the top of the various rolls of fabric. It was the type of love at first sight that you just had to keep hold of the fabric even though I had no idea what I’d make with it. It’s a very light lawn material (think the same weight as the Liberty tana lawn fabrics) and so will drape fantastically. While pondering what I could make - a dress, but goodness knows what style, and how much I’d need - hard to judge when you have no plans I saw the olive green and ecru material too. I knew I was done for, and so ended up with 4 metres of the Bauhaus fabric, and 2.5 metres of the other - as I think this will make some fantastic summer trousers and will match a plain olive top I’ve bought recently.

I’ve still no idea what I’ll make with the Bauhaus fabric or what style it will be, but it’s a gorgeous fabric - and slightly weirdly reminded me of my favourite secondary school teacher, music teacher Miss Smith!

two geometric patterned fabrics from Rosenbergs
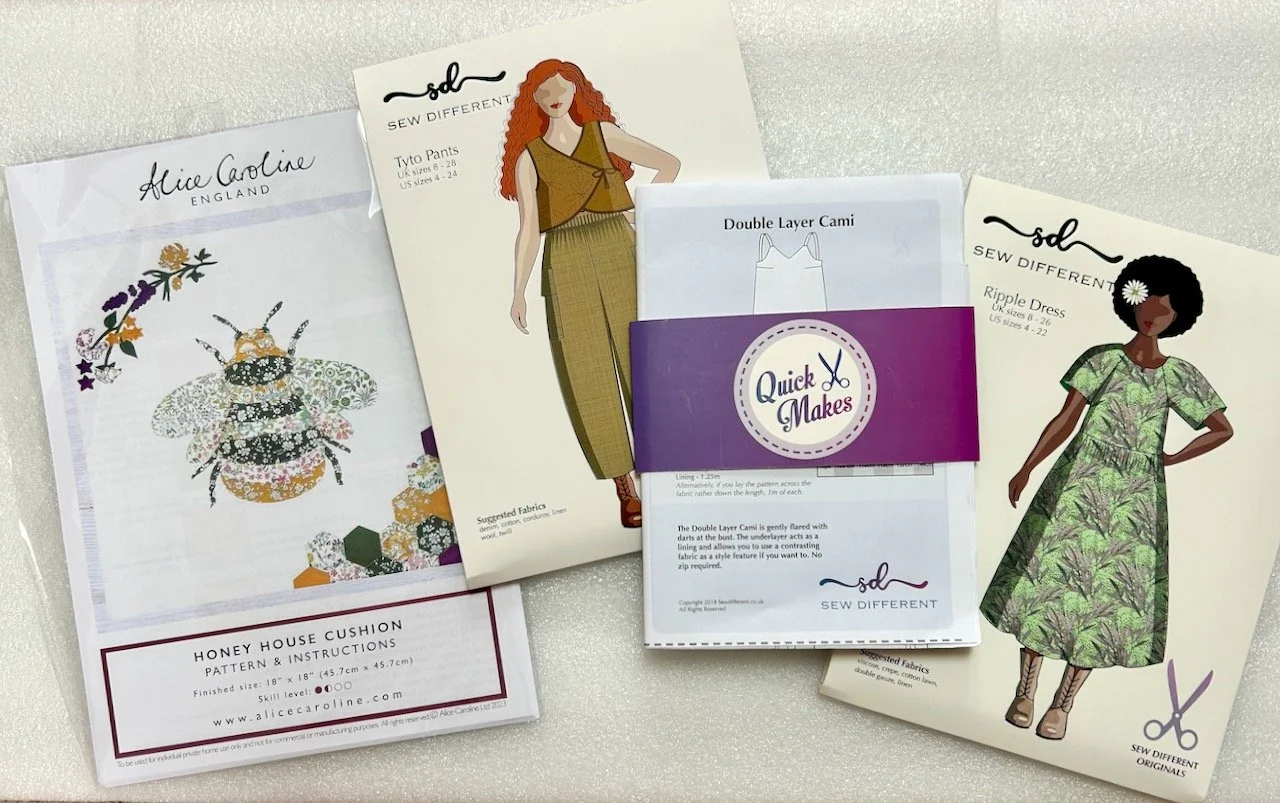
paper patterns for a bee, trousers, a top and a dress

I was keen to look at patterns at the show as trying to wing it entirely making clothes isn’t always the way to go. The dress pattern I have in mind for some fabric I already have, but the trousers pattern is for that olive and ecru material. The Sew Different ladies are very clever as not only do they have their pattern designs made up so you can see what they’ll look like (or what they’re supposed to look like!) they also wear their designs - and one of them had the trousers and cami combo on and it looked great.

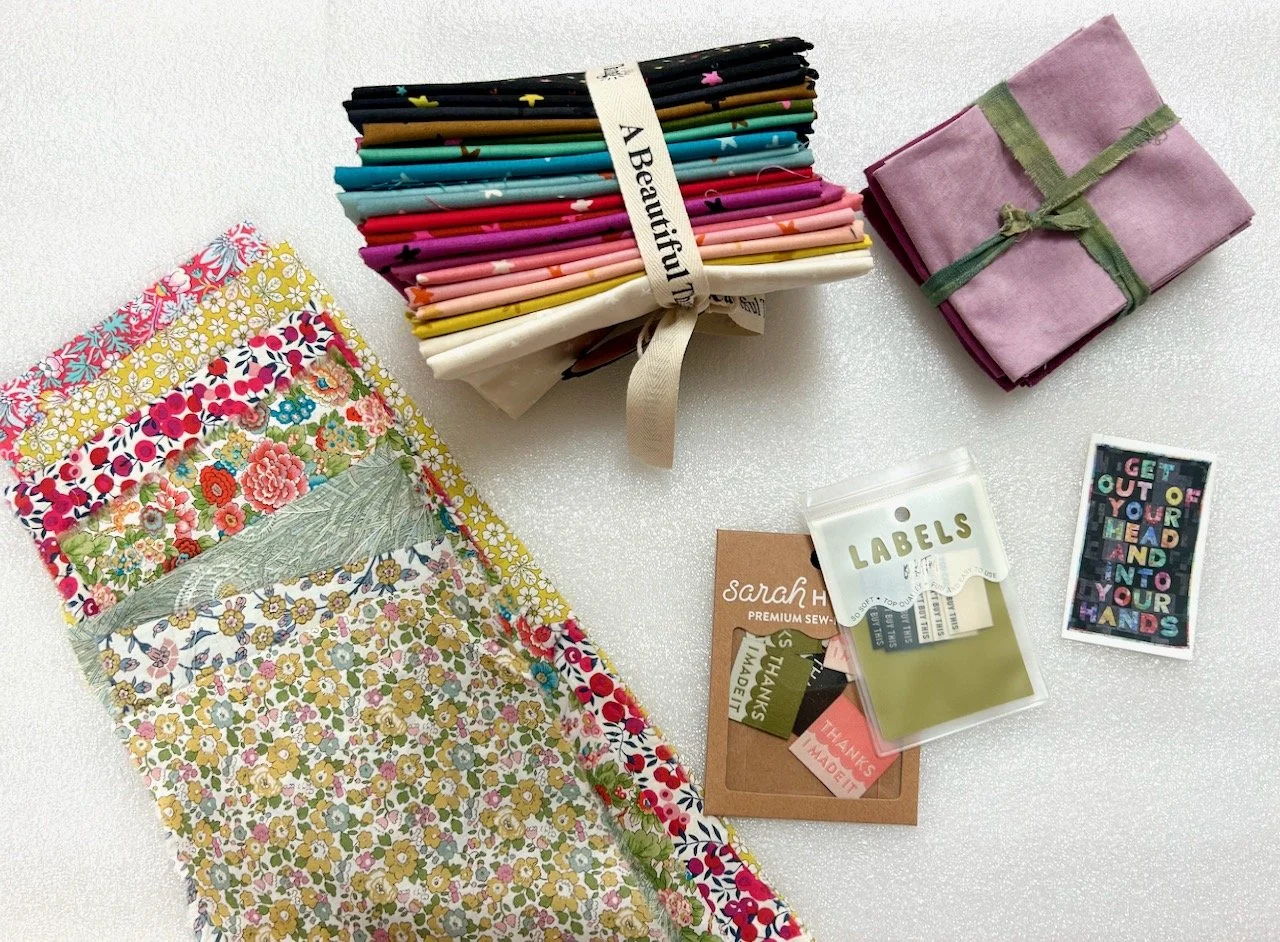
The Alice Caroline bee pattern appealed too - there were kits available, but it was just the pattern and know how that I needed, I have plenty of material to source my own bee colour ways. But I did pick up some Liberty scraps while I was there, mainly because these too are hard to resist.

fabric bundles and labels

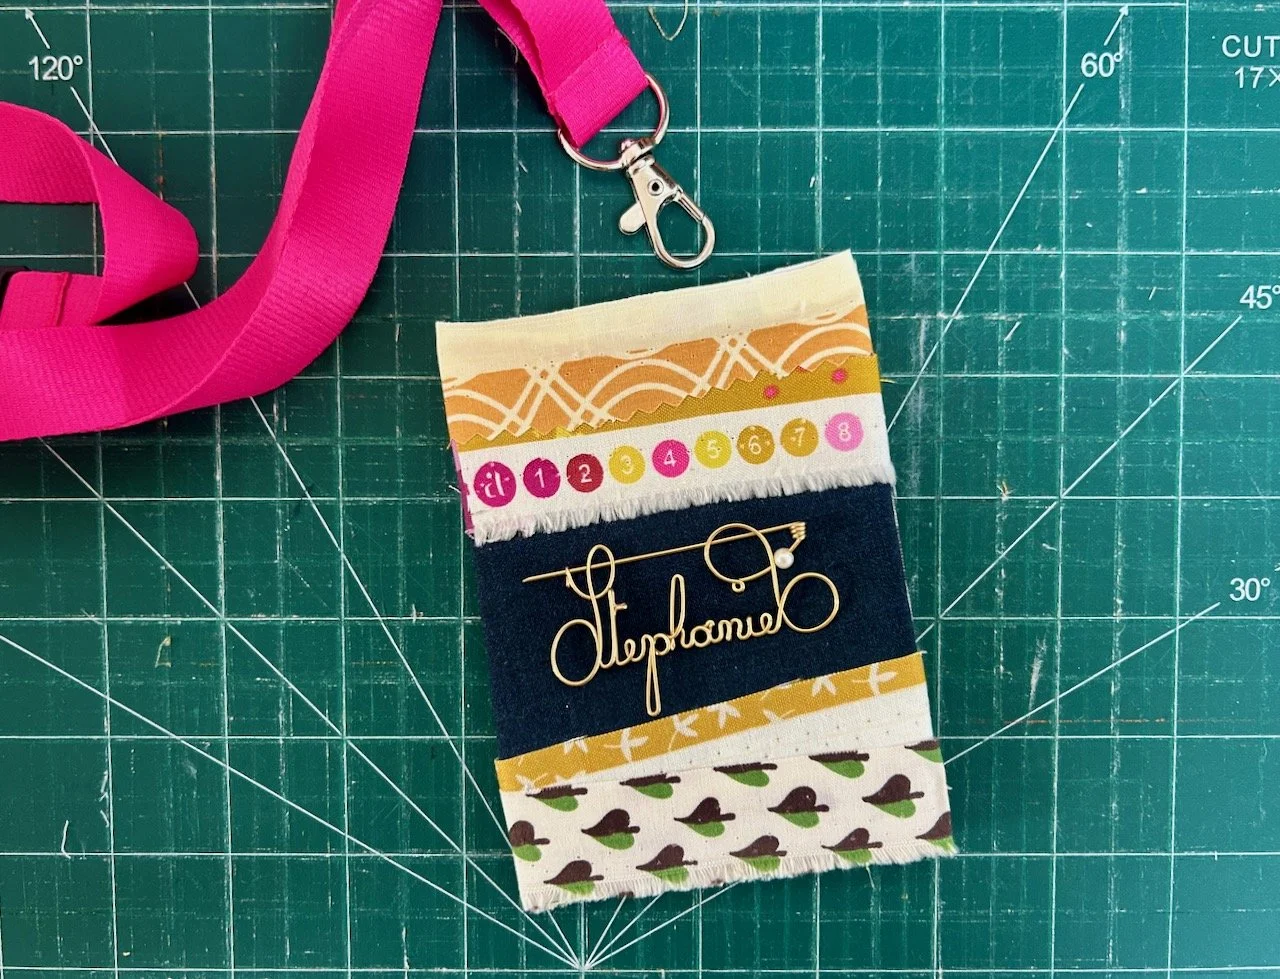
The labels are pretty cute too, the Sarah Hearts ones say “Thanks I made this” and I think should really go on the outside of the garment; the others say ‘You can’t buy this’ which made me smile.

I had taken with me the pack of hand dyed fabric which I had for my birthday in May, as I now have a plan in mind for how to use them and wanted to get something that goes with them to extend what I already have, as I think I need a few more squares. I bought the bundle of fat quarters for that project and was happy that I could make them work.

However less than ten minutes later I stumbled upon the Whole Cloth Studio stand (the makers of the hand dyed fabric) which was both fortuitous as I didn’t know they were going to be there, and expensive because they were there! As I approached the stall I pulled my existing pack of fabrics out of my bag and immediately struck up a conversation with the vendor and other customers, who praised MOH’s foresight for such a wonderful present. It is of course a wonderful present, but he did have great guidance!! And so the small bundle of purple fabrics, which match perfectly was now added to the day’s purchases, and I’m very happy about that. I think I will still use the bundle of fat quarters (or at least some of them) on this project but just not in the way I first thought I would.

It was quite a show, and quite a day - and now I need to find time to put all my plans into action (as always!)

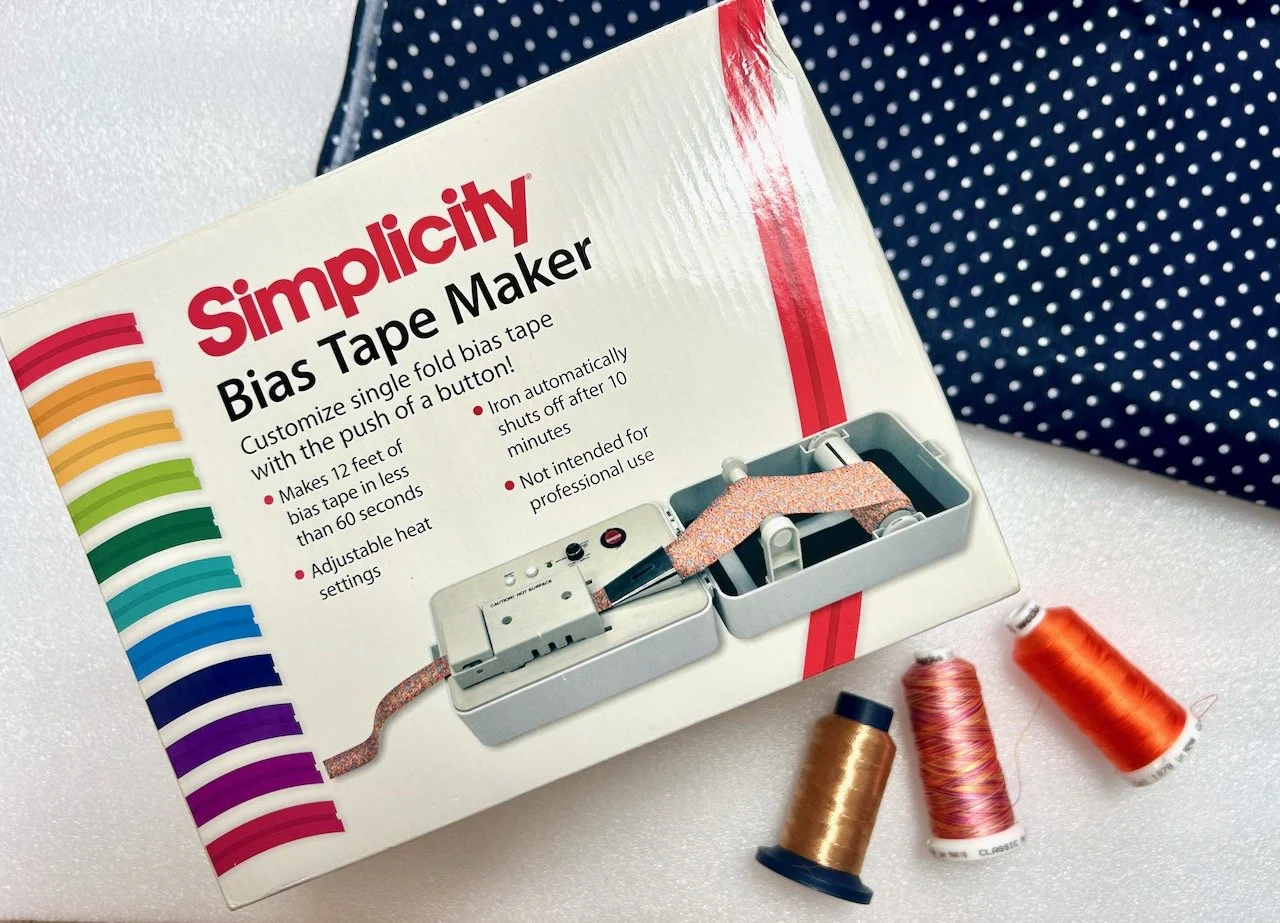
As you know I’m also a sucker for a stash sale and via my Patchwork Group I’ve been party to one of the largest ones yet, and once again I’m very happy. I’ve had my eye on these Bias Tape Makers for a while now, mostly through a saved search on eBay as they are no longer in production. The ones on eBay go for quite ridiculous sums though, and I’ve never managed to purchase one, so when this one turned up on our WhatsApp group I hesitated briefly, then jumped at the chance as not only was it something on my list, but it was also a bargain.

Bias tape maker, threads and some blue/white dotty cotton

I also picked up the three threads after a rummage in the box, and the navy and white spotted fabric - which on a quick measure is way over the three meres I thought, so for £9 it was another complete bargain. I thought I’d used this to make a sundress, but now I’ve felt the material I’ve another project in mind, which is to use it for a toile for a more structured linen dress I have the pattern (and aspirations) for.

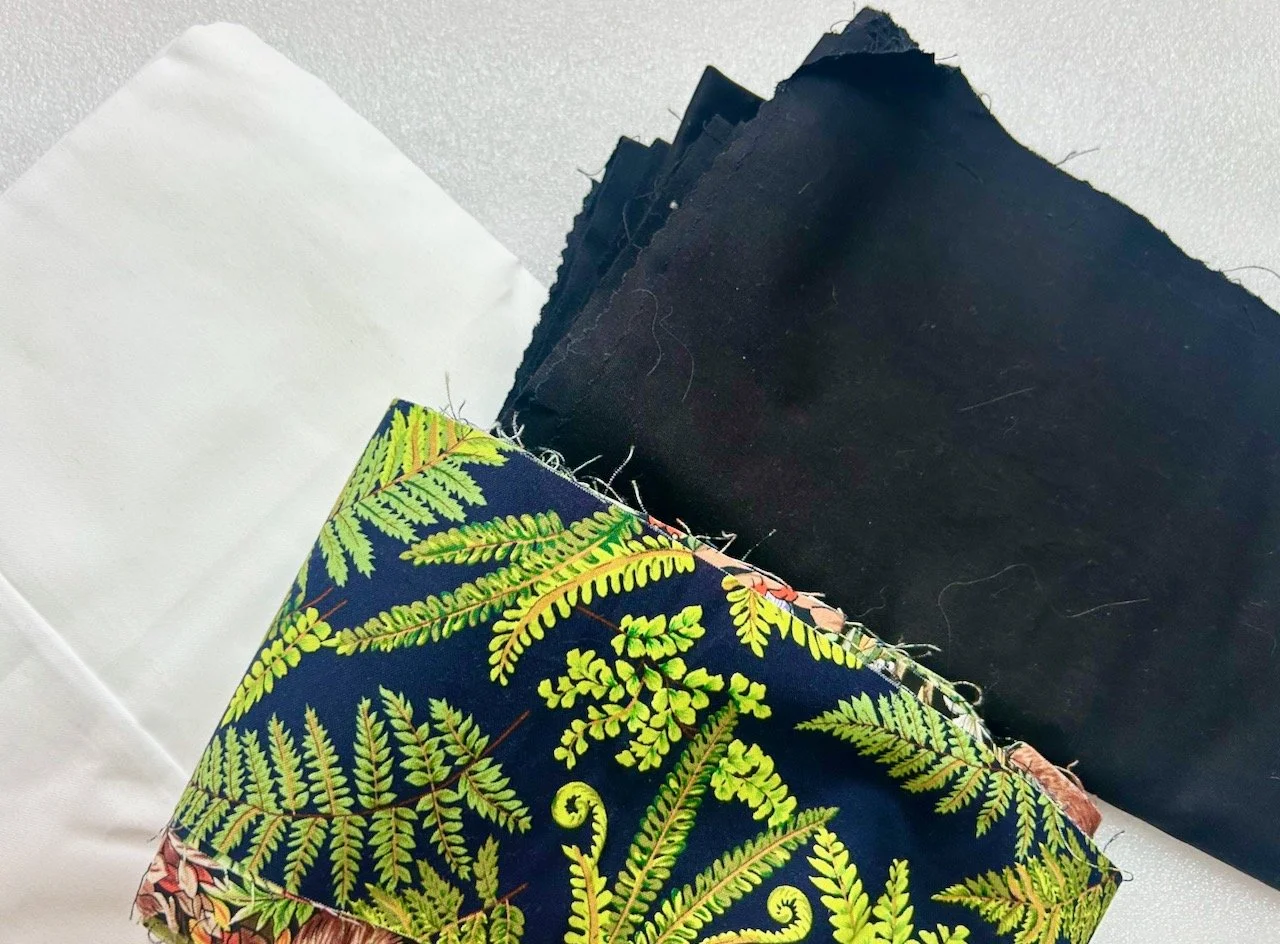
A visit to mum’s craft room provided the contents of the next few pictures, and there’s some gems, some gadgets and plenty of material which I can use in my charity quilts. The fern fabric below is just gorgeous, and it’s the trimmings of a quilt mum made when they returned from a holiday in New Zealand, and where mum had bought fabric. I’ve yet to unroll it fully but I’m intrigued to see what other prints I’ll find.

White and black fabric, with fern fabric offcuts in the foreground
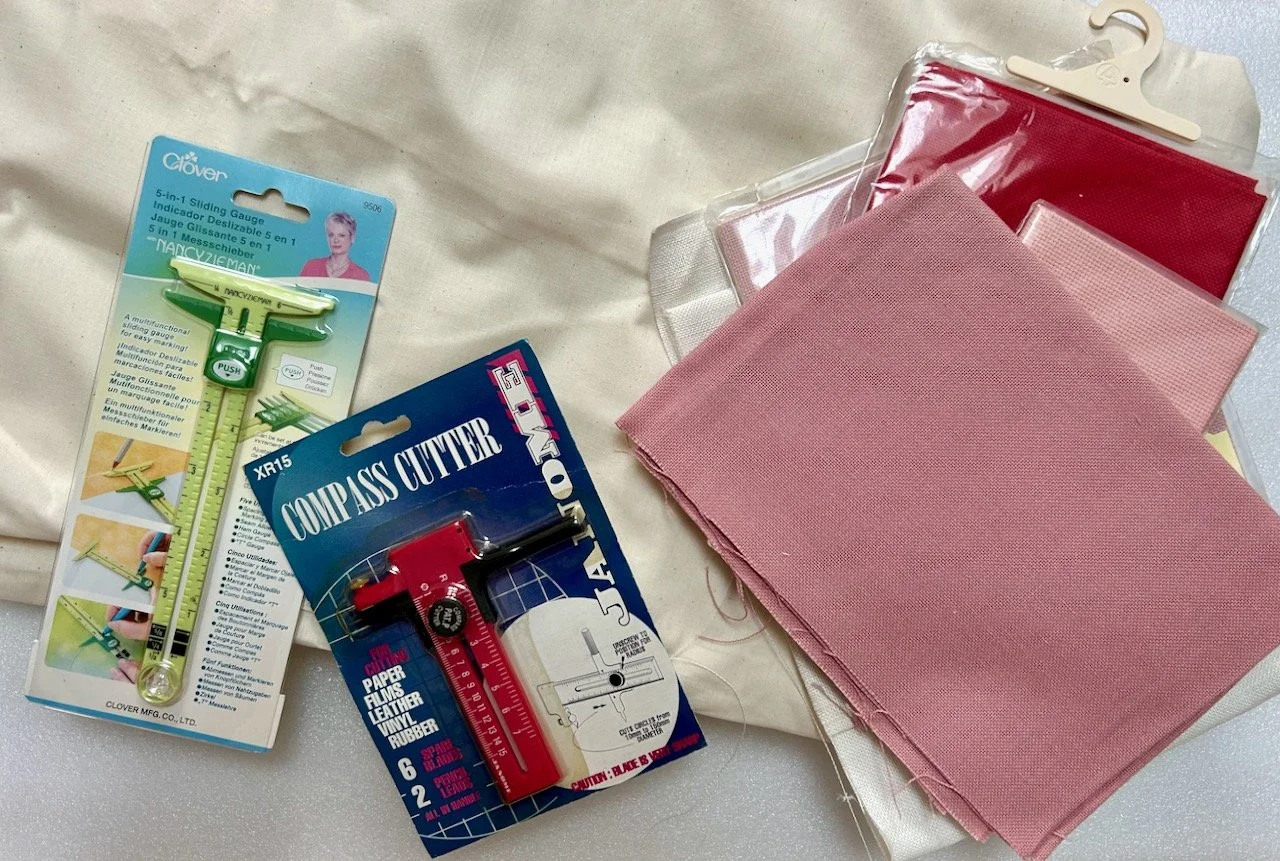
Calico at the back, hardanger and aida fabrics on the right and a couple of useful looking gadgets

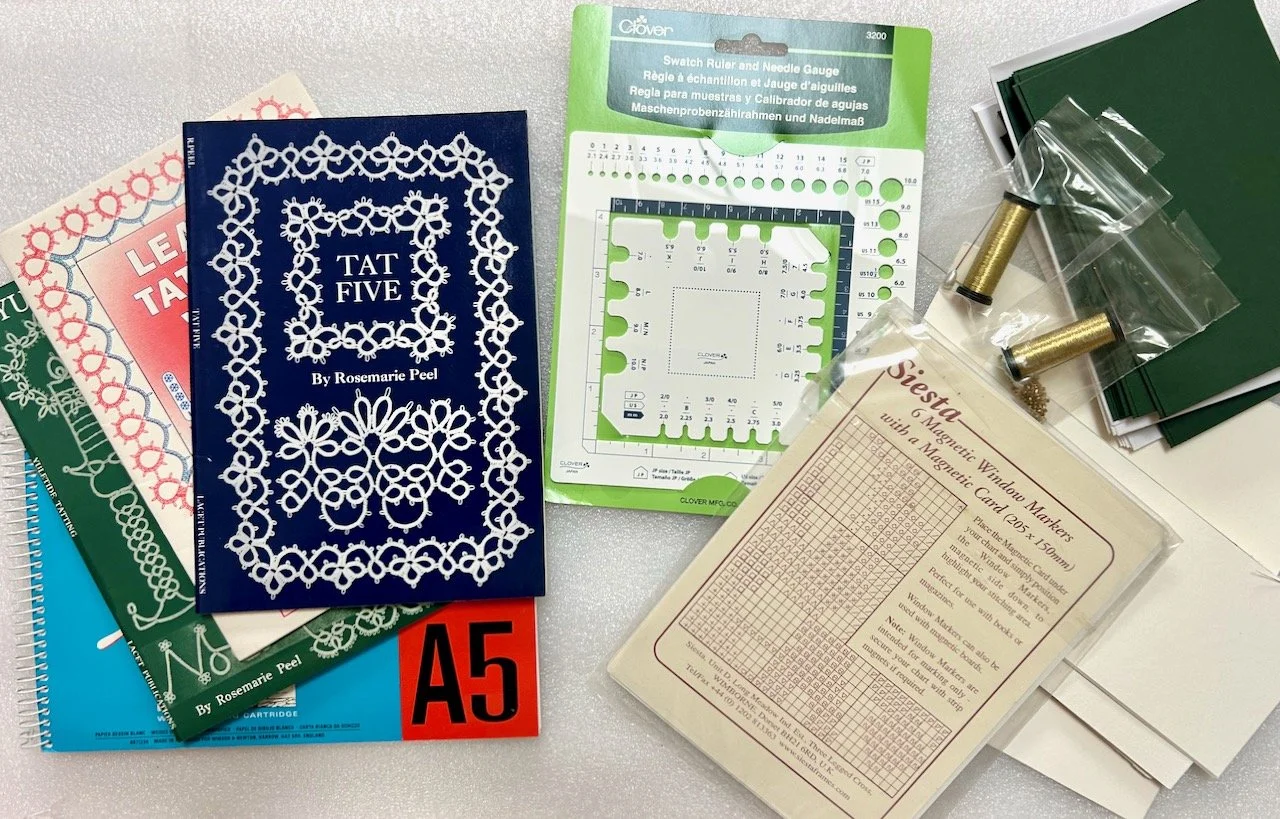
I also left with a healthy amount of calico which I didn’t want to pass on, and a mix of Hardanger and Aida fabrics for hand embroidery and some useful looking gadgets. The magnetic window markers in the image below I know I’ll use on my intermittent cross stitch project, which has been out again infrequently already this year. It gets put away as I think I spend more time finding my place in the pattern than actually cross stitching, so hopefully these will help.

Tatting books, a gauge, window magnetic markers and card blanks

Mum gave me her tatting shuttle a while back and I’ve not yet even tried to figure it out. It looks a totally alien craft to me, though much like crochet did before I really got the hang of it. As primarily a knitter at first I couldn’t get my head around how such yarn magic could be produced with a single stick (aka hook), but now I totally get it.

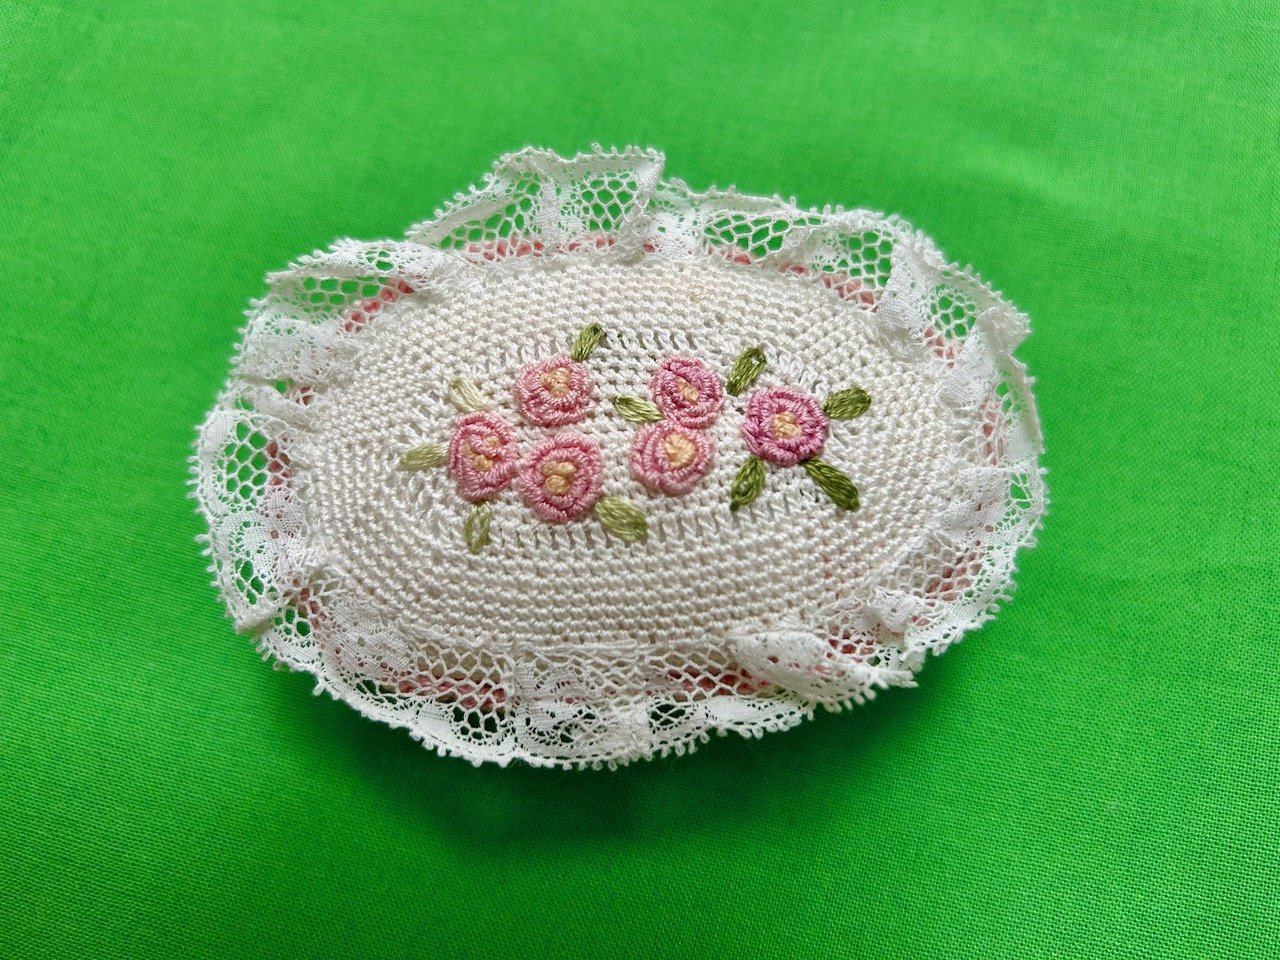
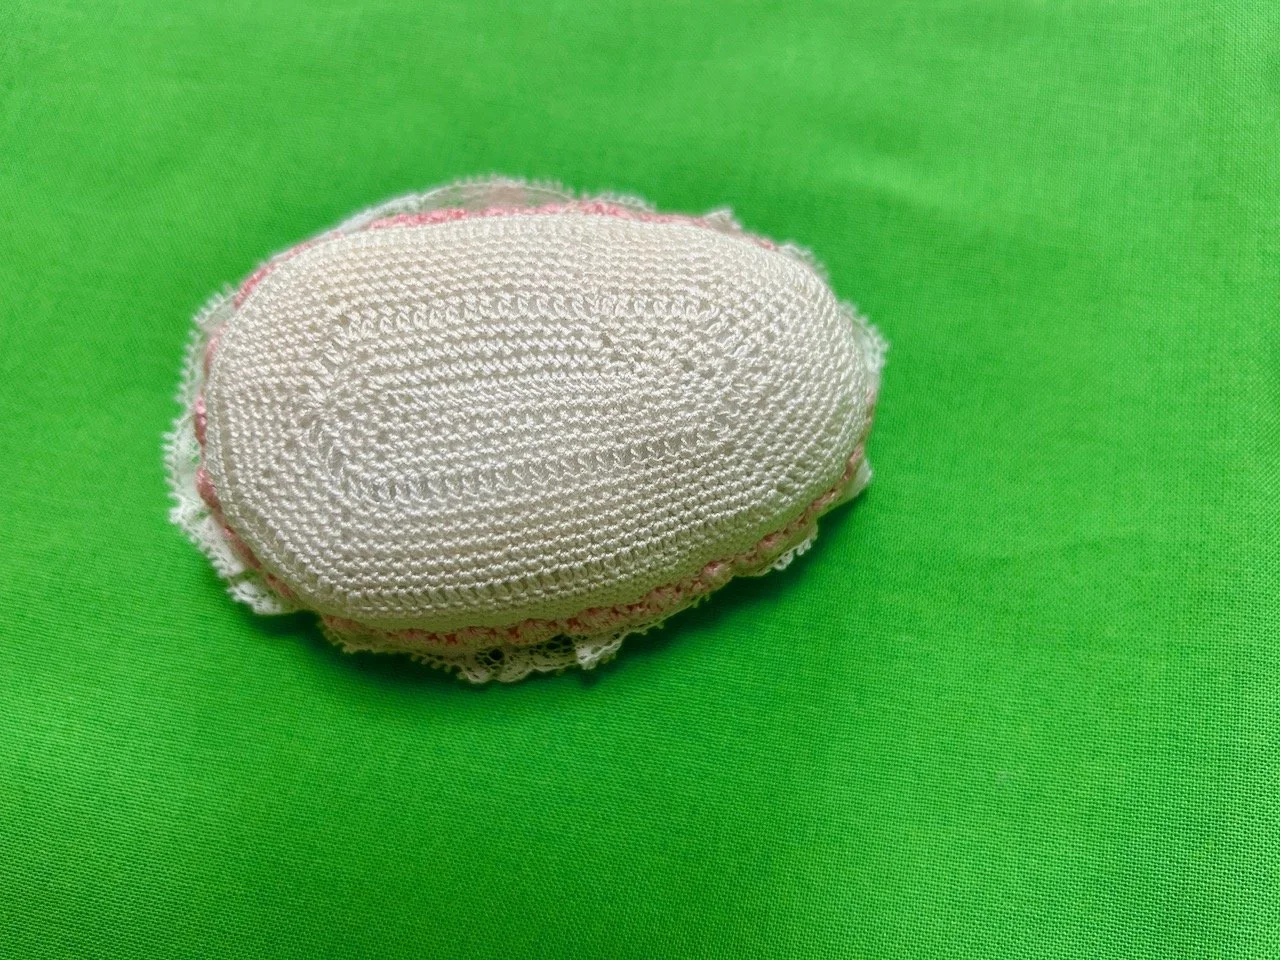
Though I’m not sure my crochet skills will ever be as exquisite as this next item mum wanted me to have. It’s a crocheted pin cushion which easily fits into the palm of my hand, isn’t it gorgeous? What’s more it was made by one of mum’s friends, I’m in total awe and I’m planning to include it in my ‘take to’ supply kit, though I need to get myself organised to start that too.

The top of the crocheted pin cushion complete with rose embroidery
the underside of the delicate pin cushion

This next purchase is from a local craft shop in Framlingham, Suffolk where we spent a few days after MOH did the mammoth East London to Dunwich overnight cycle this month. The fabric was in the window and initially I thought it was the same as our garden scatter cushions, and I teased MOH that he could have a shirt to match. On closer inspection though, yes of course we went into the shop, it was more of a velveteen finish and not something you’d really want to wear, though maybe as a jacket…

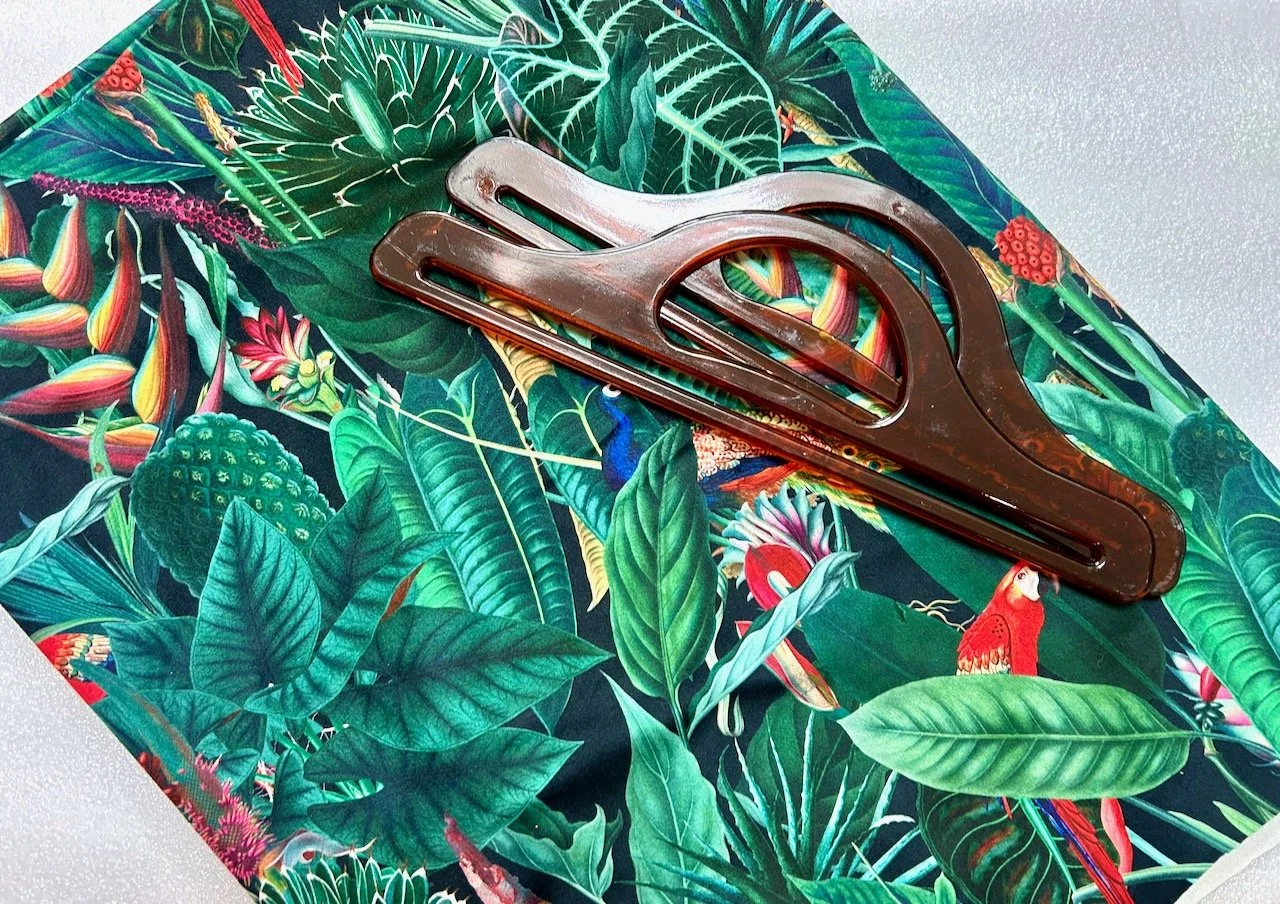
Anyway, the shop had a bag made up using this fabric and these tortoiseshell handles - the bag itself cost £39, but the materials cost about a third less - and while it’s another project, it’s going to be beautiful.

green tropical velveteen fabric and tortoiseshell bag handles

The shop owner generously showed me her hand drawn pattern and gave me tips for attaching the handles, now I just need to talk myself into making it happen. These handles though, they reminded me of a patchwork bag mum had (and possibly still does somewhere), which was also velvet which I remember her making when I was a child. In fact I made myself a patchwork bag - long since gone I’m sure (sadly) - at the same time, but my handles were more rounded and a lighter wood coloured plastic.

Ah the memories, I’ll have to ask mum if she still has that bag.

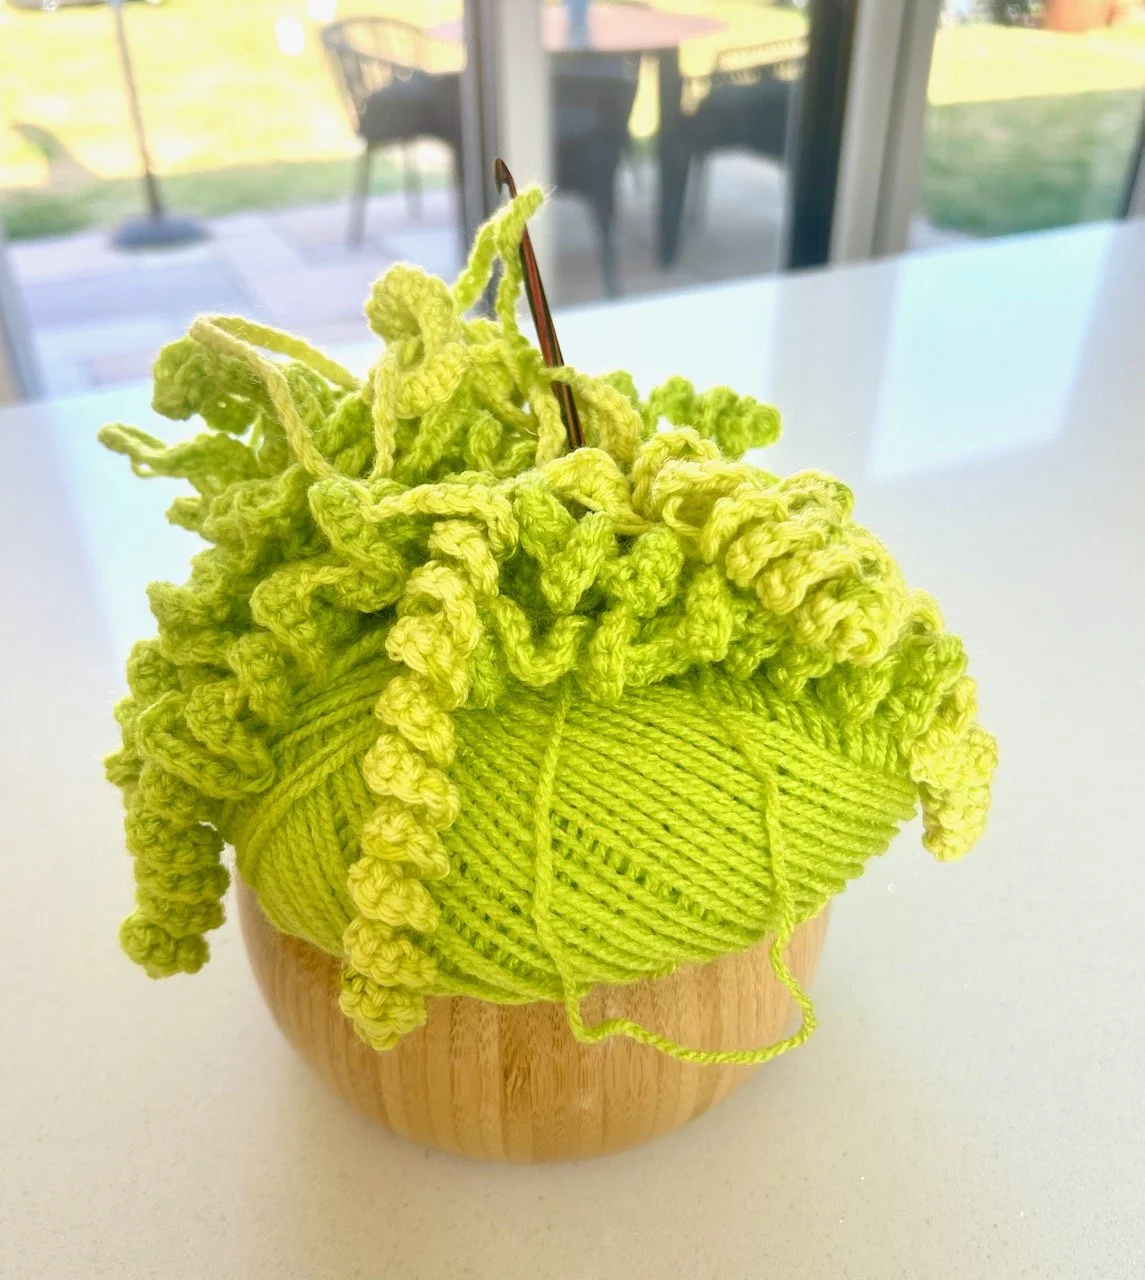
My lime green crochet project in my wooden crochet bowl

And finally I’ll share a bit more about my latest crochet project, which the neon green yarn is new this month. My crochet group are one of the local community groups in a nearby village who are ‘dressing a tree’ in the village orchard this November. As a group we’ve decided to ‘throw colour at the tree’ and this is my first garland for that - I’m sure there’ll be more to come, and I’ve already a plan to make a garland of something that was traditionally kept in orchards, but more on that another day.

So that’s another month in my craft room, check out my previous updates for earlier additions, and remember to let me know below what you’ve added to your craft supplies this month.

My sari dressing gown

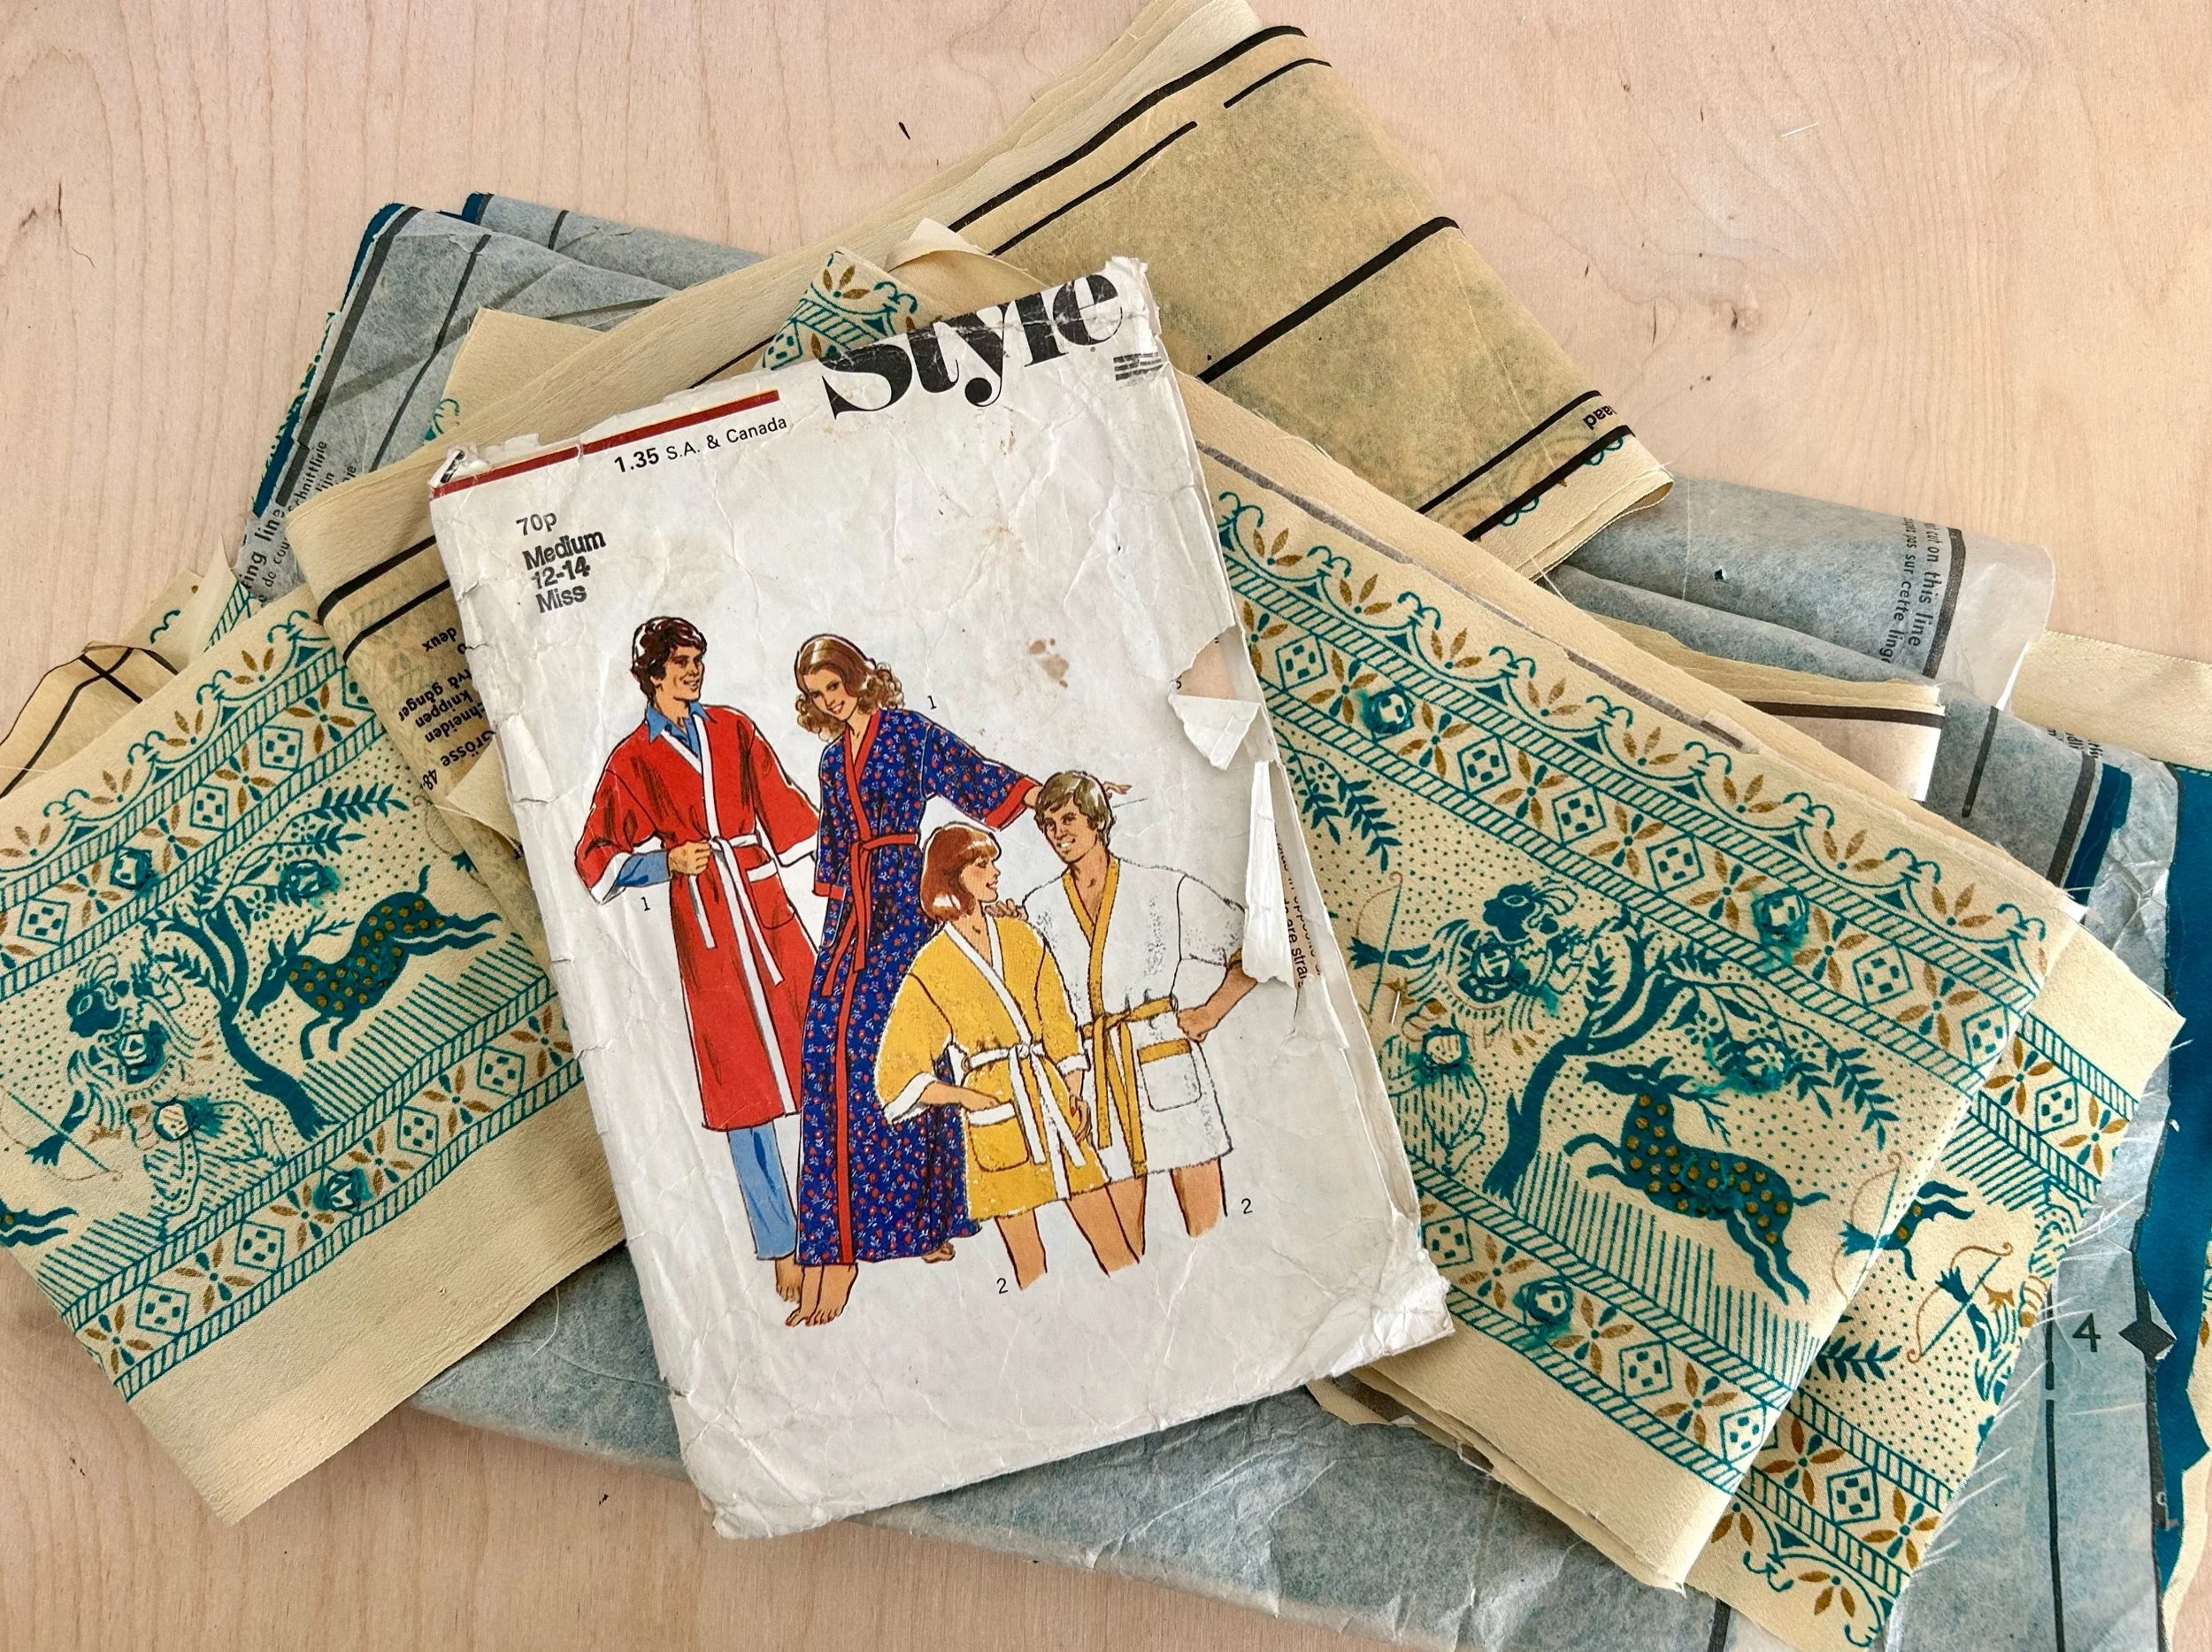
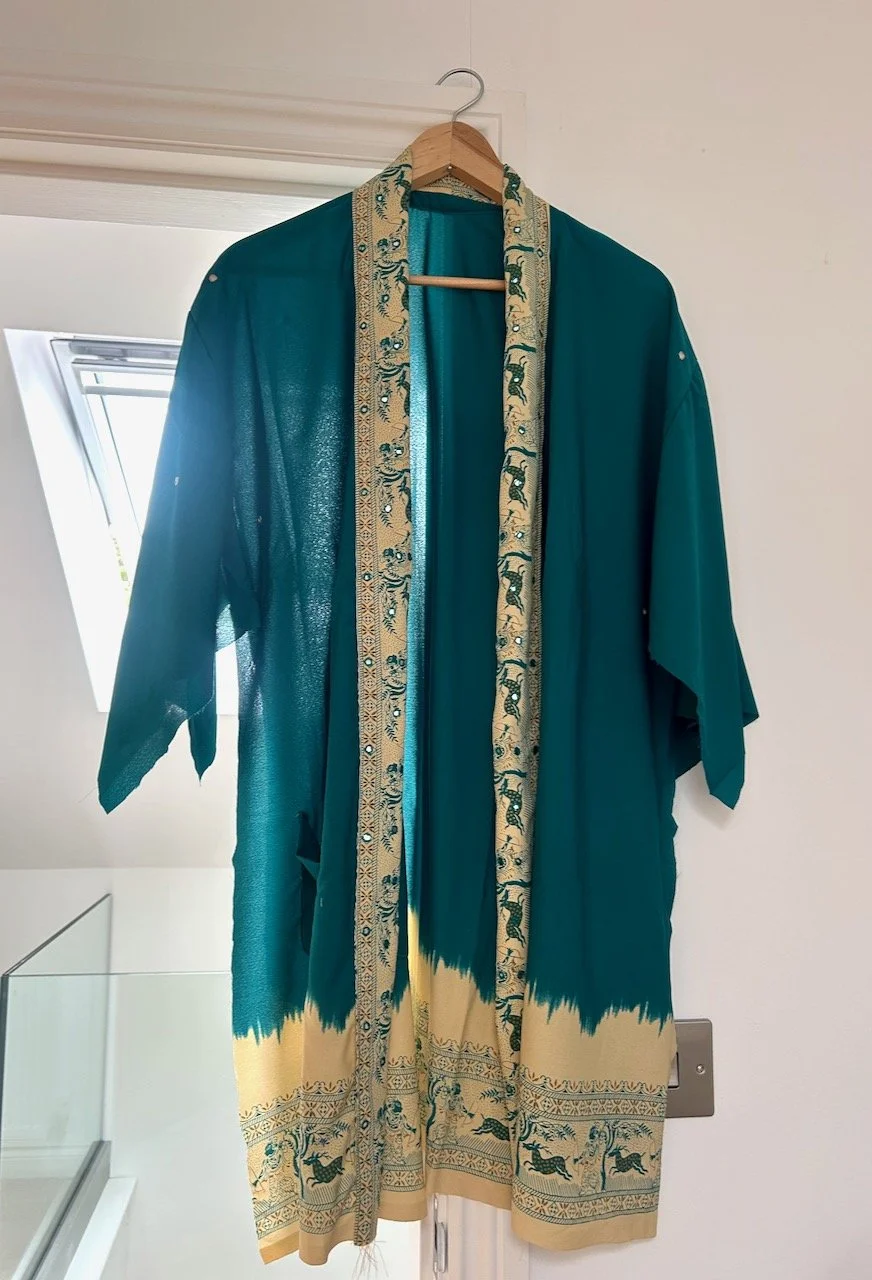
Back in March when I shared my non-quilty sewing plans for this year, number 7 on the list was ‘wearables’ and I also shared a picture of the already cut out summer weight dressing gown, using a sari I’d bought from eBay.

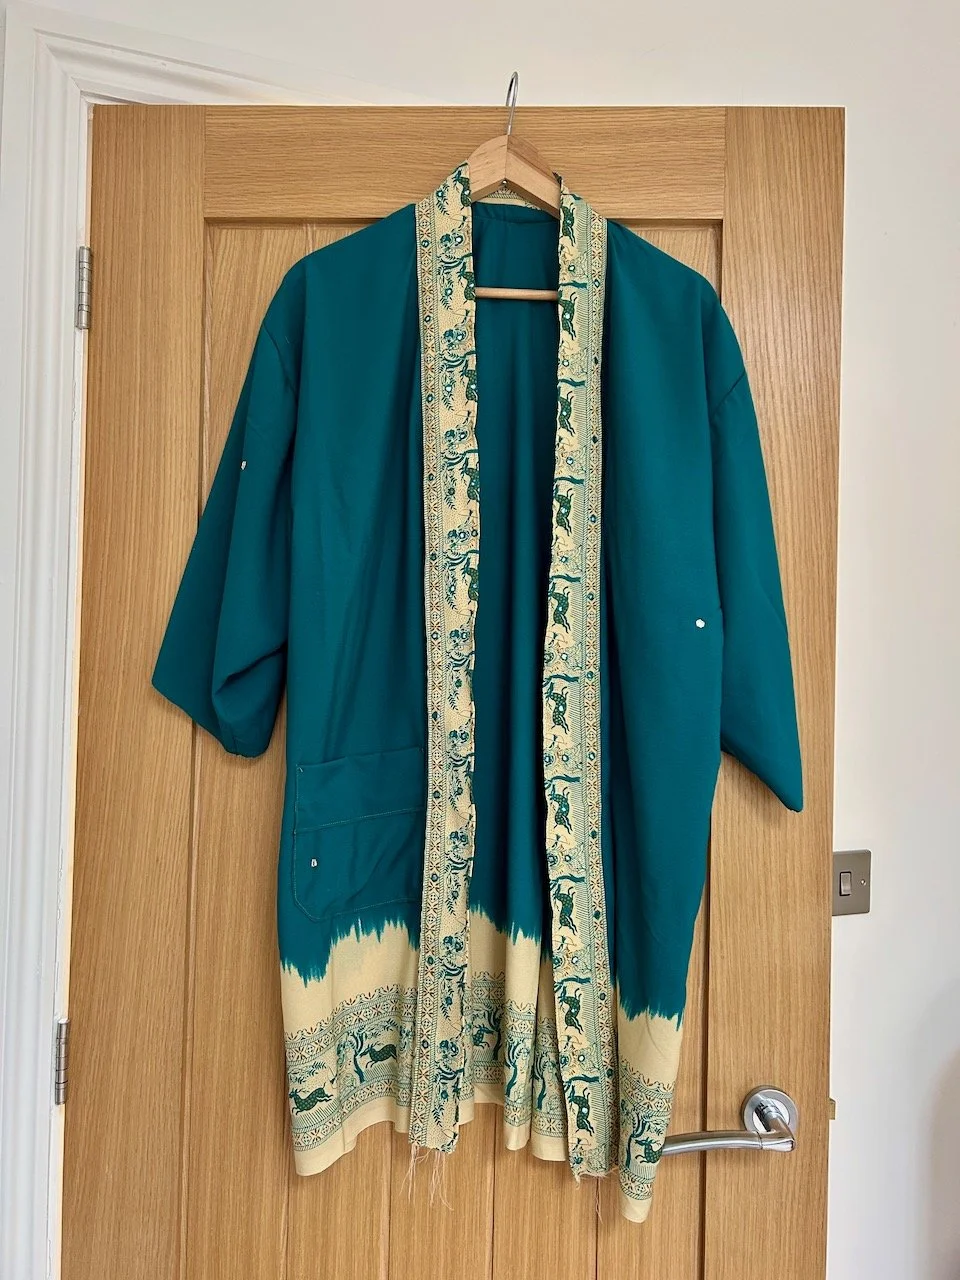
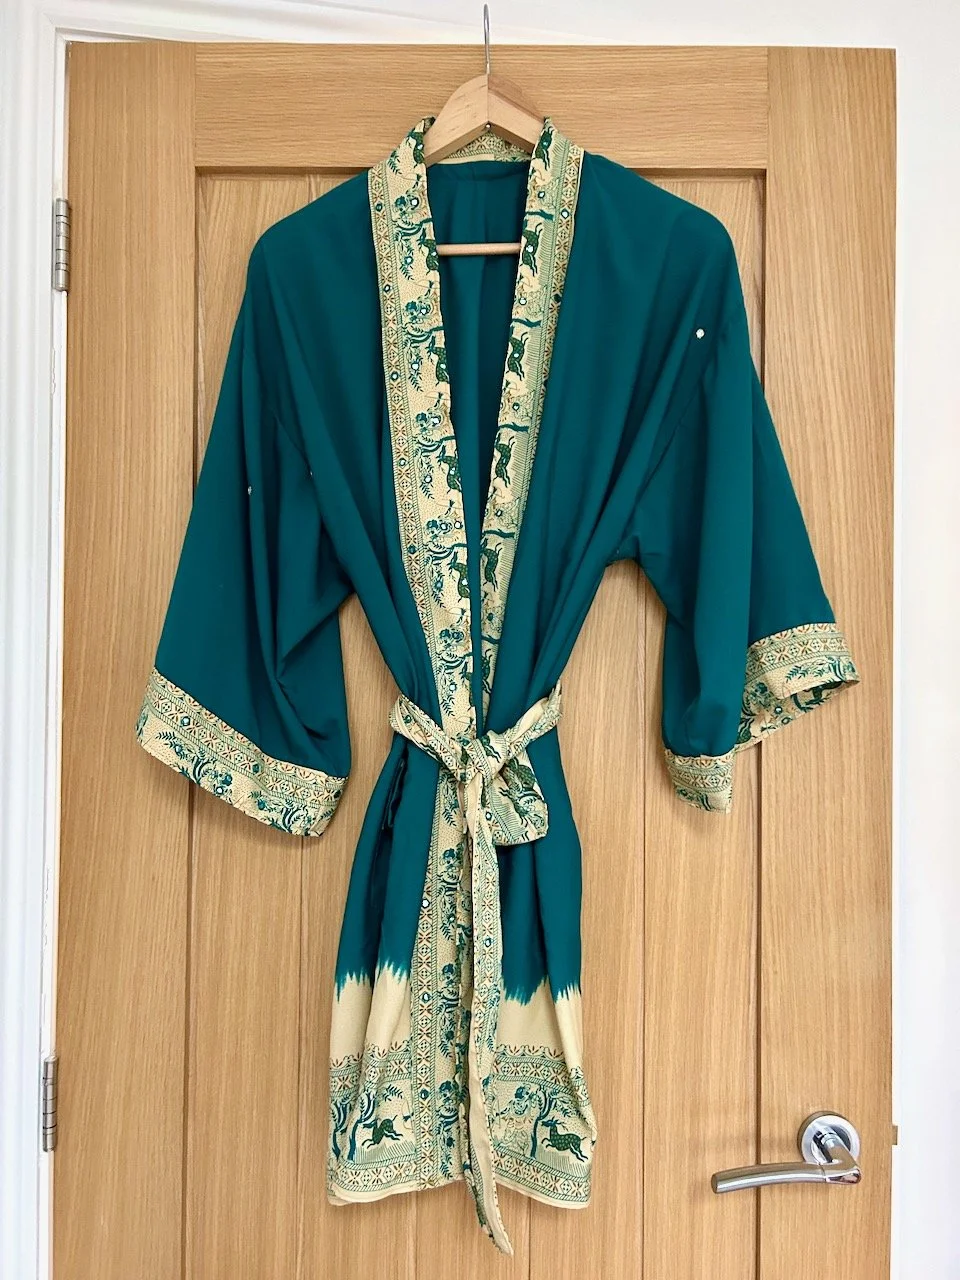
Well it is done, who knew it’d make it out of my craft room so quickly?!

Our new house is super well insulated, and every summer we’ve been here when it’s warm I think to myself “I need a lightweight dressing gown” and this year - we’ve been here three years now - I finally have one.

And it’s glorious, I’m so pleased with it - let me talk you through it.

THE IMAGE FROM THE MARCH POST

I bought both the pattern and the sari on eBay, the pattern had the tie belt pattern piece missing but as I’d also bought the men’s version of the same pattern I used that one. As you can see the pattern was well worn, but it had the instructions and the pattern pieces themselves weren’t damaged.

As I said in March, I needed to get brave and start sewing. And those warm summer days spurred me on.

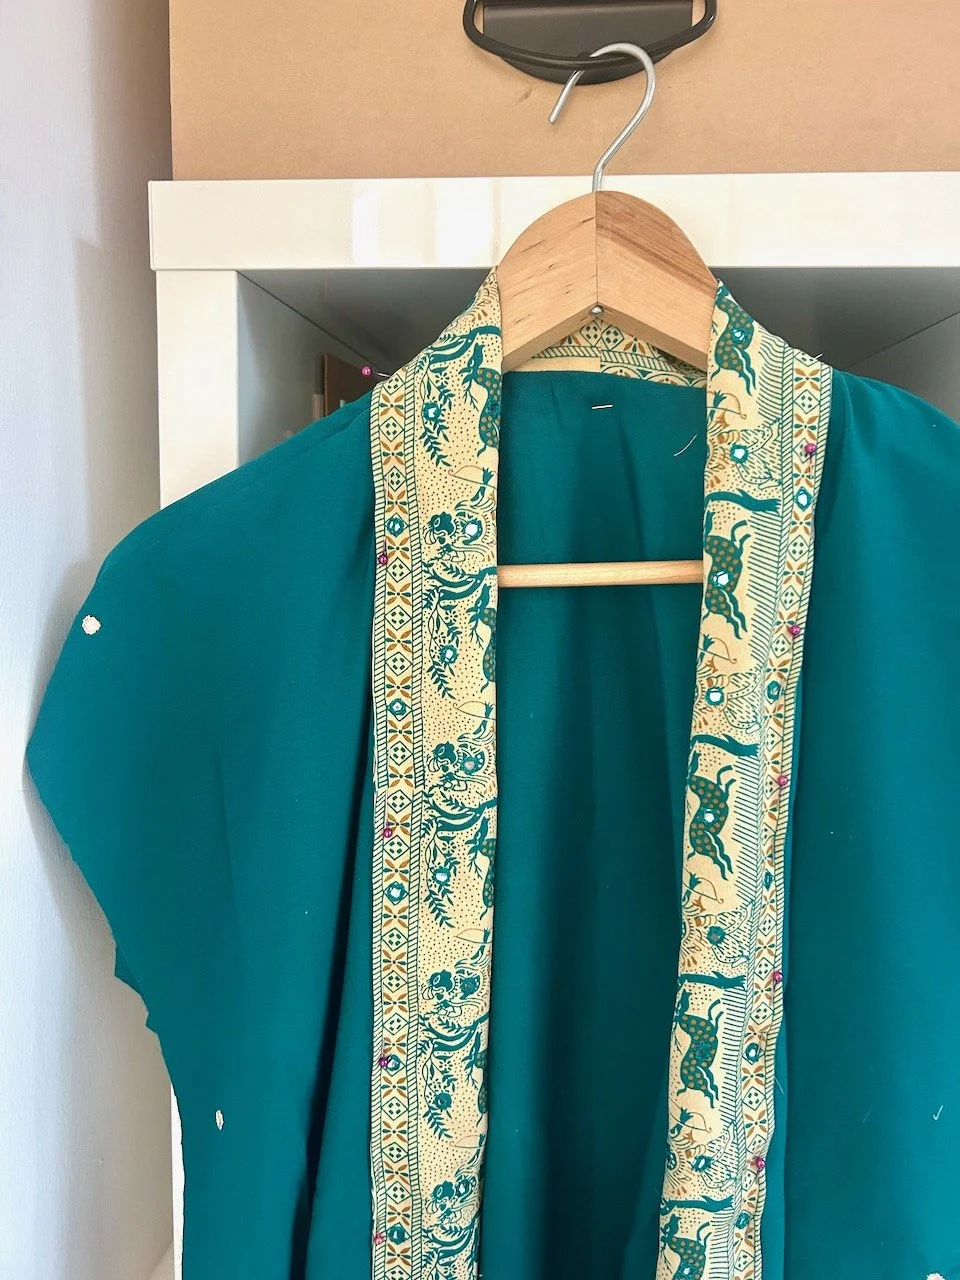
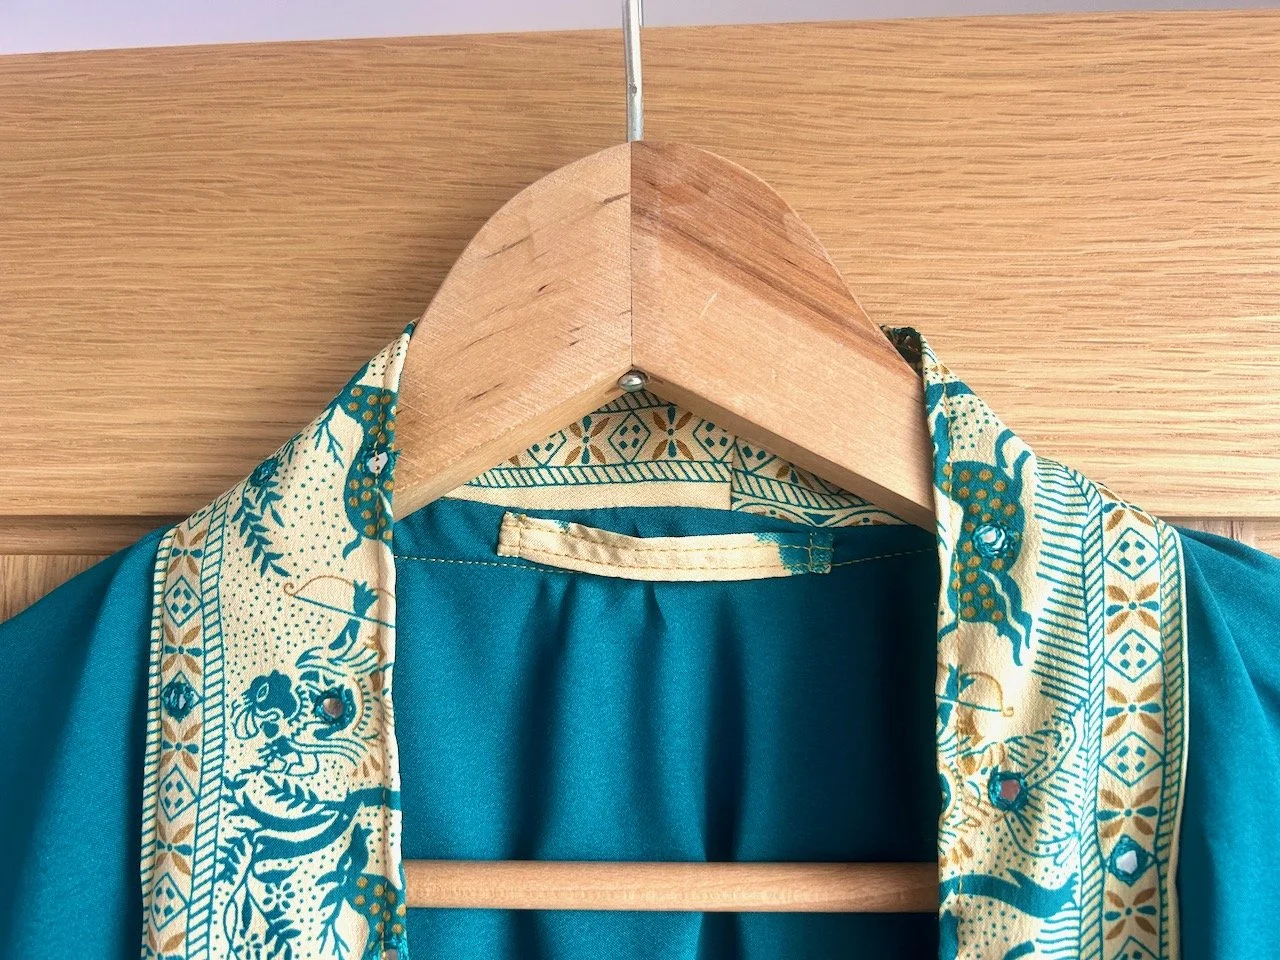
I’d already decided to make use of the sari’s pattern on the bottom of the dressing gown, and the bands around the neck and sleeves. This determined the length and I’d class the length as ‘pretty much decent’ if you know what I mean.

When I started to sew it came together pretty quickly. In my first sewing session I made the patch pocket, even though I was a bit thrown by the band instructions so may have improvised a bit, and then attached it to the front. The shoulder seams were sewn together and the prep work for the decorative band that runs down each front piece and across the neck were done, and it was pinned in place.

It was starting to take shape.

Next up, and on another day I attached the decorative band, and inserted the sleeves - and stopped to admire my progress.

Only briefly though as I decided to press on, and sew the side seams and the sleeves together - now it really was a garment.

The sleeve bands went on much more easily than the band on the pocket had, but I think I was getting the hang of what the instructions meant by then too. The tie belt was sewn, turned through and pressed and the hem was hemmed.

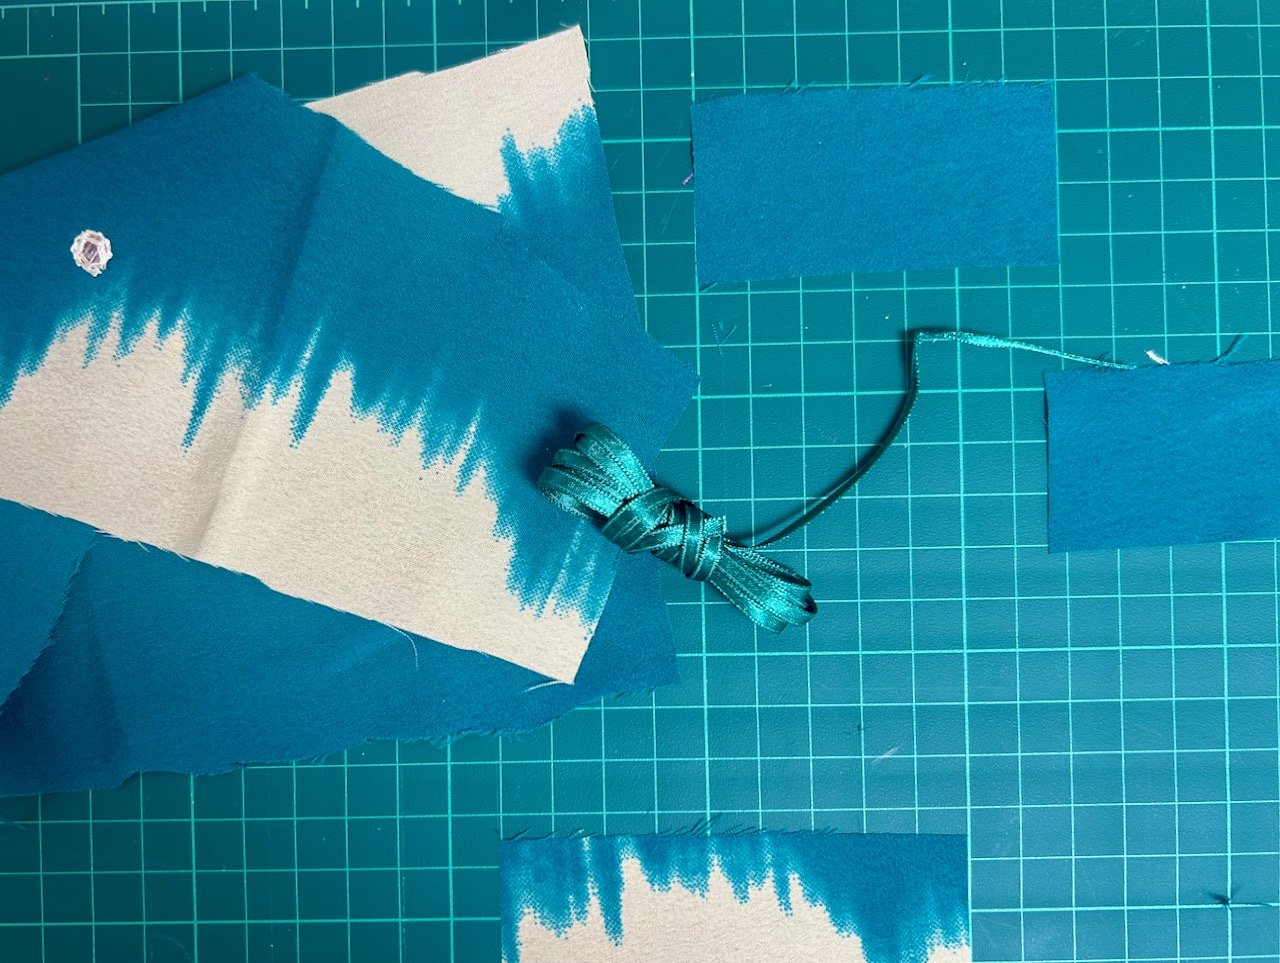
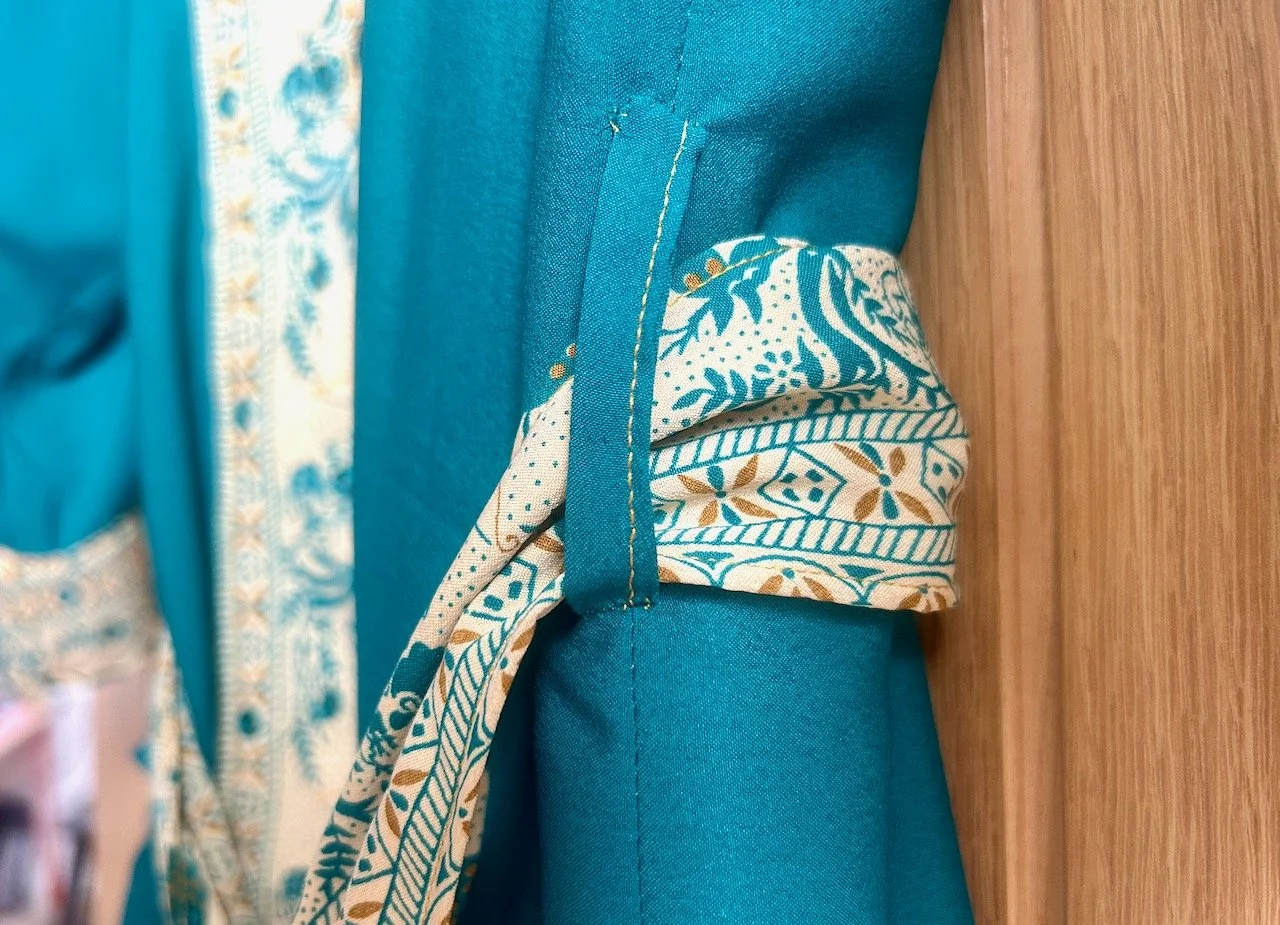
It was almost done. All bar the loops for the tie belt, and one to hang it on the back of the door. I searched my ribbon stash, but an emerald green was the closest I could get to the beautiful teal sari. And it wasn’t right at all.

Which meant I’d have to make my own loops, or otherwise I’d never be entirely happy with it.

And so I did, choosing a contrasting piece of material for the hanging loop, and the plain teal for the belt loops.

They were probably the most fiddly part of the garment, but definitely worth the effort.

Now there’s just the small matter of doing it all again and making MOH a summer dressing gown - I’ve got the pattern, and I’ve bought a sari which he’s approved, but first I think I might try my hand to a sundress - watch this space!