

Other makes update: August 2026

I’ve still not found a better name for my non-quilt sewing plans for the year, but I have found time to make some stuff since my last update in May, so I’m ok with that.

So let’s take a look shall we:

1 Pouches

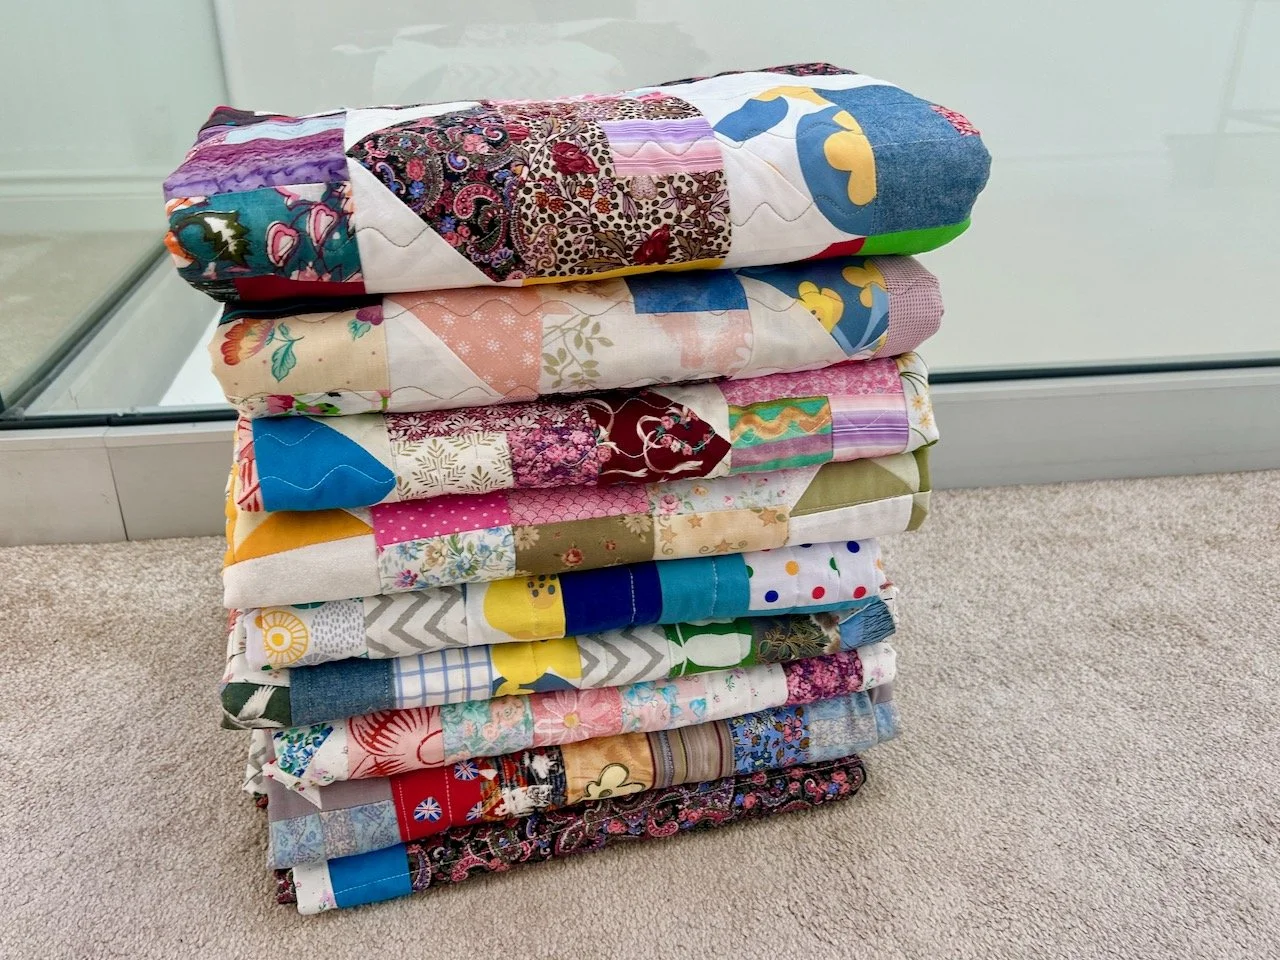
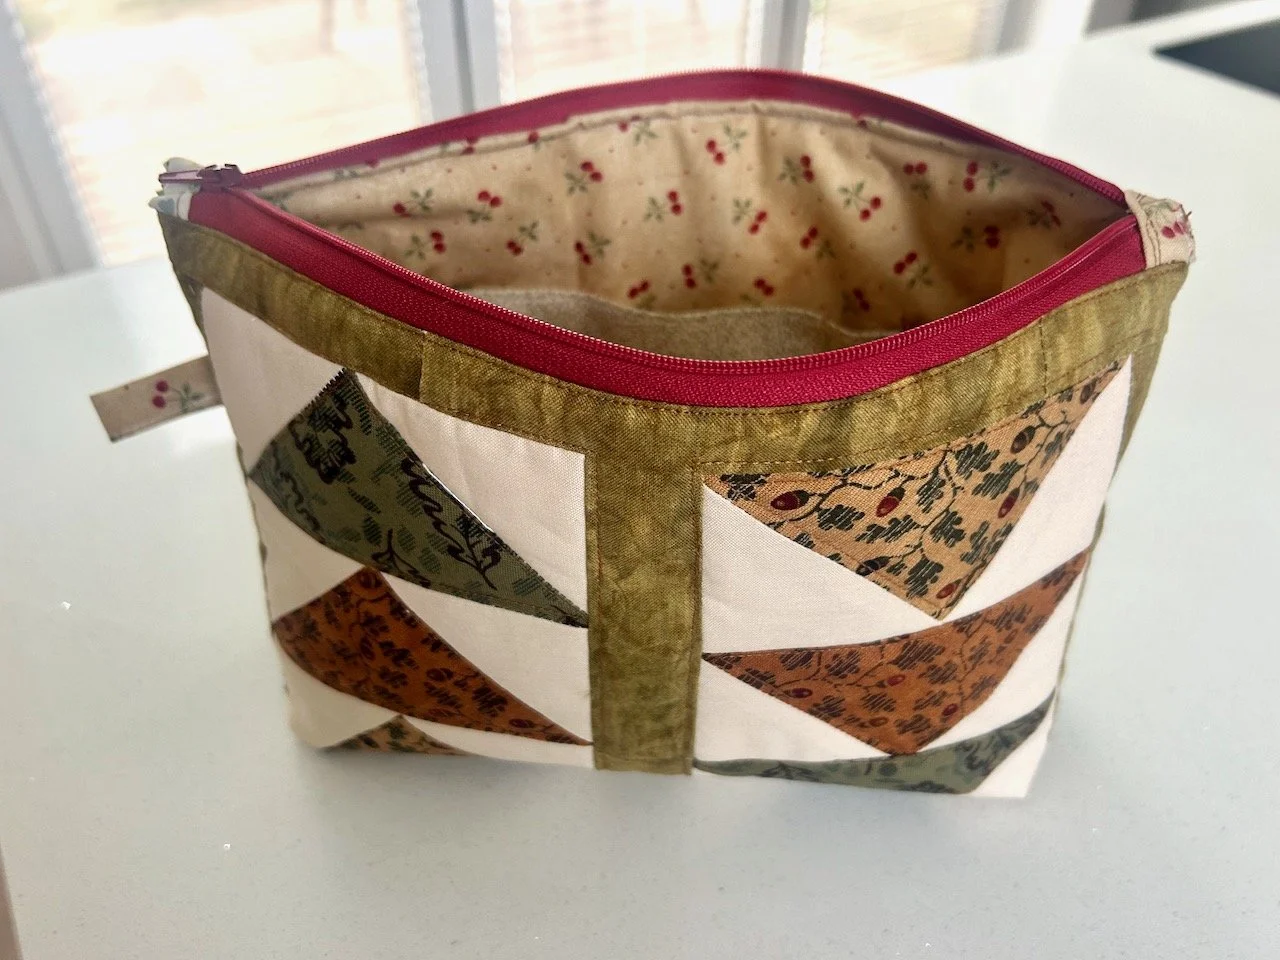
Strangely only one completed this time round, and that one was using the flying geese blocks that were in the bag of pre-cut and pre-sewn items donated to my sewing group.
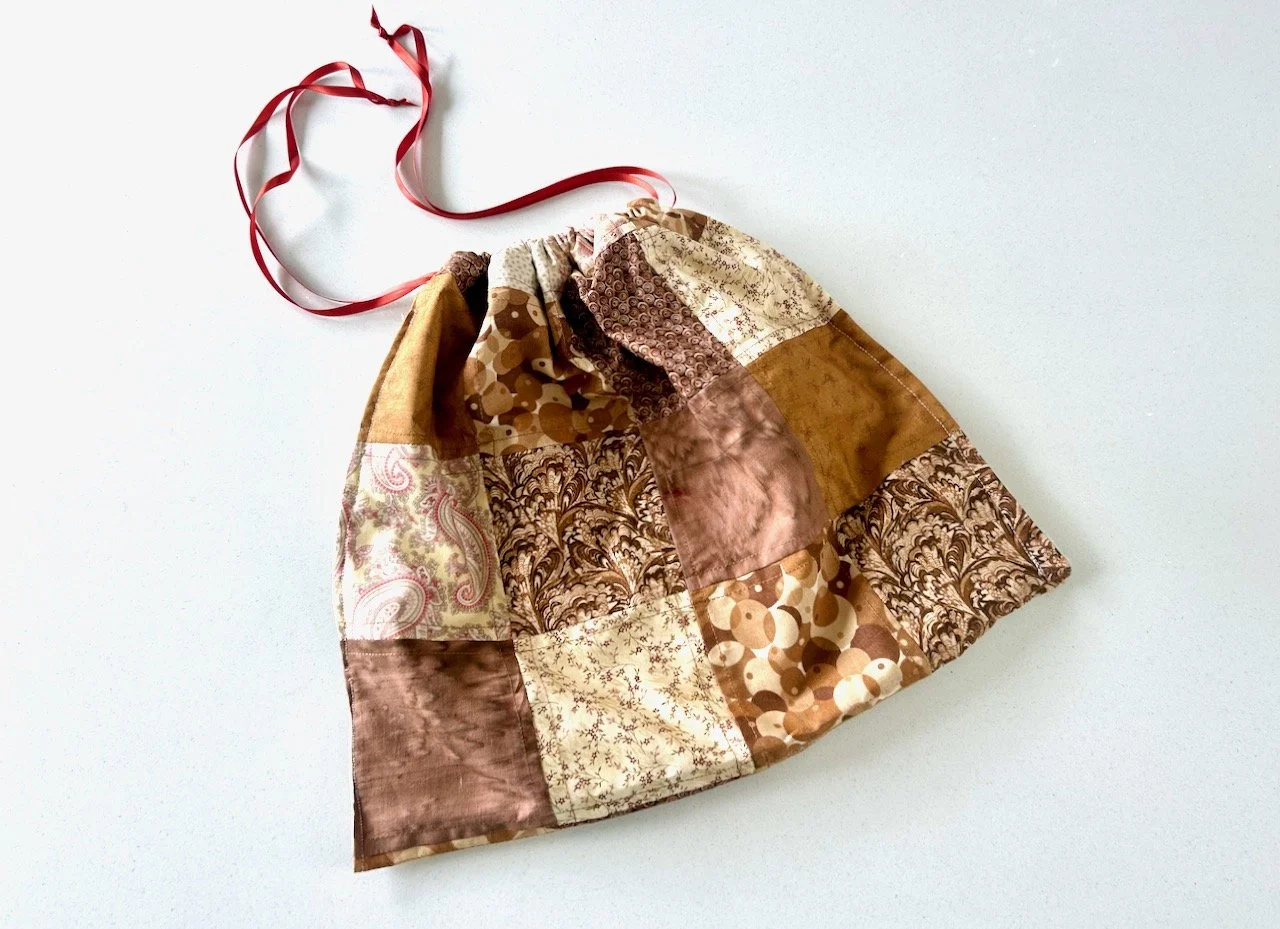
Out of the same scraps I’ve also made a patchwork drawstring bag, a bread cover and a small fabric storage box which didn’t go quite to plan!

So I’m claiming progress in the bags, experimental sewing and practical household items headings for these too because that’s where they fit don’t they?

2. A ‘take to’ sewing case

Still nothing to see here, I’m afraid.

3. A bag or two, or more

The drawstring bag for my bread might not have necessarily been the bag I had in mind for this section, but it’s a bag and it’s made so it absolutely fits here.

4 Experimental sewing and sewing for fun

There’s been some of this recently too - and it’s those scraps again. As I said above the fabric storage basket ended up smaller than I planned and I had to improvise on the lining, but not everything can go right all of the time can it? And to be honest I’m glad I messed up on something like this rather than anything else I’ve made these past few months.

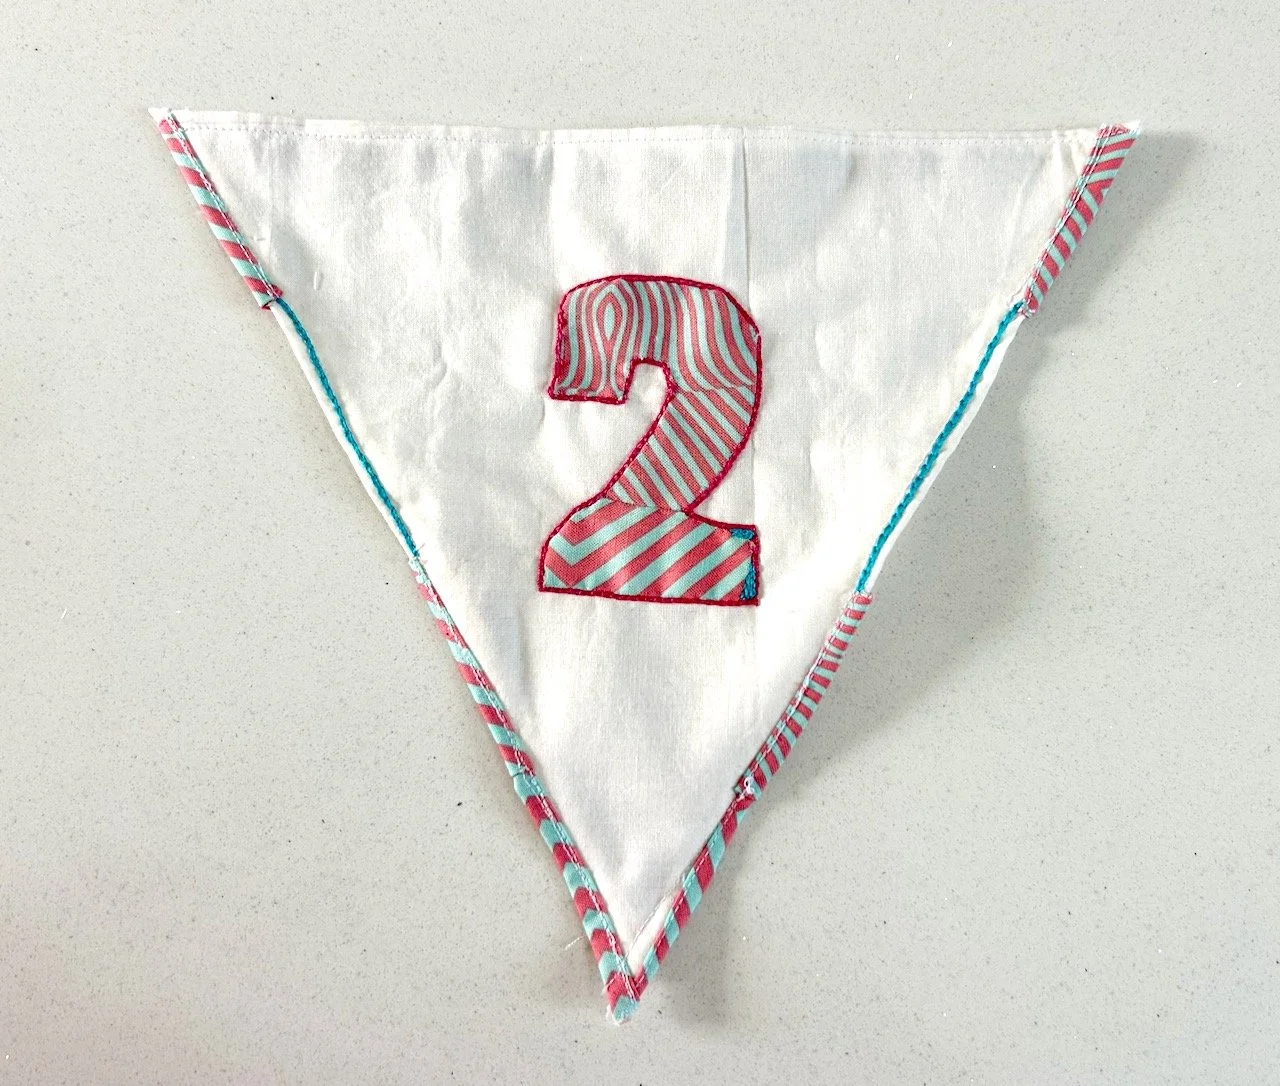
There’s also been an update to dad’s birthday bunting, with a two to replace last year’s one.
5 Patchwork design boards

I haven’t yet put my learnings from the last update into practice, but they’re still on the list - and I’m sure once I start I’ll be wondering what took me so long.

6 Some practical household items

I think I’ve covered this above, multiple times!

7 Wearables

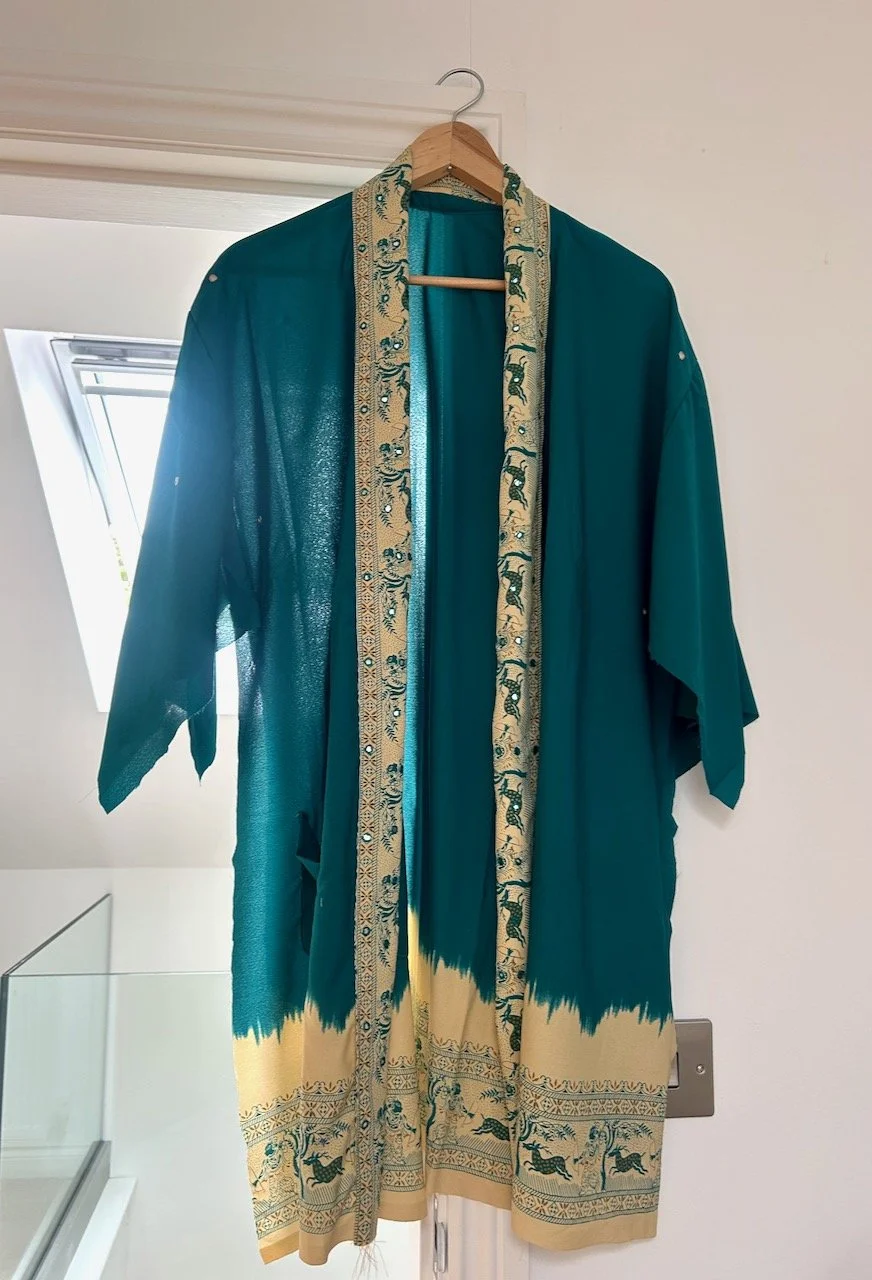
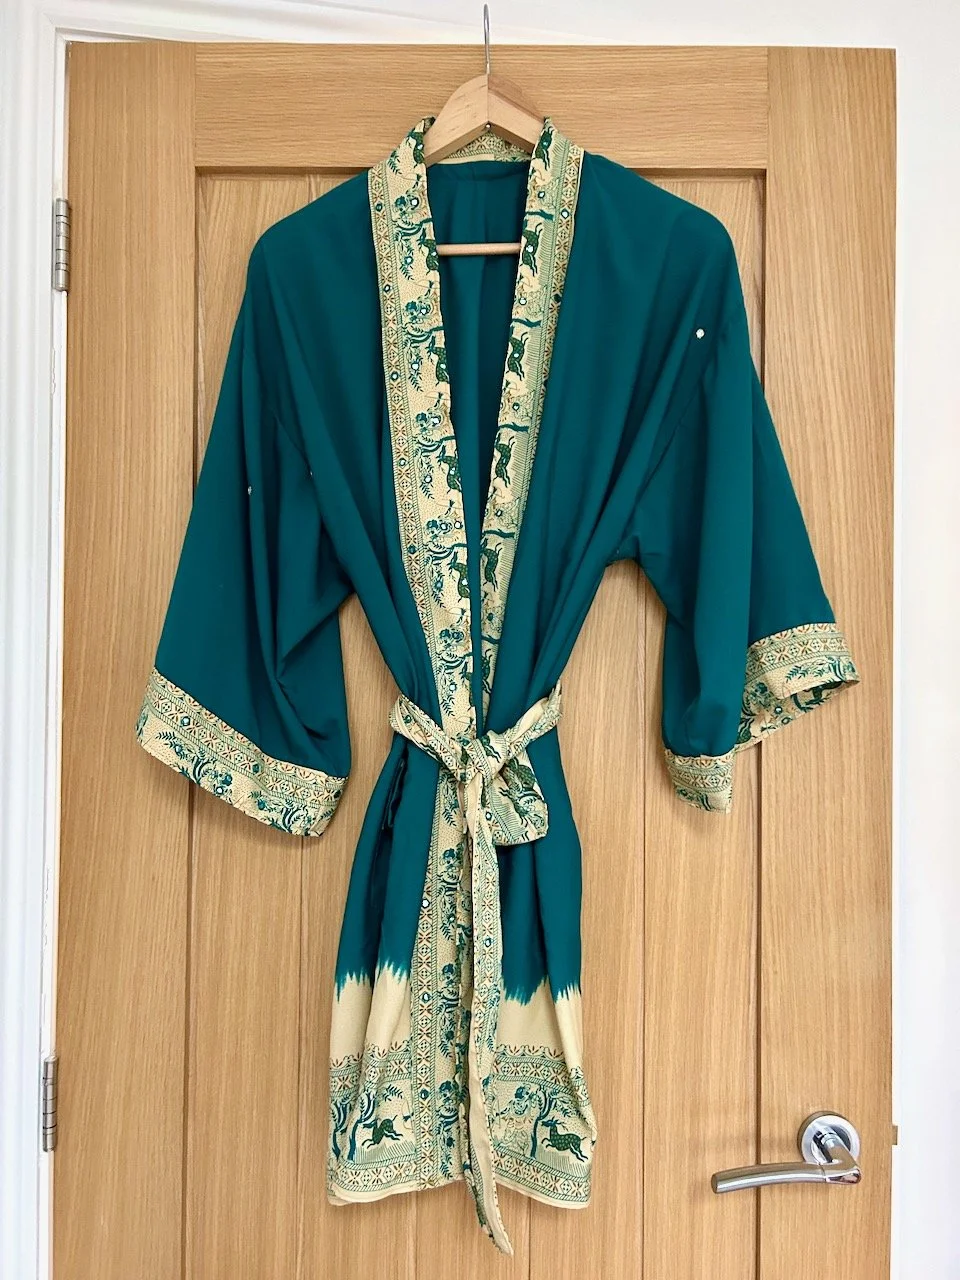
Well who knew that this would be where the most action would take place, certainly not me when I set my goals for the year. But since I last updated you I’ve finished my Sari dressing gown and started and finished in record time a dress. Who even am I?

Seriously though finishing these two items has given me loads more confidence to carry on sewing garments, which is good news as I’ve plenty of plans some of which I may actually start to put into production.

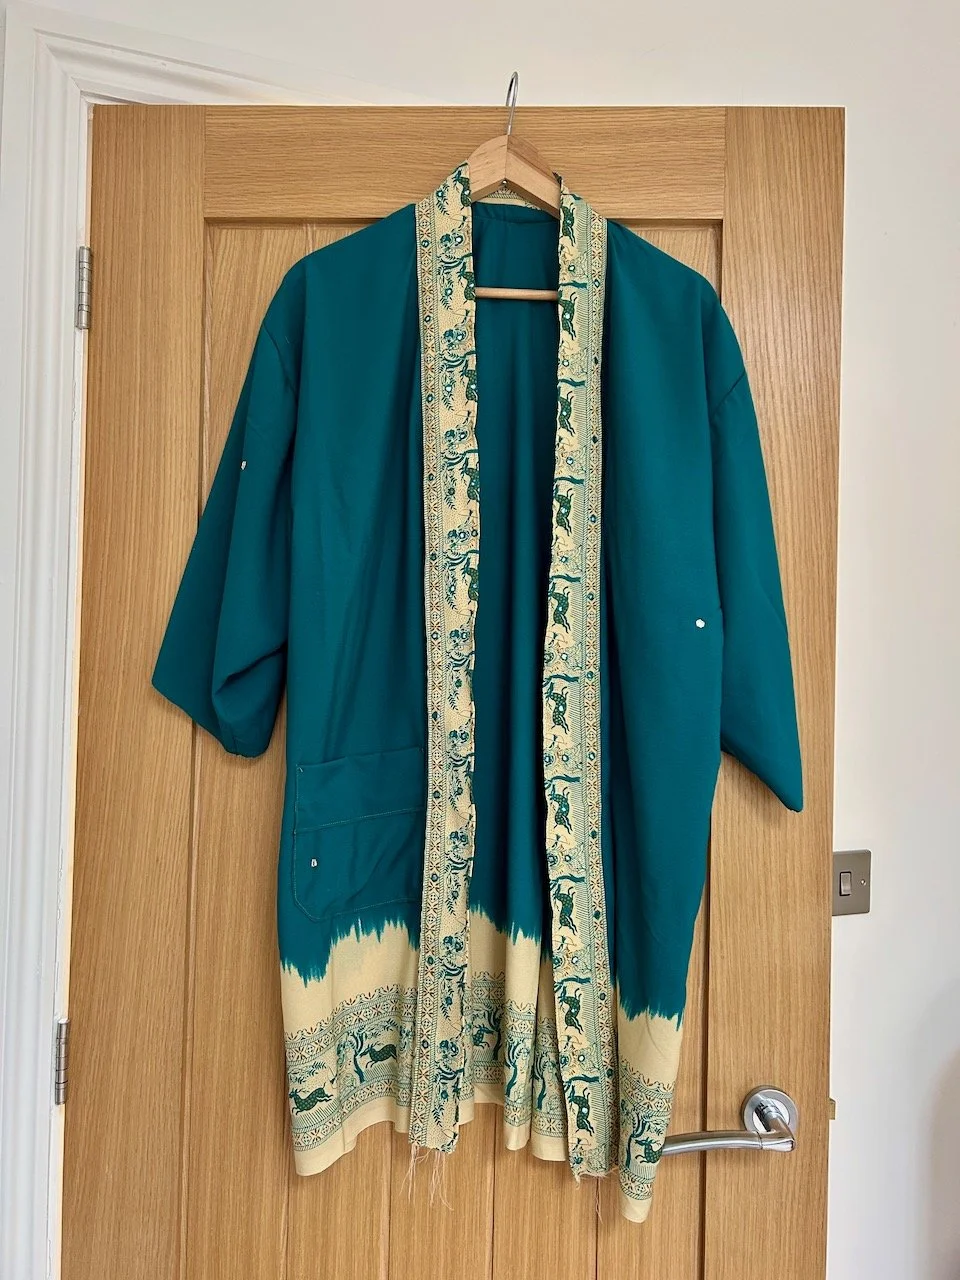
But in the meantime here’s two photos to end this post of my two wearables, and I’m really proud of both of them (especially as neither have fallen apart!)
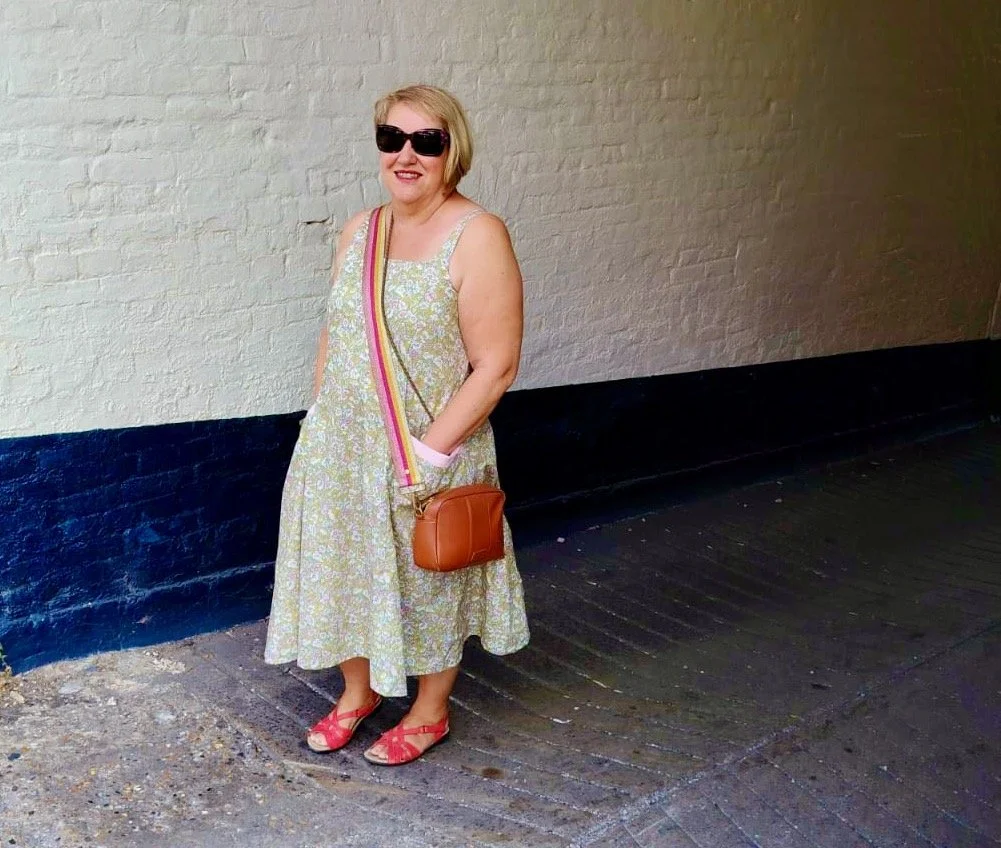
Me wearing my new dress which I made in a week

I’m hoping that the heatwaves are mostly behind us, though I hear another could be on the horizon for early next month, and with the cooler days I’ll be able to spend more time sewing. I could definitely do with that as always I’ve got more plans than I know how to implement, but I’m sure I’m not alone in that.
Made the dress, wore the dress

I’d had this dress earmarked as my next project for a while, and while I’d cut out the paper pattern the fabric sat on the side almost taunting me. On mum’s recent visit she looked at the pattern and declared I could do it, but pointed it out it had a facing. I think that’s because I’m not really a fan of facings which flap about and get in the way, not because a facing was tricky to sew, well I think so anyway.

But anyway with a family outing planned with a meal on the Bluebell Railway, I thought to myself that it’d be quite nice to have something new to wear the following weekend. That’s when my brain said, well you can make that sundress, can’t you? And when your brain challenges you like that, sometimes you just have to prove it right. Or wrong.

So that’s what I did.

On the Monday I took the fabric and the pattern to my sewing group, and pondered pattern placement. I took my scissors but didn’t really expect to cut it out there as I hadn’t measured myself against the pattern sizes, so after a fair bit of faffing, I folded the pattern pieces up in the fabric and got on with something else.

I don’t think anyone at that Monday night group thought I’d really make it in a week, and at this point I wasn’t sure either, but hey ho!

Overnight my brain percolated more thoughts: the pattern pieces I’d been struggling to fit into one half of the fold was solved when I realised the fold didn’t need to produce equal parts, simple really but I worked it out.

And my brain decided to add a further condition, when it remembered that I’d bought some fab labels at the Festival of Quilts, and that it’d be great to include one on this dress. My awake brain remembered that I’m not a big fan of labels in clothes as often they can be scratchy, and then wondered why on earth I’d bought myself some labels anyway (in my defence they are very cute!).

Then I realised the label could be on the outside of the garment, just because they’re traditionally inside a garment didn’t mean that that’s where I needed to place it. So sorted, it was going on the pocket.

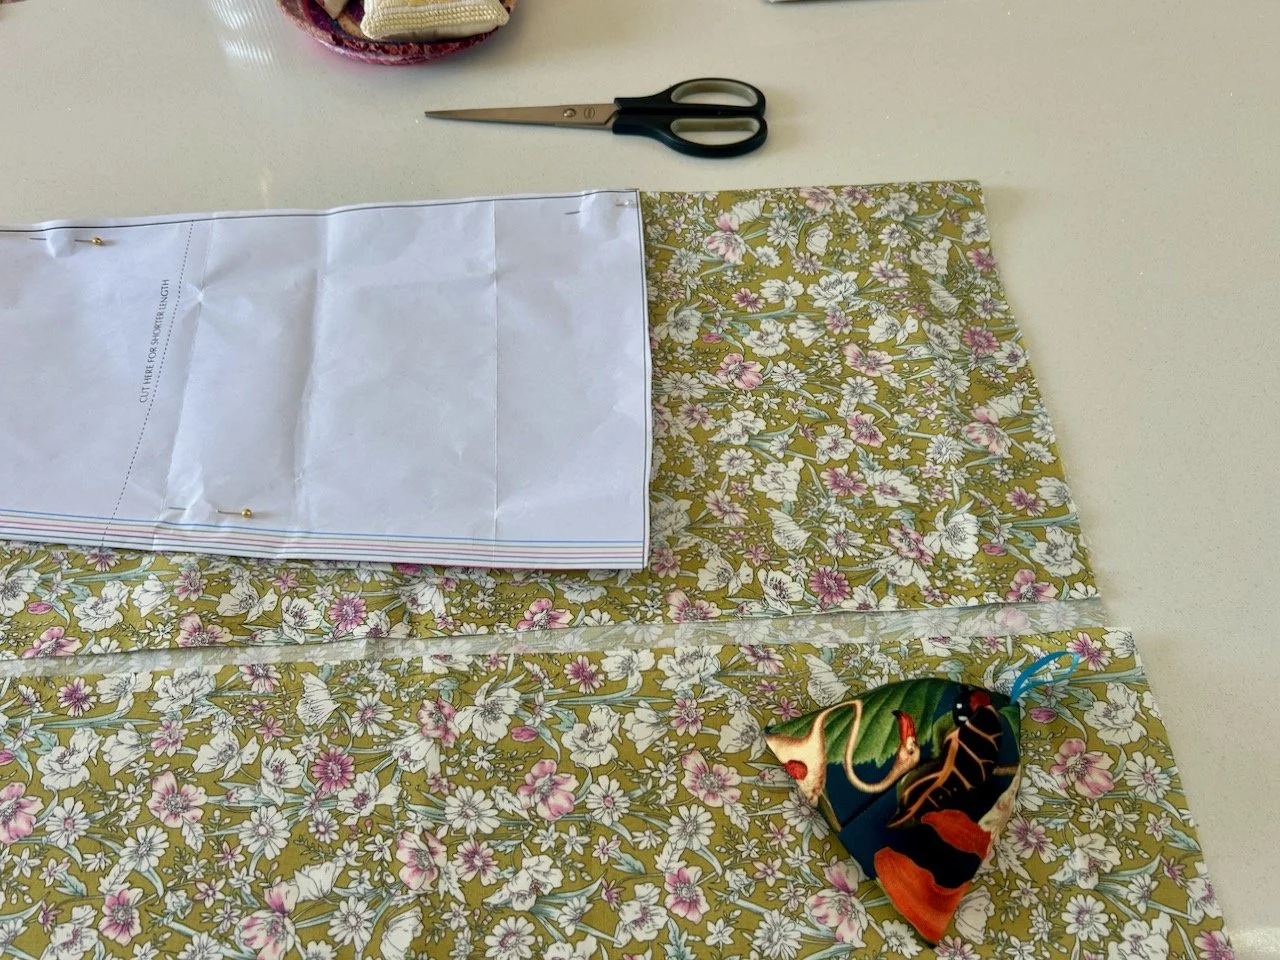
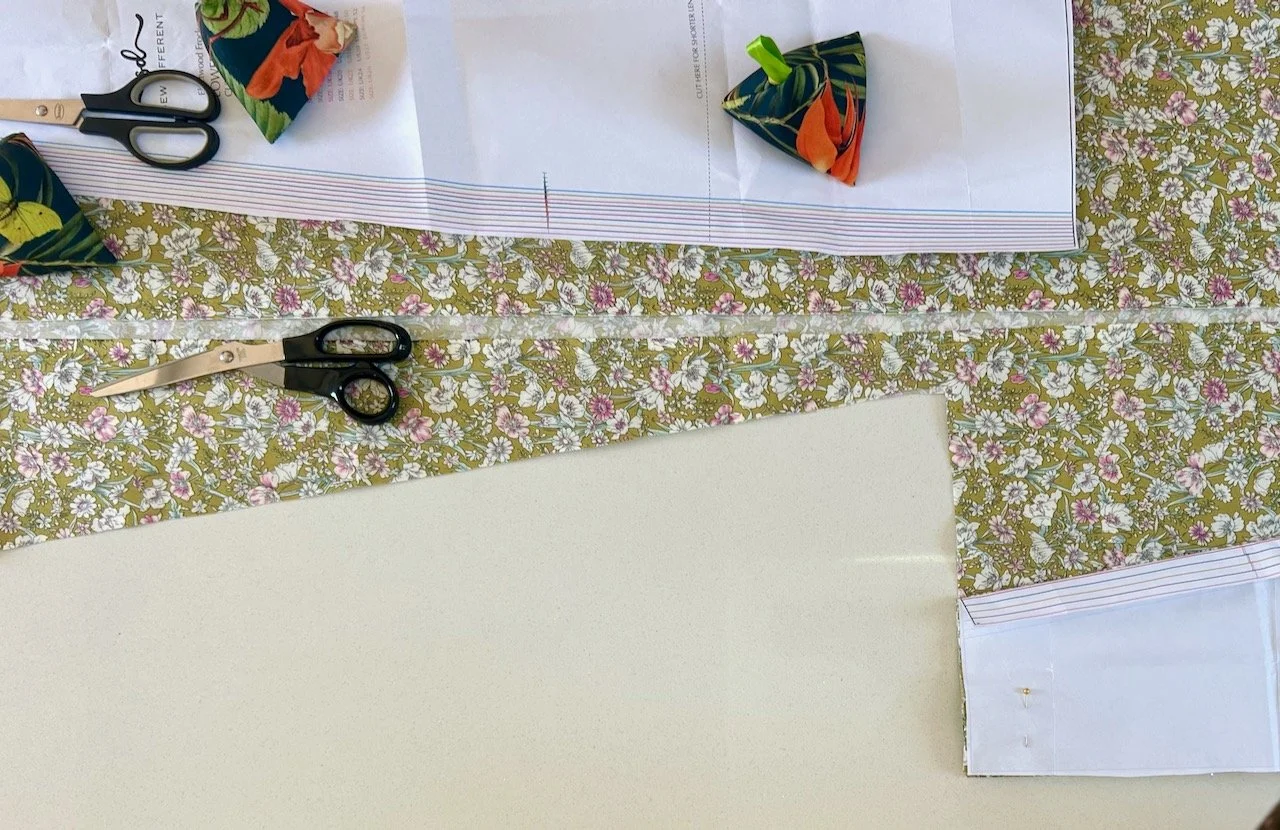
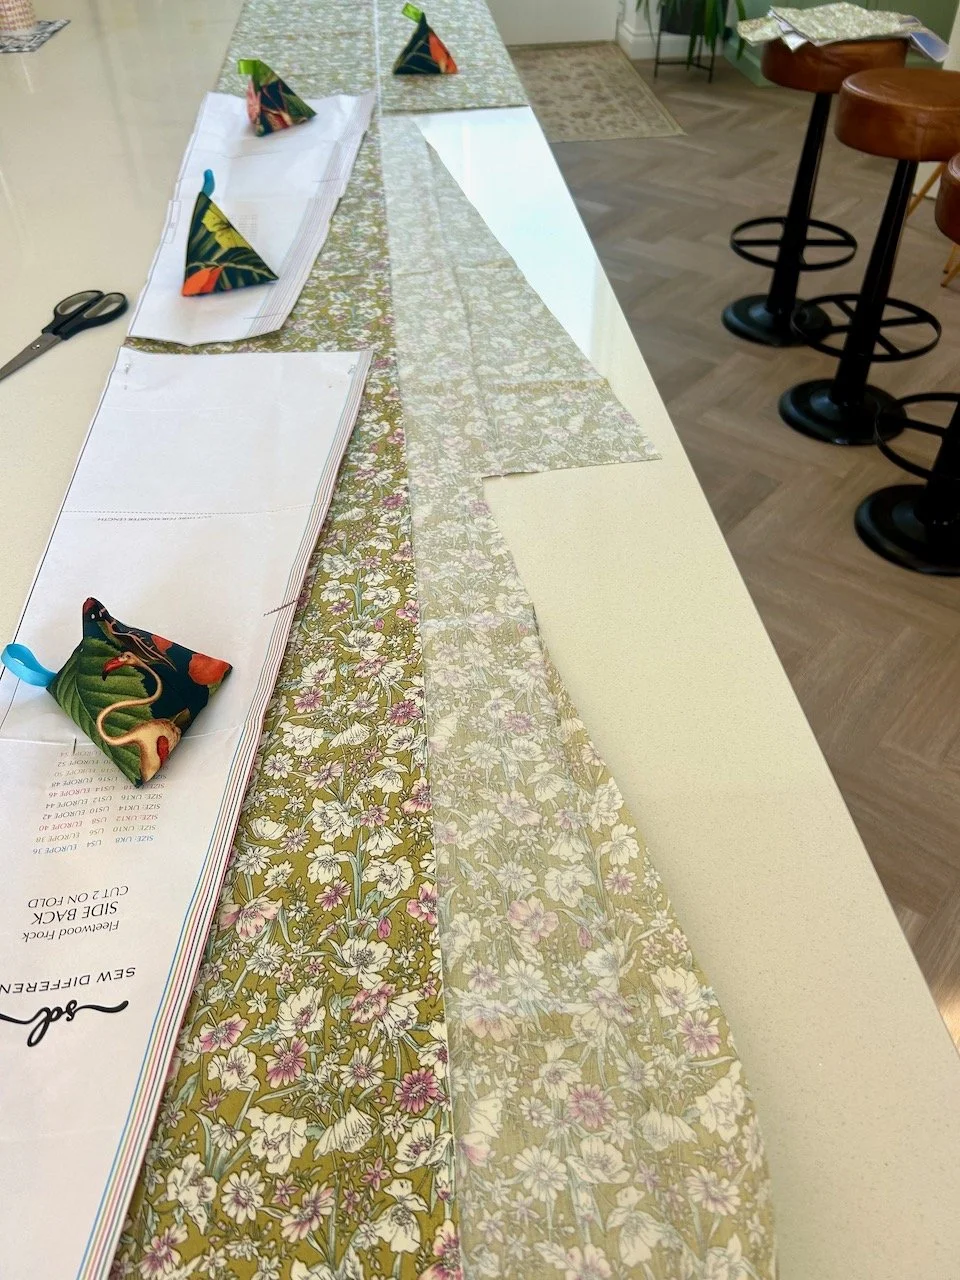
On the Tuesday afternoon I commandeered our oversized kitchen island to check if my overnight revelations were good. They were, and so the dress was cut out completely that afternoon.

Looking down on the pattern laid out and the first piece cut
Looking along my kitchen island - its oversize comes in handy!

It was just as well that the shop had mis-measured the material when I bought it in the sale back in May, as I needed that extra 60cms. Well I needed some of it, as this was my first time using this pattern I decided to cut it to the full length even though I knew it would be too long for me, but I was unsure how much shorter I wanted it but I knew I could sort that out later. If I didn’t have enough then I’d have needed to work it out, but I was about 25 cms away from doing that.

Phew - just about enough with about 25cm uncut

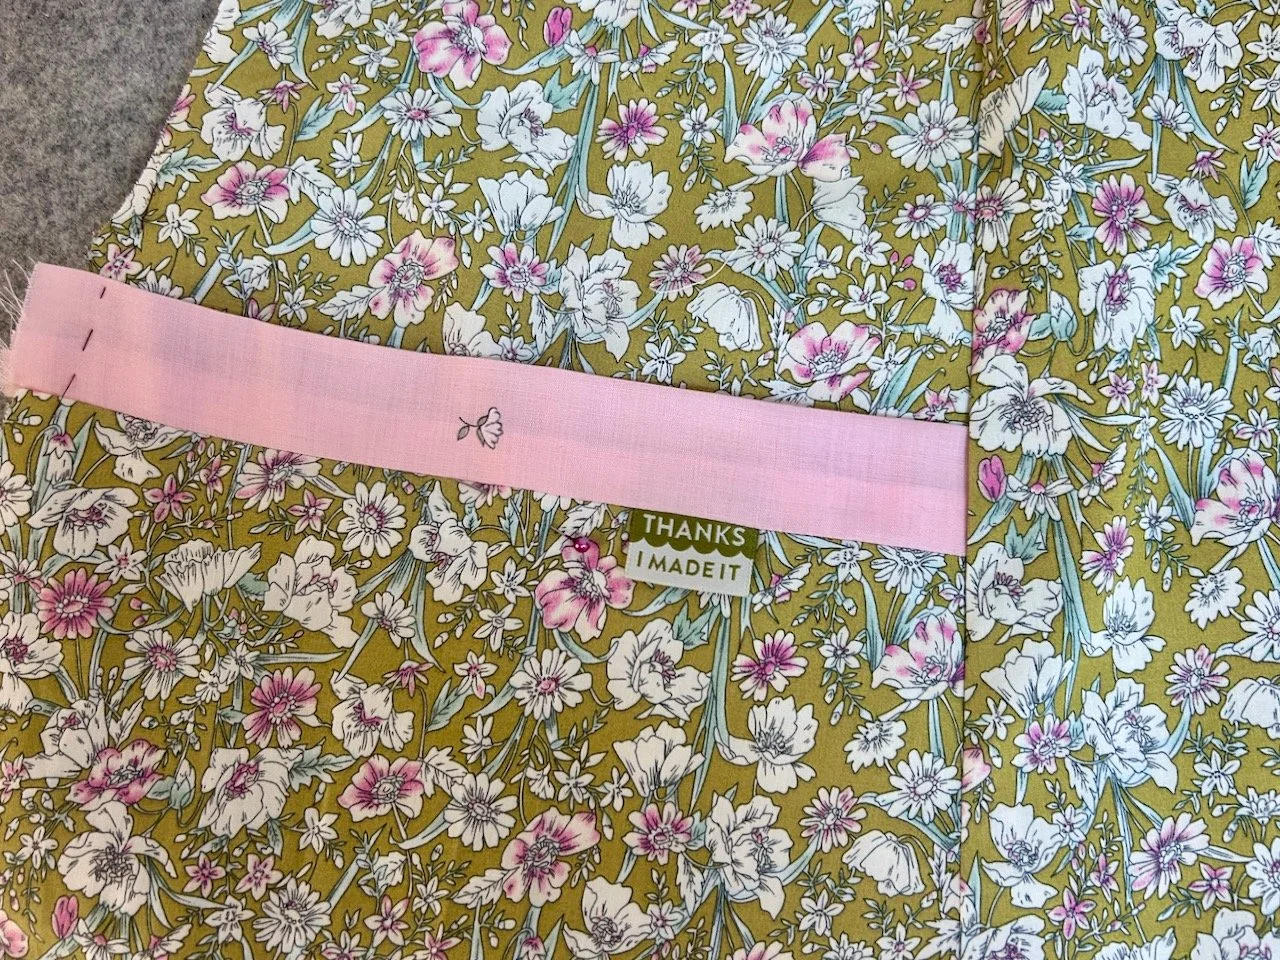
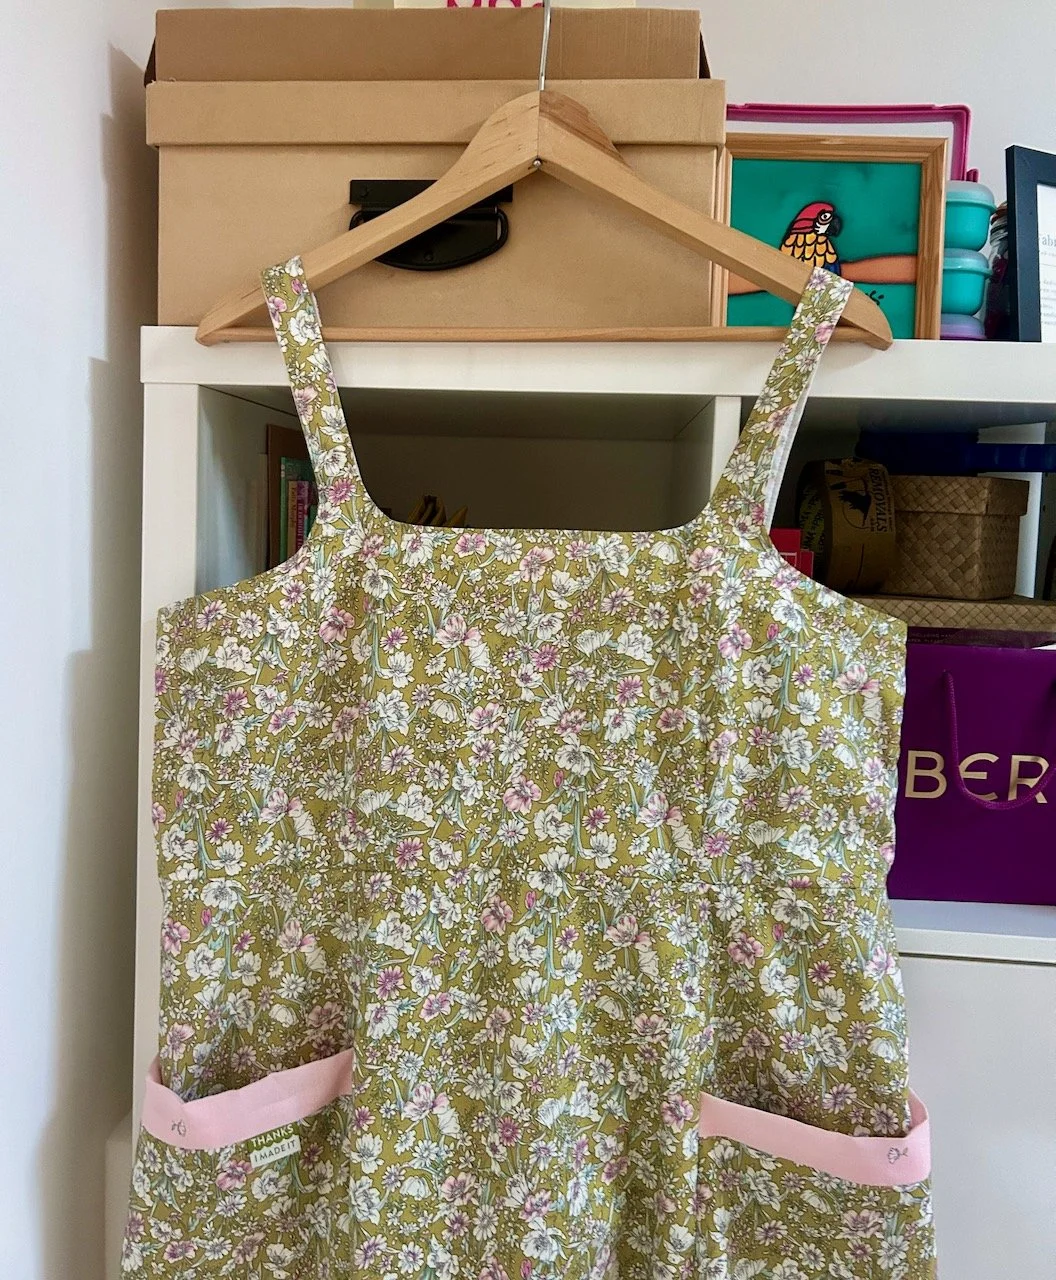
On Wednesday I started to sew, and the pattern started with assembling the pockets, so I got to check to see if my plan for the label would work out. It did, and remarkably well, though if I was doing this again now I’d add interfacing to the pink contrast pocket top as it’s a more lightweight fabric.

The pocket with pink trim and toning 'thanks I made it' label

And doesn’t it look as if it was made for this dress?

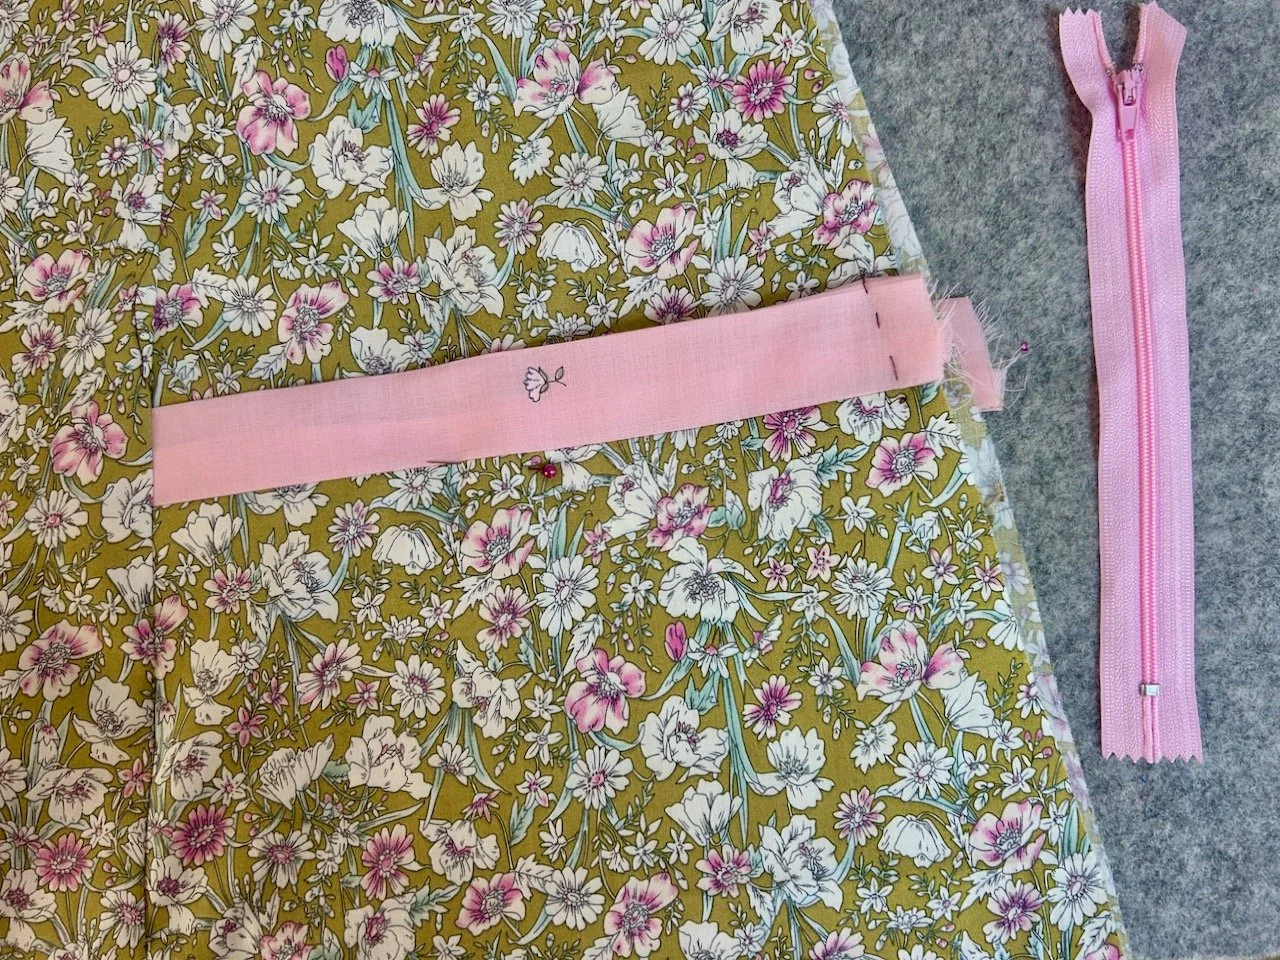
I also discovered the benefits of a well-stocked craft room, as not only did I manage to locate the exact size zip the pattern suggested, I also had one in a toning pink. Then I found some cotton that matched the green background, so I was sorted, and maybe, just maybe making the dress to wear at the weekend was actually a go-er.

The other pocket with the pink trim basted in place and the pink zip alongside

Thursday there was more sewing, and the zip went in. It’s in, it zips and hasn’t fallen out yet so that’s all good, but I think it could be neater though I guess with practice that will come. There was a slight mishap to the sewing schedule as while I was putting the zip in the tape I’d used to secure it decided to stick itself to my sewing machine leaving a sticky gluey mark, not the best. So MOH was called in with some rubbing alcohol to resolve the sticky situation successfully.

By the end of Thursday most of the sewing was done, there was just the top of the bodice to finish and the hem, but I sensibly decided to leave that for another day.

So after a very hot day at this year’s Rutland Flower Show I decided I wasn’t going to be beaten by my own rather daft challenge, and so it was time to work out how long I wanted the straps, and what length I wanted the dress to be.

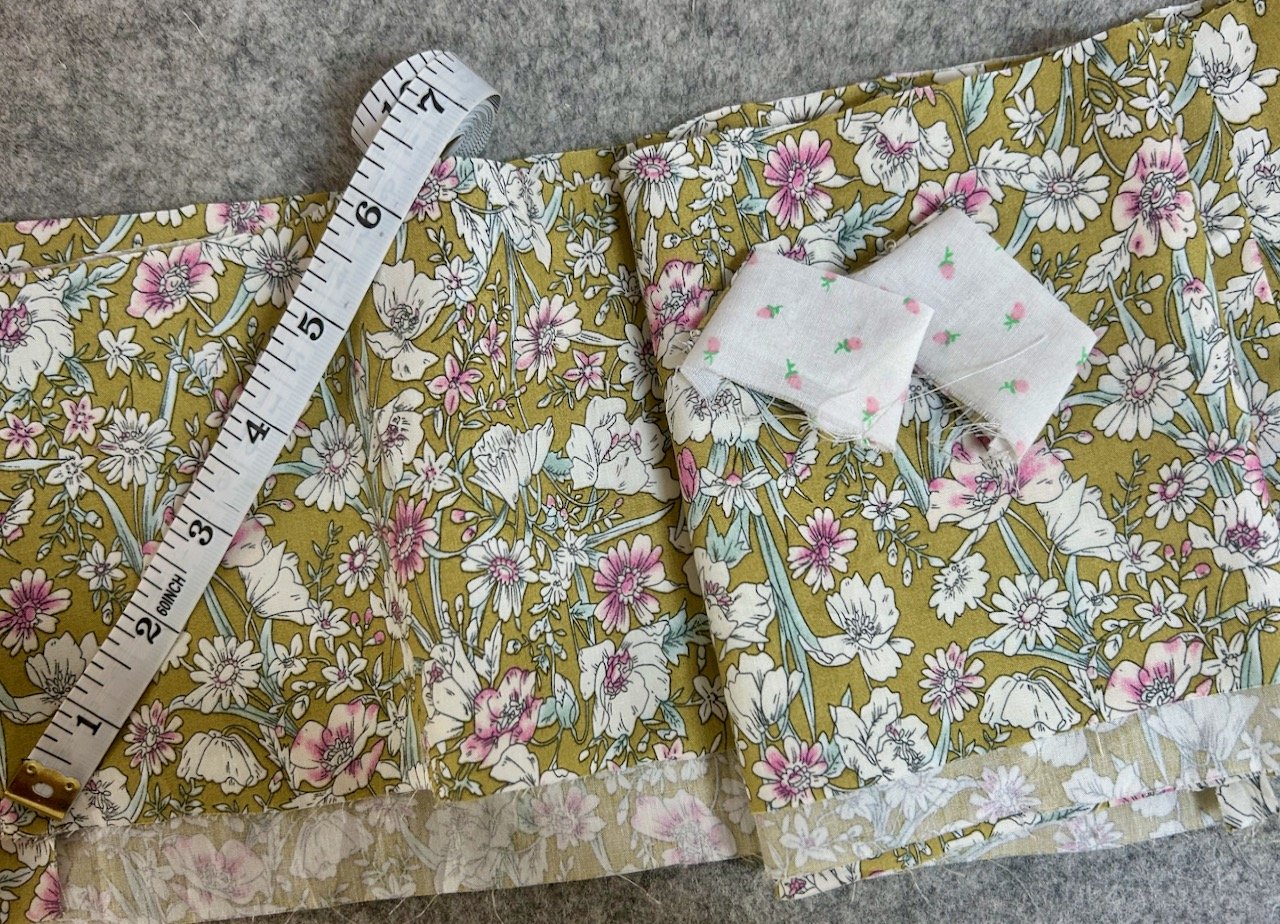
MOH was called into operation again, to check that the straps covered my bra straps and to mark the hem. He was ok with the first task, but unsure on the second - but we got there. In the end I cut about an inch off the straps, and six inches off the bottom of the dress, so that’s an adjustment I can make from the off next time I use this pattern.

6 inches cut off the skirt length and about an inch from the straps - I'll adjust the pattern next time round

And so Friday night it was finished. I didn’t quite get the instructions for finishing the bodice so decided to wing it a bit, and added a row of topstitch around the armholes and neckline, and if I’m honest I like this kind of finish. It did mean that the contrasting rosebud facing was a bit flappy, which I’m not a fan of, so I sat there and hand sewed it into place.

The dress completed and hanging in my craft room (top half shown only)

Then after whizzing round the bottom a couple of times for the hem, and a really good press, it was actually finished.

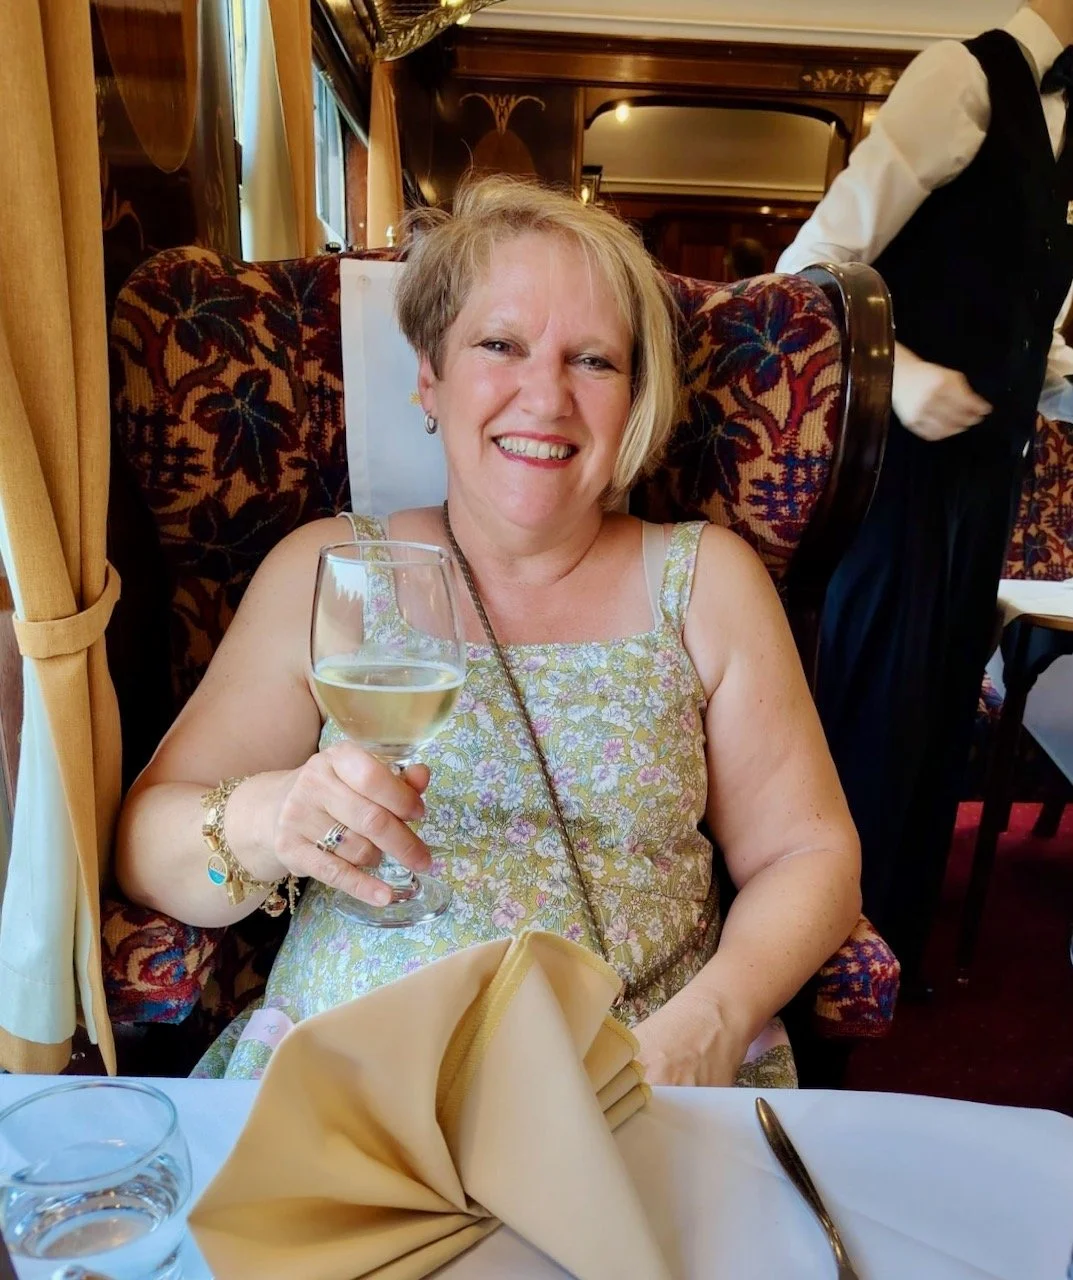
Me on the Bluebell Railway wearing the dress and enjoying a glass of white wine

So on Saturday night I wore the dress, and what’s more it looked and felt great - and not one single person asked if I’d made it, which I’m taking as a sign of success rather than everyone thought it was awful!

And while I’ll probably make another one, it probably won’t be in a week!

My sari dressing gown

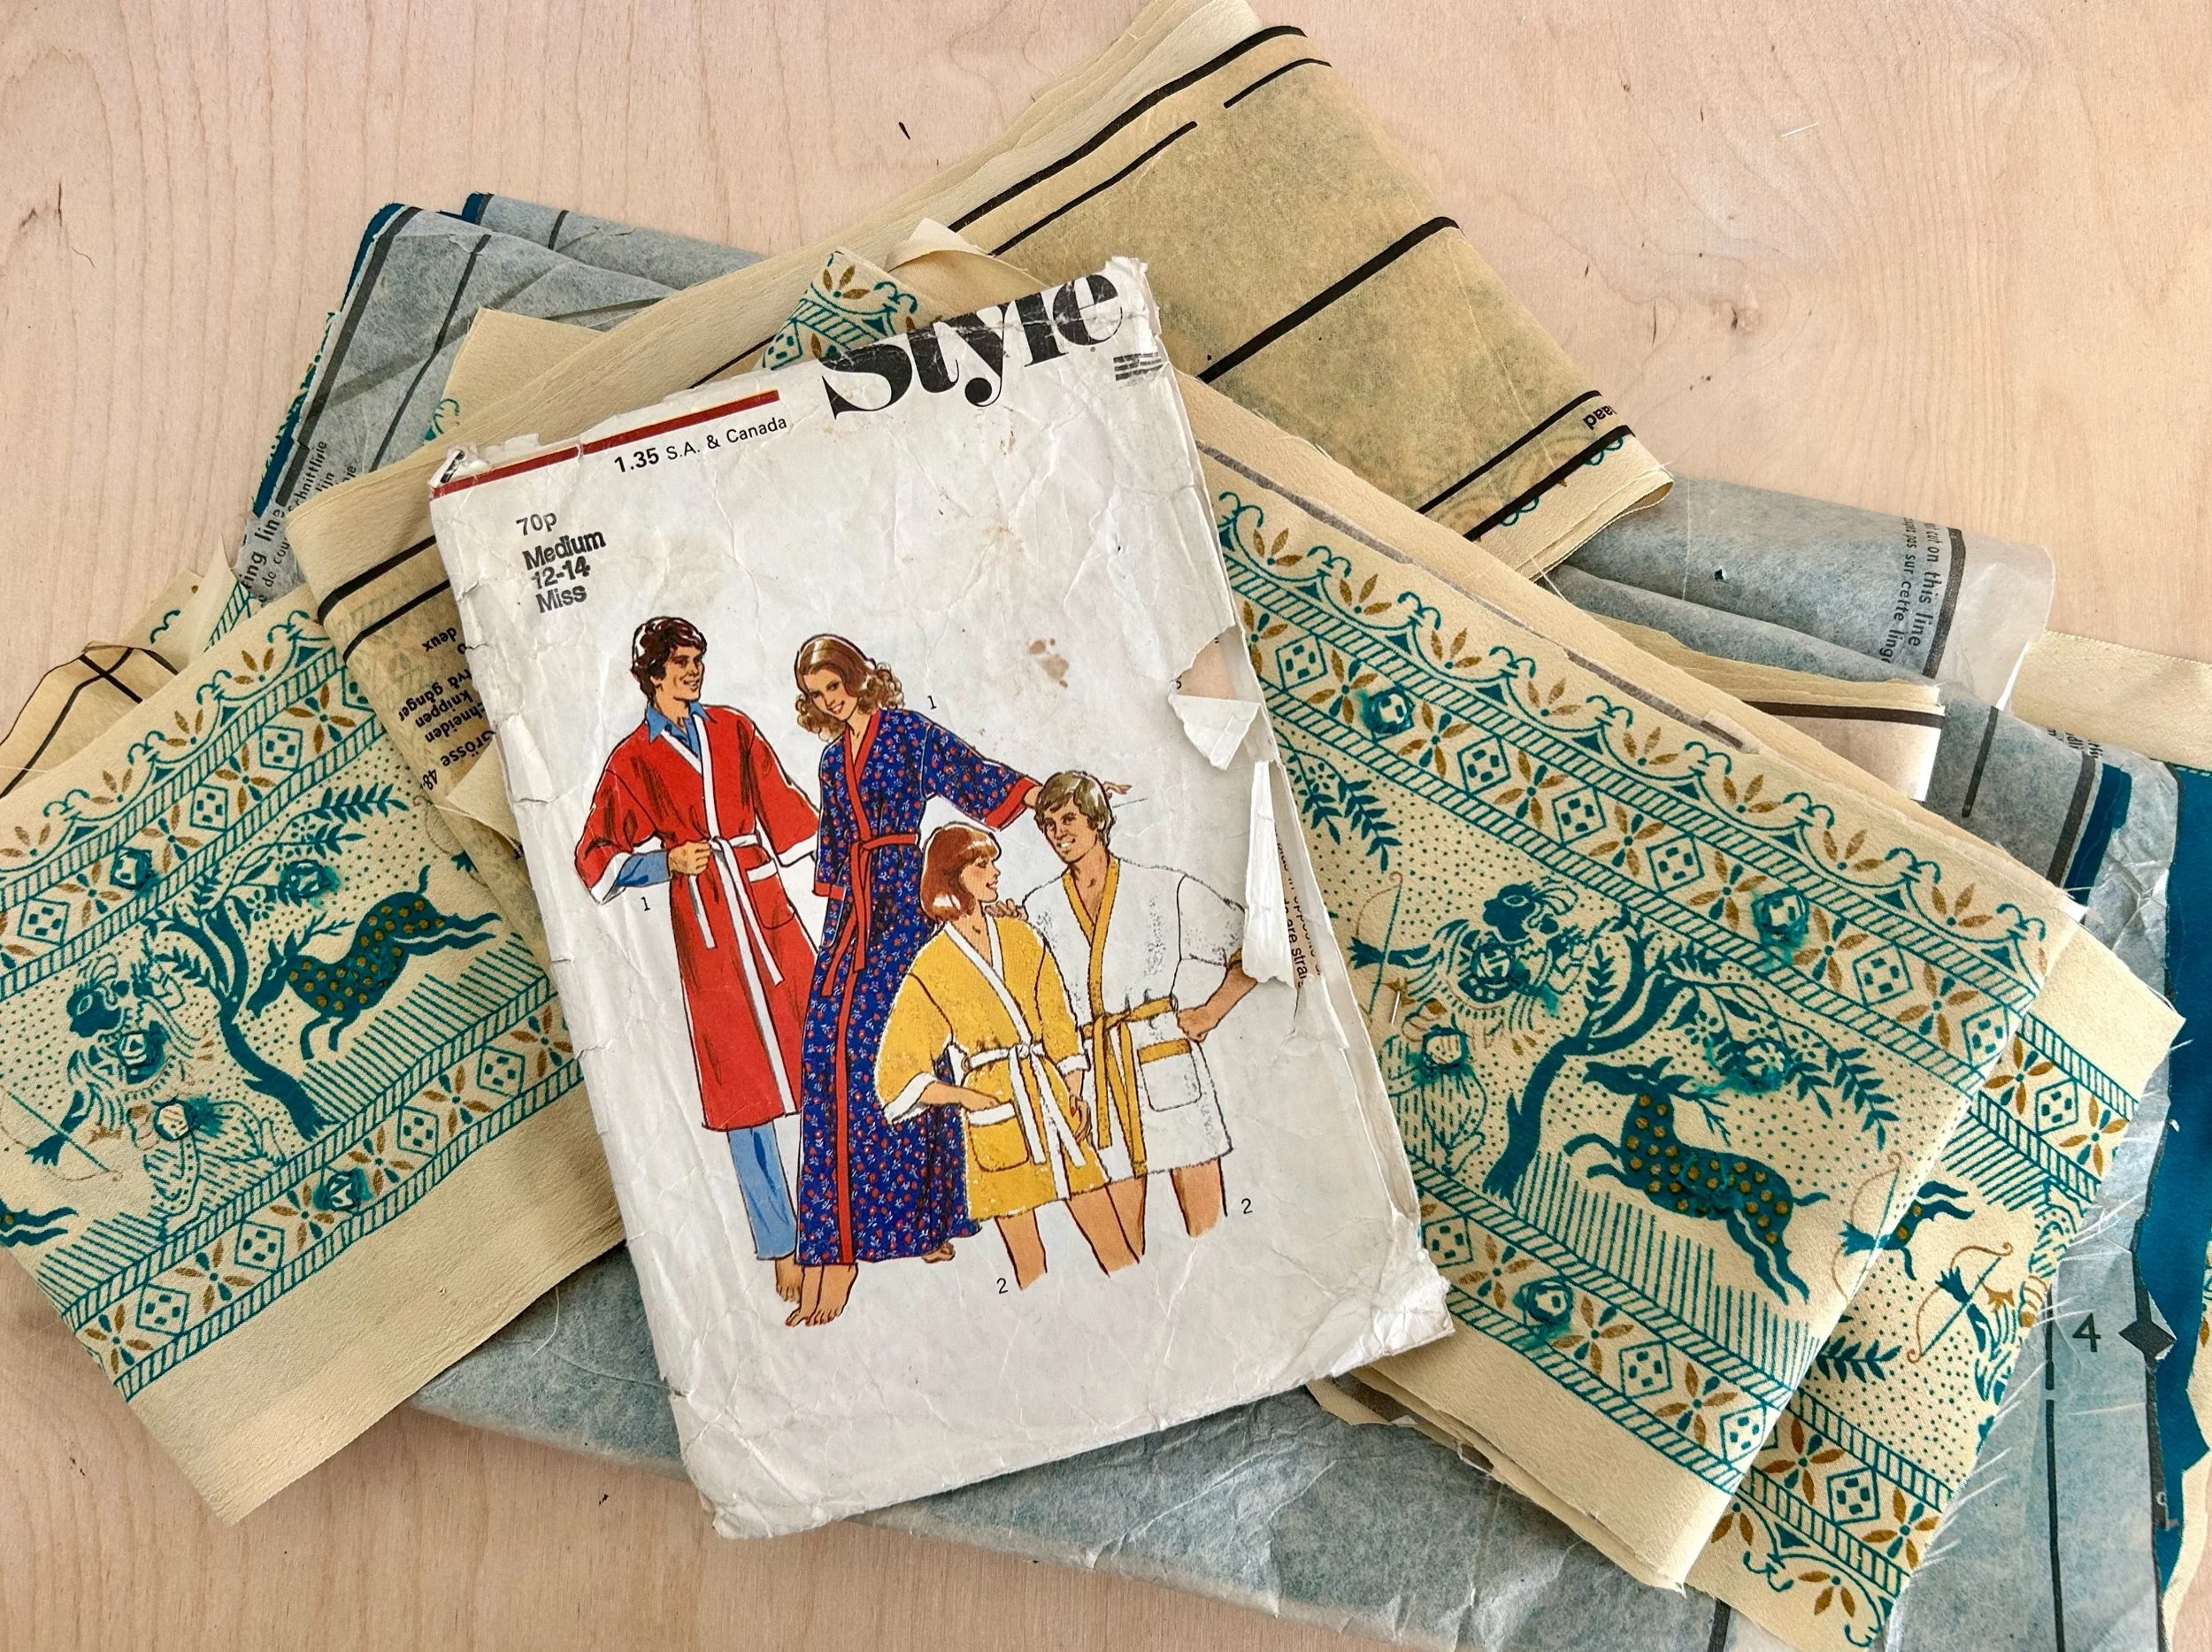
Back in March when I shared my non-quilty sewing plans for this year, number 7 on the list was ‘wearables’ and I also shared a picture of the already cut out summer weight dressing gown, using a sari I’d bought from eBay.

Well it is done, who knew it’d make it out of my craft room so quickly?!

Our new house is super well insulated, and every summer we’ve been here when it’s warm I think to myself “I need a lightweight dressing gown” and this year - we’ve been here three years now - I finally have one.

And it’s glorious, I’m so pleased with it - let me talk you through it.

THE IMAGE FROM THE MARCH POST

I bought both the pattern and the sari on eBay, the pattern had the tie belt pattern piece missing but as I’d also bought the men’s version of the same pattern I used that one. As you can see the pattern was well worn, but it had the instructions and the pattern pieces themselves weren’t damaged.

As I said in March, I needed to get brave and start sewing. And those warm summer days spurred me on.

I’d already decided to make use of the sari’s pattern on the bottom of the dressing gown, and the bands around the neck and sleeves. This determined the length and I’d class the length as ‘pretty much decent’ if you know what I mean.

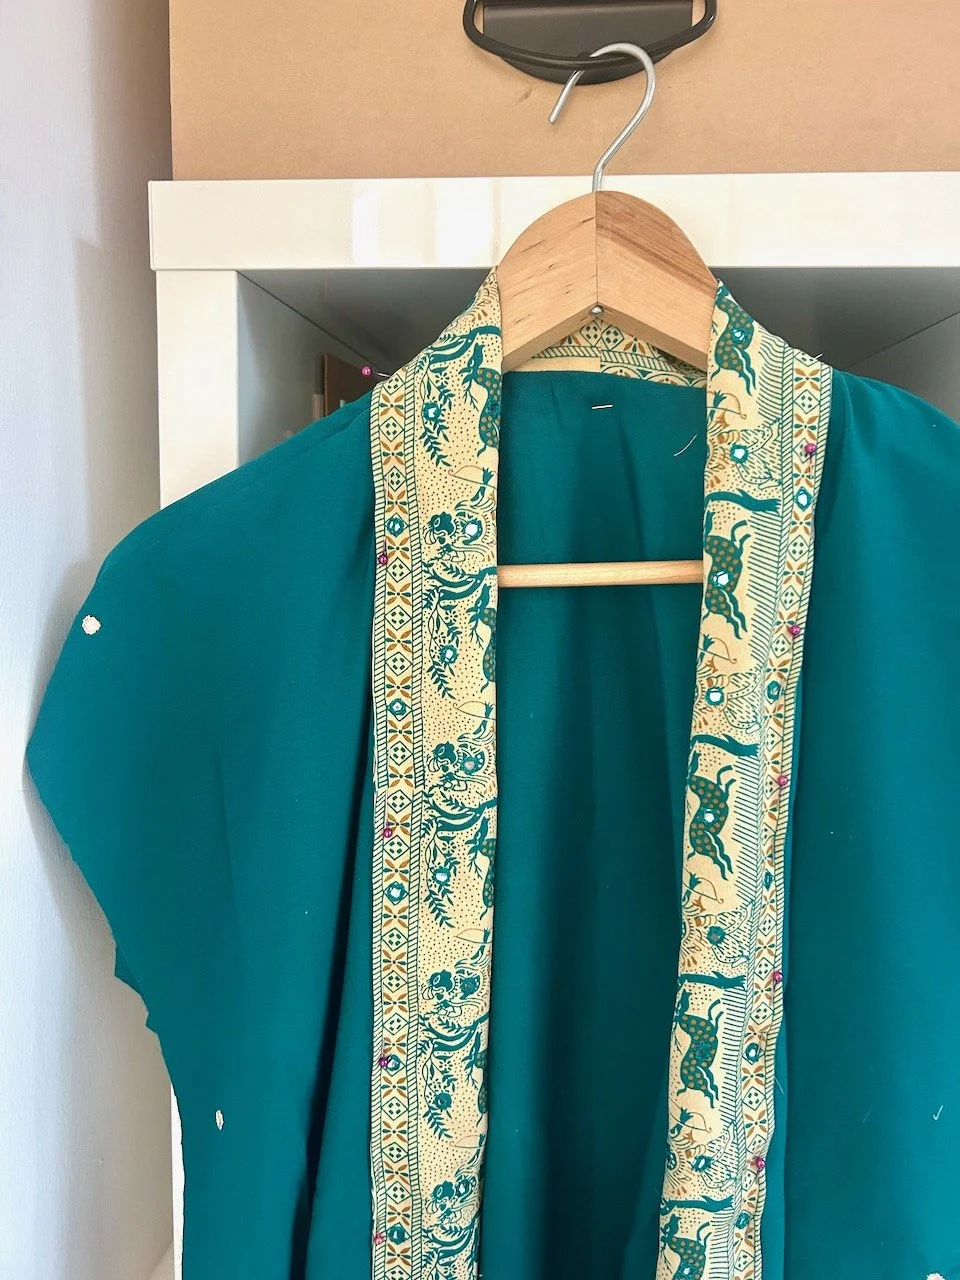
When I started to sew it came together pretty quickly. In my first sewing session I made the patch pocket, even though I was a bit thrown by the band instructions so may have improvised a bit, and then attached it to the front. The shoulder seams were sewn together and the prep work for the decorative band that runs down each front piece and across the neck were done, and it was pinned in place.

It was starting to take shape.

Next up, and on another day I attached the decorative band, and inserted the sleeves - and stopped to admire my progress.

Only briefly though as I decided to press on, and sew the side seams and the sleeves together - now it really was a garment.

The sleeve bands went on much more easily than the band on the pocket had, but I think I was getting the hang of what the instructions meant by then too. The tie belt was sewn, turned through and pressed and the hem was hemmed.

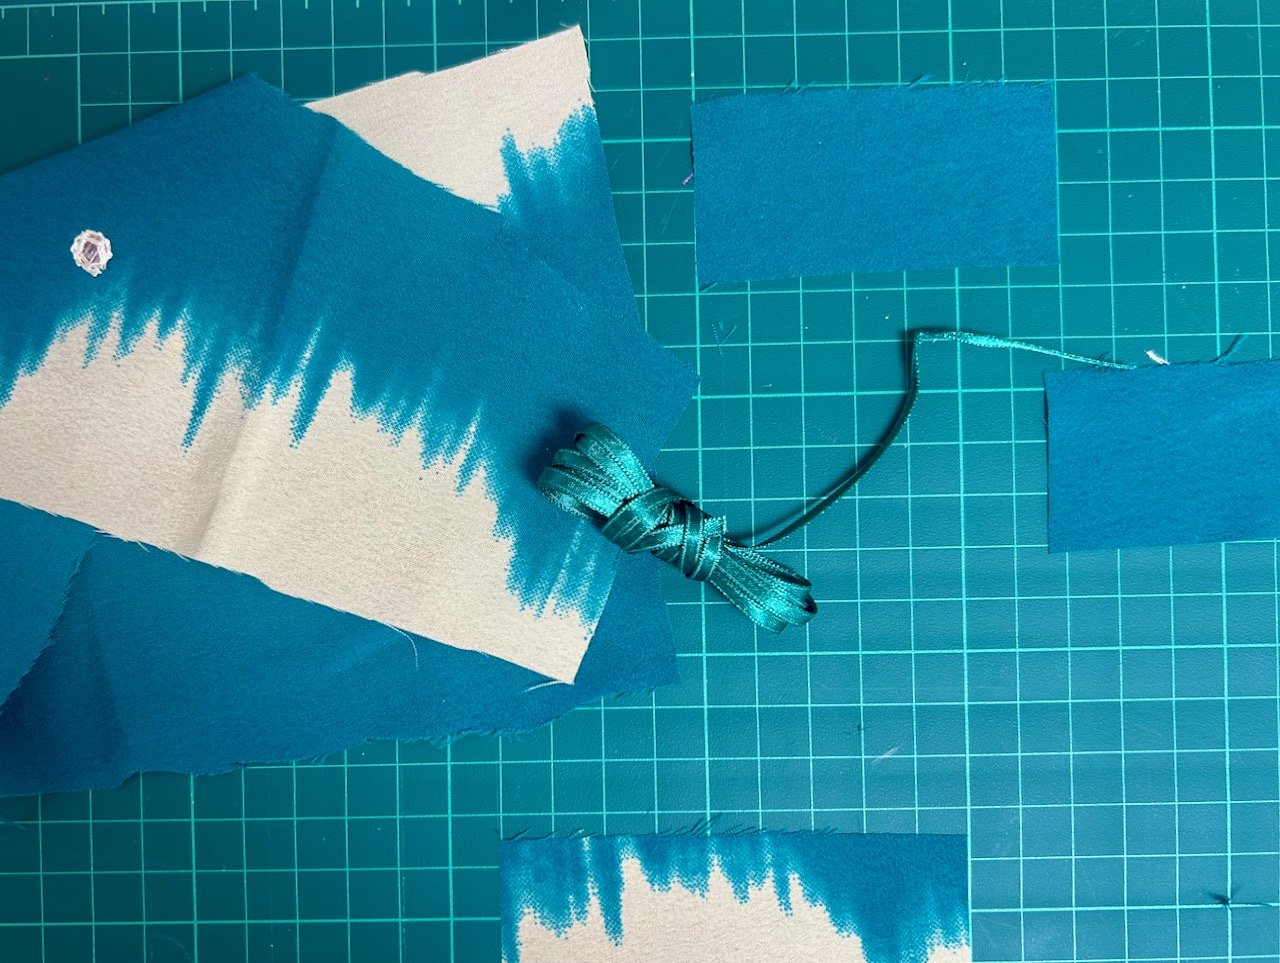
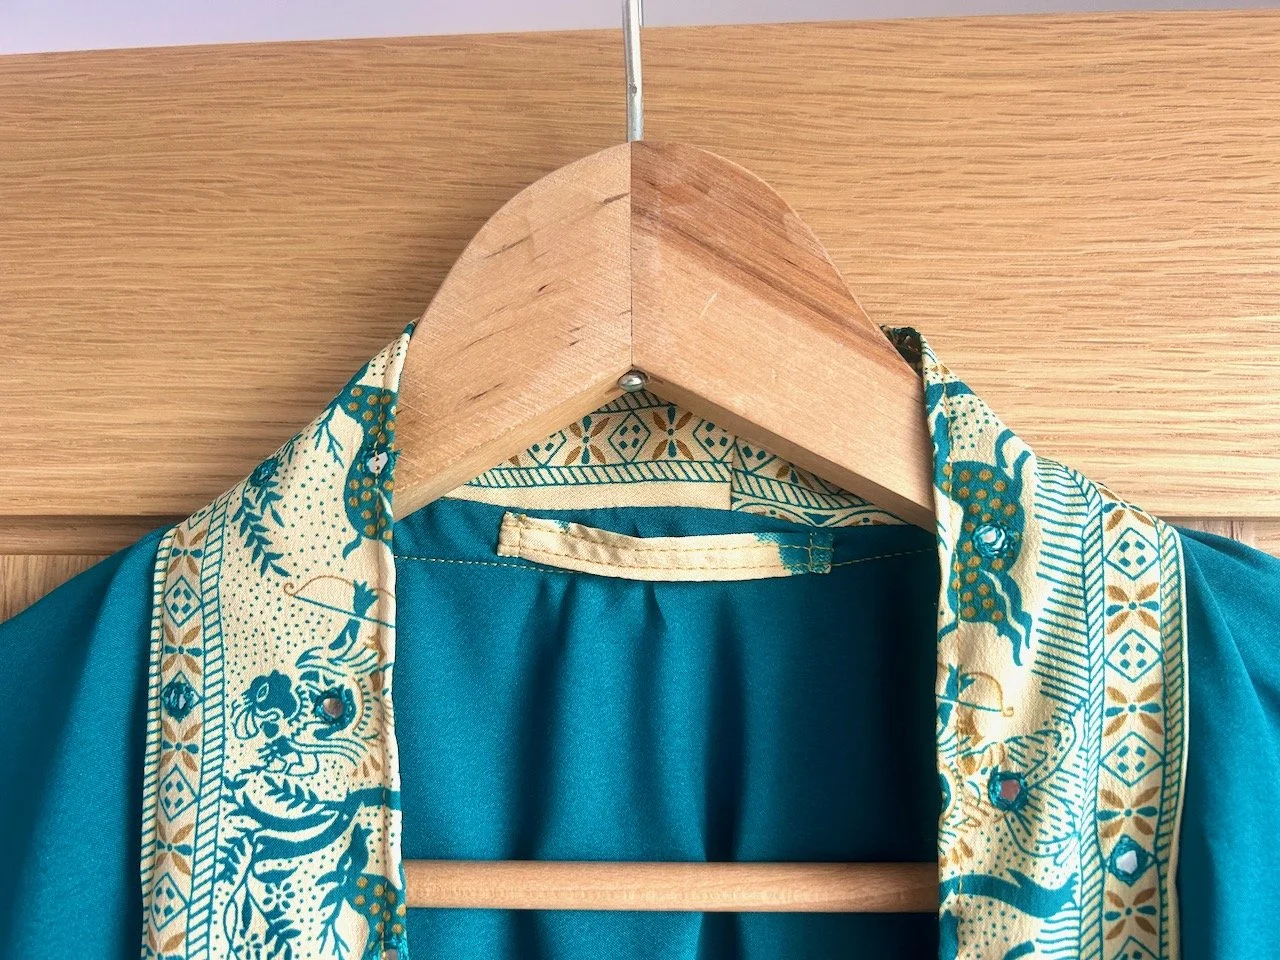
It was almost done. All bar the loops for the tie belt, and one to hang it on the back of the door. I searched my ribbon stash, but an emerald green was the closest I could get to the beautiful teal sari. And it wasn’t right at all.

Which meant I’d have to make my own loops, or otherwise I’d never be entirely happy with it.

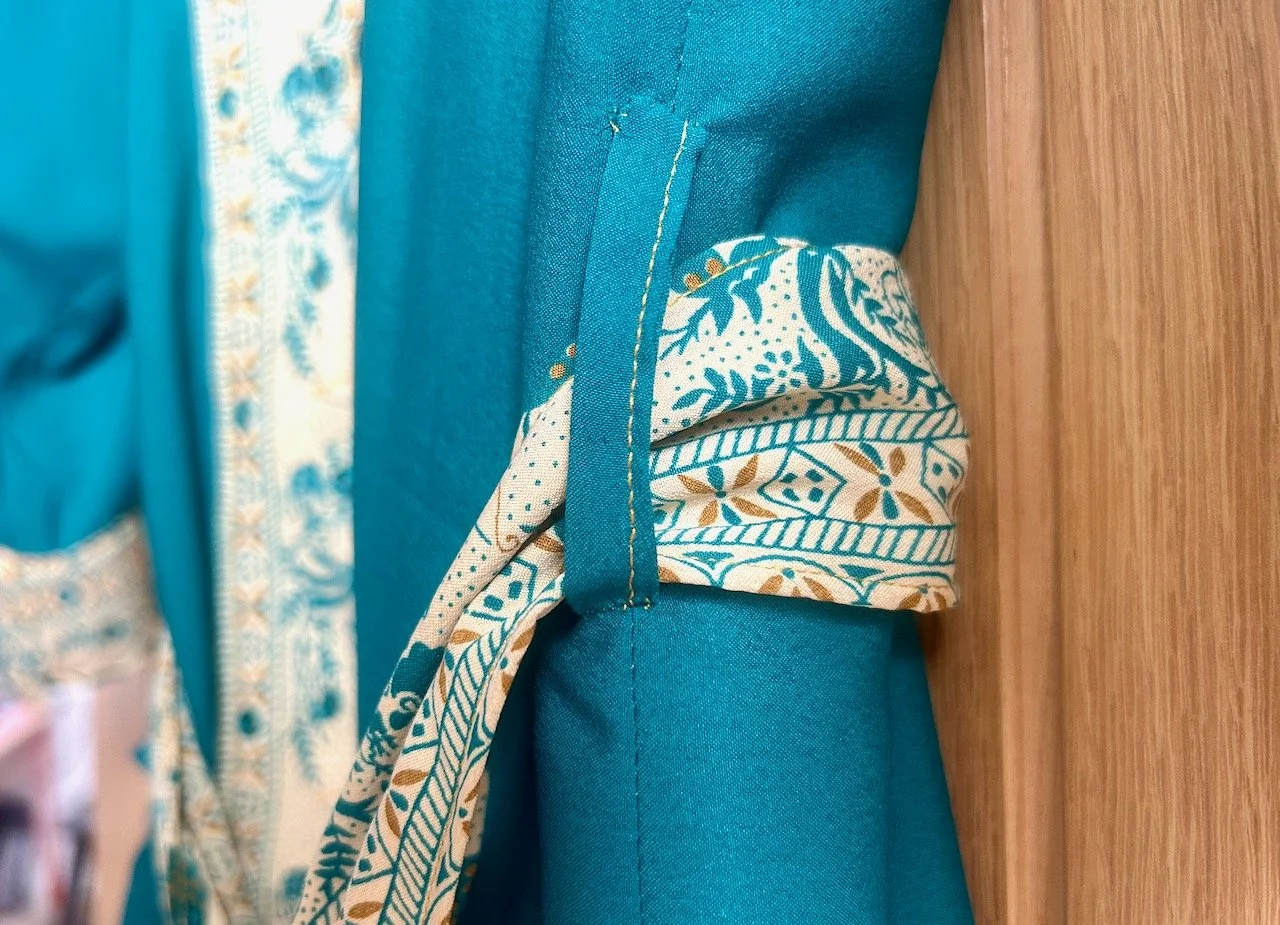
And so I did, choosing a contrasting piece of material for the hanging loop, and the plain teal for the belt loops.

They were probably the most fiddly part of the garment, but definitely worth the effort.

Now there’s just the small matter of doing it all again and making MOH a summer dressing gown - I’ve got the pattern, and I’ve bought a sari which he’s approved, but first I think I might try my hand to a sundress - watch this space!