New to my craft room in April

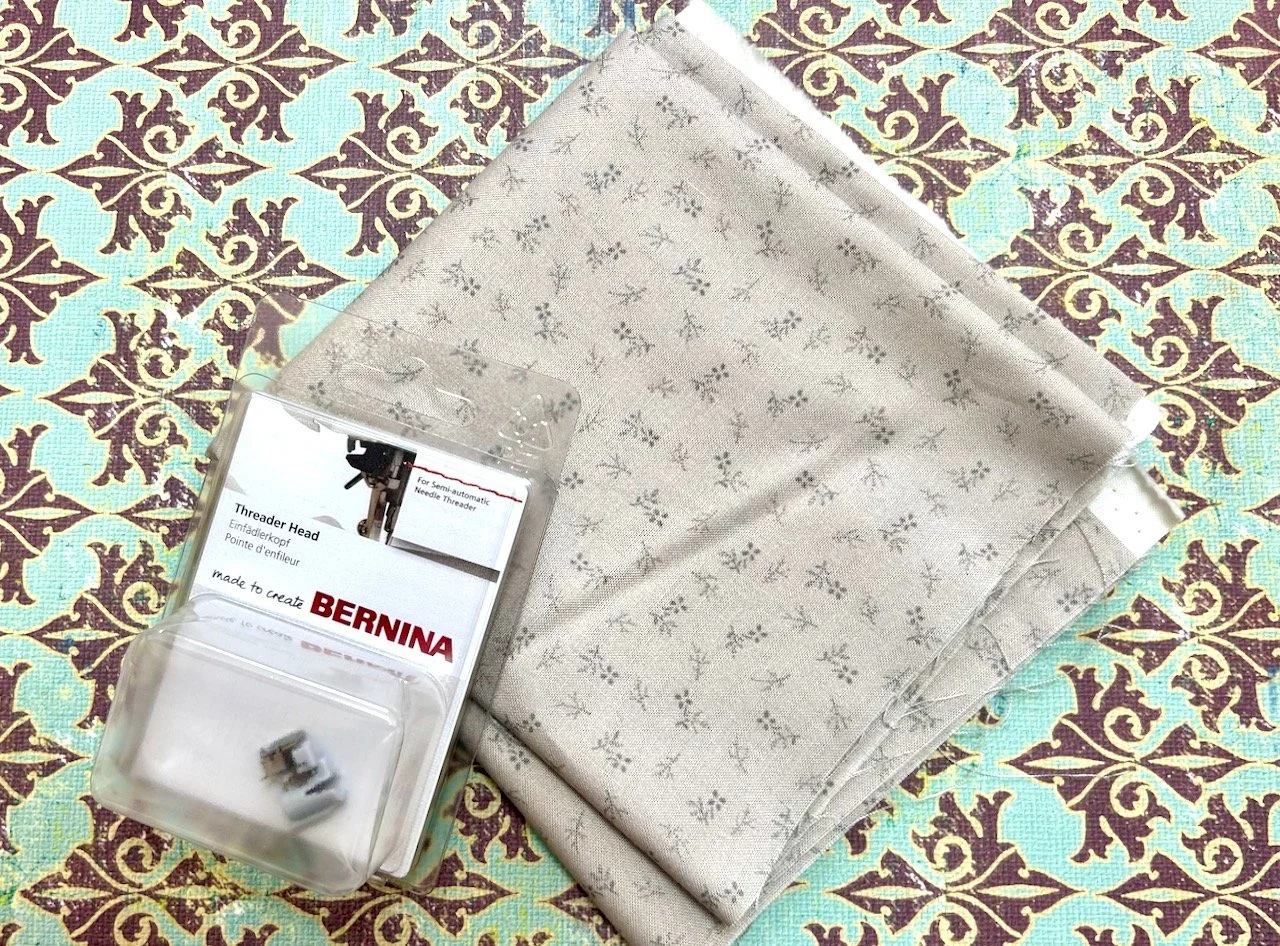
Once again this month I’ve had some essential spend after somehow breaking my automatic threader on my Bernina. I’m not quite sure how it happened, but I do remember thinking how well my sewing was going, and feeling slightly pleased with myself. Next thing I knew something had fallen off, oops. The machine still works and I can thread the needle manually, but I’ve come to rely on the automatic threader, which to start with I wasn’t sure I’d ever use.

So a new one was dutifully ordered from where I bought the machine. And while I was on their site I happened to notice their sale section, so I added another bargain grey for my collection for the background to my floral fancy.

A new Bernina Threader Head and a pale grey bargain fat quarter

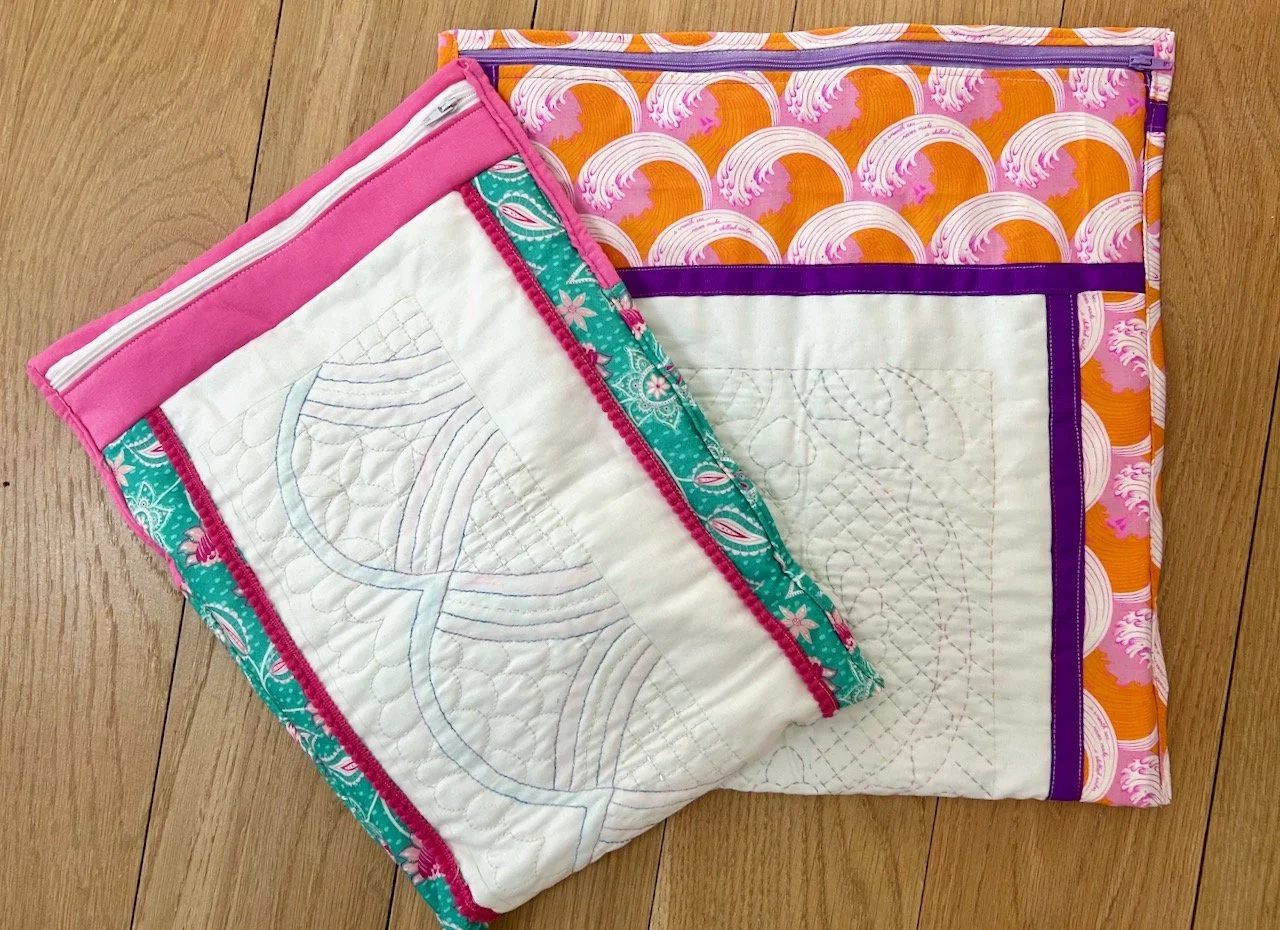
In some long awaited but equally unexpected news, one of the outstanding items from a pre-Christmas order arrived - the pink D-rings below. The final item remains out of stock and so a refund was given for this. It’s taken a while, and I was happy to wait as it wasn’t something I had an urgent need for, but thought I’d use at some point. Though at the time I probably had a use in mind, but I’ve no idea what that is right now!

Blue and green variegated thread and a pack of pink D-rings for bag/pouch making

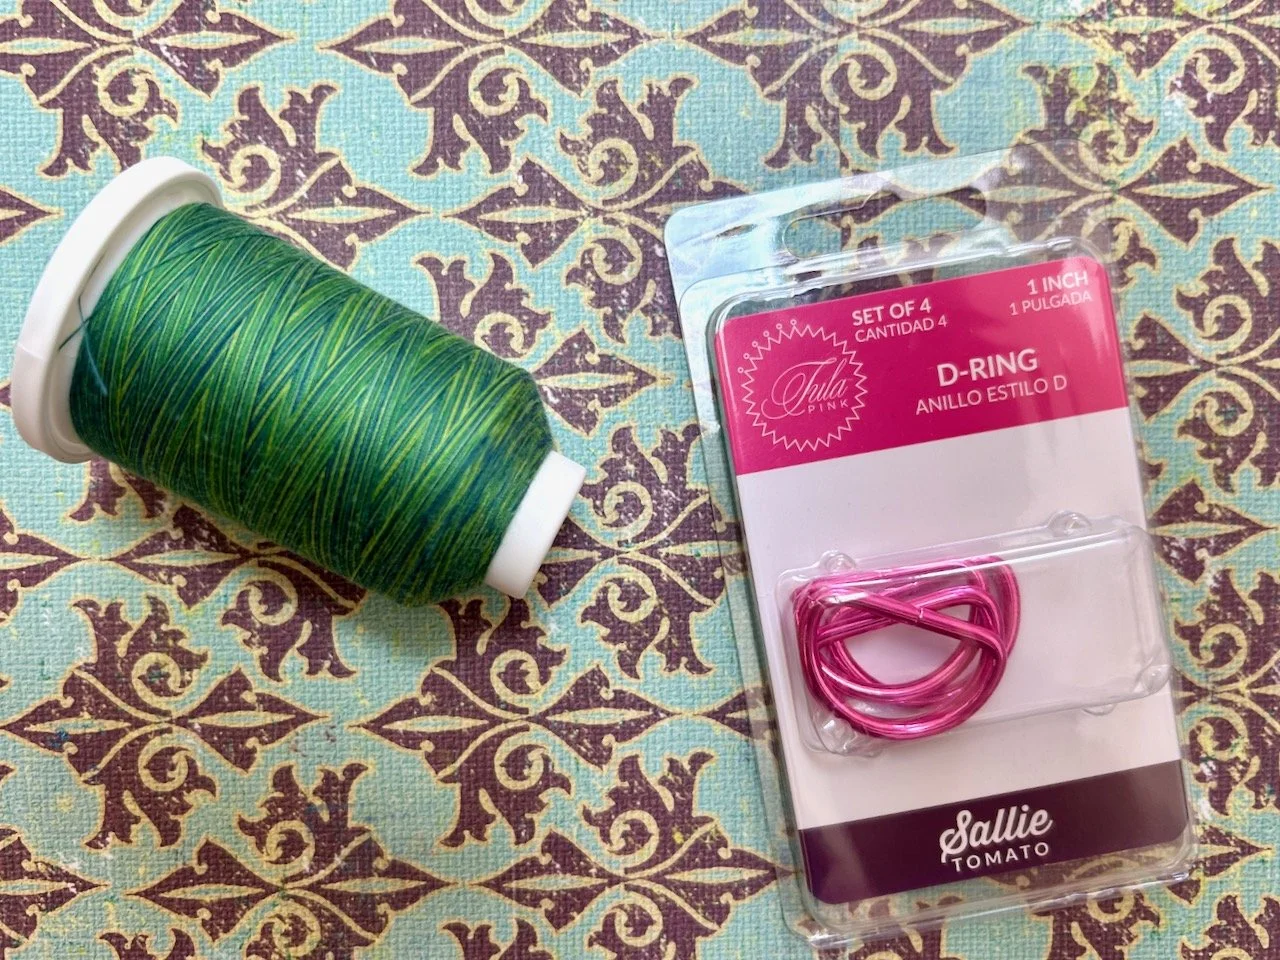
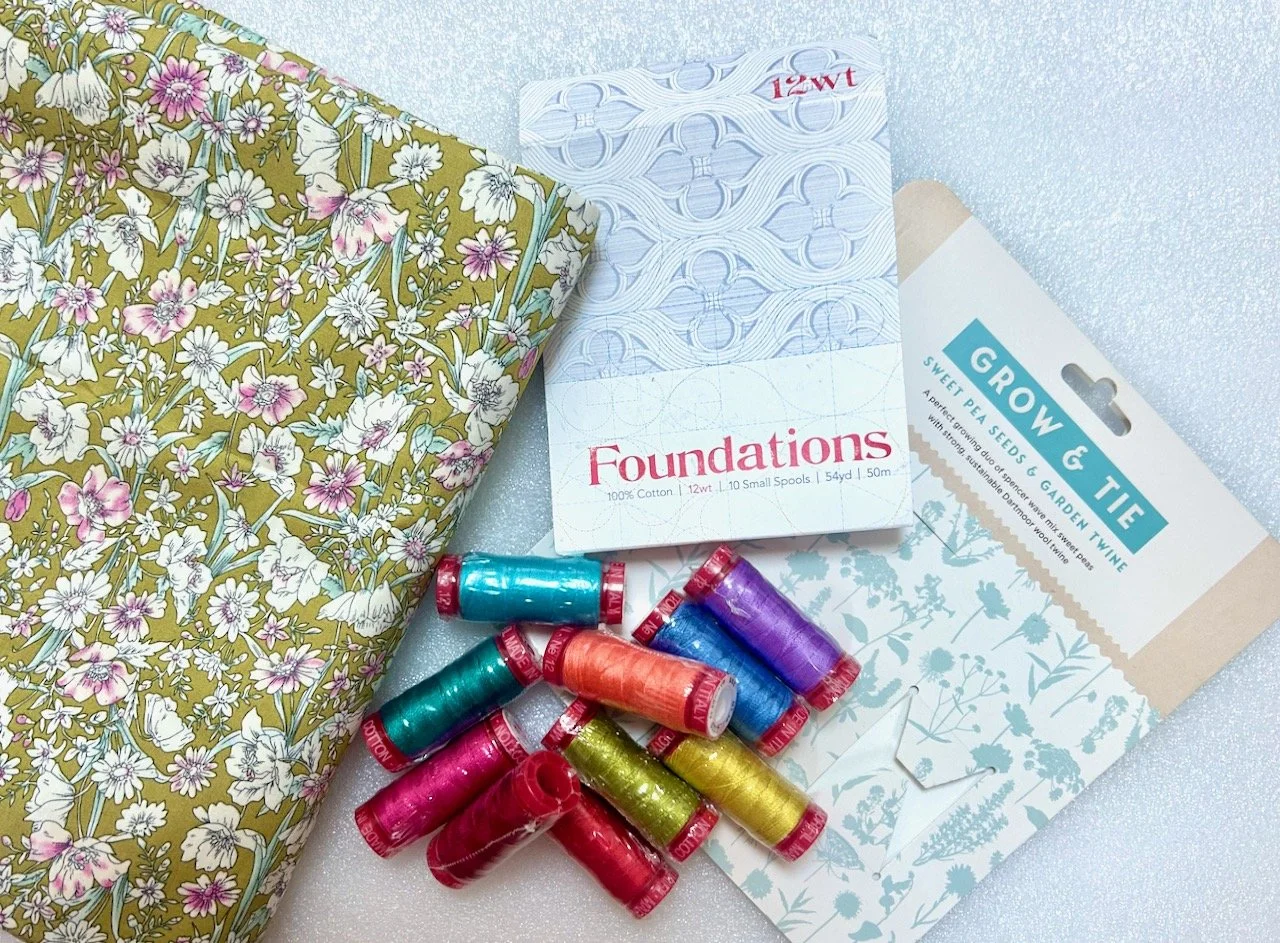
This month I also ordered the gorgeous variegated blue and green thread, which I’m planning to use on my mystery block of the month quilt when the time comes. I also needed to buy some wadding for that quilt, as without that I wouldn’t have a quilt, and so now I’m also the proud owner of a 15 metre roll of wadding. Well, it’s actually less than that as I needed some for my first charity quilt of the year - more on that soon.

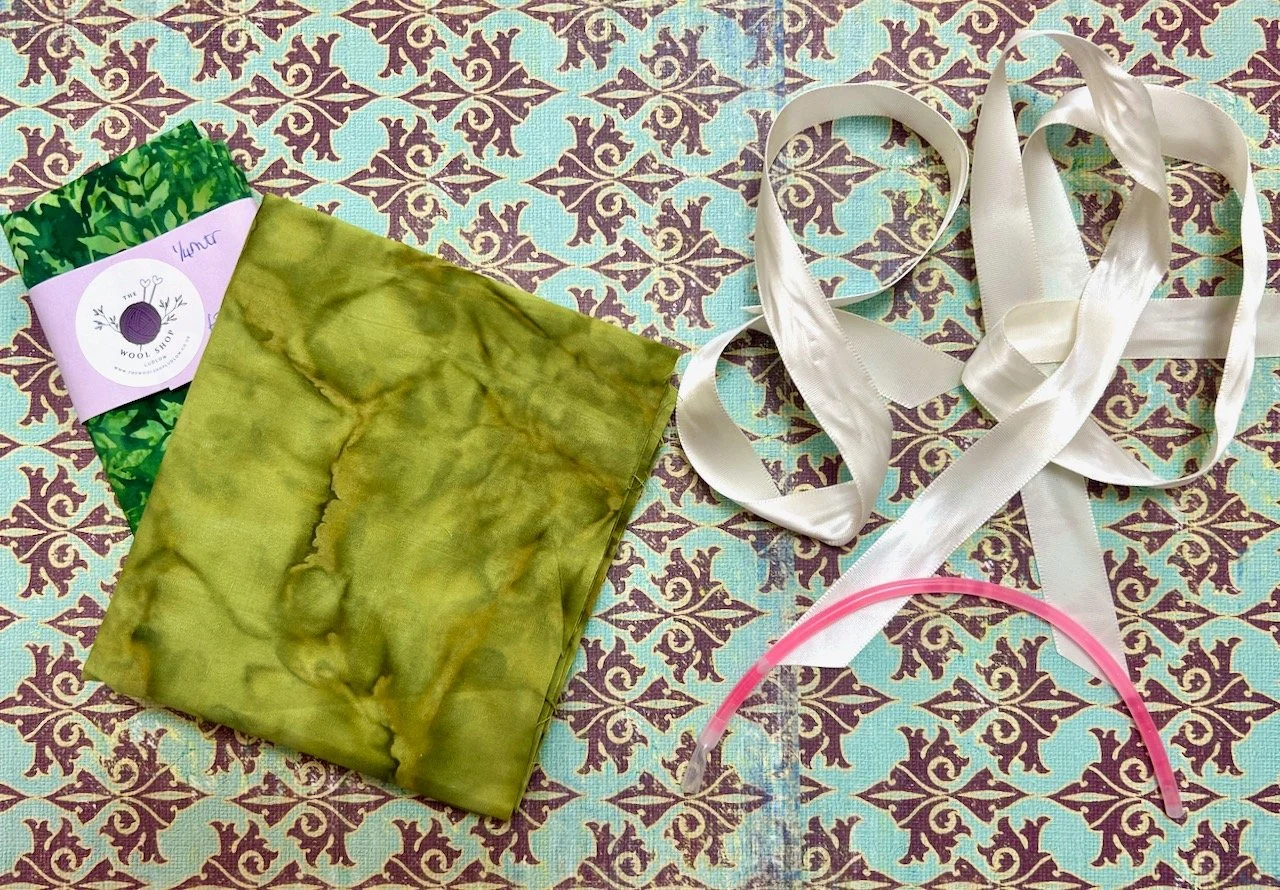
The next bundle of green fat quarters, ribbon and a spent glow stick are from our recent trip to Wales for my youngest niece’s wedding; the ribbon and the glow stick are from the favour bags, and the material I picked up on our look around Ludlow, and thought they’d be perfect for the start of my green collection for leaves for my at some point in the future floral fancy.

The wedding bundle: two green fat quarters, plus ribbon and a spent glow stick from the wedding favours

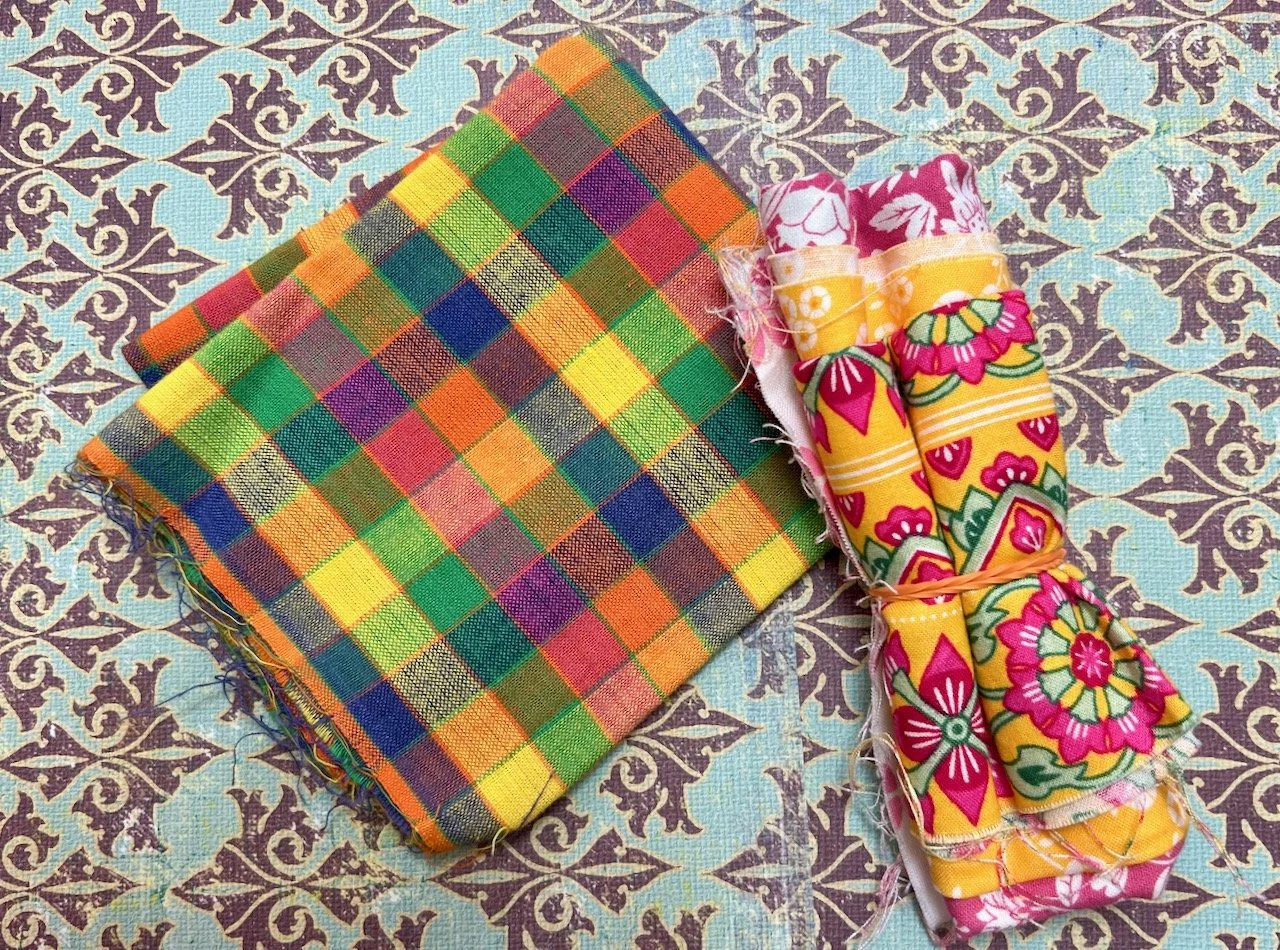
At the end of the month I was at the Quilt & Stitch Village show in Uttoxeter, and I did make a few purchases there, including these scraps costing £1.50 at the Project Linus stand - and yes, that’s the charity I donate my charity quilts too if you thought it sounded familar.

Brightly coloured scraps - checks and flowers for £1.50 for charity
fabric with onions and another with beetroots, in between is a complementing plain fat quarter

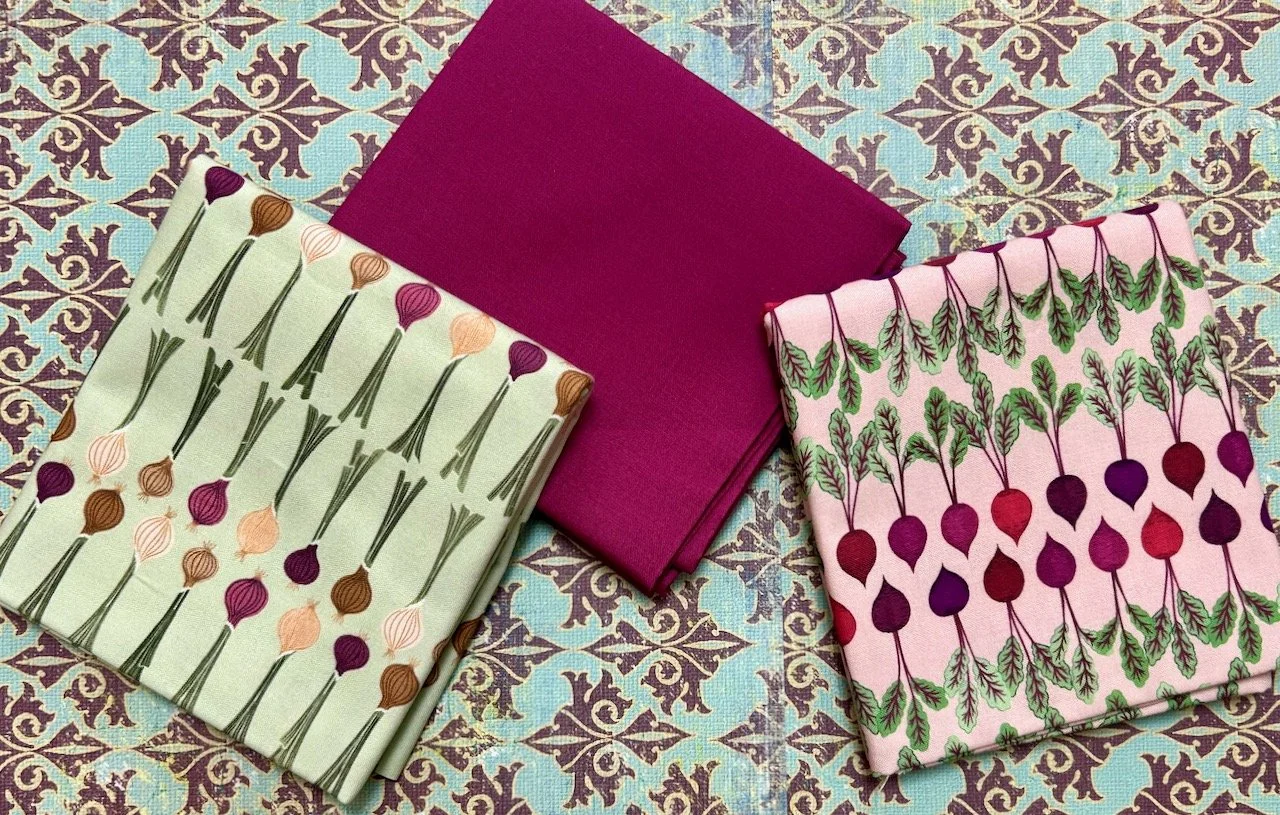
I never expected to buy any fabric with onions or beetroots on, but that’s what I did - there was just something about them that grabbed me, and while i was there I also picked up a toning plain to save me the headache of finding one when I need it. I’m not sure how I’ll use them yet, but they do make me smile.

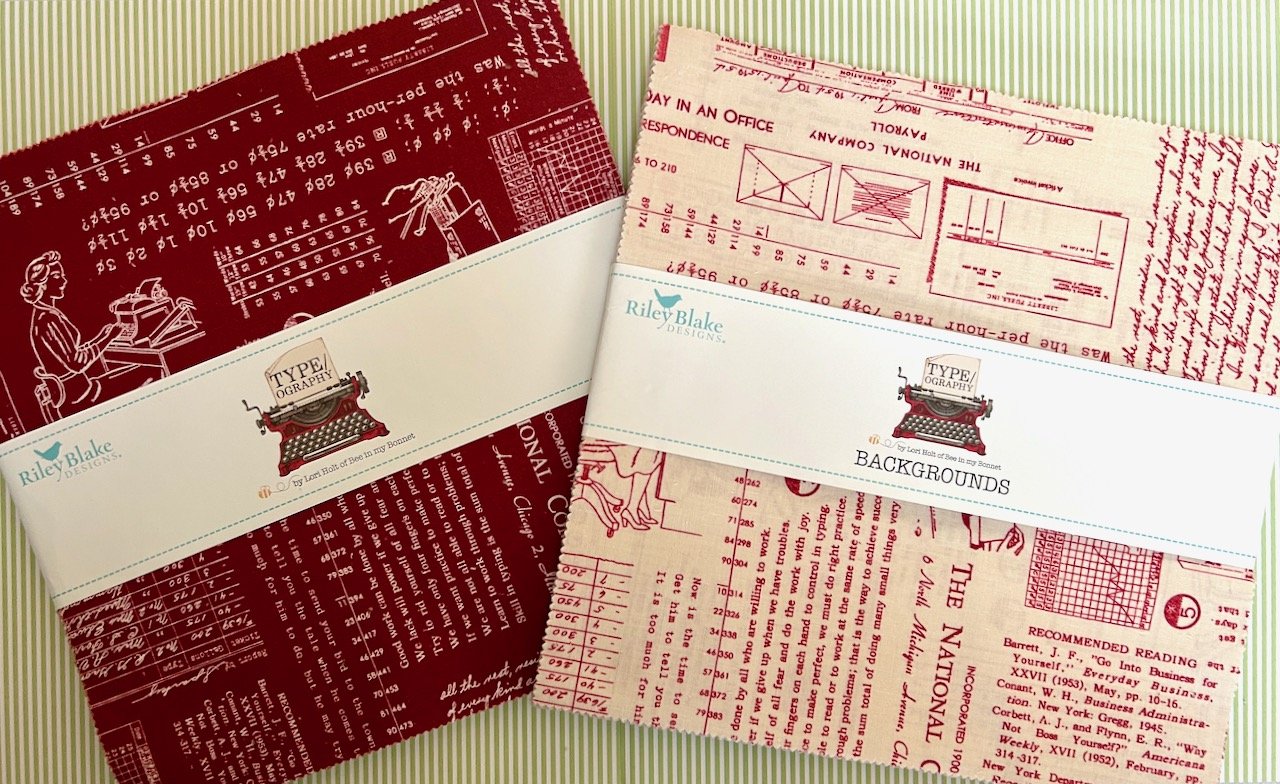
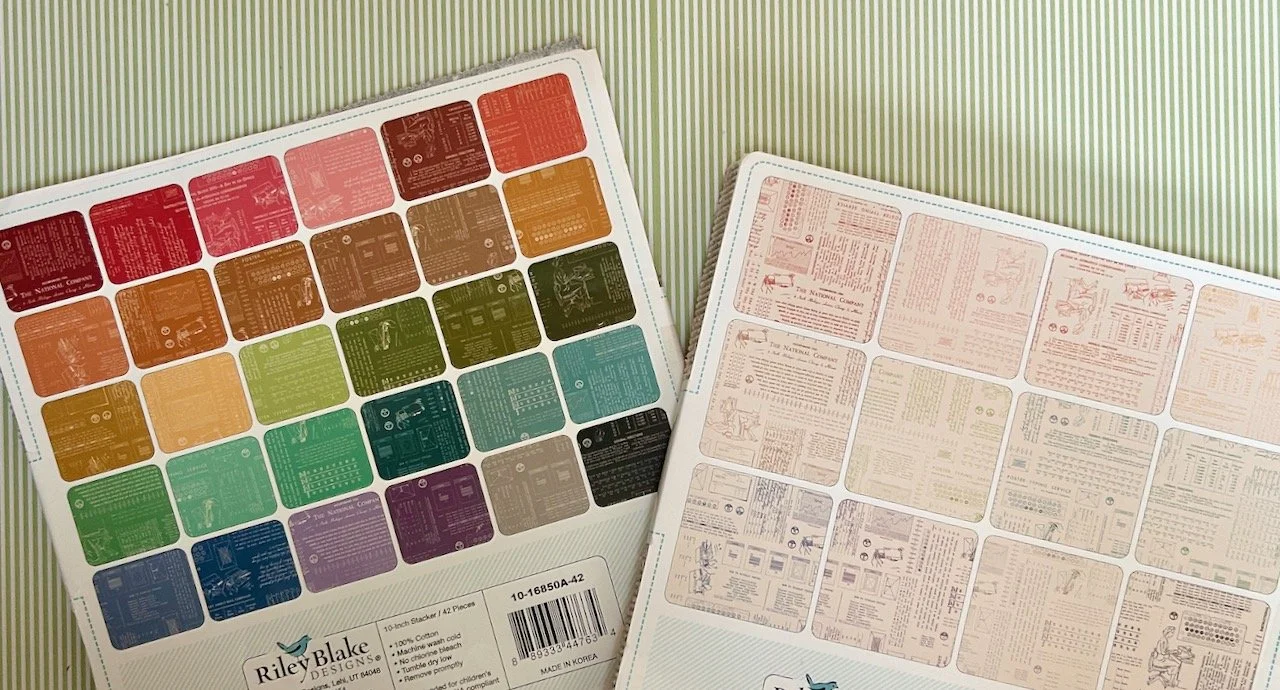
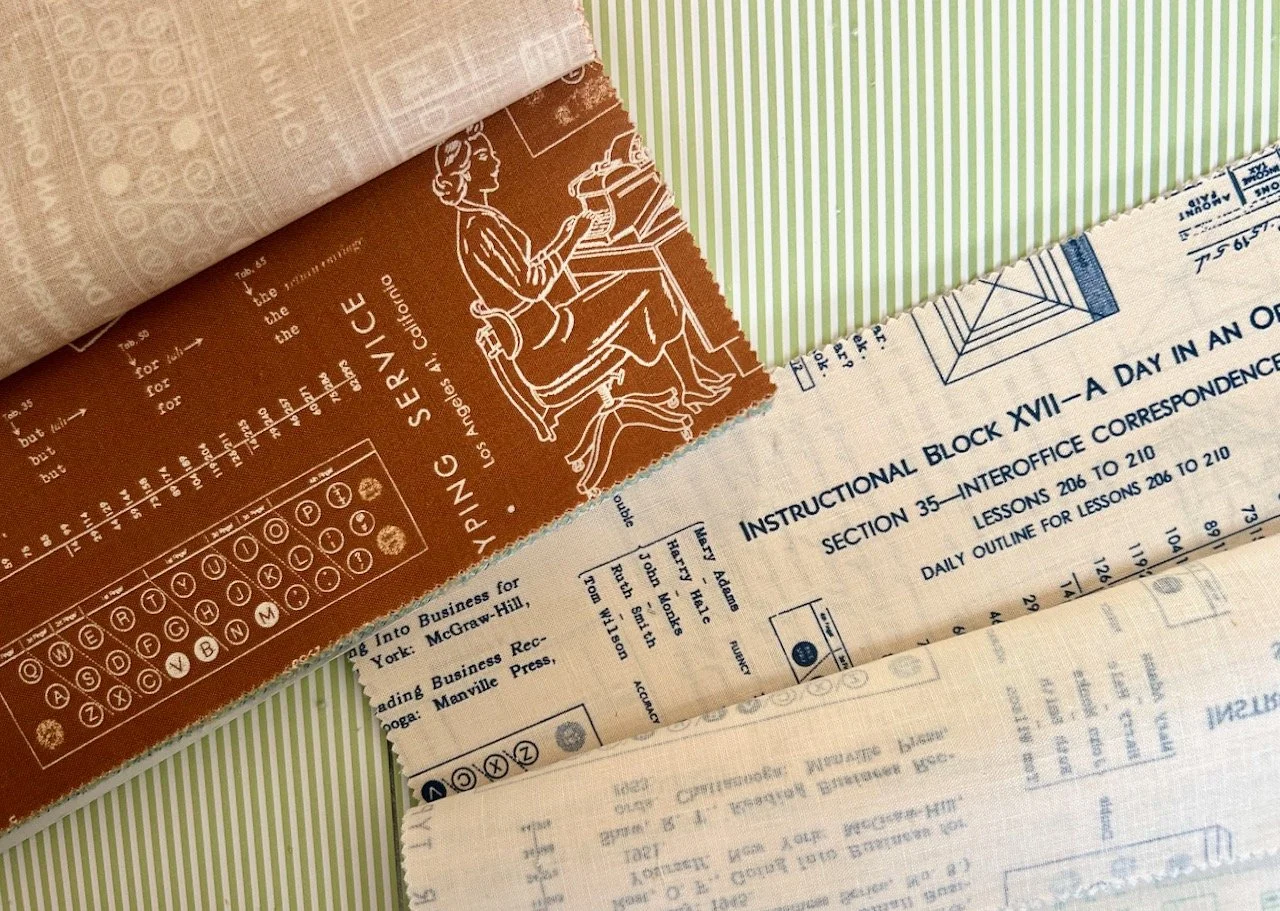
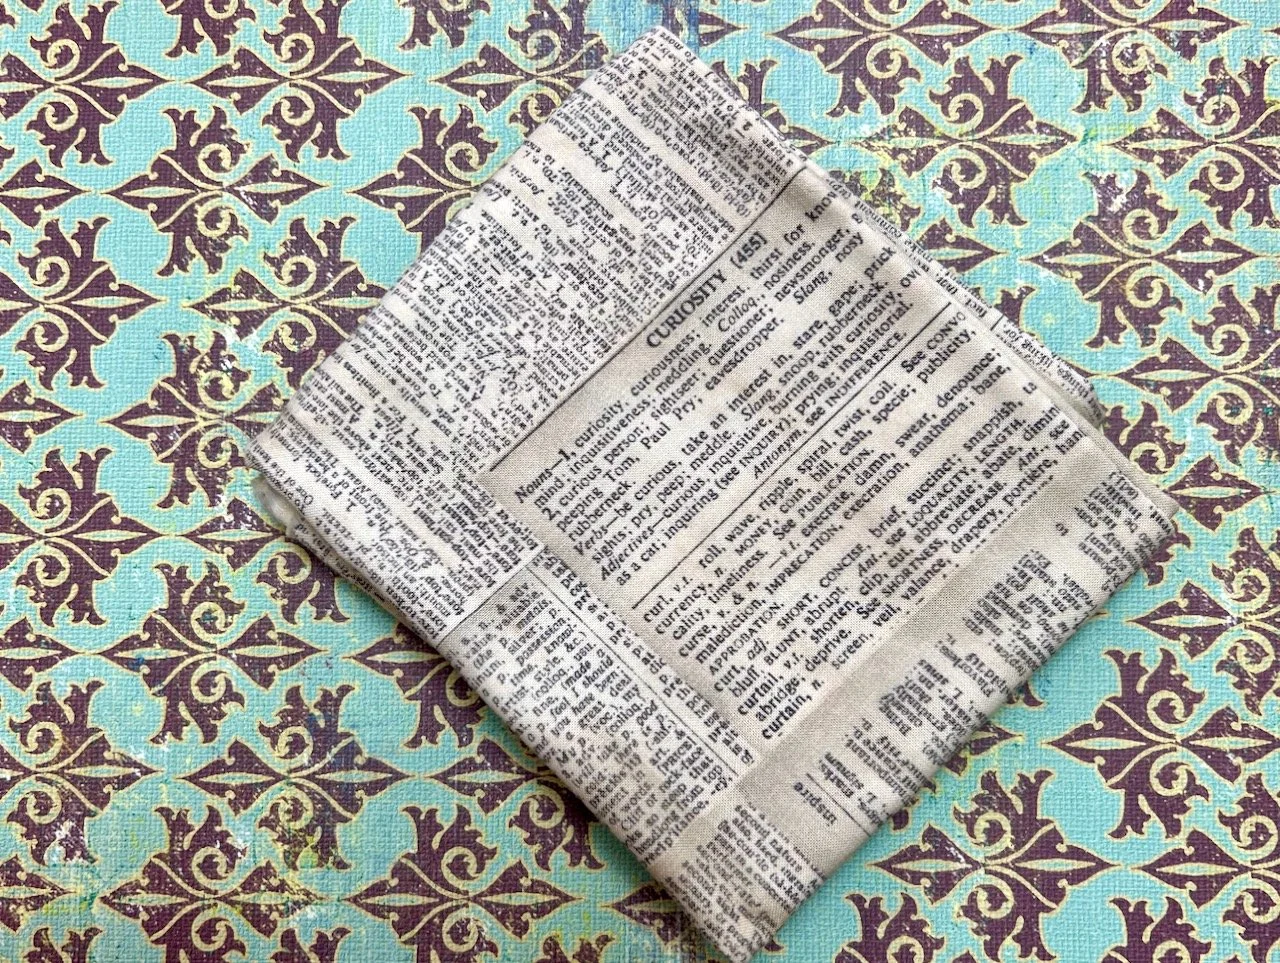
I also could walk past yet more newspaper like text on fabric, it could be said that my curiosity definitely was piqued (again).

newspaper print on fabric - yes please - the picture shows the dictionary definition of Curiosity

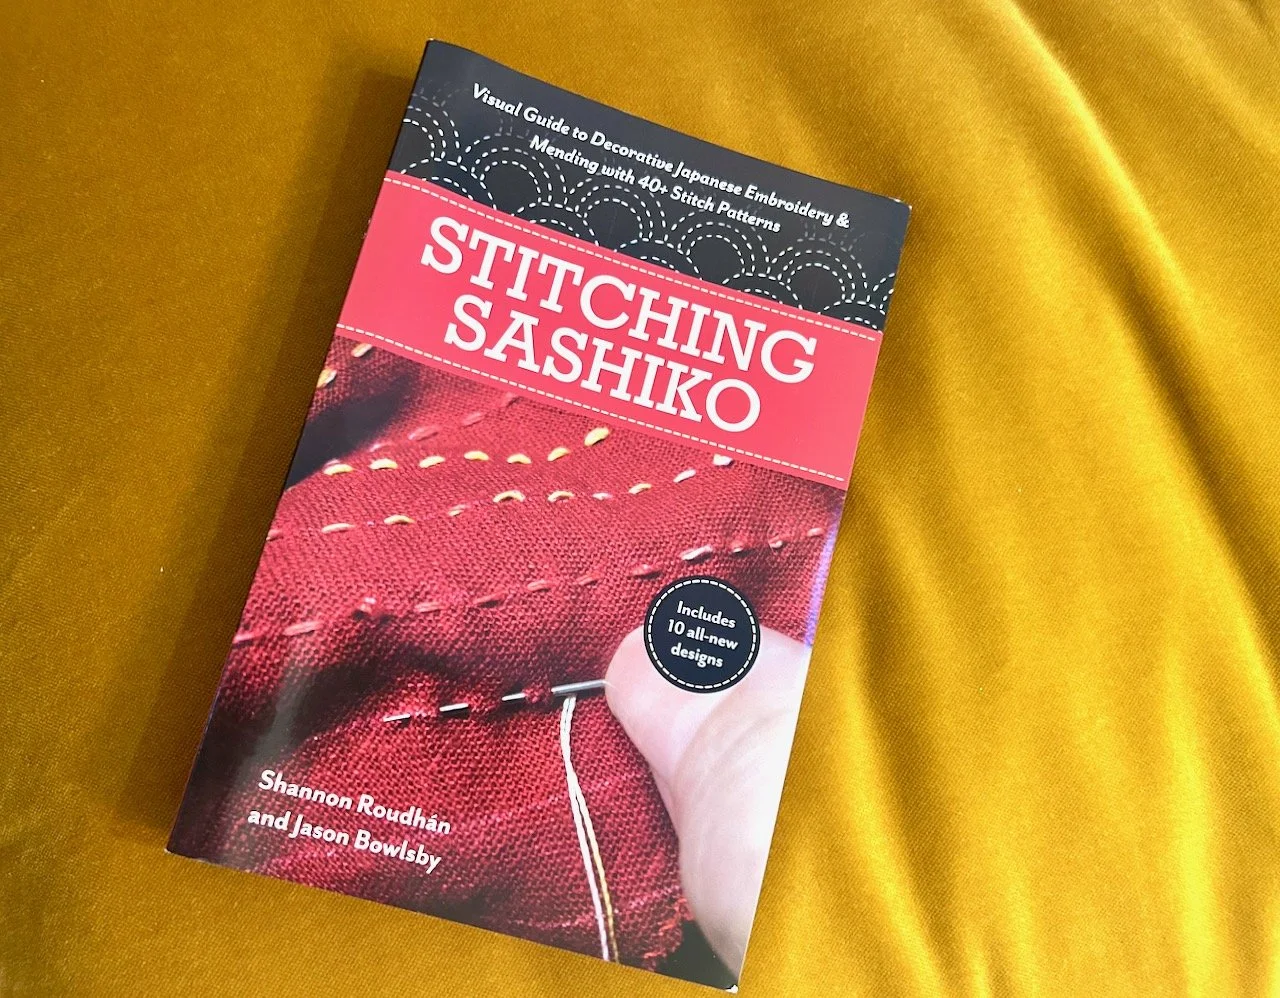
The final addition to my craft room this month is a book, on an embroidery discipline that I wasn’t sure I wanted to tackle. But I’ve been one over by the sheer number of geometric patterns included in this book, and my love for hand sewing. I’m looking forward to reading more about the basic principles and seeing where this will take me.

Stitching Sashiko book - a new kind of stitching to embrace

So that’s another month in my craft room, check out my previous updates for earlier additions, and remember to let me know below what you’ve added to your craft supplies this month.

New to my craft room in March

Like last month it’s been a mixed month for the arrivals in my craft room; there’s been some essentials, some bargains and quite a few bits from my mum’s ruler box, and a bit of a splurge - but it was worth it and totally gorgeous!

The essentials were replacement sewing machine needles after breaking two making the impromptu flying geese tote, and it’s good to have these to hand in case I suffer any more breakages, and actually I probably should get into the habit of changing my needle - both on my sewing machine and for my hand embroidery - more often.

hair clip backs, bernina sewing machine needles and two sizes of brooch backs

After seeing my shabby chic rosettes mum was quite keen to have one herself and so I pulled various pinks from my stash and made her one. While I was doing that I thought I should probably get some more brooch backs and hair clips to finish this and the ones I’d started at the Newark Quilt Show, so that’s almost an essential purchase too right?!

All the things tote pattern, cheerful Union Flag fabric and one of Vicki Brown's 100Skeins for 2026

Now most people would have bought a tote bag pattern before they actually made a tote bag, not me - clearly for me the right time was immediately after I finished my flying geese bag! In my defence I saw it on Instagram and was smitten, I searched for it online - it comes with options to make three different sized bags - and put it in my online basket. A few days later another site was offering 25% discounts on all patterns, and checking this one was included - so it would have been rude not to buy it, wouldn’t it?

The cheerful Union Flag fabric is a fat quarter I couldn’t resist from a stash rummage at my patchwork group, and it’s 50p well spent. The skein of wool is one of a kind dyed by Vicki Brown as part of her annual 100 skeins project. I’ve bought one of her 100 skeins for many years now, and they are all stunning - and each one is different. You get an option to state colours you like (and dislike) and I’m really pleased with my mustard, pink and orange request this year.

A variety of vinyl templates and quilting tempates

At a recent visit to mum’s I finally got to look through her ‘ruler’ box, and to help myself to the ones she no longer wants. So I’ve added some quilting stencils and a hole thing to my ‘to play with pile’ along with a ruler for Cathedral Windows and a Dresden Plates template - and yes the price ticket on it does say £4.15, mum’s clearly had it for a while (and it is open even though it looks as if it’s not).

An acrylic Cathedral Window rule and a pack of Dresden Plates quilt templates

Something using the Cathedral Window design has been on my long-term list for quite a while, though my idea was to use denim and I’ve had many raised eyebrows each time I moot the idea, so I’m guessing it’s not ideal because of the thickness and stiffness of denim, so I probably should take that advice when it actually makes it onto my list.

My splurge item is these Type/ography 10 inch layer cakes by Lori Holt of Bee in my Bonnet for Riley Blake, and you may recall seeing these before as they have immediately made it onto my list of quilt plans for this year as my Word Star quilt.

TypeOgraphy 10 inch layer cake, and the backgrounds layer cake from the same range

As I said in that post, it shouldn’t have made the list but it has - and I’m not sad about it.

The reverse of the packs shows the colourways included

There’s more than just the red/white and white/red varieties, and I think that together they could make a great ‘star’ quilt but I haven’t really looked at the how yet - I’m still in the admiration phase!

A closer look at one of each of the fabrics in the layer cake

I’ve even had them out of the packet so I can admire them even more closely, but not for long! They’re stored away safely for now, while my thoughts percolate and research takes place on how I can make this happen.

So that’s another month in my craft room, check out my previous updates for earlier additions, and remember to let me know below what you’ve added to your craft supplies this month.

A pink and orange embroidered pouch

Last week I shared how I added to my swirls and completed my pink and orange embroidery, and today I’m sharing the completed pouch which I first set about quilting.

I wanted to use a decorative stitch on my machine and I’d found some variegated thread which looked a good match. It didn’t work out quite how I expected, but it wasn’t a disaster - and well to be honest, I wasn’t unpicking that first line. I’d tried it out on a test piece before I started so I knew how it looked.

I wanted to quilt this small piece using a variety of styles and so I continued with that plan, and I’m much happier with how it turned out once the narrow straight lines were added, especially once I decided to add these in the mid-section too.

The quilted embroidered piece

So with my quilted embroidery, it was time for the pouch. As ever I had a plan in my head - and thankfully that worked out.

Onto the pouch!

It will be a long thin pouch, which is idea for its intended use - and this may sound like overkill, but it’s for my round hairbrush when we travel. Currently I use a plastic bag to avoid the bristles catching on any of my clothes, but I knew I could improve on that. I hadn’t always set out on that being its purpose, but the colours I chose also swayed me. It’s been a while since I’ve had orange and pink highlights in the front section of my hair (underneath not right on show) and so to me it made perfect sense to use for my hairbrush, in a nod to my previously more colourful hair.

How I wish I still had those colours, but I’m not up to dyeing my hair myself and my hairdresser here doesn’t do red dyes, let alone pinks - I tried another hairdresser and it didn’t work out, as she did what she wanted to do rather than what I wanted, and I hated it. So I’m not going there for a while yet anyway!

Testing out the folding to form a pouch

I cut my lining fabric larger than the embroidered piece and hoped that I could use that as a binding; clipping it into place showed me that it would work.

Pinning the lining over the front edge to check how that will work
The finished pouch - folded into three and with the lining used as binding.  A curved corner on the left and a square corner on the right intentionally.

So that’s what I did. I intentionally put a curved corner on the left hand side to echo the motif, and left the right hand side squarer. The lining works well with all of the embroidery despite it not having any, or much, orange in it. It’s one of those ‘Spread the Word’ fat quarters that I fell for last October.

The foldover top opened out to show the text patterned lining

I thought I’d add poppers, but I didn’t like how they looked. I considered the older style metal press fasteners but they weren’t really what I was after either.

Testing out placement of poppers on the front of the pouch
And the subsequent placement for the poppers on the inside

Then inspiration struck, in the form of my crochet hook case, and I knew that ribbons would be the way forward - but which one?

Discarding the popers and trying out pink and orange ribbon

I think both the pink and the orange ribbons were from our wedding back in 2007, and so were of course at the bottom of my ribbon jar. And while either worked, I surprised myself and opted for what I thought would be my second choice - the pink.

Taking inspiration from my crochet hook pouch - and settling on the pink ribbon
The pink ribbon's attached to the back, and will be 'flowing' when the pouch is opened
A bow on the front closes the pouch

Yeap, I’m happy with that. In fact I’m more than happy with how it worked out - and I’m even more happy to have something a bit fancier than a plastic bag to protect my clothes from my hair brushes’ bristles!