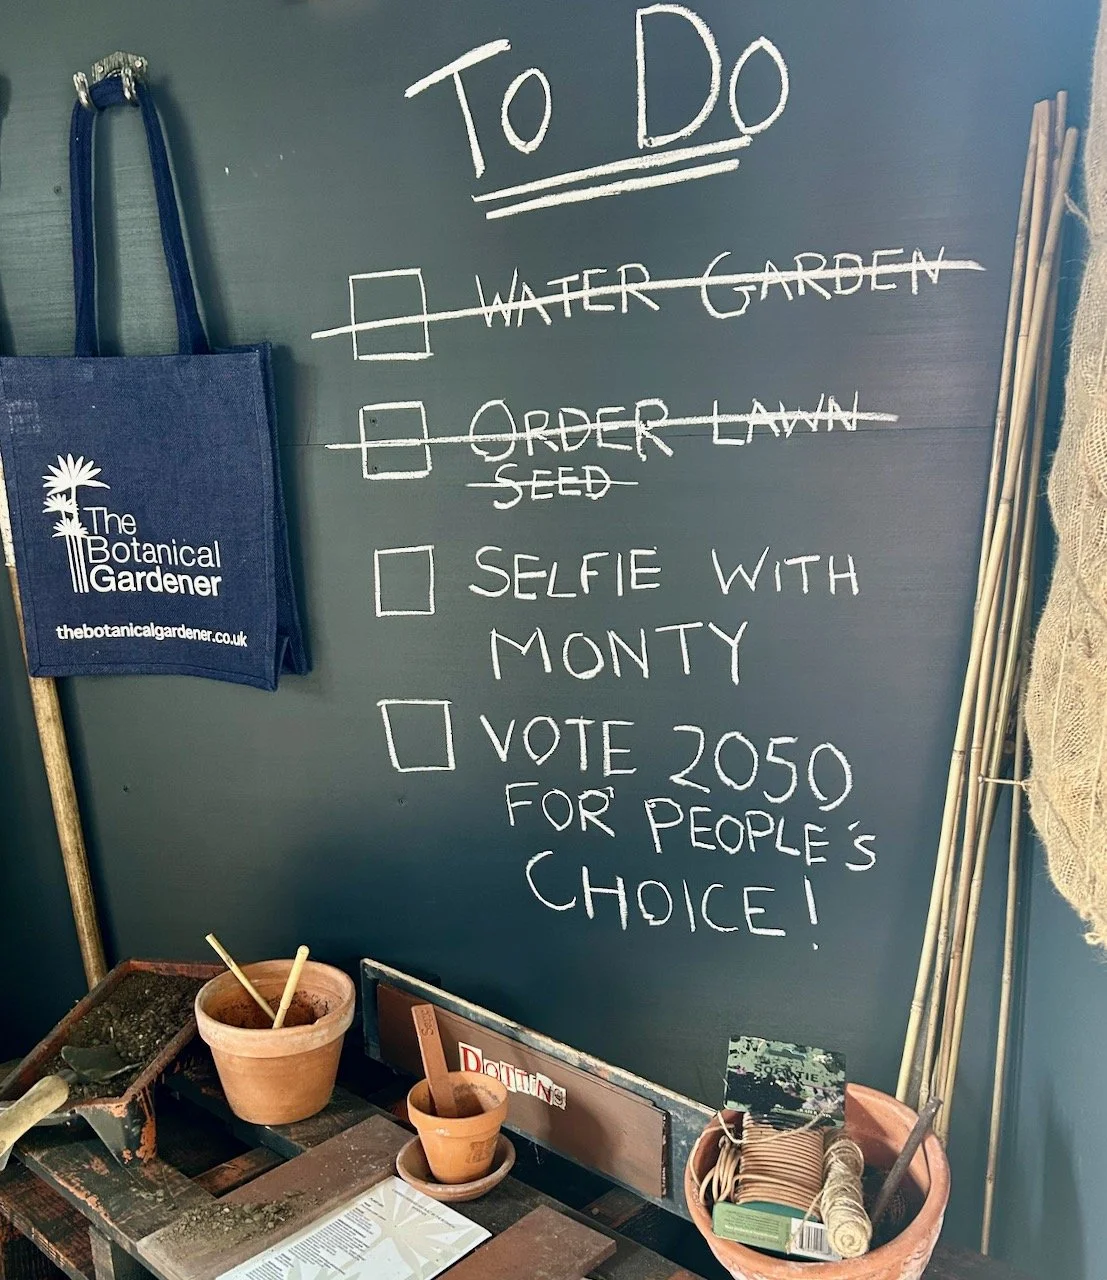

* I was invited to this year’s Gardeners’ World Live and provided with a pair of tickets to the show, therefore all my posts will be marked as 'Ad’ though as usual my views and opinions are very much my own.
I said in my highlights post from the show that I was looking forward to seeing how Nick Bailey would incorporate the #MakeAMetre matter initiative into his garden, and how successful it was and today I’m sharing some of the many pictures I took of the garden.
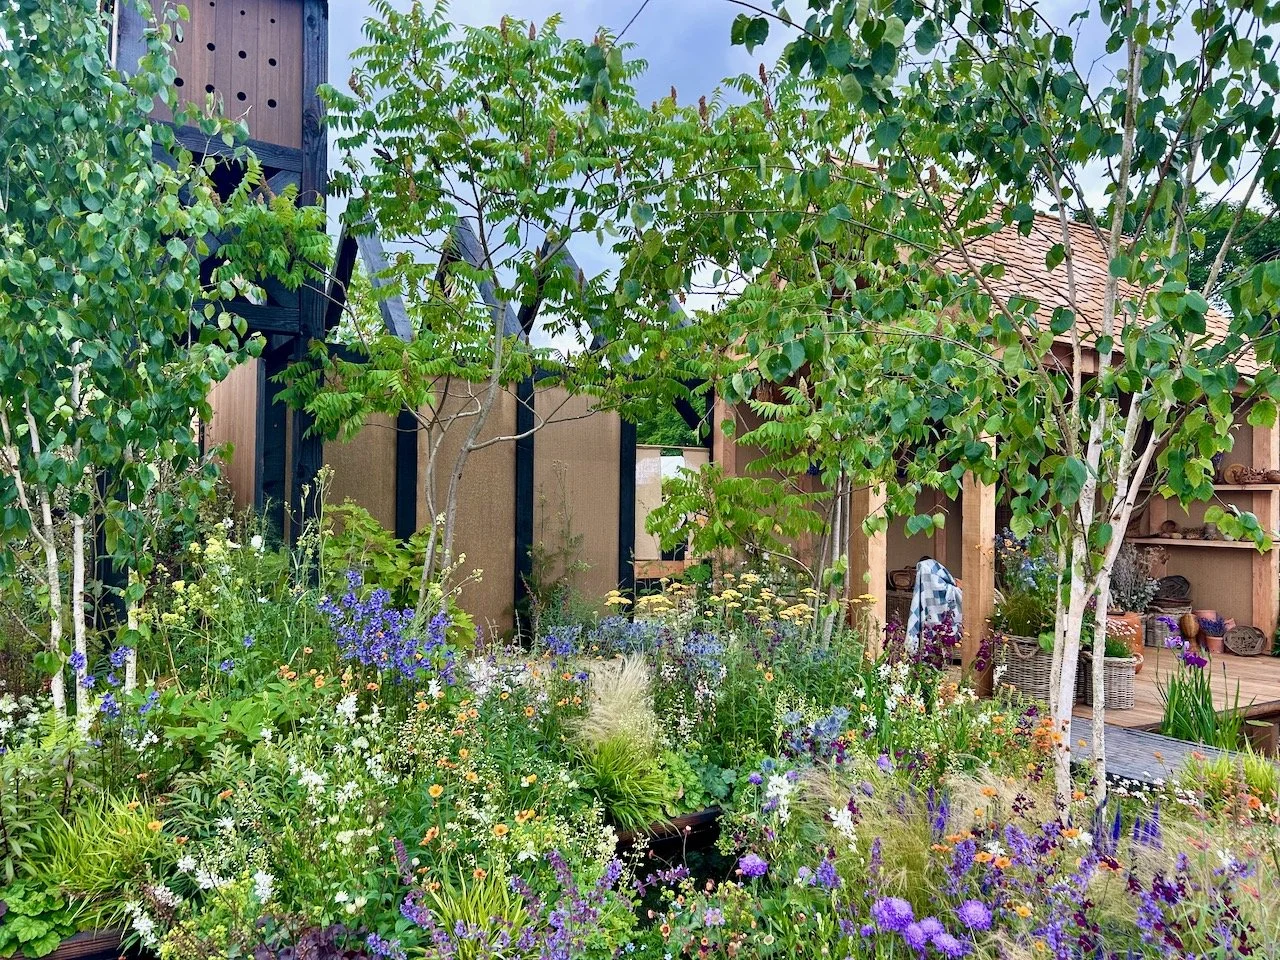

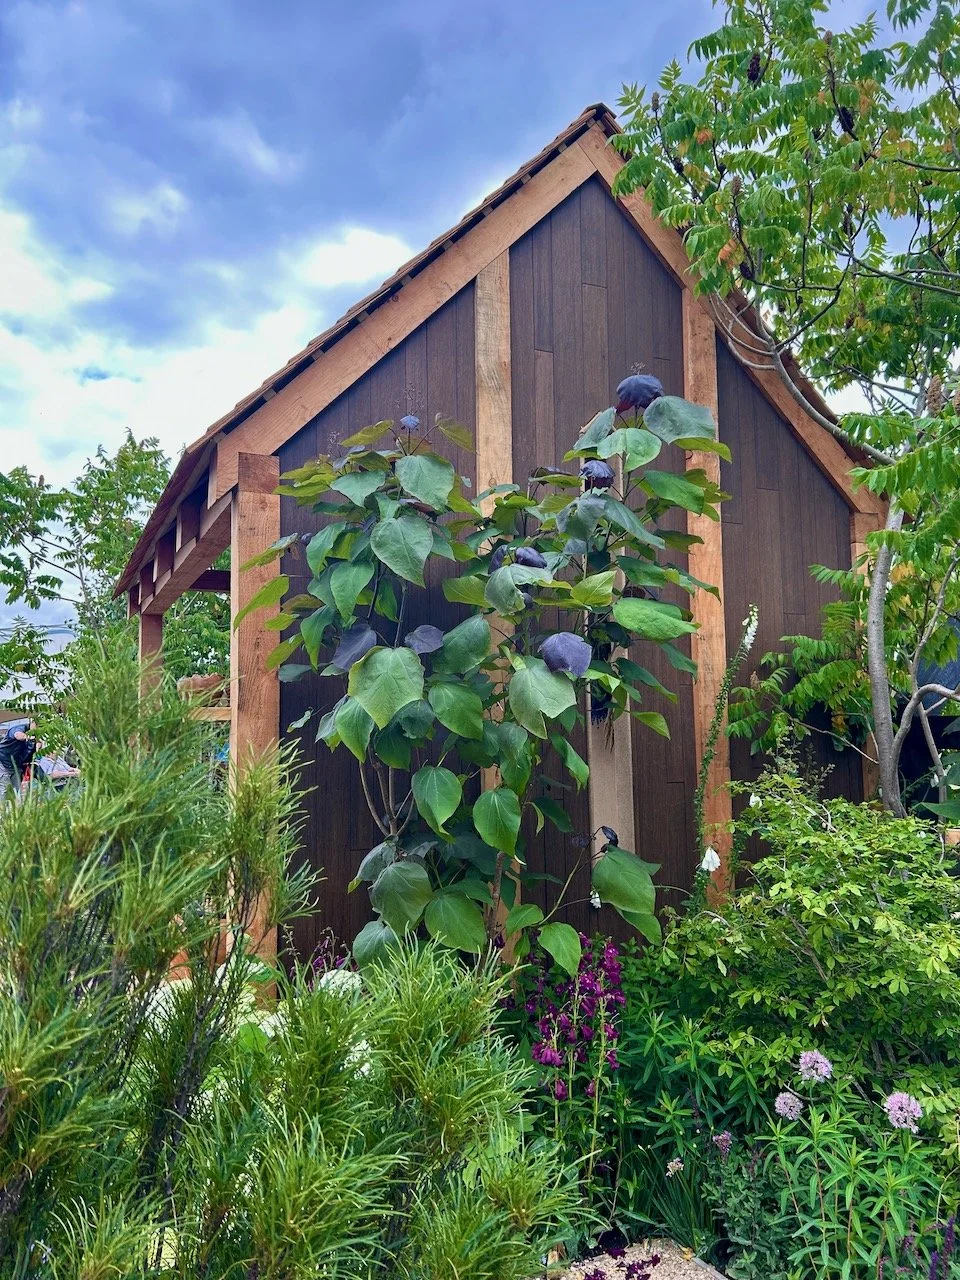
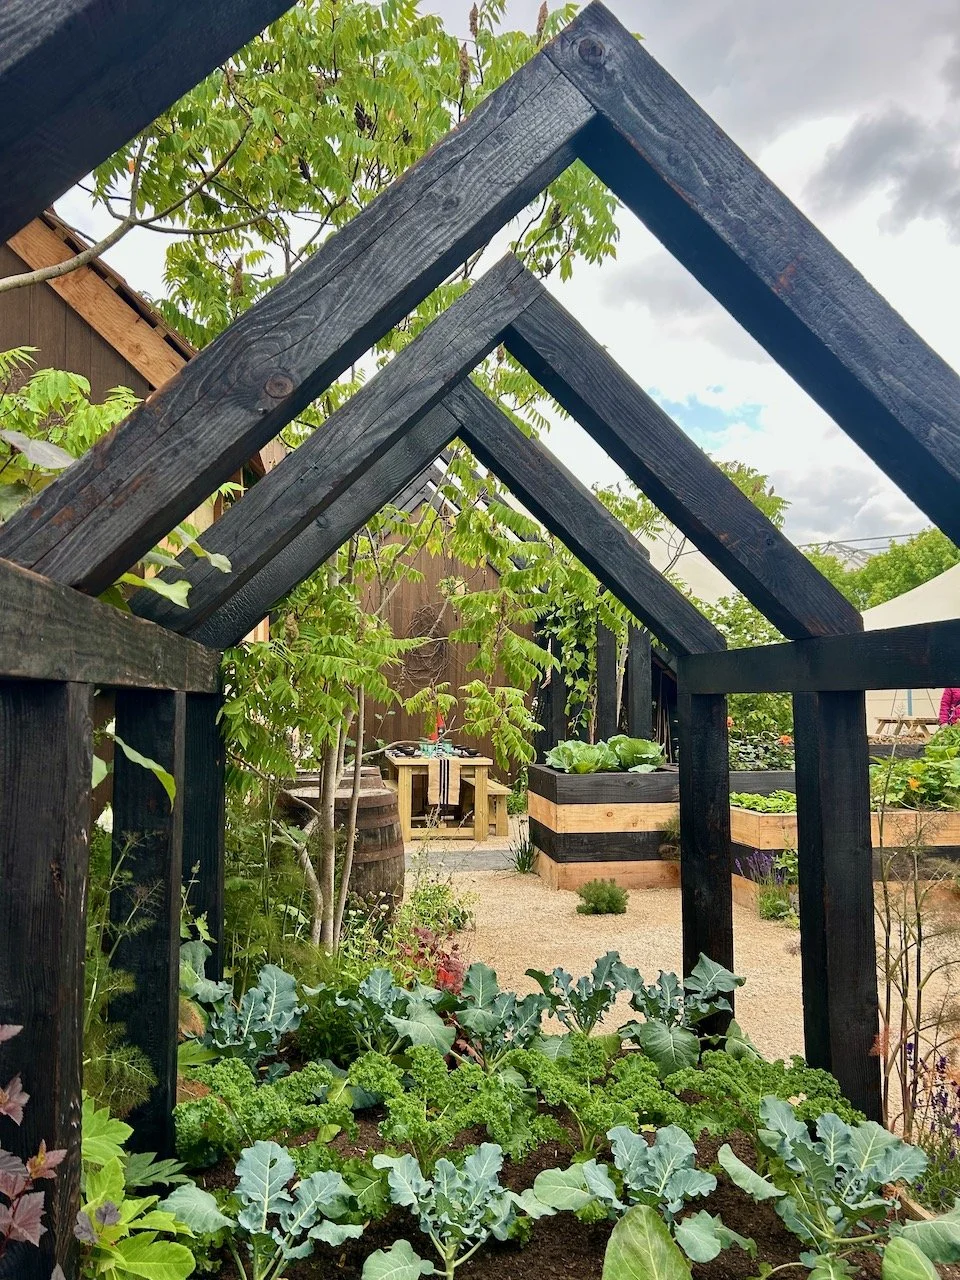
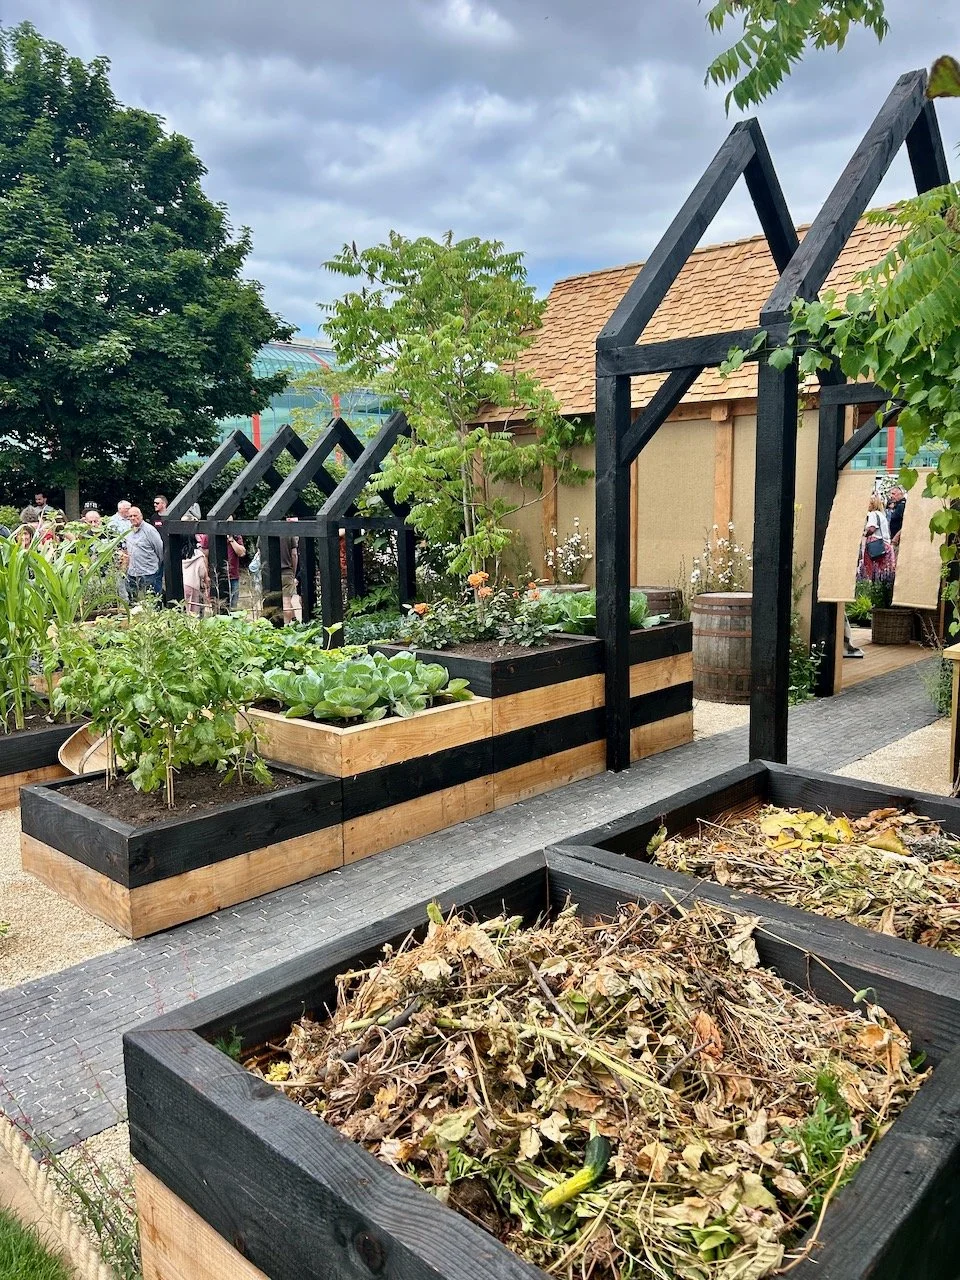
The garden features a cluster of Douglas fir buildings and structures in the style of a traditional homestead, and it was the repeating shapes of the frames that made the garden such a success for me. They brought height to the space and their bold charred wood certainly brought impact.

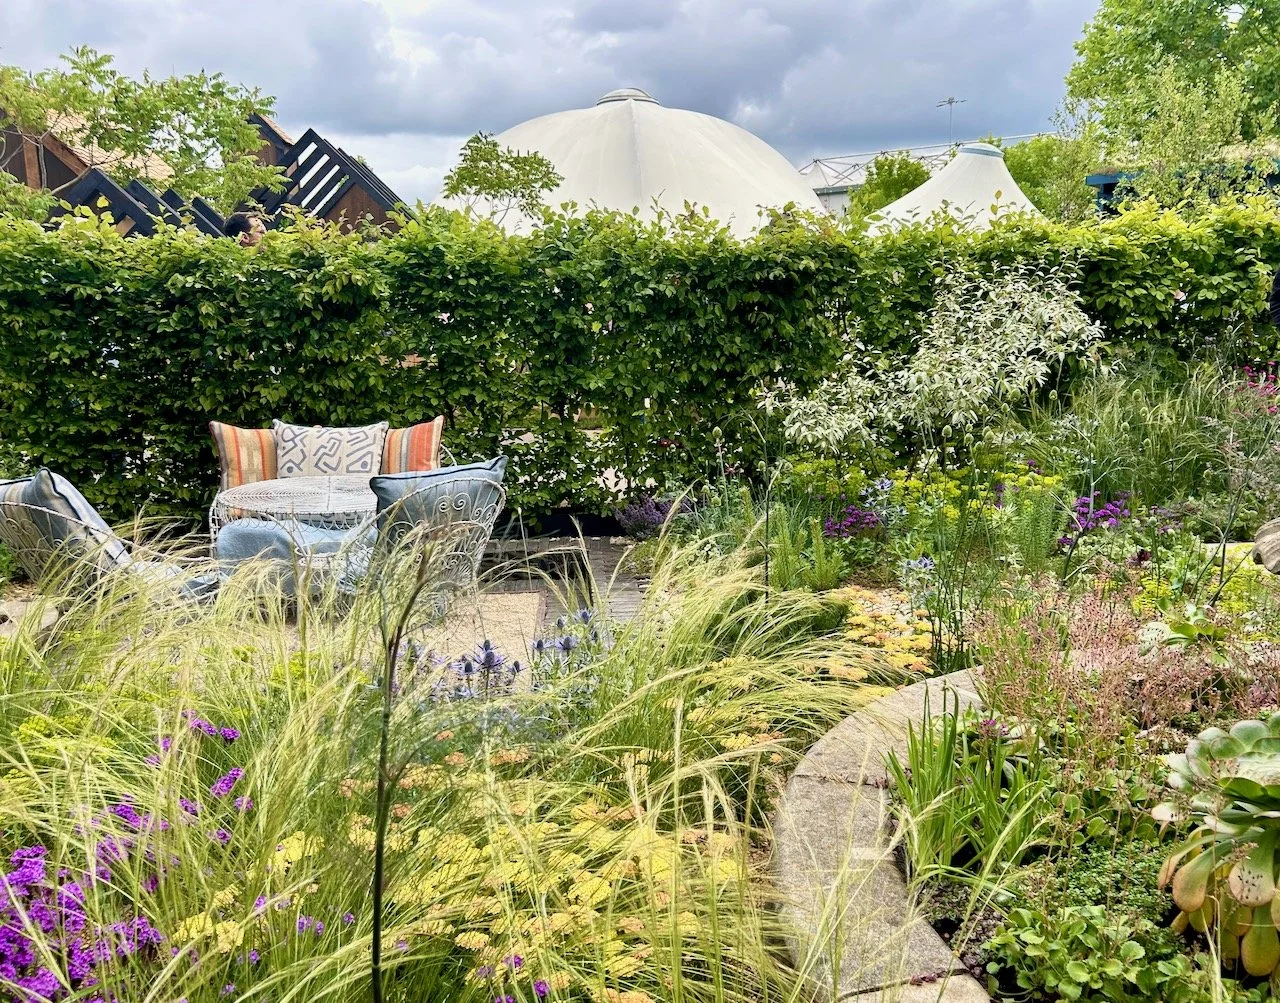
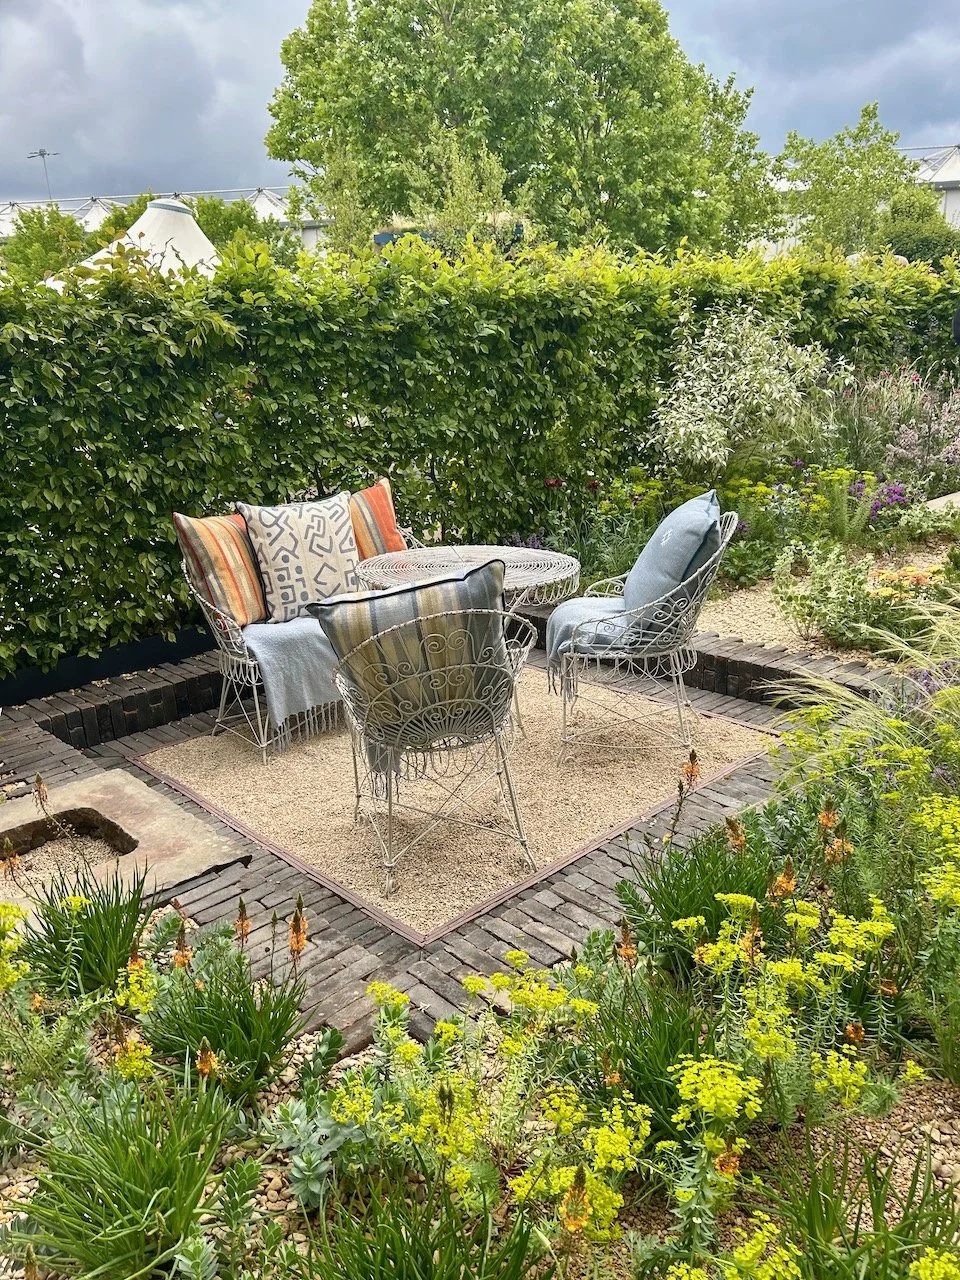
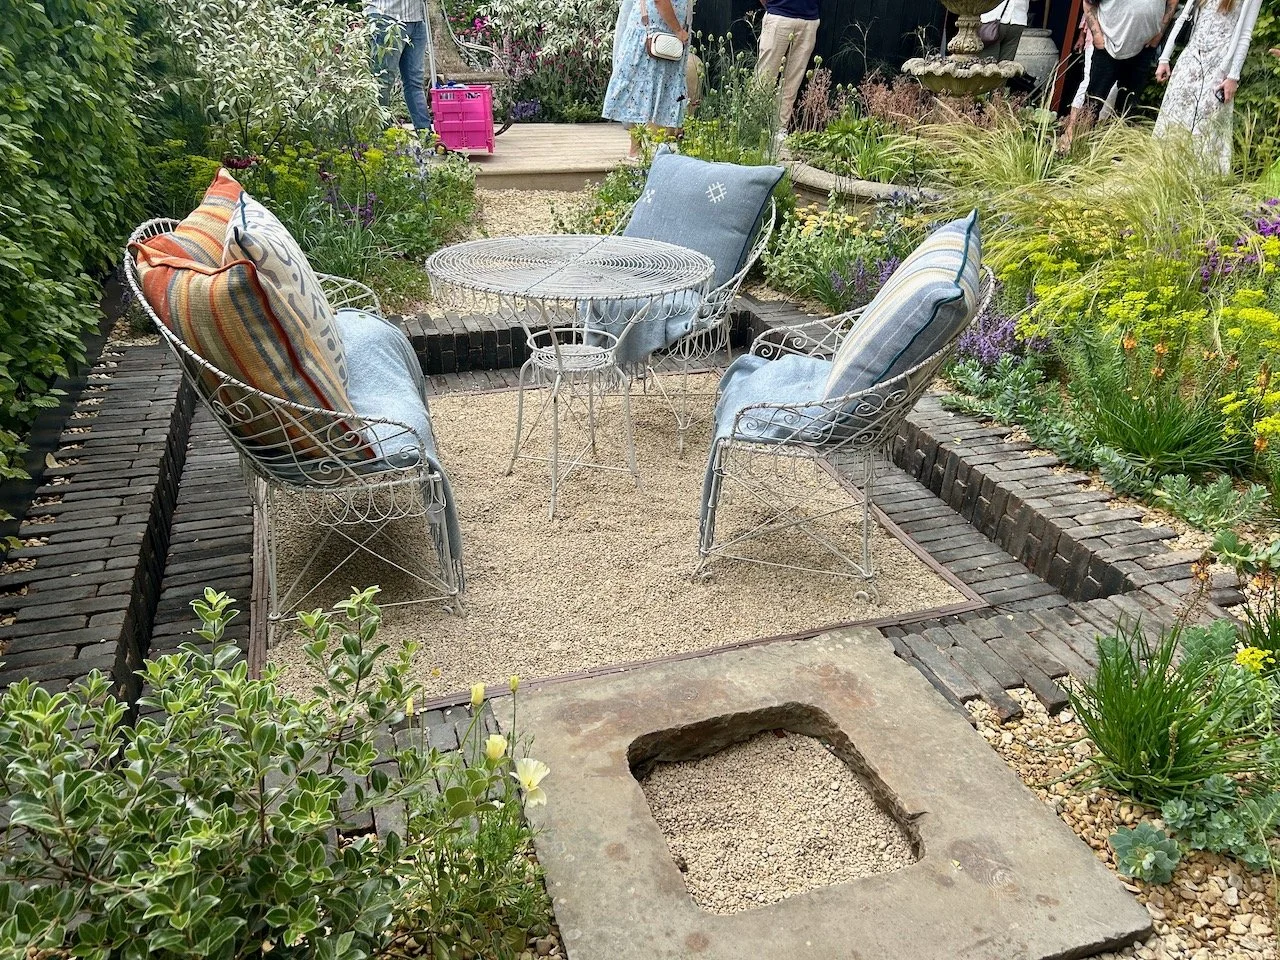
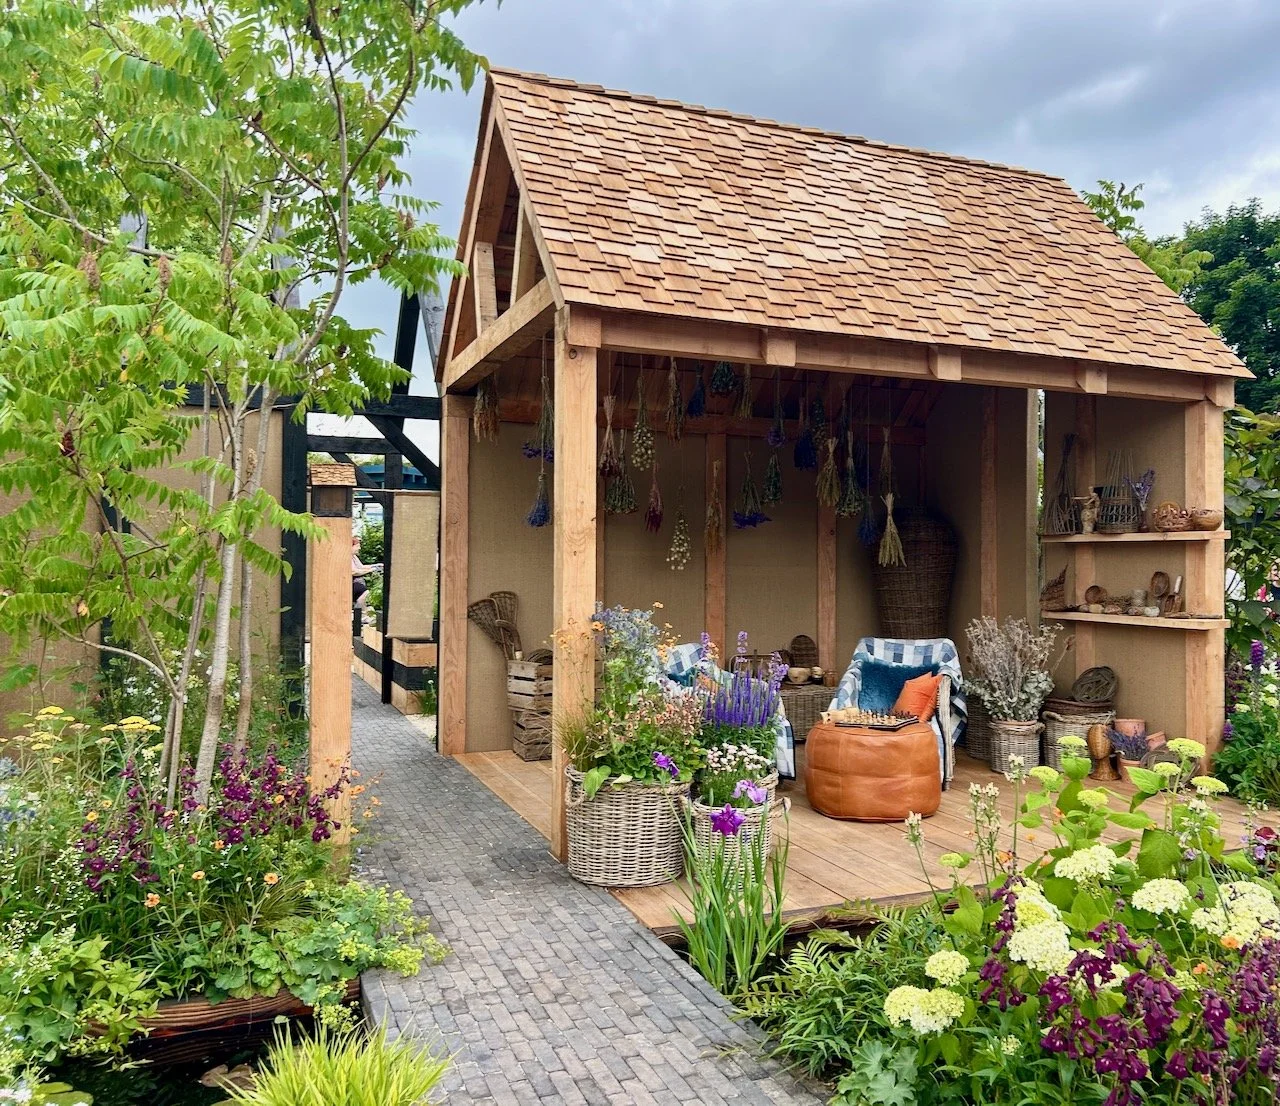
The buildings included a Burnt-Out Barn with grape vines overhead and dining below, the Brassicarium for protection for edibles, and the Roofed Barn seating area (below) which overlooked the ponds and a meadow-matrix perennial grass planting. And if you look closely there’s patchwork throws over the chairs too.
Long term readers will know that I like a structured and ordered veg plot, but never have I heard of a Brassicarium, and I wish I had - isn’t it a great word?

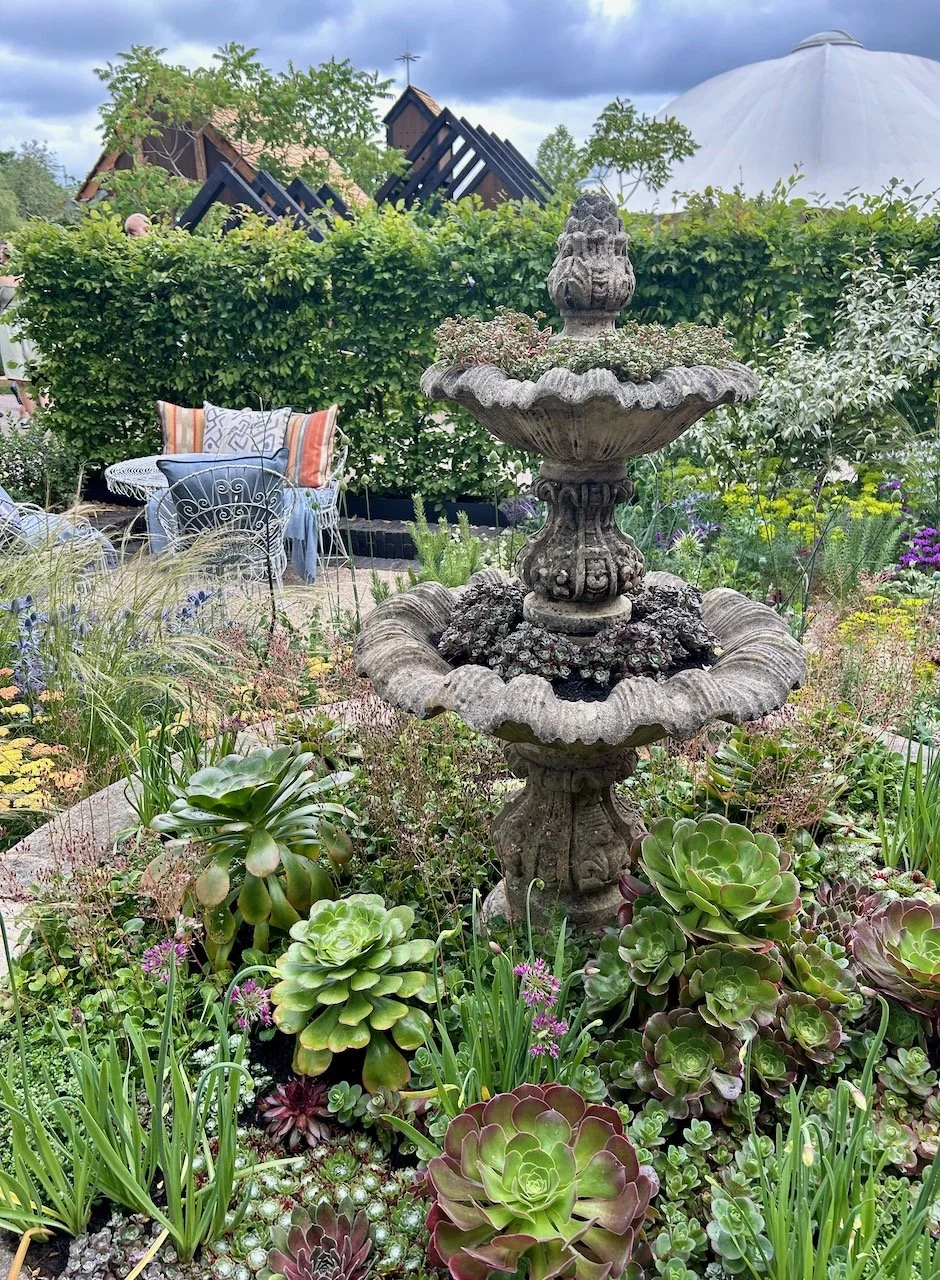
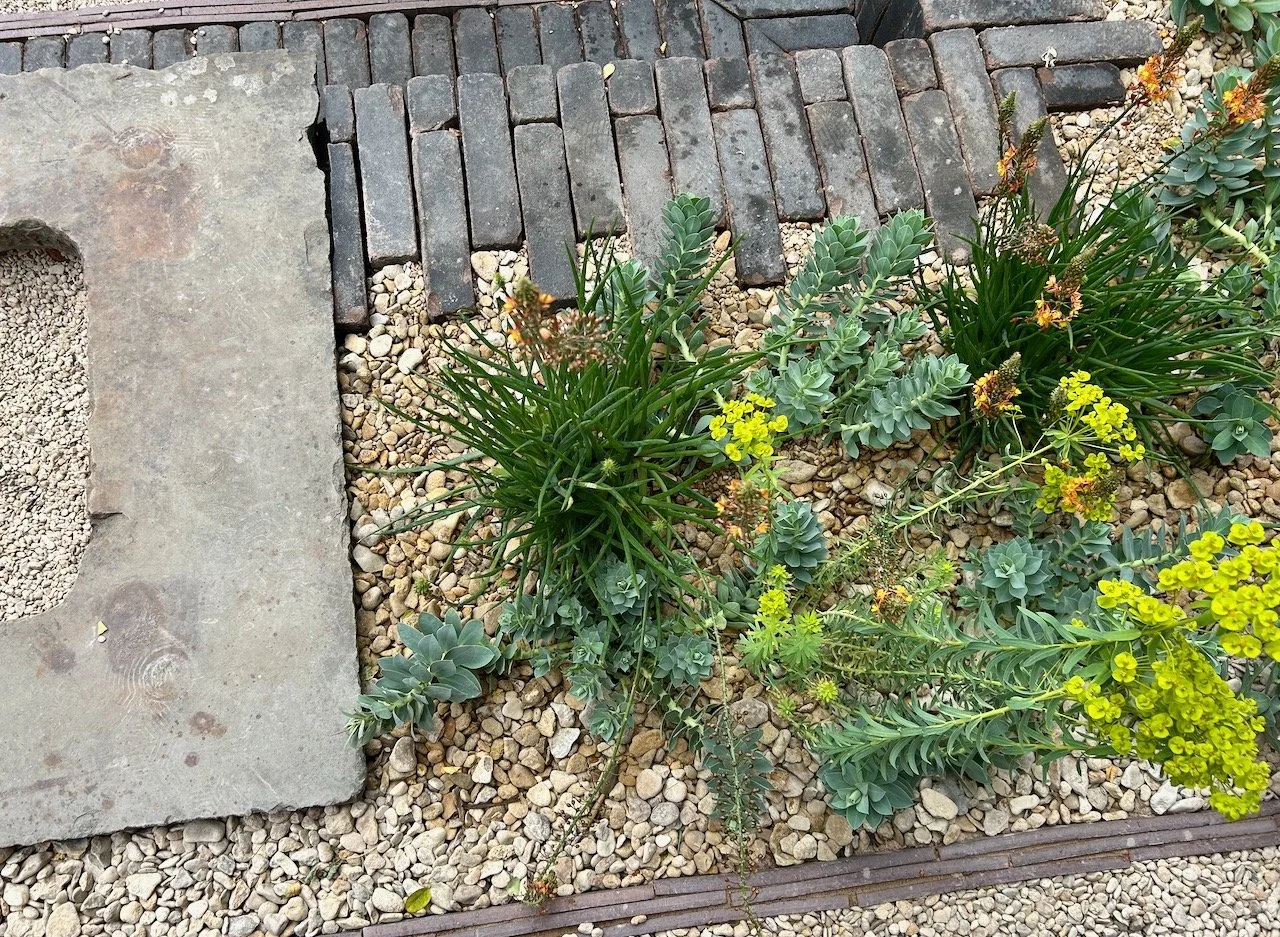
I liked that the planting was at different levels, and even the raised beds varied in height which I think helped this garden feel more like an established garden. The other thing that was a nice touch was the plants that had ‘crept’ over their borders softening the paths.
Even the sage that seemingly had ‘escaped’ the show garden’s boundaries.

I was also a fan of the compost bins, though I’m not sure I’d have placed them this close to the dining area in a real life garden, but the open and stackable concept was good. So much so that I became a little obsessed with how they were built.
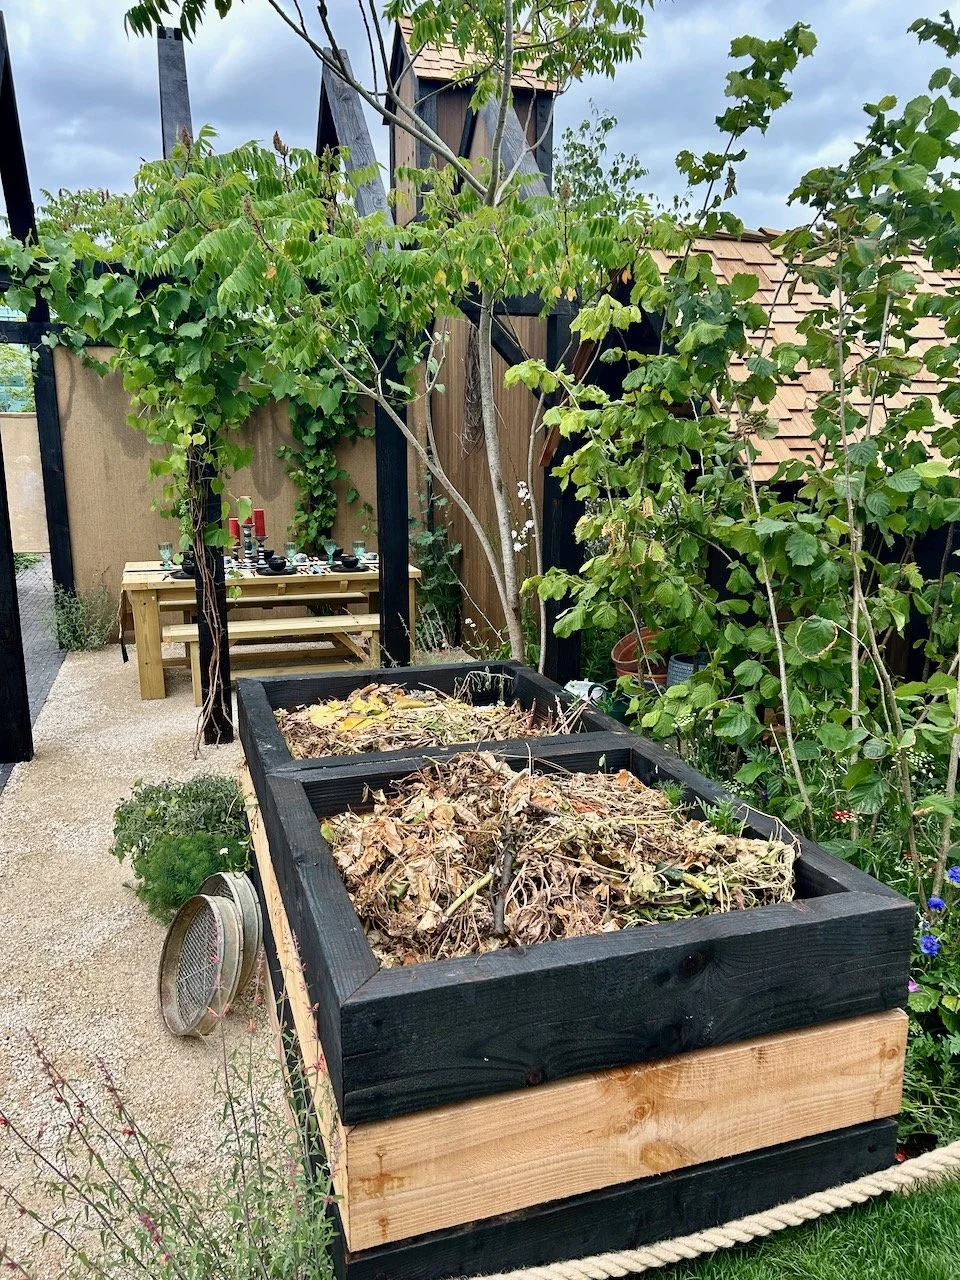
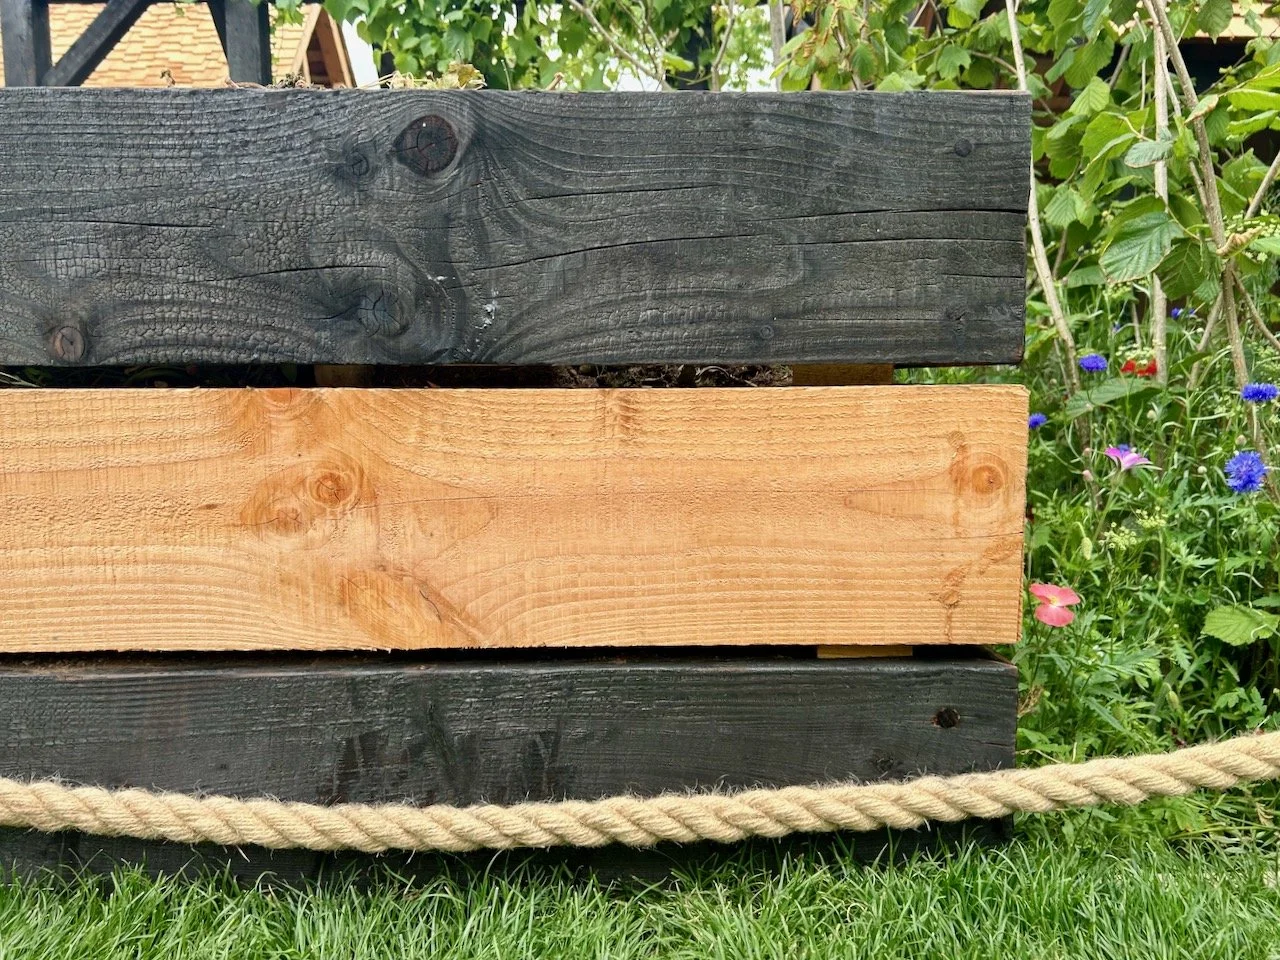
Looking closely and by poking a finger in the gap it seems they were simply stacked on top of each other. And that dark wood was newly charred as my grubby finger attested to!
They definitely gave me food for thought for my own garden, though they may be over engineered for what I need, but they do show that compost bins don’t need to be the ugly plastic daleks!
I loved this garden, and it wasn’t just the structures for me. The concept of one square metre, the dense planting, mixing edibles with flowers, the informality of it all made it a great space, and I hope it has a longer term home - it deserves it.
What do you think?
* With thanks to Gardeners’ World for inviting me to Gardeners’ World Live, it was quite a show! I’ll be sharing more from my visit to this year’s show throughout the year - I hope you enjoy them as much as I did the show.