





Today I'm sharing another Easter craft, and another that I saw on Pinterest and fancied trying myself. Like the pom-pom bunnies and chicks I shared yesterday I looked at the original post and was inspired. So I decided to make a mini-version and you might have already spotted it in my Easter Tea Party post on Sunday.
I popped down to my local craft superstore in the hope that I'd be able to buy an egg-shaped die to use in my die-cutting machine, but it was not to be. But while I was there I did manage to pick up some pretty scrapbook paper, a craft knife, some Easter ribbon and a square die as consolation. They're dangerous places, aren't they?
So armed with my new pretty paper, a pair of scissors and a 3 inch egg template I was ready to start.
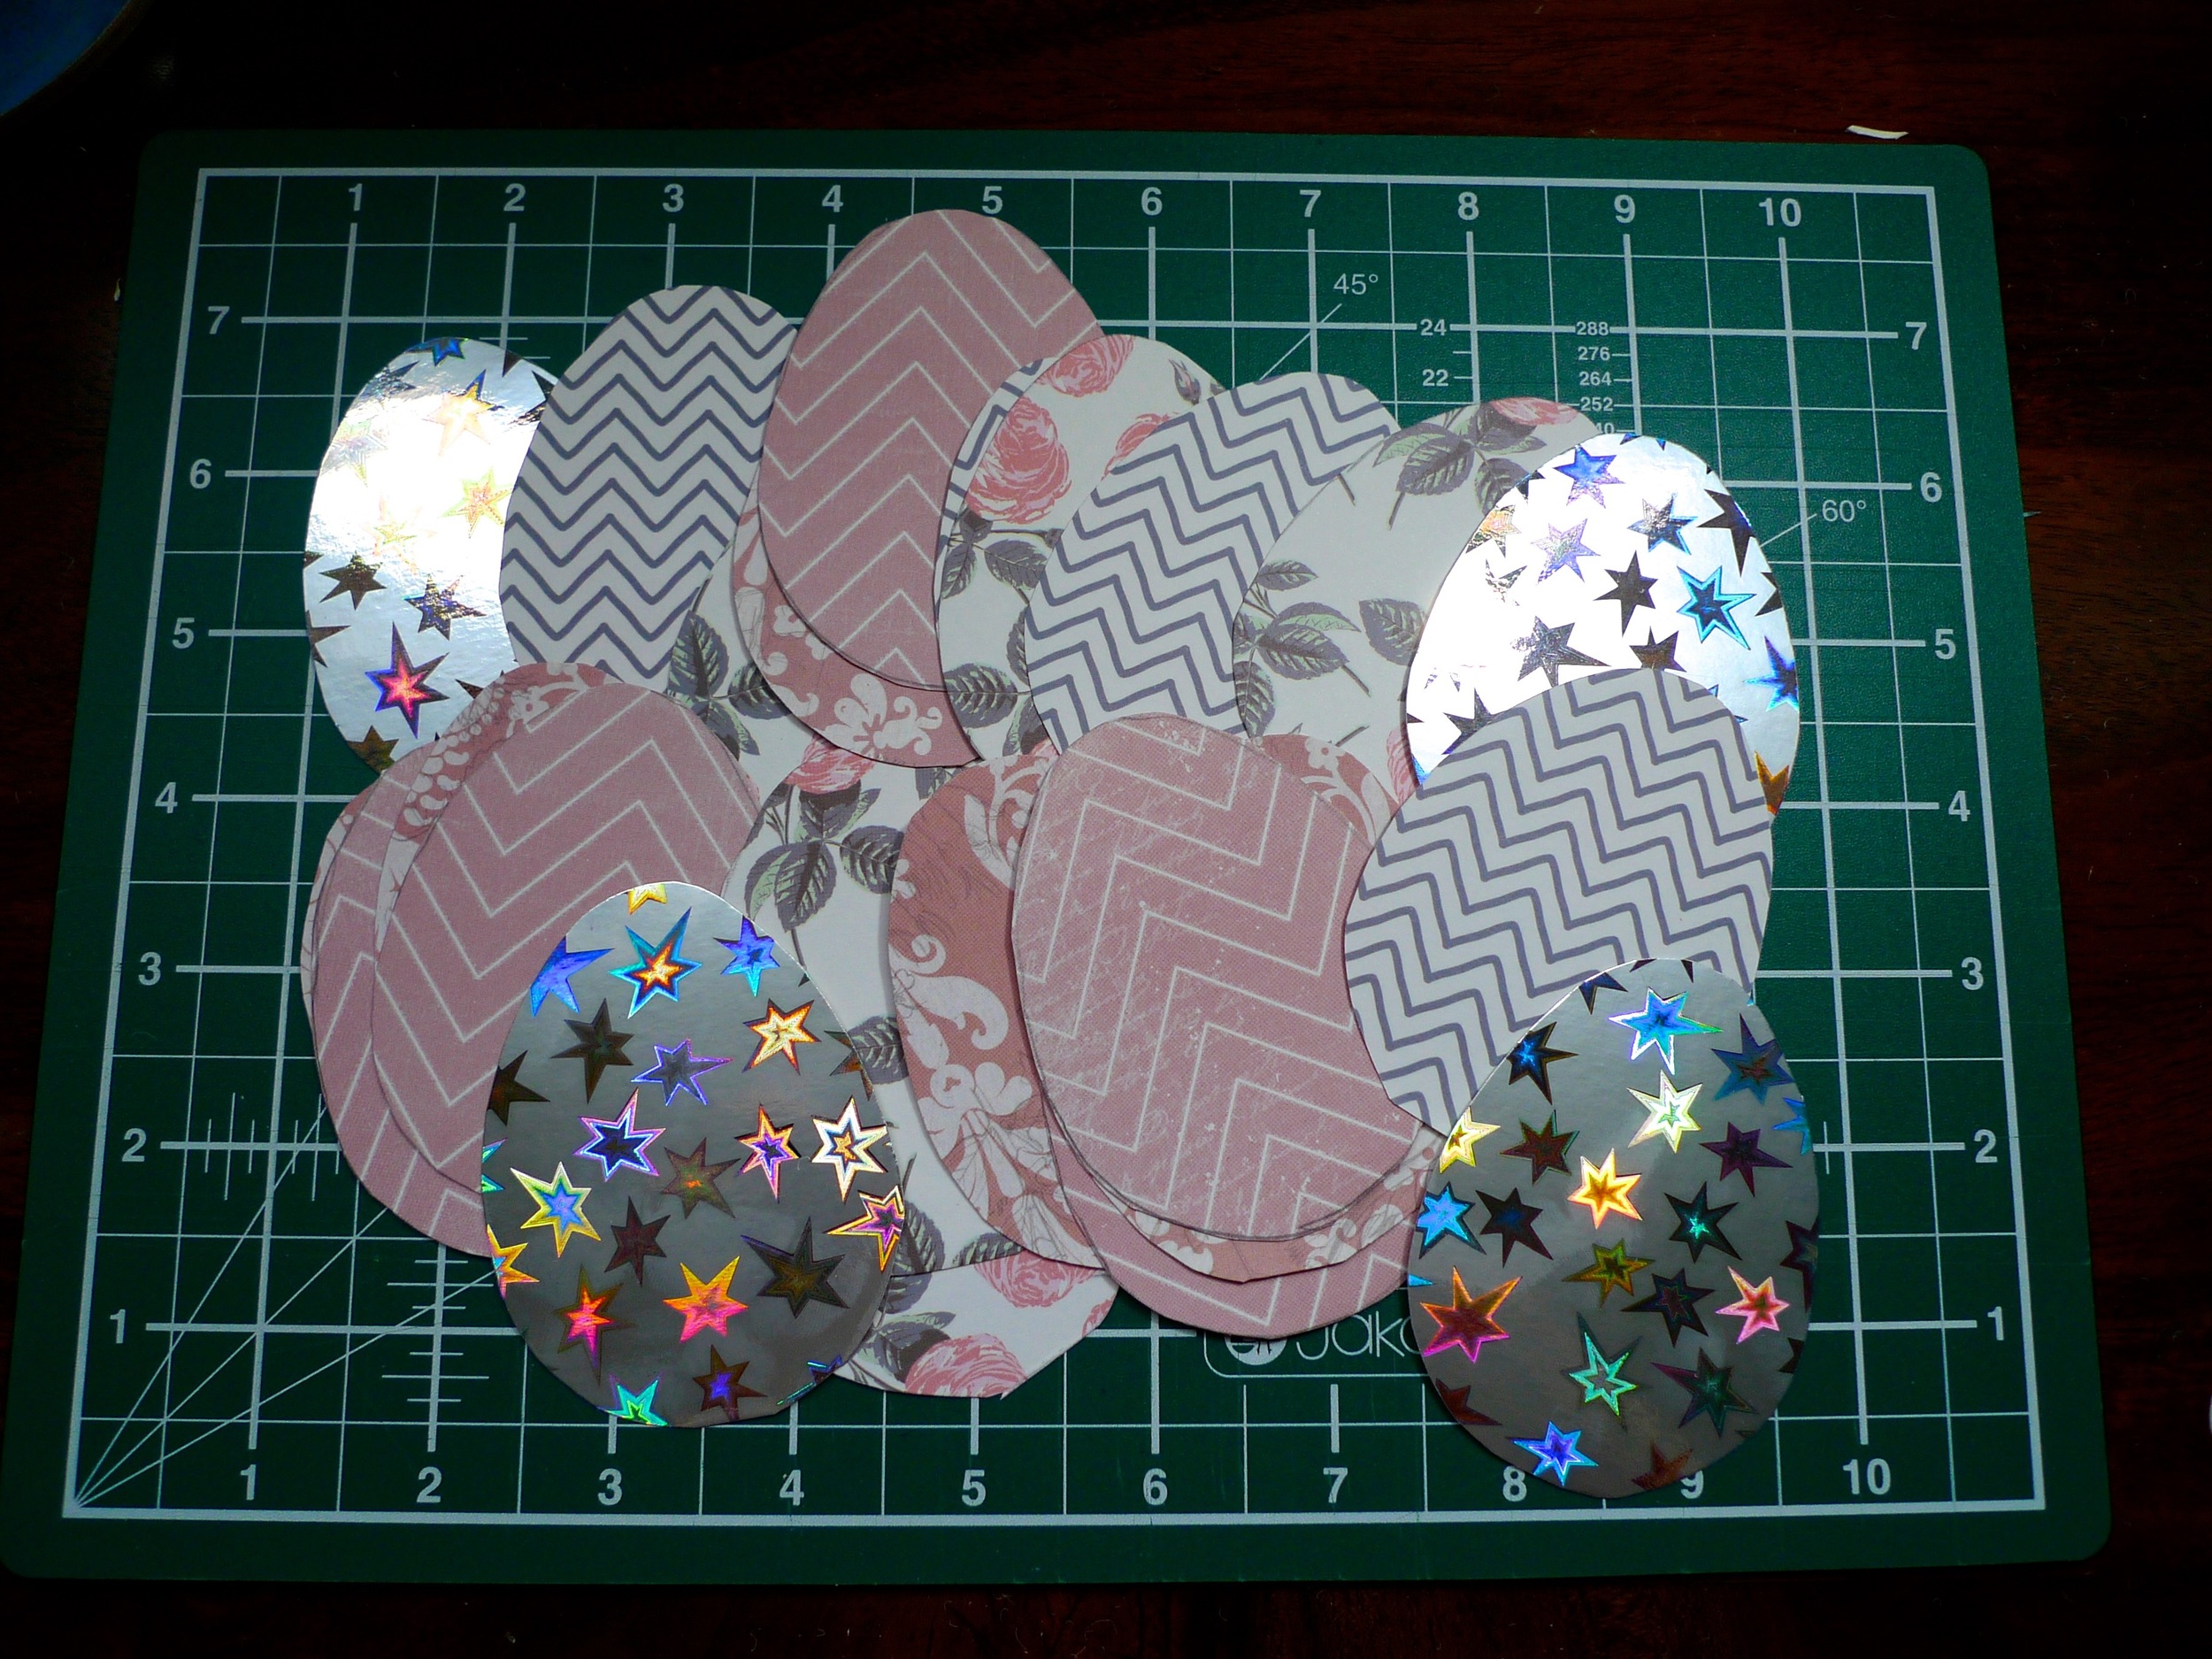
1. The first step is easy enough and you fold your egg shapes in half. This caused me some dilemmas as while most of the new pretty paper I'd chosen had a pattern on both sides, the hologram card that I wanted to use only had the pattern on one side. In the end I folded the single side patterned card with the plain side on the outside - this seems to have worked, but next time I think I'd use all double sided paper/card.
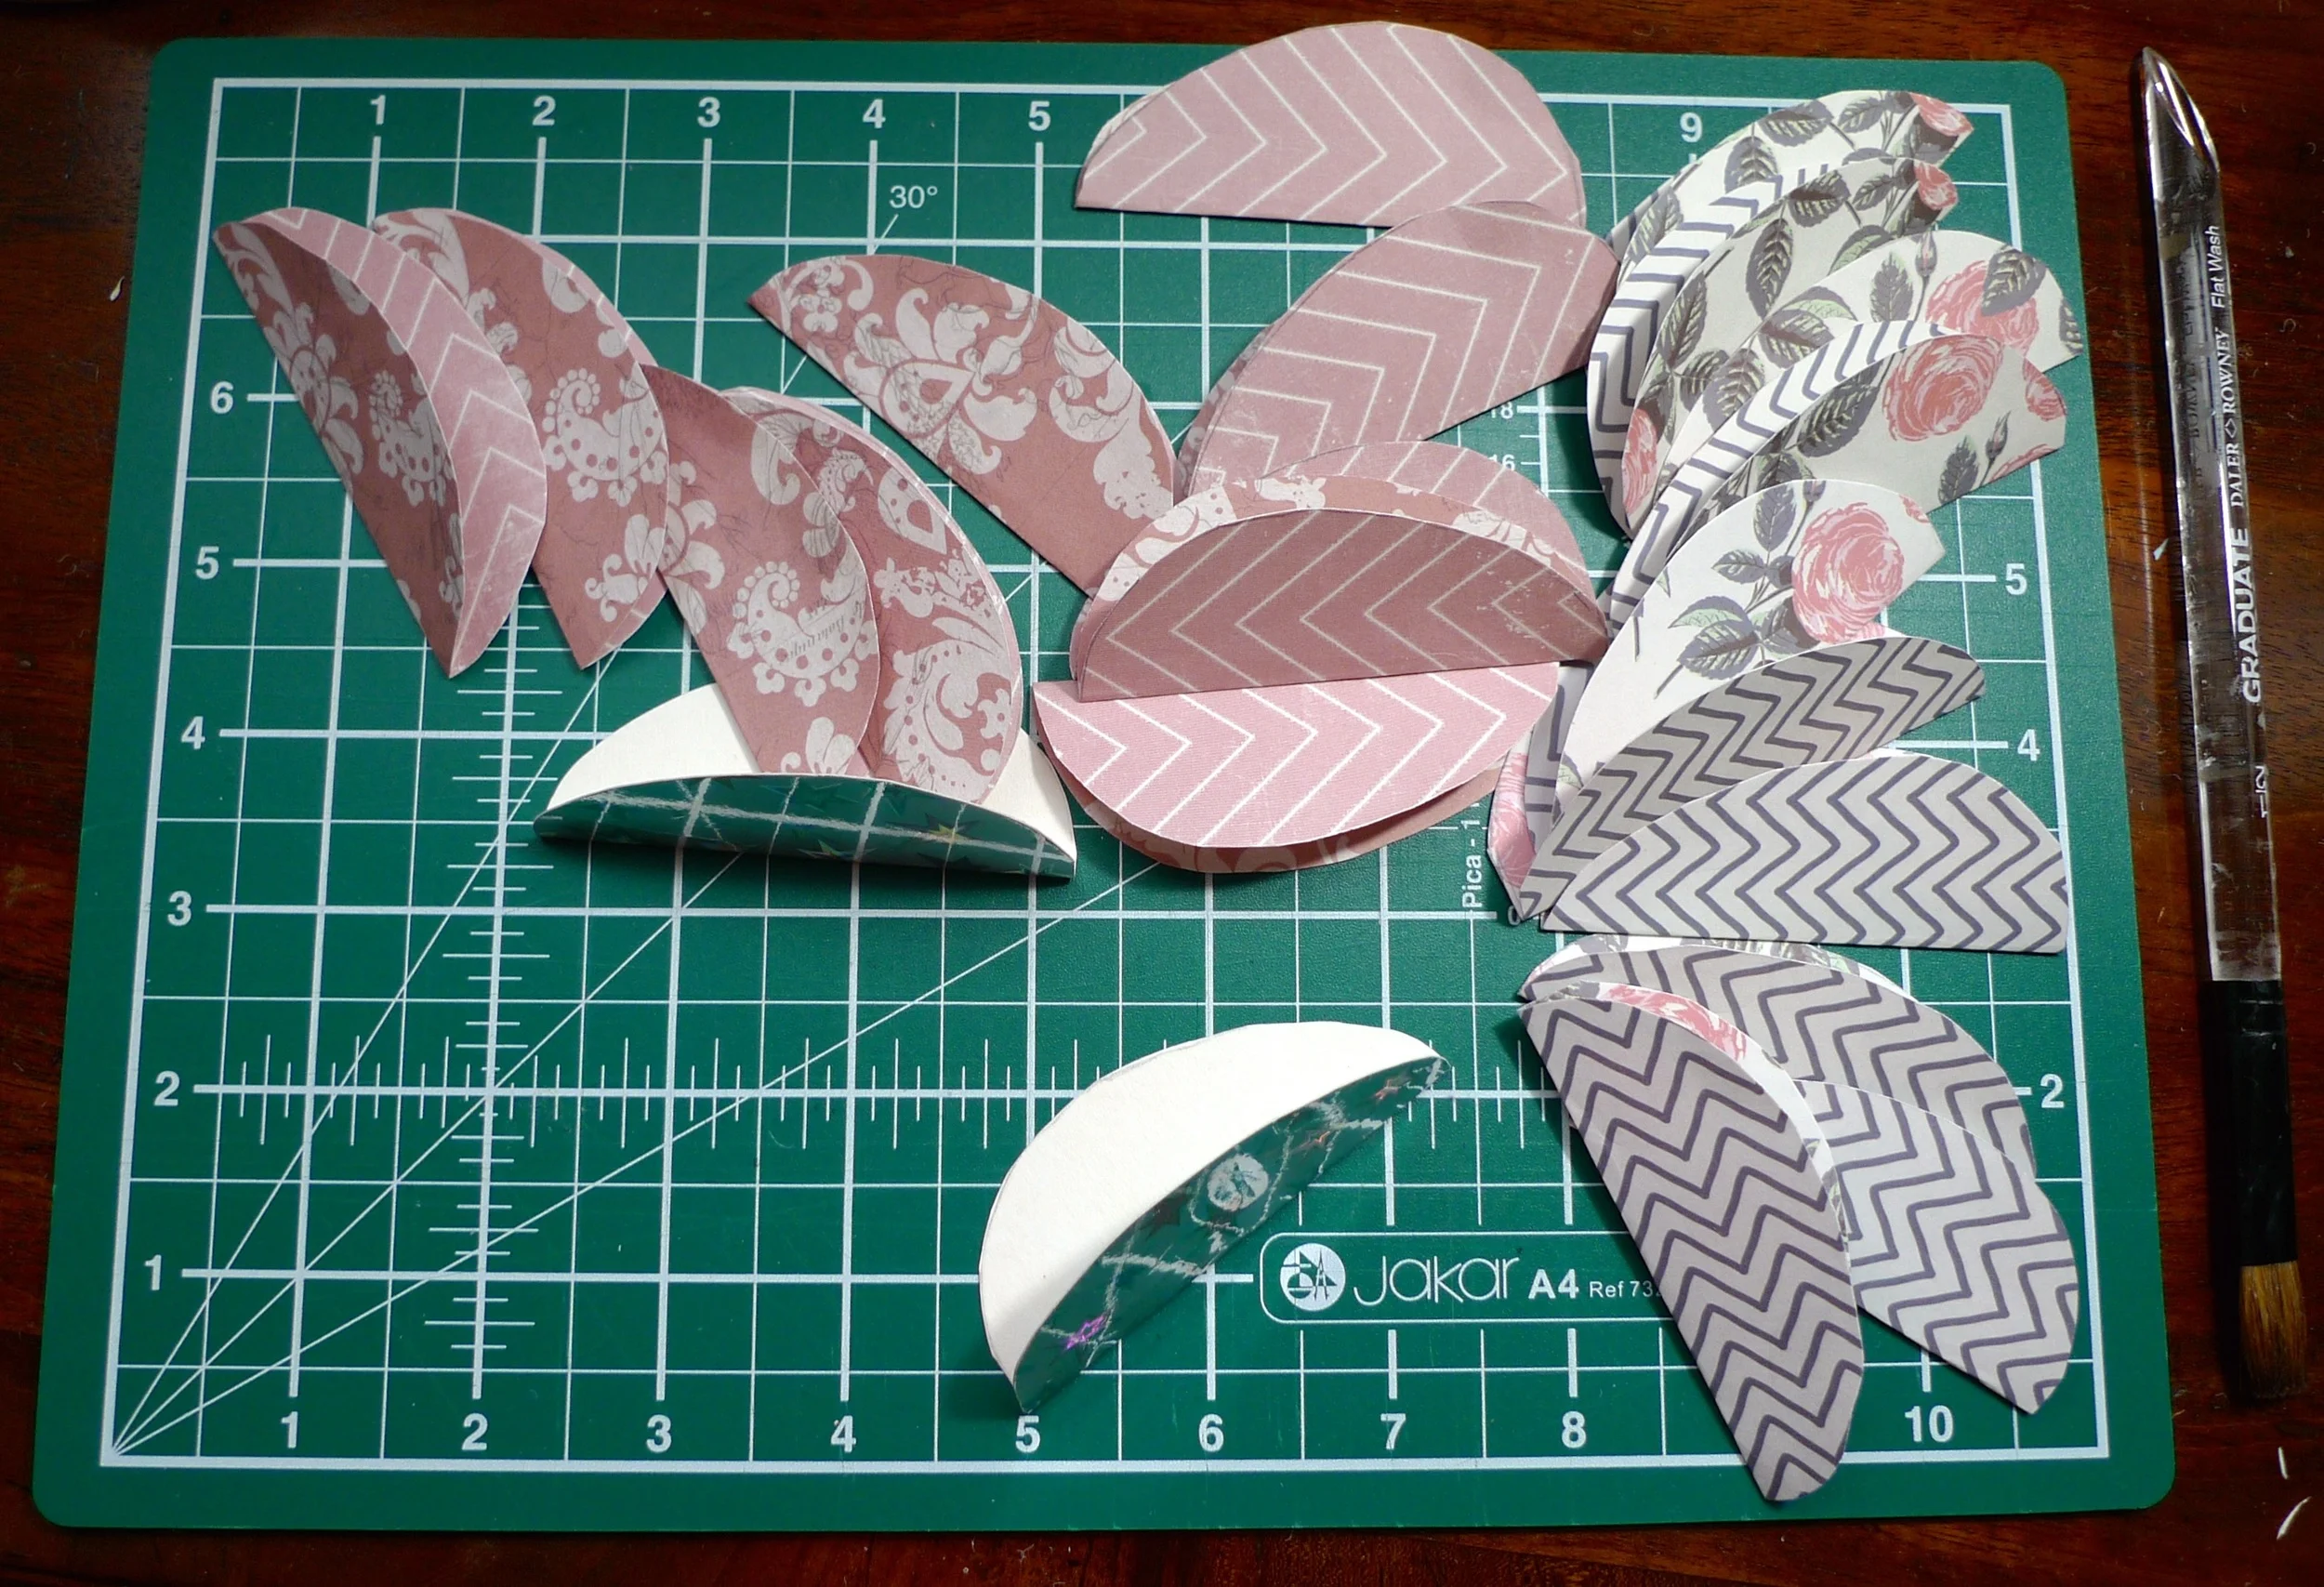
2. Then it's time to start sticking!
I started with the hologram card and added glue to the fold (on the plain side) and stuck these together to form the basis of my structure. In reality this meant that I don't see much of the hologram card, but as it was the heavier grade I wanted that spaced equally throughout my egg.
3. Then you keep adding more of the folded egg shapes. Make sure you only glue the fold, or else you won't get the fan shape that looks so good. The tip to stand your egg as you build it in the lid of the jar, is a good one - definitely do this, it makes it much easier!
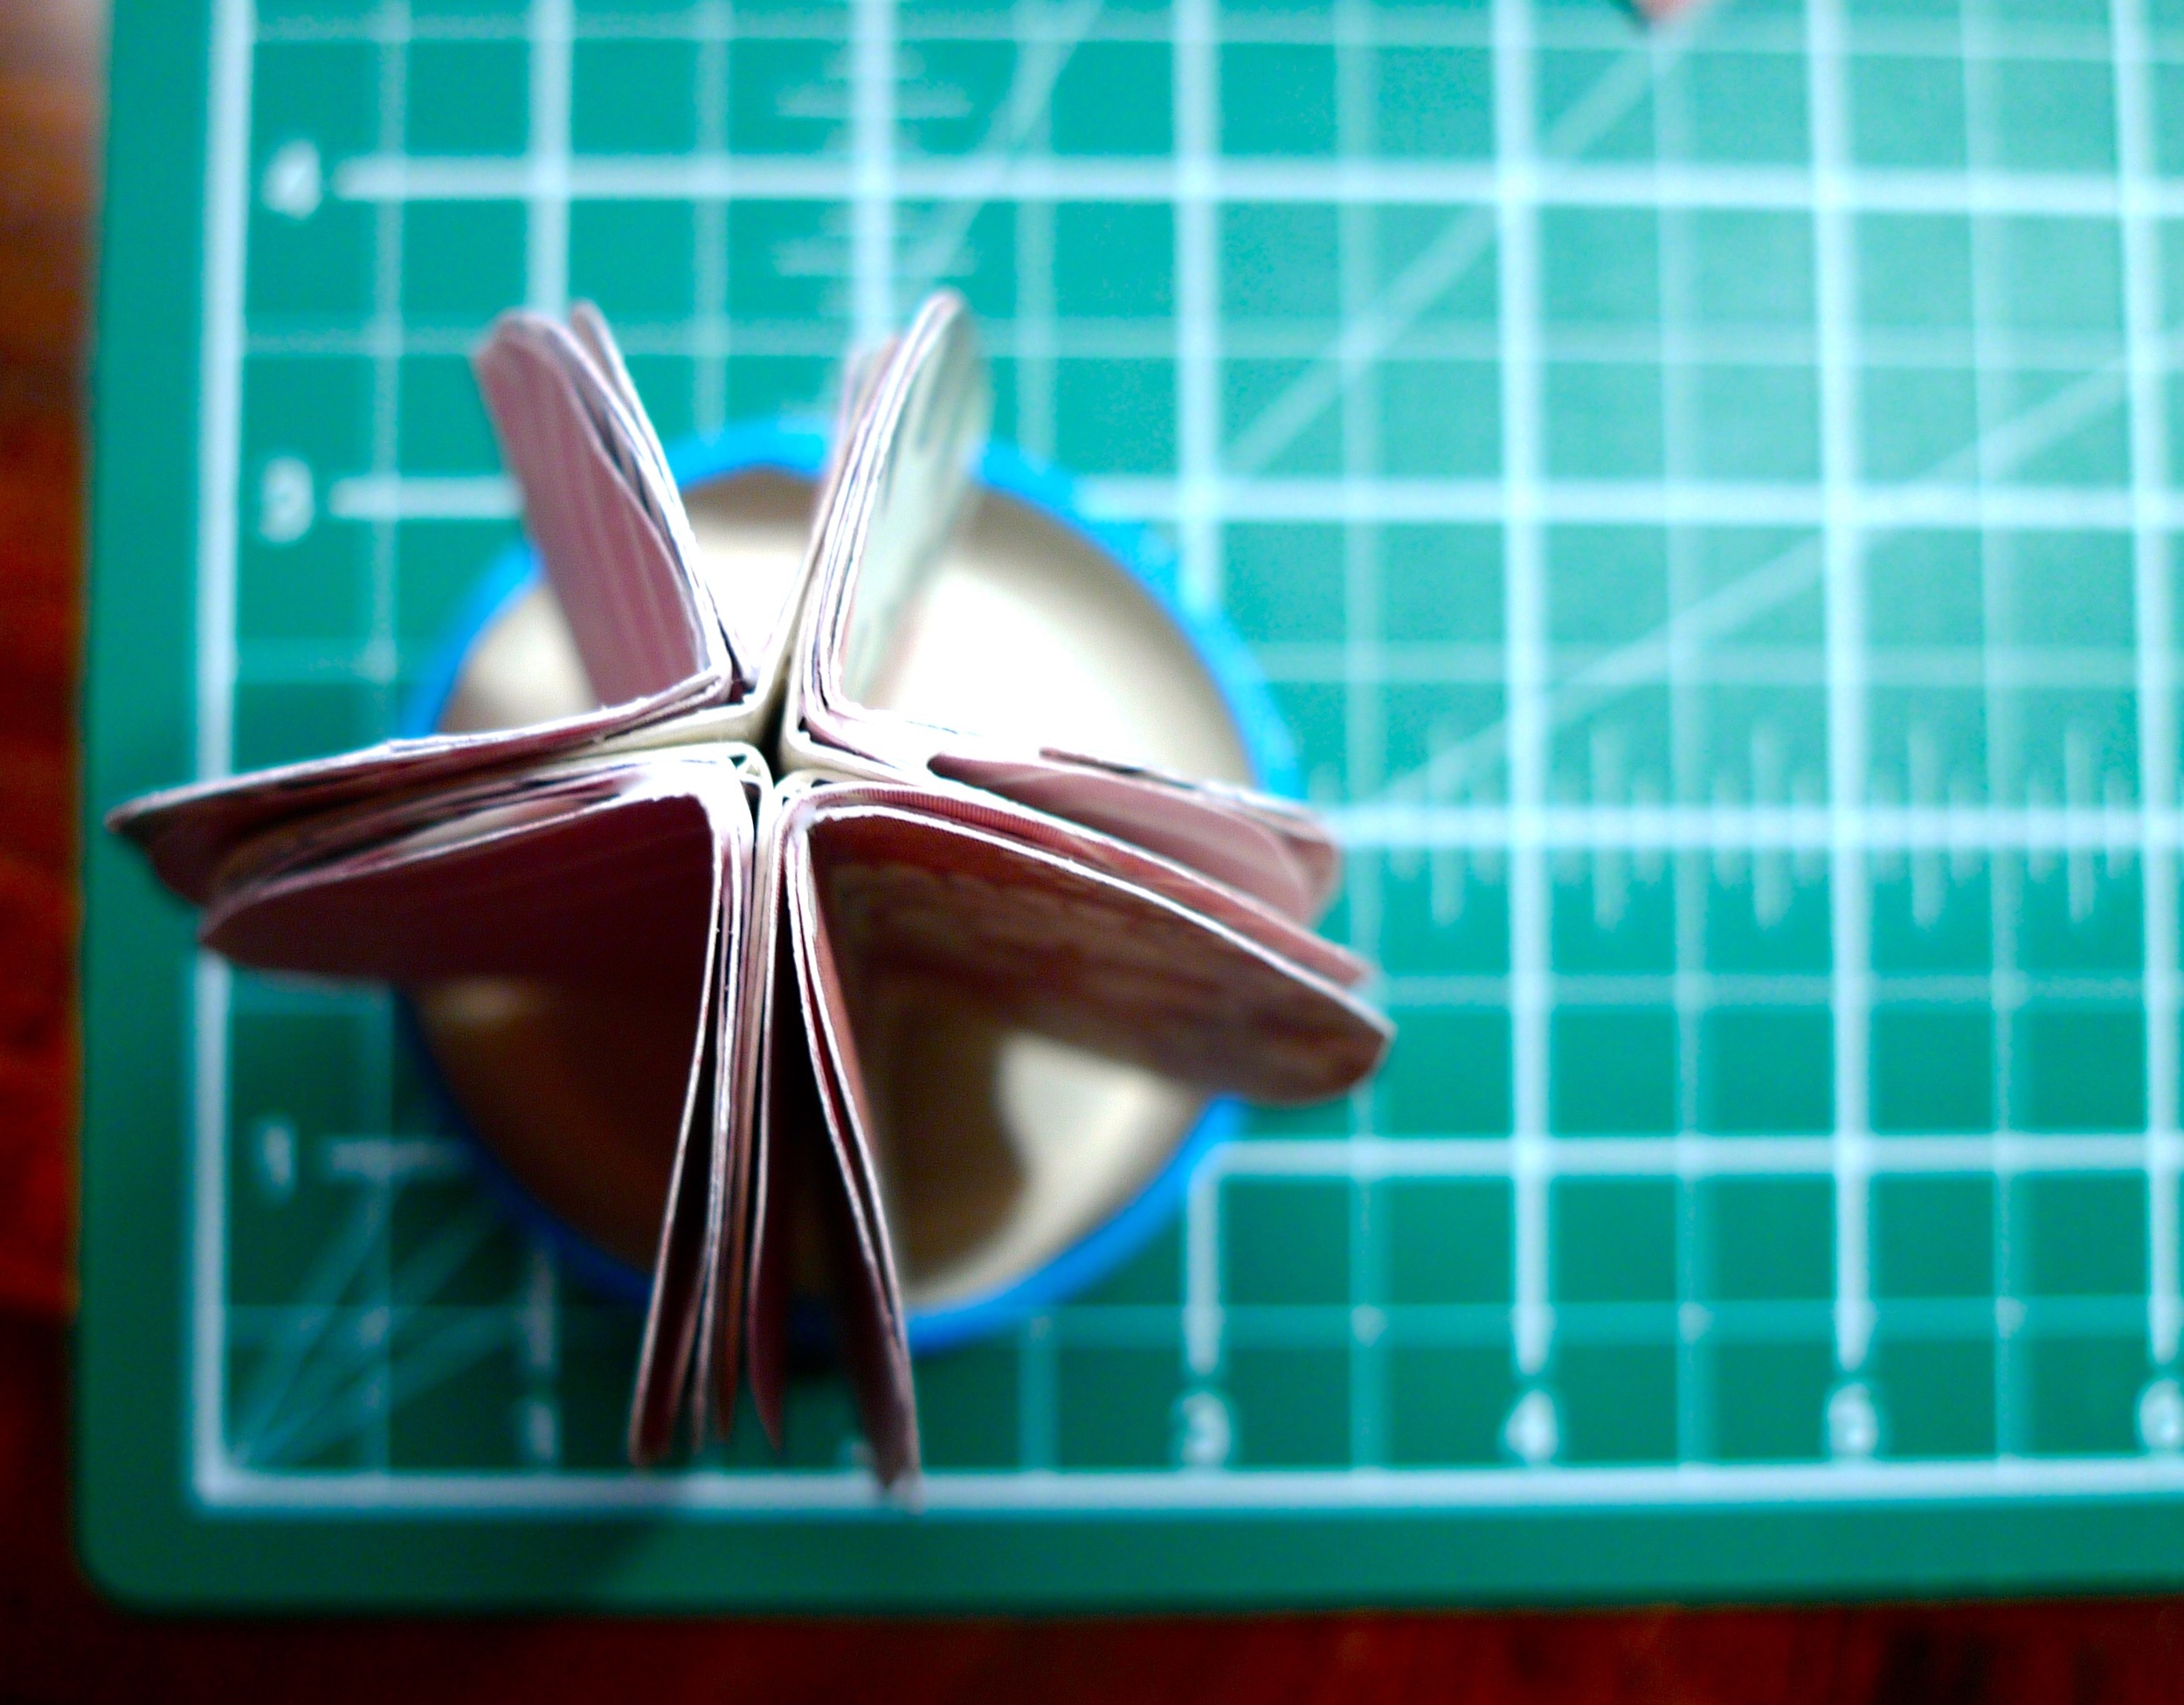
4. It doesn't take long for the egg to take shape. Looking back I'd add the layers more slowly once the glue had dried a little next time I make one, as I think that might make it easier and reduce the amount of pressing together needed.
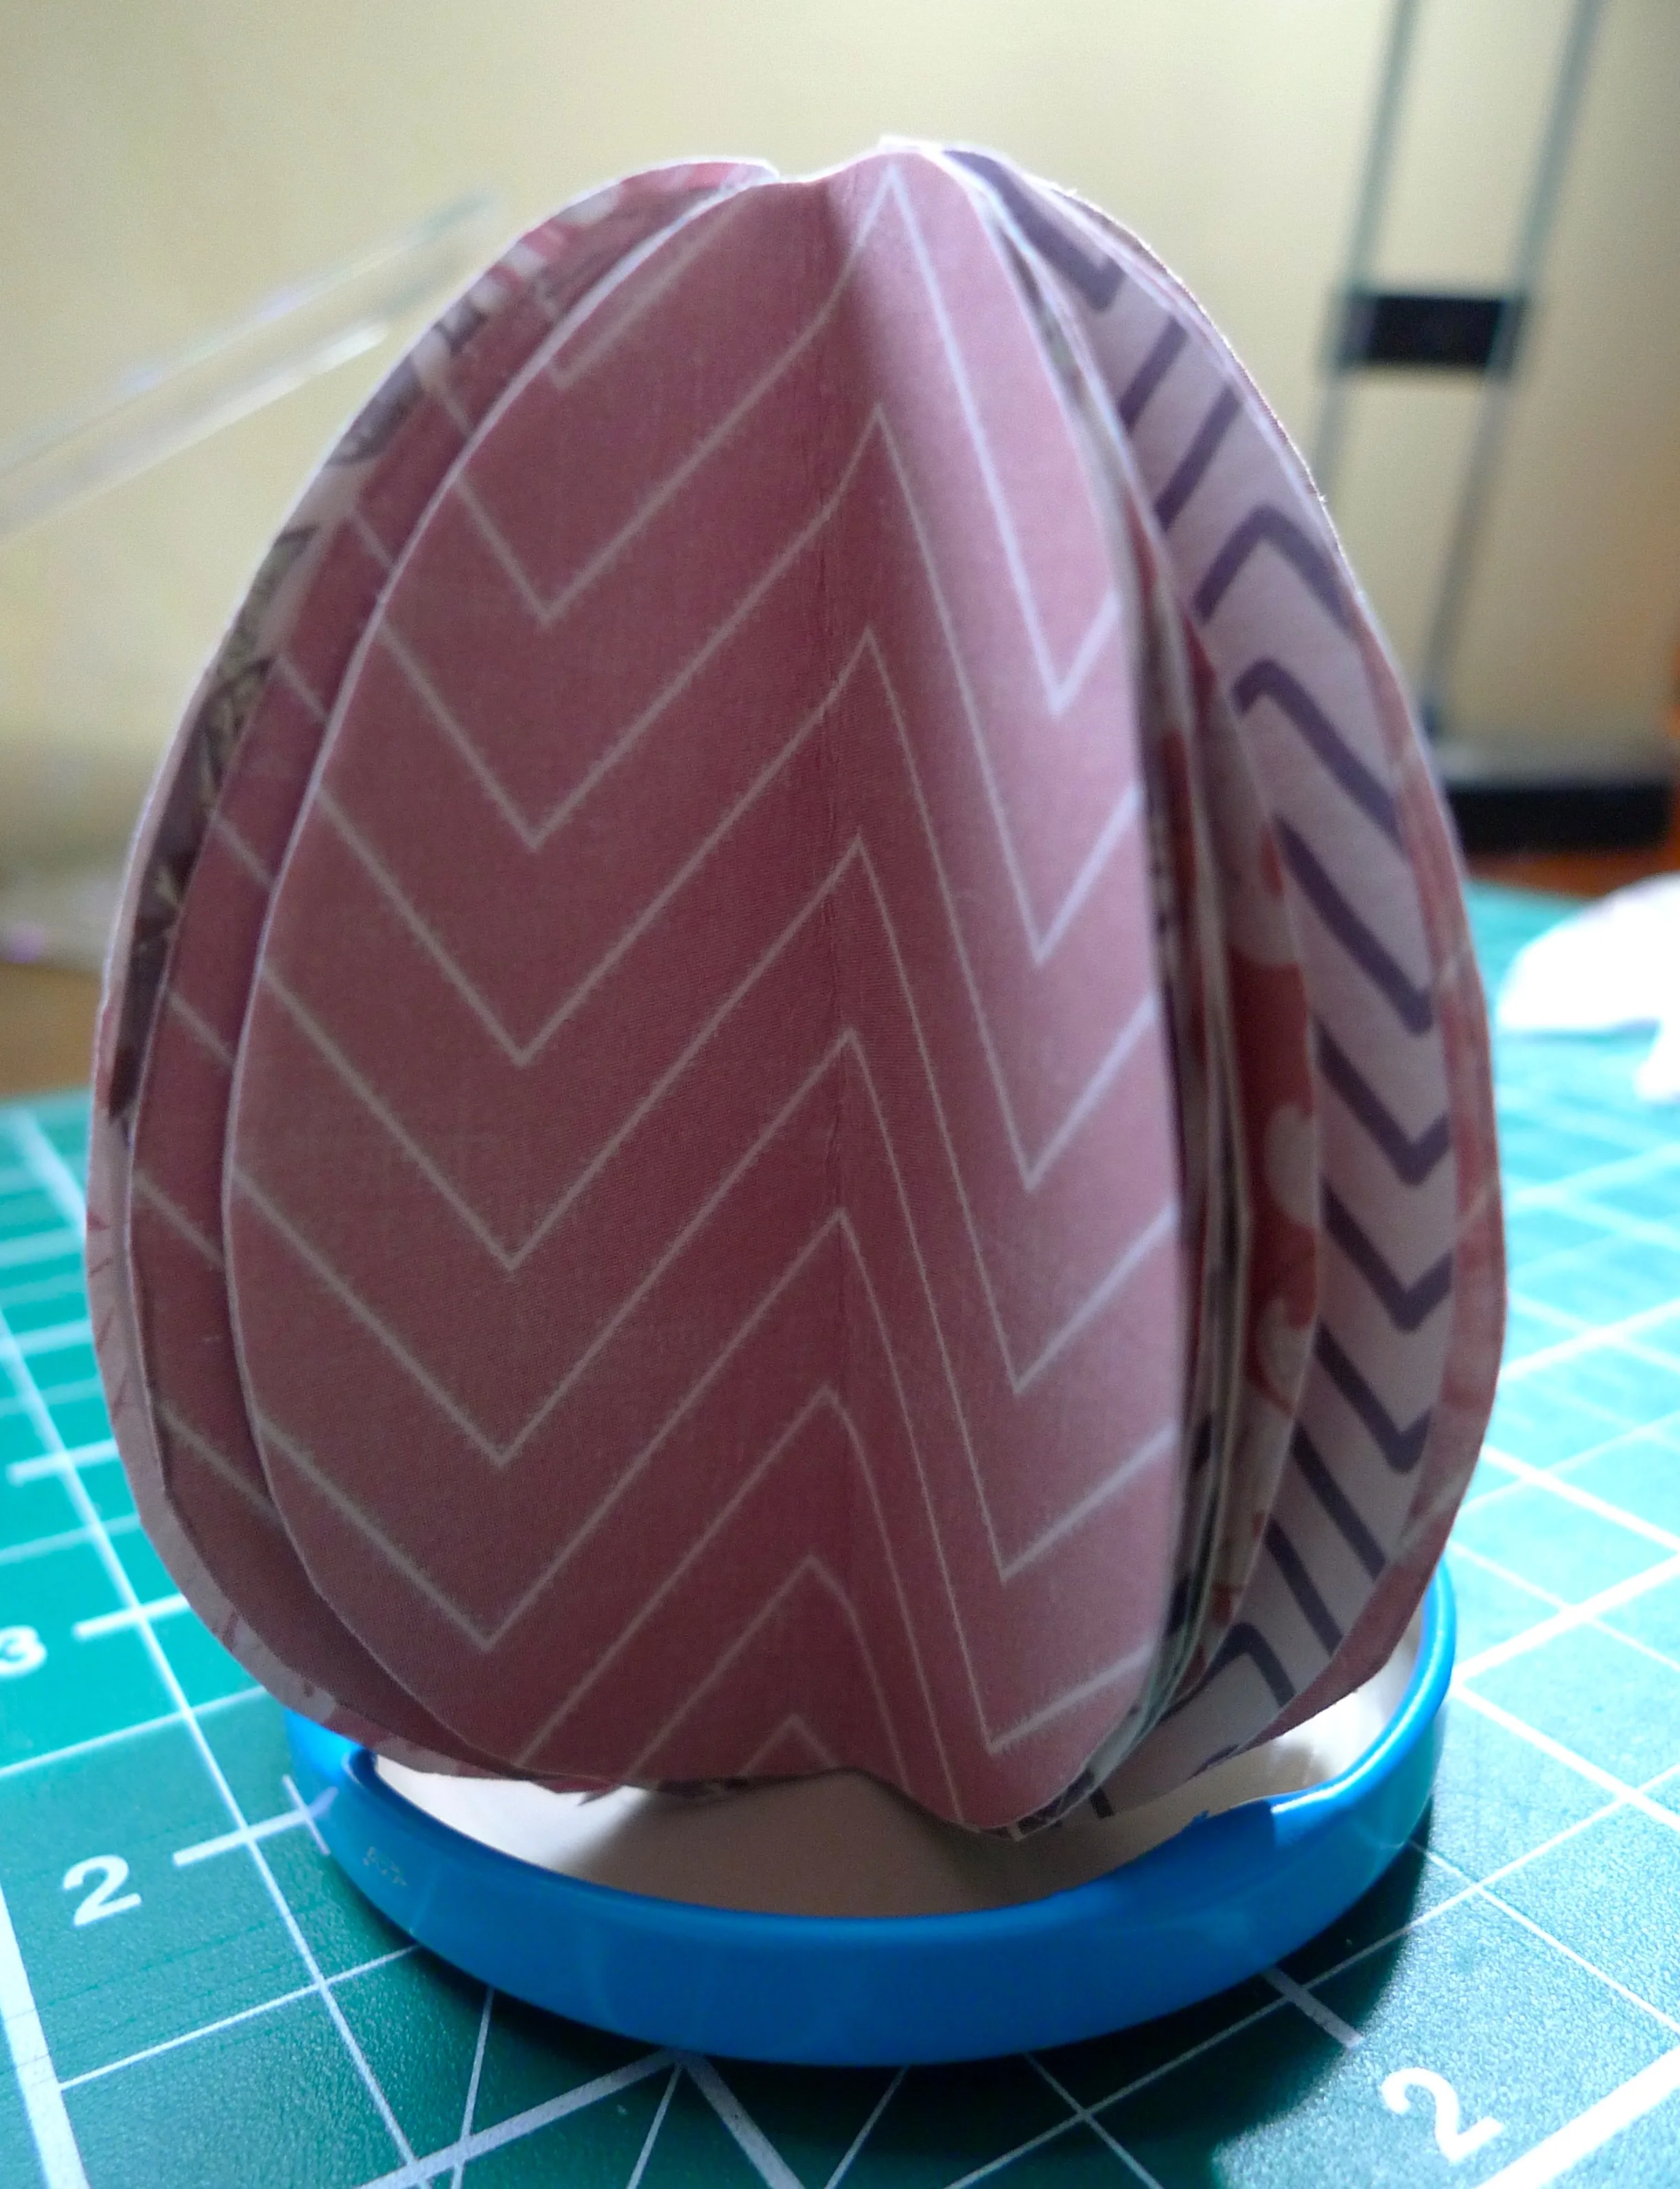
5. Continue to add folded eggs wherever there are gaps, until you are happy - or bored of cutting egg shapes. My egg had 34 egg shapes, I could probably have fitted some more in, and I think if I'd used a thinner paper I would definitely have needed more cut outs.
6. When you're happy with your egg, stick a ribbon bow onto the top of the egg using more craft glue and leave to dry.

7. Once the egg is dry "fan" the leaves gently so you get the look you're after, and then use it for your Easter decorations or as an Easter gift.
I'm happy with the egg I made and I'd make another and I think I'd also try a circular one too - they'd look great on a Christmas tree wouldn't they?
And before I go here's some more shots of my finished egg, isn't it pretty?
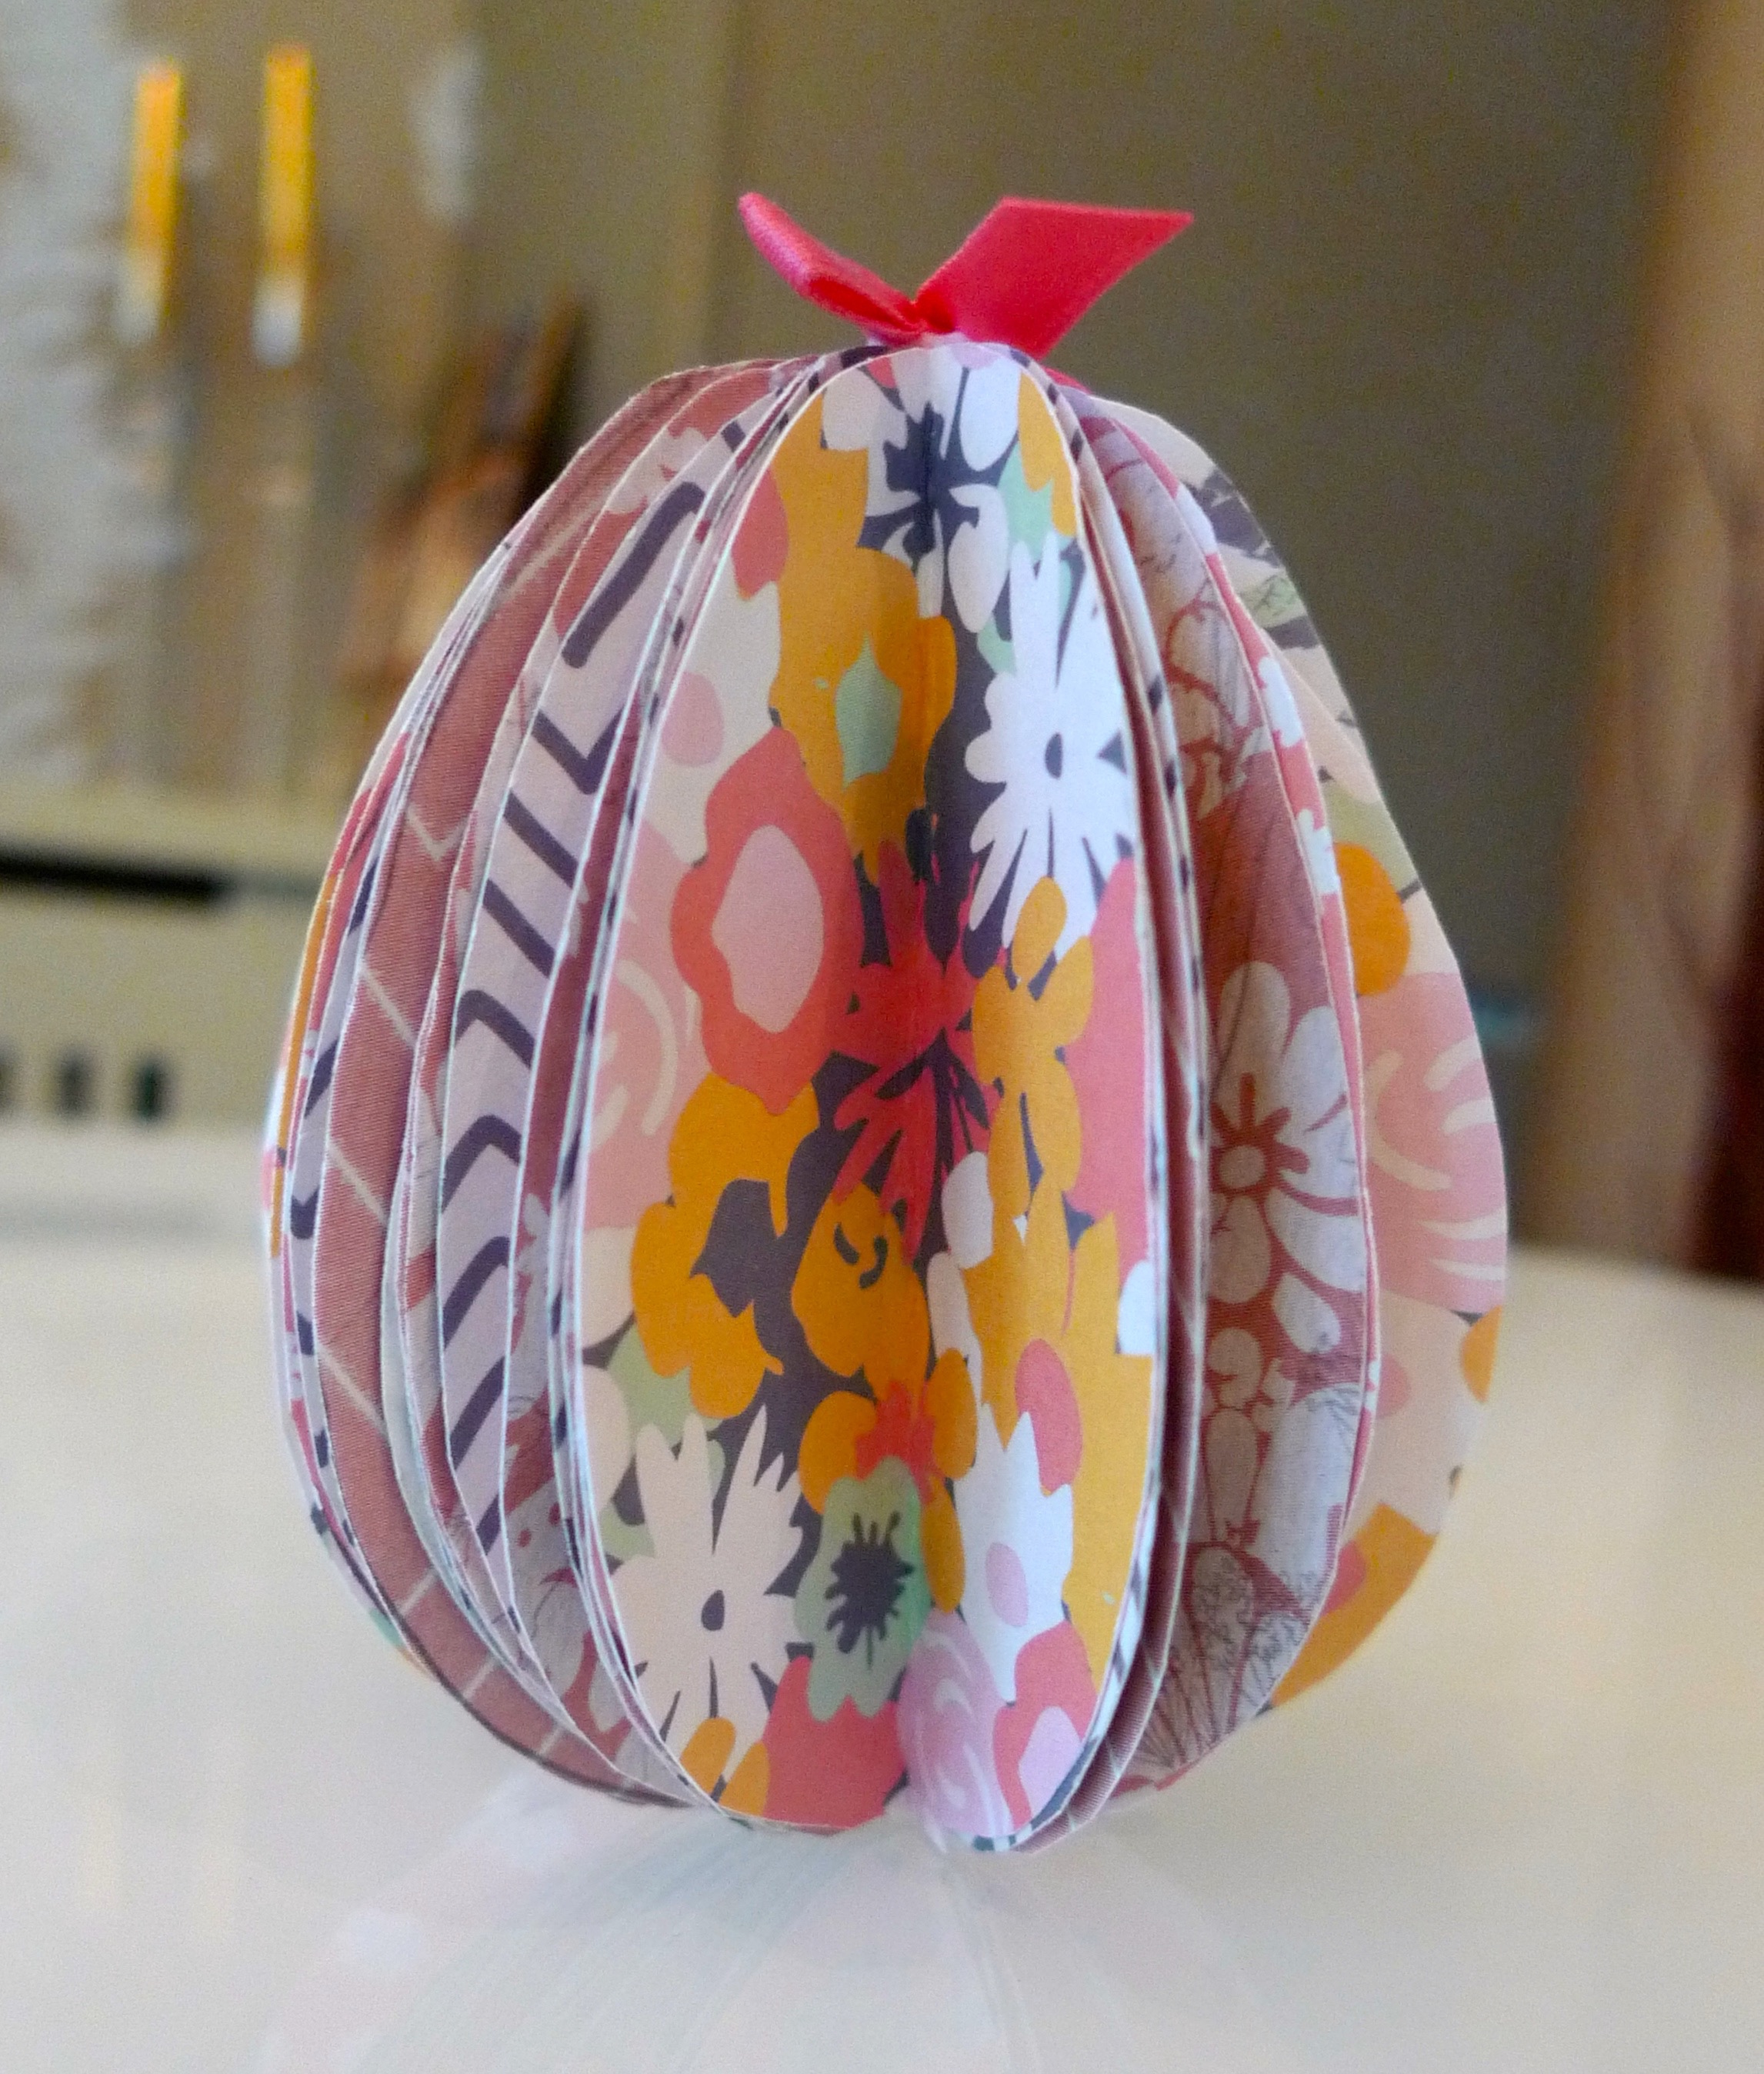
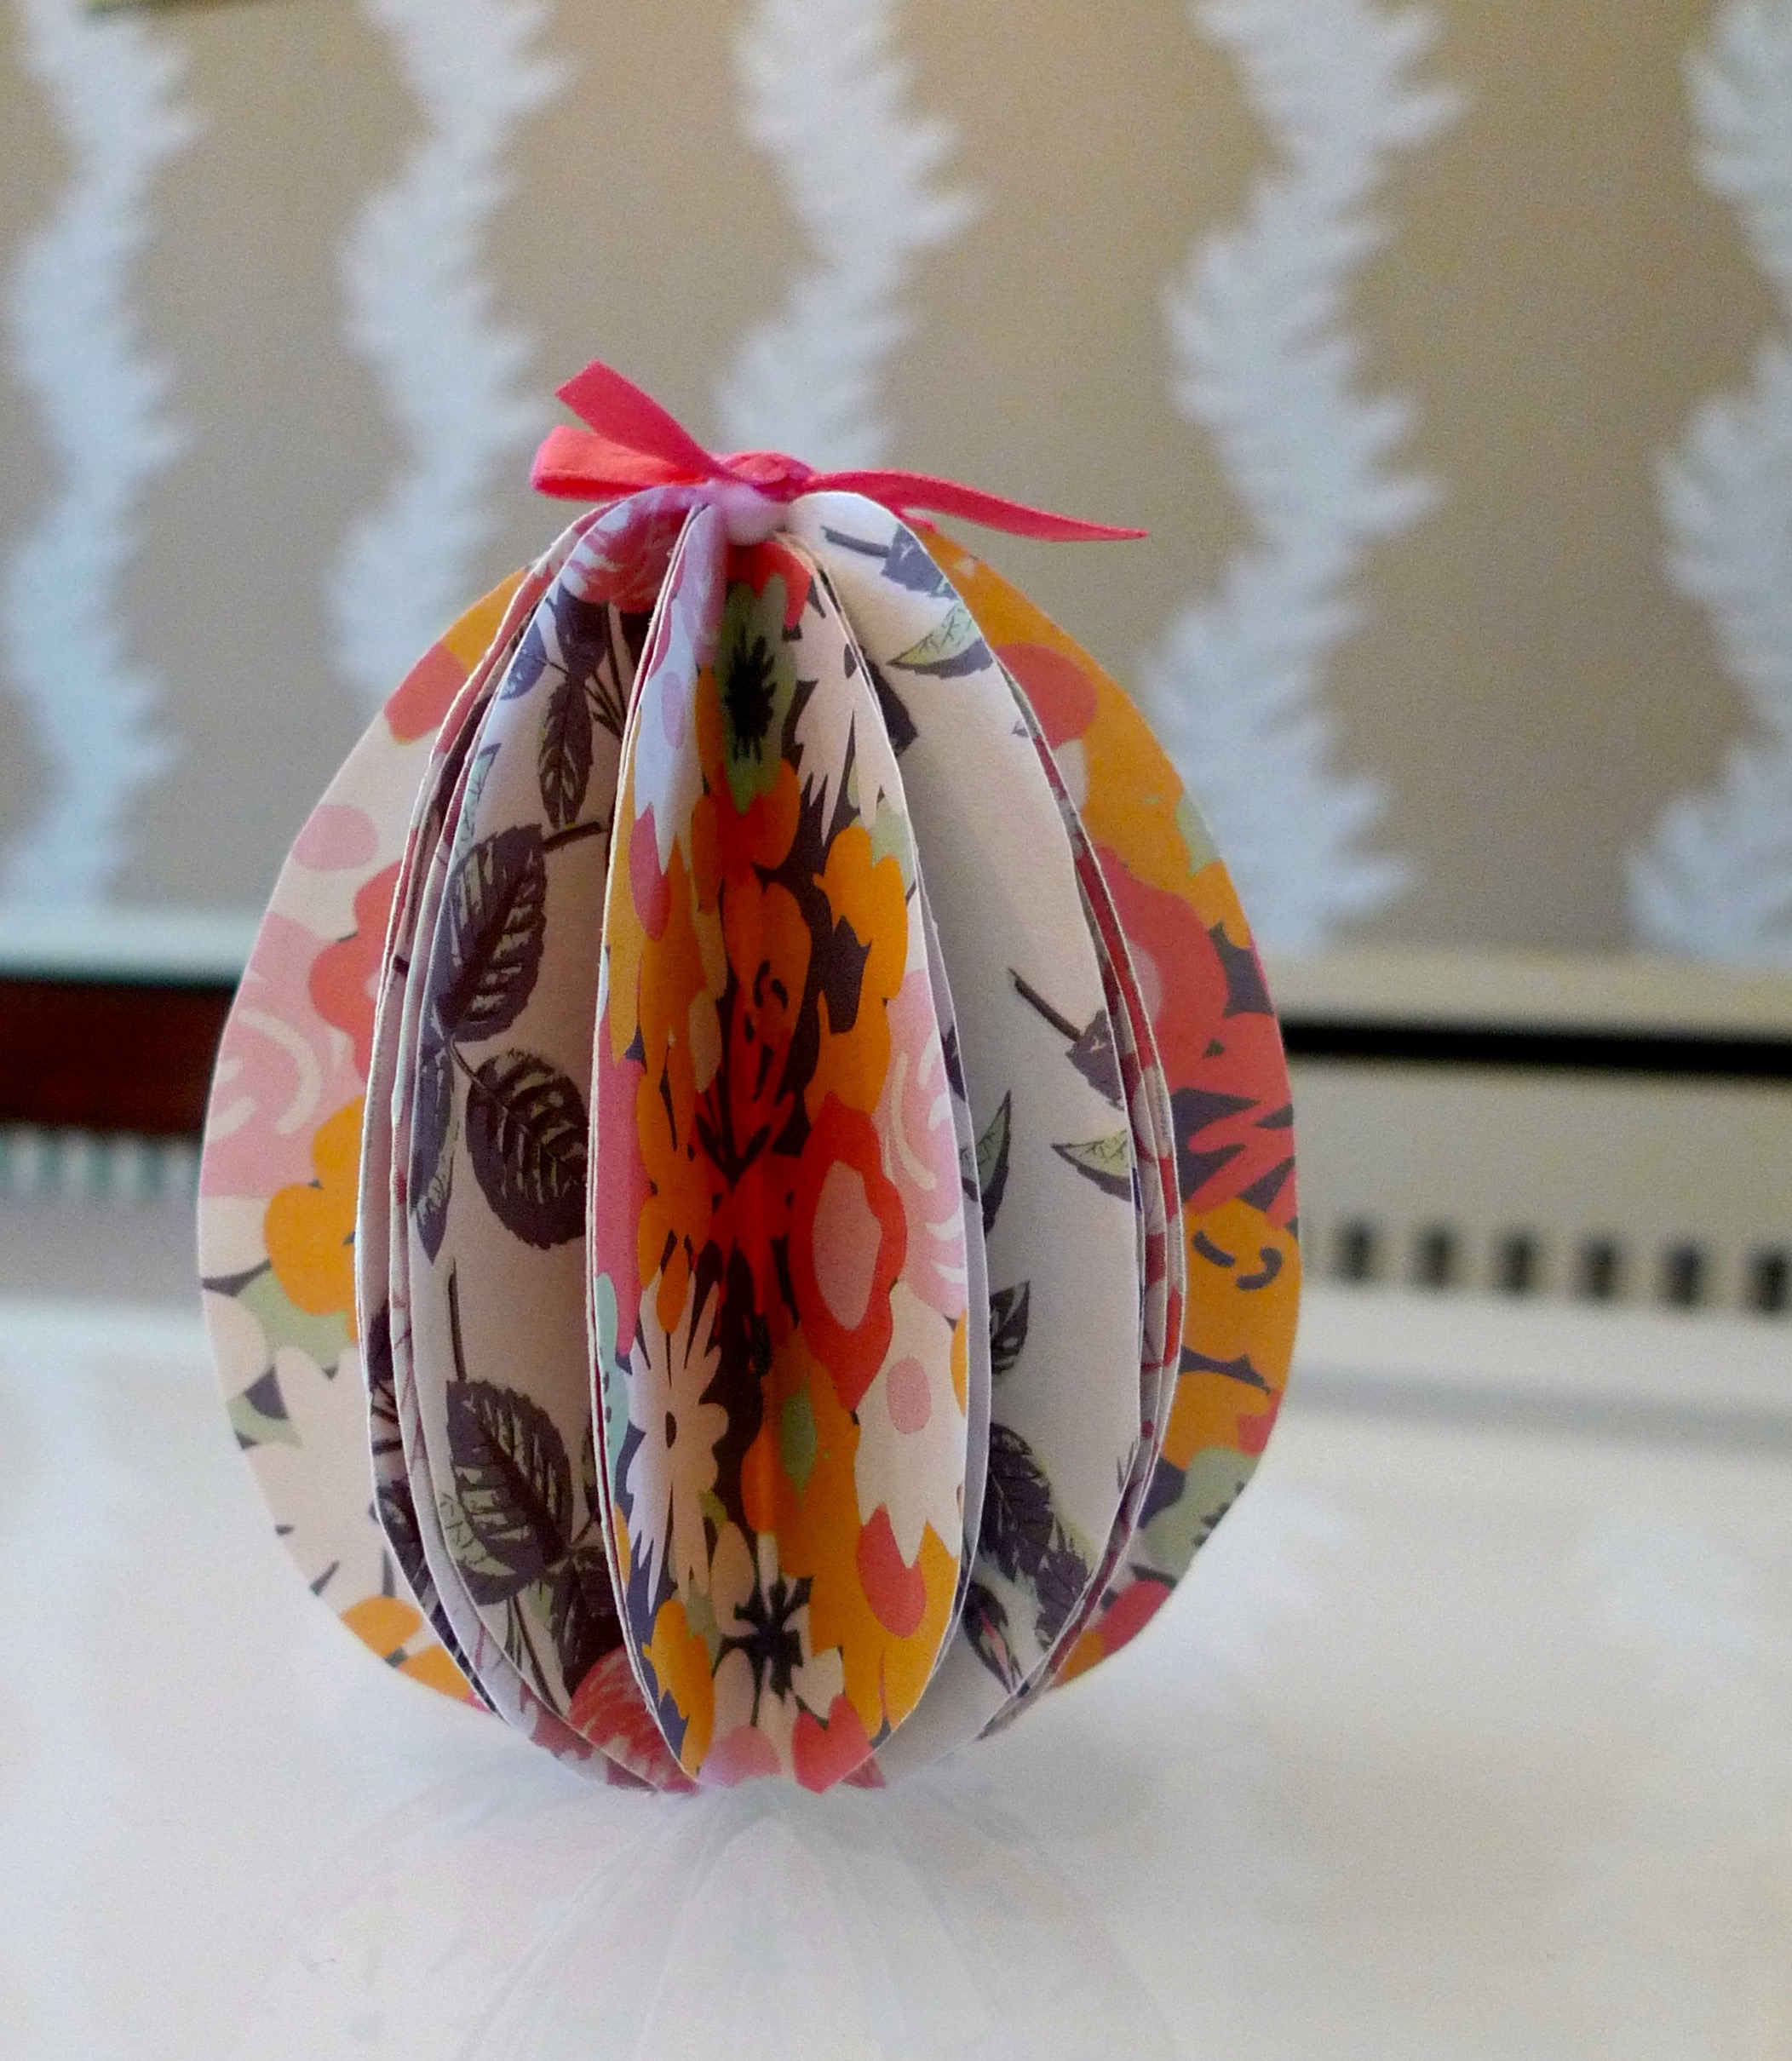
To see more of my Easter-inspired pins take a look at my Easter PInterest board:

Let's talk TV Units
On their site there's a selection of TV units which I think are right and up to the job. You see, I have issues with the TV property shows that have TVs on a wall above a fireplace, I think the TVs are just too high.
My rule of thumb is that the TV should be at eye-level , or lower when you're sitting on the sofa. Often (but not always) having it above a mantelpiece means it's too high and therefore uncomfortable to watch. I also think it gives greater prominence than is necessary for a piece of electrical equipment which all too often we can plan our lives around.
For me, TV units should be at least twice the width of the TV itself and low-level. That means they aren't in your eye line as you watch the goggle box and therefore don't interfere with your viewing. Ideally, I'd have some open and closed space, because let's face it we could all do with the extra storage, and not all of it needs to be pretty!
So these are my picks from the Living Room section of their site:
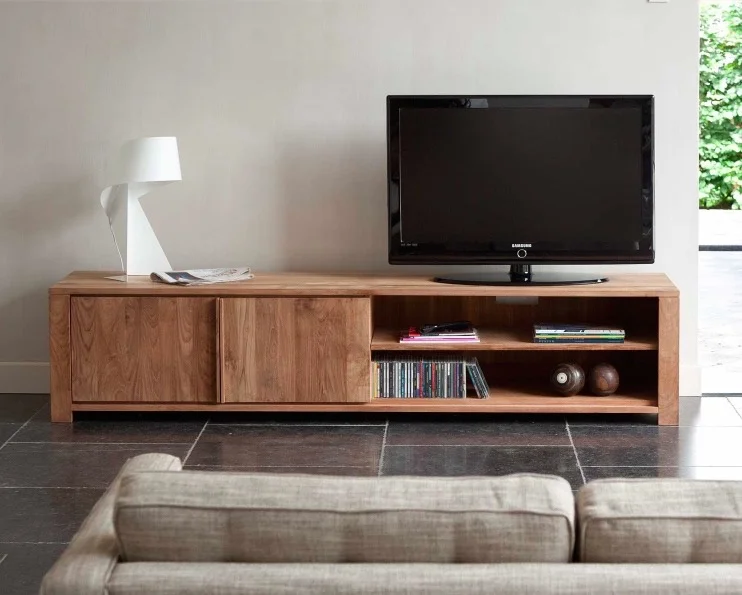
TEAK LODGE TV CUPBOARDS FROM £1099
Photo credit: AIF
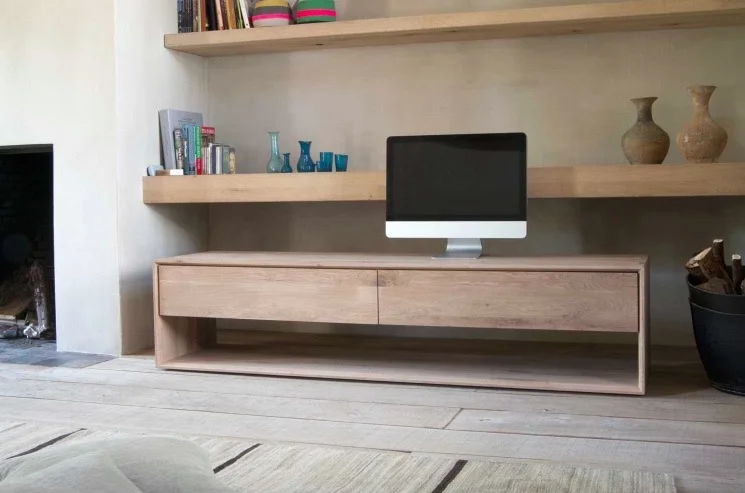
NORDIC OAK TV UNITS FROM £859
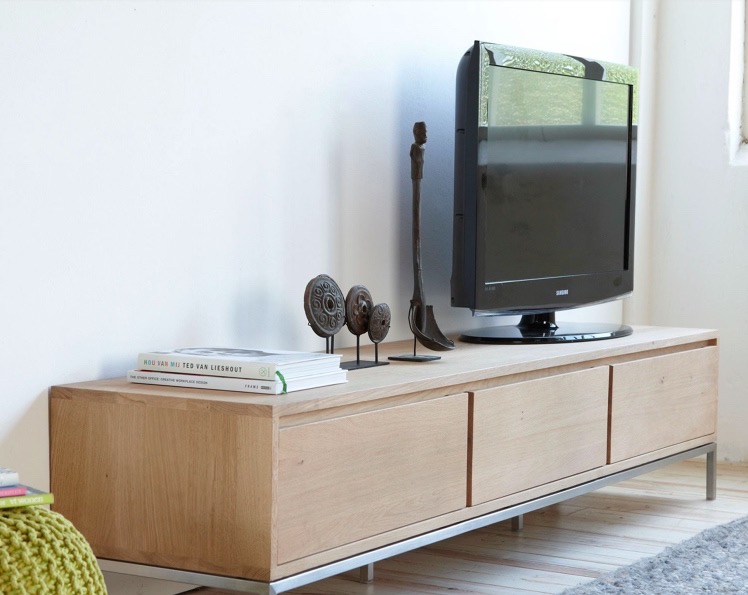
LOFT LOW SIDEBOARD / TV UNIT £826
Photo credit: AIF

LIGNA OAK TV UNITS FROM £979
Photo credit: AIF
So what do we have?
Well you'll not be surprised to learn we have a low-level unit, that's just about double the size of our television which is hung on the wall - at eye level from the sofa. I've had to compromise on the style of our TV unit. It's wood and is open shelved, which was the requirement for MOH's hifi - and as that's a big thing for him - and the only place it could go - there really was no choice. The bigger compromise for me is having his record player on top of the unit; I've countered that though with three terracotta plant pots with a pine cone in!
On the whole, it works for us - it's not exactly what I'd choose, but it's close enough and well, life's about compromise right?
This is a collaborative post but all opinions are my own.
Making cute pom-pom Easter bunnies and chicks
Recently I saw some cute pom-pom Easter bunnies and chicks on Pinterest, and well you know how much I like to try some of the things I see on there, I thought I'd give these a go. I looked at the original post and thought it should be relatively easy enough to do. In fact the trickiest bit was probably drawing the templates, but I reckoned that they didn't need to be perfect and just needed to look enough like a bunny or a chick - you might already have seen these on my Easter tea party post on Sunday!
So with my bunny template and some small scraps of wool I was ready.

1. You'll need two bunny shaped cut-outs and then simply wind the wool from the centre hole around the bunny's middle. I used small lengths of wool as that made it easier to get it through the central hole. As the hole filled up I found using a crochet hook invaluable to guide the wool.

2. I decided to have multi-coloured pom-poms; to join the second colour just tuck the end under the wool as you continue to wind the wool through the hole. If it's longer than the rest it doesn't matter as you can trim it later.
This took me right back to making pom-poms as a child, although we stuck with circular pieces of card for the traditional round pom-poms.
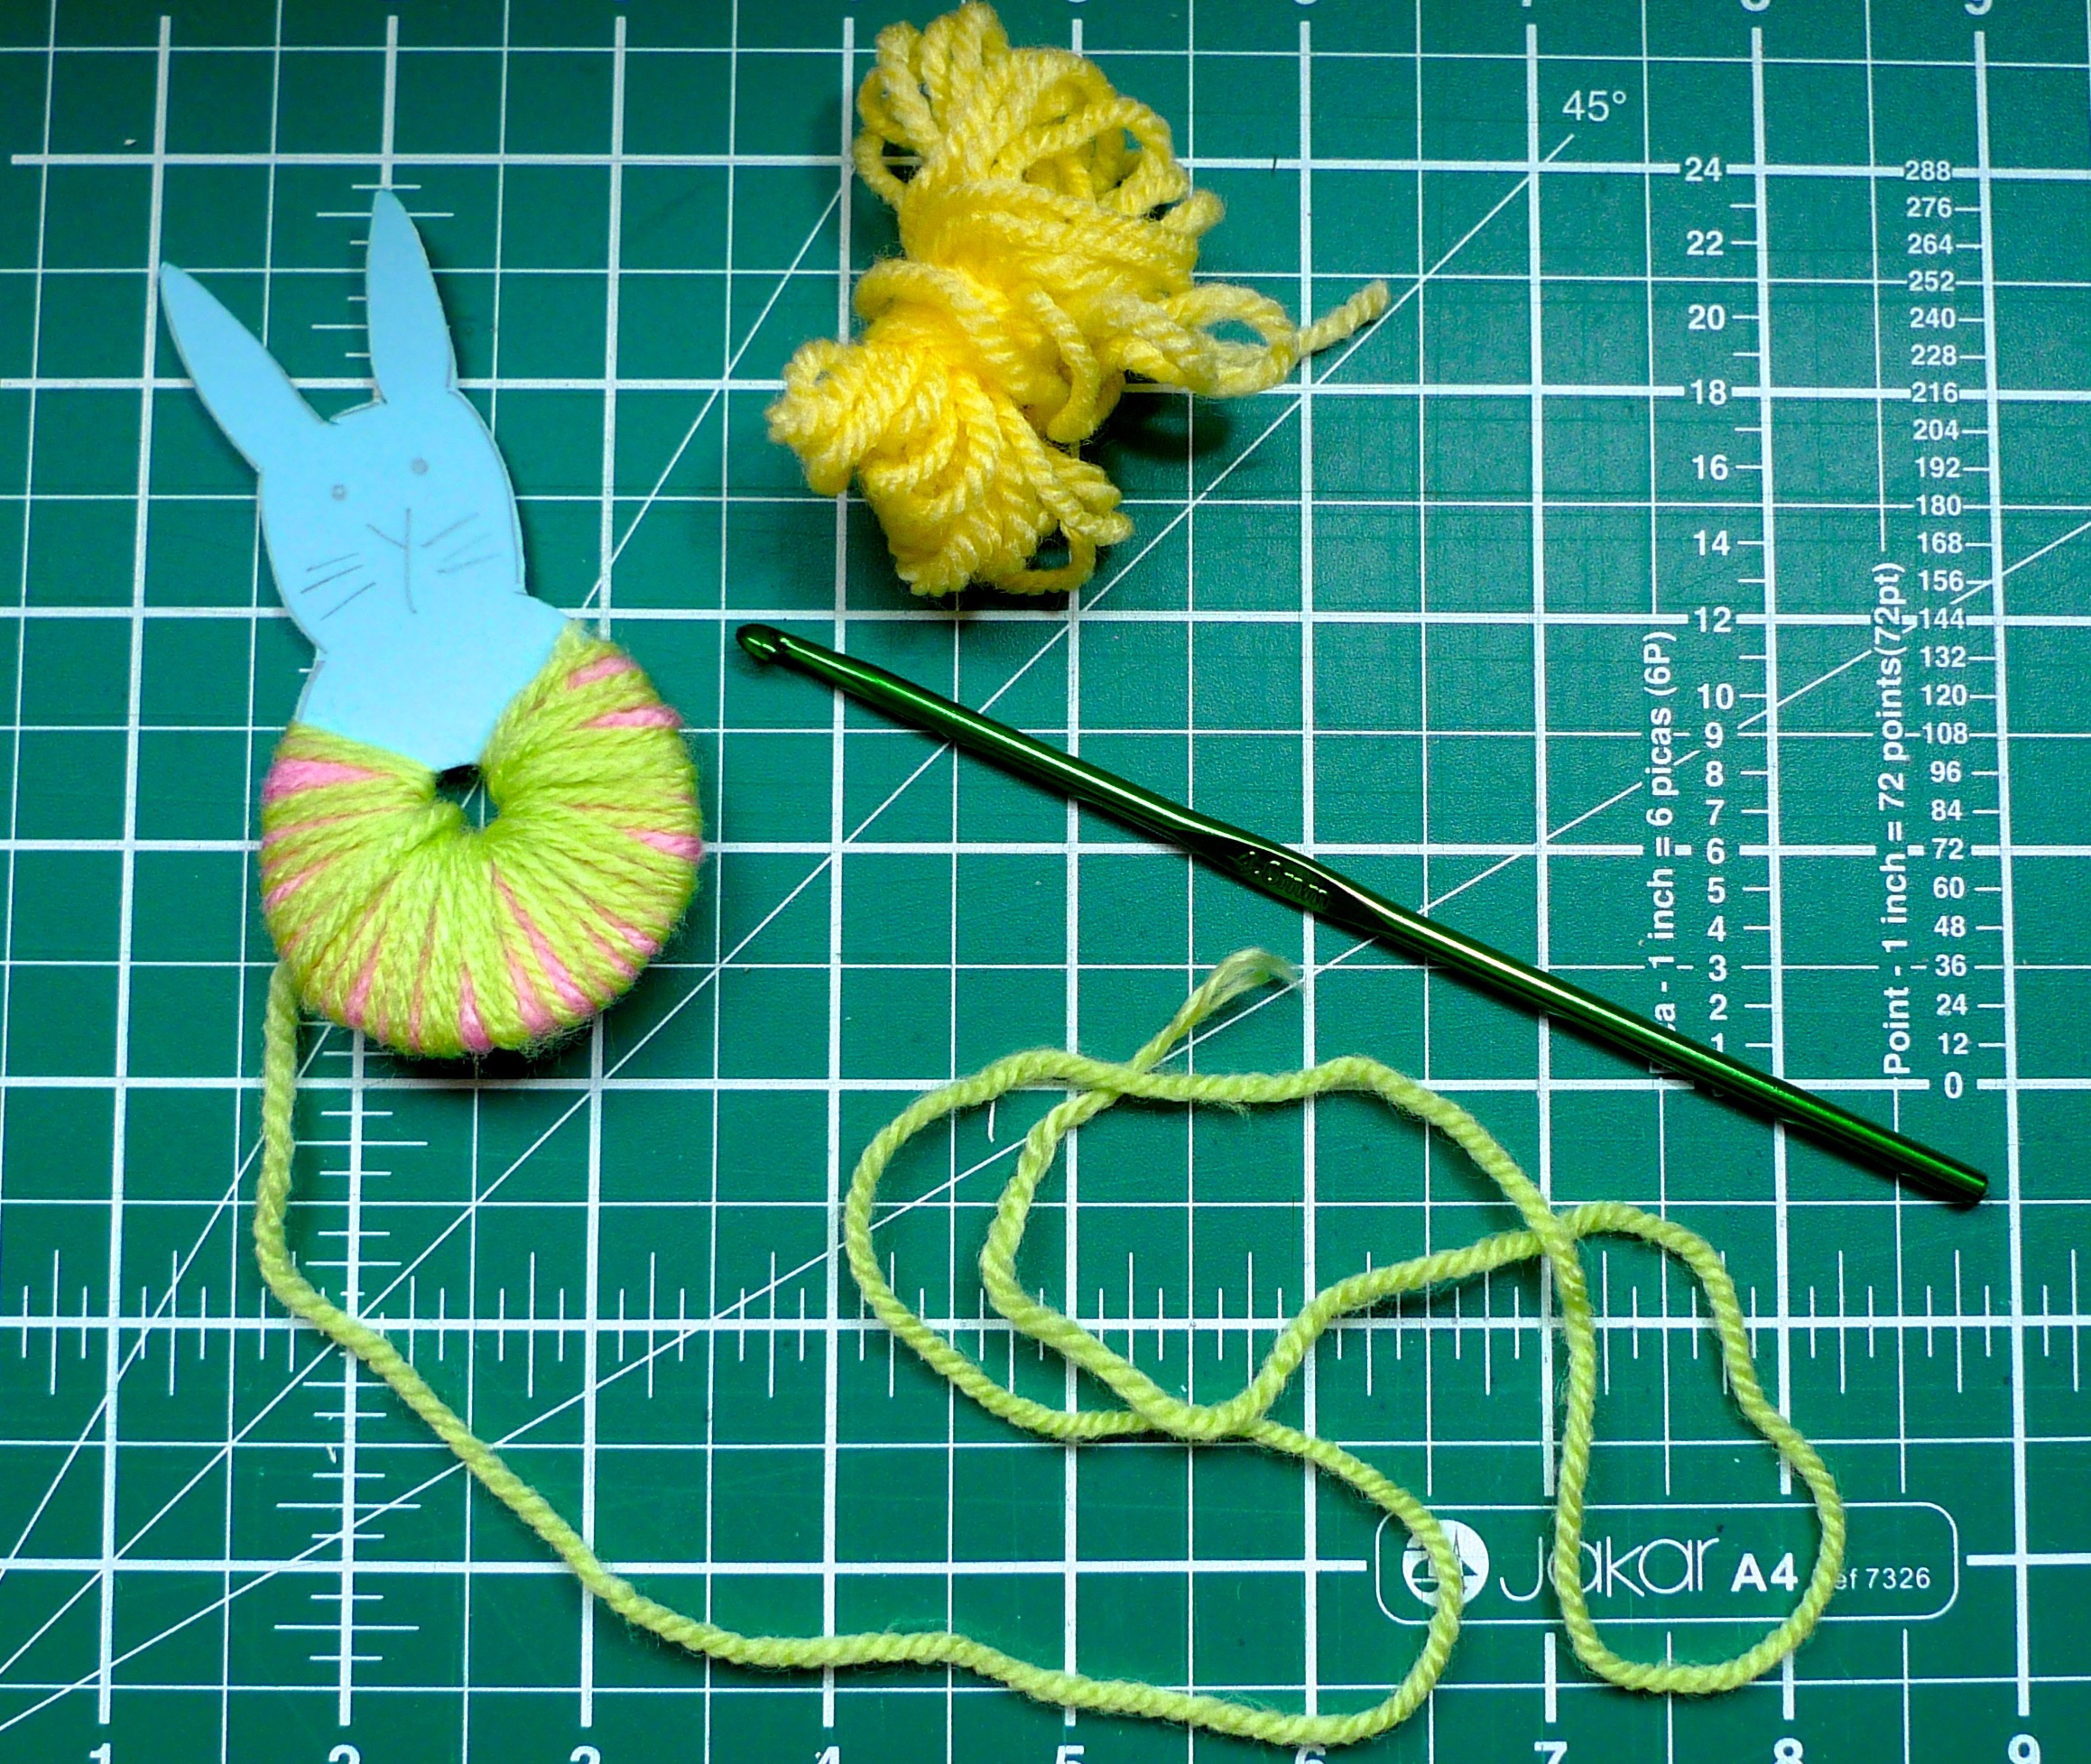
3. When you've wound as much wool as you want around the card - remember the more wool you wind, the fuller your pom-pom will be - then it's time to cut the threads.
Tip: keep your thumb firmly on the centre of the bunny!

4. Then take another length of wool and tie it between the two pieces of card around the wool you've just cut. Tie it tightly, this is what will keep your pom-pom together.

5. Draw a face, and you're done!
To make them stand up unaided I've found folding the bottom edge out helps - you'll see what I mean with the chick.

To make a chick
Repeat the same process, this time with a chick-shaped template.
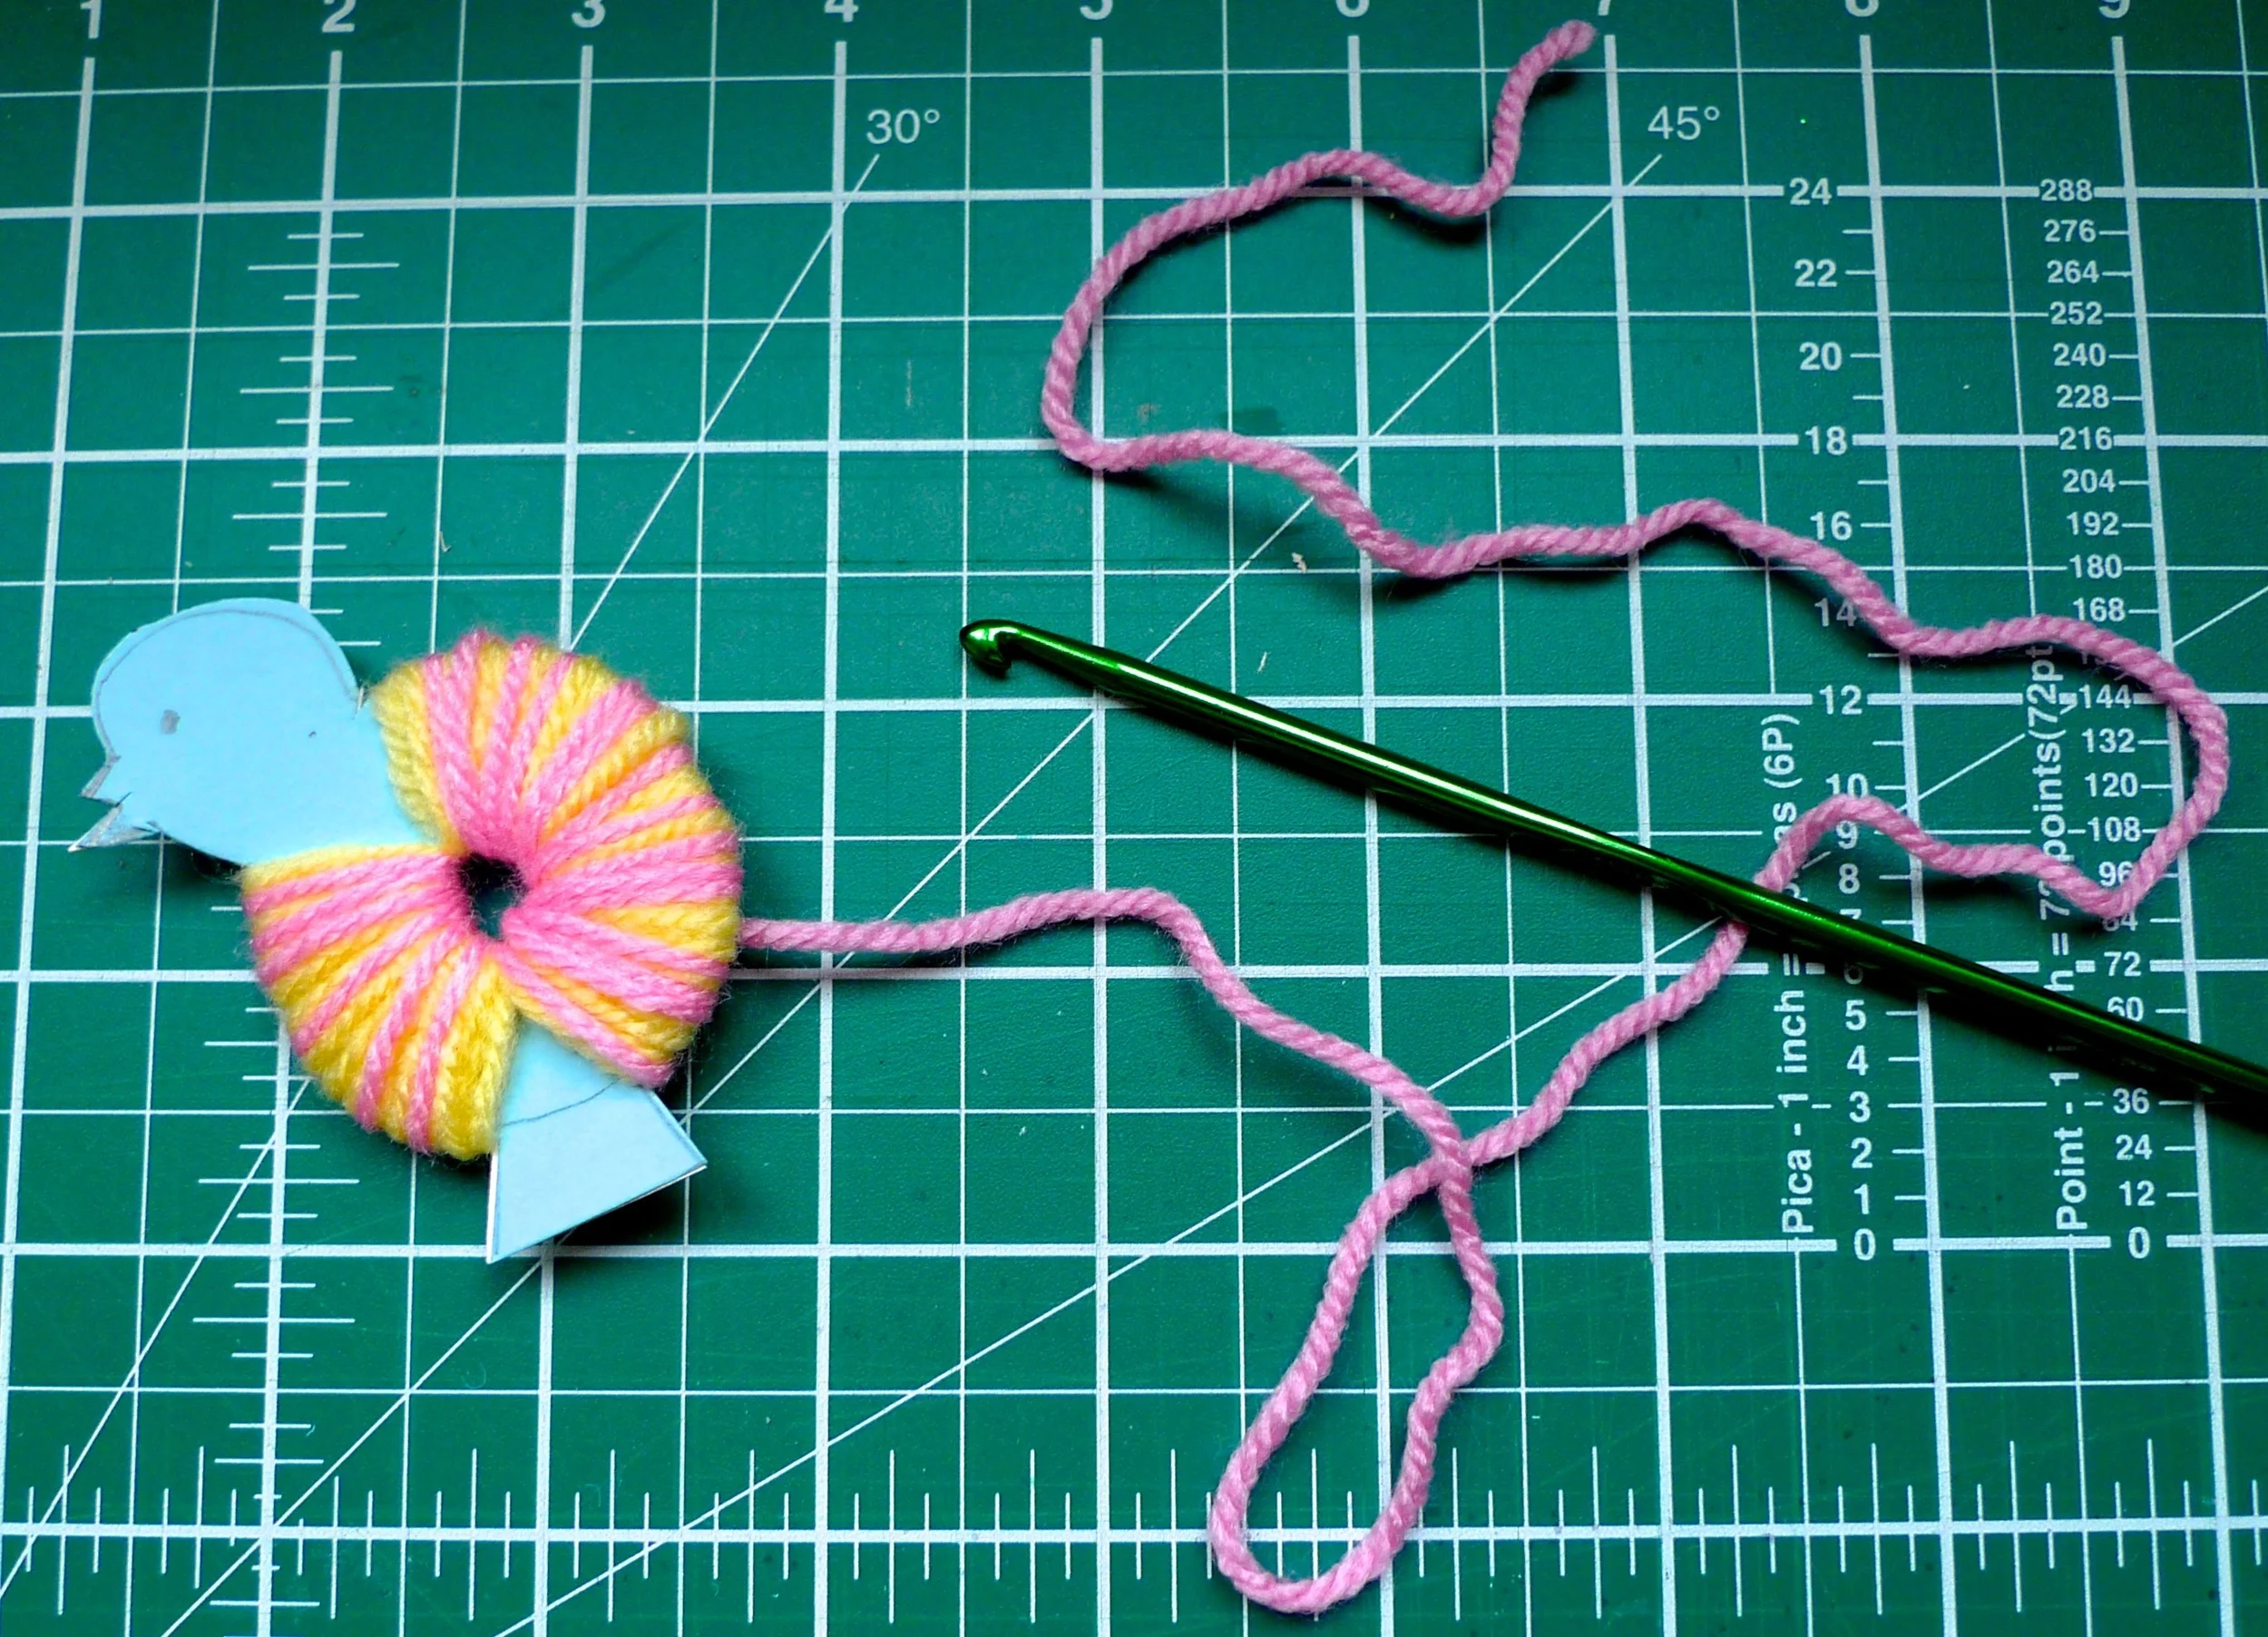

And there you go, a cute and easy way to make a pom-pom Easter bunny and an Easter chick. Winding the wool around the cardboard is quite soothing and easy to do, so it'd make a great craft to do with the kids.

What do you think of my pom-pom bunny and chick?
To see more of my Easter-inspired pins take a look at my Easter Pinterest board: