

Styling the Seasons: September

This is the first time I've joined in with Styling the Seasons that Katy at Apartment Apothecary and Charlotte at Lotts and Lots run each month.  I've read lots of their posts and those of others that take part all the time thinking that my posts would never match any of those. But this month when I read Rachel from The Ordinary Lovely's post she inspired me to give it a go, mainly because if I'm not trying to style my photographs then I'm not going to get any better at it.

So off we go...

The prompt for September - and yes, I'm only just scraping in - is vintage, that was another push to join in. That and autumn being my favourite time for food...

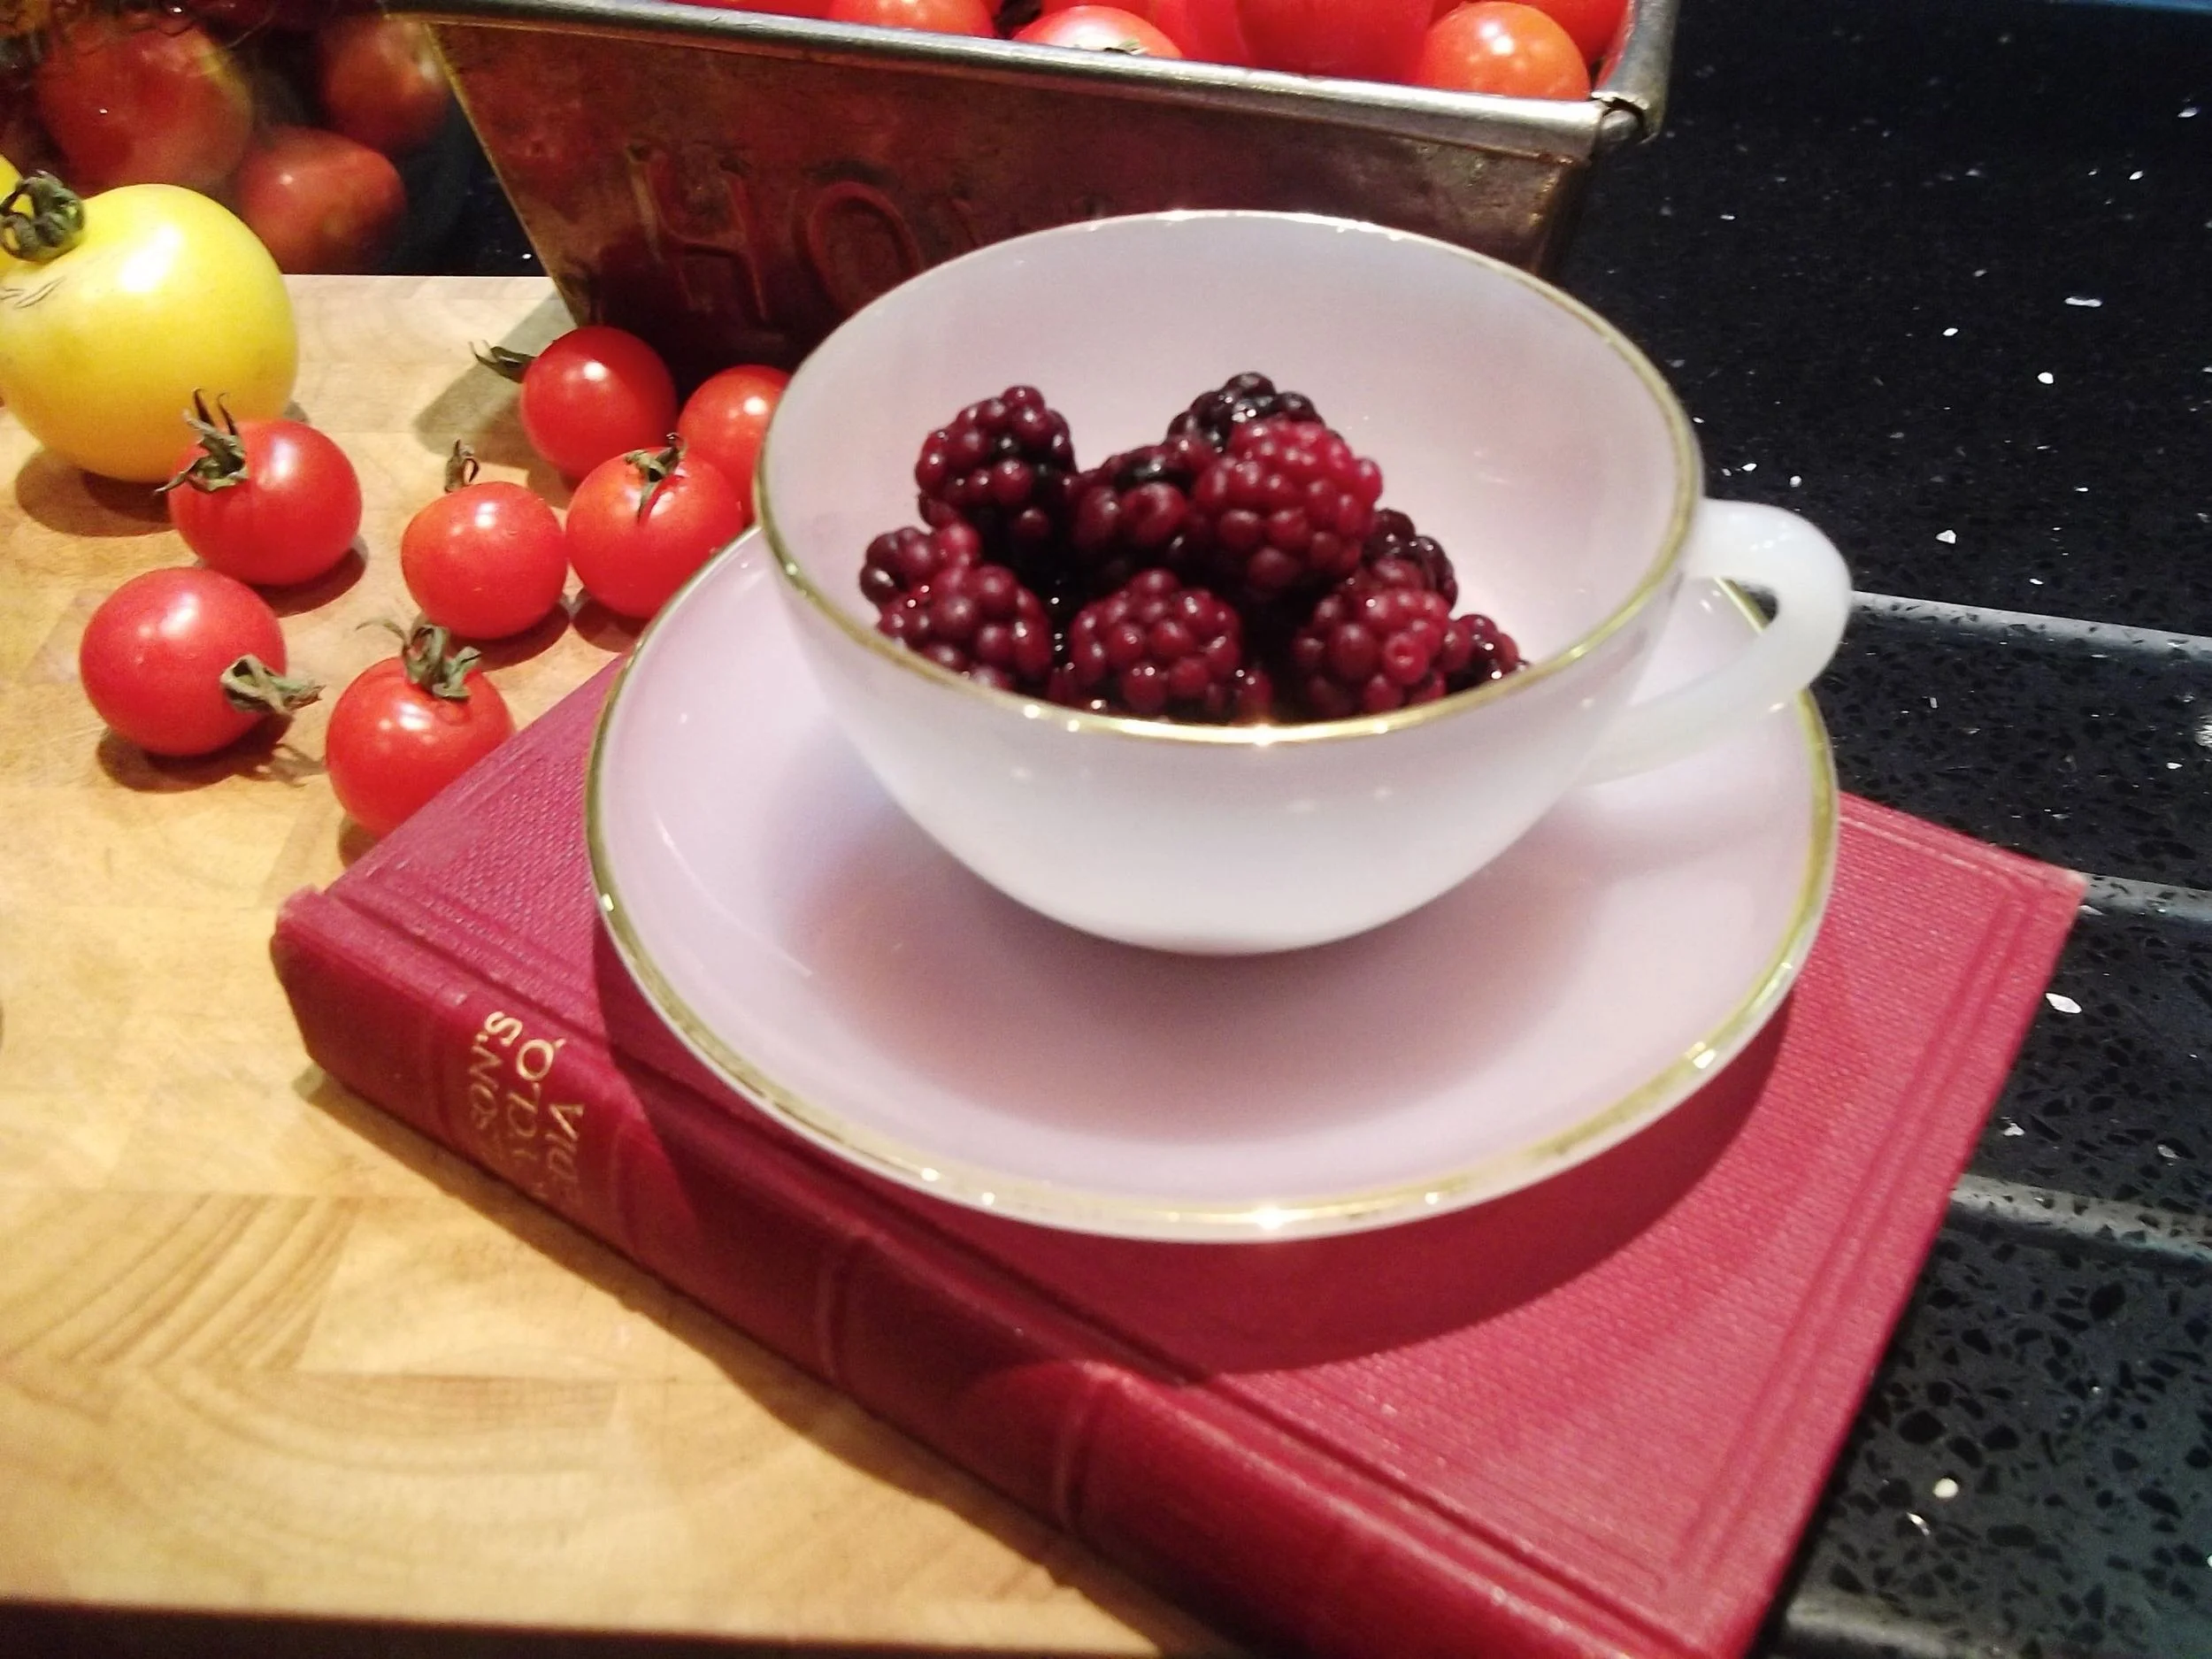
So it's apt that my setting is a chopping board in my kitchen.
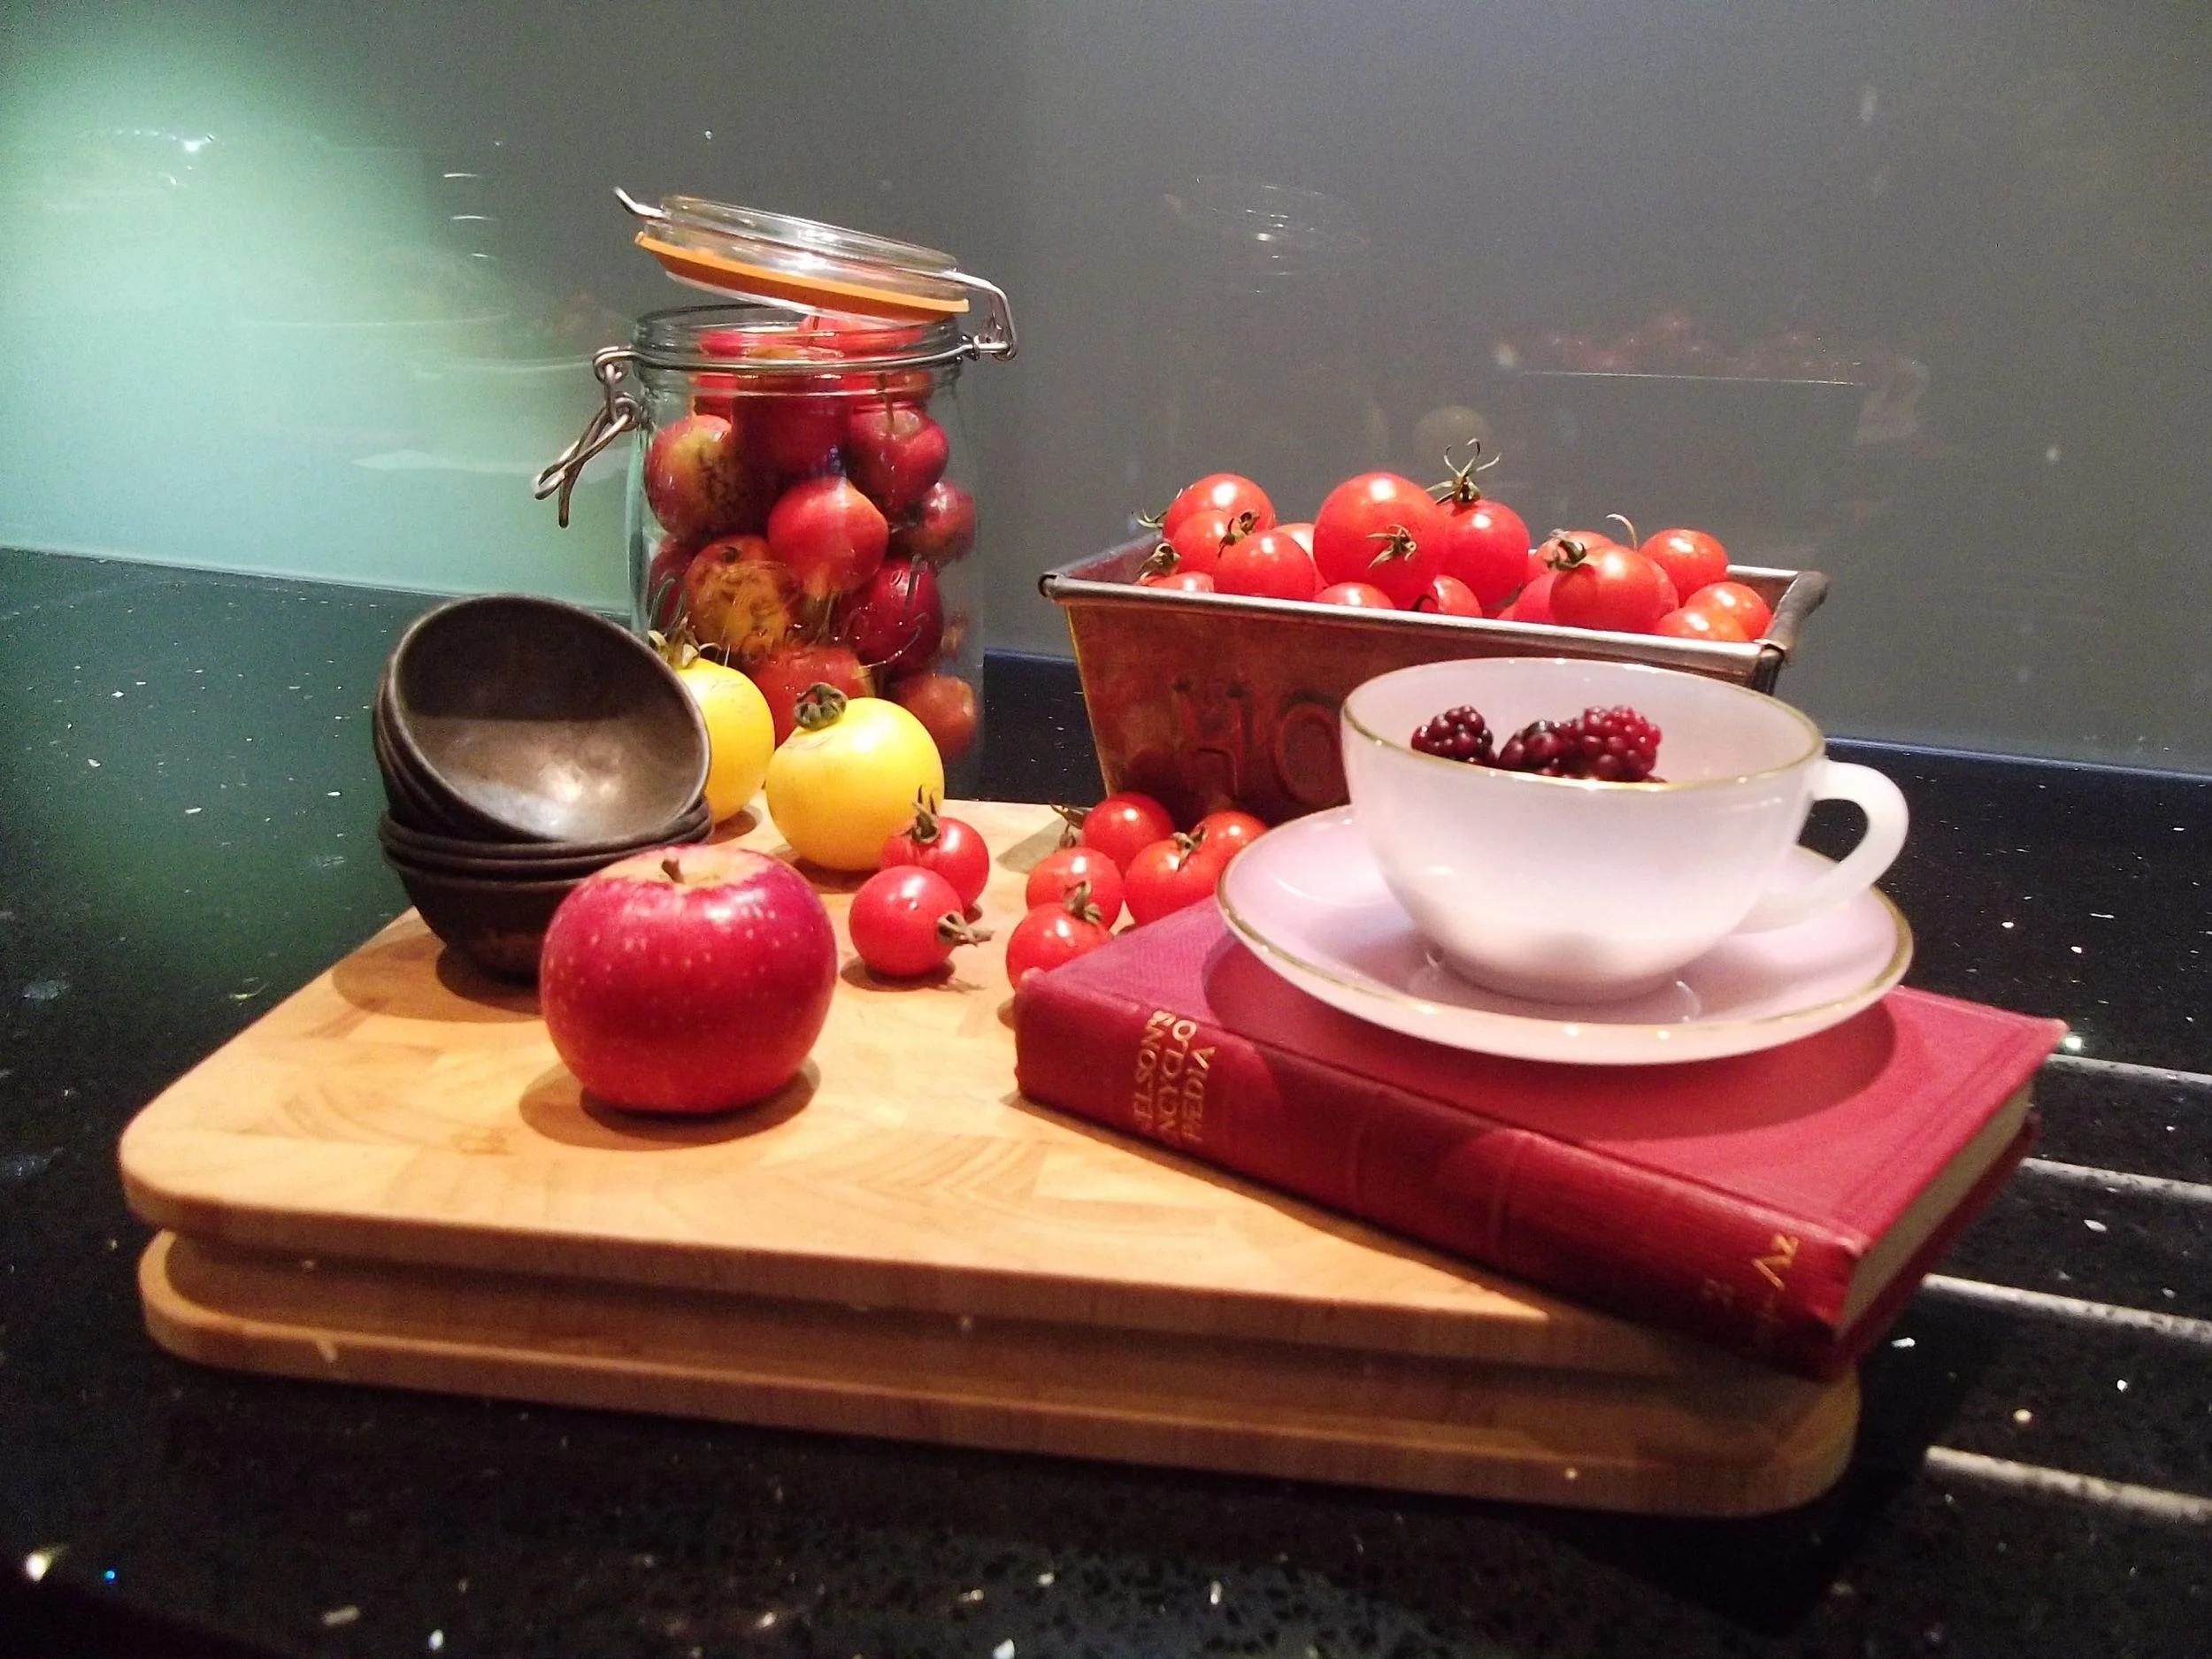
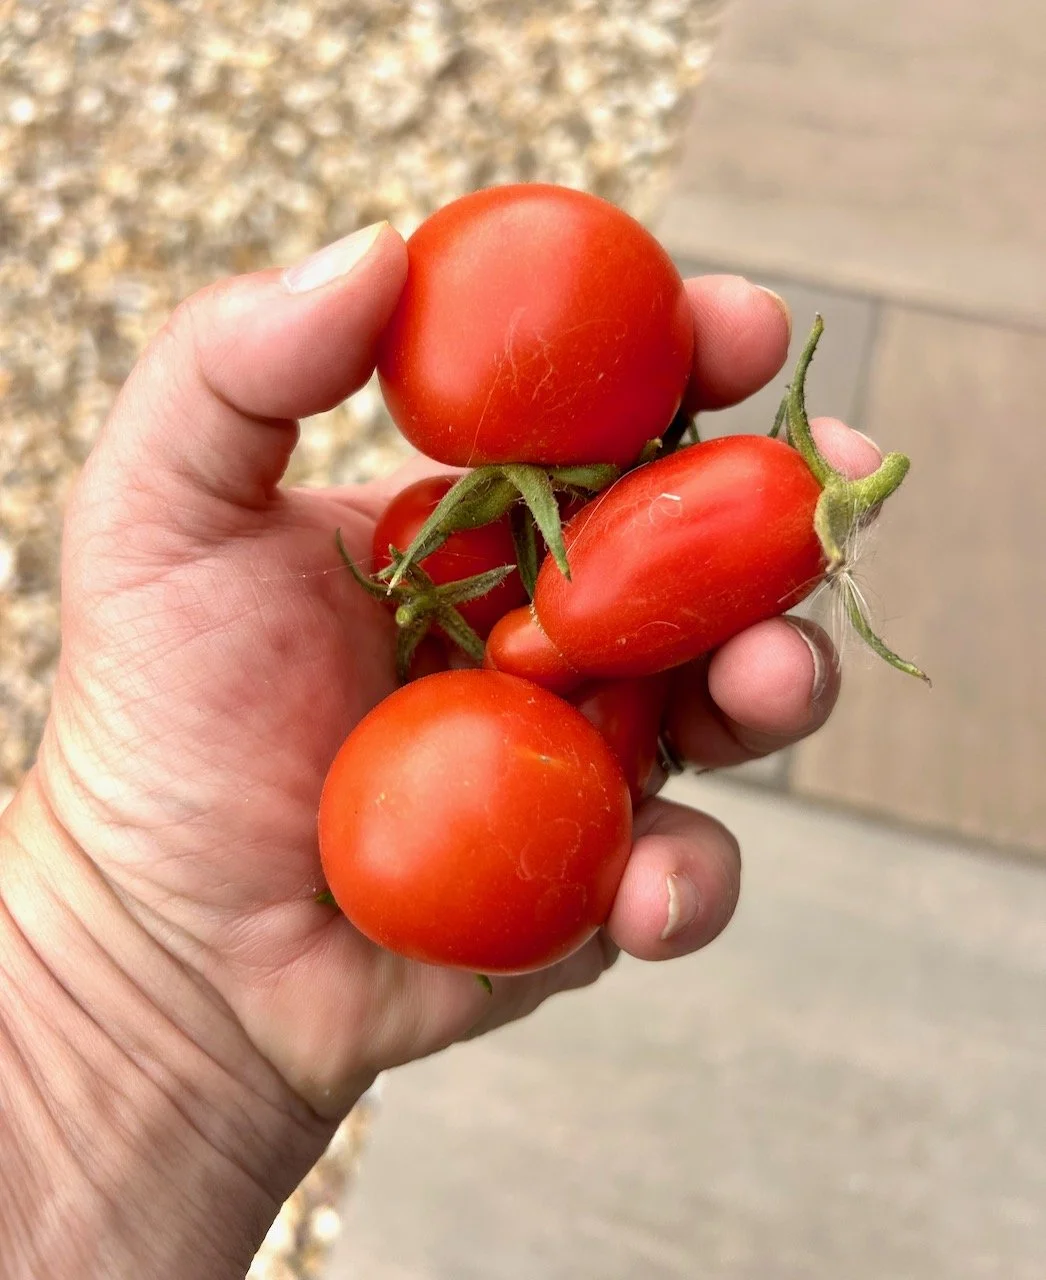
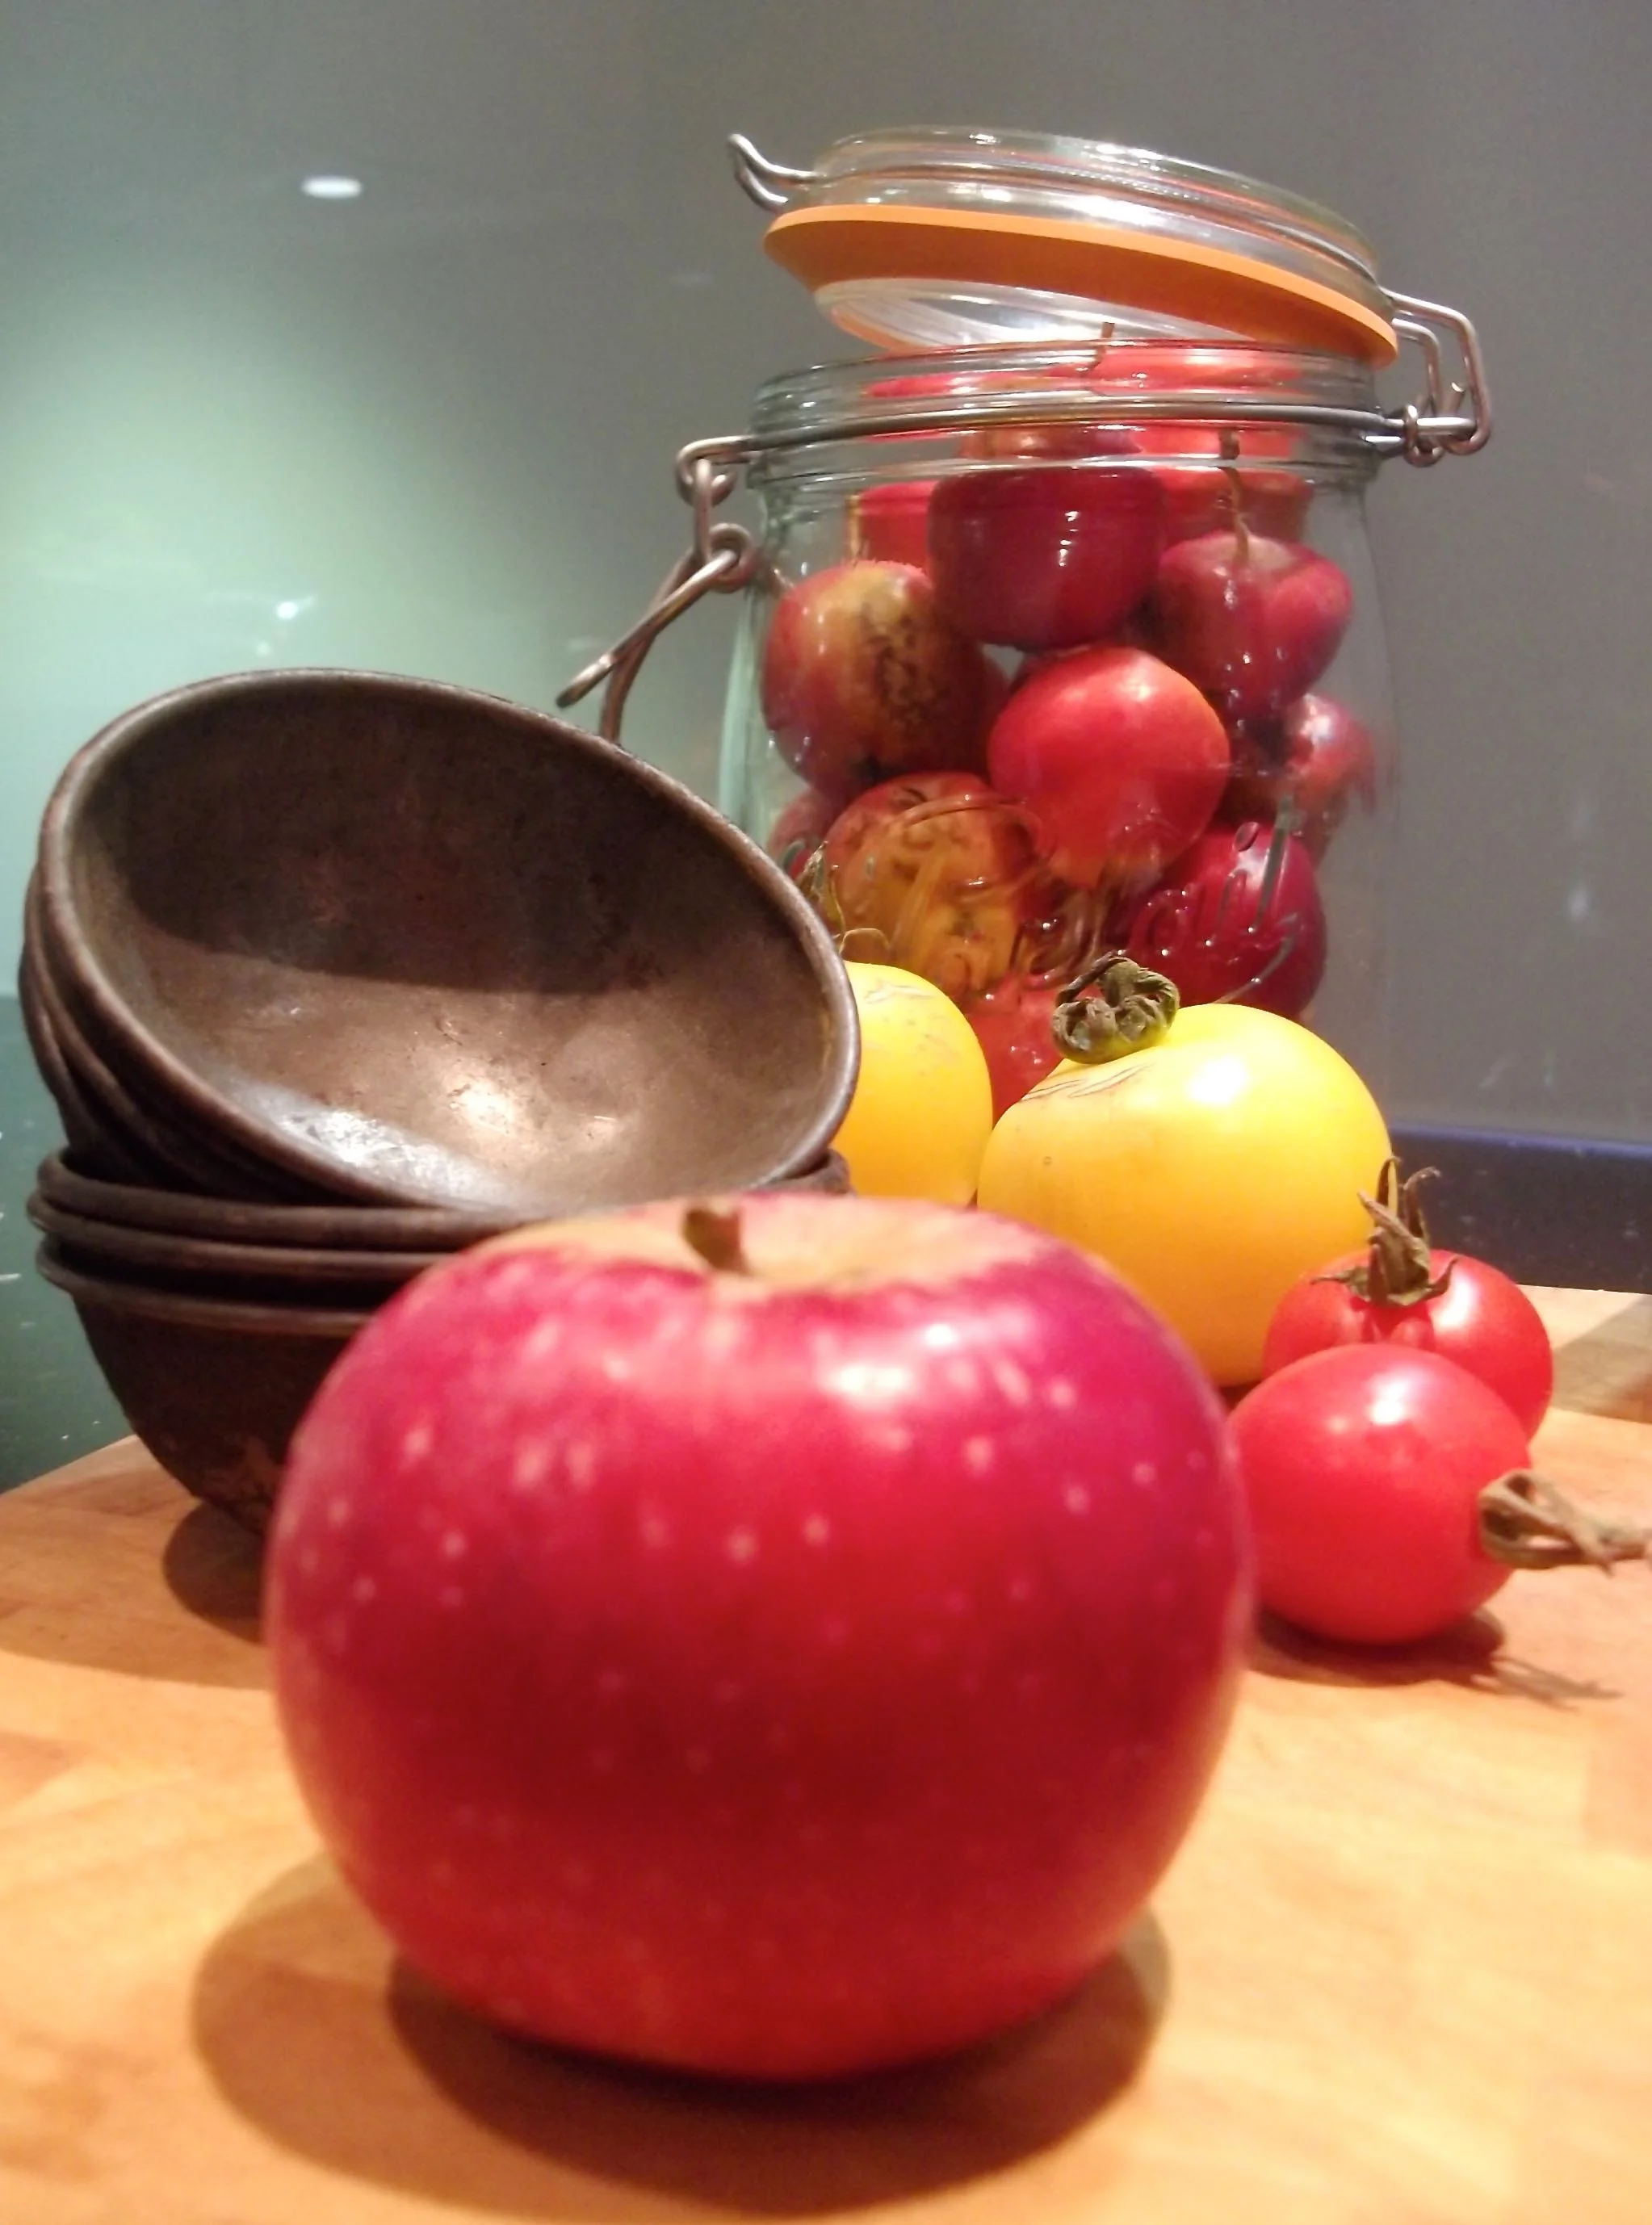
For me September is full of tomatoes and blackberries, and this year there's been apples and crab apples from the allotment too. None of those are vintage but they scream September to me.
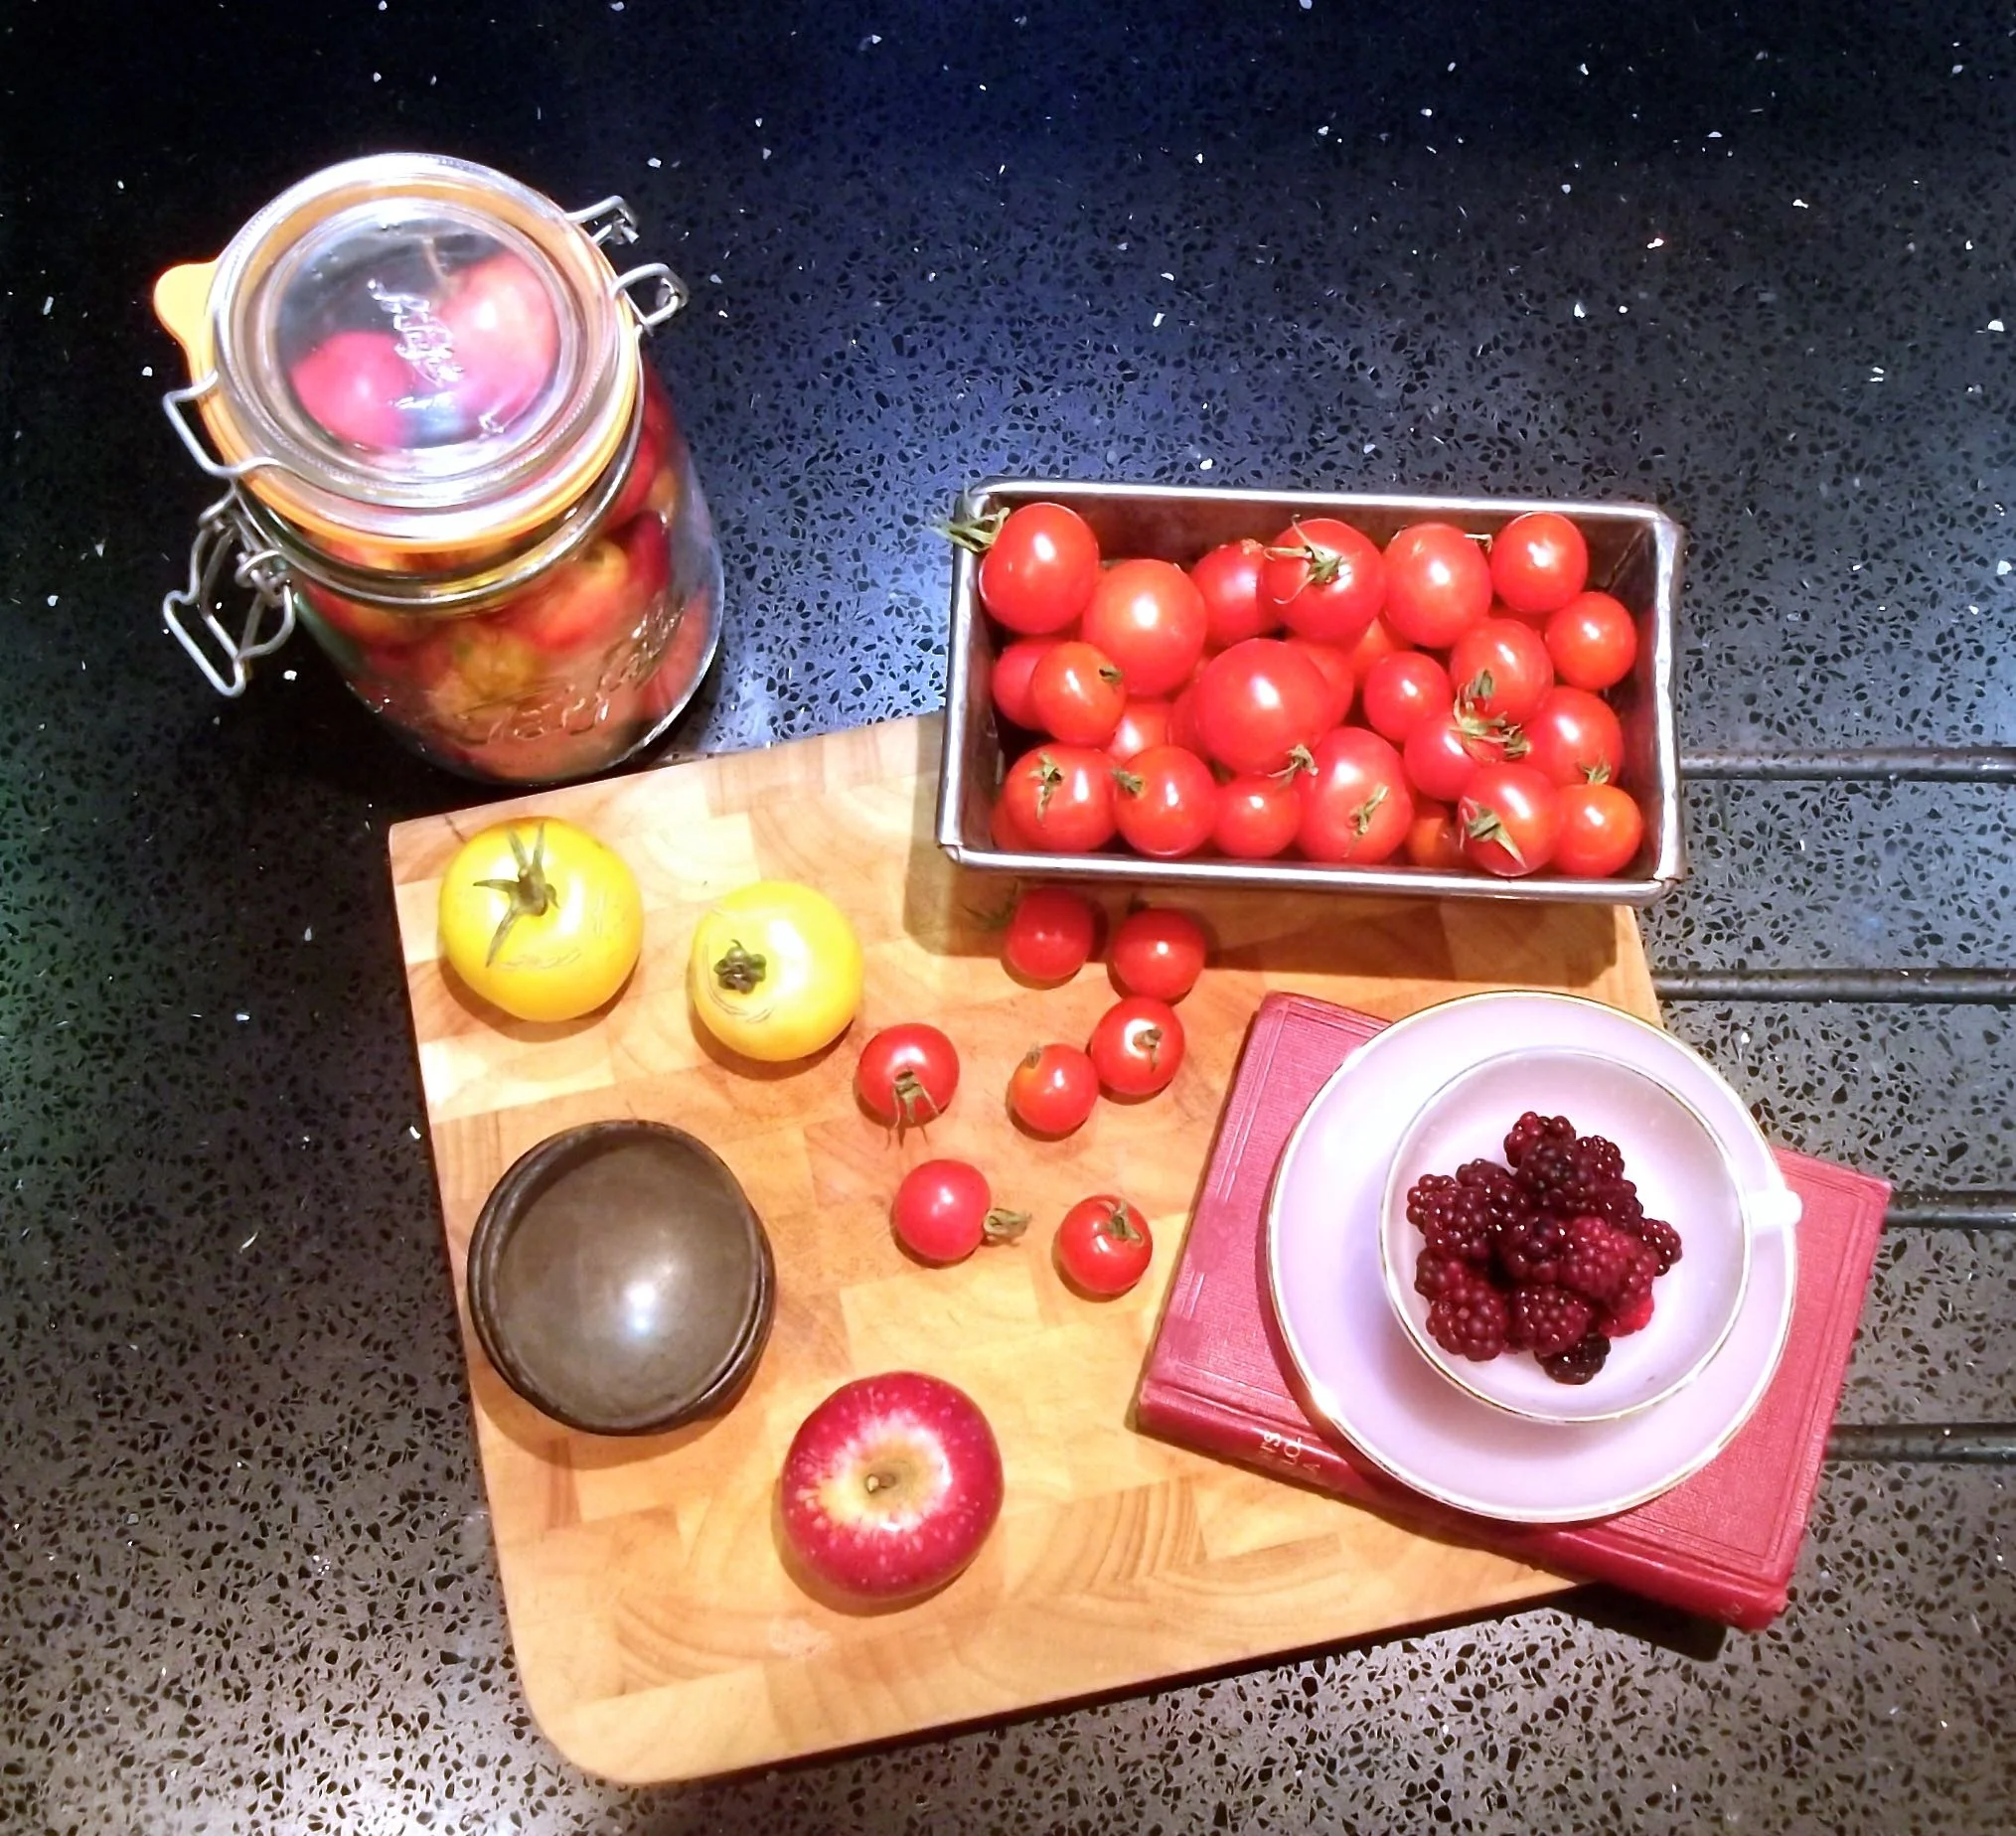
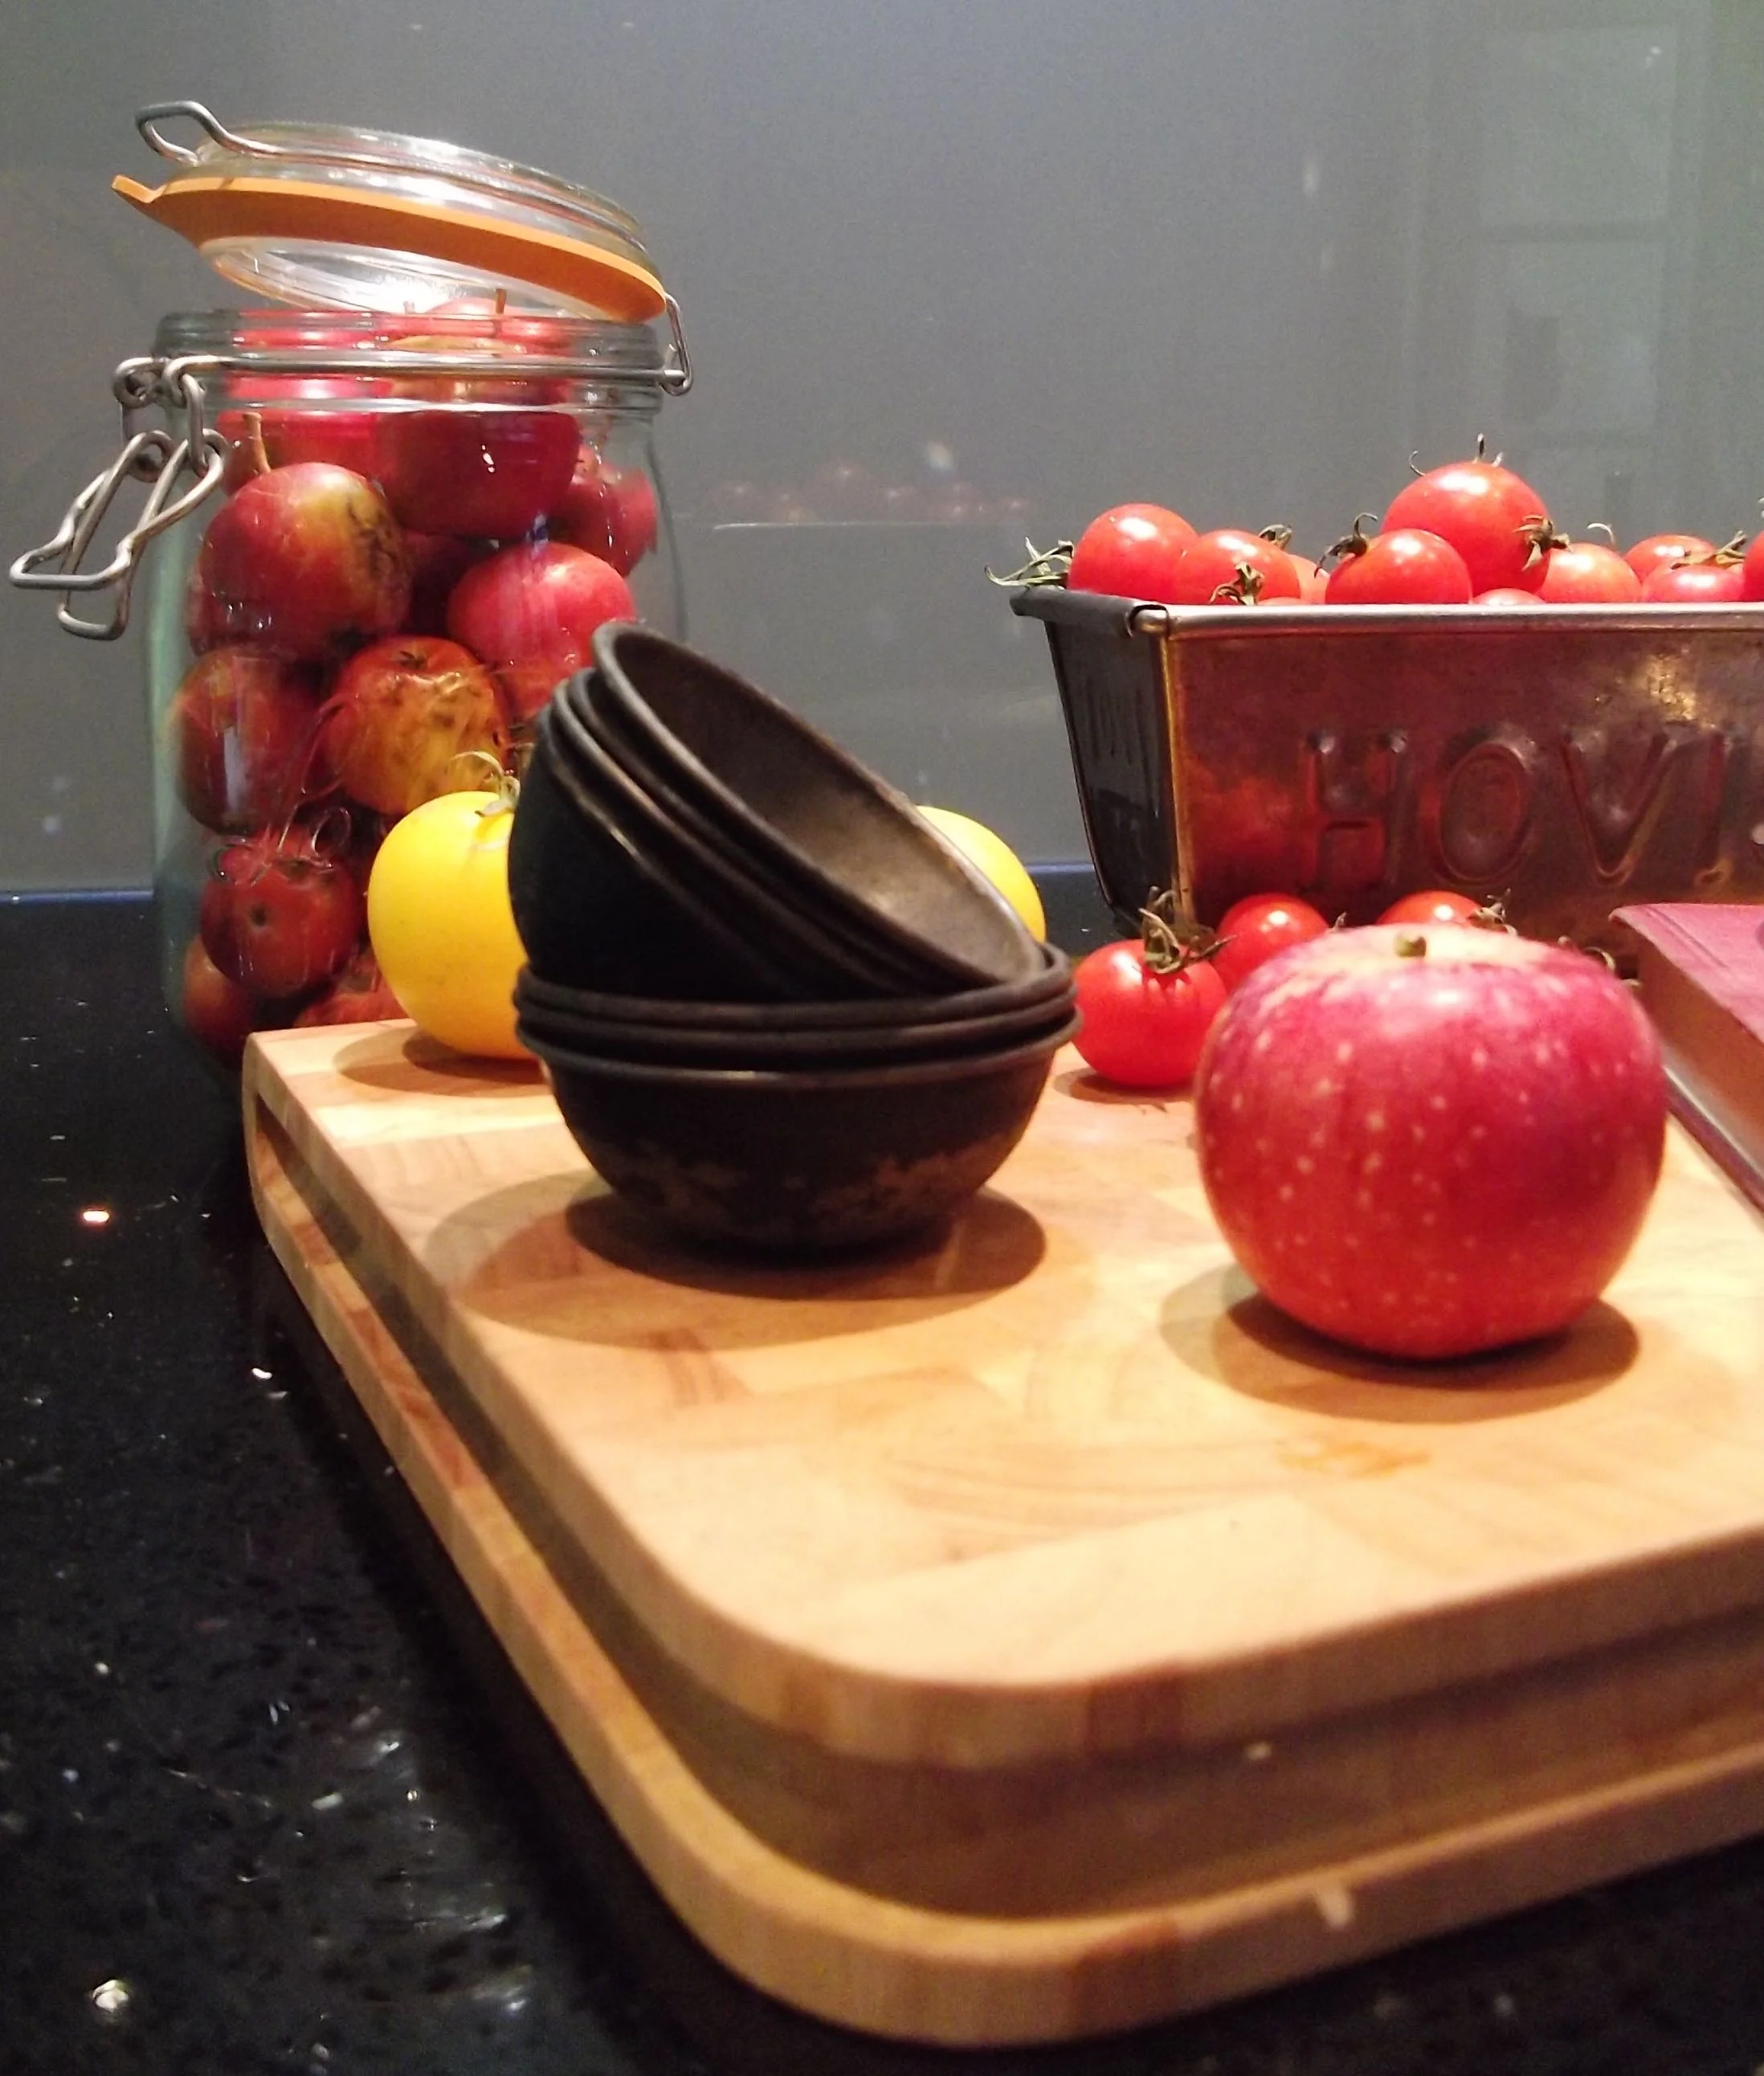
The vintage items are these bun tins which were my great nan's and I photographed them a while back for the black and white photo project.

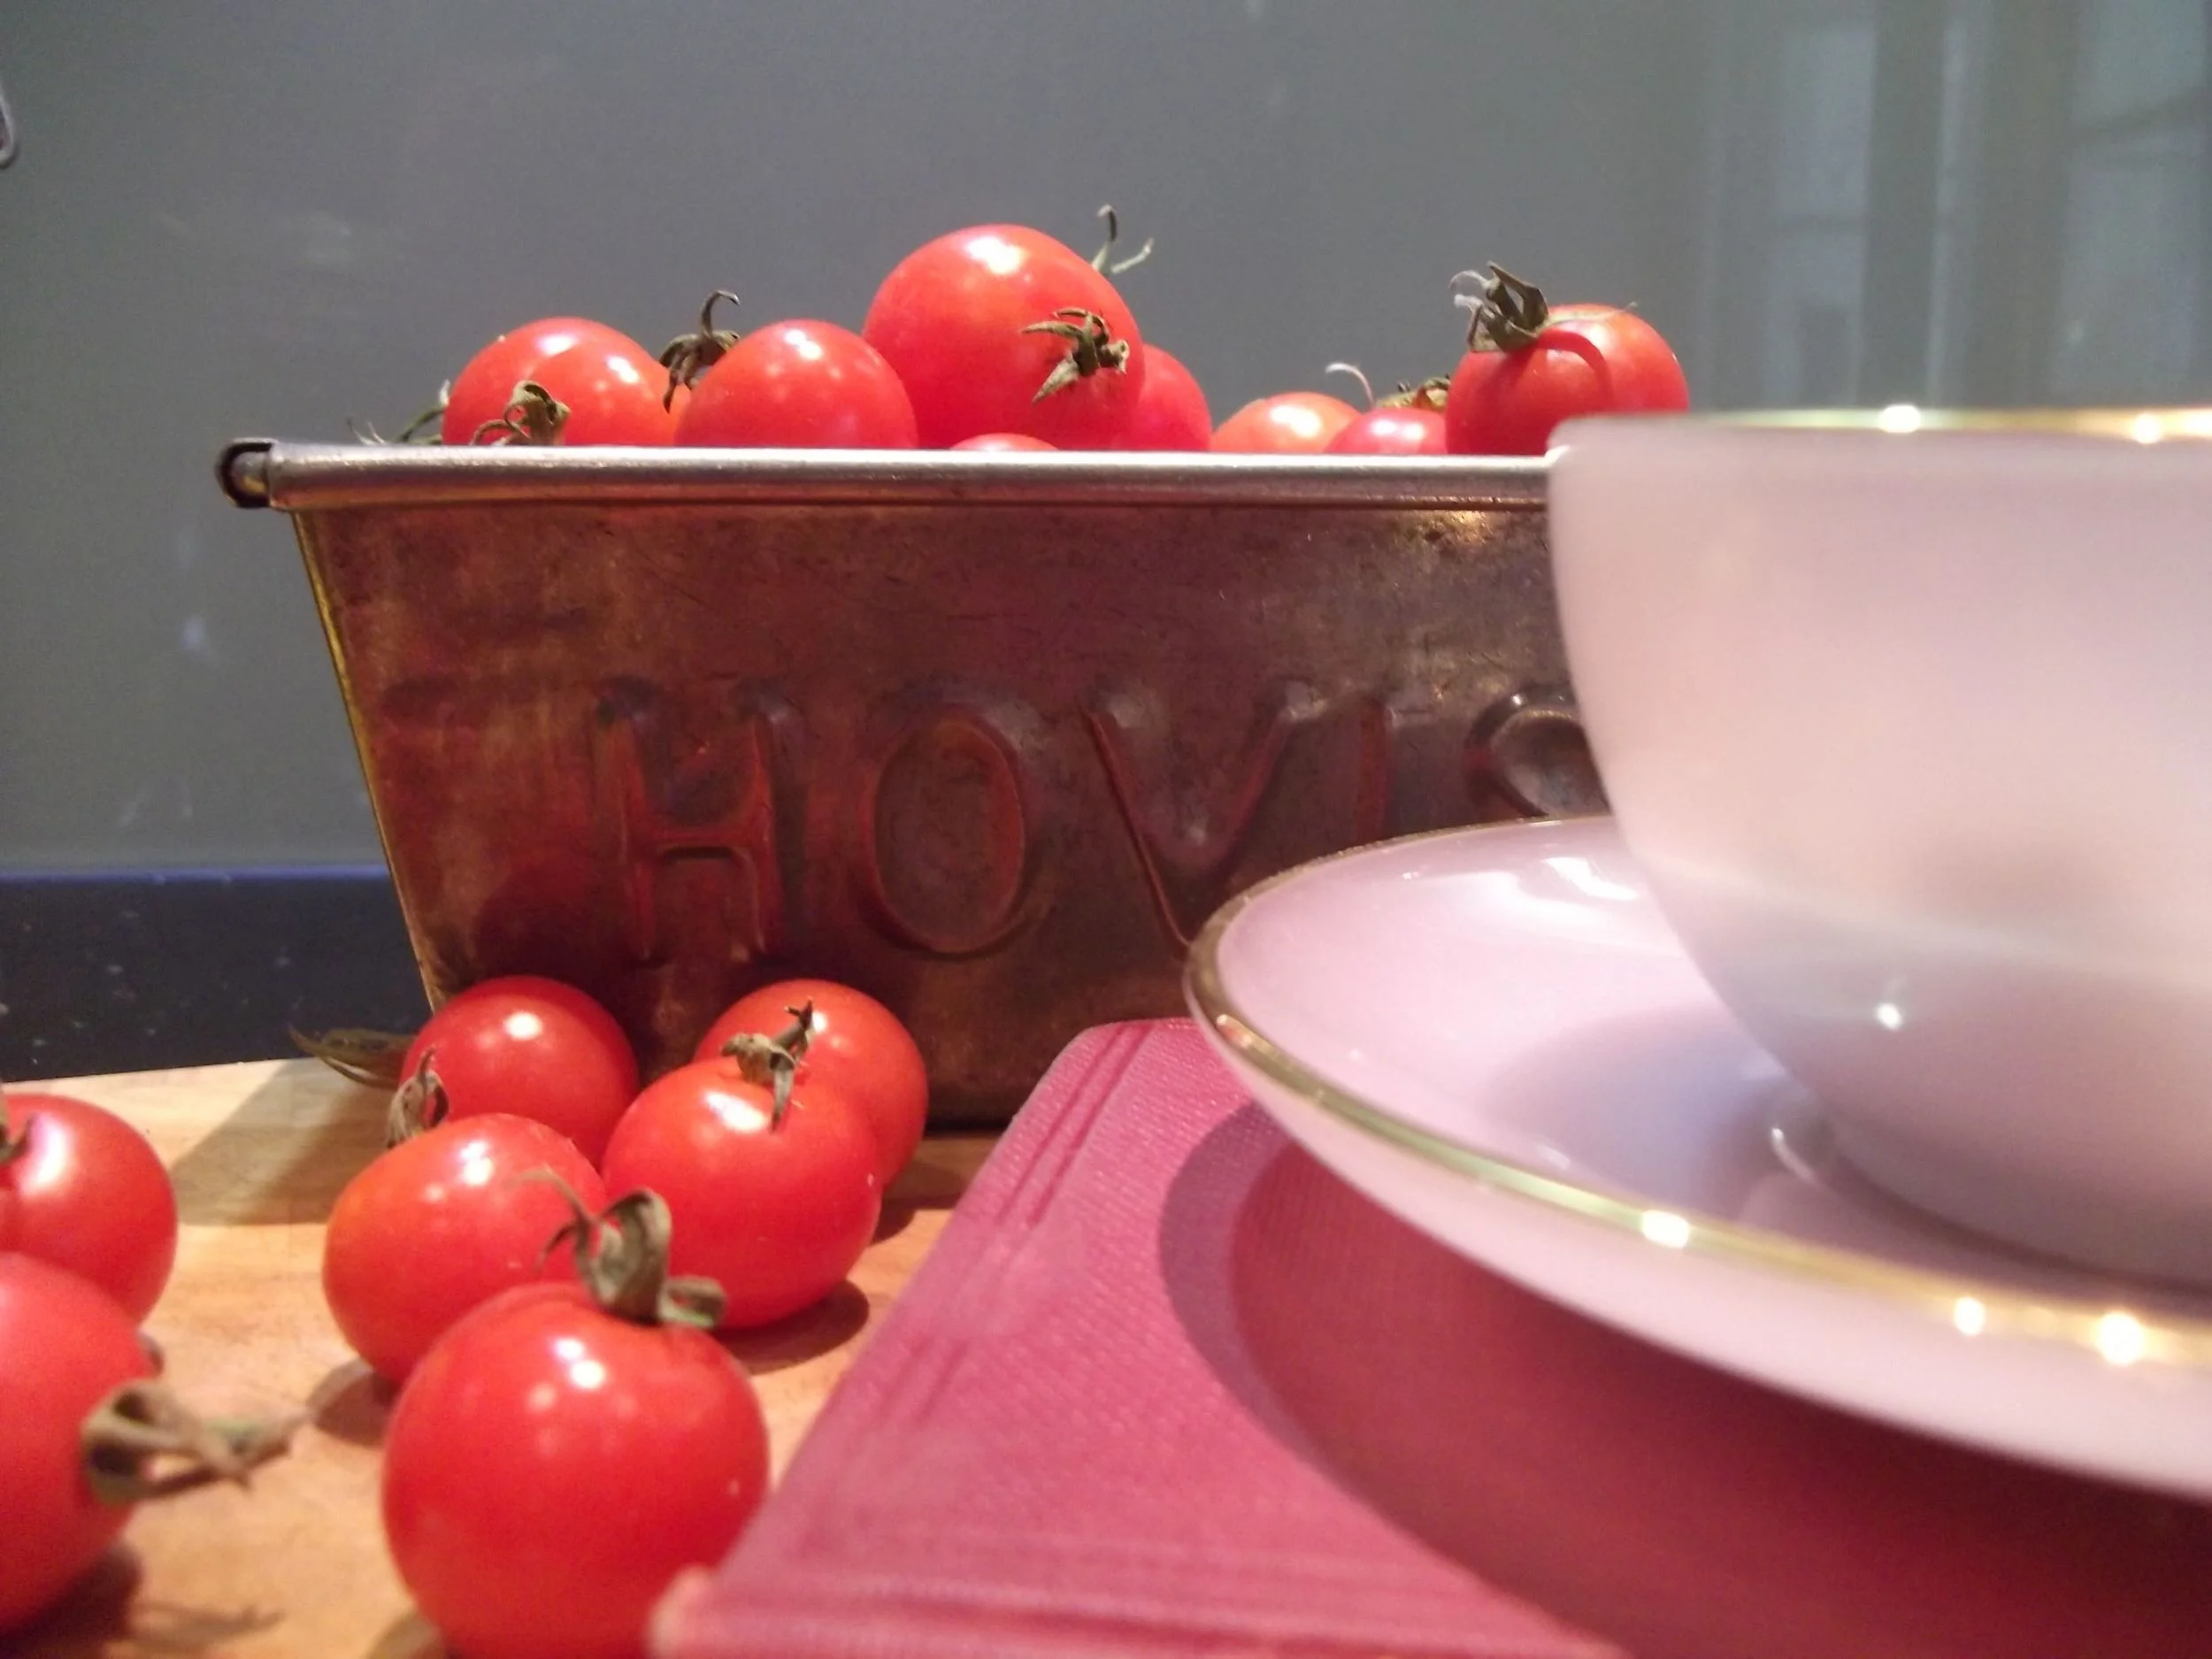
The Hovis tin is an original and was a birthday present from my parents. I love how that I can bake Hovis bread, just by using this tin. It's smaller than you think, but it sure holds a lot of tomatoes!

While the books aren't usually in my kitchen, I do regularly have my nose in and out of books during the month deciding just what recipe I'll be using this time round. I've some favourites of course, but it's always nice to try a new chutney recipe.

So far this year there's been blackberry and lime jam and some crab apple jelly. I'm planning some tomato salsa and I'm sure there'll be pasta sauce for the freezer and more, plus some apple compote for breakfasts too.

The cup and sauce are part of a six piece set that I've had for many years, picking them up at a jumble sale of all places. They're pearlescent and pretty and they're great for serving chocolate mousse in. Which reminds me, it's about time MOH made some more of that...

The jar clearly isn't vintage but it's an essential in the kitchen this month with all the preserving and chutney making I'll be doing.
So that's what September means to me, what does it mean to you?
Love this #61: Making a triangle pouch, or two...

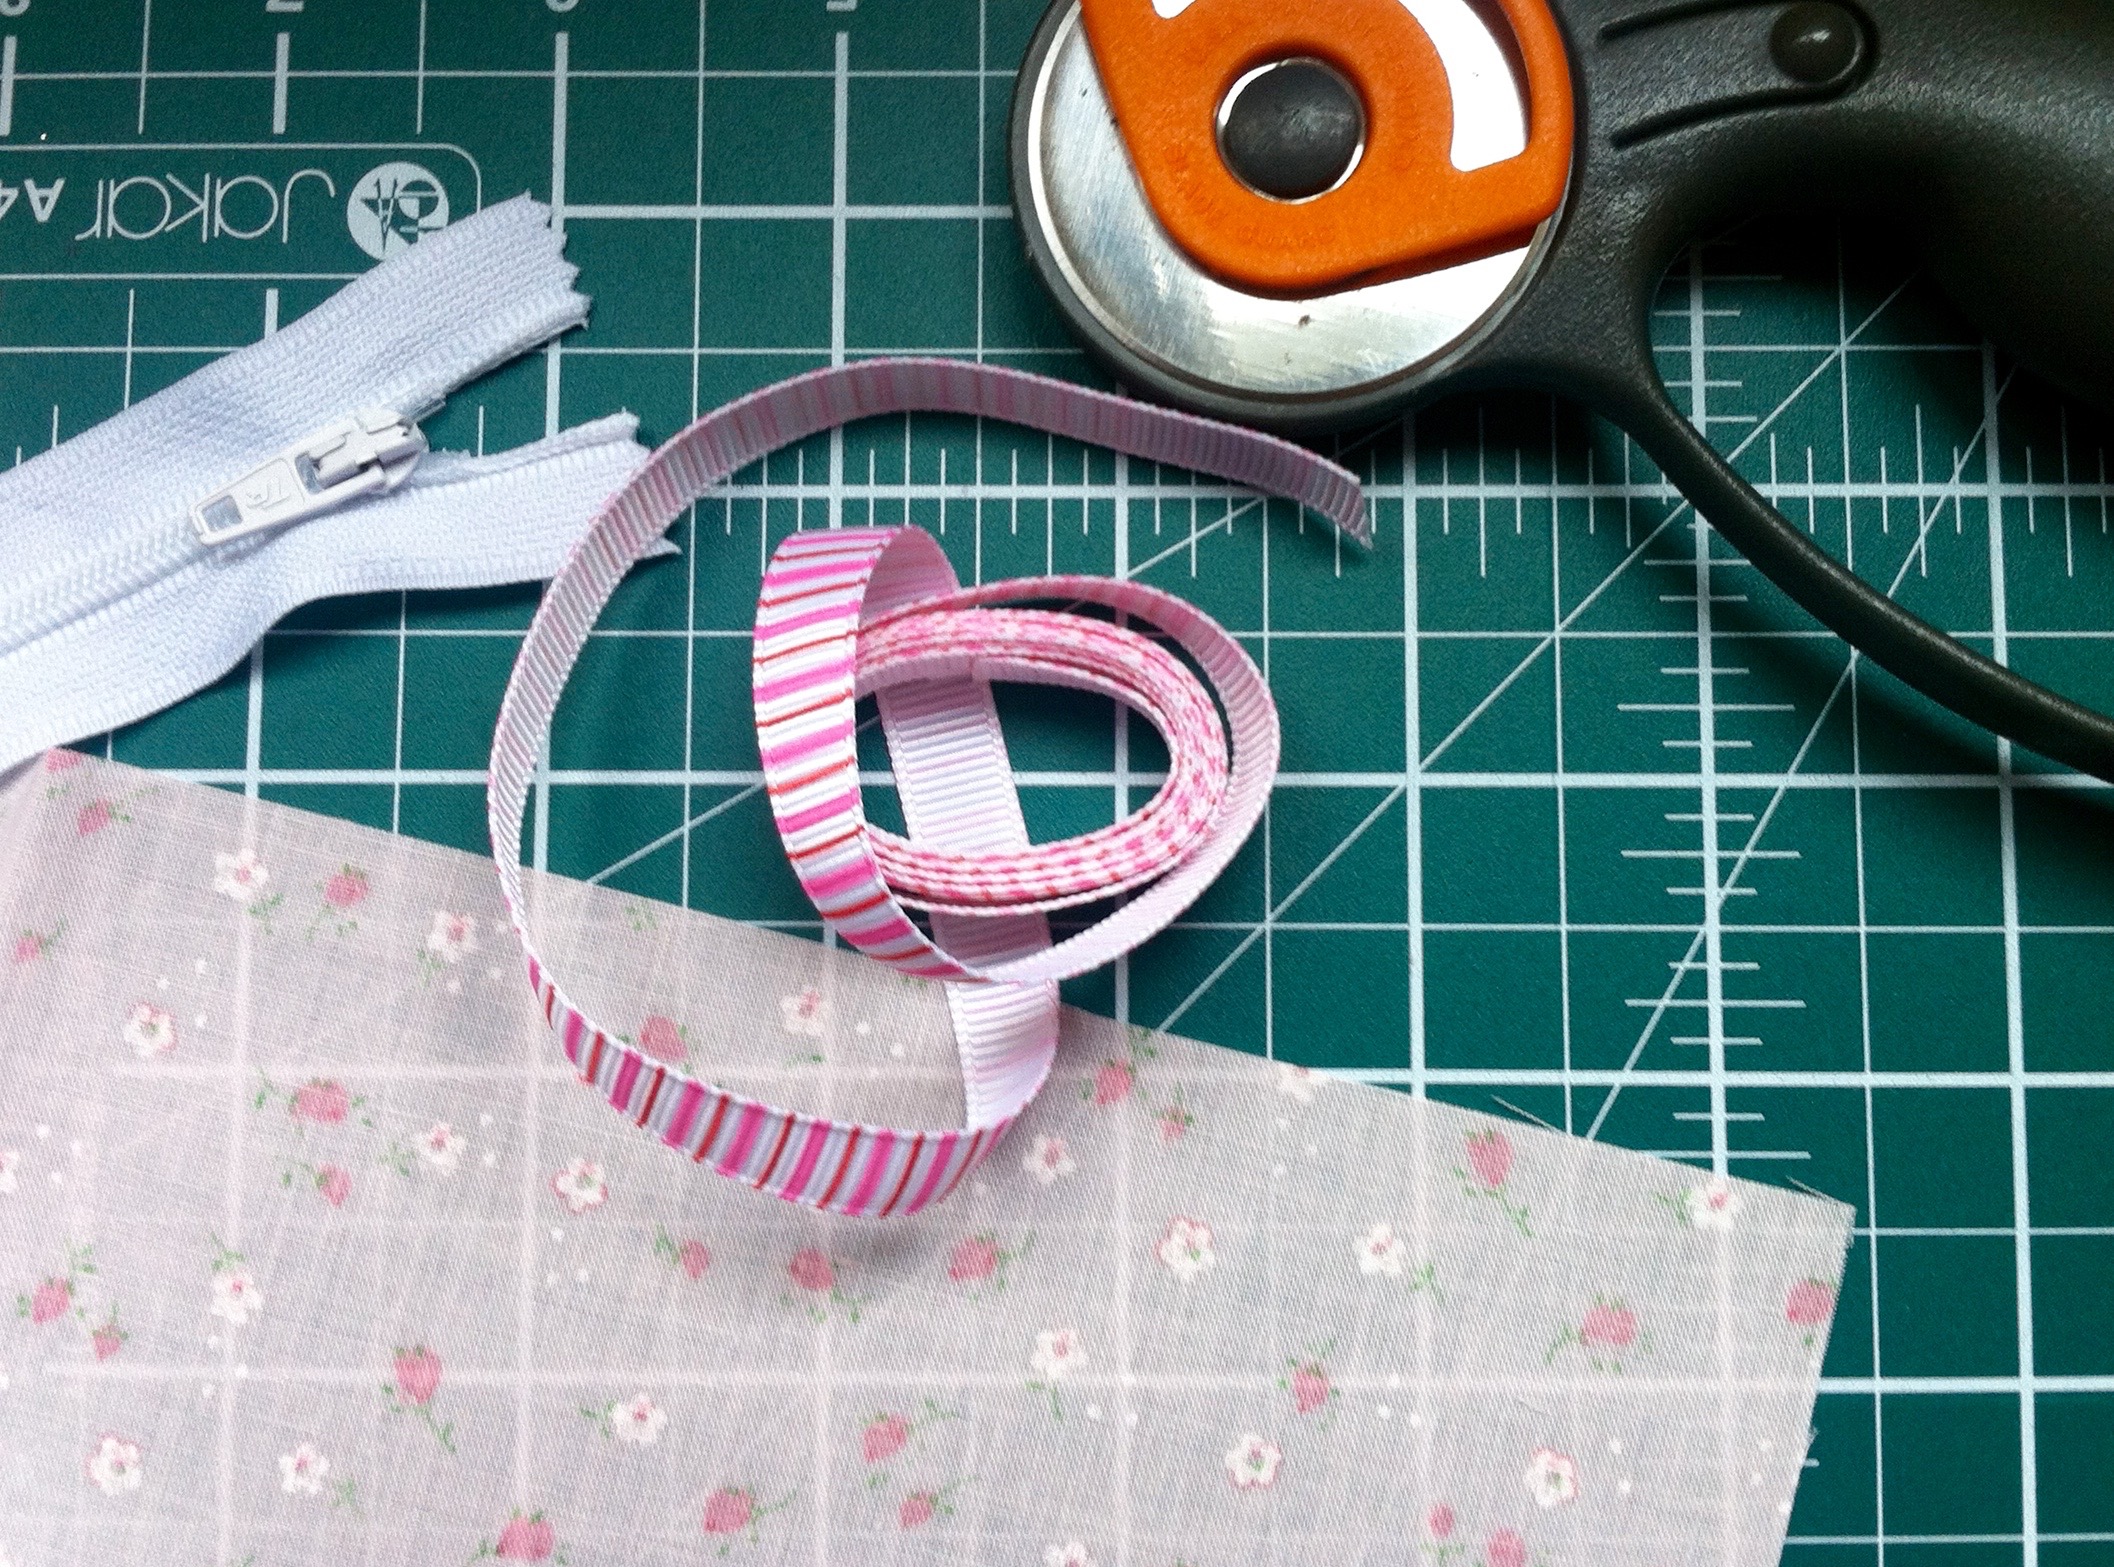
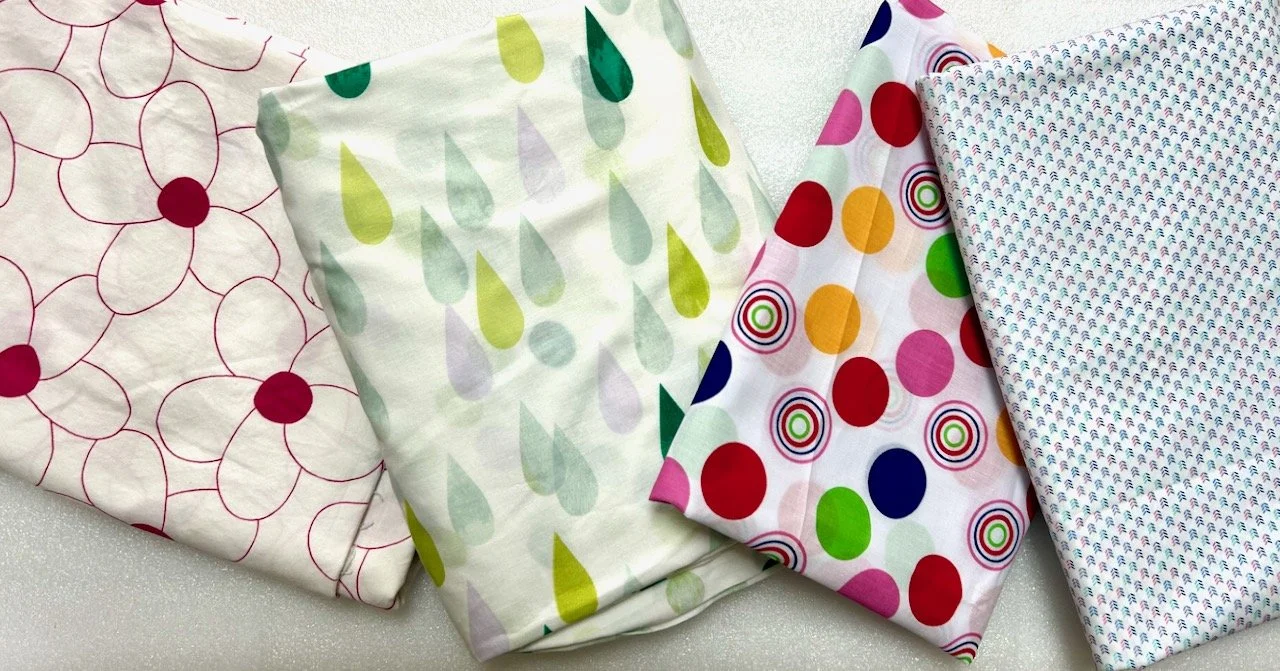
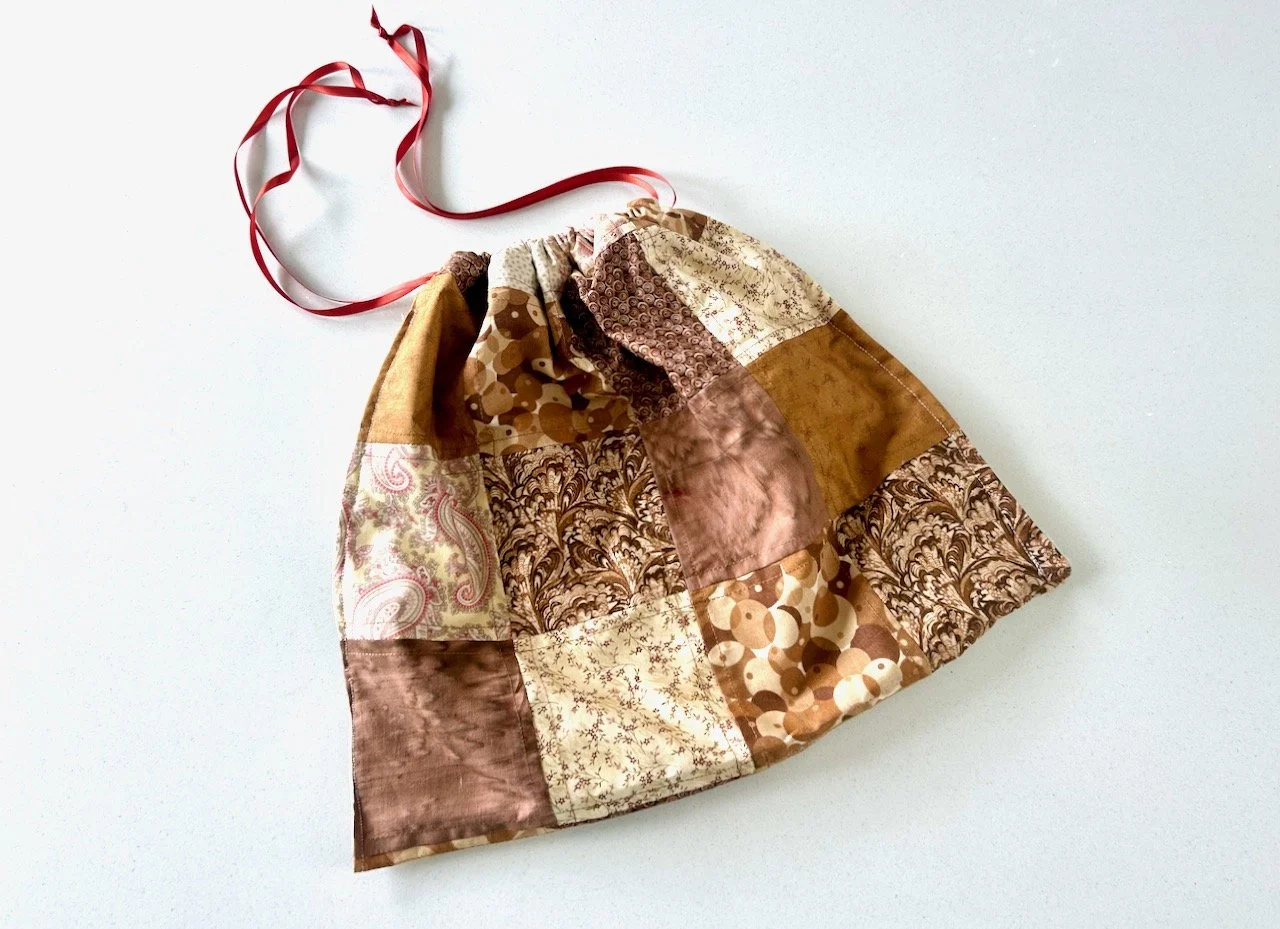
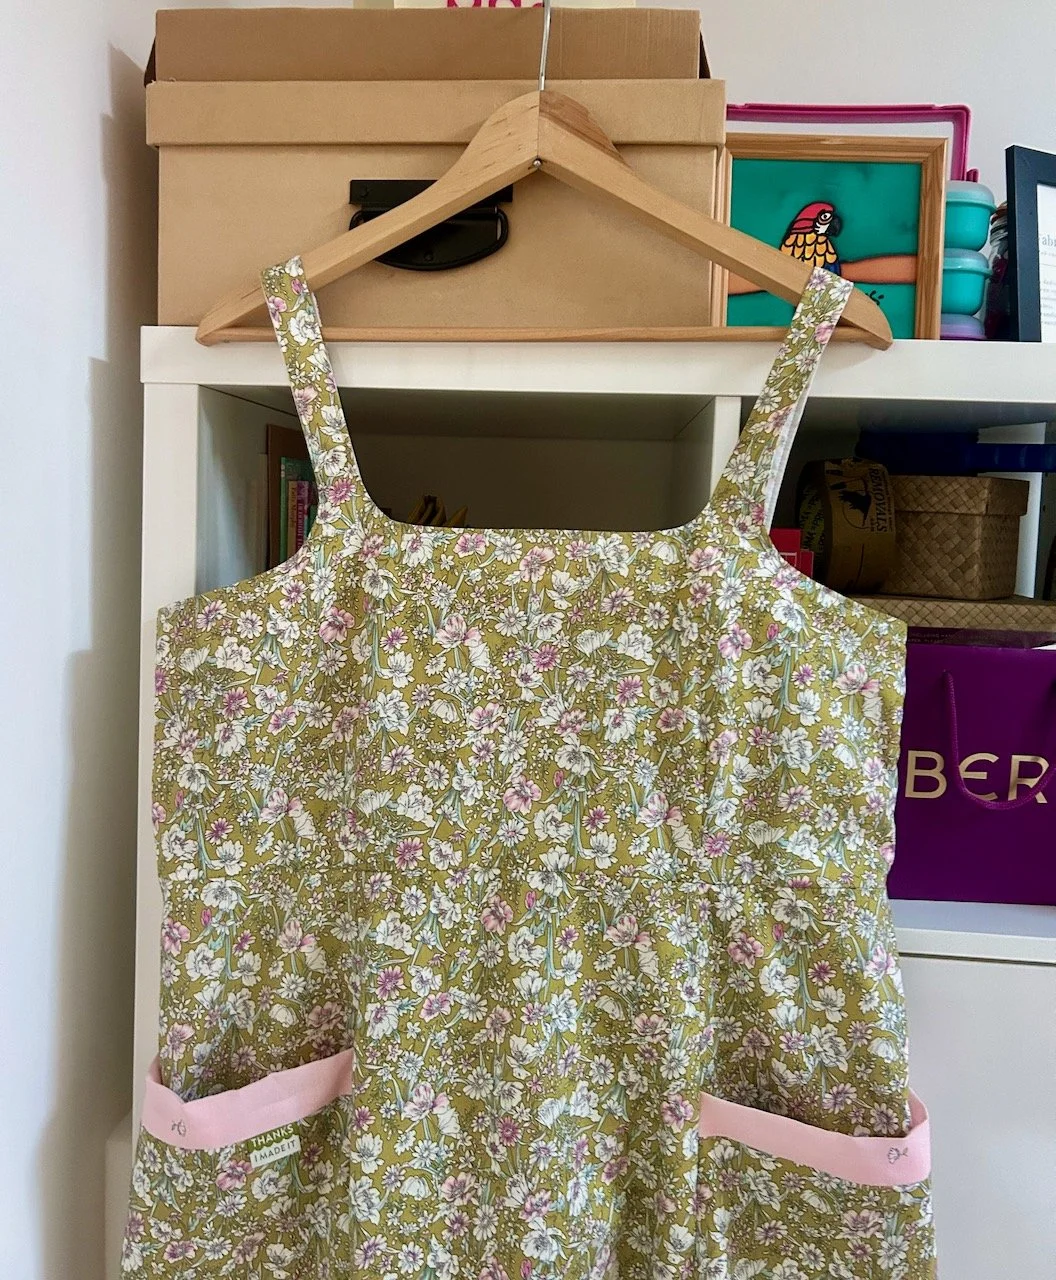
A while back I stumbled upon this tutorial showing how to make a Triangle Pouch and bookmarked it for a later date. In fact I was so taken with them that I even bought some zips for the day that I felt the urge to make one. For some reason I have five zips, so perhaps I was anticipating a surge of demand for triangle pouches, who knows...

I've made two so far...

The second much quicker than the first and with less unpicking too, so that's something. The tutorial was clear, it was just my novice sewer experience that slowed me down.

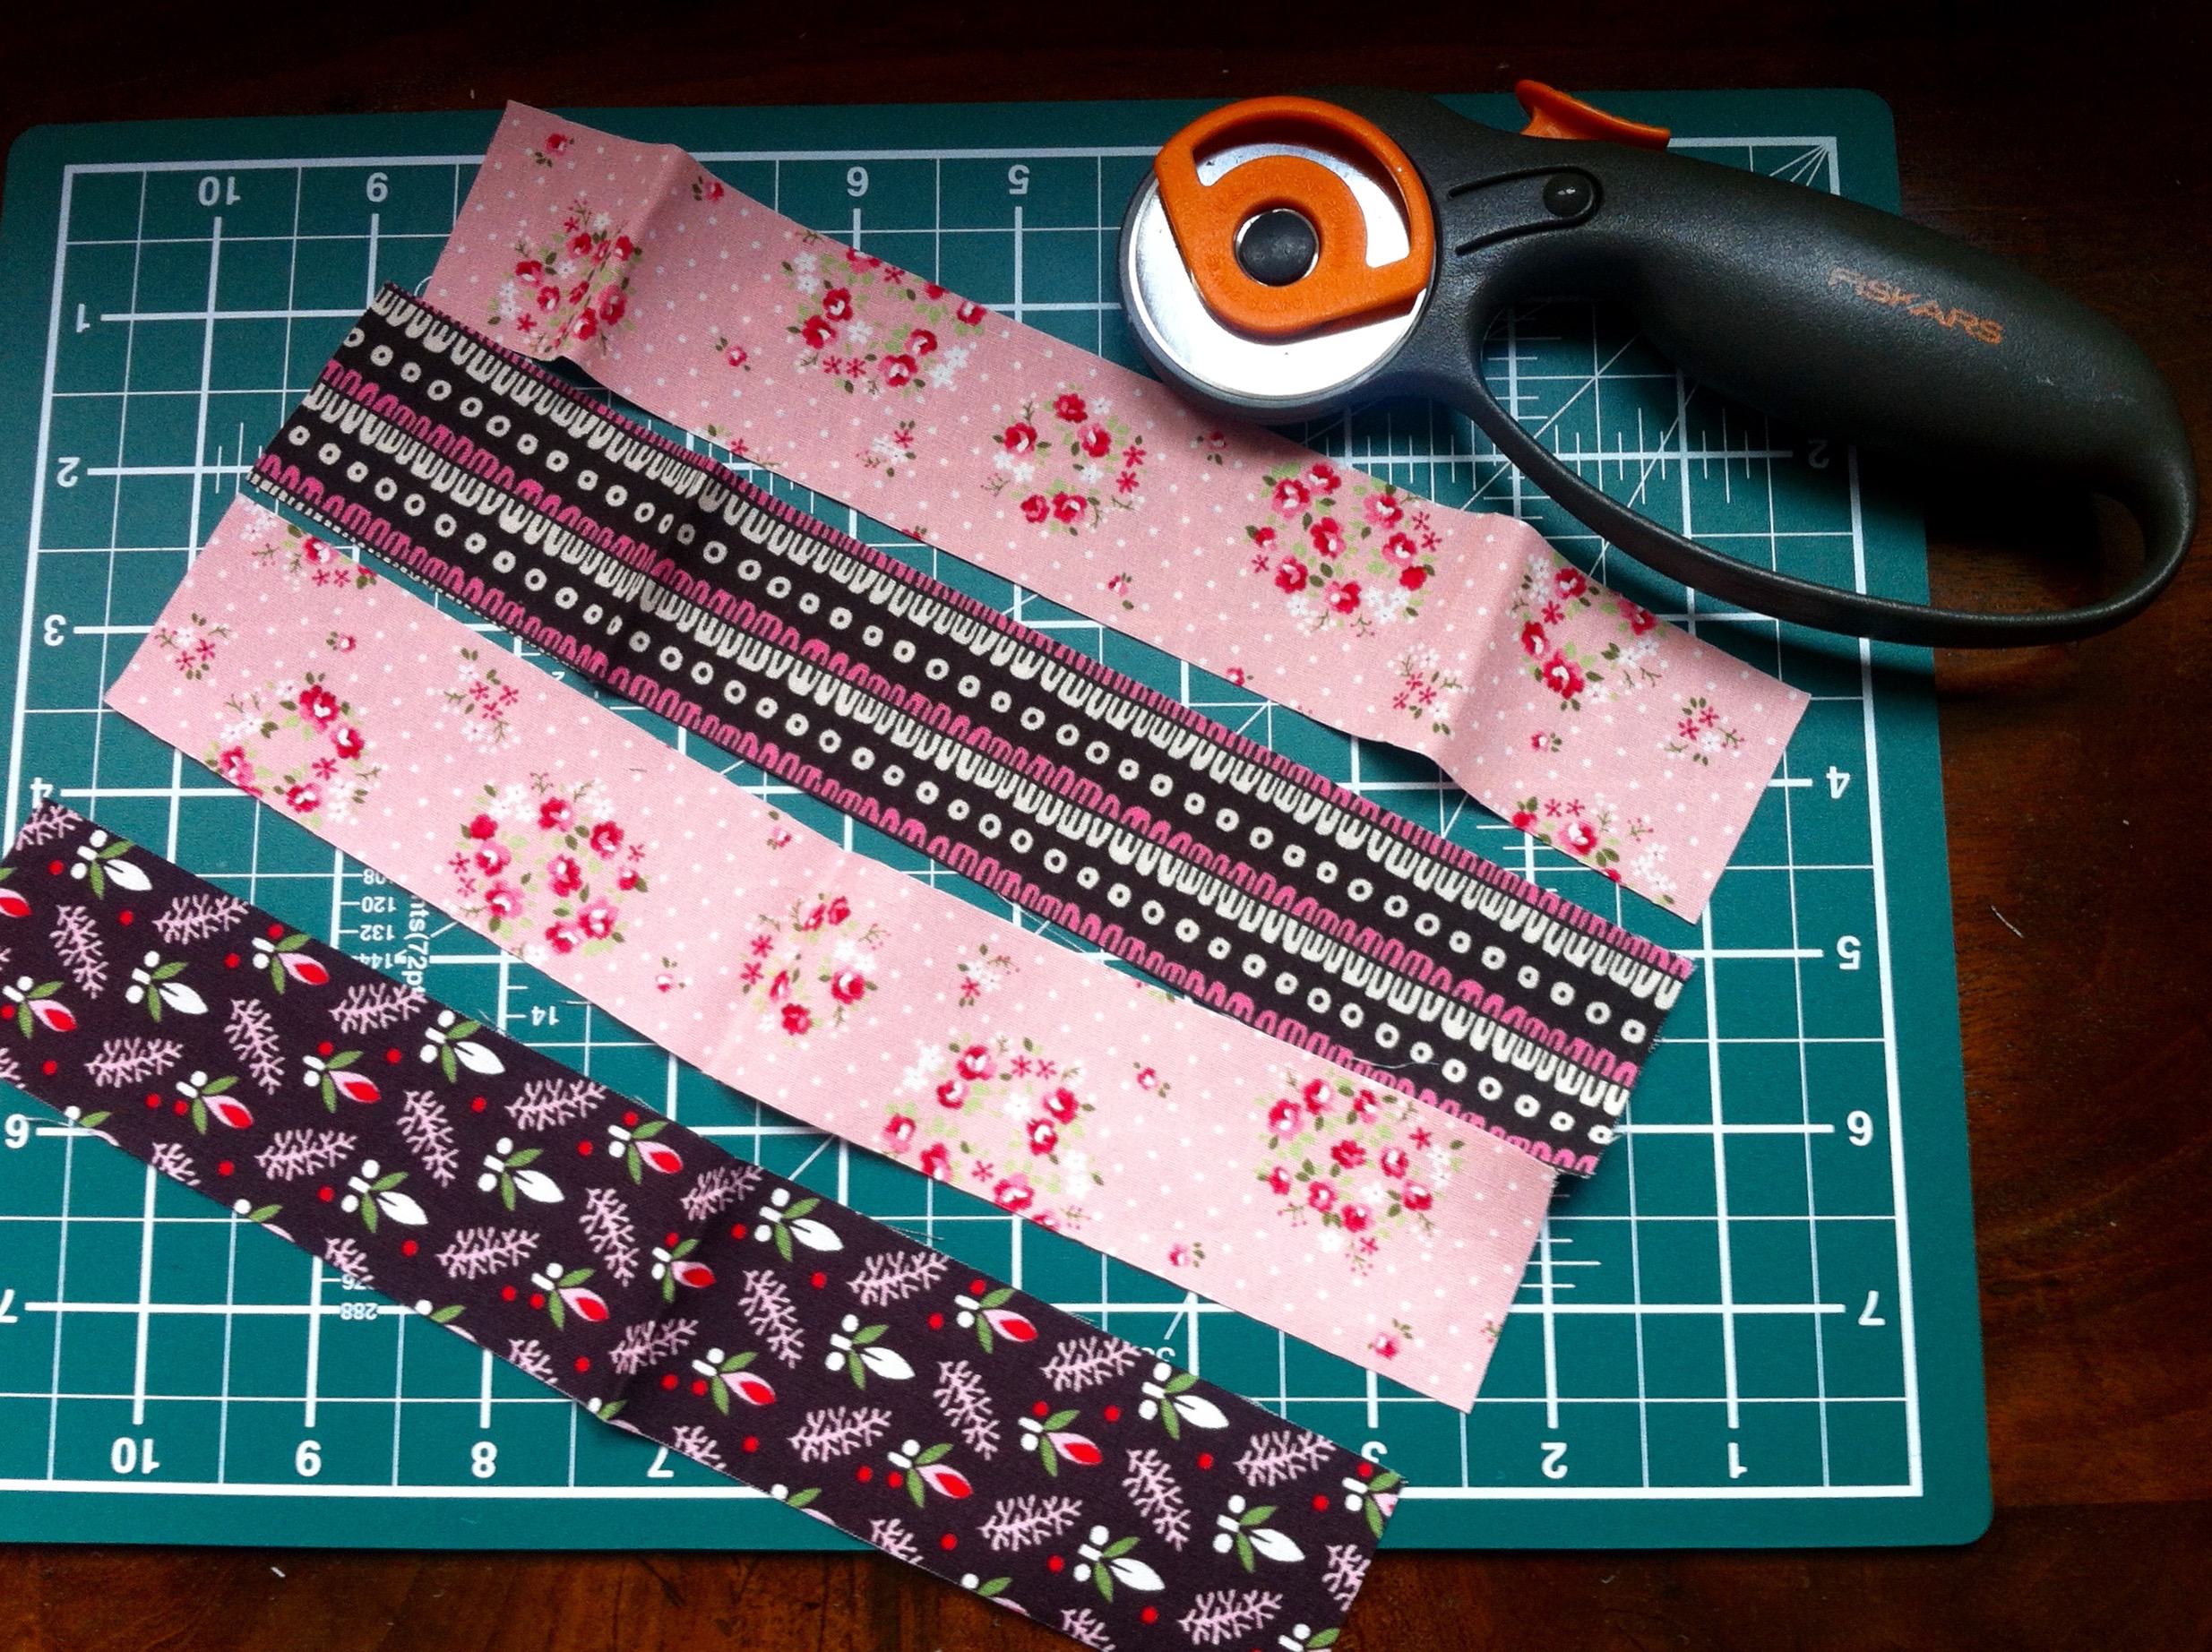
The finished pouches are about 4 inches in size and they don't take that much material at all, so they're great as a scrap-buster project. The largest piece of material you need is for the lining, and that's only 8.5 inches x 4.5 inches.

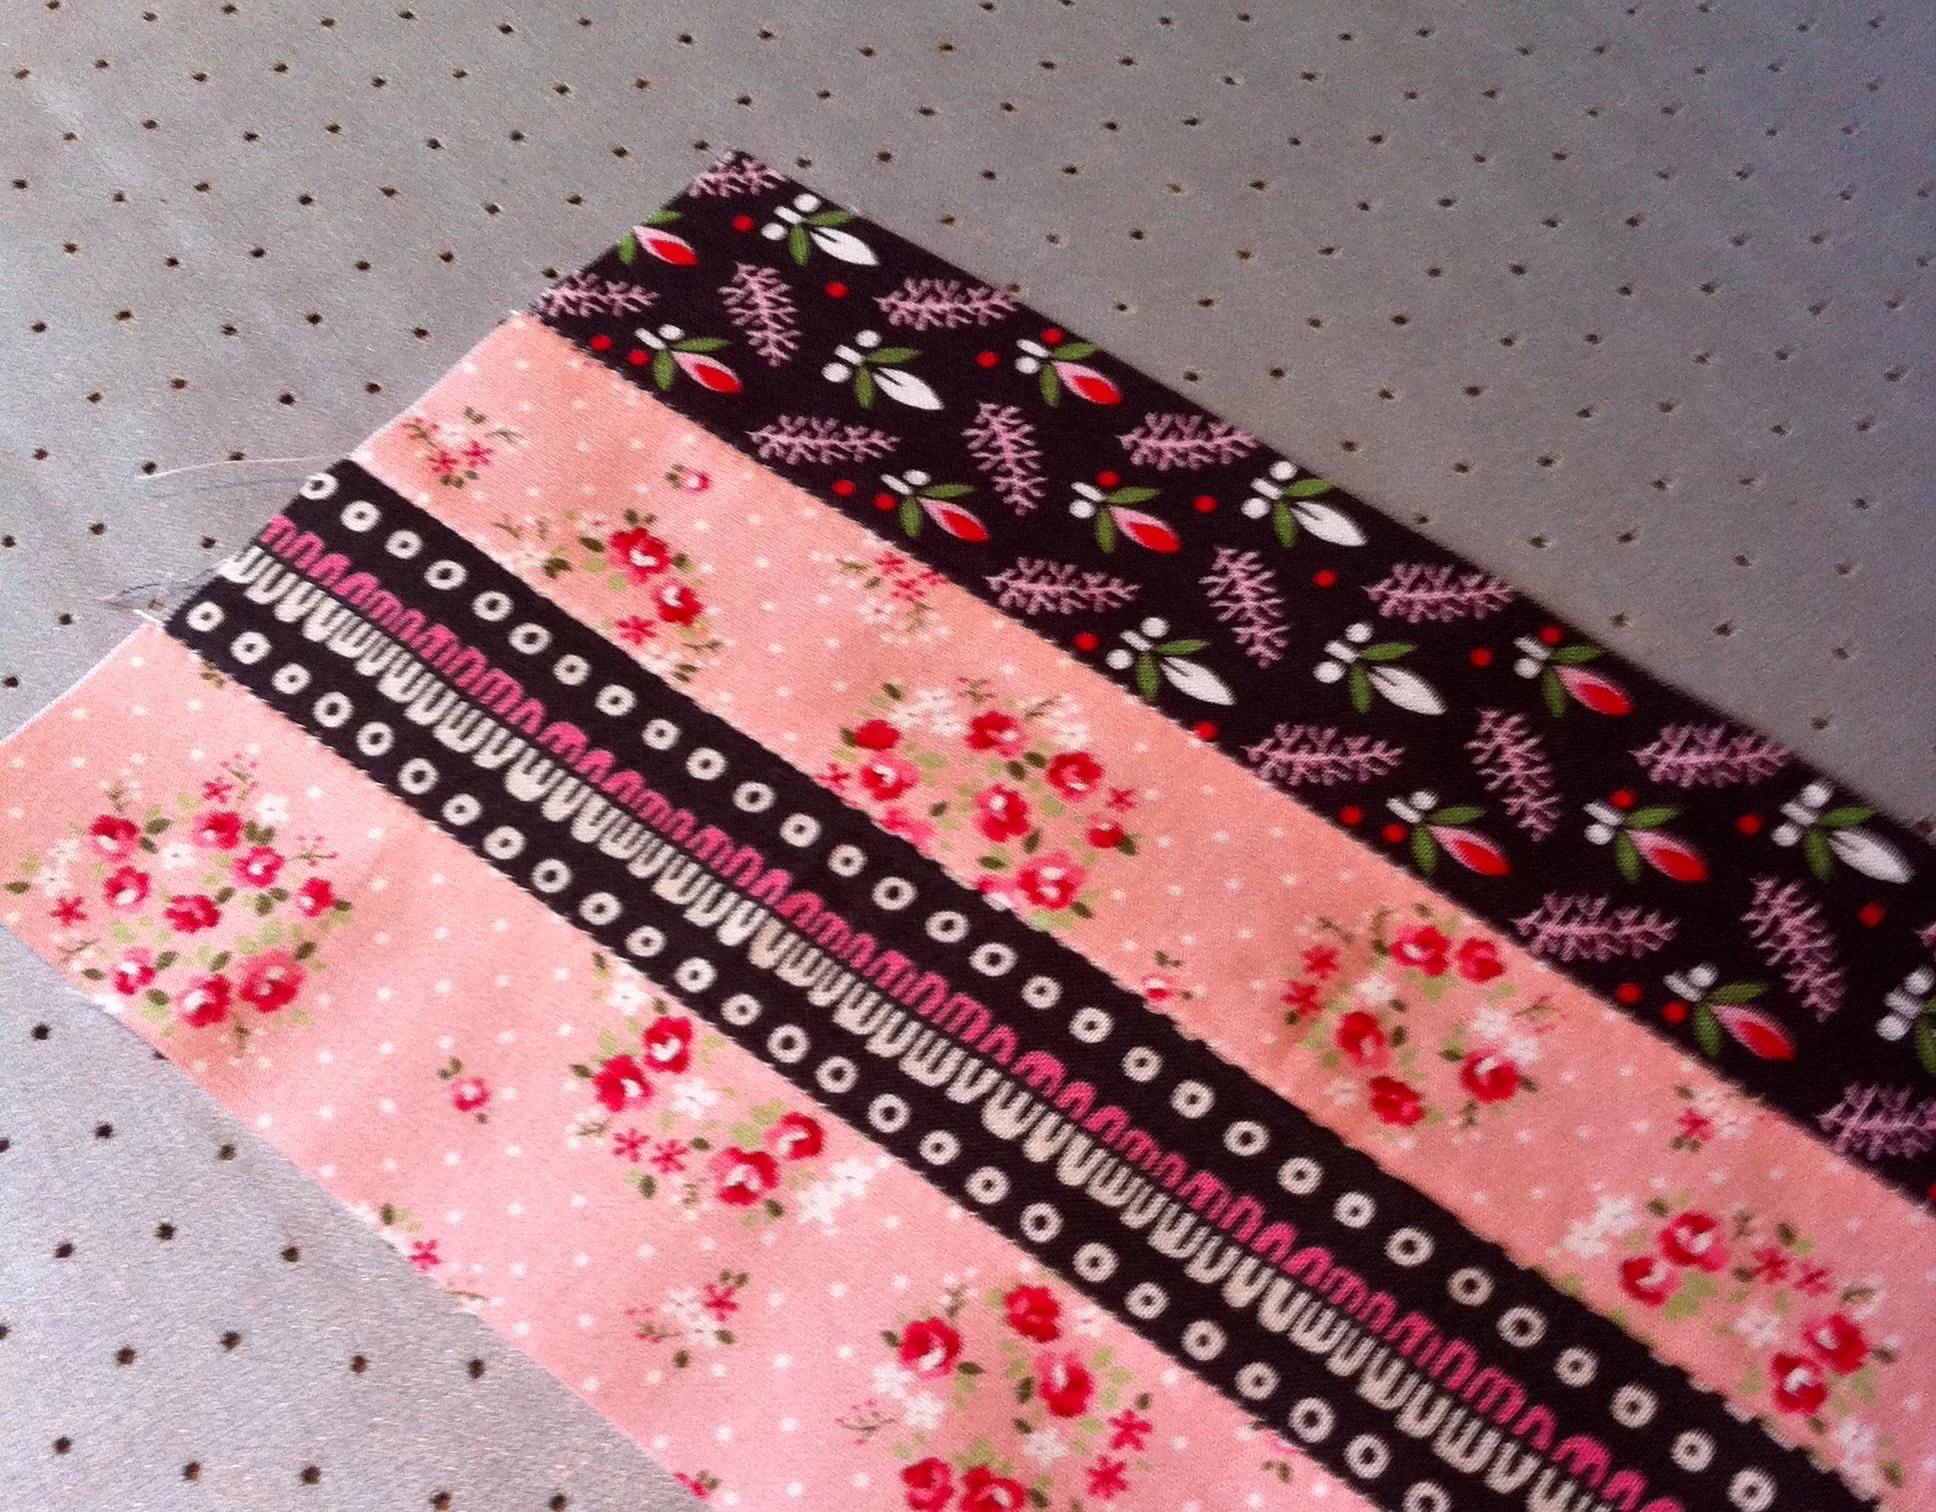
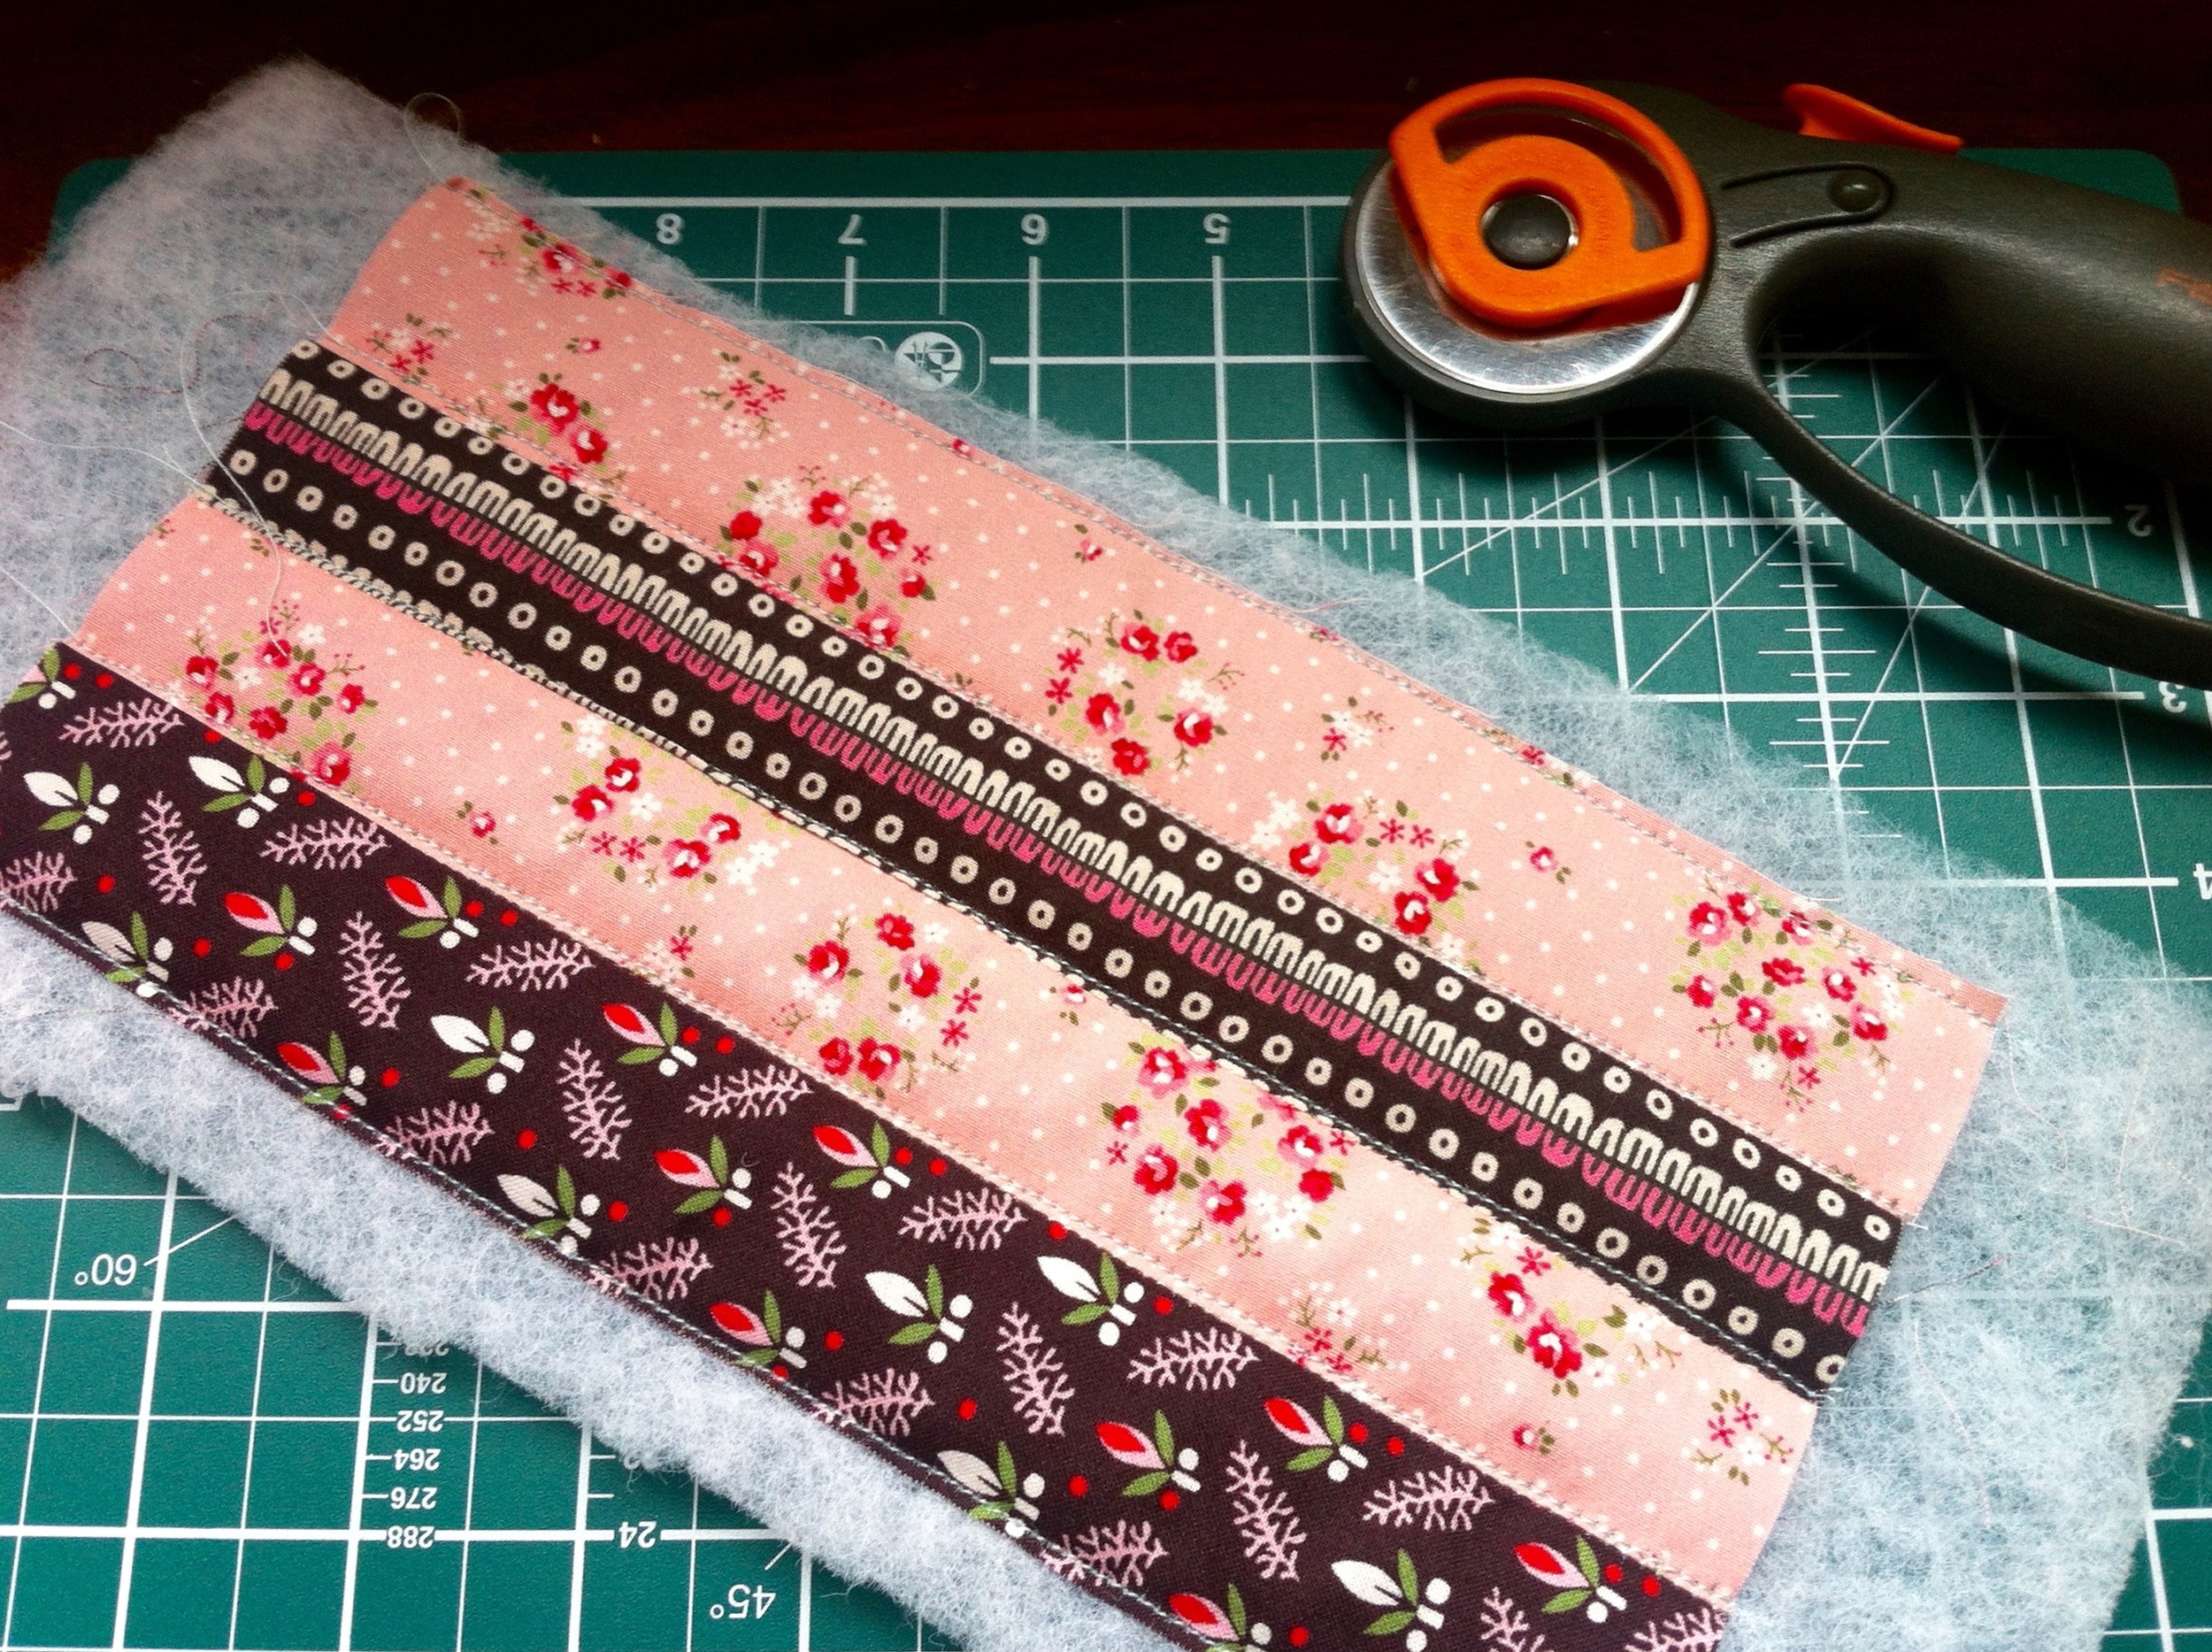
  • With the four strips sewn together, and the seams pressed I was starting to see what my triangular pouch might look like.
  • The tutorial uses fusible wadding, but I clearly hadn't read that far before I started and didn't have any. So I improvised with a thin layer of non-fusible wadding. It seemed to work, but I did add extra rows of stitches on the outer edges to keep it in place. 
  • With the wadding trimmed, it was time for the clever bit. And that's to cut it in half and turn it round to form the pattern. Easy huh?
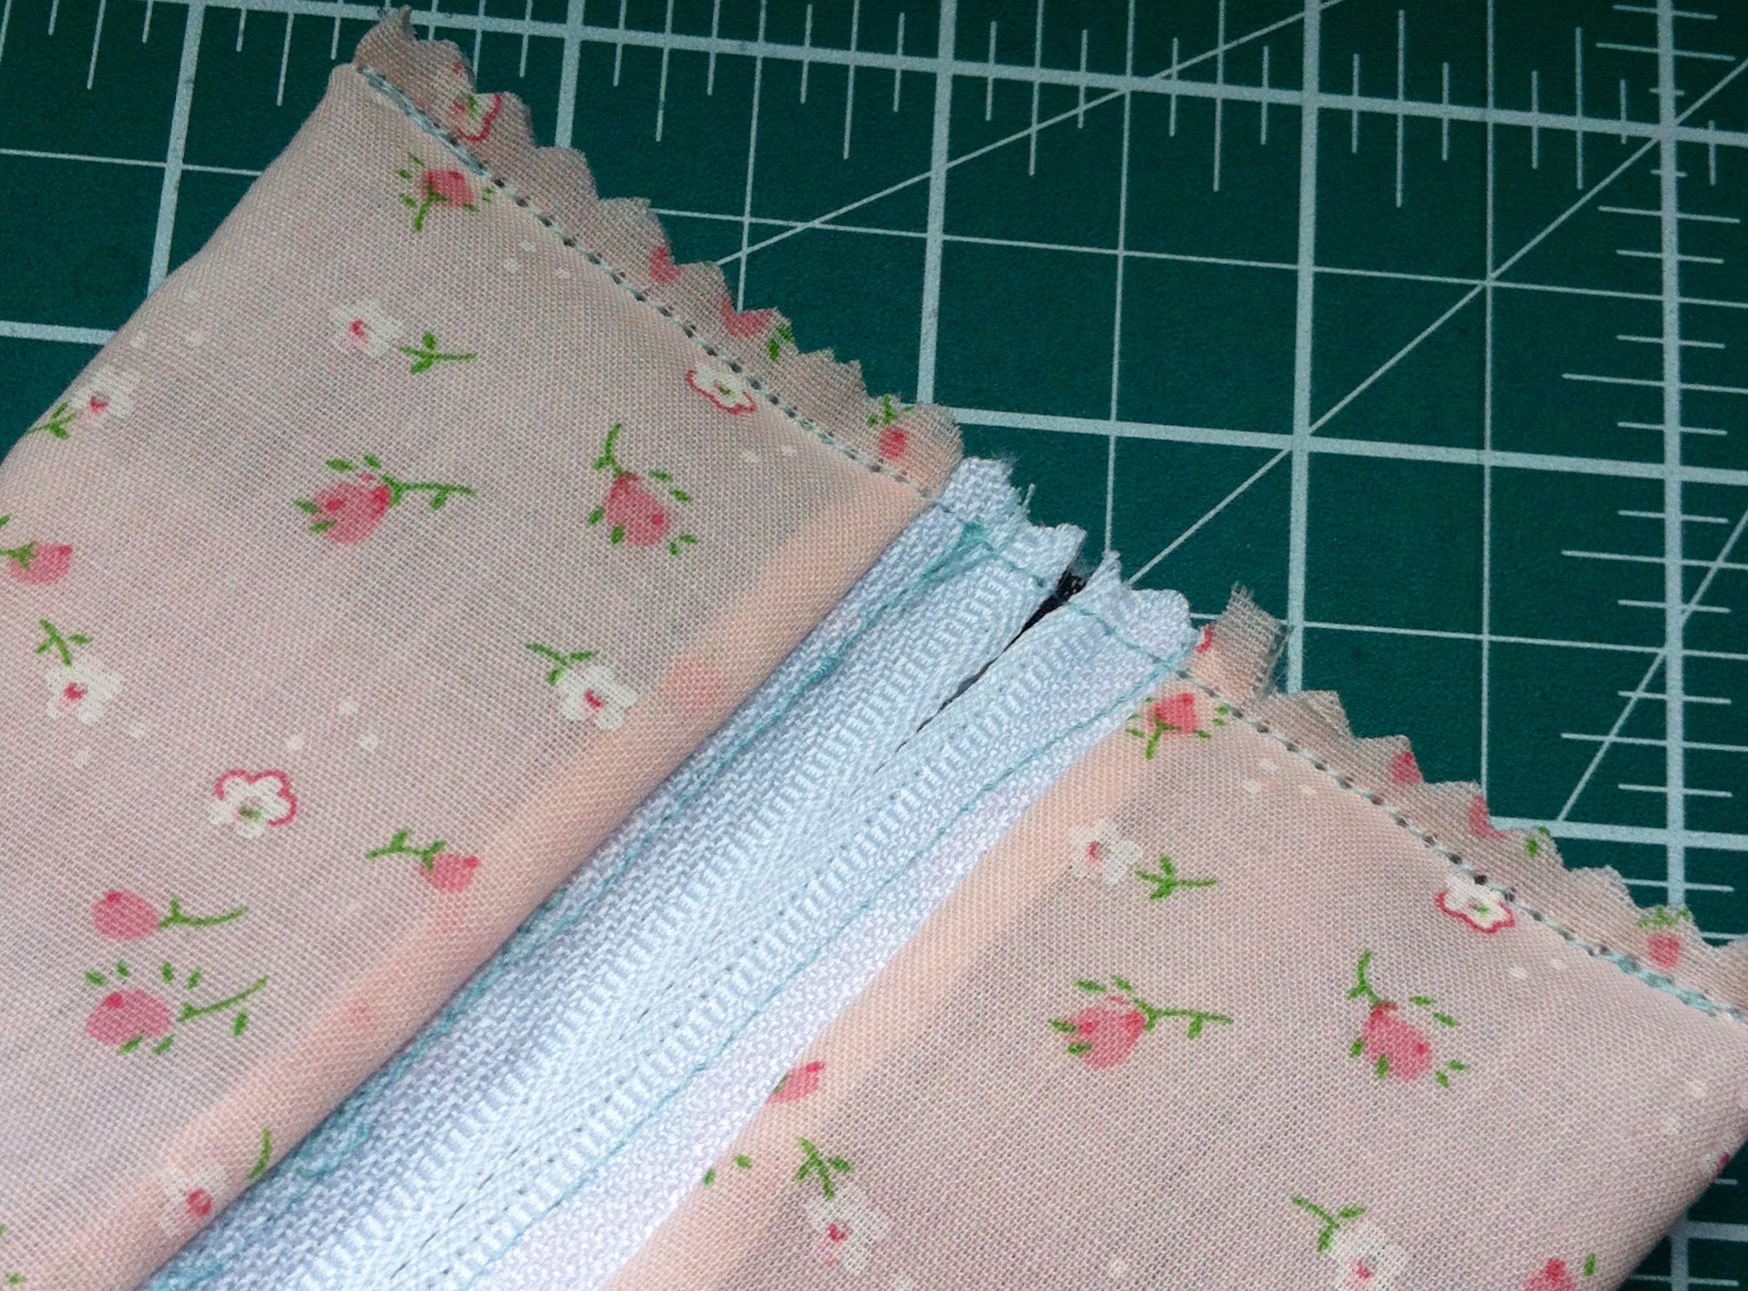
  • I got the zip in too - although I was lazy and didn't change to the zipper foot. With some strategic zipping and unzipping I managed. It's the first time I've done a zip for a very long time, and while my stitching isn't super straight I'm pleased with it and myself.
  • After the zip and some checks to make sure the lining was showing as I expected, then it was time to start assembling the triangle.
  • The bottom seam was sewn, and the ribbon in place - I learnt from my first try to pin it to the right side, so it didn't pop inside. It's not much use having a handy ribbon holder on the inside was it?
  • And then before I knew it, two were done. Cute aren't they?
  • I've got three more zips, so I think there'll be some more. And who knows, I might even buy some more zips!

They are pretty cute, and I've no idea what I'll use mine for. The other one's for my mum - she'll know which one is hers.

Sunday Stationery: The Geffrye Museum Notebook

I had a fab afternoon last week visiting The Geffrye Museum in Shoreditch. It's a museum of the home, set in some old Almshouses and is free (although donations are very much welcomed), and of course there's a shop which I didn't leave empty-handed.

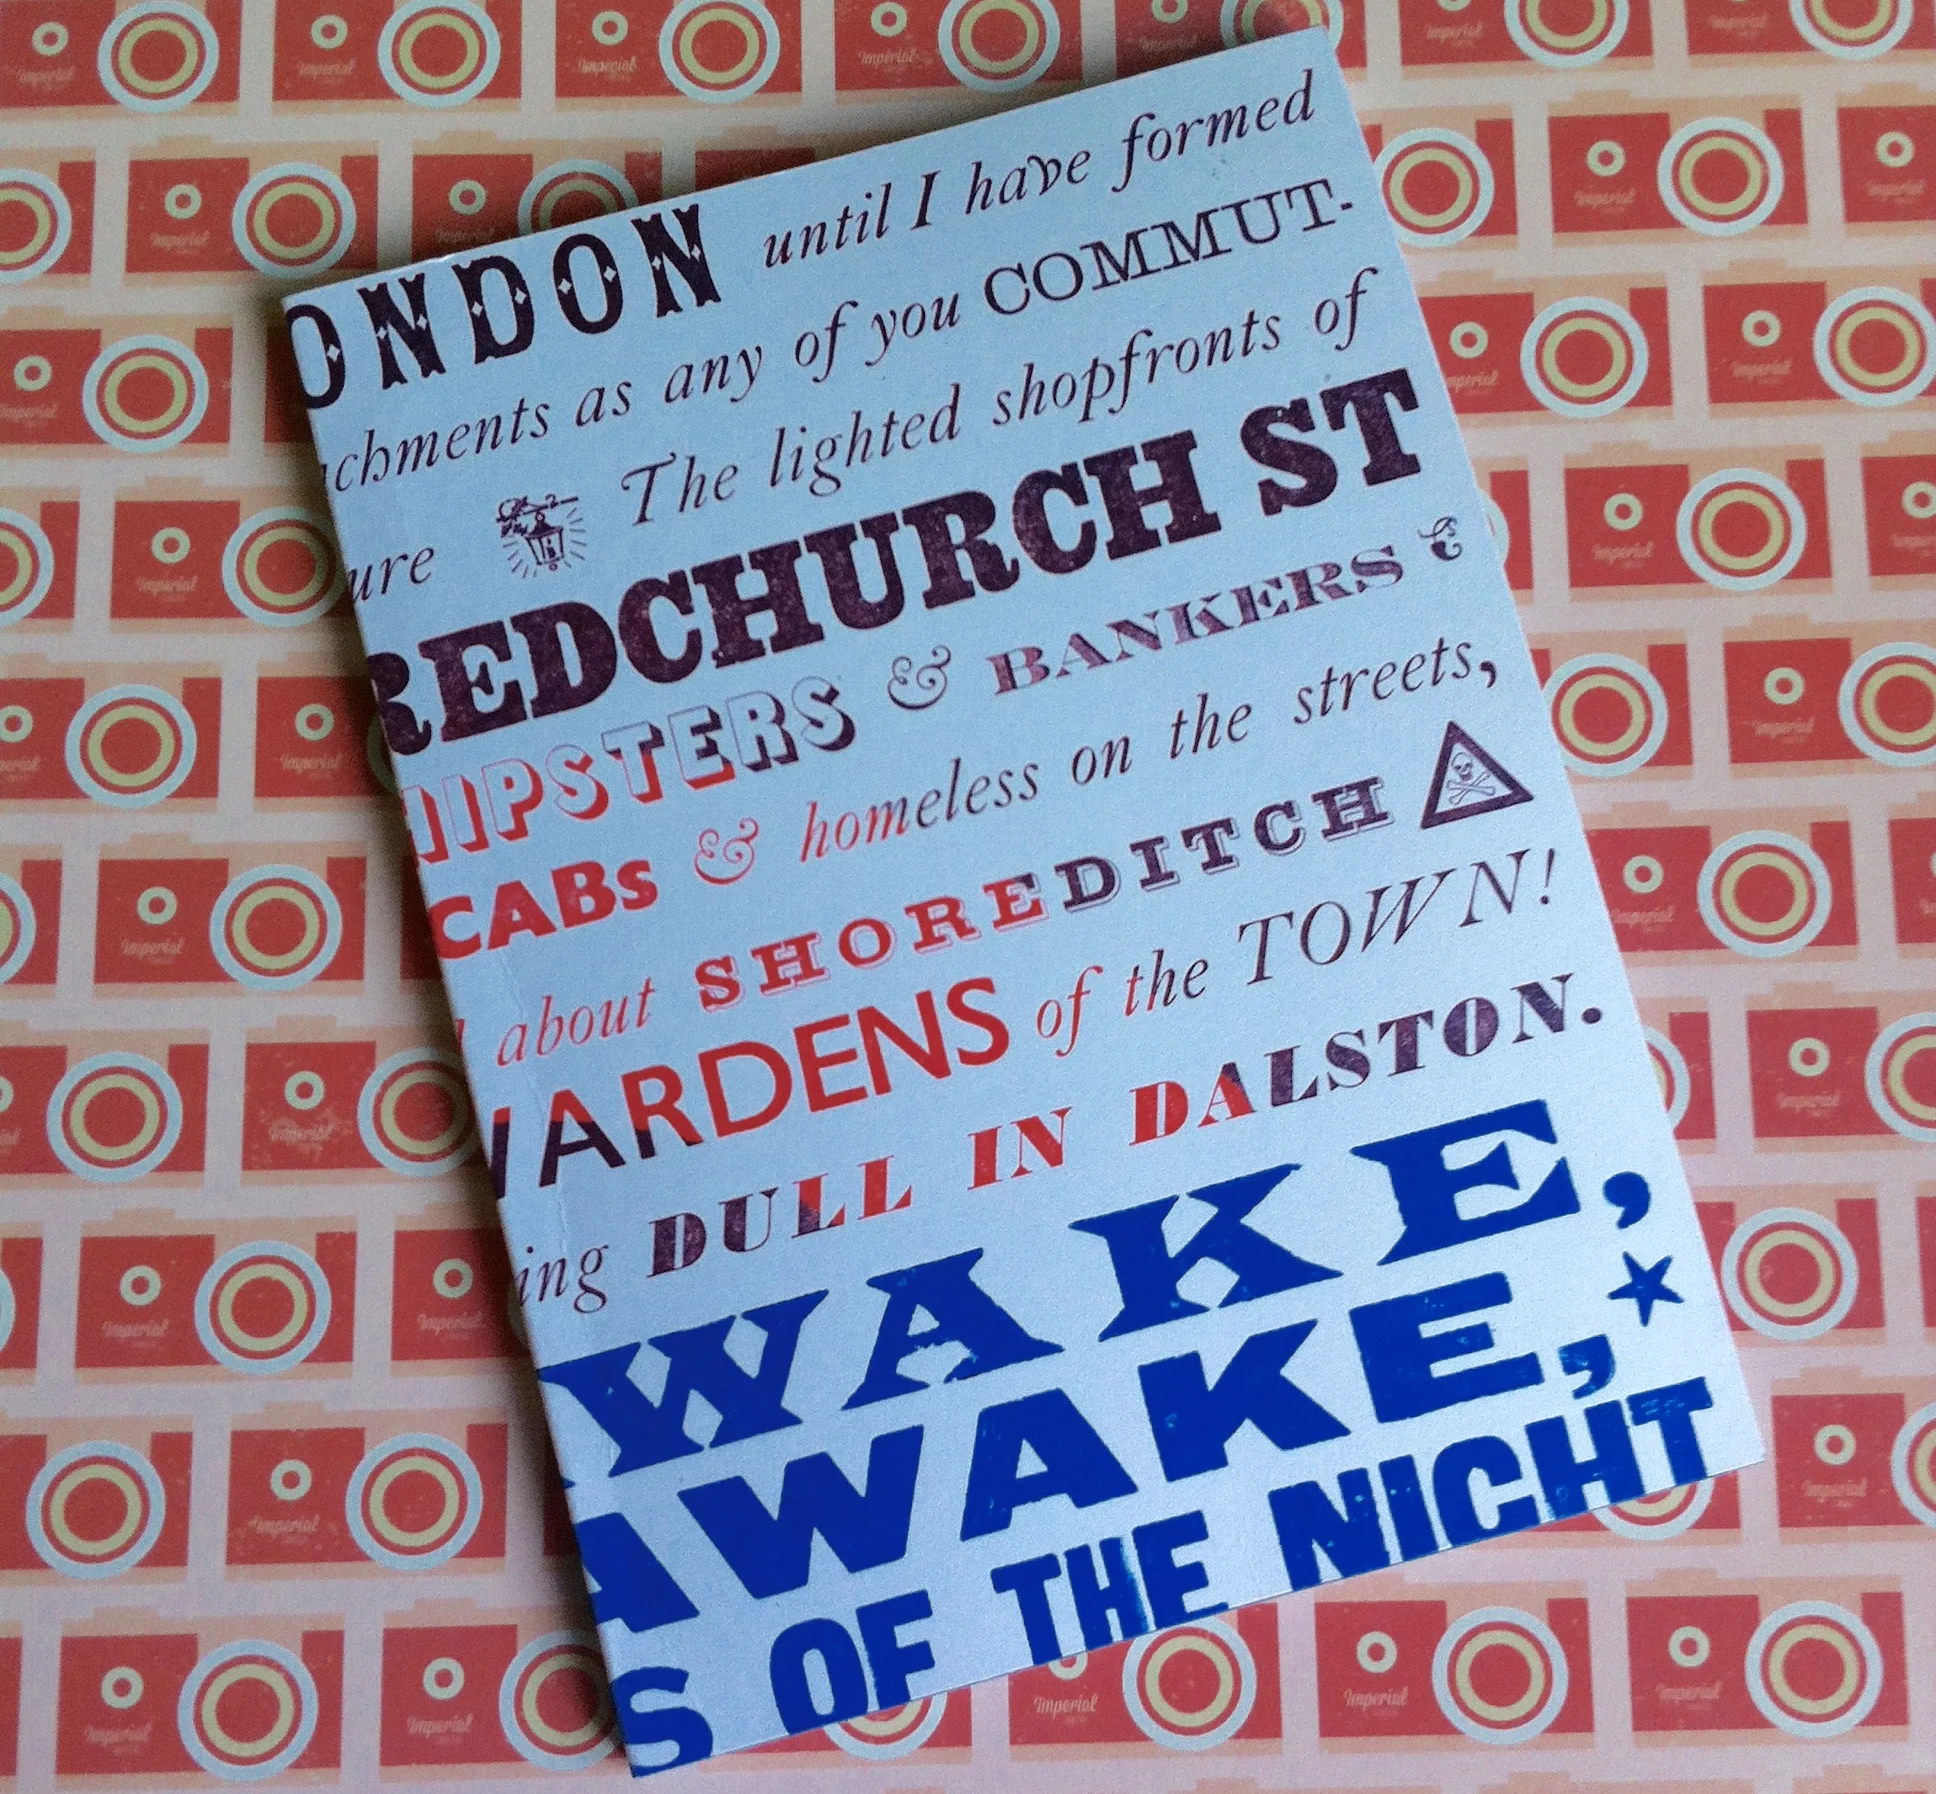
I left with a notebook (no surprises there), some wrapping paper and some seeds. Today I'm just going to share the notebook as I've plans for the wrapping paper (and not the usual sort of plans) so I'll most likely share that another time.  There wasn't much choice of notebooks in the shop, but it didn't matter as this one caught my eye straight away, and the man in the shop assured me they were stocking up on notebooks very soon. That's good news for my future visits, but I'm still not sure how they knew I was coming!

FRONT

FRONT

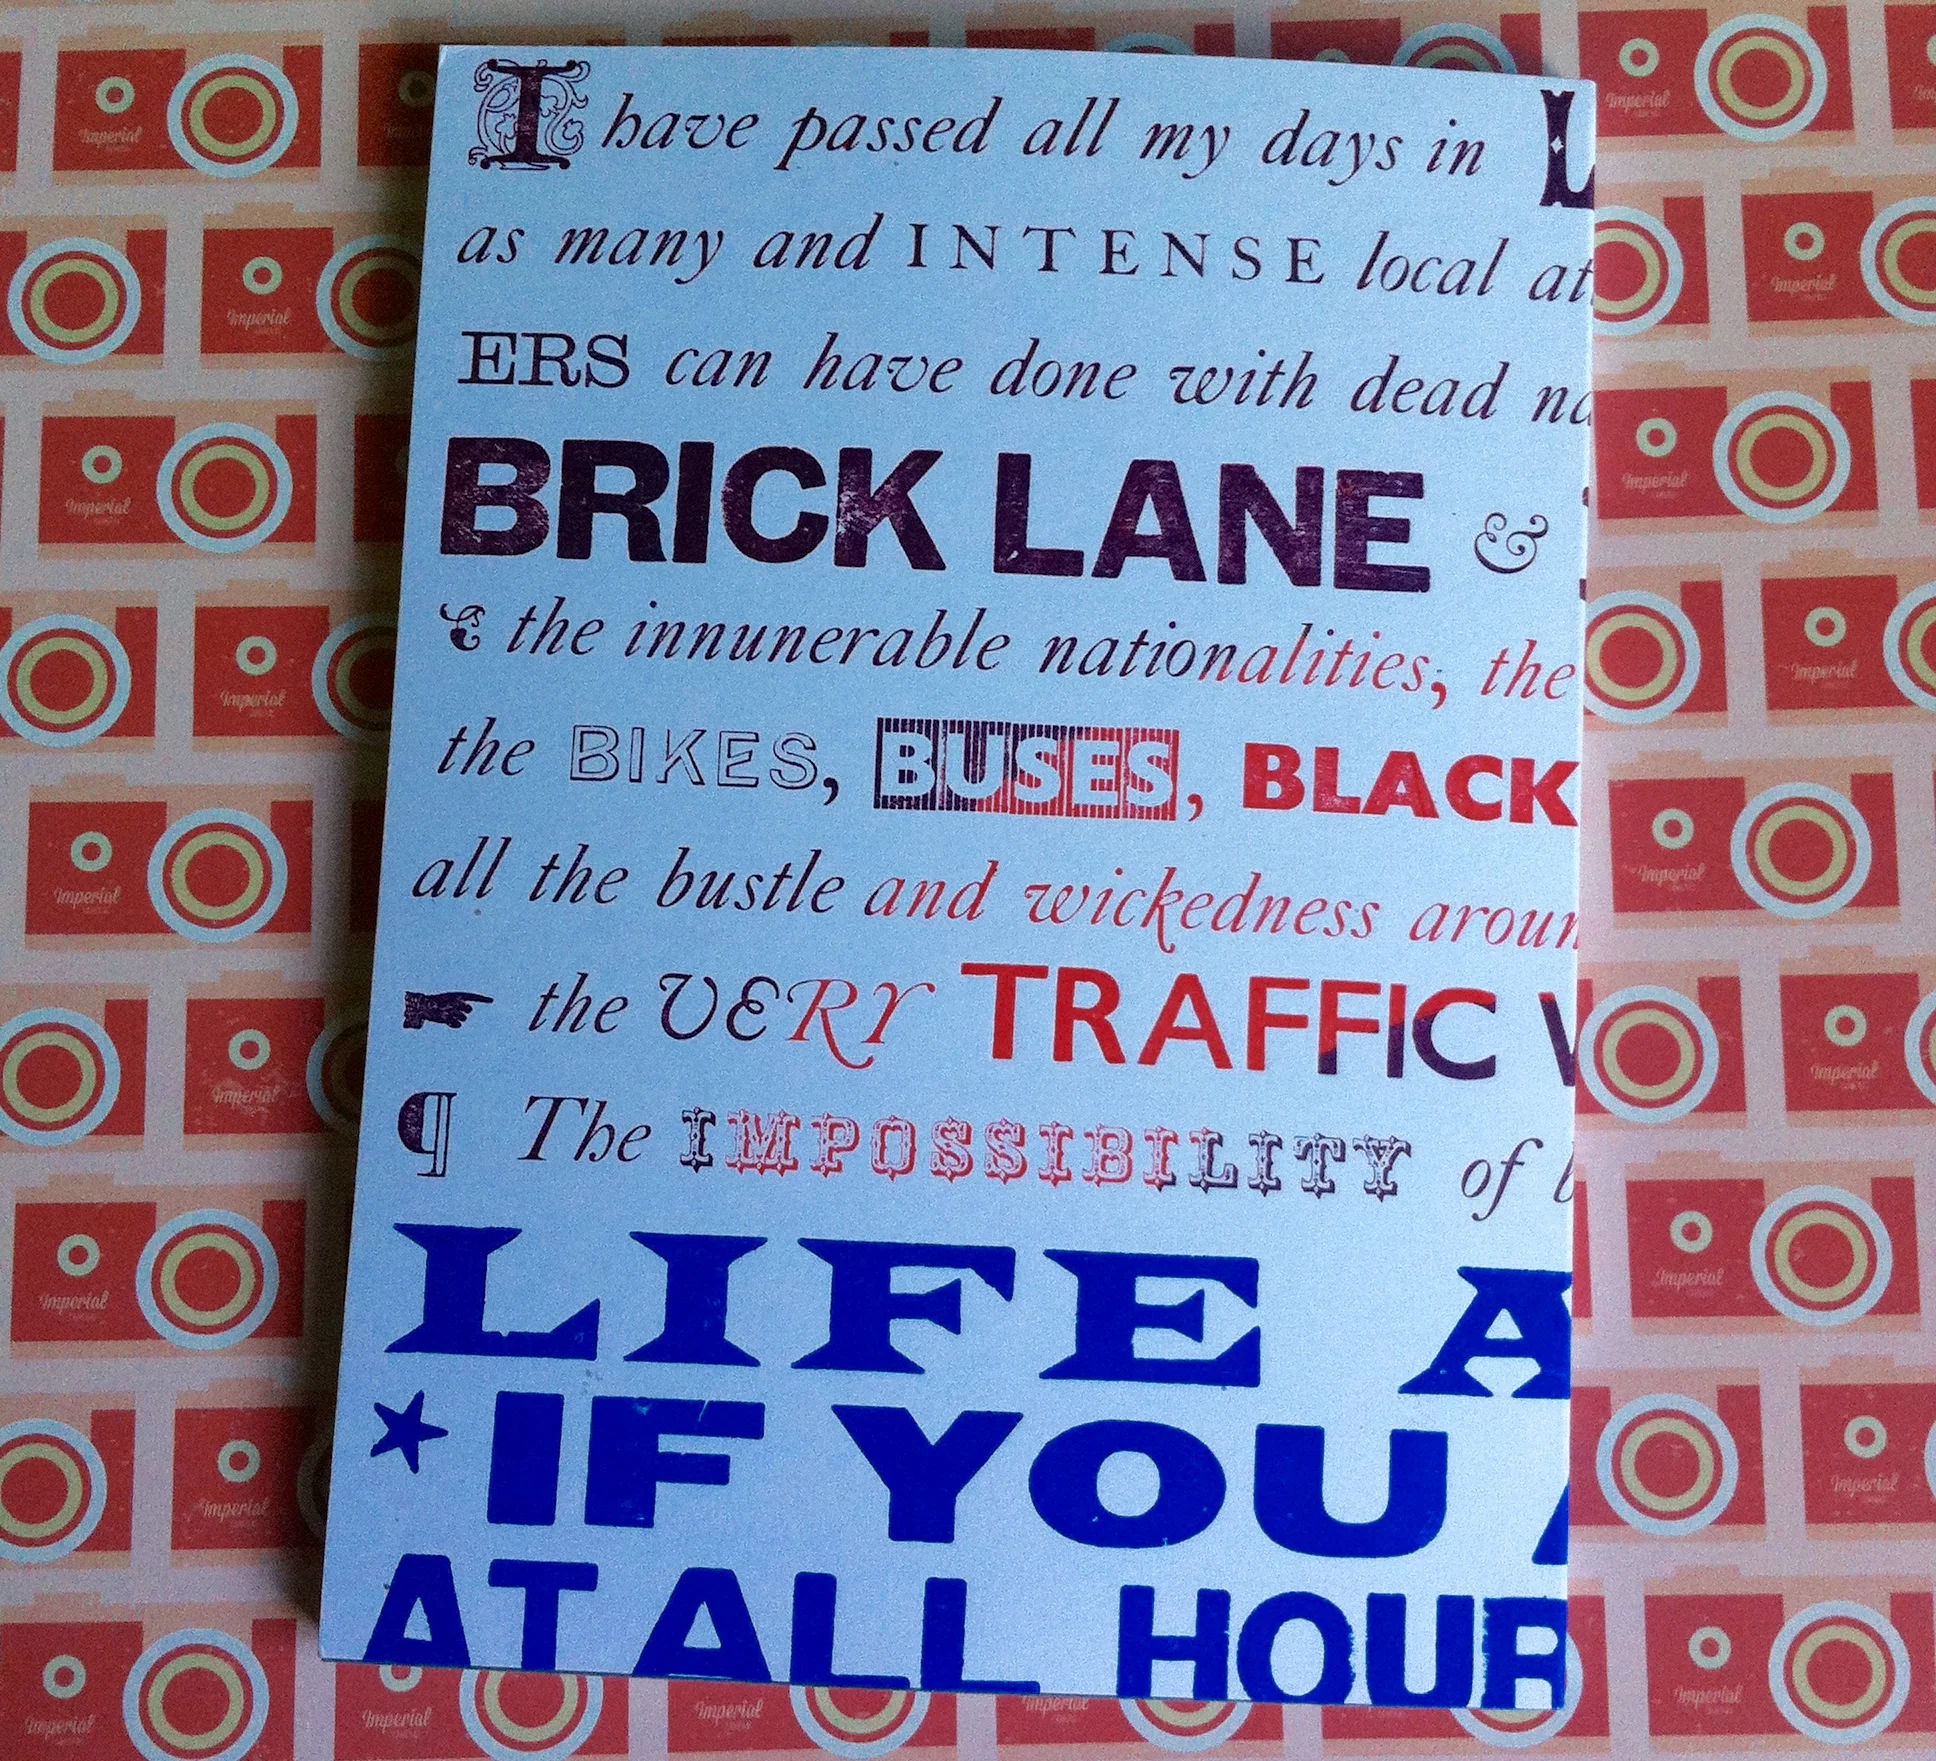
REVERSE

REVERSE

And in case you're wondering the cover is an adaptation of a letter written by Charles Lamb to William Wordsworth about London in 1801. Who knew that Hipsters were around then?!

Inside the front cover there's a lovely Robert Macfarlane quote too: 

IMG_1320.jpg

I've no idea yet what I'll use this for, but I couldn't leave it on the shelf and I'm sure when the time comes I'll find a use that's just perfect for it.