It seems that crafting is now part of my everyday life in a way that I couldn’t have imagined when we moved here - and I’m not sad about it. I don’t always get to do some craft every day, but if I don’t I’m pretty sure I’m thinking about new projects or possibly even shopping online, or in real life.
I’m beginning to think it’s true that buying, or acquiring, new supplies is a separate hobby to actually using them, and it’s one I’ve been working on over a number of years. Now though I have the time to start using it all, or some of it at least.
With more crafting time in my days my productivity has definitely increased - you’ll have seen earlier posts on my newly put into practice skills proclaiming my pouch love, and the updates to my quilty plans. I’ve realised though that the accountability these posts give me is good, and so I’m planning to share more about what I add to my craft room every month in this new series of posts.
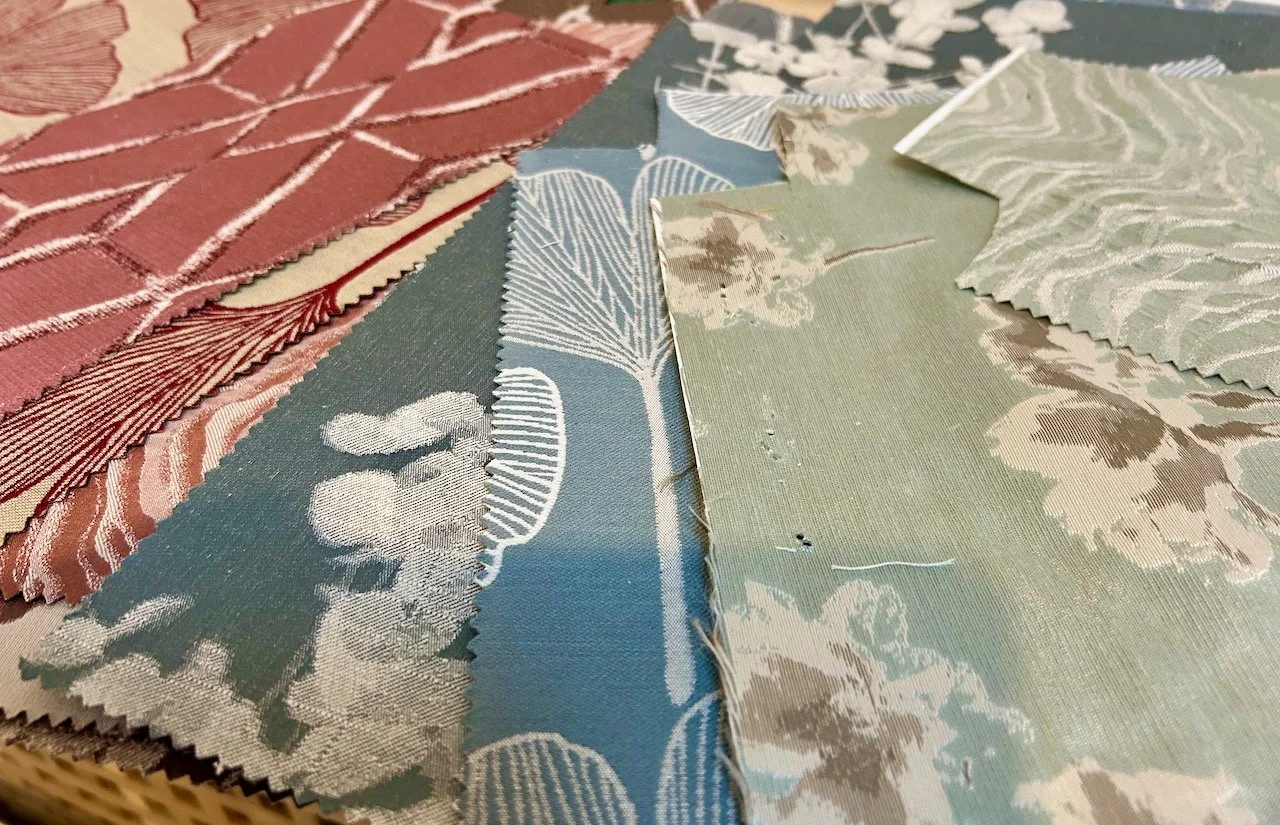
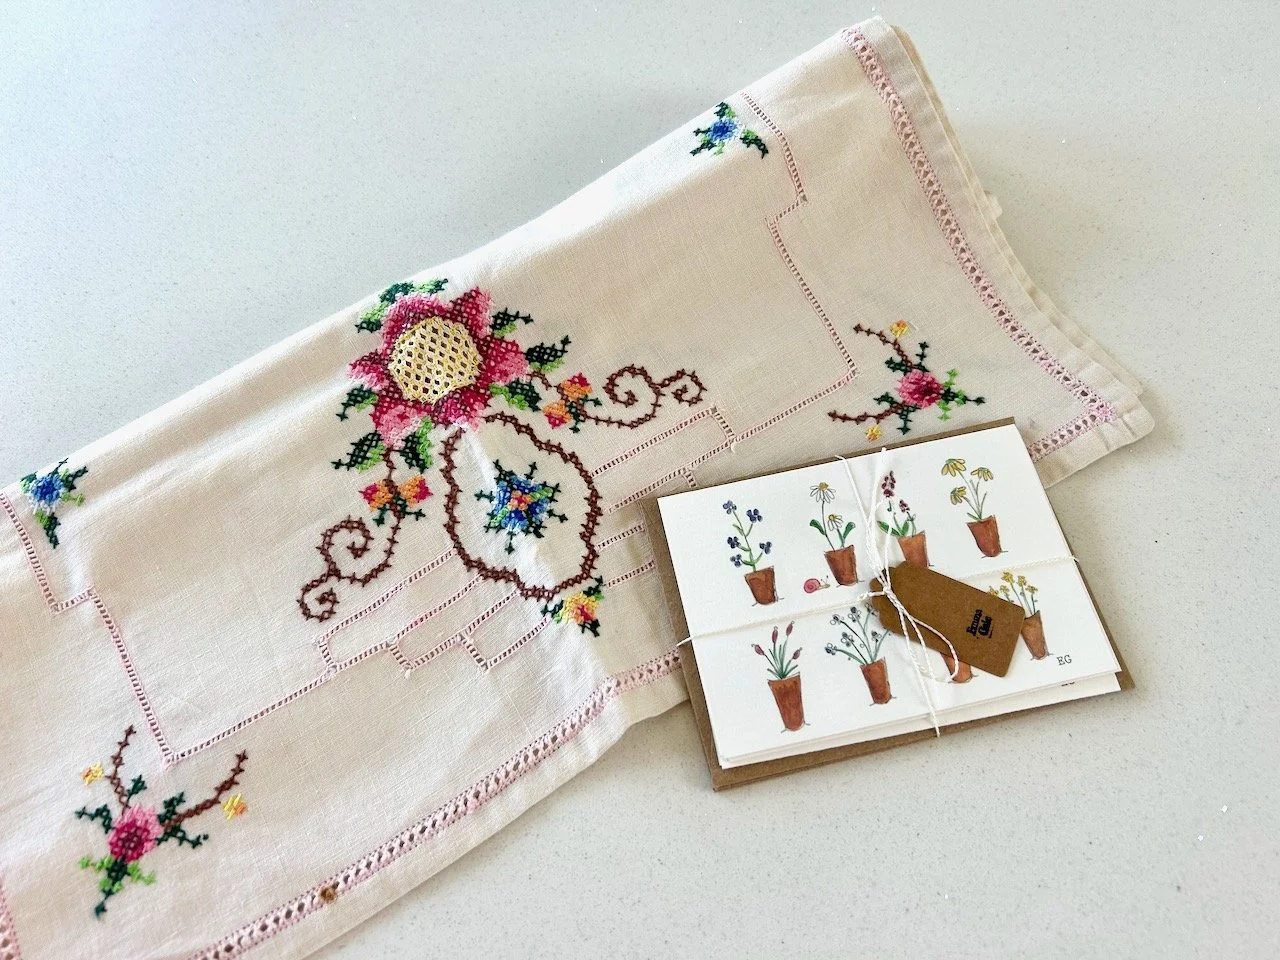
Some of these I will most likely already shared, like the vintage table runner and £1 fabric sample from our weekend in Malton - not forgetting the cute hand painted little cards.
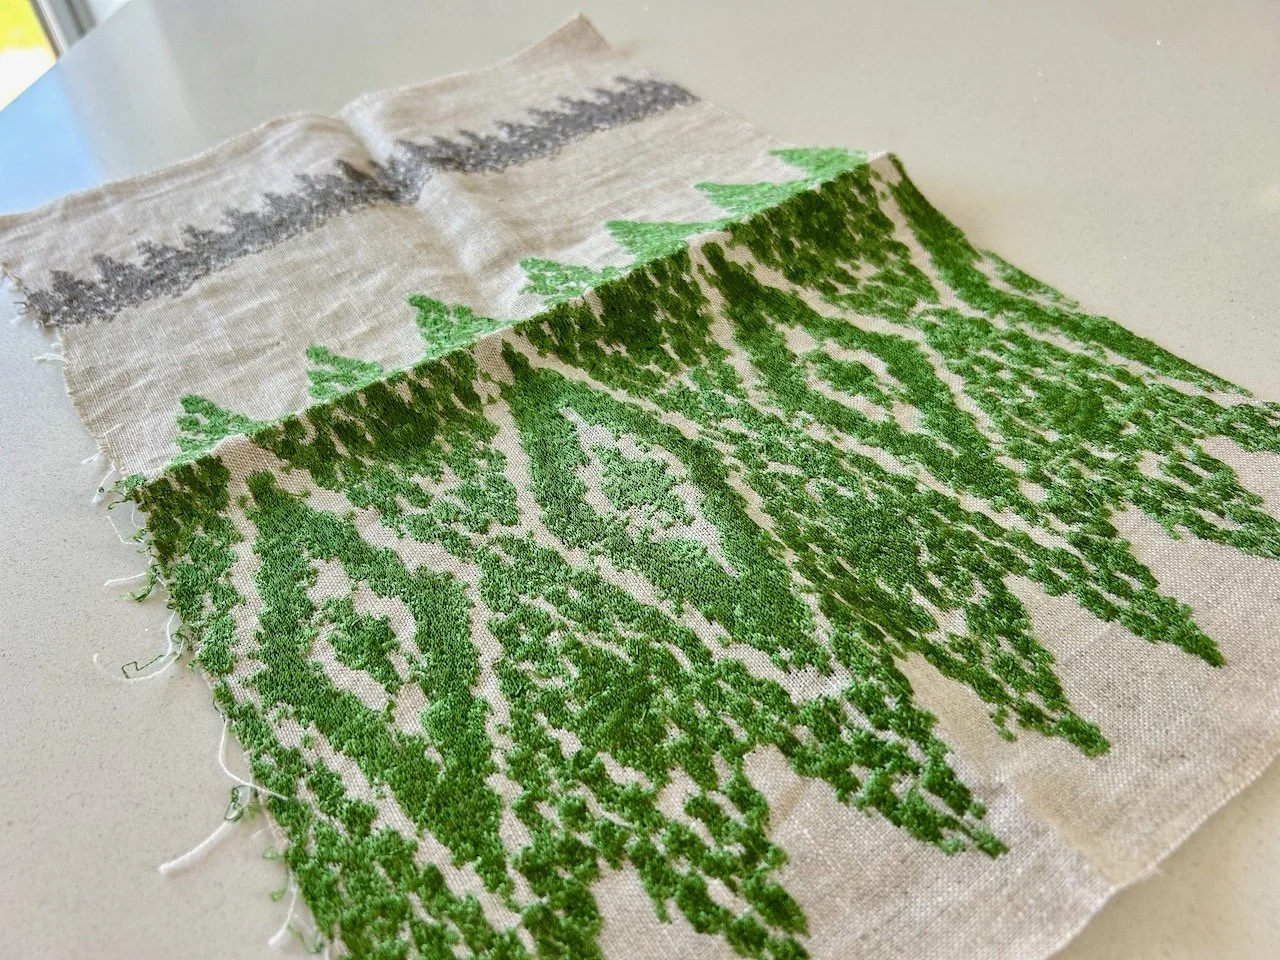
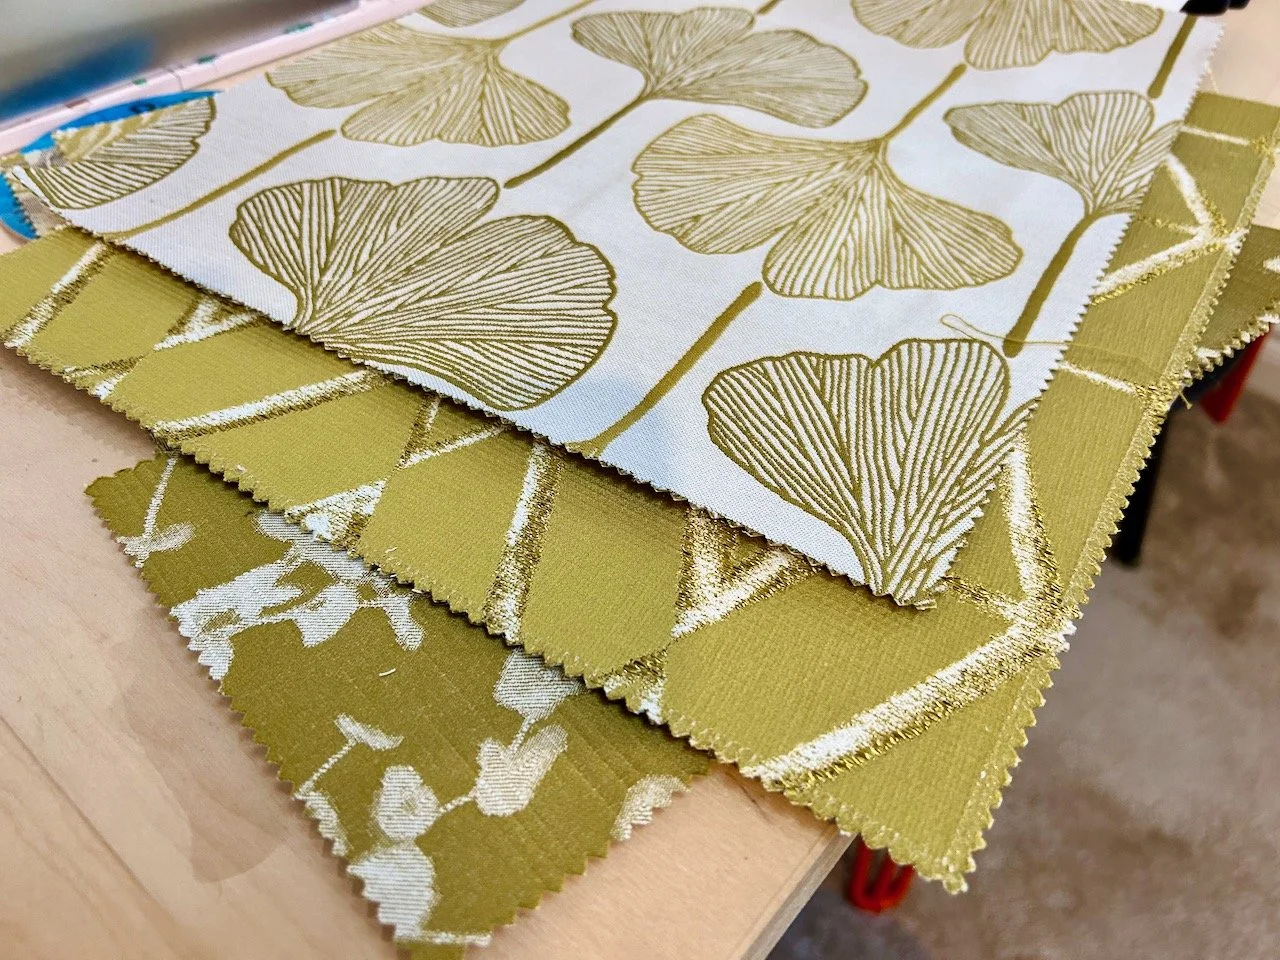
My plan for the vintage table runner is to have it on standby to use in my hand sewing EPP (English Paper Piecing) blue diamonds project, that’s if I can bear to cut this one up as it is so pretty. For the green chevron fabric sample, that’s looking at a new life as a project bag, though I need to find the perfect fabric to pair with it, but one that doesn’t detract from the striking design.
I’m a convert to Aurifil thread for quilting and generally most of the other projects I’ve been sewing recently, but I’m also a lazy colour changer! This is something I want to be better at, and braver too and as I’m nearly through my ‘go to’ white thread I added some pretty variegated threads to my basket at the Morris Works Quilt Shop to encourage more thread changes!
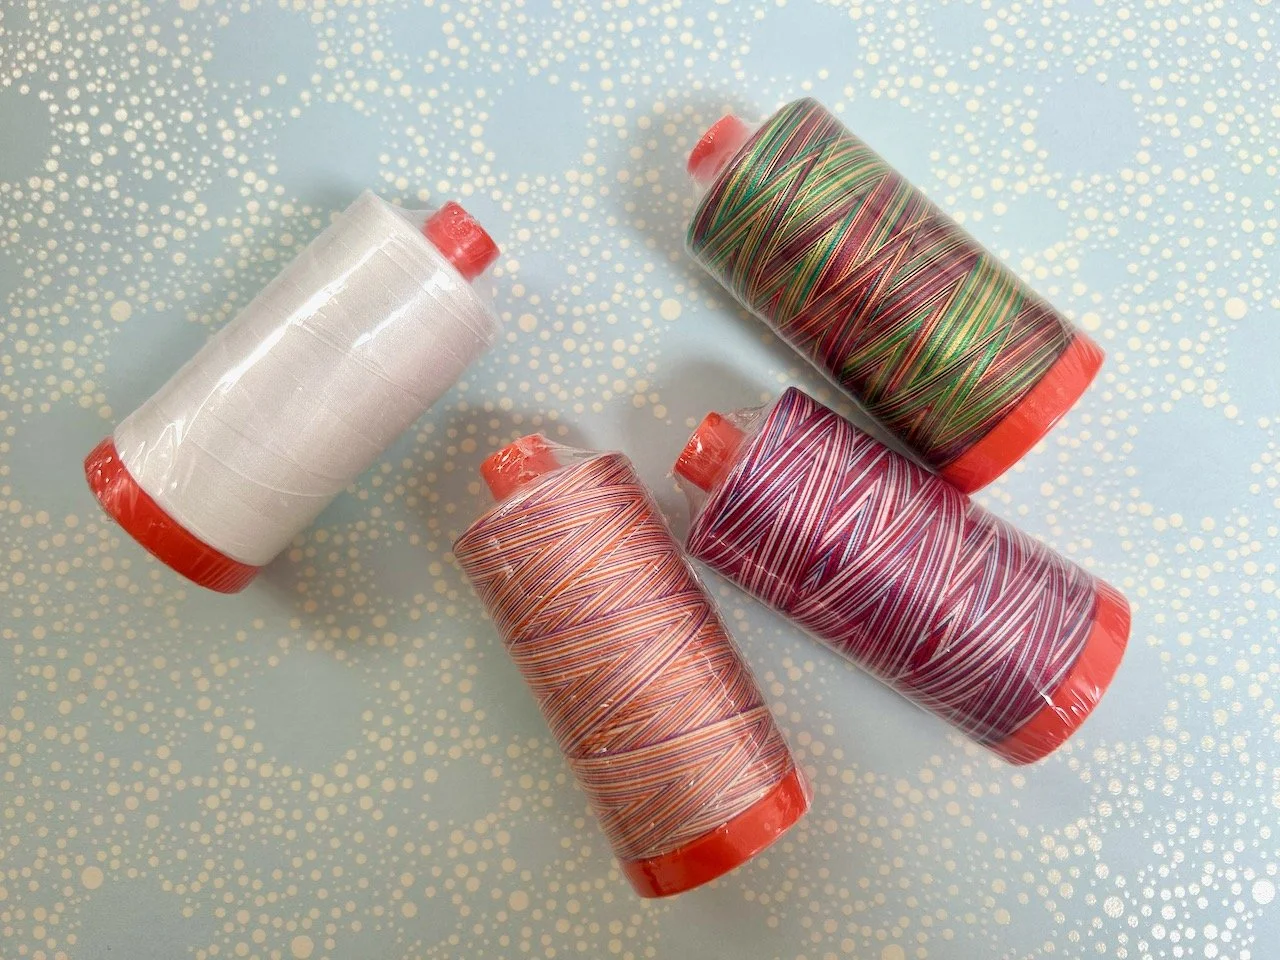
AURIFIL THREADS: NATURAL WHITE (2021), DESERT DAWN (4648), LIBERTY (3852) & MARRAKESH (3817)
Planning to make more clothes
I also want to make more wearables, and at a recent Sewing Group meeting I saw someone wearing some great 3/4 length culottes strangely not that dissimilar to those in the image below. After thinking I like those, somehow my next thought was I could make some - who even am I?
As fate would have it this pattern dropped into my inbox soon after, and so a plan formulated. I bought the pattern, opting for the A0 printed version (rather than just the PDF self print and stick option) and I’m planning to use the bargain material I picked up from the fabric stall in Newark Market which was closing down. It’s a bold print and so I’m hoping that will disguise any blips I have…
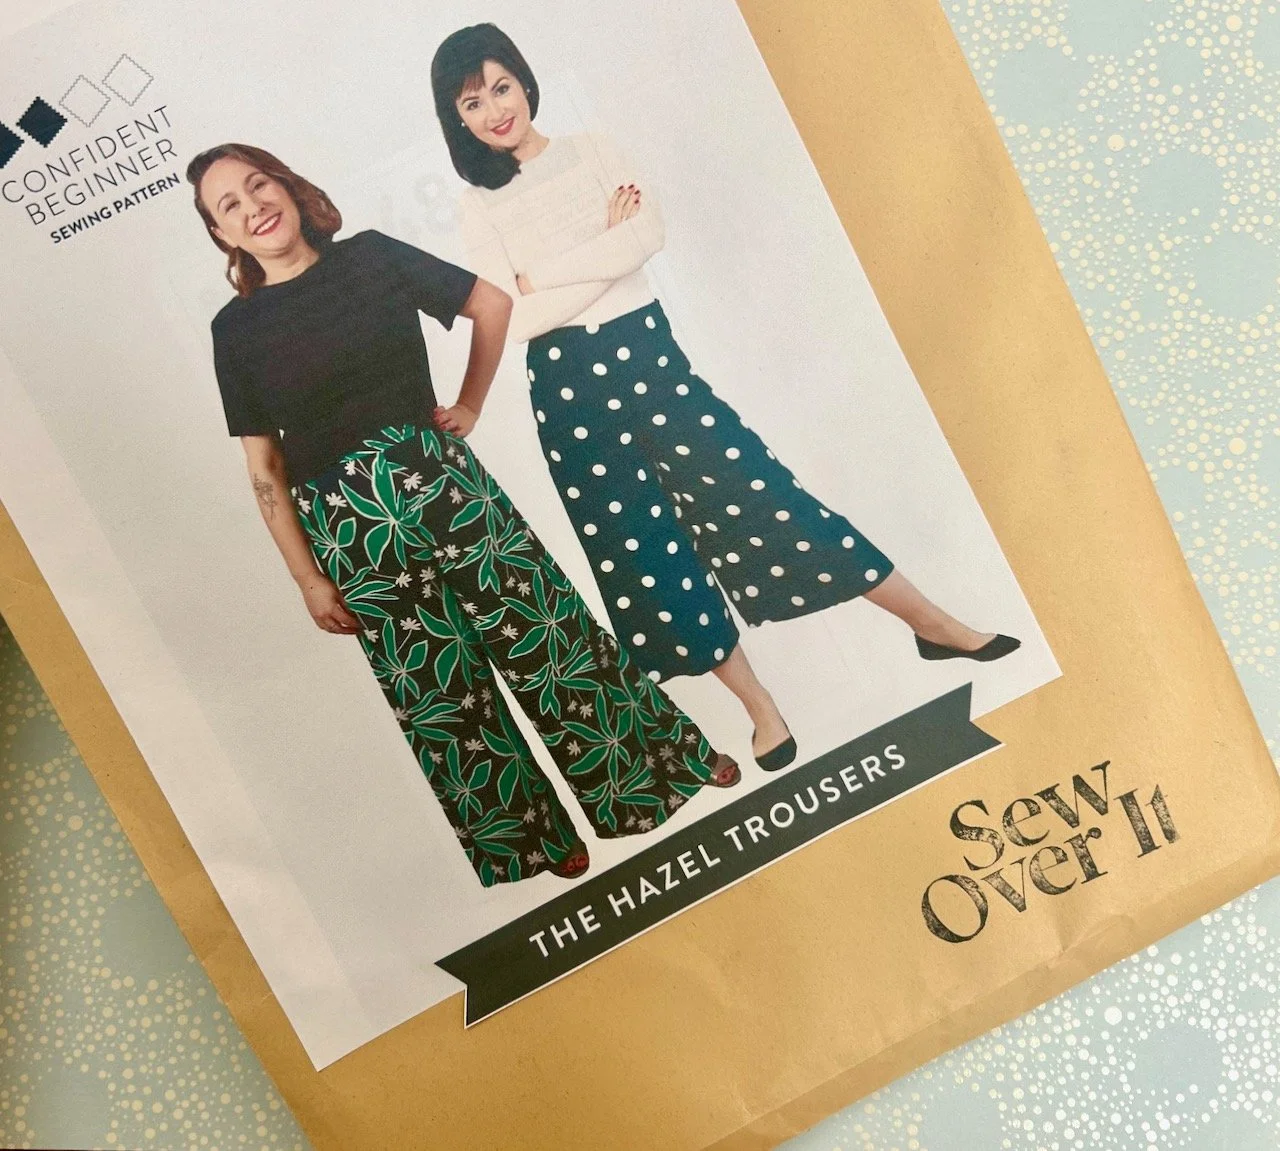
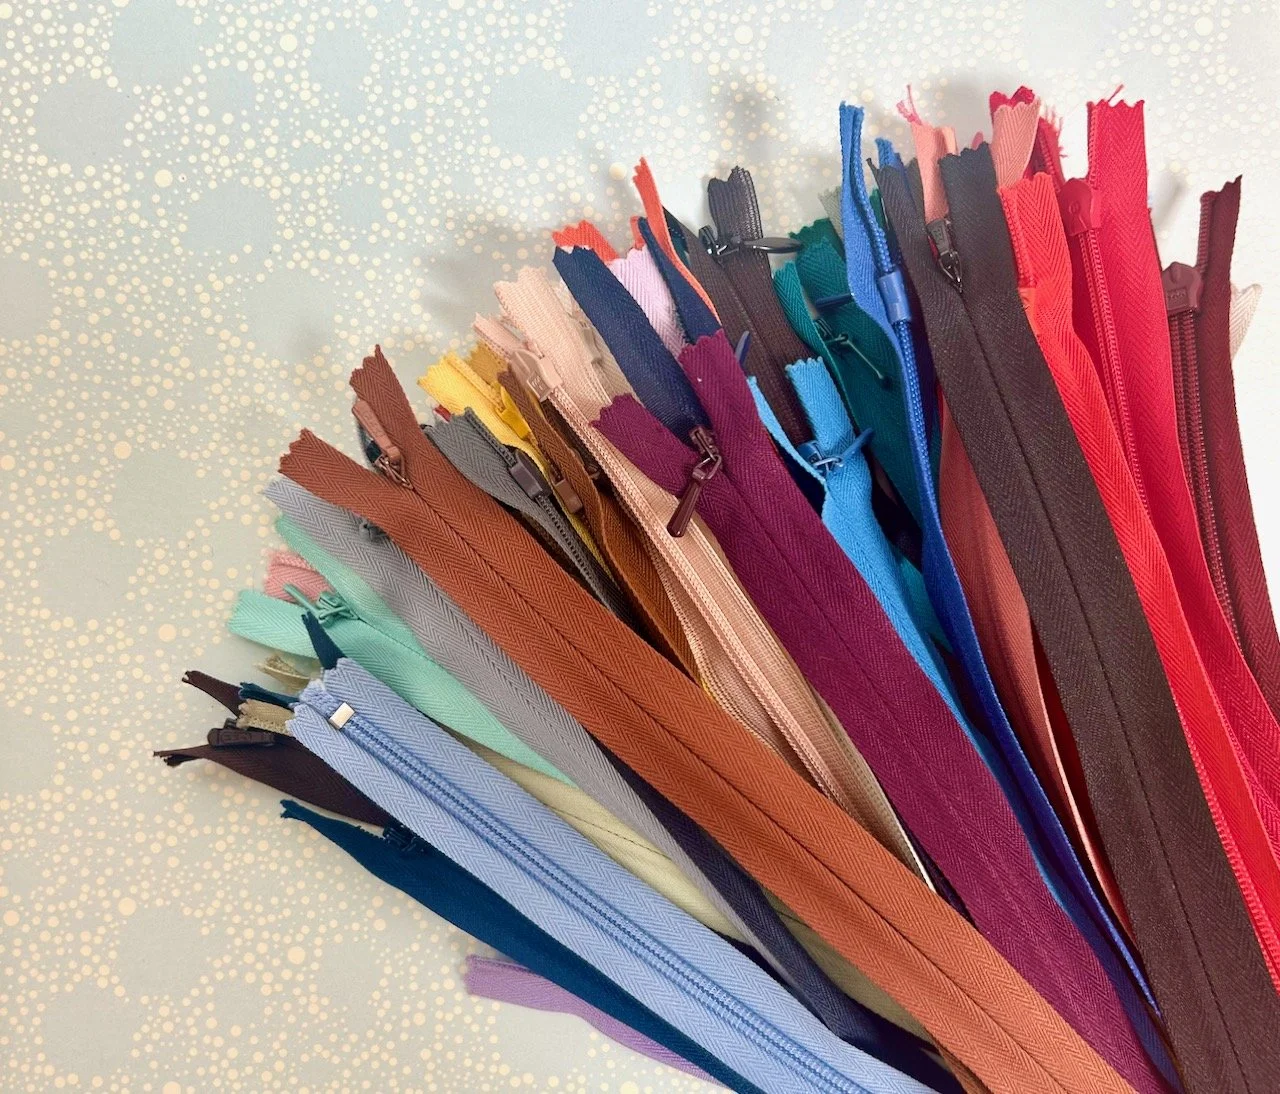
When the pattern arrived I realised I’d also need an invisible zip, and then I remembered that zips are a whole other world - especially when you don’t really know what colour you need to match to your fabric, which isn’t helped when shopping online. So I turned to eBay and picked up more invisible zips than I will probably ever need for £15, reasoning that one of these colours must work. And if I make more of these culottes then I’m a step ahead with the zip already…
It’s true I have made myself a dress, and I have worn it a few times over the summer - and it does bring compliments, more importantly it hasn’t fallen apart. And sewing is just sewing (sort of!), so it should be within my grasp, especially now that I’ve had plenty of zip practice following all those pouches!
Watch this space (but remember to blink).
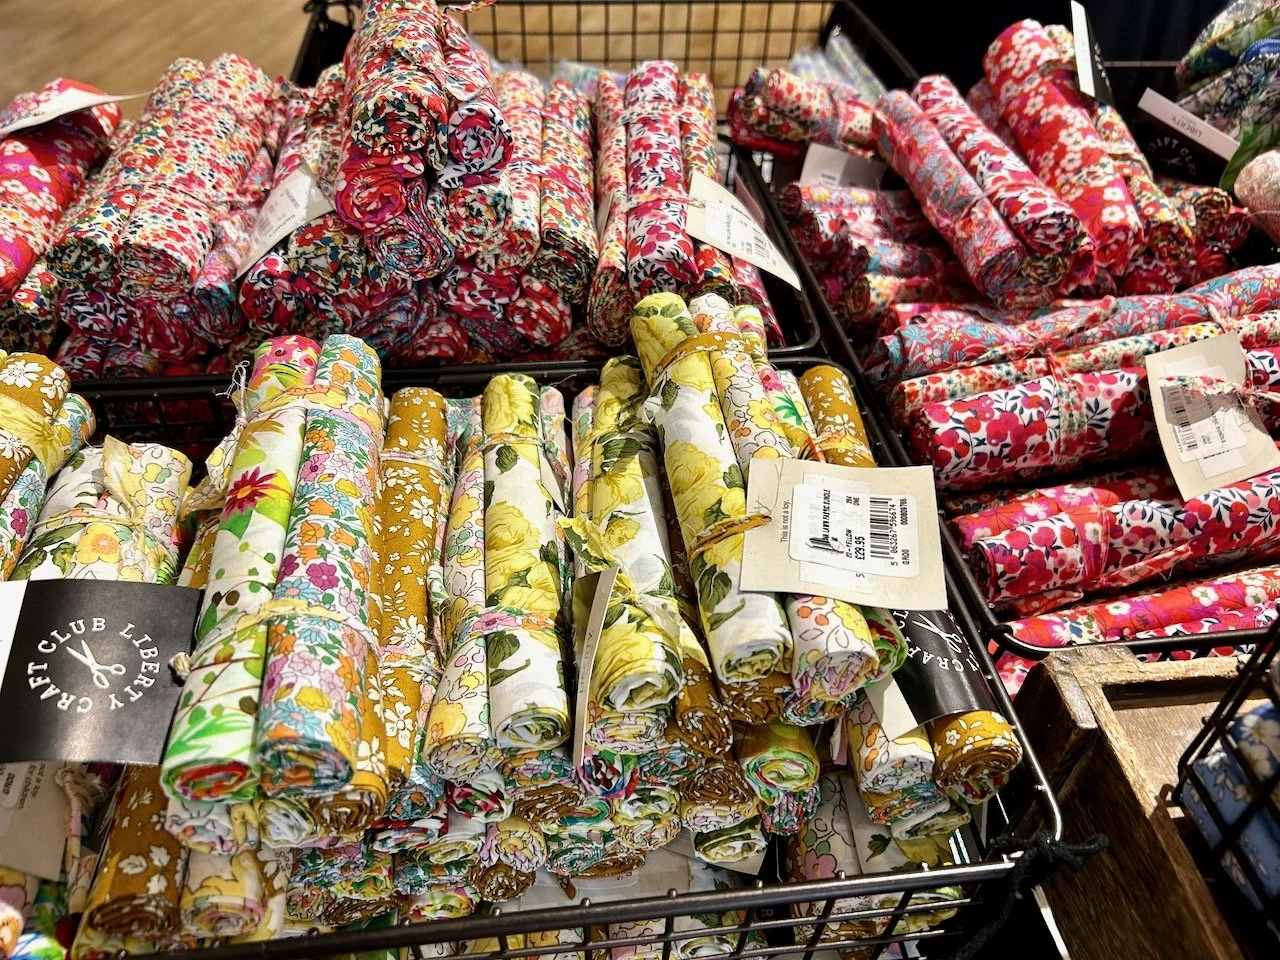
Still adding to my stash
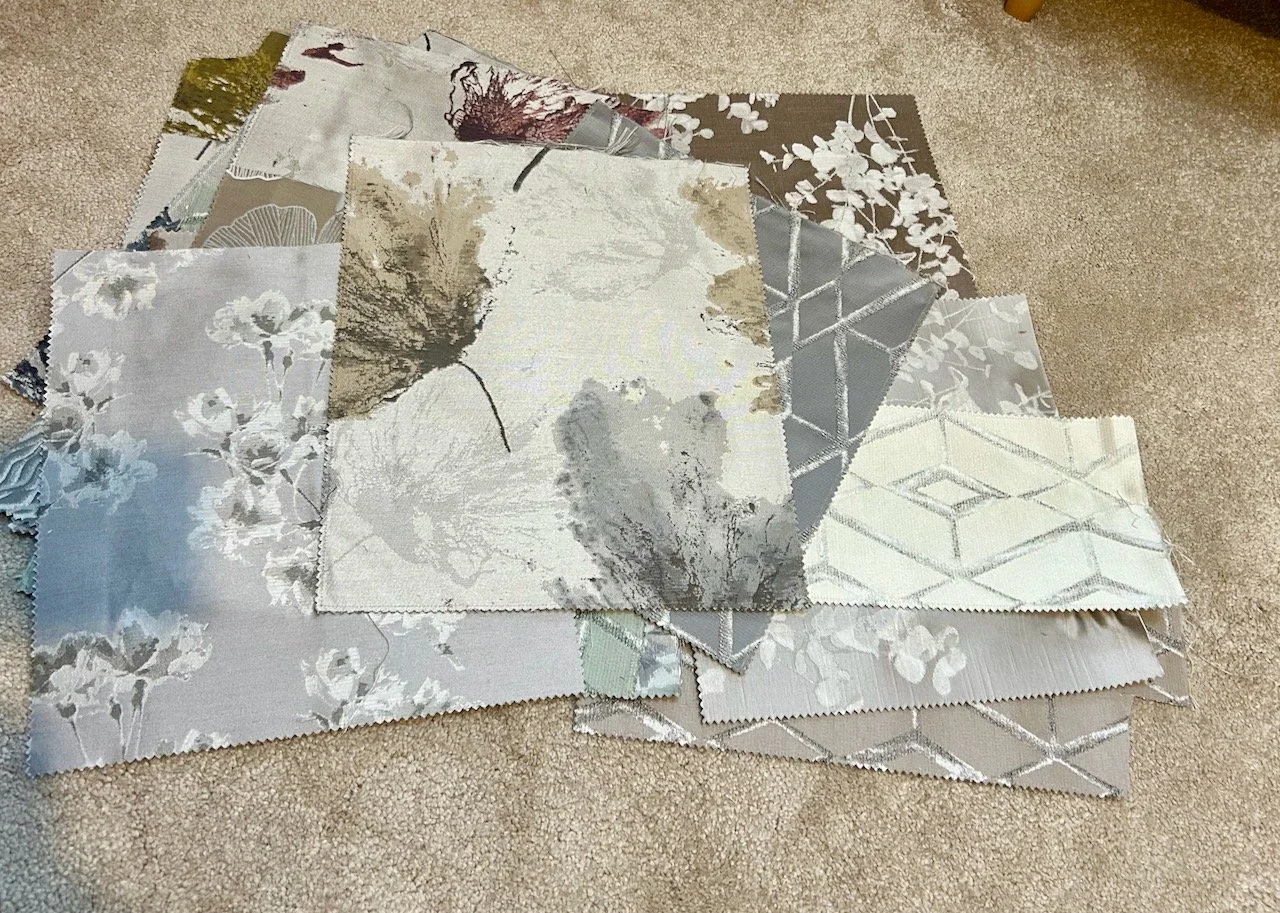
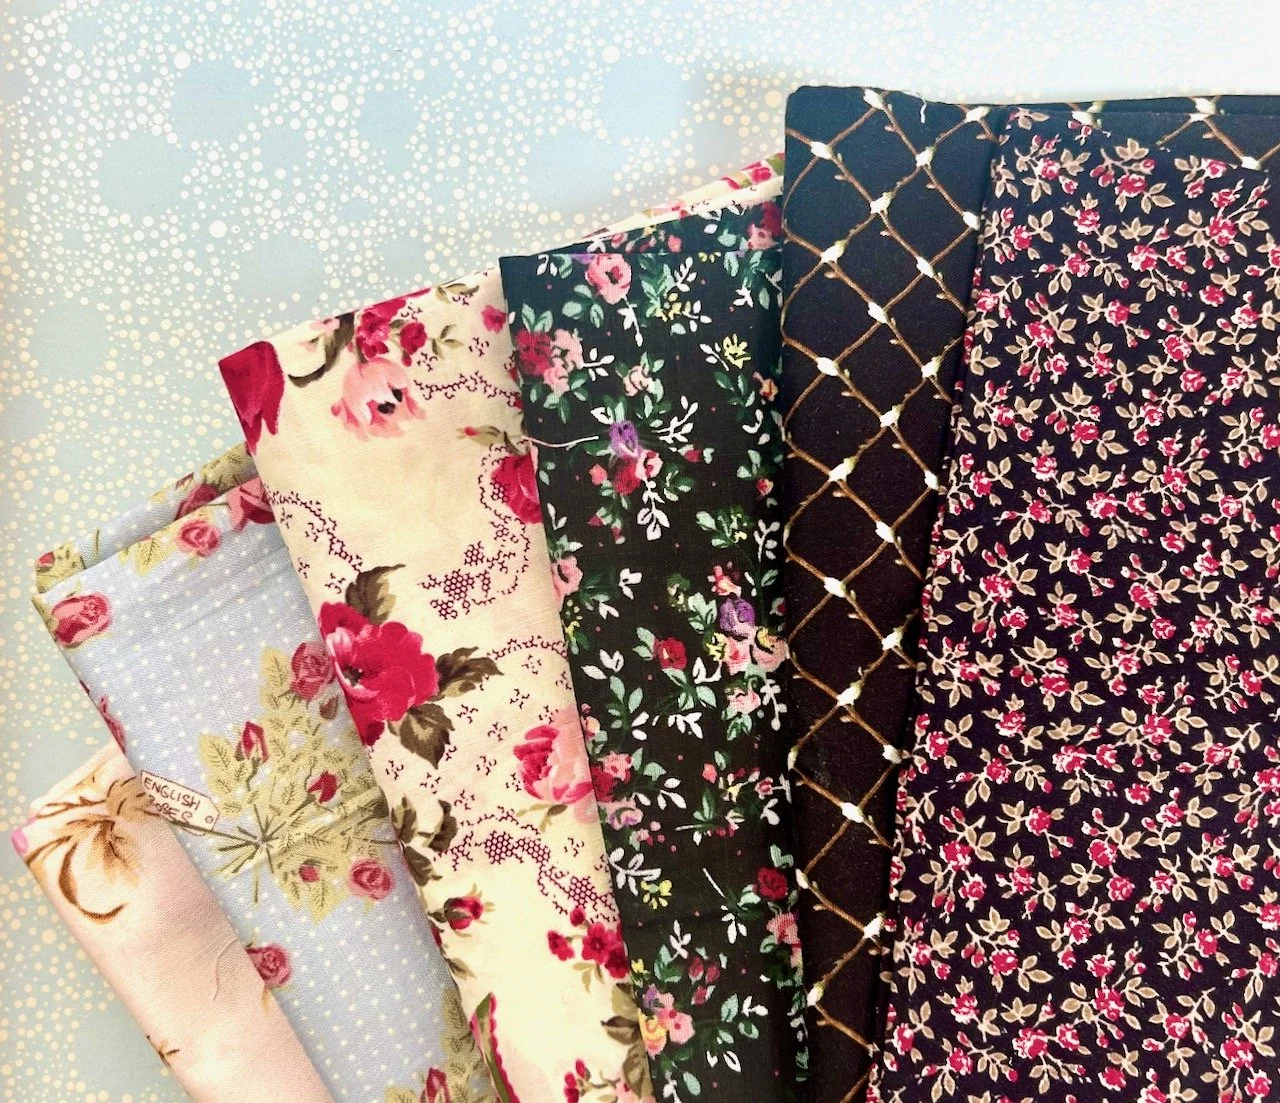
At the charity sew day for Project Linus UK I picked up these two bundles of fabric from the sale table for less than a fiver. The lighter colours have a touch of Cath Kidston about them, and I liked how they looked alongside the dark fabrics - I’ve a feeling that these may appear in another charity quilt at some point.
Repurposing too
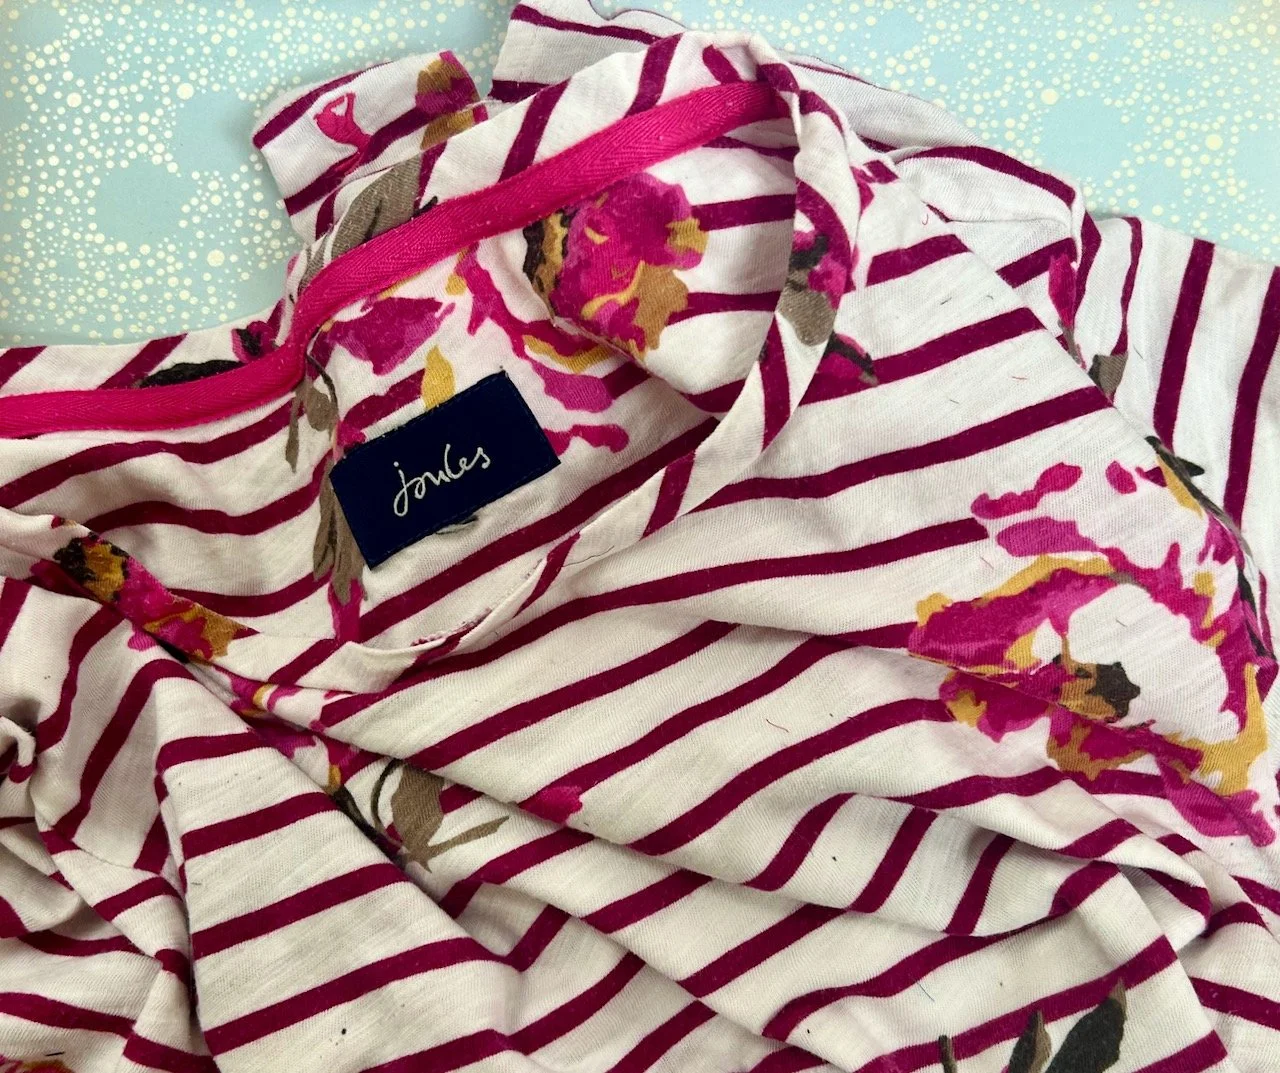
I have finally ‘retired’ my favourite Joules t-shirt, which is well past wearing in public stage - even for gardening, sadly. But I can’t quite bring myself to throw it away completely, or turn it into rags as MOH suggested. Instead I’ve added this to my ‘potential pouch’ pile, and I’ve sorted out some lining and a zip too so there’s some chance this will happen in the not too distant future.
On the wall
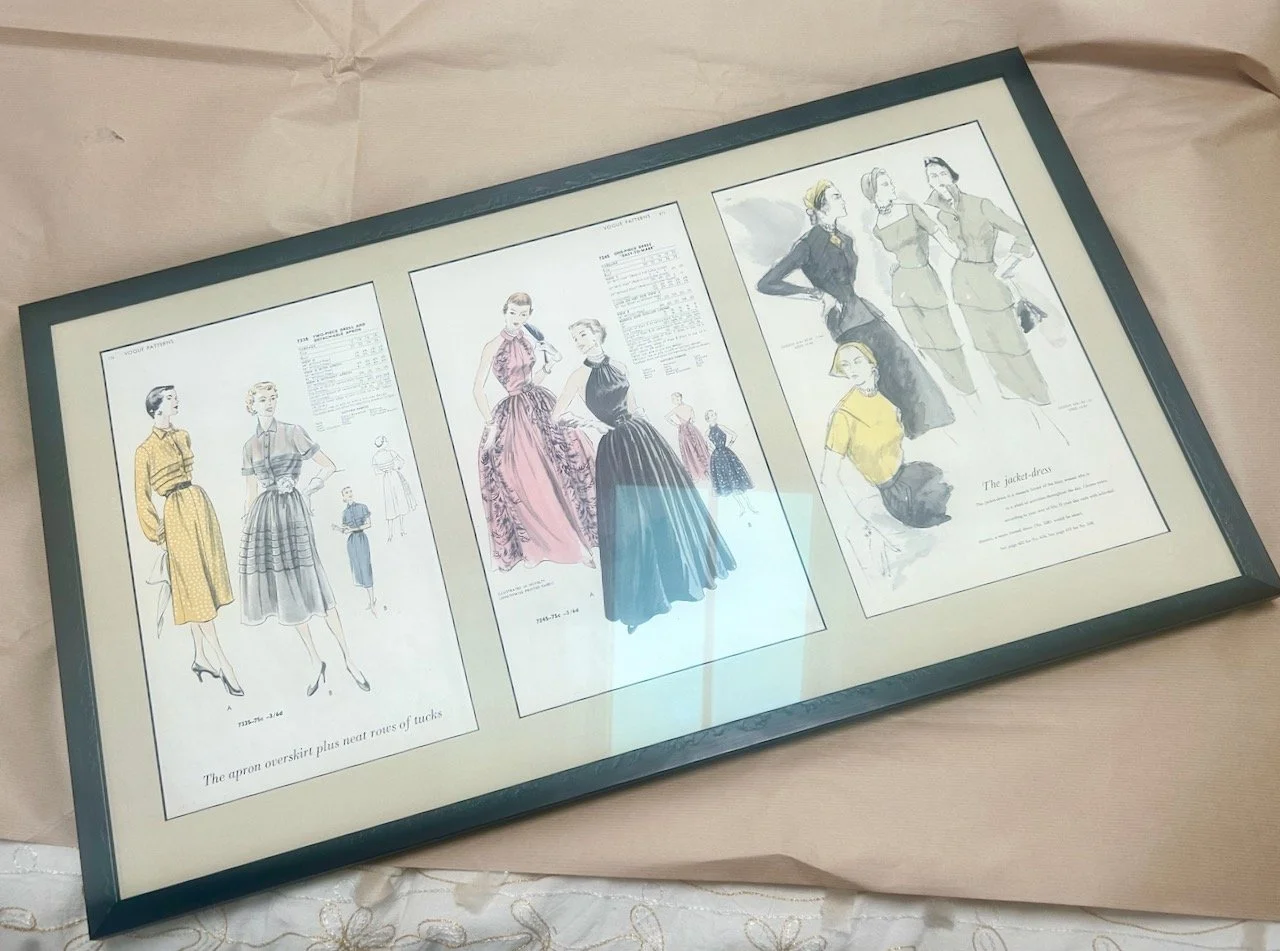
Well, it isn’t quite - but that’s the plan. This month I want to get my newly-picked up, carefully unwrapped, admired and then laid on the spare bed for safekeeping Vogue pattern page picture up on my craft room wall. I’m so pleased with how they turned out, that it’ll be good to see them every day. And it’s just as well the pictures were cheap - unbelievably just a pound each, as the framing was a bit more than that - I have expensive tastes clearly!
So that’s a wander through the new things in my craft room, let me know if you enjoyed reading this post - and what you’ve added to your craft supplies this month.