The year of the shelves has begun

At the start of the year I unofficially christened 2024 as the year of the shelves. I think MOH thought I wasn’t serious, but actually he knows me well enough to know better, and so it’s good to report that the year of the shelves is officially underway.

One of the things that’s obvious about moving to a new build is that you’re the first person to live there. That means there’s a lot of things you usually take for granted that just aren’t there. I think I’ve spoken before about light and curtain fittings and toilet roll holders, but today it’s shelves.

These aren’t the first shelves for MOH since we moved as we ordered some self-assembly freestanding shelves for the utility room and pantry at the end of year, and which tested the patience of a very patient MOH. I’ll share these here soon, as they look great and have made both of these areas incredibly usable.

MOH’s also recovered sufficiently, so it was time to reintroduce the need for more shelves. We have three spaces identified, plus the shelf above his workbench in the garage, but first up was the bathroom cupboard. It’s a big cupboard and will be great for storing towels but to make the best use of it, yeap - shelves. We’ve already added a open shelf unit for cleaning stuff, toilet rolls and such and a washing bin (both from Ikea) but even so, we weren’t making the best use of the space.

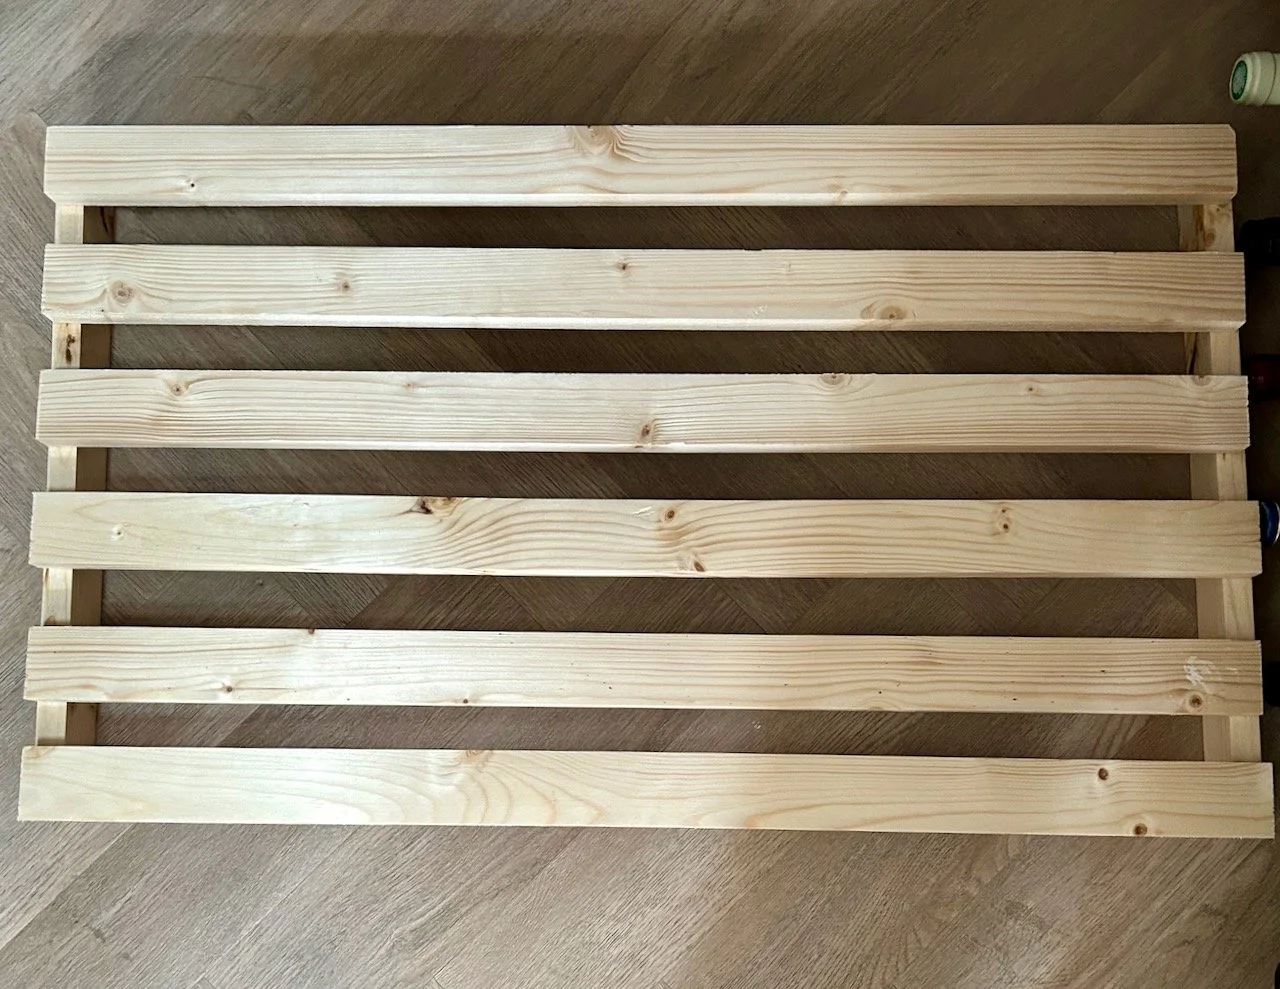
I wanted some simple slatted shelves, which MOH said he could make. When we bought the wood for the hooks for tools in the garage we bought extra knowing that there were more shelves on the horizon, which given the price of wood was a smart move. It also gave MOH enough to get started, but getting started meant nailing down the details, which is where my handy drawing came in.

A working plan for our bathroom cupboard shelves including measurements

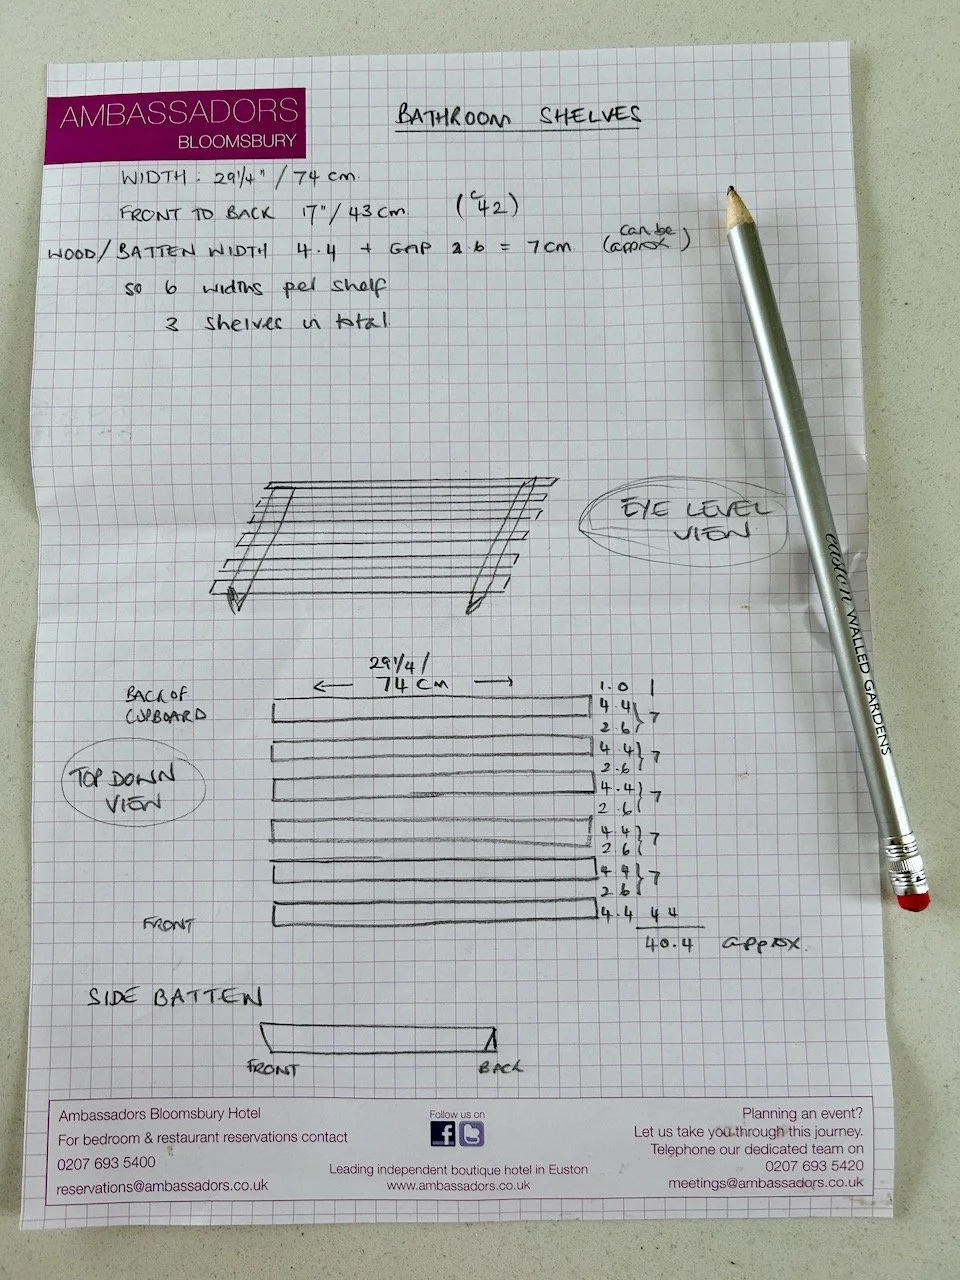
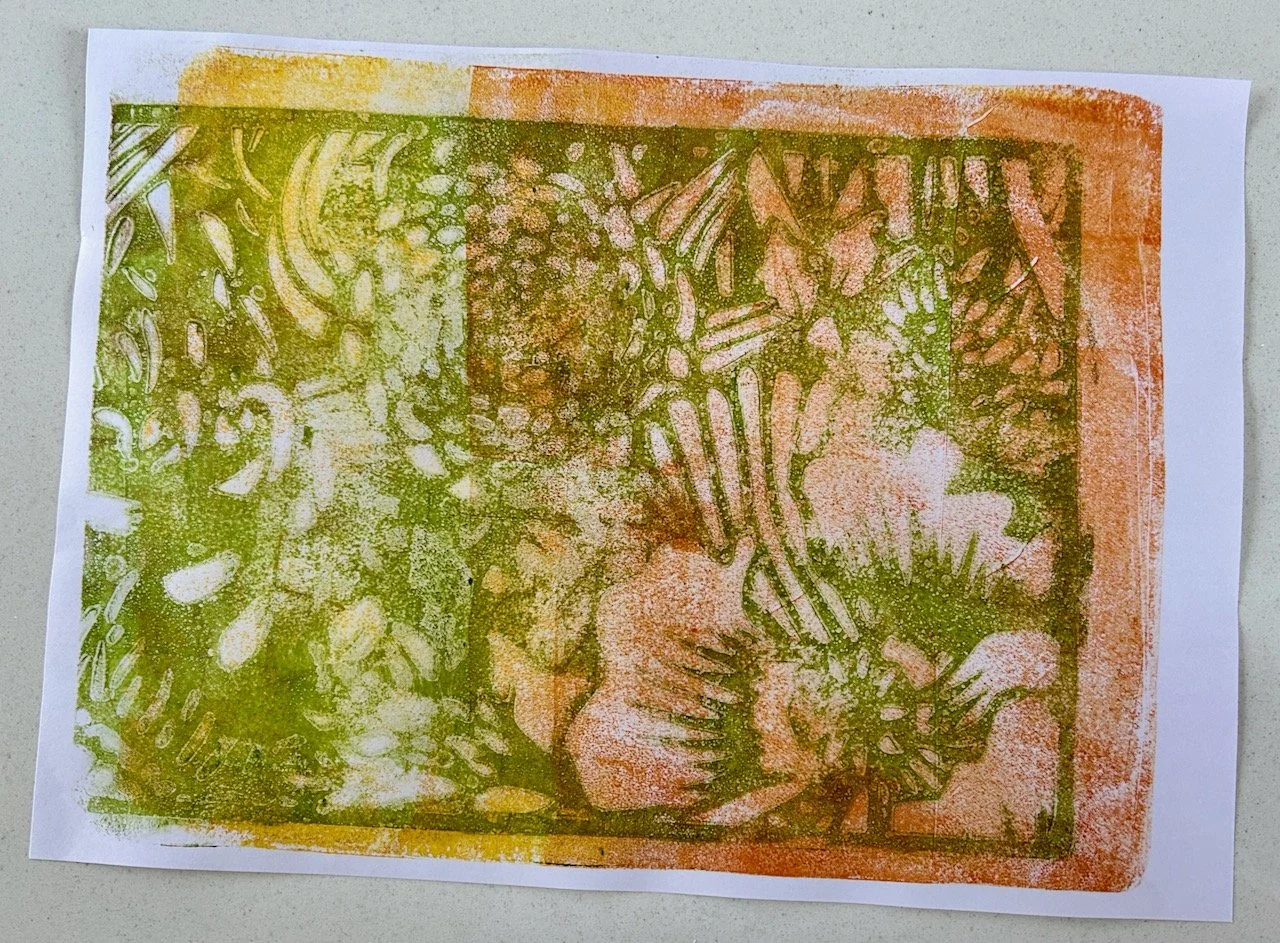
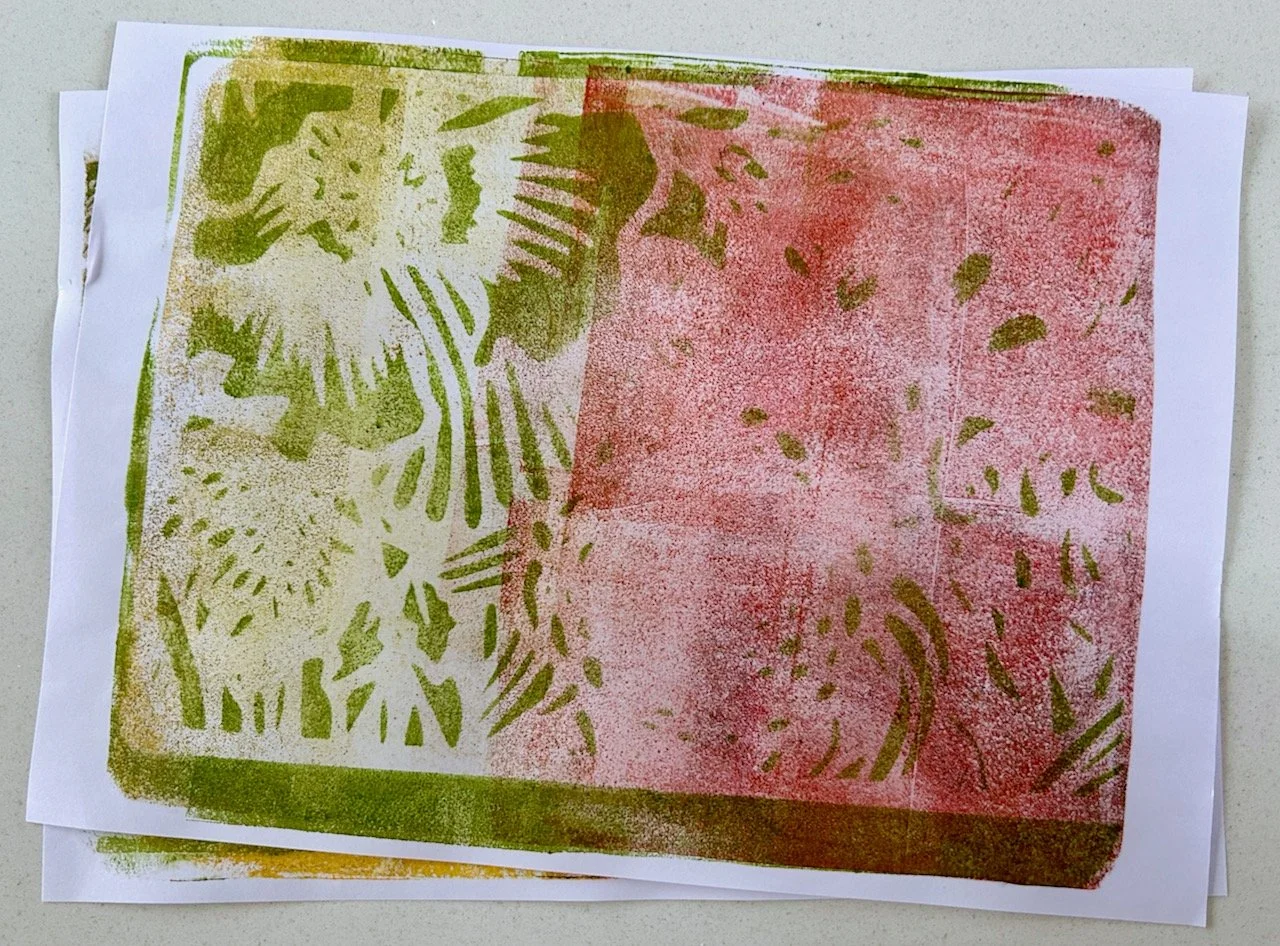
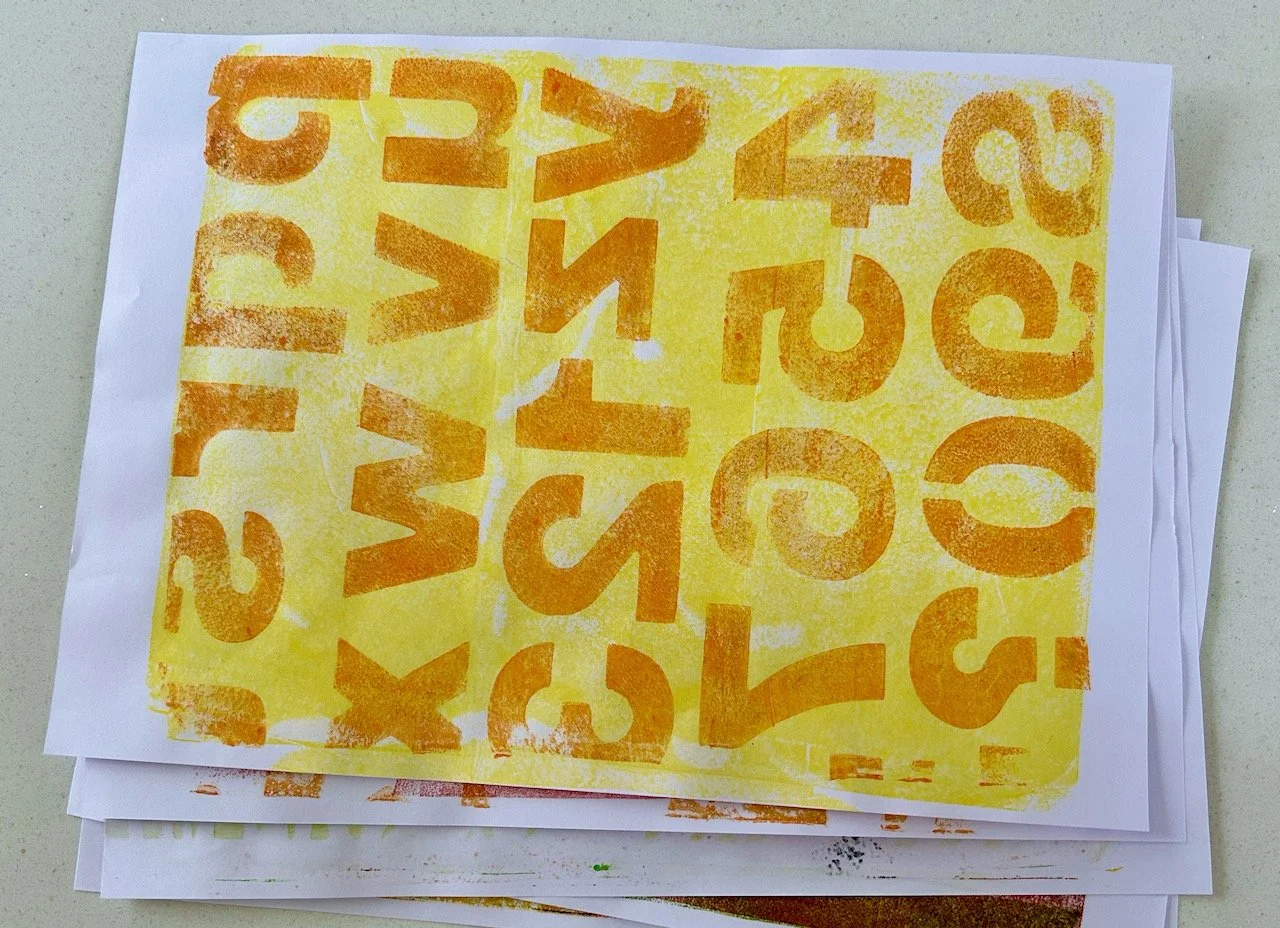
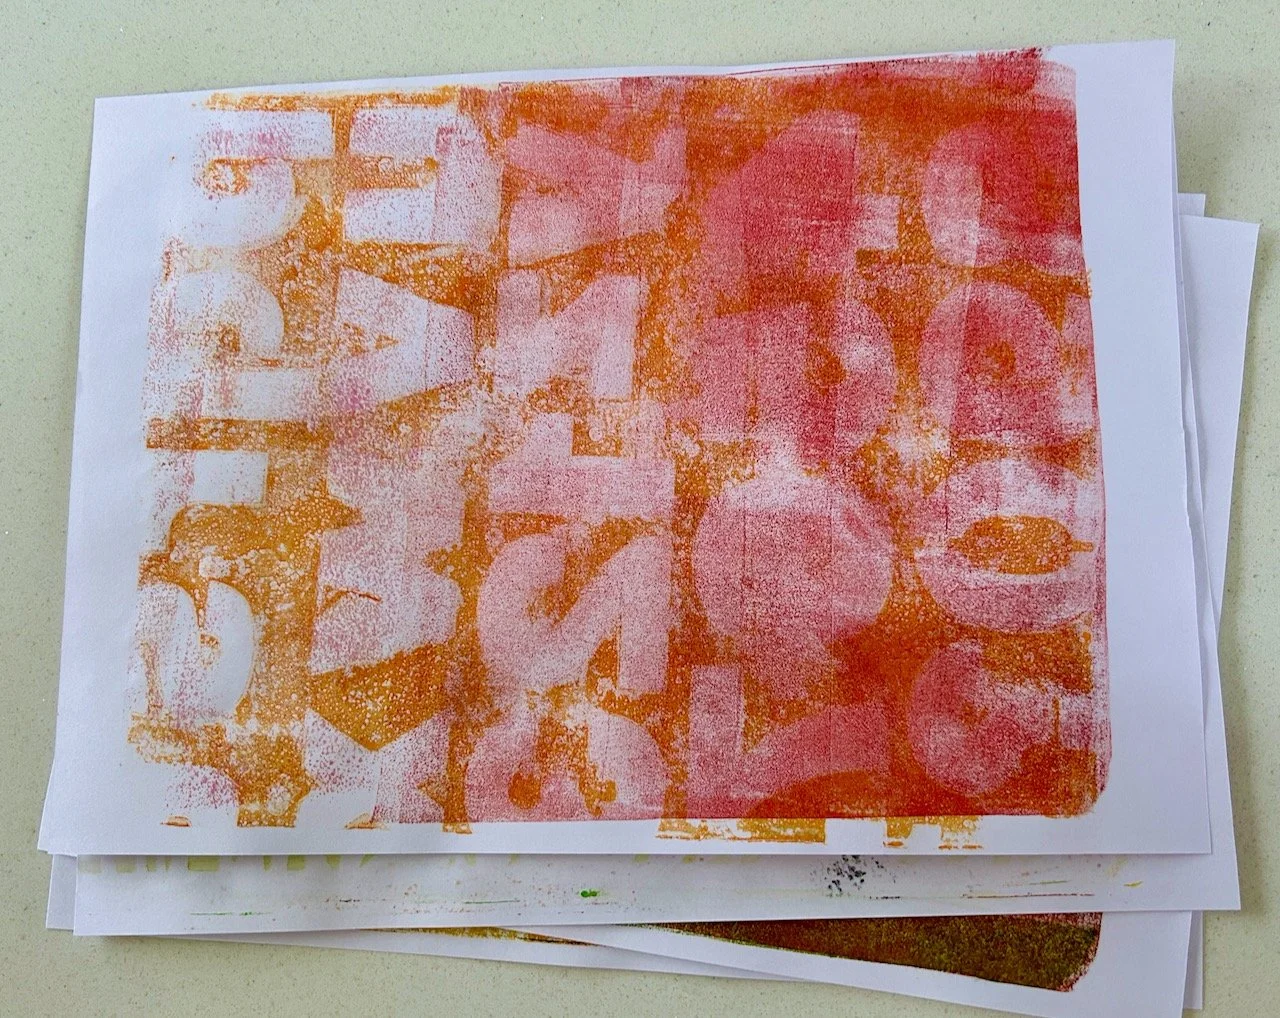
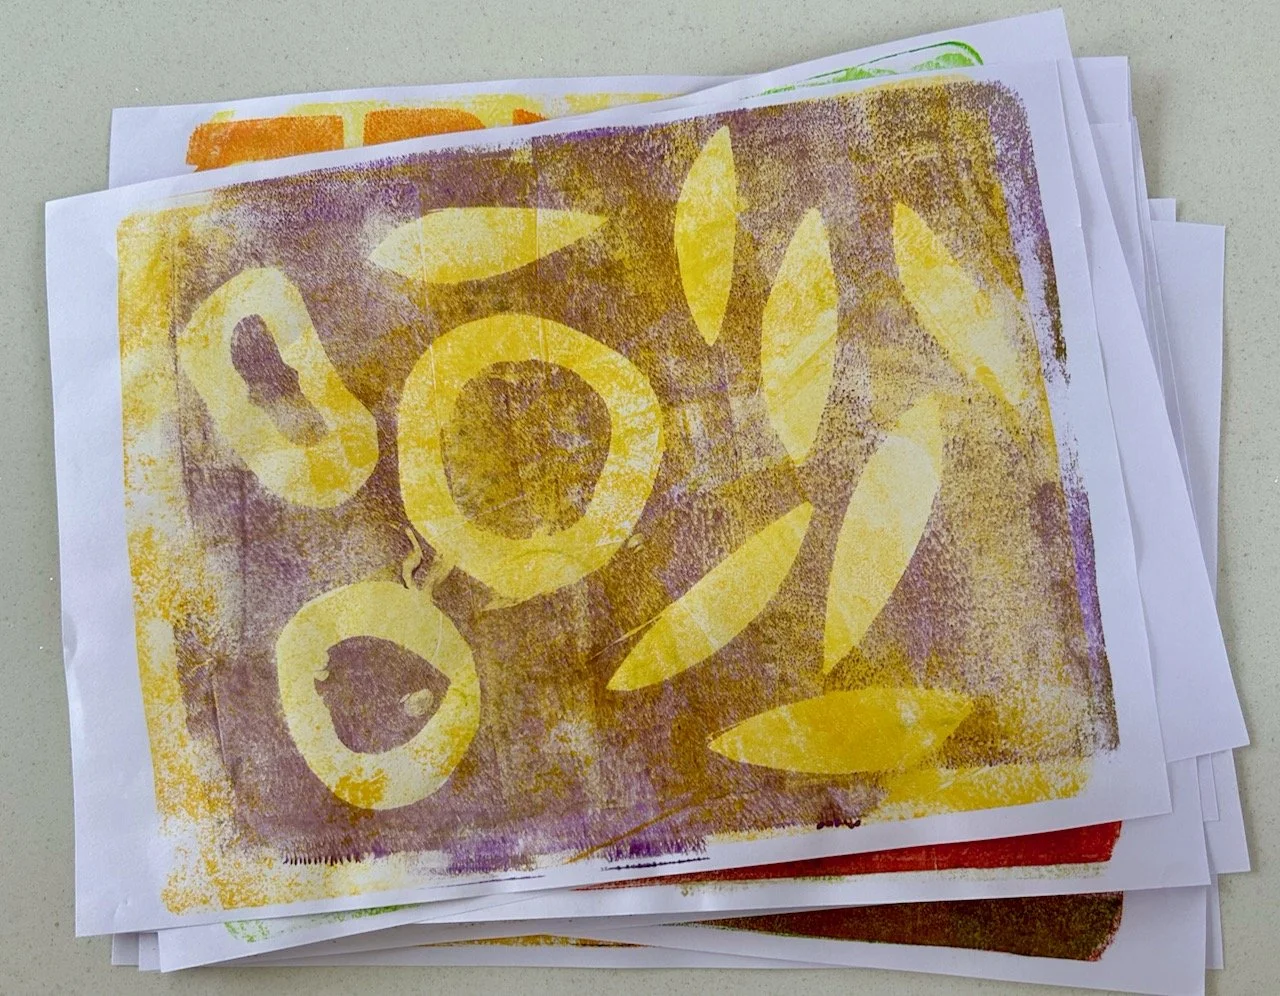
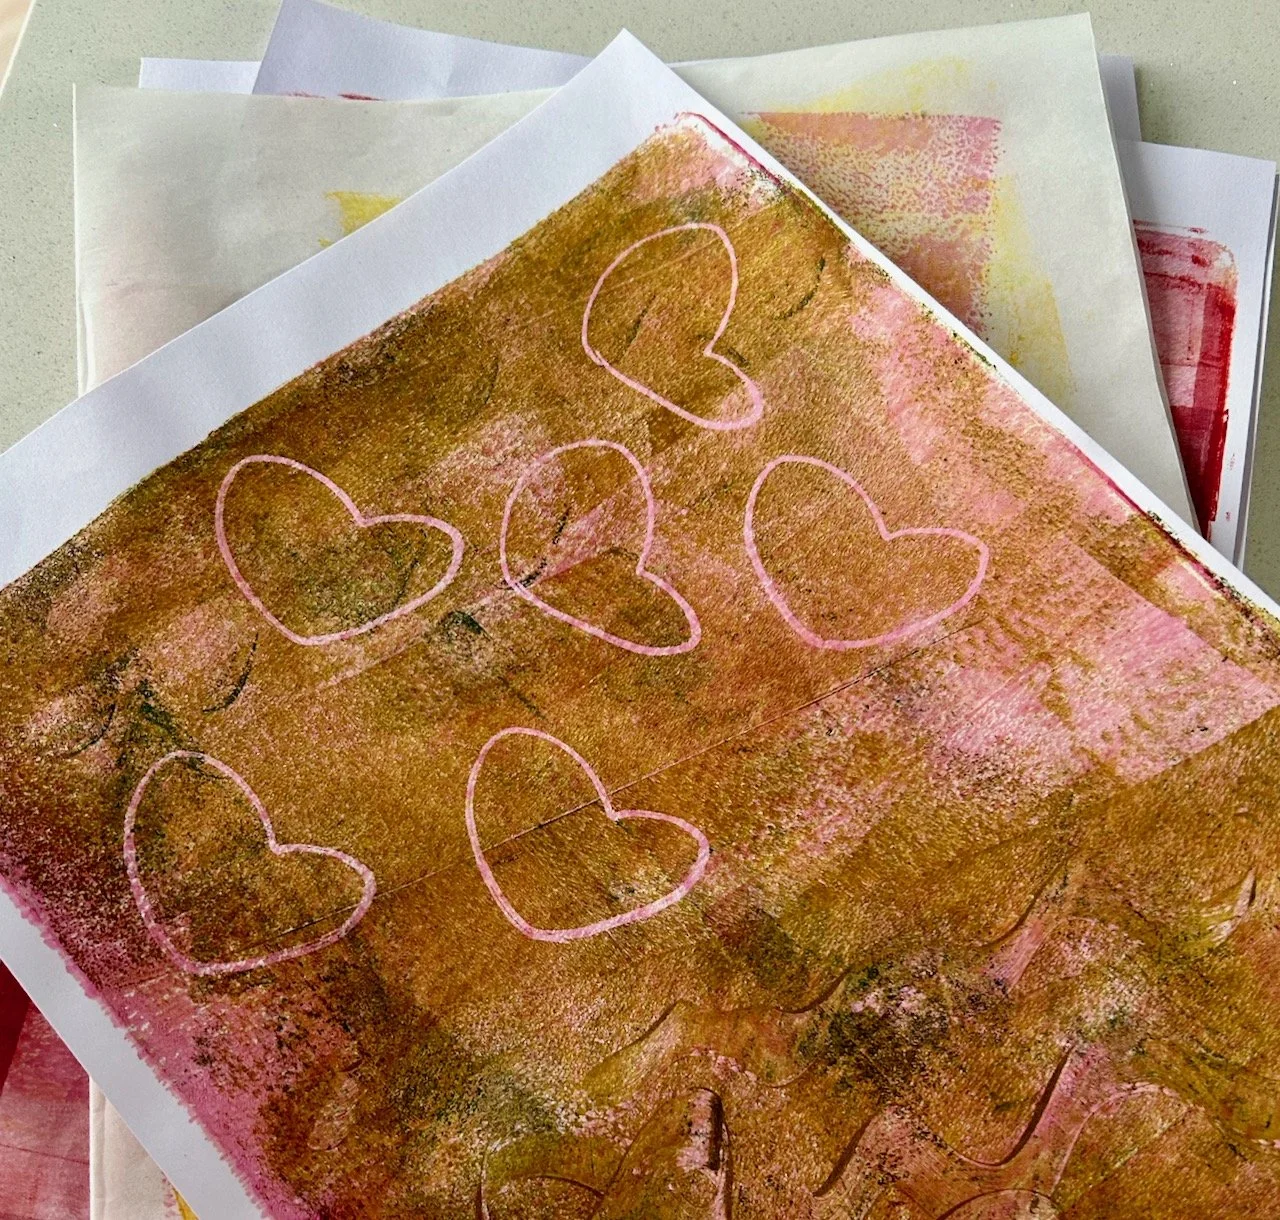
While it may seem overkill, it was a great way of explaining what I had in my mind’s eye, and helped MOH envisage the end result. It also meant I didn’t have to answer 101 questions like did you want it like this, or that as he went along. And it meant that I was in for a fab surprise when I got back from my last gelli plate printing class to this work in progress.

A shelf in progress, made from the plan

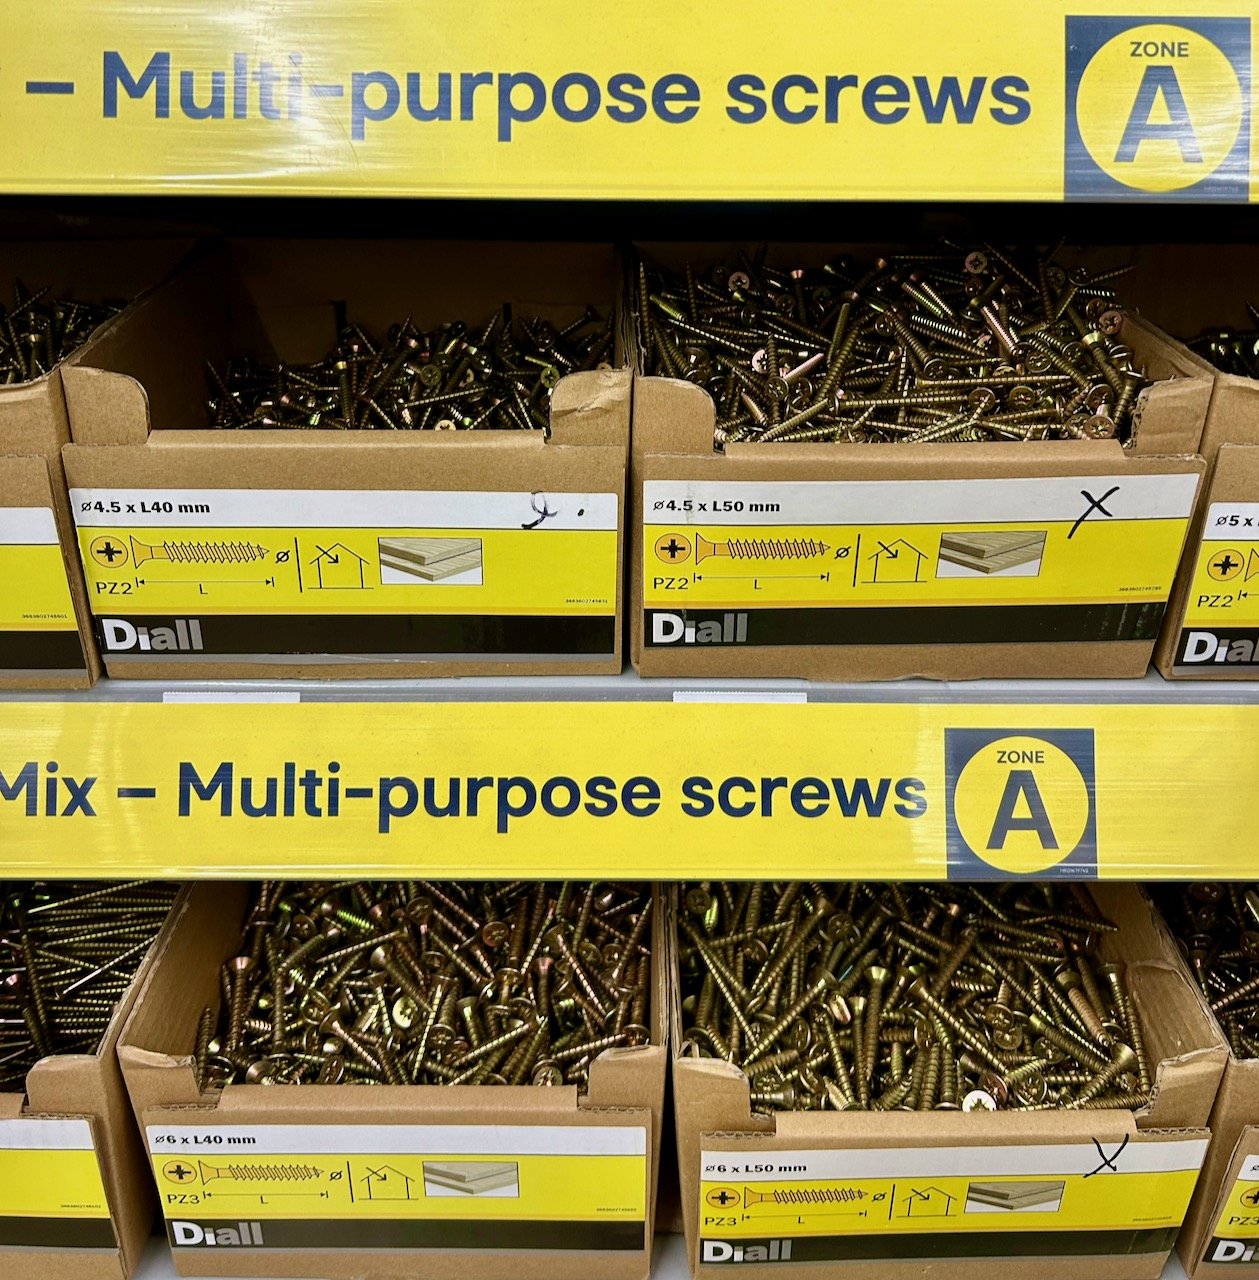
I perhaps need to get out more, but it was just what I wanted. Sadly though he was out of wood so we needed a trip to get some more, and I found myself pondering life choices after spending way too much time in the screw zone, where you can pick up ‘pick and mix’ screws to fill a pre-determined sized and priced bag.

Shelves of multi-purpose screws - in Zone A

But it wasn’t long before the bathroom cupboard started to look like this.
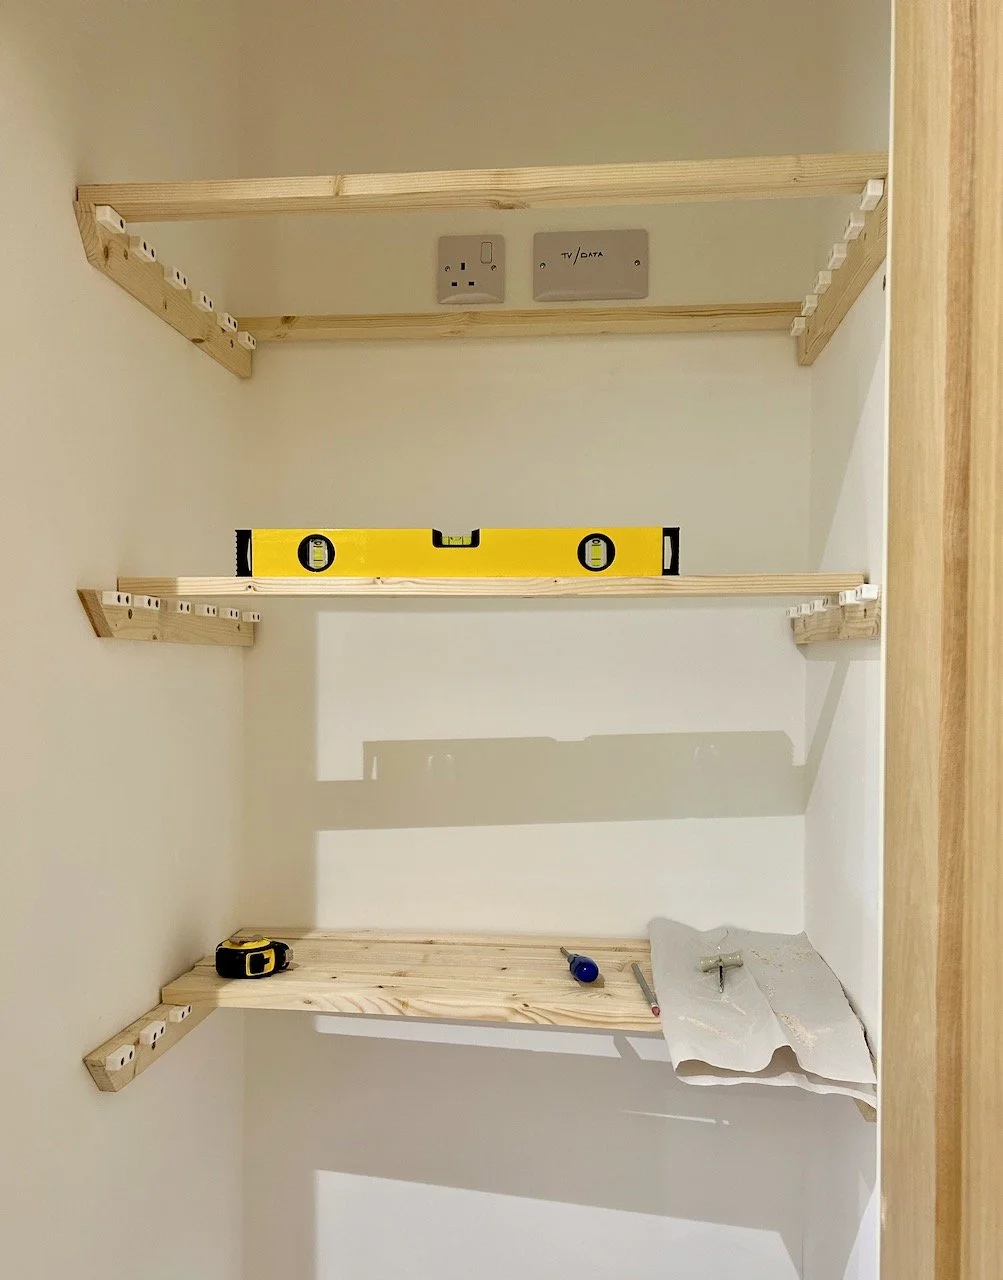
The startings of 3 shelves inside my bathroom cupboard with the spirit level across the middle shelf

And then this.

The three completed shelves in my bathroom cupboard

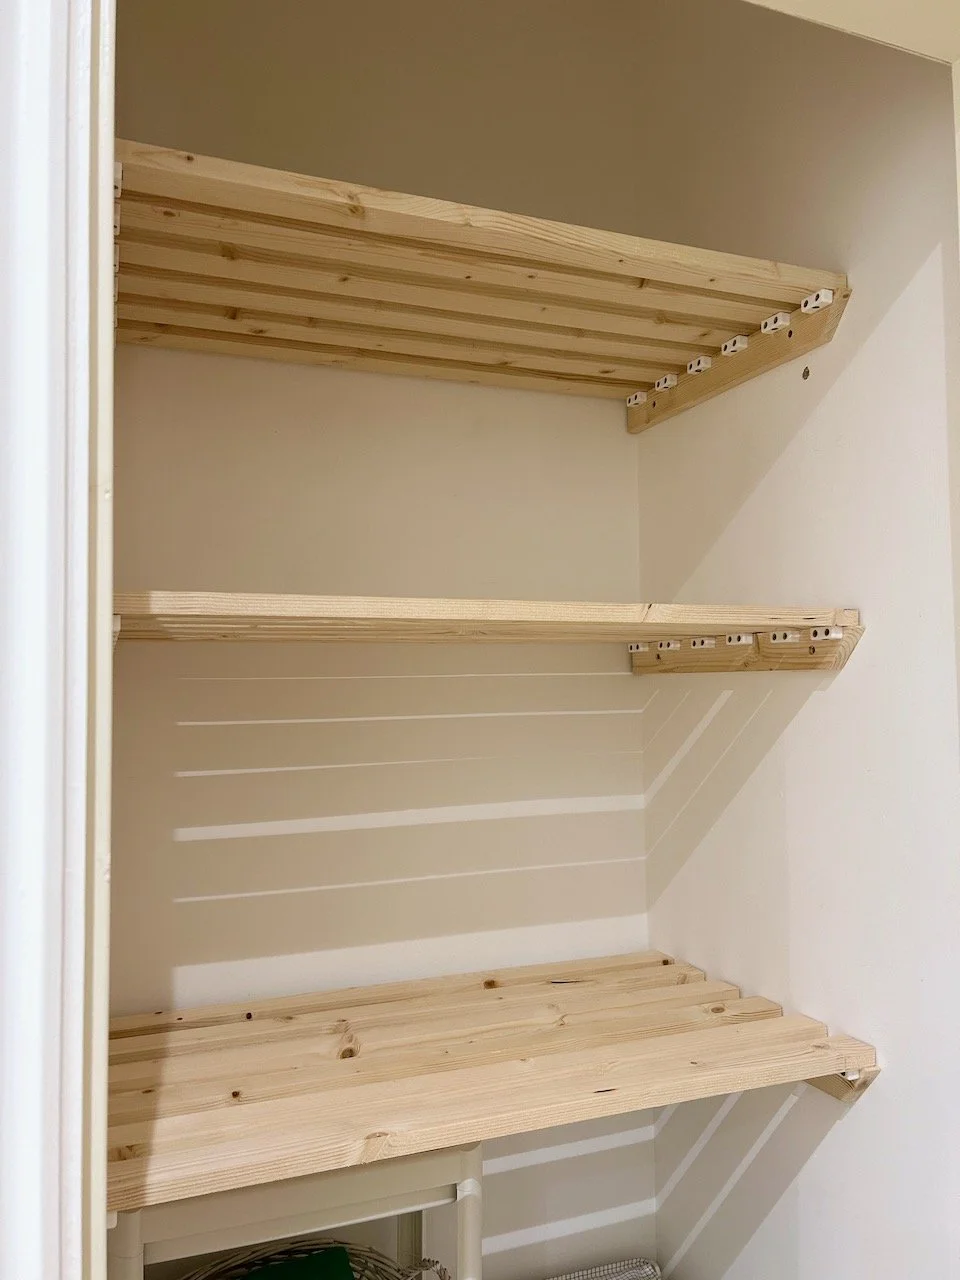
Originally my plan was to lightly paint these white, hence the white blocks (which I made MOH buy specially!) - but seeing the shelves in situ I changed my mind. I like the natural look of the wood and so we’re keeping them like that for now at least - there’s an option to paint them at a later date, but right now that’s a long way off.

Don’t they look great?

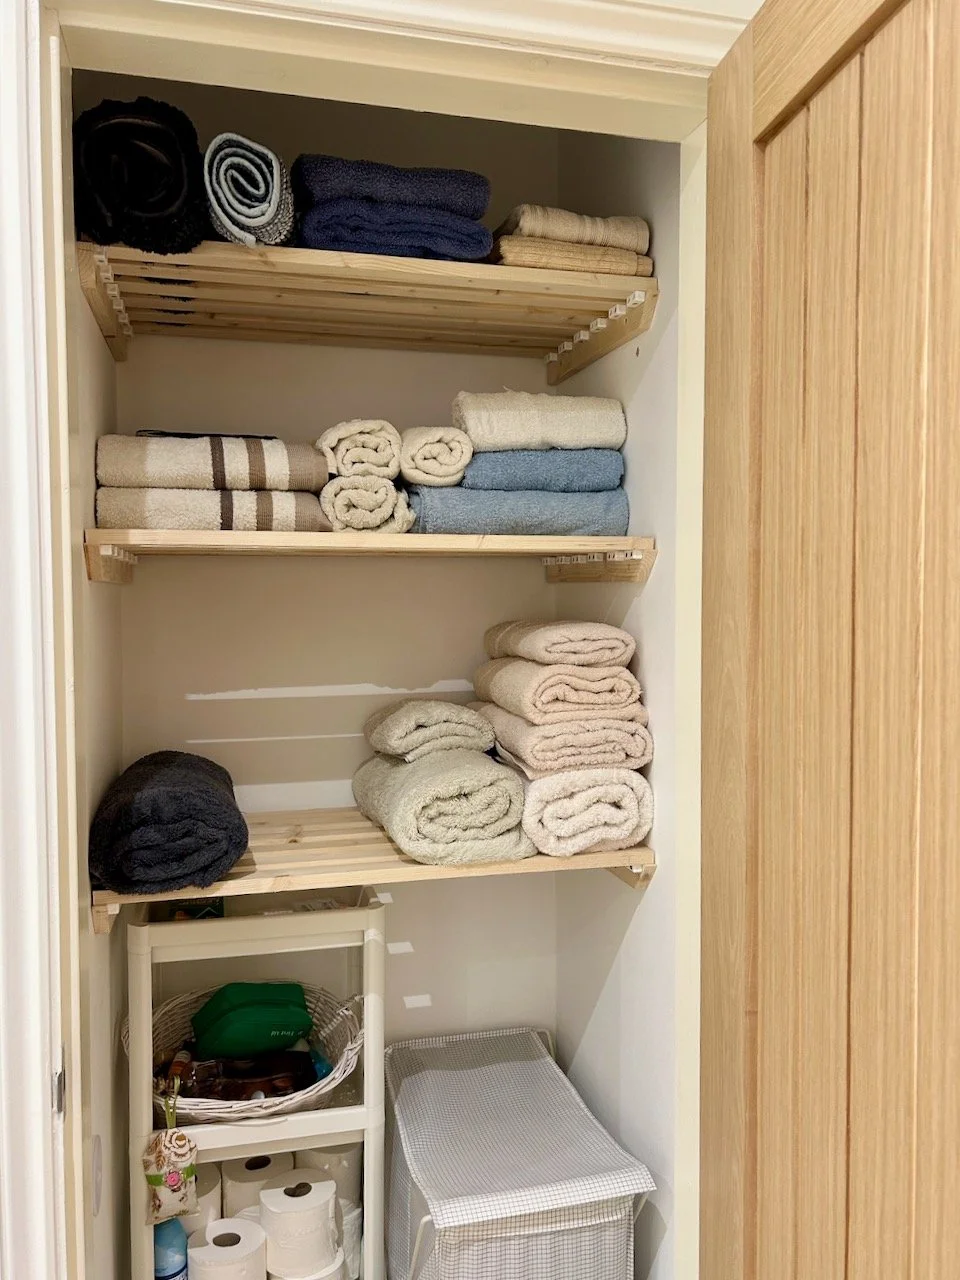
It looks even better with the towels on, and as well as it being another job jobbed, it’s another space that now has functional, practical and good looking storage, and means our towels are now stored together. It also highlights that we have a penchant for cream and blue towels!

After a suitable shelf-break, next up for MOH is some shelves to maximise the space in our pantry! He really can’t wait…

PostCommentLove

8 cards bringing warmth on dull winter days

When I received the cards in my most recent card subscription box from the CardBoys I thought they were from a spring box and I’d missed a box somewhere along the way, as I was pretty sure the last set had arrived in autumn. And they had, but actually it’s no bad thing that the February box has a spring-like feel as I think it’s something we all need after what seems a long, wet and windy winter, which I’m sure isn’t over just yet however nice it is to see the days starting to extend slowly but surely again.

As ever I have mixed feelings about these cards, as I can’t wait to use them but also don’t want to use them either as I want to keep them all too! Keeping them all isn’t an option though, and having a stash of cards in the house is really handy, especially now that we’re a lot more rural than we were in London.

ARTIST: MARYAM AH

The cards in this box evoke warmth with their colours and decor, and that’s much needed on those dull days. Even though the sun has been out, and it’s oh so good to feel its warmth, it’s still pretty chilly isn’t it? Earlier this week I finally took down my winter wreath and while I’d timed it well avoiding the rain, I still needed a sweatshirt on as I stood at the bins pulling as much of the greenery out as I could, recycling it in our brown/garden bin.

ARTIST: LUCY NICHOLSON

I don’t think there’s a card which didn’t make me smile in this box, though I think I’ll have to choose the recipient of the card above carefully - as a thank you card it works, perhaps not so much as a birthday card or note.

And don’t you just want to climb those stairs in the card below, hopefully a thirst quenching drink would be waiting for us at the top.

ARTIST: LAURA PAGE

ARTIST: MELISSA DONNE

There’s a few artists in this collection that have a couple of cards, and it’s easy to spot these through their style and the colours they’ve used isn’t it?

ARTIST: LAURA PAGE

It’s amazing how a piece of art - as let’s face it, these are mini works of art - can influence your feelings, from the calming coffee scene above to the tumbling rainbow person below.

ARTIST: LUCY NICHOLSON

ARTIST: ABI EVERETT

My favourite card this month probably isn’t a surprise - but it’s the daisies below, it just something that speaks to me, so this is one that I’ll probably be hanging onto for a while, until the perfect opportunity to share arises.

ARTIST: ABI EVERETT

This box really was a box of warmth, which arrived in the post box. I can’t wait for spring-proper to arrive!

Gelli printing using stencils and shapes

In my first post on Getting started with Gelli Plate Printing I shared the basic equipment needed and my first prints using single and two colours, here I’m going to share how using stencils and masks can bring even more texture and interest. These bring another dimension to the prints, and endless possibilities.

I already have a number of stencils, which I’m keen to try out in this new craft that’s quickly becoming one I can’t see stopping anytime soon. I’ve purchased my own gelli plate and brayer online as this is a craft that has so much potential, and is fun to do and thankfully isn’t that messy either (which is always a bonus).

Using stencils

The possibilities are endless, as are the colour combinations. It’s also easy to get two prints from the same stencil and paint application, as long as you work relatively quickly and don’t let the paint dry. I chose to use a thin plastic reusable stencil with a flowery pattern. The first two images below show the first and second prints using a single paint application, and how they differ; the third image shows a final feint print to remove the paint that remained on the gelli plate.

The third print using the residue of the paint on the gelli plate produces a very pale and ghost-like print

In some ways the second print is my favourite, but I know that all of them will be useful - and used - in my future papercraft crafts.

I also tried an alphabet and number stencil. I didn’t reverse this as partly this was a test of the process, but also it’s not text that needs to be read, however if that wasn’t the case the stencil will need to be reversed to avoid the mirror effect. Again I pulled two prints from a single paint application, and the softer second print is definitely my favourite of the two.

Using a number and lettering stencil with orange paint on a yellow background
The second print using the letter/number stencil on an orange and pink background

Using masks

Another technique that we tried on the course was cutting out shapes to mask areas. I cut simple blob-like circles and leaf type shapes for this. I liked the results of this less than the stencils above, but I think my choice of shapes and colours also contributed to that.

Unlike using stencils the second pull using the same paint application didn’t really add anything, the outline shape was too feint to keep. But all was not lost as the beauty of gelli plate printing is that you can reuse prints that don’t quite work out.

Using other items

This is where your imagination can run riot. In the image below the hearts are made from a squished toilet roll - and I think they work pretty well. On the right hand side of the hearts I used a plastic glue spreader to make swirls in the paint (care: do this gently to avoid damaging the gelli plate), I think this has potential and it’s something I want to try again but perhaps with more advance thought on what shapes to try.

I also want to try using bubble wrap, scrunched up foil and paper and especially leaves. I don’t know how successful these will be, but half the fun will be experimenting. I’m sure there are many more things I can try - perhaps some lace too - and many that I haven’t thought of yet, but are no doubt lurking in my craft room somewhere!

The worst that can happen is that I’ll end up with textured papers that I can use in collages and in card making. How can that be a bad thing?