Fusing some Christmas trees

I seem to have a thing for Christmas trees for my handmade cards. I’m not sure why, but at least I’m consistent! This year my cards were totally inspired by The Sweet Stitches - do go and check out some of her reels on Instagram, they’re amazing.

I’m pleased with how my cards turned out, and while I started much earlier than normal as I was keen to get my cards posted as they were doubling up as change of address cards from our house move in the summer, I seem to be sharing them here much later!

Yes, with postage costs what they are I have no shame about doubling these up, even though they’re about half a year apart. As it was MOH’s eyebrows were raised when the post office teller gave the amount for twenty four second class stamps, which wasn’t too bad as we’d managed to hand deliver many of our change of address cards to friends on our recent London trip.

But anyway, back to the cards…

Four christmas tree shaped templates with scissors alongside them on the small white round table, the tree templates are on a blue circular coaster

I started with some templates, four for good measure. I think that’s why I keep coming back to trees, their shape is pleasing and like nature, there’s room for some variation each time, I’m not one for being rigorously contained - and that goes for trees too it seems!

I had scraps of fusible interfacing as well as plenty of scraps of material. I kept my palette pretty simple - reds and greens, and the snowflakes on my red Christmassy fabric was a bonus.

On the scraps of single sided fusible interfacing I drew on some Christmas tree shapes - for my test I tried different pens ranging from a Sharpie, to a regular biro to a pencil, and all worked perfectly fine. I mostly continued to use the biro as it was easier to use and was easily visible from the other side.

The fusible interfacing side up with the tree shapes drawn on, on my crafting mat
The reverse - and patterned side - of the image above, small snips of reds greens and snowflake material

I ironed on small scraps of fabric which I’d cut into random shapes. These were quite small, and that was on purpose as my templates were pretty small too. The trick here is not to overlay the fabrics too much (as they won’t stick) and not to get too stuck on (pun intended - sorry) covering every part, though seeing where fabric covered the template was useful.

The four colourful and multi coloured trees cut out - and a pile of trimmings alongside them on the craft mat

Cutting them out was more enjoyable than you might think. Seeing that pile of trimmings grow and the trees take shape was satisfying, and I was keen to check the size on my card blanks.

A single tree laid onto a brown craft card - trying for size!

It was simple, but it worked for me.

So the tree production started.

Every one different. Every one unique.

tree production - two rows of five trees and a row of four below on my craft room desk

If you looked at my Instagram inspiration then you’ll notice a very obvious difference. Mine don’t have the top stitching, well one does - I tried it and my shapes were too small and too intricate for my machine. So I need to work on that, or at least work out if free motion embroidery is an option for my machine!

Instead I added little diamante studs to the end of each branch and a star on top, which worked a treat.

Now I’d love to show you an image of a final card, but somehow in my keenness to get them to their recipients I don’t have one - not sure how I managed that, but take my word for it the sparkles definitely finished them perfectly.

I’ll be trying more of this technique next year I’m sure - my learning is to try bigger shapes and bigger scraps, and hopefully I’ll be better at photographing the end result!

A Christmas hamper, my way.

A couple of weeks ago I headed over to the Homesense at Merton for a bit of a challenge, which was to put together a hamper of my own. And it's not as easy as you'd think. But before that I haven't been over to Merton for quite a while - I used to go that way most weeks to play netball, so it was great to see how much had changed over that way. And like in Greenwich, a brand new Homesense store is a good addition.

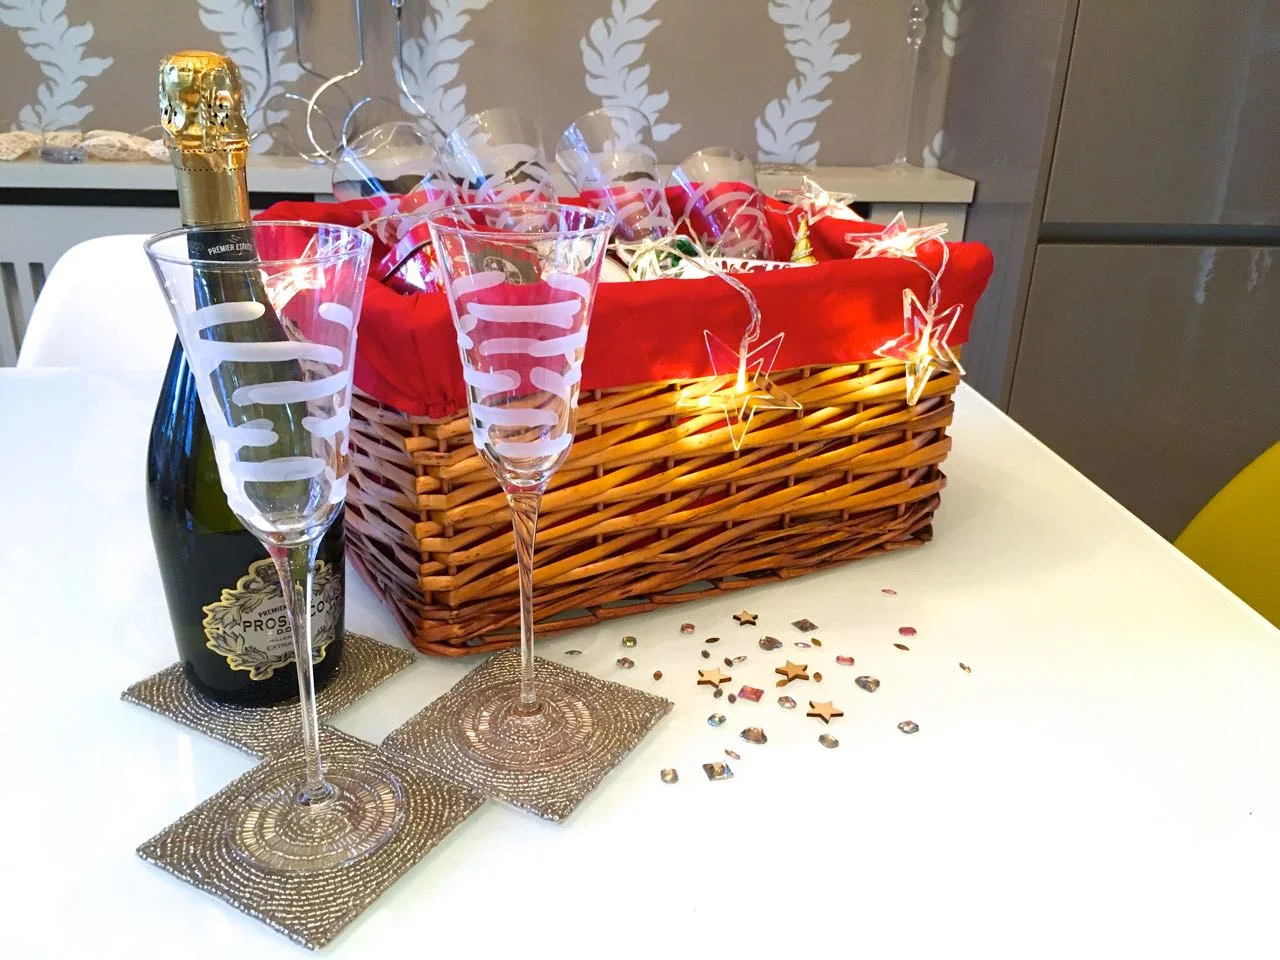
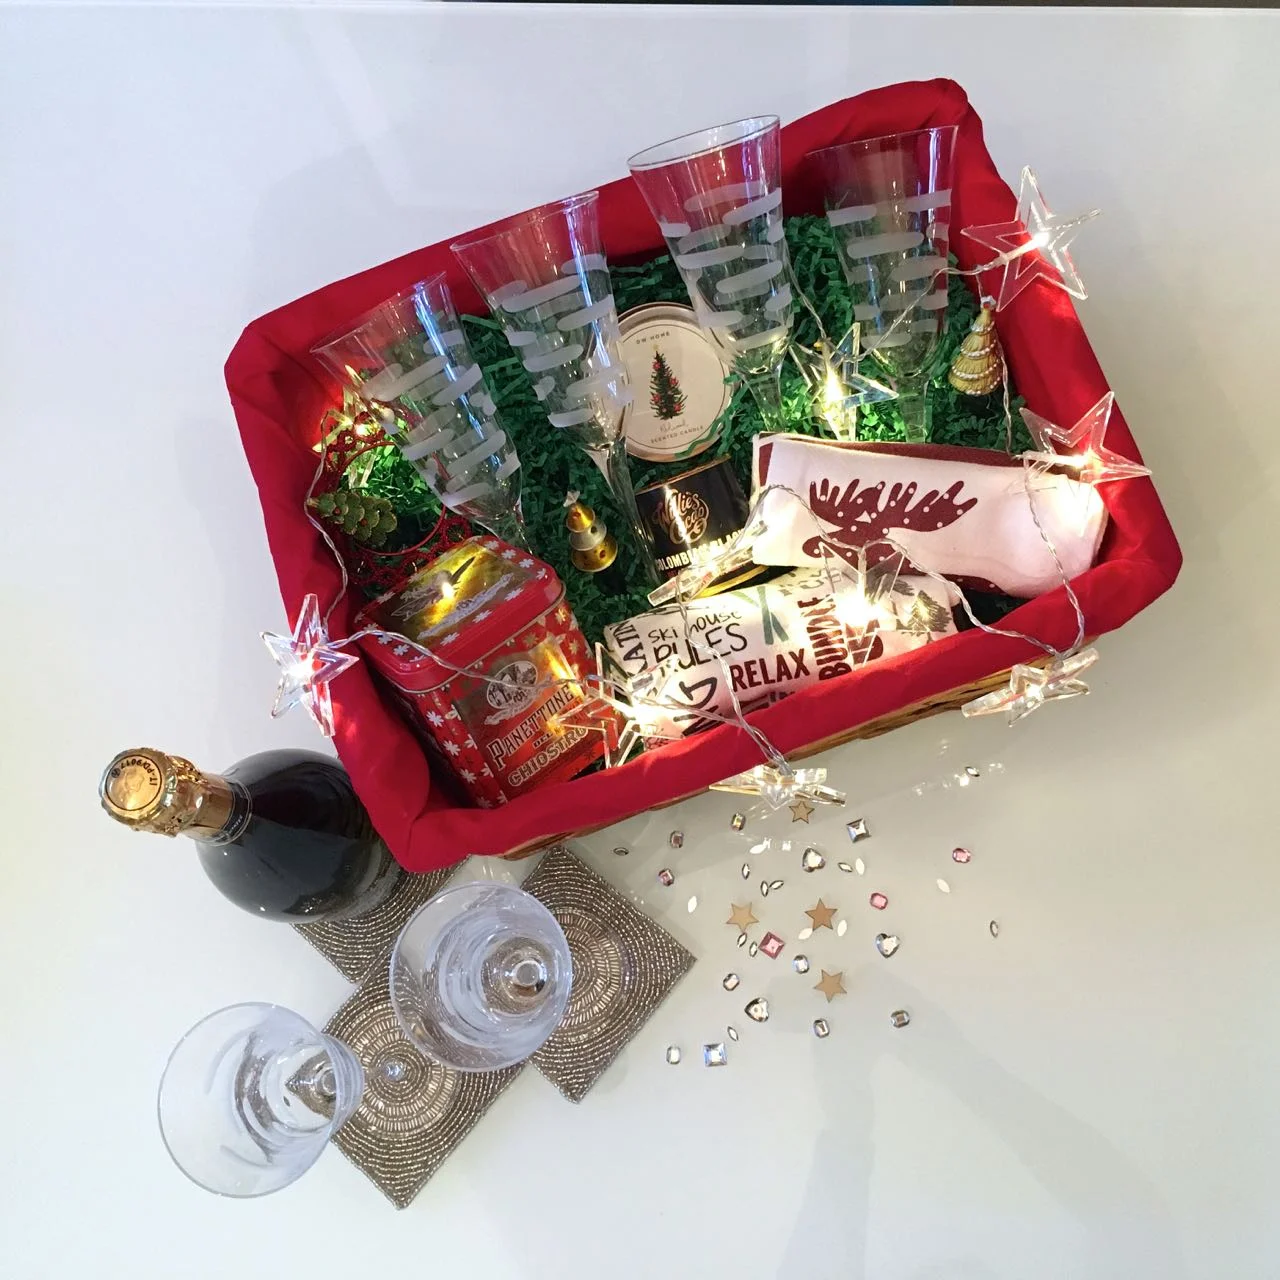
On arrival the team gave me a wicker hamper, which comes complete with a cellophane wrapper, a golden bow and filling to make it look oh so professional. My job was to find items to go inside it, and I wanted to give it a Christmassy theme.

As you'll know Homesense is packed with many, many fabulous items, so what did I choose?

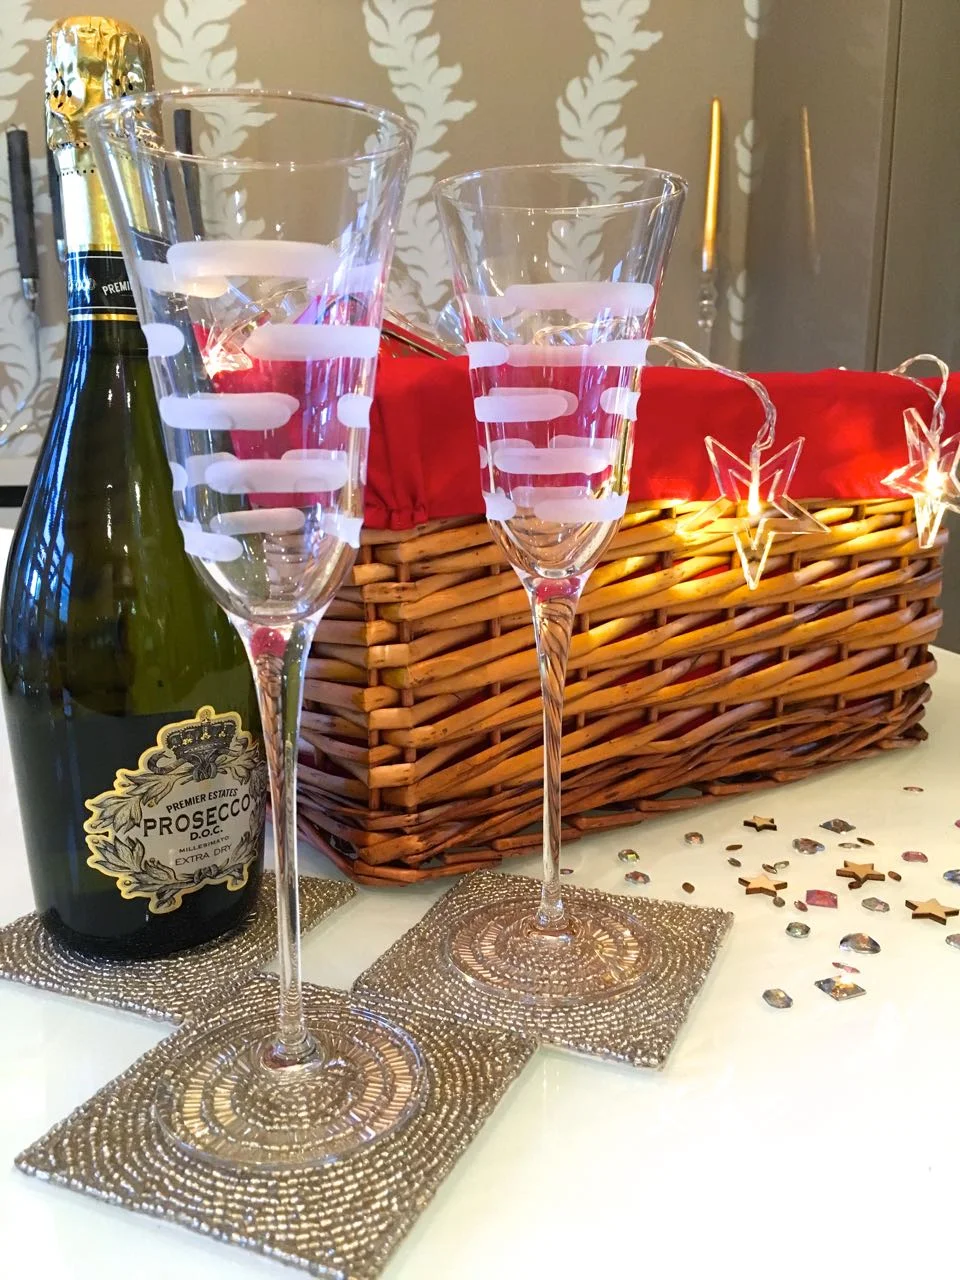
I was pleased to spot these glasses, they're a cross between a champagne glass and cocktail glass and will come in handy this Christmas as we realised, after a quick glass count-up, we realised that we didn't have six of any of our everyday glasses (don't laugh about the everyday glasses - that really is a thing).  We're planning a Christmas cocktail for Christmas eve and so these will be just the thing for that.

Glasses and Christmas goodies from Homesense

The sparkly beaded coasters will also come in handy, and I'm sure we'll be using these throughout the year - at just a fiver, I thought these were a bargain.  I wanted to include some Christmassy items, so the next items were:

  • a small panettone, in a gorgeous tin
  • some Willie's cacao chocolate, a favourite of mine
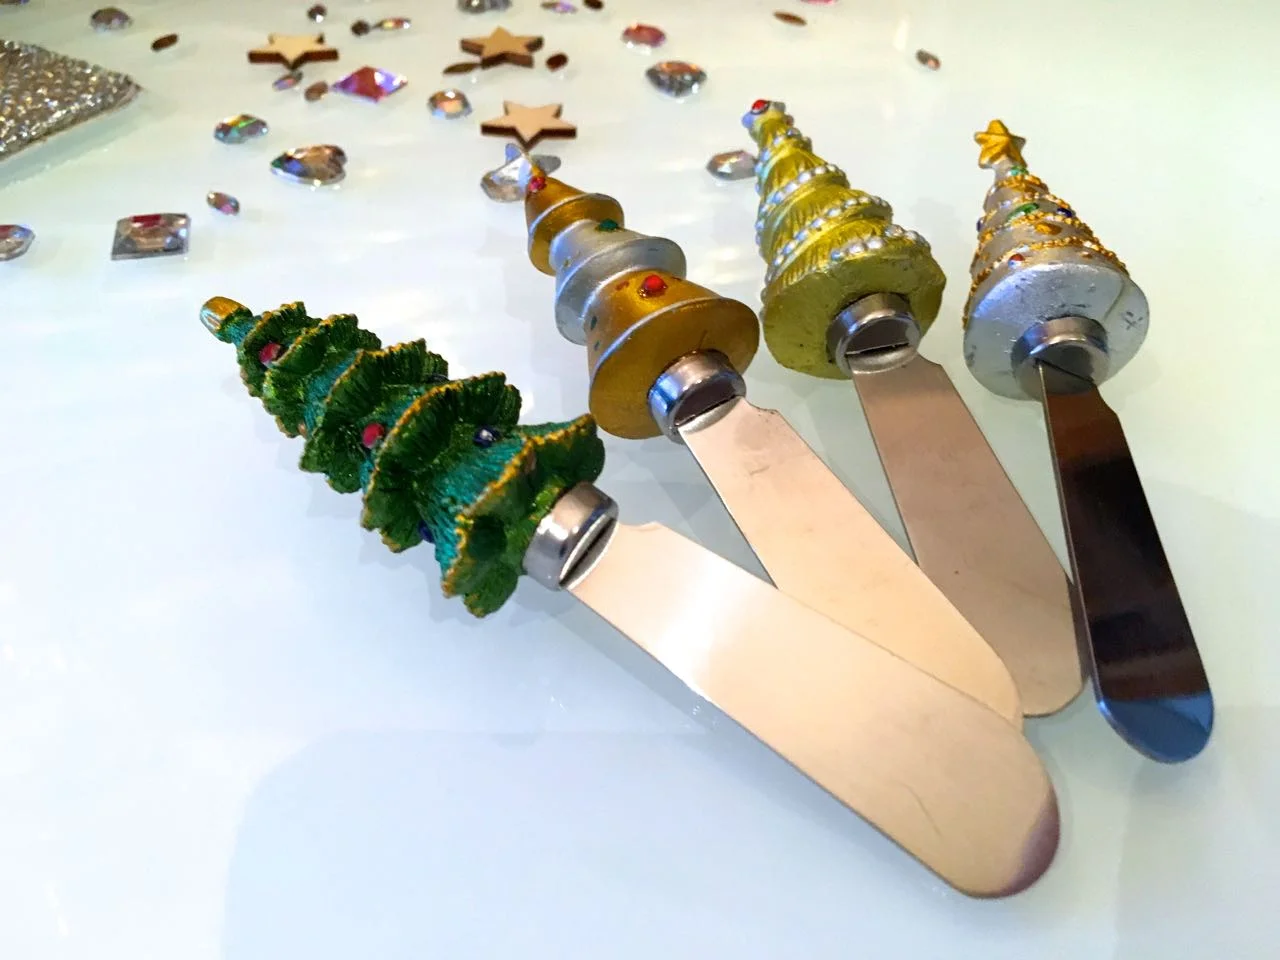
  • a pack of four Christmas spreaders 
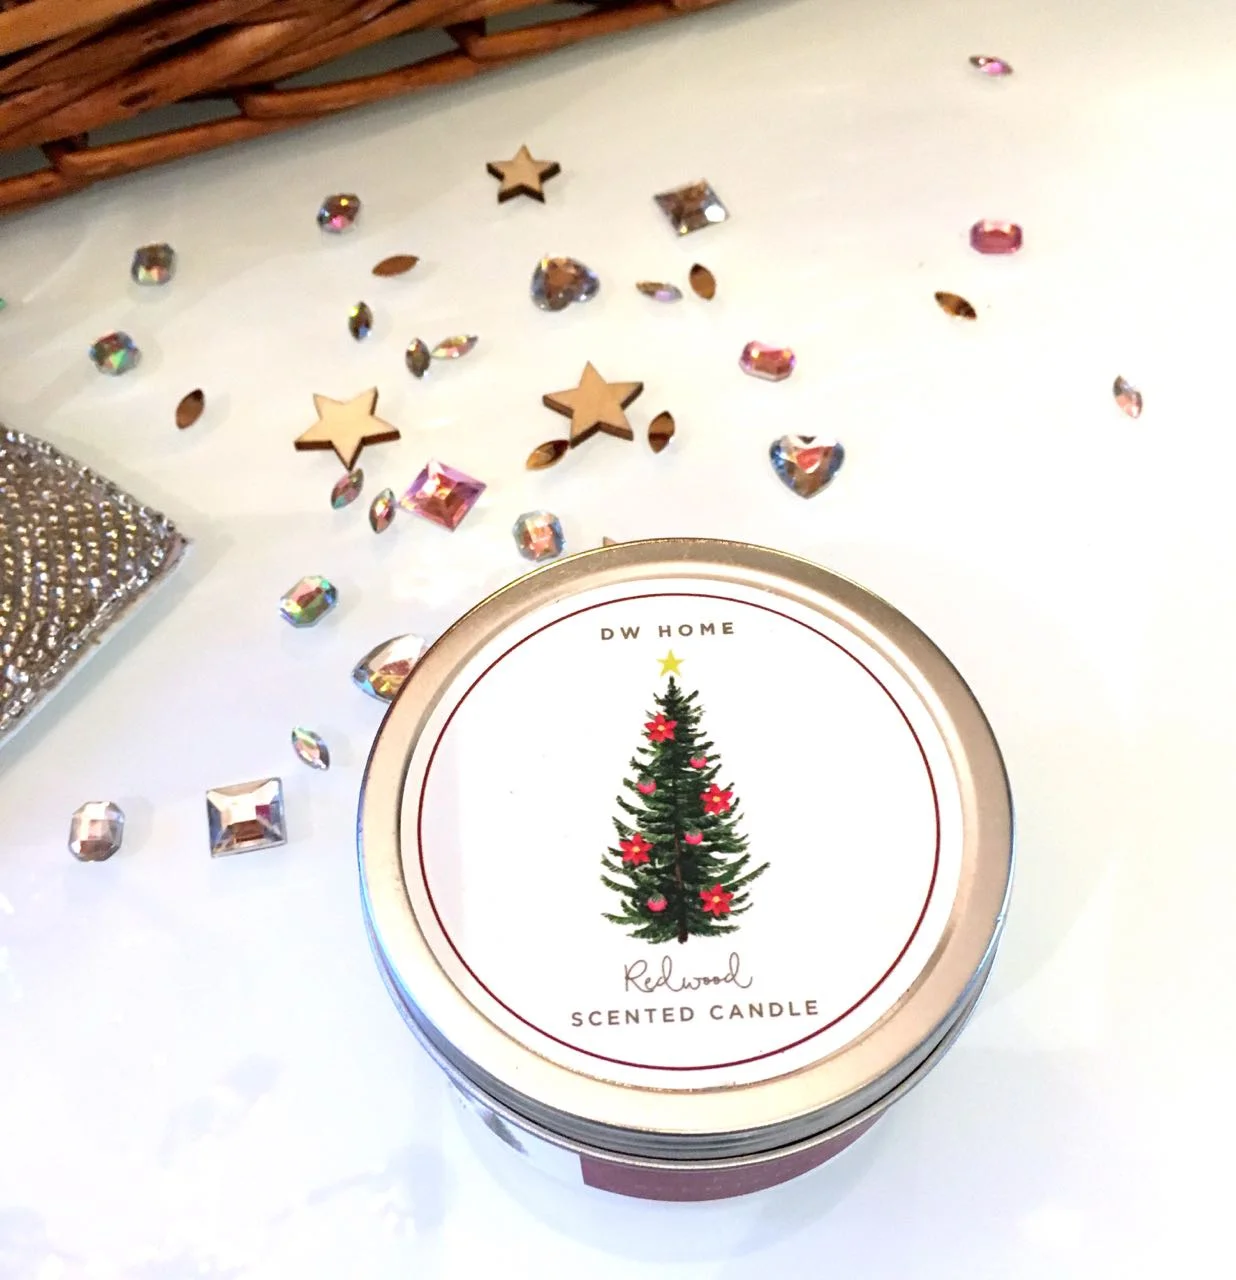
  • a Christmas scented candle
  • some tea towels to take care of those glasses
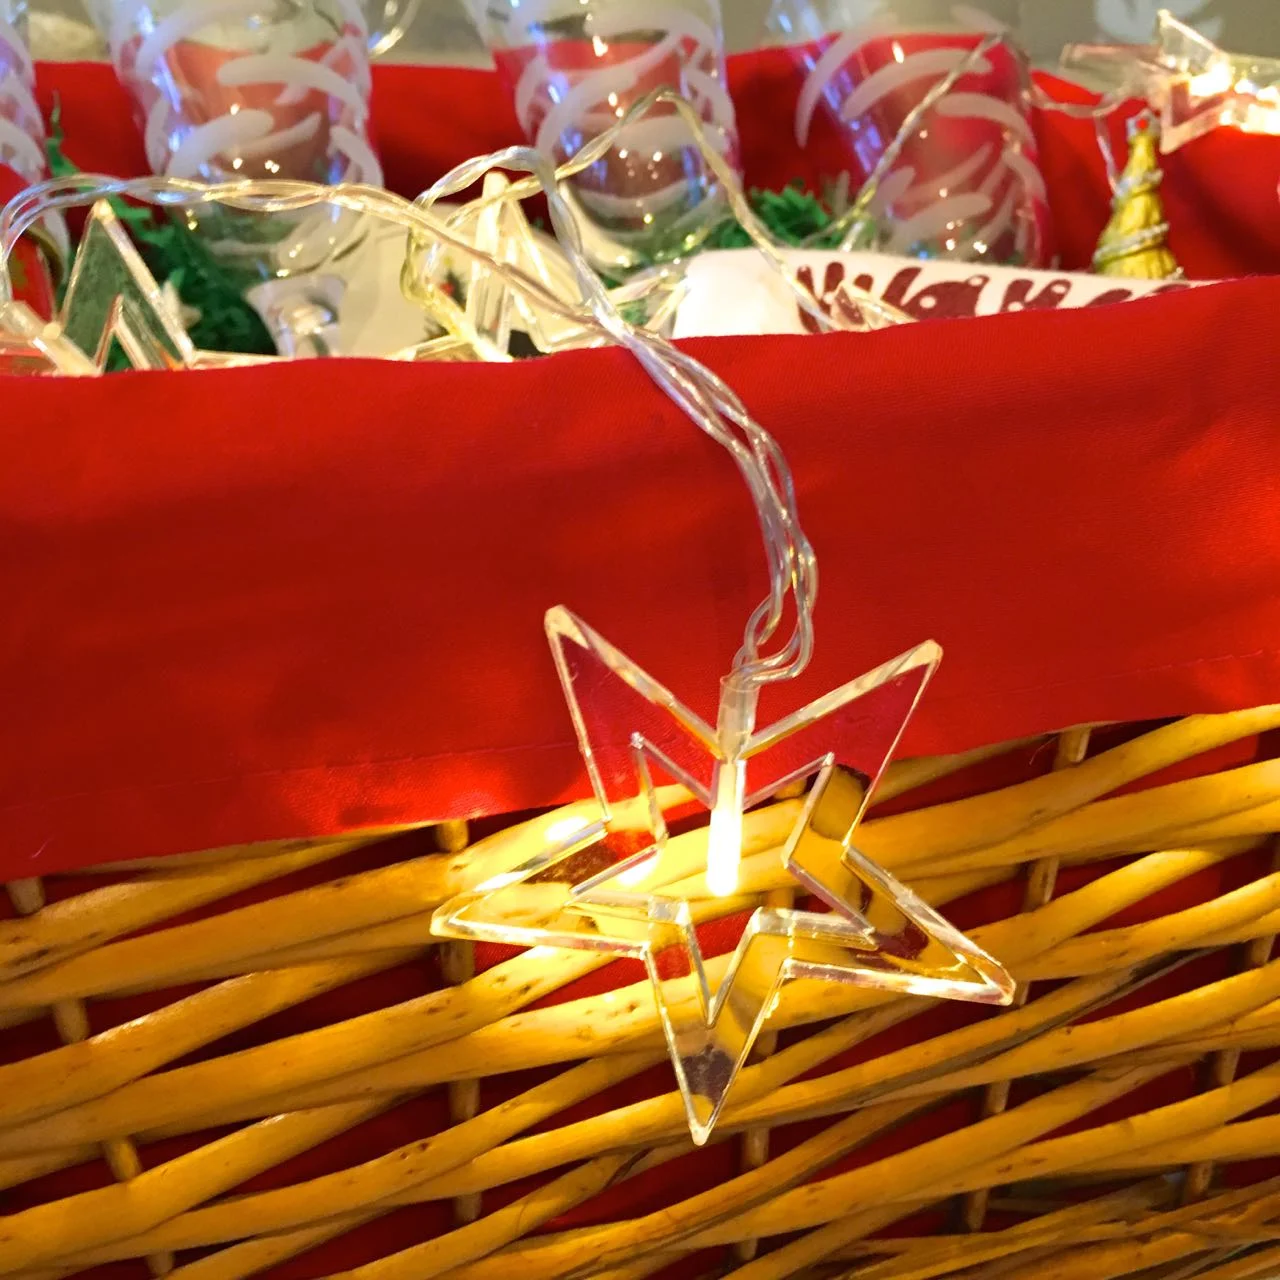
  • and finally, some LED star lights for some added sparkle.
A Homesense hamper that's tailor-able to you

The star lights are great, and I think they can be used year-round. I'll admit though, even though they're not golden stars, I couldn't help but feel like I was looking for stars on I'm a Celebrity... but thankfully without the critters!

Star LED lights for my Homesense hamper
 
Sparkle and fizz for my Homesense hamper

The spreaders look fun and I'm sure will be useful, both on our breakfast table and later for the soft cheeses on the cheeseboard.  I've a feeling that they'll be so useful that I'll want to use them year round too. I know MOH isn't seeing the value of them yet, but give it time and I'm sure he'll be convinced, and in which case I'll need to head back there during the year and find some less Christmassy ones!

Christmas spreaders in my Homesense hamper
 
A scented candle as part of my Homesense hamper

The candle is understated but hints at Christmas smells and no doubt will help set a soothing atmosphere when things get a bit fraught, as the preparations in the final weekend get underway. For me that's usually when I realise just how many vegetables need prepping, I forget each time that I cook for more than the two of us, how many more are required. It usually works out fine...

And there's usually panettone too. This year just a mini one and I may well have been swayed by the pretty tin too, I've a feeling it will make its way into my craft room at some point in January.  About January 2nd I predict...

It's not Christmas without panettone is it, mine was from Homesense

So if you're still looking for Christmas presents and are stuck then maybe putting together your own personalised hamper could be just the thing, what do you think?

This is a collaborative post but all views and opinions are my own.  

My handmade Advent calendar

A few weeks ago I shared my prototype box for what I hoped would be my advent calendar.  The good news is that it's finished, but a few days into December. In preparation I'd bought a new die for my die cutting machine from Tonic Studios. Initially I was looking for a pillow box, but when I saw the Marquee Box I realised its potential and my plans changed.

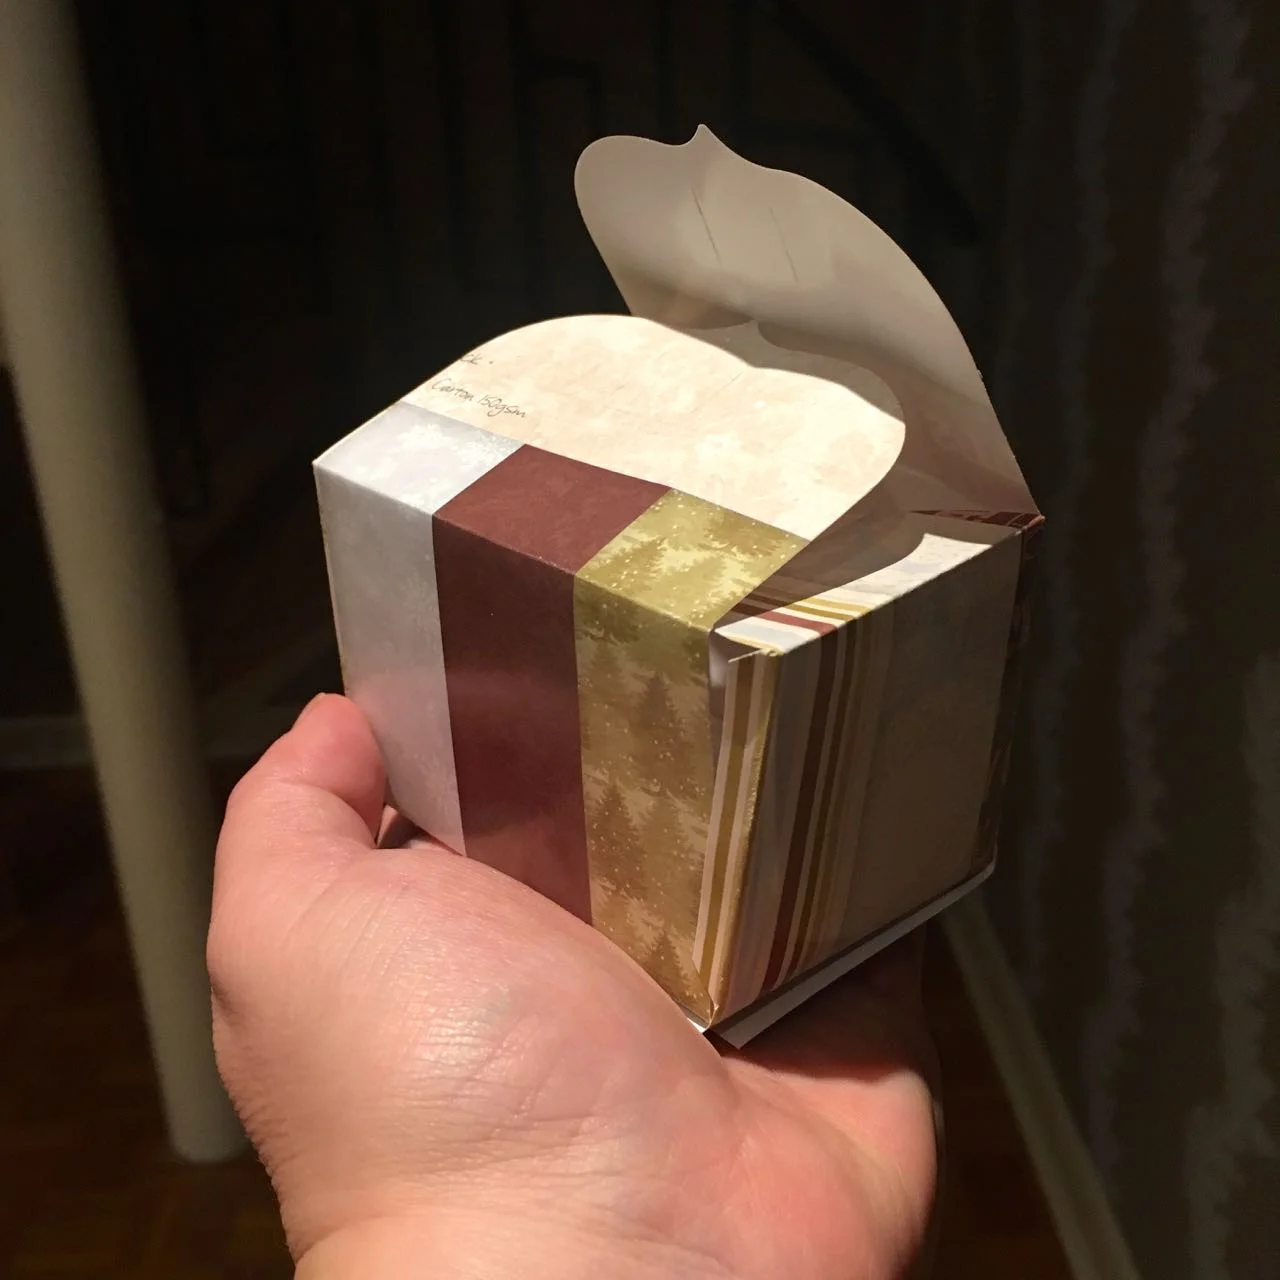
I sussed out how it could work using the prototype, which I cut from the header page of some Christmas scrapbook paper, and as a fan of patchwork and colour, liked how it came out so have kept that in the final design.

The prototype box

Twenty four boxes is quite a few though. Each box needed two cuts of the die, so after a small workout for my arm and forty eight cuts later I was ready to assemble my boxes. The sheer number of these put me off for a bit, despite the start of the month looming. But with some pre-folding and a tray in front of the TV I set about sticking.

I'd tasked MOH to buy contents for half of the boxes, and I set about buying contents for the other half. Somehow all of our boxes have ended up with chocolate fillings, but that's no bad thing.

It did feel like a bit of a production line, and on more than one occasion I did wonder why I'd started, and if perhaps doing something for the twelve days of Christmas instead. But I'd started...

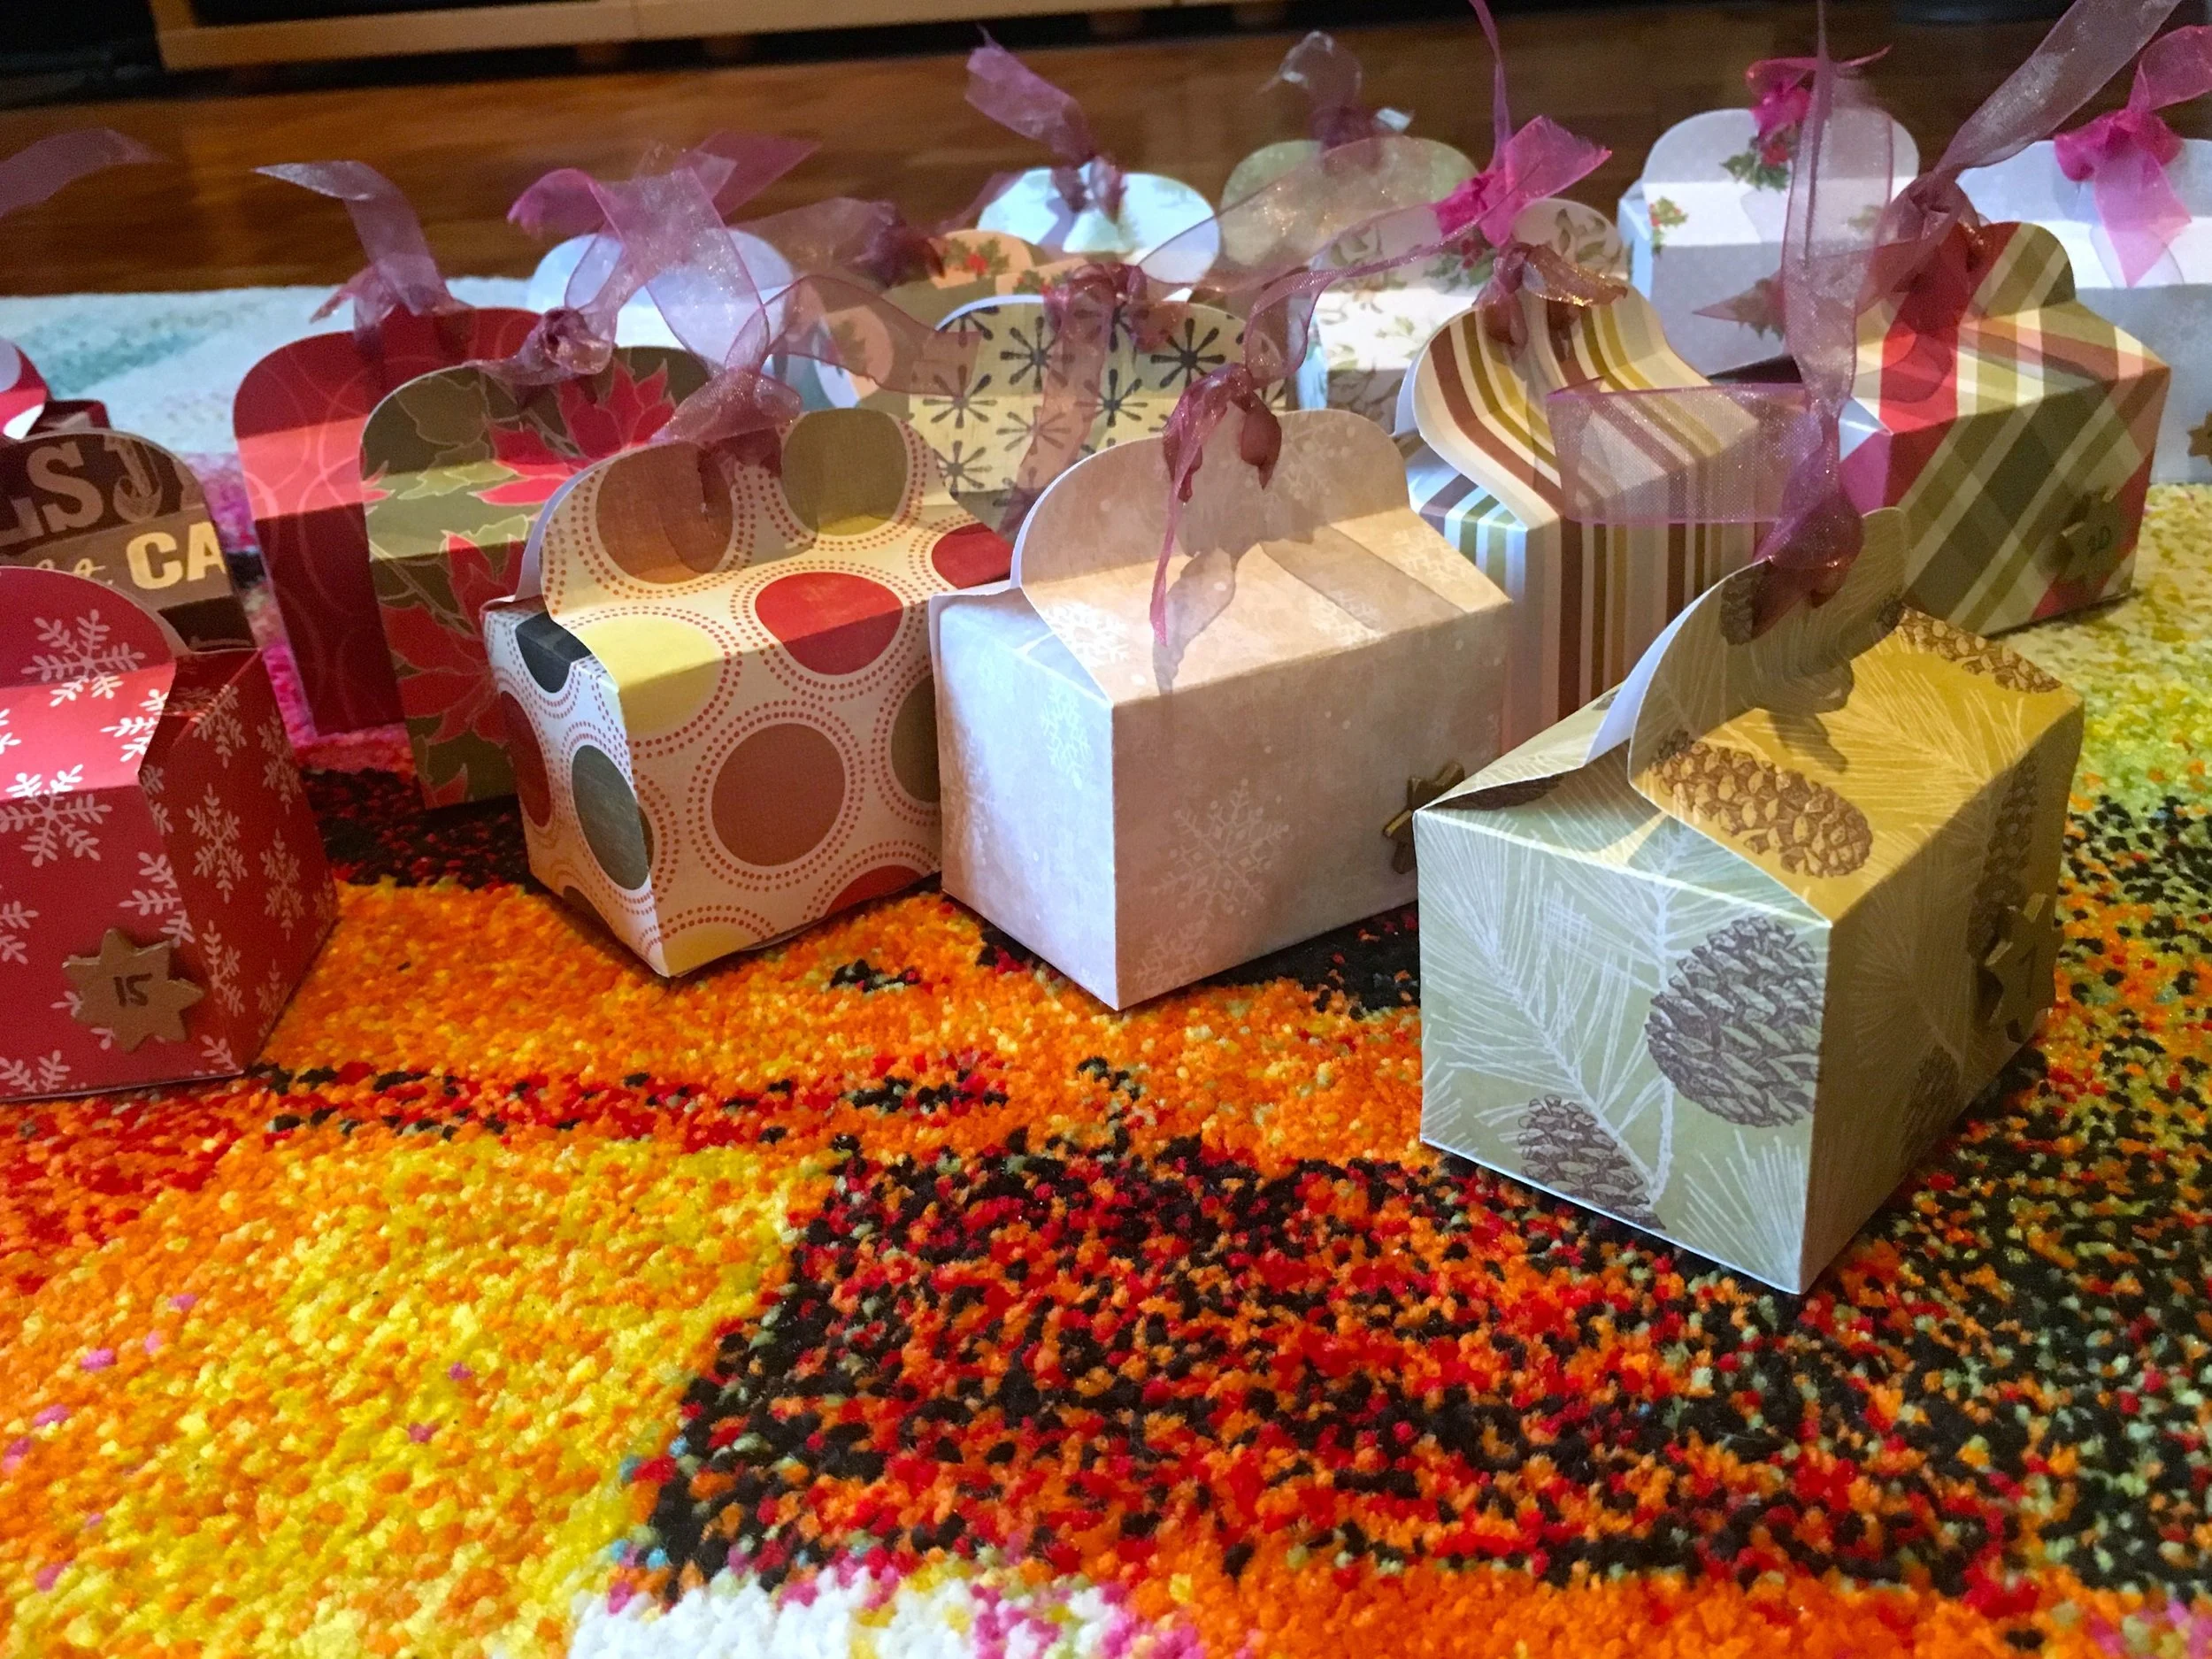
A collection of boxes, assembled and filled

And so I finished. A few days in to December!

I was able to make use of lots of things I had too, which is always a winner for me. I had the scrapbook paper, I recycled tissue paper inside the boxes, the stars which I used for the numbers were from many years before - I'd previously used them as decorative touches on gifts, tags and cards, and the ribbon that I used to close the boxes were left over from an earlier craft project.

So apart from the die cut and the contents it turned into quite a thrifty project. 

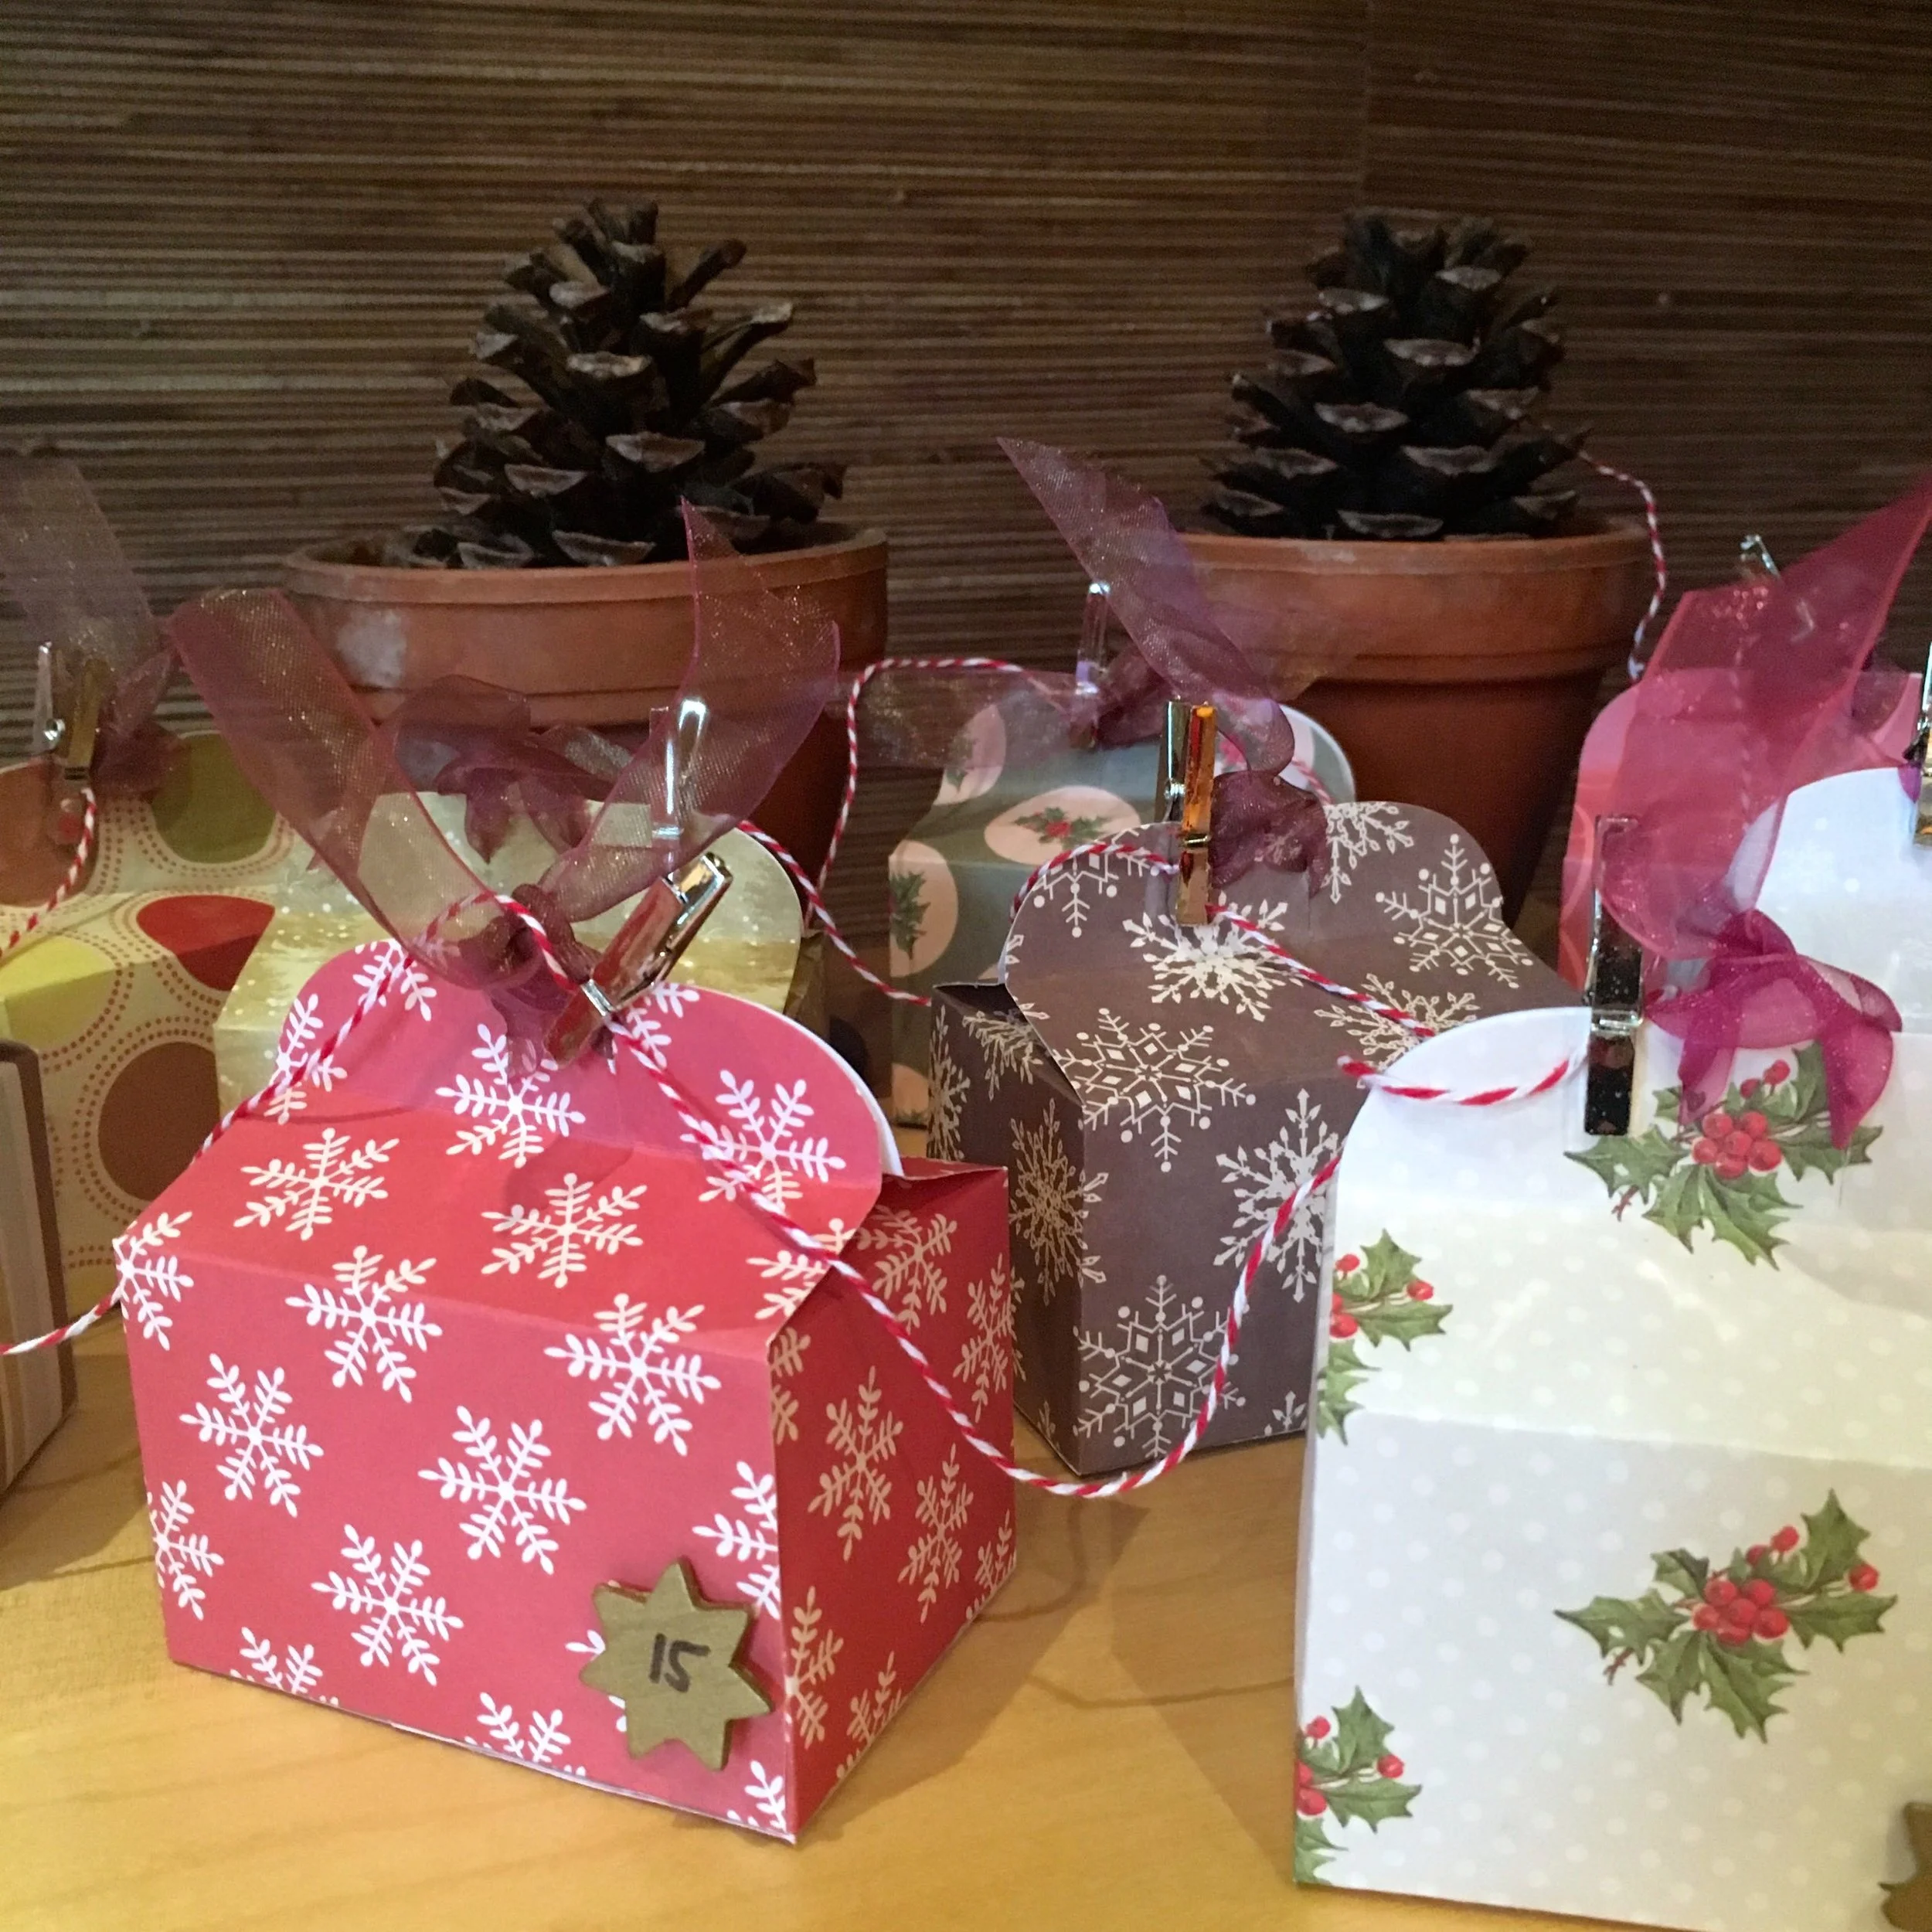
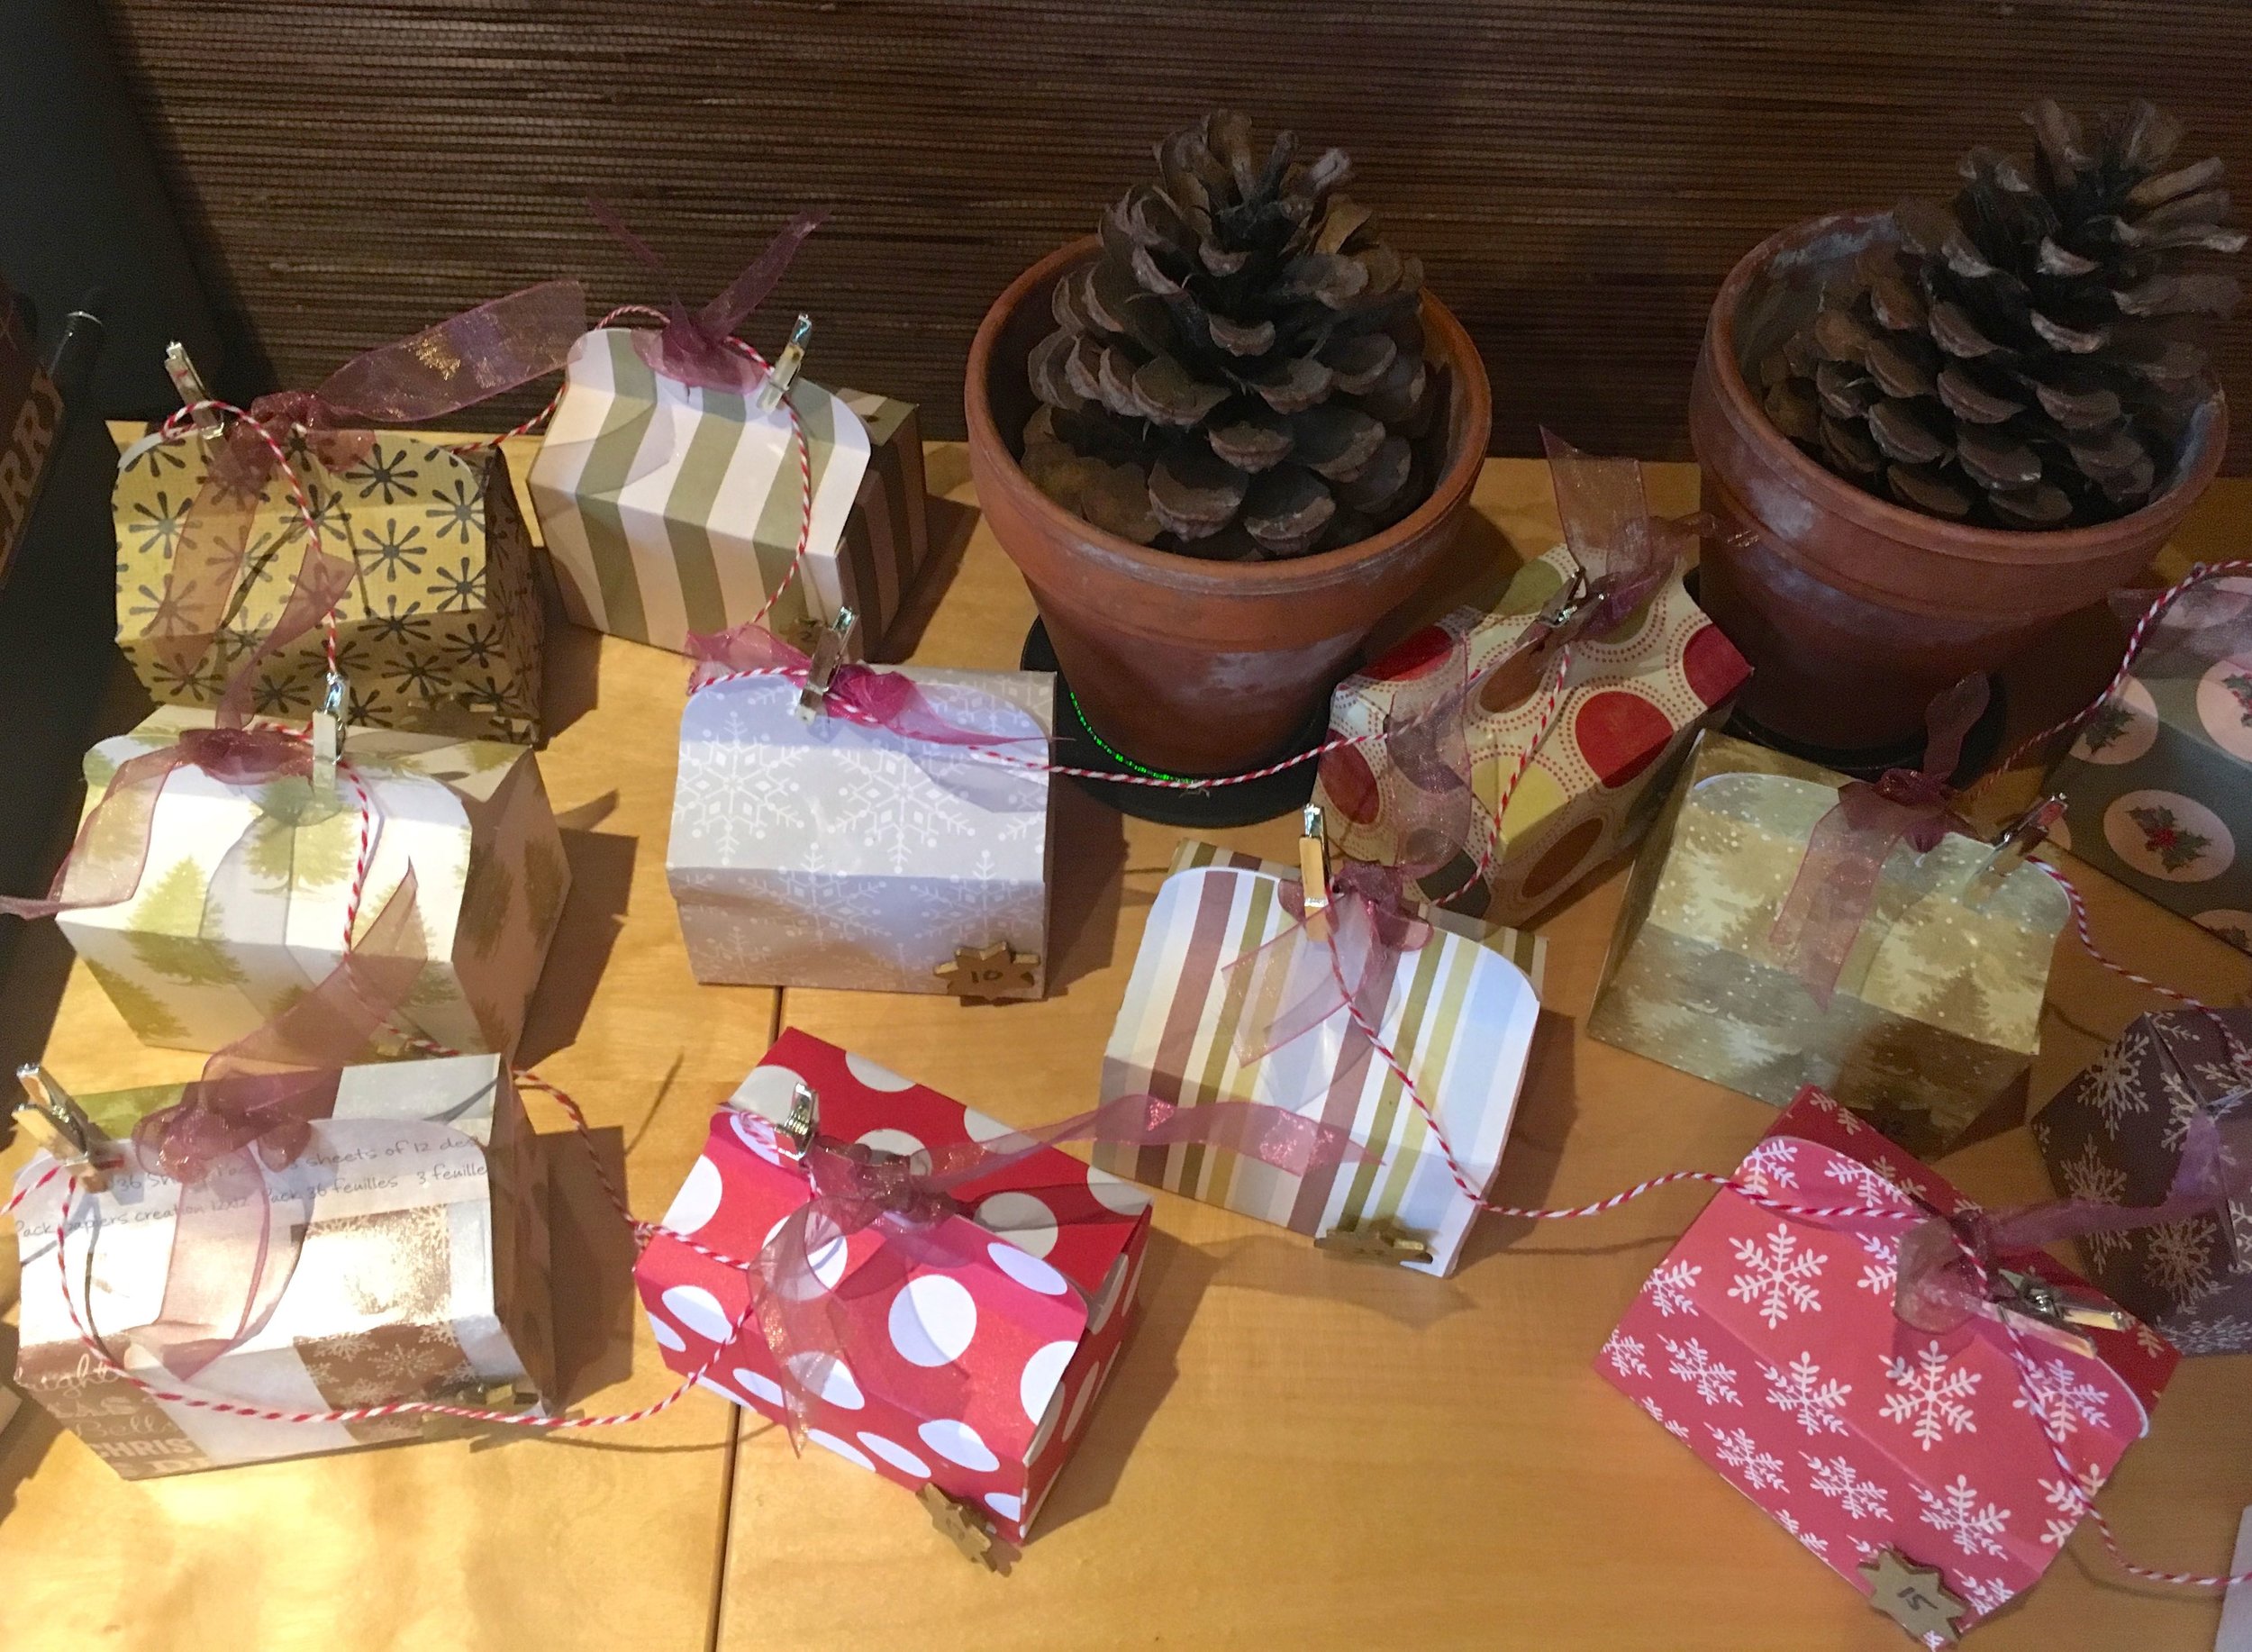
Our handmade advent calendar assembled and in place
 
a few more of the twenty four boxes of our advent calendar

I considered hanging the boxes, and wanted to use the silver pegs - that I've had for ages, and would you believe it there were 24 - and some bakers twine, which I've several reels of. The weight of the boxes though didn't really work for hanging vertically as I planned, and as we don't hang things on our wall, I was after another solution.

In the end I kept it simple and strung them together placing them under our television - the other place I'd considered was on top of a radiator, but knowing the contents that wouldn't work!

Looking from above at our handmade advent calendar

But I'm pleased with how they turned out, and it looks as if we've a village of festive boxes. Although not all of the paper I used was Christmas paper, however it all works together, and you can see the prototype box taking pride of place in the photo below (day 6).

Not all the papers I used were Christmas papers, but they all work together

A longer project than I expected but one that will provide fun - and chocolate - throughout the month. 

I love it - and I even got MOH involved too, as well as buying some of the contents, he was also chief number sticker on, as I thought I'd remember what was in each box, and so would lose the randomness of the contents! 

What do you think - would you make your own?