Post Comment Love 20 - 22 October

Hello there, and welcome back to this week’s #PoCoLo - a friendly linky which I co-host with Suzanne, where you can link any blog post published in the last week, posts which are older will be removed from the linky. We know you’ll find some great posts to read, and maybe some new-to-you blogs too, so do pop over and visit some of the posts linked, comment and share some of that love. If you were here last week it was great to have you along, if you’re new here this week we’re pleased you’ve joined us.

It’s been another week here where the weather determines what we do; on the dry days MOH has been out in the garden continuing to paint the trellis around the heat pump. I’ve left him to it this week, but one day he was out there it was on the cold side and the heat pump was blowing cold air on him too for good measure. I’m glad I stayed inside busying myself!

We walked to the pub on Sunday for a huge roast dinner ahead of the rugby game, which we stayed to watch. Then it was a 30 minute walk home along the bridleway which wasn’t as dark as we expected - we had torches at the ready. It was pretty chilly, but not so bad really though I’m glad the brief cold snap was brief.

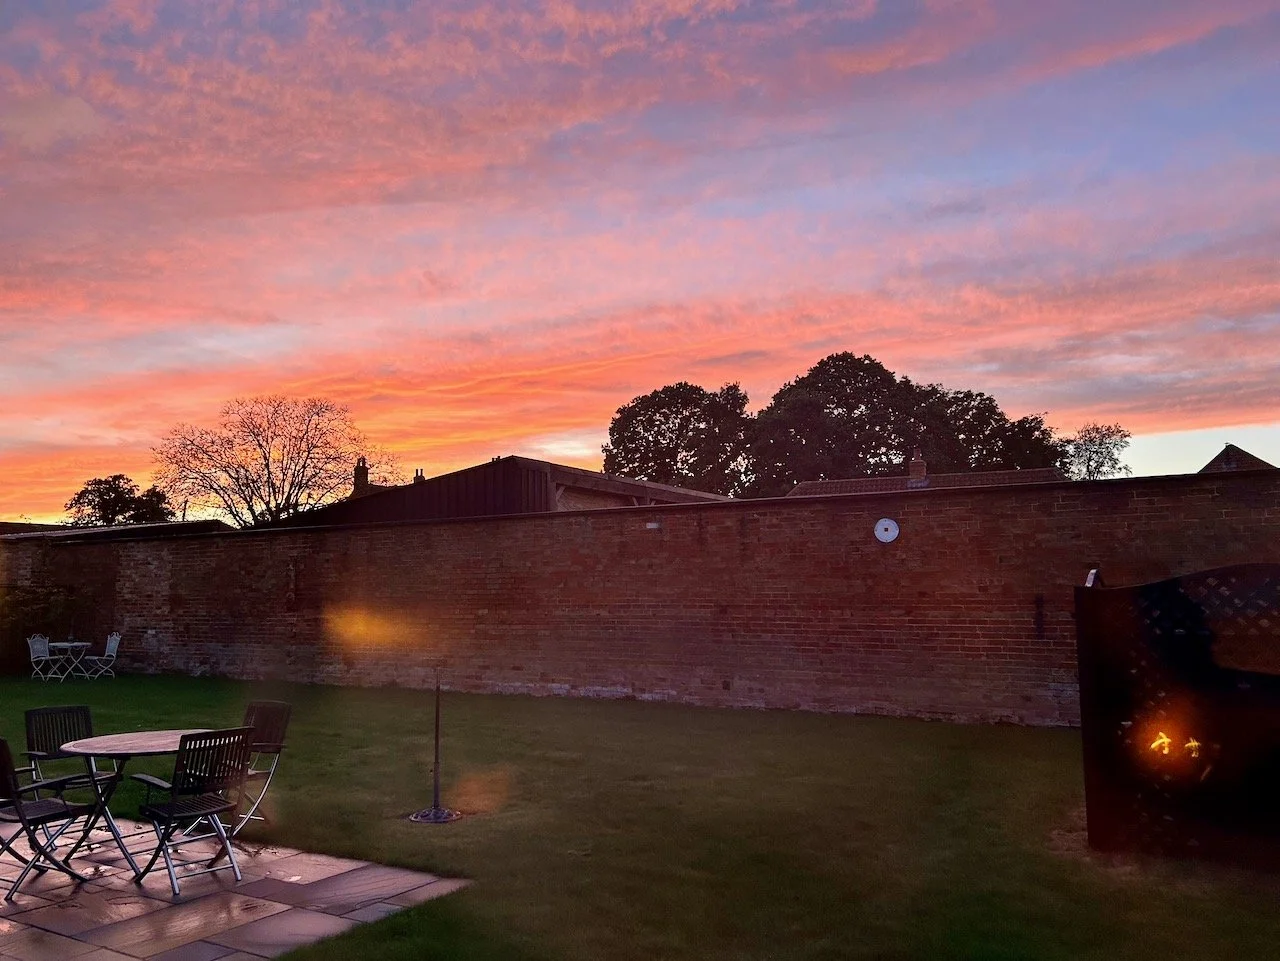
This photo I snapped out of the window, not quite believing the colour of the sky, even though we are treated to quite a few red skies up here. Isn’t it beautiful?

a red sky at night sunset over our garden earlier this week

You are invited to the Inlinkz link party!

Click here to enter

Making an autumn wreath

A few weeks ago I saw a post on Facebook by The Flower Fairy here in Newark offering workshops to create an autumn wreath, and I thought why not.

I’ve tried Christmas wreaths before, with mixed results - they look ok on the table, and ok on the door for a while, but not as good as those in the shops created by professionals. So I signed up before first making sure the workshops could accommodate a novice.

The first step was to fill the wreath ring with moss, which isn’t something I’d done previously - and after a trim it looked ok - and still round!

Moss added onto the wire florist ring - a good start!

Lucinda had provided all the materials for the workshop, including tons (probably not literally) of stems in a range of greens, oranges and whites to create the wreaths. The next step was to break these larger stems into more manageable sections, and end up with smaller pieces to create bunches to add to the mossy ring. As well as these there were rosehips, chinese lanterns, crab apples and grasses. I opted for the first two, knowing that I could use the crab apples and grasses from my own garden if I wanted to top up my wreath, or even make another at some point!

I spent the evening wiring small bunches of plants onto the mossy ring, while chatting to the women alongside me. It seems that I was so busy making my wreath that I didn’t take any more photos until it was done.

And I’m pretty pleased with how it turned out.

I purposely chose not to make it symmetrical, as nature rarely is, and I like the natural look.

I’d not used moss on a florist ring before, and each bunch was secured by winding wire around the stems, using a single length for the whole way round - which seemed much easier than I remembered. Arriving home I put my newest treasured possession safely in the garage so that I could work out how to hang it the next day.

Of course, we didn’t have the right sized hook and nor did we really want to put anything too permanent on our new door, either of them. I knew that I’d be hanging this on our back door, which is the door we use - we rarely use our front door, and so wouldn’t get to admire my handiwork hardly at all.

If you look closely at the photo you can see a dark strip over the top of the door - that’s a very clever wreath door hanger, which hooks easily over the top of the door. The wreath fits into the hook, but I’ve also used the ribbon to tie it on so it’s a little bit more secure - hopefully!

I’m so pleased with it that I’ve already bought some florists wire and some large wire rings (I already had some small ones) - all I need when I’m ready to make another is some moss and some greenery. I’ve already been eyeing up the plants in our border and I’ll be keeping a keen eye on the hedgerows when we’re out walking.

But in the meantime, I’m going to indulge myself with a few more detailed pictures of the one that’s hanging on the door.

Rose hips, chinese lanterns and burnished eucalyptus stems on my wreath
The orange tinged eucalyptus with some smaller orange berries, ivy and greenery
PostCommentLove

Pepping up the grey

One of the things about moving house is that it unearths your unfinished projects, or as I prefer to call them works in progress. And it seems I have quite a few, so I’m going to tackle that, but only when they call me so that finishing them doesn’t become a chore. That may mean picking them up for a bit, and then leaving them for a bit more - which many of you will realise is pretty much my crafting approach anyway! However many of those I’ve rediscovered, like this variegated grey throw, are so close to being finished, but for one reason or another (and in most cases it’s the making up) they’ve been stored away for another day.

This one I’d carefully laid out and decided on how to place the variegated grey outer squares. And I still like that, so that’s good. But, well, it’s quite grey isn’t it? And the greyness doesn’t really sing to me - the work is good, but it’s still quite grey.

The pattern, and what originally attracted me to it, was based on Portuguese tiles with vibrant blues and yellows. I’ve no idea now why I decided to go grey, so I’ve decided to pep it up by adding some colour.

It seems by go to colours for adding colour are pinks, oranges and yellows - and I’ve nothing against using them all together.

Balls of wool on the floor - reds, pinks, orange, coral & yellow

I remembered that I also had a bag of small yellow granny squares that I was also planning on using up somehow. I’d thought about making them into a mat for my new drawers (more on that another day), but it didn’t feel right. But they are right for this project though.

I thought my adding some colour could work something like this, with an inner round of yellow and further colour added on the outside with yet to be made squares - as you can see this is very much a thought in progress type blog post.

A mockup of the grey blanket with an inner yellow border and and outer orange border (drawn on)

I soon realised though that I’d need to amend this slightly so that the grey outer border didn’t have gaps. My revised plan now looked something like this in my head:

A further mock up with the coloured borders, this one has the yellow borders extending around two of the corner grey squares to fill the gaps

By laying out the actual squares on the floor I worked out I only needed to make about 10 or so more yellow squares, which were the result of what now seems to be very productive lunch breaks while I was working. I’d take my lunch and the wool and hook I kept in my desk drawer and find a bench to sit outside if I didn’t have other plans, and quickly created a pile of small yellow grannies, which I’d bring home a few at a time.

Laying out the actual grey and yellow squares to match the mockup

And so while working on creating the extra yellow squares needed I also started to sew the grey and yellow squares together, still thinking how to incorporate the red, pink and orange wool I’d pulled out. Plain granny squares are easy, but can be a bit dull. I didn’t want full size squares though as I thought having them offset (because of the yellow cross border) would make me twitch.

Then I remembered the vintage sweethearts blanket, which I’d made great inroads on sewing together before we’d moved (but haven’t picked it up since!) and remembered there were some mid-sized squares there which could work.

And I think they could, so once I’d completed the additional yellow squares I started on these.

Fifteen mid-sized granny squares in shades of pinks, red and orange - each has a different colour combination with two circles which are then squared off

I’ve chosen three different designs for the pink squares, above is the first design - I’ve already started on the second one, but I couldn’t resist a peek at what the pepped up throw might look like.

It’s feeling a lot less grey, which feels good!

This is also the first time I’ve picked up a crochet hook since my Carpal Tunnel surgery at the start of June - and no ill effects, and that feels good too. Especially as I have the wool for a new knitting project on the way, more on that another day - but needless to say it was love at first sight!

But for now I’m enjoying less grey.