The Garden Year: July 2021

Hello there and welcome back to my garden linky, which opens on the 1st of the month and stays open for the whole month - you can link up at any time. You’re welcome to link any posts that have a garden theme - this could be your garden, the plants you’re growing or the gardens you visit, or anything in between - just so long as it’s related to gardening.

Once again I’m sharing more from Alan Titchmarsh and collating information in these posts which is widely available in the public domain.

Plants in their prime this month

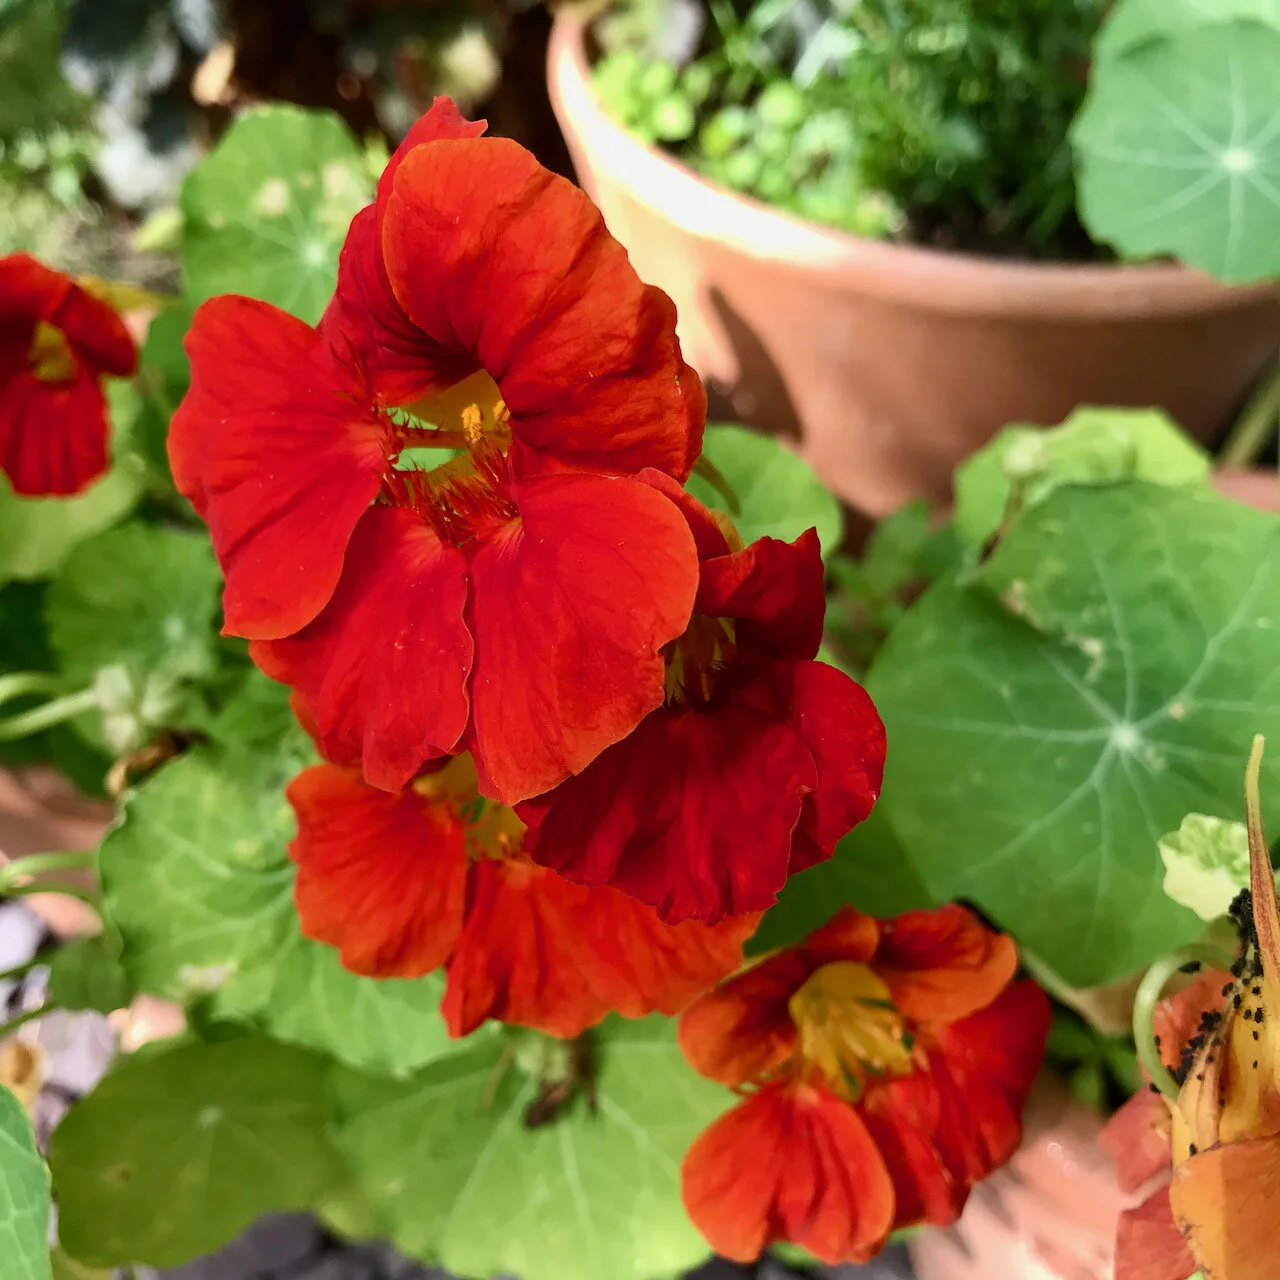
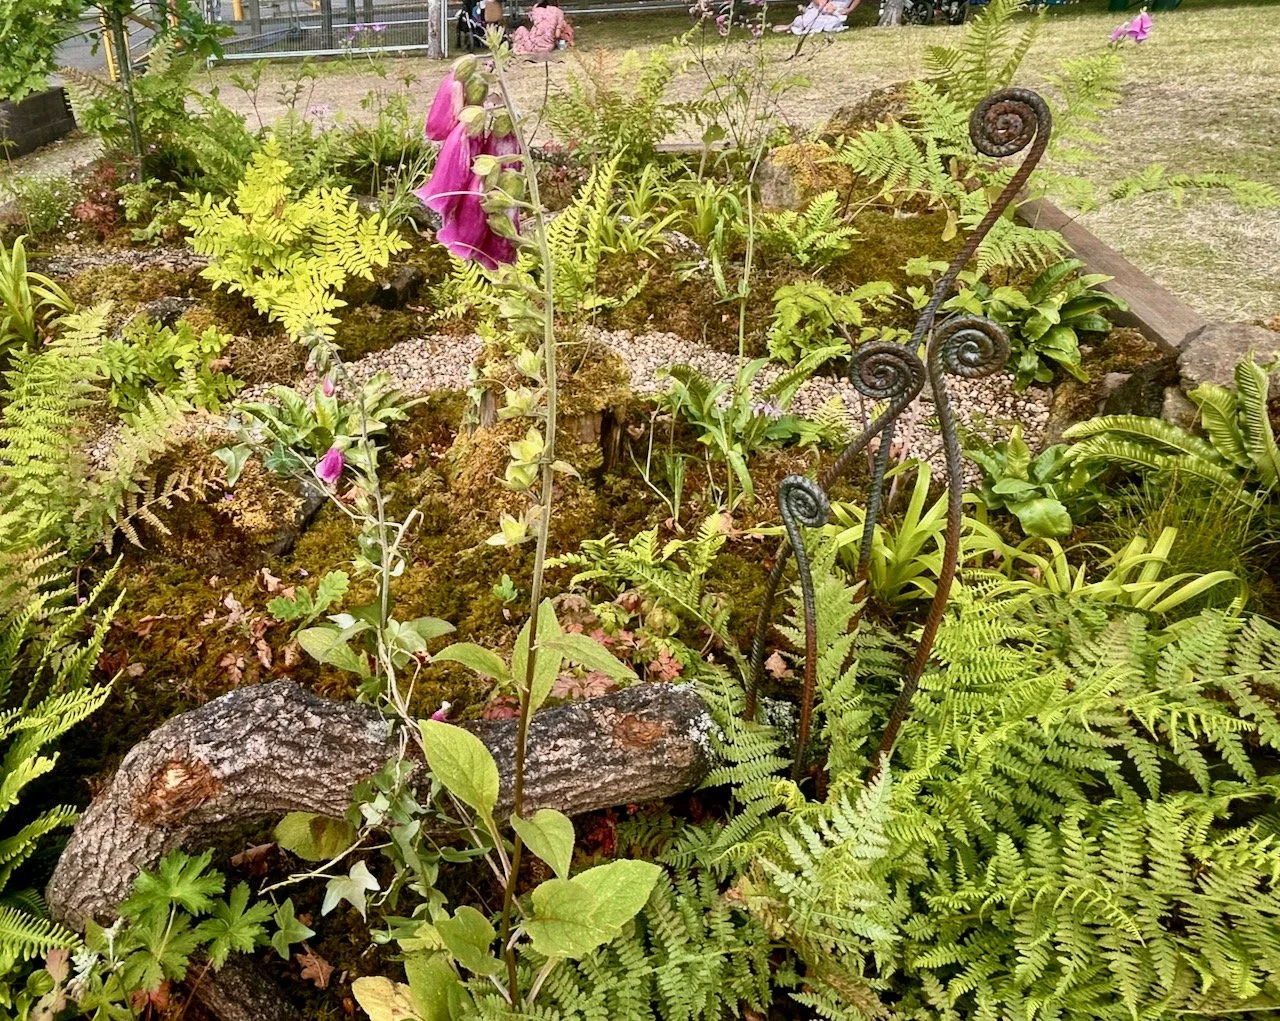
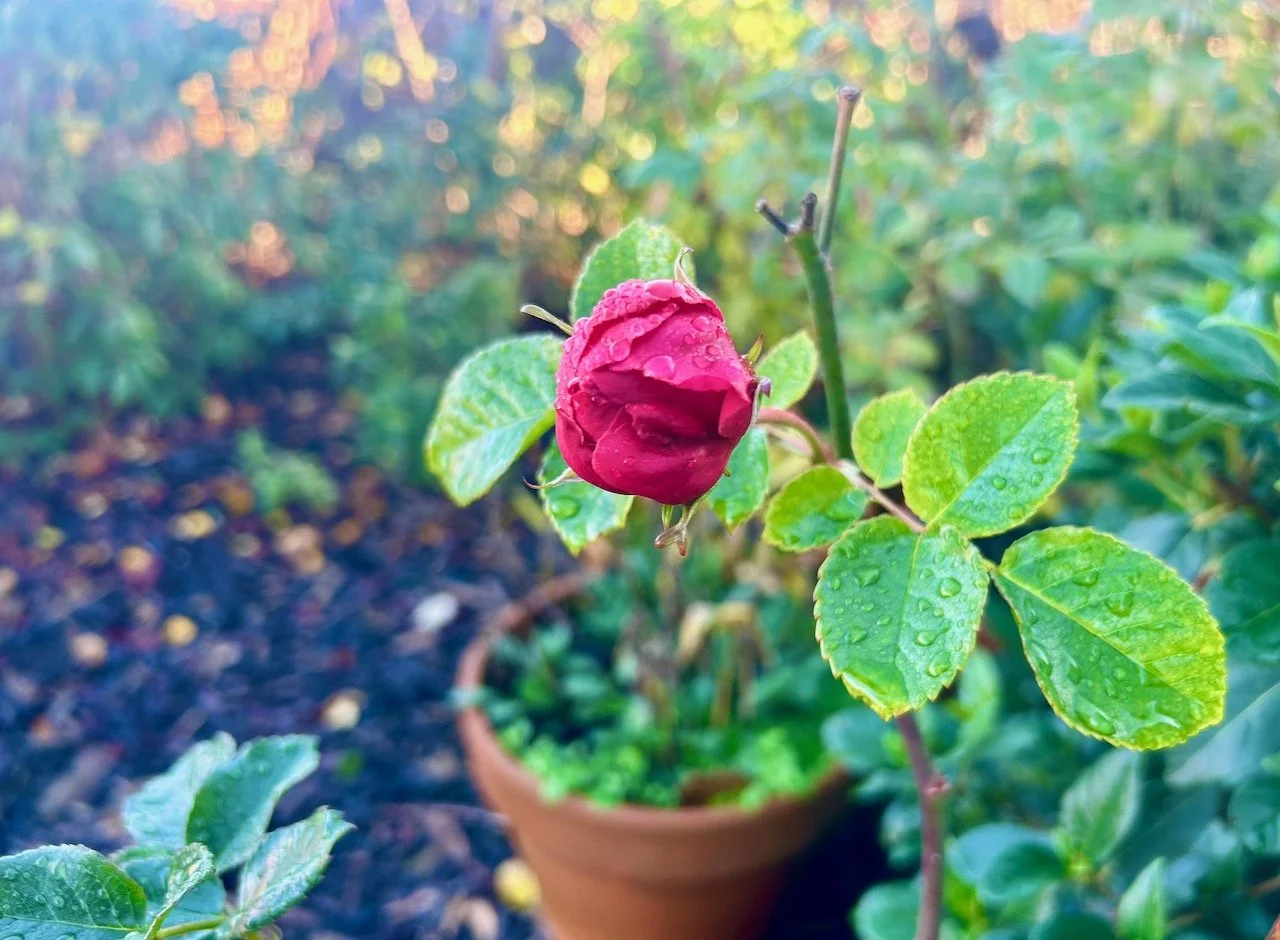
July is peak flowering for most gardens with perennials, bedding plants, containers and hanging baskets - I’m sure that we can all visualise those, I know I can. And visualise is what I need to do, my garden’s not much of a flower garden and as MOH has said in the past, is mostly green.

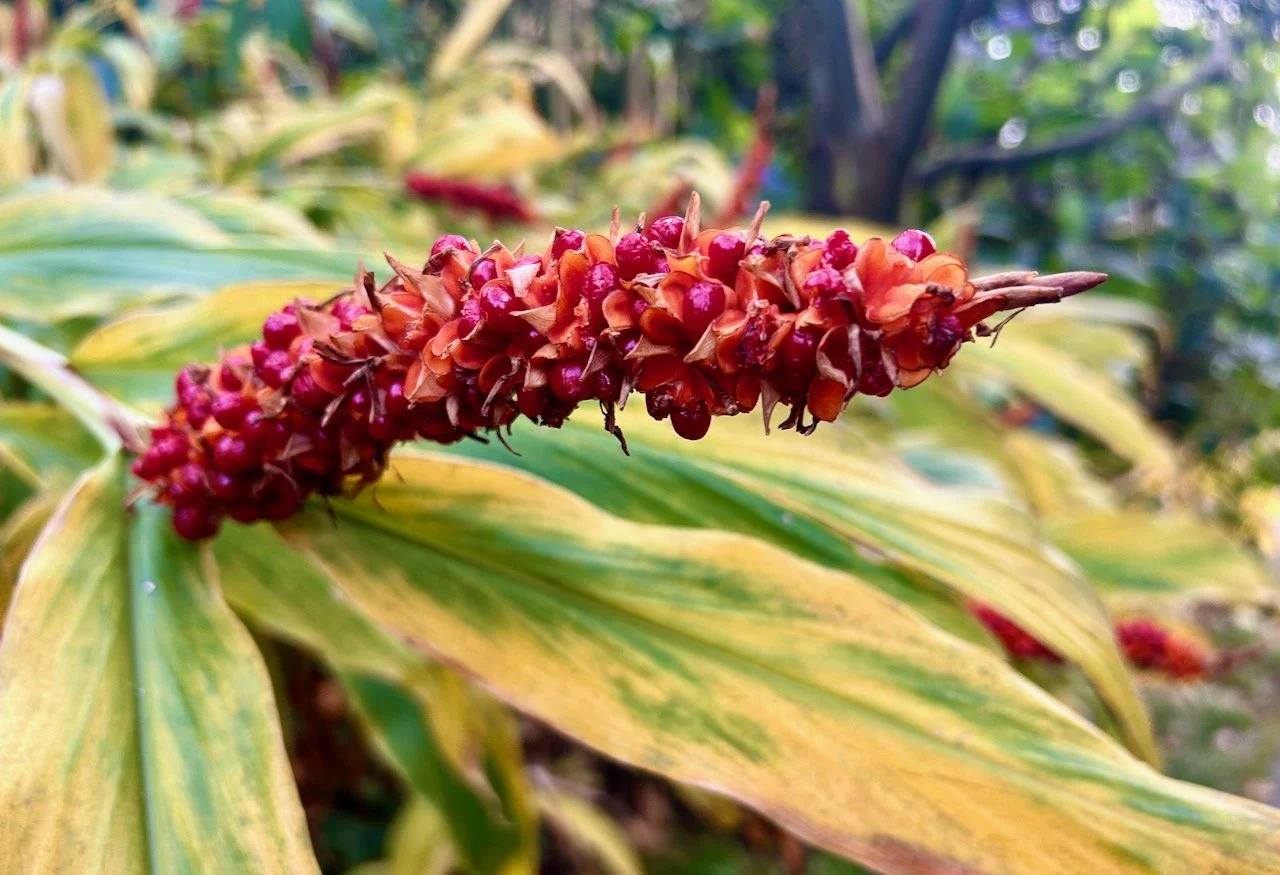
But we do have some flowers, and our agapanthus are doing well this year - we’ve about eight flower bunds on each plant, which I’d kept covered up much longer than usual.

As well as agapanthus, look out for fuchsias, pelargoniums, lavender, penstemons and crocosmias. All bring great colour, and some great scent to the garden.

What to do in the garden this month

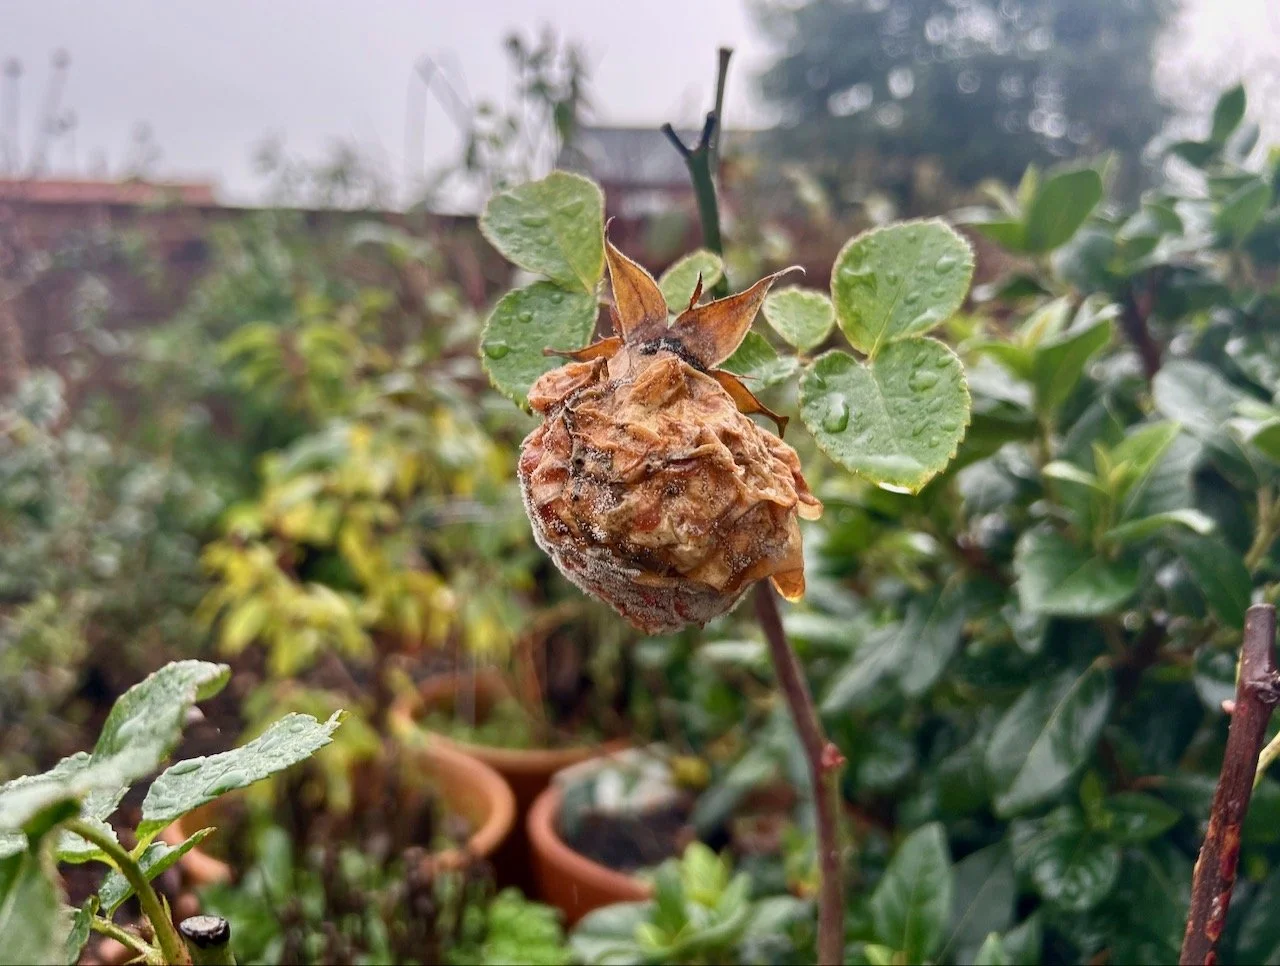
  • Deadhead, deadhead and deadhead again.

  • Keep vegetables well watered if it’s dry, which depending on where you are, may not be necessary right now, but if we ever get warmer weather it’ll be essential.

  • Grow new strawberry plants from the runners - plants for free, always a plus in my book.

Watch out for, get ahead and last chance

  • Watch out for containers drying out.

  • Get ahead by ordering spring flowering bulbs.

  • Last chance to plant out those bargain bedding plants.

IMG_2073.jpeg
“TheGardenYear

You are invited to the Inlinkz link party!

Click here to enter

A new mustard yellow enamelware jug

All the rest of my enamelware is the traditional white with blue rim, and over the years I’ve added various pieces. I’ve pie dishes, pie plates and tumblers and I’ve got my eye on a baking set, if only the traditional colour way were to come back in stock.

I’d spotted the mustard yellow items and my head was turned. For a while I pretended not to lust after it, but in the end it was no use. So when MOH asked what I’d like for my birthday I spotted my opportunity. He did say another jug, but that wasn’t too surprising. And then he said, not the blue and white - he knows me well.

IMG_5718.jpeg

It arrived this past week, and it is gorgeous.

I’m still a white and blue rim enamel kind of girl, but now with a branch out into mustard yellow!

IMG_5719.jpeg

For me its primary purpose will hopefully be flowers, and I knew I’d have some in the garden that would work. I cut the allium heads and set those in the jug alongside some of the longer stemmed clematis which is in full flower on our patio. Don’t they look great?

The colours of the sweet peas also went well but sadly it’s not a sweet pea kind of jug.

IMG_5723.jpeg
ED436E7B-8BB1-418A-BFAB-334E1E458D16.jpeg

I’m hoping they do a smaller version if I’m honest!

PoCoLo

More bubbles in my sourdough

I’ve long been a sourdough fan and back in 2015 I shared how I made my loaf. It’s always made a fairly dense loaf and that’s been ok. Recently though I’ve been experimenting and have made a bubblier sourdough on more than one occasion, so today’s post is all about that.

It may be different to your sourdough recipe, or those of the sourdough artisan bakers - but this is my new way of making my sourdough. And part of the reason I’m sharing it here is so I can remember the quantities of the ingredients - sadly, true.

The ingredients are:

  • 500g white bread flour

  • 300g water

  • 150g sourdough starter

  • 8-10g salt.

Now having just compared that to my previous recipe I’ve realised that my experimenting has led me to swap the water and sourdough starter quantities. How strangely peculiar.

Anyway, the method is pretty much the same - combine all the ingredients until they come together, and leave in a warm place.

At this stage it is a bit bumpy and lumpy - but don’t lose faith. Every 30 minutes or so I use the flexible dough scraper to “turn” the dough, making sure I scoop from underneath and fold that into the top. I usually count 20 turns on each attempt.

IMG_5707.jpeg

Gradually it looks more like the dough you were expecting. Then I cover it and leave it in a warm place until I’m ready to cook it several hours later. The trick is to leave it long enough so the dough rises, but not too long that it over-prooves, as an example - if I start this around lunchtime, I’ll cook it between 9-10pm. If that tells you anything about me, it tells you I’m a night owl.

For cooking times - I heat the oven to 220 degrees and put a small ramekin of boiling water in the oven once it’s at temperature to help with the crust. I’ve taken to cooking the loaf on baking powder, but mainly so I know it will be easy to get off the small baking tray.

IMG_5713.jpeg

This loaf had a bubble at the top of the dough, and I learnt that that will burn. Next time I’ll make sure the bubbles are less obvious, I think.

It still tastes good though!

IMG_5728.jpeg