Post Comment Love 8 - 10 March

Hello there and welcome to this week’s #PoCoLo a friendly linky where you can link any post published in the last week.  If you were here last week, it was great to see you and if you’re new here this week, then you’re very welcome.  Both Morgan and I know you’ll find some great posts to read, and encourage you to pop over to some of the posts linked and take the time to leave a comment or two so that everyone benefits from some extra love.

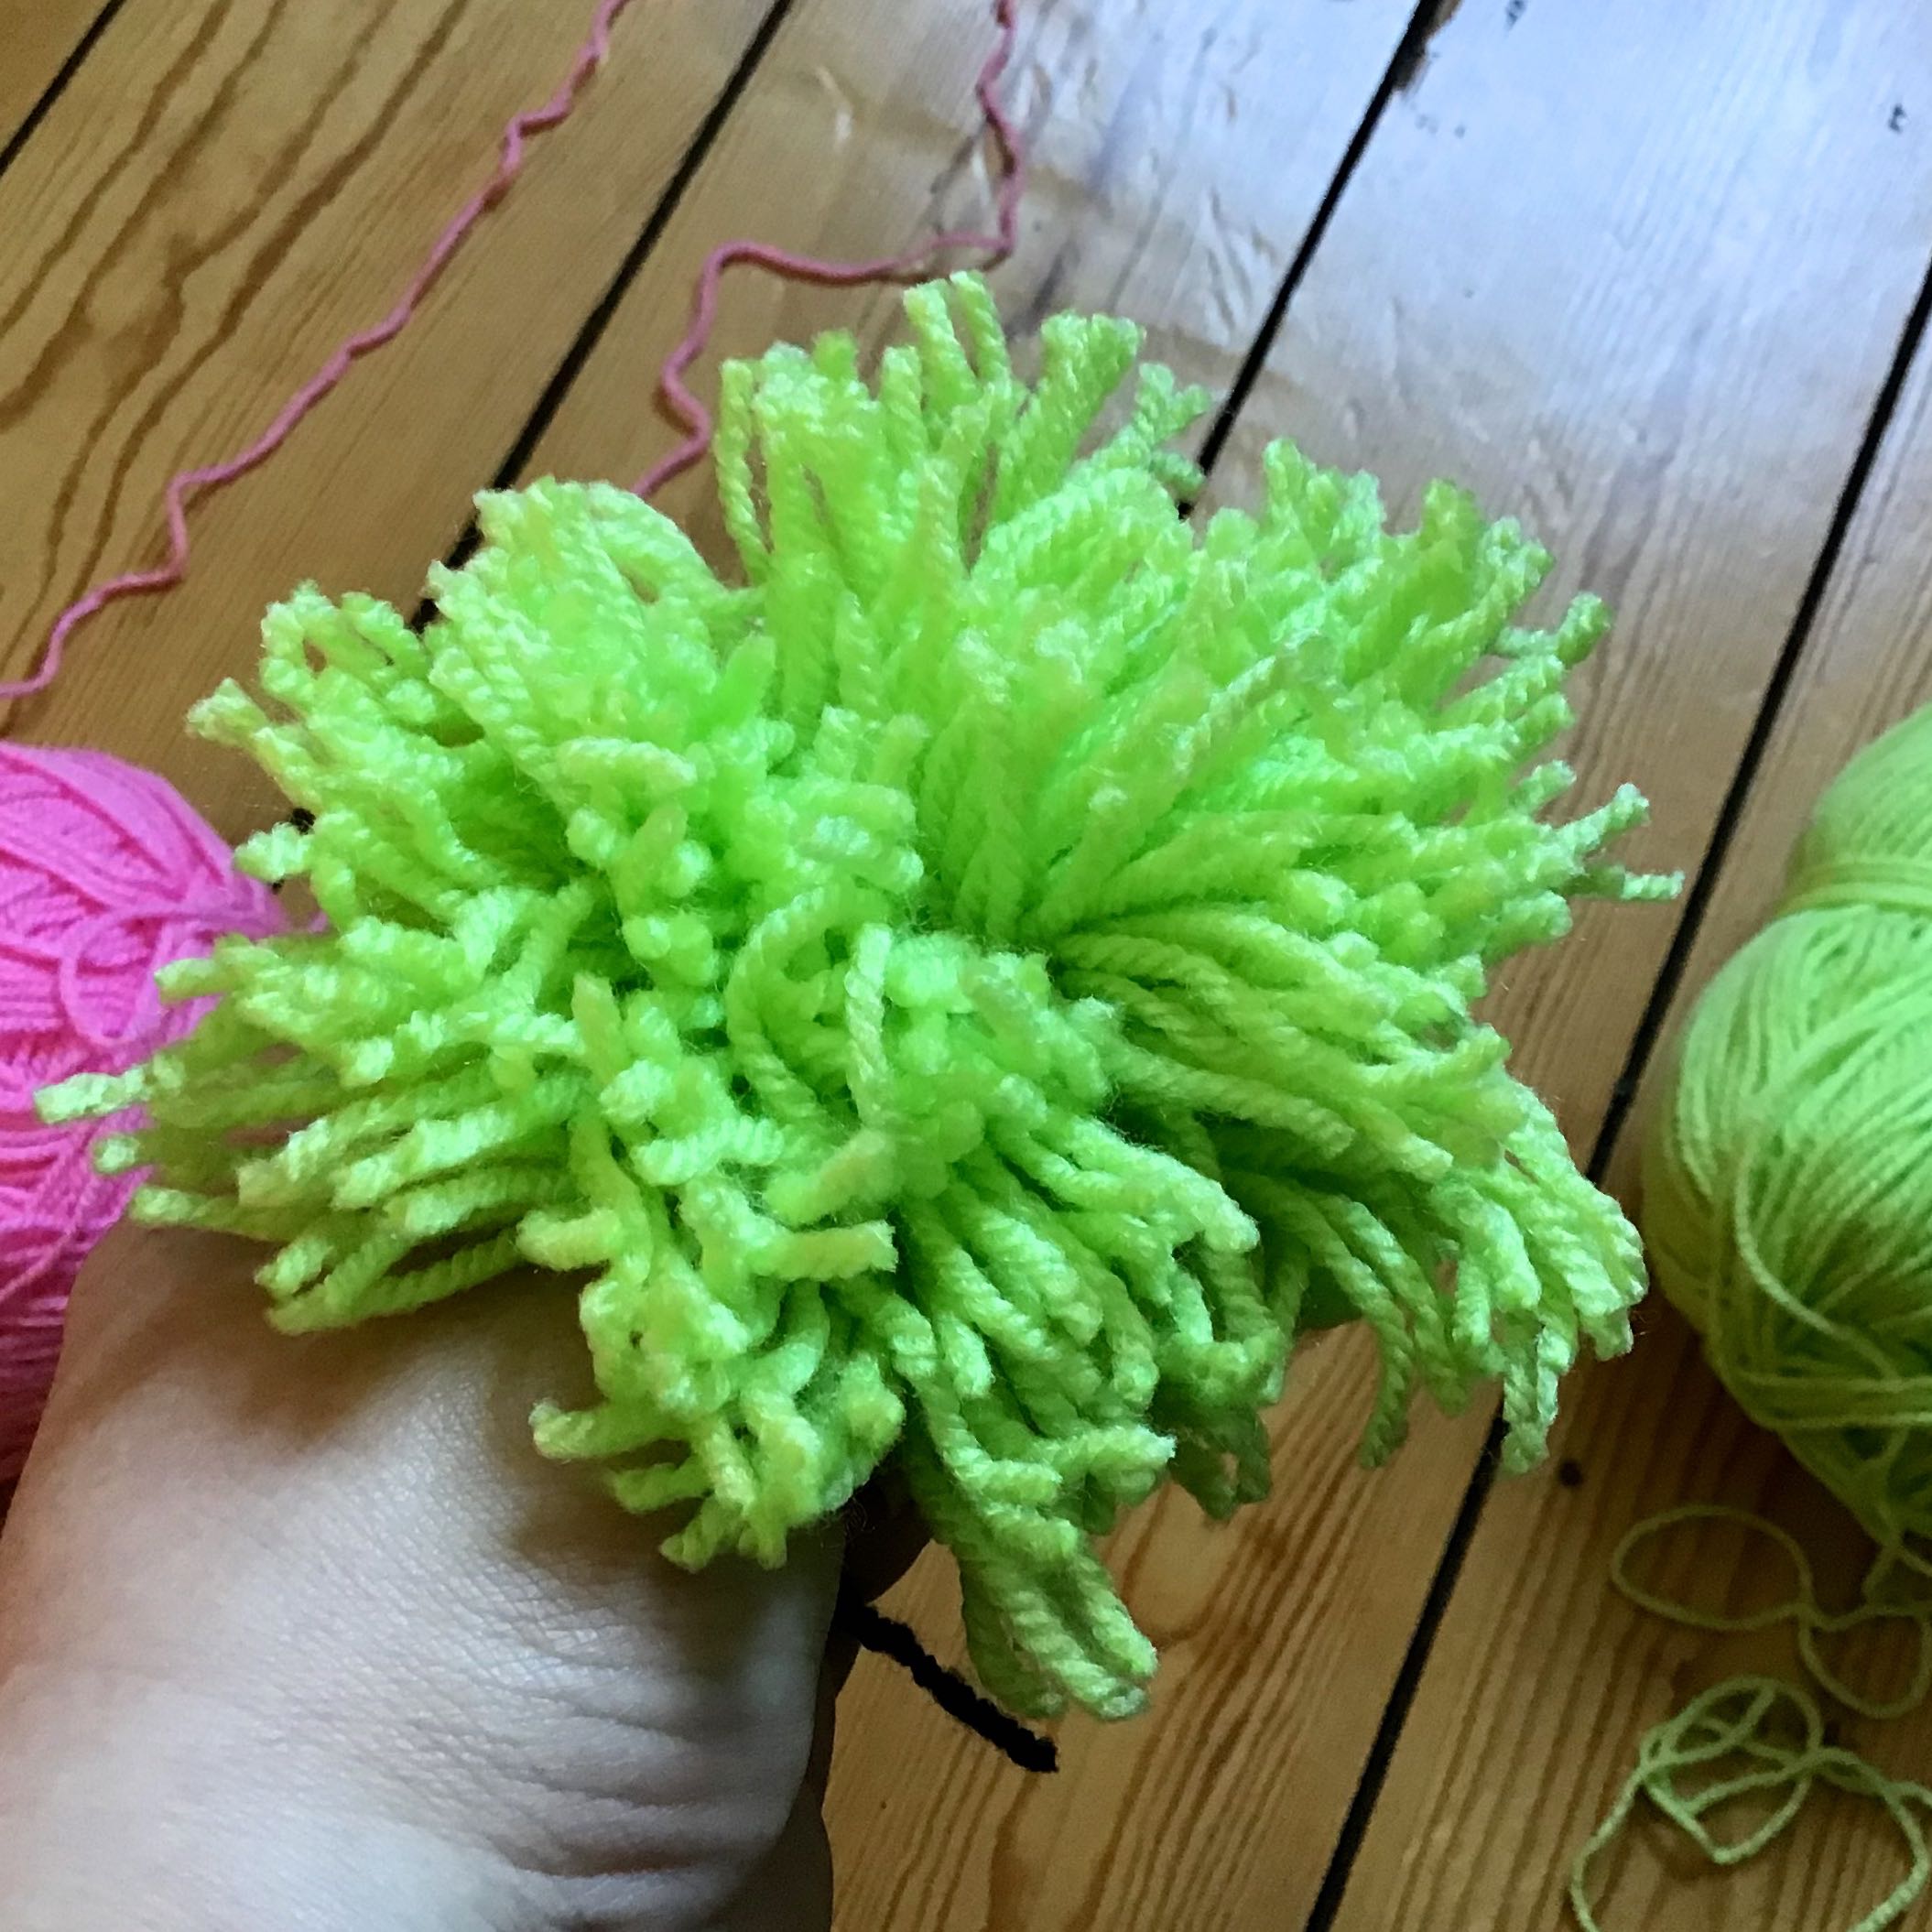
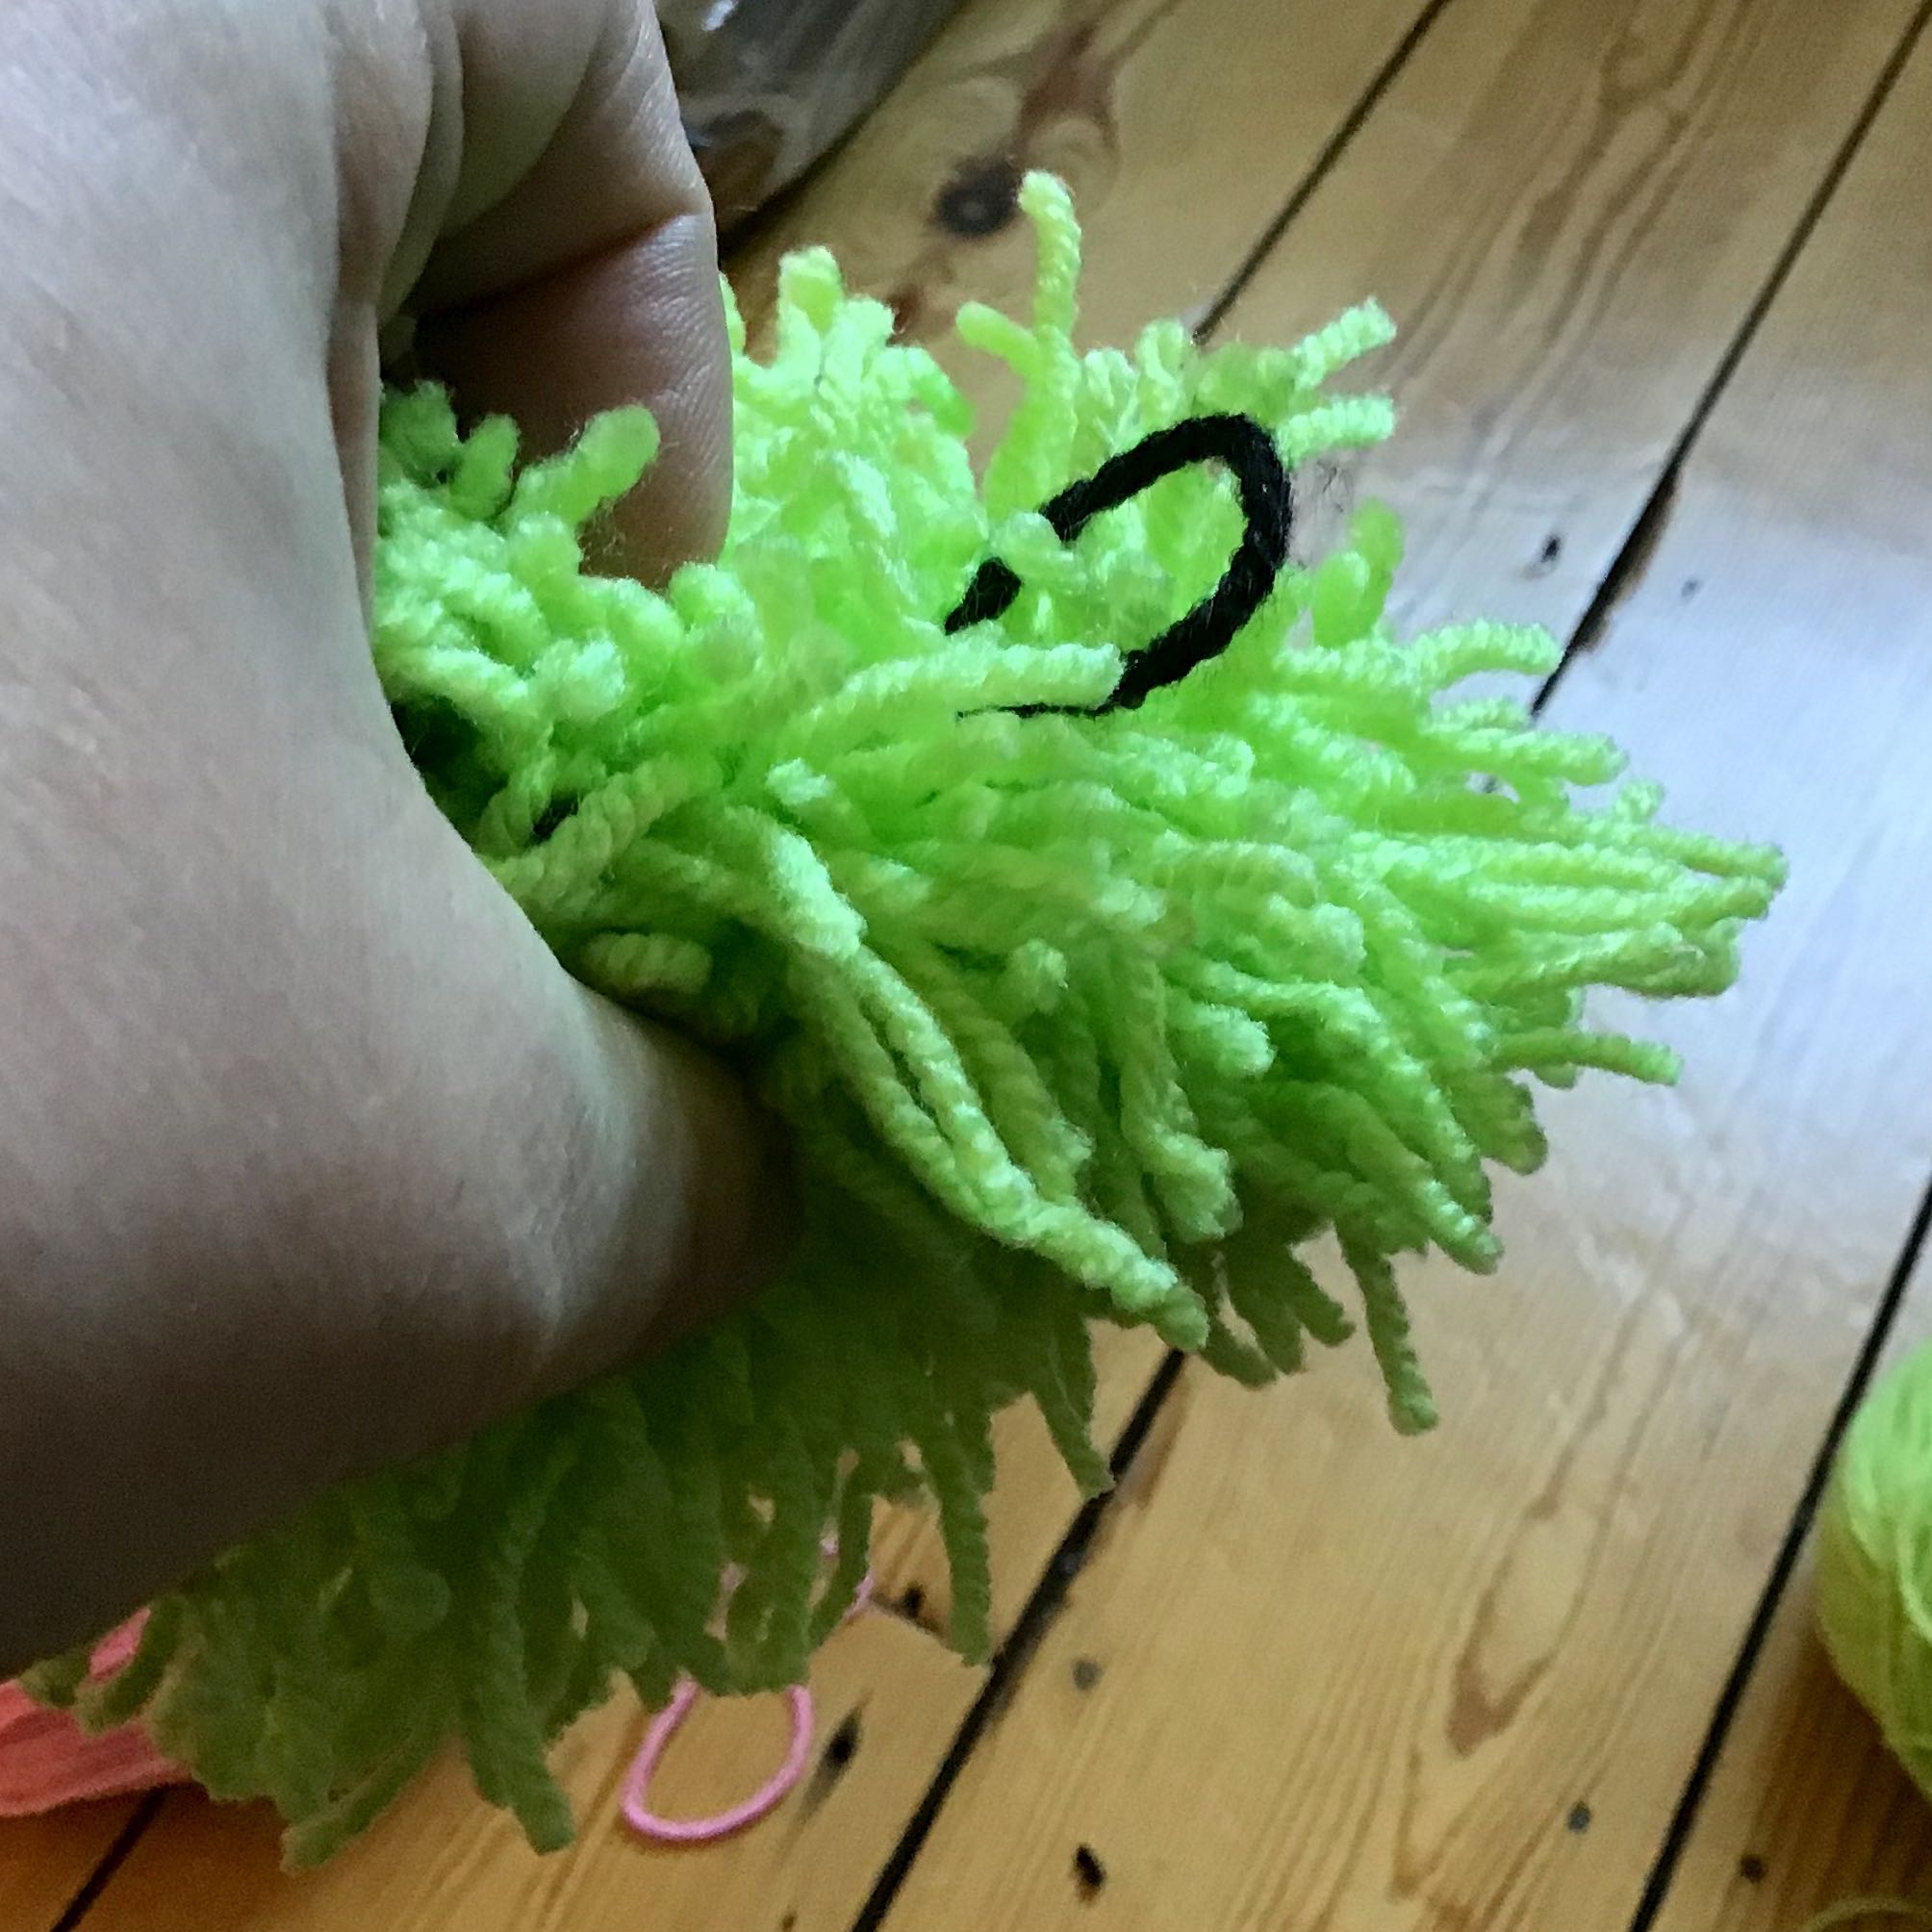
Yesterday was a big day at work. It was University Mental Health Day and we had a full programme of events promoting self-care and in fact, the whole week has been full on. It was worth it though, it all went well, people turned up at my crafting session and although there weren’t many sheep made, we demonstrated it’s ok to craft in public, generating plenty of interest.

The challenge now, as with anything, is to make sure that good continues to come out of it and that the big event isn’t a token and something that happens just once a year. Already it seems a group of staff are keen to carry on meeting up to craft, so that’s a promising start, but I’m hopeful for much, much more - and not all craft related.

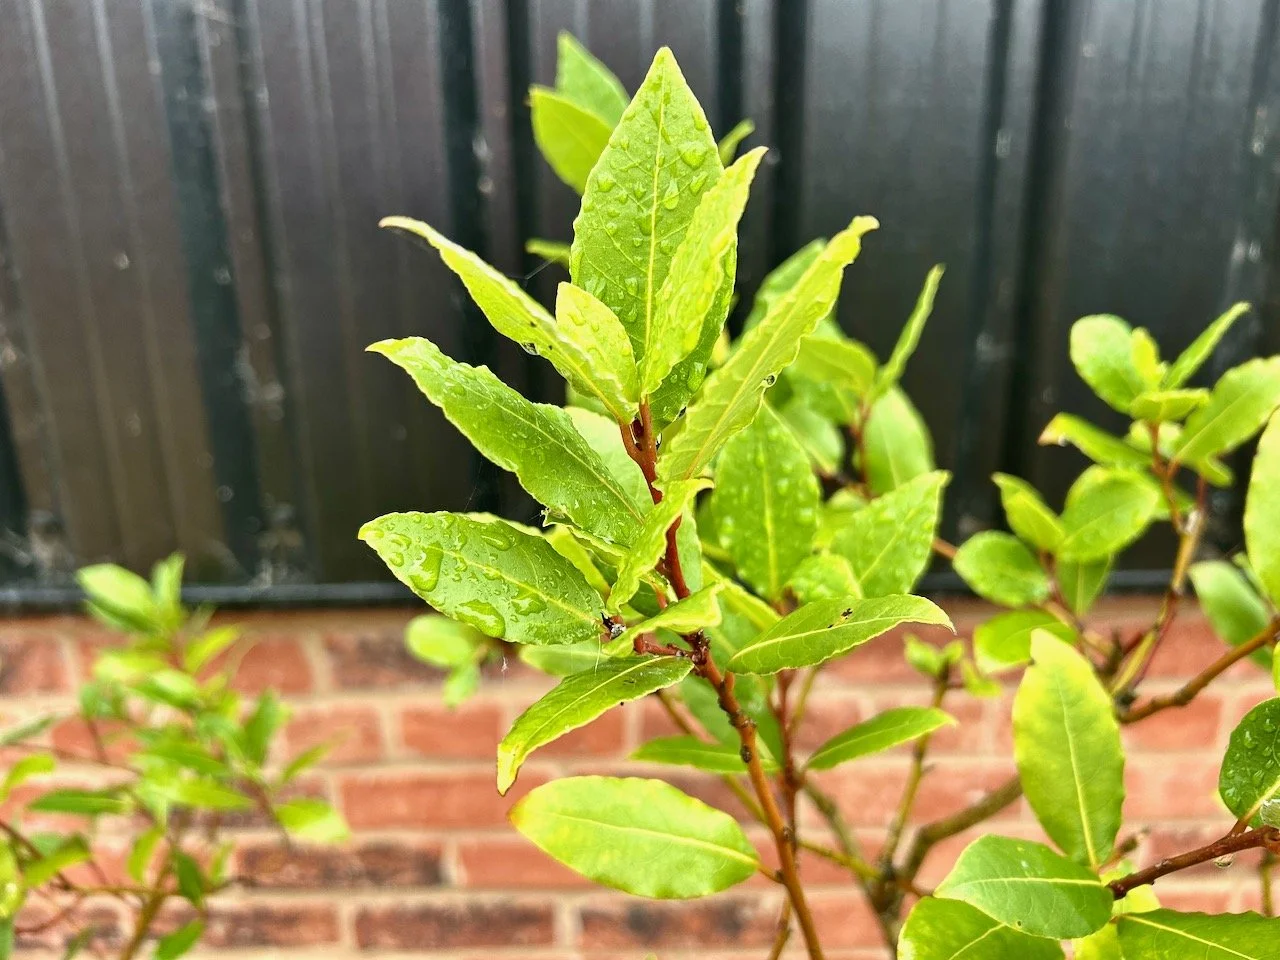
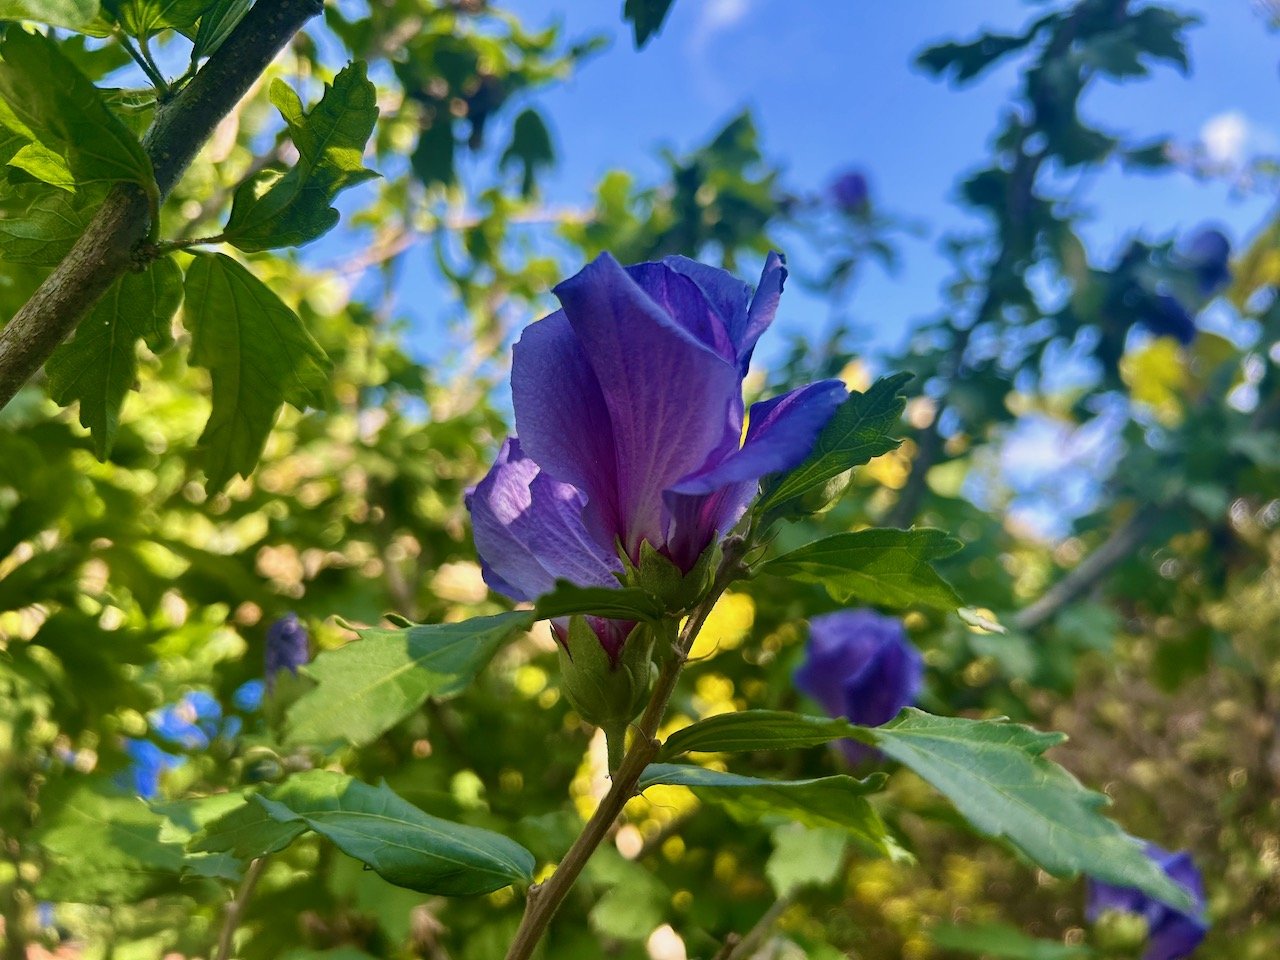
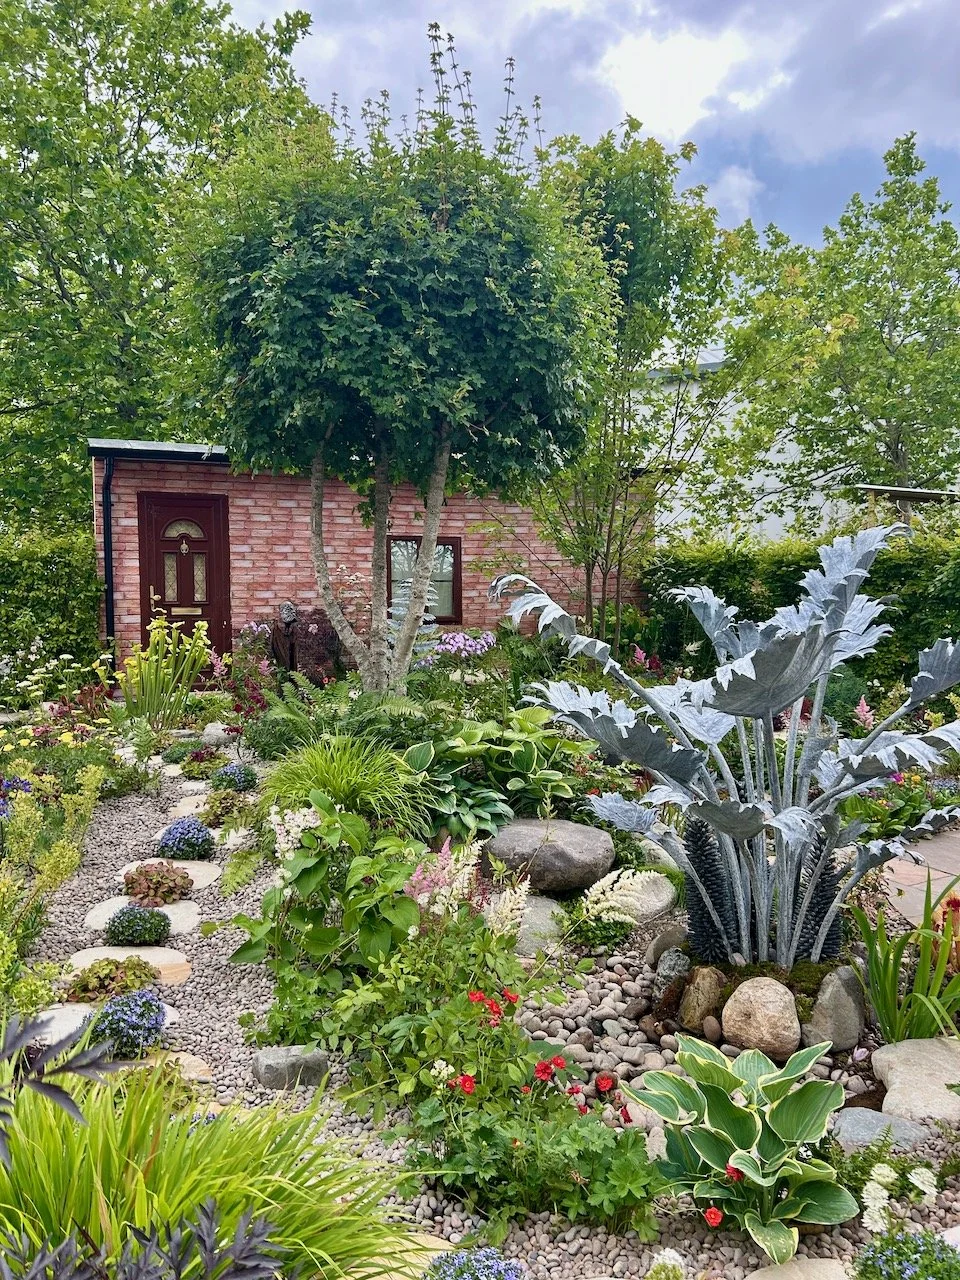
The photo I’m sharing this week is an old one, and from Gardeners’ World Live last year and it’s a burst of colour that’s much needed here, despite the pom-pom sheep! I’m not a fan of the grey days we’ve been having lately, that’s for sure.

At Gardeners' World Live.jpg

Blogger Showcase: Precious from Upwrites Books

Precious is in her final year at university in Lagos and is a student who loves writing. Poems and short stories captivated her enough to start a blog of her own, which she finds fun and for nights in would love to watch movies, chat and tweet. Find out more on Morgan’s blog and connect with Precious on her social channels: Twitter - Instagram - Pinterest.

Remember: you could be a future Blogger Showcase, just answer the questions and send them over to Morgan or I and we can sort out a date.

Shed tidy-ups and storage

* This is a paid collaborative post

If you’re anything like me your shed is a place to cram things into over the winter, which come spring is something to be sorted out.  It always starts out as being a Really Good Idea, but rapidly goes downhill part-way through, and of course that’s usually when some bright spark - yes that’s usually me - has suggested we empty the whole shed, and our garden ends up looking something like this:

Everything out - but how did it fit in there in the first place

In my defence, MOH is a rummager.  And it drives me potty.  However as the shed is supposed to be his domain I try not to let it bother me too much. Then there’ll be a point where he admits he has no idea where he put the thing he’s after, unless it’s bike stuff of course, he uses that more regularly so has a better of idea of where that is.  But when he says the shed needs a sort out, then I know we’re in for an “everything out” kind of tidy up.

It’s no bad thing either.  We often find all sorts of things we didn’t realise we still had. There’ll be many diversions of wondering if this fits that, or if it could be used for something else and it’s then that I remember why I keep these chairs.  Every time we discuss their fate, and they live on the edge, but survive the cull.  It’s when I remember their usefulness during shed sort outs, when one of those diversions take place, that I’m always grateful we kept them.  I’m learning from experience though, now I even set one up ready for use,  I’m not even kidding…

garden furniture and somewhere to take a break

Once everything is out, I can often be found marvelling at how much stuff came out of a relatively small space.  Quickly followed by wondering how on earth even a reduced amount is going to fit back in.  At times I wonder if we should buy another shed, something like the concrete sheds from Lidget, so that we have space for everything, although I think like many people we would fill whatever space we have - but that’s normal right?

On the whole the contents does go back in, and looks neater than when we first started so that’s always good.  We know now to choose a day that’s at least going to be dry as this is a process that takes place over an elapsed time period, for many of the reasons given above, but also because when it comes to Operation Refill there’s as much discussion about what should go where and how much it’s used. 

My logic says if it’s not used so much then it can go at the back and can have things stored in front of it, as there’s not space for everything to be right at the door, and never will be.  But then again, if it’s not used much, do we need it at all.  Like pruning plants, pruning stuff can be addictive!

In our latest tidy-up I’ve tried a radical approach to storage.  Instead of having our shelving racks around the edge of the shed, we’ve filled a quarter of the space with racks which are stacked three deep. So now it’s really important to know what’s used, and what needs to be gettable, and have this on the front, open rack or placed on the ends which are just about accessible.

Fitting it all back in

MOH took some convincing, but went with it, and I’ll admit it’s not usual. But it leaves us with plenty of space for the lawn mower and other garden tools, and bikes, including mine, and all the paraphernalia that comes with them, the sun loungers and parasols, and even a ladder.  That’s not bad going either really, when you consider we also needed to find homes for our latest paint tins additions following all that work on the conservatory too. 

But we got it all in, and I think I pretty much know where things are, down to at least to which rack and often which shelf.  It’s the sort of brain I have and a ‘skill’ that MOH thinks is peculiar, but then again as I said before he’s a rummager, which is probably about as far apart on whatever kind of scale this is, that you can get.

So tell me,  have you got a shed tidy planned, and is your approach similar or quite different?

* While this is a collaborative post, all views and opinions remain my own.

Making pastel pom pom sheep

Today is University Mental Health Day, an important day for all university communities and the biggest day of the year for student mental health which as we know from reading the media is an increasing problem for not only students, but all in this age group. At our university we’re using the day to bring our university community together and make mental health a university-wide priority, showcasing ‘self-care’ and the support available in our community.

This post is one of the rare posts where my work-life meets my blog-life, and I’m happy with that because it’s such an important topic. I’m hosting a craft session where people can come along and try crafts such as knitting, crochet and making pom pom sheep or just bring along their own project and craft in company. Those of us that craft regularly know why crafting is good for our mental health, and this session aims to demonstrate that first-hand.

So I thought I really should practice making some pom pom sheep…

If you want to try these too, you’ll need:

  • Two toilet roll inners

  • Wool to make a pom pom for the sheep’s body (I used a pistachio green)

  • Wool to make a smaller pom pom for the sheep’s head, this works best as a dark plain colour (I used black)

  • Scissors

1 Take the two rolls and catch the wool for the sheep’s body between the two rolls.

Wind the wool around the two tubes until it’s about a centimetre thick.

The more wool you wind around the tubes, the more rotund your sheep will be.

Wrap wool around two toilet roll inners

2 Next you’ll need to tie the pom pom together using the darker, plain wool for the sheep’s head.

Tie the black wool loosely between the two tubes, and ease the tubes out carefully.

Tie loosely between the two tubes and ease the toilet rolls out

3 Now tie this tightly, this will form your sheep’s body.

Leave the long ends of the dark wool, you’ll need this to attach the sheep’s head.

4 Carefully cut the loops, forming your pom pom and sheep’s body.

If you want, trim the shape to form a sphere.

After tying tightly, cut the loops

5 Now make a smaller pom pom for the sheep’s head using the dark wool.

Wrap the wool around three of your fingers (not too tightly!)

Slip this off your hand and tie tightly as before, cutting the loops to form a pom pom. This time cut the ends the same length to match the pom pom.

Add a smaller pom pom as a head

6 Using the long lengths you use to tie the body pom pom, tie the head to the body, then cut the wool so it no longer shows.

7 Add a loop, for hanging up your sheep, and legs.

Cut two lengths of dark wool, one about 30cm and one about 20cm.

Tie a loop in the longer length and tie the length around the body pom pom about a third of the way along the body, closed to the head. Tie the shorter length about two thirds of the way along the body.

Trim the lengths which are hanging below the sheep’s body so they are the same length, adding a knot (for feet) if you wish.

Tie a loop so you can hang your sheep up

8 Now step back and admire your work!

I made five sheep - two pistachio, two pink and a black sheep.

Well, there had to be one didn’t there? The black one though was by far the hardest, most probably as it was hard to see where to tie the pom poms together.

I think they work better two-toned, and love the bright colours.

Tie in lengths of wool for legs

You can of course use more traditional natural colours, but I’m rather keen on the pastel versions which have been adorning my bookcase for the past week or so, and will be joining me at the craft session today.

Display and enjoy

What do you think? Are you giving them a go - send me your pictures if you are, tag me on social media - @lifeat139a - I can’t wait to see your flock!