Having a proud sewing moment

After each of our sewing group meetings there’s usually a photo or two shared on our Facebook group to showcase some of the projects undertaken at that meeting. It’s a great way to keep the group visible to all of our members, and to perhaps encourage more people to come along.

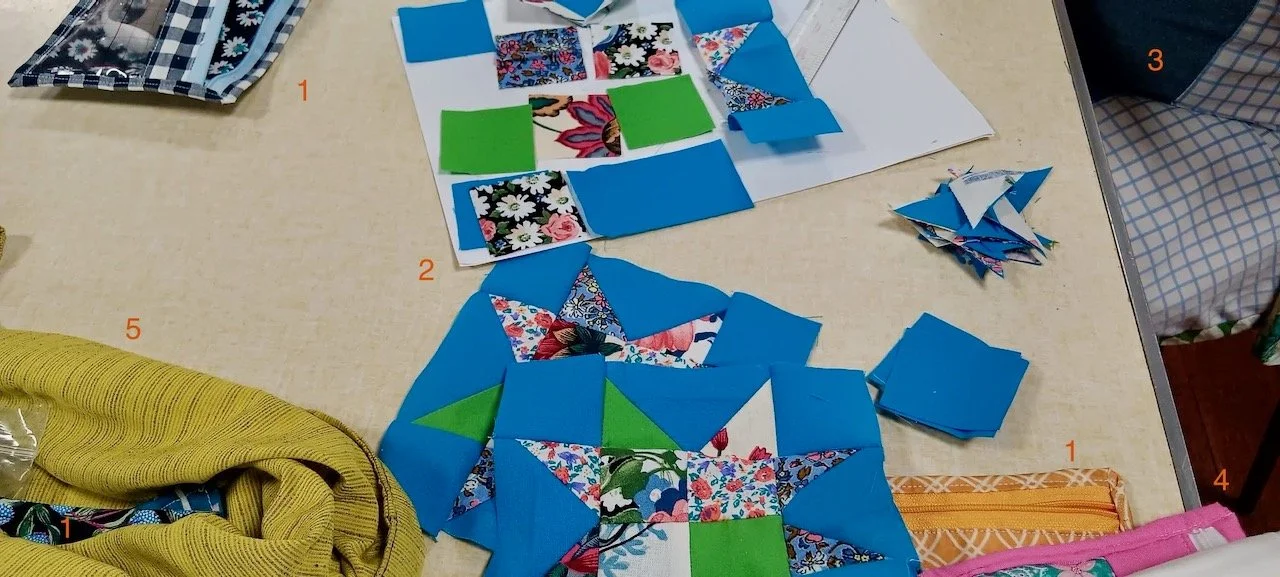
After the last meeting I spotted this photo of my table, and then I looked more closely and realised that I’d made pretty much everything that’s on show in this photo. So that’s my proud moment!

It’s a small thing really but it’s actually quite a big thing for me as I never really thought I’d get this ‘into’ sewing. I mean I’d sewn before, and was happy using a machine but it probably wouldn’t have been my ‘go to’ craft but in the two years we’ve been here in Nottinghamshire, that’s changed. Partly I think because the sewing group I first went to was one of the most welcoming craft groups I went to, and so I went back and have kept going back. I’ve also been to knitting groups and a mixed craft group once, and haven’t been back - so that tells you everything you need to know about them, doesn’t it?!

But anyway, back to that photo and my sewing projects:

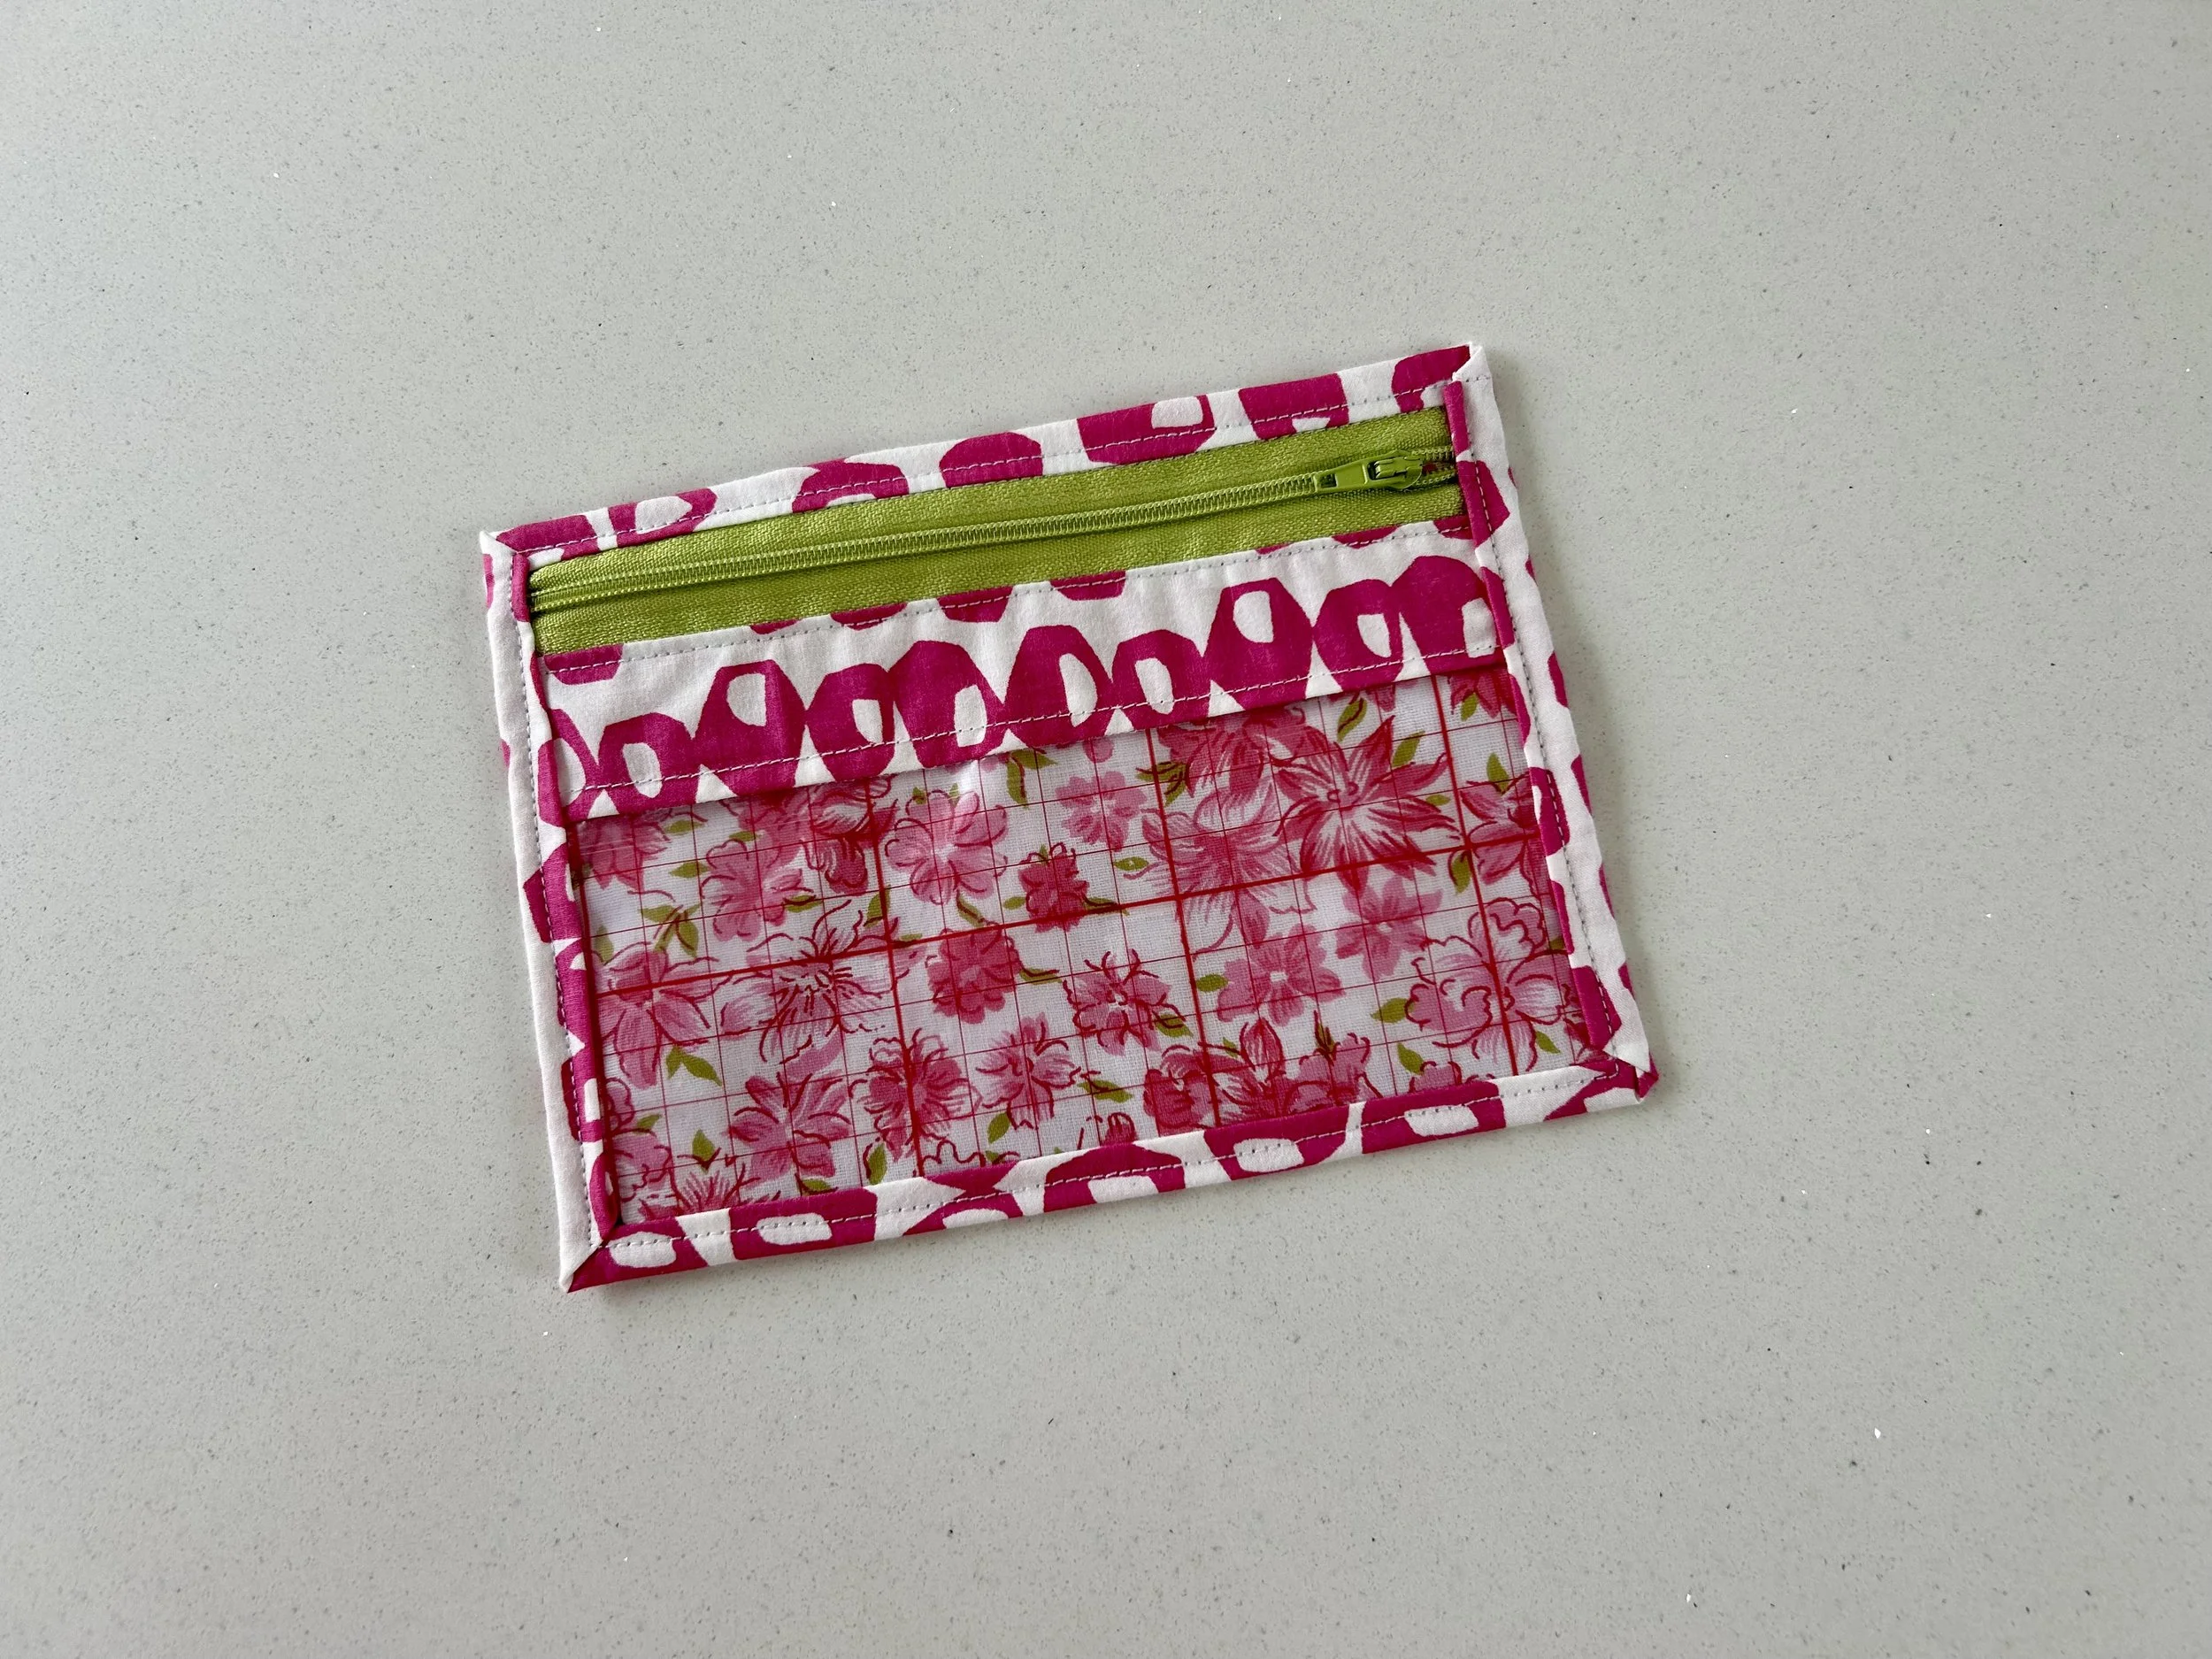
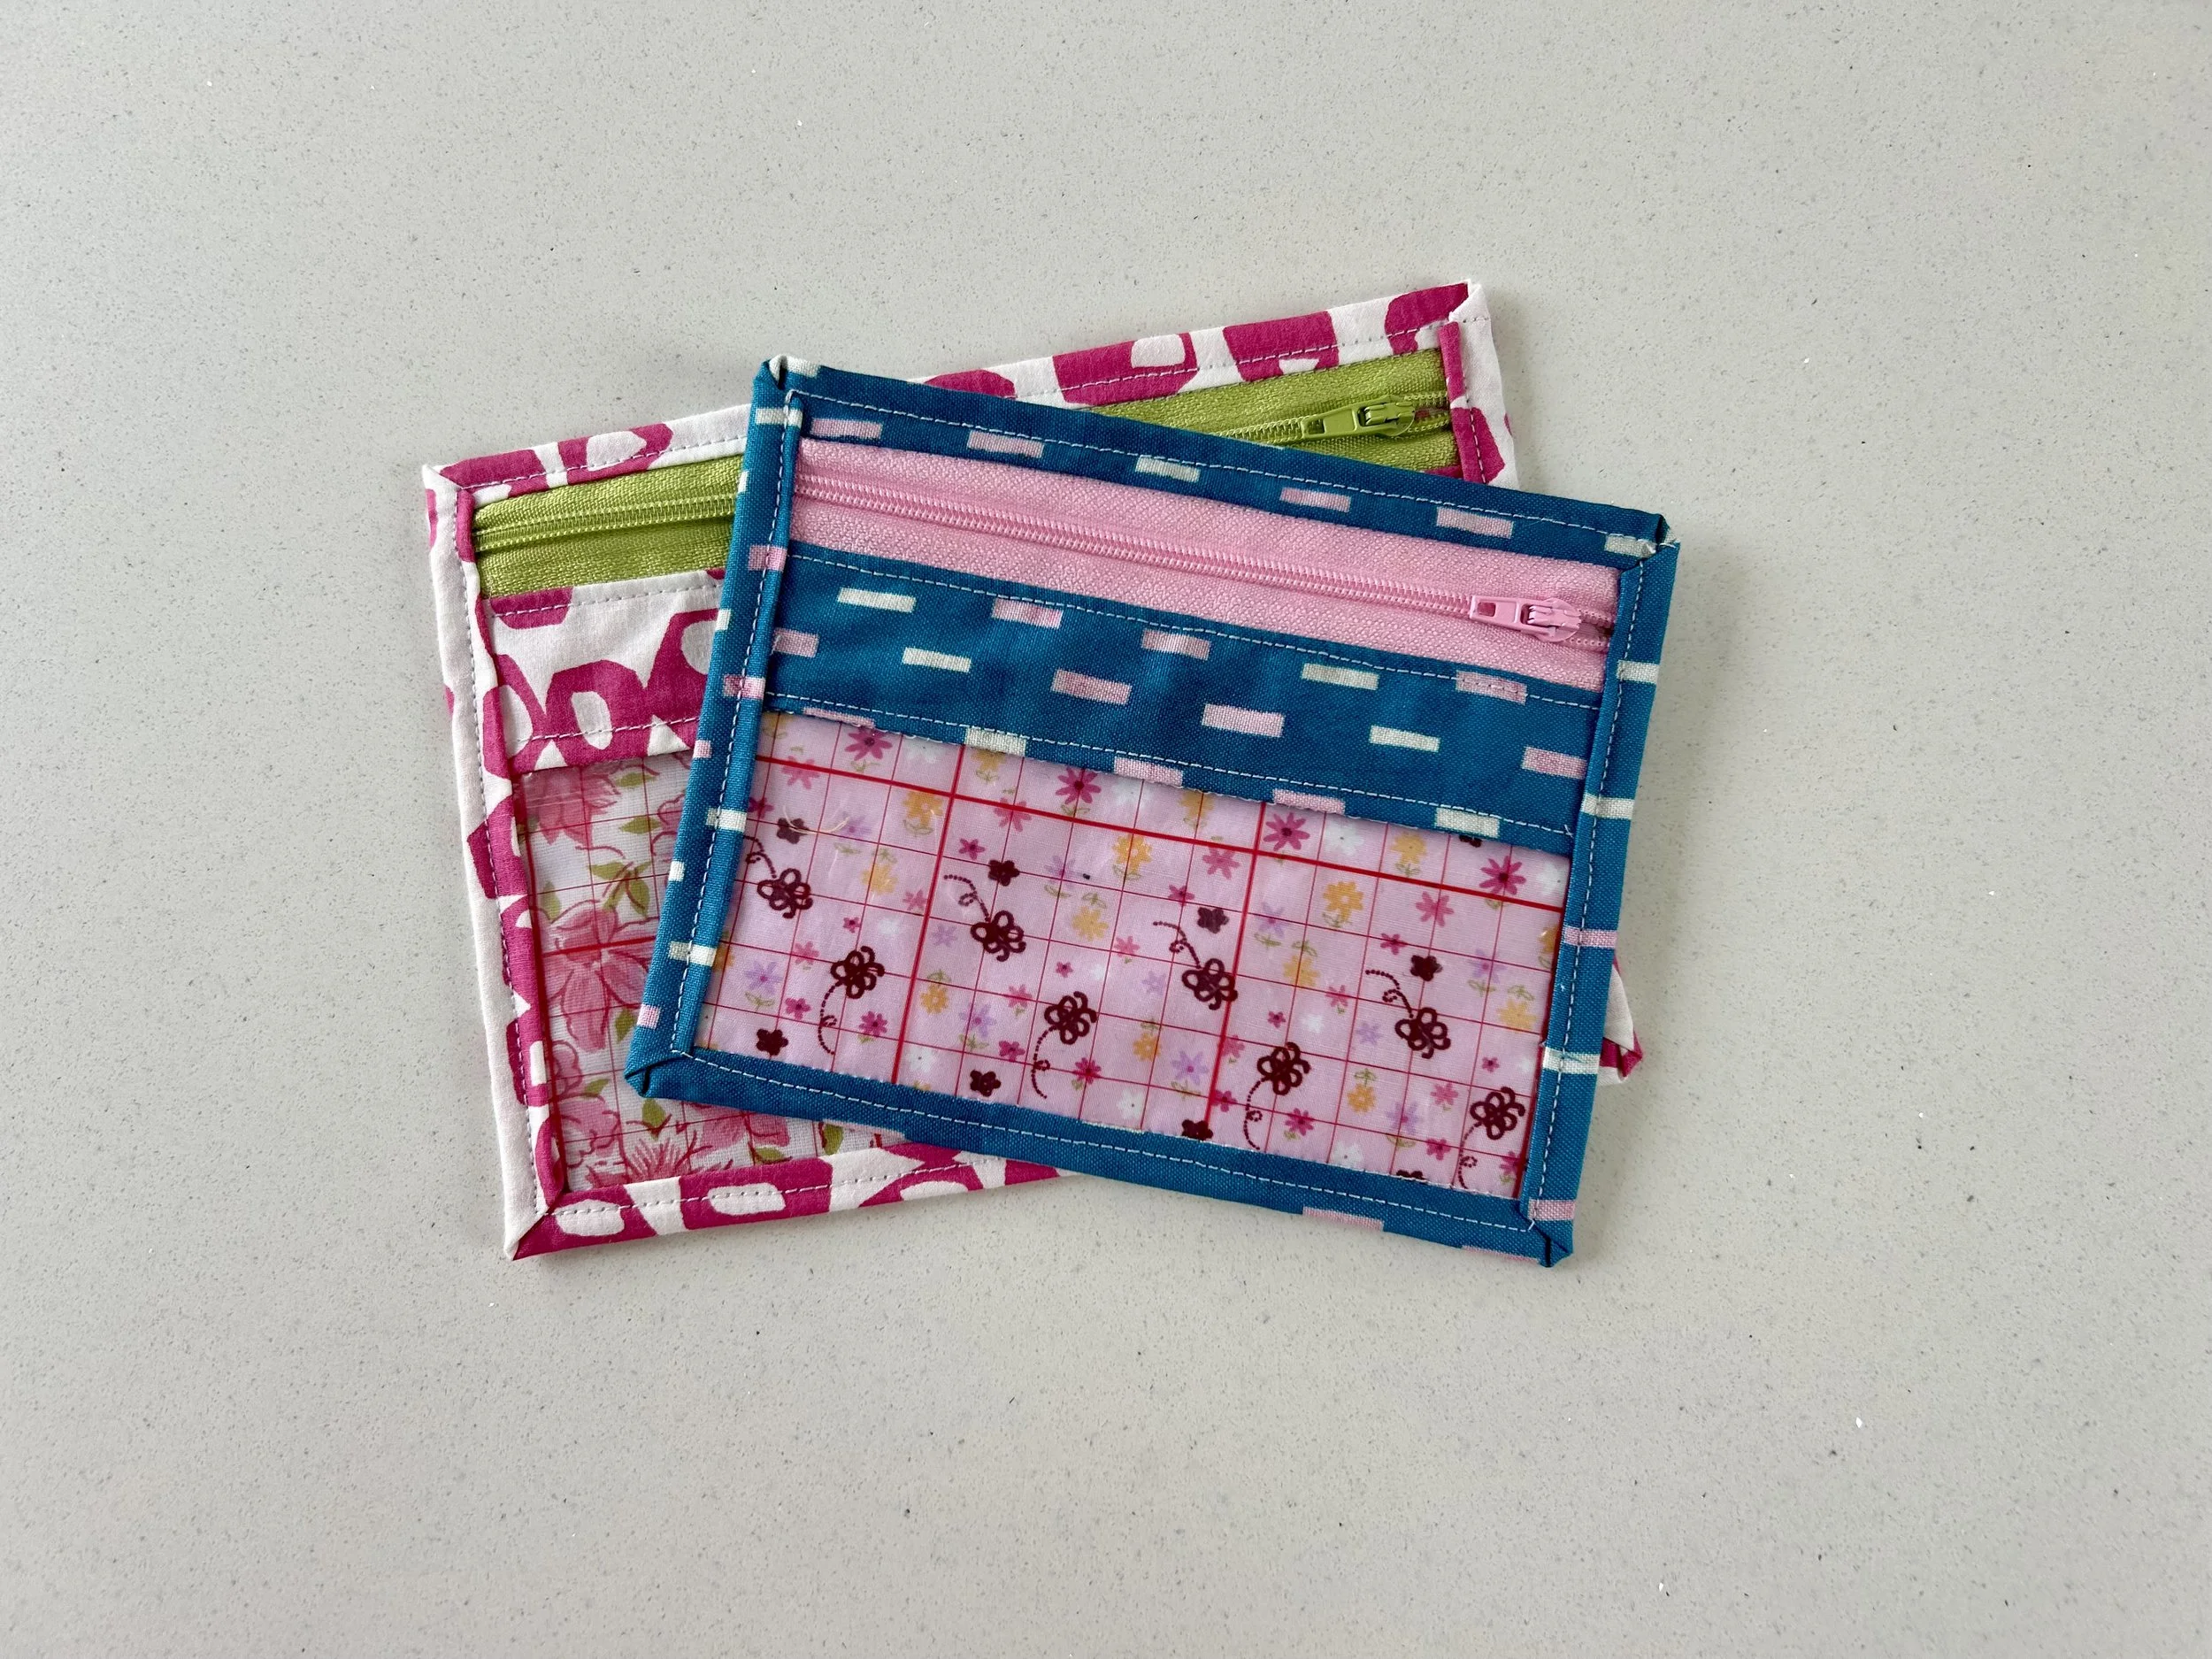
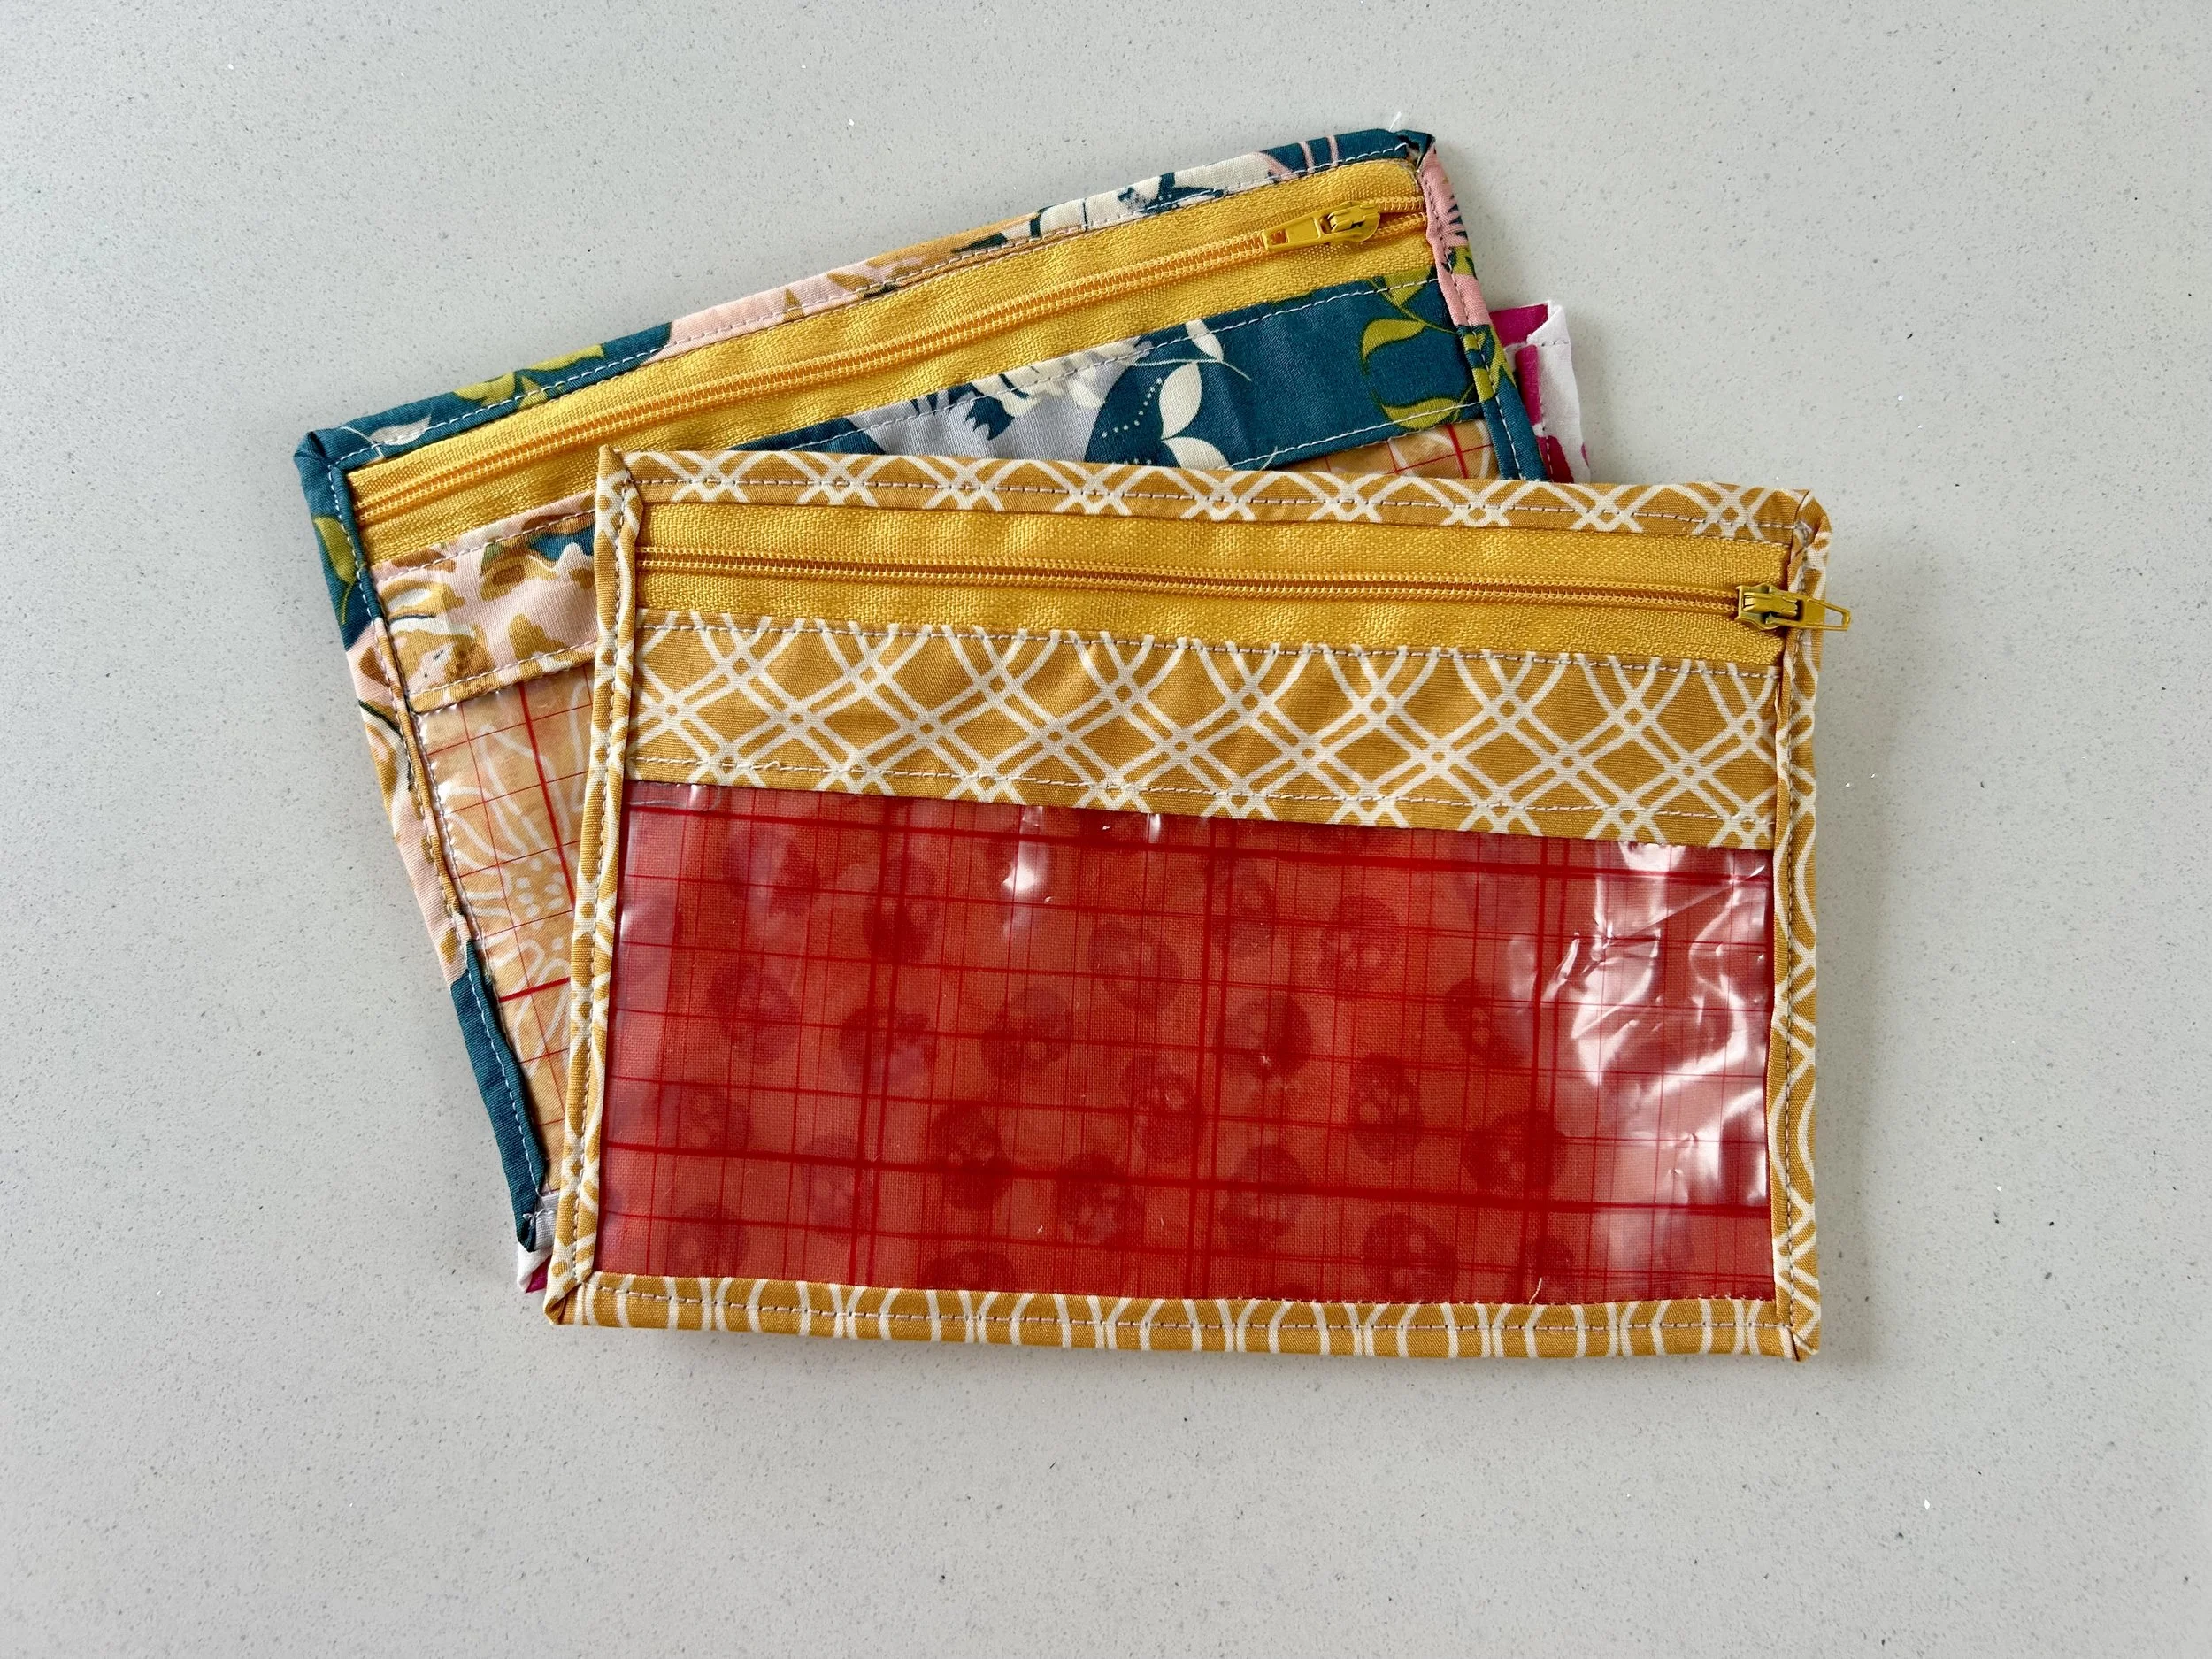
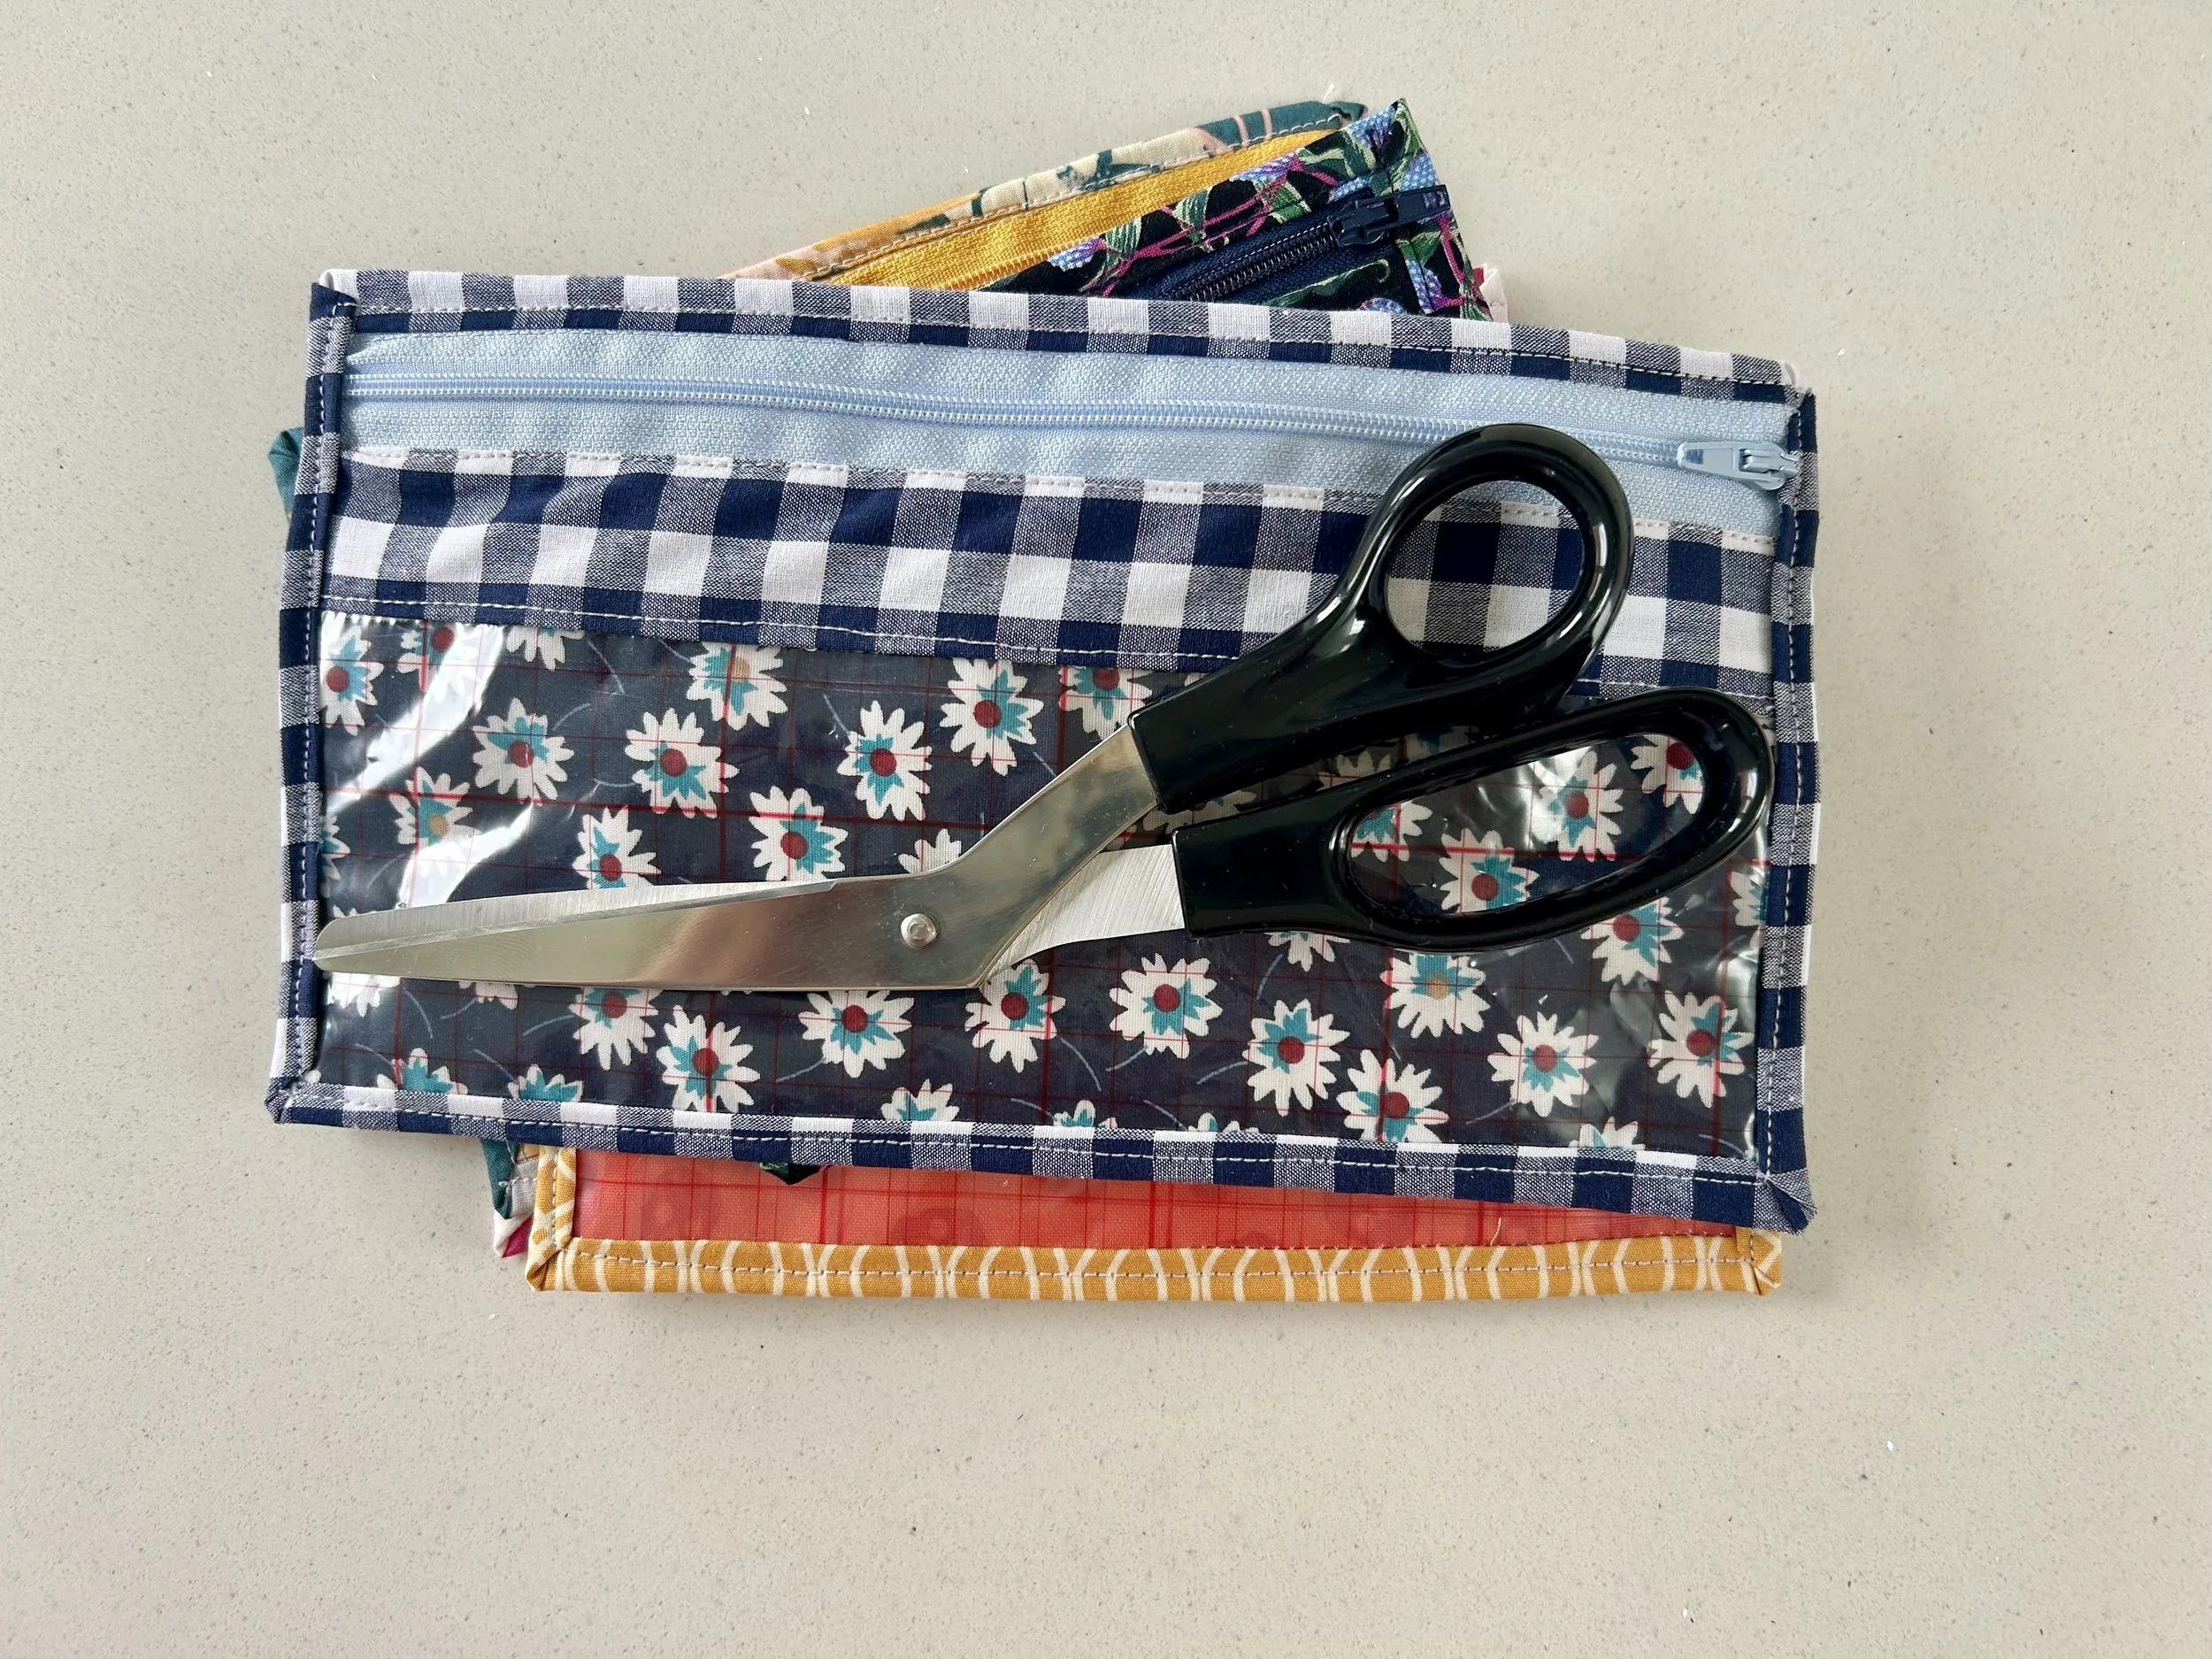
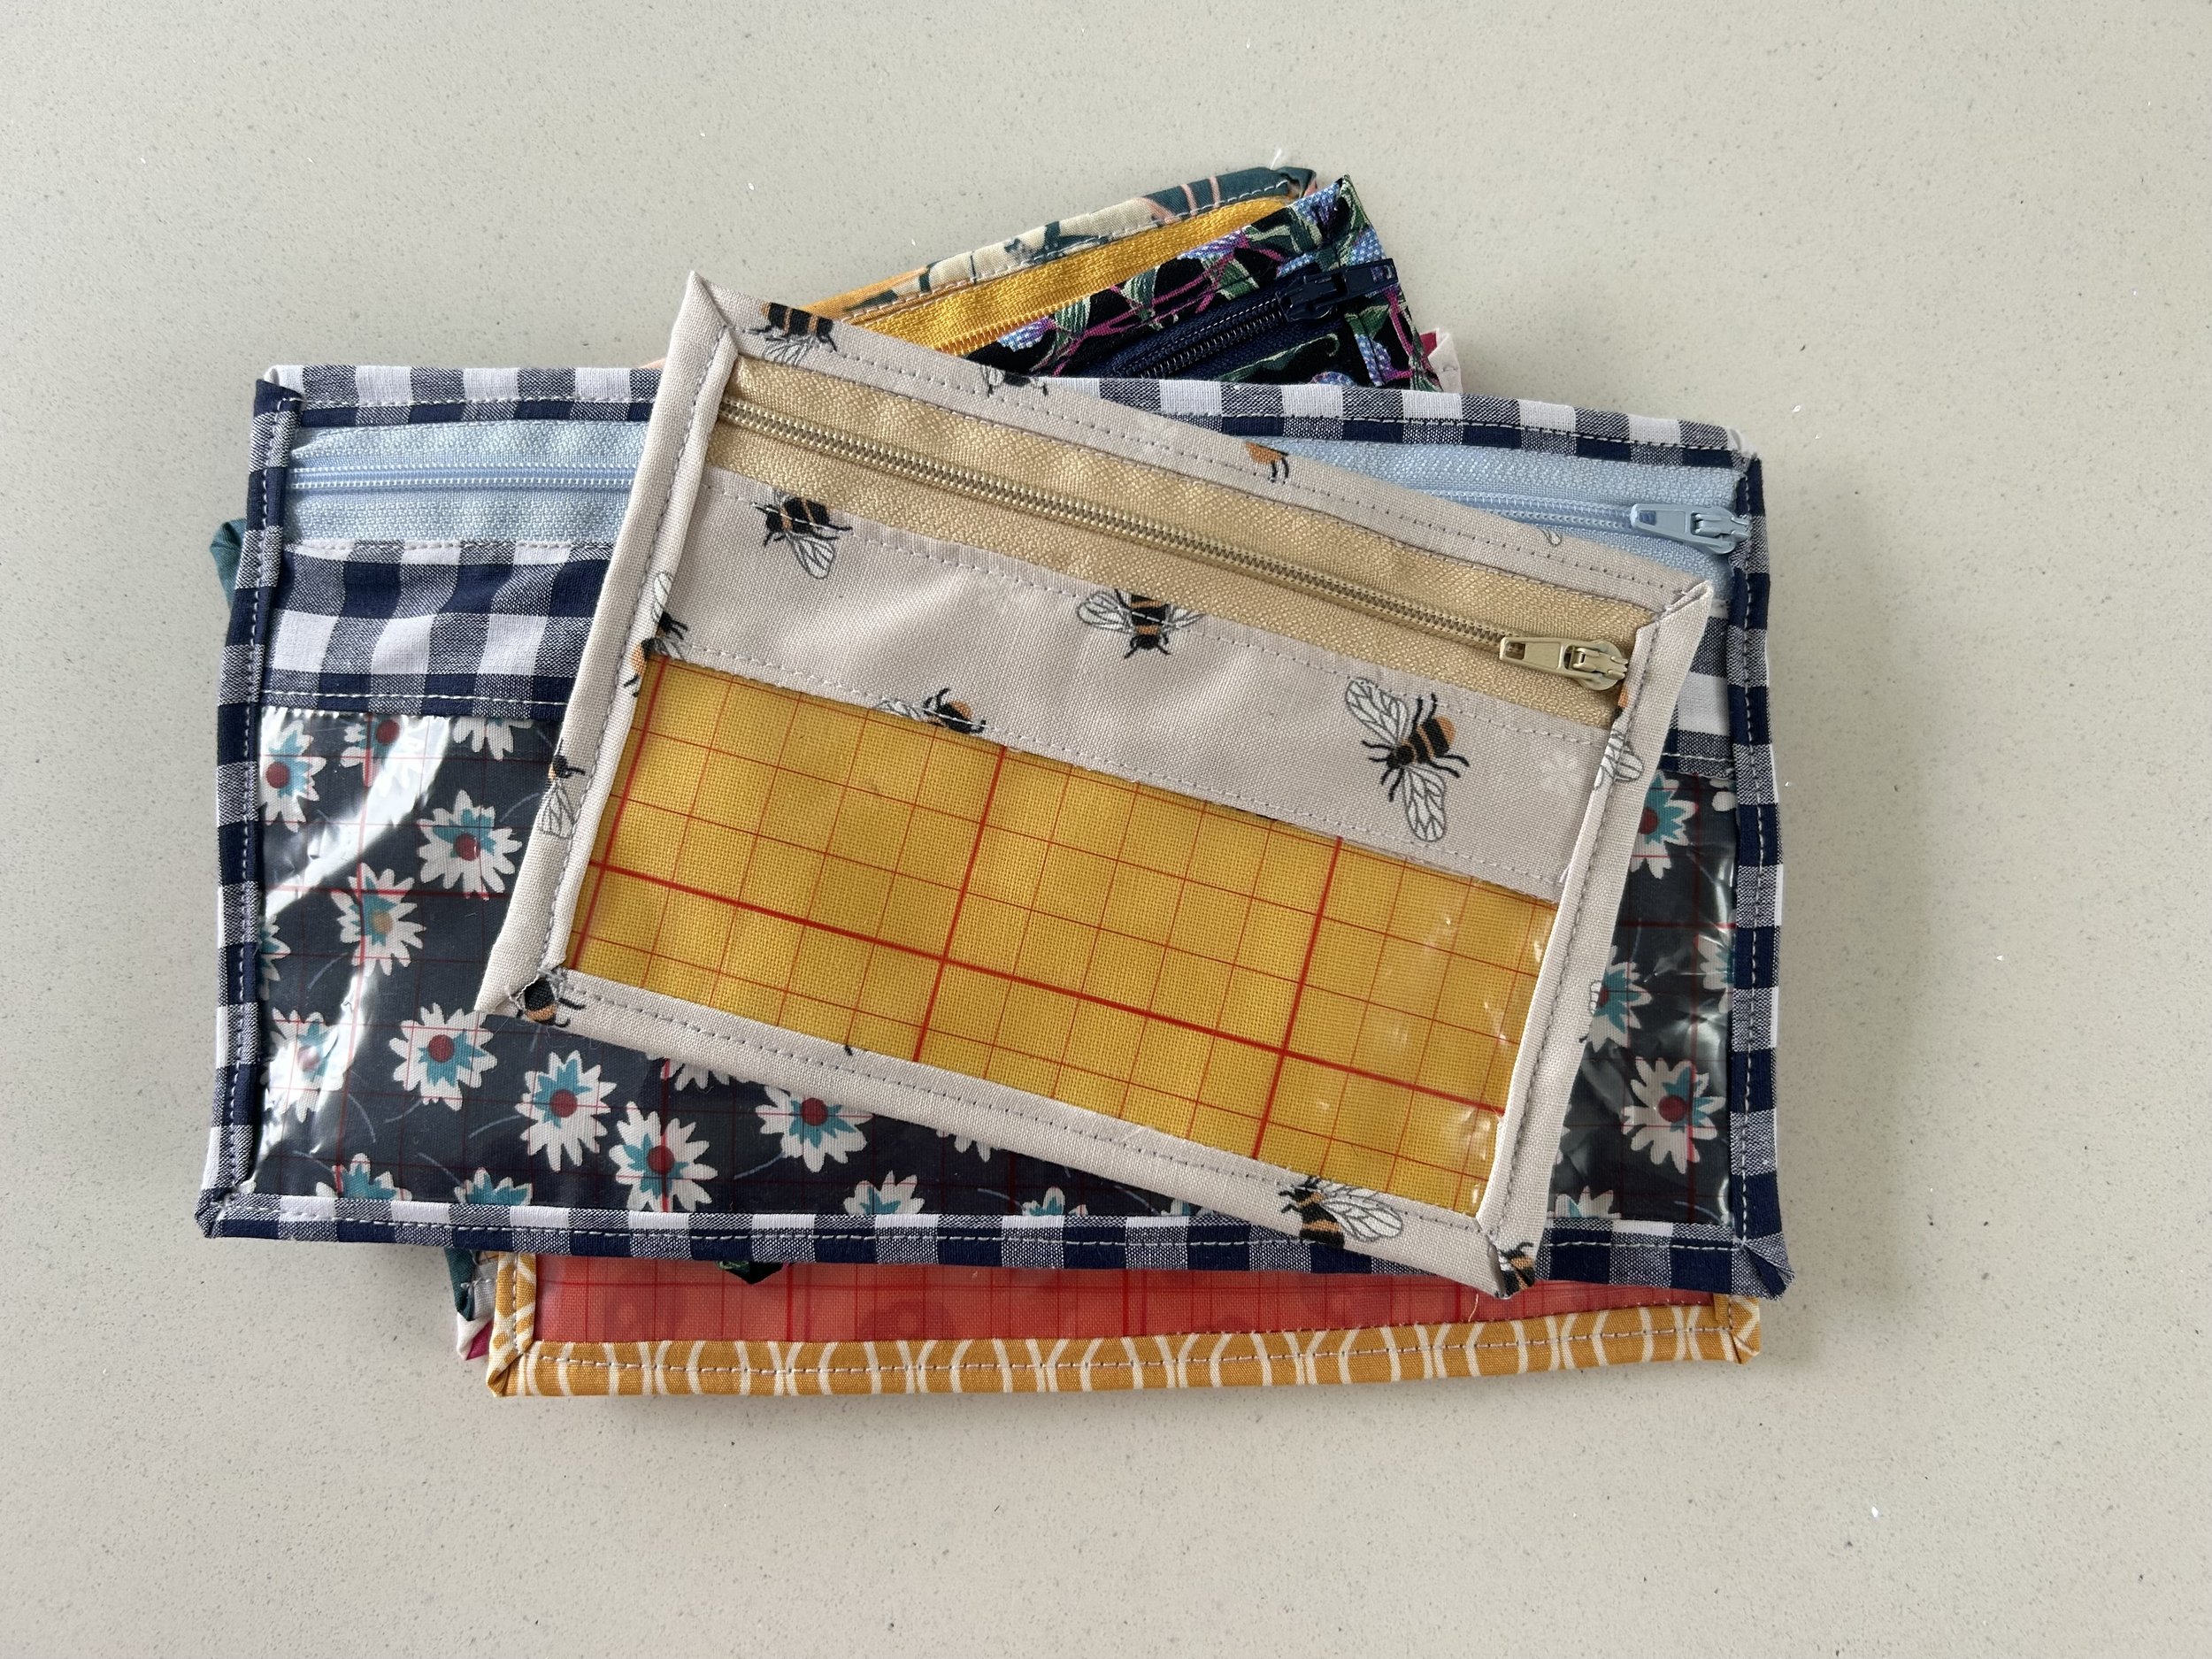
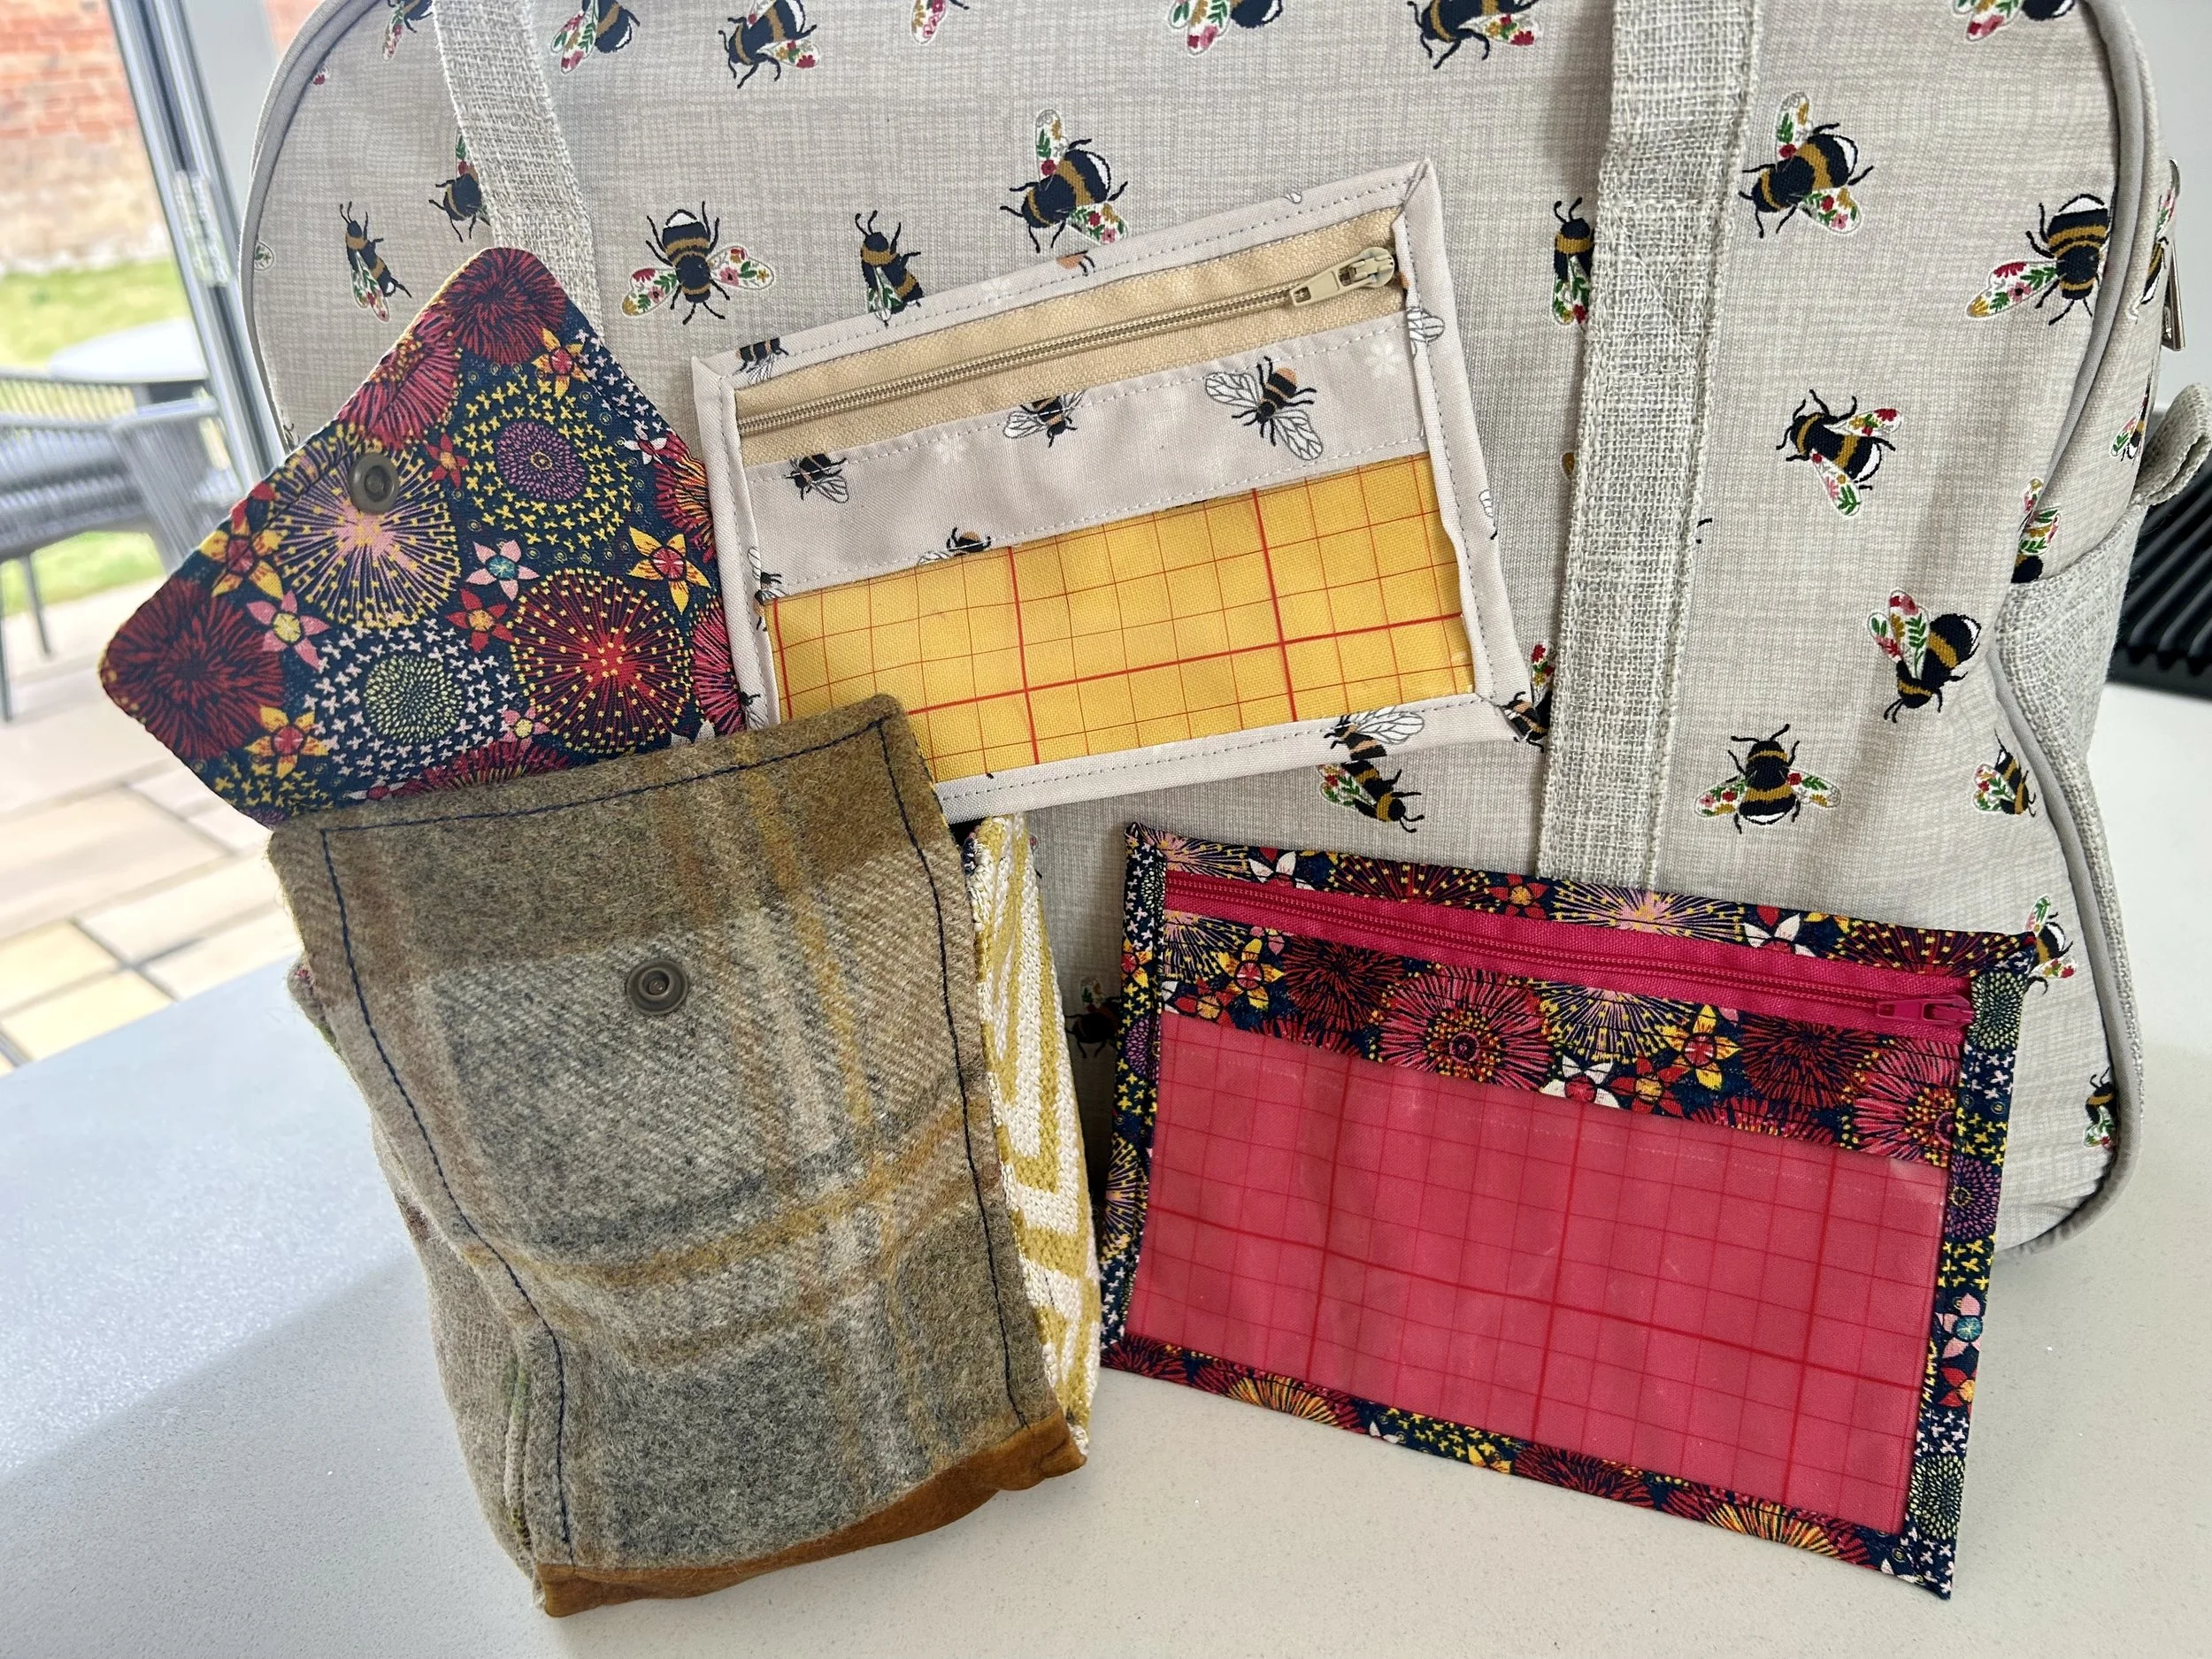
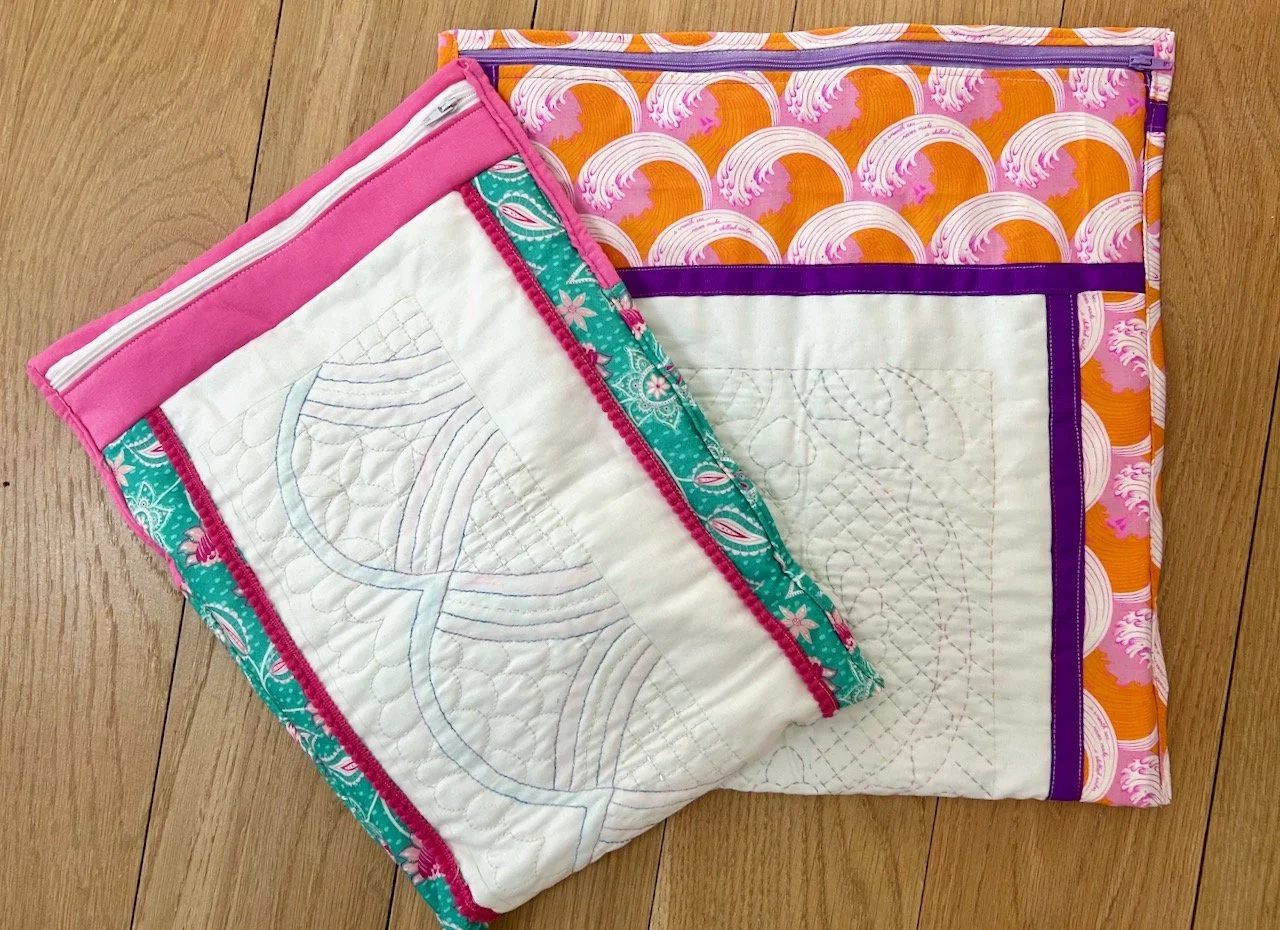
  1. The blue pouch (top left), black patterned pouch (bottom left) and gold pouch (bottom right) are recent makes on my new ‘take to’ machine.

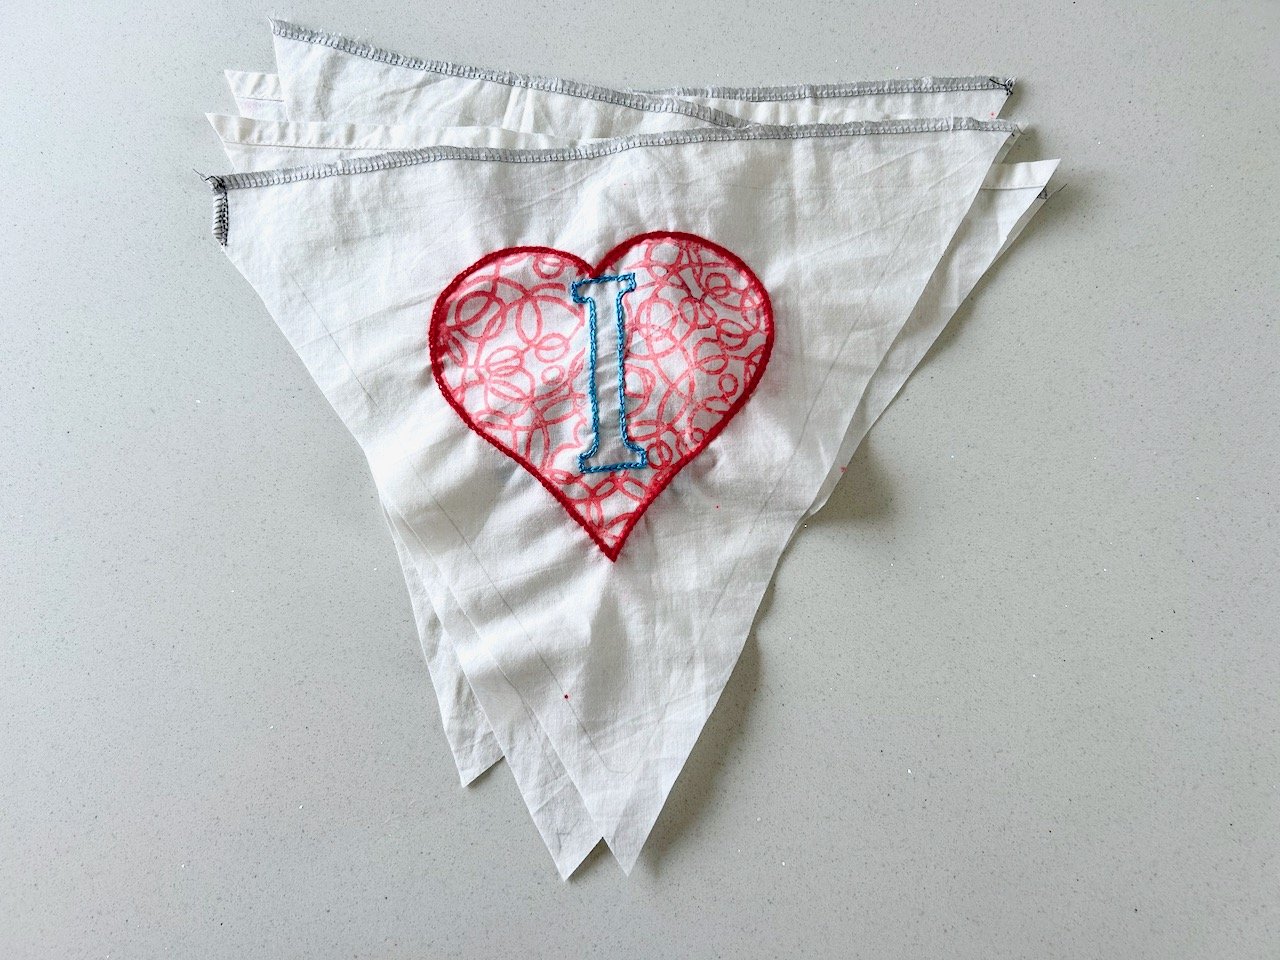
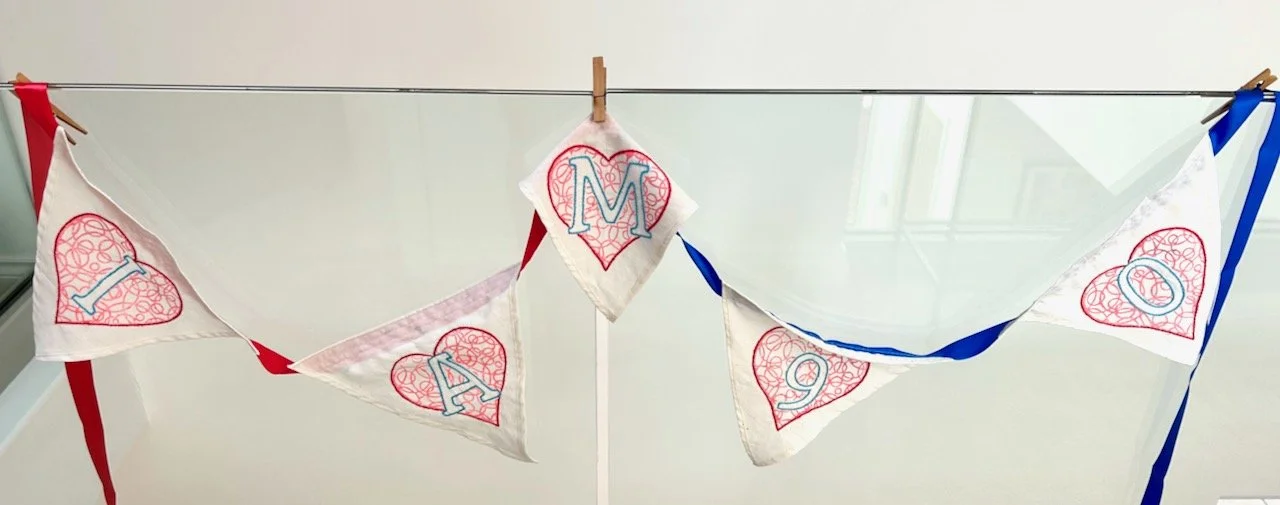
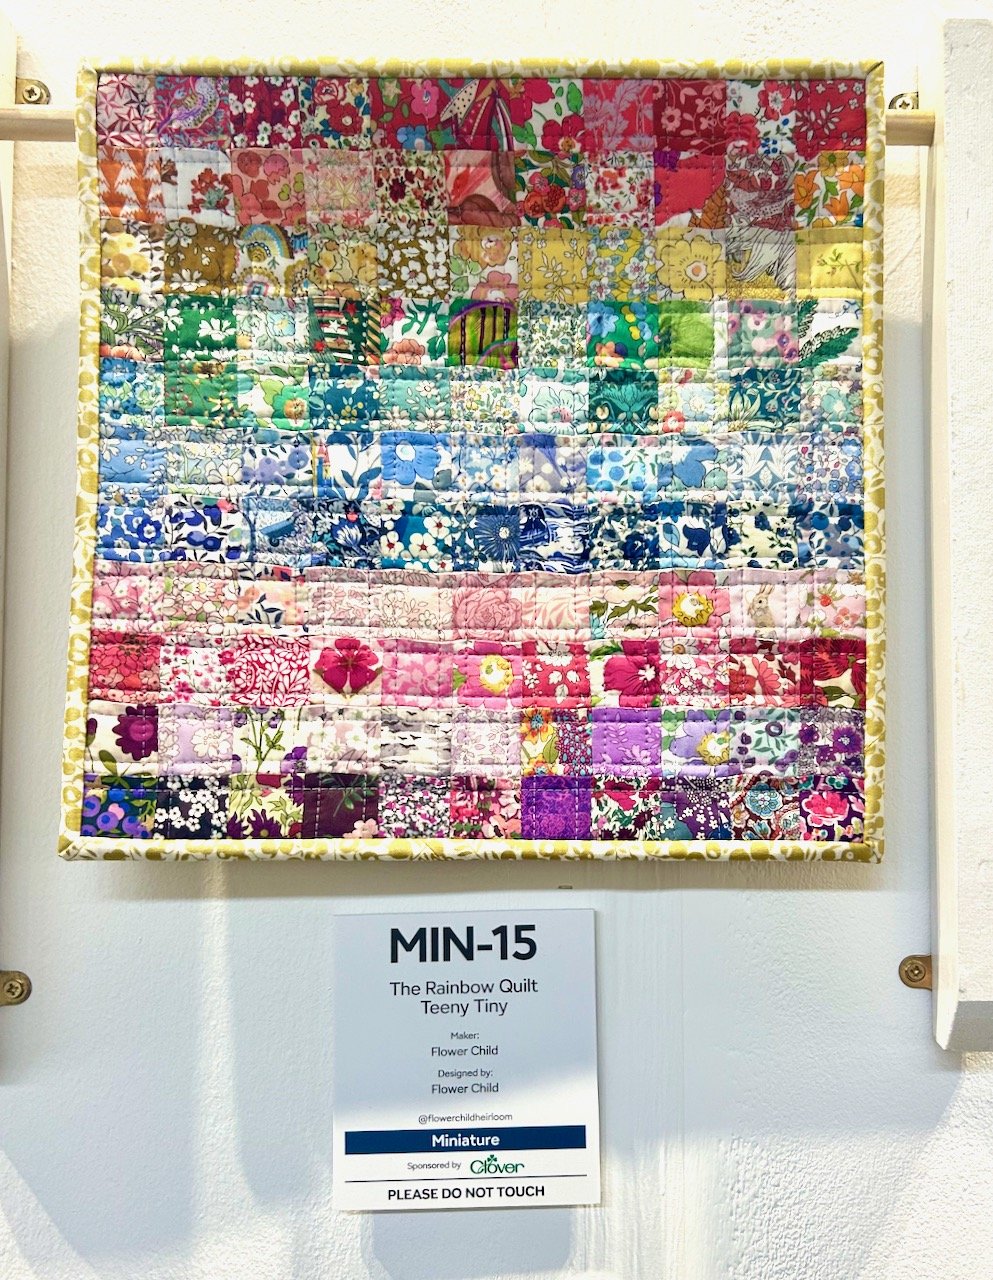
  2. The patchwork stars are the centre blocks in my next Quilt of the Month which I’m still working on and will share soon.

  3. The dress I made, which I even wear out in public (and it hasn’t fallen to bits at all!)

  4. It’s the corner of another pouch which is just showing in the bottom right corner - I’ll be sharing that one here soon(ish) too.

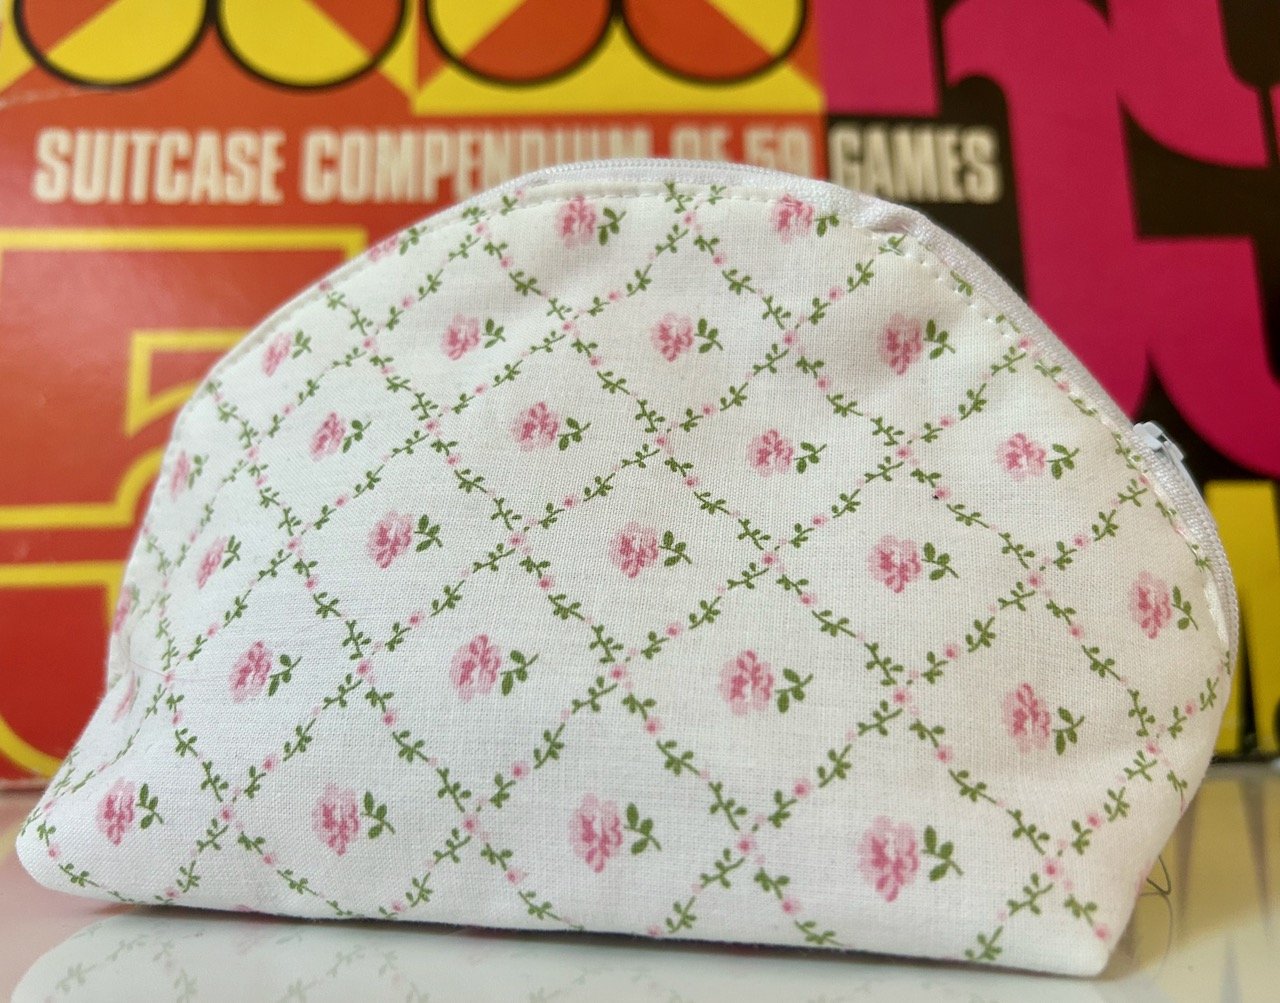
  5. I made this bag back in 2016, when I really didn’t sew much at all. It was a collaborative post with the company providing the fabric, and I still use it today - and that hasn’t fallen to bits either, I should have more confidence in myself!

So yes, I’m having a proud sewing moment over here, it’s a good reminder of what I can do. And will hopefully spur me on to complete more of the projects on my “to sew” list!

A new 'take to' sewing machine and more pouches

I mentioned back in July that I’d got myself a new ‘take to’ sewing machine, which may seem strange given that at the start of the year I’d treated myself to a new Bernina. But the Bernina is too heavy to move very often, so that rules it out to ‘take to’ twice monthly sewing group meetings, and any ad hoc workshops.

My plan had been to use my very old Toyota sewing machine for this, but thankfully I tried it before I took it anywhere. I knew its plastic was yellowed, and that it hadn’t been used in a very long while so I thought I’d re-familiarise myself with its controls and so on before taking it out.

Just as well I did, as it wasn’t happy about being neglected for so long.

It worked - and had recently been PAT tested - but it didn’t work at the same time. There was power, I could wind bobbins, but the actual sewing bit - nope. Just up and down, not up and down and along, which is what you need. So that scuppered that plan.

Given that I’m now au-fait with buying sewing machines - in truth I have found a good and trusted dealership - I thought I should invest in a ‘take to’ sewing machine. One that sews properly, doesn’t have all the bells and whistles, but does enough and is light enough to ‘take to’ sewing meetings and workshops. So off I went with a budget in mind.

Shock, horror. I was persuaded to spend less than my budget (which I’d already played down) by the dealership. And so I took that advice, and as I knew this one would be out and about I also bought a bag to carry it in while I was there. This new machine has now been to four sewing group meetings, it’s been to the Monday evening sessions and the Saturday morning ones (which I used to skip) and we’ve had a grand old time getting to know each other.

Getting to know my ‘take to’ Singer

I wanted to make some small and already known items to get to know my Singer, and as luck would have it I’d already run out of that stash of pouches I’d made the year before. I don’t know where they go exactly, though some have made it out of my sewing room into travel bags and others have found themselves full of sewing paraphernalia.

So it was time to make some more.

It’s taken about three sewing sessions to make my new pile of pouches, that’s alongside the chat, the tea and biscuits and time spent admiring other people’s projects, but let me show you my latest stack of window fronted pouches.

A pink and white patterned pouch with a lime green zip
On top is a blue and pink patterned pouch
On top is a teal and sunshine yellow pouch
Another yellow pouch, this one with orange skull patterned material behind the vinyl window
A small black pouch with blue 'bobble' flowers - contents in the pouch is a small cleaning brush, clips and an unpicker

THIS ONE WAS IMMEDIATELY PUT TO USE TEMPORARILY

A longer blue pouch - gingham and flowers together with a pale blue zip
dressmaker's scissors on top of the long blue pouch

AND THIS ONE WAS MADE WITH A SPECIFIC PURPOSE IN MIND

A smaller pouch on top with bee fabric on the outside and bright yellow interior
A cerise inside with navy multi pattern 'firework' type blooms

As well as making a new sized pouch for my scissors and rotary cutter, I made a couple to match my sewing machine bag and the velvet box pouch which I made for the foot pedal. With these I’ll look most coordinated when I venture out!

In the background the swing machine bag - a beige fabric with bees, three pouches in front - two vinyl windowed with the bee material and firework type bloom pouch.  Also is the velvet box pouch which has the firework type bloom lining on show

I’ve a couple more projects planned specifically for my ‘take to’ machine’s sewing bag - mainly so I don’t forget the essentials when I go (as I have already!) and I’ll share more of those when I actually make some progress. So far I’ve gathered the materials I need, and even eaten a tube of Pringles in preparation, but I need to find some time to plan it out properly before I start. And then hopefully there’ll be no stopping me!

I also need to look for my next ‘take to’ project, or decide if I have projects just for the ‘take to’ machine or move current projects between the two machines. I guess that will come with time, and may even depend on what I’m sewing and how far I’ve got, but it’s nothing insurmountable is it?

Making my Mystery Block of the Month: July 2025

You’ll have seen that I plan to complete Sherri’s mystery block a month quilt and in my last post I shared the test blocks which I made into my ninth charity quilt, today I’m sharing the centre block I made for my own quilt.

I’m still behind where I thought I would be on this, but - life - and I’m ok with that.

This month’s block is a churn dash, and it’s my first. There were definitely some lessons in the four test blocks I shared yesterday. I much prefer the corner triangles to be dark, and for the central square to be light, and so I kept that in mind when selecting the fabrics.

It’s not a ‘star’ month so I had some freedom to choose which colours I wanted to use this month, and the rules by the way are ones that I’ve set myself to bring some more uniformity to my finished quilt - not that I know what that will look like at this point!

But anyway. I went with green.

The assembled 9 block elements to make up the central square

When I’m sewing these blocks I’m constantly checking the layout, and which of the green borders I should use - as well as which sides they need to be on. That hand drawn, scribbled plan has been so, so useful for the latter.

The central block with the first pale border on  and a green strip laid in place - alongside is the scribbled masterplan

I didn’t quite get the motif in the centre spot on, but I think that was possibly down to my cutting rather than my sewing. And in the scheme of the whole quilt, I’m not sure it’ll be noticeable.

My finished churn dash block in greens with the light borders top left and the green borders bottom right

But with the borders added, the photos taken and now the blog post shared this one is hanging in my craft room along with the six blocks that have come before.

The block is hanging on a skirt coathanger hanging from my bookcasse

I’m getting quite used to seeing them hanging on my bookcase, hopefully once all the blocks are made and sewn together I’ll get used to seeing it on a bed instead. Still a while to go yet, and I’m saving sharing the ‘quick peek at all the blocks together’ for a month or two more yet.

Next month it’s back to stars, so I know I’ll be using navy blue fabrics. I’m not sure yet though if I’ll need to add in some other colours to make the design work, so I’ll leave it there for now.

Join me next month to see how I get on with the next mystery block, and check out my previous posts for my mystery block quilt or the charity quilts made from the test blocks.