A reminder to 'Stop and Smell the Flowers'

* I was invited to the press preview of Gardeners’ World Live and provided with a pair of tickets to visit the show, therefore all my posts will be marked as 'Ad’ though as usual my views and opinions are very much my own.

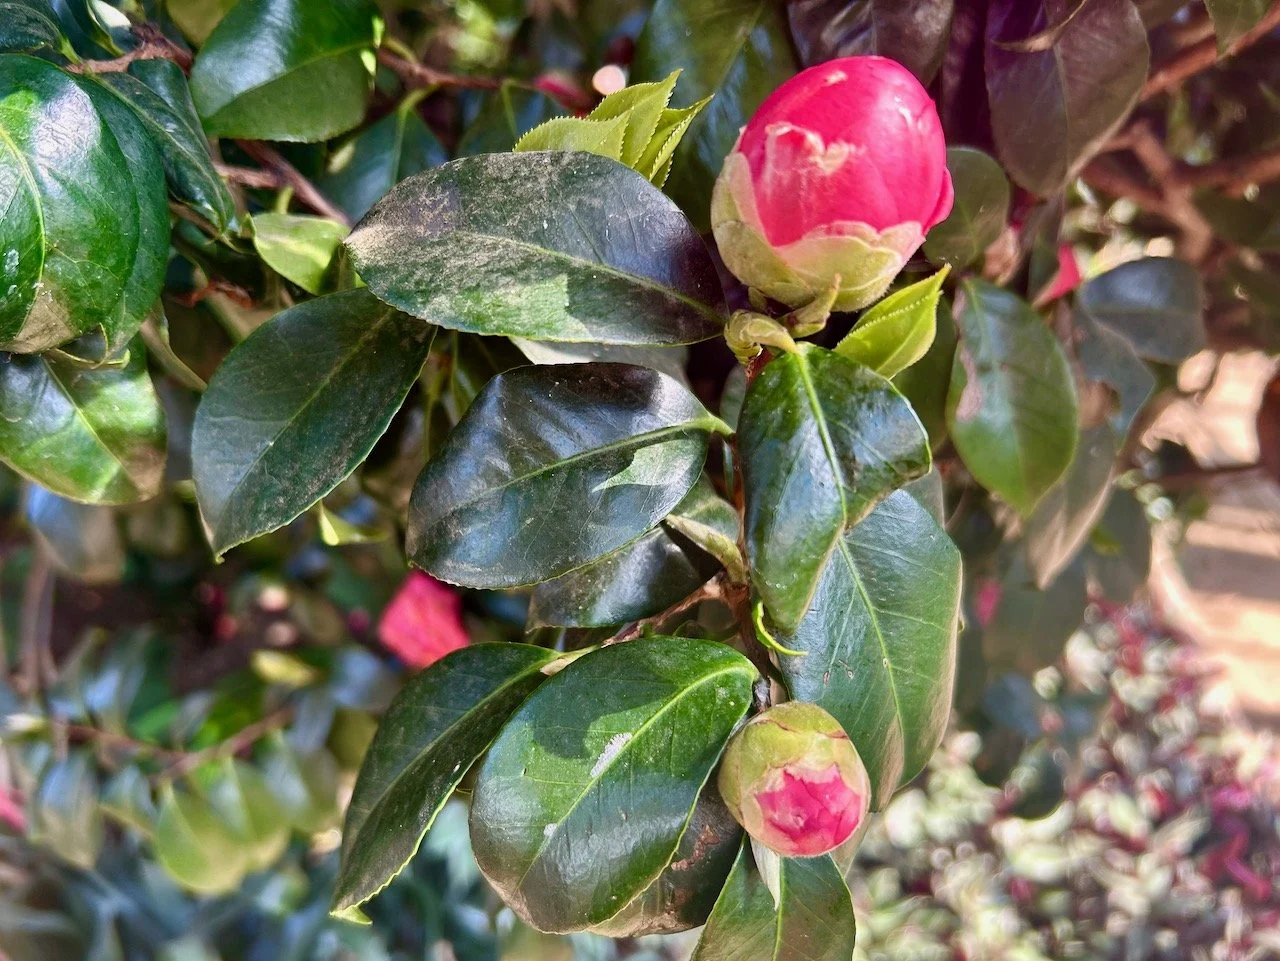
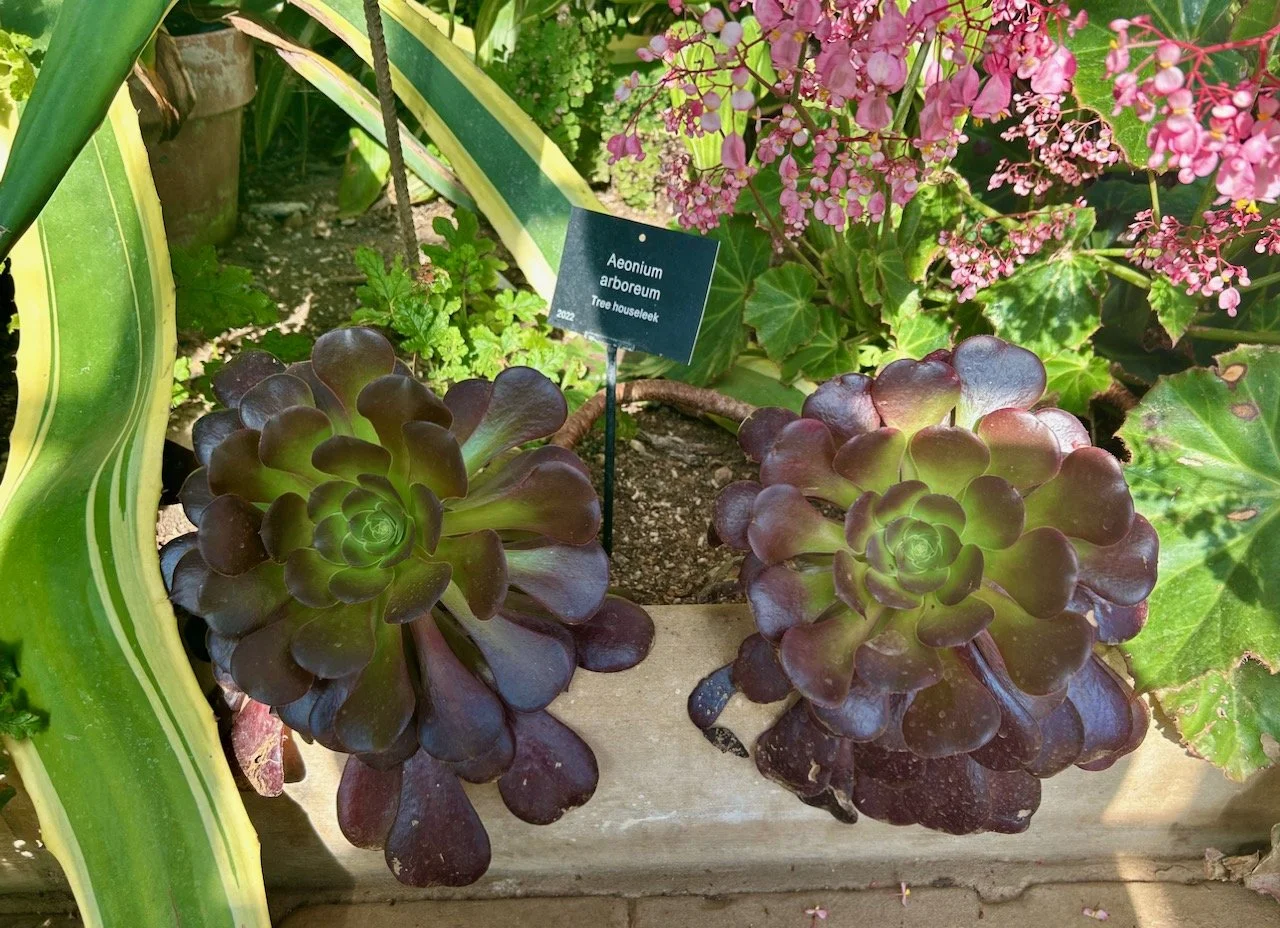
Sometimes we all need that reminder don’t we? Whether it’s an actual reminder, or one like that’s prompted by the recent upturn in weather. Stopping and enjoying, let alone smelling the flowers is good for us. Though don’t stop too long at the moment in my garden, or else you’ll see more weeds than I’d like, but of course they have flowers too and are often at this time of year one of the few flowers out so they’re good for our pollinators. Phew, I can leave the weeding for just a little longer then!

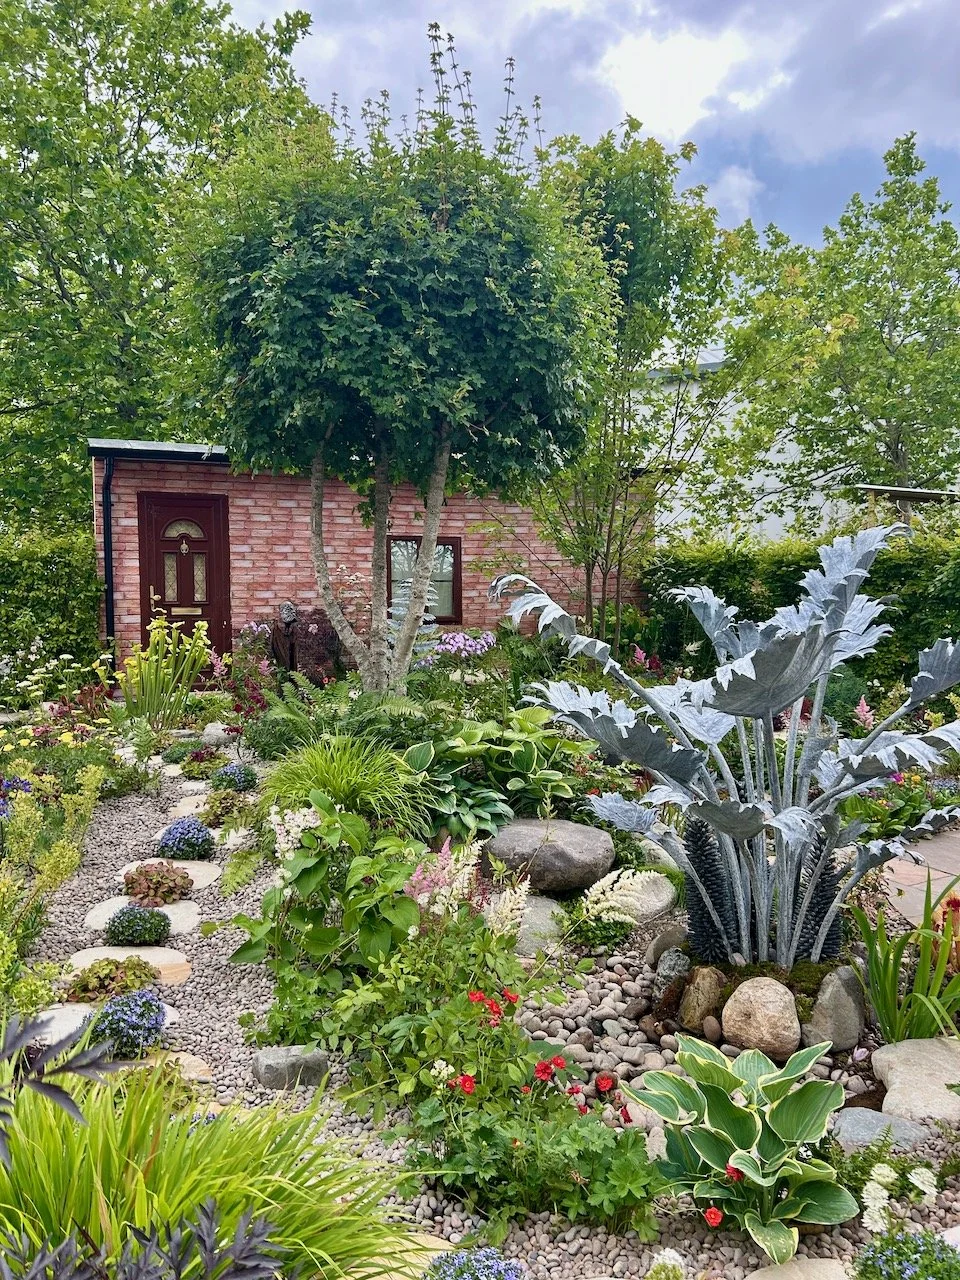
But there’s a serious message in this garden which was designed by Julie Haylock. Our world is driven by faceless, fast-paced interaction with technology (and the irony that you’re reading this on my blog isn’t lost on me) but by finding a peaceful sanctuary sitting amongst nature is important for our wellbeing.

In this garden a winding gravel path encourages you to slow down and take in the soft colour palette and fragrance of the flowers, engaging your senses. As you step through the moon gate you’re encouraged to leave behind your busy life to sit for a while and reflect, screened from the world, to focus on the important things: healthy, family and friendship.

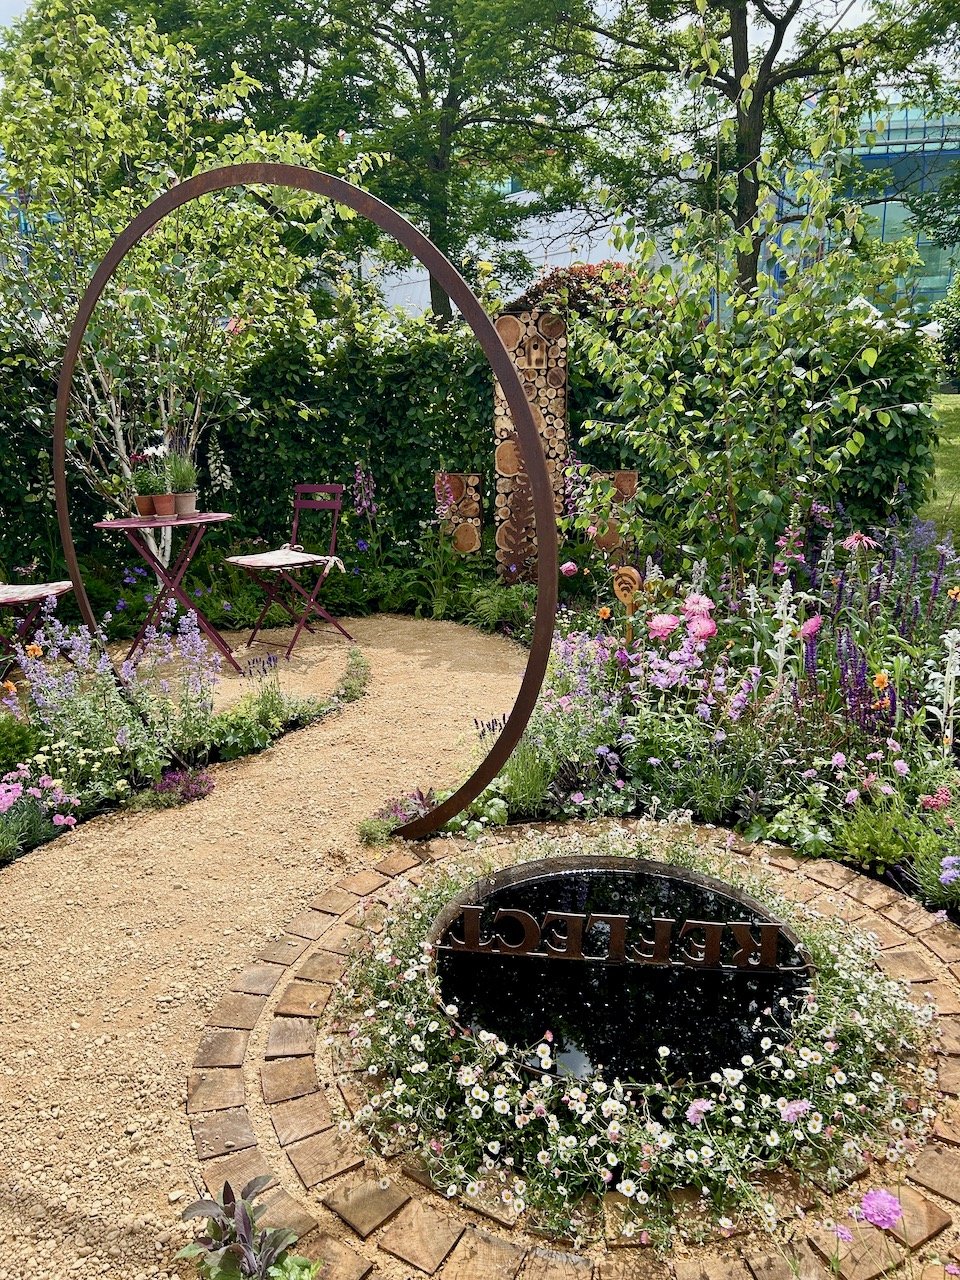
What I liked about this garden was the repeating circles, remember in my previous garden we added circles to our lawn, so I think it loosely reminded me of that, and while I like circles in gardens our garden here is the wrong shape for that. Previously our garden was long and thin, so adding circles to the lawn made it appear wider; here our garden is wider than it is long, so circles, or even a large oval would make it appear even more squat and bring the back wall in. Which is a shame, as I know how to do circles!!

The pond was small and so you can see how introducing a pond as part of the Make a Metre Matter campaign would be completely doable, and I like how it’s above ground level in a corten steel bowl. I also like how its softened with the frothy erigirons, a plant that didn’t transport too well from my London garden so is definitely on my purchase list.

It took me a little while to notice though that the ‘Reflect’ banner was hung the wrong way round for most visitors viewing the garden - maybe intentional, maybe not - but either way it doesn’t detract from the space does it.

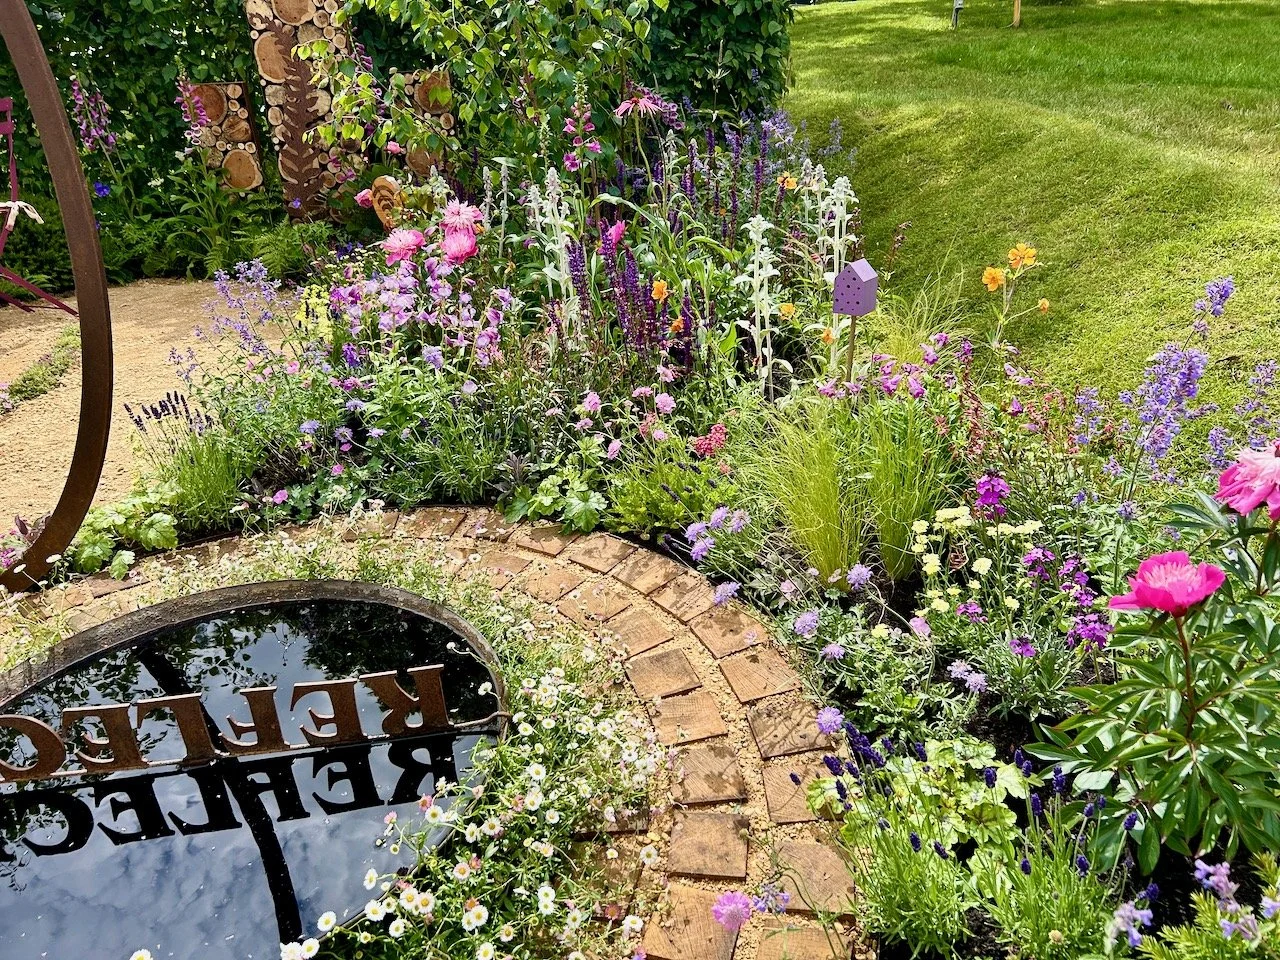
This planting is brought to life by the wooden sets providing a path around the water feature - but also the peonies, lavender and many other plants in the pink, blue and purple palette really are calming. I didn’t think a water feature was for me, but maybe I’m having second thoughts - argh! so much choice, that’s really quite the thing when you have a blank landscape. I’m not sure how these designers do it, and for the showcase gardens, how they bring it together in such a short space of time.

But I’m also very glad that they do!

* With thanks to Gardeners’ World for inviting me to Gardeners’ World Live, it was just as good as I expected! I’ll be sharing more from my visit to the show - I hope you enjoy it as much as I do.

Revisiting the Orangery at Belton

It’s been a while since I’ve been able to get inside the orangery which is the gem at the heart of the Italian gardens on the Belton Estate - four years in fact. And in that time we’ve moved house, and closer to it, which in theory should make visiting easier, and more often. And we have visited Belton more than we have done previously, but up until now the conservatory has been closed - yes, I’ve been the one with my nose pressed up against the glass to catch a glimpse of what’s inside!

But the wait is no more; our latest visit coincided by chance with the Spring Equinox, and more importantly a lovely warm and sunny day - and the conservatory was open - yay! And it was so good to be greeted by the lush new growth of the camellias, and a few flowers too.

Like us the camellias were enjoying the warmth of the sun - these flower earlier than their outdoor plants, mainly because of the warmth - when we visited the thermostats were reading a toasty 22.5 C - and it was lovely to enjoy the shadows and dappled sun on the walkways around the main planting.

You may have noticed that I’ve been using the terms orangery and conservatory interchangeably in this post, and that’s partly because the structure now seems to be very much billed as a conservatory at Belton, and I’m sure they would know - but an orangery, sounds so much more romantic doesn’t it, even though there are no oranges growing in this one, which was their original purpose.

The camellias weren’t the only ones enjoying the warmth, the pelargoniums also had lush new growth with almost appeared to be stretching for the best view.

The corners were festooned with pots - and it seemed much fuller than our previous visit which I’m not complaining about - a favourite of mine was this large money plant - and I couldn’t help but give it a little rub, just in case.

What works so well in this space is there’s plants at every height, of every size - from the gorgeous and glossy monstera leaves to the hand sized aeoniums right at ground level, to the tree ferns and bananas reaching for the glass roof.

But anyway, this conservatory was built in 1830 for the first Earl Brownlow by Sir Jeffry Wyatville and stands on the site of an older Belton Manor which was demolished in 1688. It’s a revolutionary cast iron and glass structure, finished in local Ancaster stone and was the first domestic conservatory to be built this way.

My favourite part of this favourite building is towards the back - it’s a cooler spot, slightly less densely planted but with glorious visitas - from the plants climbing up over the door and onto the ceiling, the sculptures and the many alcoves - all filled with plants.

It really is a special space - and these two vistas and photos of them (above and below) are the ones that have made heart sing from this visit, and reminded me of the feeling I had when we first walked into Huntes Garden in Barbados, and reoccurs each time I look at those photos. Even now.

In the 1990s the conservatory closed for repairs after the iron cramps and ties used to hold the stone in place rusted and expanded causing structural damage. These and the already replaced roof was also repaired.

Amazingly at one point in its more recent history this had been used as a cafe - a fine setting for some tea and cake I’m sure, but oh so much better with plants in. On this visit I couldn’t fail to notice a couple of red flowering plants, I think the one below is a Callianthe, and below that are the more recognisable Amaryllis, also flowering.

It really is a joyous place, and still my favourite part of the gardens at Belton so I’m hoping there’ll be plenty more visits, and chances to have several more looks inside.

A mostly repurposed vintage star quilt

I’ve made another quilt as part of my quilting ‘stretch’ project this time using the February block from Sherri at A Quilting Life’s mystery block a month. As I said then I don’t know if I’ll manage to make a quilt a month, but I won’t really know unless I try…

I already suspect that the warmer months may be more challenging, what with adding in some time to garden as well as going out and exploring the area around where we live, but that’s the point of a challenge right.

My fourth donation quilt

When I pulled the fabrics from my stash I had no intention of making this vintage star block in blues and greens, but there you go, those are the fabrics that called to me and so that’s what I’ve got. Unlike last month I don’t have a silly name that makes me smile, but I’m pleased to have repurposed quite a few old clothes in this one.

And when I say quite a few I’ve used material from old cropped trousers of mine (from three pairs), an old shirt of MOH’s, a blouse of mine and even some from Hawaiian swimming trunks. In fact the only piece that’s remotely new is the navy and white flowered material, which I bought in Newark whilst I was collecting additional material for the flying geese quilt, before I changed my mind.

But onto the blocks

I found this block centre more challenging, right from the off - but entirely because I misread the instructions. Instead of making HSTs (half square triangles) from the smaller squares I used the larger ones and of course they didn’t come out right. So with more squares cut, and my first learning under my belt I was back on track.

Starting out wrongly with my first green star block - the pieces are all laid out but incorrectly!

My second learning came on trimming the HSTs - the rotary cutting mat made life a lot easier, as did using the small square template.

But it was still trickier than it looks. My seams were, shall we say variable, and didn’t always meet where they should. And once I’d sorted one seam’s placement another misbehaved, but I did get my four blocks (with variable seams) done, and I’m happy enough with them.

And so with the four centres complete I added the log cabin borders. My original plan had been to add a dark border but not only was I concerned it would be too dark, I also didn’t have enough of the plain blue fabric left, so I needed another plan.

I used the relatively new flowery fabric to add a border to brighten the quilt overall, and realised that there was plenty of the green spotty material (I’m sure this was a 1990s impulse buy from IKEA) to add a final border. This also brought a learning, and tested my patience, with its tendency to slip about with its own free will. But I got there.

For the backing I cut into an old duvet cover, and I think the grey and white zig zags really work - it’s definitely super soft, that’s for sure.

Once again I added my usual scrappy border, using up the majority of strips I’d cut for the quilt top. Looking at those central blocks now, I’m not looking at the wonky seams (well not so much) I’m looking at the quilt as a whole, so I’m glad it all worked out.

As I’m using these quilts to practice and refine my quilting making skills, I was keen to try something a little different with the quilting. It’s still straight(ish) lines, but instead of ‘stitching in the ditch’ I’ve gone bolder and stitched down the middle of the log cabin strip, using a navy thread - a bold move on the pale green fabric, less so on the plain navy strips!

I think it works, and overall I’m happy with how this one turned out. And as it’s been so nice I took my quilt outside for its own photoshoot in the garden! The block for my next quilt is out already, and it’s another cute one - but first I have to make my own block for my mystery block of the month quilt, all being well I’ll share that here later in the week.

You can see my other quilts which I’ve made to donate to Project Linus - a charity whose mission is to provide love, a sense of security, warmth and comfort to children, who are sick, disabled, disadvantaged or distressed through the donation of new, homemade, washable quilts and blankets, including those that are part of this ‘stretch’ project in earlier posts. I’m aiming to publish an update on my progress in the last week of each month for the remainder of 2025.