


Getting hooked on Rag Rugging with Ragged Life

This post contains items gifted from Ragged Life.

I don’t know about you, but I’d been seeing posts on social media about how during the lockdown we could learn a new skill, a new language or whatever and thought, huh, how, when, or why? Even though both MOH and I are fortunate to be able to work from home, somehow both of us are just as busy, and ‘spare’ free time is fleeting, so I dismissed the new skill thing. That is, until I was invited to join one of Ragged Life’s online classes.

Having never taken an online craft course, and thinking that Elspeth from Ragged Life must be up for a challenge, and being swayed by rag rugging as a sustainable craft, I was in.

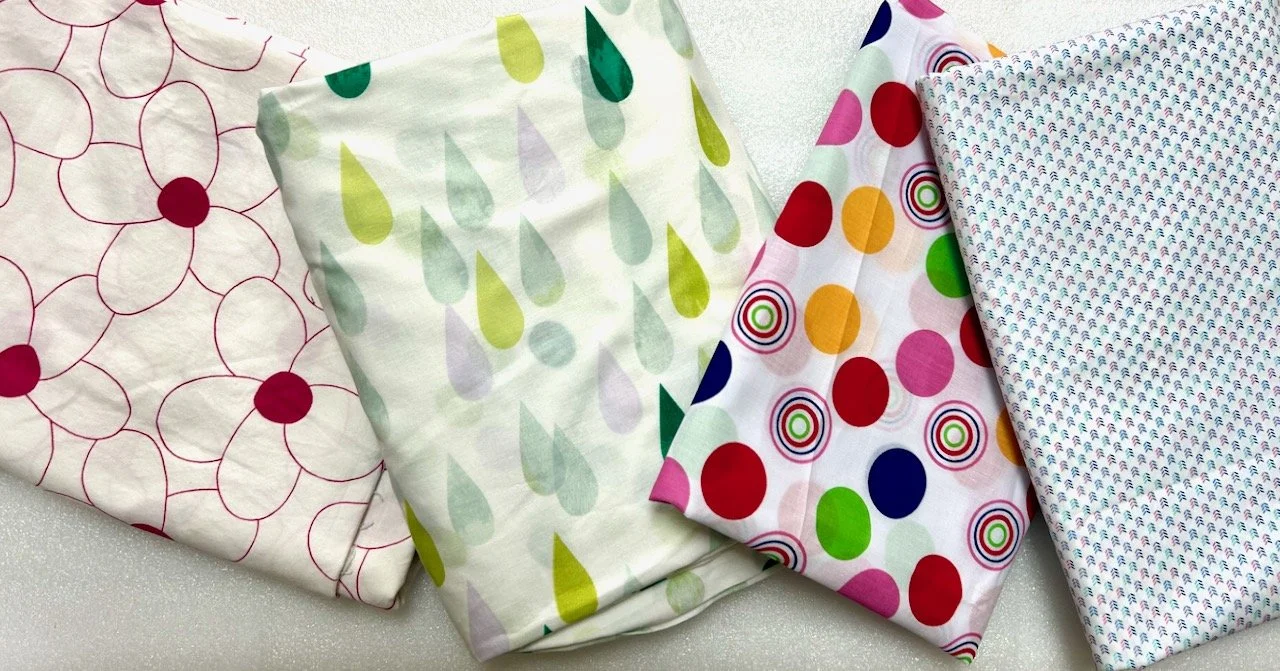
When my craft kit arrived, I was curious about the tools, smitten with the fabric choices, intrigued by the design on the hessian and very quickly nose deep in the book of potential projects.
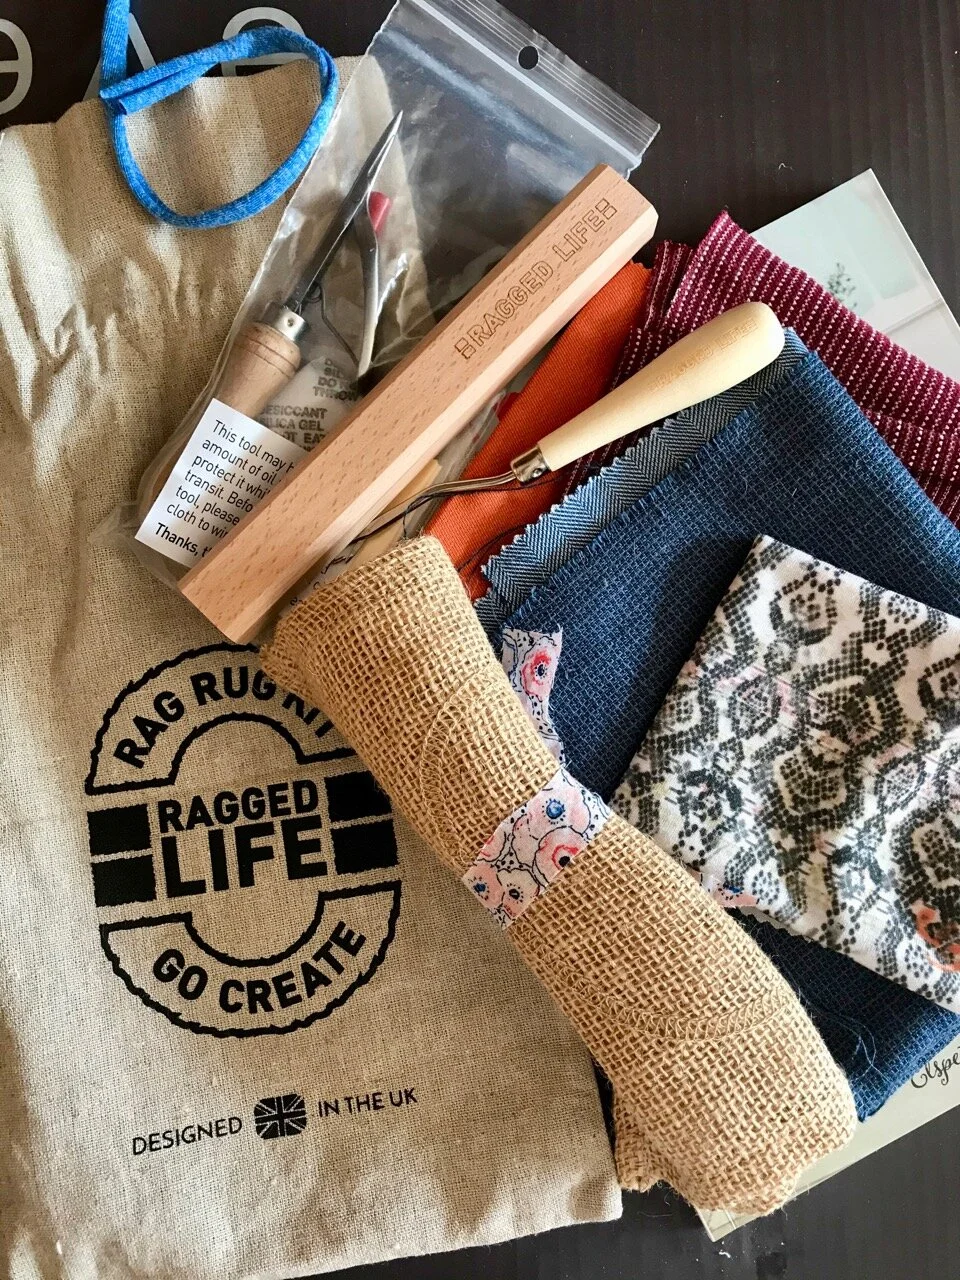
contents of my rag rugging kit

But it wasn’t long before I was set up in the spare bedroom for the online tutorial, and at this stage was very much “all the gear, but no idea” and hoping that both the technology and my brain worked.

getting set up for the online course with ragged life

I needn’t have worried though as Elspeth clearly has the patience of a saint, or I’m a model student (and yes, I know it’s not the latter). Soon though we were cutting strips of fabric, which we were assured that wonky was fine. And it was, because mine were very much on the wonk, or characterful as I’m calling them.

making use of the guide in my online rag rugging class with ragged life

After using the guide to cut short lengths, it was time to use one of the tools and learn where and how to insert and space our rags.
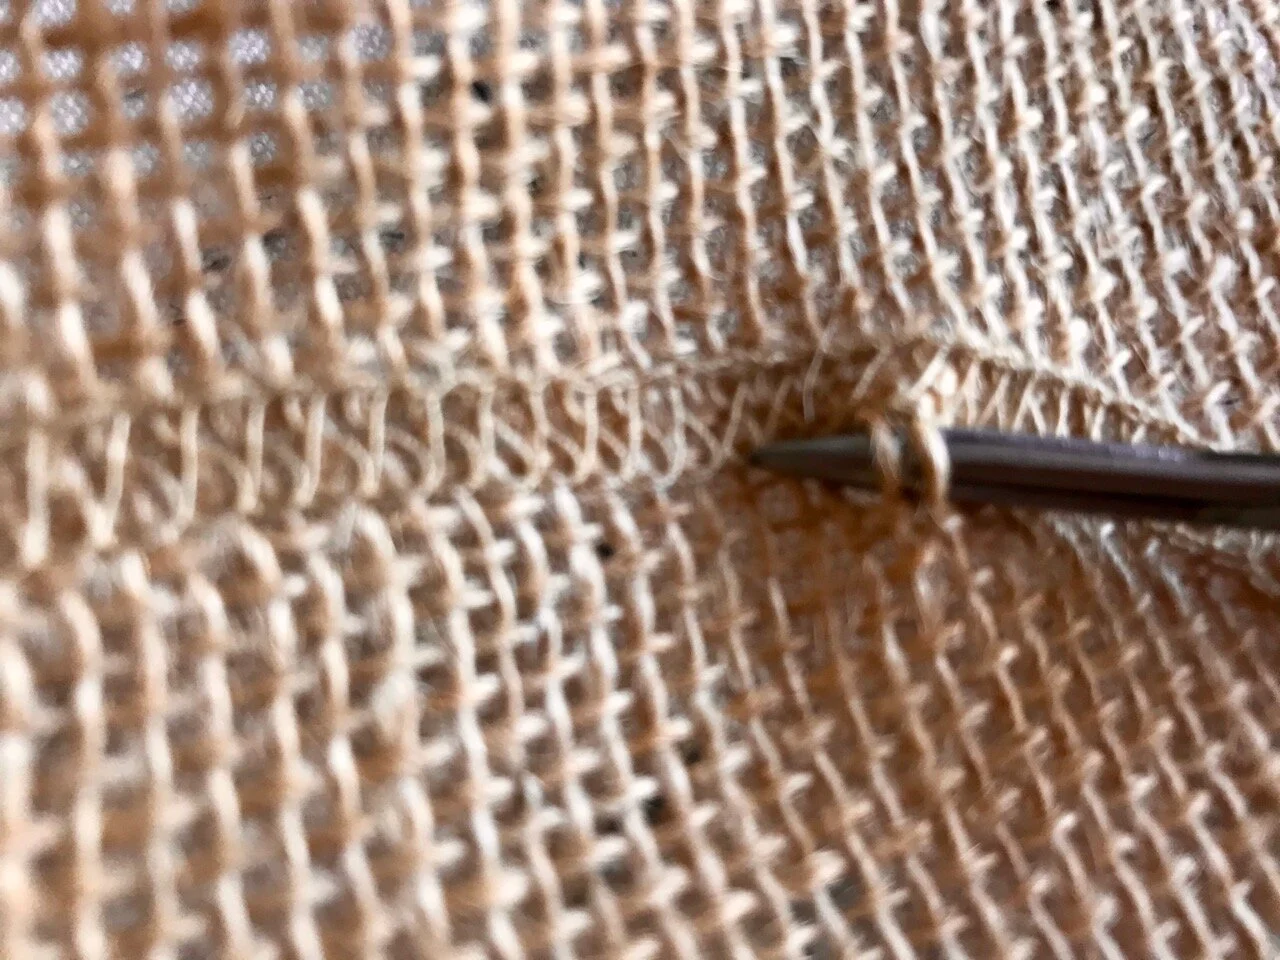
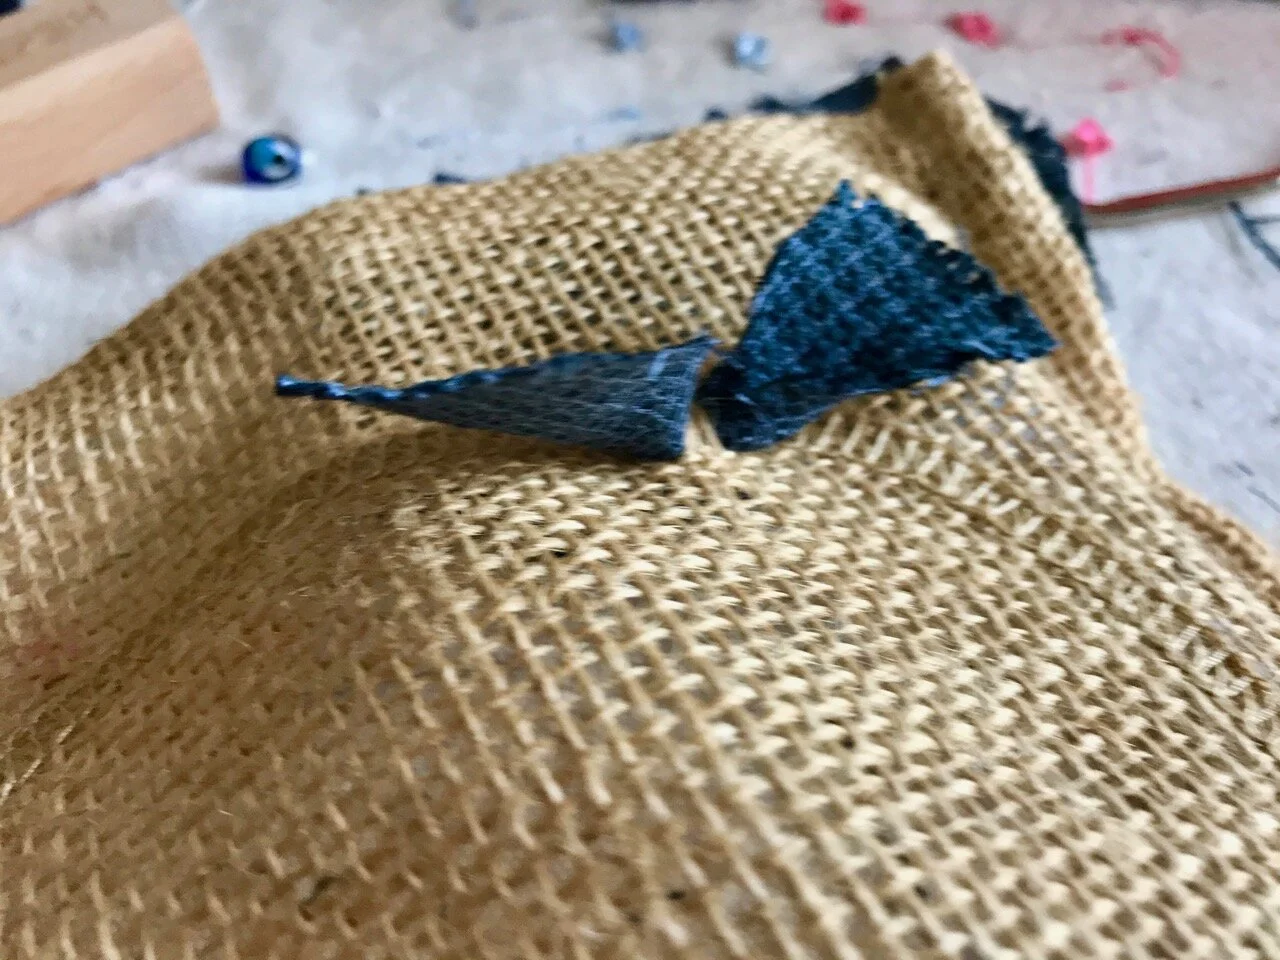
getting started with rag rugging
the first piece is in
and it grows quickly

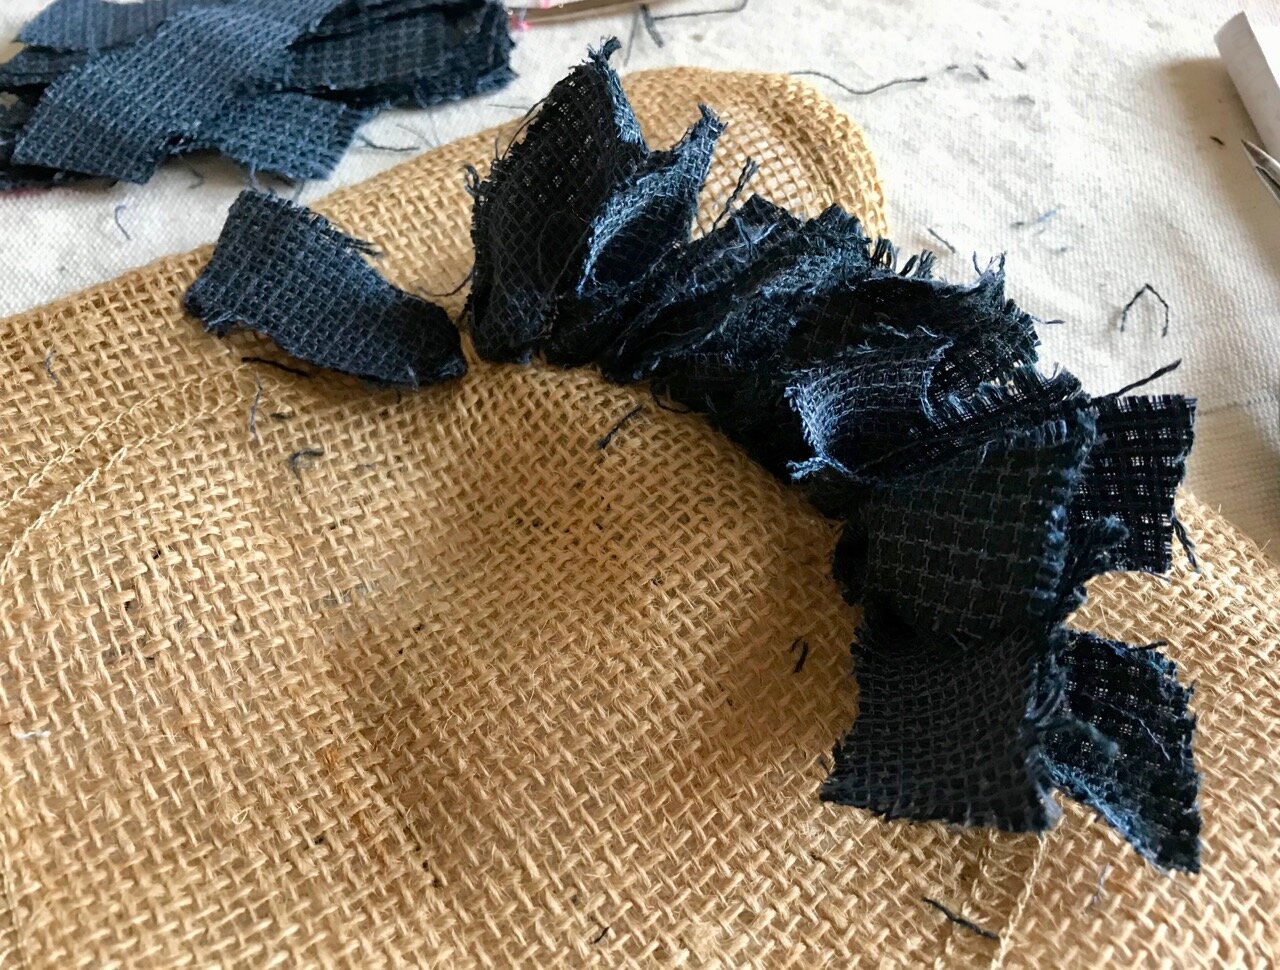
And it was surprisingly easy. The blue material in my project uses the traditional method and the rag is pulled through the hessian. Later we’d progress to a method adopted by Elspeth and her mum - the orange fabric - which uses slightly thinner strips, and pulled through in a similar way, but with the fabric doubled. This gives a closer finish, which I preferred.
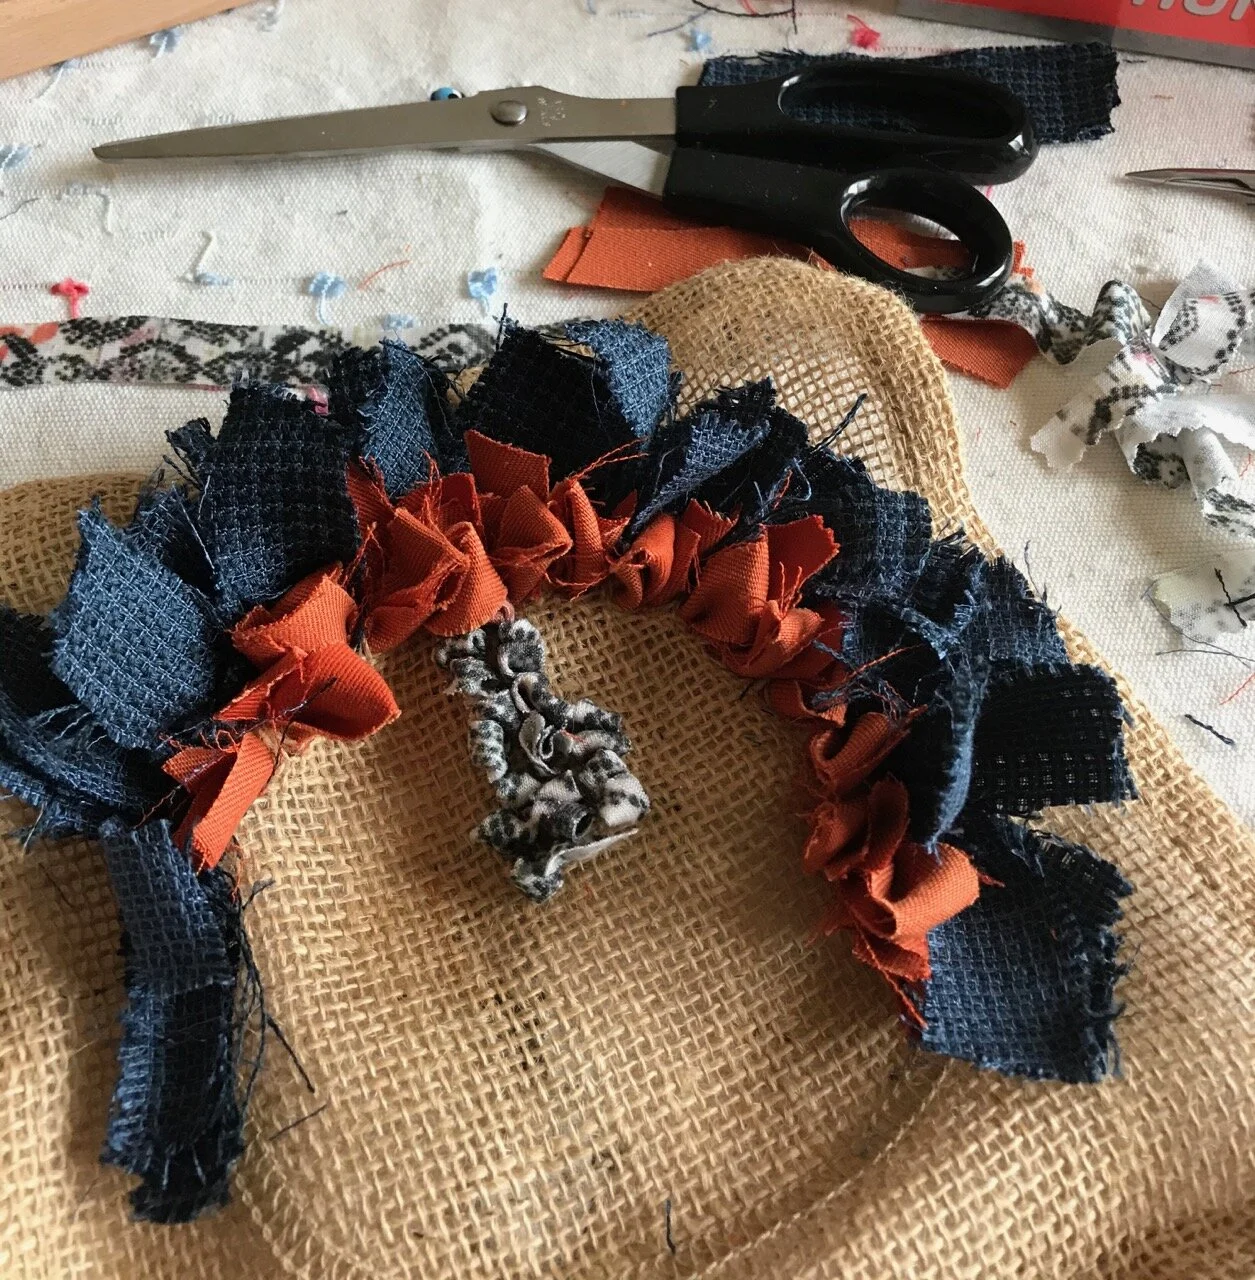
trying more techniques under the supervision of ragged life

The final technique, for the central section used the latch tool, and is a much closer ‘loop’ and more often used in more picturesque designs. The latch tool itself sook some getting used to, but knowing the knack of pulling towards the previous stitch, rather than away from helped.
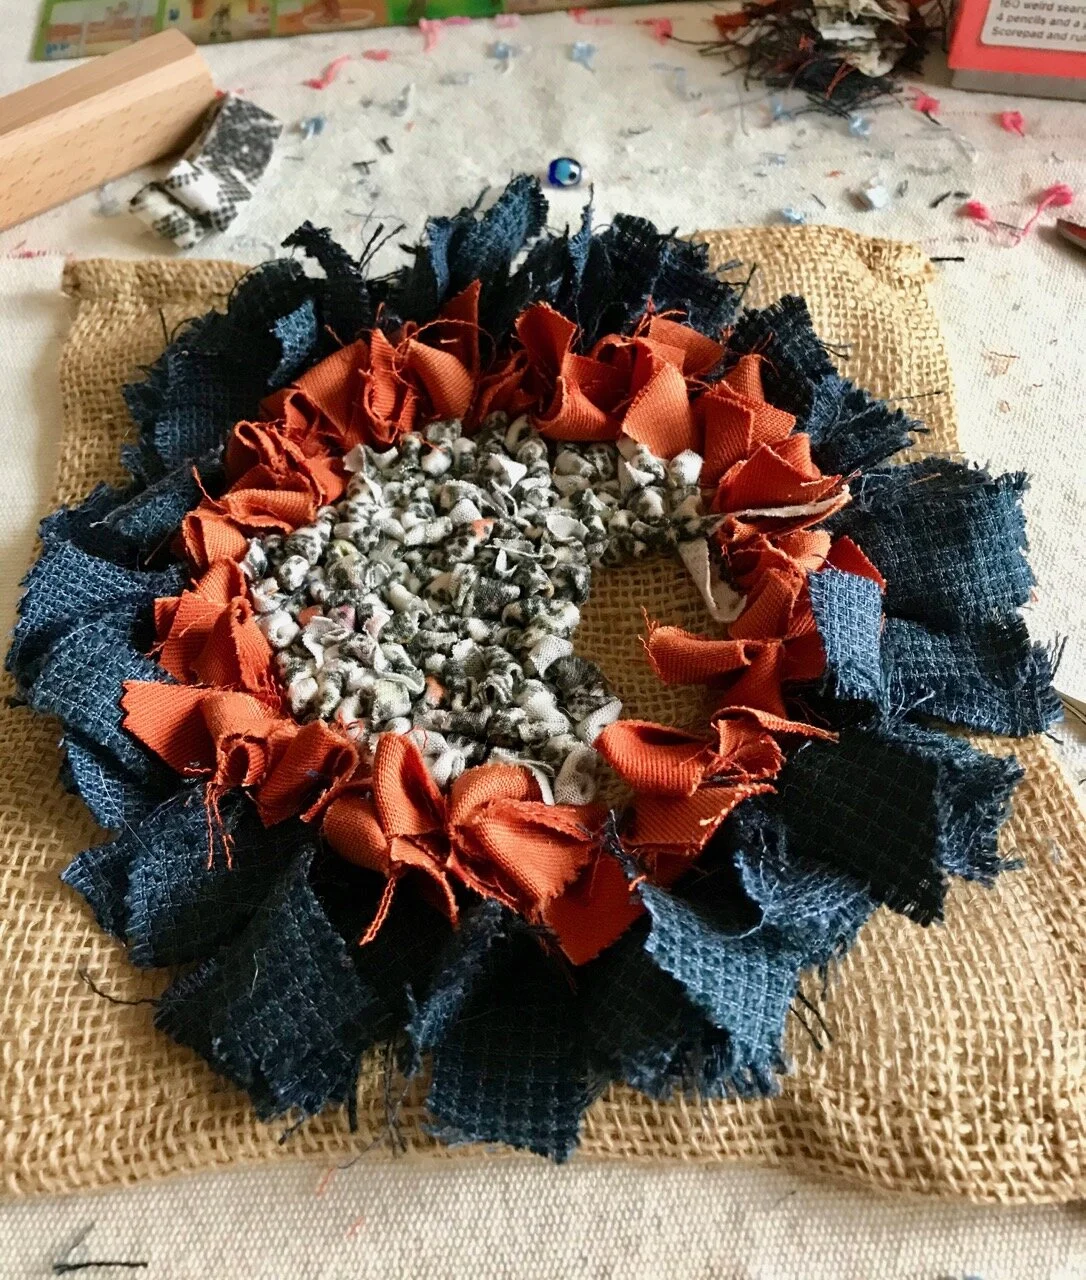
almost complete - it's addictive

I finished about a quarter of this initial class, which also allowed plenty of time for chat, and checking that my work was progressing in the way it should. It was thankfully, and rag rugging is one of those mindful, but yet practical tasks, that really helps with all sorts of things.
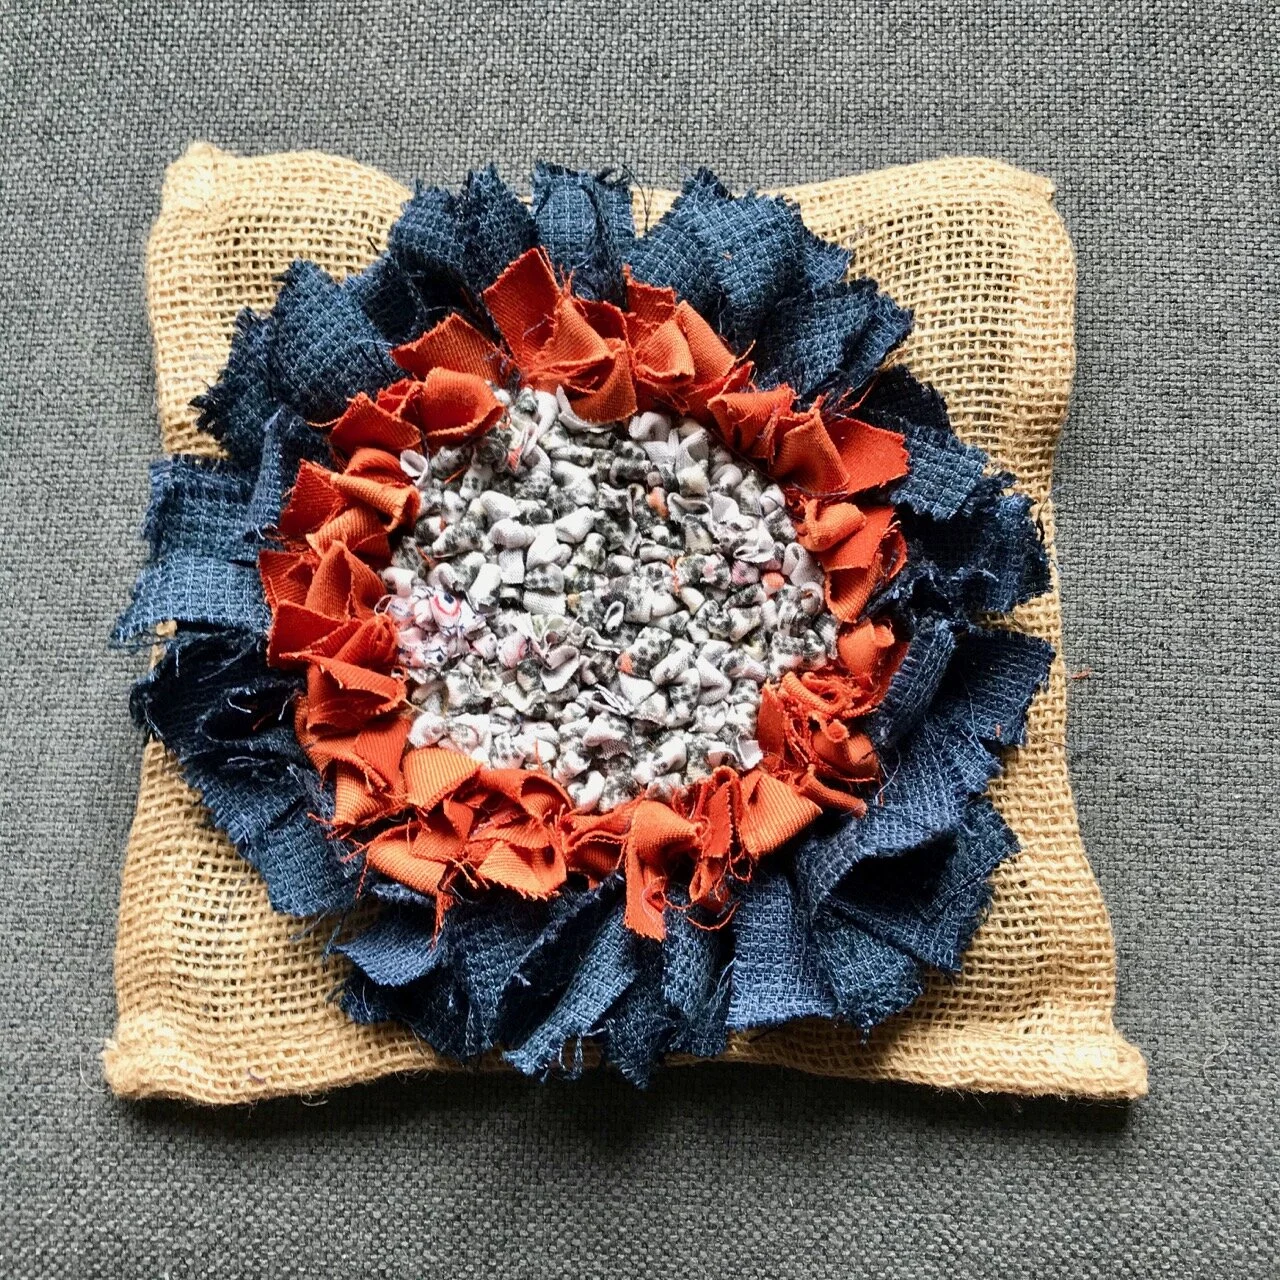
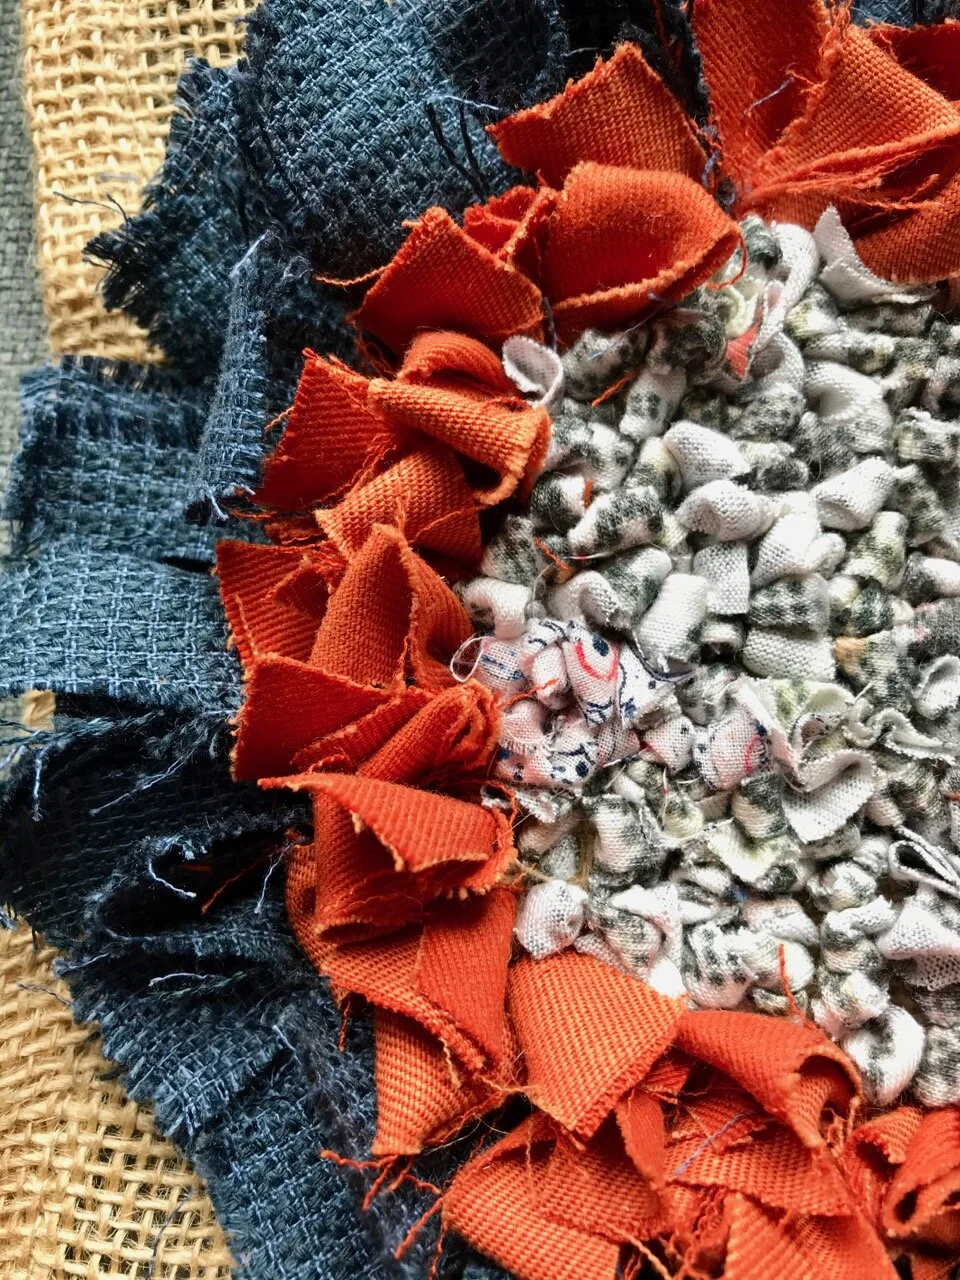
the completed article
a closer look at the three rag rugging techniques

I’ve now finished my project, and am really pleased with it. In fact I’ve already looked out what my next project might be, and one of my next online shops will be for more supplies.

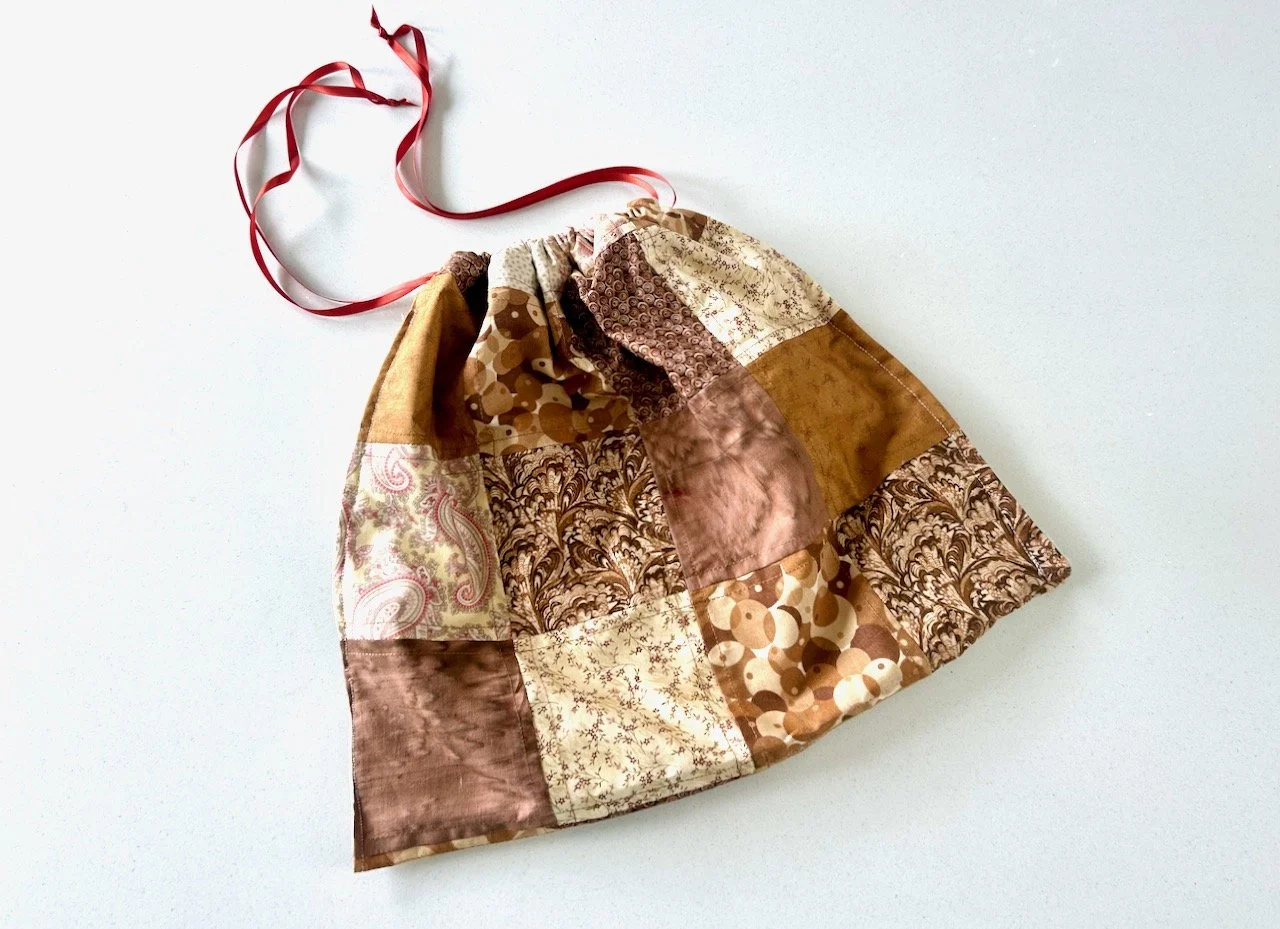
It’s the hessian that I’ll be buying, as I’ve already said one of the reasons rag rugging initially appealed was because of its sustainability. I’m forever rescuing old clothes from the charity bags, to save to cut up and reuse. MOH humours me, but now and alongside patchwork and t-shirt yarn I have a real use for them, and once I’ve worked out what I’ll make next, there’ll be no stopping me.

I'm hooked and need to choose my next project

Just be thankful we’re not wearing hessian, as otherwise I’m not sure you wouldn’t be rag rugged if you ventured too close. And if I’m stuck for inspiration then once again I’ll have my nose in Elspeth’s book.

So despite thinking I didn’t need to learn a new skill, I’m hooked on rag rugging and am perfectly happy with that. What about you, have you picked up a new skill, even if you didn’t think you had time, needed or wanted one?

* With thanks to Ragged Life for introducing me to a new craft, and providing the online tutorial and materials for the purposes of this review.
PoCoLo

Paisley patterns in the Library

This weekend we’re not going to Devon. It’s how life is right now, but thankfully we have been to Devon many a time, and so instead I’m sharing some photos from a previous visit. This visit was from a visit in 2016, and while MOH and my SIL and her husband went for for a walk over the Moor, I opted for what turned out to be a more sensible trip to Killerton.

The plan was to meet in the pub for lunch, which still happened, though my morning was spent much more relaxed than theirs. I explored the house, spent time reading the books in the library - yes, the actual books, sitting on the actual chairs and actually pretending it was where I lived.

NOT A BAD SETTING

NOT A BAD SETTING

In fact I probably got a little too comfortable, but in my defence it was a great book, and there was no better setting for it. But what about the paisley?

I’ve never really given them much thought, well apart from avoiding them on Liberty fabrics as I grew up, not something I’m sure I’d do now. The origins of the motif, that is instantly recognisable, can be found in the ancient civilisation of Babylon under the rule of kings such as Nebuchadnezzar. Paisley, is of course a small Scottish textile town, and had I had more time I would have read the whole story of its connection with this instantly recognisable design.

I left realising that there’s much, much more to Paisley, and you just thought I was browsing books in the Library didn’t you?

paisley in the library
a paisley border
paisley waves
crossing paisleys

I did finally manage to tear myself away, and I was hooked. There is of course plenty more to see, including a tour around the gardens, which I also love. While in the gardens, the skies grew black, I knew I was too far away from the house to make it back as it started spitting so sheltered under a large tree. The weather quickly passed and off I headed to the pub, only to sit there alone, for longer than I’d like.

They arrived eventually. They’d been caught in the rain, and got soaked through, so had headed back to get changed and then set out to meet me for lunch. The mobile signal is bad in Devon, but they’d not thought to call to change the venue to save their mileage, clearly soggy brains!

PoCoLo

A photo of mine on the wall with help from Photowall

*This post contains an item gifted by Photowall

Every now and then I surprise myself and take a photo, or a series of photos that I’m incredibly proud of. And this is one of those times. Or rather, this is five and a half years after one of those times.

Since our holiday in Cornwall back in 2014 (yes, really) I’ve been thinking about framing one of the pictures from our holiday, but never got around to doing it anything about it. I haven’t even got as far as sharing the pictures here either. Sometimes that happens.

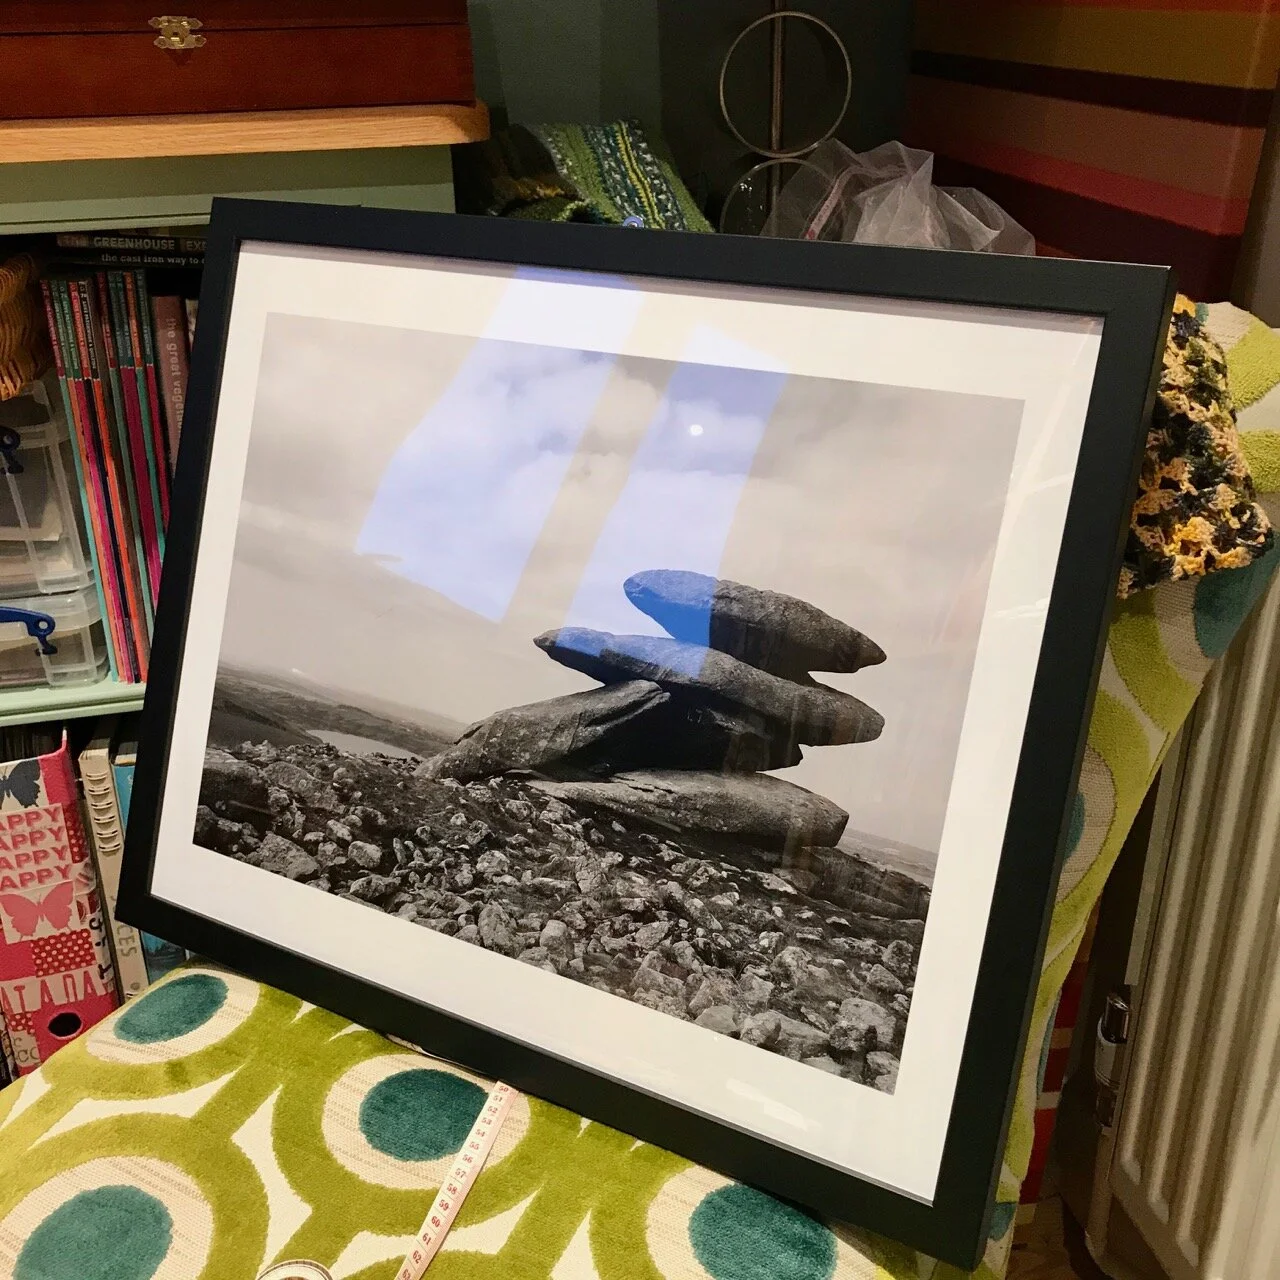
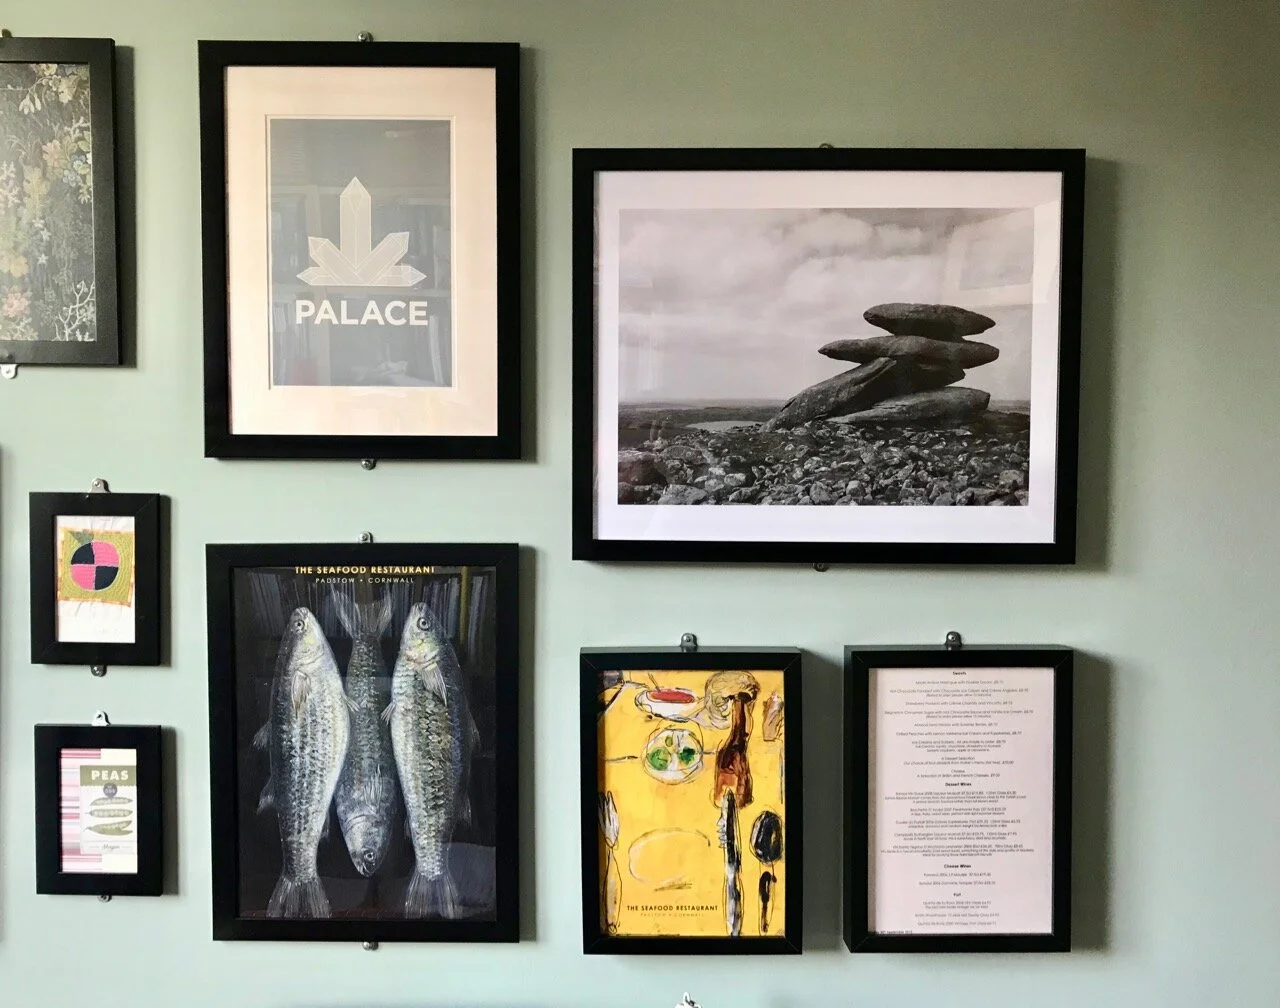
My photo and a stunning picture with help from Photowall

So when Photowall got in touch I spied the push into action I needed. And I think it’s turned out rather well.

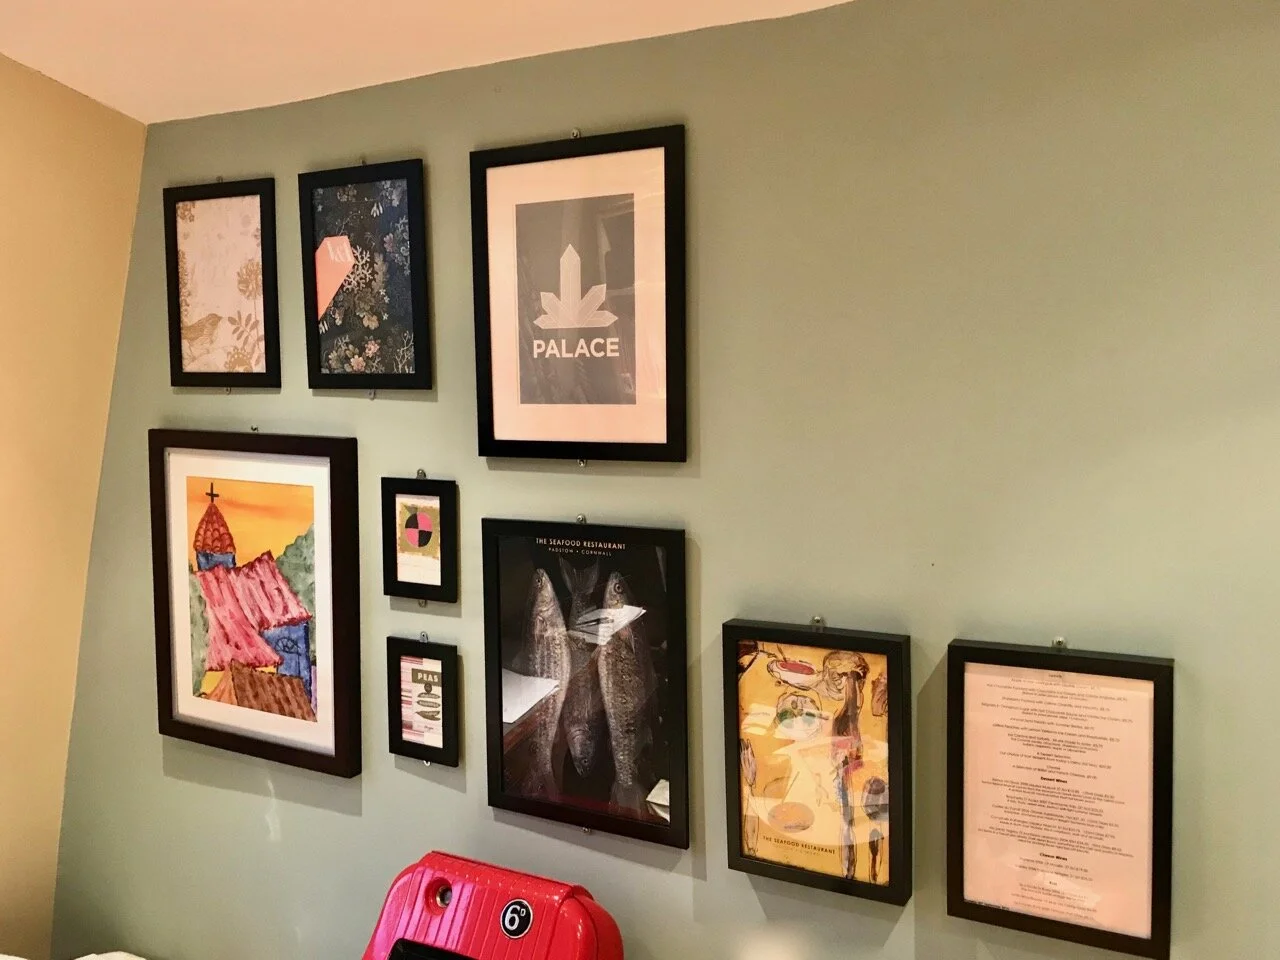
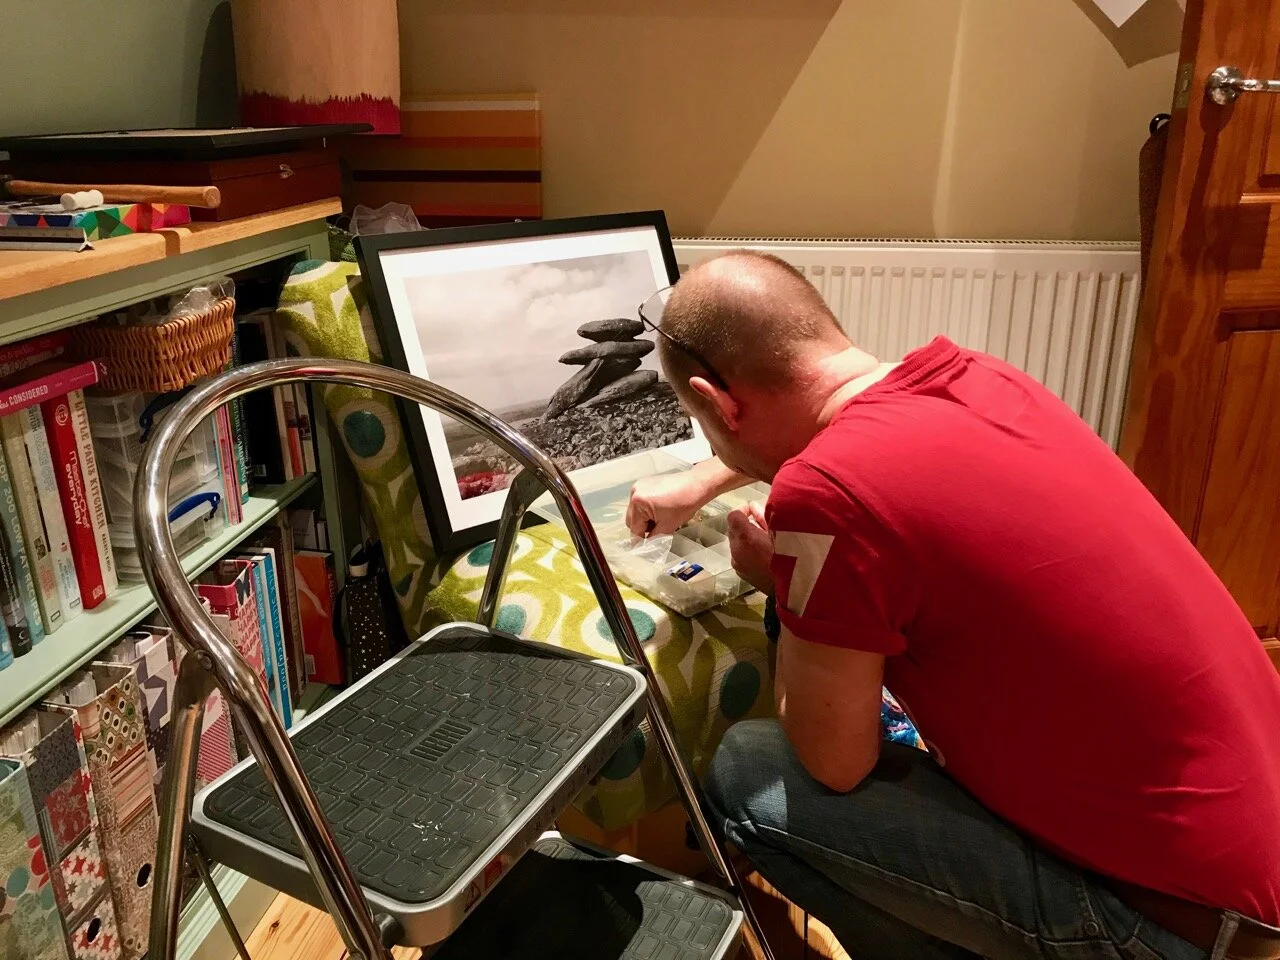
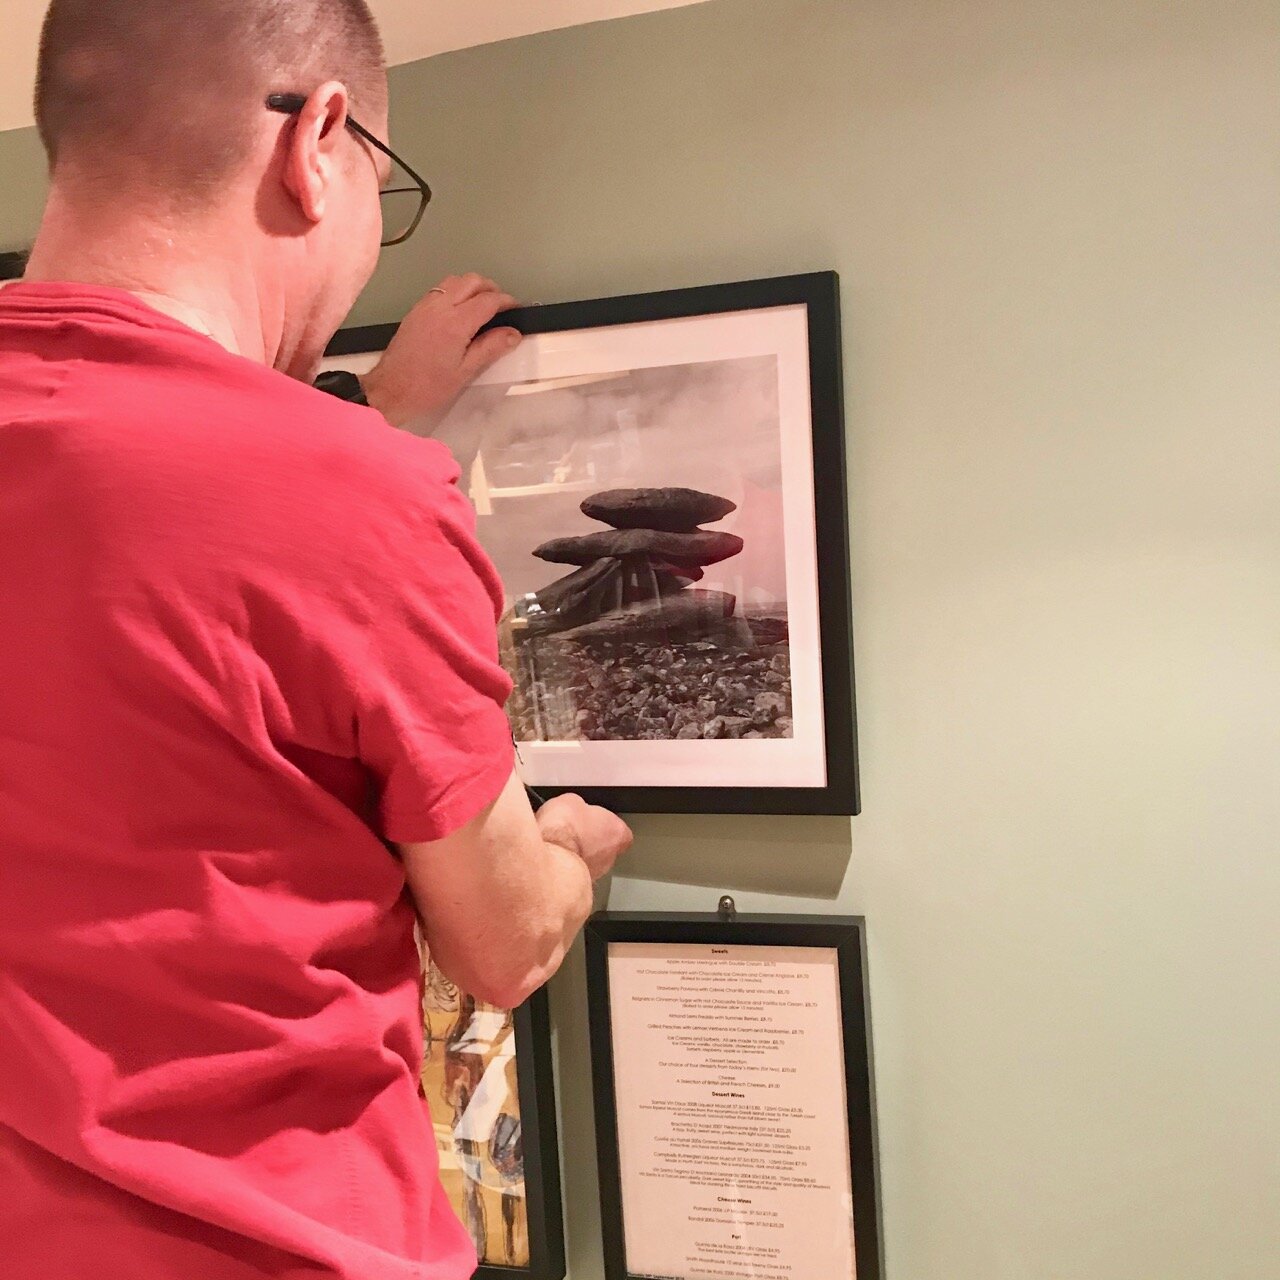
The thing is, I even knew where the picture would go. On the gallery wall in the study-come-craft-room, which after a strong start was stalling. It’s a wall that I’ve been keen on creating for a while, and my plan to use black frames to unify the small space was working well. Of course, me being me and our house being our house, it wasn’t quite that straightforward. The gallery wall is actually on a sloping wall, which means adding some additional fixtures to the frame, so the top and bottom are attached to the wall.

a part-finished gallery wall
measuring up and finding the right screws

MOH is used to this now, and I like to think enjoys the challenge! Or that’s what I tell myself anyway.

getting it level

And it did turn out really well.

In fact the whole process was super easy. From uploading my picture on the Photowall site, choosing the size and cropping the image to work properly. My image was actually a colour image, and I converted it to black and white on the site too - it looks so much more dramatic doesn’t it?

My biggest dilemma was which size to choose - this is 50cm x 40cm - and the site guides you through creating your masterpiece, and if you’re not after framing one of your own masterpieces then there’s plenty of wall murals or wallpapers to choose from too.

It was quick to arrive too, the order was with me within a couple of days. If only I’d know that after our holiday in 2014, I could have been enjoying my picture on the wall for much, much longer already.

stepping back to admire the finished effect

Try it for yourself with a 25% discount

Photowall have offered you a 25% discount, so you can try it for yourself. Just enter the code lifeat2021 when prompted, and you can use the code as many times as you want for a month after the date of this post. And you know what, I can’t wait to see what you create.

* With thanks to Photowall for transforming my photo into a stunning picture for my wall for the purposes of this review.