


Turning a negative into a positive

Today I'm handing my blog over to my blogging friend Louisa who's sharing what she's been up to lately and her plans for the future. 

Hi there! Have you ever had something happen, that at first glance seems like a total disaster but upon reflection you can actually turn into something really positive? This happened to me recently and Stephanie has kindly asked me to write a guest post talking about what occurred and sharing my plans for the future.

Until recently I had a blog called Life As We Know It. For 2 years I updated and shared my family life with all it’s ups and downs. Then, I suffered every bloggers worst nightmare when I lost my blog despite my host’s best efforts to repair it. It really hit me hard.

After a little wallow I had a light bulb moment and decided to use this to my advantage. With a clean slate I could start again with a clearer idea of what direction I wanted to go in. Following some brain storming I purchased a new url and my upcoming new blog Inside Out was bornIt has the tag line mind, body and home. I’m aiming at the slightly older reader and plan to cover topics such as interiors, renovations, home and garden, body image, mental and physical health, style and beauty (for those of us who are the wrong side of 39) and lots of crafting ideas and tutorials.

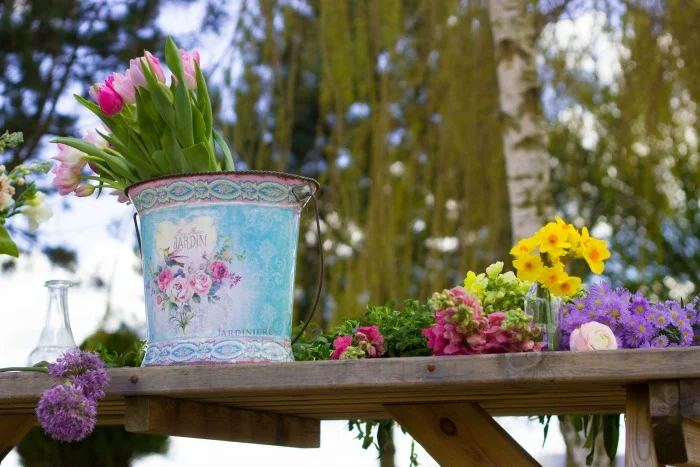
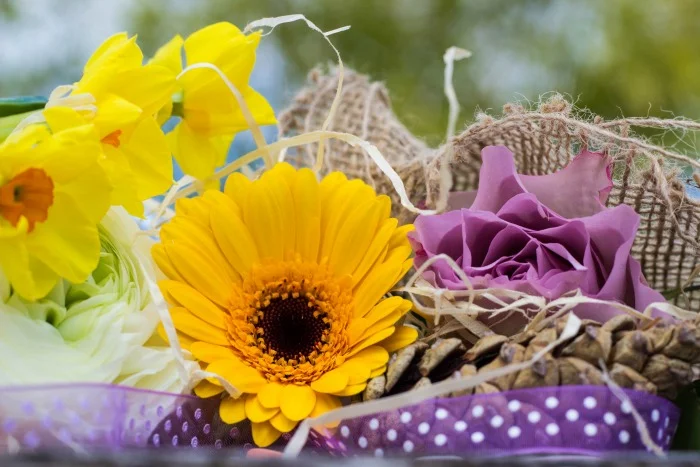
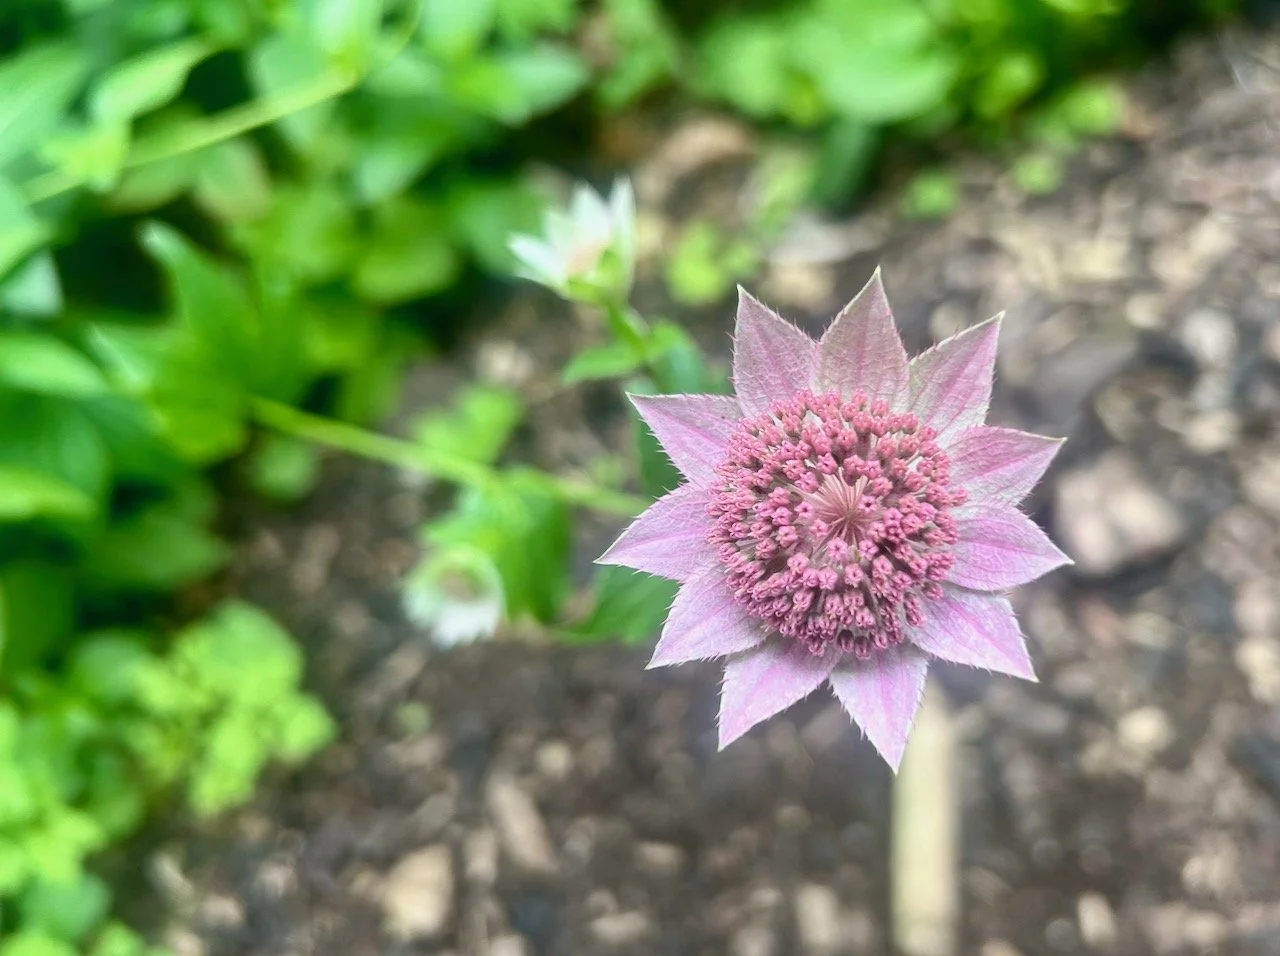
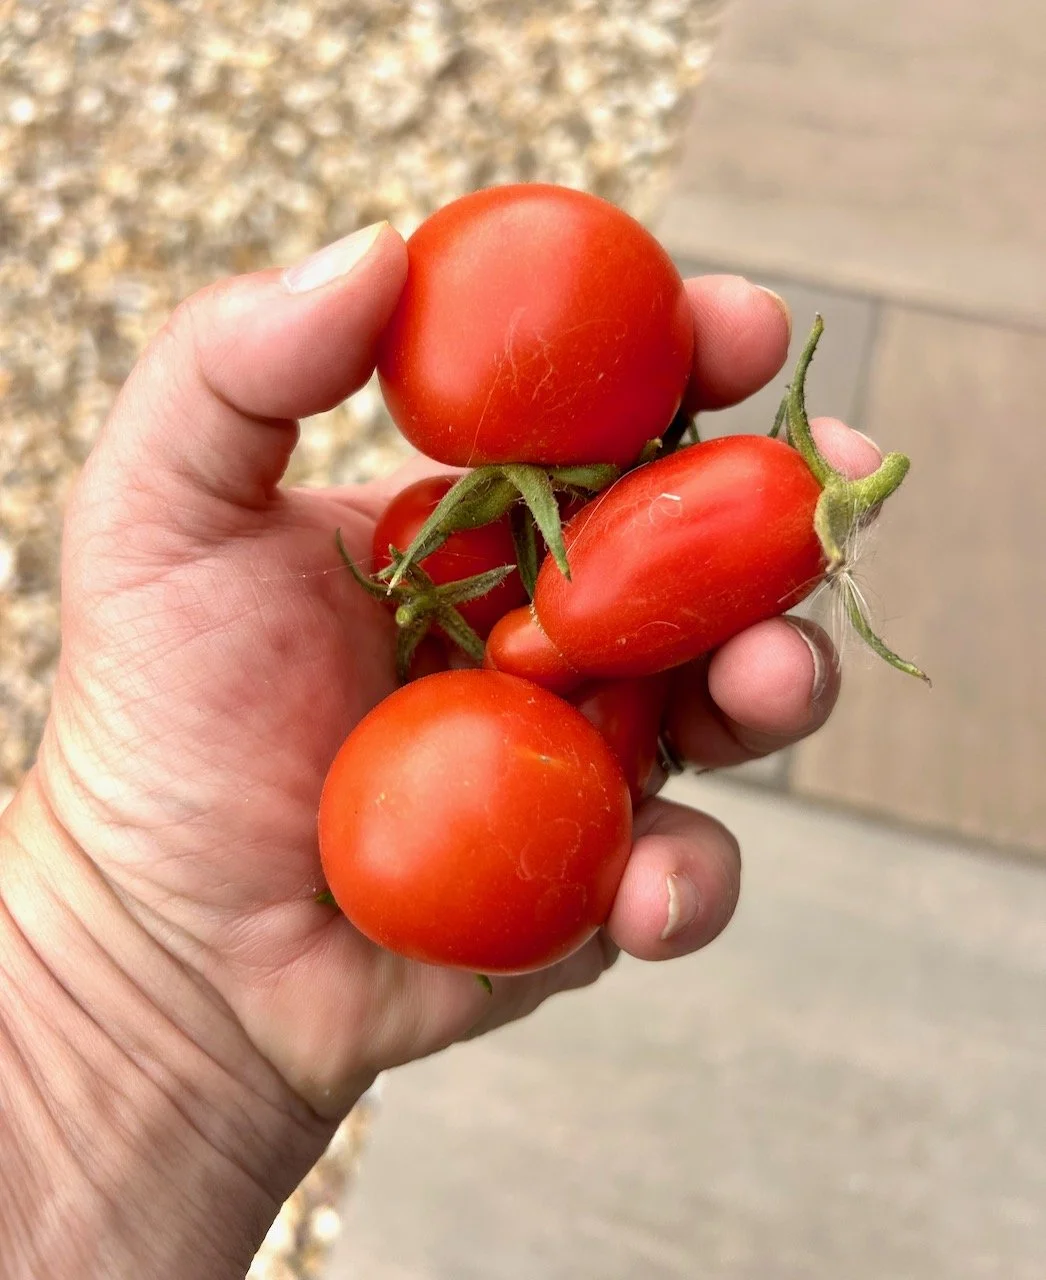
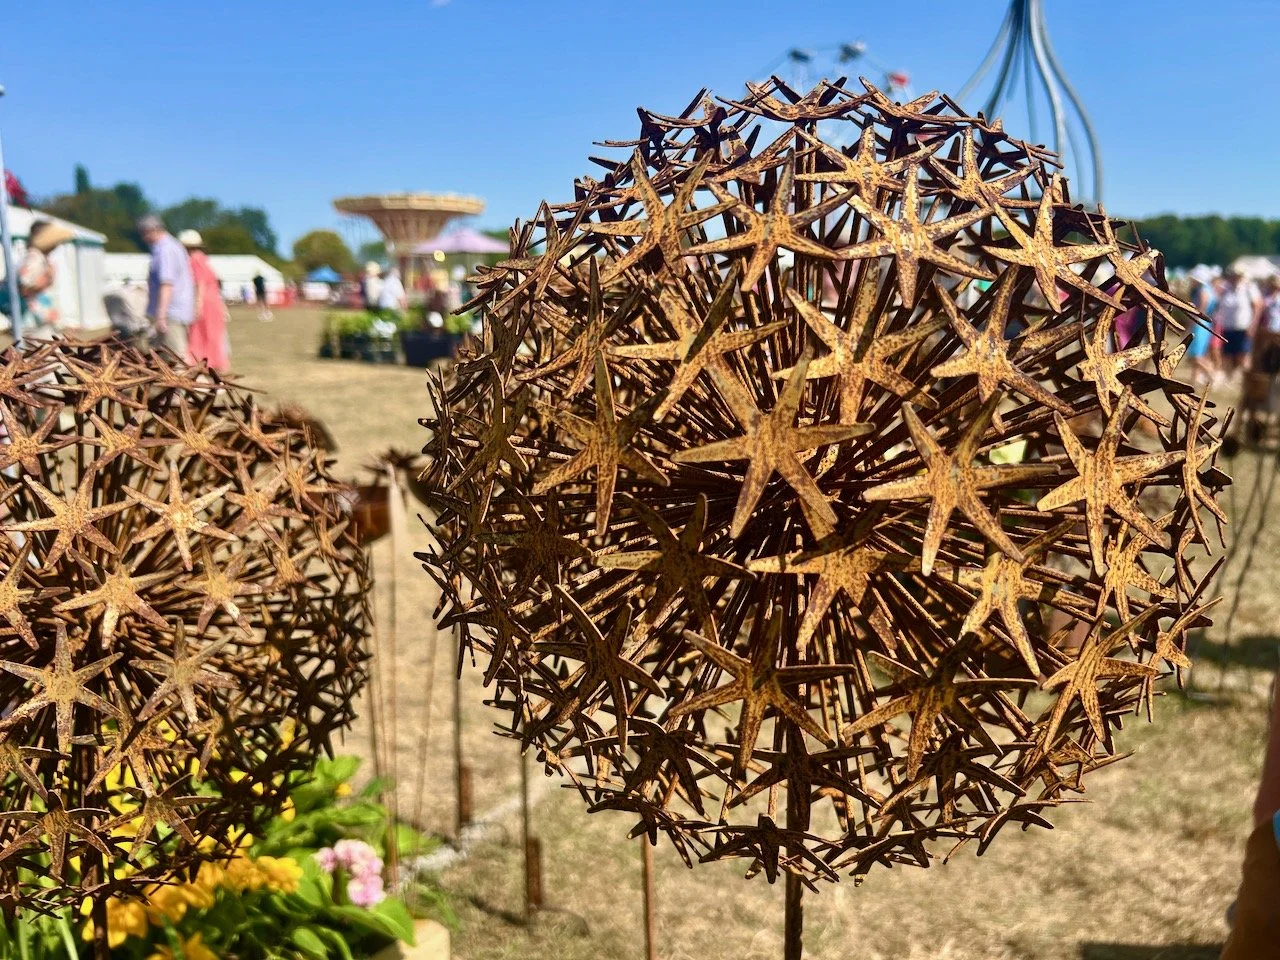
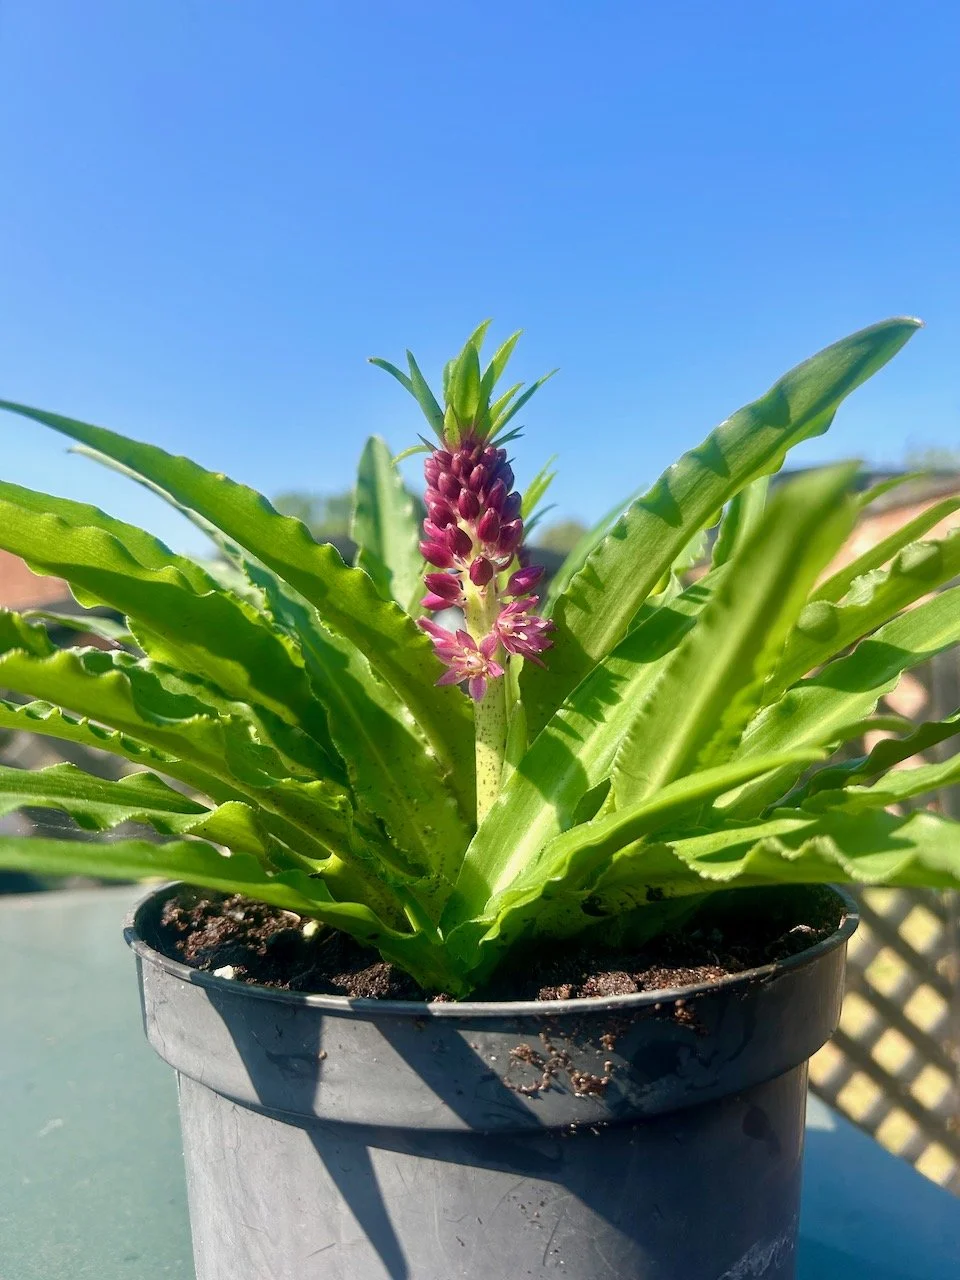
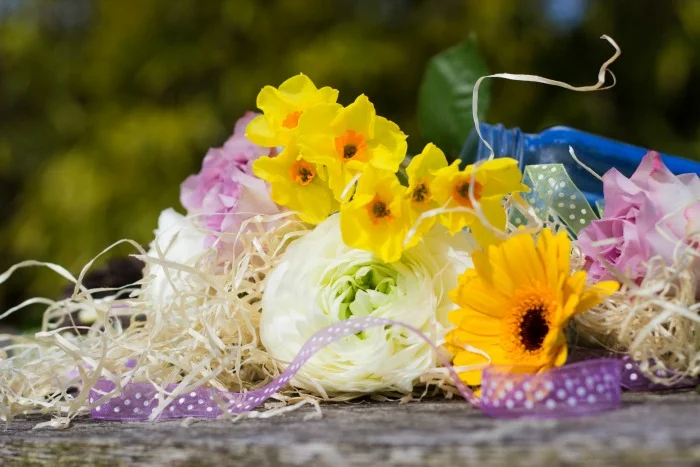
In other news despite being on crutches, I managed a weekend away to learn how to use my camera in manual. I learnt so much and hope to persuade my other half that I need a macro lens. Here are a few shots to show what I learnt...
On the home front the kids and dogs are delightful at the moment which is slightly worrying. I wonder if they are lulling me into a false sense of security while they plan world domination in secret? They are being very patient with our ongoing renovation programme. This week we had a new log burner fitted which was a cause of great excitement! Junior loves making YouTube videos at the moment and has just declared he is going to do a house tour video. It’s disconcerting when your kids are more tech savvy than you isn’t it?

The date of my new publication depends on whether I have to have spinal surgery, I don’t want to start and then have to take a few months off to recover. I feel like I am 900 years old at the moment. I just want to get fixed and start writing again! I have really enjoyed writing this post, I miss blogging very much.

I do hope that when I do start up again you will come over for a read. I’d love for you to comment with any suggestions of things that you’d like to see or topics that you would like to read about? Thank you Stephanie for letting me give a little update explaining the sudden disappearance of my old blog and how I am turning a negative into a positive. I hope you have a great holiday!

Thanks Louisa. I'm looking forward to seeing back blogging, the plans for your new blog sound fab - and fingers crossed for no surgery.  Until Louisa's blog, Inside Out, is live keep in touch with her on Twitter and Instagram.

A tray transformed!

As soon as I'd finished my first Pinty Plus project I was on the look out for what to spray next. I racked my brains, looked around the house and in fact anything that stood still for long enough was a contender, then bing! my next project emerged. 

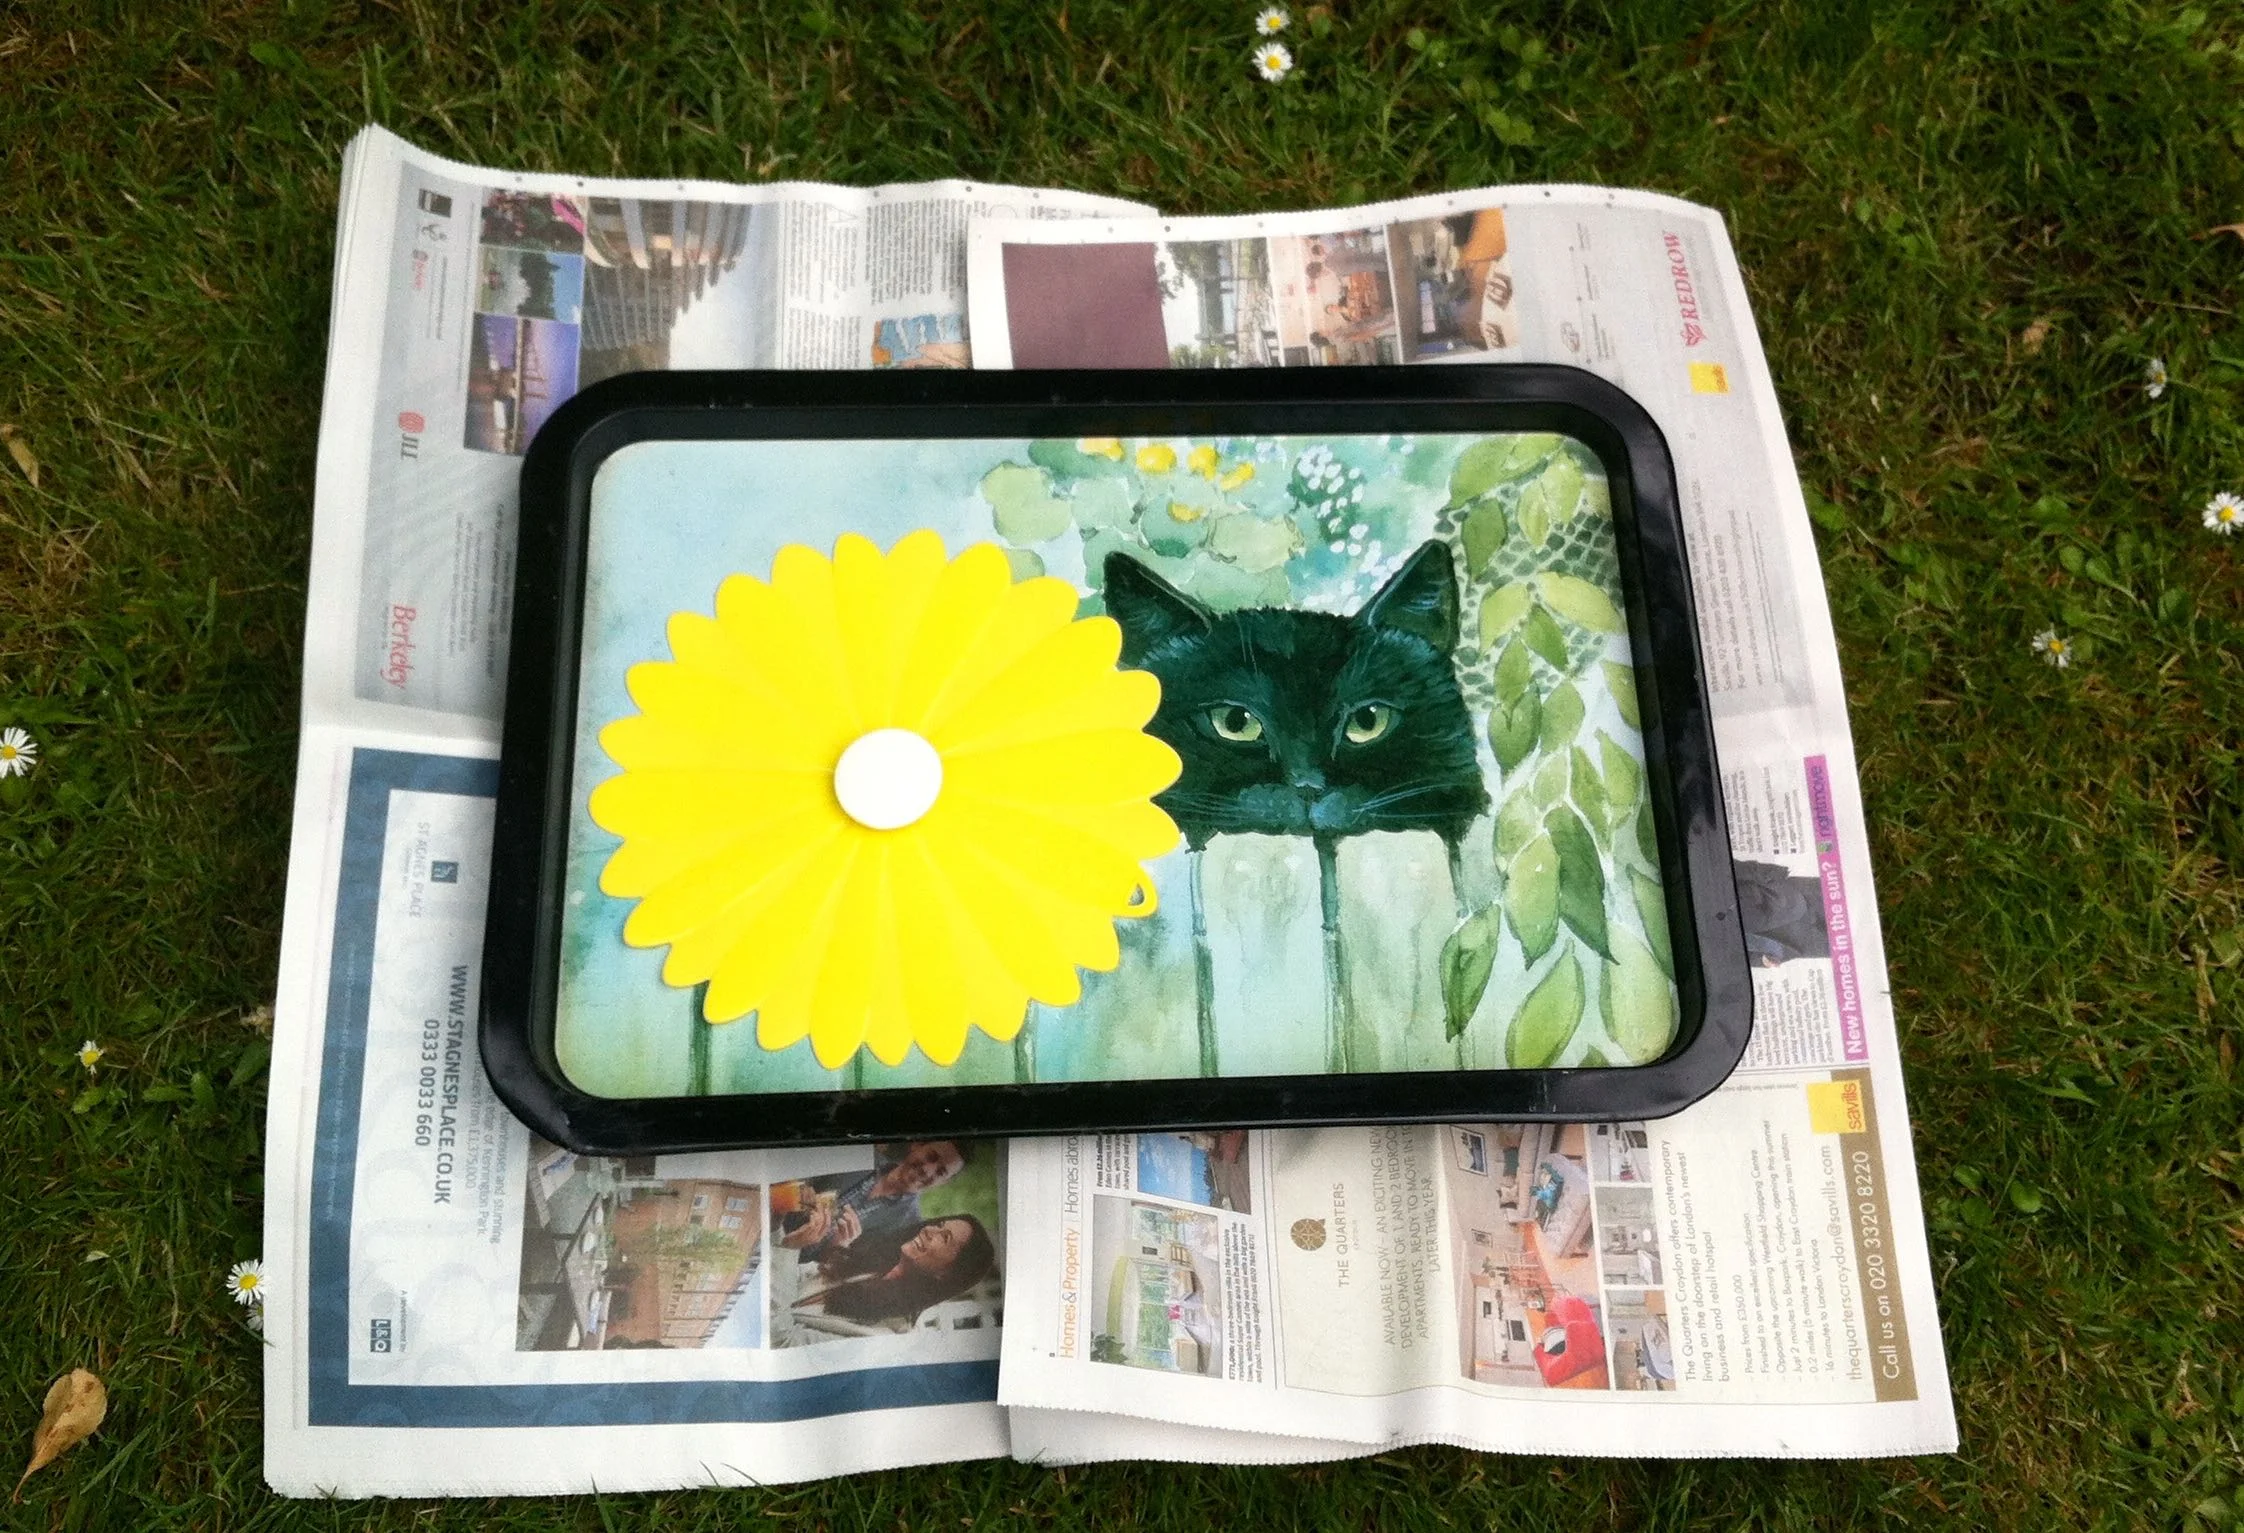
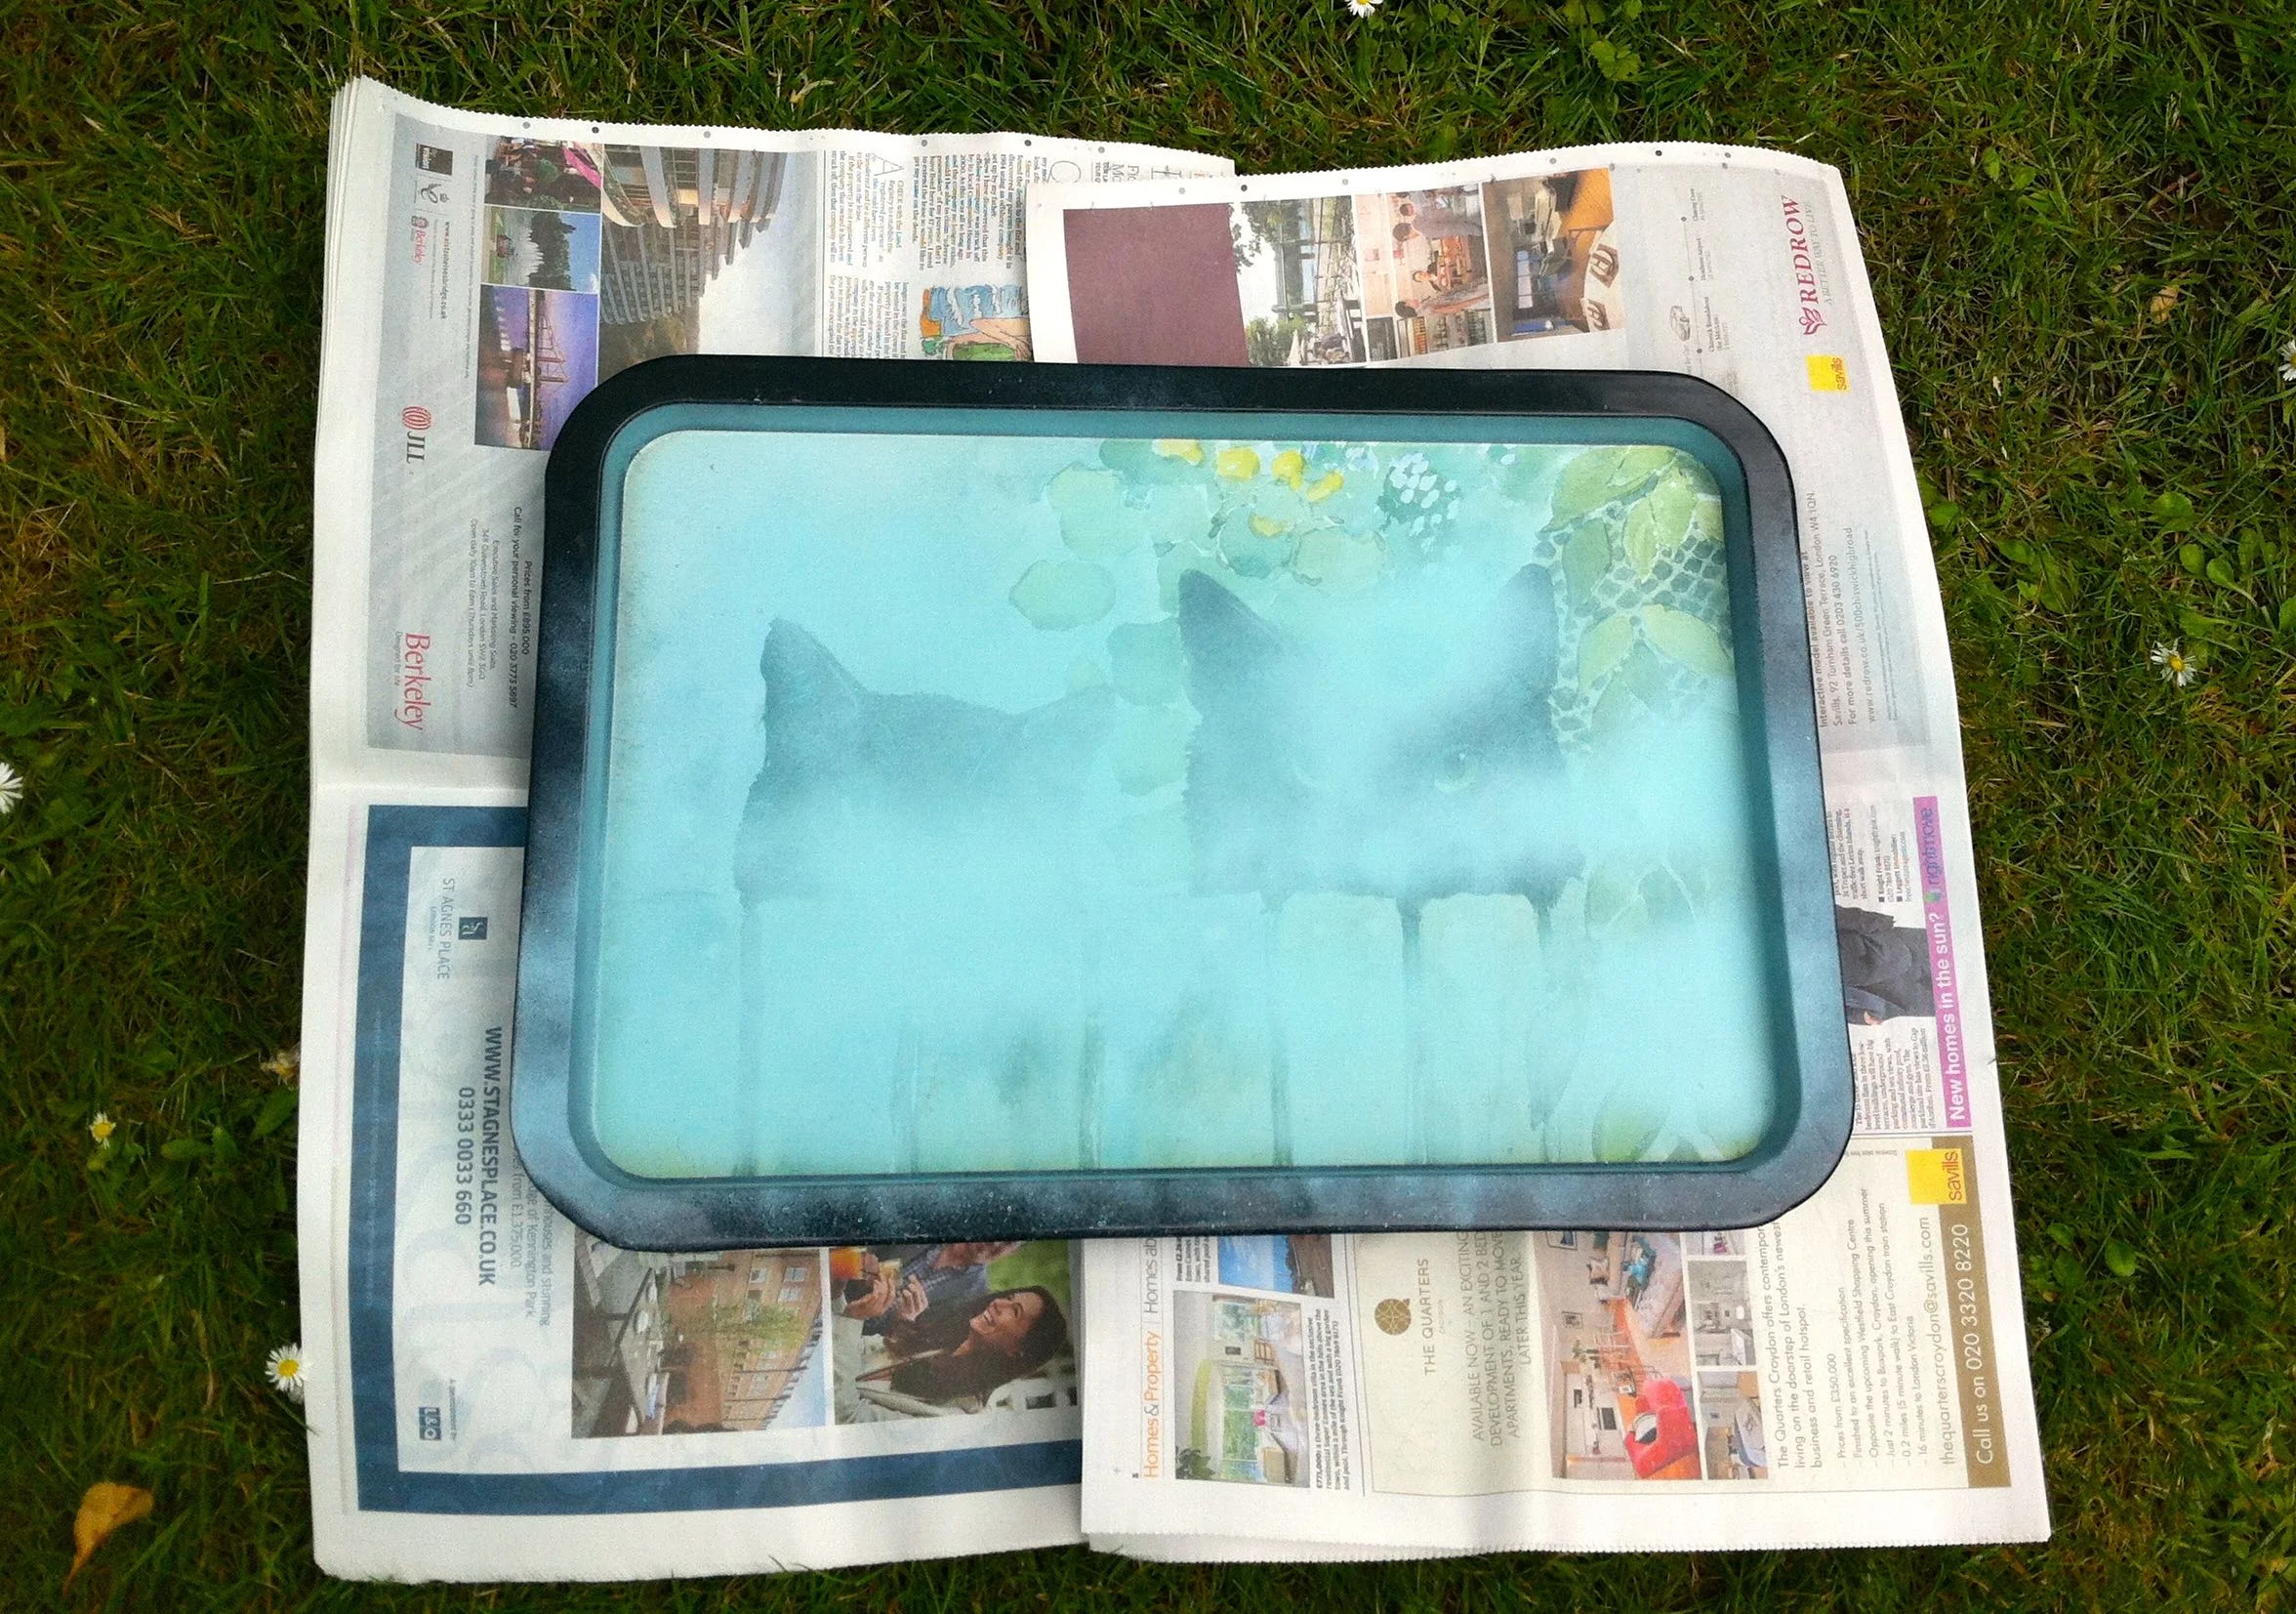
A 1990s tray with two cats looking over the fence quickly became my second Pinty Plus project

Yes, the time was up for this perfectly functional but slightly dated metal tray. It's something I'd had from new and it used to get a lot of use, but rarely does these days. The cat on the right looks very much like my Dylan did and while I didn't think he'd appreciate being covered up, I knew it was time for something new.  He's been gone over ten years, so I think I'm allowed.

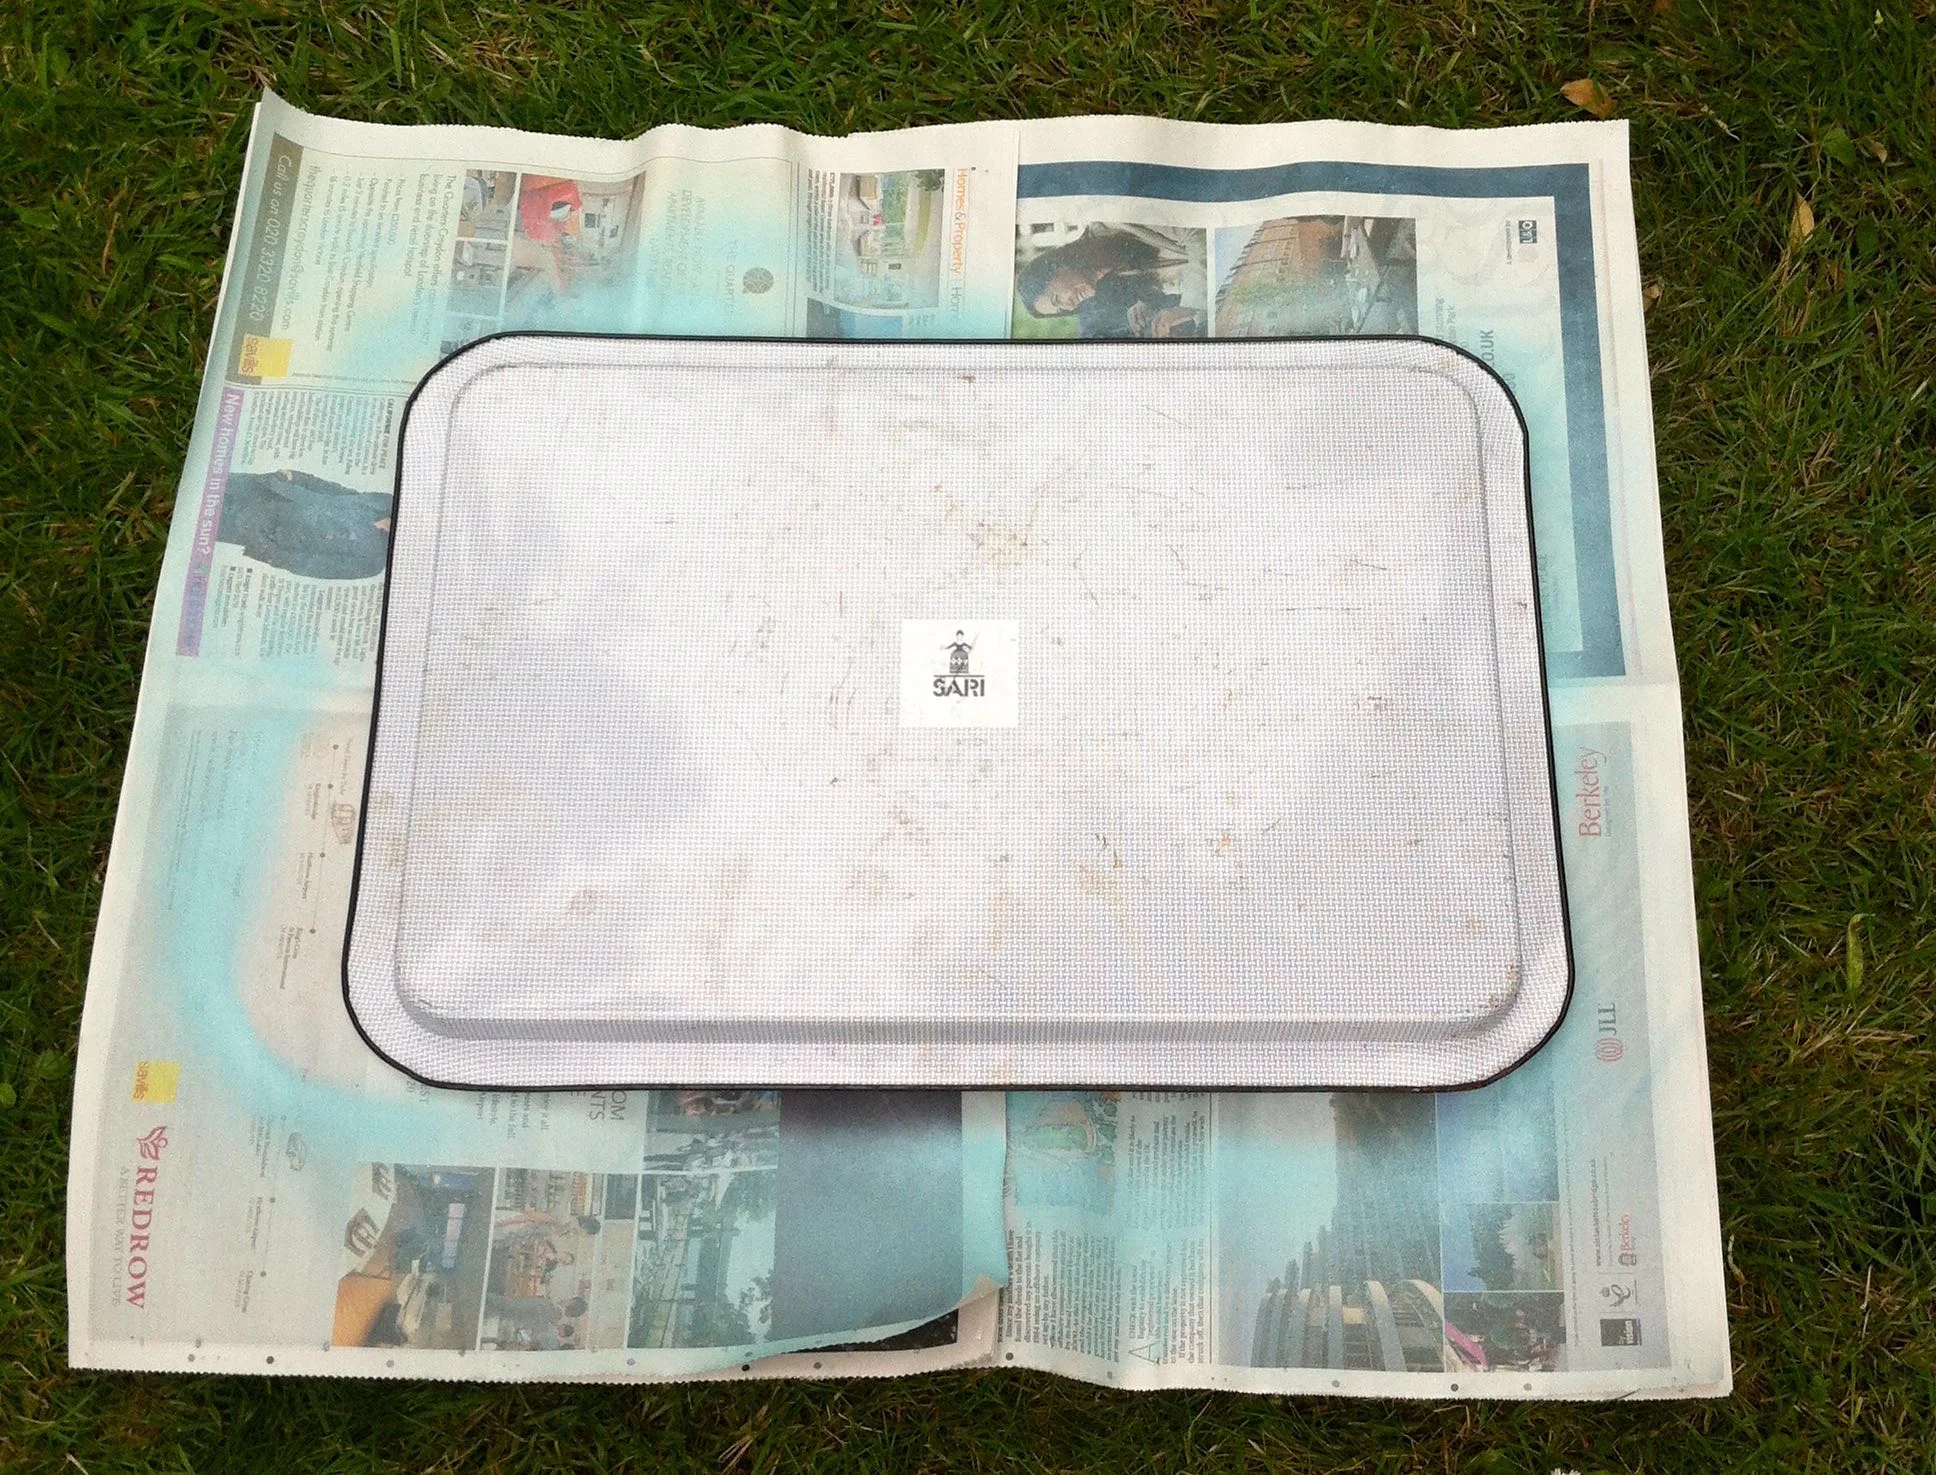
So I set to work. The tray was given a thorough clean before I started. I decided against straightening the bashed up corner (bottom left) as while I've no idea how it happened now, it seemed part of the tray's history.

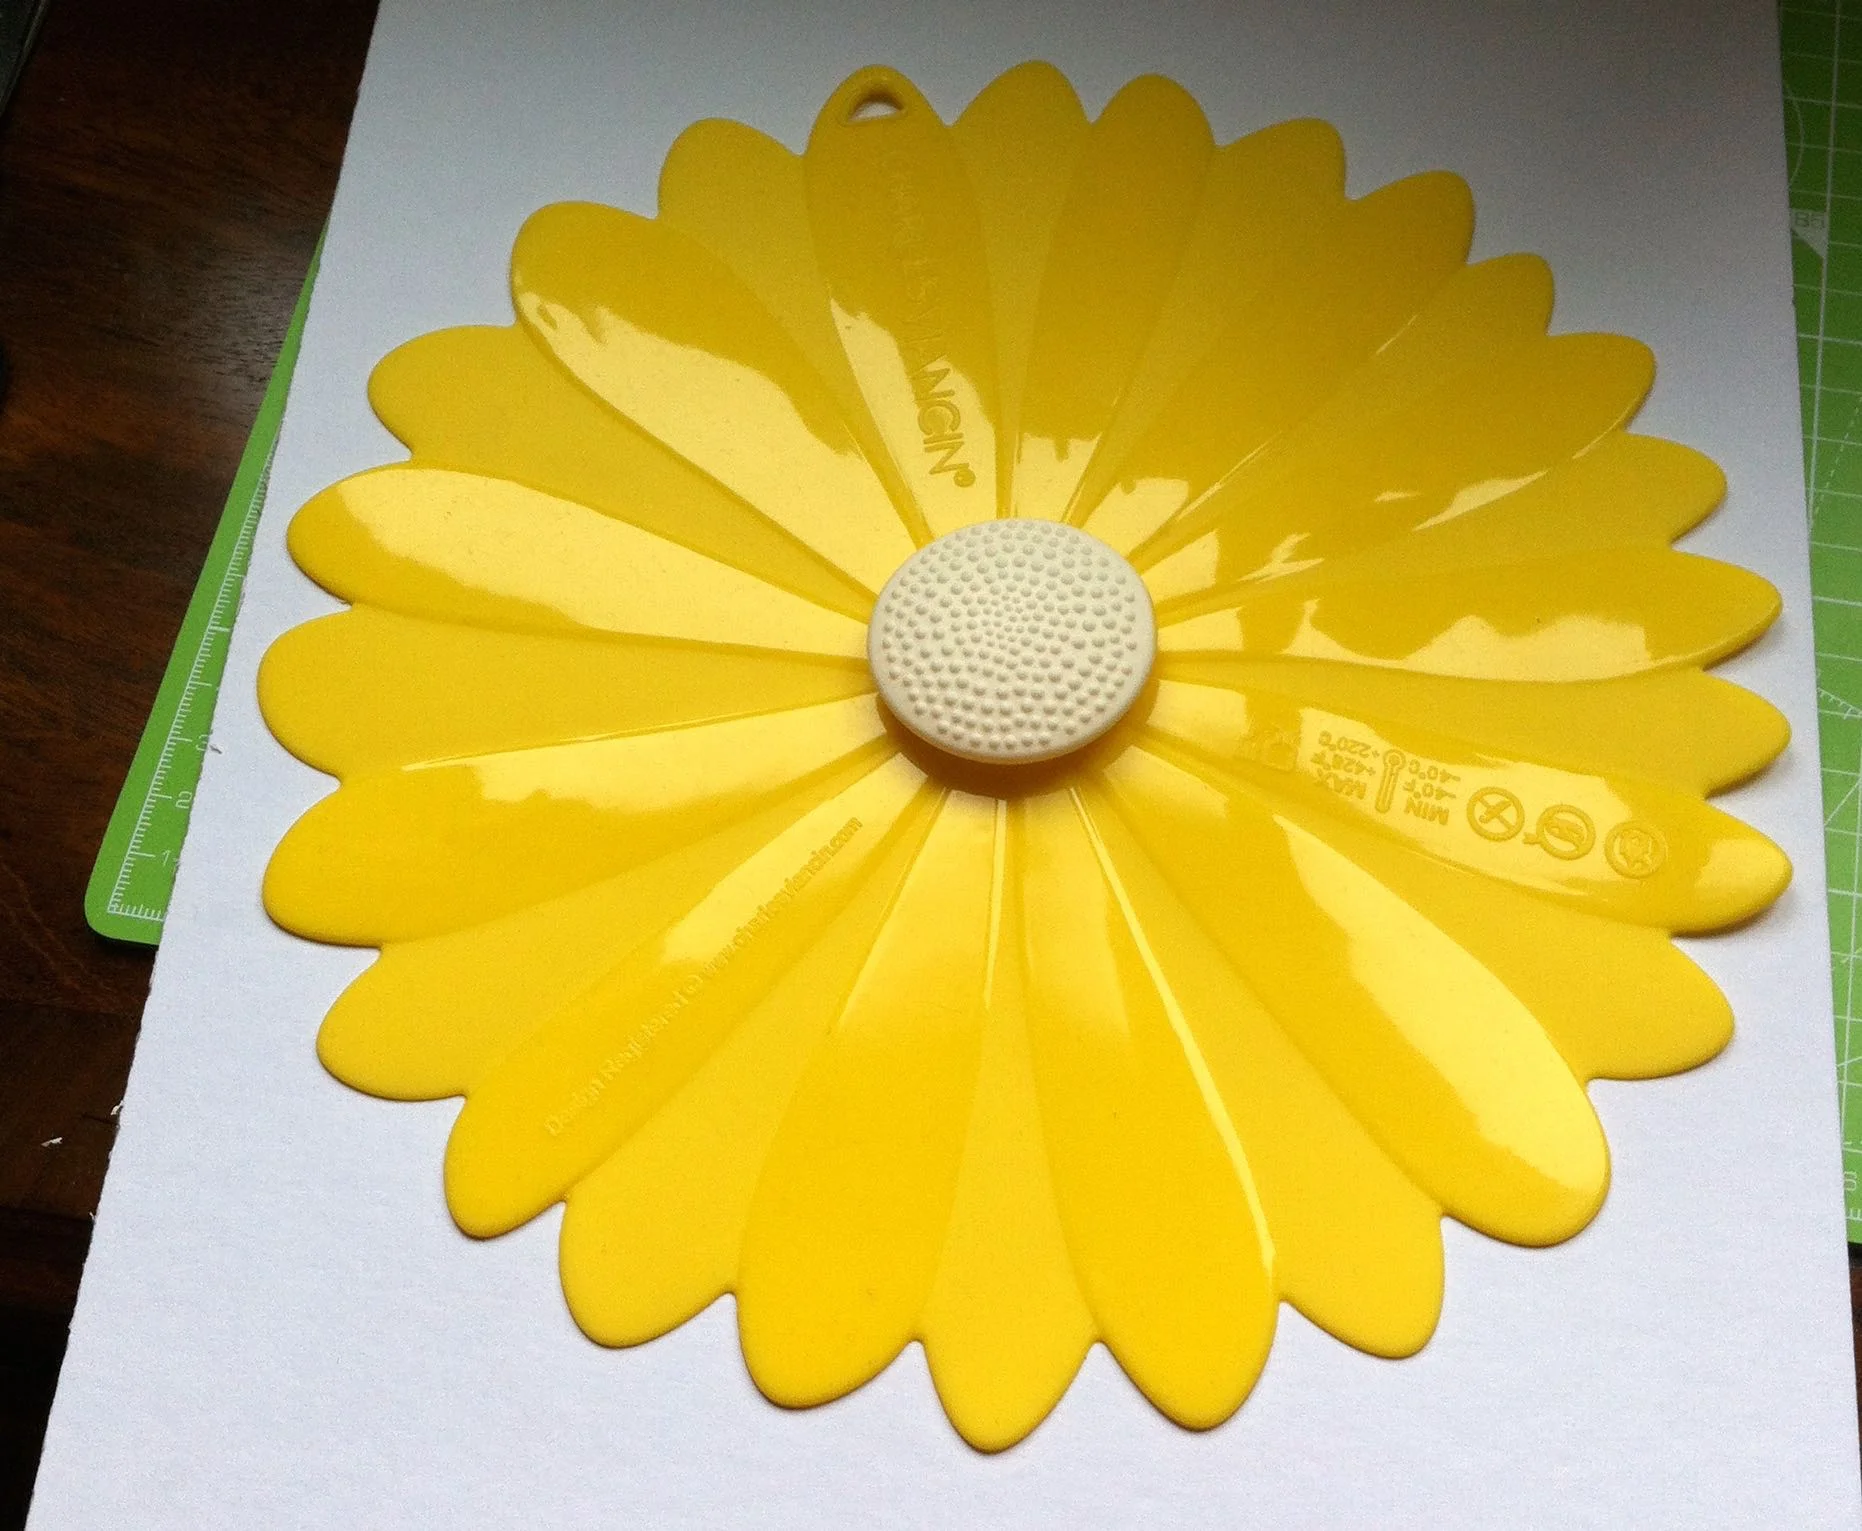
I also knew that I wanted to try something different for this project and planned to add a flower shape to the design.  My silicone lids proved to be the perfect template.

Planning the final look of my upcycled tray

With my plan established I started to spray. 

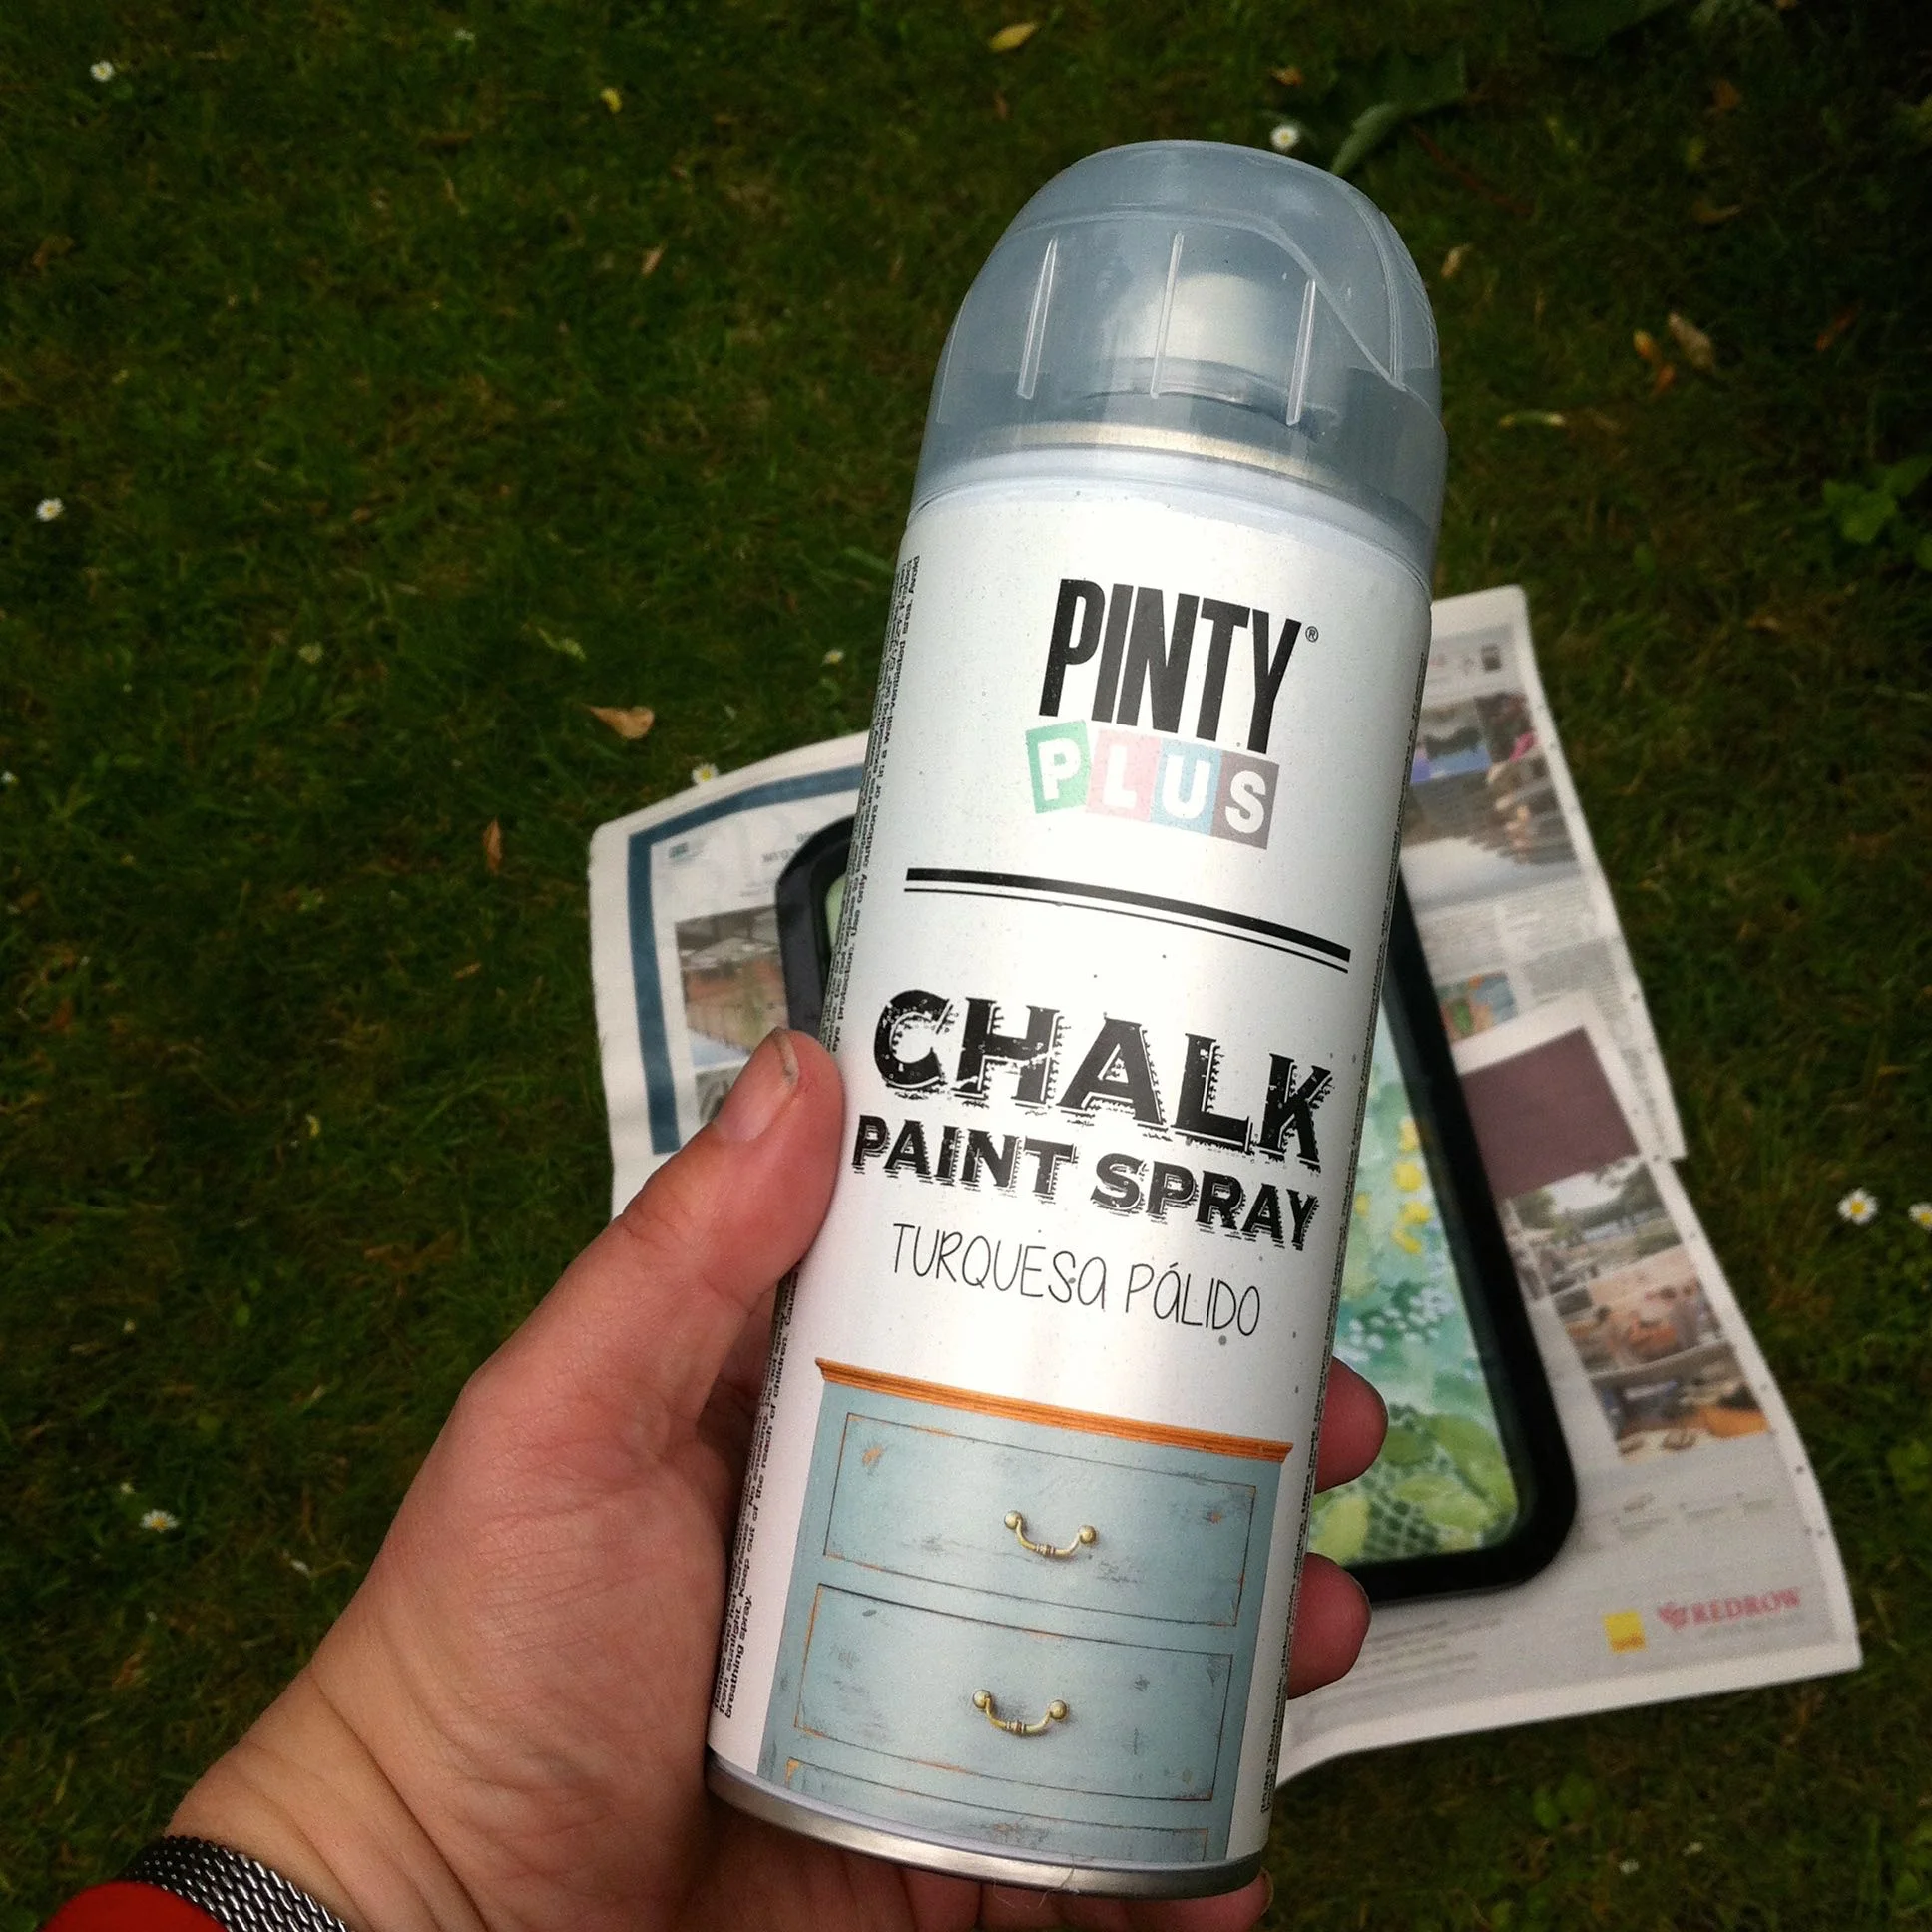
Pinty Plus Chalk Paint Spray Light Turquoise

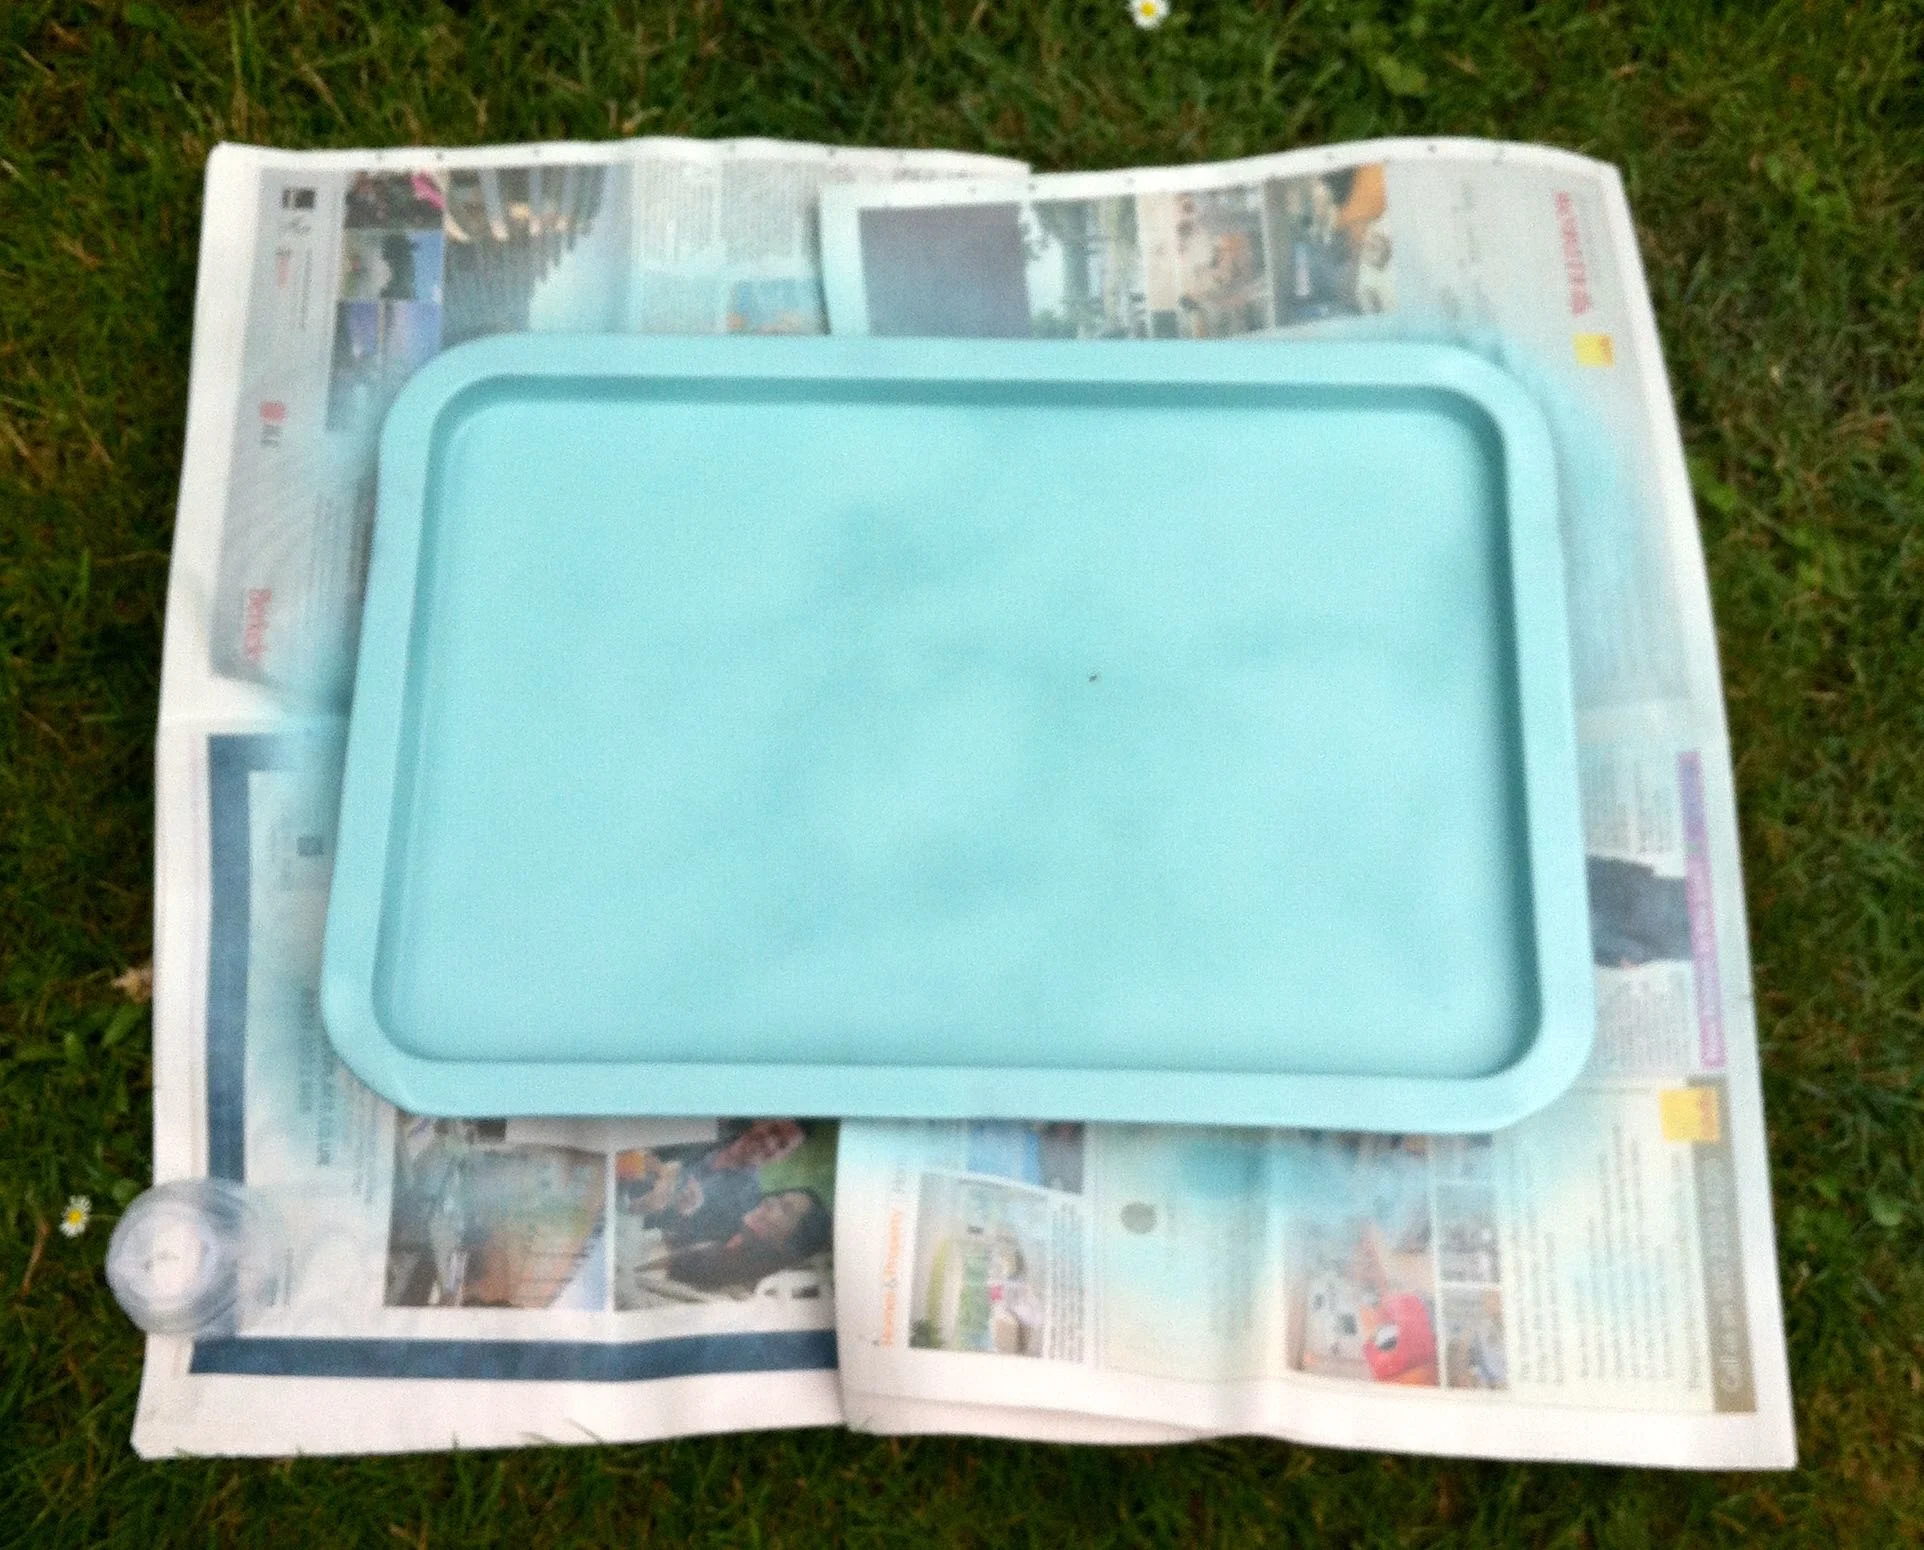
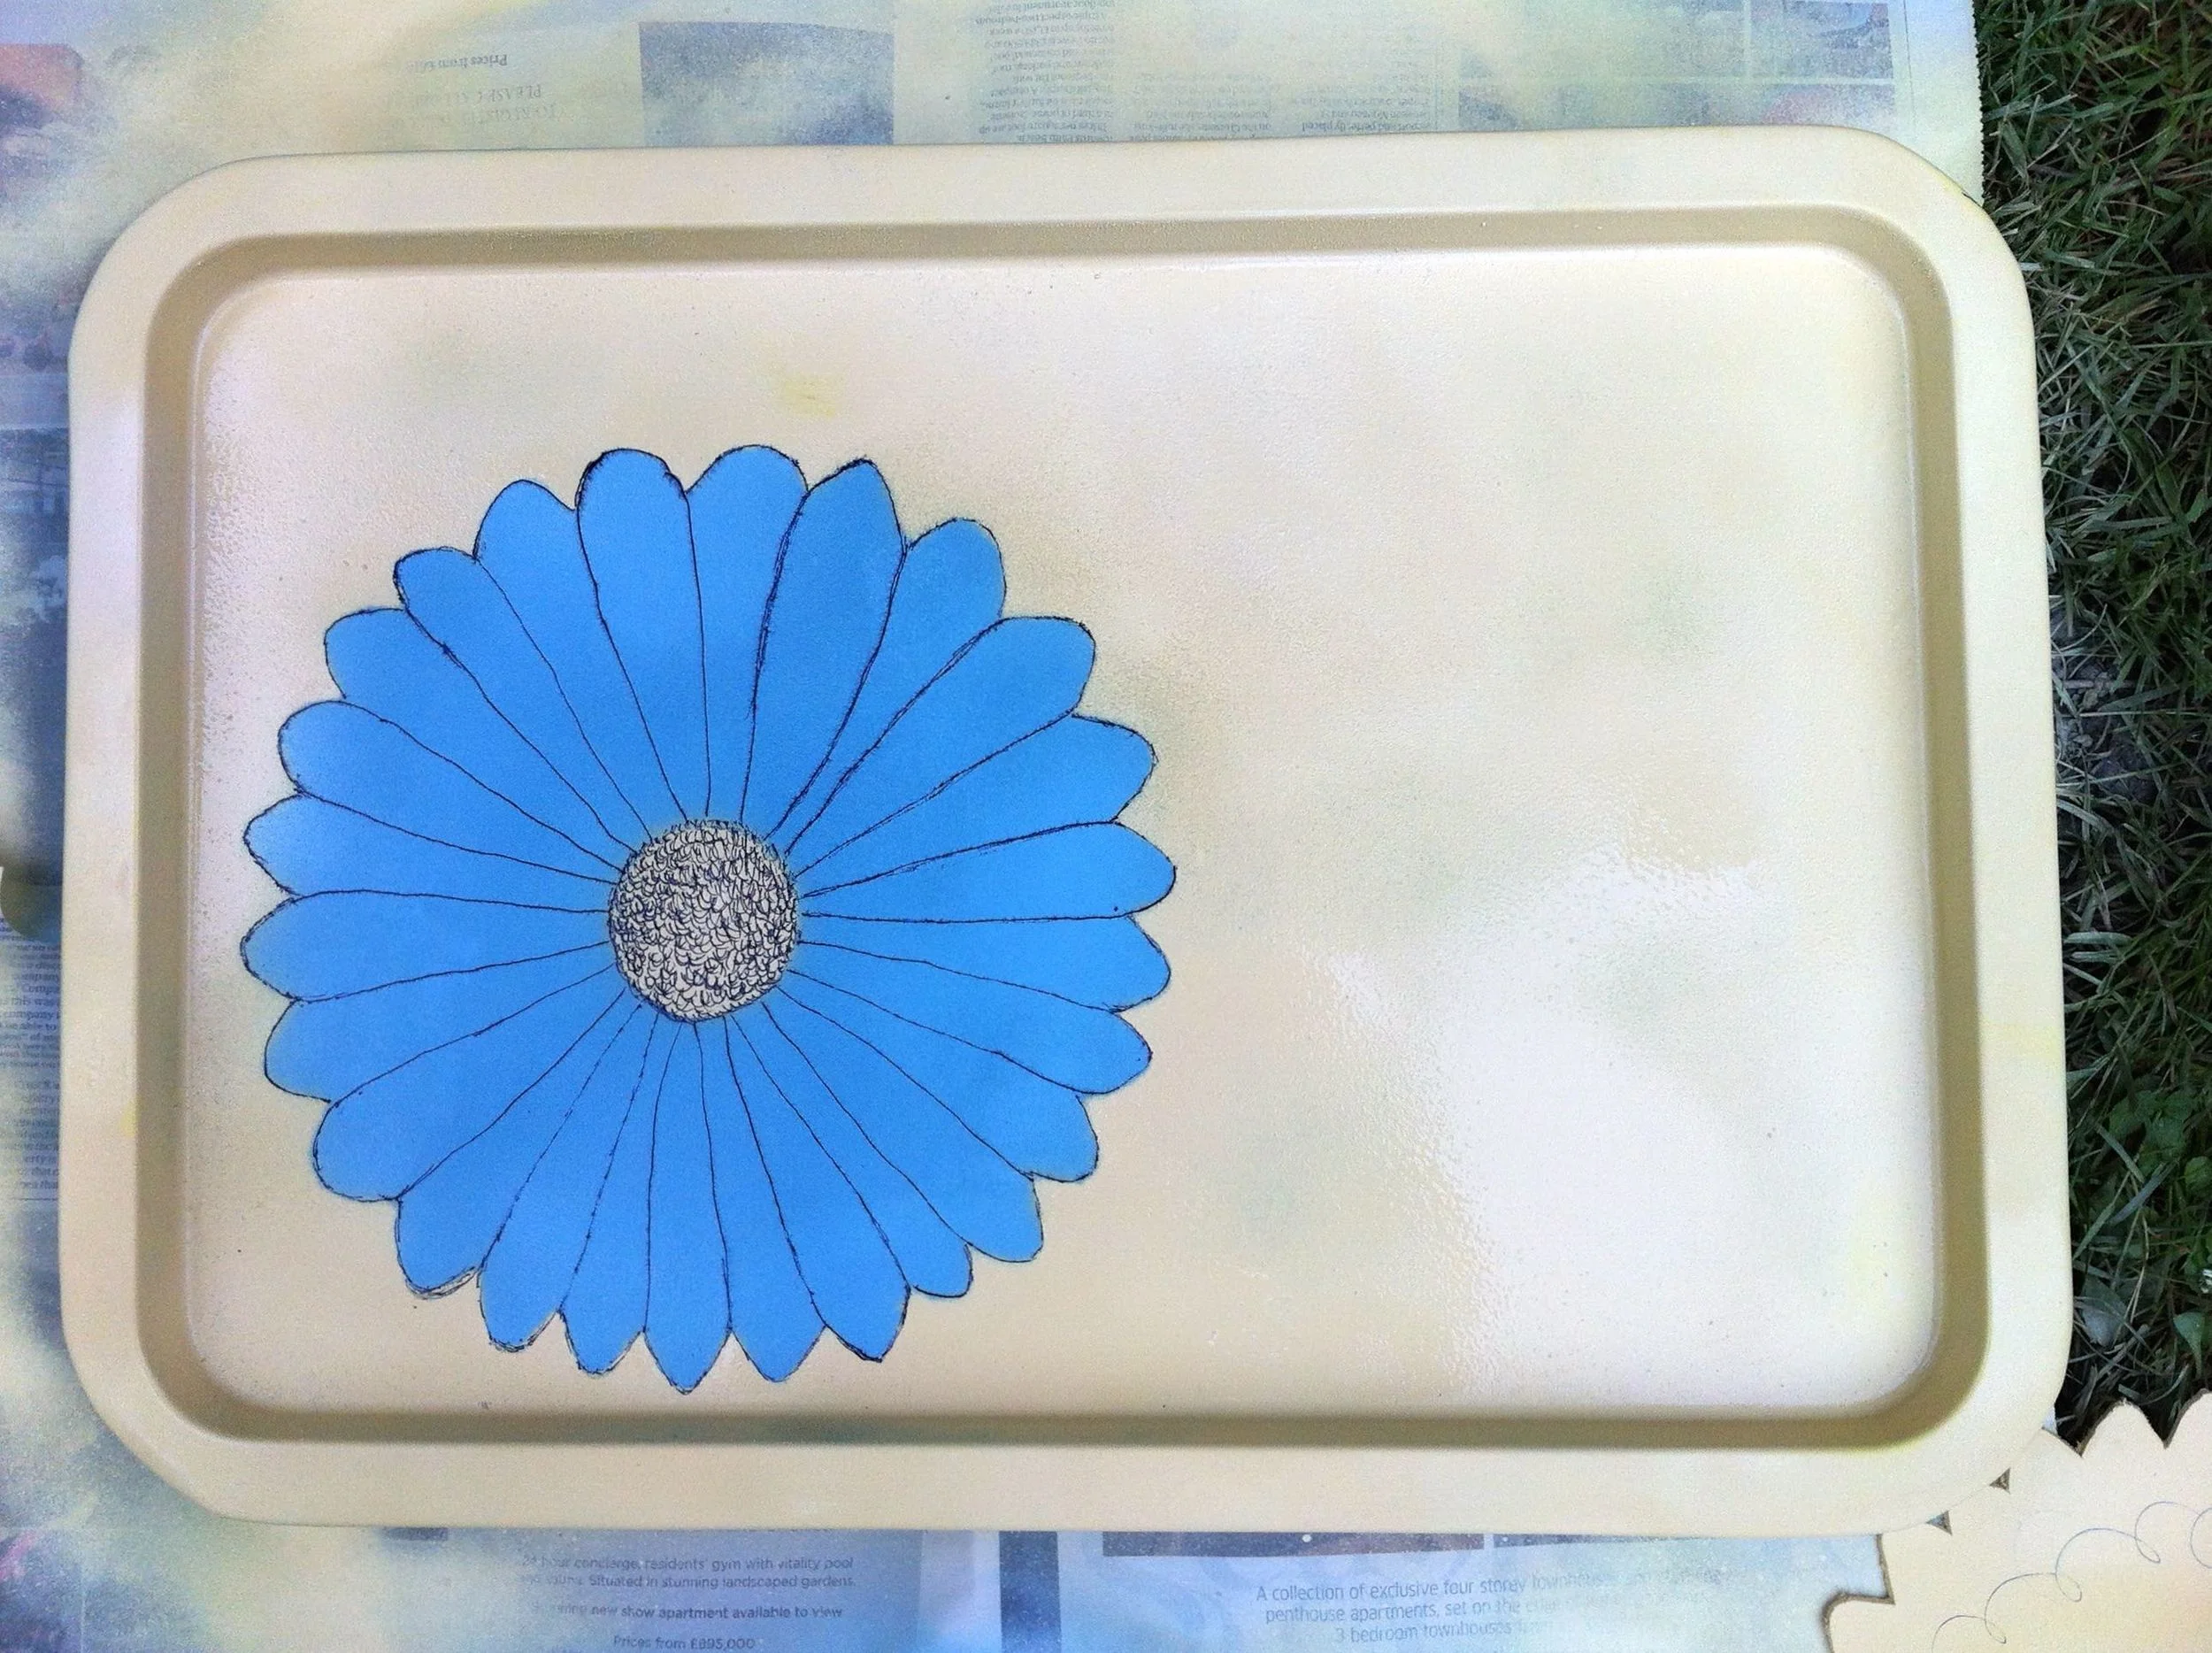
I wanted a blue flower on a yellow tray and started spraying the front of the tray in the same light turquoise that I used on the inside of my sewing box.  I did feel a bit guilty spraying the cats and I'm sure they were giving me a stern look as I did.

Spraying the metal tray with Pinty Plus Chalk Paint Spray
First coat of Pinty Plus Chalk Paint Spray done

With the blue base layer completed and drying I started to make my template. I'd considered using a stencil approach but decided against it as I wanted the centre of the flower yellow too, without any connecting lines. 

Taking the silicone lid I placed it on a thick piece of card - an insert I'd saved from some bedding I'd bought, which I knew would come in handy one day. Today was its day!

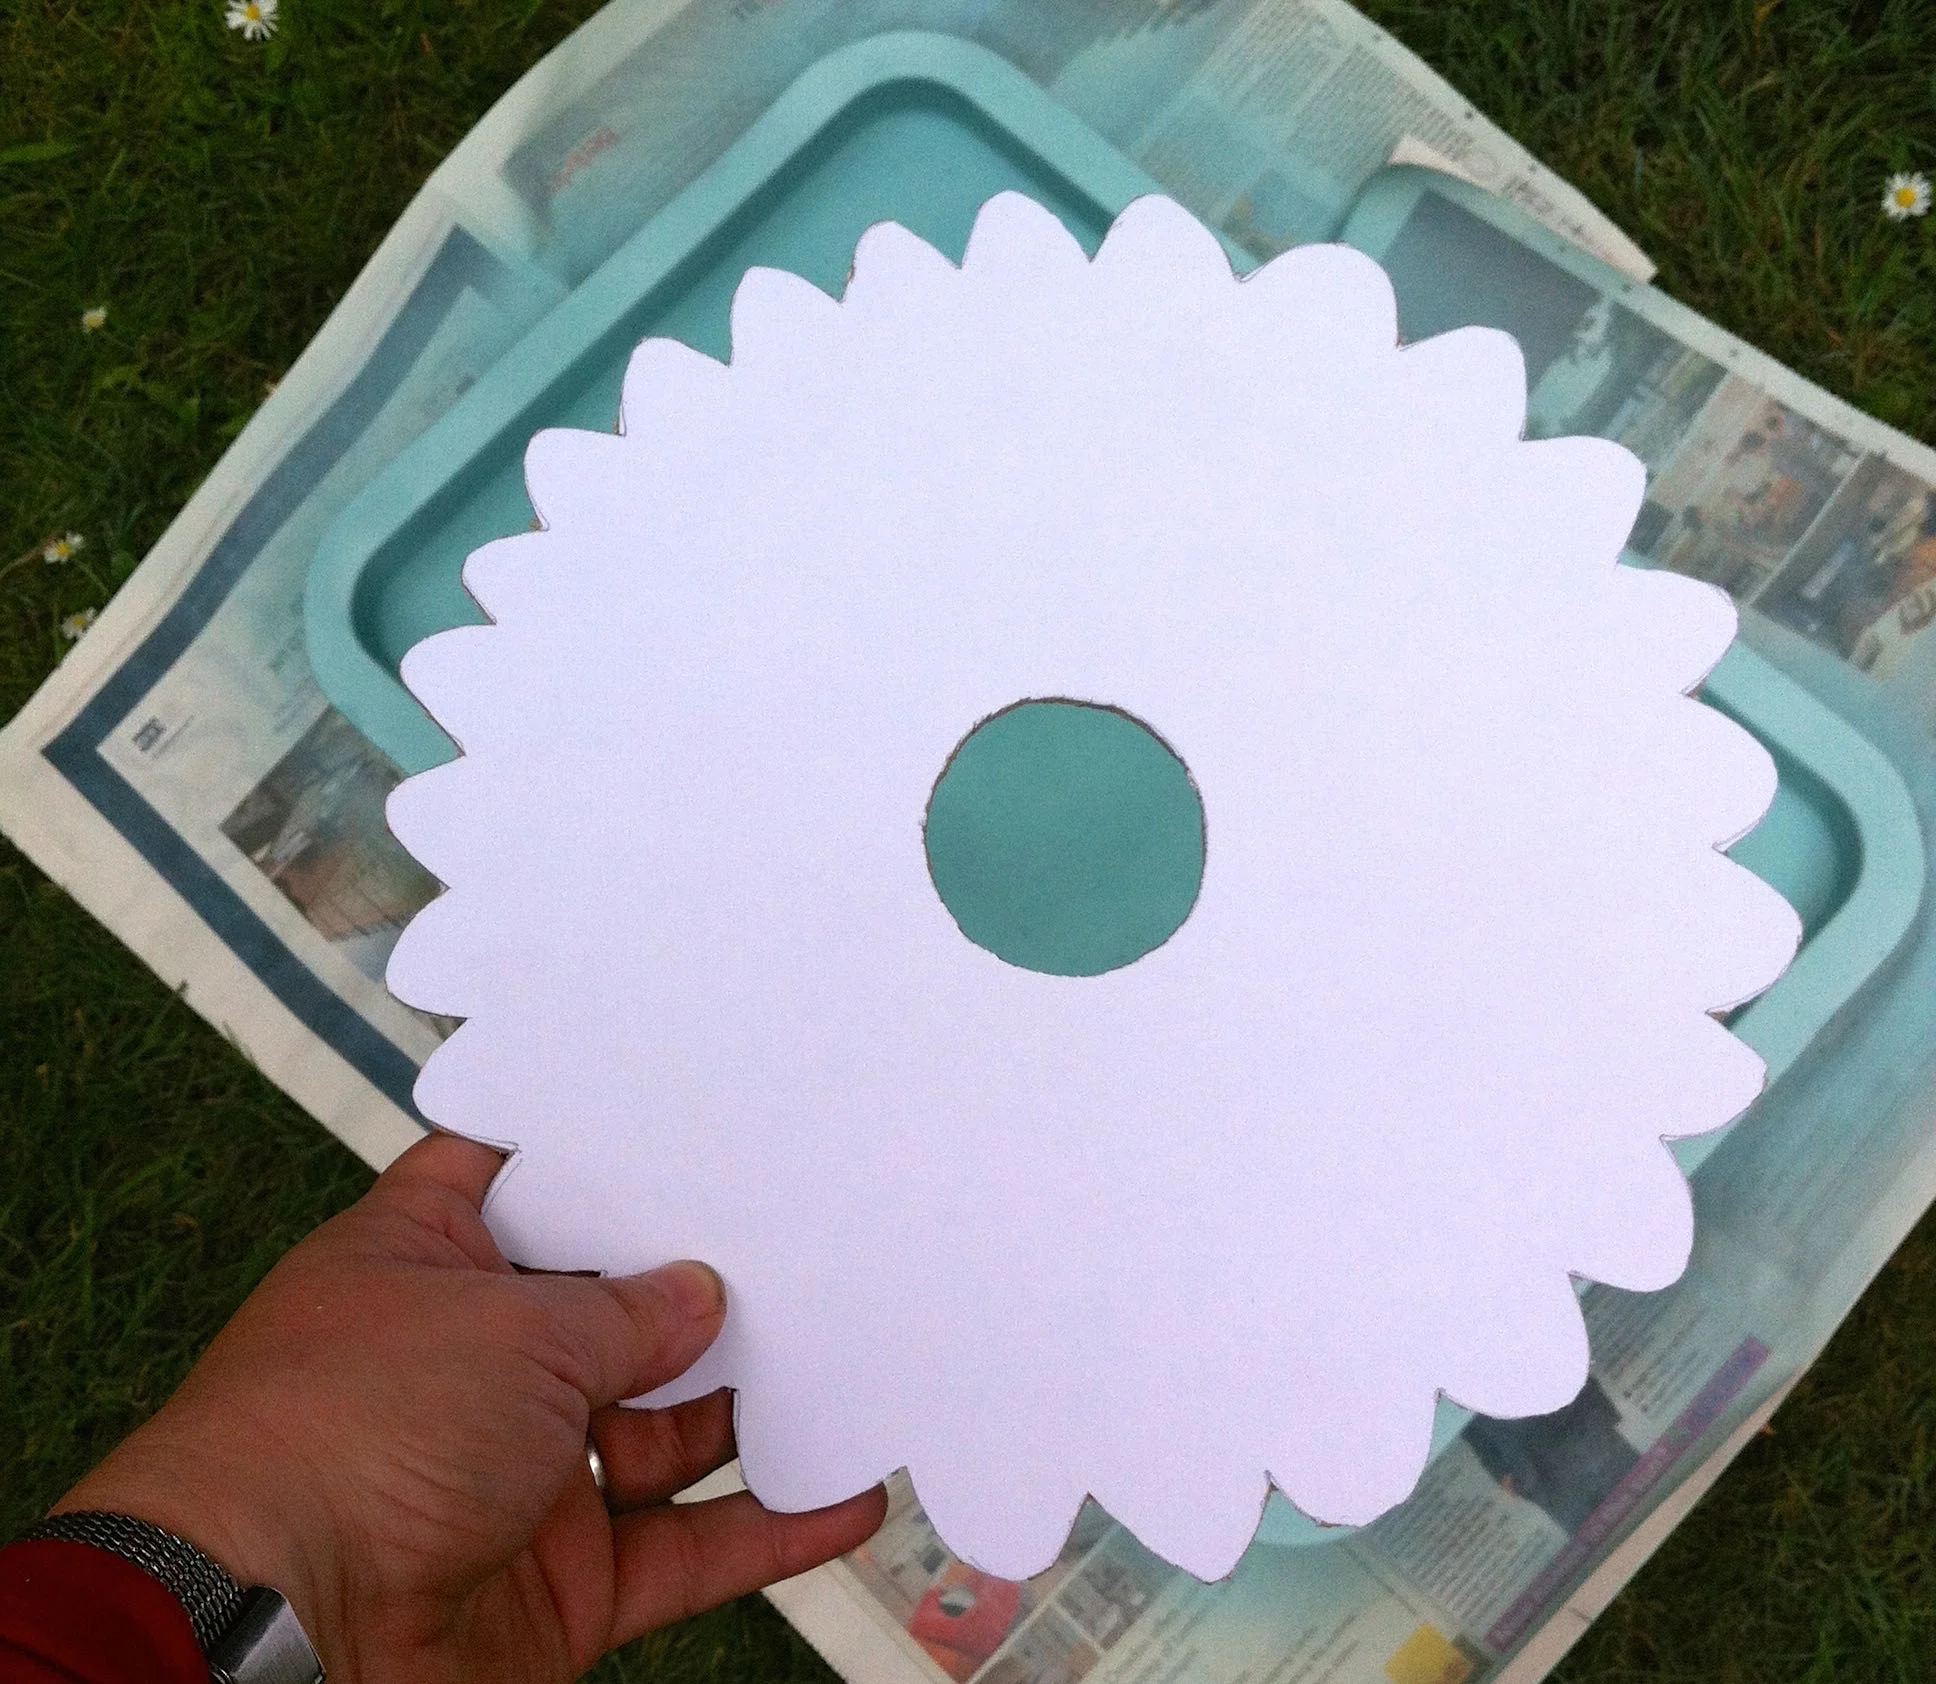
Making a flower shaped template from card
Making a flower shaped template from card and using a roll of washi tape for the centre

I drew around the shape and discovered that a roll of washi tape was a similar size as the centre so used that to make my middle.

Using a craft knife I carefully cut it out, without cutting myself at all (phew) - and as it was a nice day the garden table became my workspace.

Using a craft knife to cut out my flower shaped template
A completed flower shaped template

Before I could use my template though I wanted to spray the back of the tray. It was a bit scratched and well tatty, and it gave me the chance to see the colour of the new spray Mostaza.

The reverse of the tray when I started
The reverse of the tray covered with Pinty Plus Chalk Paint Spray in Mostardo

I'd been hoping for a mustard yellow - and while I like the colour it is - it's paler than I thought it would be.  I've been on a quest since we bought our mustard dining chairs (just two - I will show them to you soon) to add more yellow to our house, and this yellow works equally as well.

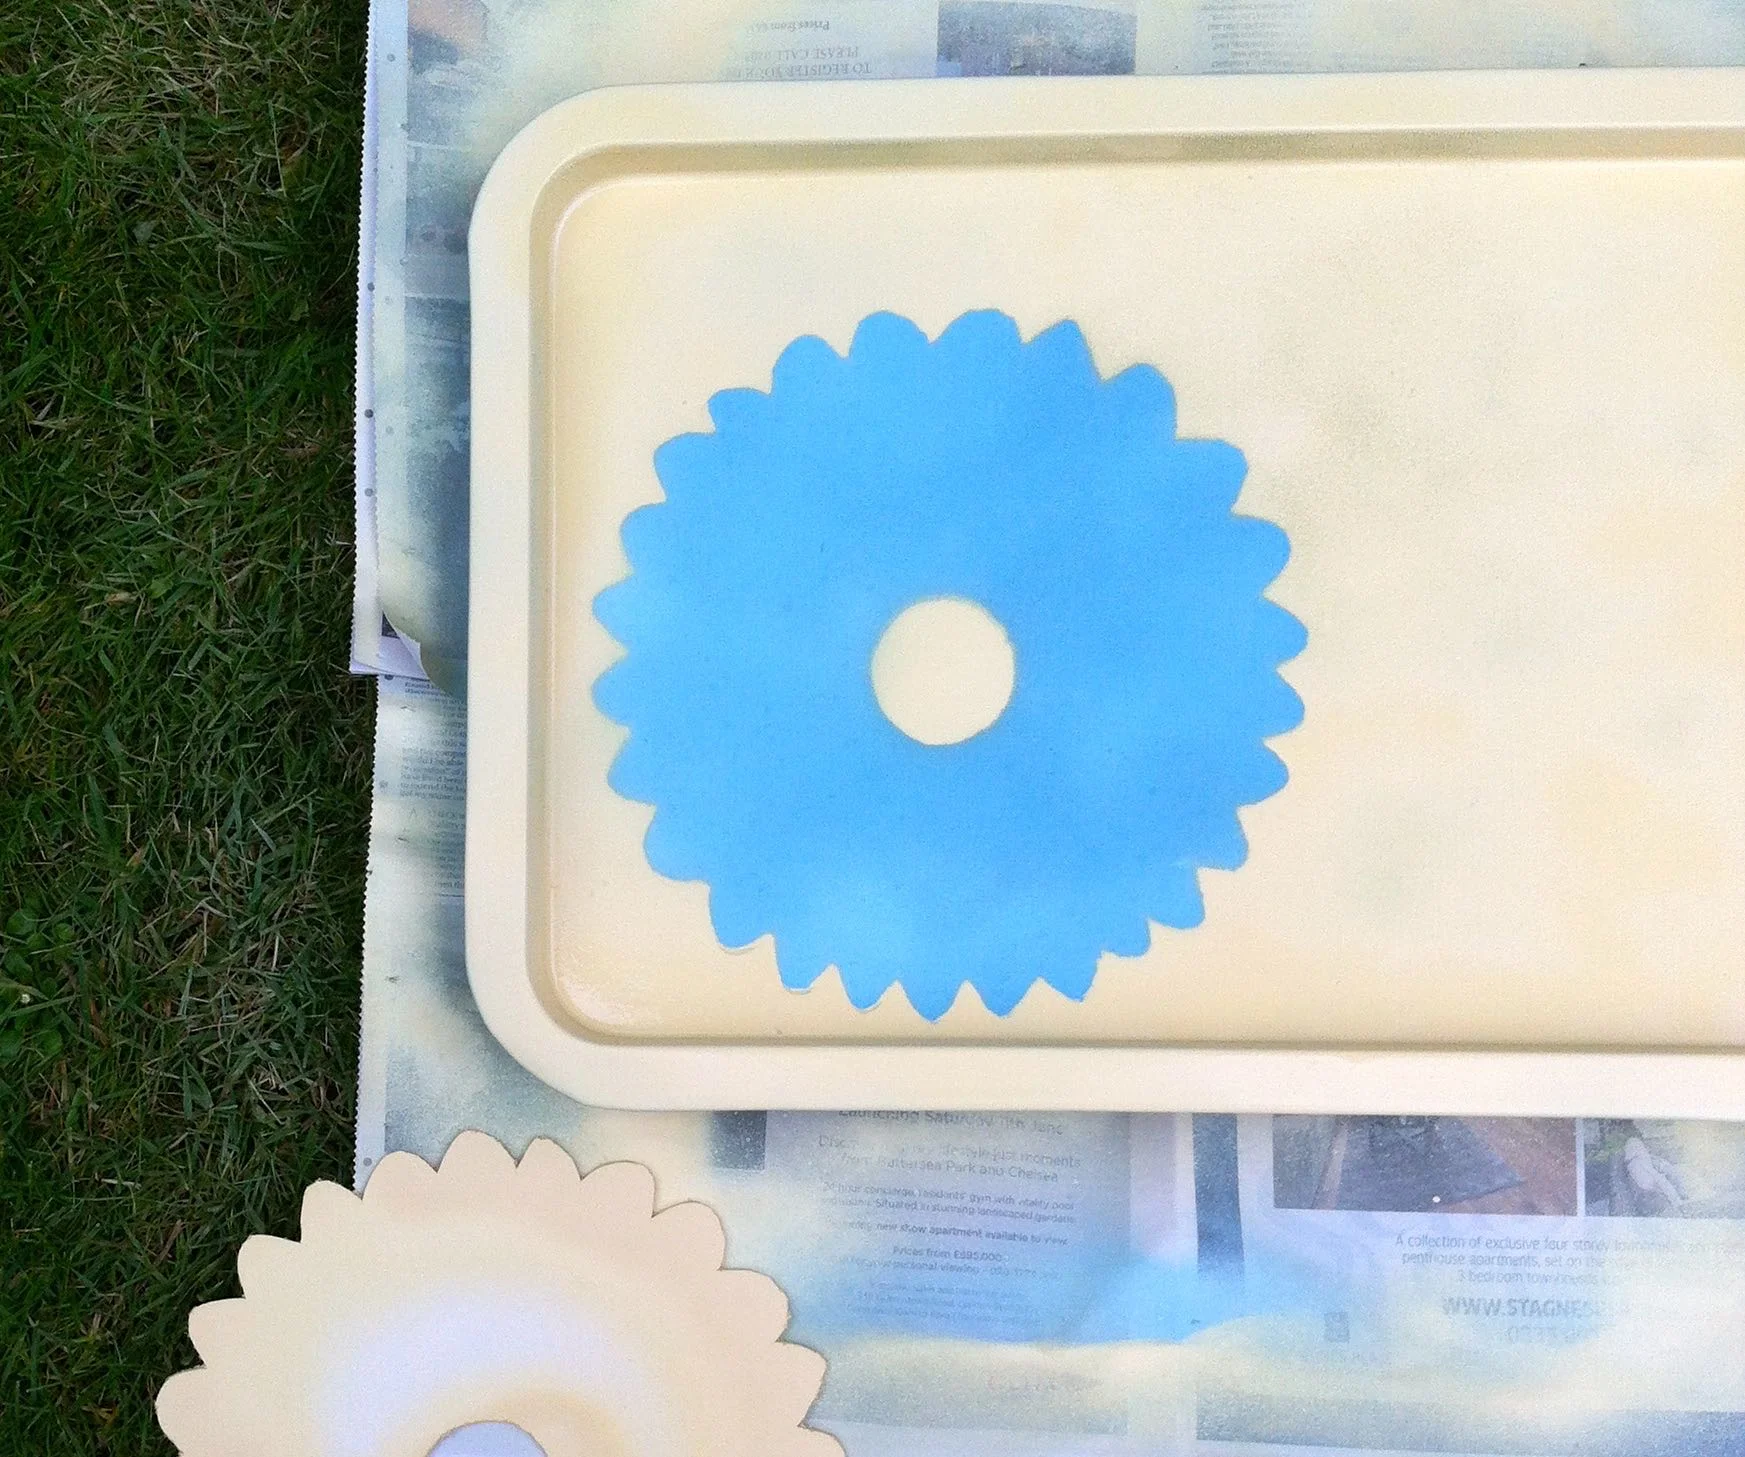
So having tried the yellow, I was keen to spray my design.  Another reason for choosing to block out the blue in this way was that I thought it would leave a cleaner line.

Adding the design to the font of the tray, spraying in mostardo Pinty Plus Chalk Paint Spray
Removing the template to reveal the blue flower shape

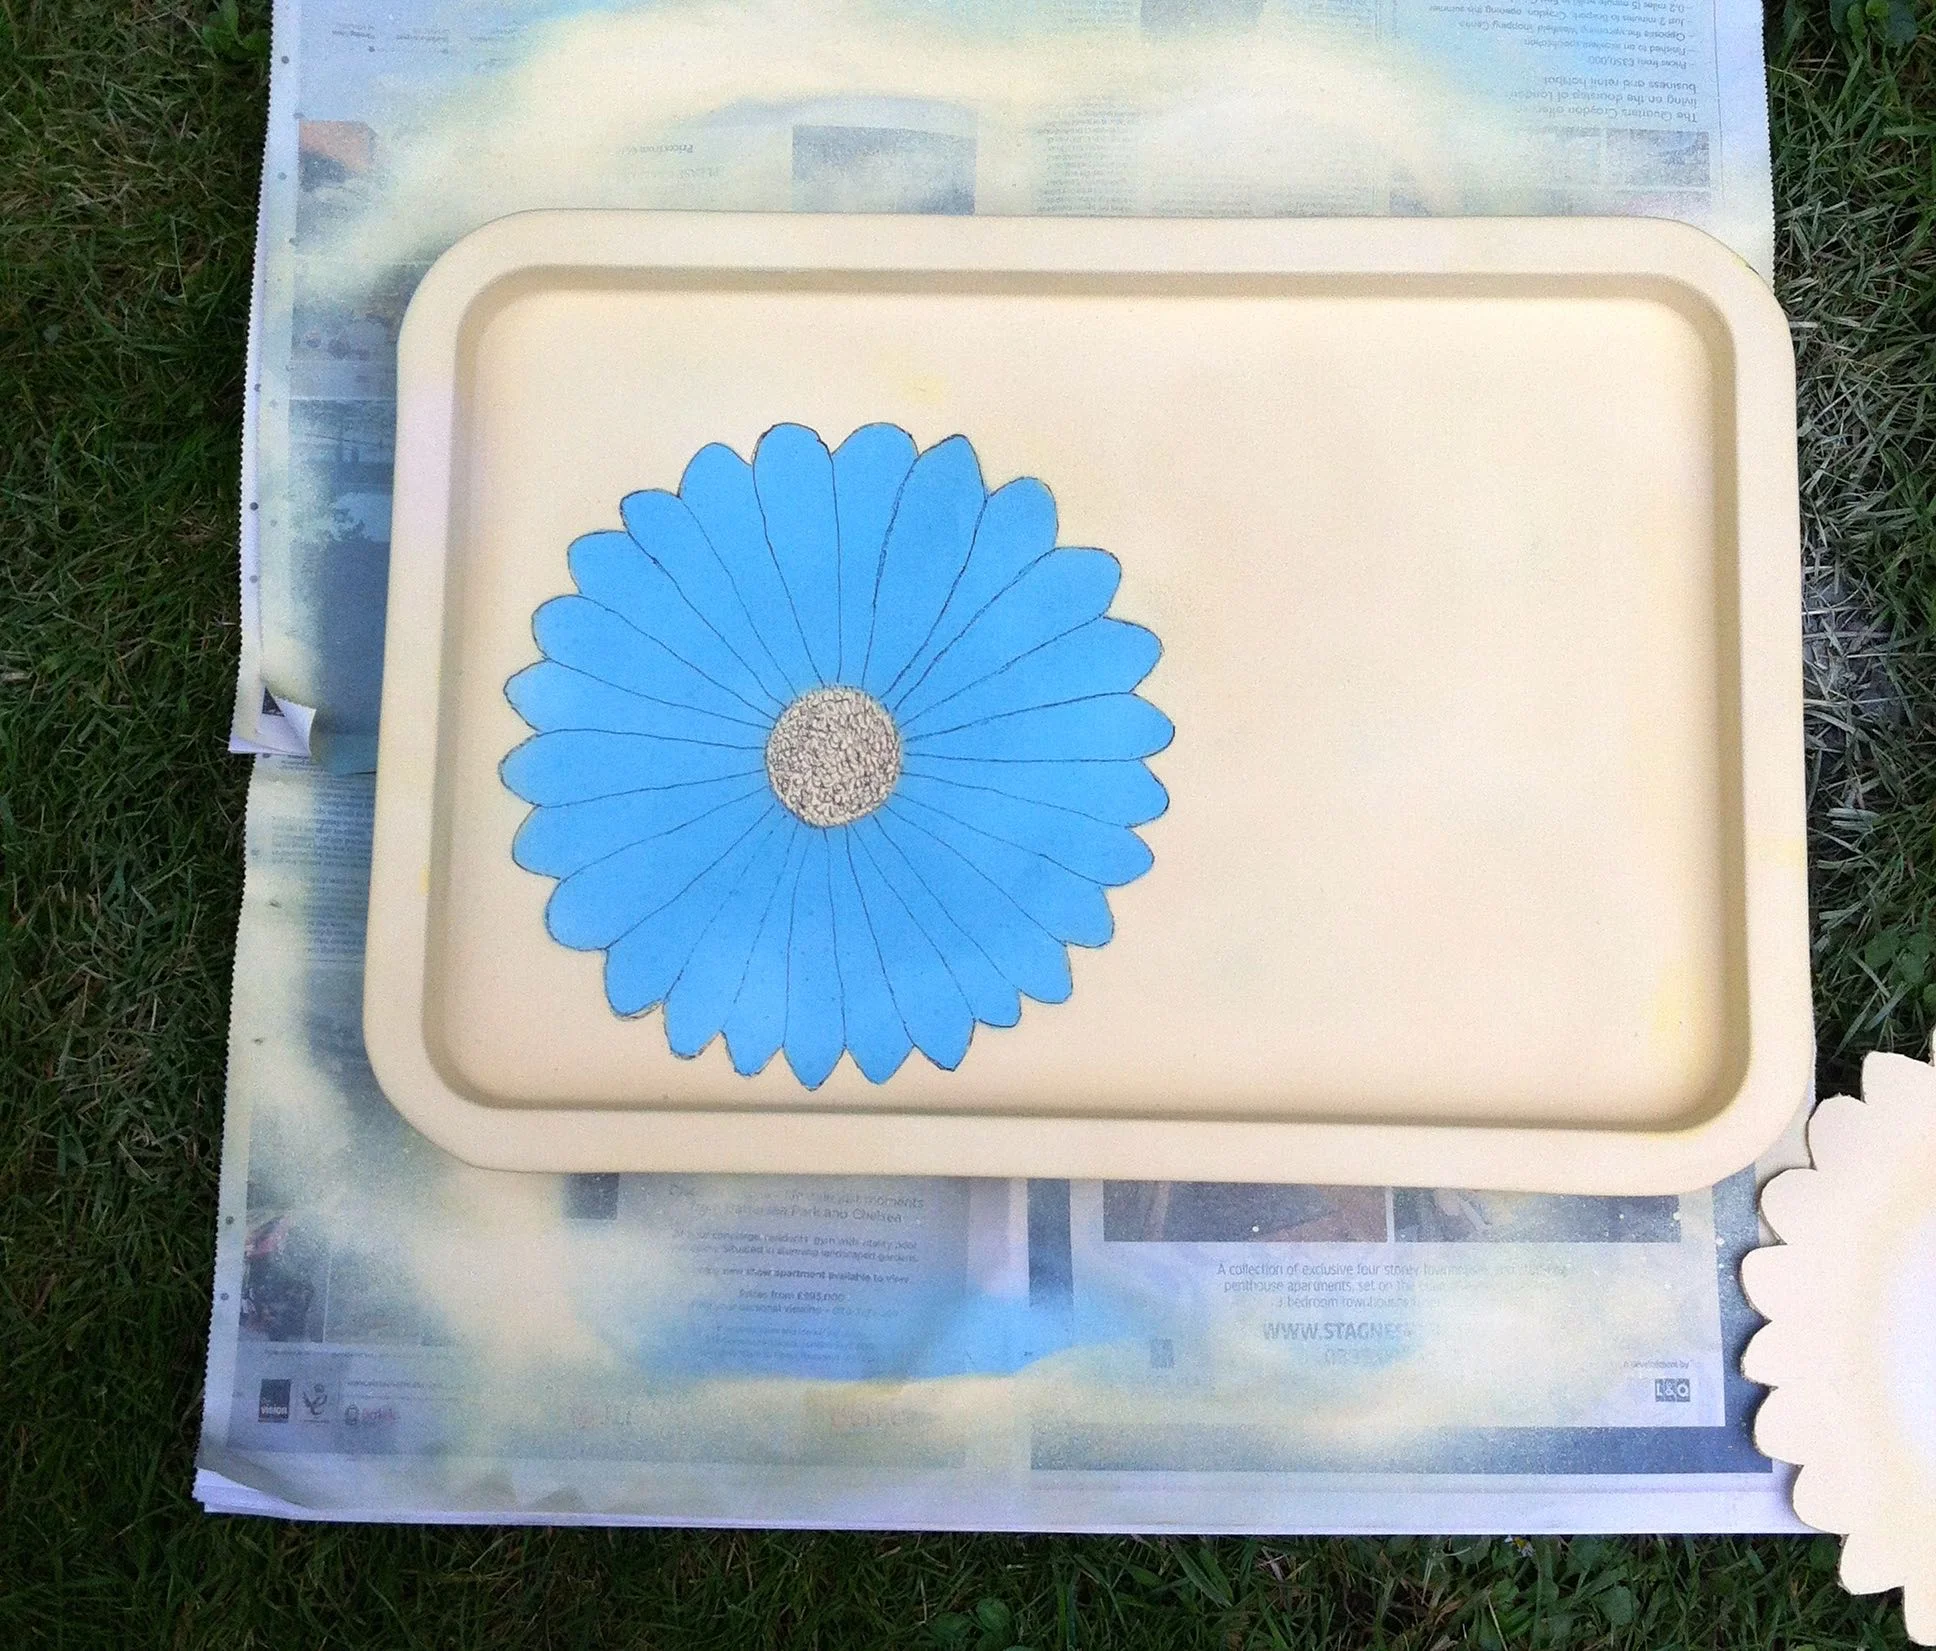
And it turned out well.  But I thought it needed more.  Don't you agree?

So out came my fine line black pen and I drew freehand around the petals, and added some texture to the middle.  The lines aren't perfect - and that's ok - but don't they make a difference?

Adding depth and definition to my blue daisy with a black pen

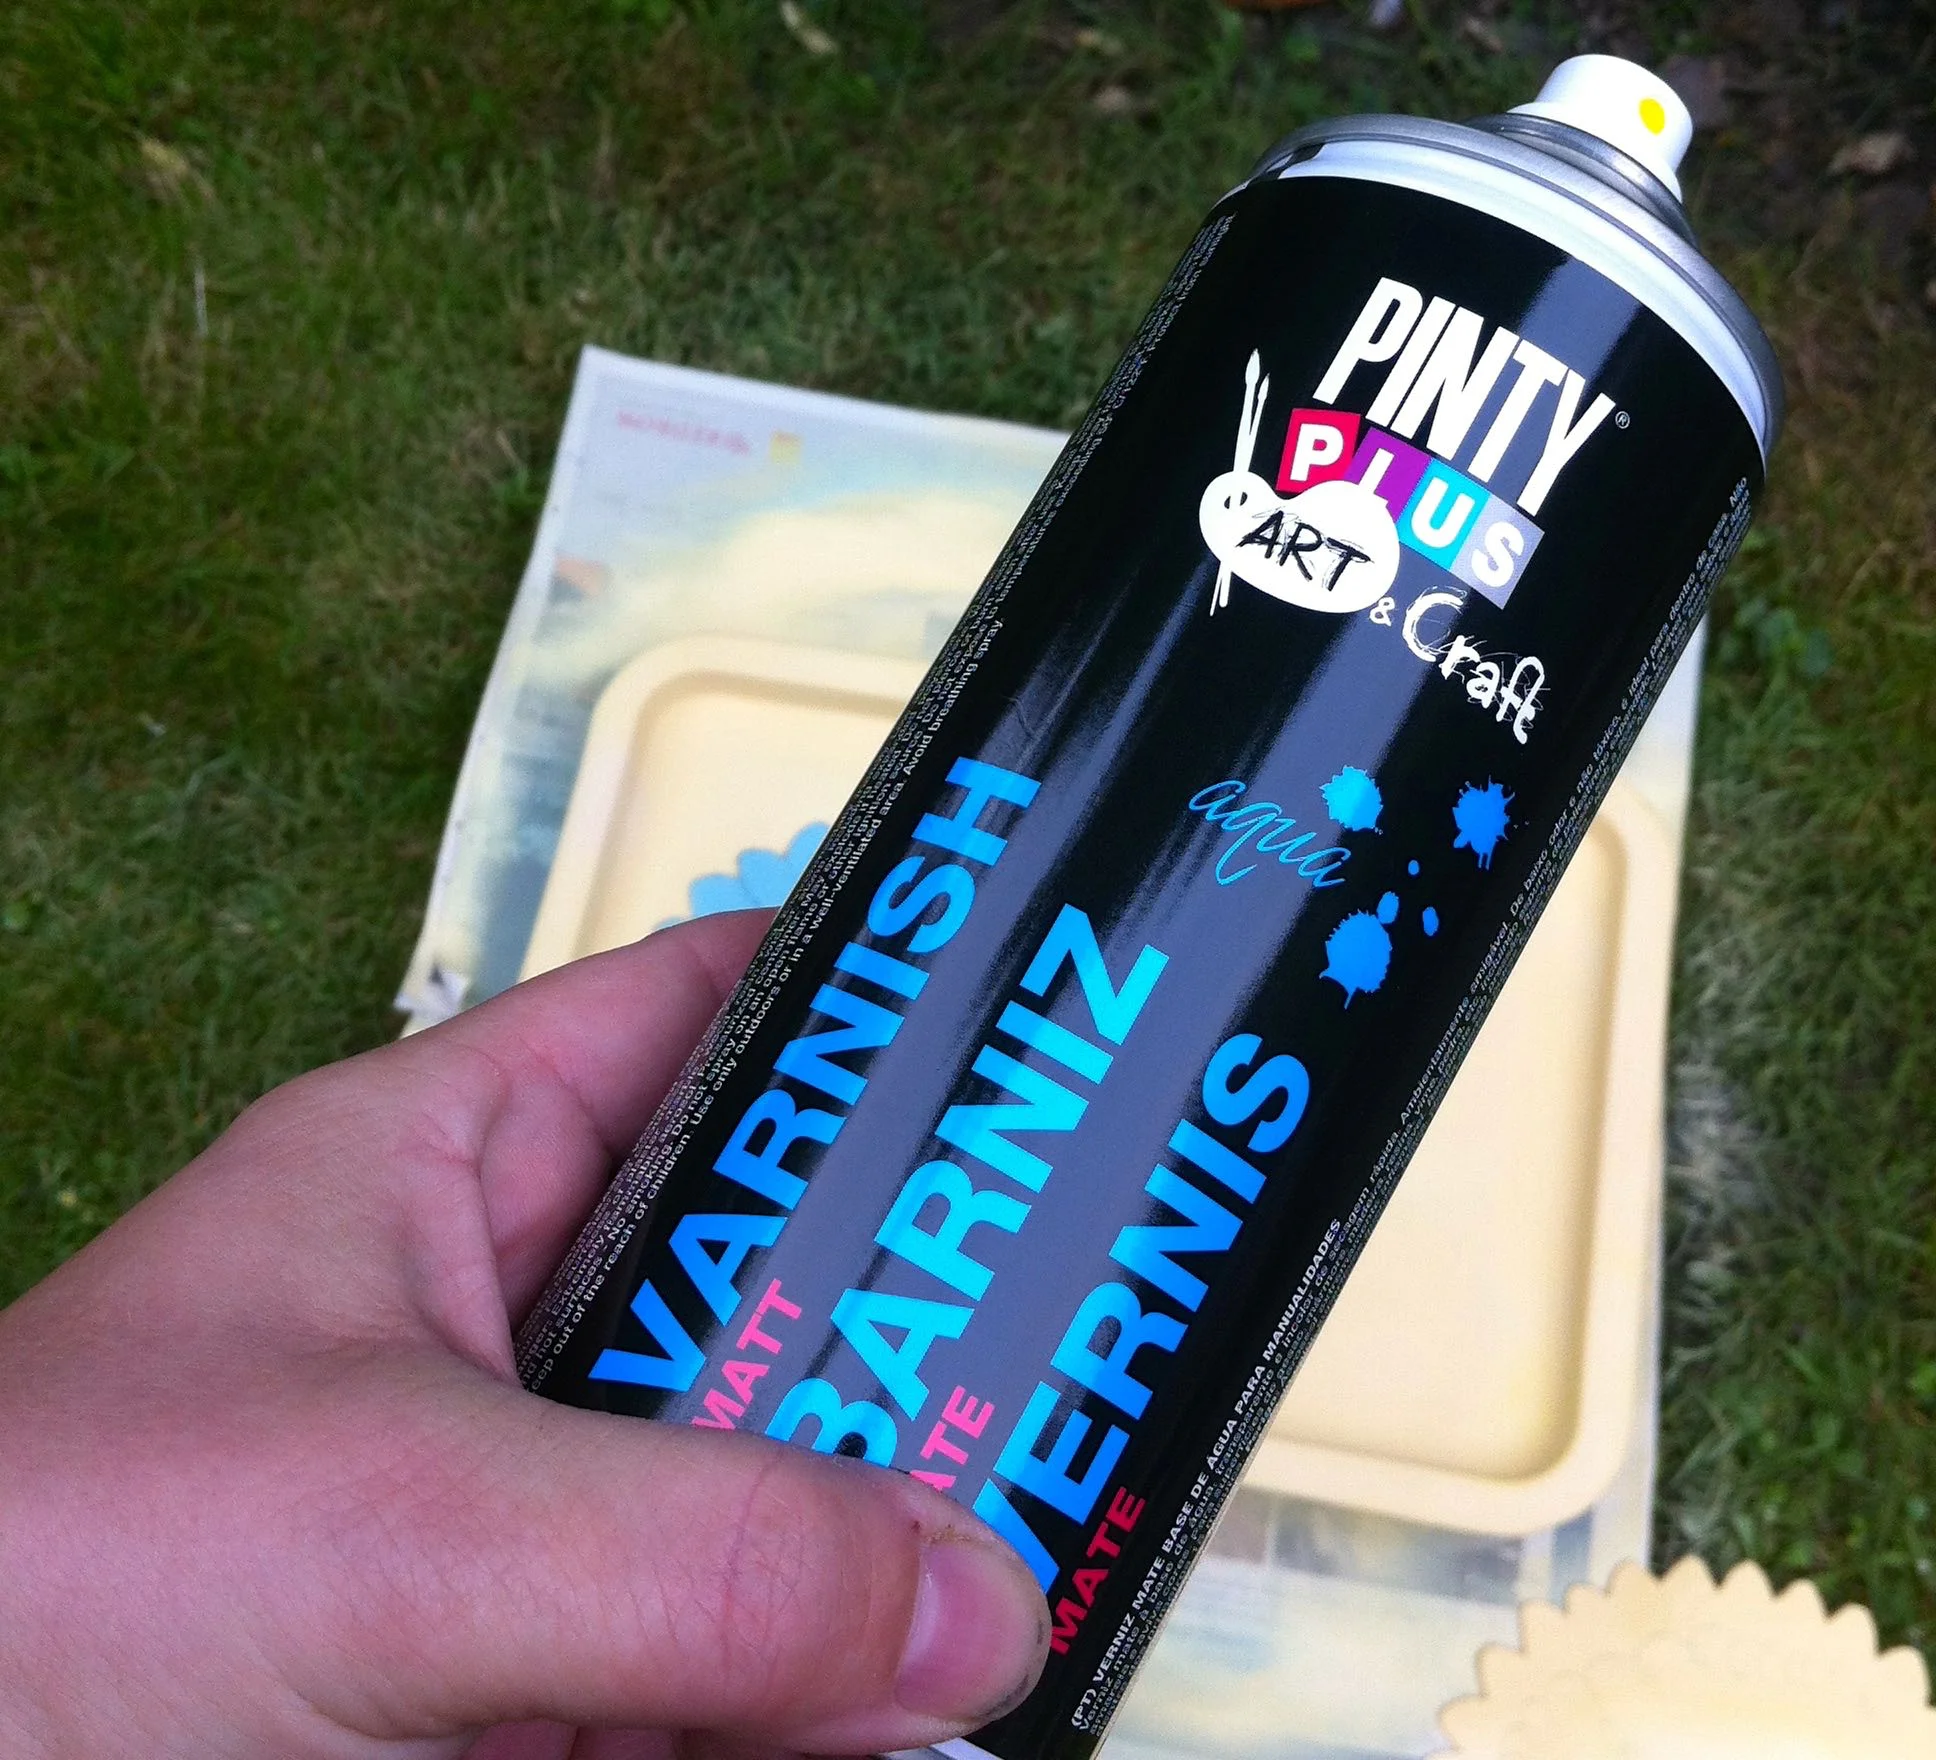
Now pleased with the depth and detail added with a simple black pen I wanted to seal the tray. For this I used the Pinty Plus Matt Varnish, which was equally easy to use. And I think it has deepened the colours a little.  

As my tray is likely to be in use much more often now I think it was important to varnish it. I didn't use this on the sewing stool because when I'd completed it I didn't think it needed it.  

Pinty Plus Matt Varnish Spray

So there you have it, a tray transformed! 

Close-up of the completed daisy

What do you think?

The Pinty Plus Chalk Spray Paint is available from the Novasol Spray website, each 400ml can of Chalk Paint Spray and Matt Varnish costs £11.50.


This is a collaborative post with Novasol Spray who provided me with the materials for this project, but all words and opinions are my own.

Happy and Home at A Residence blog

A new tote bag with Adam Ross fabrics

* This is a collaborative post with Adam Ross Fabrics, who provided the material for this bag, but all opinions are my own.

Remember this brightly coloured fabric from Adam Ross Fabrics? Well, guess what - I've made myself a bag and I'm rather pleased with it. MOH's reaction was "another bag?" but deep down I think he was impressed too.

Adam Ross Fabrics are a new fabric retailer based in Birmingham who are "looking to bring quality back to the British clothing industry". And they believe you shouldn't have to compromise on the quality of the fabric you use.  There's fabrics for fashion and interior design on their site and unsurprisingly they sell to both of these customers.

I've not ordered fabric before online, so I was keen to see how it would work out.  On the website you can shop by material type so if you're after a velvet or a chiffon then head straight to those sections; you can also shop by colour which was great for me as once I'd found my bold flower material I was after a zingy plain to go with it, and doesn't the lime green go well?

If you're not sure what material type you want then there's a helpful description in each section to help you identify what you need.

My fabric - which was quick to arrive was just as I expected it to be and I immediately loved the colours.  I'd planned to make a tote bag, and I'd pinned this two-tone fabric tote bag by Make It & Love It ages ago - so it was the ideal time to be one of those pinners who acted on their pins, and make this bag.

Making the tote bag

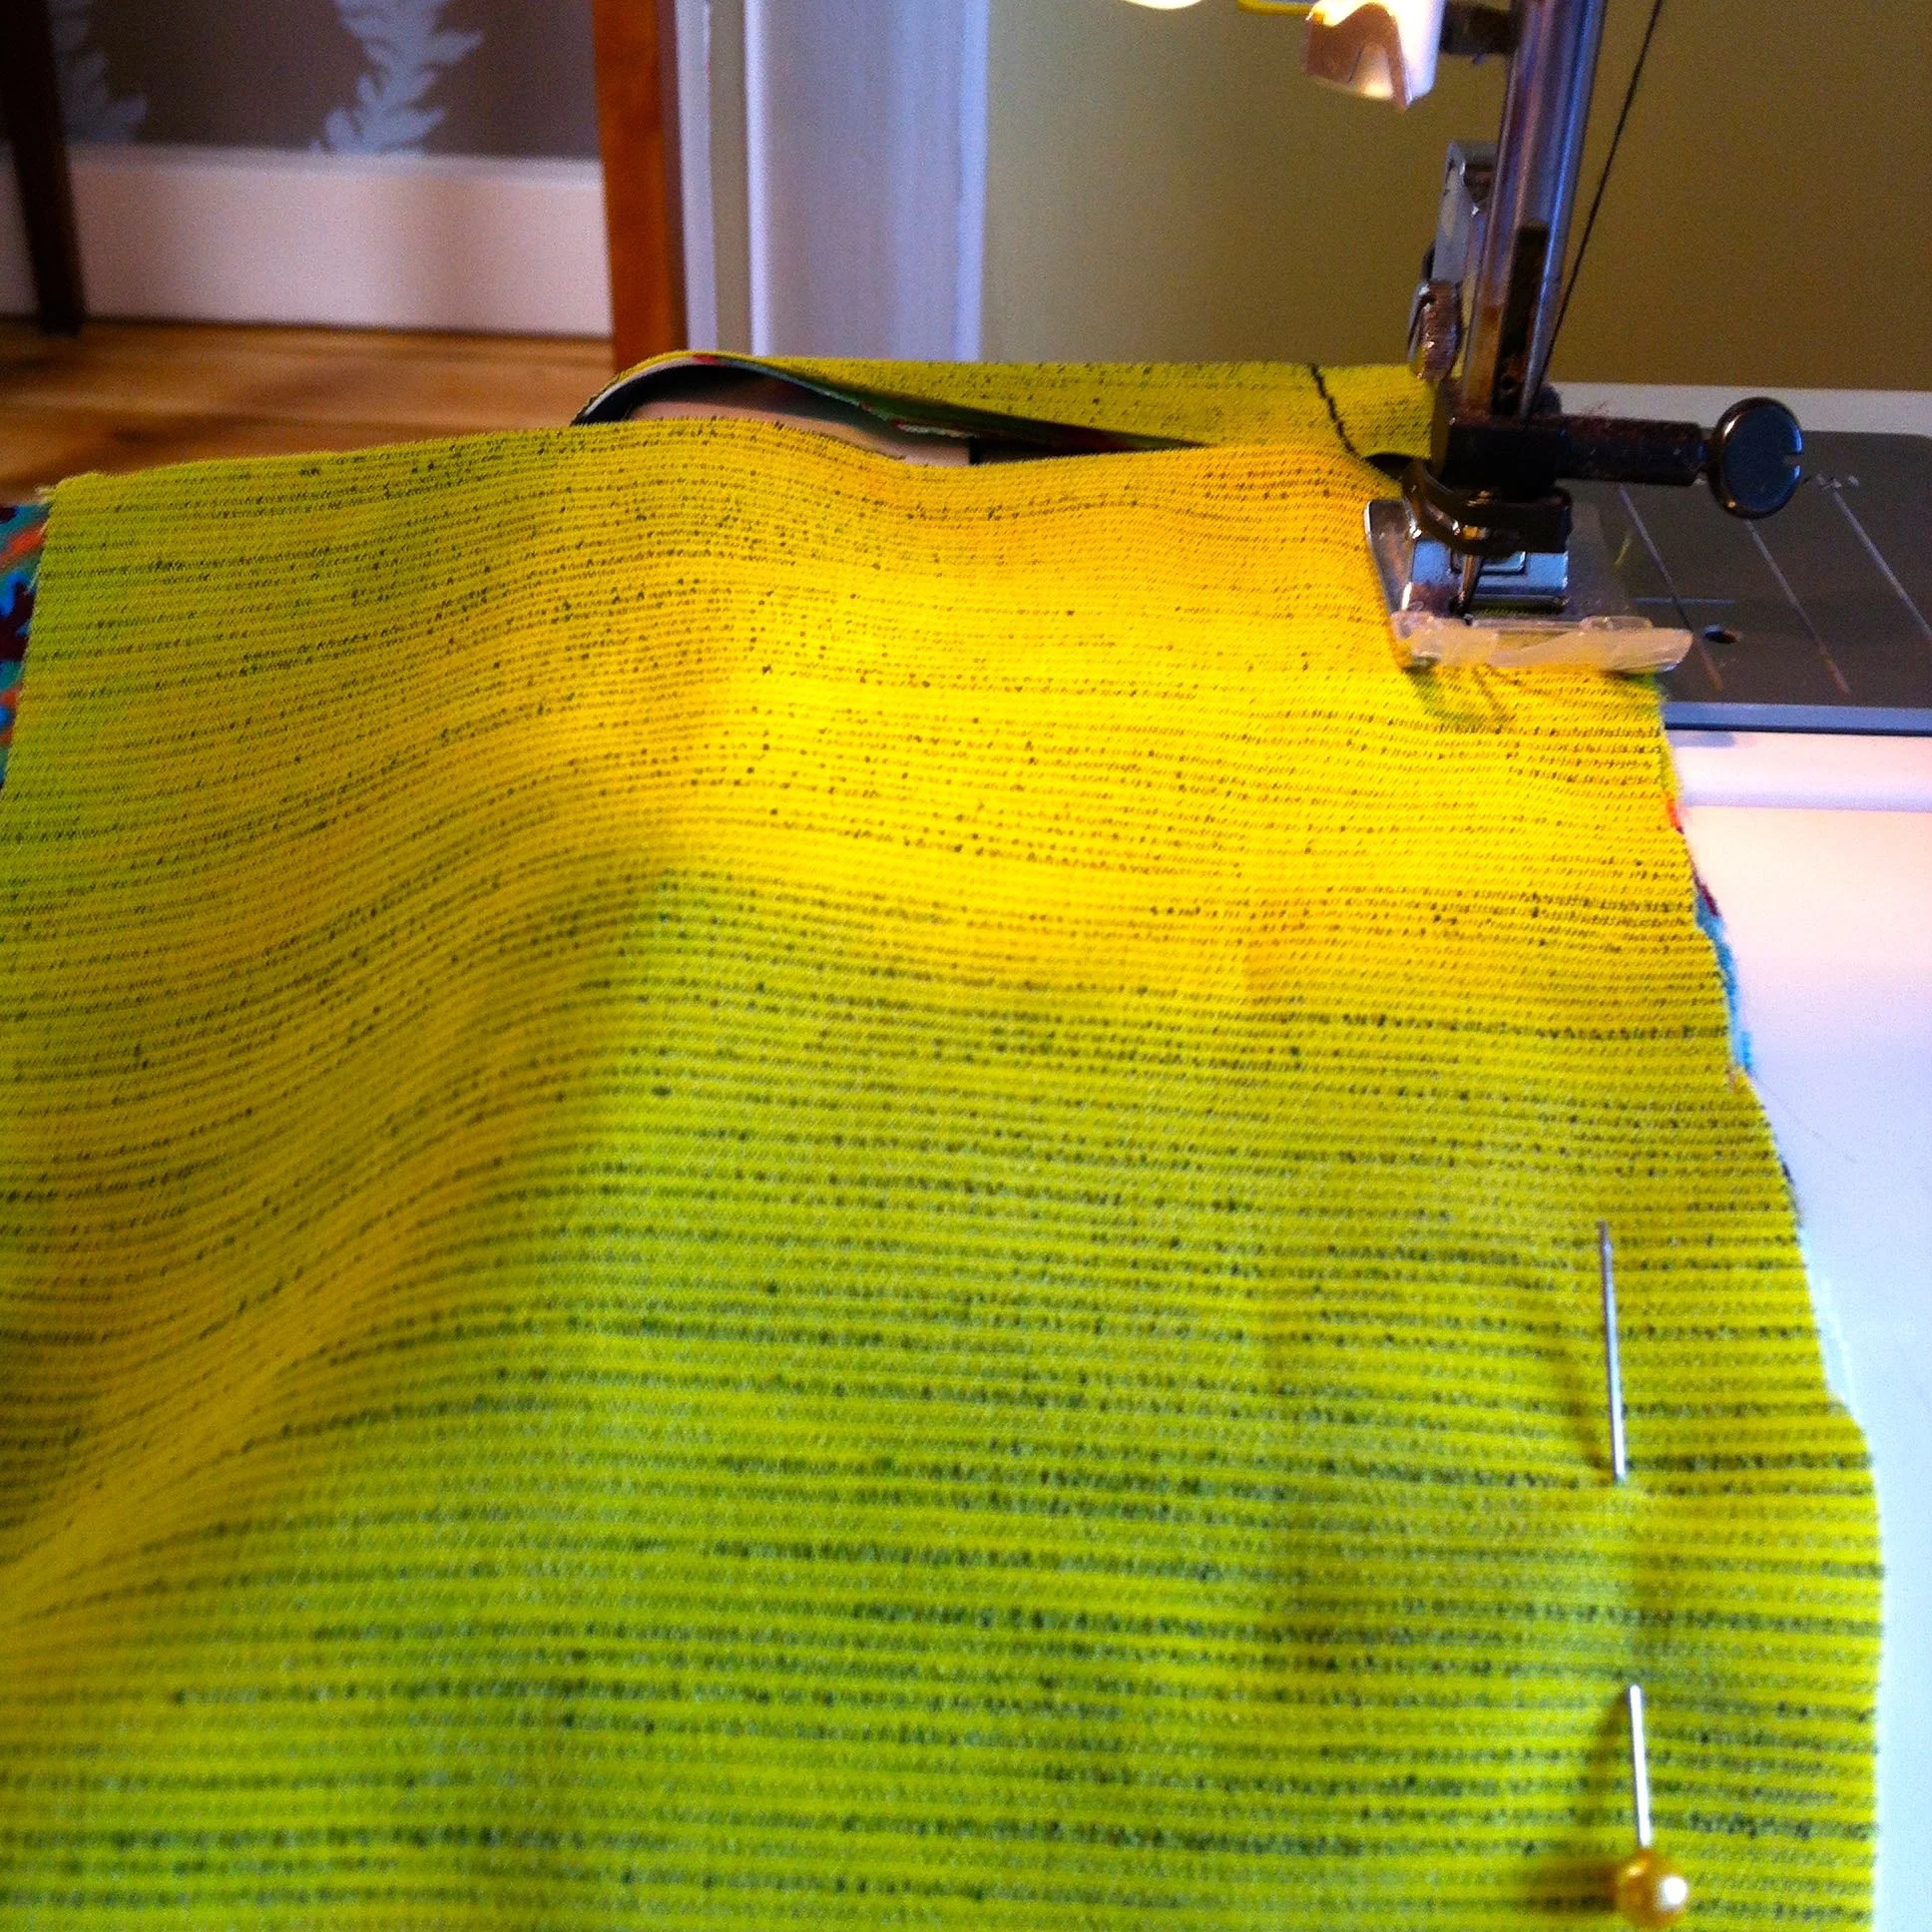
Following the instructions on Ashley's blog I joined the two fabrics which form the outer part of the bag.

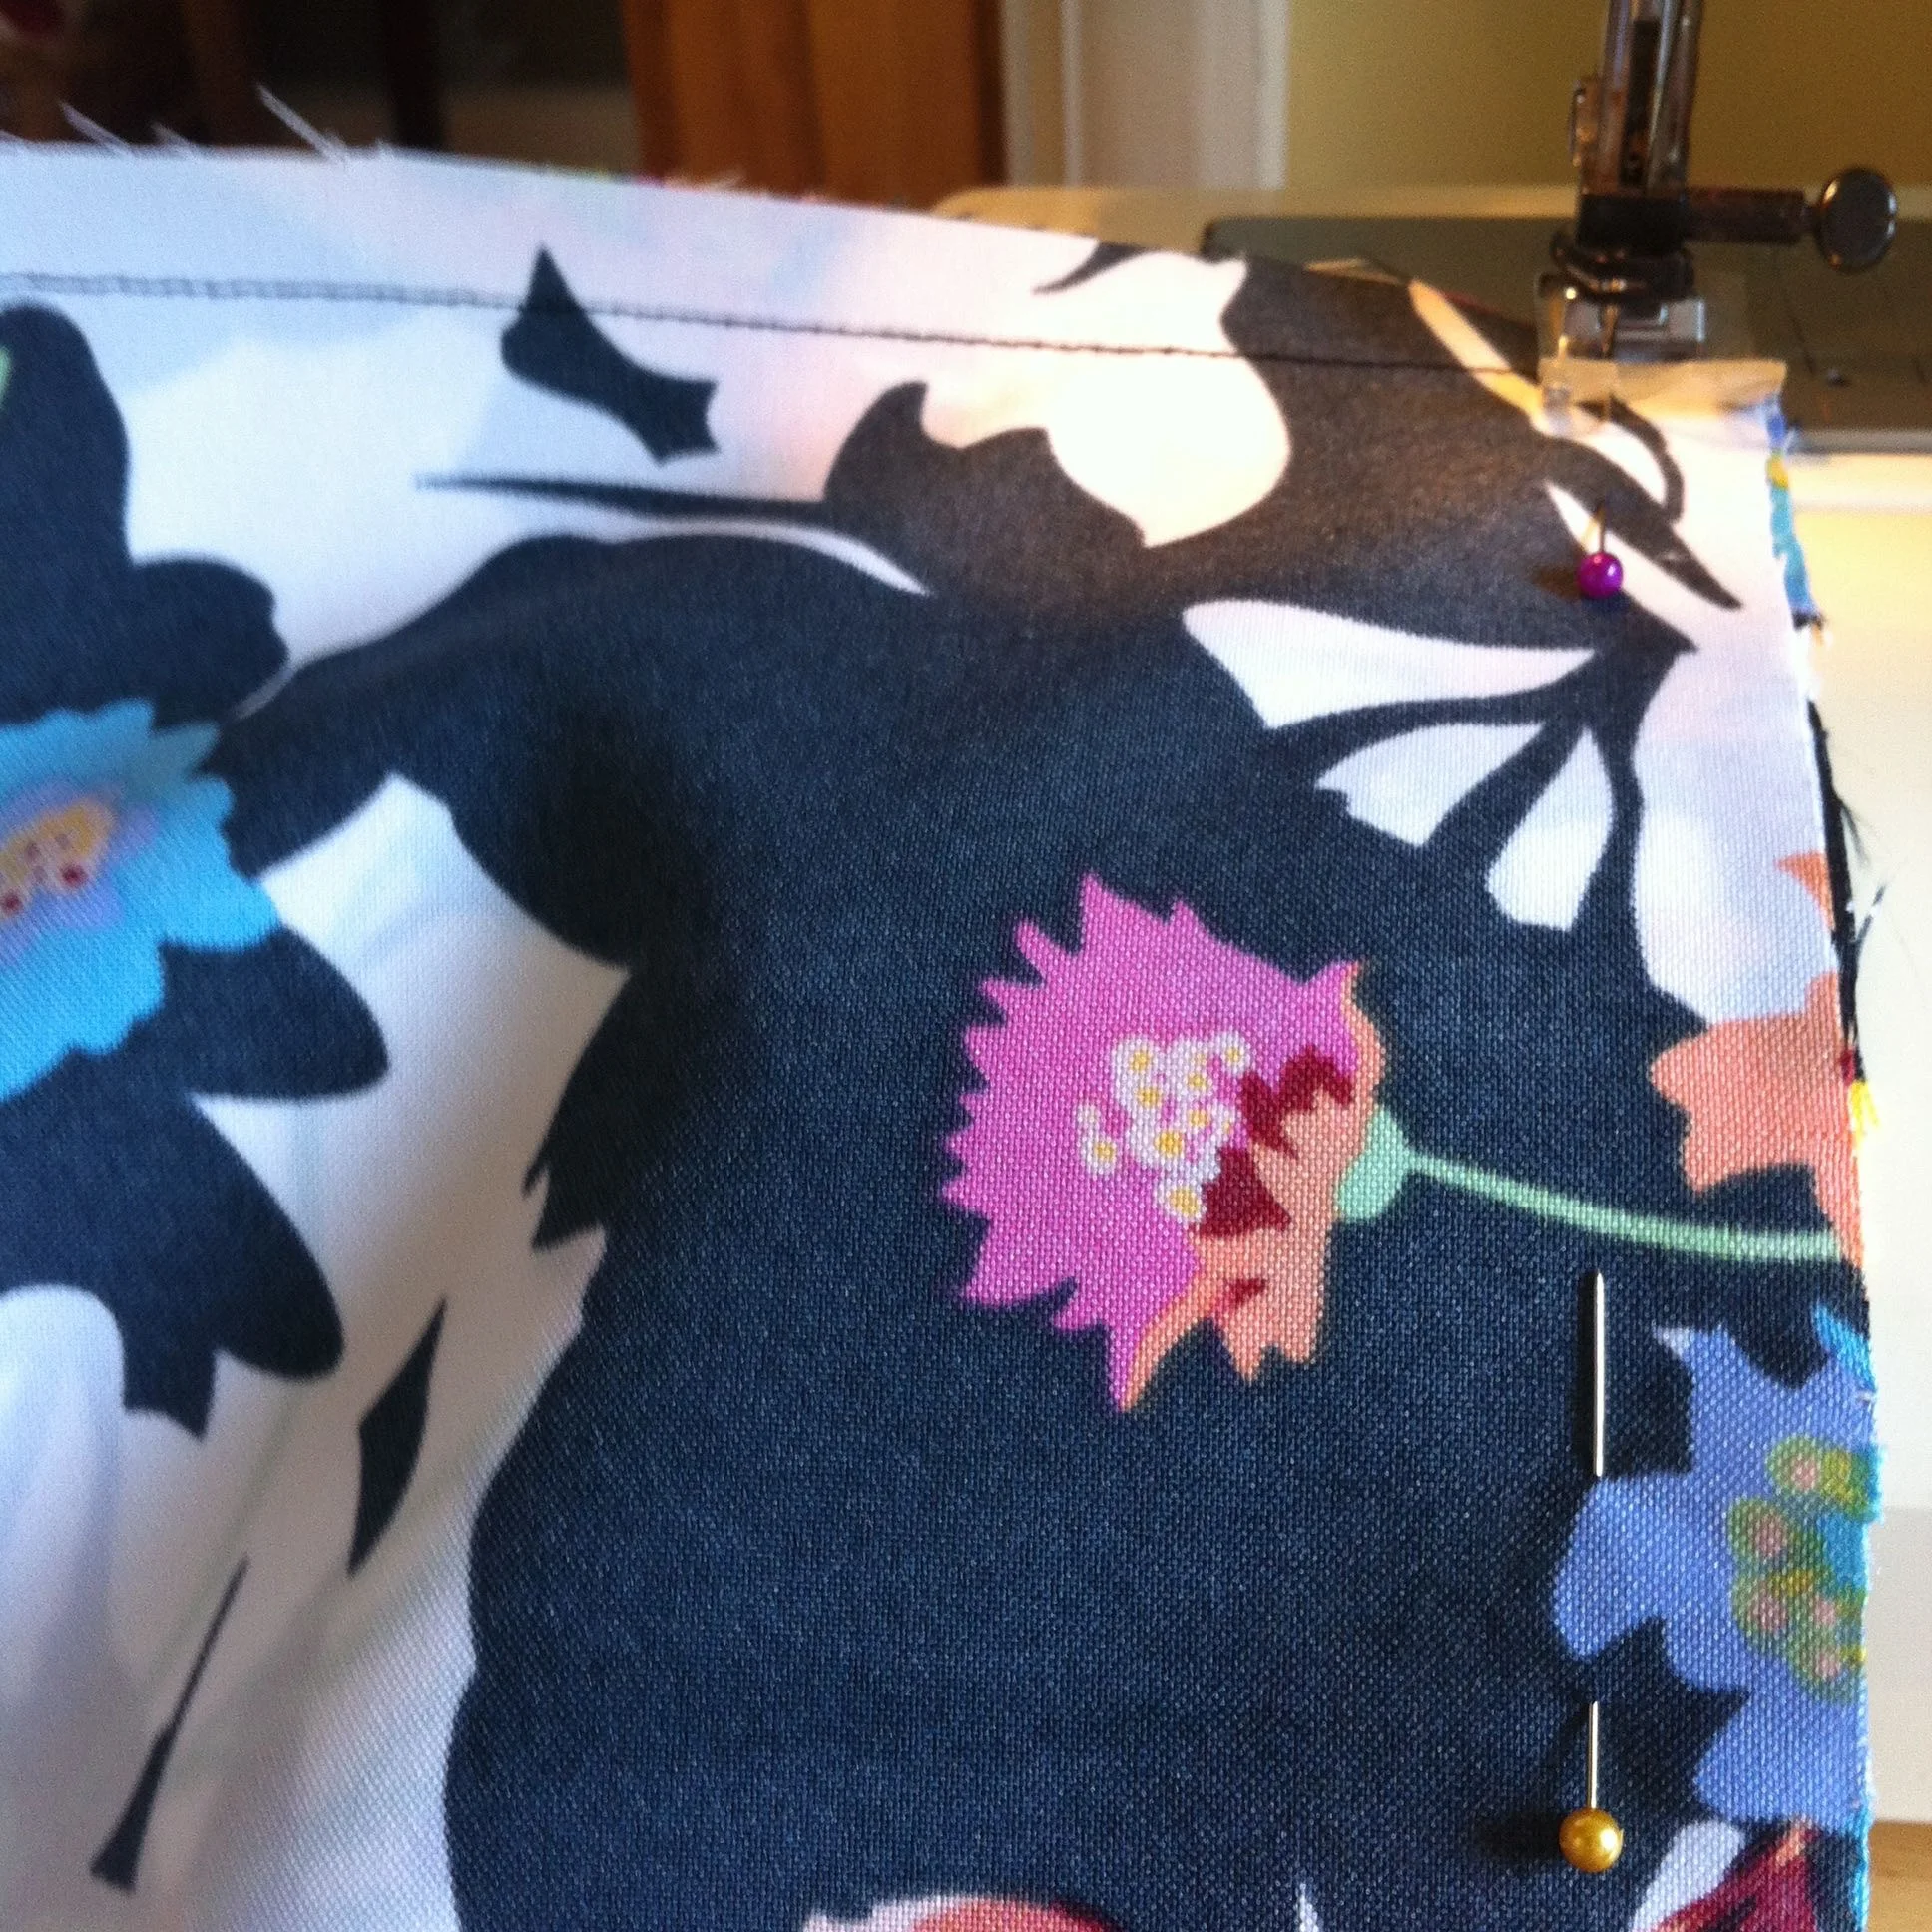
Sewing the outer pieces together

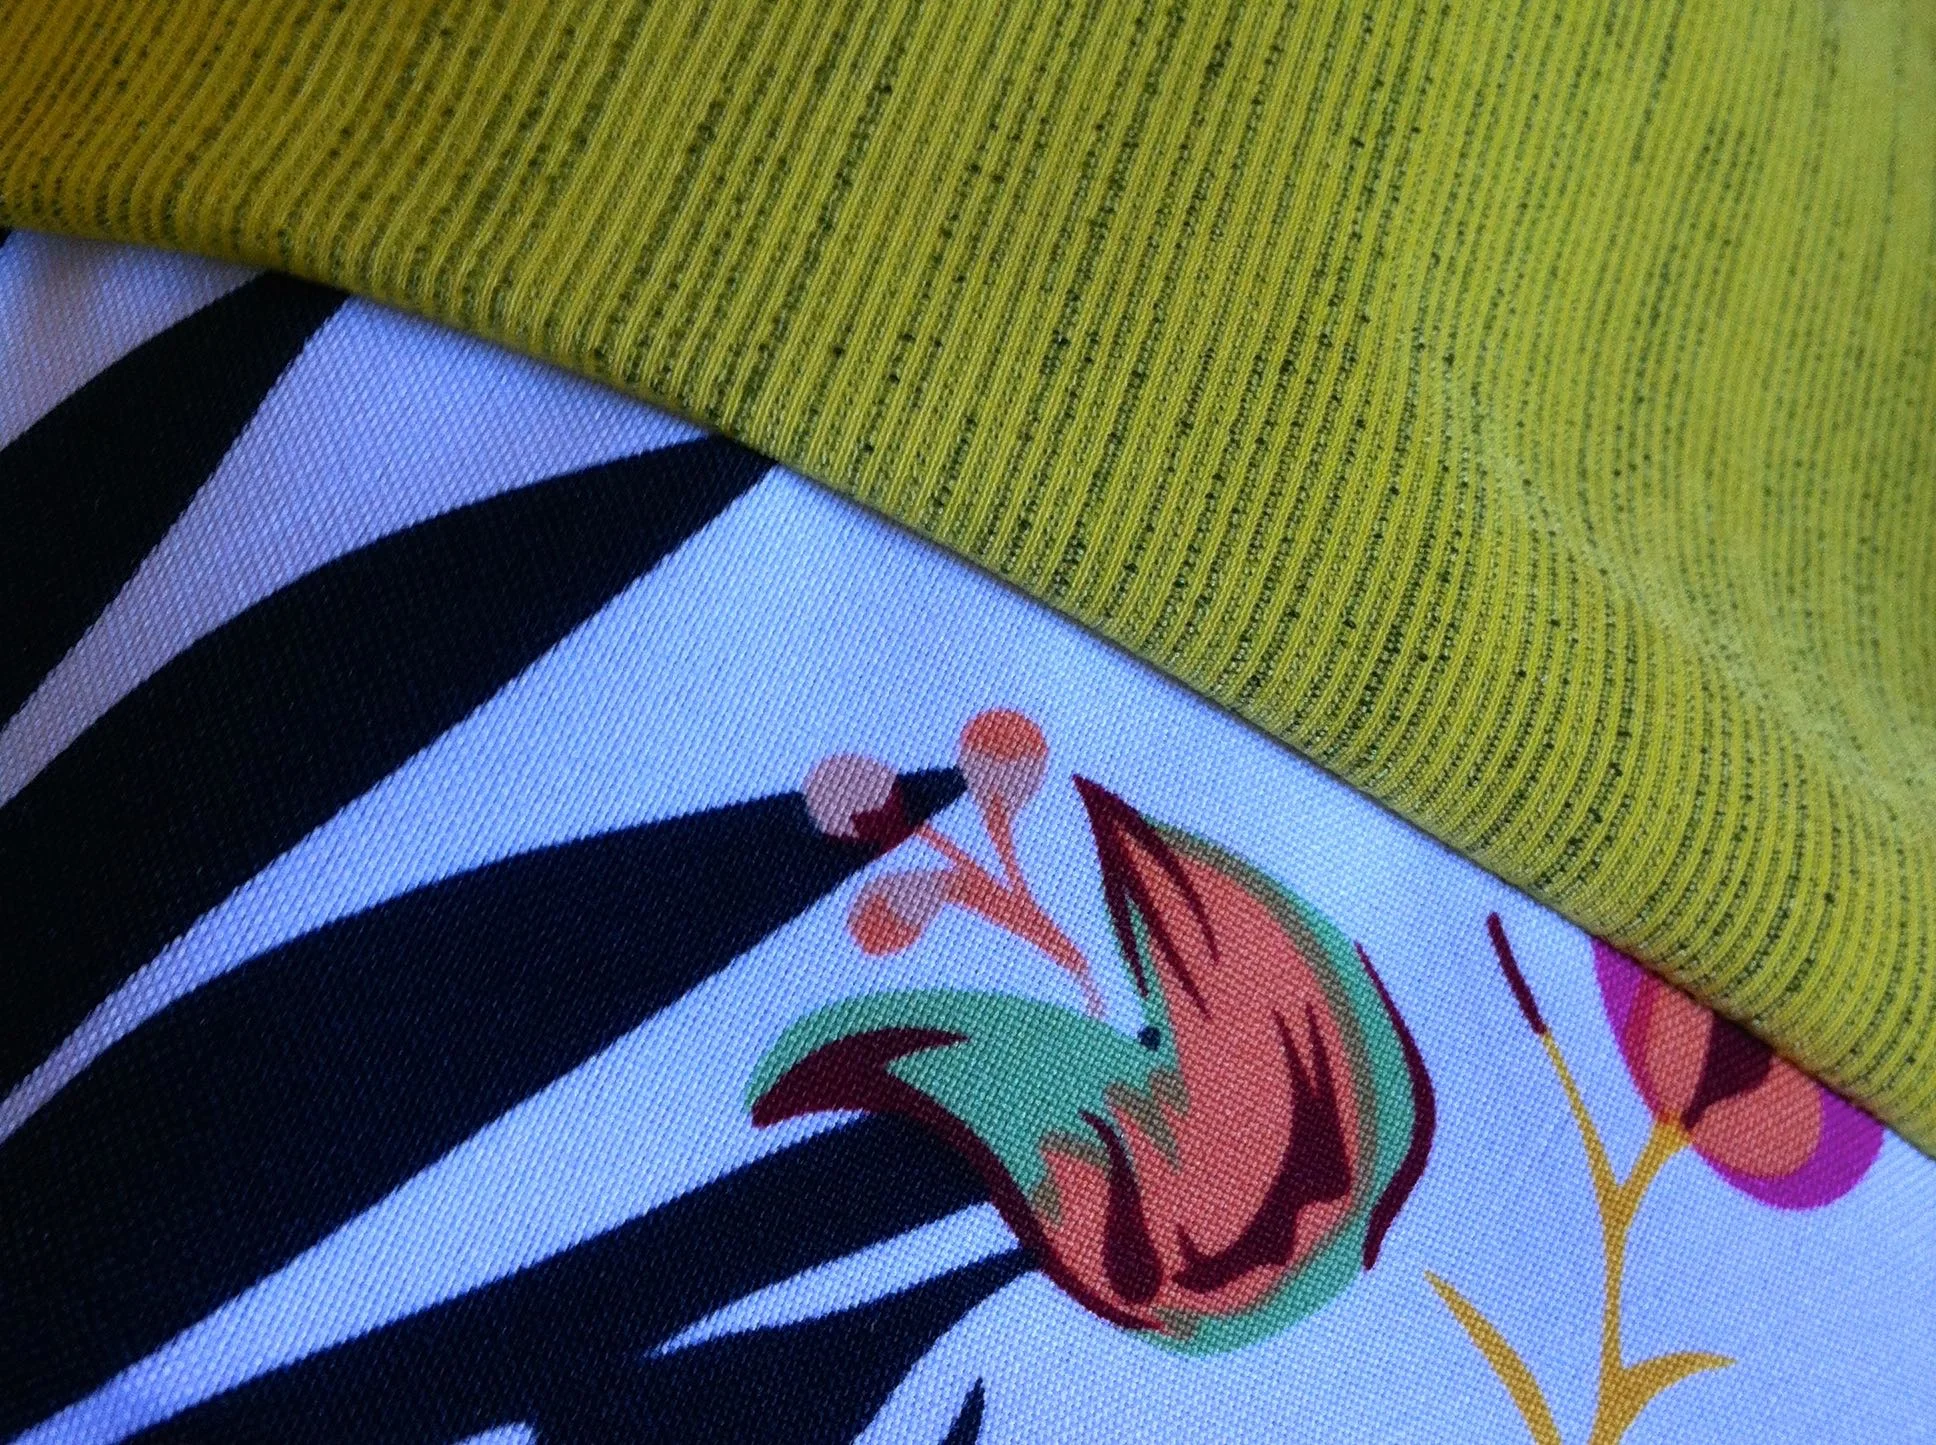
And I couldn't help but sneak a look at what they would look like together.

Checking what the colour combination will look like

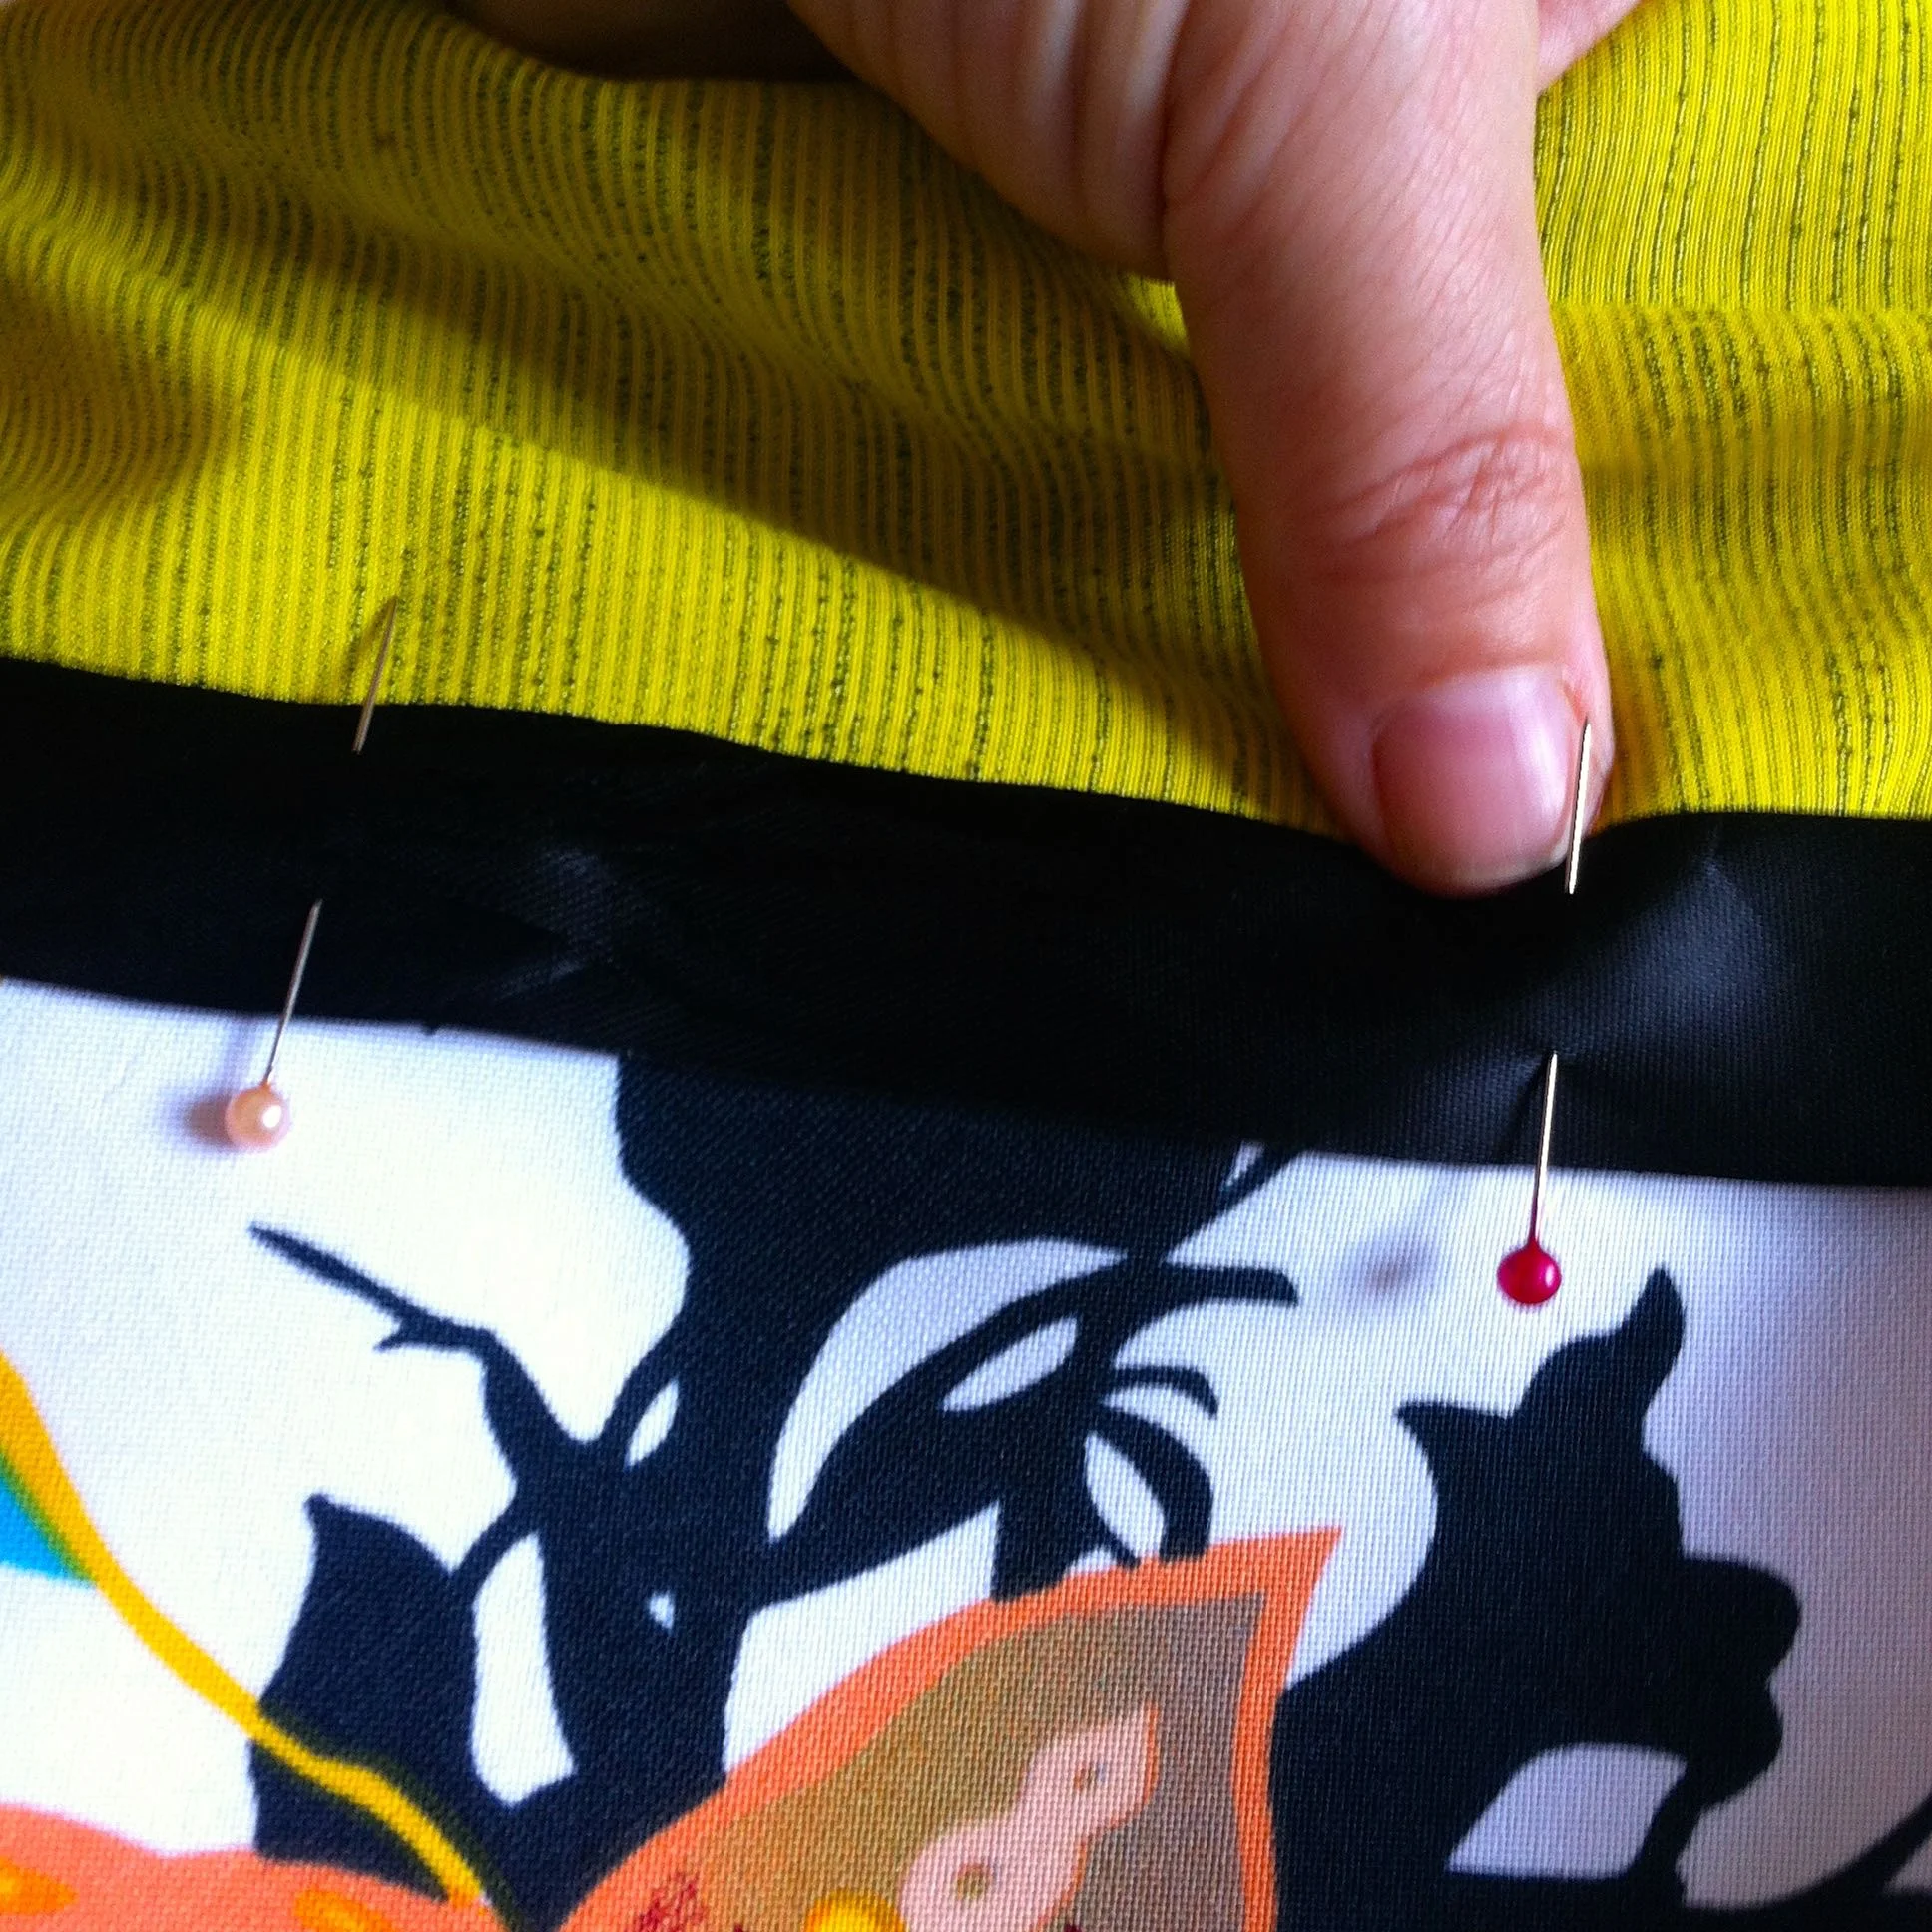
Then it was time to pin the ribbon in place before sewing it top and bottom.

Adding the ribbon

Next it was joining those two pieces together, to actually start to form the bag.

Sewing the outer pieces together to form the bag

Then came the bit that I was less sure of. It's purpose was to square off the bottom enabling the bag to stand up on its own when packed, and to make it easier to pack too.  I almost left this bit out, but then I figured it out and it was back in again.  So I wiggled the seams together and measured before sewing a line perpendicular to the seams.  It sounded wrong, but it worked!

I repeated all of the above with the lining fabric and hurriedly read on to see what was next.

making a square base by aligning the seams and sewing perpendicular to them. I wasn't sure about this but it was easy to do and effective

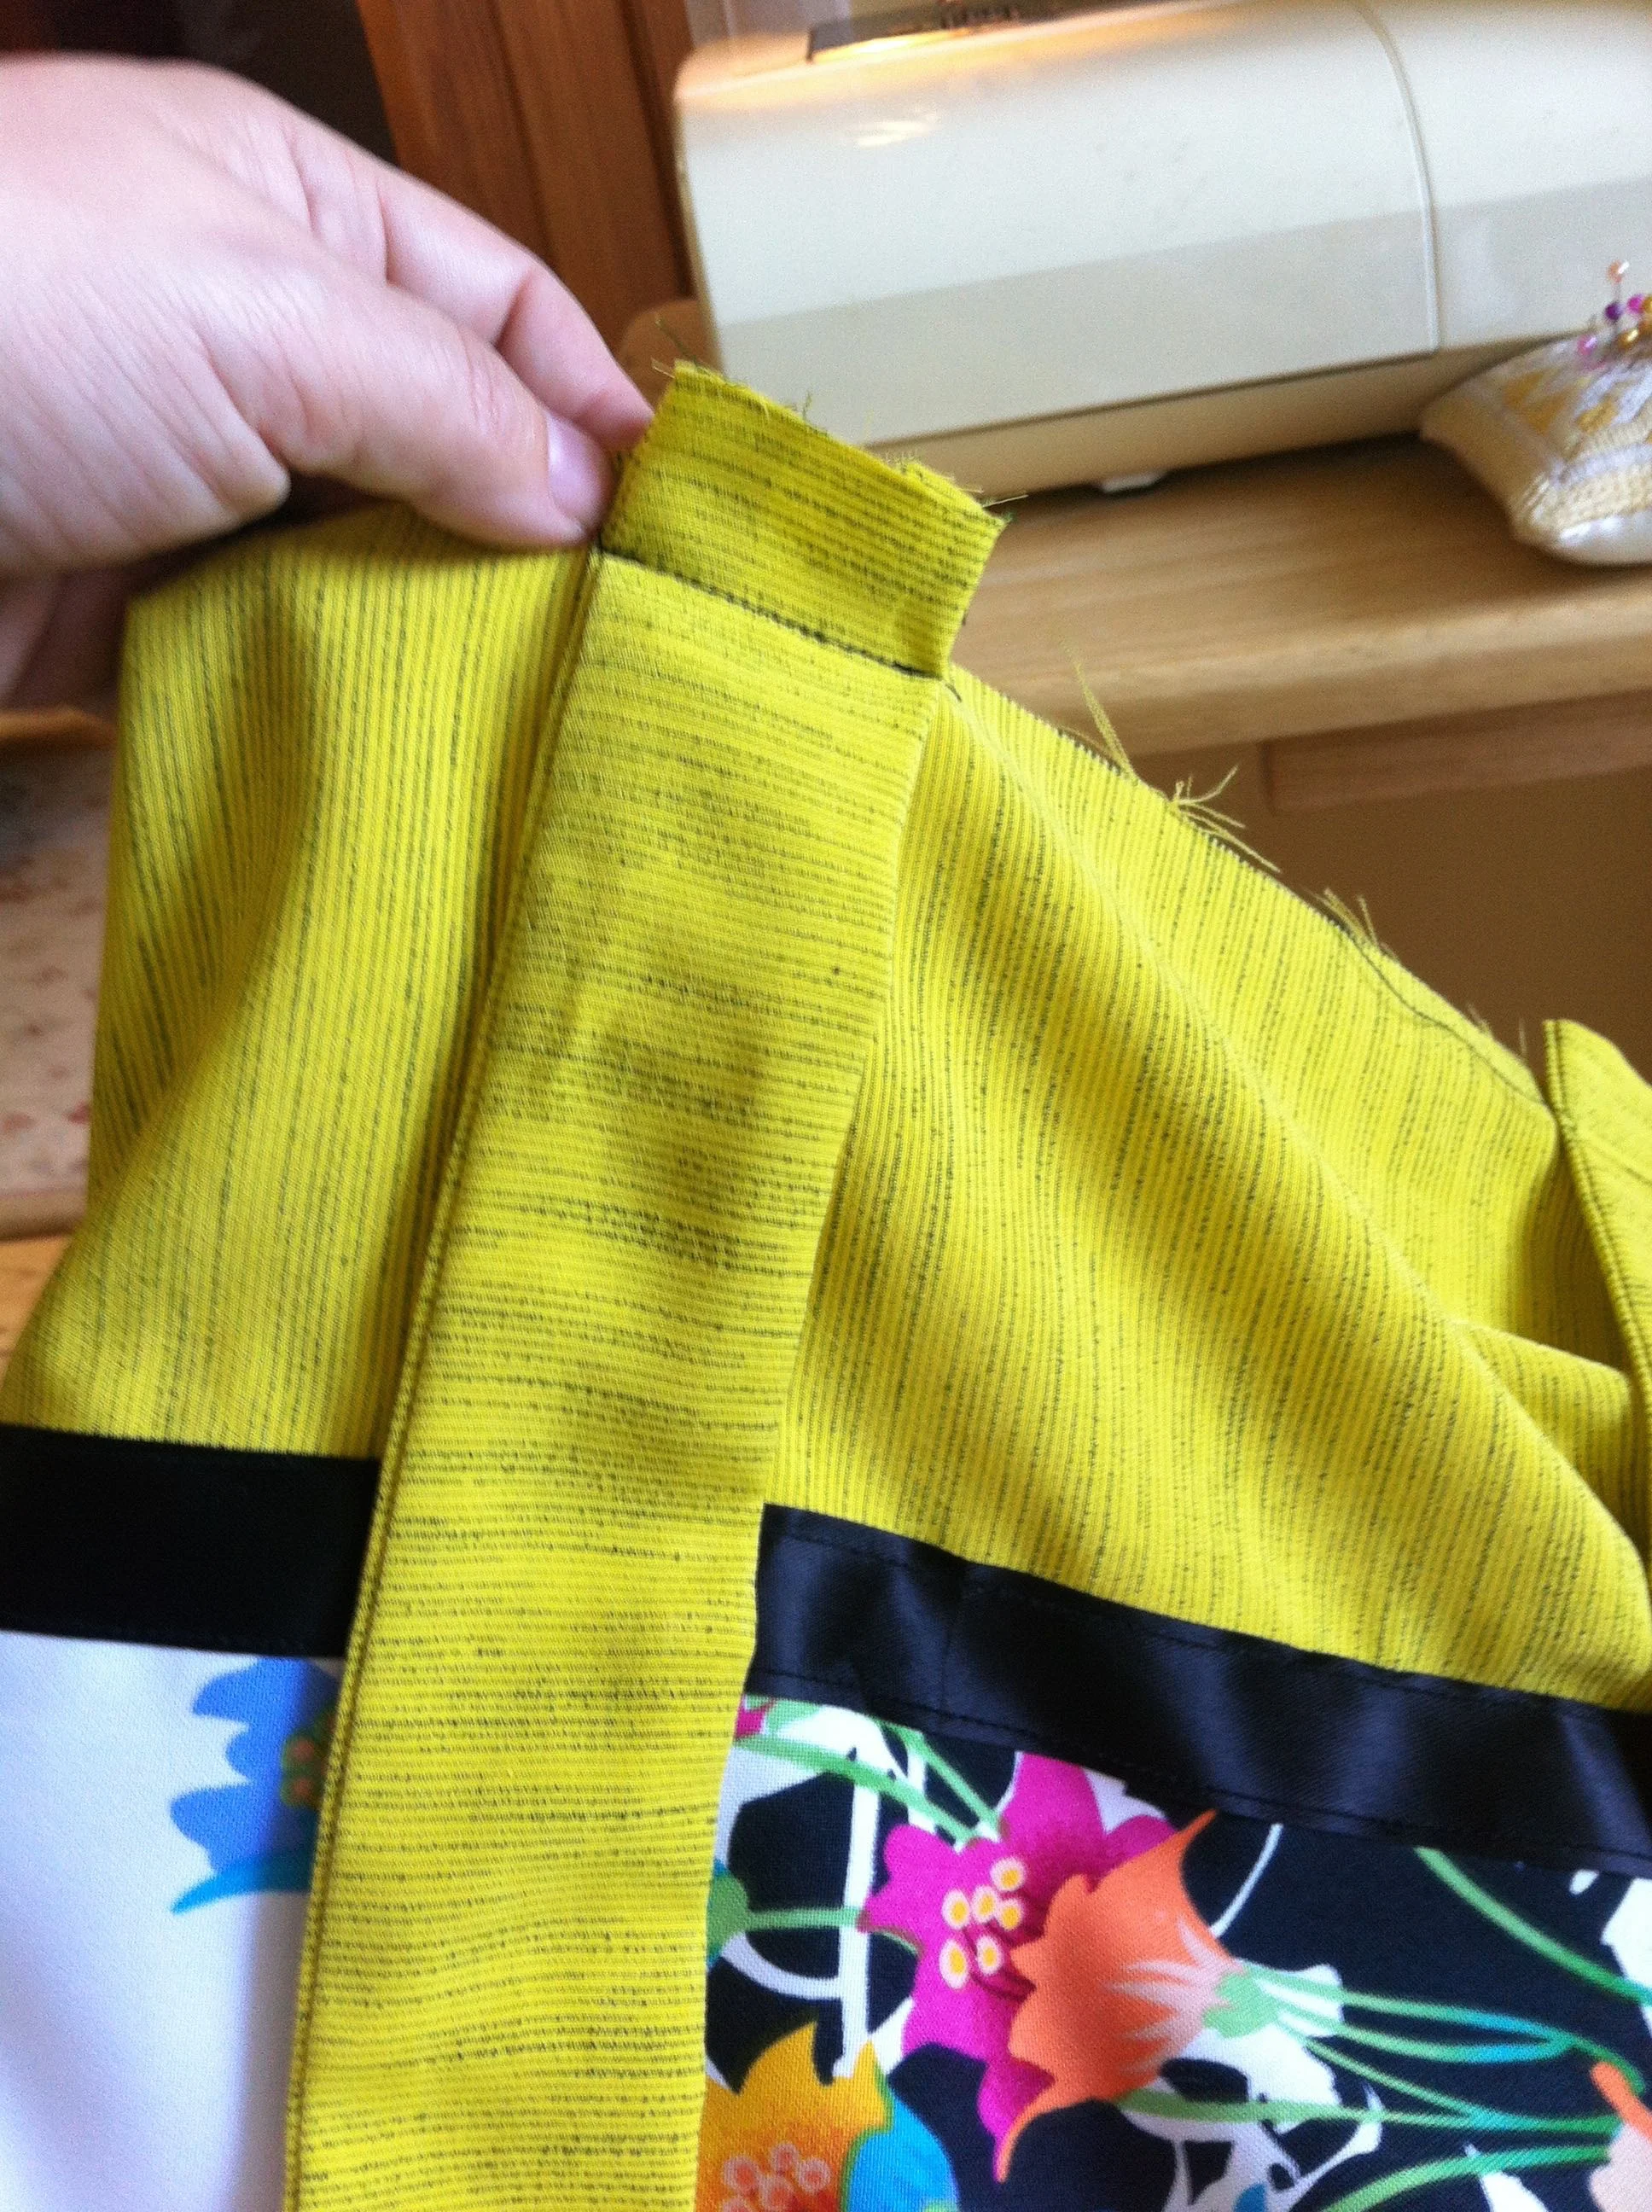
Handles, that's what. I'd forgotten how dull turning out a tube can be, but a bag needs handles so it had to be done.  With them the right way round and pressed, they were attached to the bag.

attaching the handles

The lining and outer fabrics were joined together leaving an inch hole. The next step was one of those "I'm not sure that's going to work" moments, as the instructions said to turn the bag inside out by pulling the outside from the in, through this little hole.

The hole that was left after joining the outer pieces of the tote bag to the lining - all of the bag has to get through that hole

But of course it worked and soon I was adding a round of top stitching close to the edge of the bag, and adding some support rectangles to the handles.

Top sewing around the top edge of the bag

With my sewing now looking like an actual bag - I stopped for a minor celebration!  

I didn't mention before, that although I can sew I'm not a confident sewer so when I sew something that looks like it's supposed too then I'm amazed!  Especially with this bag as for once I was following a pattern, not like when I decided to tackle some round seat covers with piping for the garden chairs, hey?!

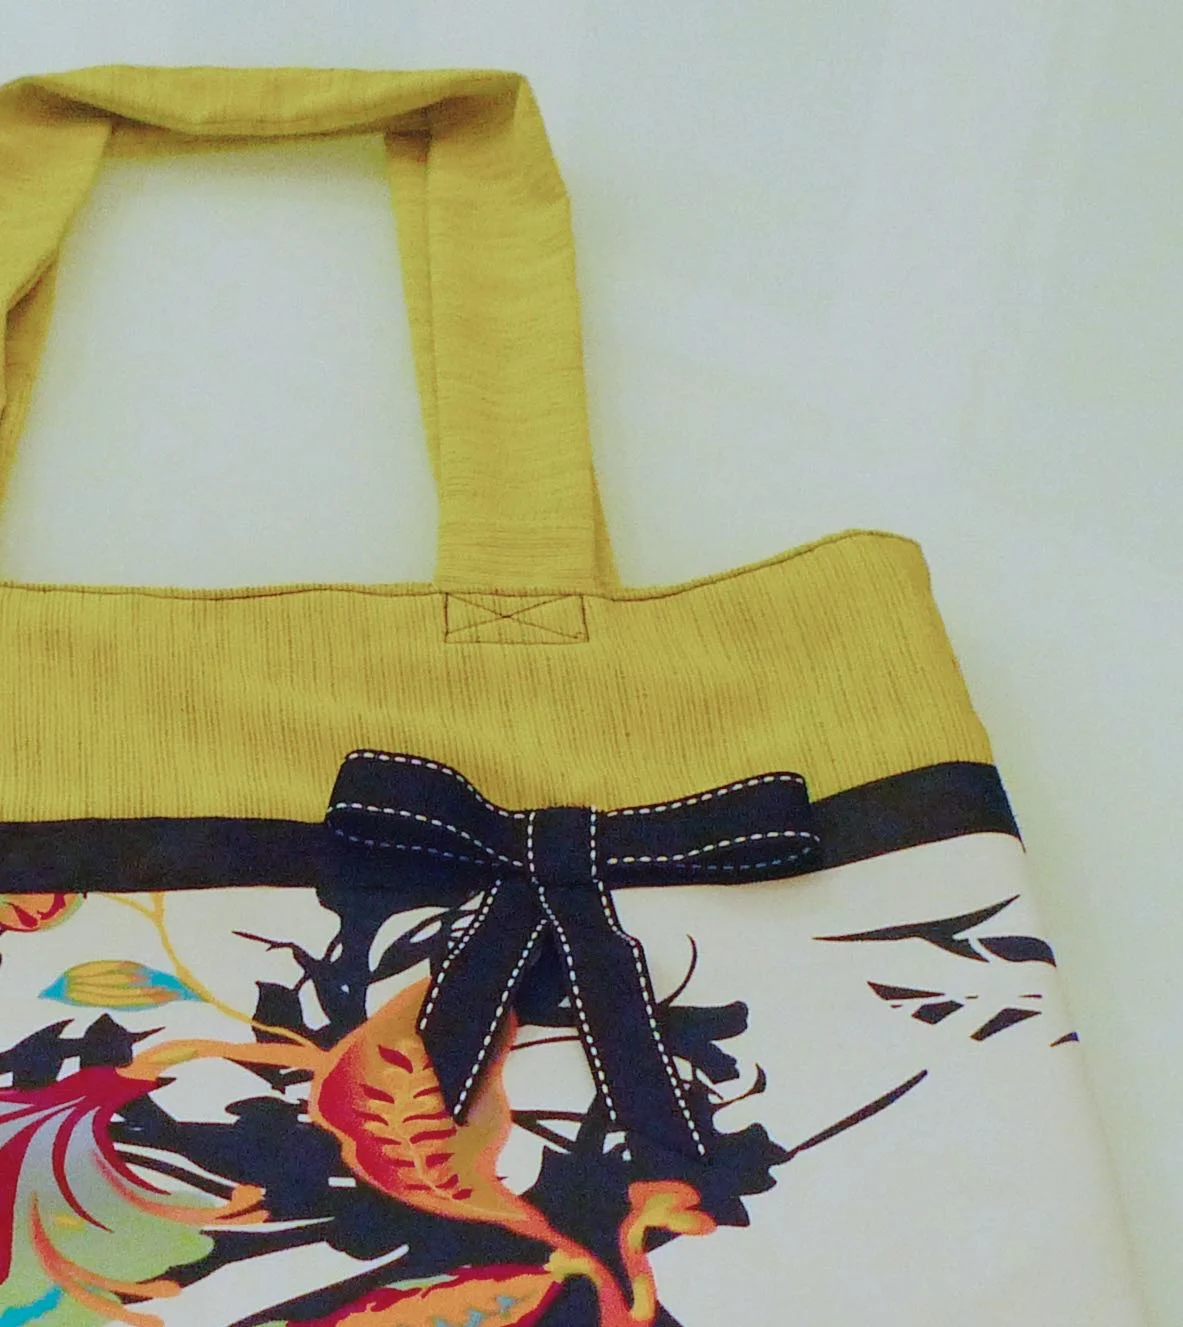
So the only thing left to do was to add a bow. So once more I was rummaging through my ribbon stores and when I found this black grosgrain ribbon with a cream trim to it I just knew it was the one to finish my bag.  And doesn't it?

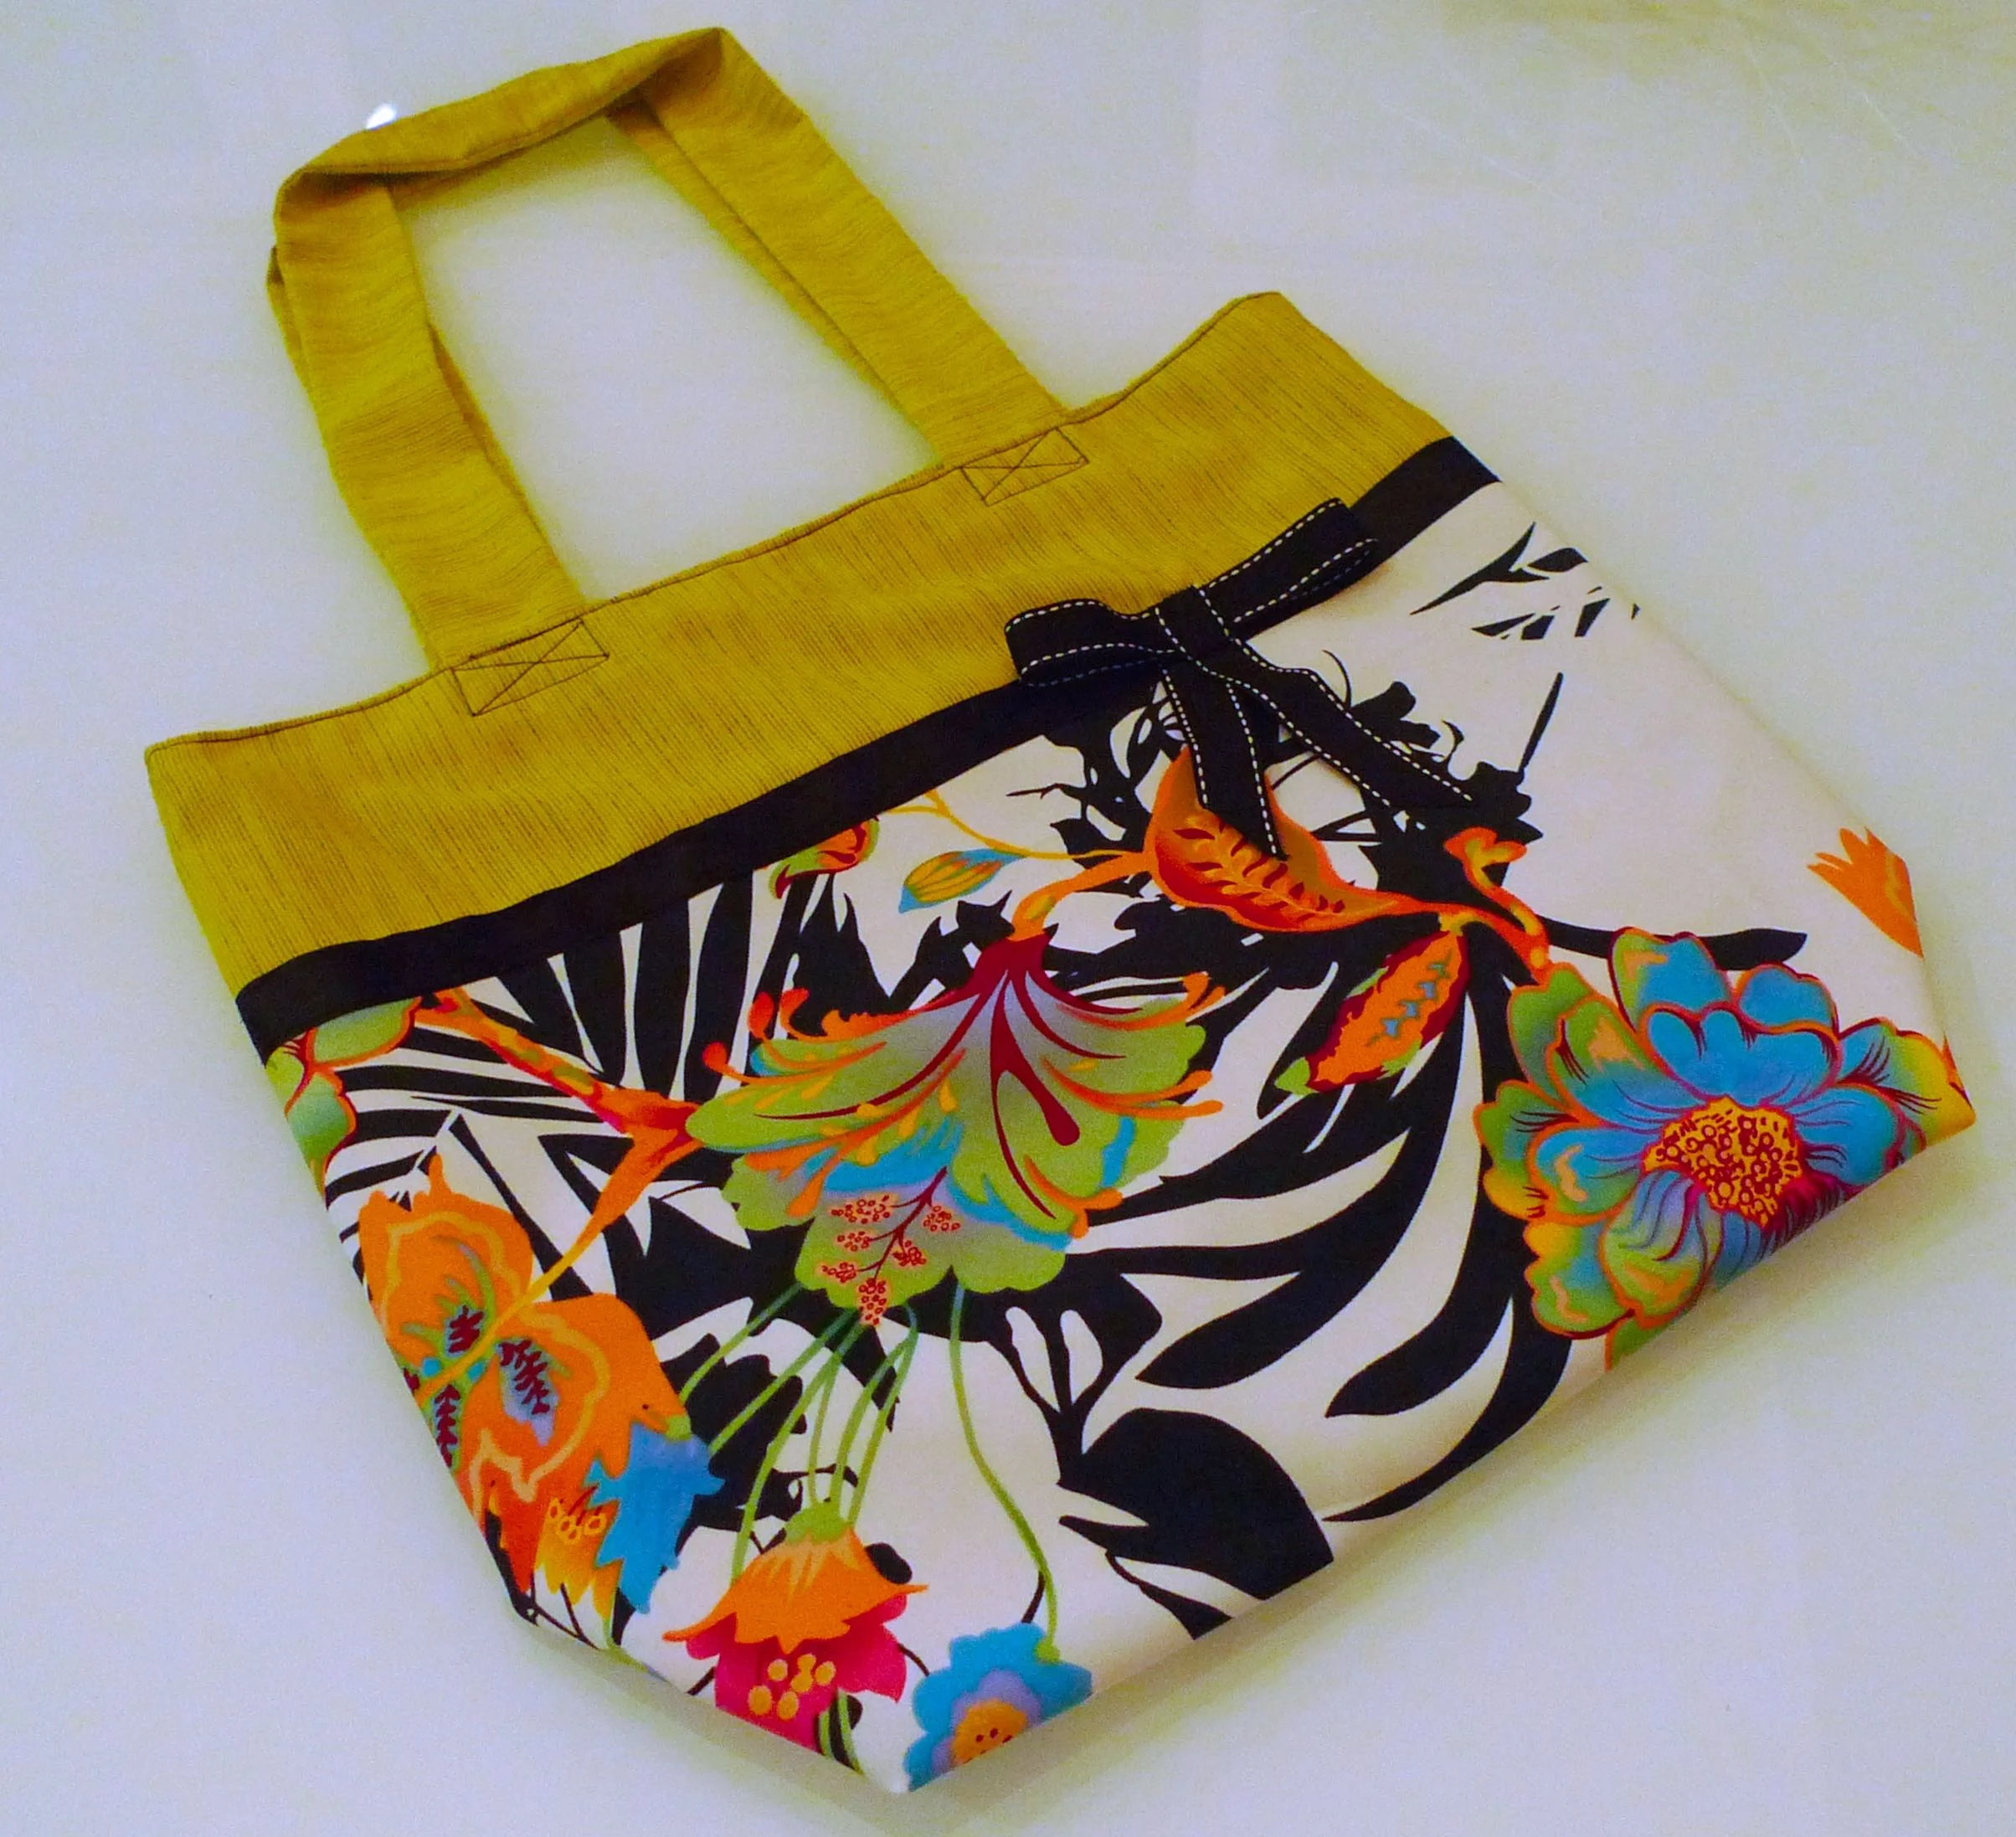
the completed bag with bow decoration

So now I have a new bag. One that I'm pleased with and very tempted to sneak into my panniers when we head off to France, because well even a cycling girl's gotta look chic in France haven't they?

The completed tote bag decorated with a pretty bow

* This is a collaborative post with Adam Ross Fabrics, who provided the material for this bag, but all opinions are my own.