



A new tote bag with Adam Ross fabrics

* This is a collaborative post with Adam Ross Fabrics, who provided the material for this bag, but all opinions are my own.

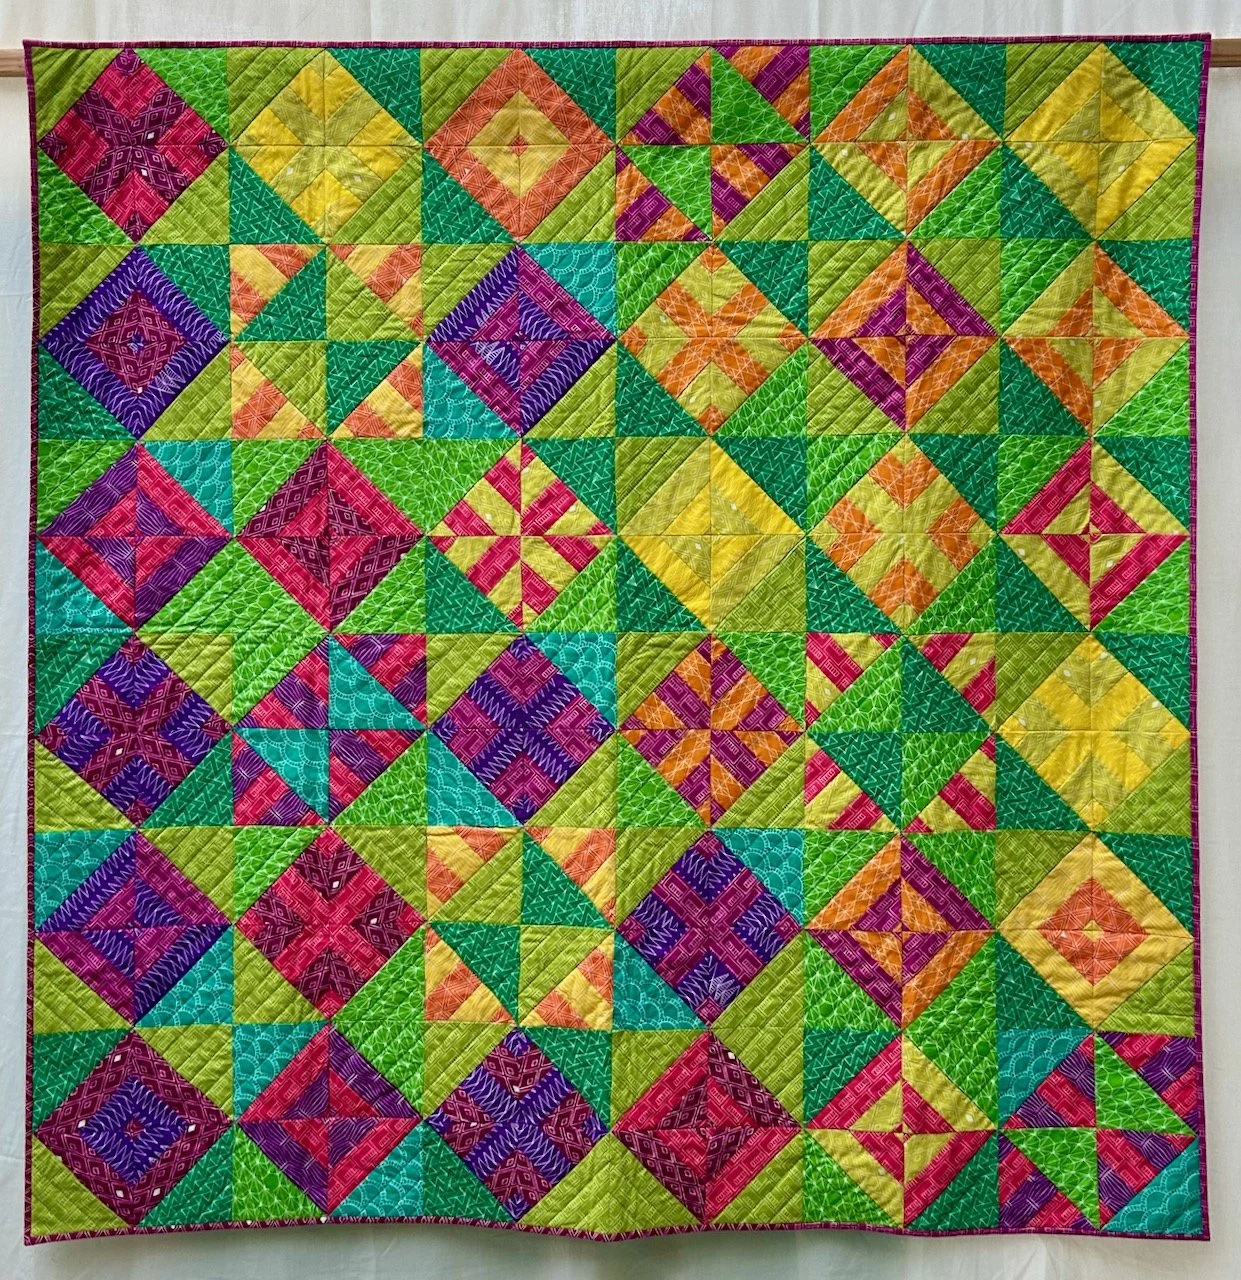
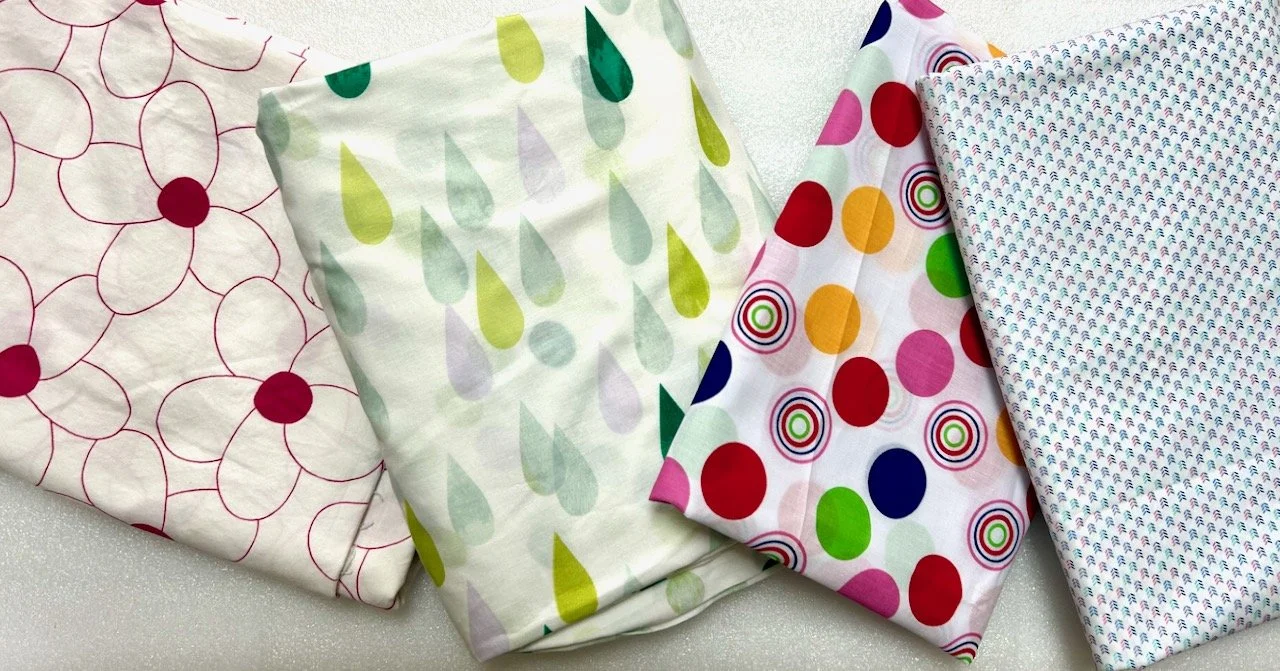
Remember this brightly coloured fabric from Adam Ross Fabrics? Well, guess what - I've made myself a bag and I'm rather pleased with it. MOH's reaction was "another bag?" but deep down I think he was impressed too.

Adam Ross Fabrics are a new fabric retailer based in Birmingham who are "looking to bring quality back to the British clothing industry". And they believe you shouldn't have to compromise on the quality of the fabric you use.  There's fabrics for fashion and interior design on their site and unsurprisingly they sell to both of these customers.

I've not ordered fabric before online, so I was keen to see how it would work out.  On the website you can shop by material type so if you're after a velvet or a chiffon then head straight to those sections; you can also shop by colour which was great for me as once I'd found my bold flower material I was after a zingy plain to go with it, and doesn't the lime green go well?

If you're not sure what material type you want then there's a helpful description in each section to help you identify what you need.

My fabric - which was quick to arrive was just as I expected it to be and I immediately loved the colours.  I'd planned to make a tote bag, and I'd pinned this two-tone fabric tote bag by Make It & Love It ages ago - so it was the ideal time to be one of those pinners who acted on their pins, and make this bag.

Making the tote bag

Following the instructions on Ashley's blog I joined the two fabrics which form the outer part of the bag.
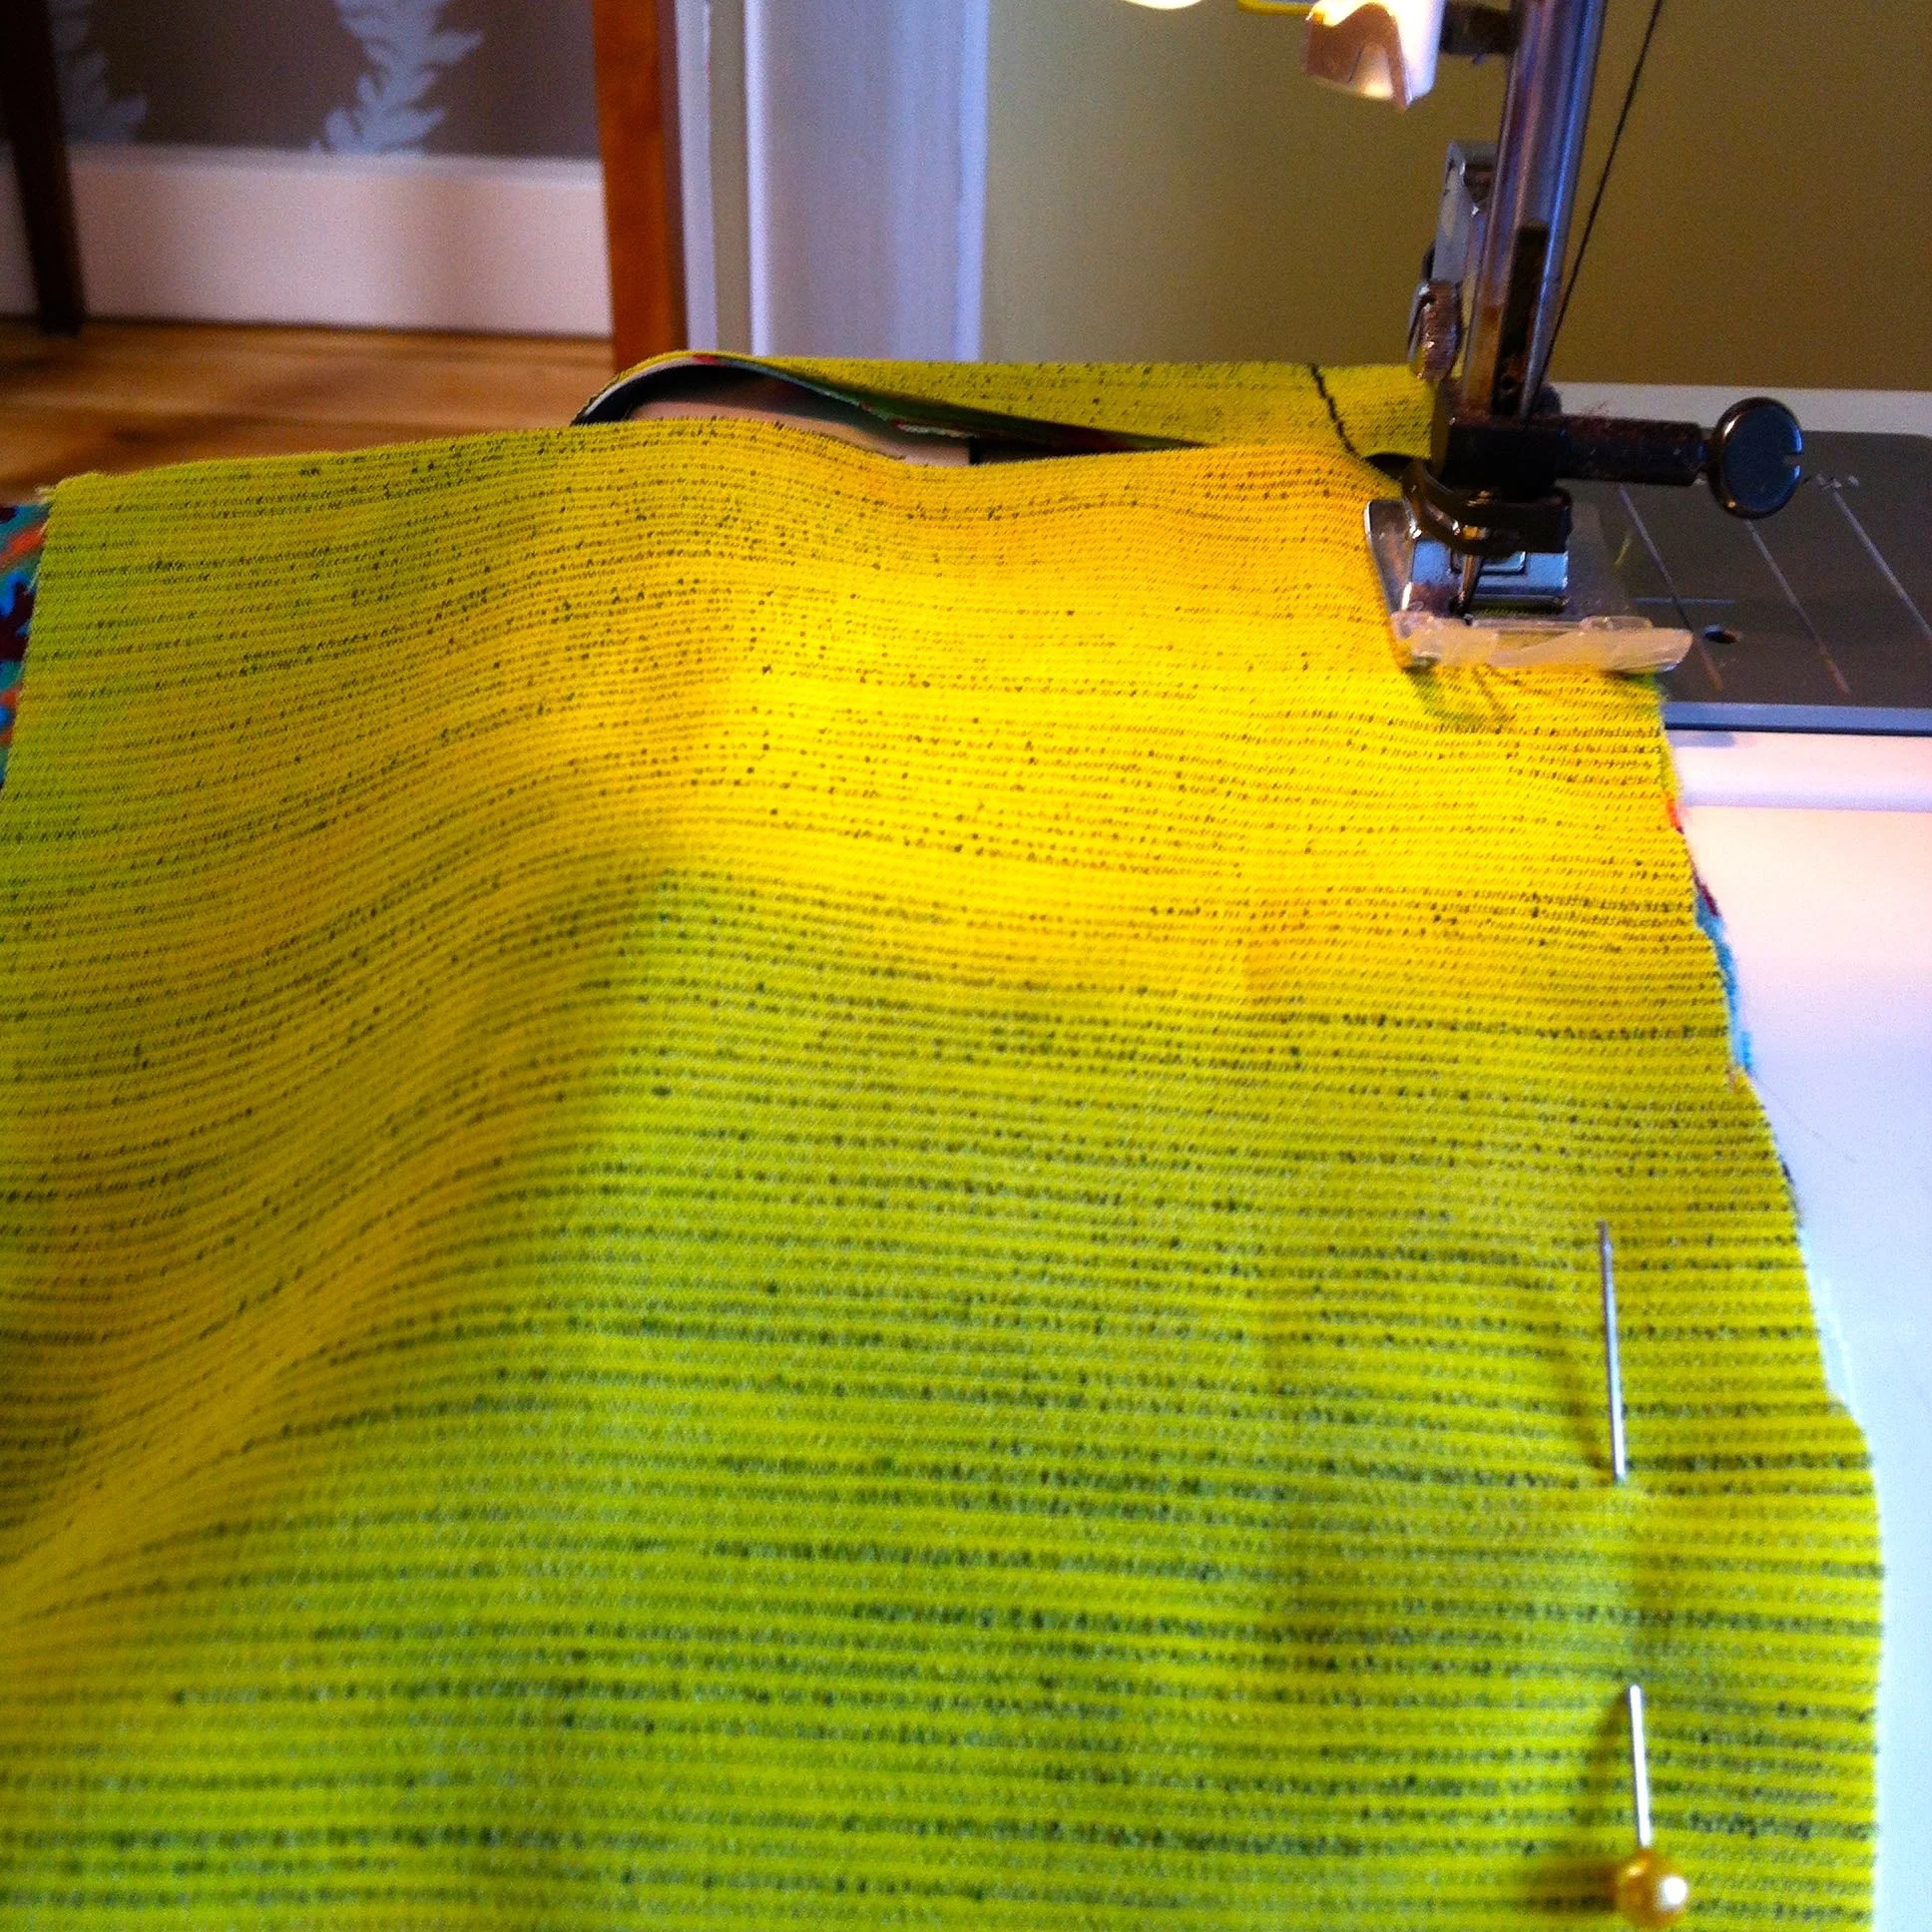
Sewing the outer pieces together

And I couldn't help but sneak a look at what they would look like together.
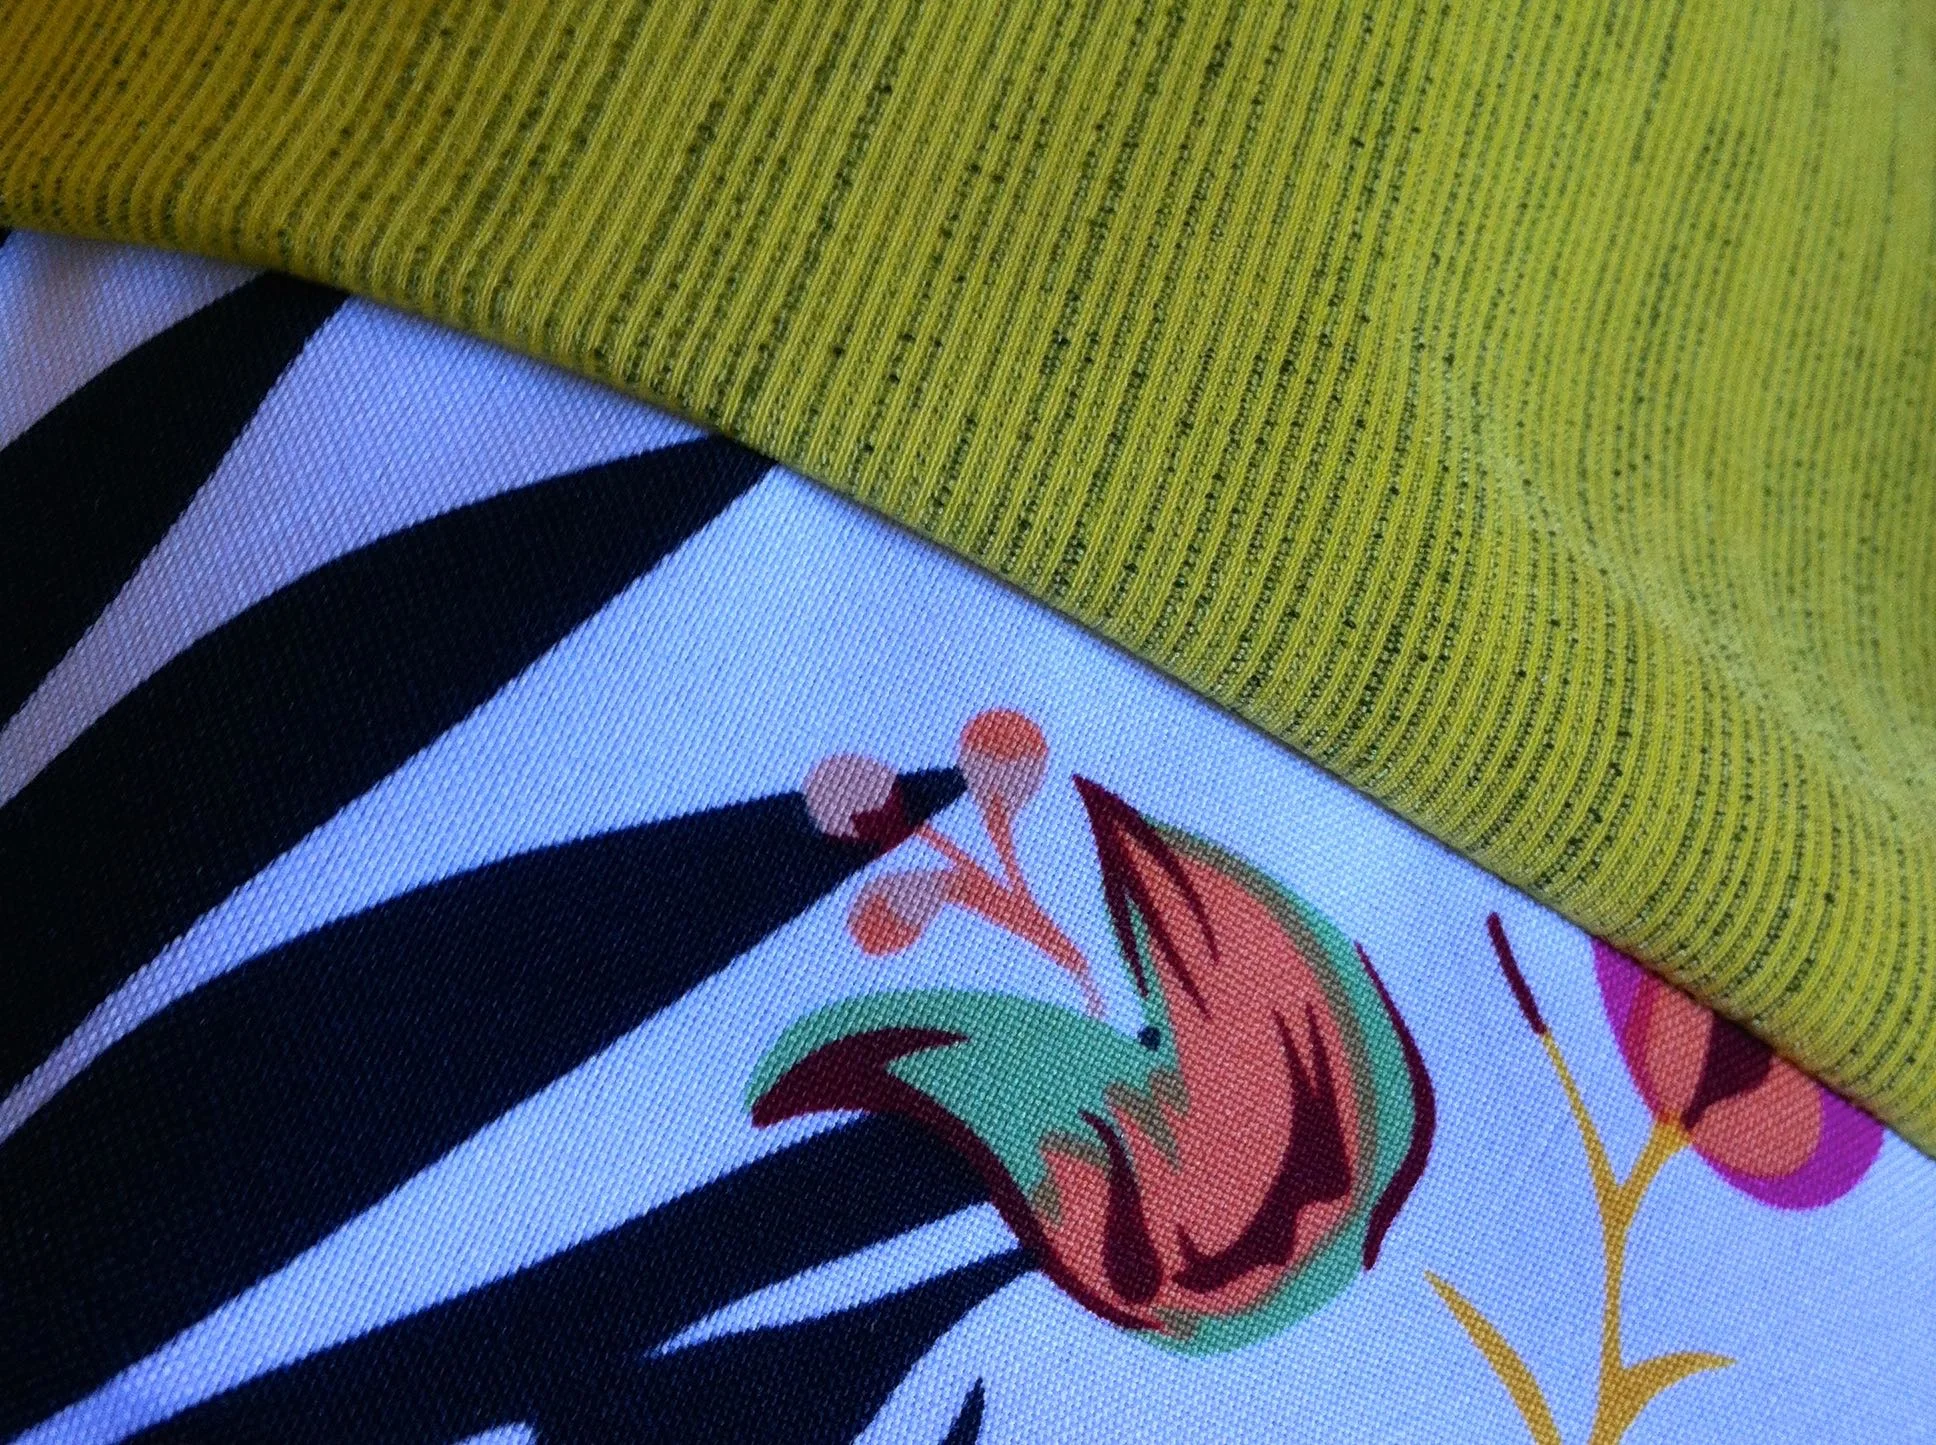
Checking what the colour combination will look like

Then it was time to pin the ribbon in place before sewing it top and bottom.
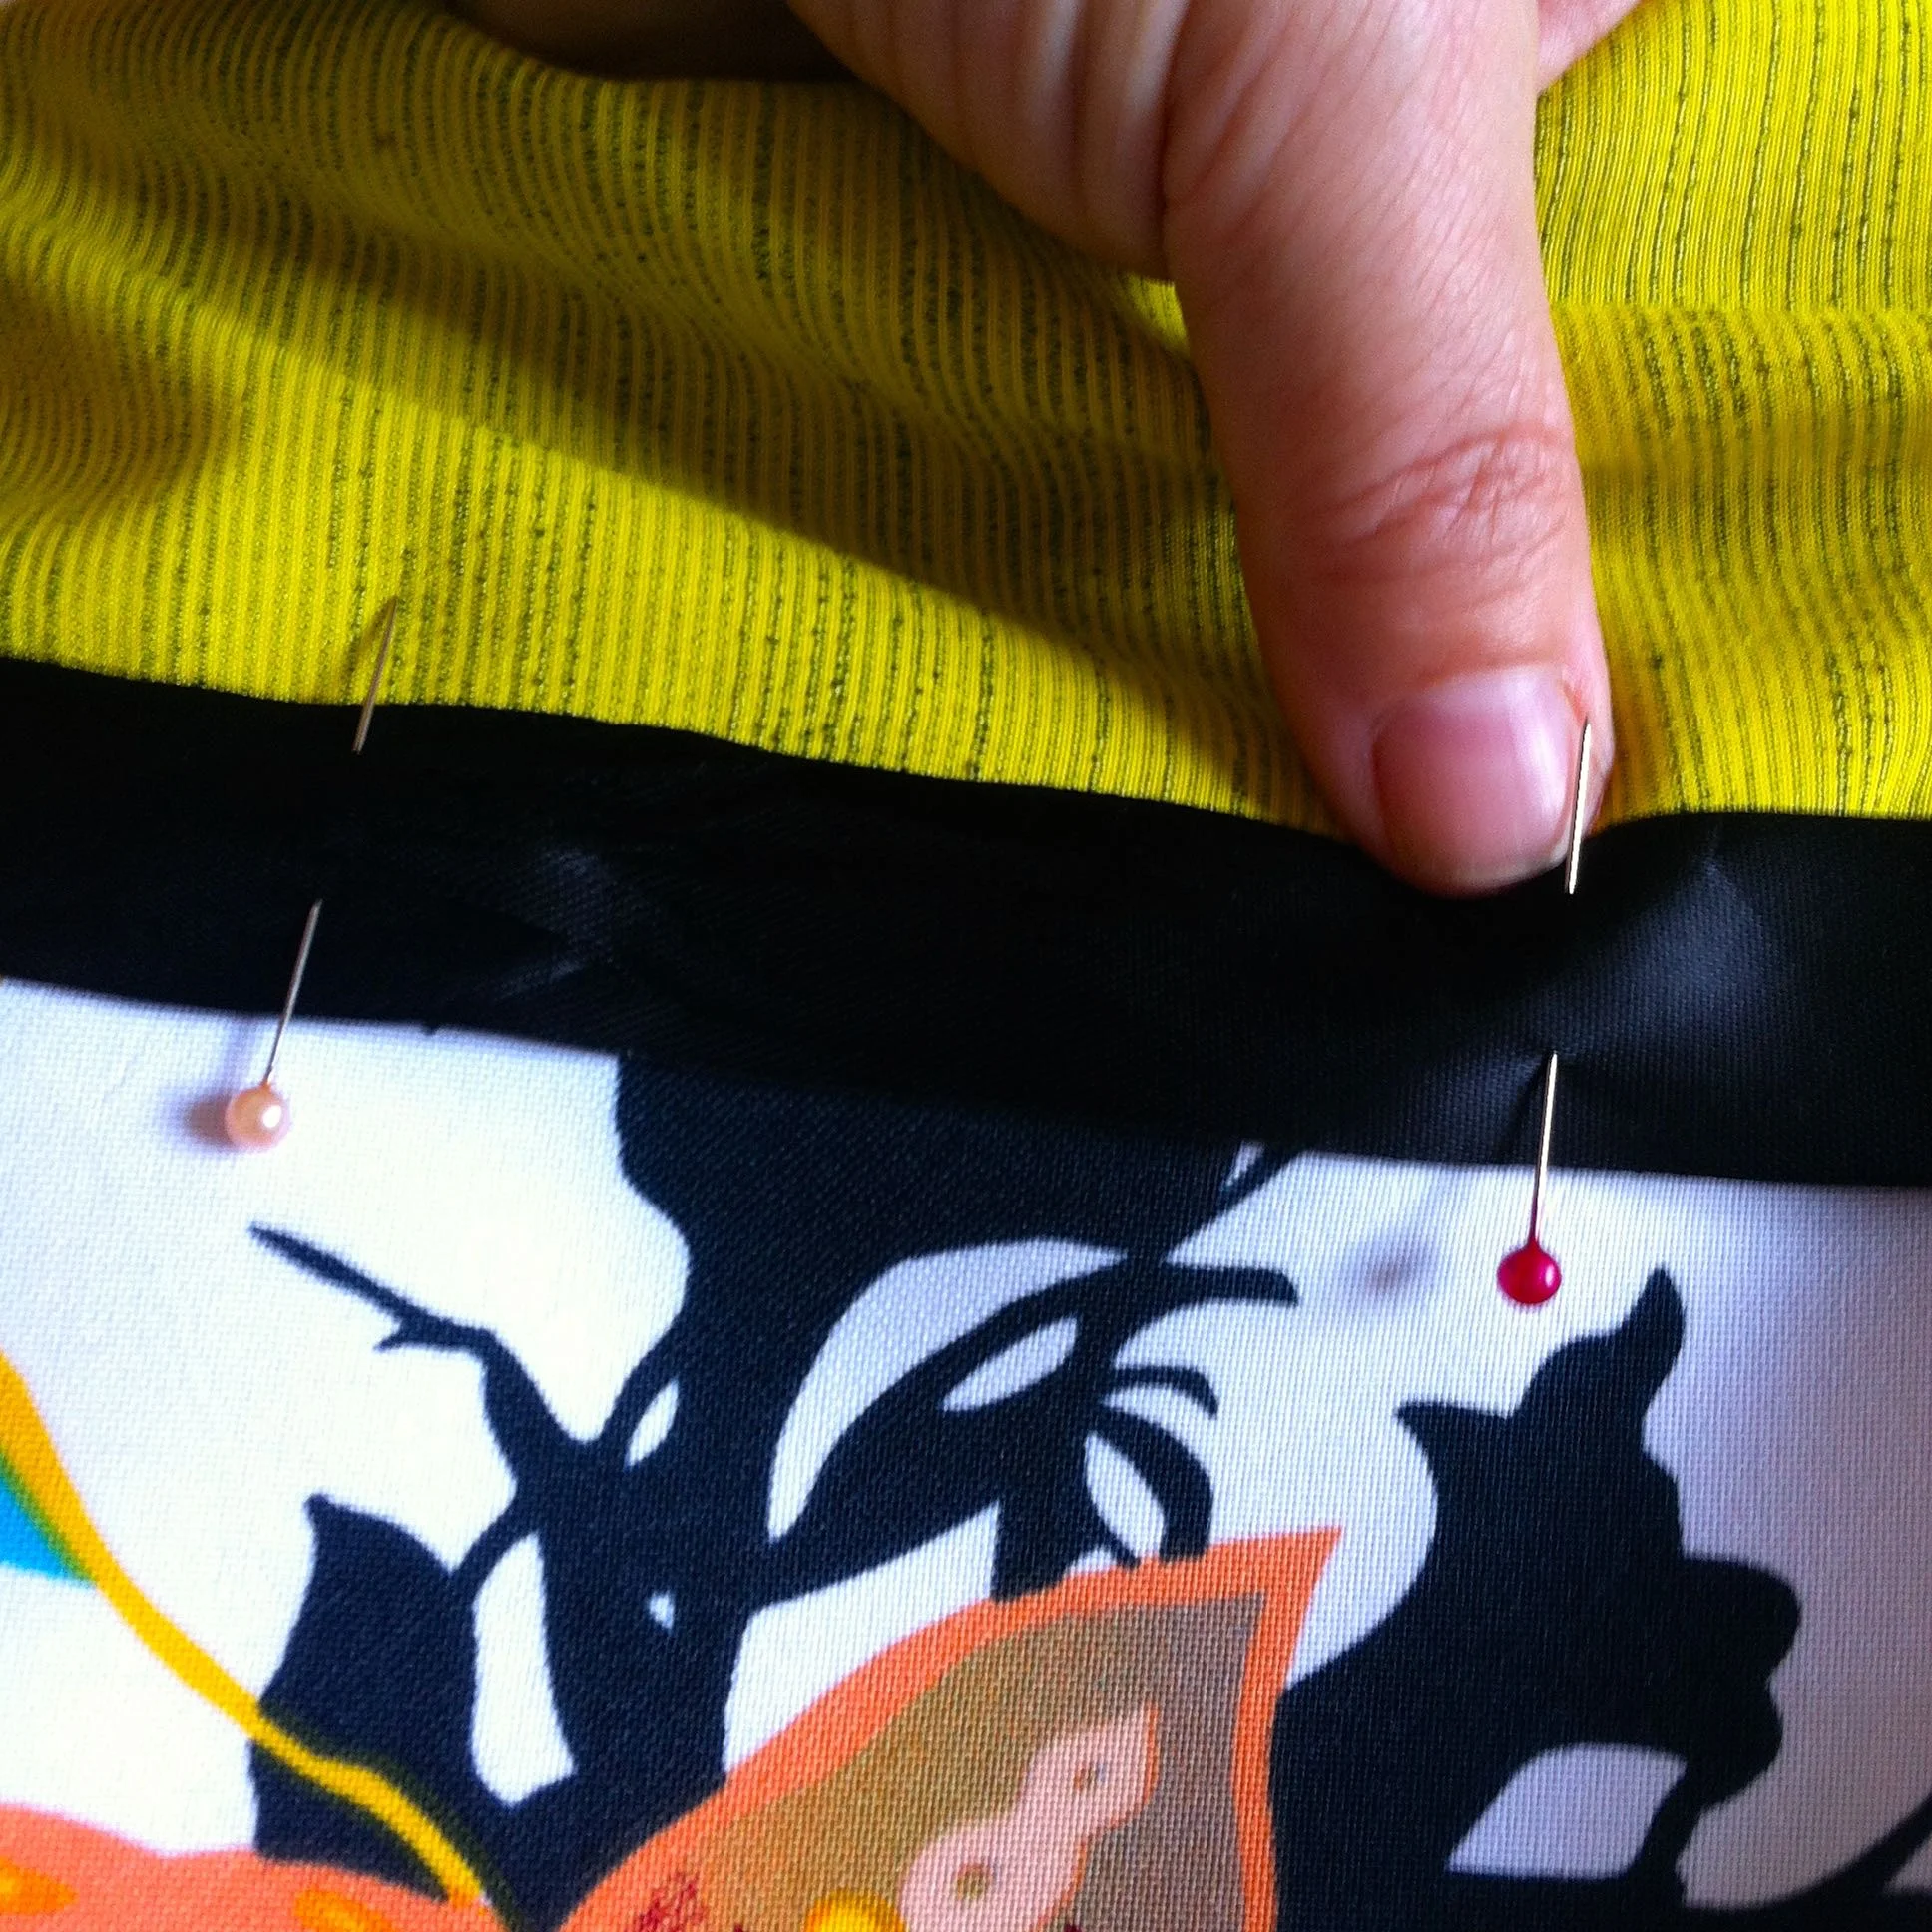
Adding the ribbon

Next it was joining those two pieces together, to actually start to form the bag.
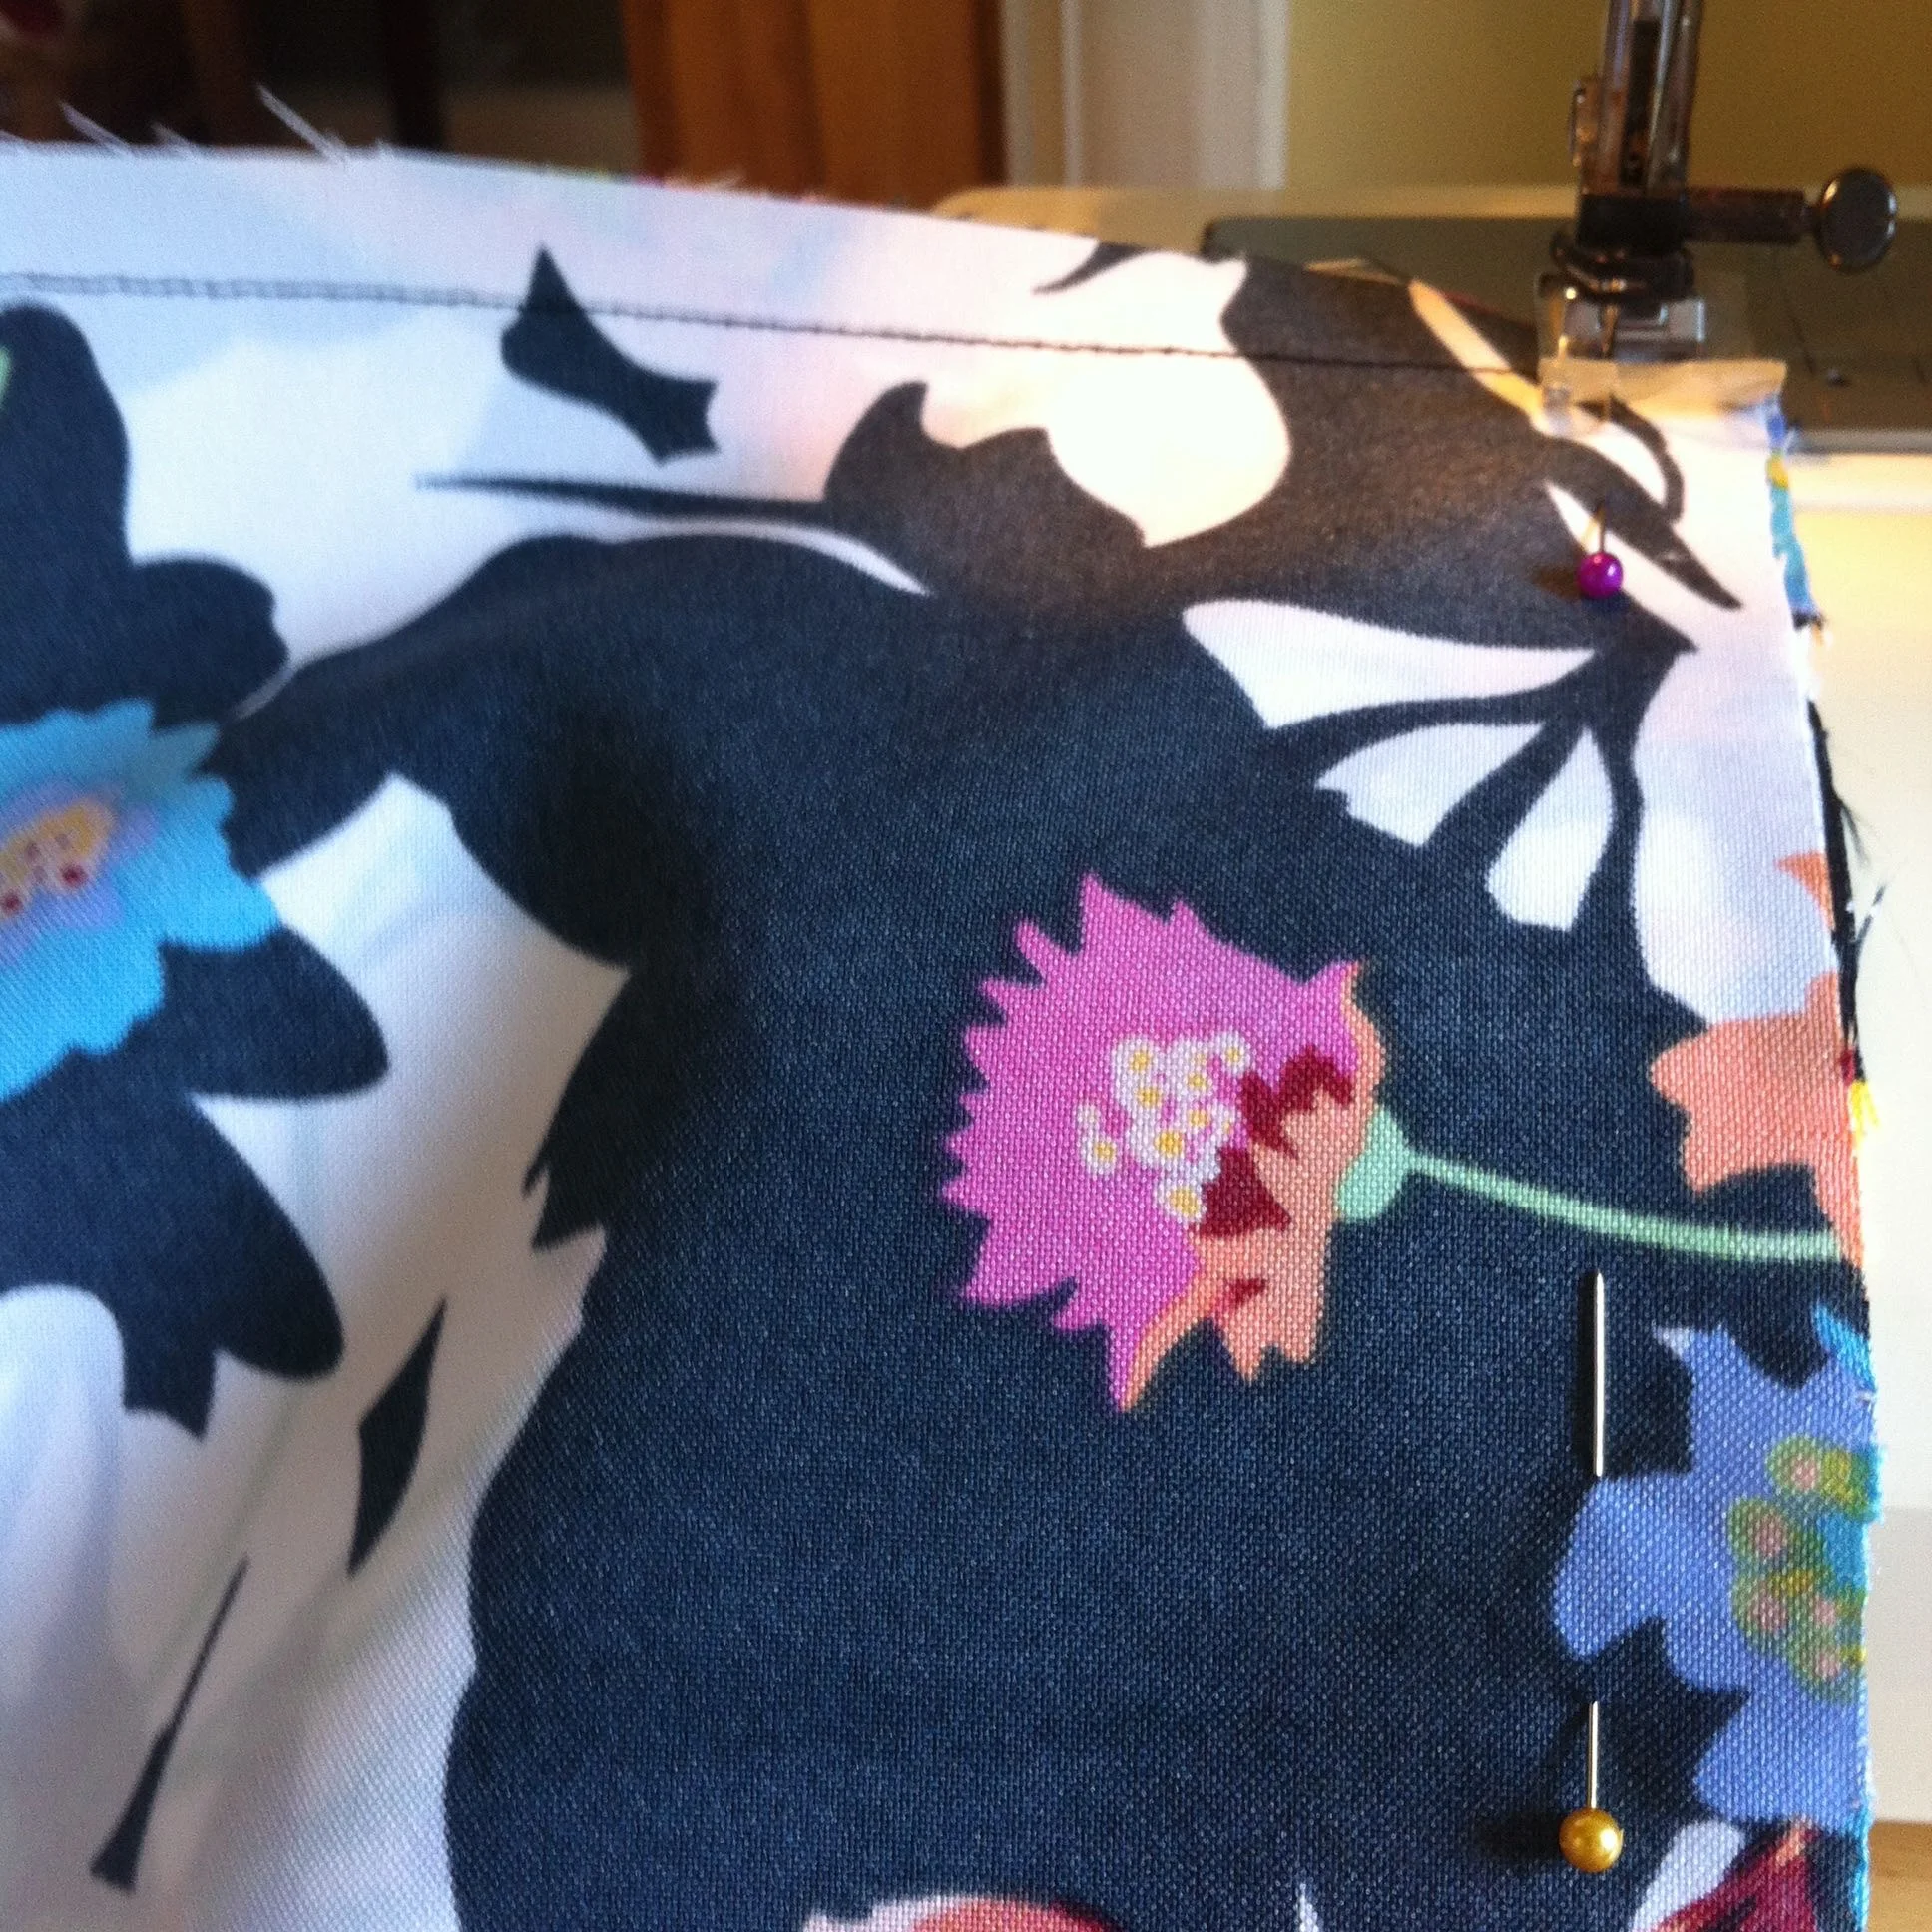
Sewing the outer pieces together to form the bag

Then came the bit that I was less sure of. It's purpose was to square off the bottom enabling the bag to stand up on its own when packed, and to make it easier to pack too.  I almost left this bit out, but then I figured it out and it was back in again.  So I wiggled the seams together and measured before sewing a line perpendicular to the seams.  It sounded wrong, but it worked!

I repeated all of the above with the lining fabric and hurriedly read on to see what was next.

making a square base by aligning the seams and sewing perpendicular to them. I wasn't sure about this but it was easy to do and effective

Handles, that's what. I'd forgotten how dull turning out a tube can be, but a bag needs handles so it had to be done.  With them the right way round and pressed, they were attached to the bag.
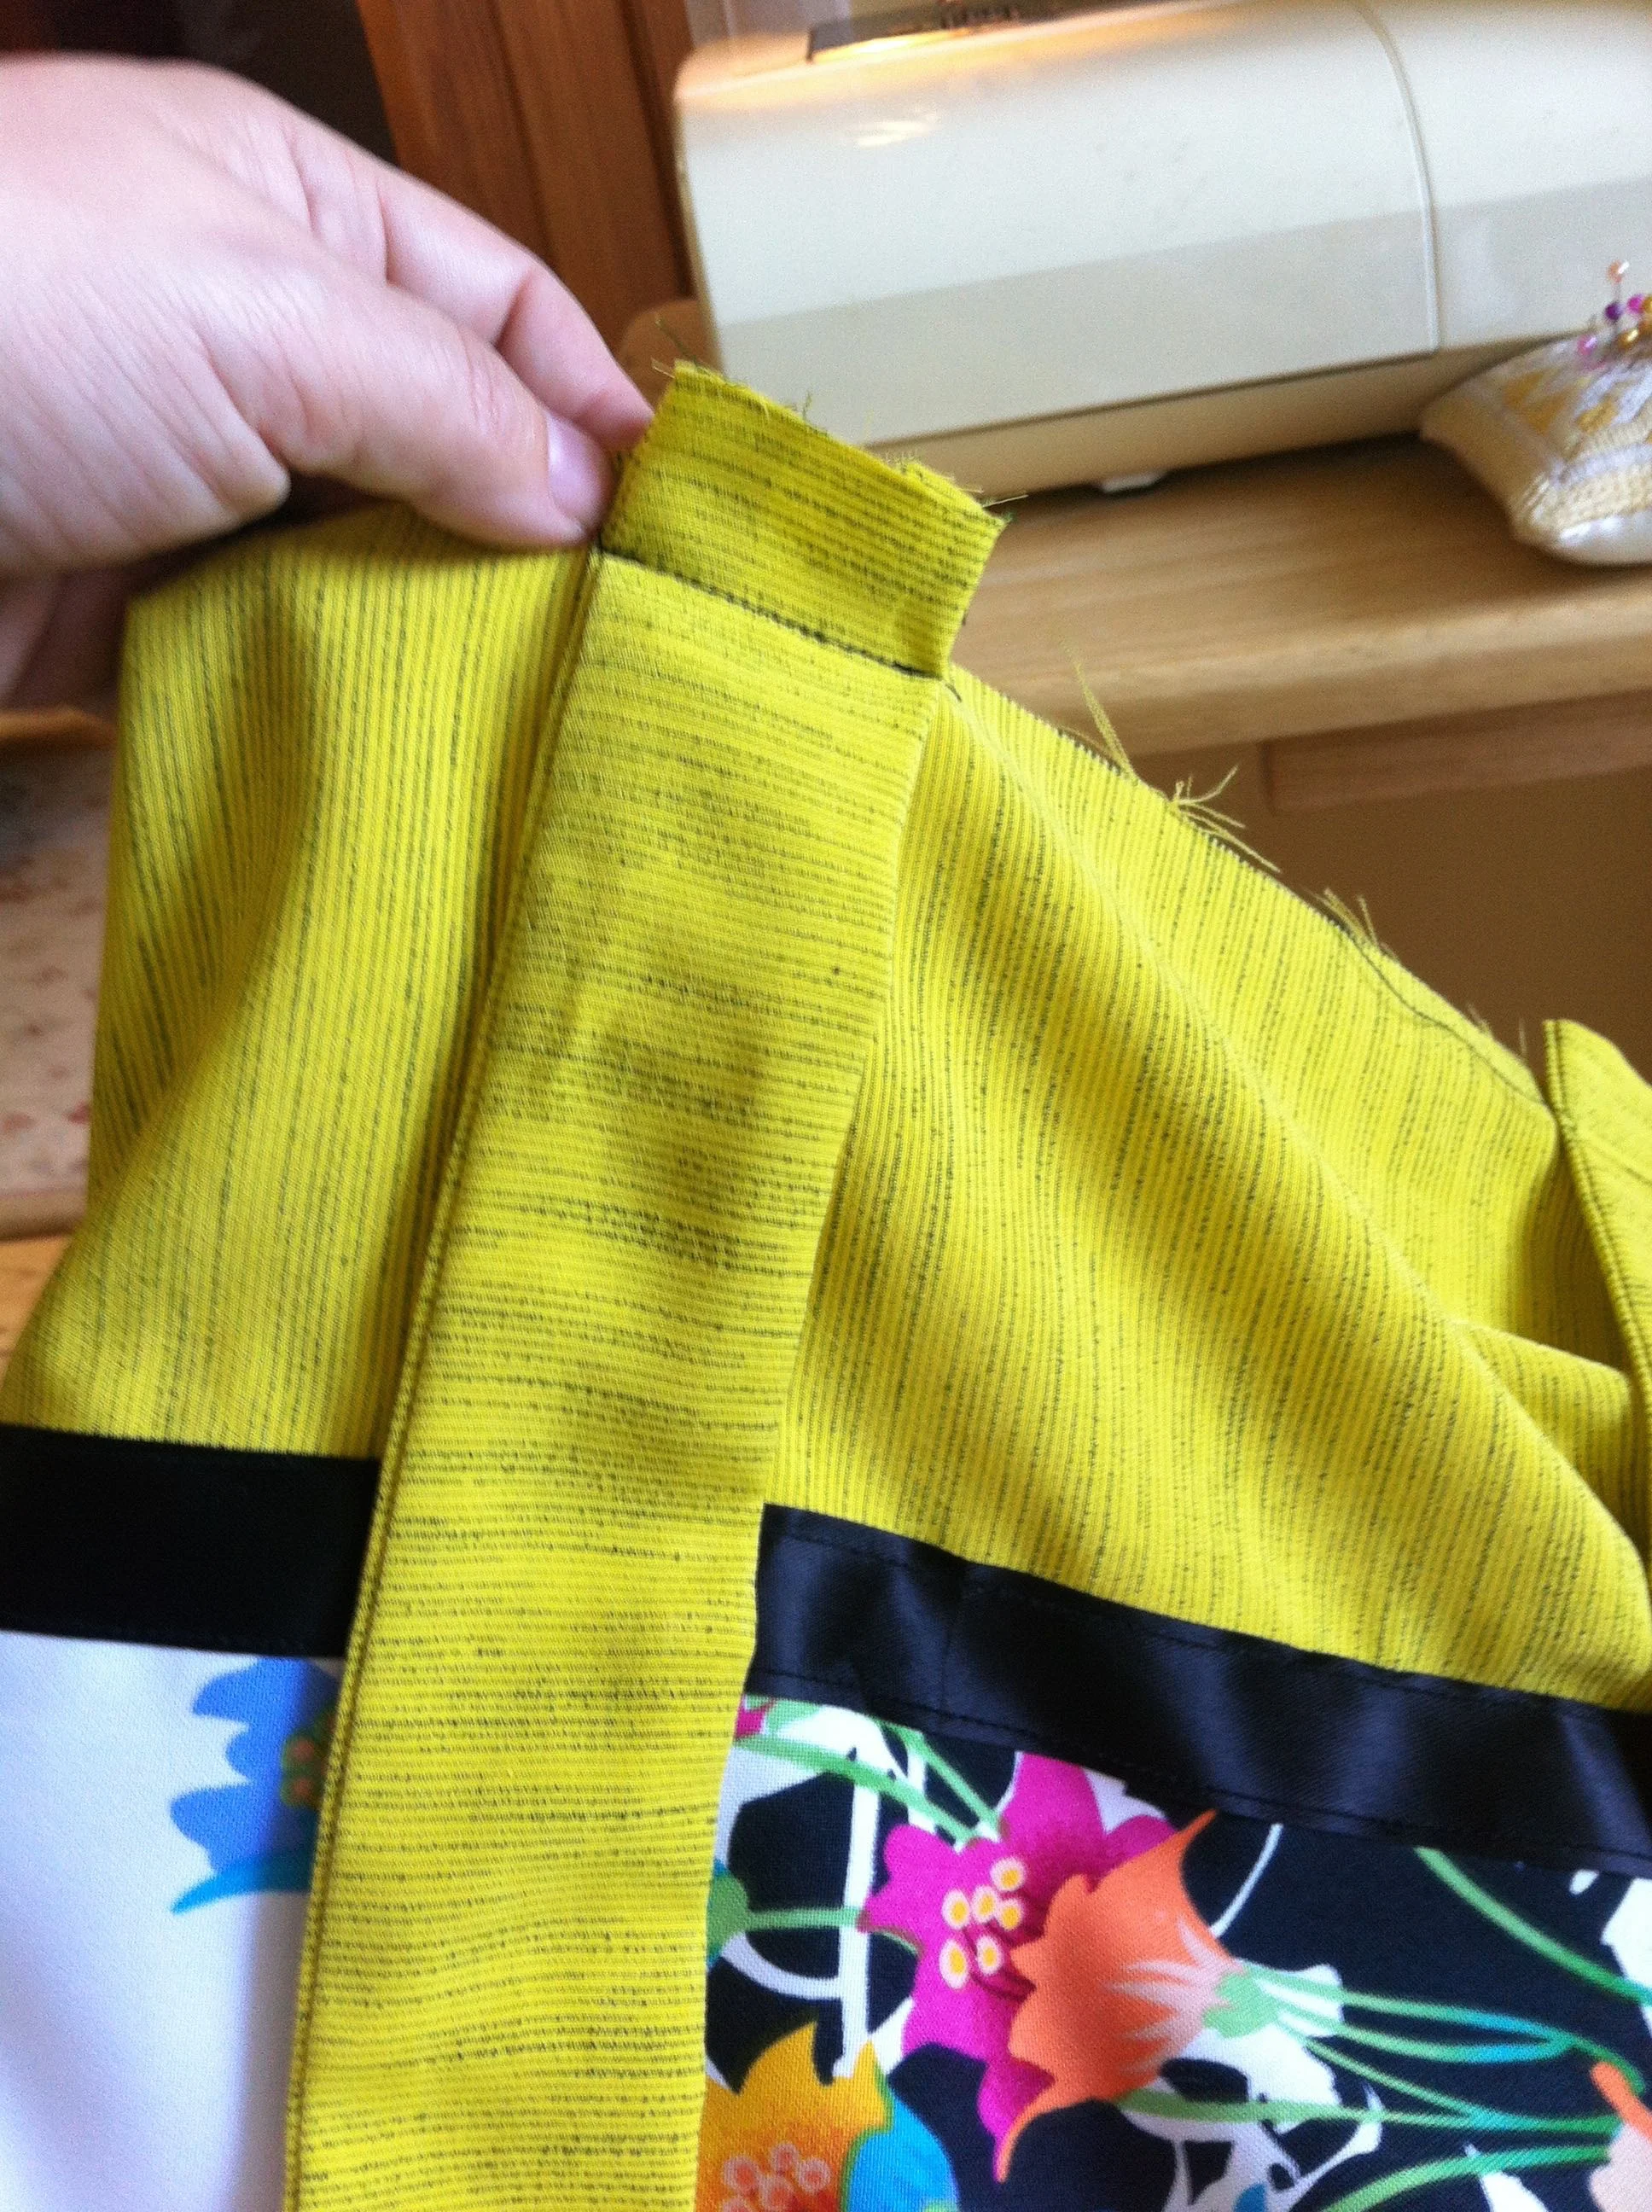
attaching the handles

The lining and outer fabrics were joined together leaving an inch hole. The next step was one of those "I'm not sure that's going to work" moments, as the instructions said to turn the bag inside out by pulling the outside from the in, through this little hole.

The hole that was left after joining the outer pieces of the tote bag to the lining - all of the bag has to get through that hole

But of course it worked and soon I was adding a round of top stitching close to the edge of the bag, and adding some support rectangles to the handles.

Top sewing around the top edge of the bag

With my sewing now looking like an actual bag - I stopped for a minor celebration!  

I didn't mention before, that although I can sew I'm not a confident sewer so when I sew something that looks like it's supposed too then I'm amazed!  Especially with this bag as for once I was following a pattern, not like when I decided to tackle some round seat covers with piping for the garden chairs, hey?!

So the only thing left to do was to add a bow. So once more I was rummaging through my ribbon stores and when I found this black grosgrain ribbon with a cream trim to it I just knew it was the one to finish my bag.  And doesn't it?
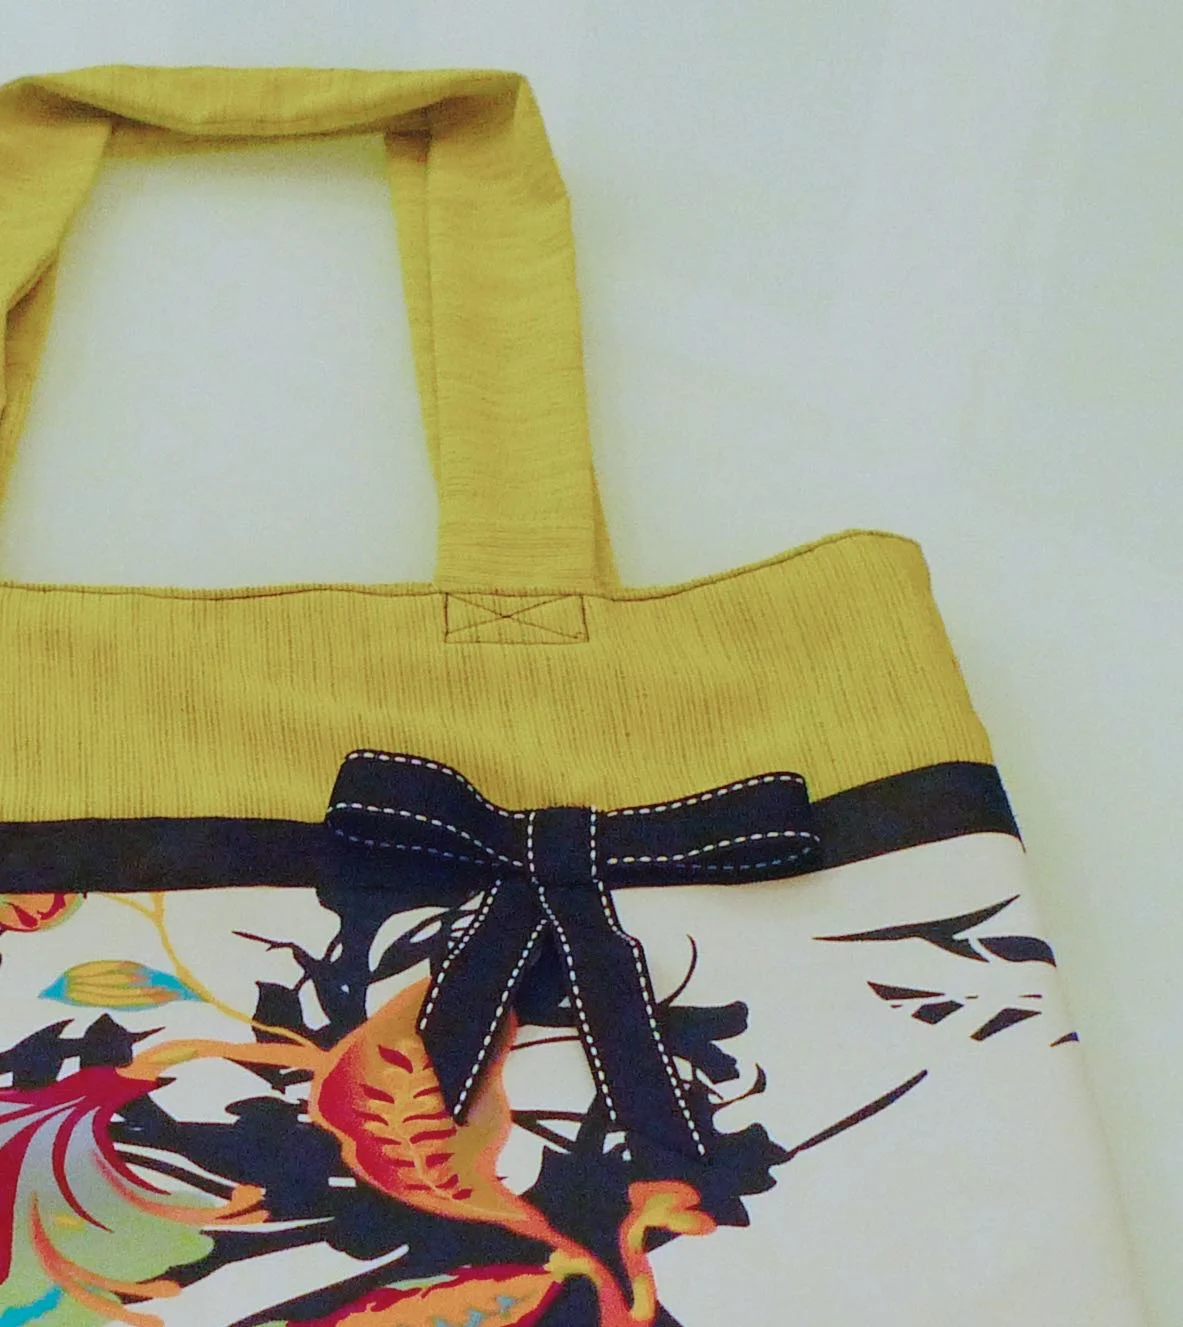
the completed bag with bow decoration

So now I have a new bag. One that I'm pleased with and very tempted to sneak into my panniers when we head off to France, because well even a cycling girl's gotta look chic in France haven't they?
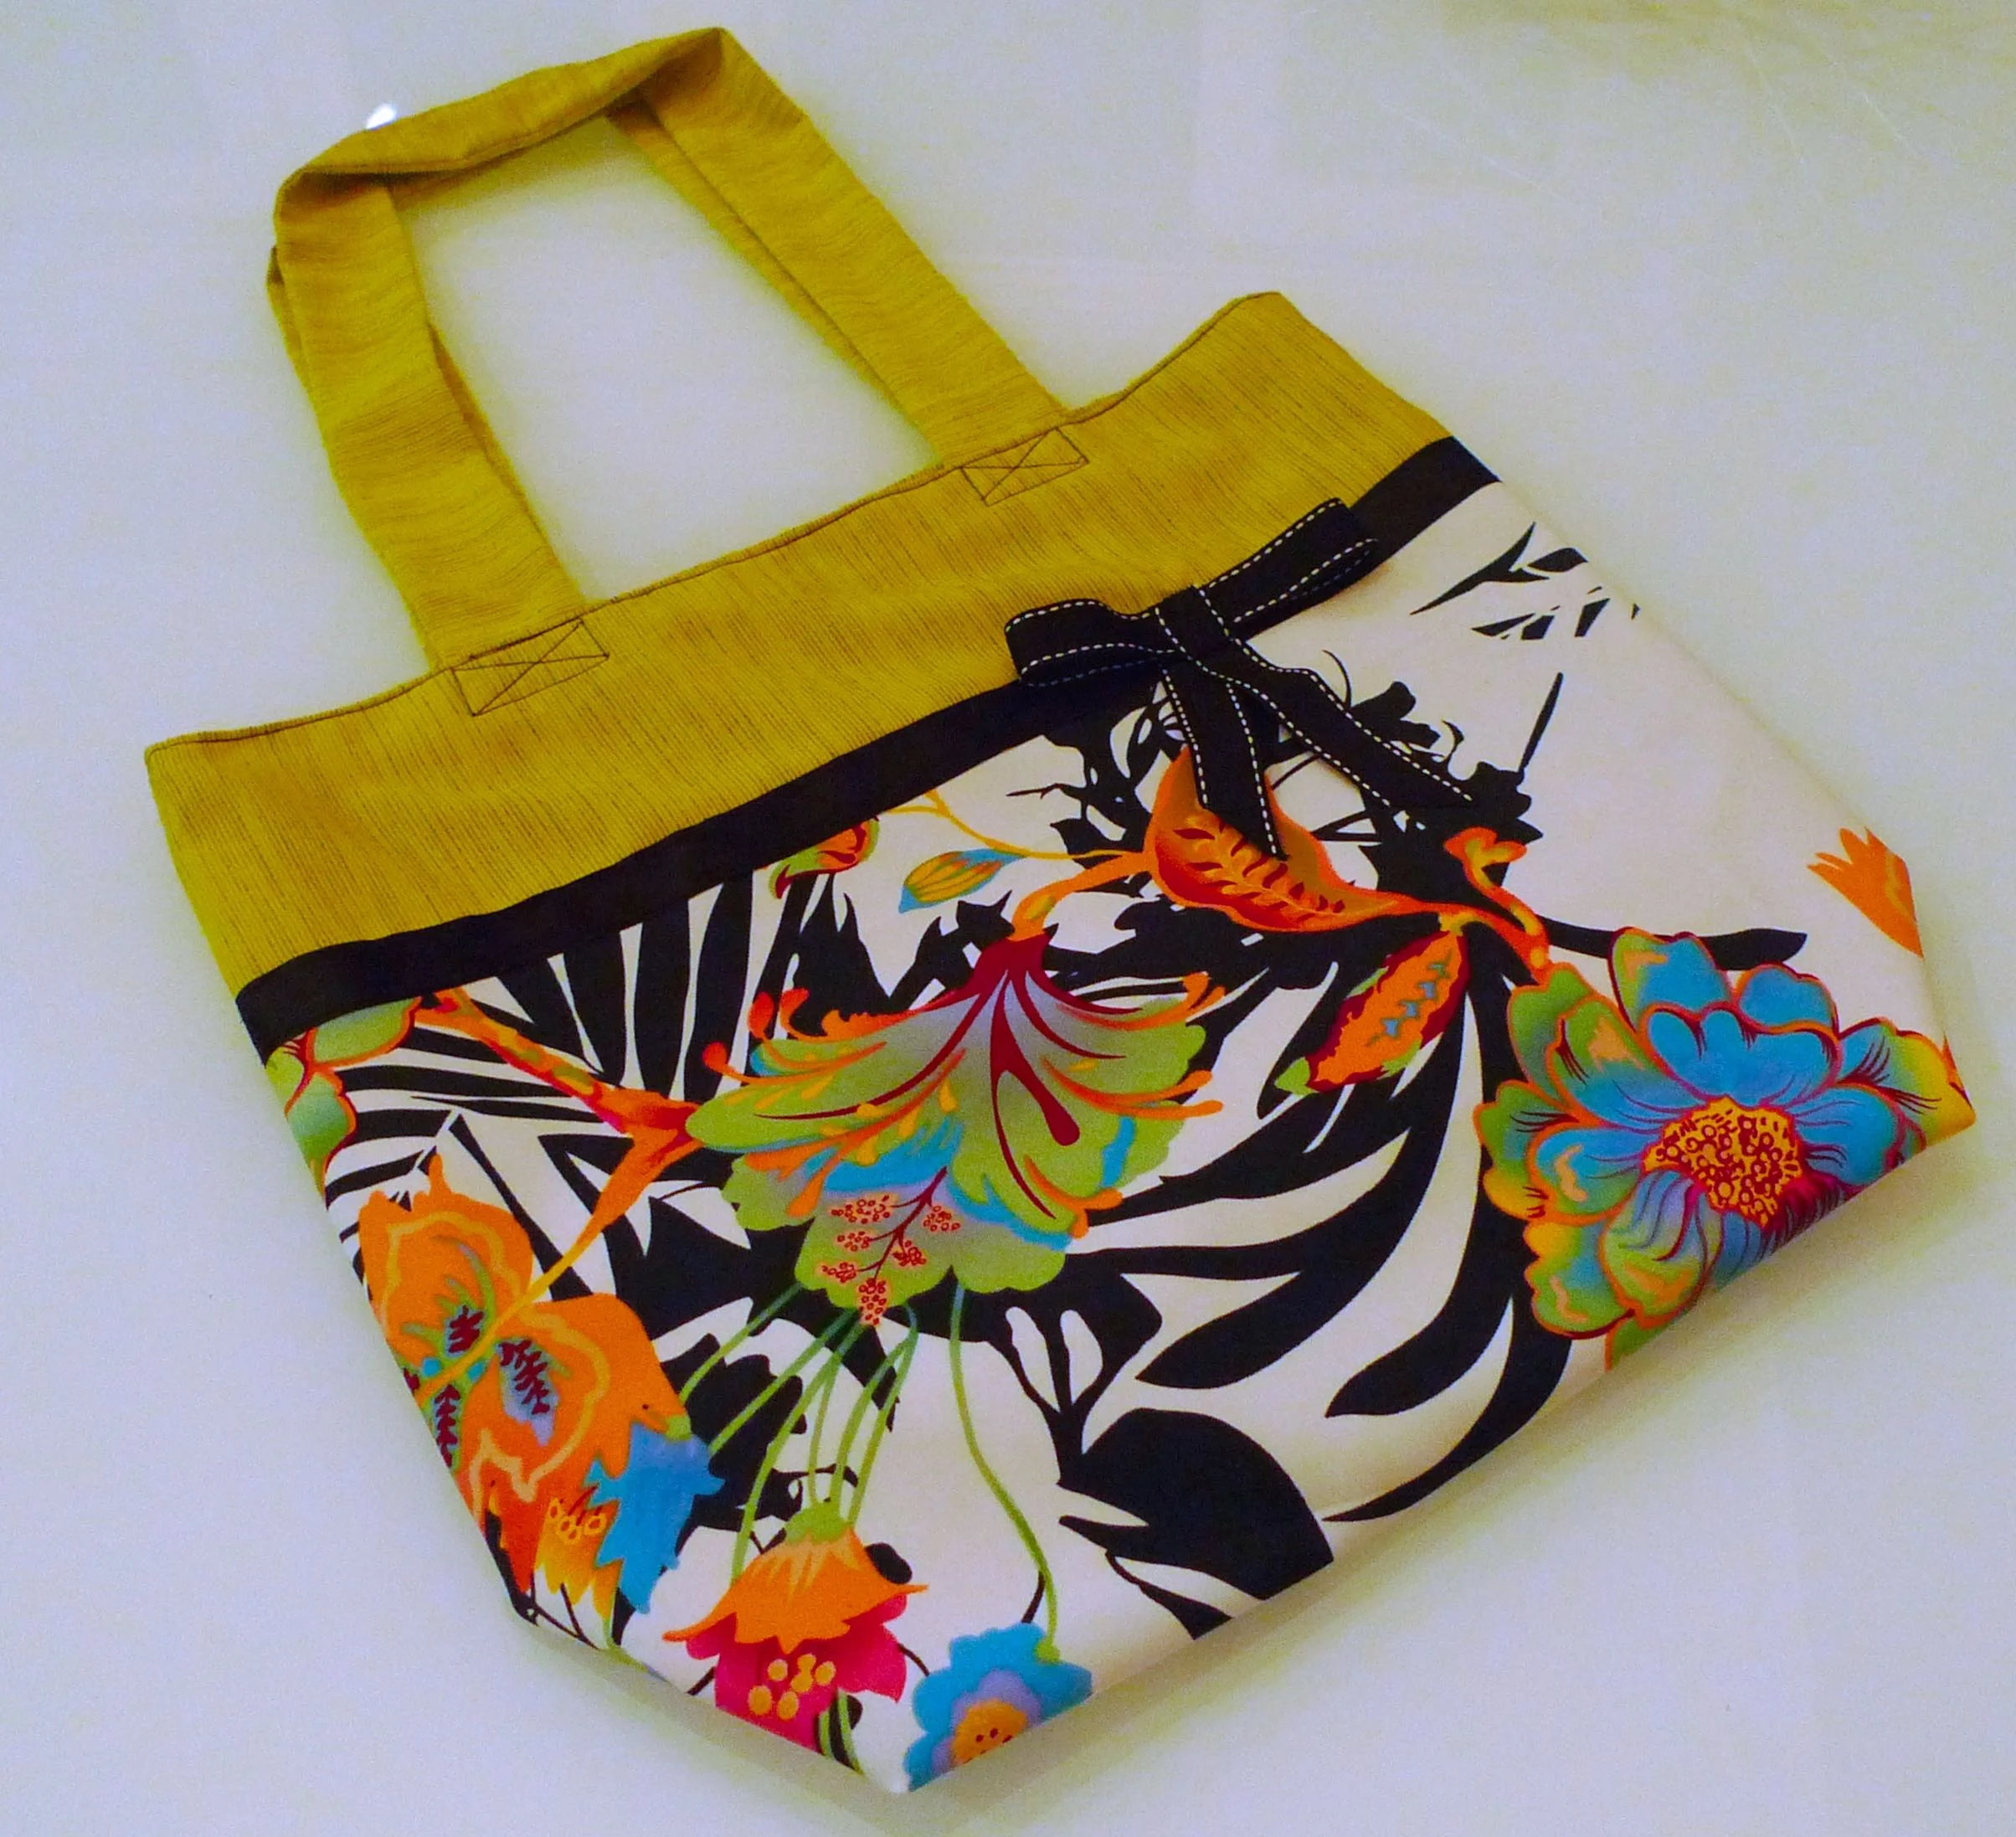
The completed tote bag decorated with a pretty bow

* This is a collaborative post with Adam Ross Fabrics, who provided the material for this bag, but all opinions are my own.
Pepping up some patio pots

I noticed that my Spring pots had sprung and were all but done when I started to tackle the garden last weekend. And I resolved to change that and get some bedding plants for the patio. I asked MOH what colour plants he fancied this year - I wasn't quite expecting the look of confusion though. When pressed he chose orange, because as he later said, he thought it'd be hard. 

It wasn't actually. So orange and white we have. 

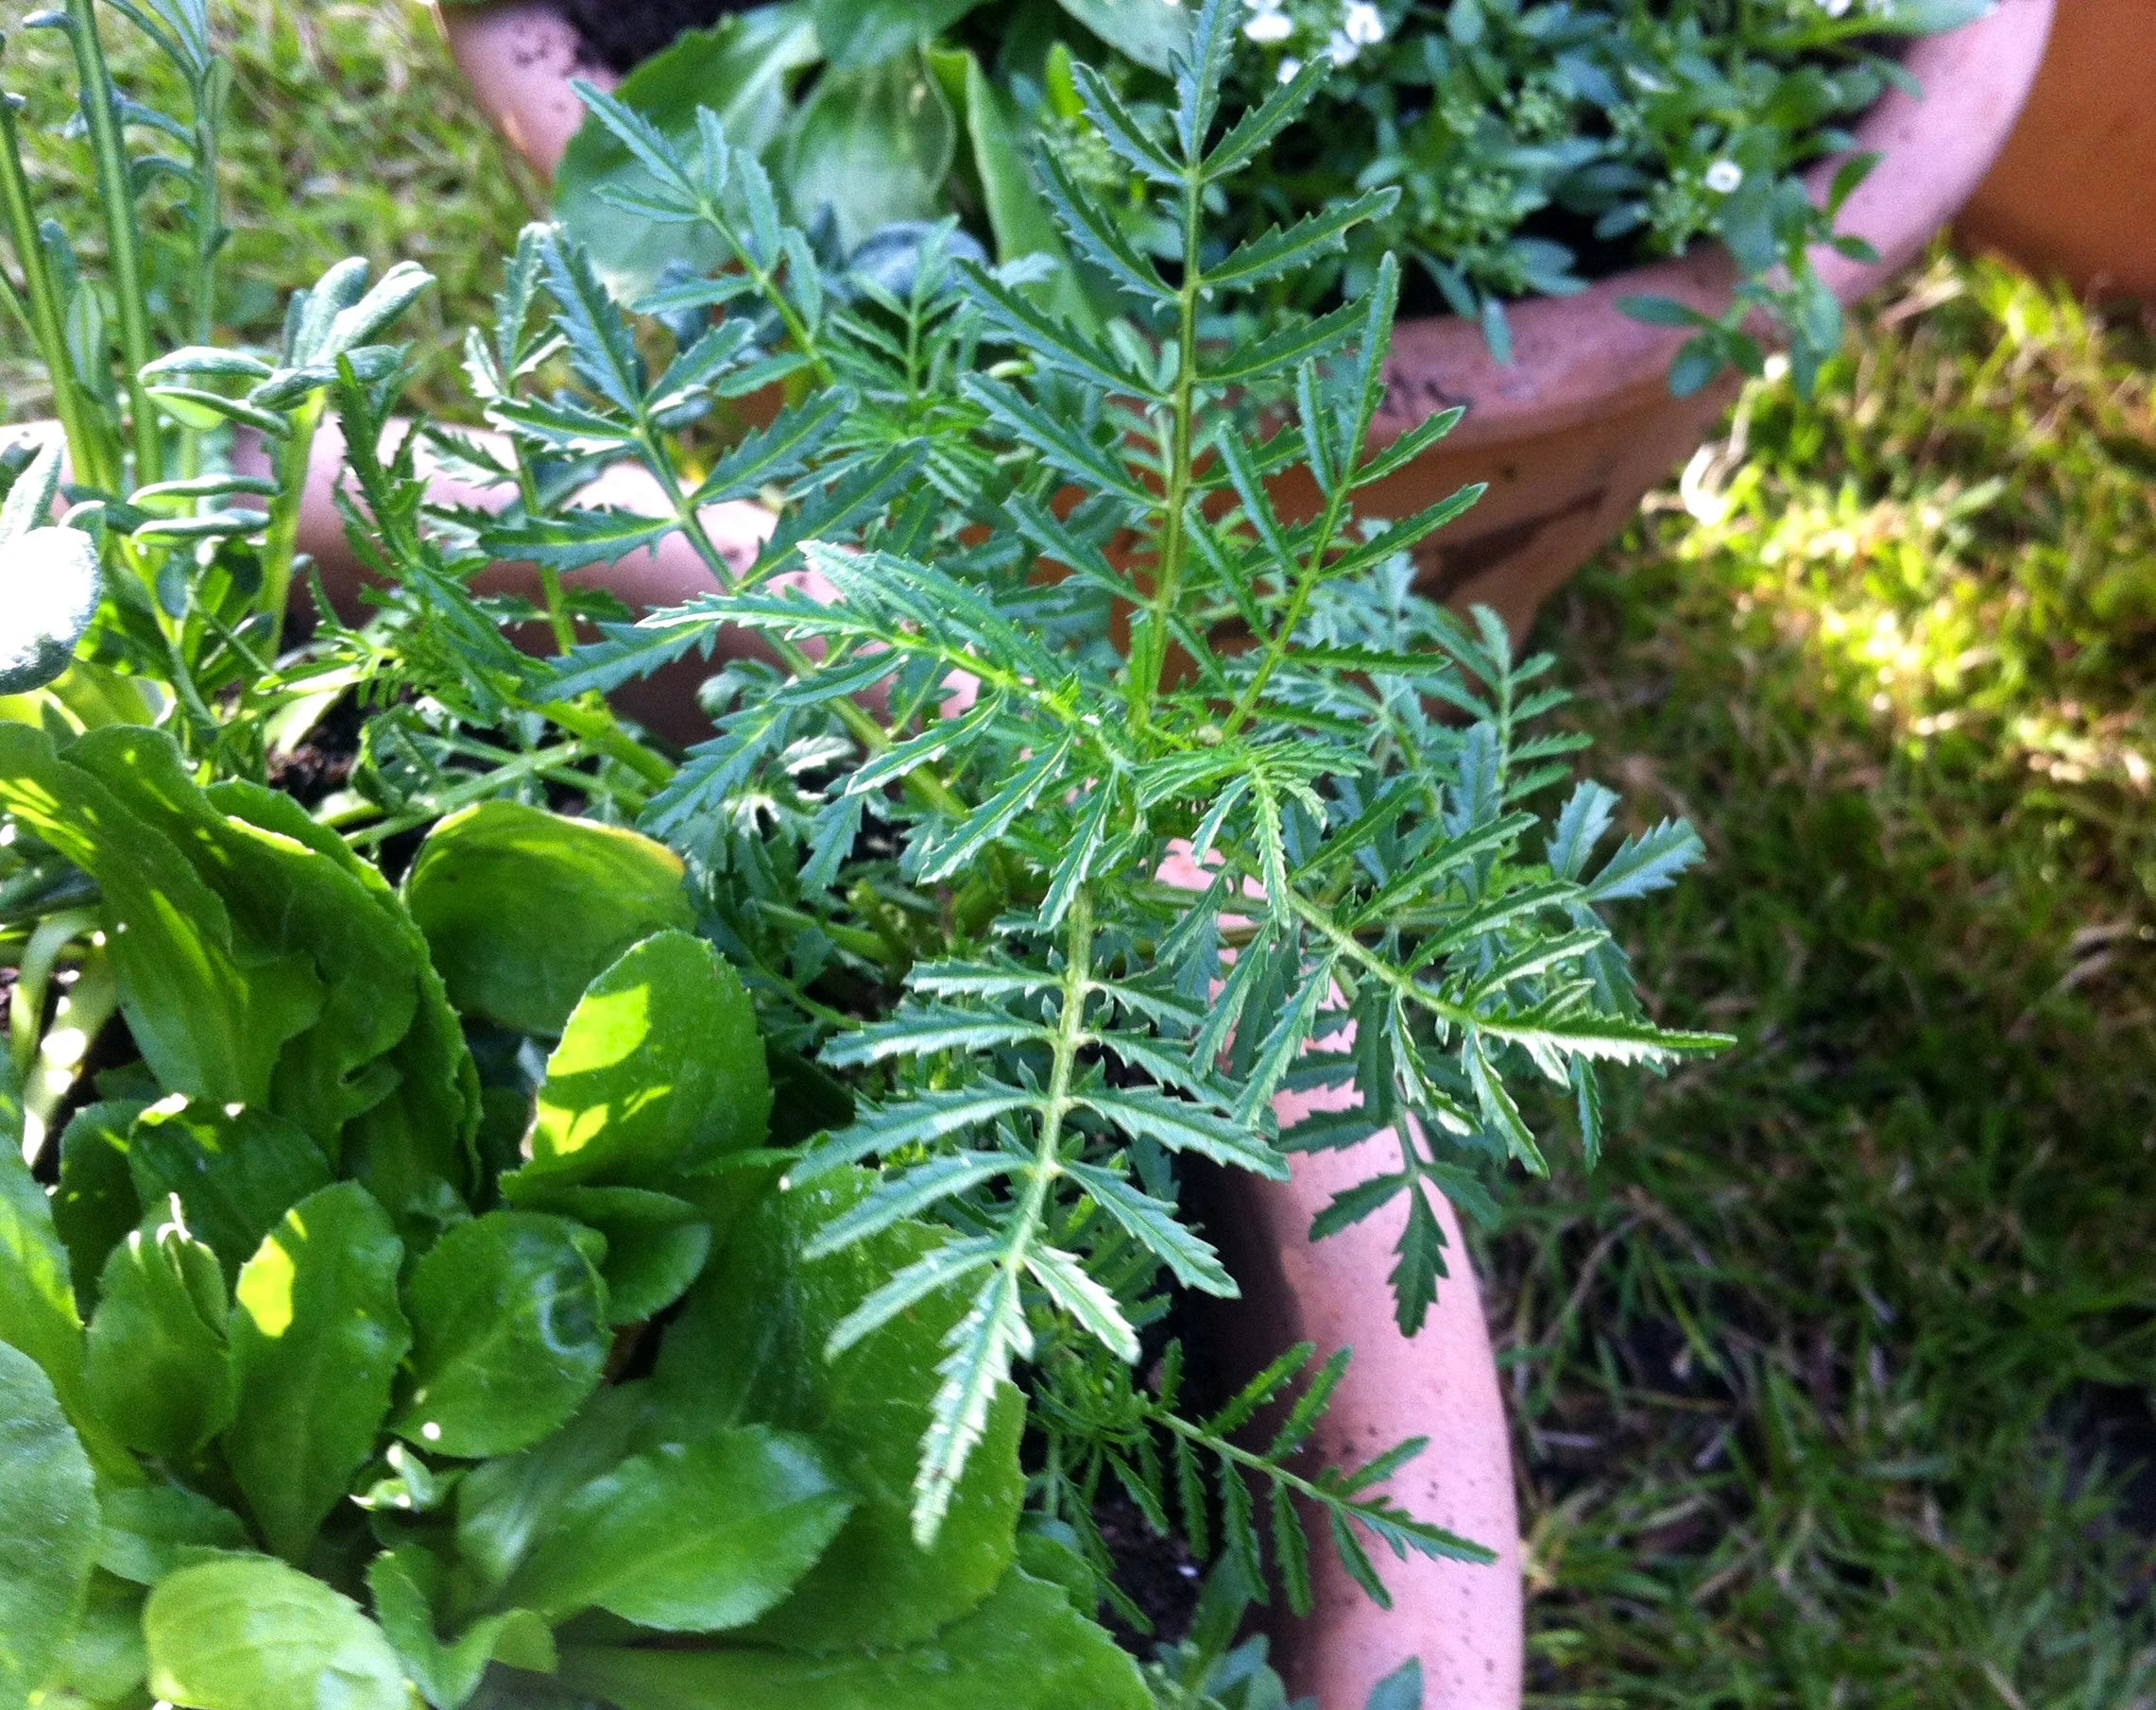
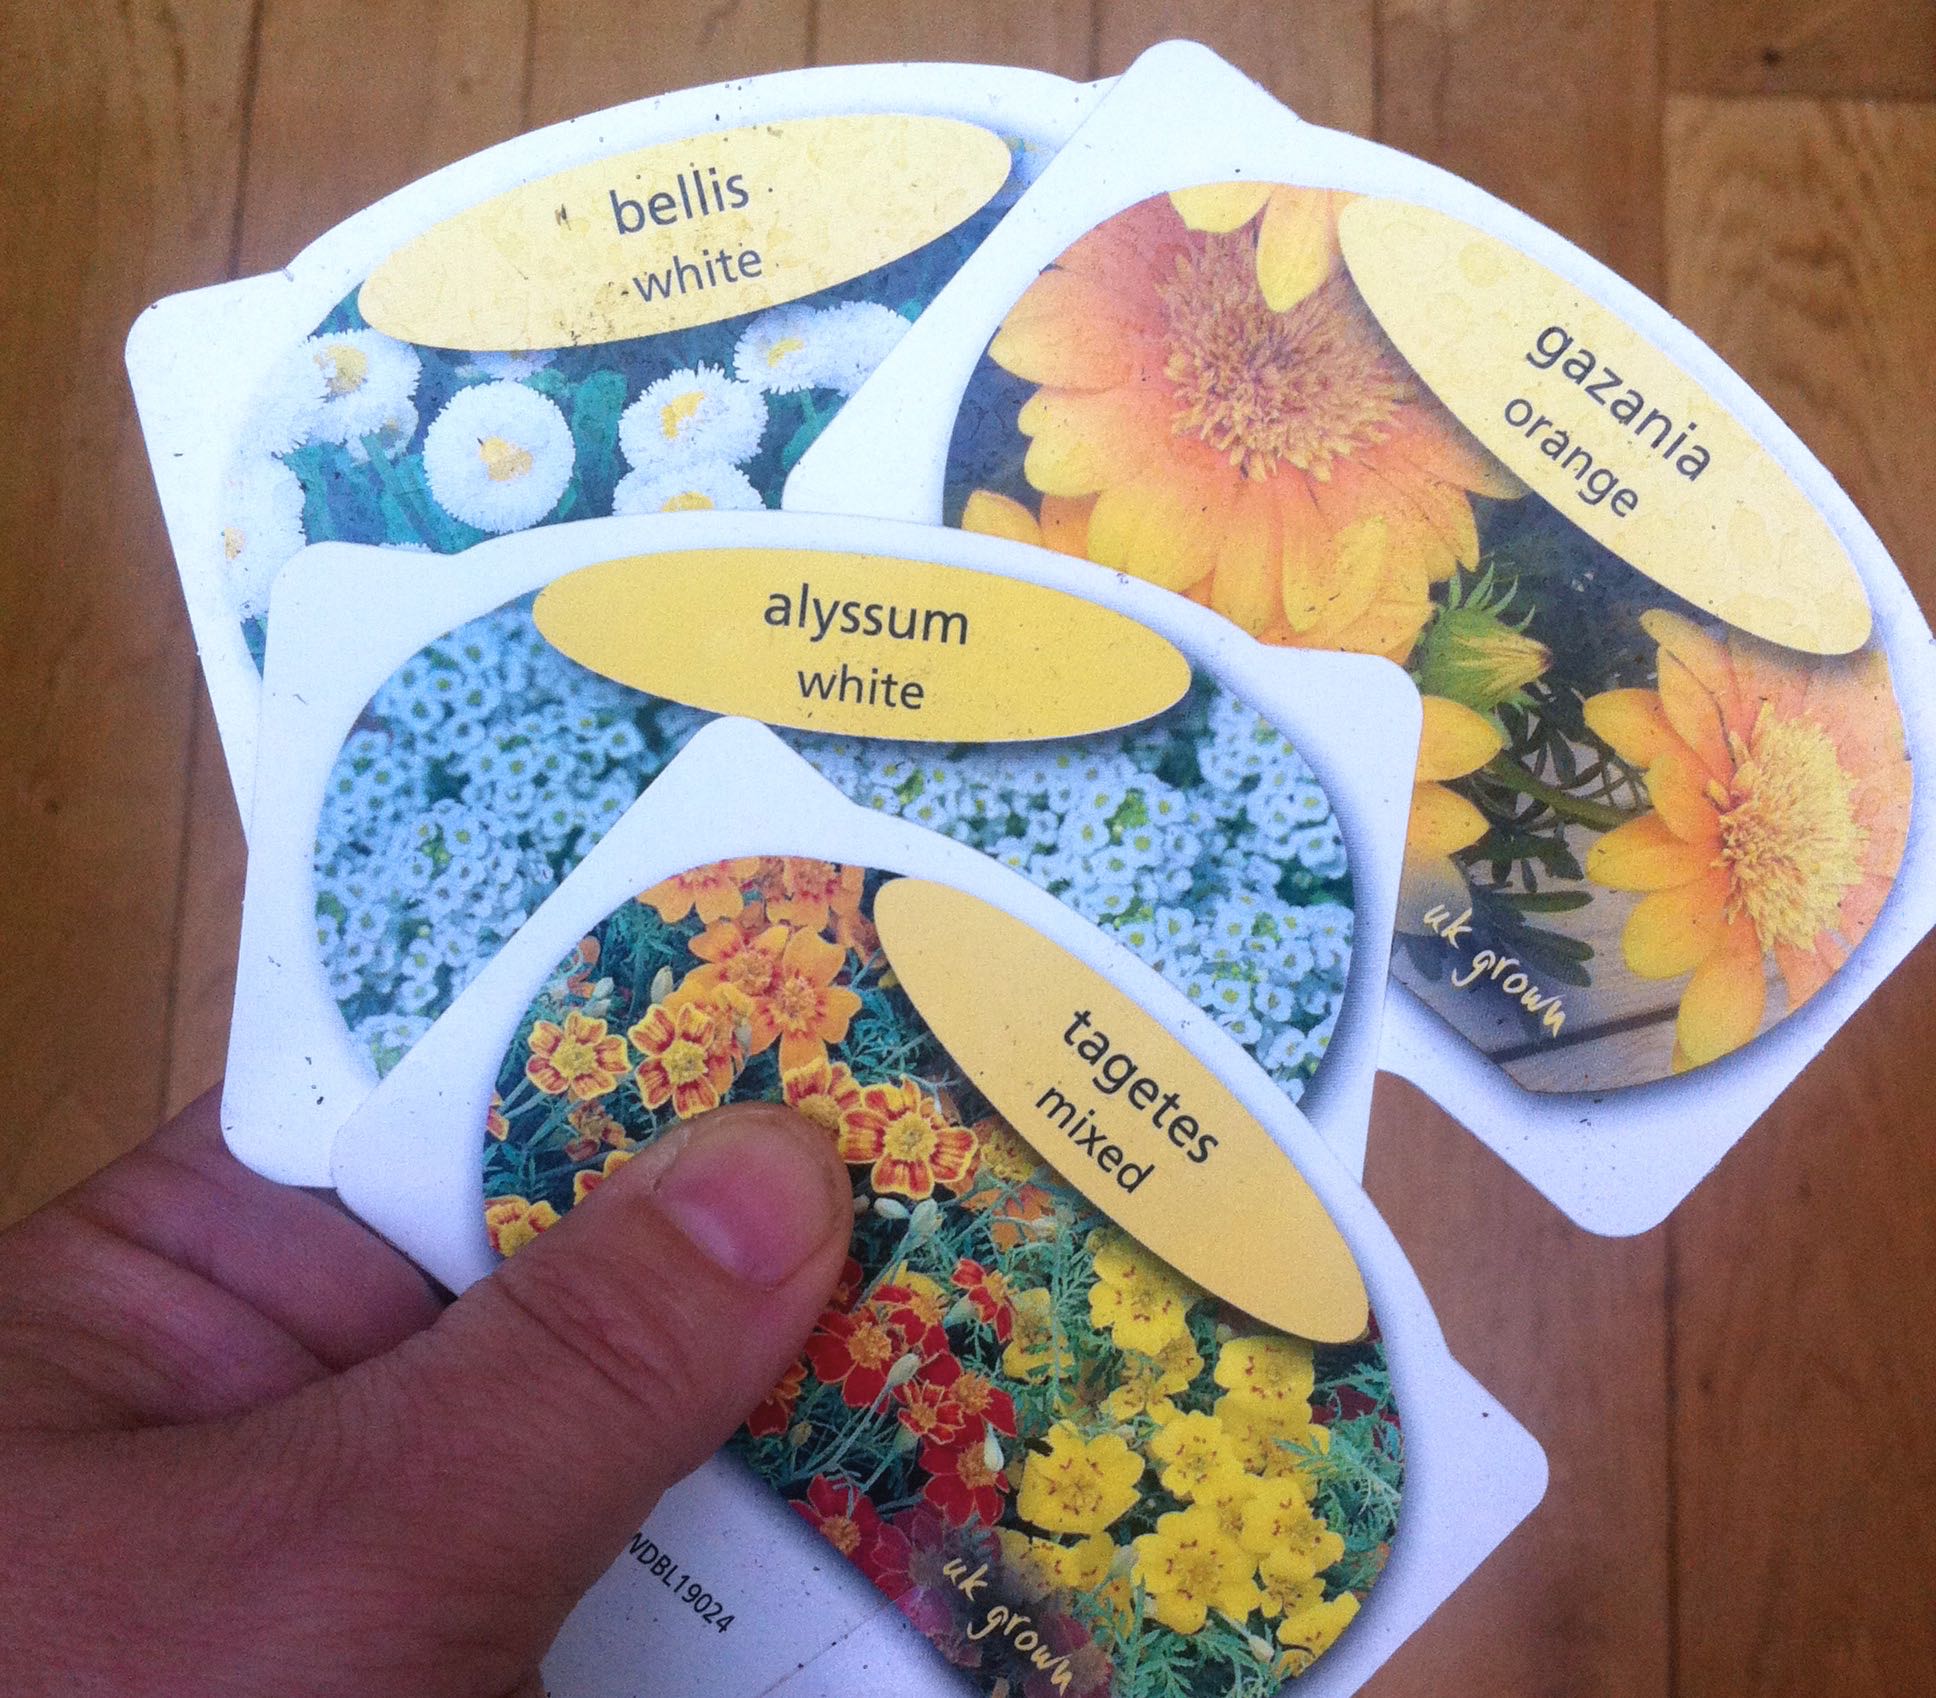
At the garden centre one lunchtime I picked up some Gazanias, Bellis, Tagetes and Allysum and left them in the boot of my car for the afternoon... Ahem. At home later they soon recovered, it's amazing what a drink of water can do. 

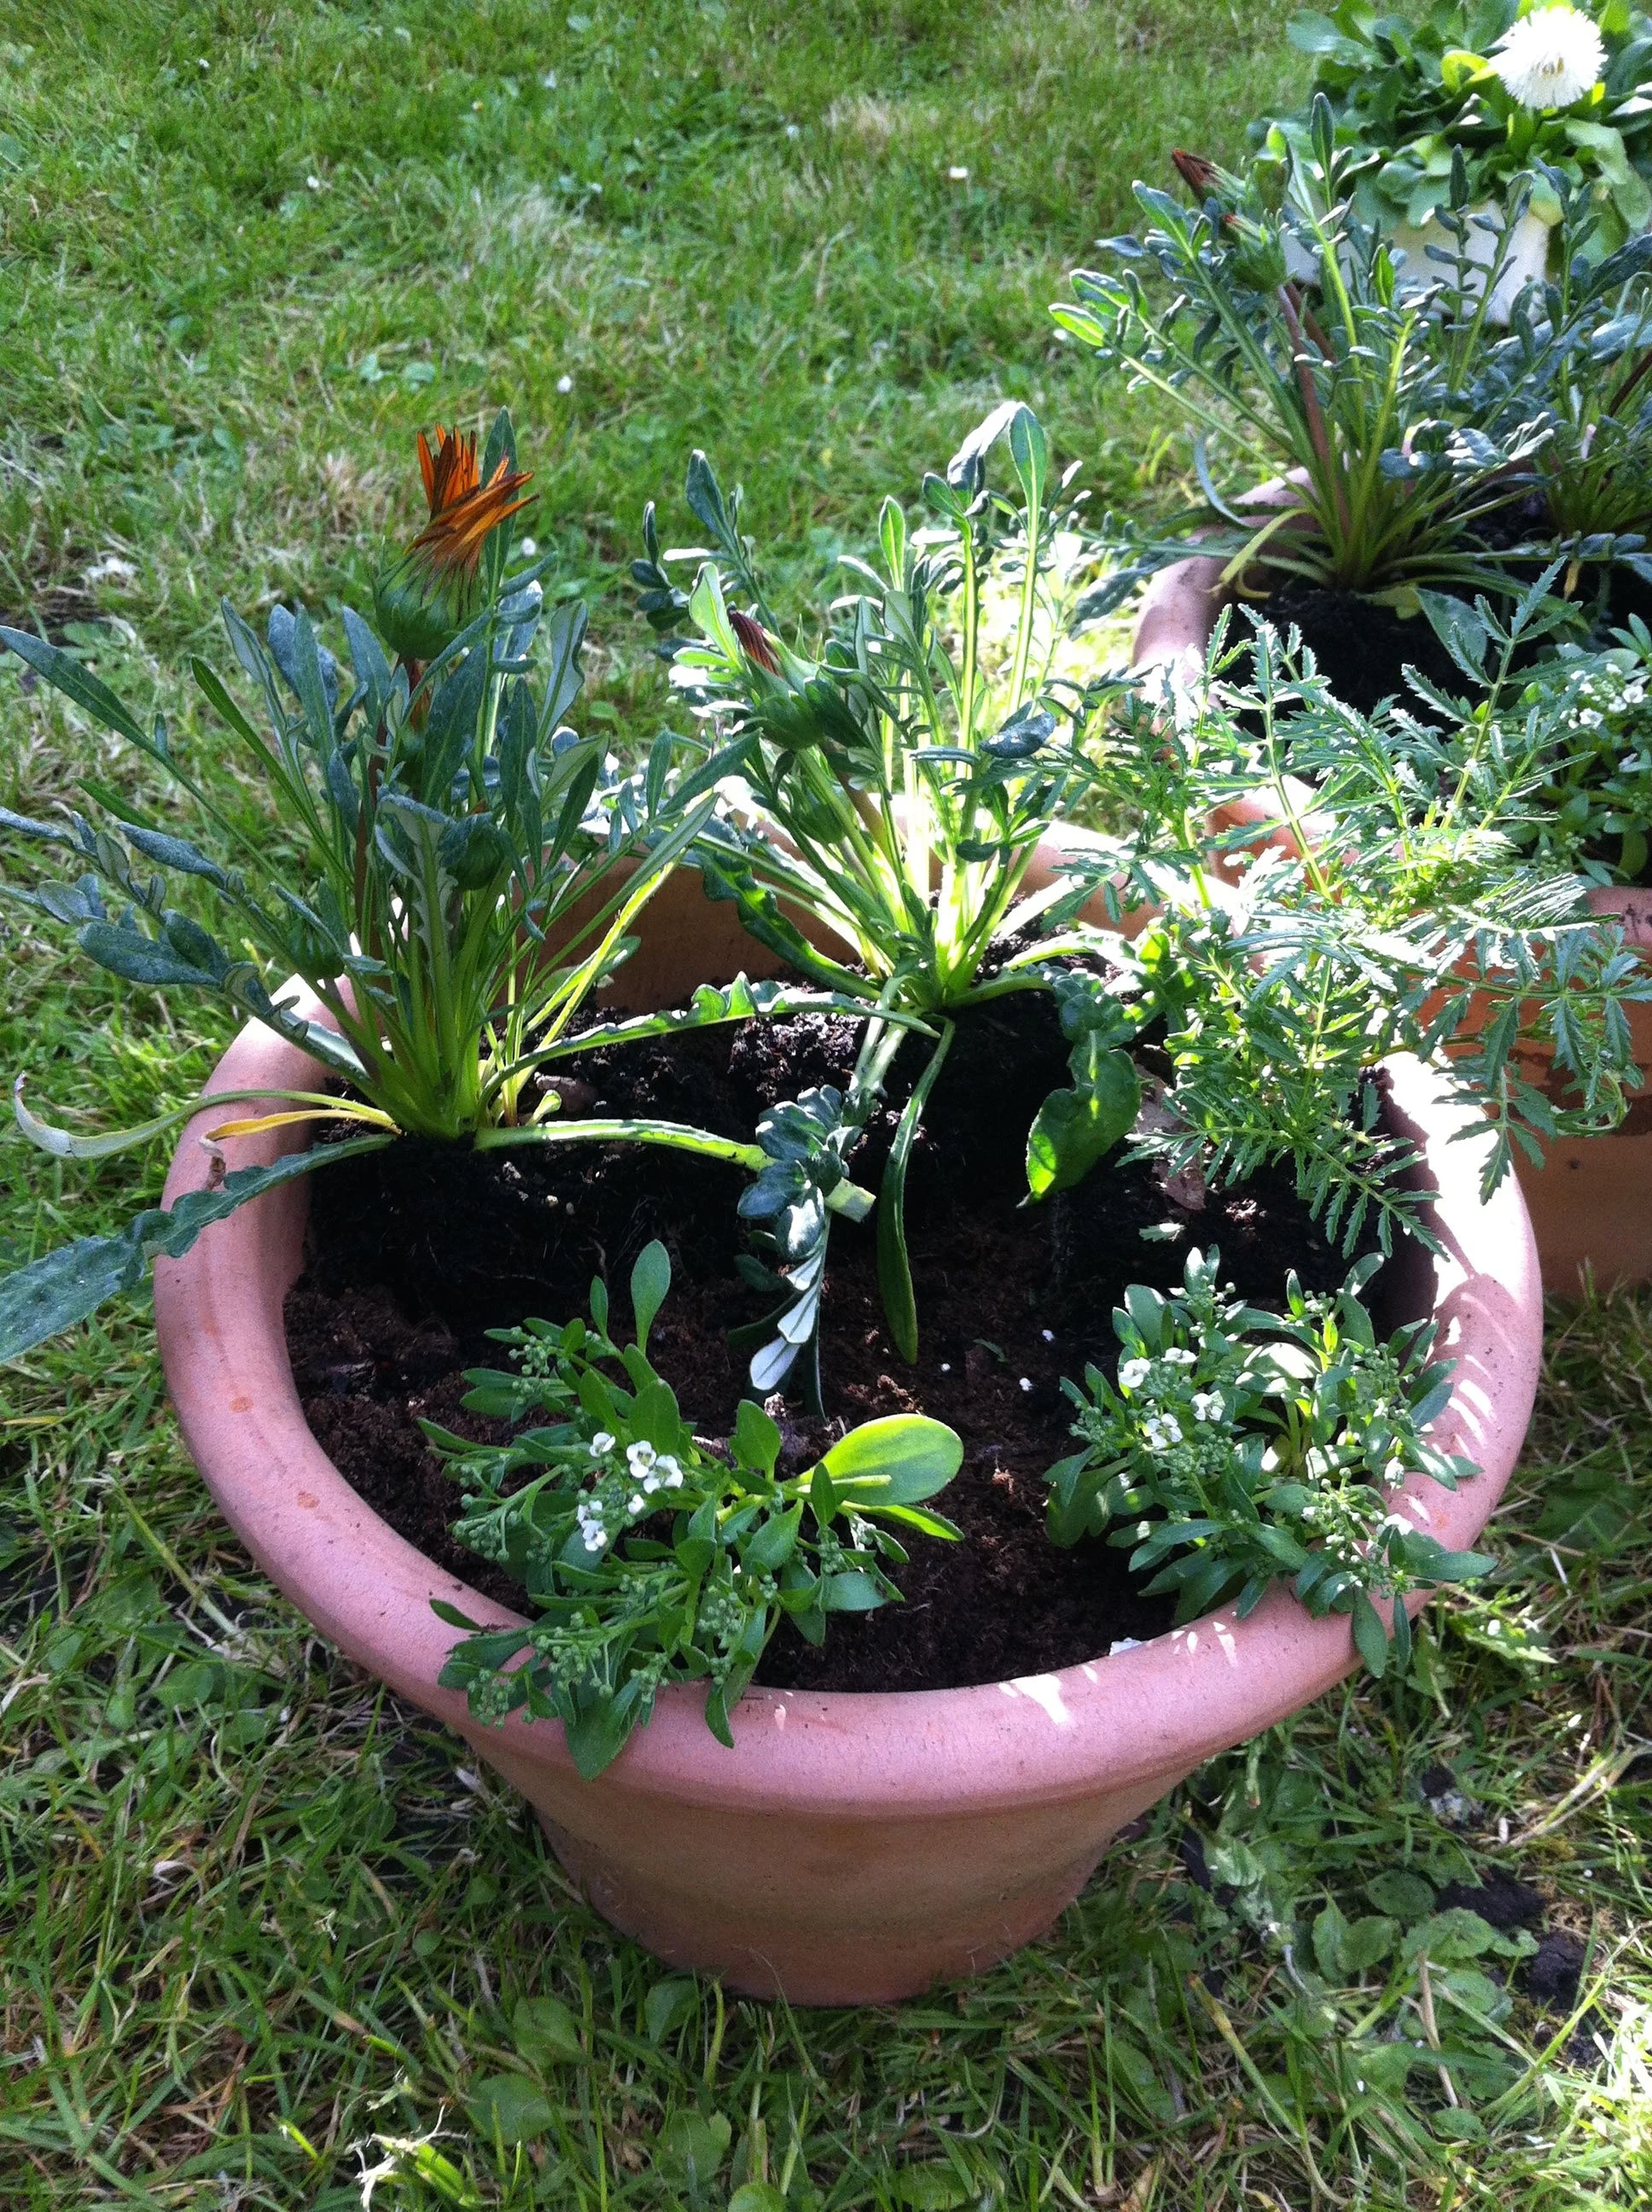
five pots, lots of plants some sun and the will to have some pretty pots on the patio

I have five patio pots which stand along the edge of the patio - somehow odd numbers work best here - but when I bought the plants I hadn't worked out how I would split the twelve of each variety equally between the pots. I was pretty sure though that six trays would be ample.  

I still didn't know how I was going to split them as I started planting, so I broke the plants away from those terrible polystyrene cases and laid them in the pots: two of the Alyssum, Gazanias and Bellis for each pot and one of the Tagetes. 

It's not symmetrical, but it seems to work. Pleased with avoiding a complicated maths lesson I rewarded myself with some faffing about on my phone.  

laying out the planting
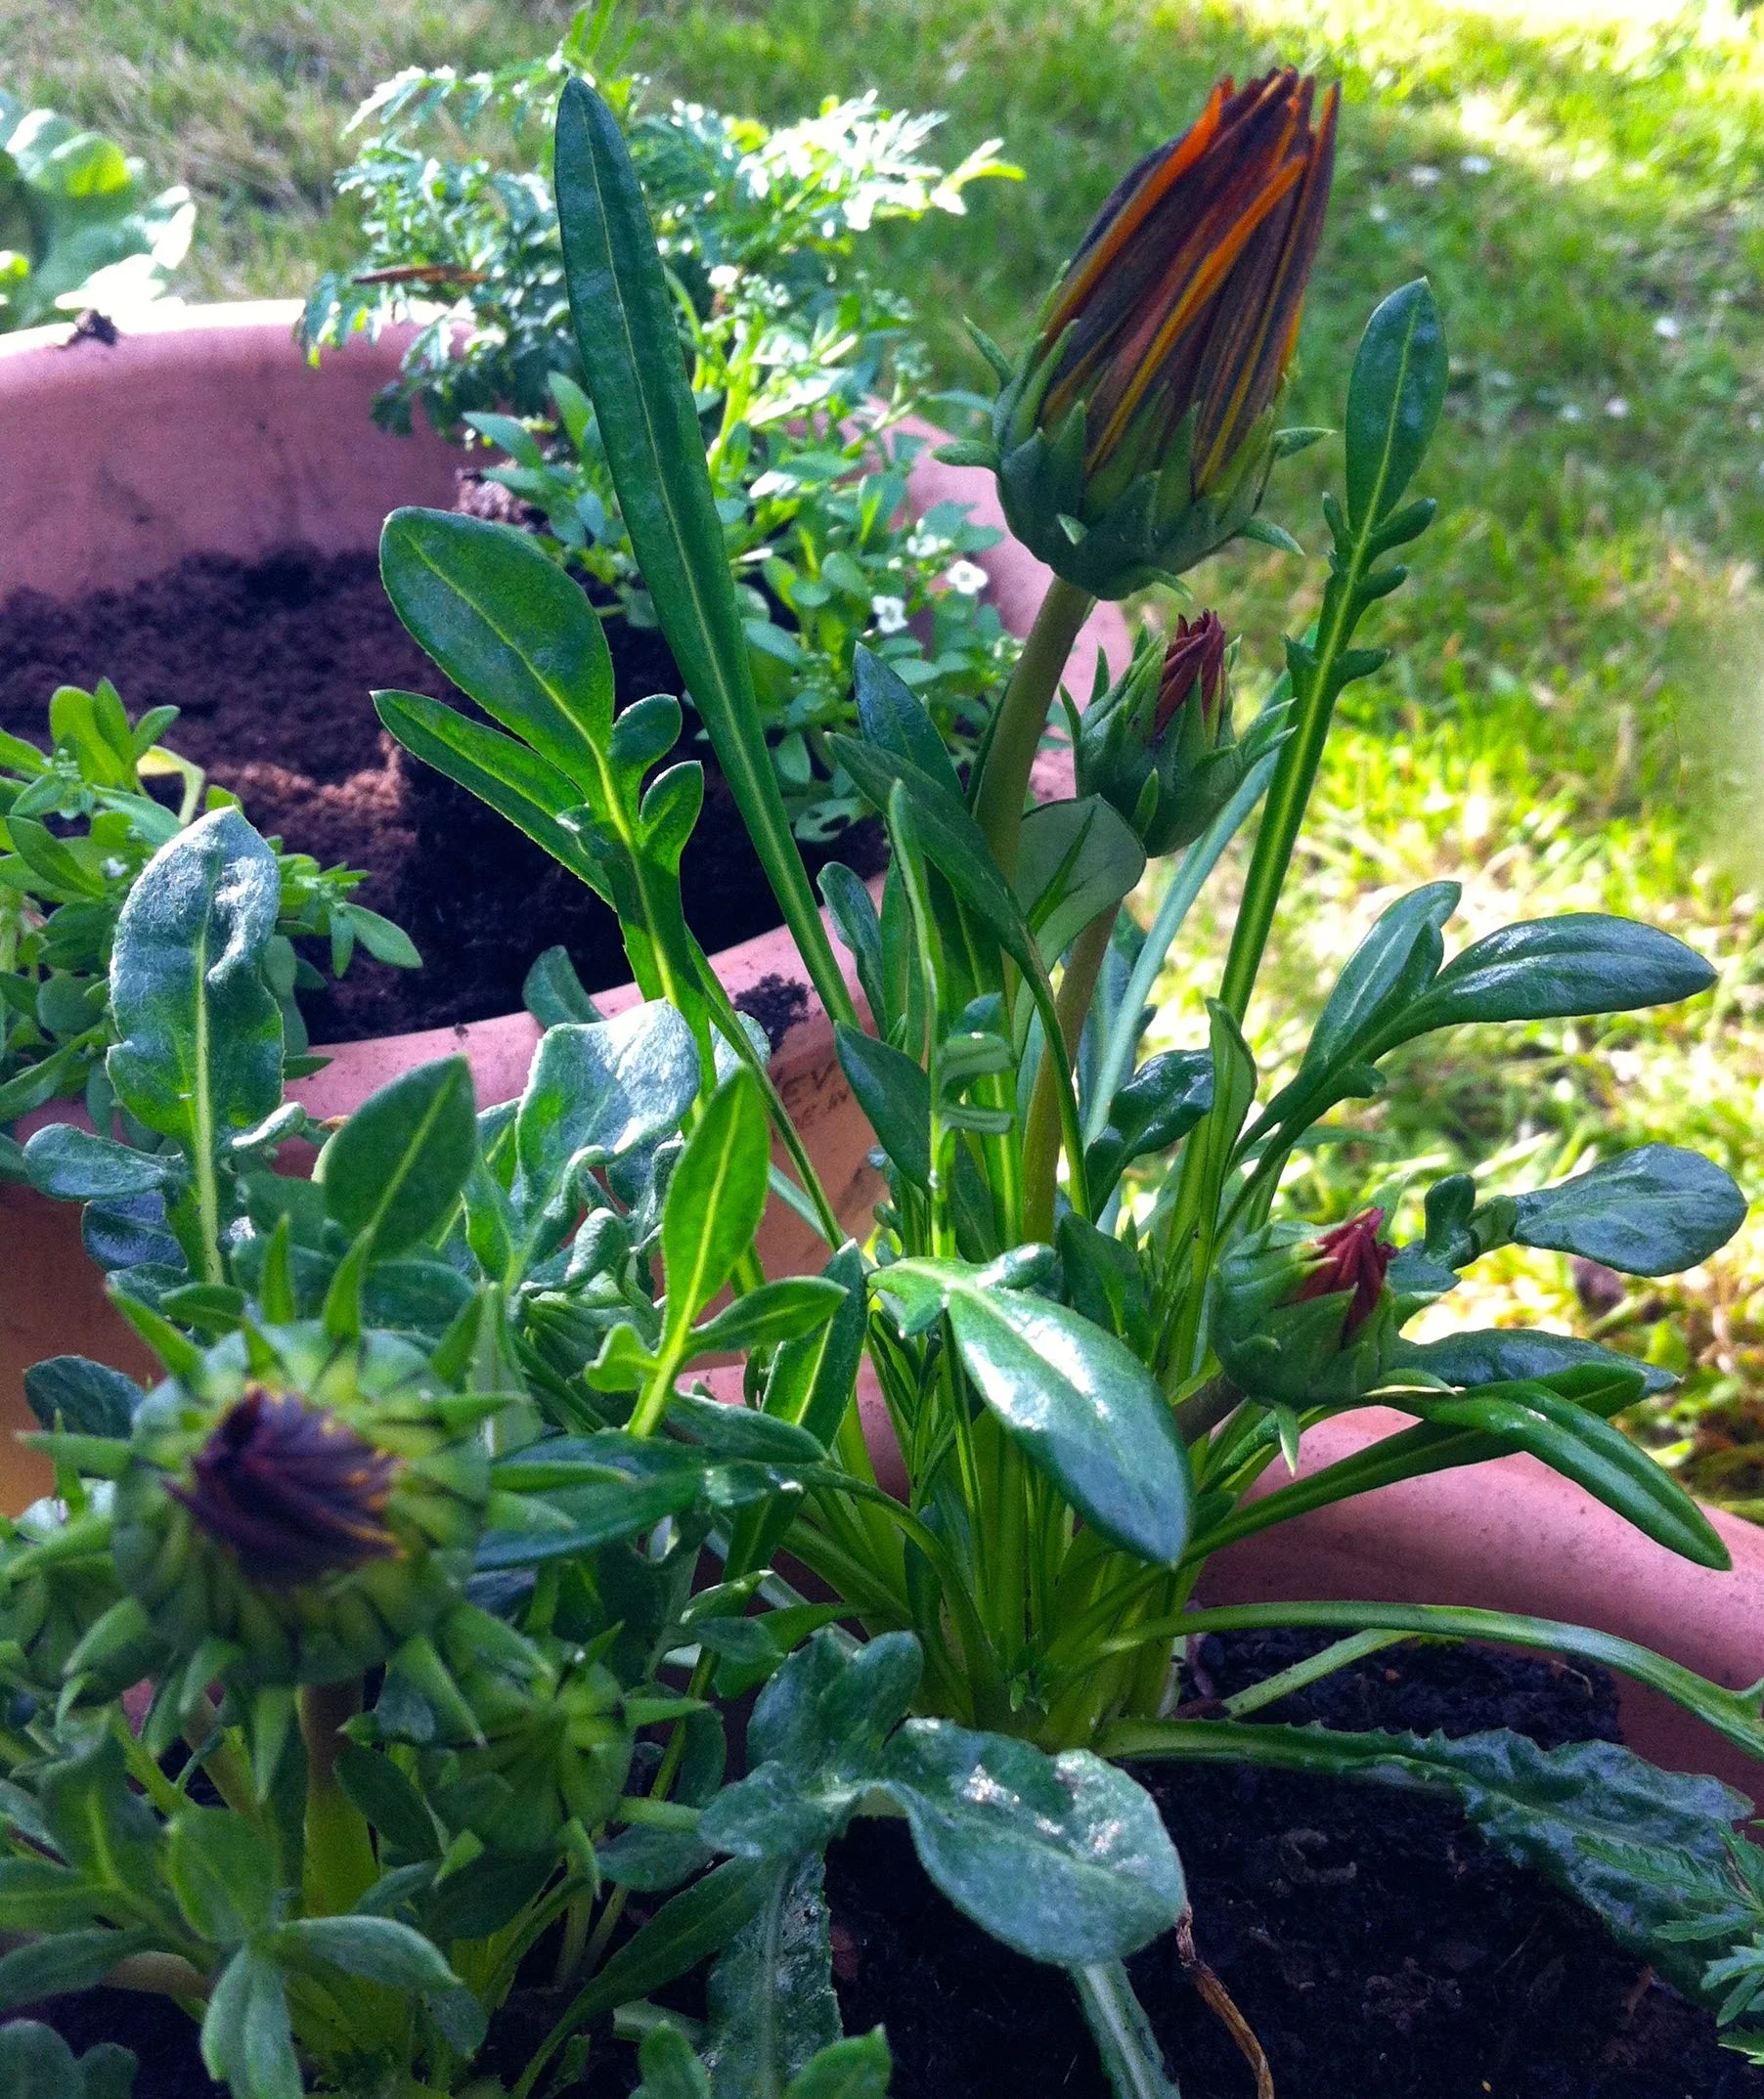
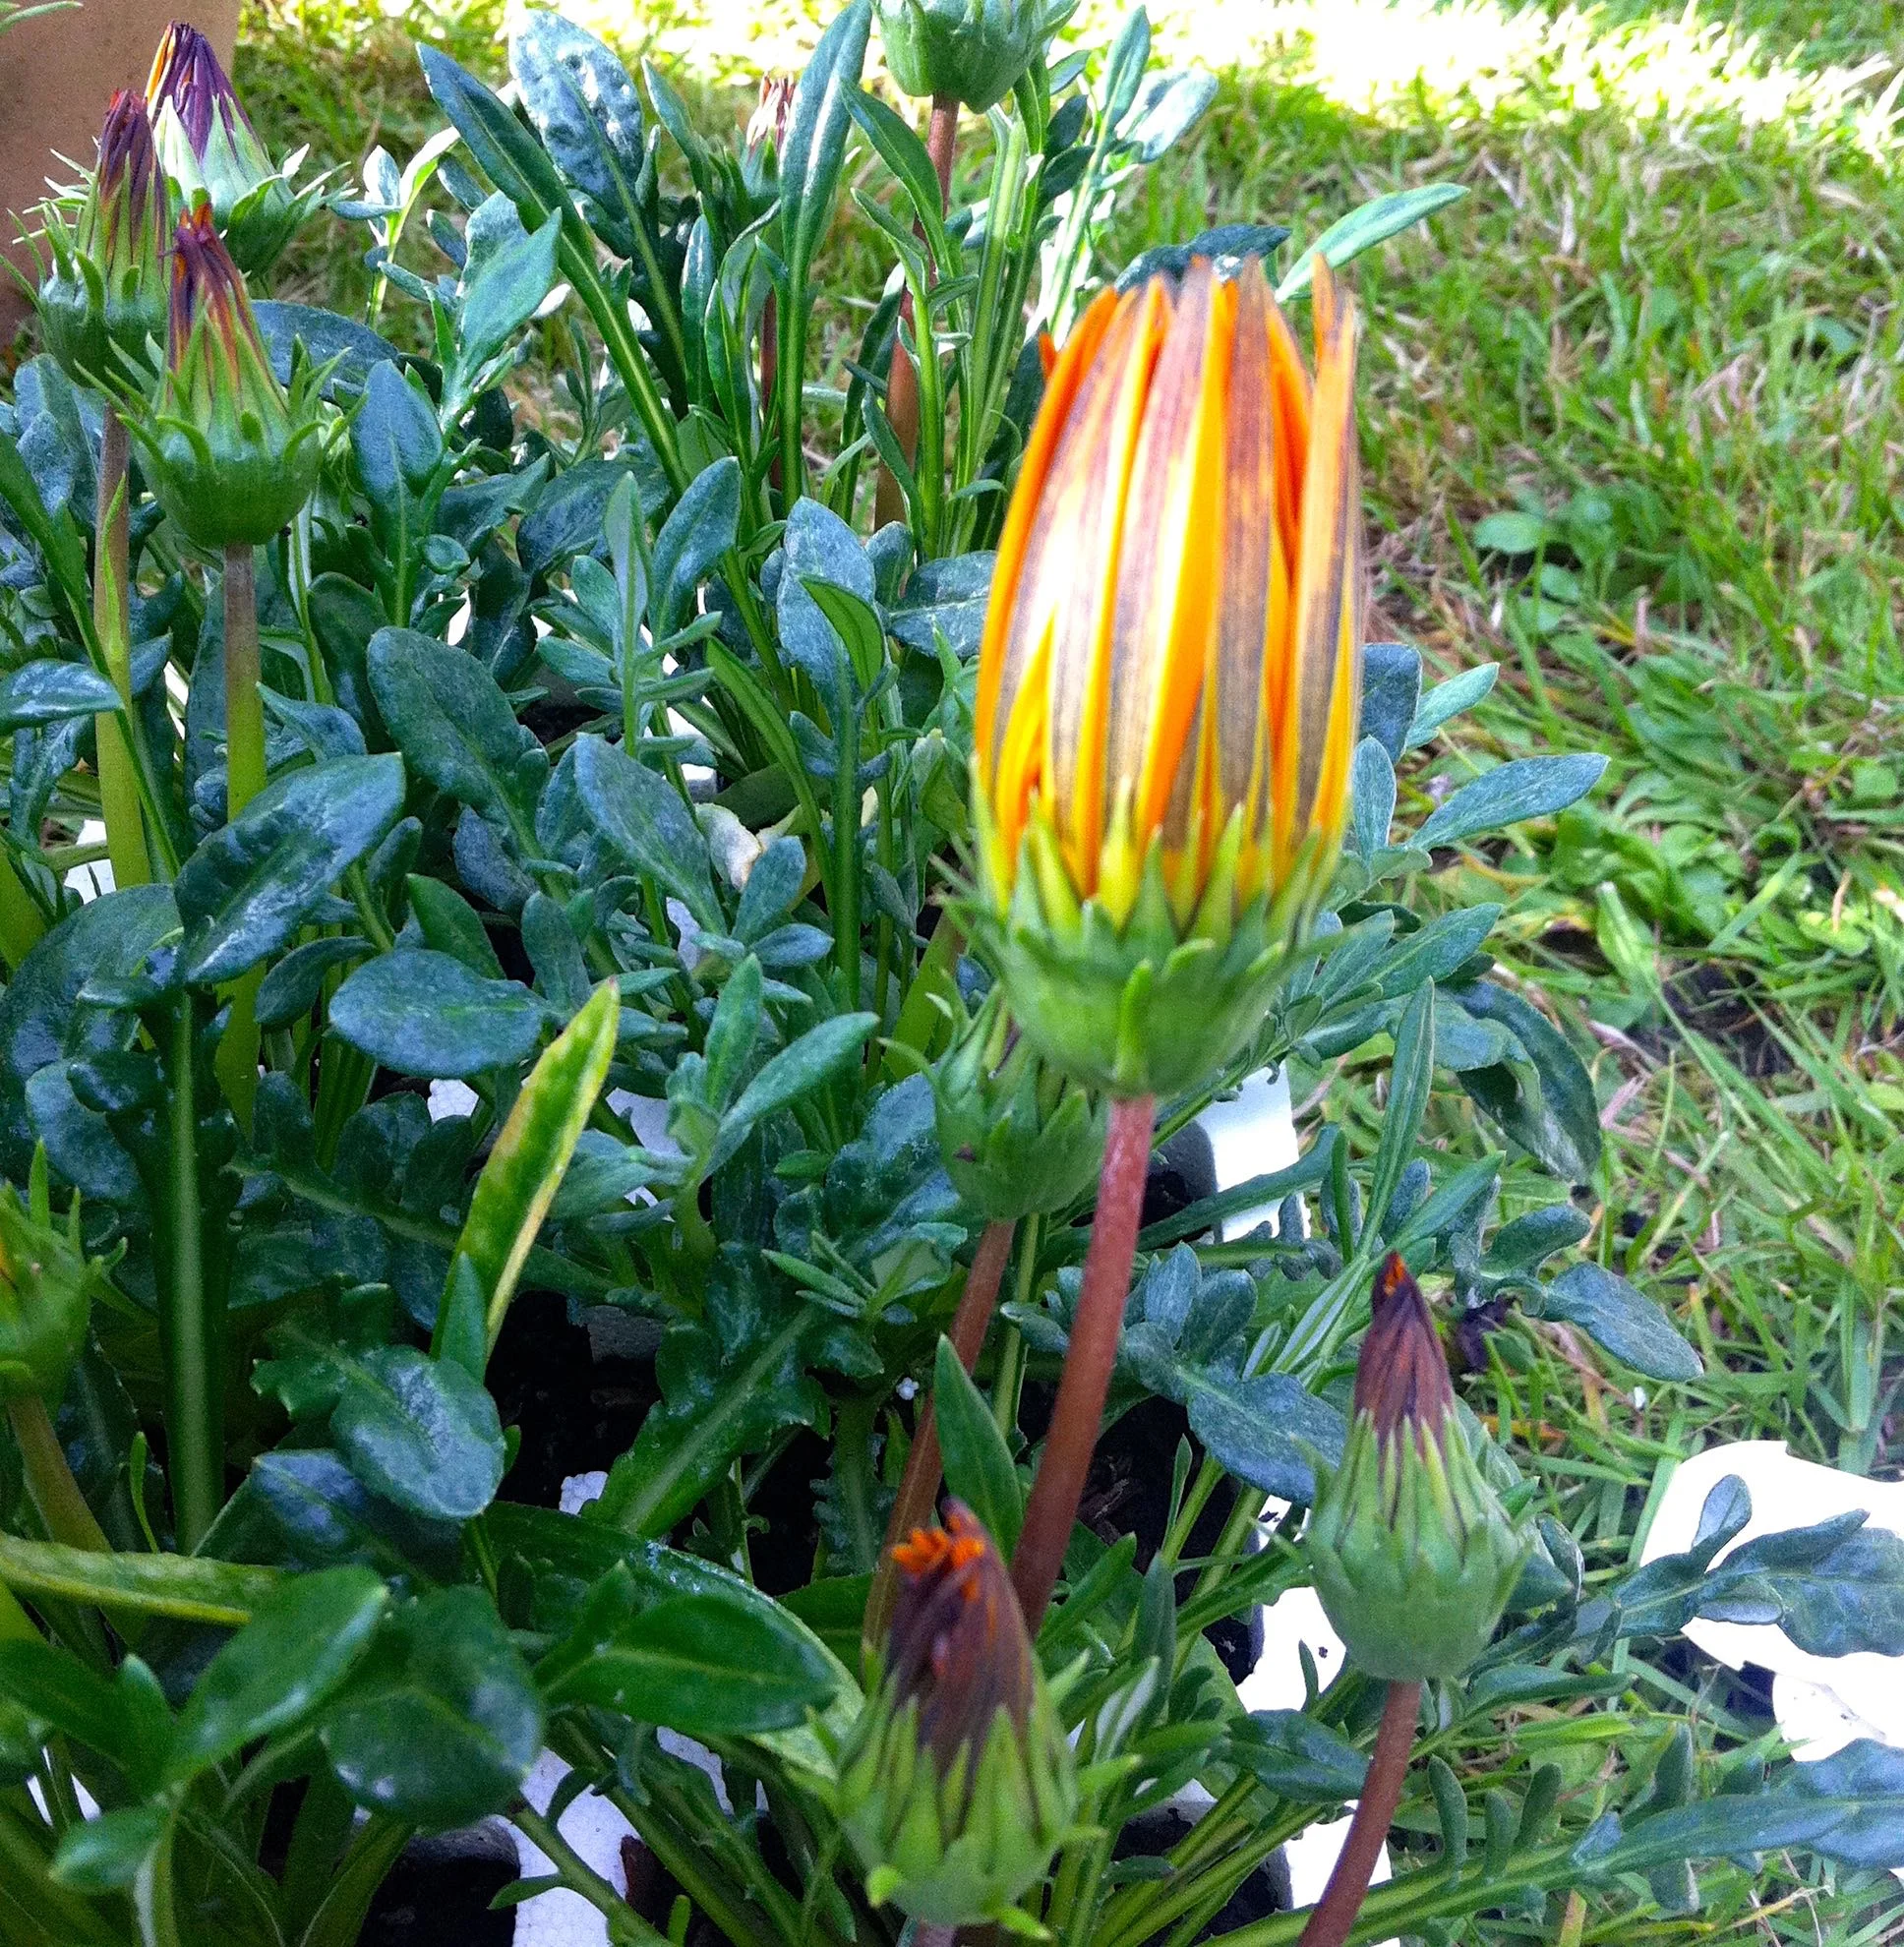
An orange gazania ready to unfurl and flower
Gazania catching the evening sun
Bellis white flowers standing tall
A close up of the white bellis
White frothy allysum
tagetes one per pot

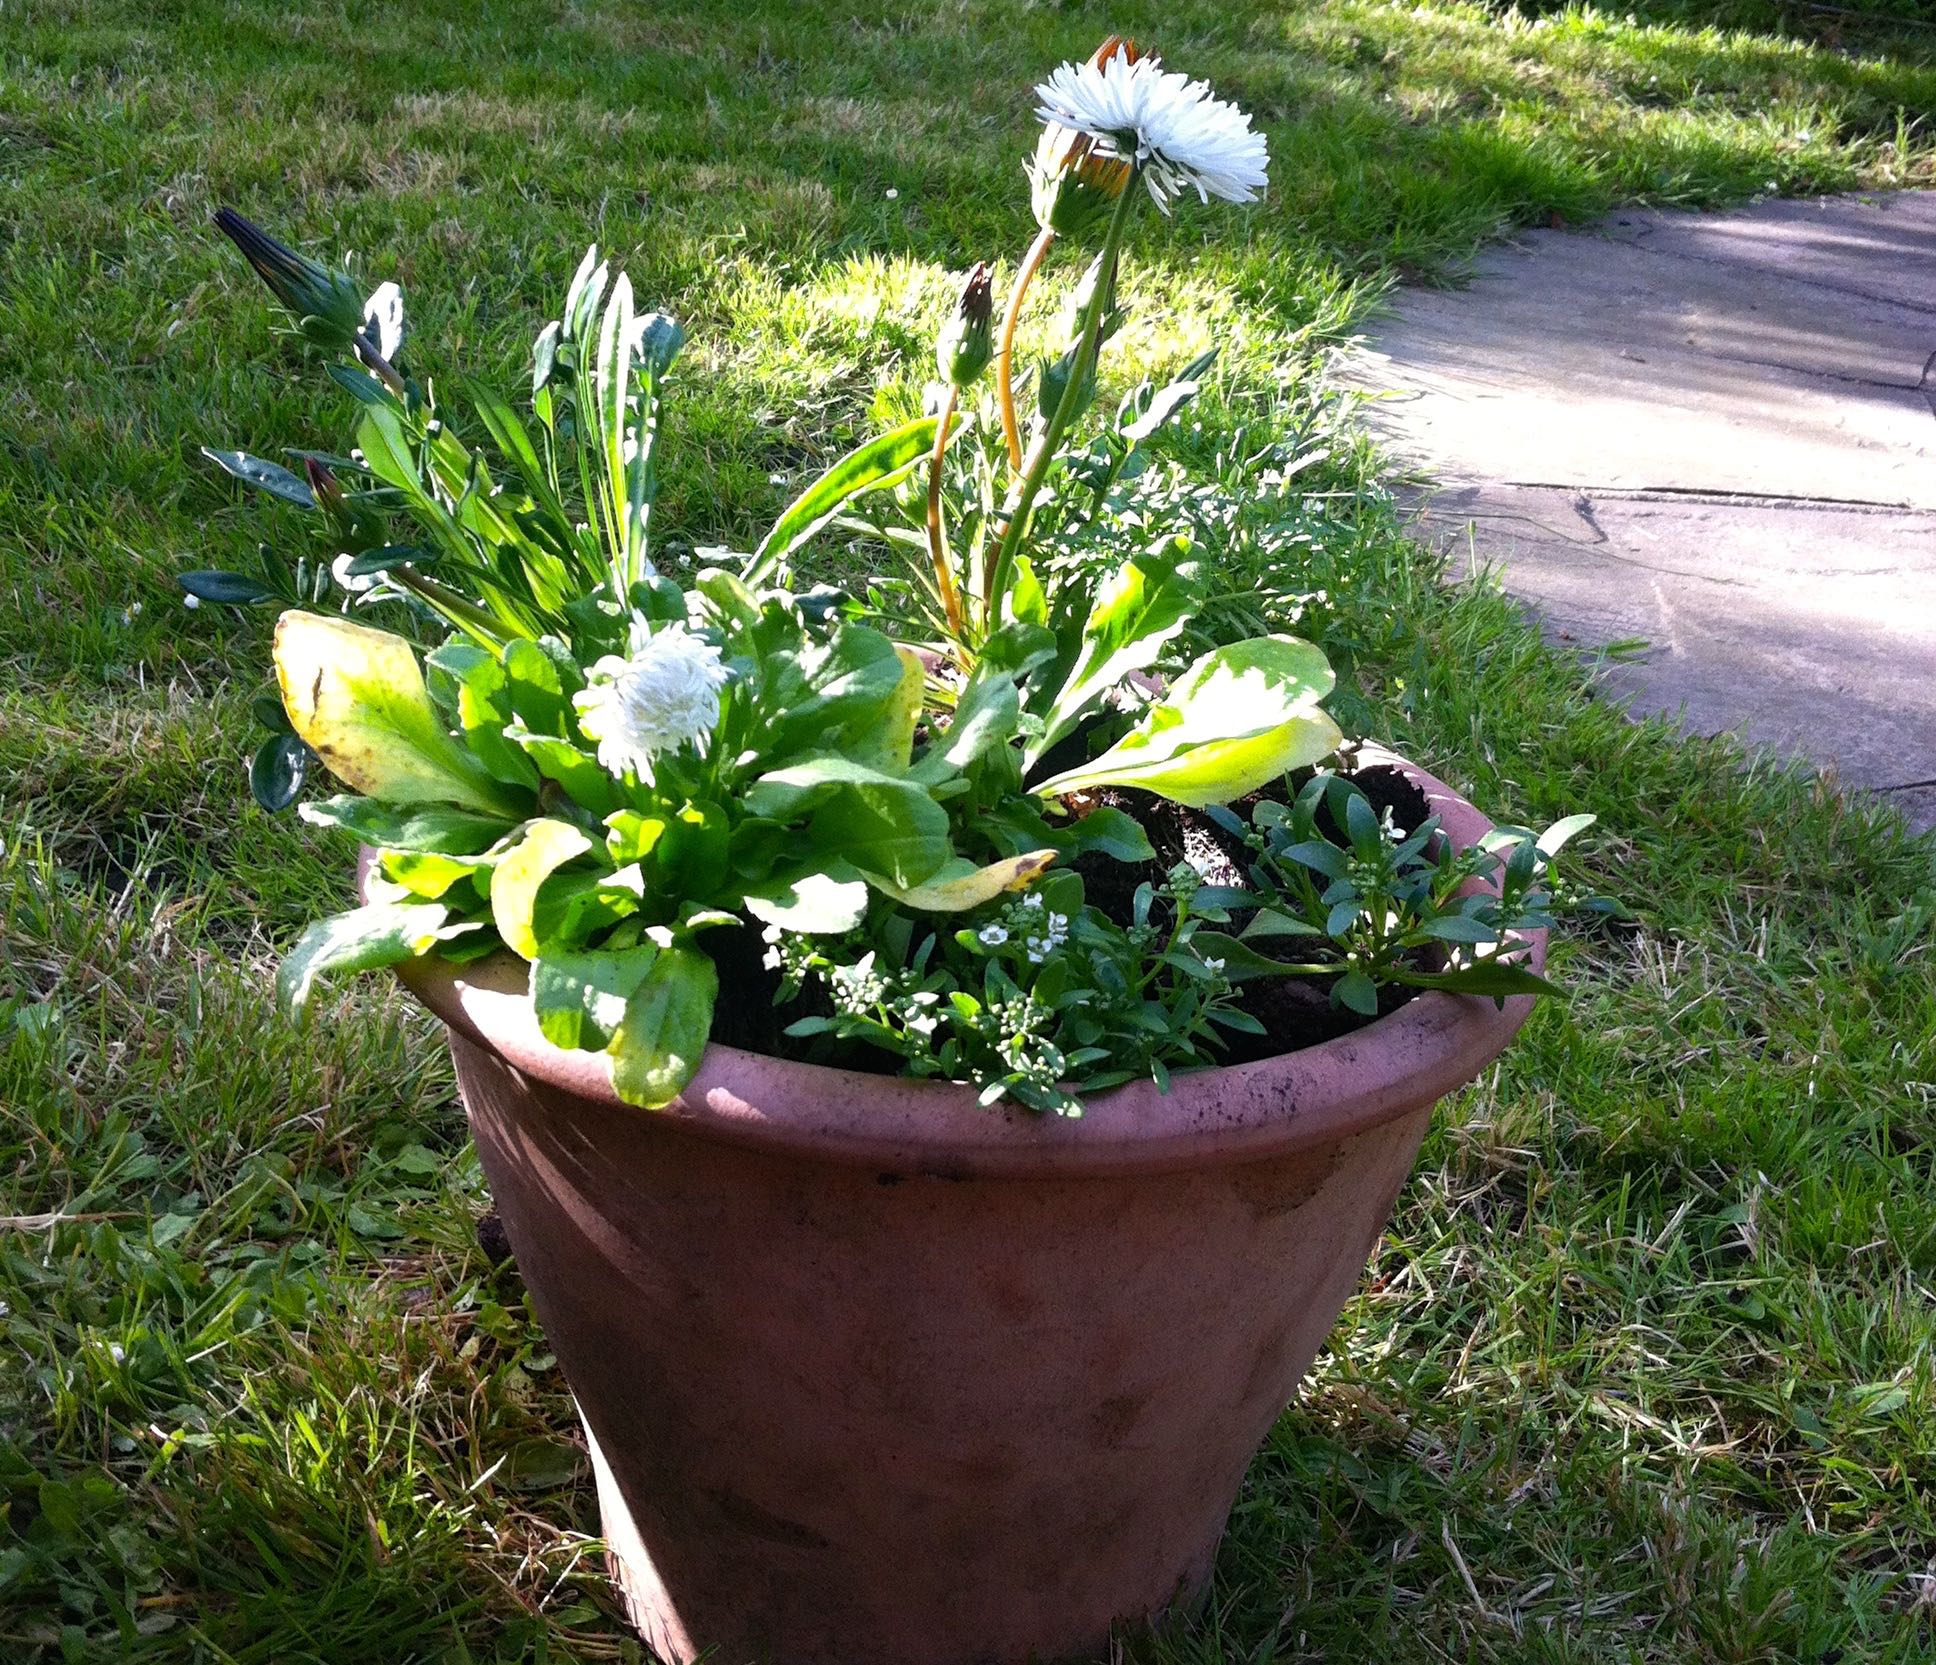
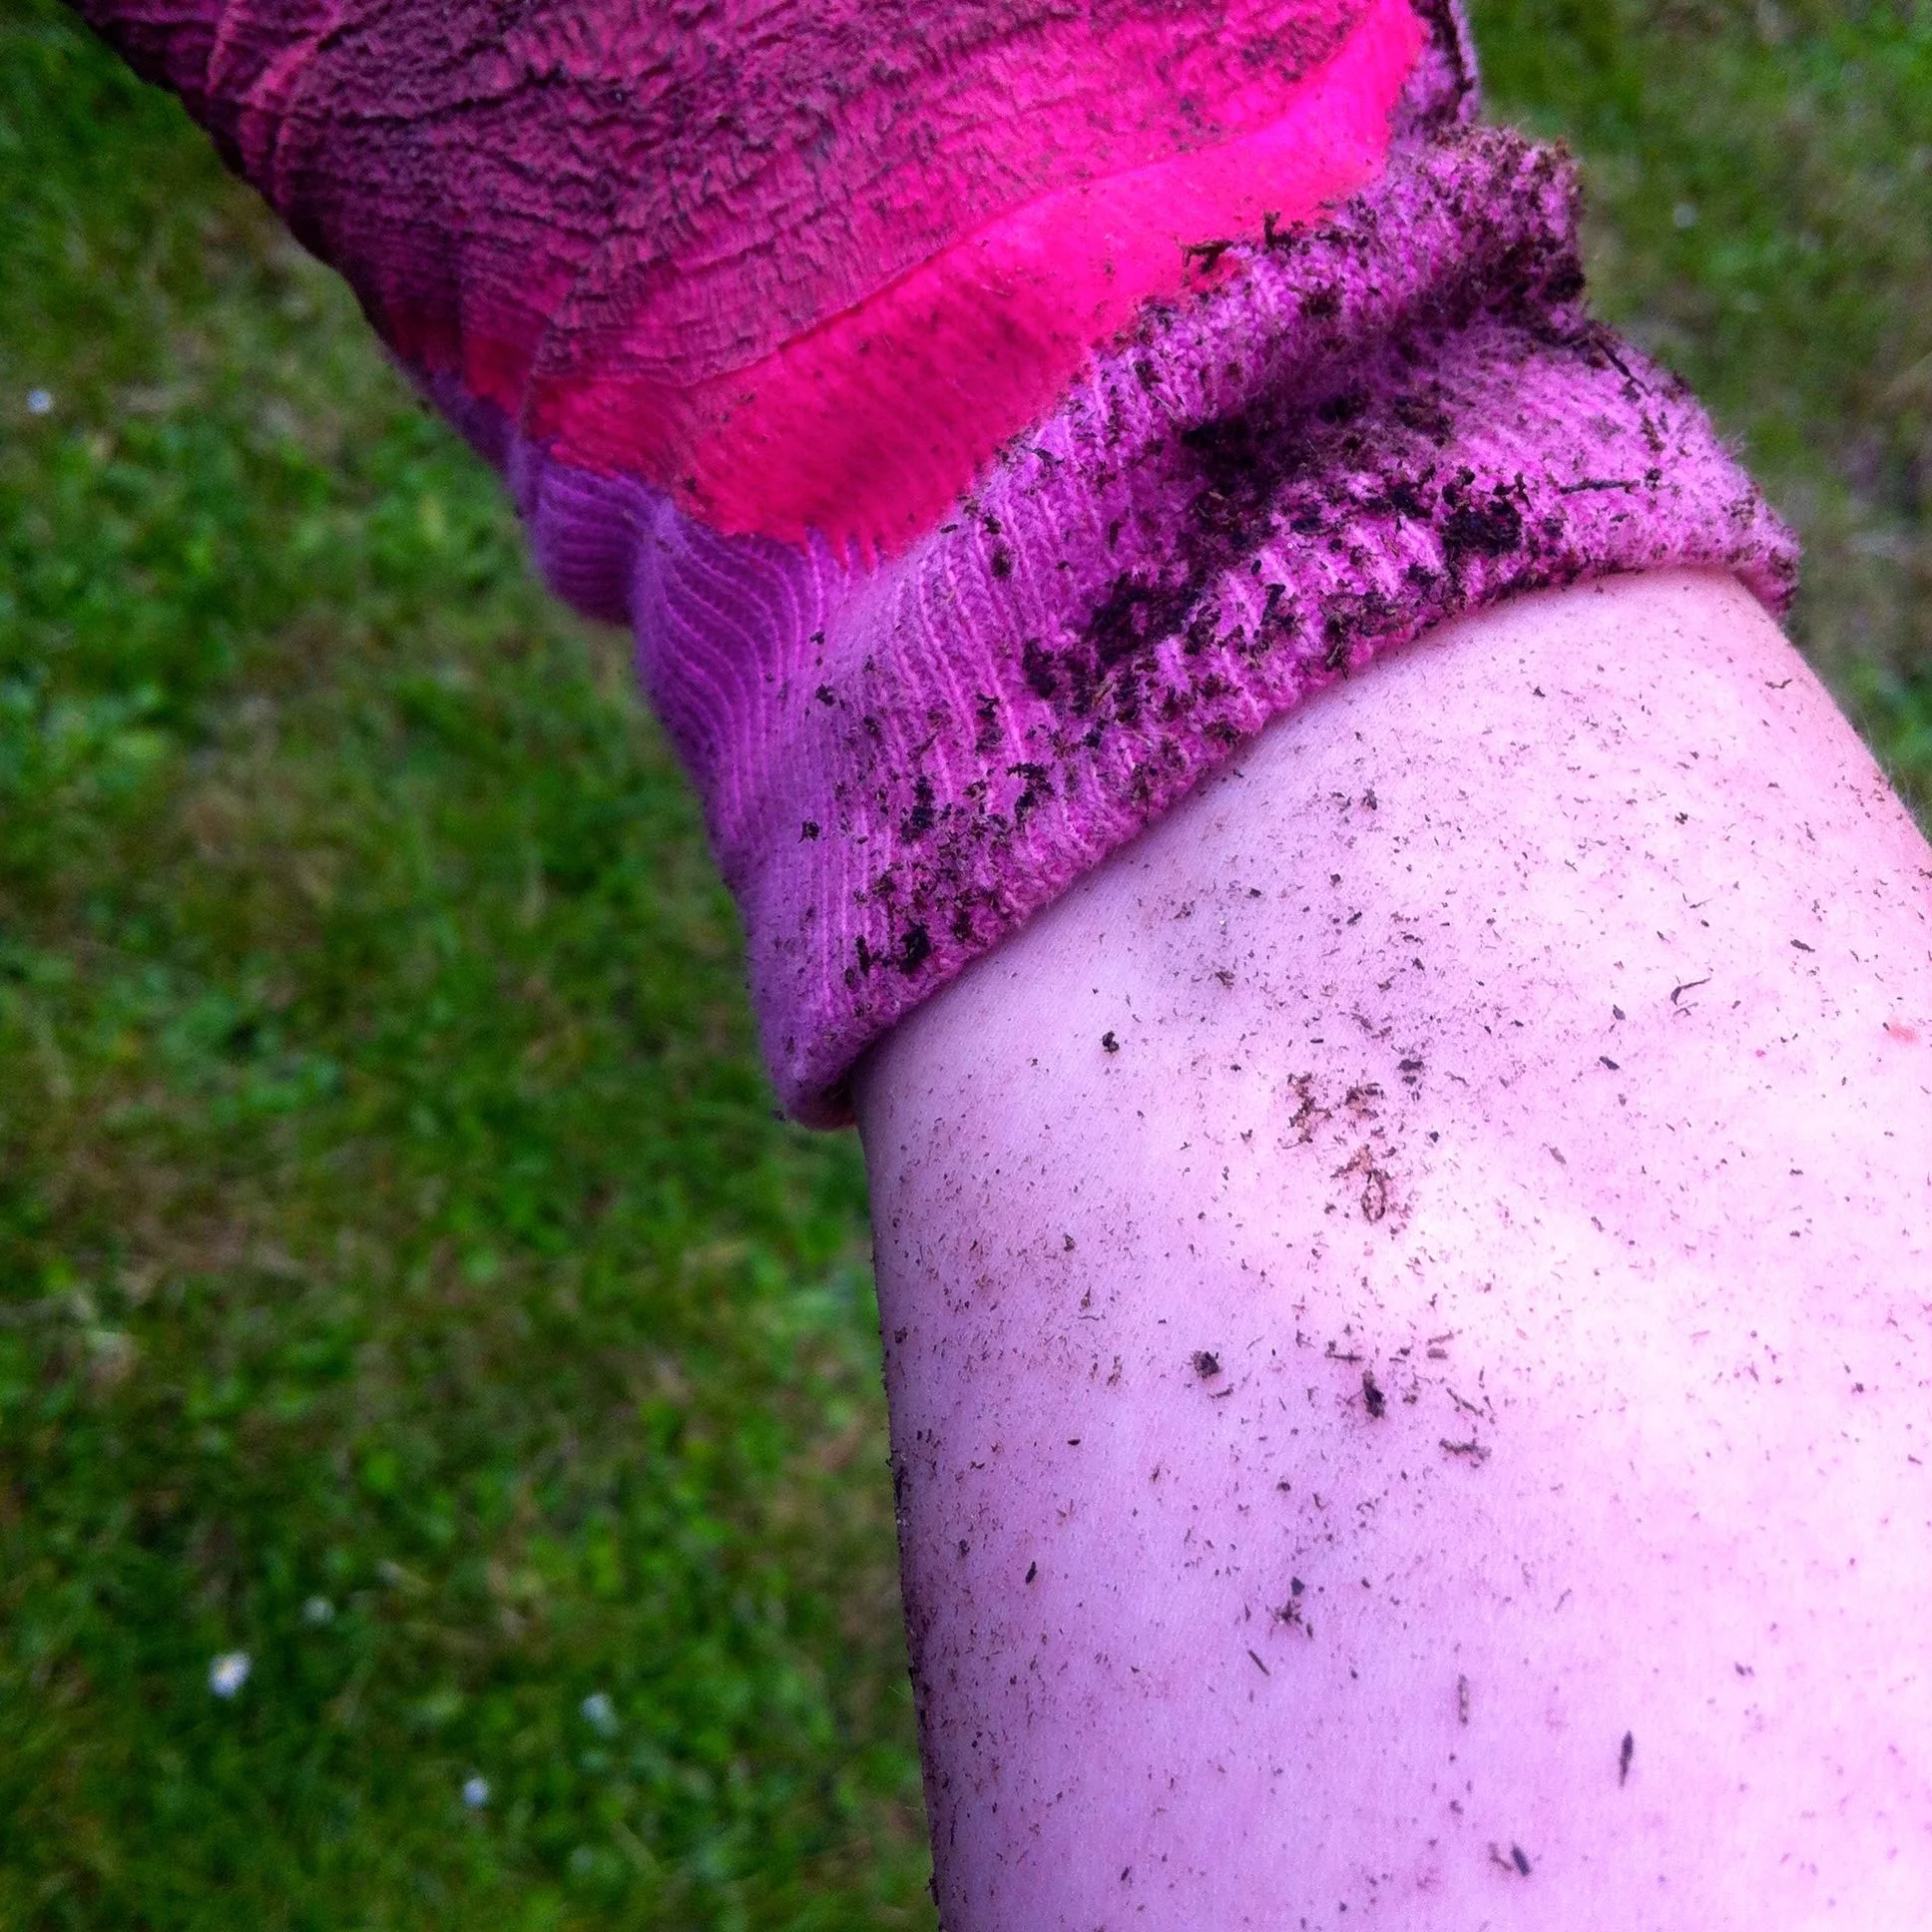
And there you have it, some pepped up pots for our patio. And some that conform to the request, however tongue-in-cheek it was made. But why, oh why do I find myself covered in compost whenever I plant up pots?

Please say it's not just me!

covered in compost
Home Etc

Giving my sewing box a new lease of life

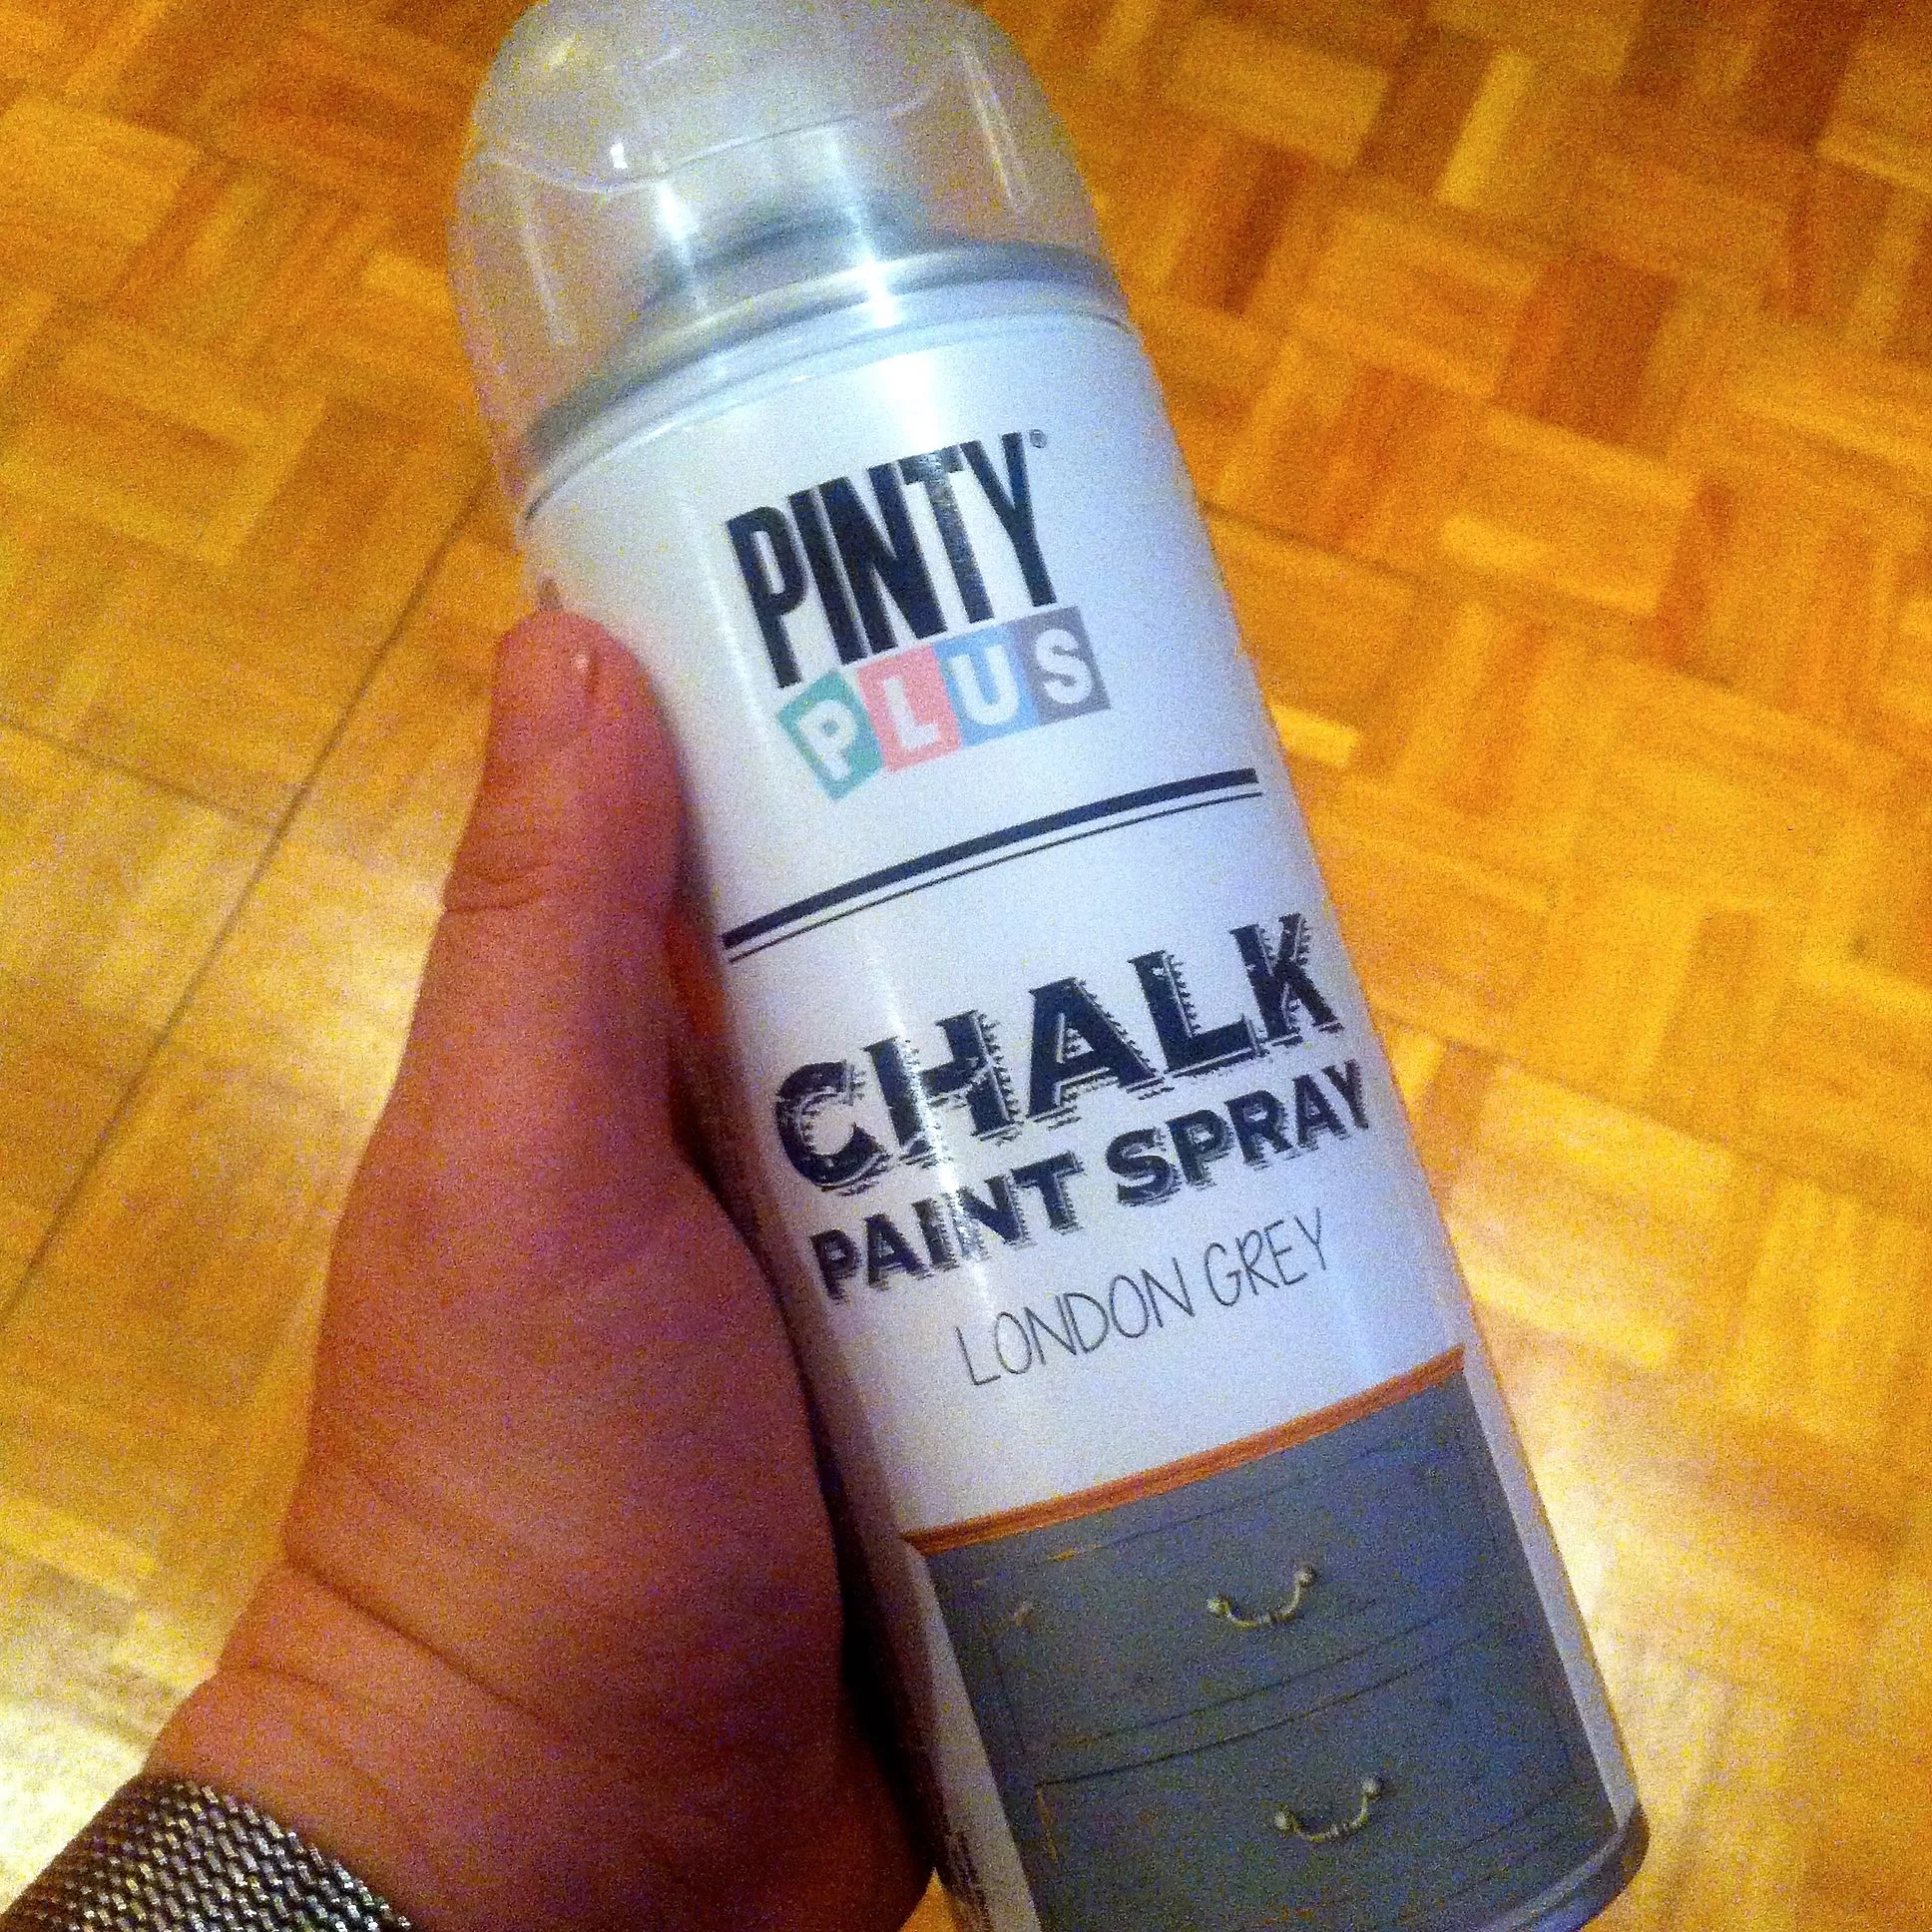
When Clare from Maybush Studio got in touch about getting involved with a project using Chalk Paint Spray I couldn't tell you how keen I was. I've been wary about using chalk paint because I thought it couldn't be as good as everyone says and I was tempted to see how it worked as a spray.

I also had the perfect project in mind.

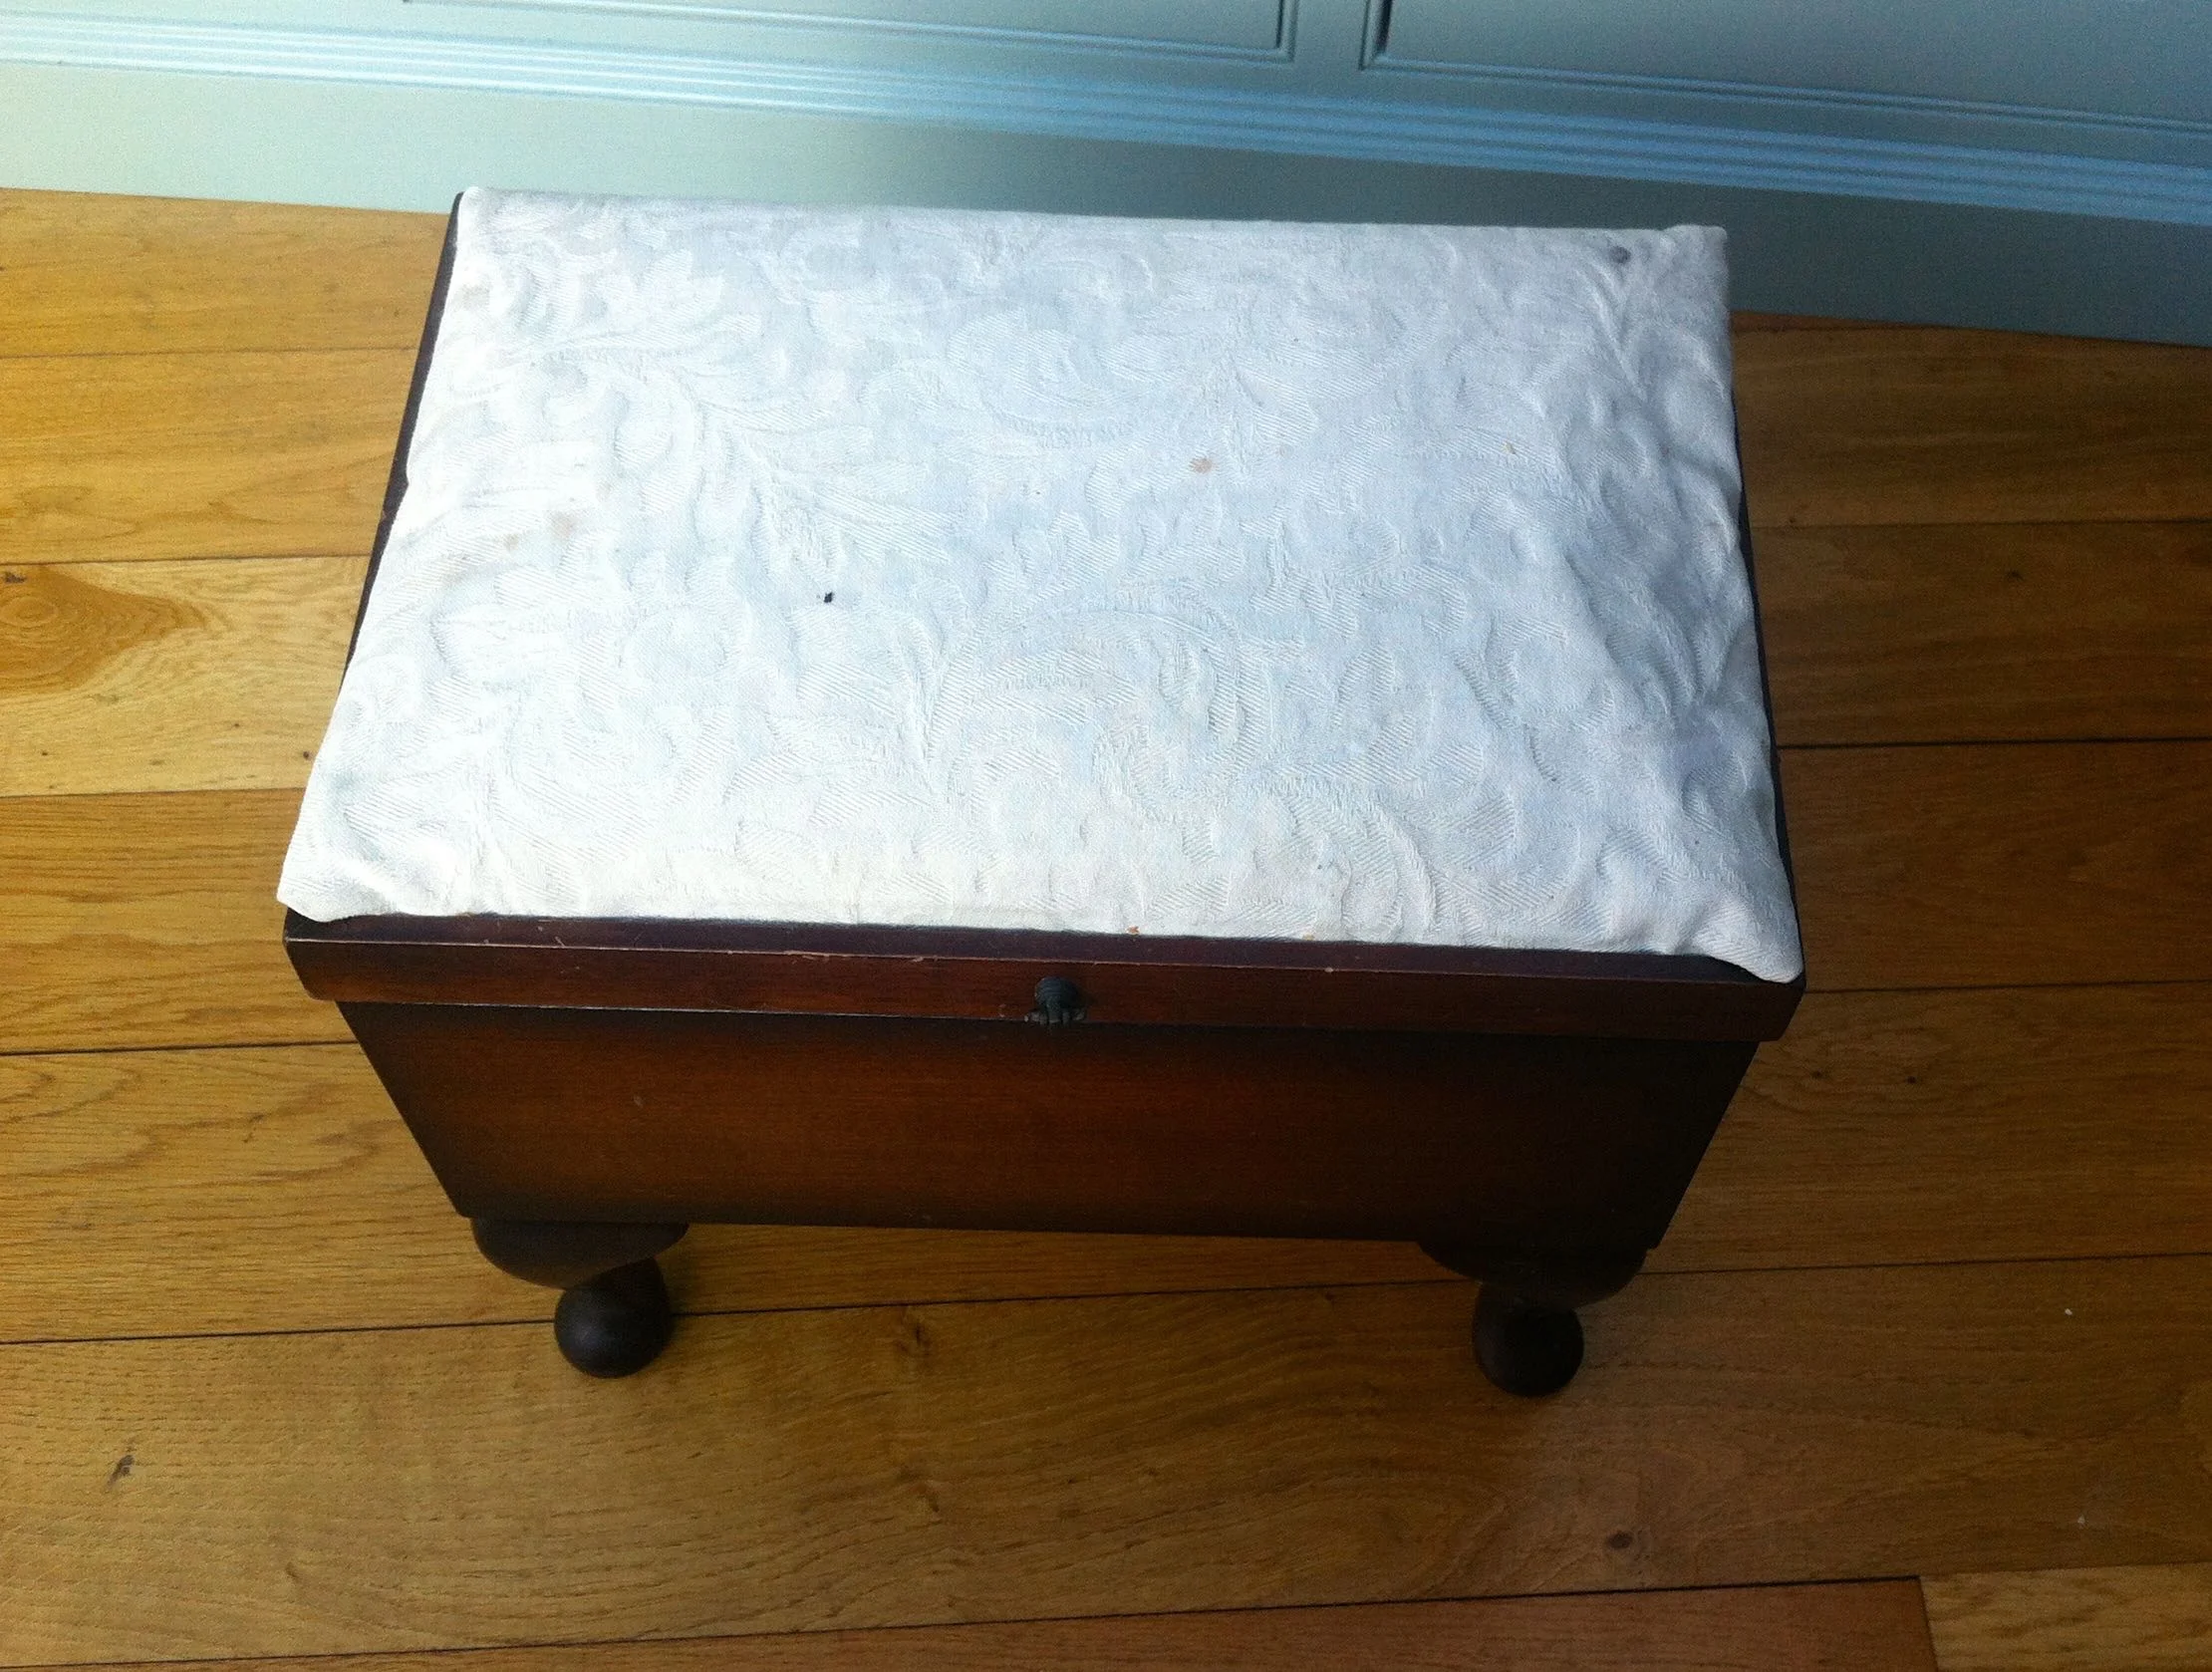
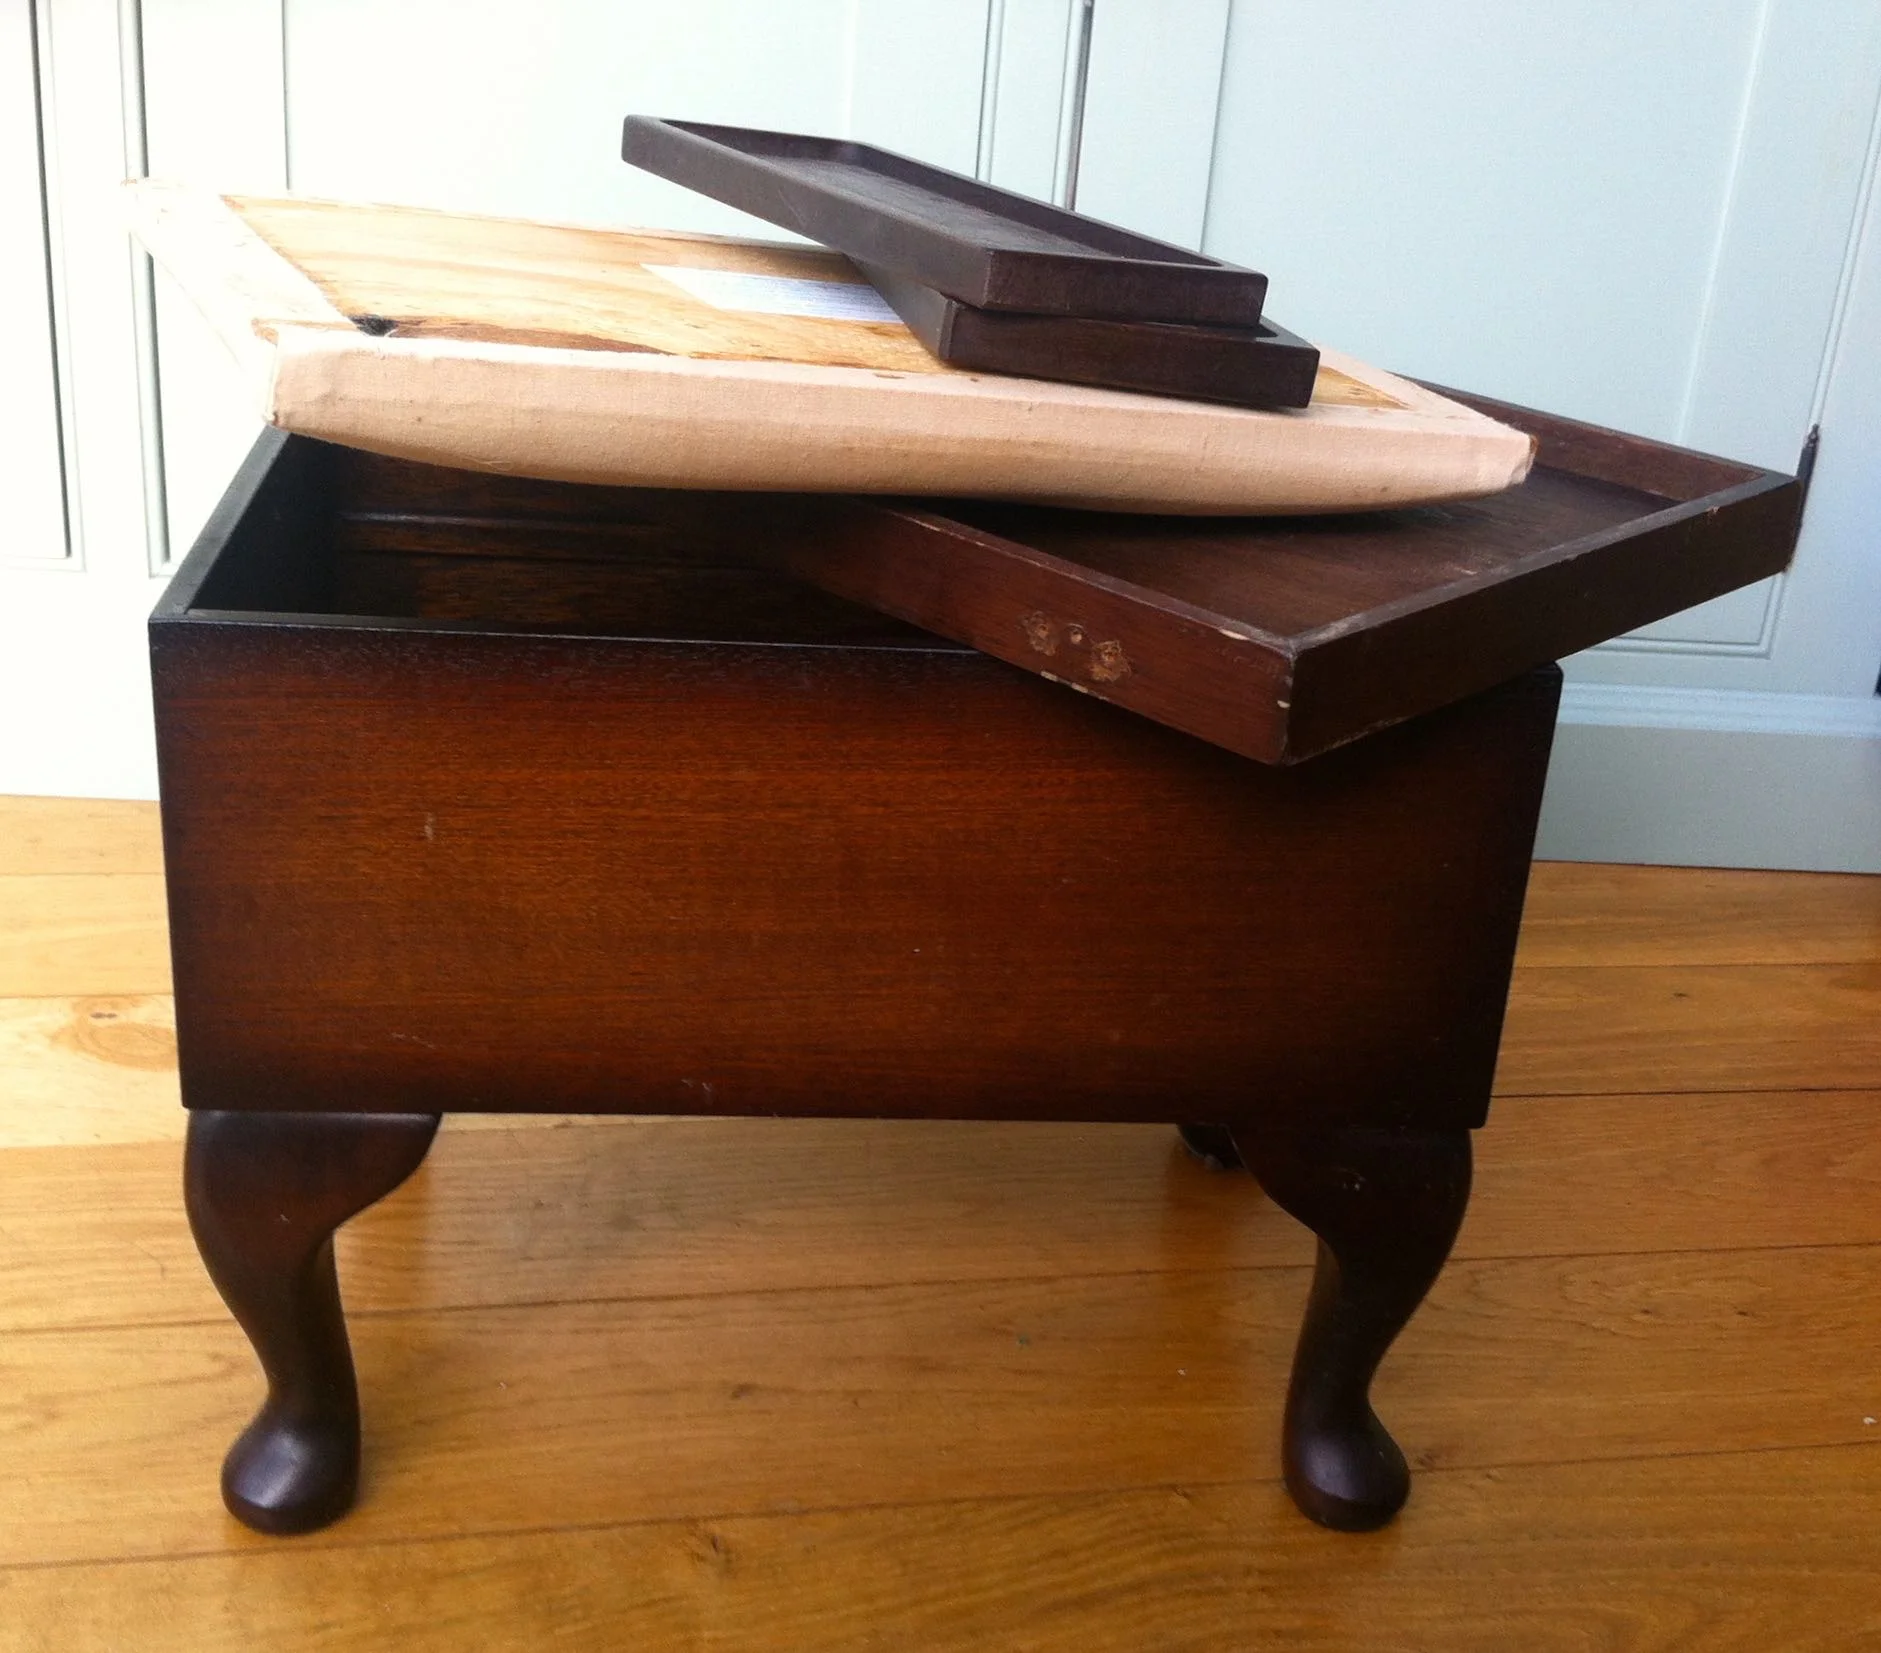
I've had this sewing stool for many years and for a while now it's been relegated to our conservatory and was one of the things I planned to get rid of in my 2016 items in 2016.  But I knew it'd be perfect for this so it was promptly promoted to My Next Project!

BEFORE

BEFORE

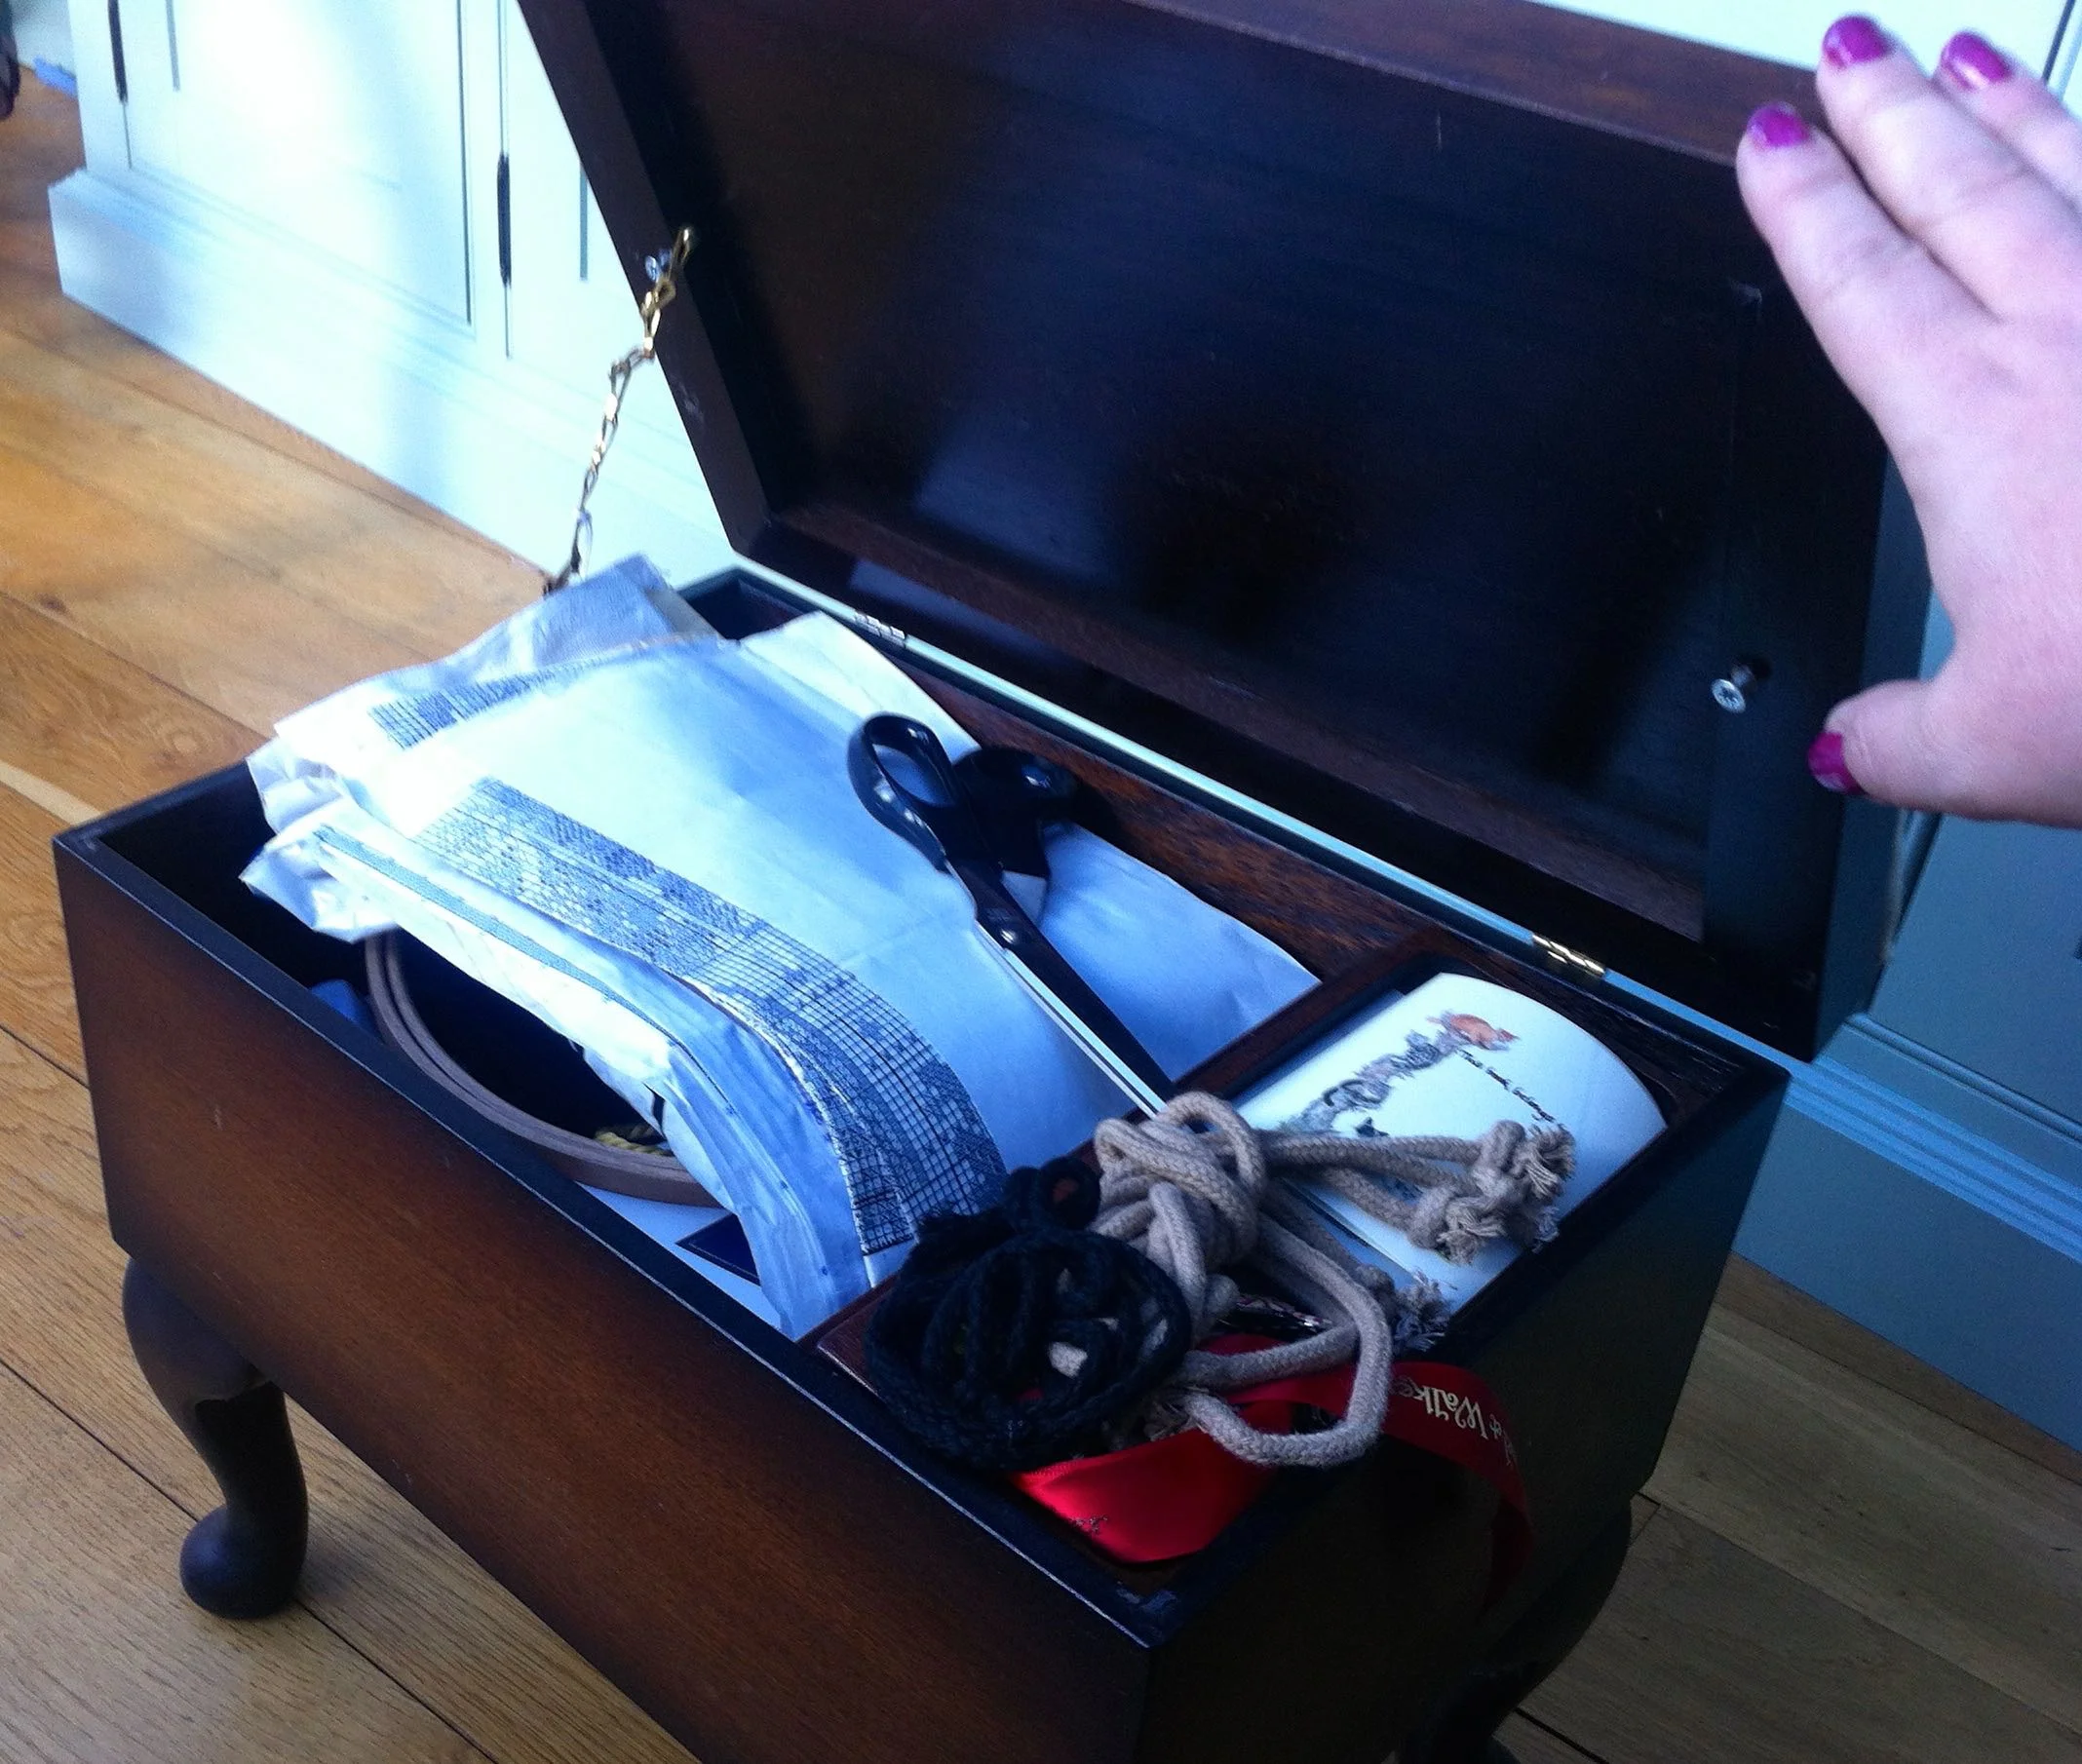
AND FULL OF STUFF...

AND FULL OF STUFF...

First though I had to empty it. It was stuffed full of stuff - most of it craft-related but also randomly a runner for the table. I wondered where that had gone...

With it emptied I dismantled it, removing the cushion pad, its cover, the hinges and other ironmongery.

DISMANTLED!

DISMANTLED!

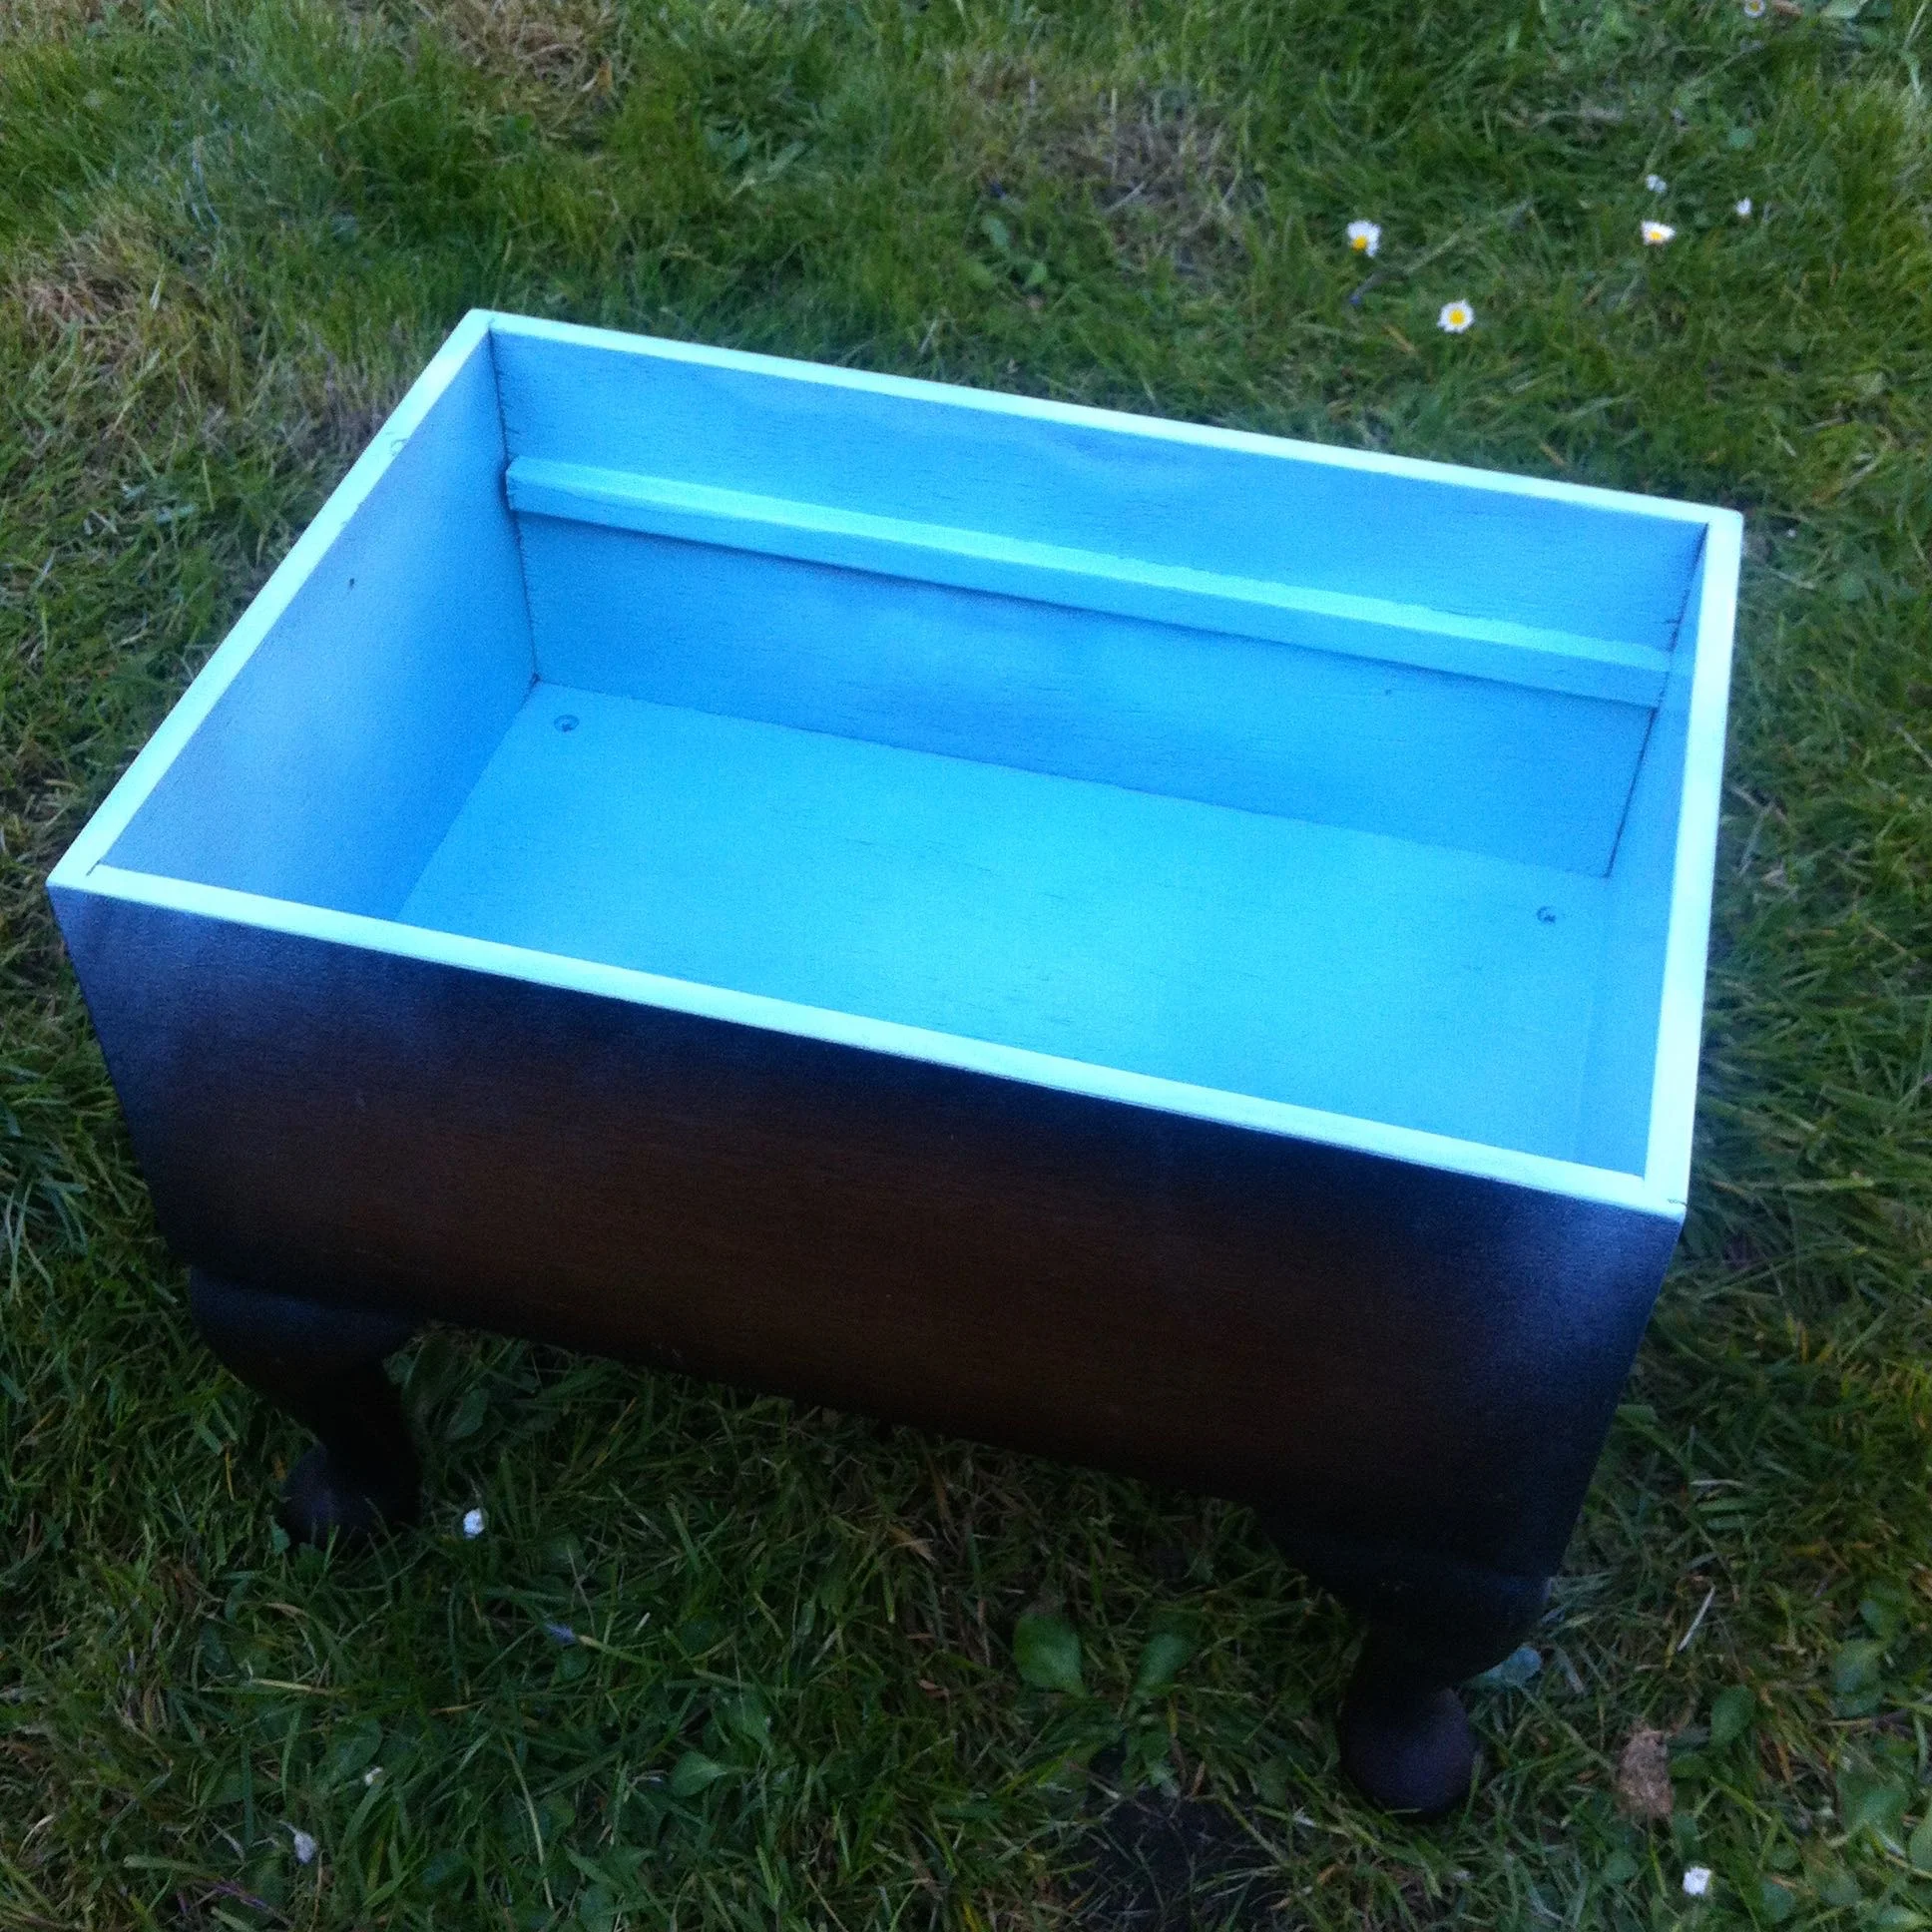
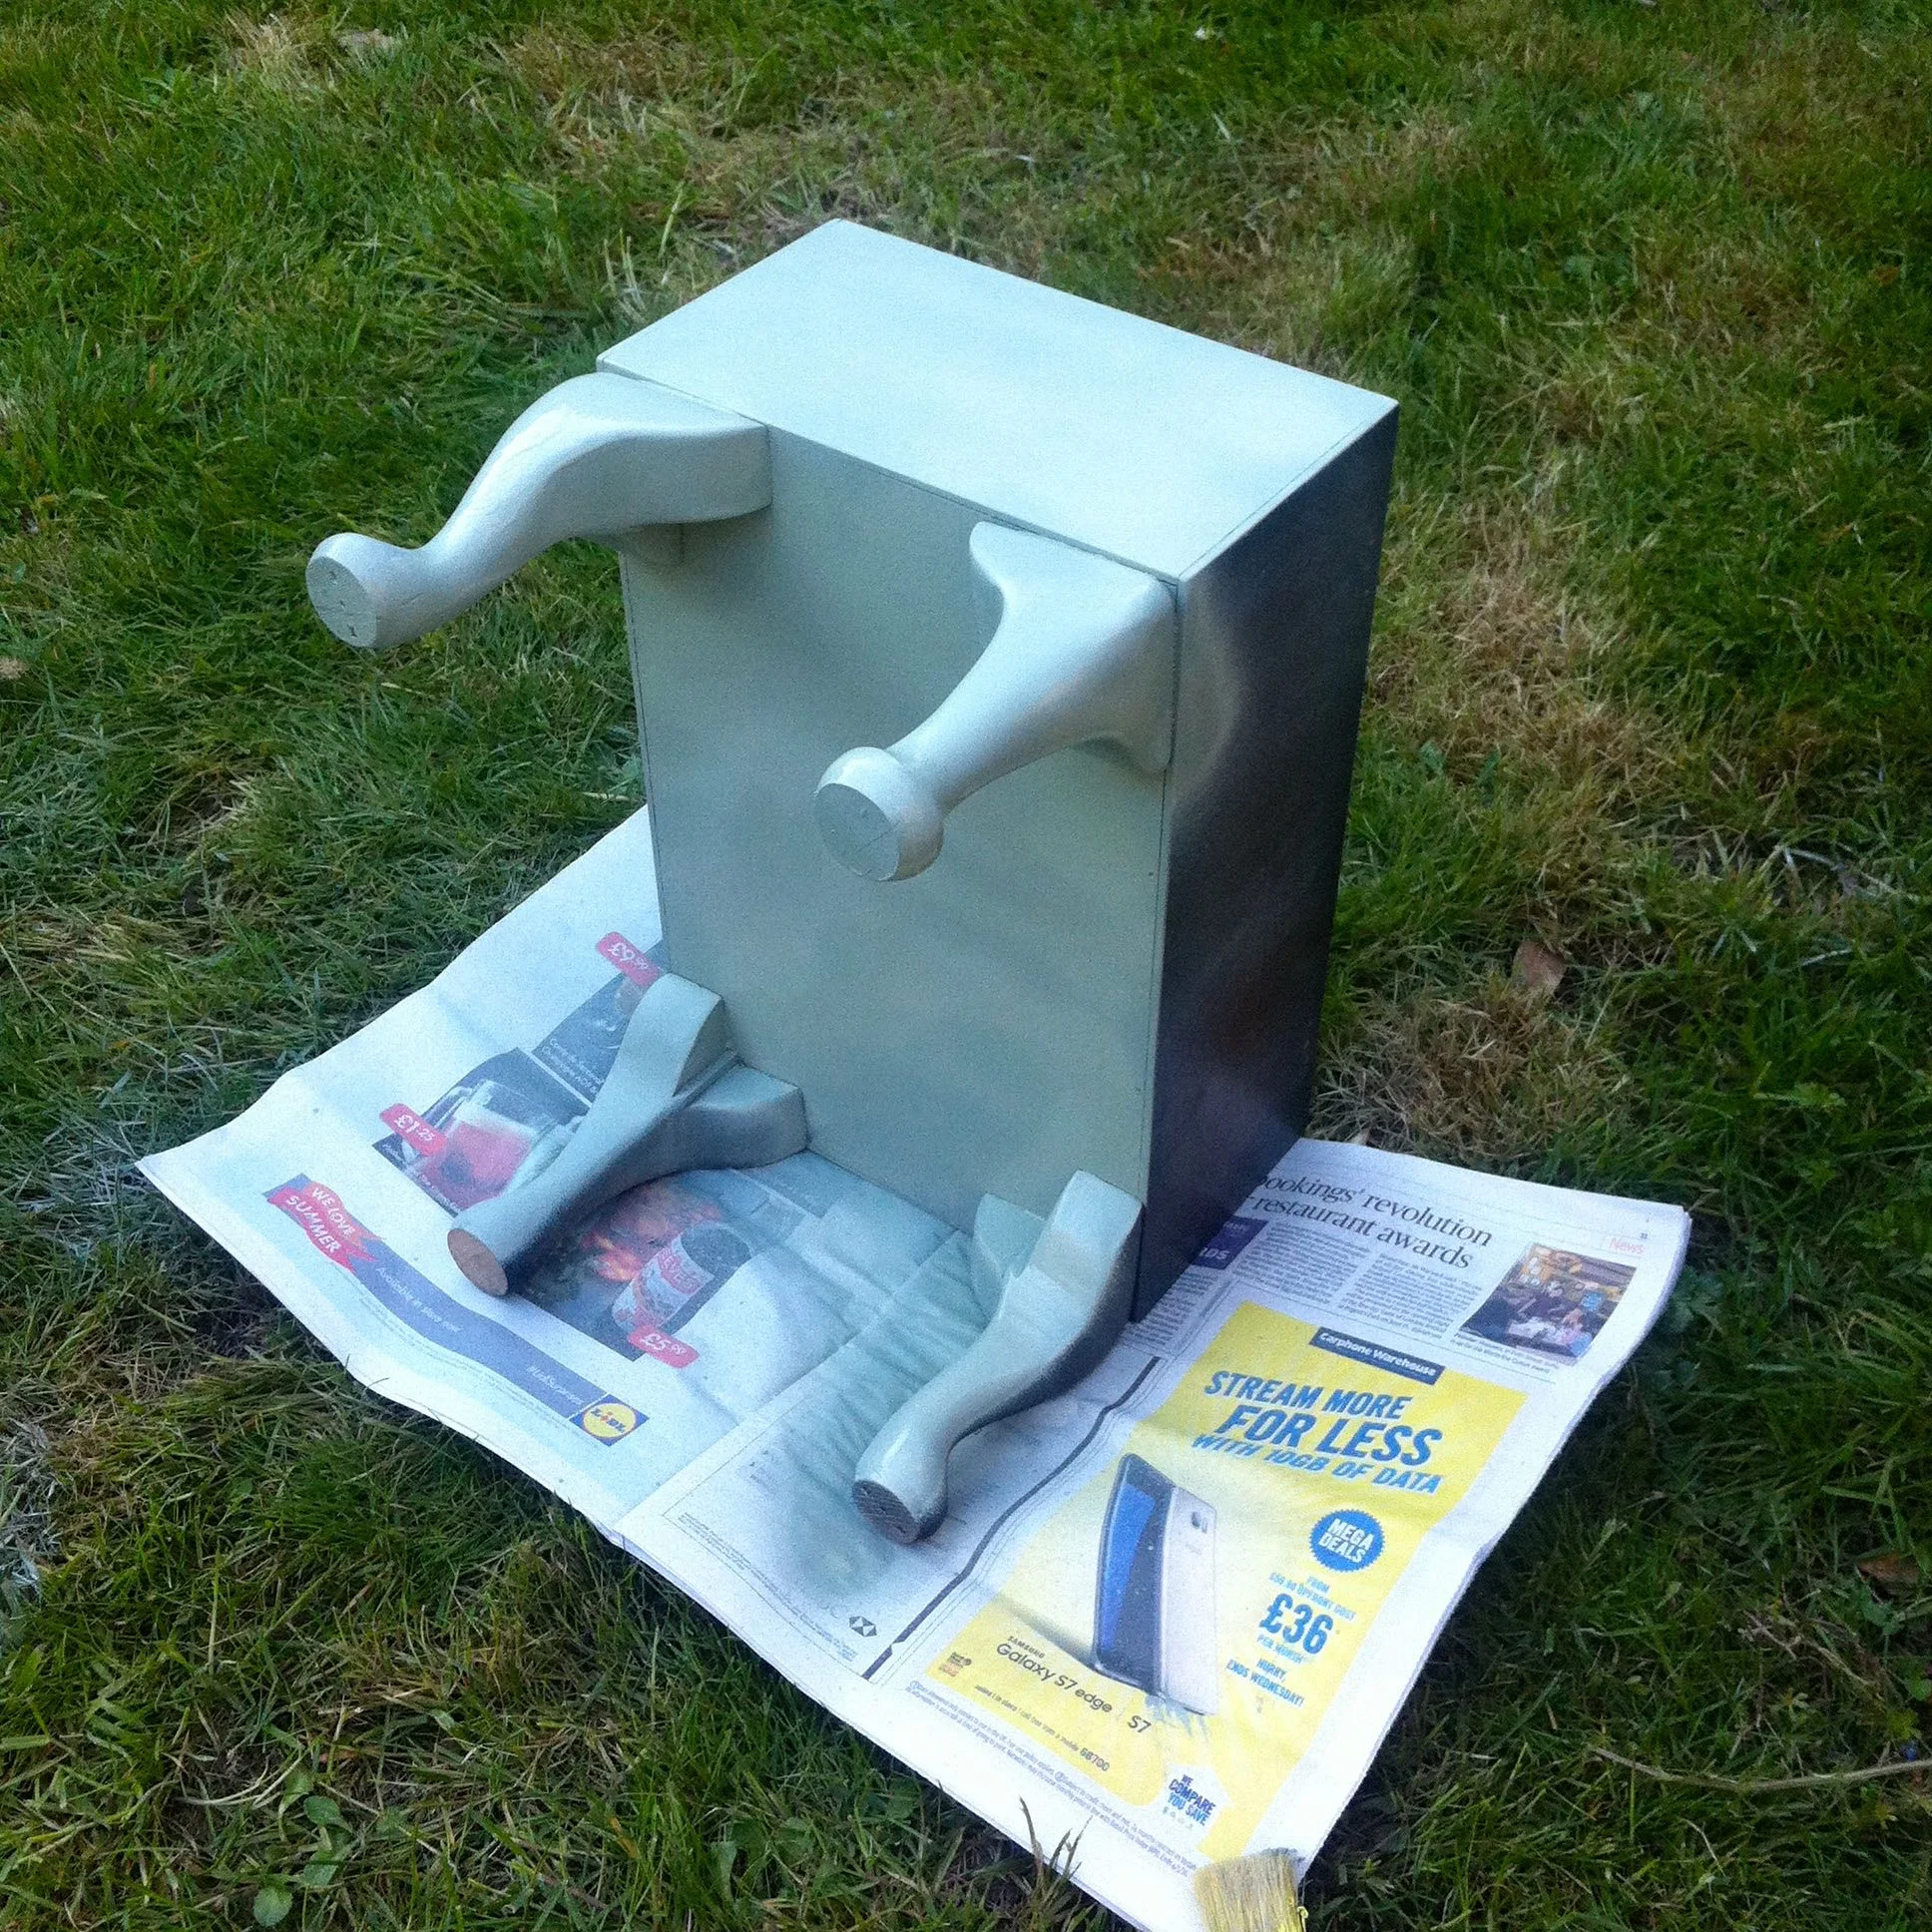
I was keen to get started and I was also keen to see how the colours I'd chosen would turn out.  I chose London Grey for the outside, and that is as I hoped a greeny-grey. For the inside I wanted something brighter and contrasting, so chose Light Turquoise.

I started small and sprayed the two removable trays, one in each colour.

It was really easy to do, and I couldn't help but start spraying some more.  It was easily touch-dry within twenty minutes. 

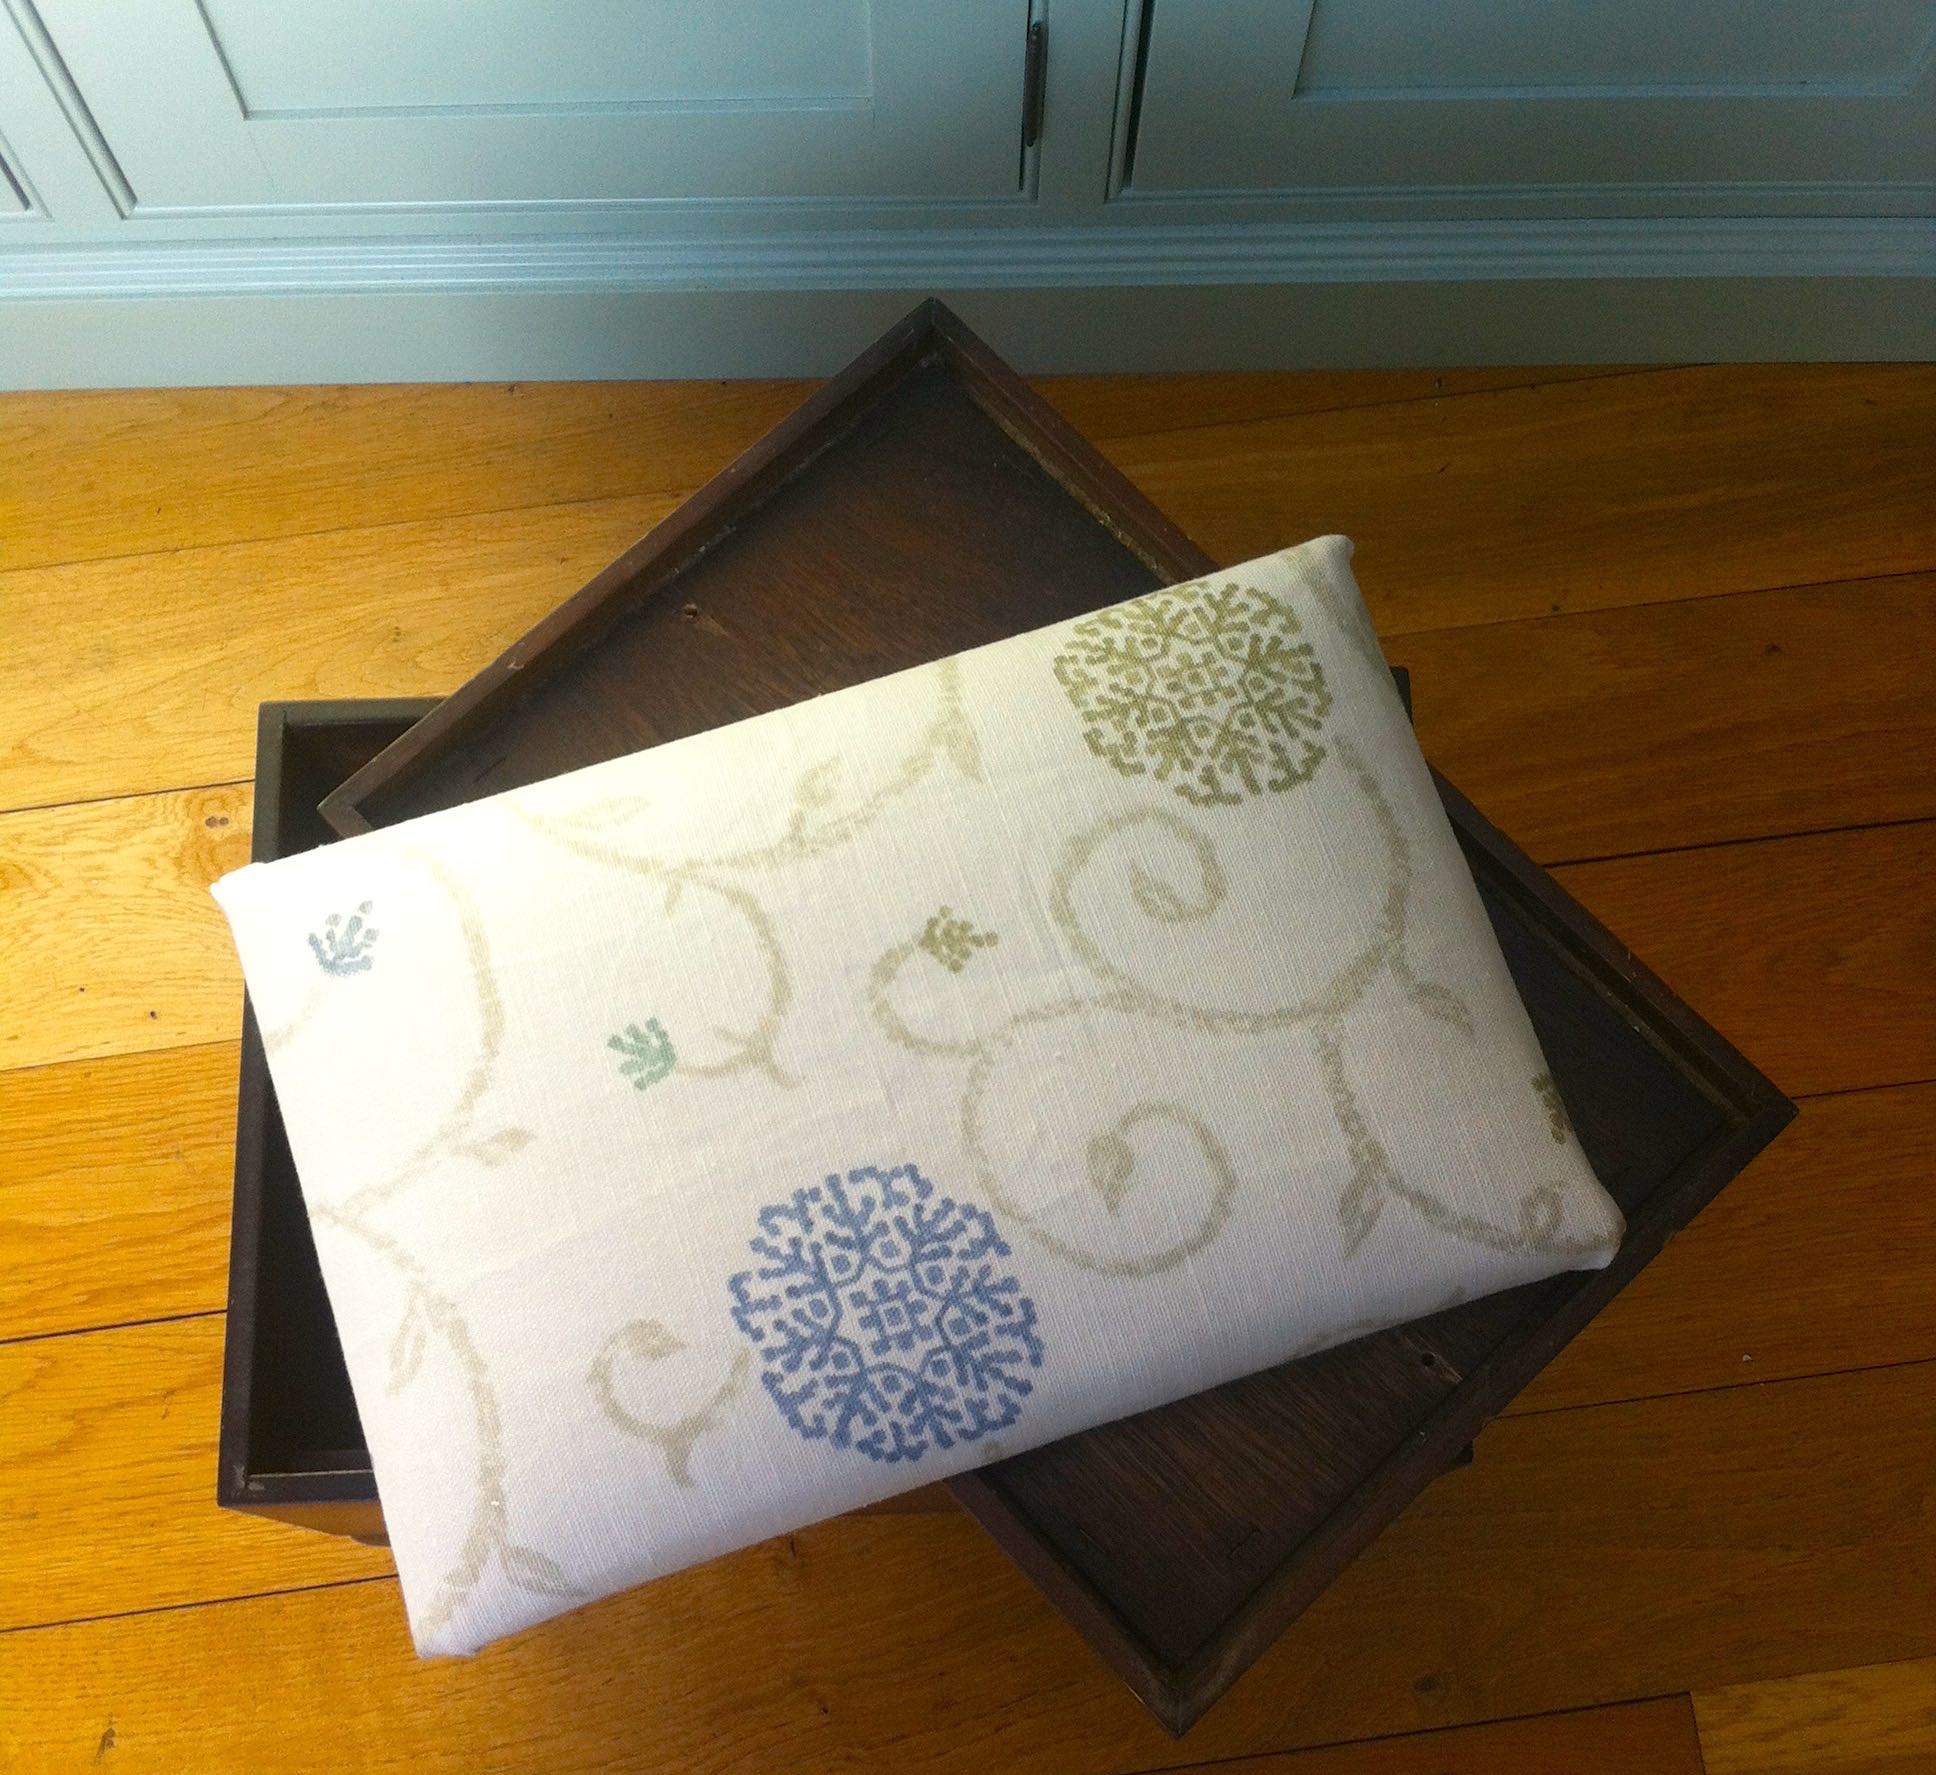
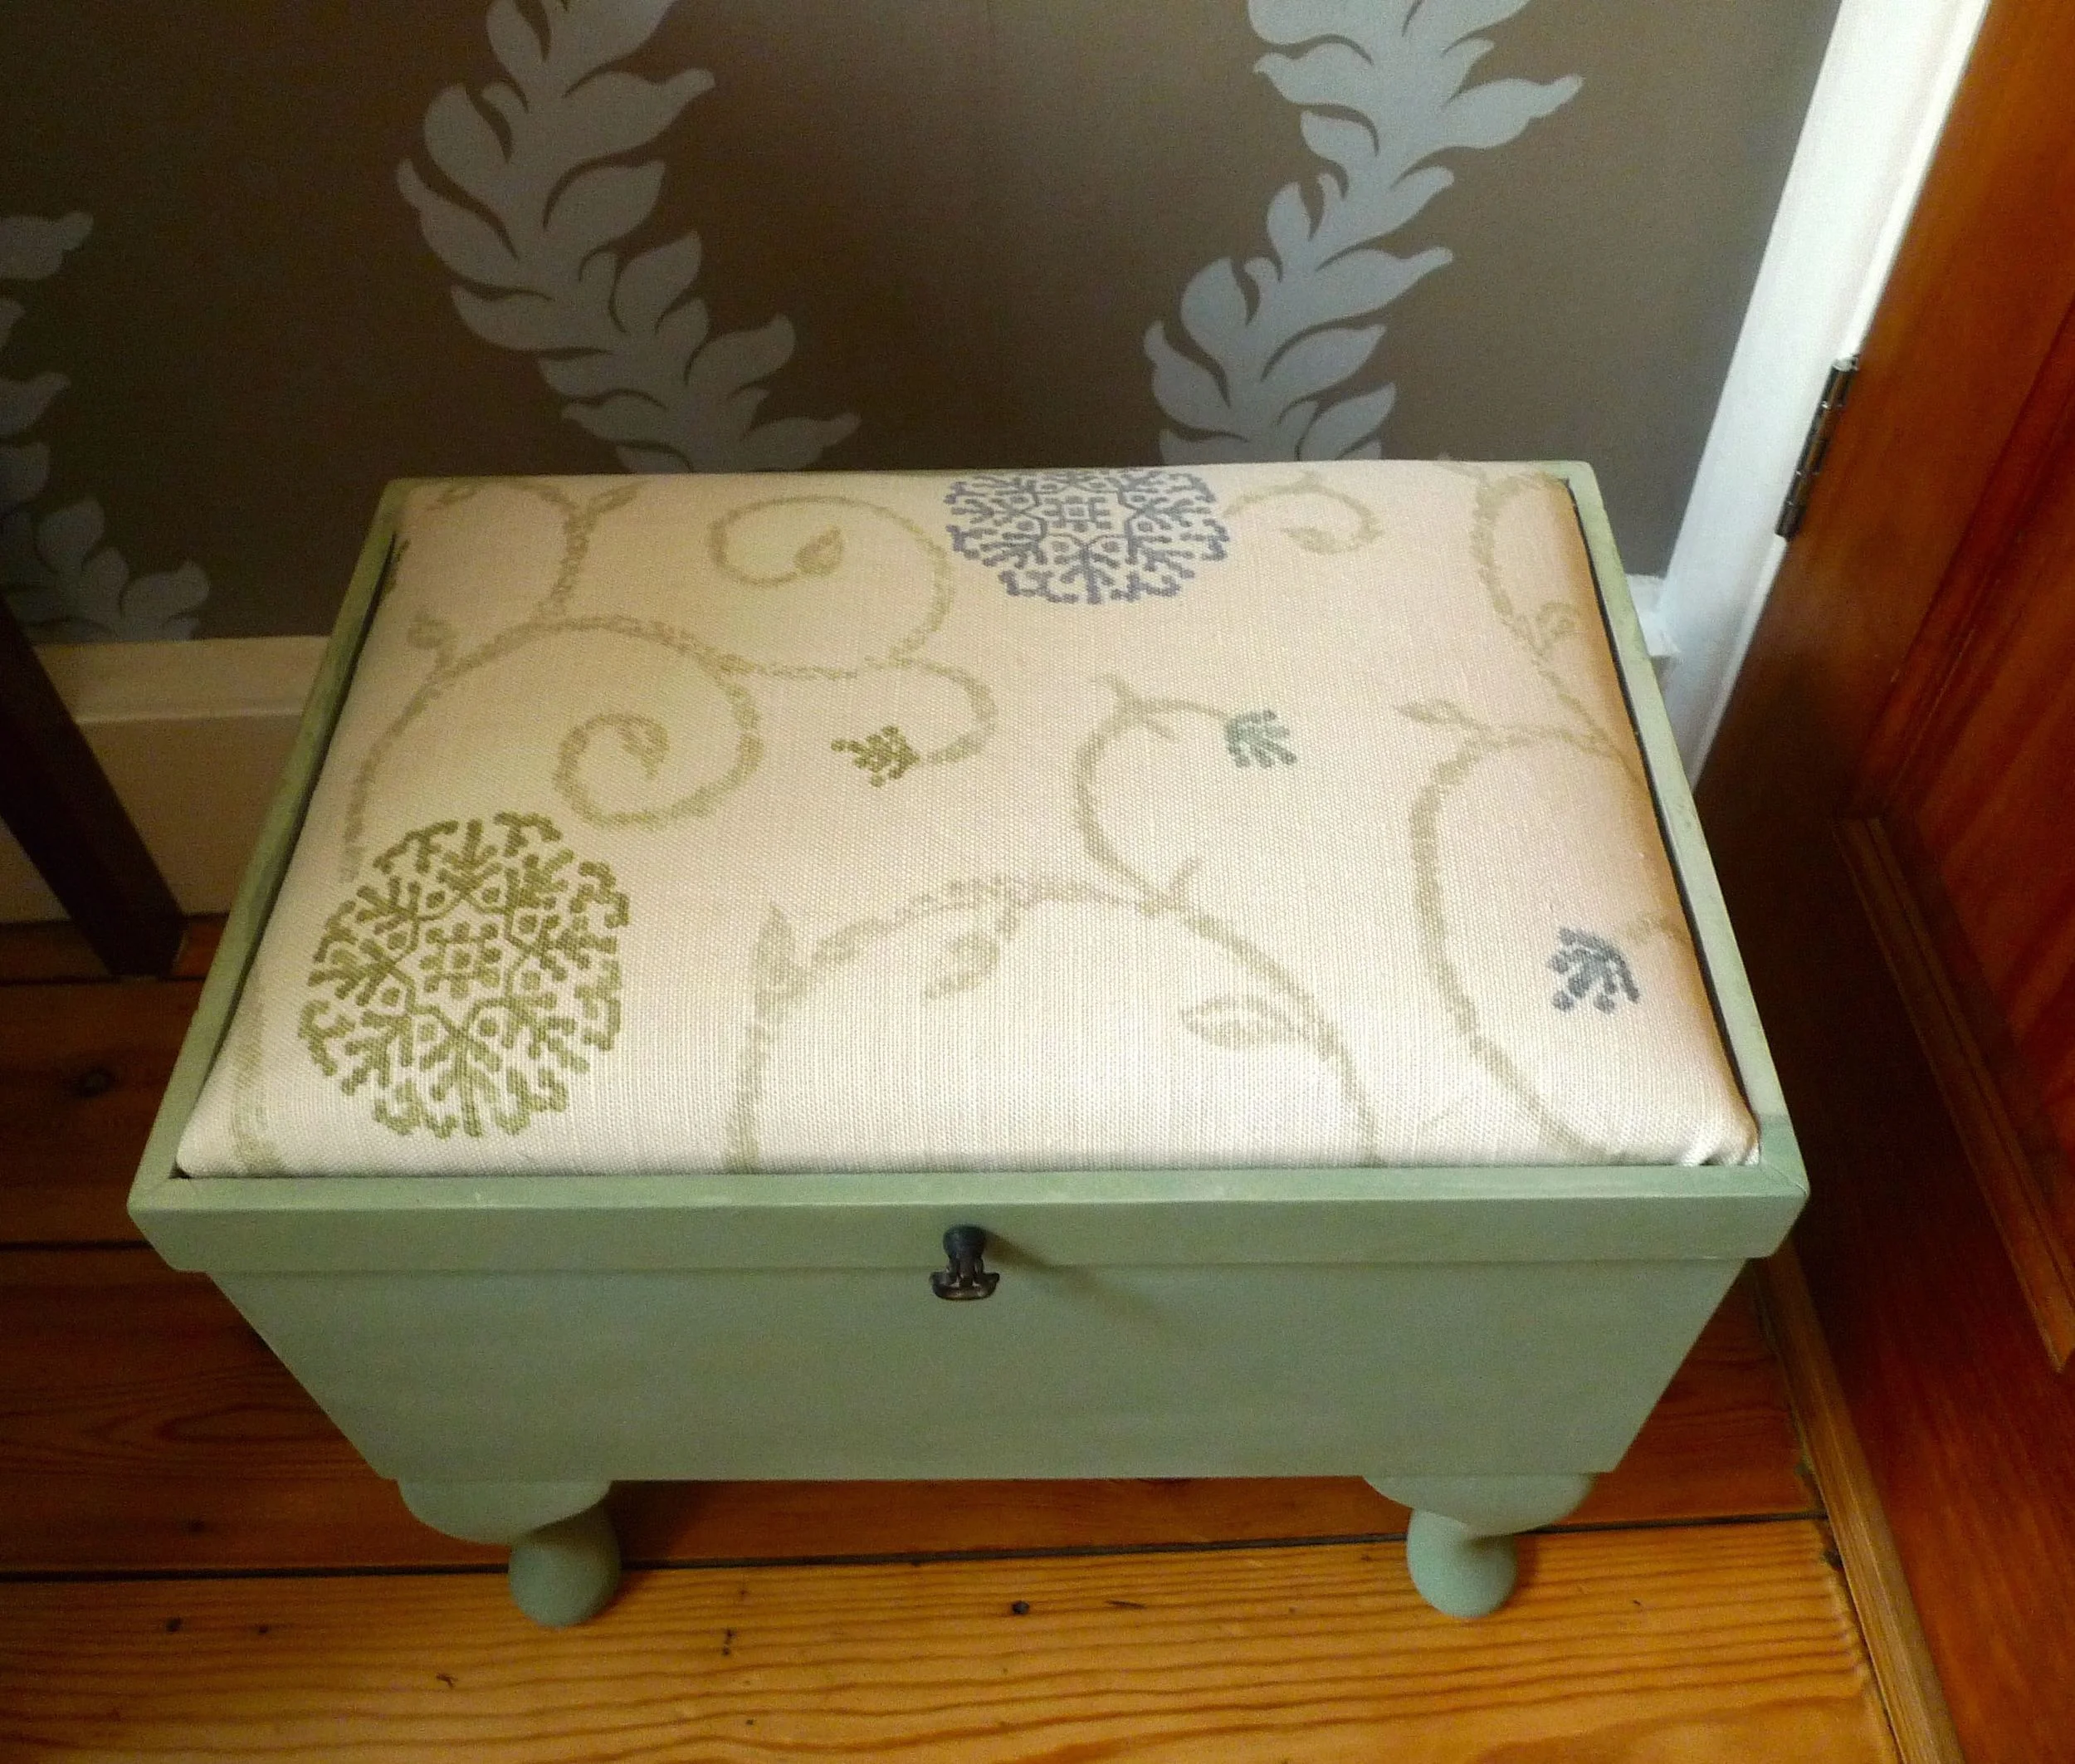
While I was waiting those first twenty minutes I recovered the top cushion.  I had in my mind that I'd use a floral fabric for the top, something Cath Kidstone-esque, but when I saw the colours I changed my plan.  You see the colours were very similar to the colours we've used throughout our house; the London Grey is very similar to Farrow & Ball's Old White and the Light Turquoise like their Teresa's Green.  

So I knew that the leftover material I had from our spare bedroom curtains would be perfect.  And isn't it?

RECOVERED CUSHION

I sprayed the inside first, and then because it was so easy and just a little bit addictive I quite quickly started on the outside.  I sprayed the edges where the colours met freehand, which despite my tremor worked out well.

LIGHT TURQUOISE CHALK PAINT SPRAY
LONDON GREY CHALK PAINT SPRAY

The hardest part in this project has been waiting the twenty minutes for the paint to dry so I could spray some more!  But I managed to curb my enthusiasm and take this (relatively) slowly.  I'd given each surface two coats and left it to dry thoroughly overnight before reassembling the stool.

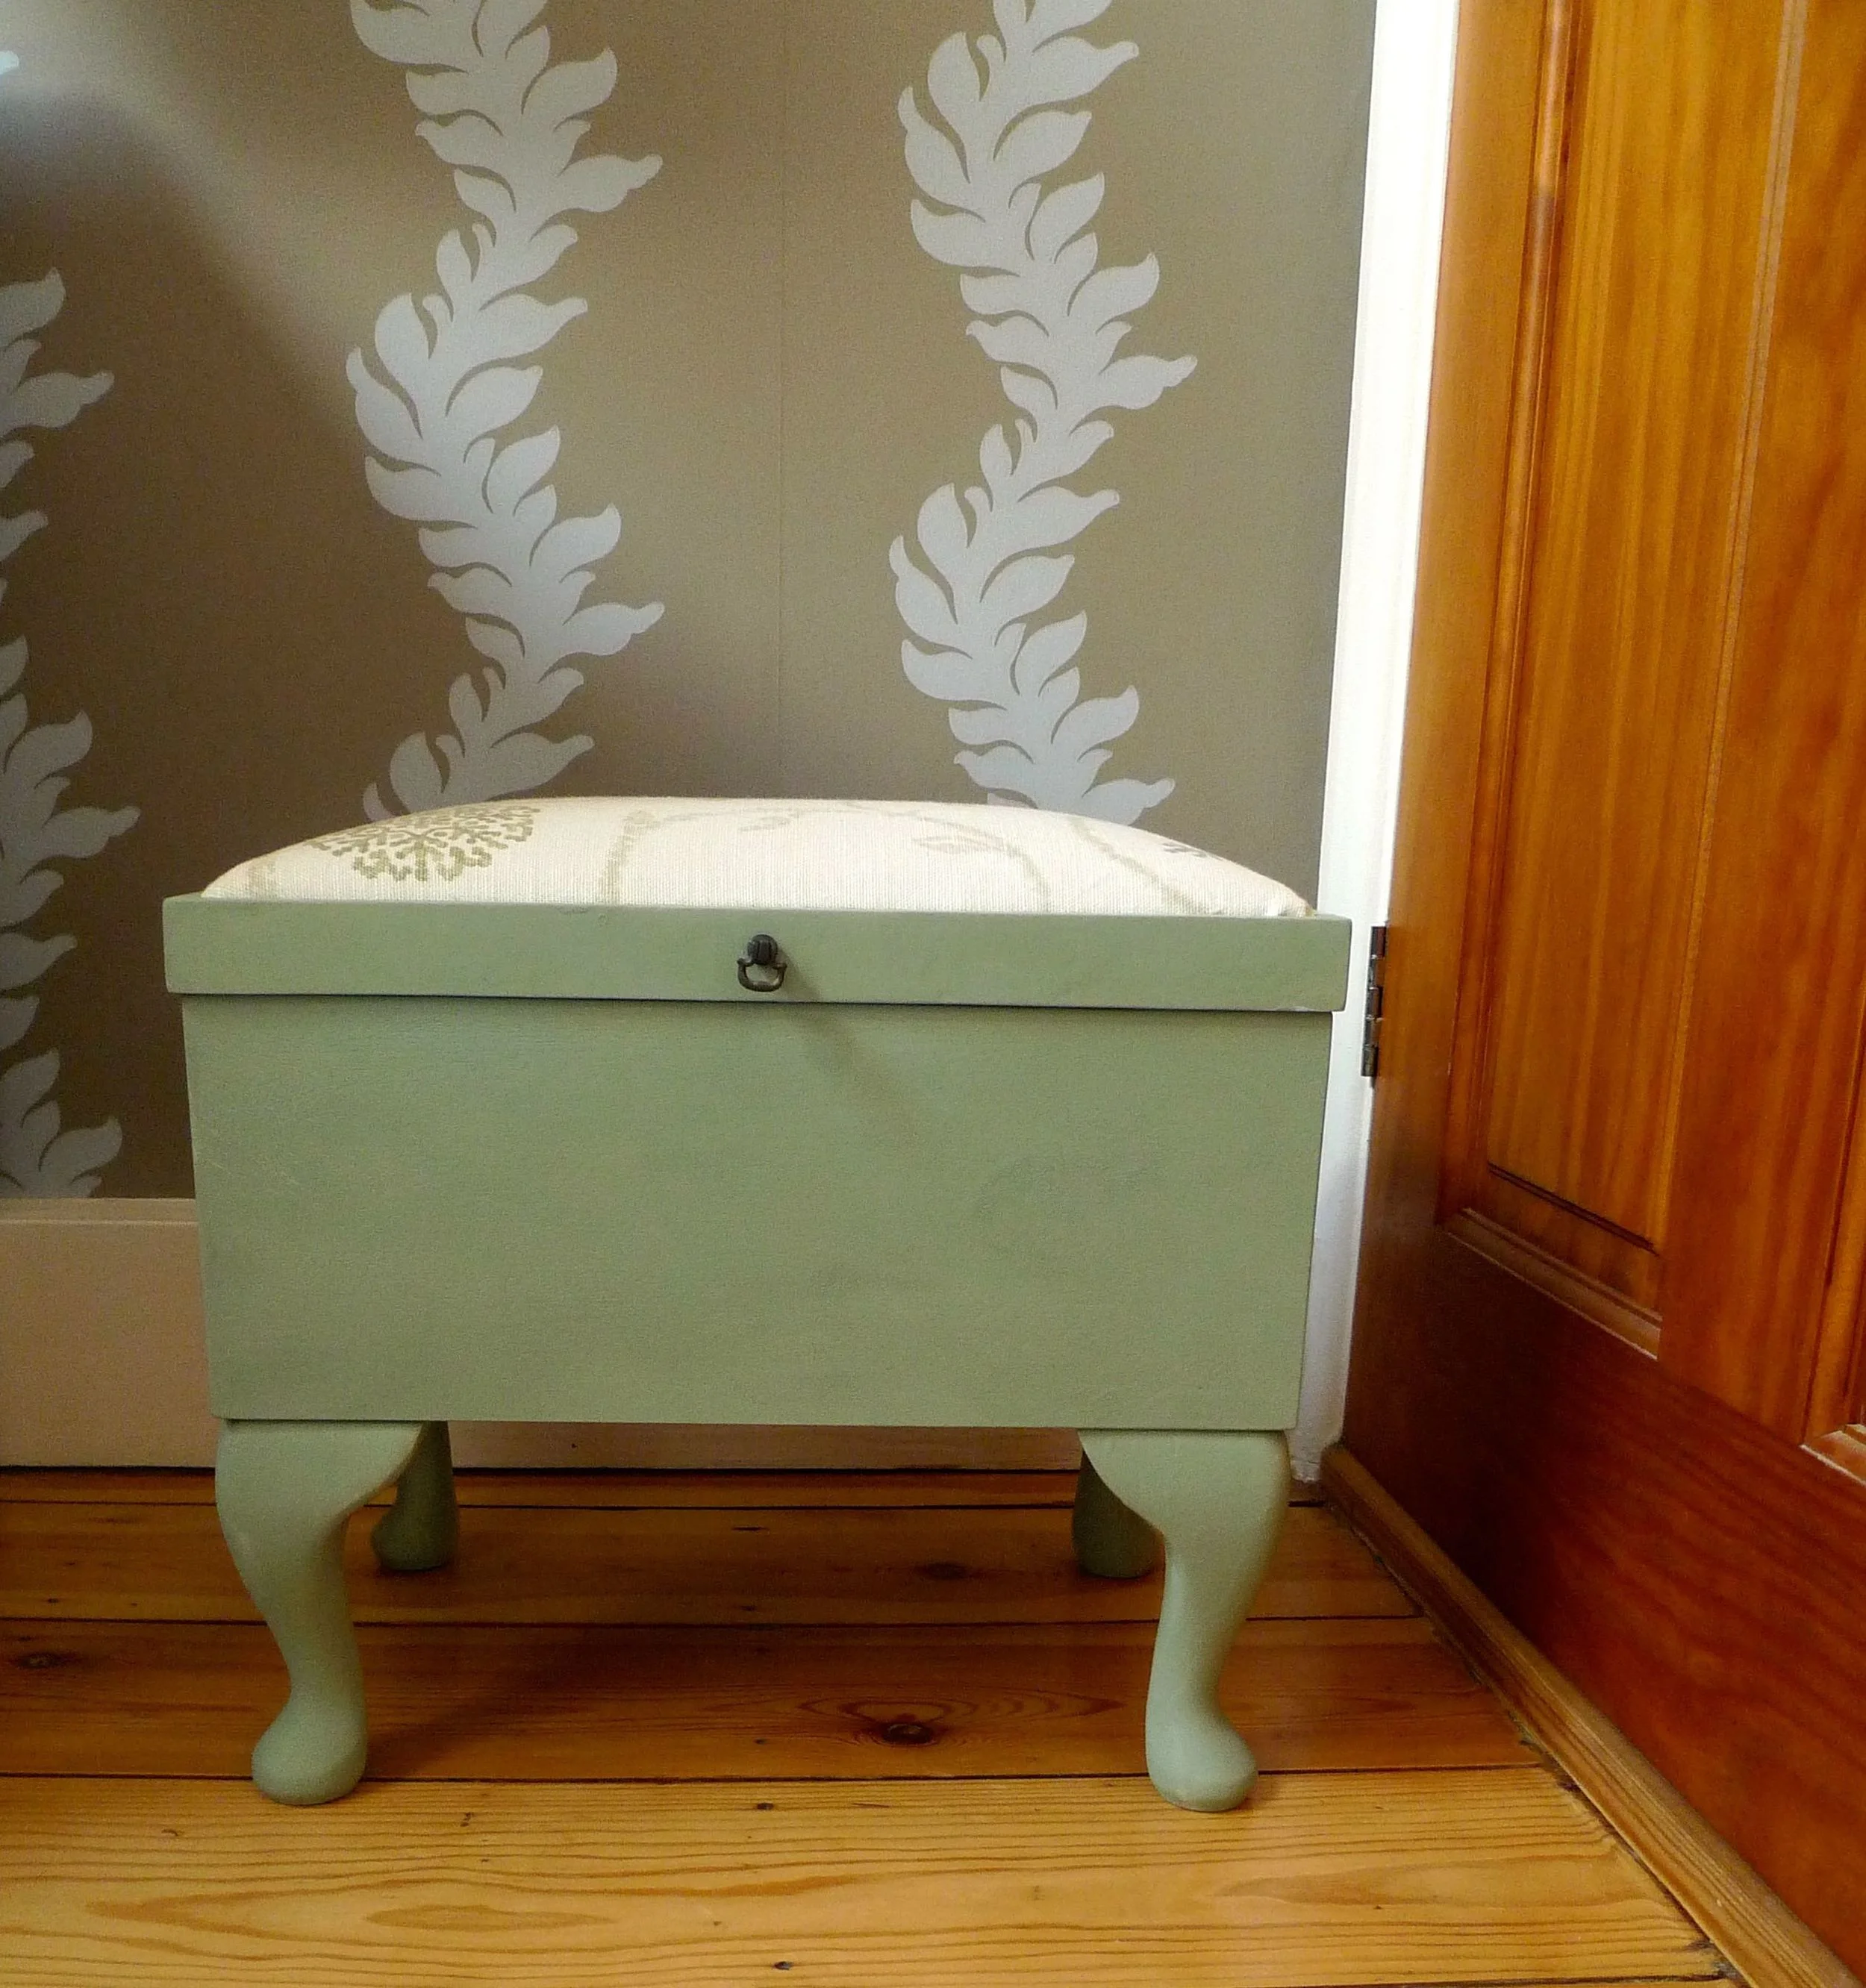
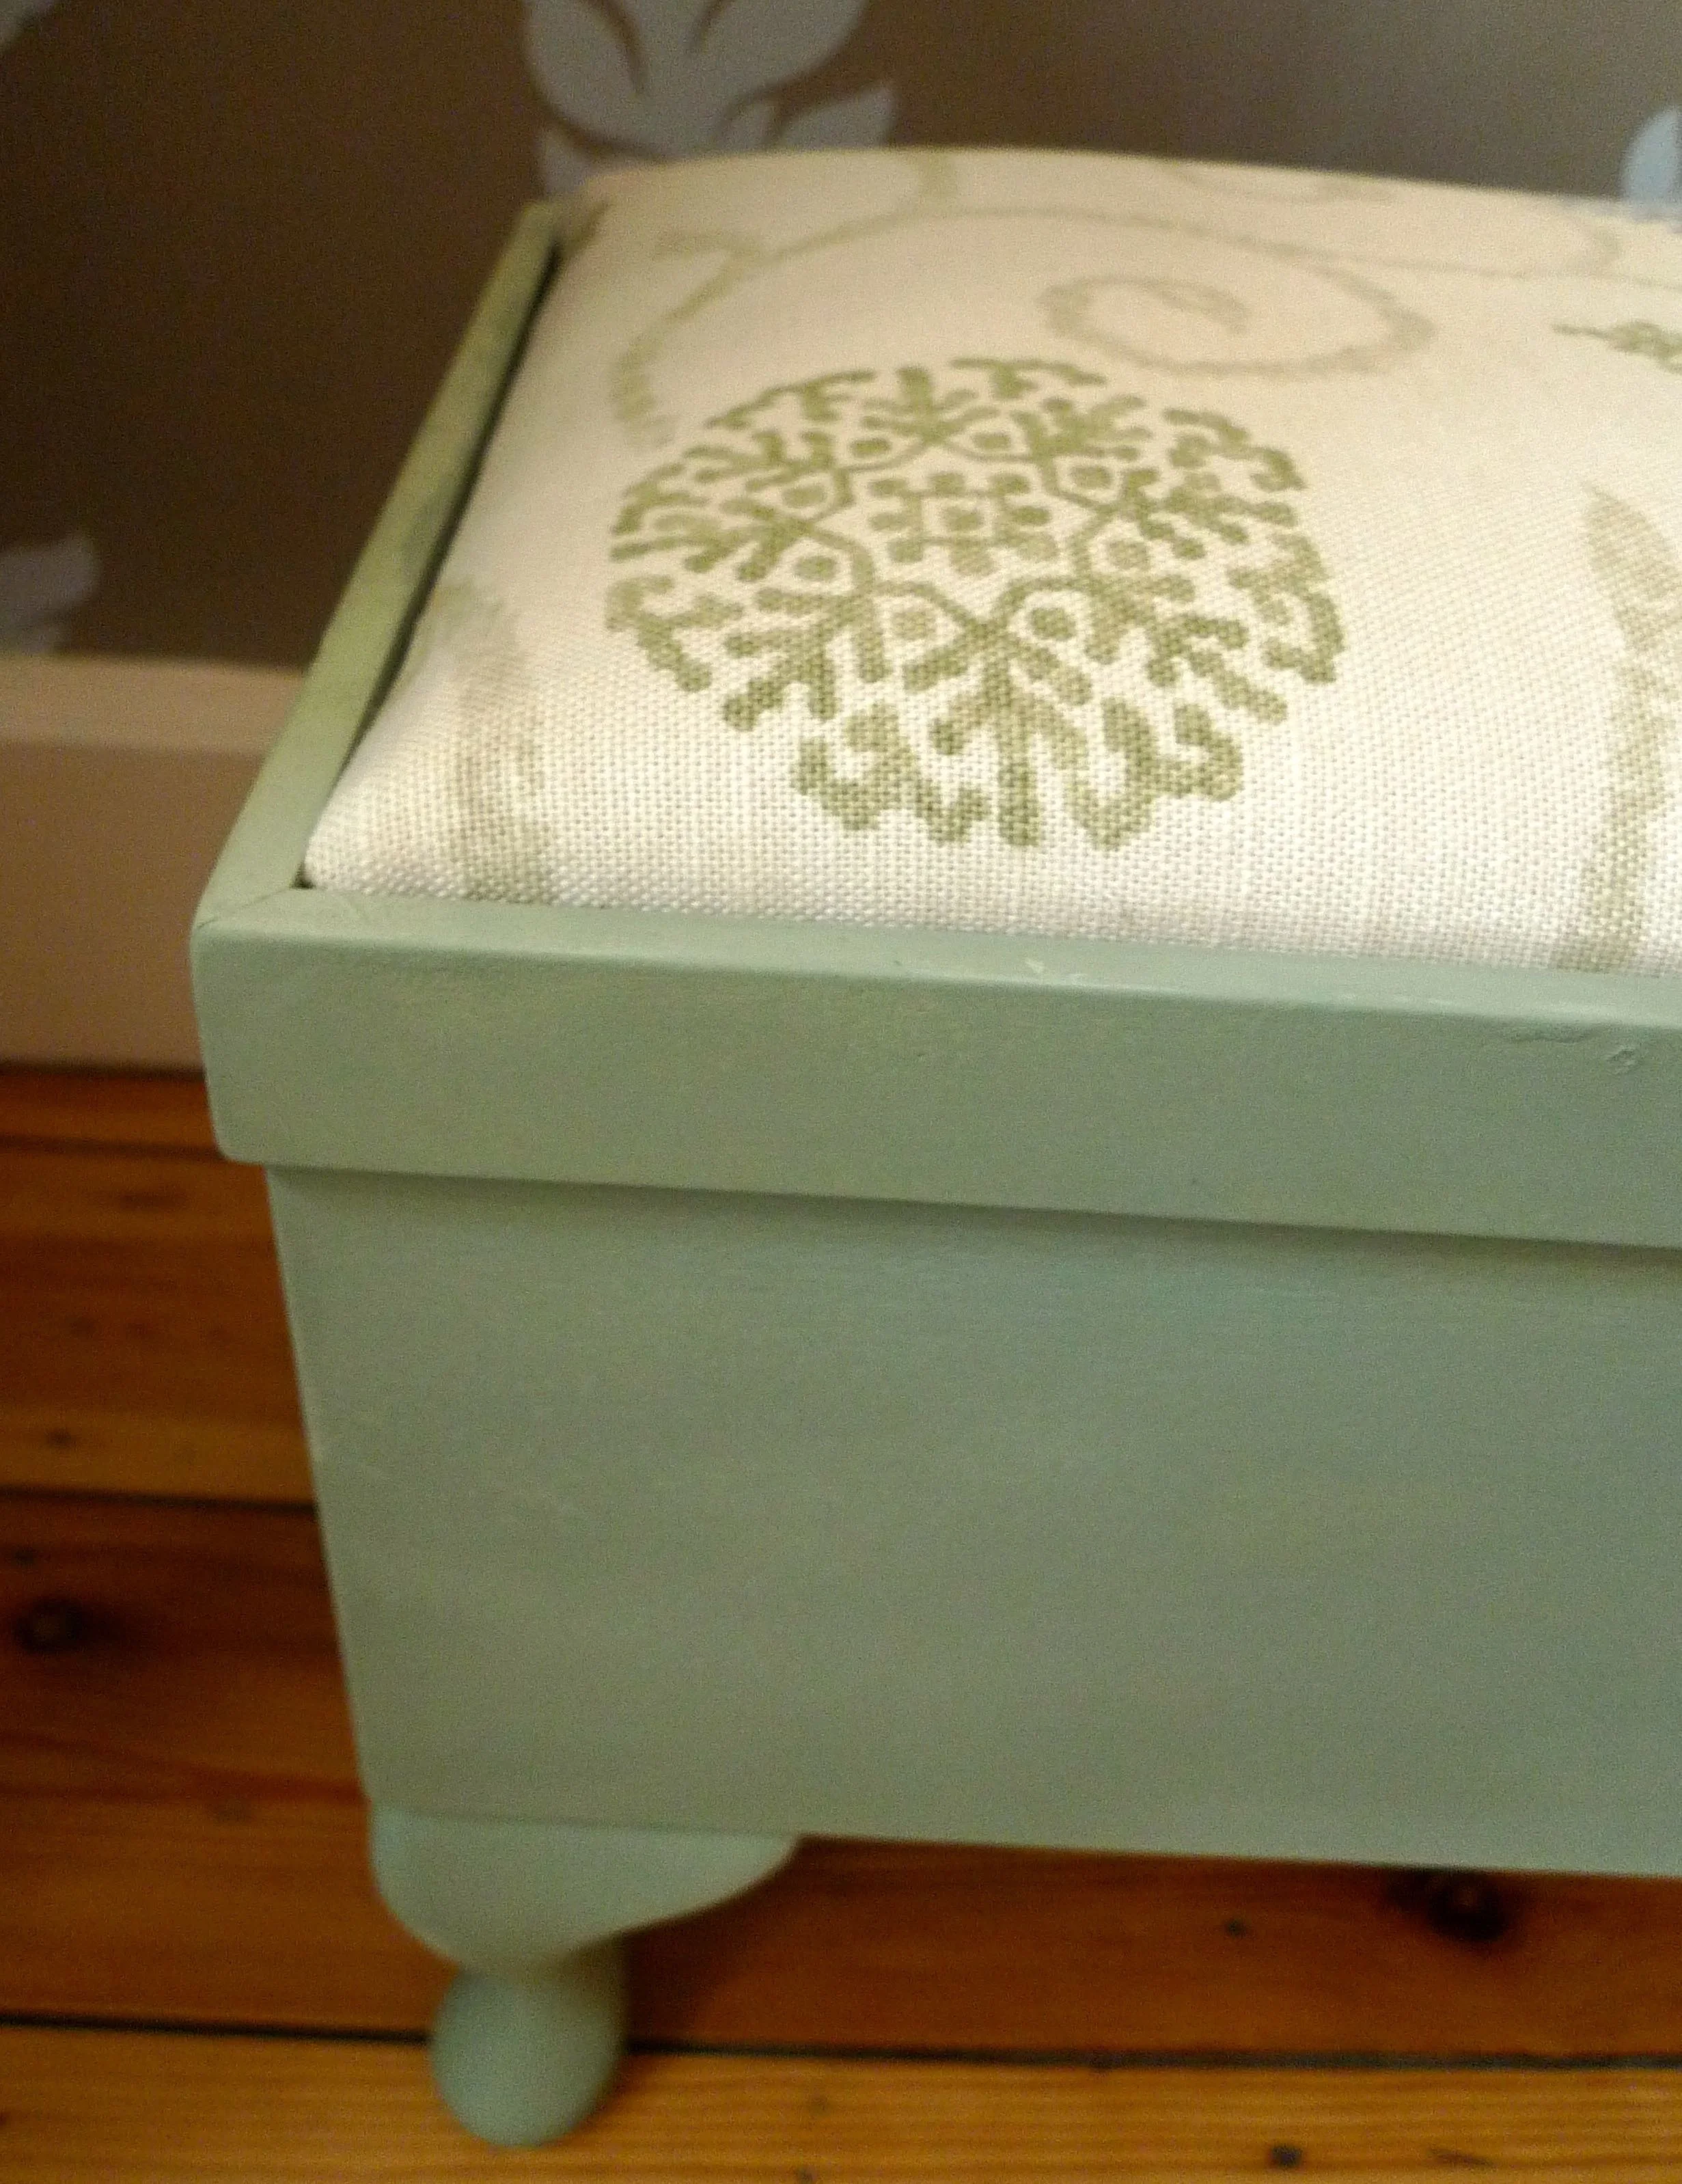
I think it's turned out really well.  I was in two minds whether to apply a finishing spray or not. So far I haven't because I'm pleased with the velvety finish I currently have - I think I'll test run that on a spare piece of wood so I know how it'll turn out.  

FINISHED SEWING STOOL
TOP VIEW
CLOSE UP

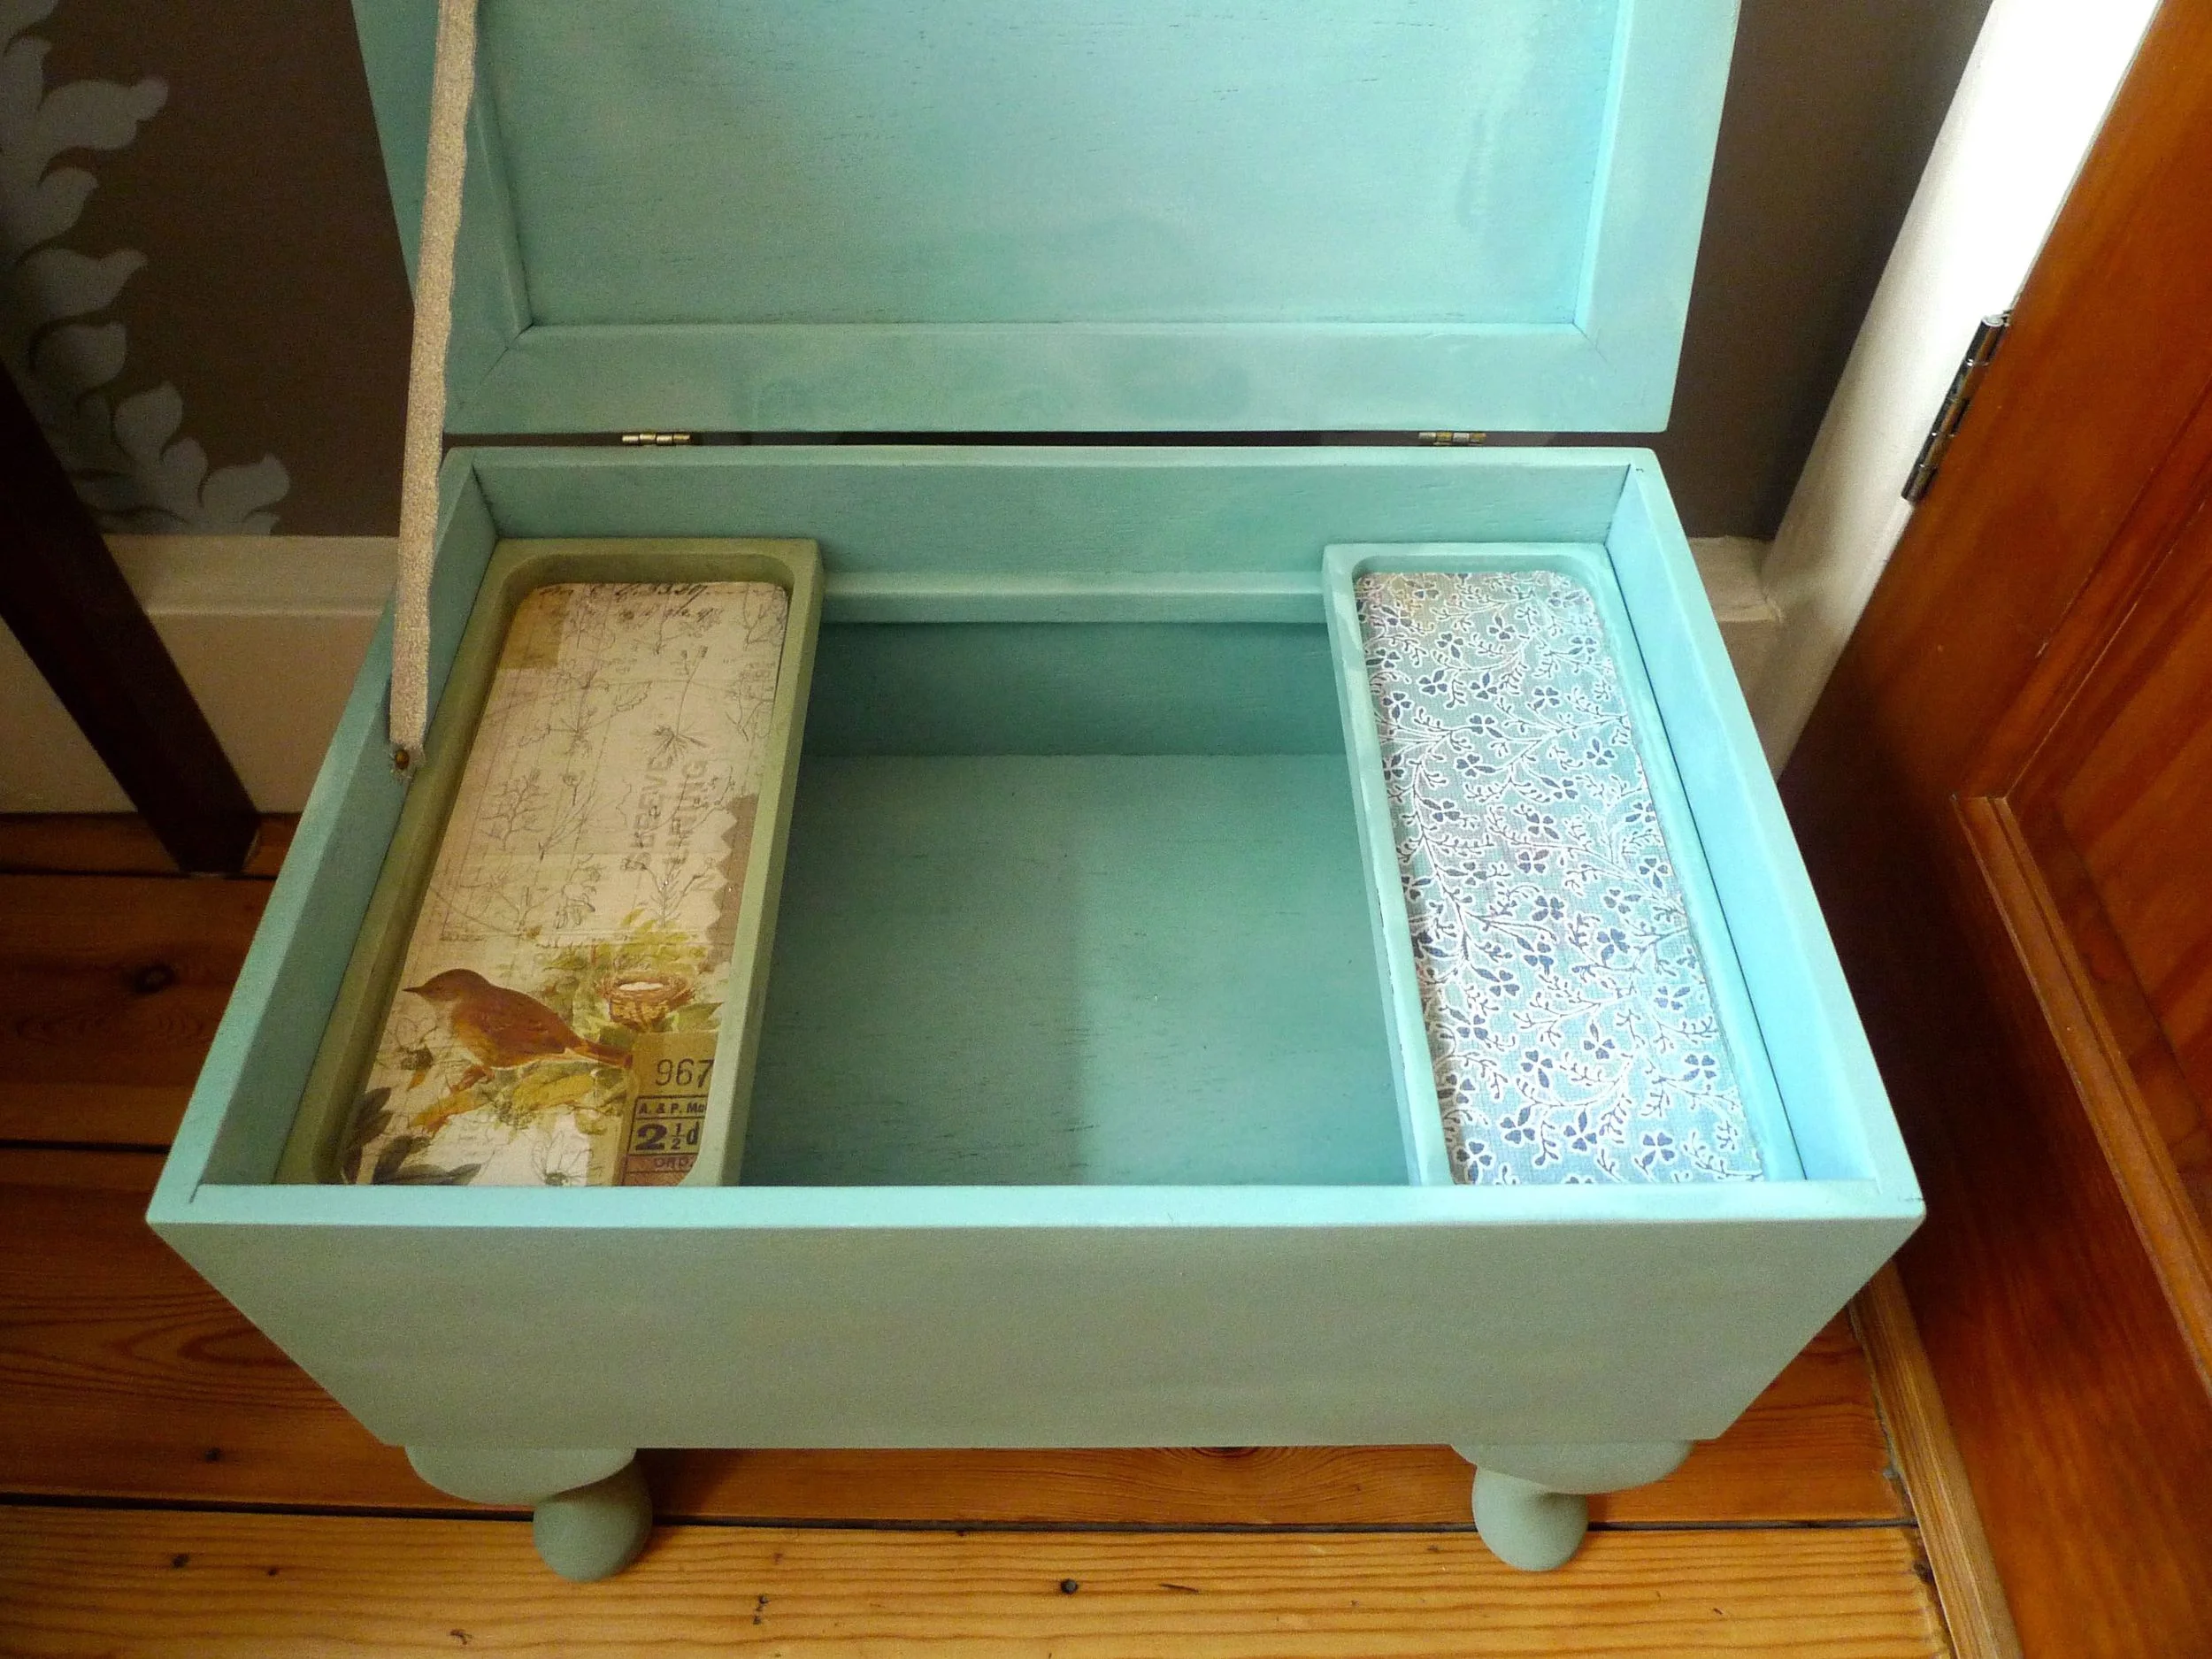
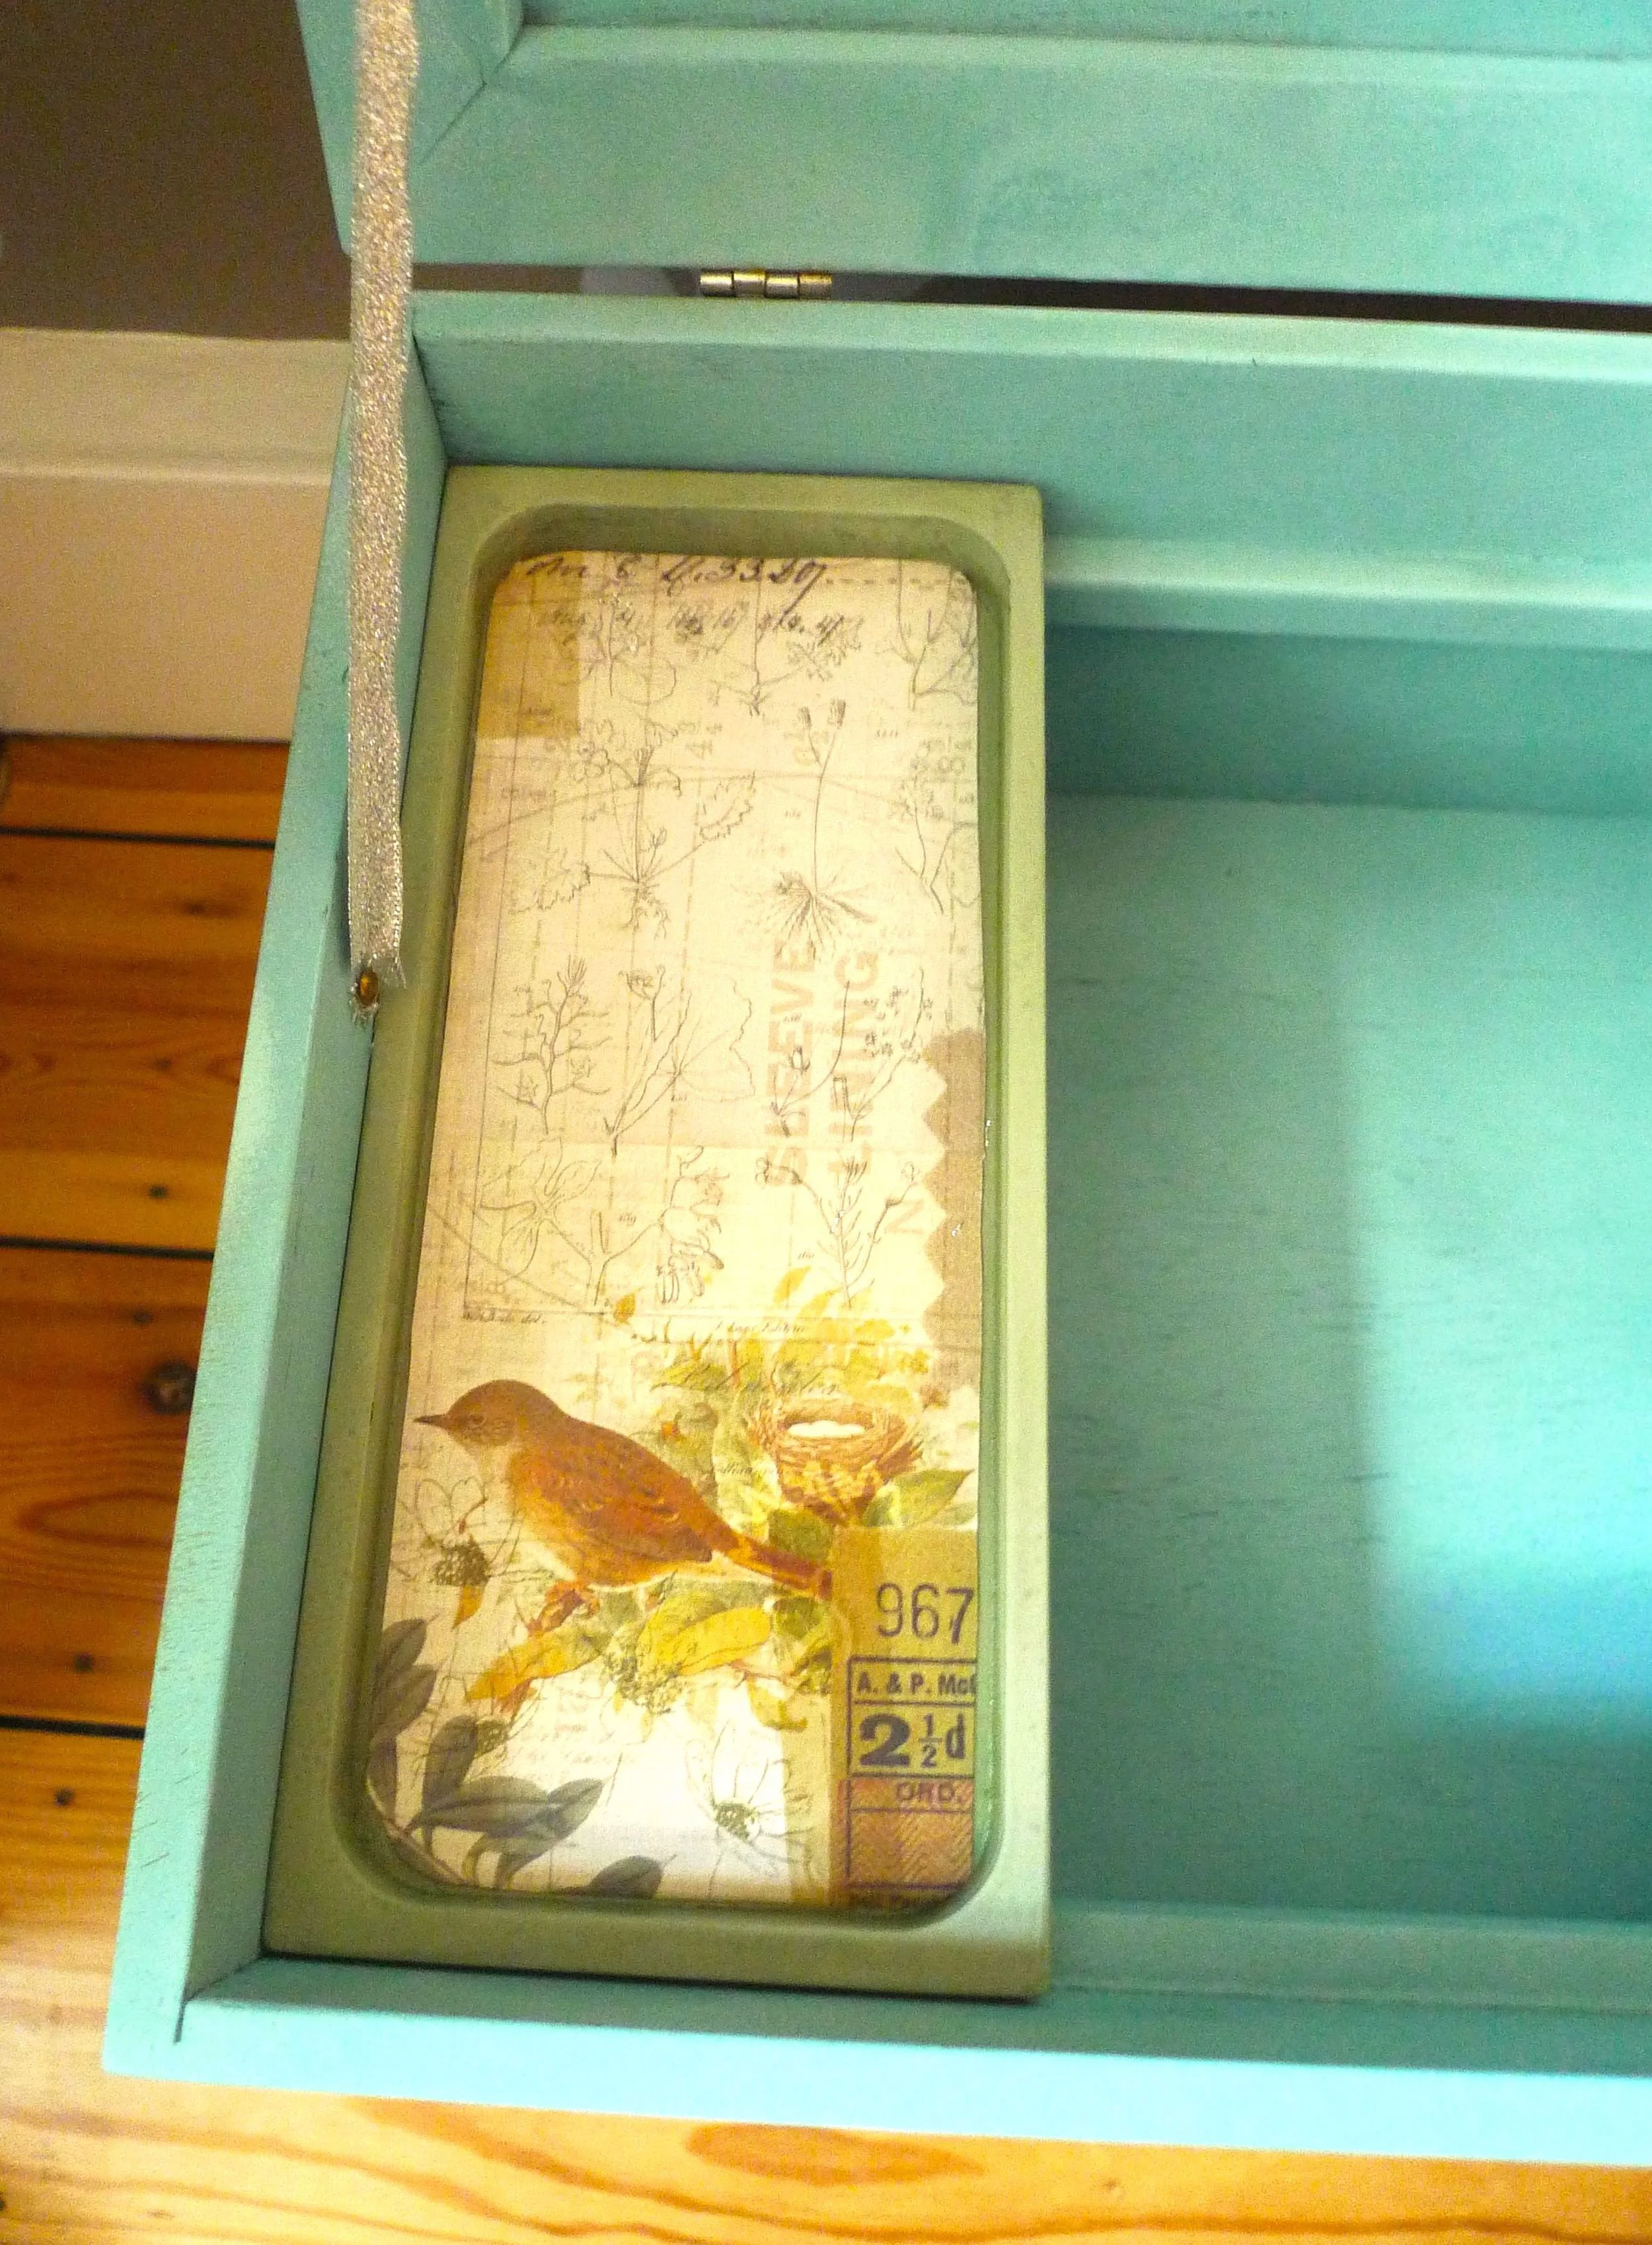
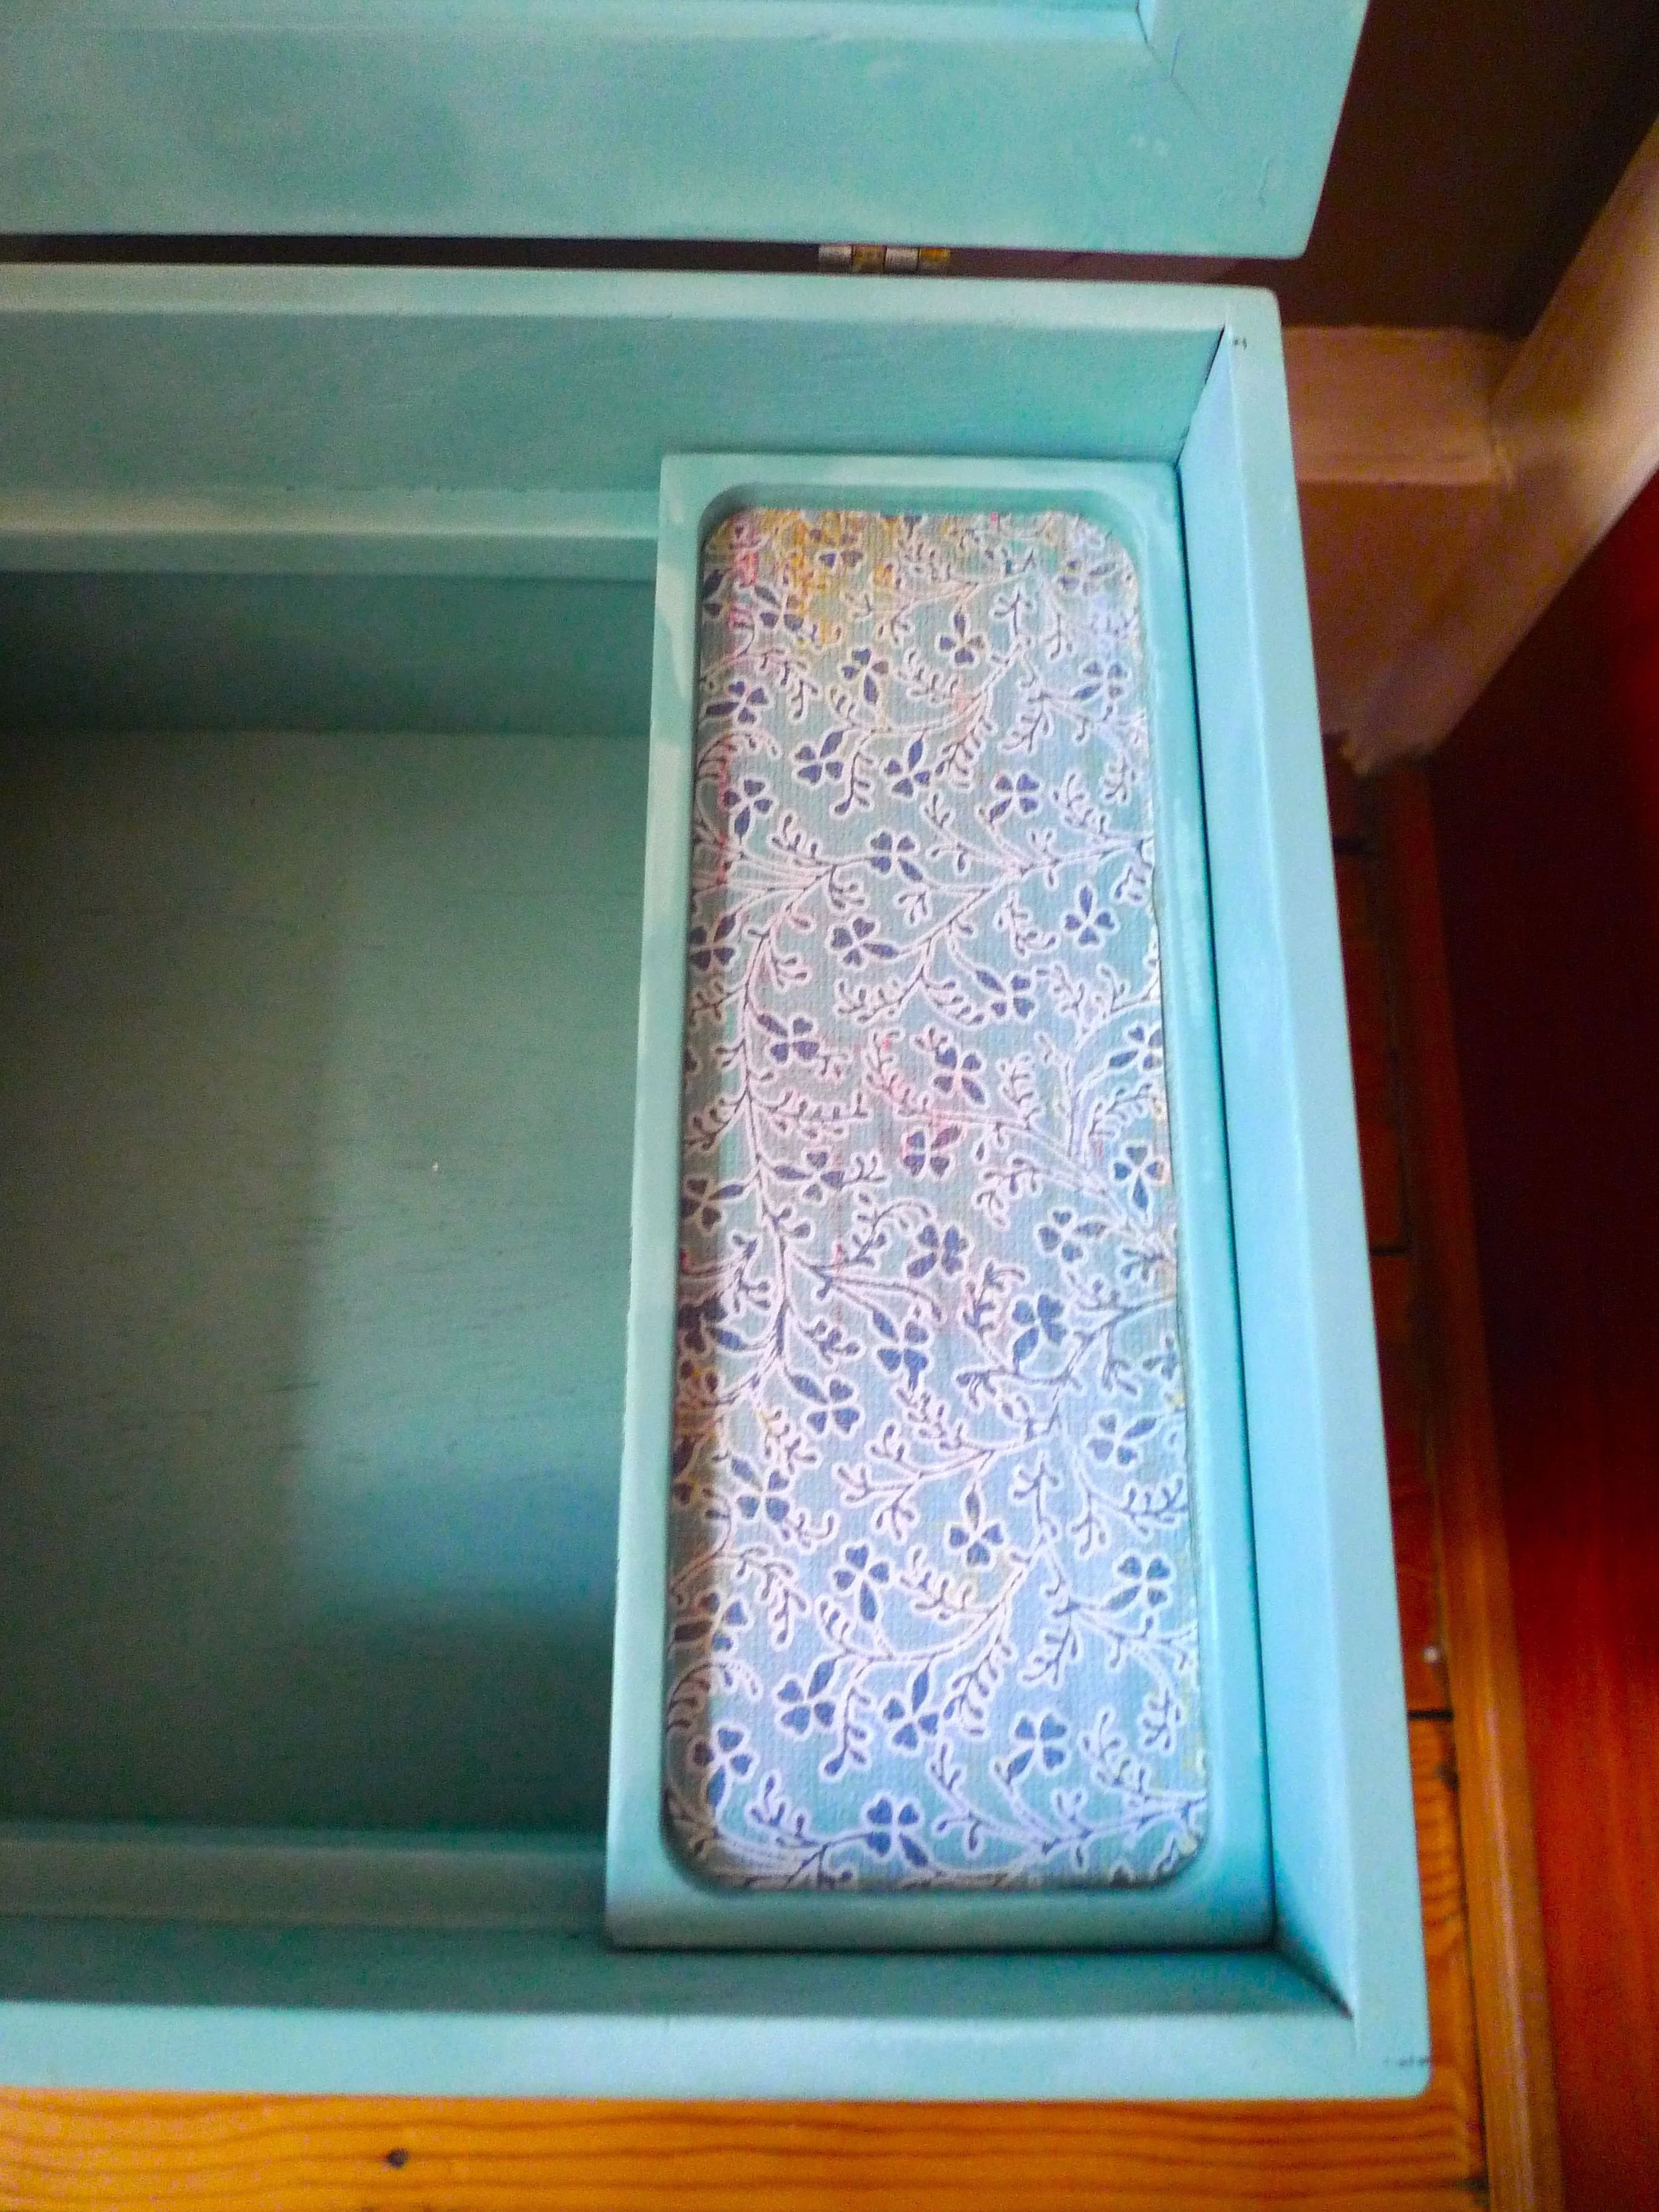
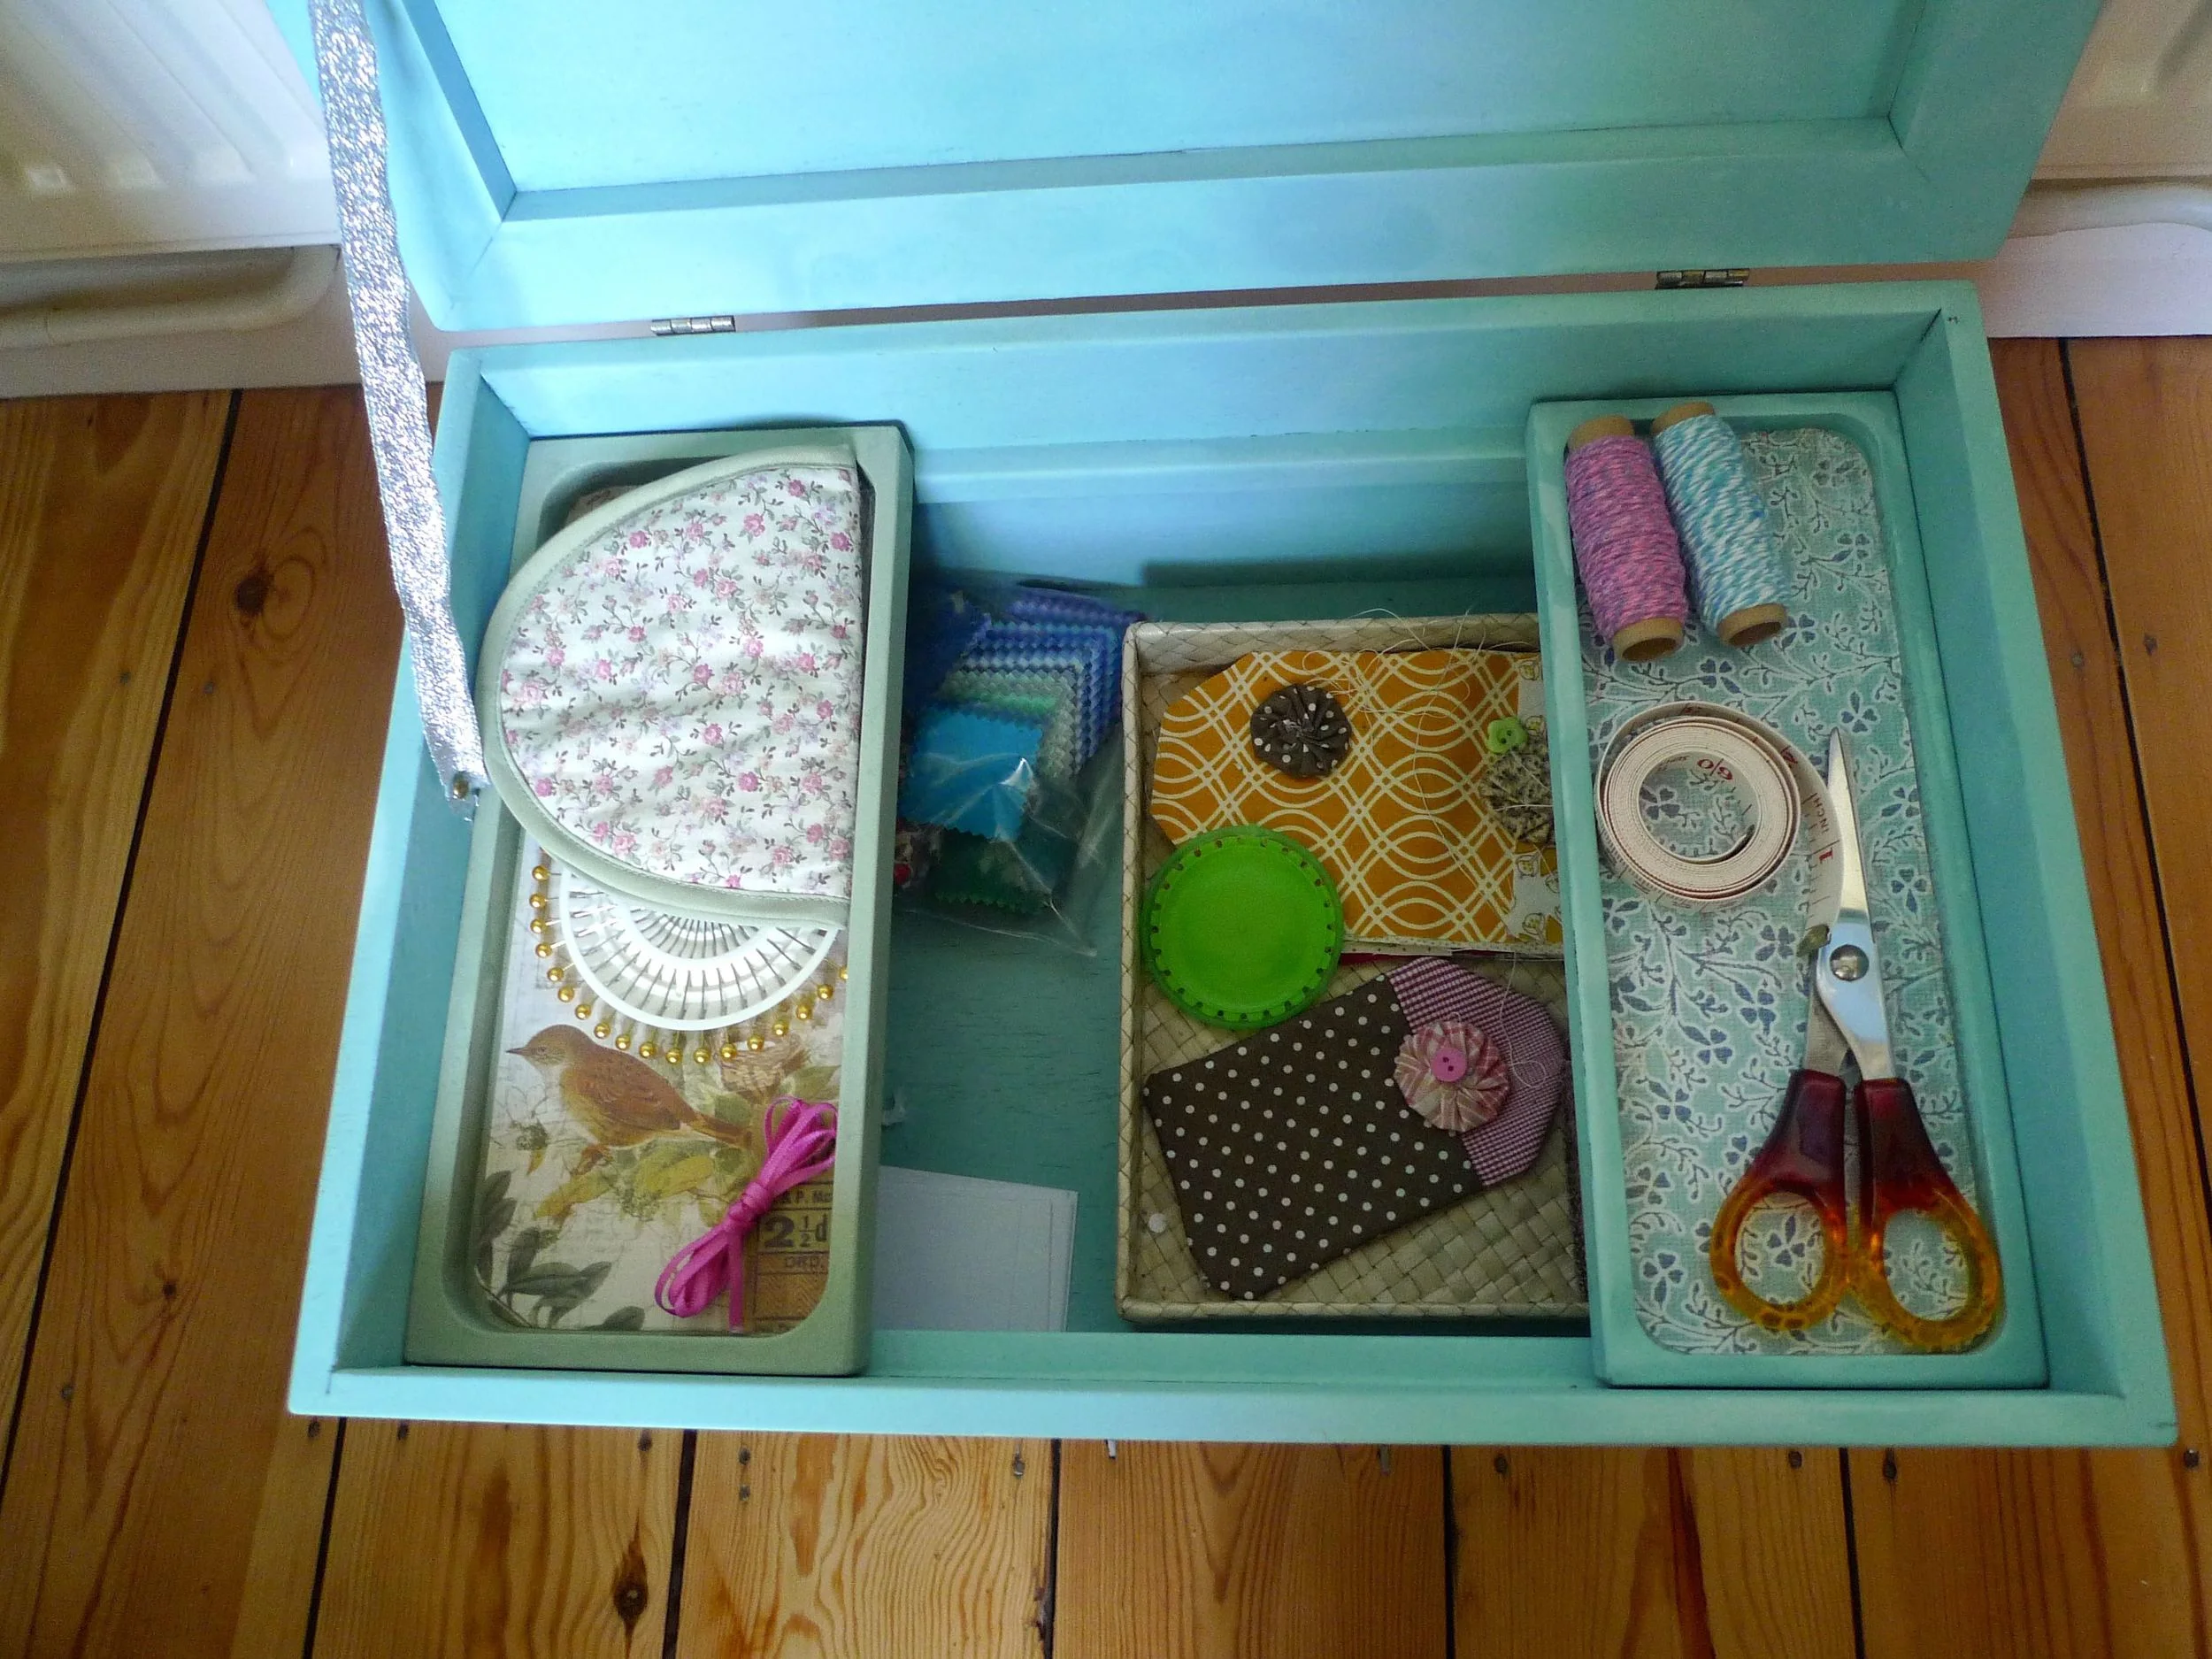
I decided to add some scrapbook paper into the removable trays to give them some extra character, and I think these look great. I simply used PVA Craft Glue to stick the paper to the trays.

INSIDE
LONDON GREY TRAY CLOSE UP
LIGHT TURQUOISE TRAY CLOSE UP

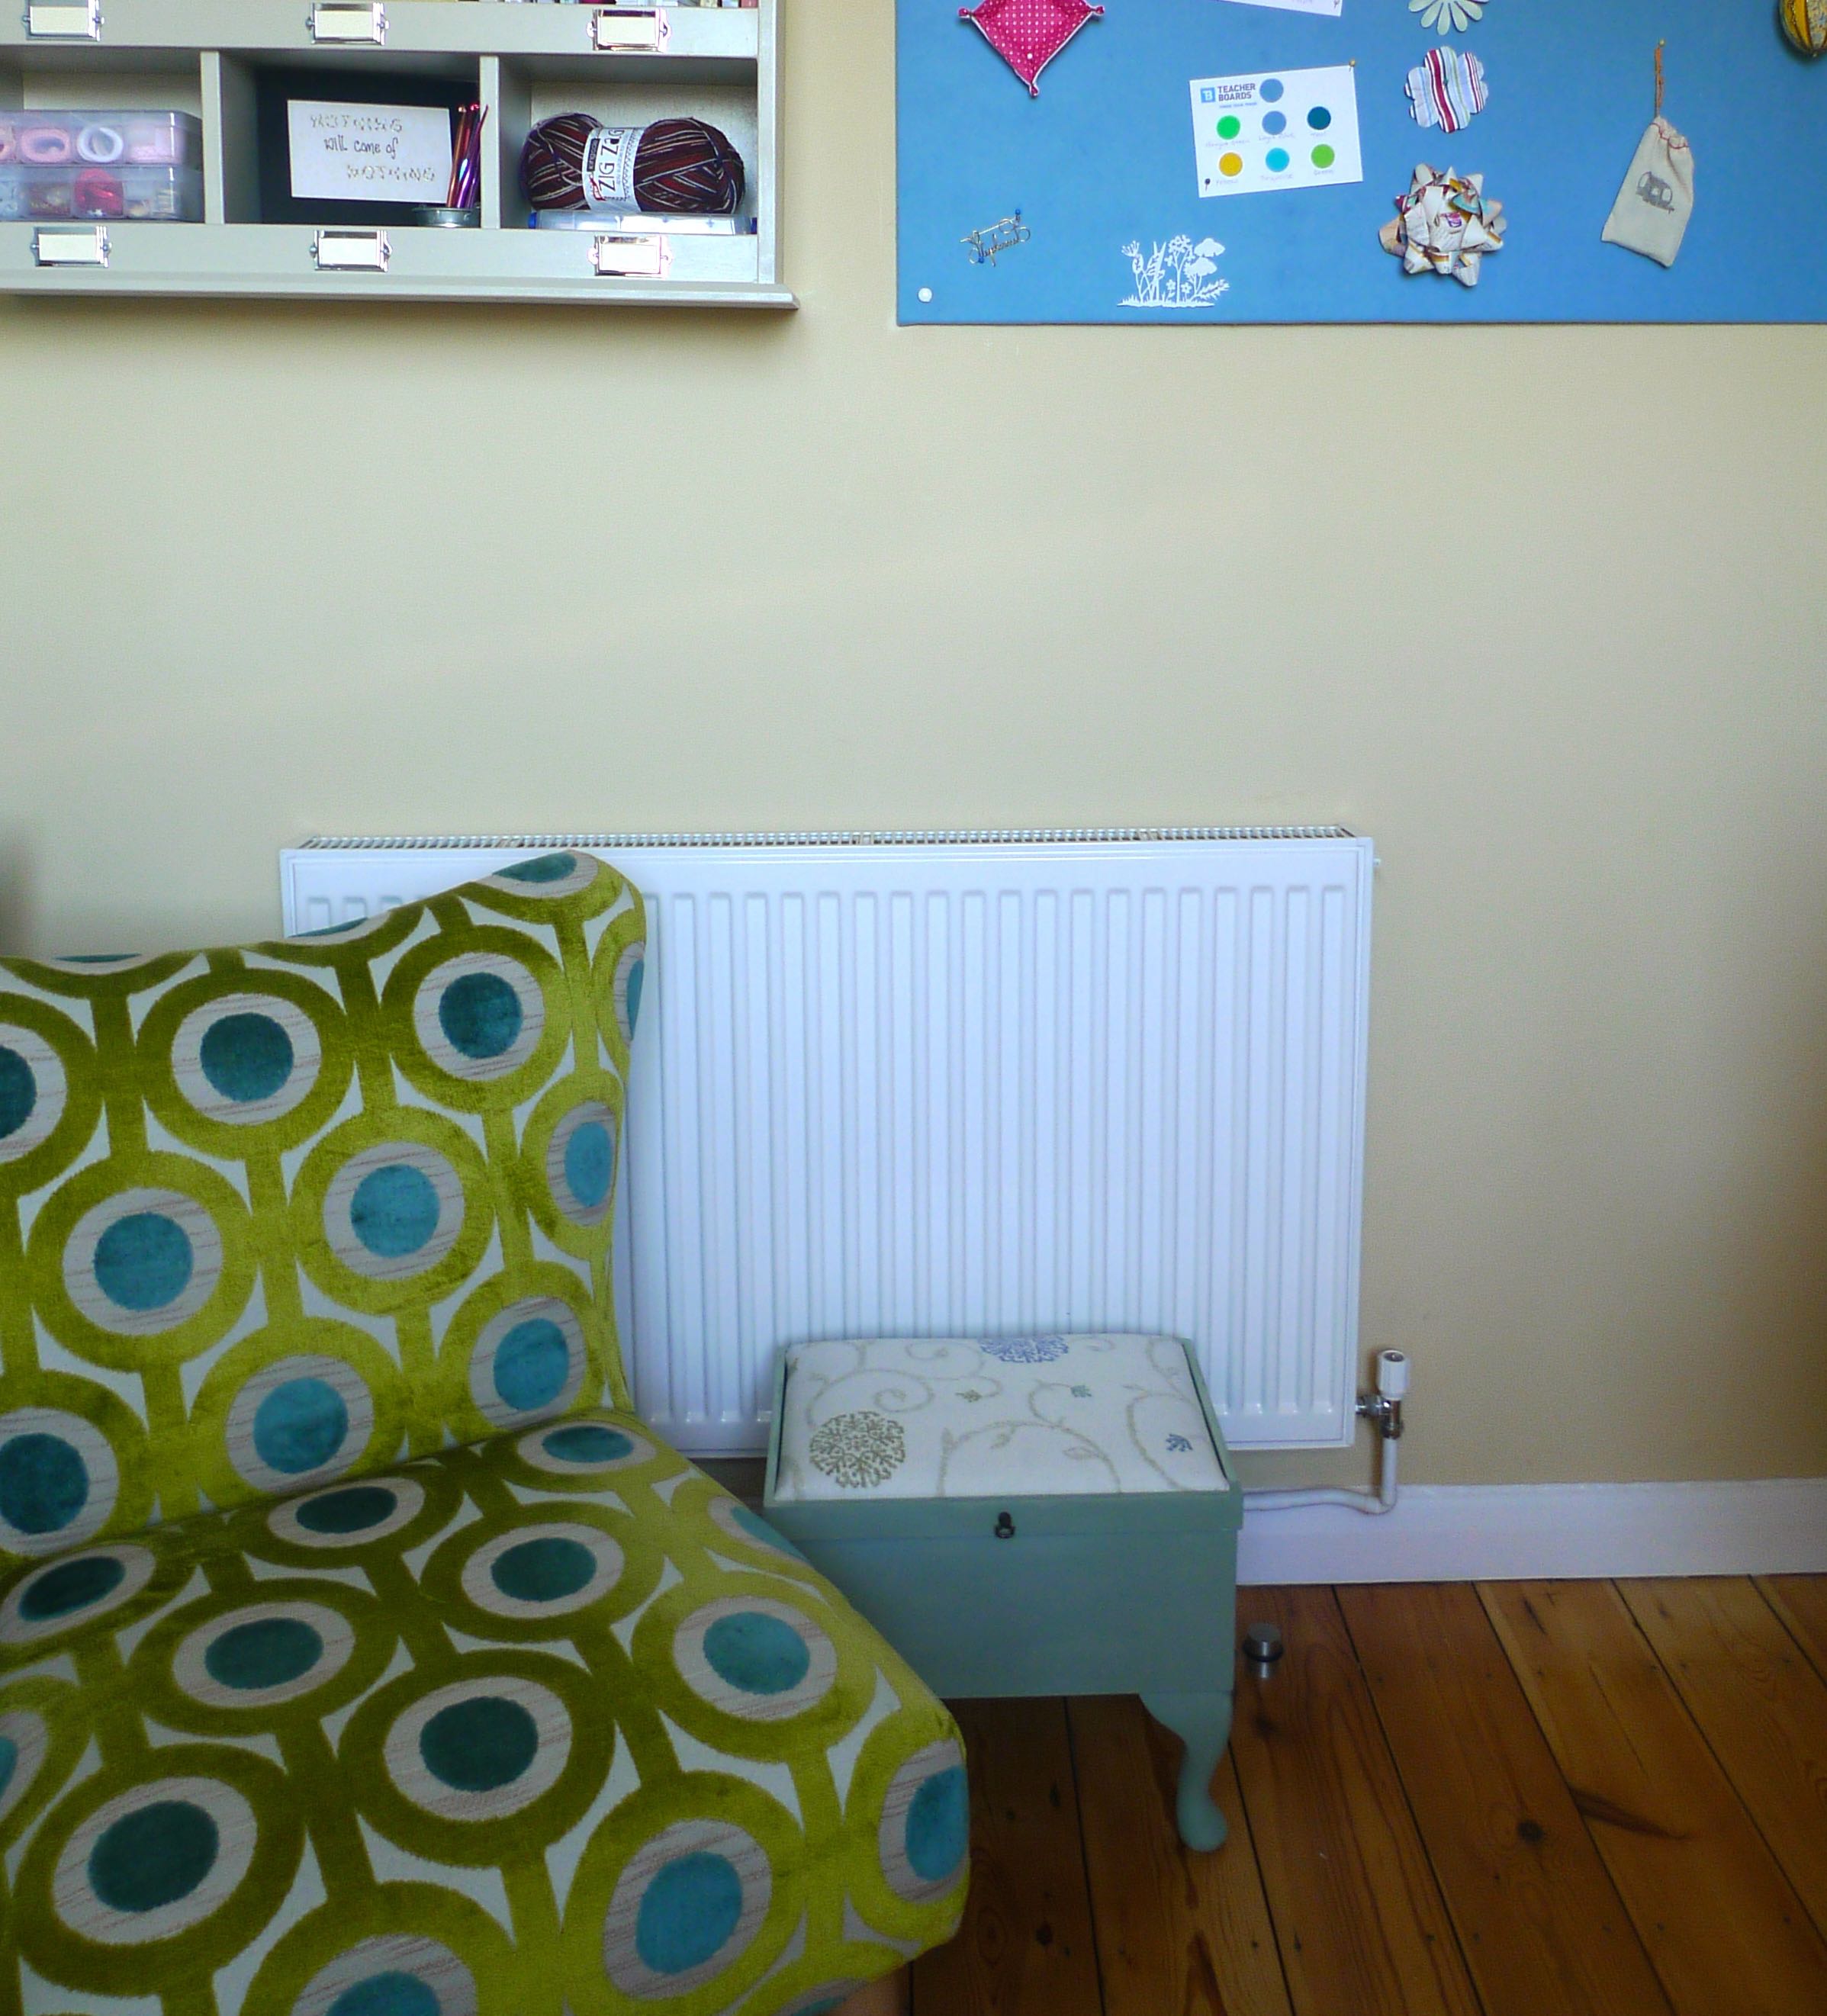
And now the contents looks much tidier too.  I'm sure that won't last, but I'm loving how it turned out and how it fits into my craft-room-cum-study. I've now the perfect sewing corner!

SEWING BOX BACK IN USE
SEWING CORNER

The only downside I've found with this product is that now I want to find even more projects to revamp and upcycle!  

I've even challenged MOH to help me find my next project - the paint can be used on many surfaces including wood, canvas, metal, plastic, cardboard and glass.

What I used

1 x London Grey Pinty Plus Chalk Paint Spray

1 x Light Turquoise Pinty Plus Chalk Paint Spray

I found coverage to be good.  I gave each surface of my sewing stool two coats of paint and while the London Grey can is emptier, I didn't use it completely.

While I cleaned the surfaces I didn't sand them down before painting. I hoped that everything I'd read about chalk paint covering any surface would be true - and it was.

I have another smaller project which I still need to complete - and one I'll share here too - and while this is a small project I'm confident I'll have plenty left for that.

The Pinty Plus Chalk Spray Paint is available from the Novasol Spray website, each 400ml can costs £11.50


This is a collaborative post with Novasol Spray who provided me with the materials for this project, but all words and opinions are my own.