









I started to make my own sourdough bread regularly a couple of years ago, and it's become second nature to make a loaf. It sounds complicated and let's be honest a bit of a faff, but really it's not - in fact I think it's easier and involves less effort than making regular bread. And there's no kneading involved. However this year, up until now I'd lost my bread making mojo, which I'm putting down to the trouble I've had with my split tooth. Thankfully that's now repaired and I'm enjoying eating proper bread again. I've decided to share my sourdough bread recipe partly as a record for me and partly to show you just how easy it is. It's the kind of recipe that I usually do from memory, but as I'd not been making it quite so regularly I found myself having to check on the quantities, so where better than to record it than here!
The ingredients you'll need are:
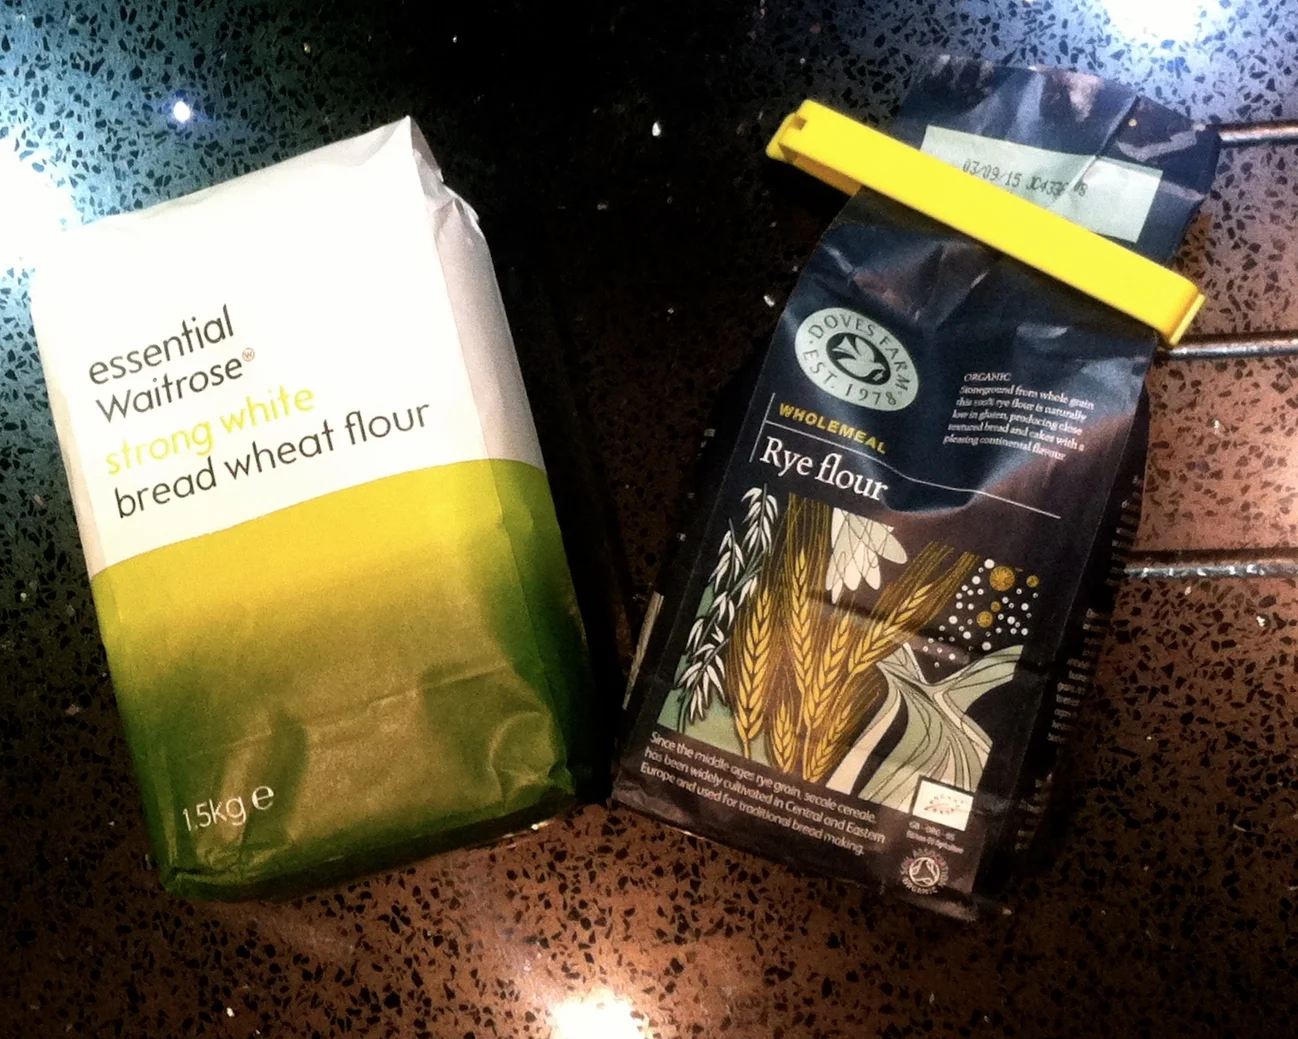
- 250g bread flour (plus extra throughout the recipe)
- 50g Rye flour (plus extra for feeding your starter)
- 8-10g Salt
- 300g Sourdough starter
- 150g tepid water
That's it. Here's the equipment I start off using.
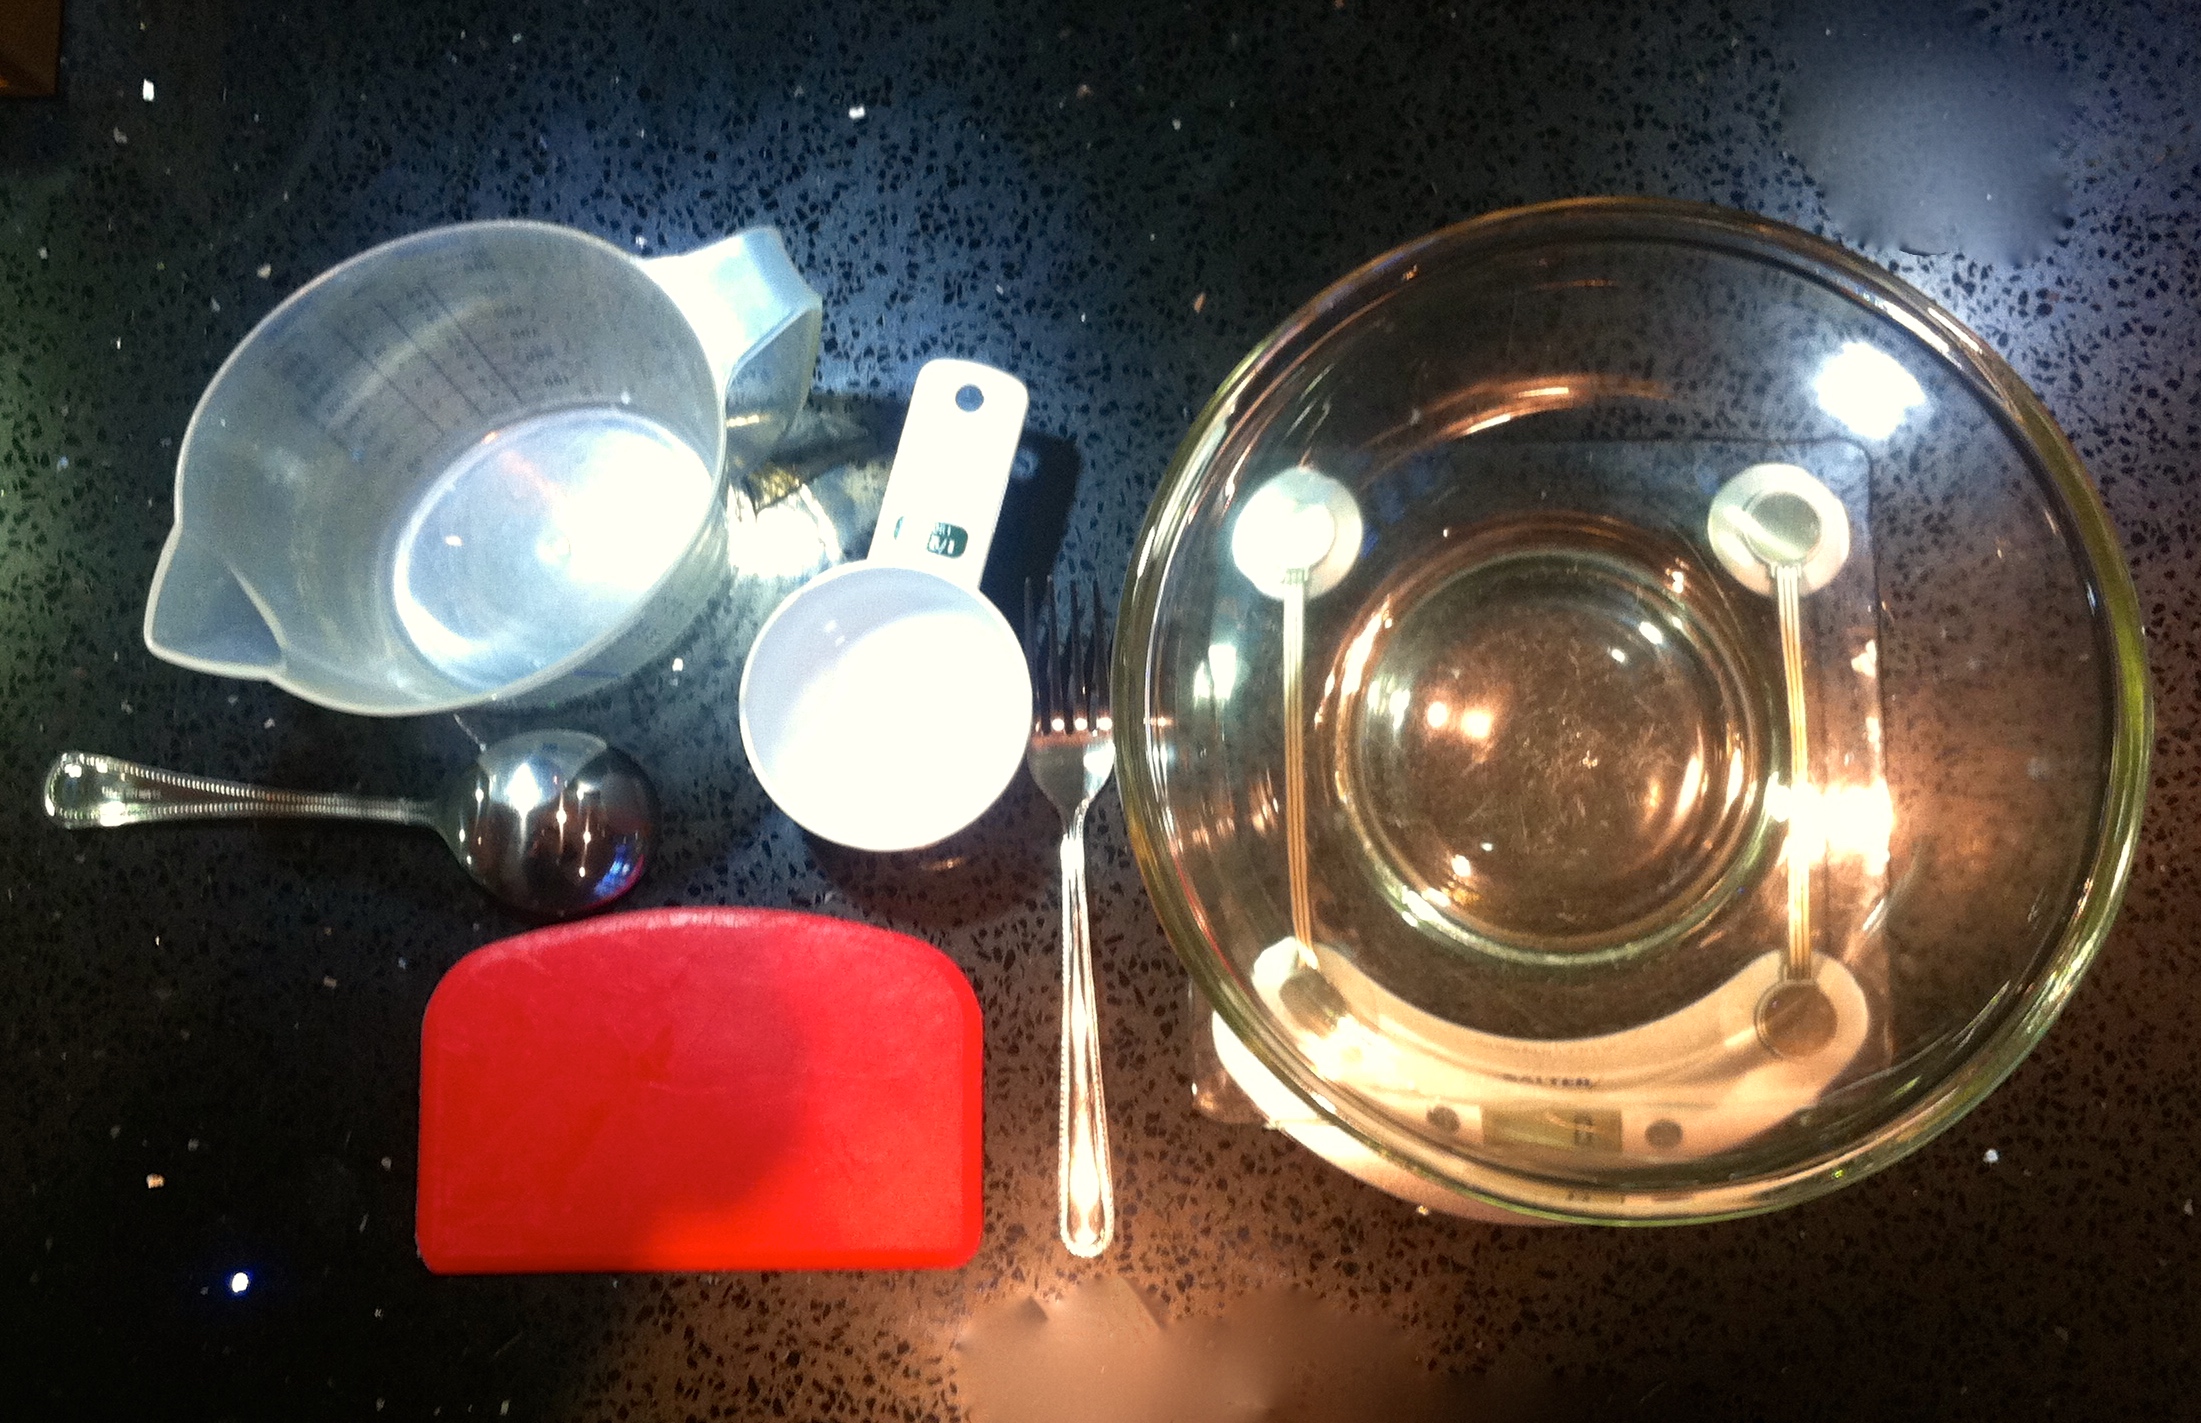
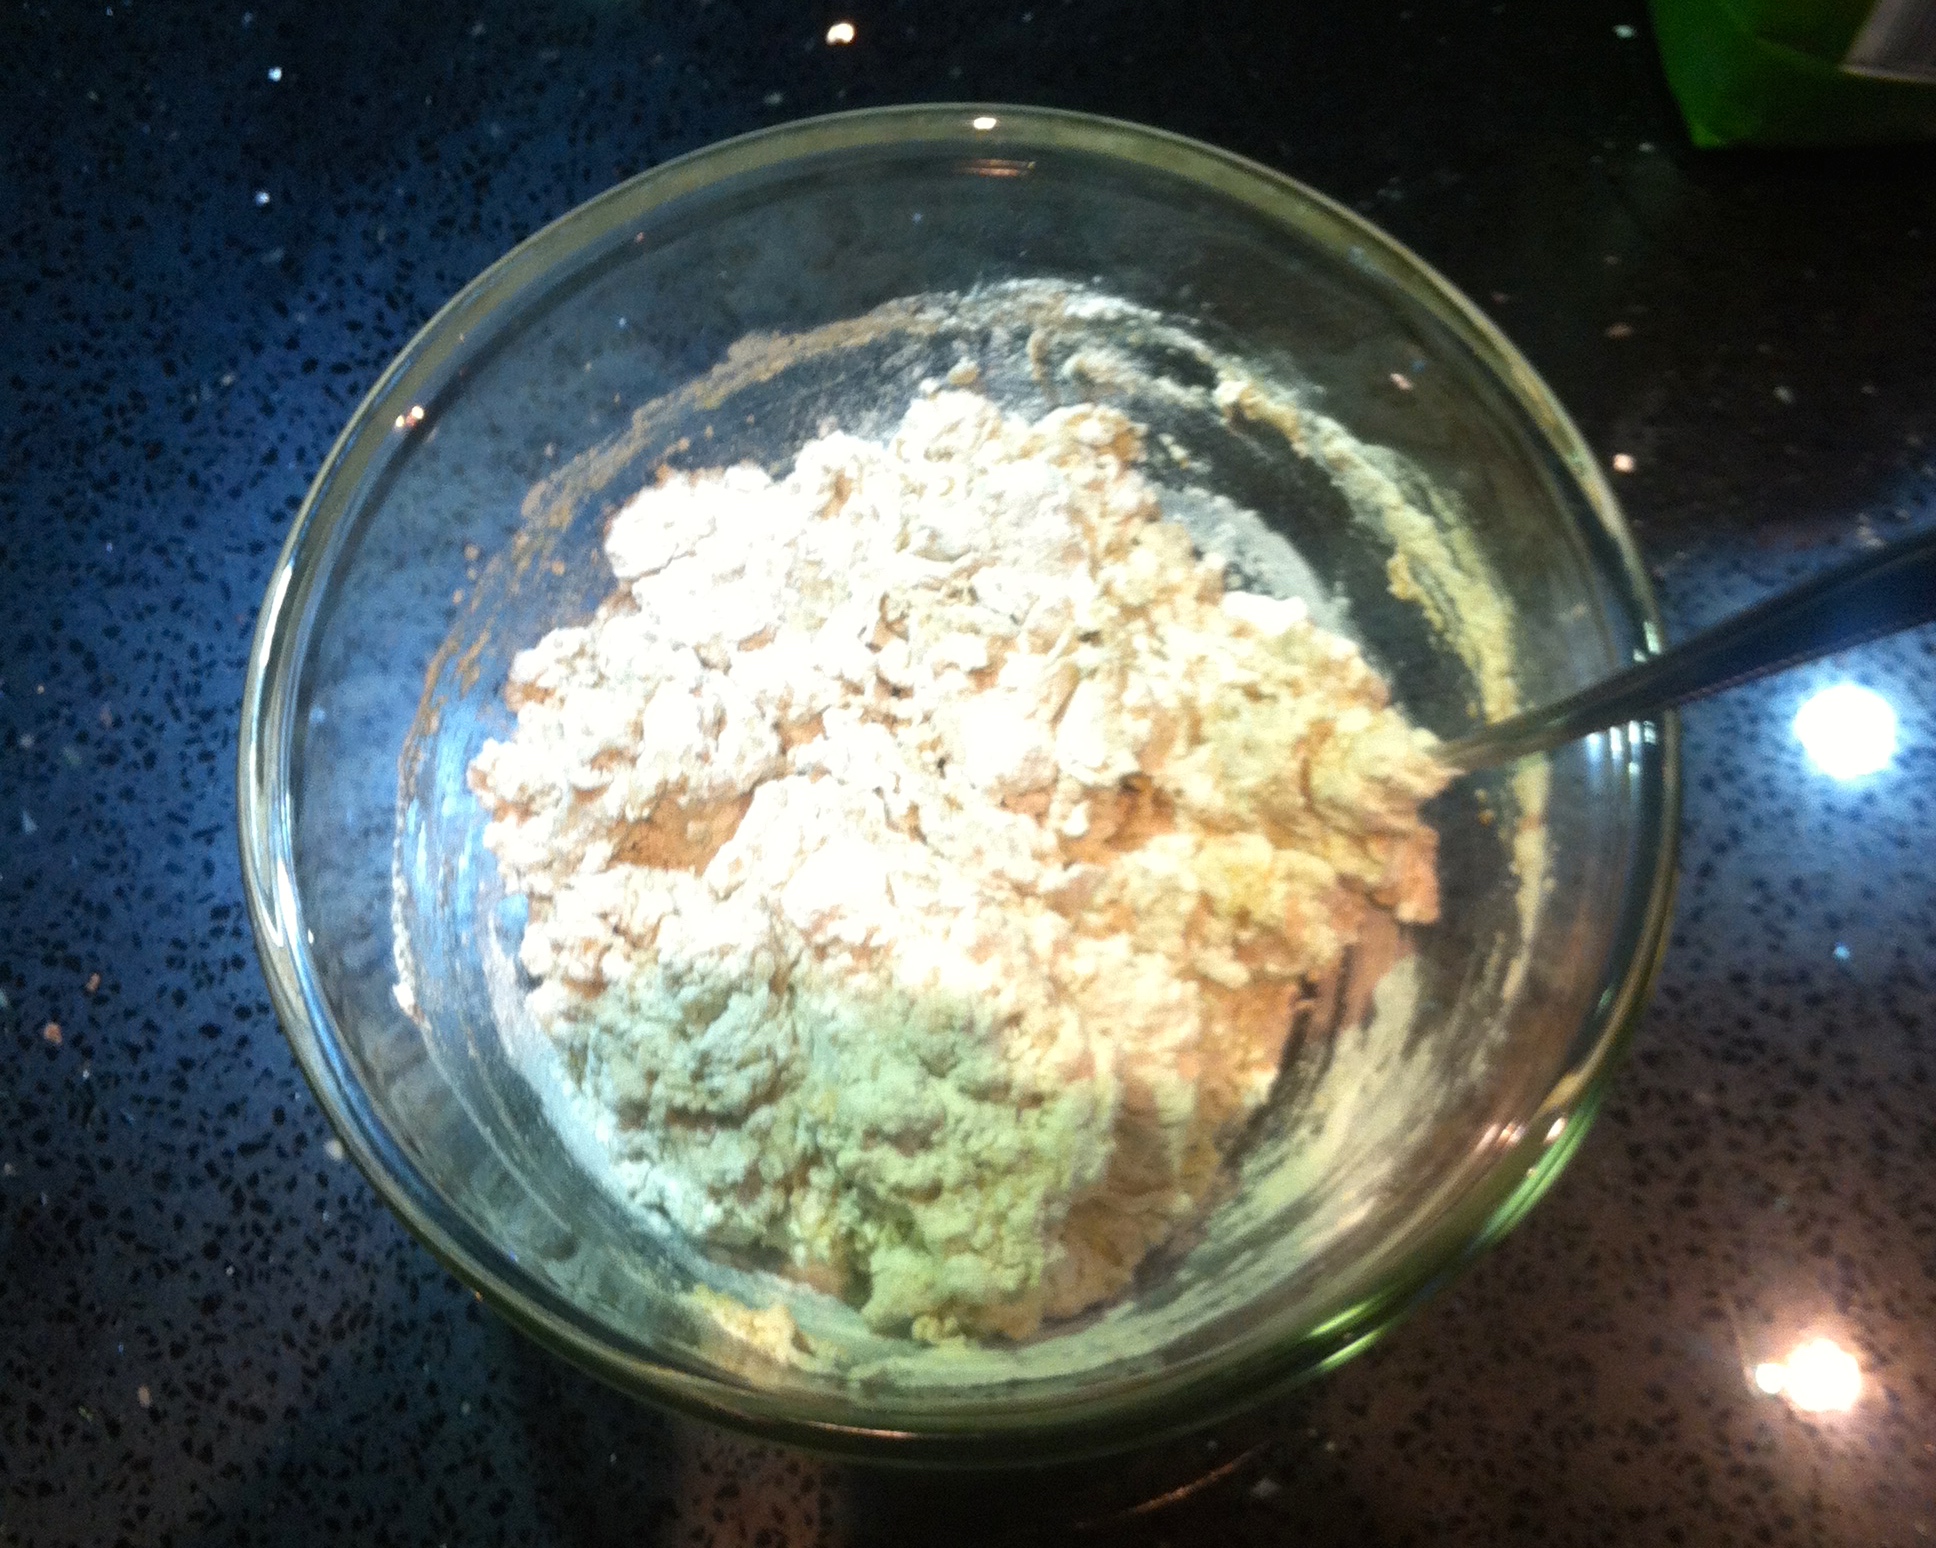
1. Weigh the 250g of bread flour and the 50g of Rye flour into your mixing bowl and add your salt. I don't tend to weigh this and give the table salt container a confident slug around the edge of the bowl. Don't be tempted to skip the salt as you need it for flavour.
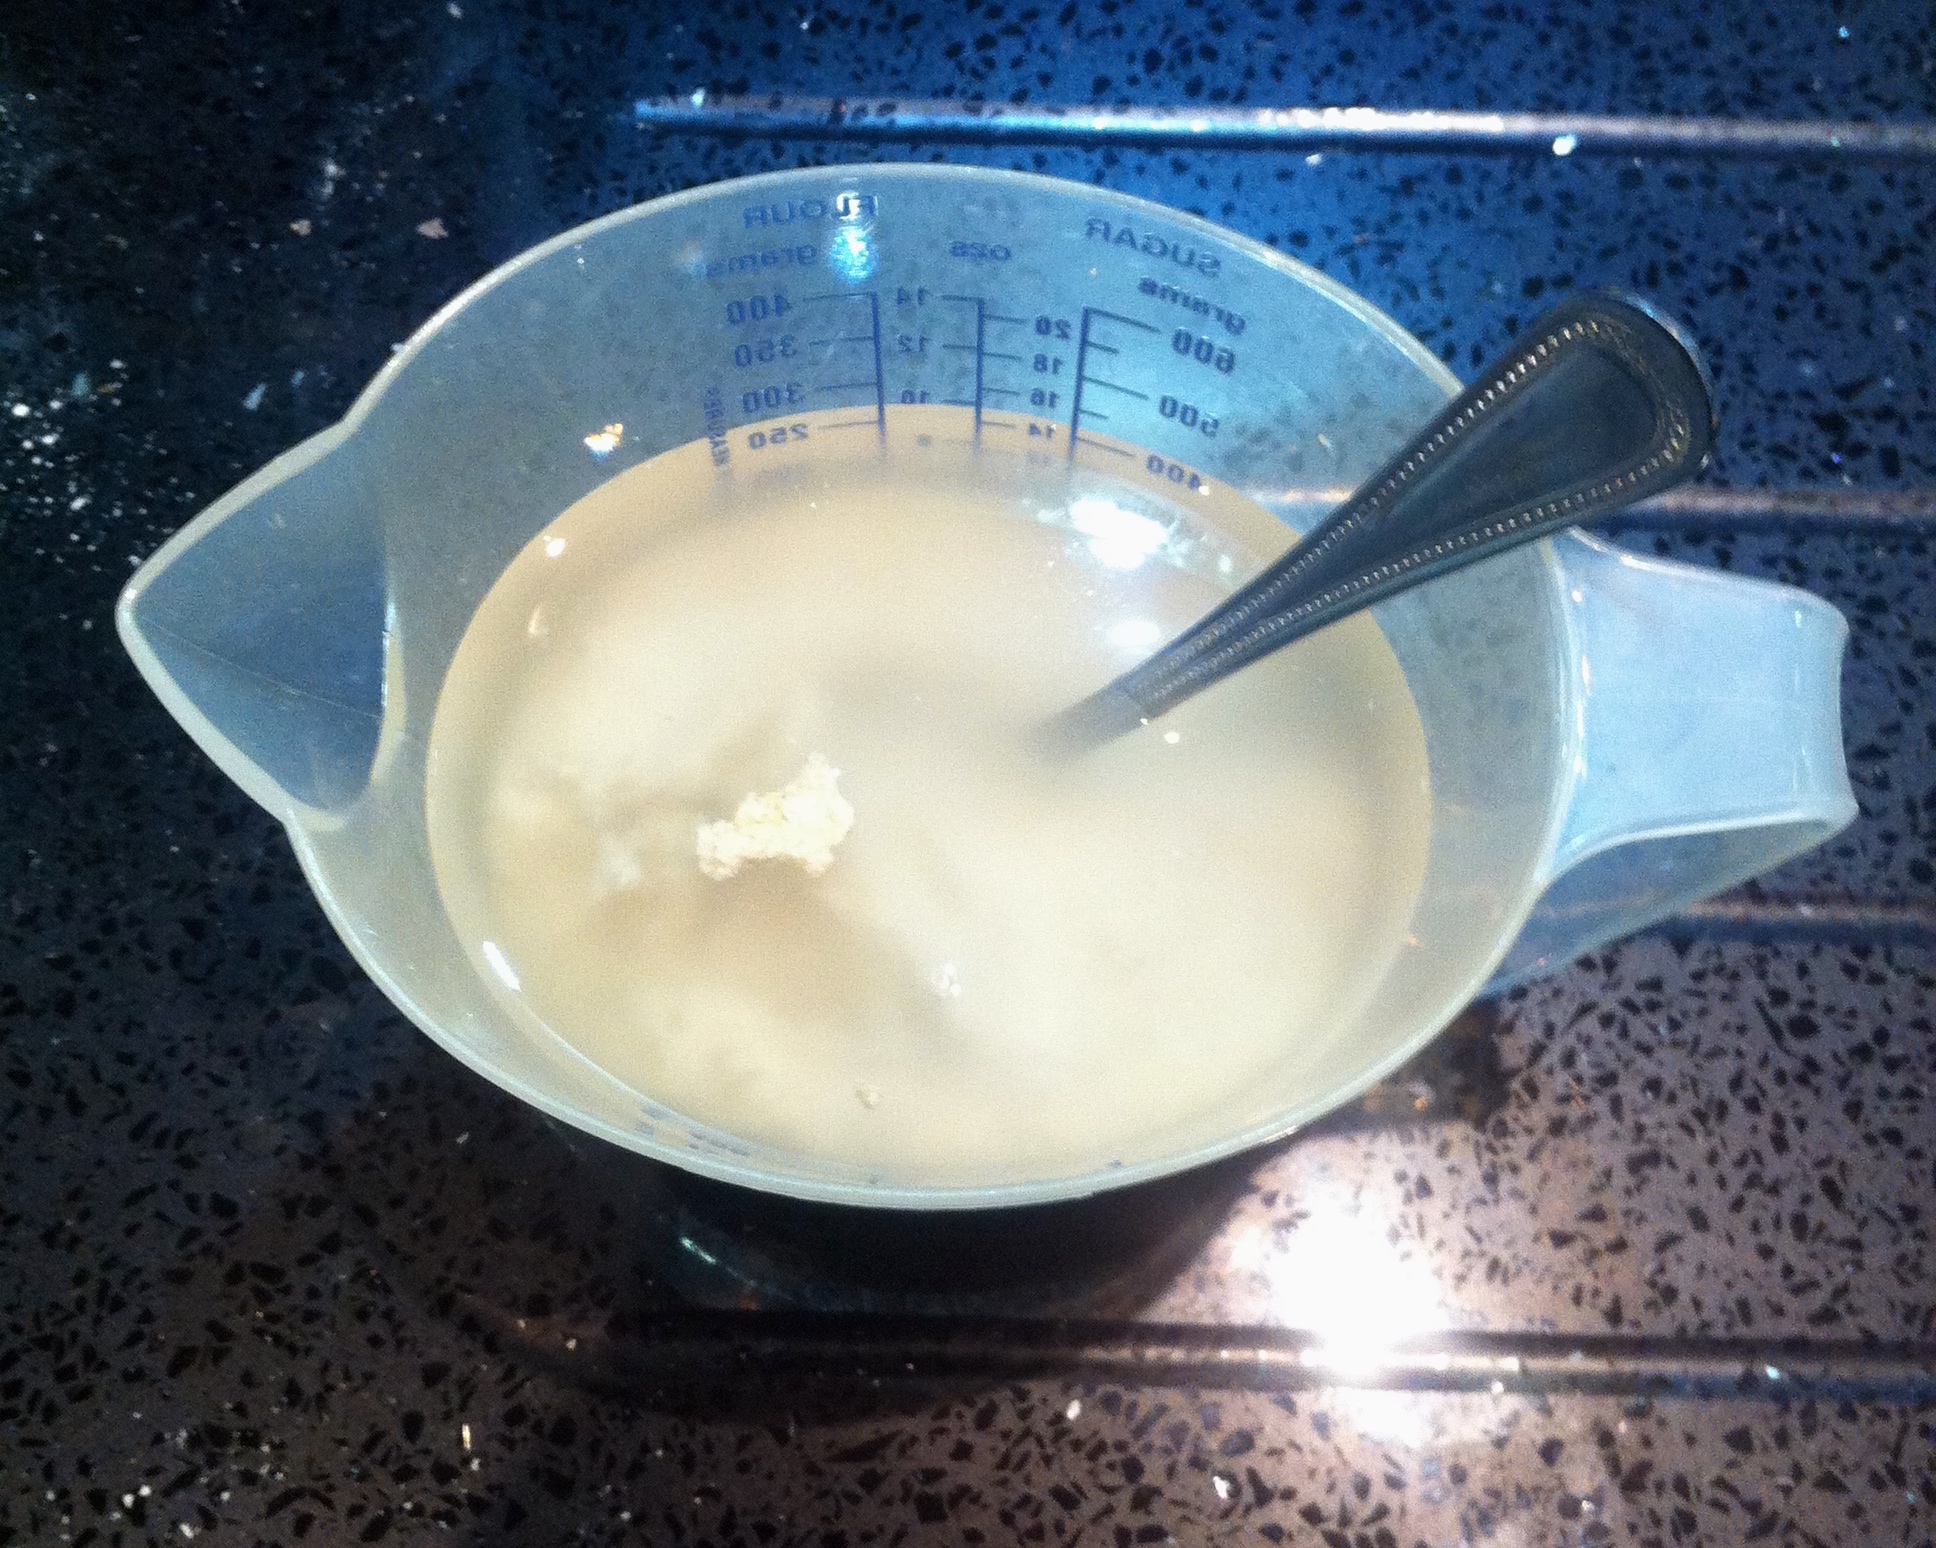
2. Next weigh 300g of your sourdough starter in the jug and then add 150g of tepid water - yes weigh the water too. Give it a stir so it looks like lumpy porridge to help with the next step.
3, Pour all of the liquid mixture into the flour and mix until all the flour is mixed in and a rough ball of dough forms.


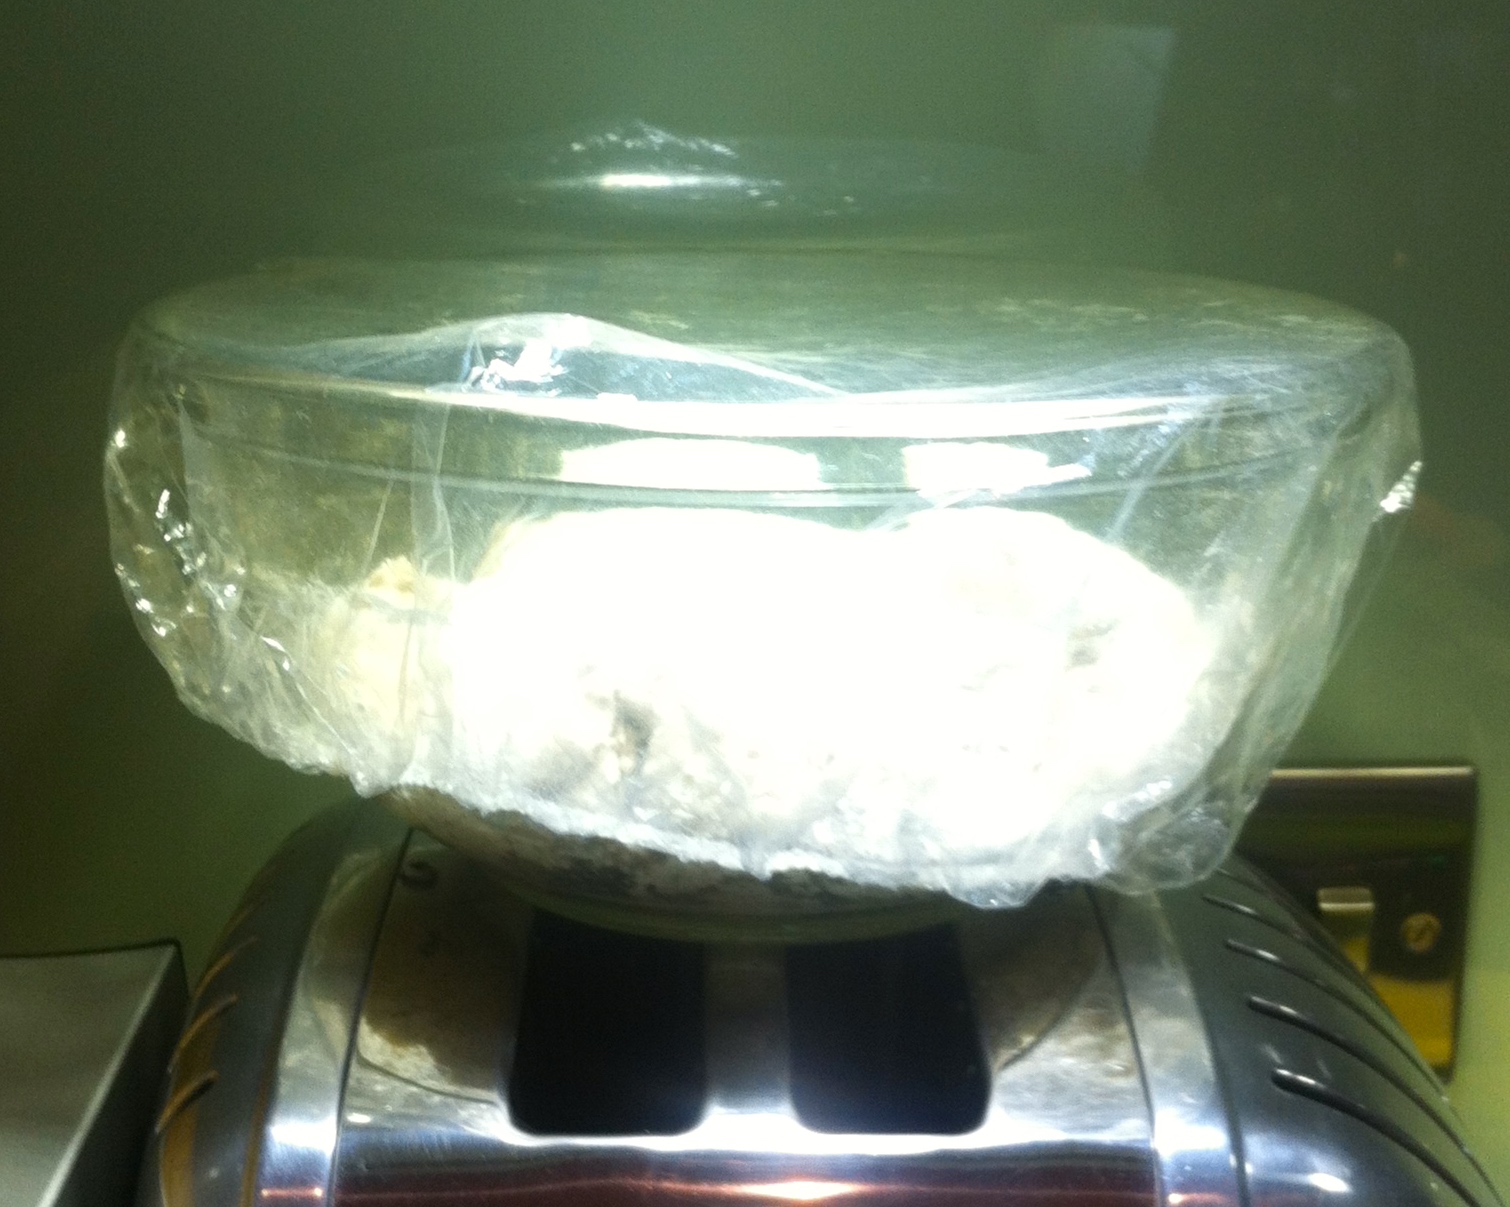
4. Now cover the bowl and leave it somewhere warm for 30 minutes or so - it doesn't have to be exactly that, it's pretty forgiving. I use a shower cap to cover my mixing bowl, it's reusable and greener than clingfilm and it's a great excuse to stay in a fancy hotel every now and then. For me my warm place for bread is on top of my toaster under one of the under-counter spotlights, but any warm place will do.

5. After 30 minutes or so, you'll need to turn your bread. I use a flexible dough scraper (which is also good for scraping pastry or kneaded bread off your worktop) for this - they're relatively cheap at around £3 and make this a lot easier. You need to get the scraper under the bread and lift the bottom to the top turning the bowl as you go so you work all around the bread. You need to turn the bread like this about 20 times - you'll notice that it looks a lot more like dough now.
6. You can repeat step 5 but I don't always do this and the bread turns out just fine.
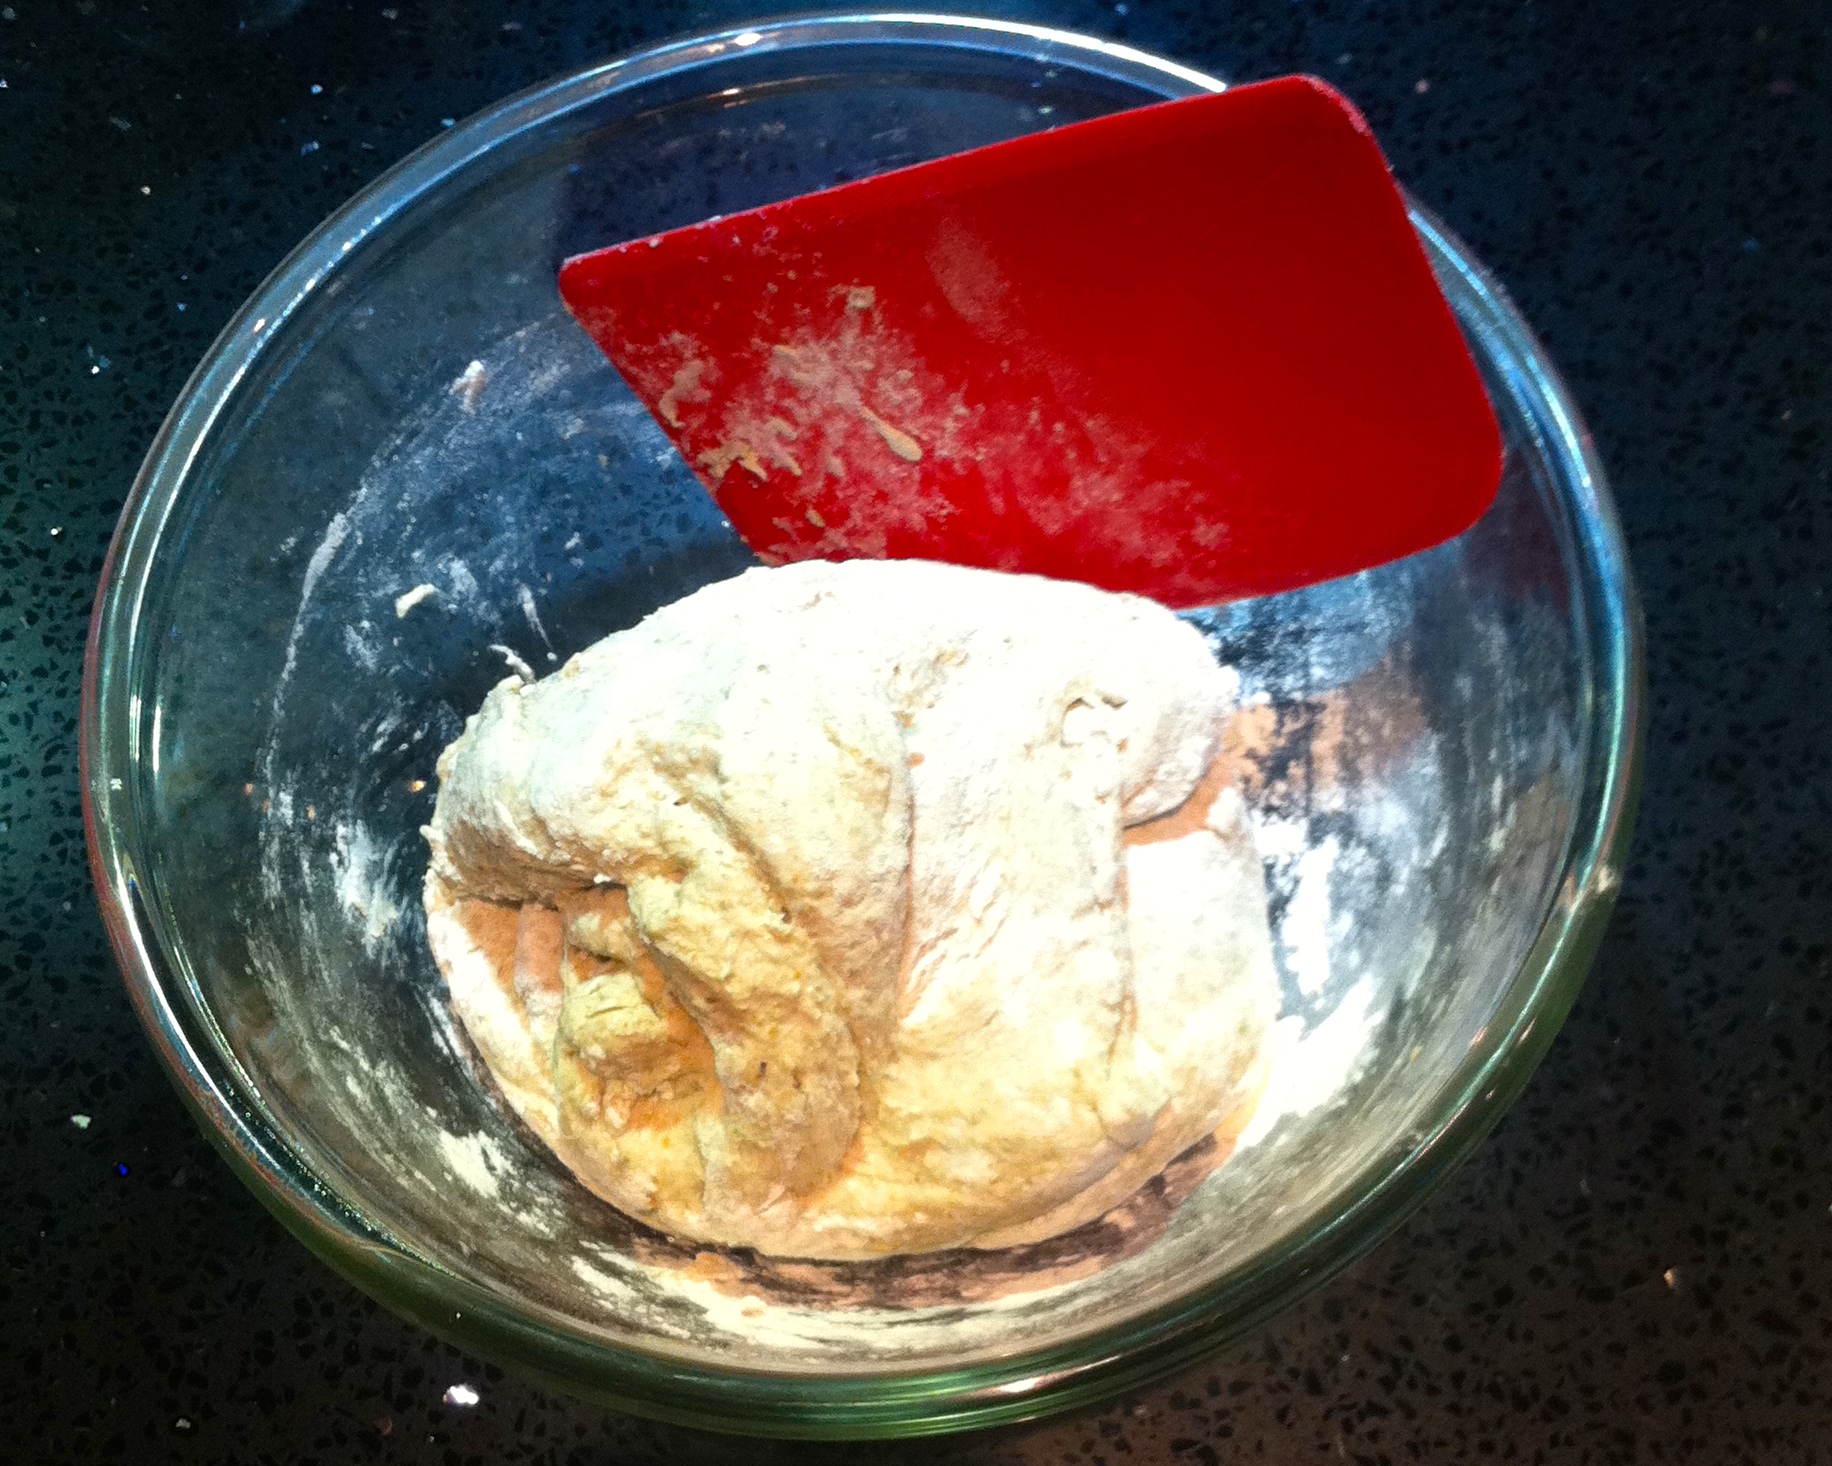
7. Then it's time to give the bread its second rising. This is a much slower affair and can be done in the fridge overnight. It's traditional to prove sourdough in a banneton, and if I'm honest it does give the bread a better exterior and shape but it's not essential and if I'm pushed for time I'll leave it in my pyrex mixing bowl and that works too.
If you're doing the second prove in the fridge it'll take between 12-15 hours, if you're doing in in your warm spot it's about 6 hours.
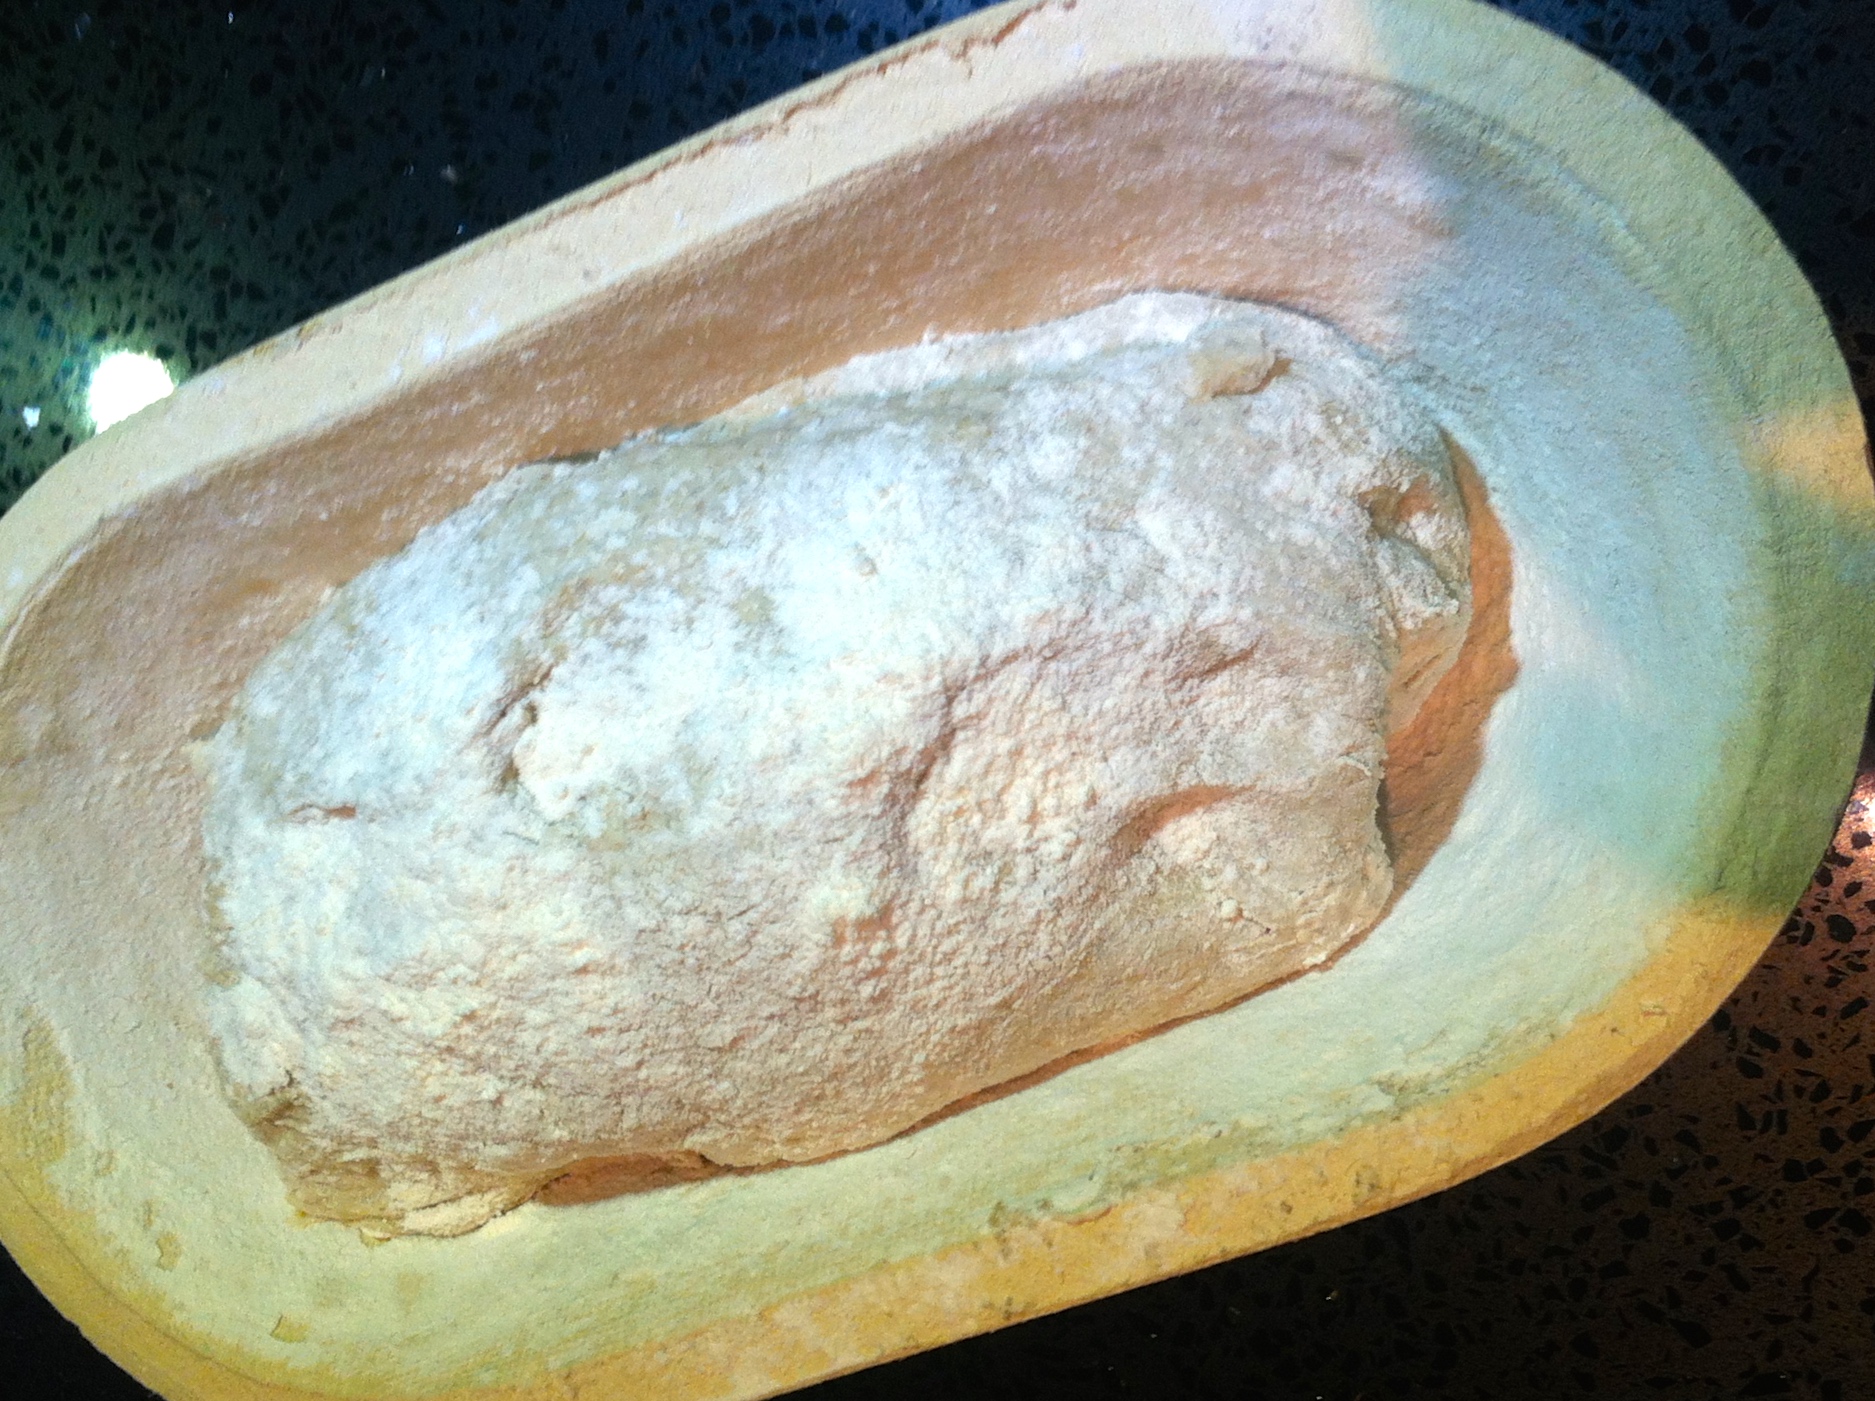

You can see in the reflection below just how much it's risen in my warm spot - and with very little effort from me!

8. To cook, heat the oven to its hottest temperature and place a small bowl of boiling water in the bottom of the oven to create steam and help the crust develop. If your bread was in the fridge let it come to room temperature for about an hour before cooking it.
9. Sprinkle a baking tray with flour and turn out the bread onto the tray. You'll need to slash the top of the loaf - I use a lame, but a sharp knife will also work. This allows the bread to keep its shape while cooking.

10. Cook for 30-35 minutes until there is a thick, crunchy crust and it sounds hollow when you tap the bottom. I find it helps to turn the loaf over at around 20 minutes and cook it upside down for the last 10 minutes.

11. When it's cooked, I transfer it to a wire tray or a breadboard to cool and cover it with a tea towel. Taking it off the warm tray avoids a soggy bottom and covering with the tea towel prevents the crust from going too hard.
And if you can leave it to cool for 10-15 minutes before cutting into it!
Sourdough starter
There's a wealth of information online on how to create, feed and refresh and even how people name their sourdough starters! Mine doesn't have a name, unless it's been particularly active and has exploded over my new fridge - it did that once, but clearly knew that wasn't a popular move as it's not done it since!
Because I make a sourdough loaf usually at least twice a week I don't feed my starter as such, I just replenish it. The idea of throwing half of it away every few days didn't sit well with me and when I first started out I had tubs of the starter fermenting away because I just couldn't bring myself to do it! I went to a bread making class and as part of that I left with a small starter which has been remarkably easy to keep alive, even after holidays. I store mine in a litre ice cream container and the majority of this is used when I make a loaf so I simply add a cup of Rye flour and a cup of tepid water and mix it until no flour shows before storing it back in the fridge.
So that's how I make my sourdough recipe. I think it tastes far nicer than any shop bought bread and while it takes a fair amount of elapsed time, there's actually very little effort involved, so I think it's worth it. What do you make regularly that you no longer buy?