

Bunting my way

Those tissue paper pom poms which I posted last week reminded me of the bunting I insisted on making back in the summer for our 110th party, and how I hadn't shared more about that here. It appeared in the pictures from the party, but that's about it.

BUNTING MADE FROM SCRAPS

BUNTING MADE FROM SCRAPS

Every party needs bunting I think. And in fact I think everyone should have bunting, at least some anyway. I'd frustrated MOH ahead of the party by disappearing and knocking up a couple of strings of bunting when in his opinion there were more important things to be done. They didn't take that long to make and were a good stash-buster too, so pretty and resourceful.

I have a habit of saving ribbon and braid from boxes of chocolates, bouquets and even those posh paper carrier bags, and these came in useful for my bunting. I also have a fair bit of material, so I started by sorting out some of that. I'd hoped to go with the small floral Liberty-style patterns, but when it came to it I still didn't want to cut into some of that material. So instead I opted for material that I'd had for a while, was generally floral and fun.

Out came my pinking shears and I made a triangle template to cut around, cutting through several layers of material at once. I thought the shape didn't need to be exactly perfect to get the bunting effect, and I was right. The central one in the photo above proves that, and I bet you only notice the mis-cut on the left hand side as your eyes scroll back up. 

FROM A BOUQUET OF FLOWERS

FROM A BOUQUET OF FLOWERS

AND FROM A BOX OF CHOCOLATES

With the sewing machine threaded up, I started by joining my braids and ribbons together, and then simply attached my cut out triangles to that leaving approximately the width of the bunting between each flag.  Again that wasn't precise, but it worked out well. I didn't want the bunting to be too spaced out, and I did remember to leave some extra ribbon at each end so it was easy to tie into place.

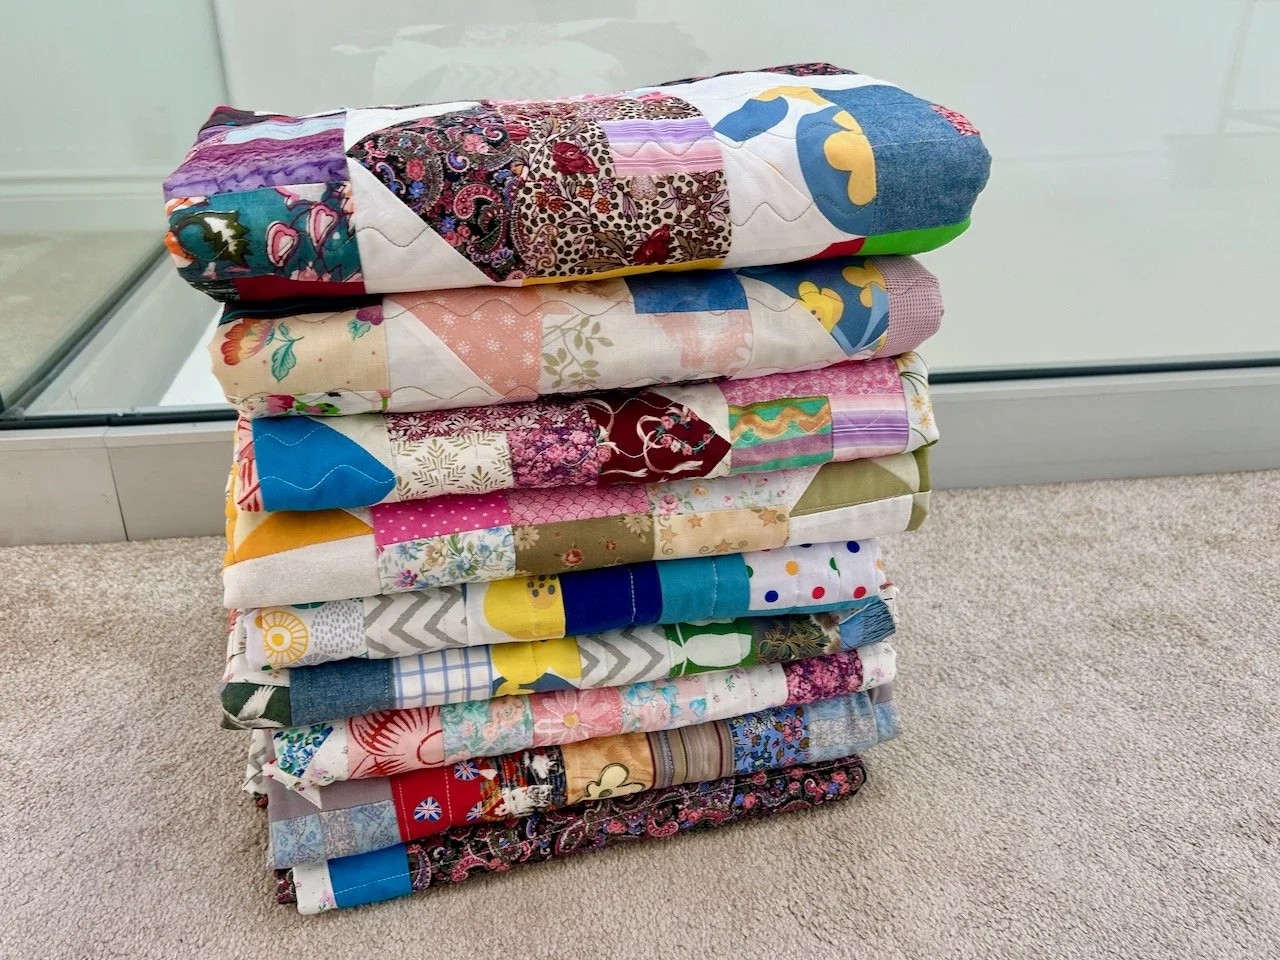
A PILE OF BUNTING READY FOR ANOTHER TIME

I'm really pleased with how it turned out, and I think I'll be making more.  In total I made two lengths with about twenty triangles on each, and in truth it was so much fun and pretty addictive soI could have gone on for much more. 

A simple craft, but one that was quick easy to do and one that I think can't help but bring a simile to people's faces. 

Pretty blue and white tiles at Gravetye Manor

These pretty loos are at the fabulous Gravetye Manor which we visited to celebrate our big birthdays earlier in the year. We went for lunch which meant we got to walk around the fabulous kitchen garden after our meal, although moving was pretty tough. We plan to head back there at some point, and are looking to time our visit to coincide with some great winter food, but until then let's take a look at the Ladies.

These were on the first floor and I almost missed them completely walking straight past the door. I'm glad I found them though as the pretty blue and white tiles gave the light and airy space a particularly feminine feel.

Pretty blue and white tiles in the Ladies at Gravetye Manor

With roses from the garden in the vases it really did have a spring-like feel.

Roses and pretty tiles  in the Ladies at Gravetye Manor

Everything in the space was coordinated and the bevelled mirrors helped replicate and accentuate the patterns.

A light and airy feel to the Ladies at Gravetye Manor

The view from the windows was pretty special too.  Although to really enjoy it you'd have to spend time in the smallest room. The views from rooms along this corridor would be equally stunning I'm sure.

Quite a view from the loo at Gravetye Manor
 
bevelled mirrors  in the Ladies at Gravetye Manor

But the mirrors weren't the only thing in character with the feminine and light and airy decor,  just look at these taps.  Gorgeous aren't they?

A fancy tap  in the Ladies at Gravetye Manor

I think this has to be the most feminine entry yet in my #looseries - what do you think?

Our garden to do list

Even though we've made huge progress with our garden this year, we've still some jobs to finish. It's almost as if we've taken our foot off the pedal following the party, and have been enjoying ourselves at weekends instead.  So this list is as much for me, and to show that a gardener's work is never done.

Slate and circles

The circles are all done, and we're really pleased with the effect they've had on the garden, but we ran out of slate for the left hand side of the garden as you look at the picture below. We need to buy another one of those tonne bags and lay that on the weed membrane to finish it off.

WE NEED TO ADD SLATE ON THE LEFT HAND SIDE

WE NEED TO ADD SLATE ON THE LEFT HAND SIDE

Growing some grass

Some of our circles are still a bit bald at the edges, so we'll need to sow some grass seed to finish those off.  By the time the squirrel is finishing burying his treasure I'm sure we'll have some more spots to fill in as well.

AND SOW GRASS SEEDS TO FILL IN THE BALD EDGES

AND SOW GRASS SEEDS TO FILL IN THE BALD EDGES

The final gabion basket

We've a final gabion basket to position, get level, line, fill with soil and plant up. It won't take long but of course is the most tricky to get to, which is why we've probably left it. It'll be in the second row on the left in the photo below.

our+gabion+baskets+with+the+second+row+planted+up,+already+looking+softer+and+a+better+fit+in+our+garden.jpeg

Finishing the front of the pizza oven area

The pizza oven structure follows the arc of our stone circle, but is at a different level so we need to work out what to do there. My plan is to put in a step using some of the metal edging we have left and laying a couple of paving slabs right where you stand when using the oven. Exactly how we'll do that I'm not sure yet, but once we get going and I've explained my vision to MOH I'm sure we'll manage it.

Repair our gazebo

With the heavy rain back in June or July our new gazebo suffered a mishap. We learnt it wasn't strong enough to hold pooling water and after a particularly heavy rainfall were out in the garden early one morning dismantling it.  And we've done nothing more with it since then really.  

It's mendable - or at least repurposeable (yes I know that's not a word) but it'll give us a good winter project won't it? 

DISMANTLED AND JUST A LITTLE BIT REJECTED (DESPITE THE SUN)

DISMANTLED AND JUST A LITTLE BIT REJECTED (DESPITE THE SUN)

Putting the garden to bed

I'm hoping that the frosts are a little way off, but we're approaching that time of year when pots need to be put in frost-free places and the garden furrniture covered with a tarpaulin. This year we'll also need to cover the pizza oven, and I've an old Ikea fleece that I plan to use, along with a yet to be bought tarpaulin.

A winter spot for the hibiscus

Our hibiscus has flowered for many months now with plenty of blooms at a time. I'm still in two minds with what to do with it over winter and may move it soon as a precaution, mainly because I'm keen to keep this prolific flowerer for next year. I mean, you would wouldn't you?

The hibiscus is still flowering

There's also plenty to do on the plot, but that's a whole other post on its own.

I suspect I've missed something important, but if I have then I'm sure it'll come to me (and usually pretty soon after I've hit publish!)