'All the patterns' project bag

Before starting to make my Noughts and Crosses quilt I had a trial run of sewing curved blocks using all the patterns I’d pulled out of my stash, which left me with a very colourful test run. And as I don’t like to see anything go to waste, I was sure that I could do something with it.

And sure enough I could, even though it took a little while for the idea to materialise, let alone come to fruition. But as you’ll see, it’s the answer* to a question I regularly have, and so it’s a wonder it took so long.

It’s fair to say at almost 33cm by 30cm it’s the largest pouch I’ve made, but `I didn’t want to cut into the circle, which if you look close enough is just about visible in the jumble of patterns.

It also uses the same pale green backing material as the quilt, and I’ve frankenbatted some offcuts of wadding to give both the front and the back some extra oomph, even though that’s meant I’ve ended up with some wonky zigzag lines - but I’m ok with that, and will call it character!

The pale green back quilted with offcuts of wadding - hence some of the more wavier lines

THE ZIGZAG QUILTING FOLLOWS THE SHAPES OF THE OFFCUTS OF WADDING

*Yes, the answer is invariably ‘you need a pouch for that!’ - but unusually in this instance I’m not exactly sure what the question is, though I have plenty of projects which I’m sure will soon make themselves known.

Four fabulous bedside tables

One of the ongoing projects we’ve had on our list to complete is to sort out the bedrooms in our new build, and it’s something that’s getting closer to being ticked off the list. And there’s been a whole lot of change since we moved in - including the ‘great bed swap around’ - which came about when we bought ourselves a new bed, but I’ll leave that post for another day.

However the new bed arriving meant that we had surplus beds, one had to go - and of course it wasn’t that simple. We had our old bed, a metal framed bed, which we wanted to keep, a divan bed which gives great storage, and a futon which we bought just before we got married in 2007.

The futon was a heavy one, and while we’d had it a while, it hadn’t had a huge amount of use. But it was this one that was on the hit list, and so I tried to give it away in a local Facebook group with no joy. After a pause over summer, and while the spare bedroom was temporarily repurposed as a huge clothes store while we had inners fitted to our built in wardrobes (there’s another post to come), I was back on the case.

This time though I had some unexpected Facebook success. In another local Facebook group thoughts were clearly turning to Christmas and sleeping arrangements for those hosting, and someone asked if anyone was selling a sofa bed or futon.

Well, hello.

Our futon is now in its new home just up the road, and what’s better I sold it rather than gave it away - its new owner is happy with their bargain for the snug and their kids were glad not to sleep on an air mattress. Everyone’s happy!

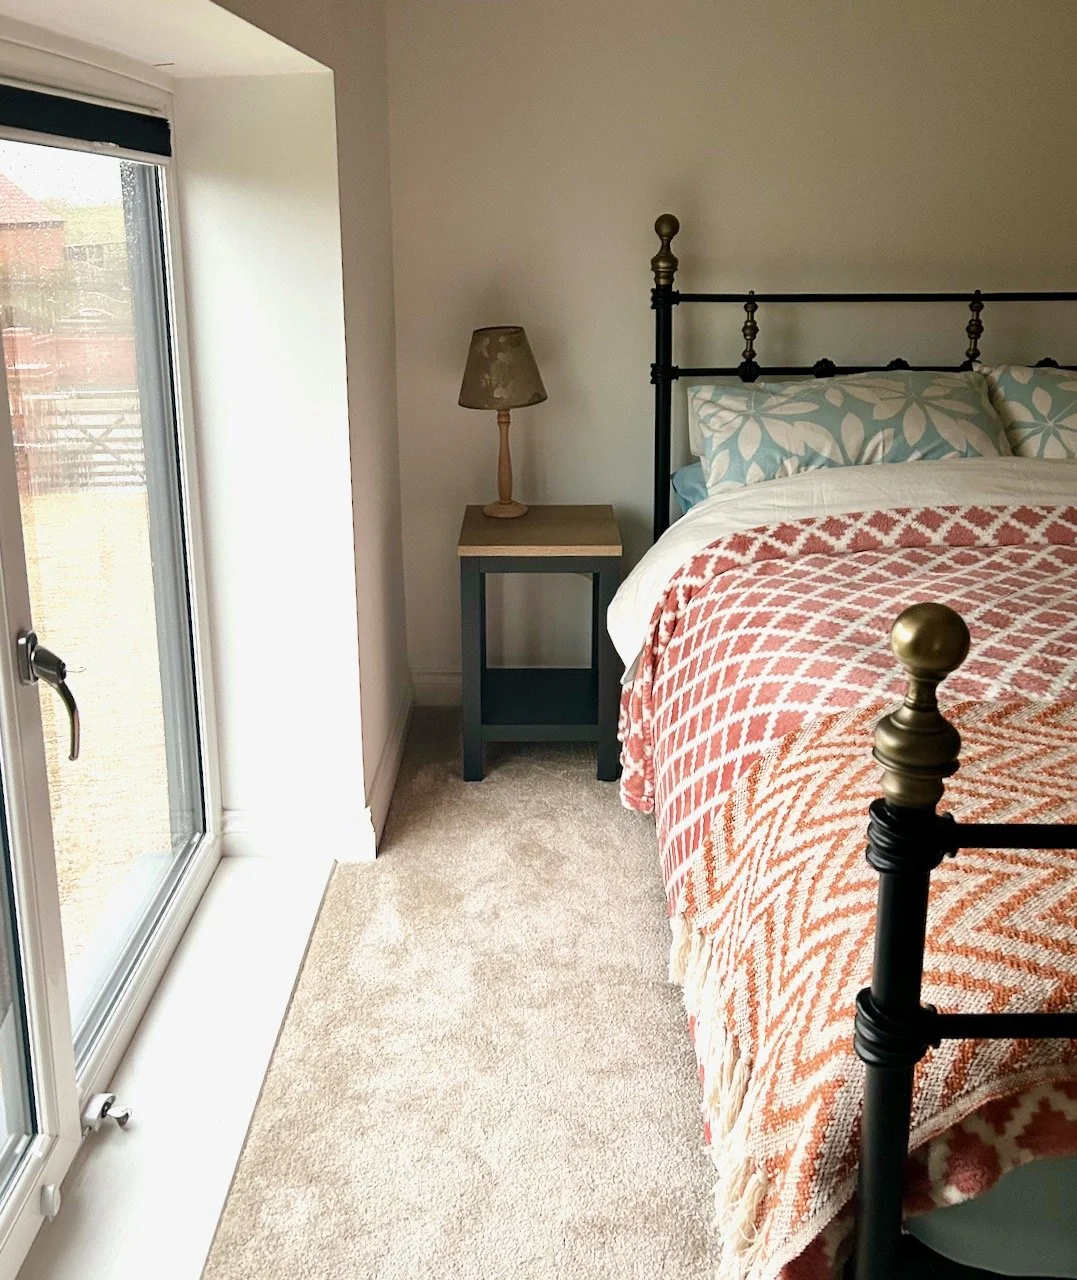
But of course that left me with no excuses for getting our spare bedrooms straight - so the final parts of the ‘great bed swap around’ were implemented. Our old bed, which had been stored dismantled in the third bedroom, is now in our guest room, and the divan is now in the spare bedroom.

Yes it would have been easier to assemble our old bed in the spare room, but the room shape is narrower/longer than the guest room and I thought that the bed with both a head and foot board would make the room look smaller. The guest bedroom is squarer and there is more space to navigate around the bed, so it really was a no brainer.

Searching for new bedside tables

For years we’d had some old Ikea units alongside the divan as bedside tables, but these really didn’t work with the metal framed bed, and were much larger than we needed. So the hunt for new bedside tables began in earnest.

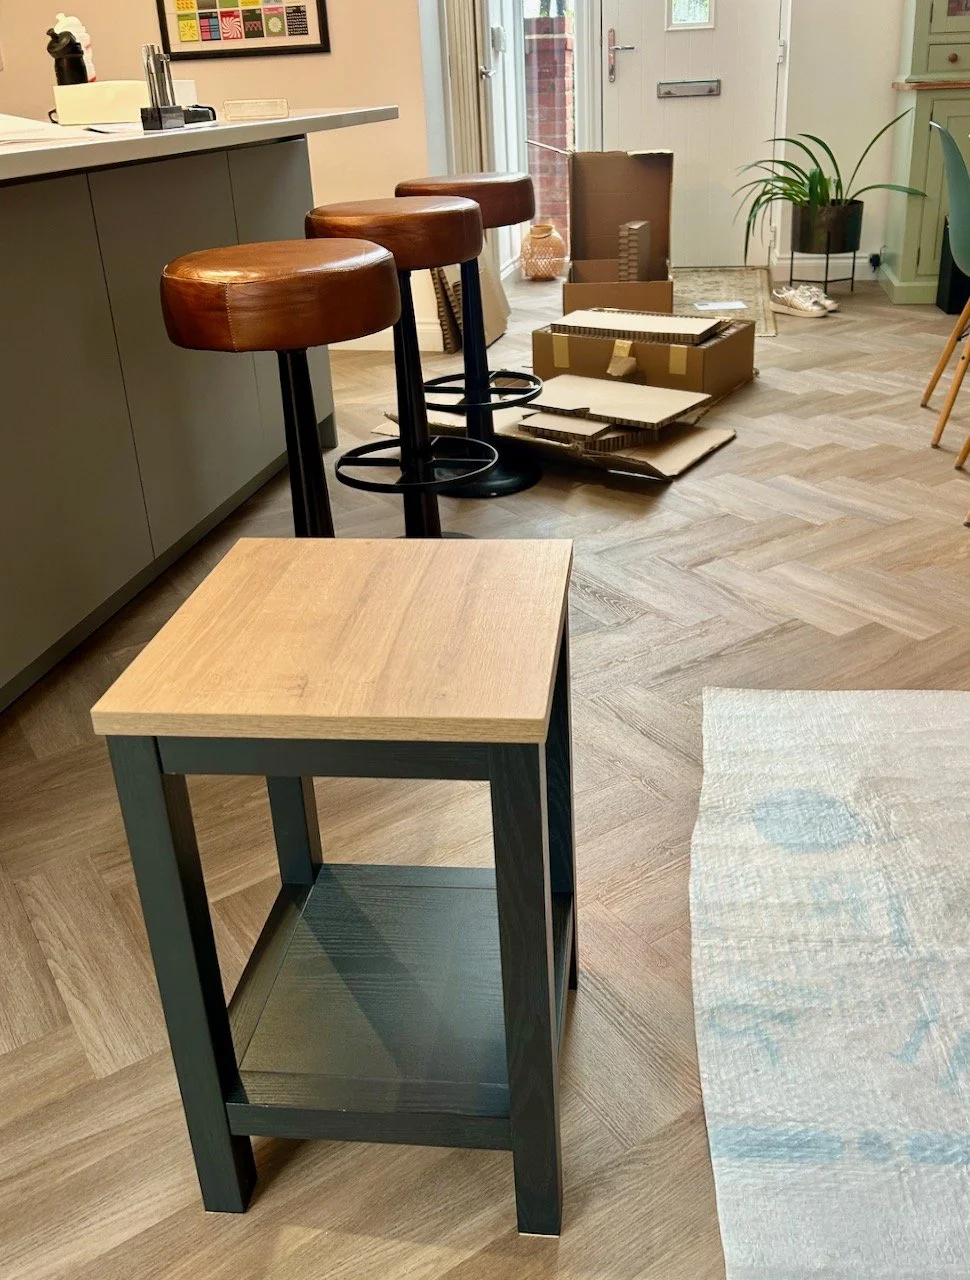
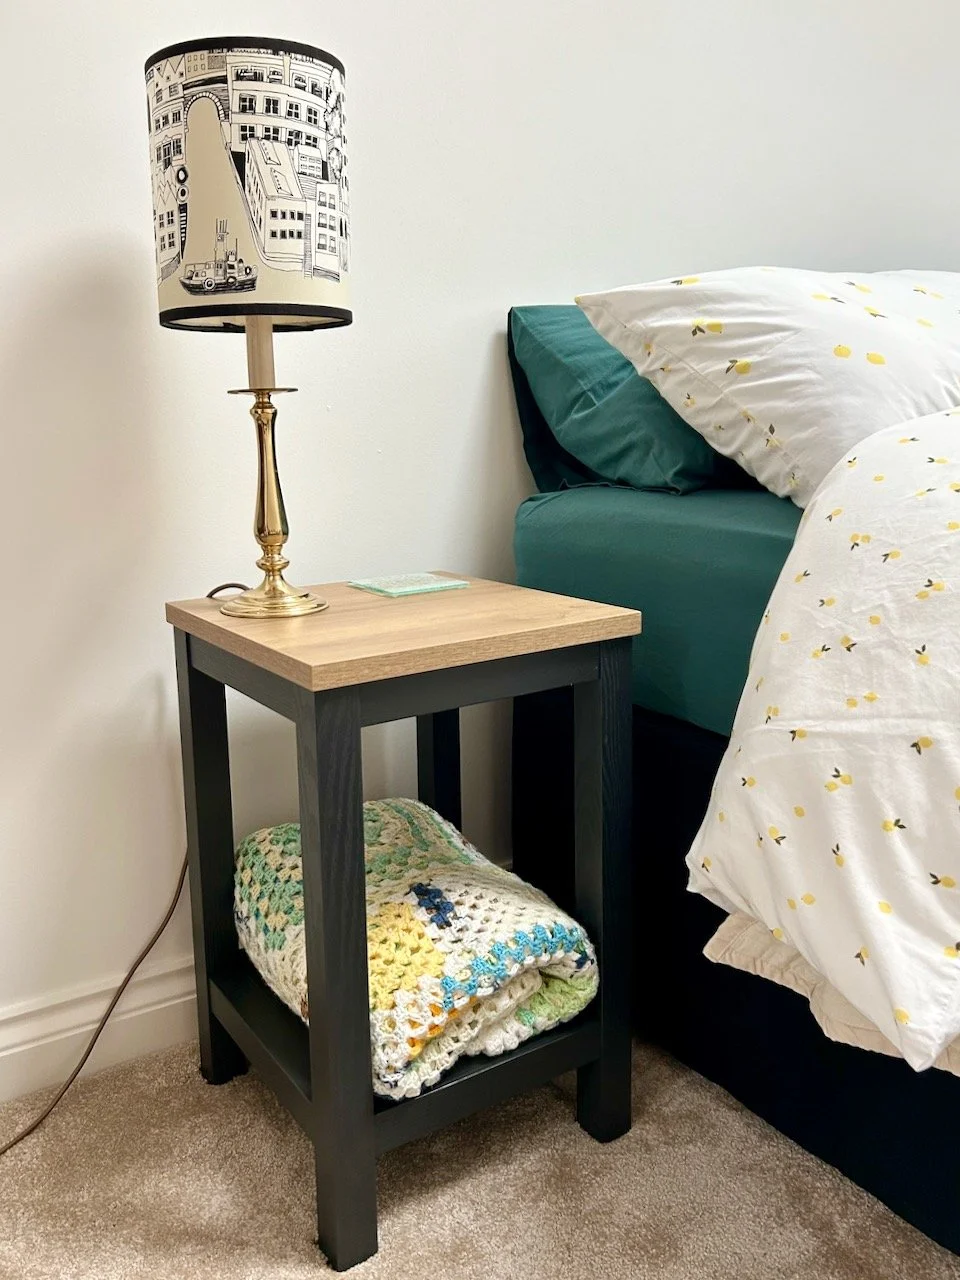
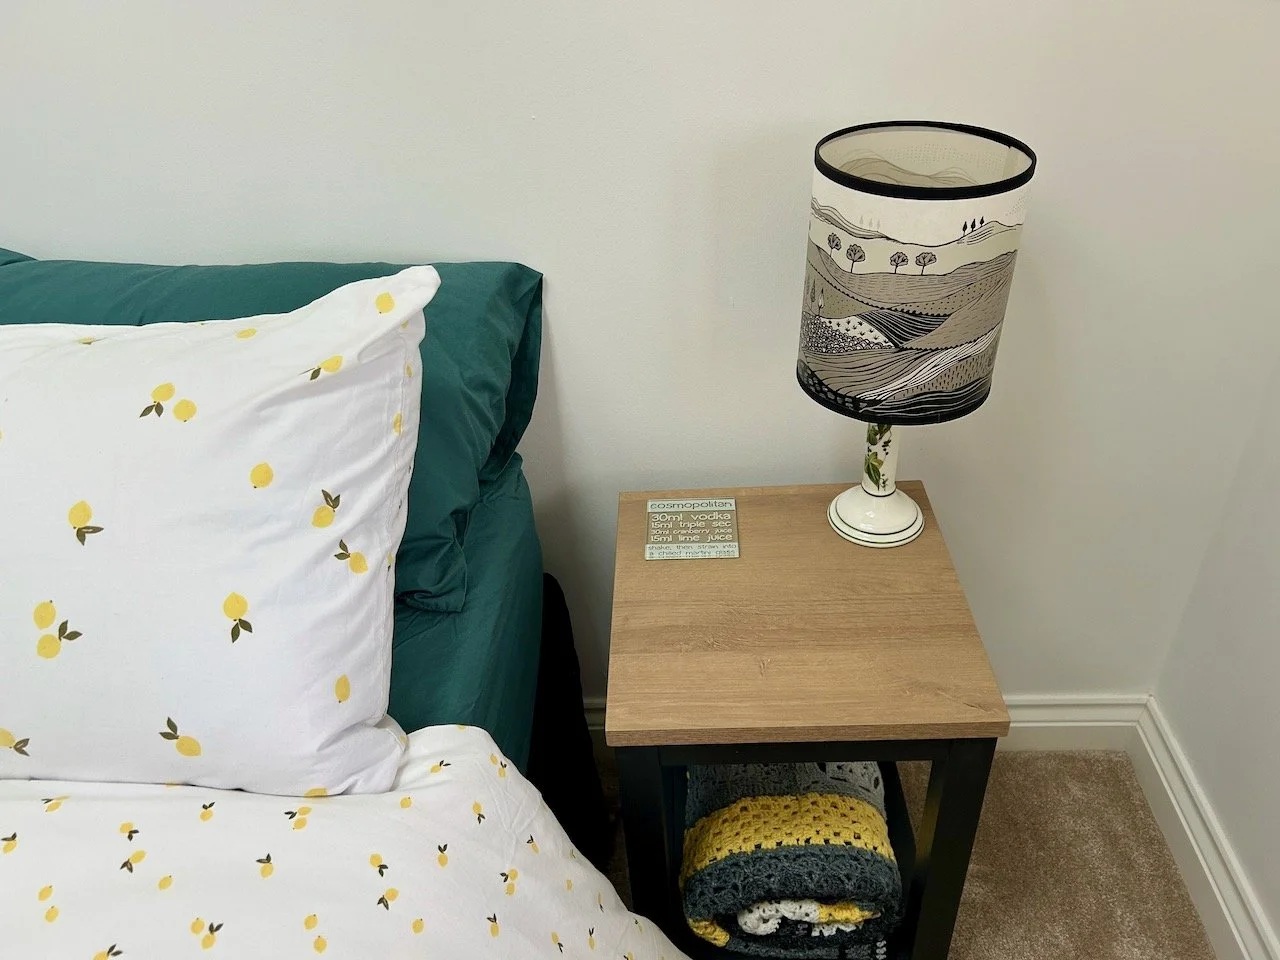
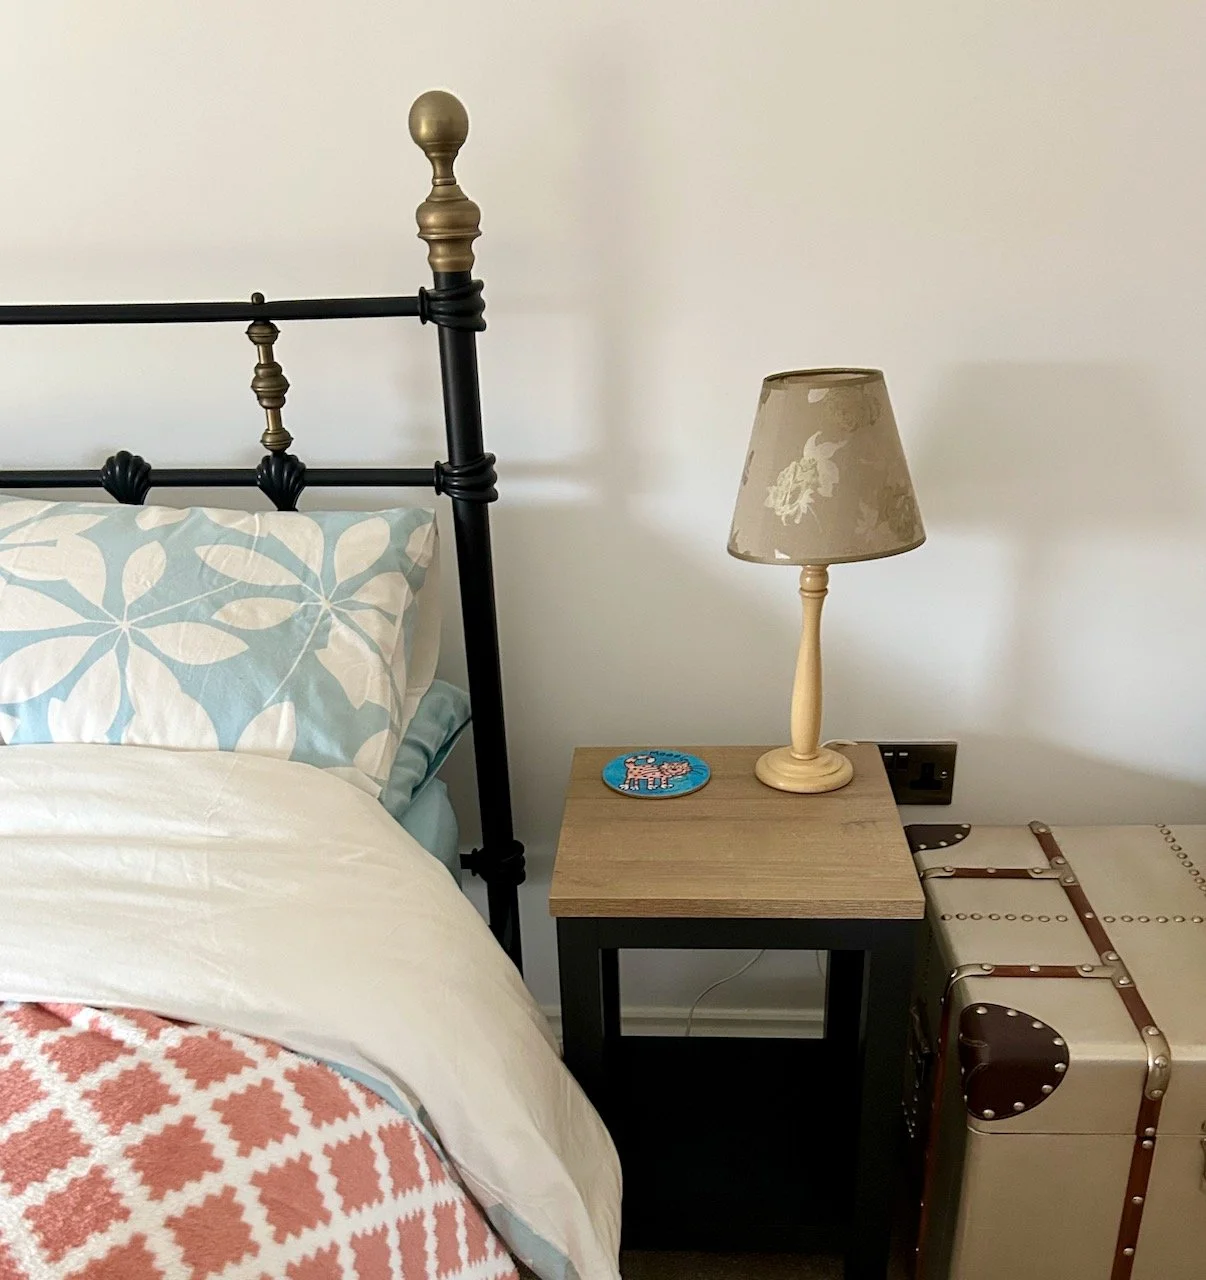
I wanted something that would have room for a lamp, and a glass of water or cup of tea that wasn’t too large, or too small. I didn’t need a drawer, but I was keen on having a shelf of some description. And with these criteria I wasn’t that hopeful if I’m honest, but I struck gold at M&S, and two arrived and were assembled by MOH at the start of December.

Step forward the Salcombe side table

They are M&S’ Salcombe Side tables - the top is 35cm x 35cm which is plenty big enough for a lamp, a drink and a book and even a pair of glasses or a make-up bag. There’s no drawer - so none of our junk can creep into there, and hopefully that means no forgotten items either. And there is a shelf - so everything on my list. What’s better is that they were only £49 each.

They may not be billed as bedside tables on their website - my search reached the creative thinking stage before I was successful. You can imagine I was keen to try them out in both bedrooms - and if they worked order some more quickly before they sold out! I’m so glad I didn’t wait, as I’ve just checked while writing this post and this colour is no longer on their site, the lighter grey is still available.

They worked, I ordered some more which arrived the following week, and were just as quickly assembled by MOH.

THE OTHER SIDE, ALONG WITH THE PEPPED UP GREY CROCHETED THROW

ON ONE SIDE…

AND THE OTHER, BETWEEN THE BED AND METAL STORAGE TRUNK

All four look fab, and really finish off the rooms - though two still have empty shelves, I’ll have to work on that!

A quick and easy pencil case

One of the things on the long list of stuff for the floral fancy workshop was a pencil and a fabric marking pen. Clearly I had pencils, but the fabric marker was on my shopping list - I decided that I needed a pencil case to put them in, and as I wasn’t sure exactly what the pencil was for I also looked out a rubber and a pencil sharpener (I like to be prepared!).

I do have a pencil case, two in fact, but they have a variety of pens in. And I could have emptied one out, as I did for the Adult Learning courses, but I also realised that once again the answer could quite easily be that I needed a new one to take out with me, rather than the ones I had for storage!

So after a quick internet search I found the free tutorial for an easy pencil case on the Merriment Design blog. Doubly useful as earlier whilst looking for something else I found a square of felt which I could use, and of course my eBay stash of zips was bound to have something I could use.

As it turned out there was a zip that exactly matched the colour of the bright yellow felt square. I also had a piece of material left from the gift tag pouches, which is cute even though it’s a Christmas fabric, technically.

Starting to sew

This pouch is a departure from my more usual pouch style, and has a more traditional pencil case look to it, although the zip is on the front rather than the top. The free tutorial was also easy to follow, and I think in total I made this in well under an hour, which is pretty good.

Adding the zip to the hastily quilted aqua fabric with christmas baubles on

And yes, the yellow isn’t perhaps a natural choice to go alongside this material, but I like it (though as you’ll know I do like bright colours and have always liked yellow!). I’m also a fan of these super long zips, as they make it much easier for a zip novice like me. But using an extra long zip and then cutting it down to size has been a game changer in these pouches - I’m not sure the same approach would work for dressmaking though, but I’m happy to be corrected.

As you can see I did go for the quick and rough and ready approach, and I’m ok with that.

I didn’t press anything as I went, and I used the thread which was already on the machine - but no matter as I still ended up with a fab new pencil case.

And yes, I’m even using a couple of the ‘procrastination pencils’ - the messages on them are great, these two say: ‘you can’t possibly work in an untidy room and ‘you probably need another coffee’ - both of which can be very true!