Post Comment Love 1 - 3 March

Hello there, and welcome back to this week’s #PoCoLo - a friendly linky which I co-host with Suzanne, where you can link any blog post published in the last week. We know you’ll find some great posts to read, and maybe some new-to-you blogs too, so do pop over and visit some of the posts linked, comment and share some of that love.

Please don’t link up posts which are older as they will be removed from the linky, and if older posts are linked then please don’t feel that it’s necessary to comment on those. If you were here last week it was great to have you along, if you’re new here this week we’re pleased you’ve joined us.

Happy 1 March!

It always amazes me how quickly February goes, even with its extra day this year. March brings with it, hopefully, spring proper - and more time out in the garden, as I said hopefully. I don’t know about you but I could definitely do with an upturn in the weather.

It’s been a relatively quiet week here as I’ve been full of cold and have been trying my utmost to get through it without passing it on to MOH, again hopefully between us we’ve managed that - but it’s meant I haven’t done a huge amount, mostly as having a head feeling like it’s filled with cotton wool hasn’t helped with anything much.

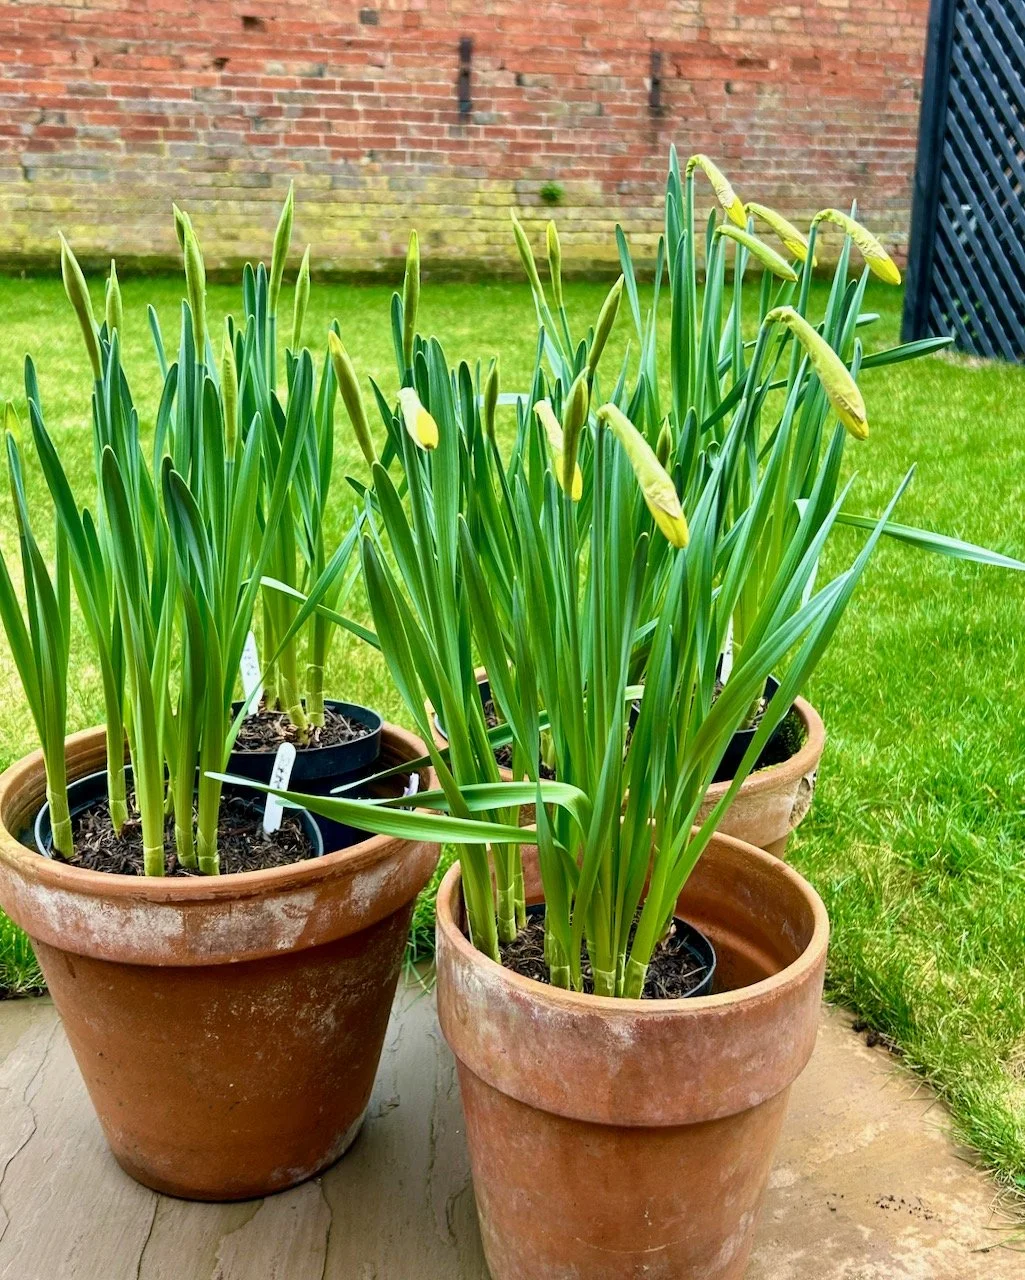
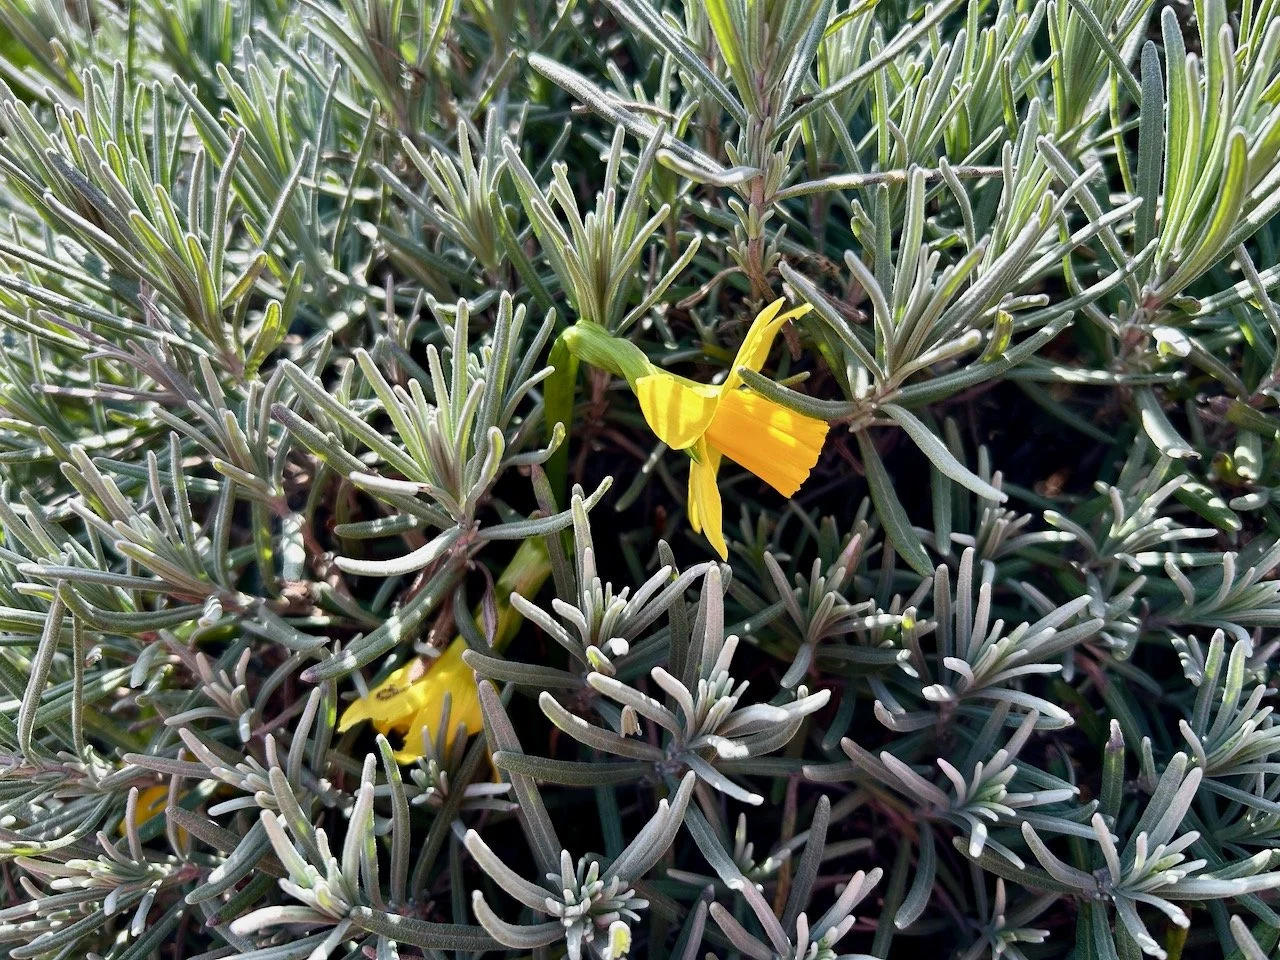
I have been keeping an eye on my daffodils though, they are almost ready to burst into flower, but not quite. And I don’t want to miss them, so I moved them onto the patio so that we don’t have to crank our necks to see them. The ones on the left have been growing alongside our front wall, and I do wonder if that’s why they’re currently so straight or if it’s just because they’re a little behind the others which have been at right angles to them alongside the garage.

Enjoying blue skies and a peek at Norwood Park's gardens

Last week I spotted that Norwood Park was holding a series of Open Garden Tuesdays as part of the National Garden Scheme, knowing that these events get booked up quickly, I grabbed a spot on their first opening date. I’ve looked again today, and registration for the Tuesdays is now closed but the grounds and gardens are opening on the first Sunday of the month for the remainder of 2024 - I’d recommend booking early if you’re planning to go along to this, or any other NGS Open Garden event.

We were lucky with the weather for our visit - it’s been a wet winter in this part of the country, and a blowy one too, so it was great to feel the warmth of the sun on our back, its glint in our eyes and enjoy the blue skies.

Norwood Park is ‘an exclusive private country estate in Southwell’ which has been restored and is billed as ‘the perfect venue for; weddings, corporate retreats, private celebrations, short stays, filming and photoshoots, plus so much more’ on its website. And I agree it would be a perfect setting for a wedding.

Looking through the young yew hedge to an ornate white bandstand with the countryside grounds behind

It was also good to spot our first camellia bush of the season, and a pretty pink one at that. In our previous house we had an on-off relationship with our own camellia guessing when it might flower, which was usually months after that of our neighbours - and I’d both forgotten and missed that this year - perhaps I should add a reliably flowering camellia to our own garden.

Spotting our first camellia of the year - a beautiful vibrant pink one (one of many flowers on the bush)

I’m a sucker for dried hydrangea heads though, and it was no different with these - and they instantly reminded me of the ones I saw a good few years back at Blickling in Norfolk, though with an added pop of colour provided by the miniature daffodils.

Fading hydrangea flower heads surrounded by mini tete a tete daffodils in one of the beds bordering the property
A cheeky daffodil plant forcing its way through the lavender bush

I had a wry smile to myself when I saw the daffodils above trying their hardest (and mostly succeeding) to push their way through the lavender bush - that’s the thing with bulbs, they just want to grow don’t they? I’m hoping that my own ‘late to the pot’ daffodils are just as happy in their pots as they were in their nets in the garage - only time will tell!

Enjoying the view from the terrace, one of the borders and gravelled path in front, then grassed area lookingtowards a pond surrounded by trees.  A curved hedge is on the left of the image

Both the terraces in front of the house and the views beyond were worth the visit, and even from the outside you can see just how well this would work for a wedding venue - picturesque grounds, the bandstand for the ceremony and plenty of spaces for the guests and the wedding party to enjoy throughout the day. We didn’t go inside, but from the chandeliers I glimpsed through the window, I think that will be pretty special too.

a large euphorbia bush growing around a cherubic statue standing in front of the red brick property

I did spot some young lupins, and while they reemerge in spring it did feel kind of early. They’re another favourite of mine, but one that I didn’t have much joy with in our previous garden, I think because of the number of trees, and snails too I’m sure. It was good to see these though, and the drops of water they were hanging onto in their centre.

Young lupin leaves already plentiful, but also with a drop of rainwater at their centre

On one side of the terrace I was drawn to a planting of trees, some of which looked they were ‘alight’ with the sun streaming through them - how glorious? I was very taken with these and later learnt they were paperback maples, so well named!

The sun shining through the paperbark maple 'lighting' it up

Next we headed through woodland towards the temple, passing pine cones at eye level, plentiful snowdrops growing in the grass and walking through the tall trees - many of which looked as if they had plenty of mistletoe balls taking up lodging.

A single pine cone growing on a low branch
a bunch of snowdrops growing freely in the grass
Looking up to blue skies and tall trees, like this one with many 'mistletoe balls' at its top

My mistletoe suspicions were confirmed later in our walk around the grounds, as this much smaller tree was also playing host - though I can’t help but think that the mistletoe was a little bit lazier than the ones we’d seen before, or maybe it was just more vain and wanted to be in a position to be admired.

Mistletoe lodging in one of the smaller trees along the track back to the gardens

This European Chesnut tree also looked magnificent in the sun, helped too by the green moss colouring some of its stripes - it really was quite striking.

The trunk of this european chesnut tree is enhanced by the moss turning some of its 'stripes' green
The temple at Norwood Park, Southwell
A bare branched gnarly lead topped tree with the blue skies behind

Heading back towards the gardens we stopped to admire this old gnarly tree, which if you look more closely you’ll see its crown is covered in what looks like lead. We presume to stop any further damage to it, but I’m not sure. It did make for a peculiar sight, though I’m sure when the tree is in leaf it’s hardly noticeable at all.

But just look at those skies, spring really is on its way.

Learning to love my overlocker

At the start of the year I acquired an overlocker - thanks mum - but had little idea of how to use it. While I have all the manuals, I figured it would be easier to book myself onto a workshop to learn all about it - and to remove some of the Fear.

So I did just that and a couple of weekends ago I headed off to Mansfield for the first time - I didn’t see much of Mansfield apart from the one way system, but I’m sure I’ll be back to have a proper look at more than that at some point. My destination for the workshop was Sally Twinkles (aka Sewing Direct) for a workshop led by Tracey Symonds, who was a semi-finalist in series 4 of the Great British Sewing Bee.

After navigating the one way system more than once I got my bearings, found a car park, parked up and dashed over the road with my machine. Once settled I realised that the other workshop participants had their overlocker already threaded - but that at least meant Tracey had a machine she could demo on and I learnt where the threads should go first hand.

My first learning was that the four cones of thread were split into two for needles and two for the loopers - using four different colours for these meant it was easy to track what was doing what, and while mine are mostly pastels I quite like the idea of using different colours. The spool furthest right seems to determine which colour is on show, as long as you’re set up right.

A large part of the workshop was ‘to overcome the Fear’ - and the fear was real!

Tracey had us all testing our machine’s capabilities on different fabrics, encouraging us all to make a note of the settings for each so that once we knew and noted it down, we at least had a starting point - which makes a lot of sense.

We were overlocking, gathering, doing rolled and lettuce hems and flatlock seams like, well not like we’d only just learnt that’s for sure - and all the time building confidence, and reducing the fear. Tracey was a brilliant teacher - as you’d expect, she’s a retired teacher - though I think I was her problem child for the session! She was unflustered though and her ability to switch between the various makes and machines we had brought with and offer expert advice on each was impressive.

I left the workshop with my examples, which for me were an achievement. However I recognise that the pictures here may seem a little underwhelming, but believe me I wouldn’t have tried half of this had I sat alone with the manuals.

OVERLOCKING ON WOVENS (GREEN), GATHERING (FLOWERY MATERIAL) AND OVERLOCKING ON KNITS (STRIPED)

HEMS: LETTUCE (STRIPED) AND ROLLED (FLOWERY)

FLATLOCK SEAM (CIRCLES) AND OVERLOCKING A CORNER (DENIM)

Of course part of the reason there’s not much to show is that the overlocker trims as it goes, so as I went over and over the lengths of fabric my previous attempts were chopped off. Most were binned but some have the potential for use in collages, but I’ve yet to play further with that.

My other key learnings from the workshop, which I’m including here to remind me, were:

  • Chain before starting, and chain at the end - it’s much easier to have a length of overlocked stitching at each end of the fabric, and it saves the machine eating the thread - which means it saves rethreading!

  • The fourth spool is the colour you’ll see the most, so unless you’re very particular you can probably just change this one, however neutrals may work with many fabrics, test it first. Cream and grey are less harsh than white and black, and therefore could be more versatile.

  • Deal with the ends, or they will come undone eventually. If you’re not overlocking at right angles then either zigzag over them using the sewing machine or thread back through with a large sewing needle.

  • No pins near an overlocker ever.

  • For the overlocked corners, move the fabric so it’s in a straight line and though there’ll be some loops which don’t catch, you’ll hardly notice them.

Trying it at home

I knew that if I didn’t try it at home fairly soon afterwards then the workshop would have been a waste of time. So the next day I set it up in my craft room, checked nothing had moved on the journey home and set about trying it for myself. I’m glad I did as even though I’d checked it one of the tension loops had spat out its thread, and my loops were a bit irregular.

But I fixed it - yay! That’s how good the workshop was!

Edging the valance

Then I could set about edging the material for one of my next projects. I’ve signed up for an Indian Block Print & Stitch class and needed to take along some fabric to print on, and they suggested old bedding would be fine. Which is good, as I’ve plenty of that - and when I was sorting out the towels to add to my new bathroom cupboard shelves, I found an old valance sheet which I hadn’t used for years.

Like most valance sheets it was a wotsit to iron, even though it has box pleats rather than frills. So it was repurposed - I cut the frill off, ironed it and set to it with my overlocker.

using my overlocker at home - looking down on the machine, 3 spools are visible along with a ruffle of fabric coming out of the machine, with the edge overlocked
A pile of trimmings cut off by the machine
A folded overlocked length of material ready for one of my next projects

It was a long old piece of overlocking, but it served two purposes - proving to myself I can do this at home, and readying for some future projects. Don’t you just love it when things come together like that?

So if you’ve got an overlocker in your cupboard that you just don’t love (yet) then I can’t recommend highly enough booking yourself on a workshop and finding out what it can do - I bet you surprise yourself, just like I did!