Making an autumn wreath

A few weeks ago I saw a post on Facebook by The Flower Fairy here in Newark offering workshops to create an autumn wreath, and I thought why not.

I’ve tried Christmas wreaths before, with mixed results - they look ok on the table, and ok on the door for a while, but not as good as those in the shops created by professionals. So I signed up before first making sure the workshops could accommodate a novice.

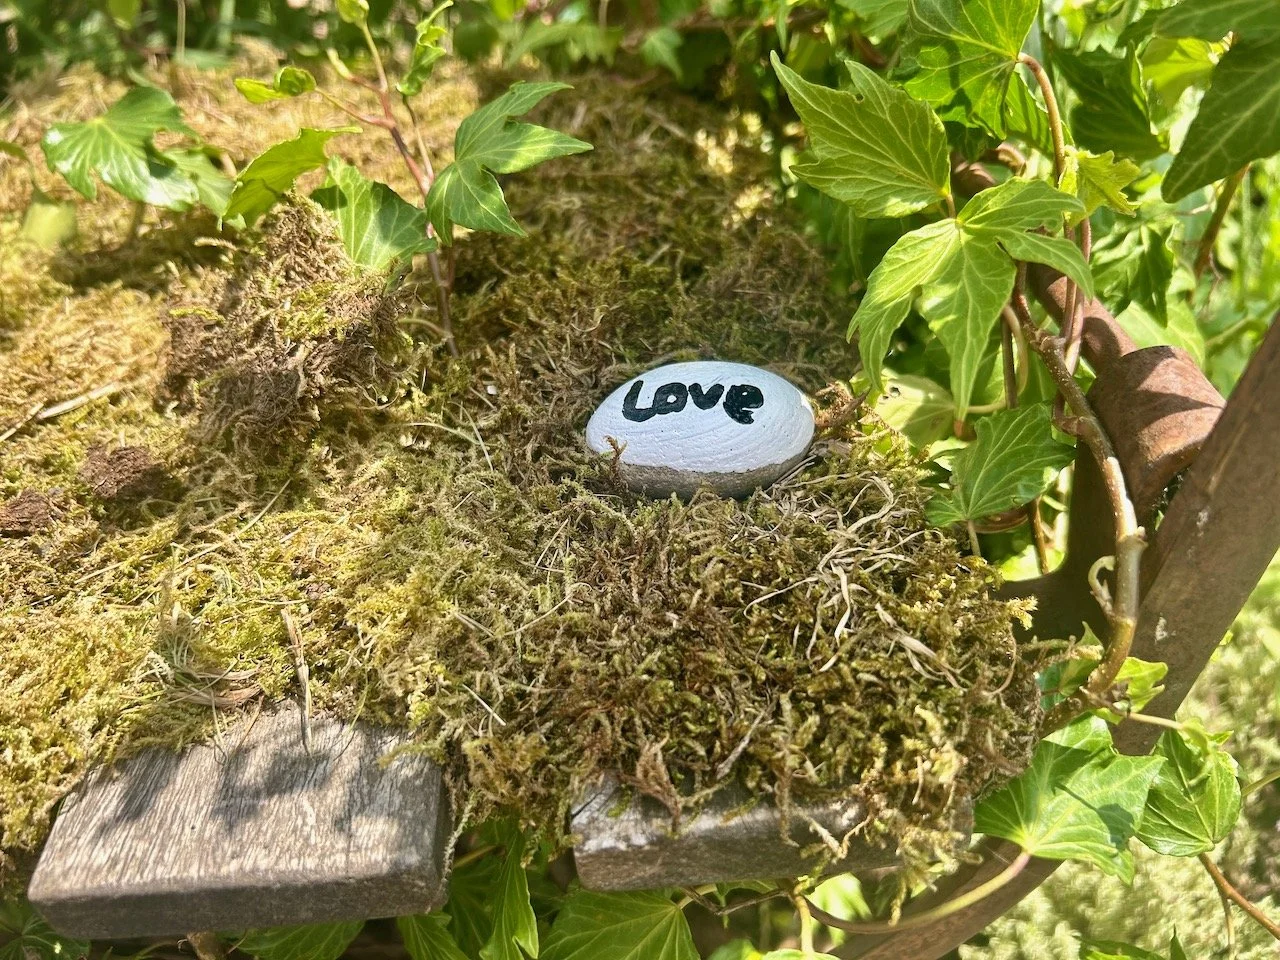
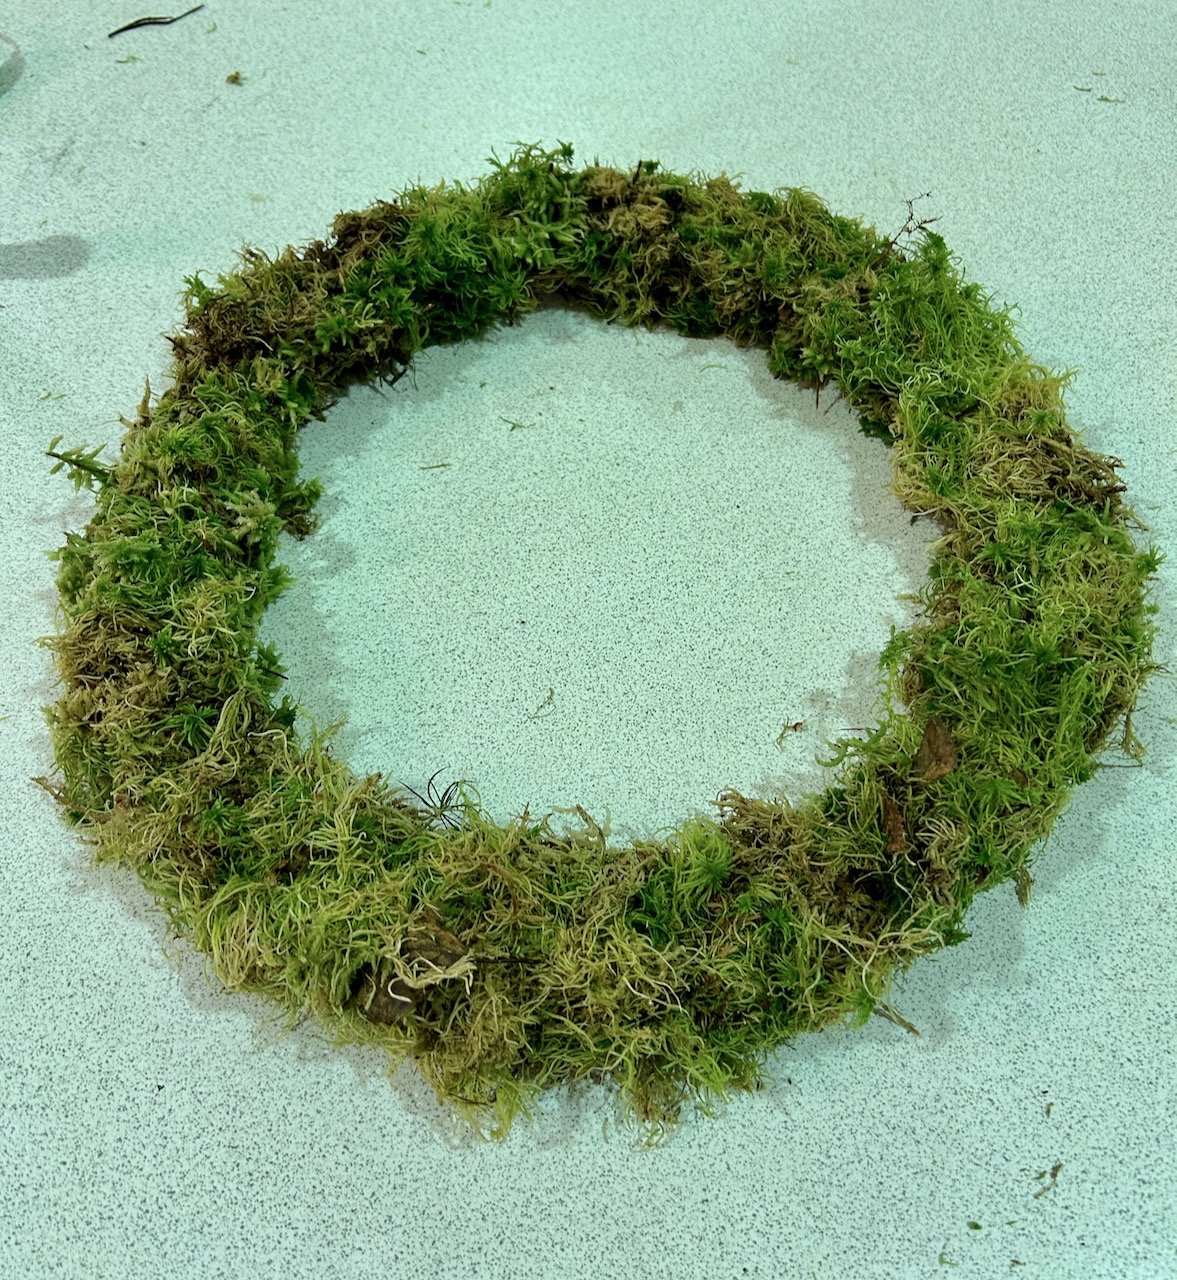
The first step was to fill the wreath ring with moss, which isn’t something I’d done previously - and after a trim it looked ok - and still round!

Moss added onto the wire florist ring - a good start!

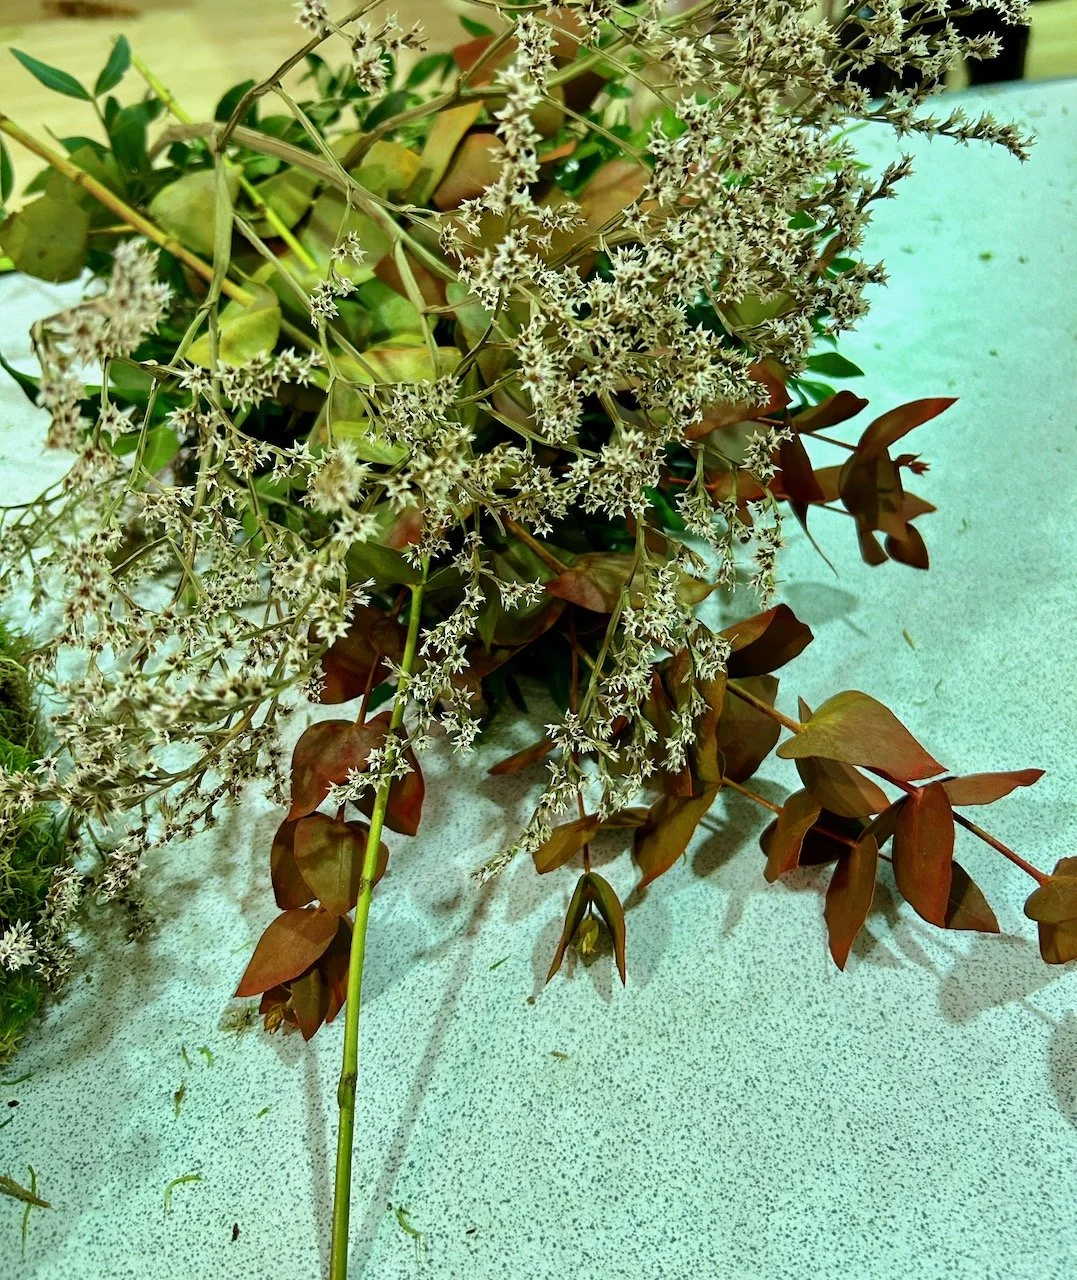
Lucinda had provided all the materials for the workshop, including tons (probably not literally) of stems in a range of greens, oranges and whites to create the wreaths. The next step was to break these larger stems into more manageable sections, and end up with smaller pieces to create bunches to add to the mossy ring. As well as these there were rosehips, chinese lanterns, crab apples and grasses. I opted for the first two, knowing that I could use the crab apples and grasses from my own garden if I wanted to top up my wreath, or even make another at some point!

I spent the evening wiring small bunches of plants onto the mossy ring, while chatting to the women alongside me. It seems that I was so busy making my wreath that I didn’t take any more photos until it was done.

And I’m pretty pleased with how it turned out.

I purposely chose not to make it symmetrical, as nature rarely is, and I like the natural look.

I’d not used moss on a florist ring before, and each bunch was secured by winding wire around the stems, using a single length for the whole way round - which seemed much easier than I remembered. Arriving home I put my newest treasured possession safely in the garage so that I could work out how to hang it the next day.

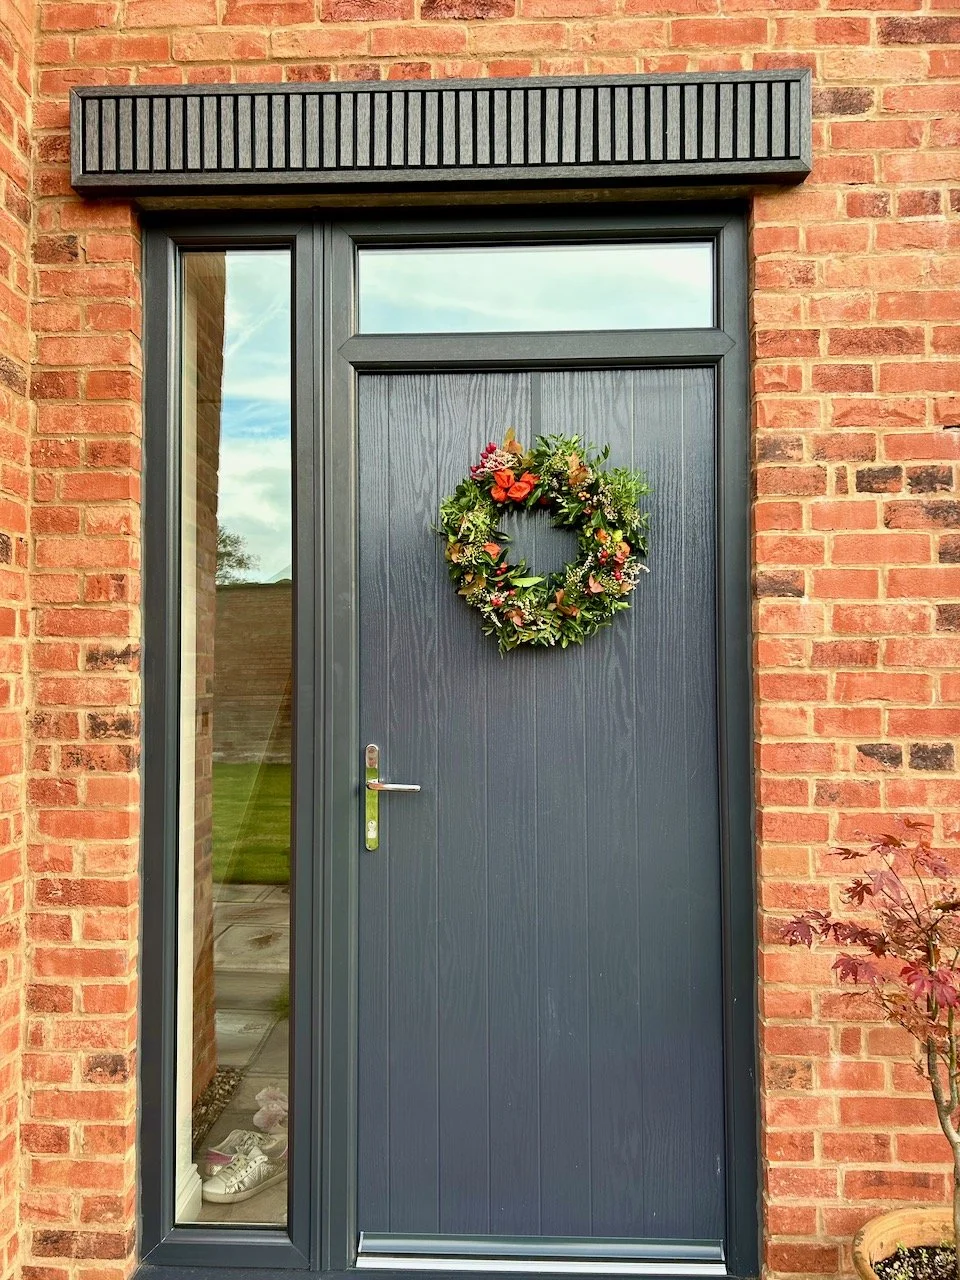
Of course, we didn’t have the right sized hook and nor did we really want to put anything too permanent on our new door, either of them. I knew that I’d be hanging this on our back door, which is the door we use - we rarely use our front door, and so wouldn’t get to admire my handiwork hardly at all.

If you look closely at the photo you can see a dark strip over the top of the door - that’s a very clever wreath door hanger, which hooks easily over the top of the door. The wreath fits into the hook, but I’ve also used the ribbon to tie it on so it’s a little bit more secure - hopefully!

I’m so pleased with it that I’ve already bought some florists wire and some large wire rings (I already had some small ones) - all I need when I’m ready to make another is some moss and some greenery. I’ve already been eyeing up the plants in our border and I’ll be keeping a keen eye on the hedgerows when we’re out walking.

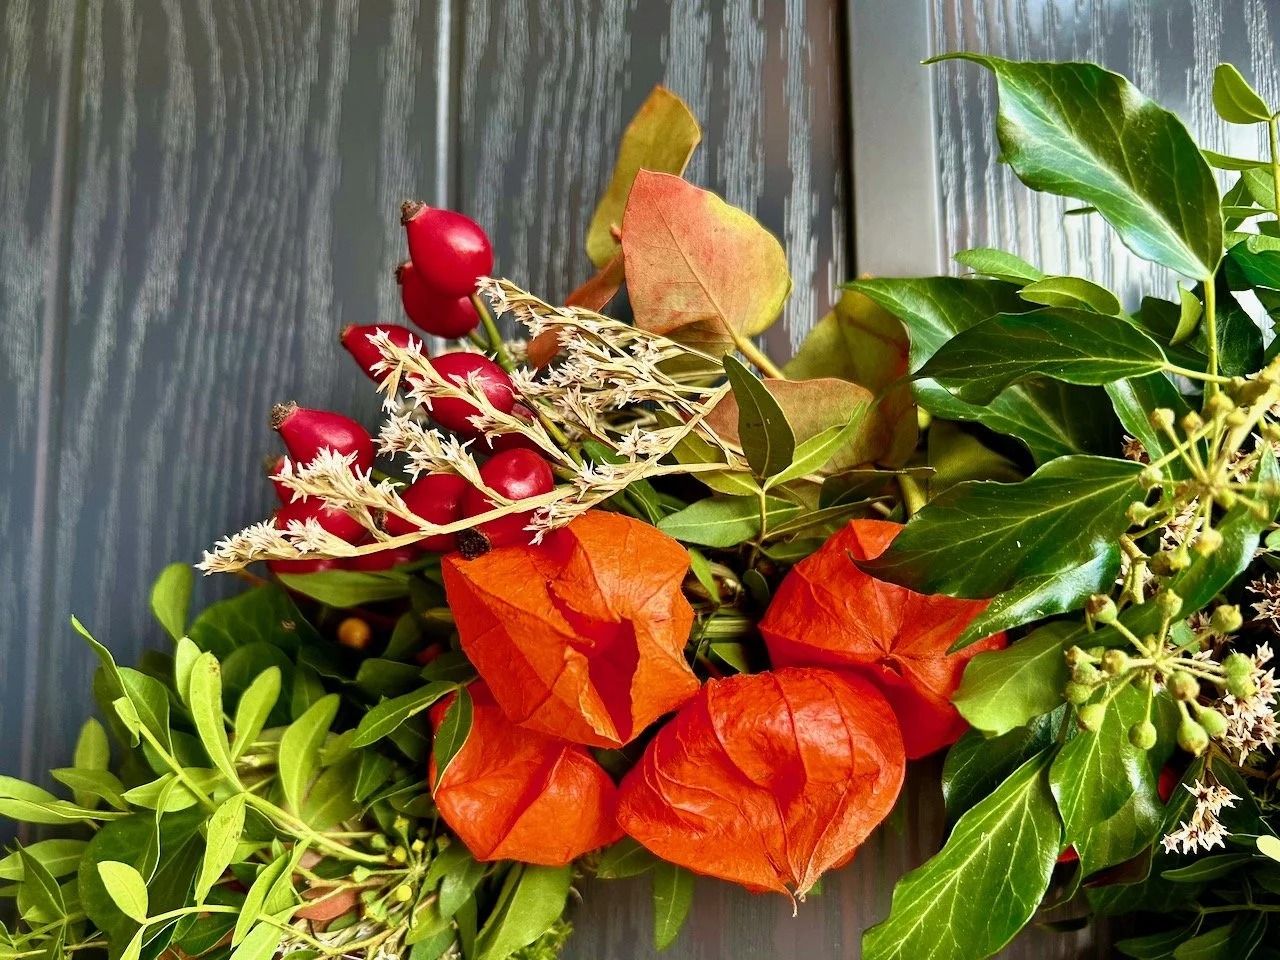
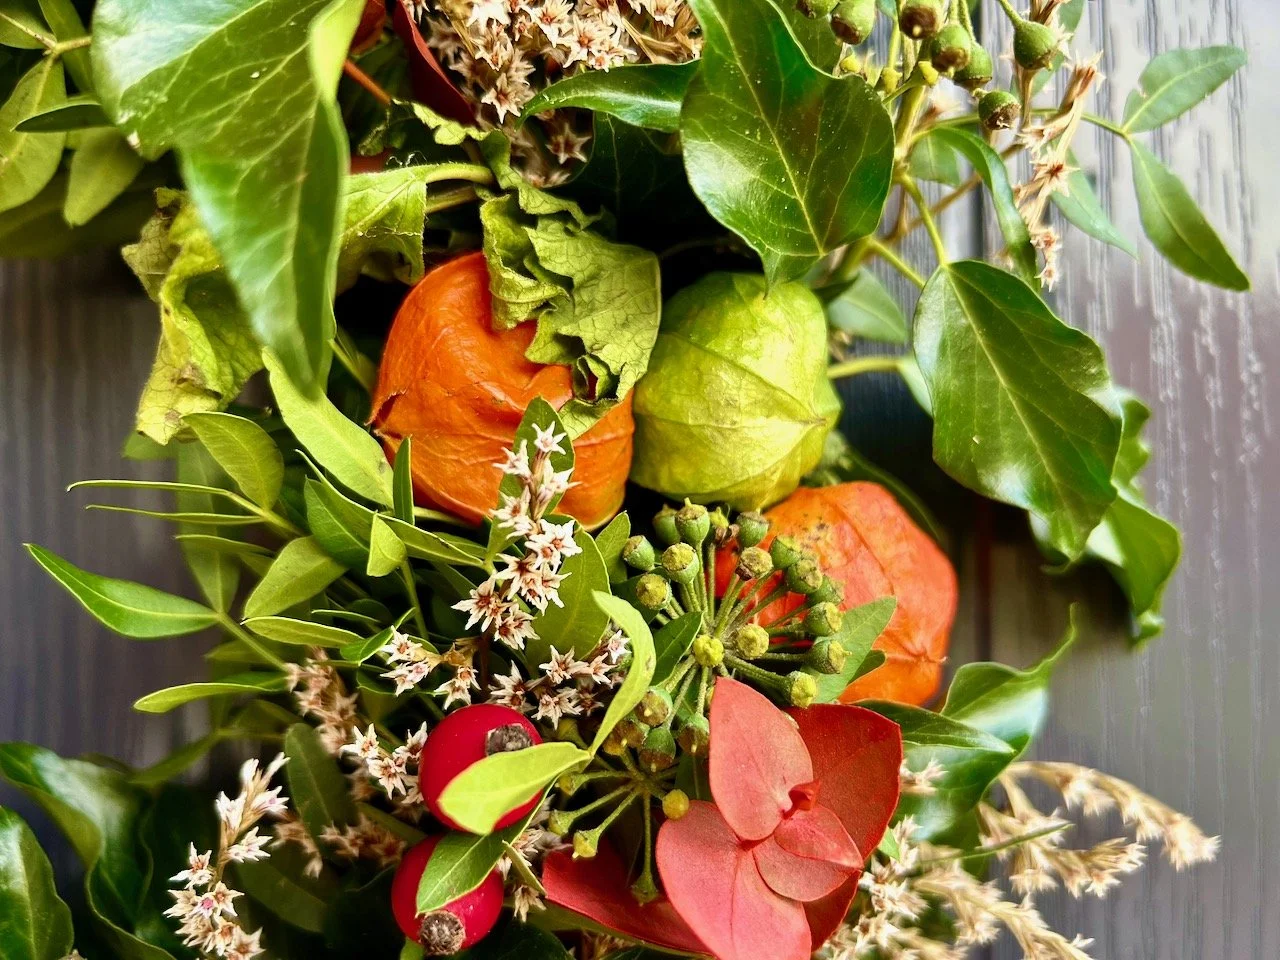
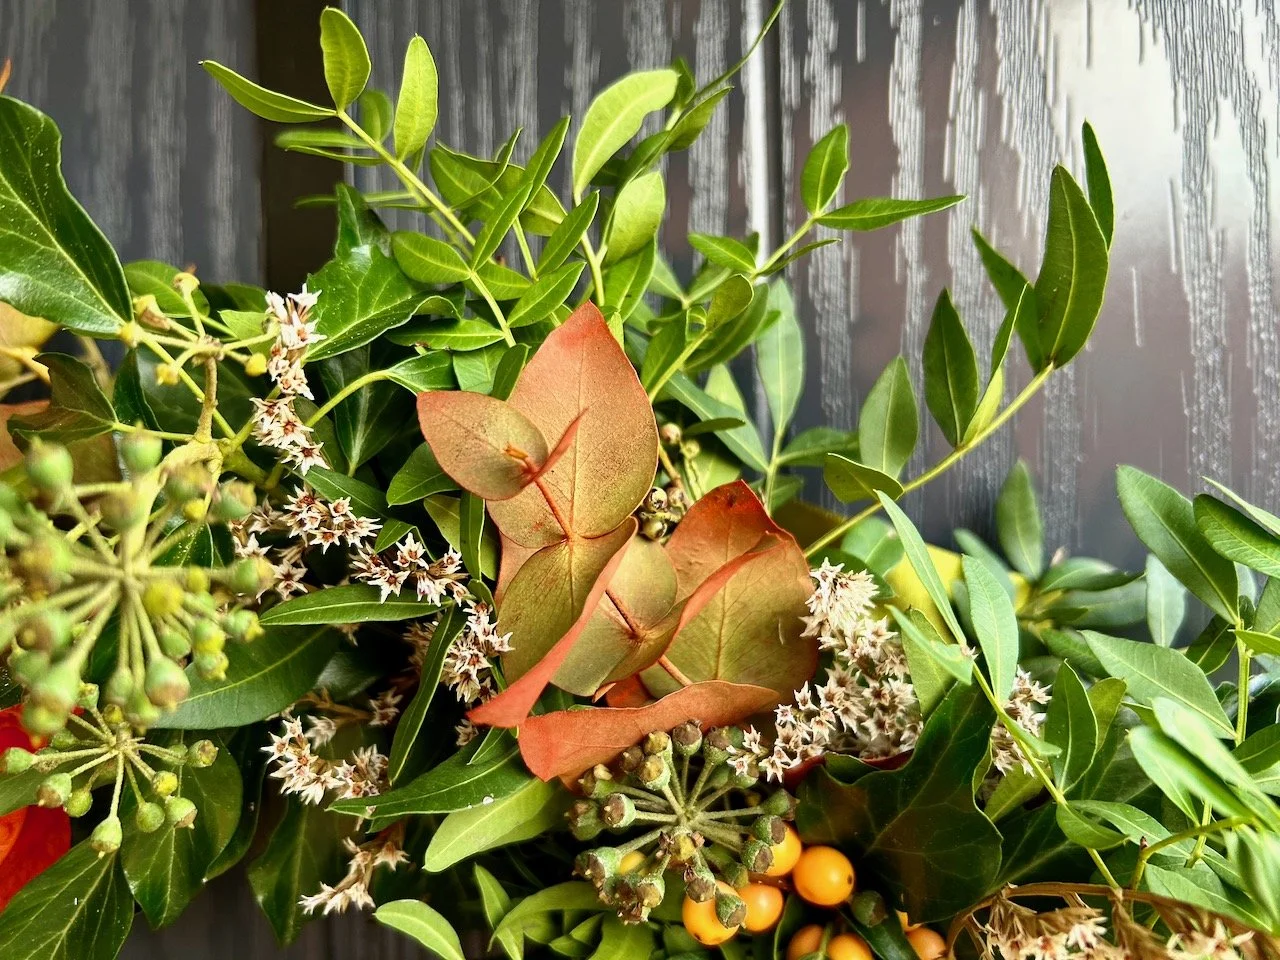
But in the meantime, I’m going to indulge myself with a few more detailed pictures of the one that’s hanging on the door.

Rose hips, chinese lanterns and burnished eucalyptus stems on my wreath
The orange tinged eucalyptus with some smaller orange berries, ivy and greenery
PostCommentLove

3D pumpkins, geometric baubles and the cutest ghost

Today I'm sharing the printables for the halloween and Christmas crafts from my visit to Fellowes in Doncaster last week. But before we get to those, don't you think pom poms raise your spirits in much the same way that bunting does?  I mean, anything adorned with pom poms (or bunting) has to be good doesn't it?

Exactly, so imagine how pleasing it was to be presented with this sight on arrival. And even better, soon after there was a great cup of tea and some pretty fantastic cakes. And of course the crafting and good company.

Photo credit: Fellowes

Photo credit: Fellowes

If you don't know much about Fellowes, they're celebrating a 100 years this year and the Banker's Boxes originated with them. They often provide the original kind for film sets and such like. But they also have a huge range of office equipment, and our tool of choice for the day was the laminator.

And what a clever thing it is. Addictive too, I found myself looking around the room for more things to laminate, and I've some ideas to try over the coming weeks, but first onto those printables.

Photo credit: Fellowes

Photo credit: Fellowes

Halloween Bunting

You can download the printables to make your own Halloween Bunting from the Fellowes Ideas Centre.

First up was the Halloween bunting, with hardly very scary ghosts, black cats, pumpkins, a magic tree (not the magic money tree sort sadly), bats and a witches hat to choose from.  The ghosts threaded onto twine against a black wall looked super effective, and you can choose which motifs you opt for.

The big debate, is of course whether to cut out first and then laminate, or to laminate and cut out after.  If you want to use your bunting outside then cut out first as the laminator will seal the edges and keep them watertight for longer. If you're limited on the number of pouches you have then cut out first to make effective use of your pouch space, or laminate the whole sheet and cut out afterwards.  As a novice laminator that's the approach I took, but either way works.

Photo credit: Fellowes

Photo credit: Fellowes

I was drawn to the cats - no surprises there - and as I was cutting out my second one, inspiration struck and I went a bit off piste, and aided and abetted by Maggie from Red Ted Art who was leading the crafting session, quickly created a 3D pumpkin. It is really cute - it's about hand-size - so will be a good addition to any halloween decorations, or table setting.

LUCKY BLACK CATS, AND POM POMS!

LUCKY BLACK CATS, AND POM POMS!

MY OFF PISTE 3D PUMPKIN

MY OFF PISTE 3D PUMPKIN

While we're not big Halloween celebraters here, I think this technique is one I'll use again.

Geometric Christmas baubles

You can download the printables to colour your own geometric Christmas baubles from the Fellowes Ideas Centre.

These were my favourite item of the day. Armed with brightly coloured felt pens I set about creating bold geometric patterns and once again experienced how mindful colouring, crafting and chatting can be. You'll notice I've coloured over the lines, and that's on purpose, and so my colour will be up to the line I cut, which meant my cutting didn't have to be quite so precise. There is method to my madness (at times).

colouring in christmas baubles - and yes I went over the lines on purpose

In fact I enjoyed creating these so much I pulled out another sheet and created a second colourway, and once they were together they all seemed to just 'go'

geometric baubles ready for my Christmas tree

I've punched a hole in the "bauble top" and threaded twine through that so they're easy to hang. These might end up on our tree, or if I make several more I may just have another use for them. But Christmas is months away yet (and yes I know it'll be here before I know it) but even so I'm going to ponder my creativity some more, and hopefully find time to pull out my felt tips at least once more.  And if that creative idea takes shape you can be sure to read about it here.

If these aren't the crafts for you do head over to the Fellowes Ideas Centre, as they've some fab ideas there and whether you're coming at these from a mindful perspective or a rainy day activity for the kids, I'm sure you'll find something there to spark your inspiration.


This is a collaborative post, but all views and opinions, cutting out and colouring in are my own.


Making my own neon sign

Last Thursday after work I headed into Greenwich Market to the Makers & Friends pop up shop for a craft class, co-hosted with London Craft Club. And a craft class with a difference, as I was going to make my own neon-style sign. Yes, I know. How cool is that. I'll tell you, it's very cool and I really had no idea what to expect.

In front of me where the materials I'd need to start my sign. I'd already thought about potential designs and while I knew there'd be some templates available to choose from on the night, I hankered after some neon lettering. Ever since we started to think about redecorating, yes  all the way back to 2013, I'd wanted an "eat" sign next to the table.  I also wanted letters to spell "cook" in the kitchen and I decoupaged my own, but the eat was - or has been - sadly lacking.

materials for the make a neon sign workshop
And while Becci, the instructor and soon-to-be-kit-releaser from EllBie Co, said lettering was more complicated and unlikely to be completed in an evening, she did say it was entirely possible. I was umming and ahhing but decided nothing ventured nothing gained and decided to stick with my eat.

And while Becci, the instructor and soon-to-be-kit-releaser, said lettering was more complicated and unlikely to be completed in an evening, she did say it was entirely possible. I was umming and ahhing but decided nothing ventured nothing gained and decided to stick with my eat.

The workshop was hosted by makers and friends who support independent makers

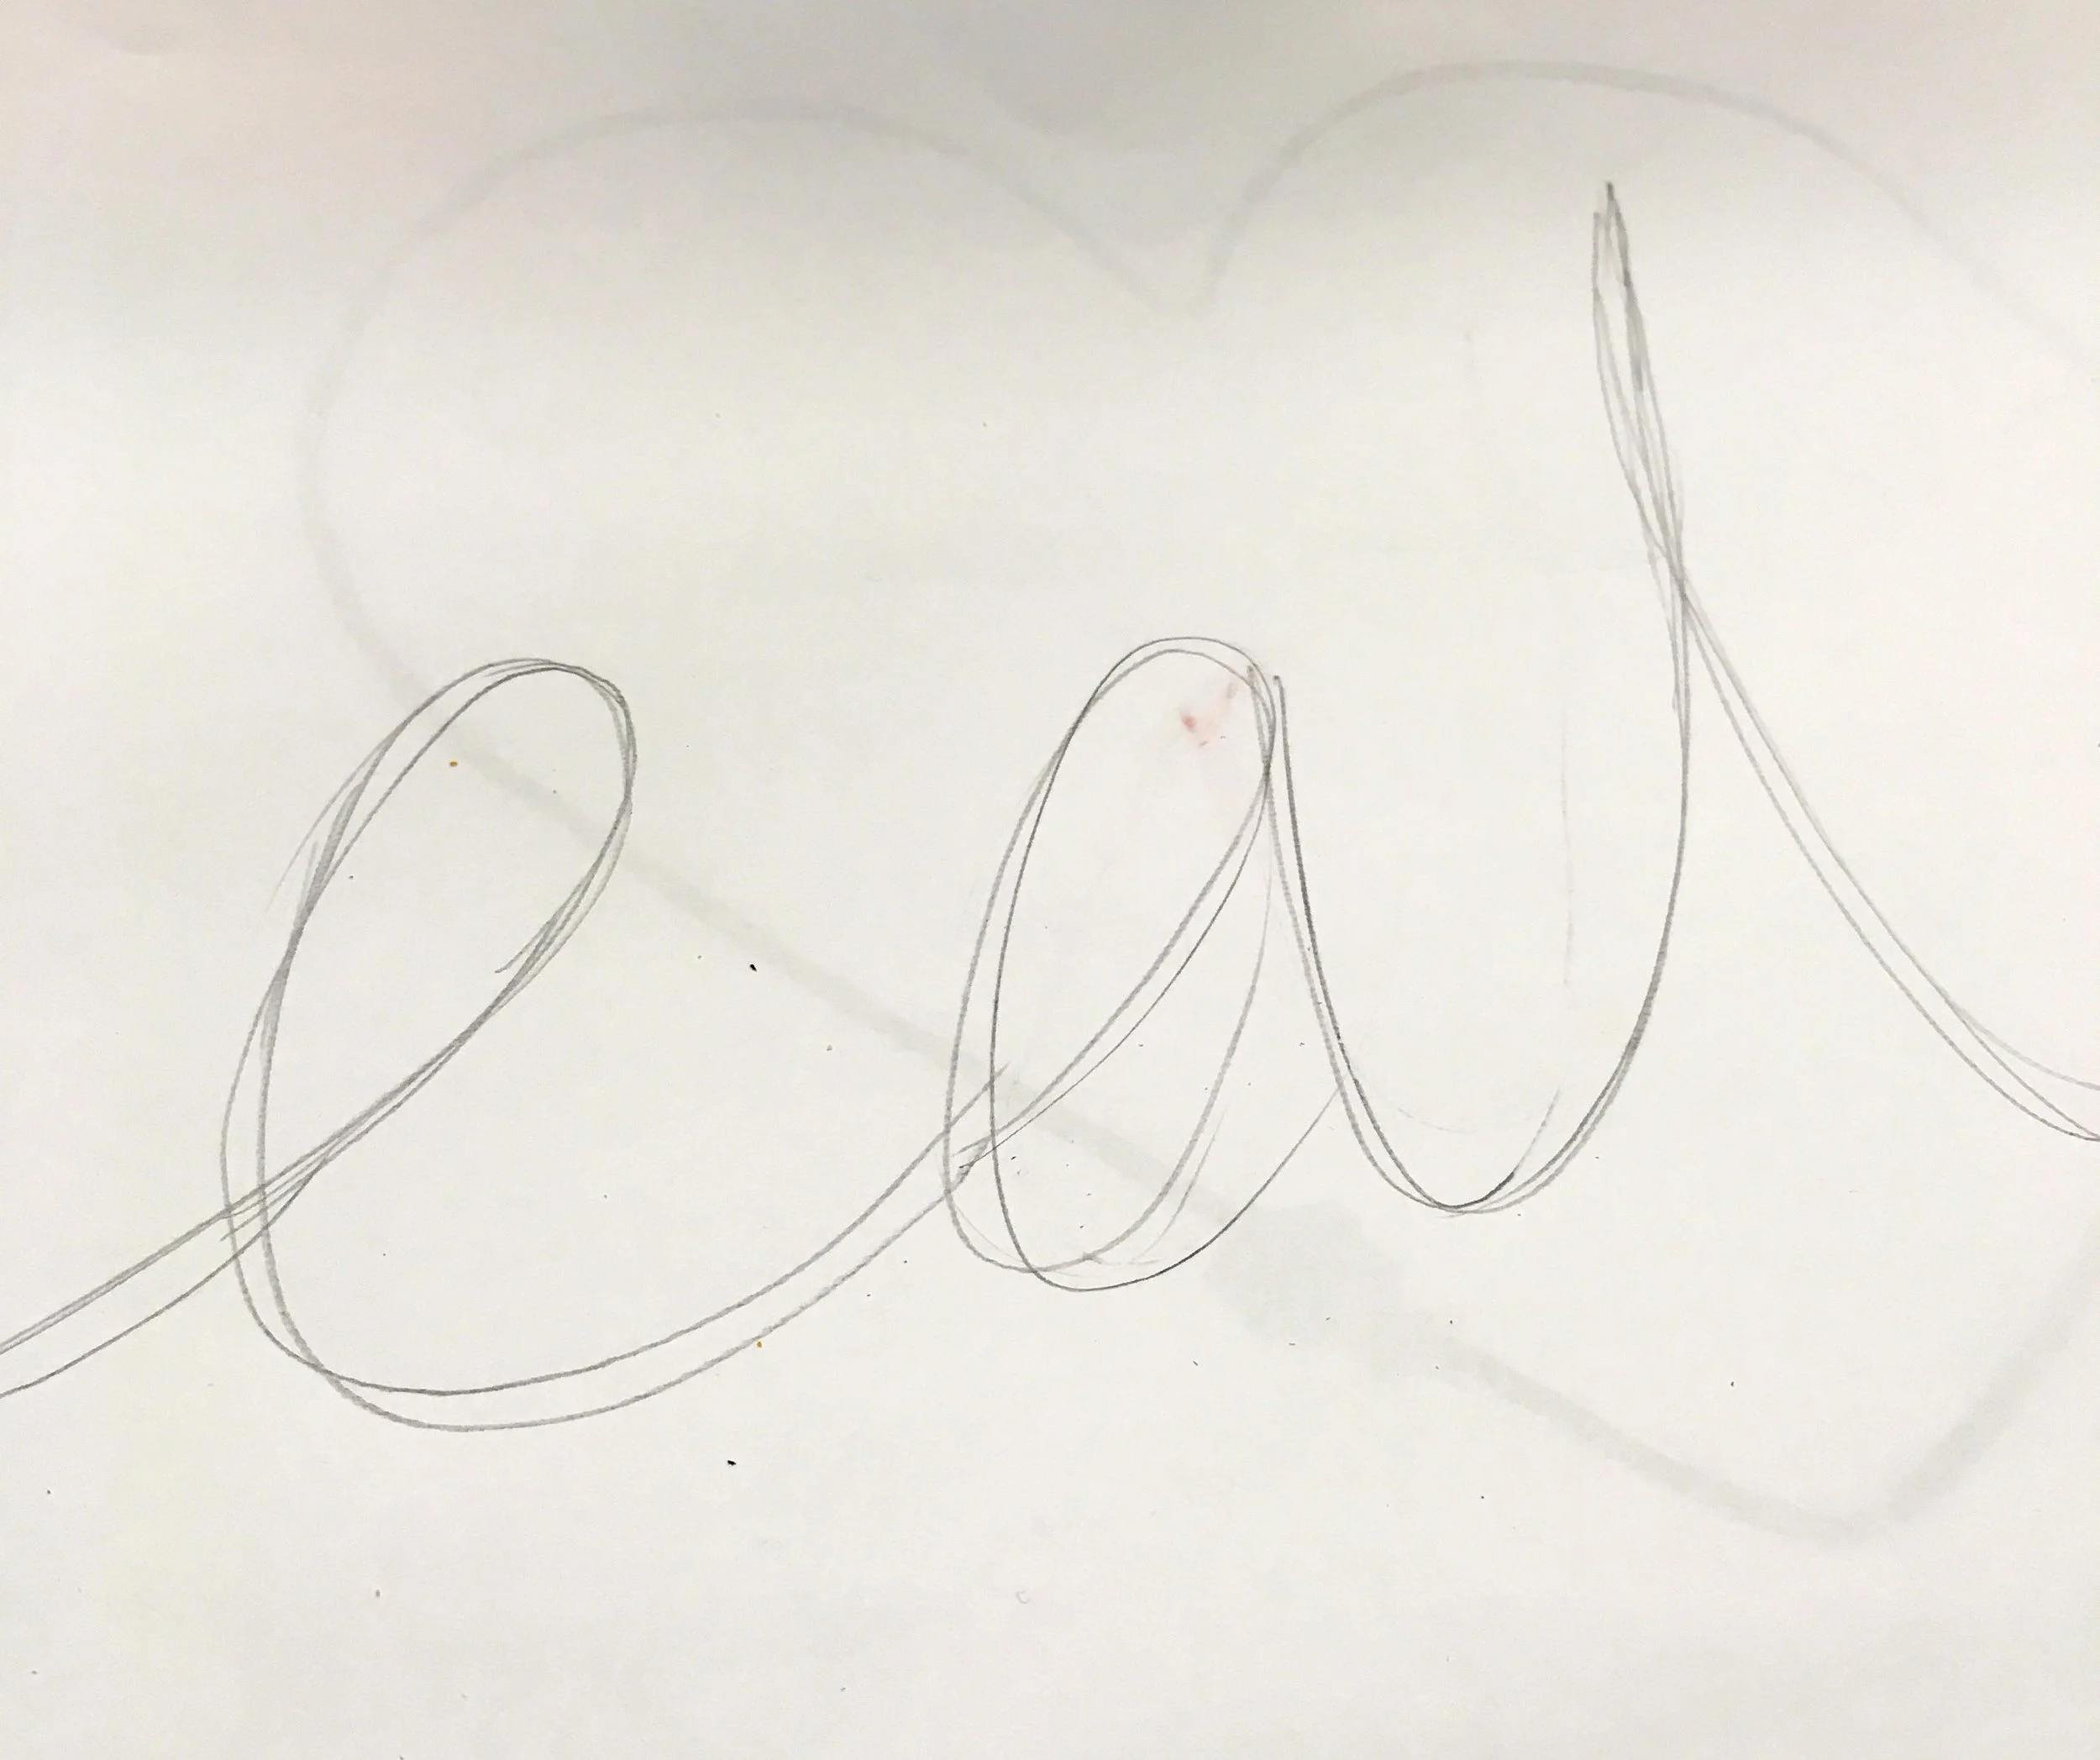
Then came my first challenge. To draw my design. In front of me was an A3 piece of paper, and the heart on the back was for it I changed my mind and chickened out and decided to go for something simpler. It was hard to draw the lettering so large, and that's without tackling the trickiest part of the t. But with some perseverance it was starting to look how I'd hoped.

Drawing my design for my neon sign

For the cross of the t, I needed to do it in one fluid movement, hence the trickiness. I decided to approach it more in a flower shaped design and to squeeze it into shape as I went. With my design mostly there, I took the aluminum wire and bent that into shape, sticking it to the paper and mostly to the design using masking tape.

the first step to making my neon sign was to bend the aluminium wire into shape, the masking tape helped to keep it in place

As you can see the t was starting to look less petal shaped and more t-like, thanks to the pliers.  I was rather pleased with myself and ready to move to the next phase.

the aluminium wire for my neon sign was taped in place and it even looked like I hoped it would

And next was the neon bit. Well actually electroluminescent wire. As you've probably already worked out I chose blue, but there's also a pink version. And I know some of you will be shocked by that, but I think blue will go better with our decor, so it's a small sacrifice. I'd rather we used this, because I was already convinced this was going to be a fun addition to our decor. 

The magic in this step is invisible thread. I was pleased though that I had a navy skirt on is it meant that there was no hiding place for it on my lap. Well, once I round the end of the new reel anyway. That proved problematic for more than just me, so I didn't feel quite so bad. The electroluminescent wire is tied to the aluminium wire using the thread in a series of knots. And for mine, they're almost every two centimetres, so that's a lot of knotting, and that's why I didn't get to finish my design on the night.

the next step in making my neon sign was to attach the electroluminescent wire to my design

It was a lot of knotting and to start with I was all fingers and thumbs. But my fingers (and thumbs) soon got the hang of the movement and it wasn't long before it was almost second nature. And actually quite calming and therapeutic as often crafts can be, especially when they're going well. I could quite easily see how Becci says she manages to do this while sitting in front of the TV. I'm not quite at that level of comfortableness with it, but it's not unattainable.

While I didn't get the whole design knotted, I did get through my trickiest letter and skipped ahead to the next step, and that's securing the knots. And for that we used the craft staple of PVA glue. I was keen to secure my knots so all of my good work didn't, quite literally, come undone on the way home. 

The t on my neon was giving me some trouble but I'm sure it will work out ok

And for that it was covering the knots and both wires in glue. I think I might have been a little too liberal with mine, but as PVA glue dries clear once I'd smoothed it out a bit, it was going to be fine. The glue will also bind both wires together and give the form a little, well more rigidity. And while it looks messy in the photo above I've since trimmed the ends of my knots and it's hard to see where they are. 

But what I, and everyone else in the class, was keen to see was how our designs would look in the dark. So with the battery packs attached, out when the lights and on cue we turned on our neon artwork. 

turning out the lights and turning on my neon sign - impressive hey

Pretty impressive, huh?

A look down the table and you can see I wasn't the only one impressed with my evening's work. Next to me there was a sign of "joy" - wasn't it right that we were seated together? - and there were many more off-piste and off-template designs that evening.

And it wasn't just my neon sign that had success, just look around the room

So I left with my eat sign safely tucked away in a pizza box - I loved the idea of this - and clutching the instructions and invisible thread so I can make progress at home. Of course, I haven't yet, but I will. We're off to Norfolk in a week or two and I know that my eat is coming with me then.

And when it's done I'll work out the next bit, on how to get it where I want it to be. You can make your sign so it hangs on the wall or so it's part of a frame and neither really appeal to me as I'd much prefer to have it freestanding. I know that won't be possible because it is just the thickness of a wire, but I'm trying to invent some kind of stand in my head to make it work. I've a plan - and hopefully a cunning one - and if that works, I'll reveal all when I show you my completed sign.

But in the meantime I've got some knotting to do...


* Thanks to the London Craft Club and Makers and Friends for inviting me along to try my hand at a new craft, and to Becci from EllBie Co for being a patient instructor. I had a great evening and think you would love it too.