Cards for Mother's Day

I'm taking a risk here posting my Mother's Day cards ahead of tomorrow, so if you're my mum or my MIL please stop reading now...


- - - Yes, if you're my mum or my MIL there's nothing to see here - - -


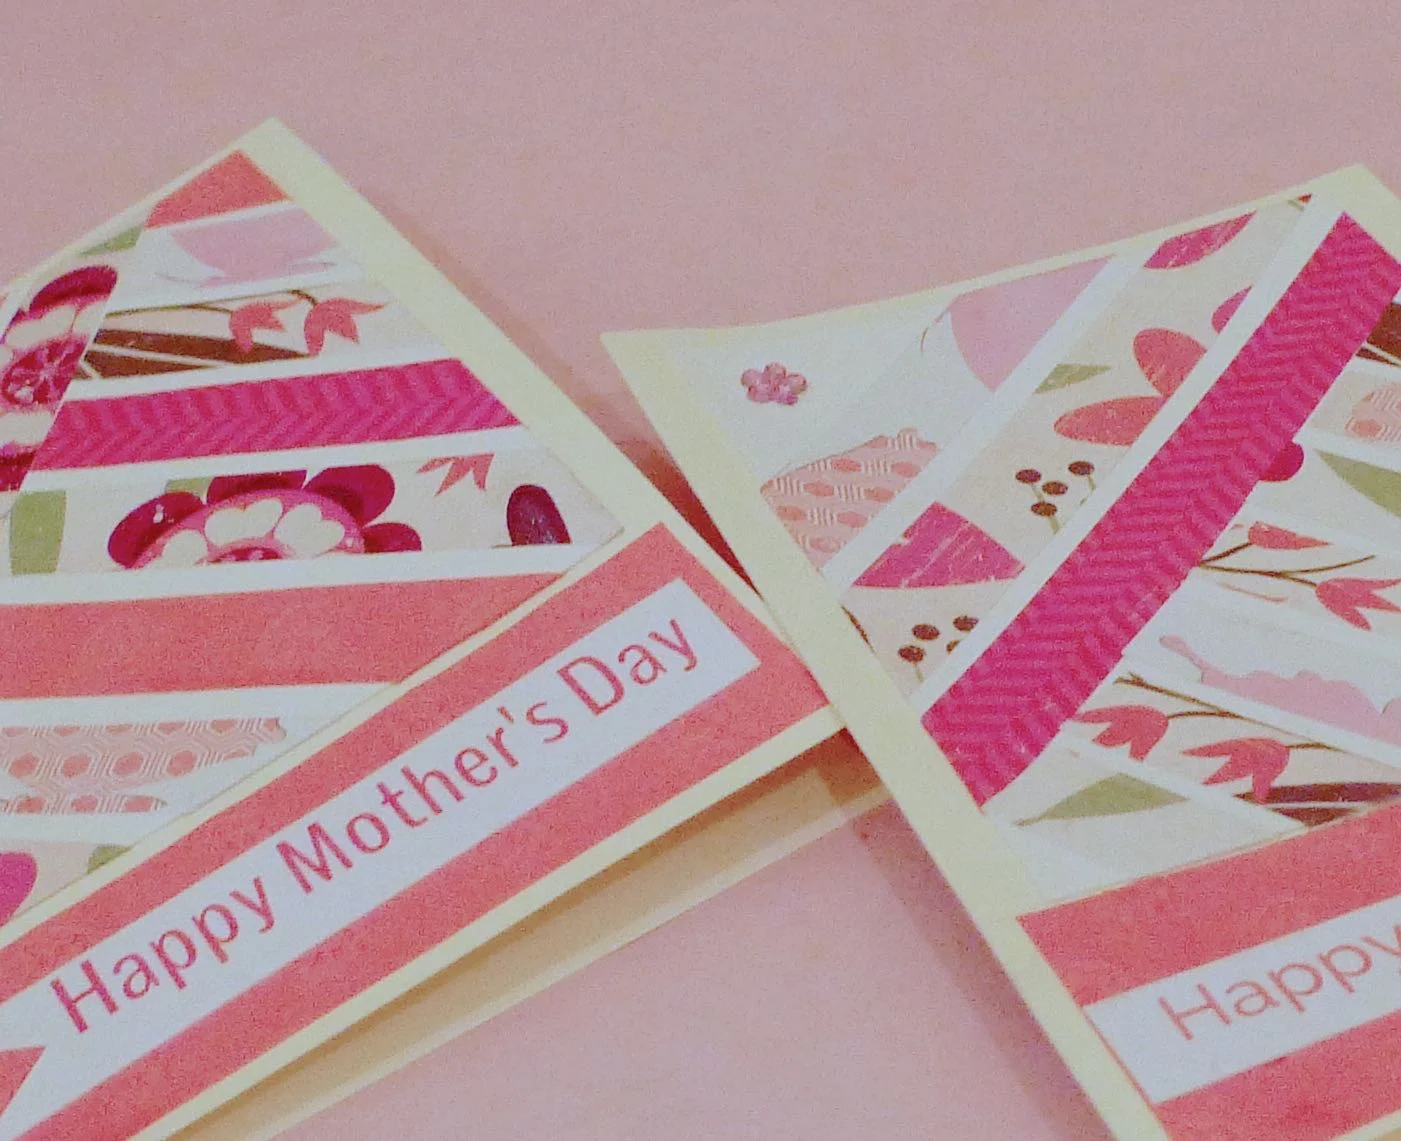
Right, with that out of the way, let me tell you more about the cards I've made.

I'm forever pinning ideas onto my Cards, Wrapping & Tags Pinterest board and so I thought I should check there for some inspiration before I started. And it worked.

Mothers Day card close-up

You'll need:

Card blanks
Card scraps
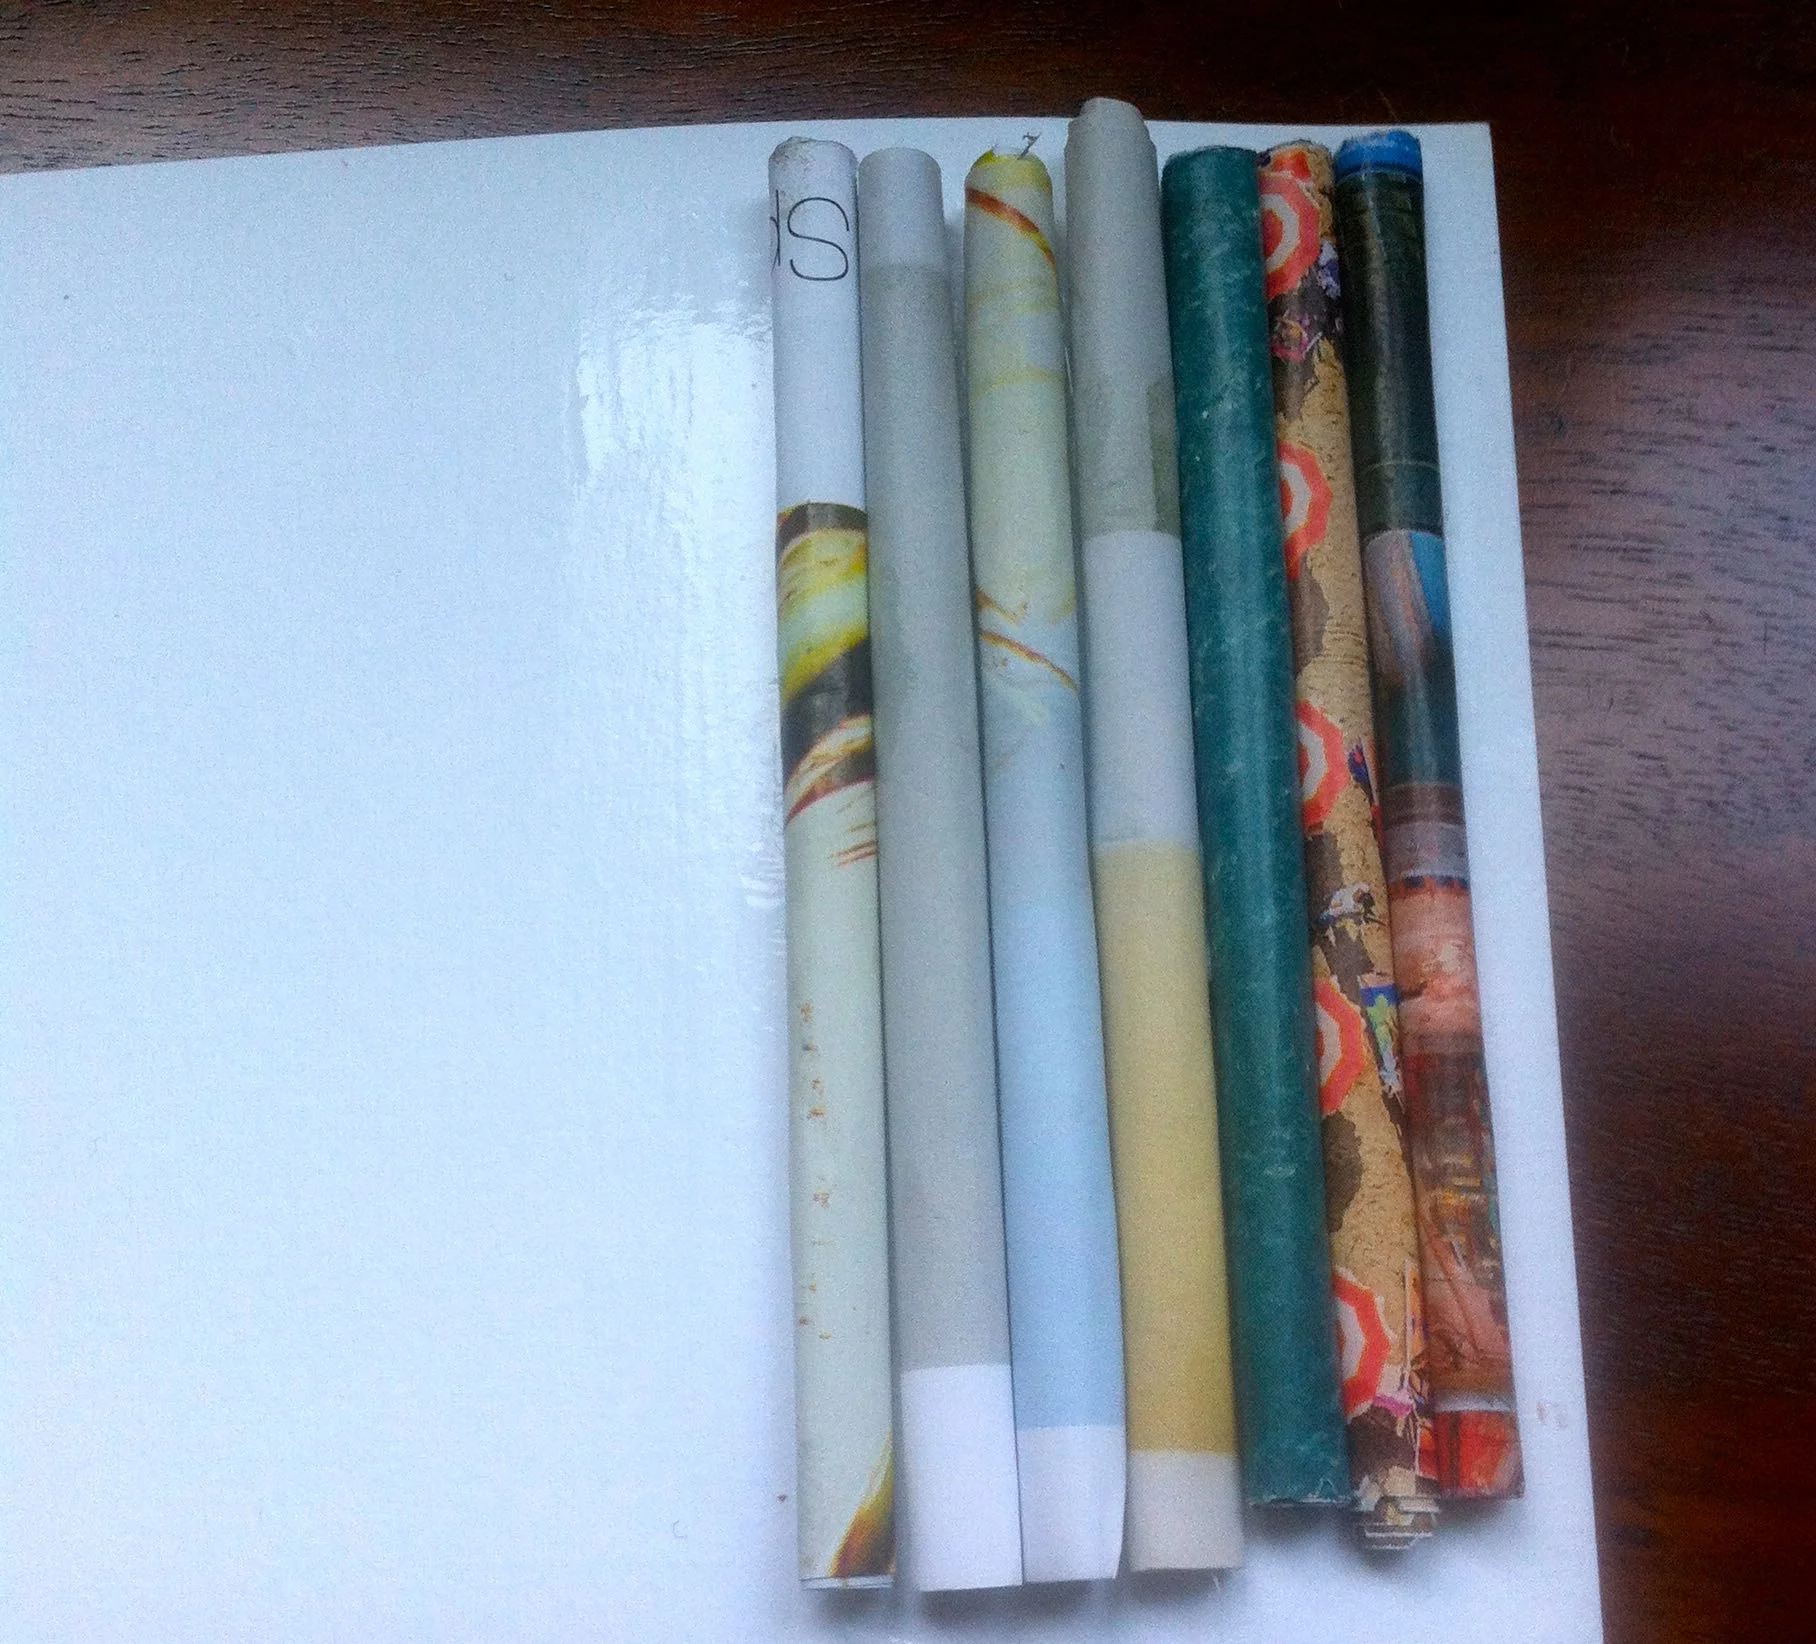
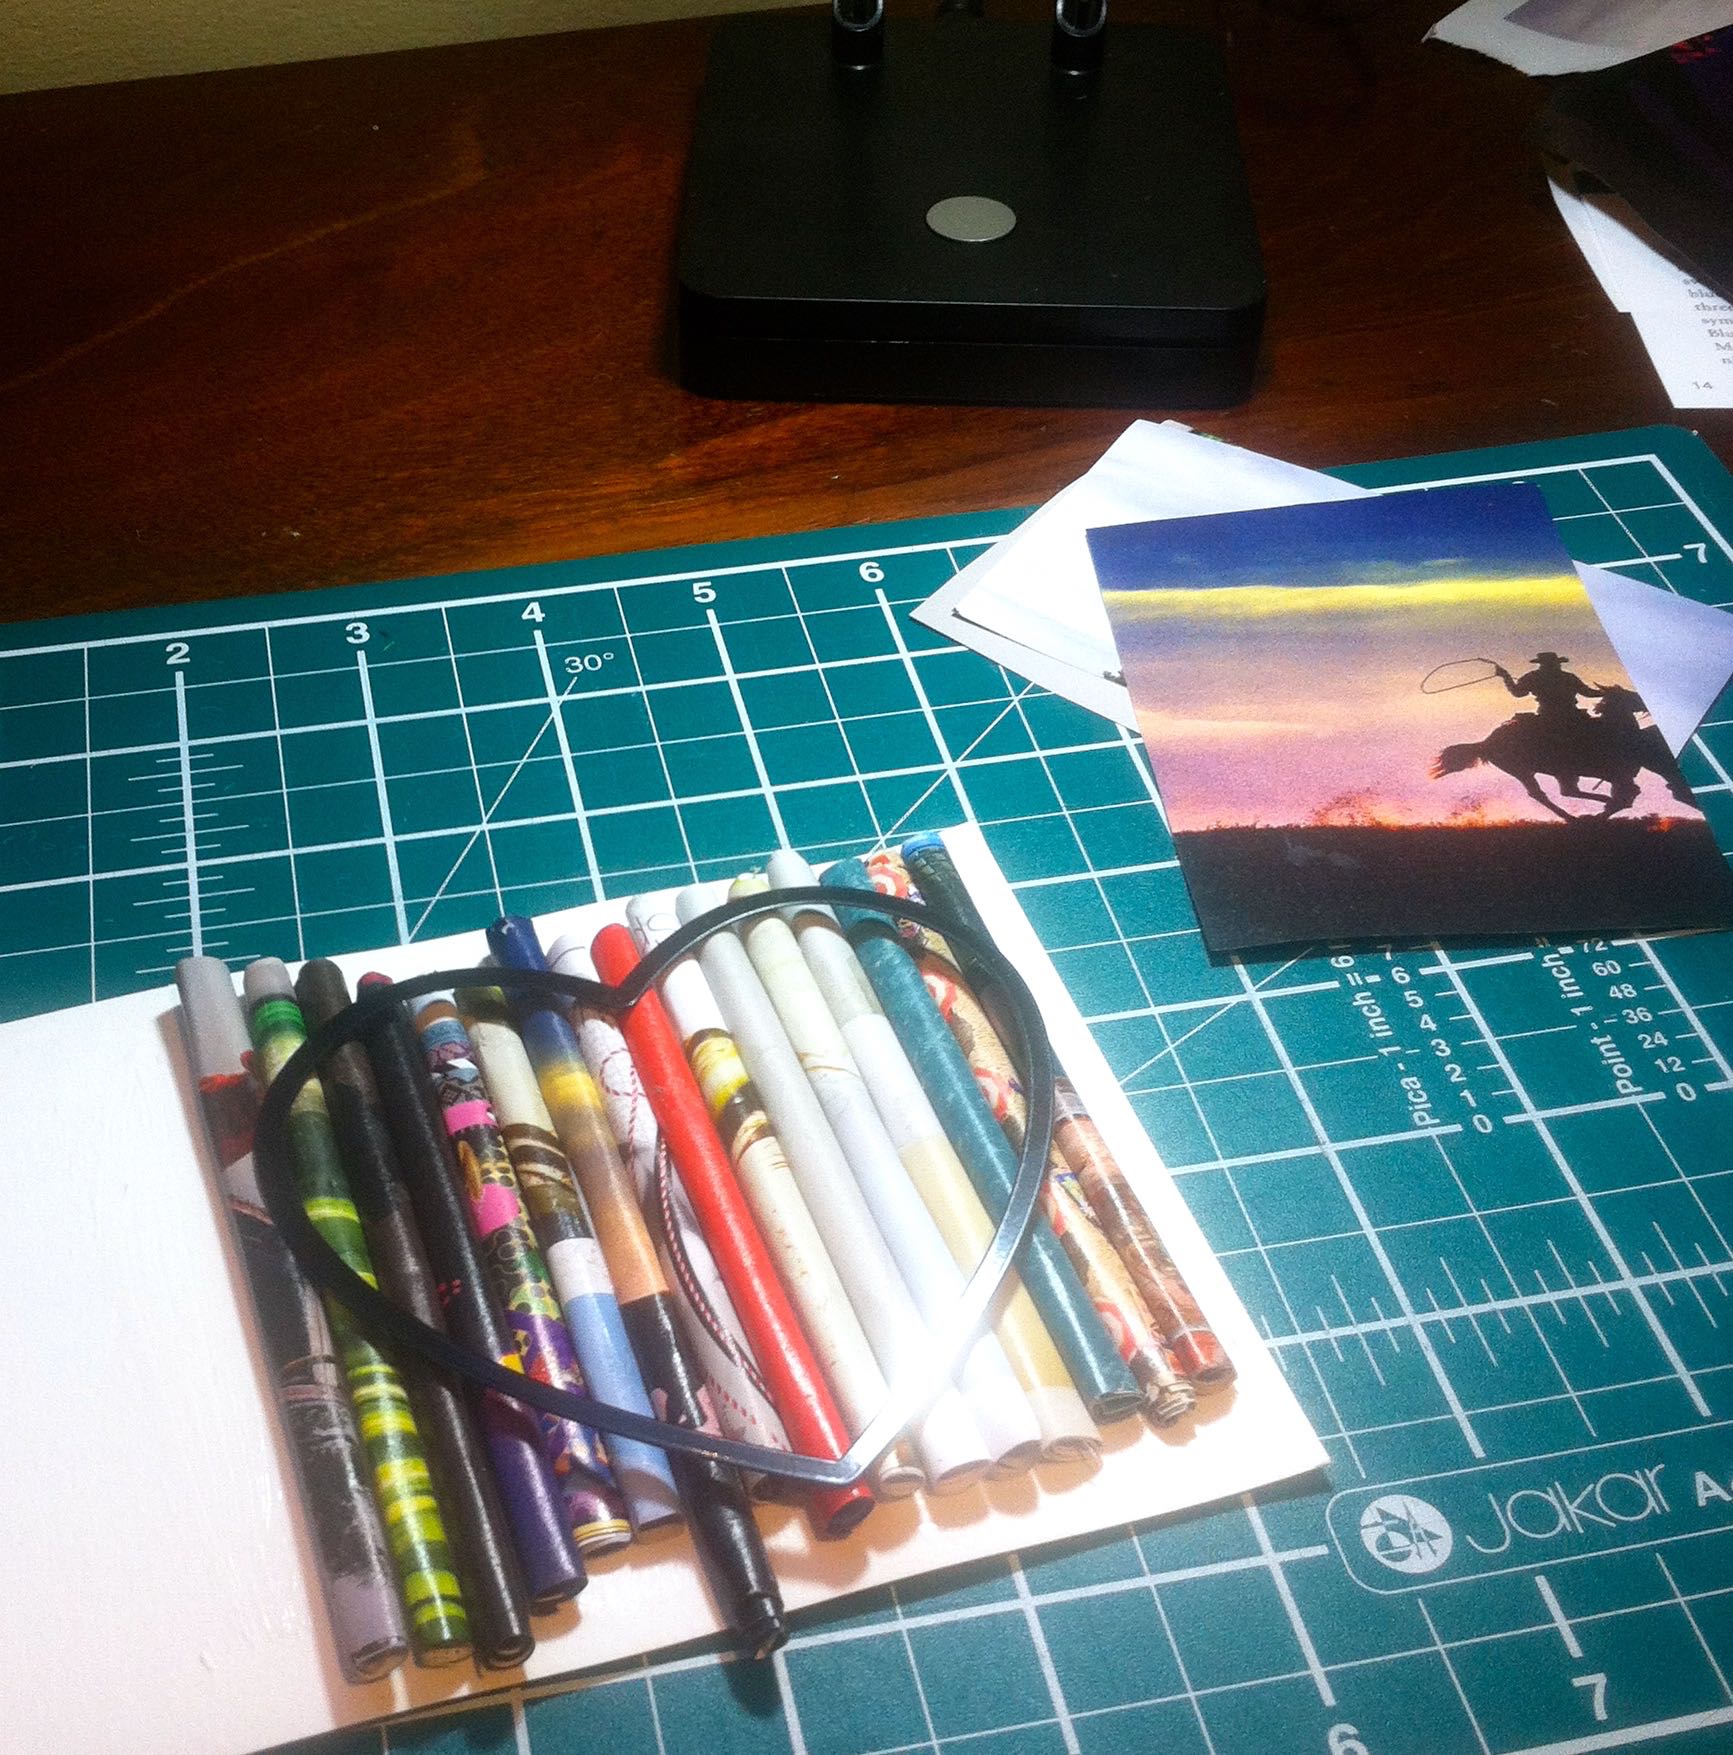
A selection of scrapbook paper cut into 1cm strips (or substitute washi tape for a quicker result)
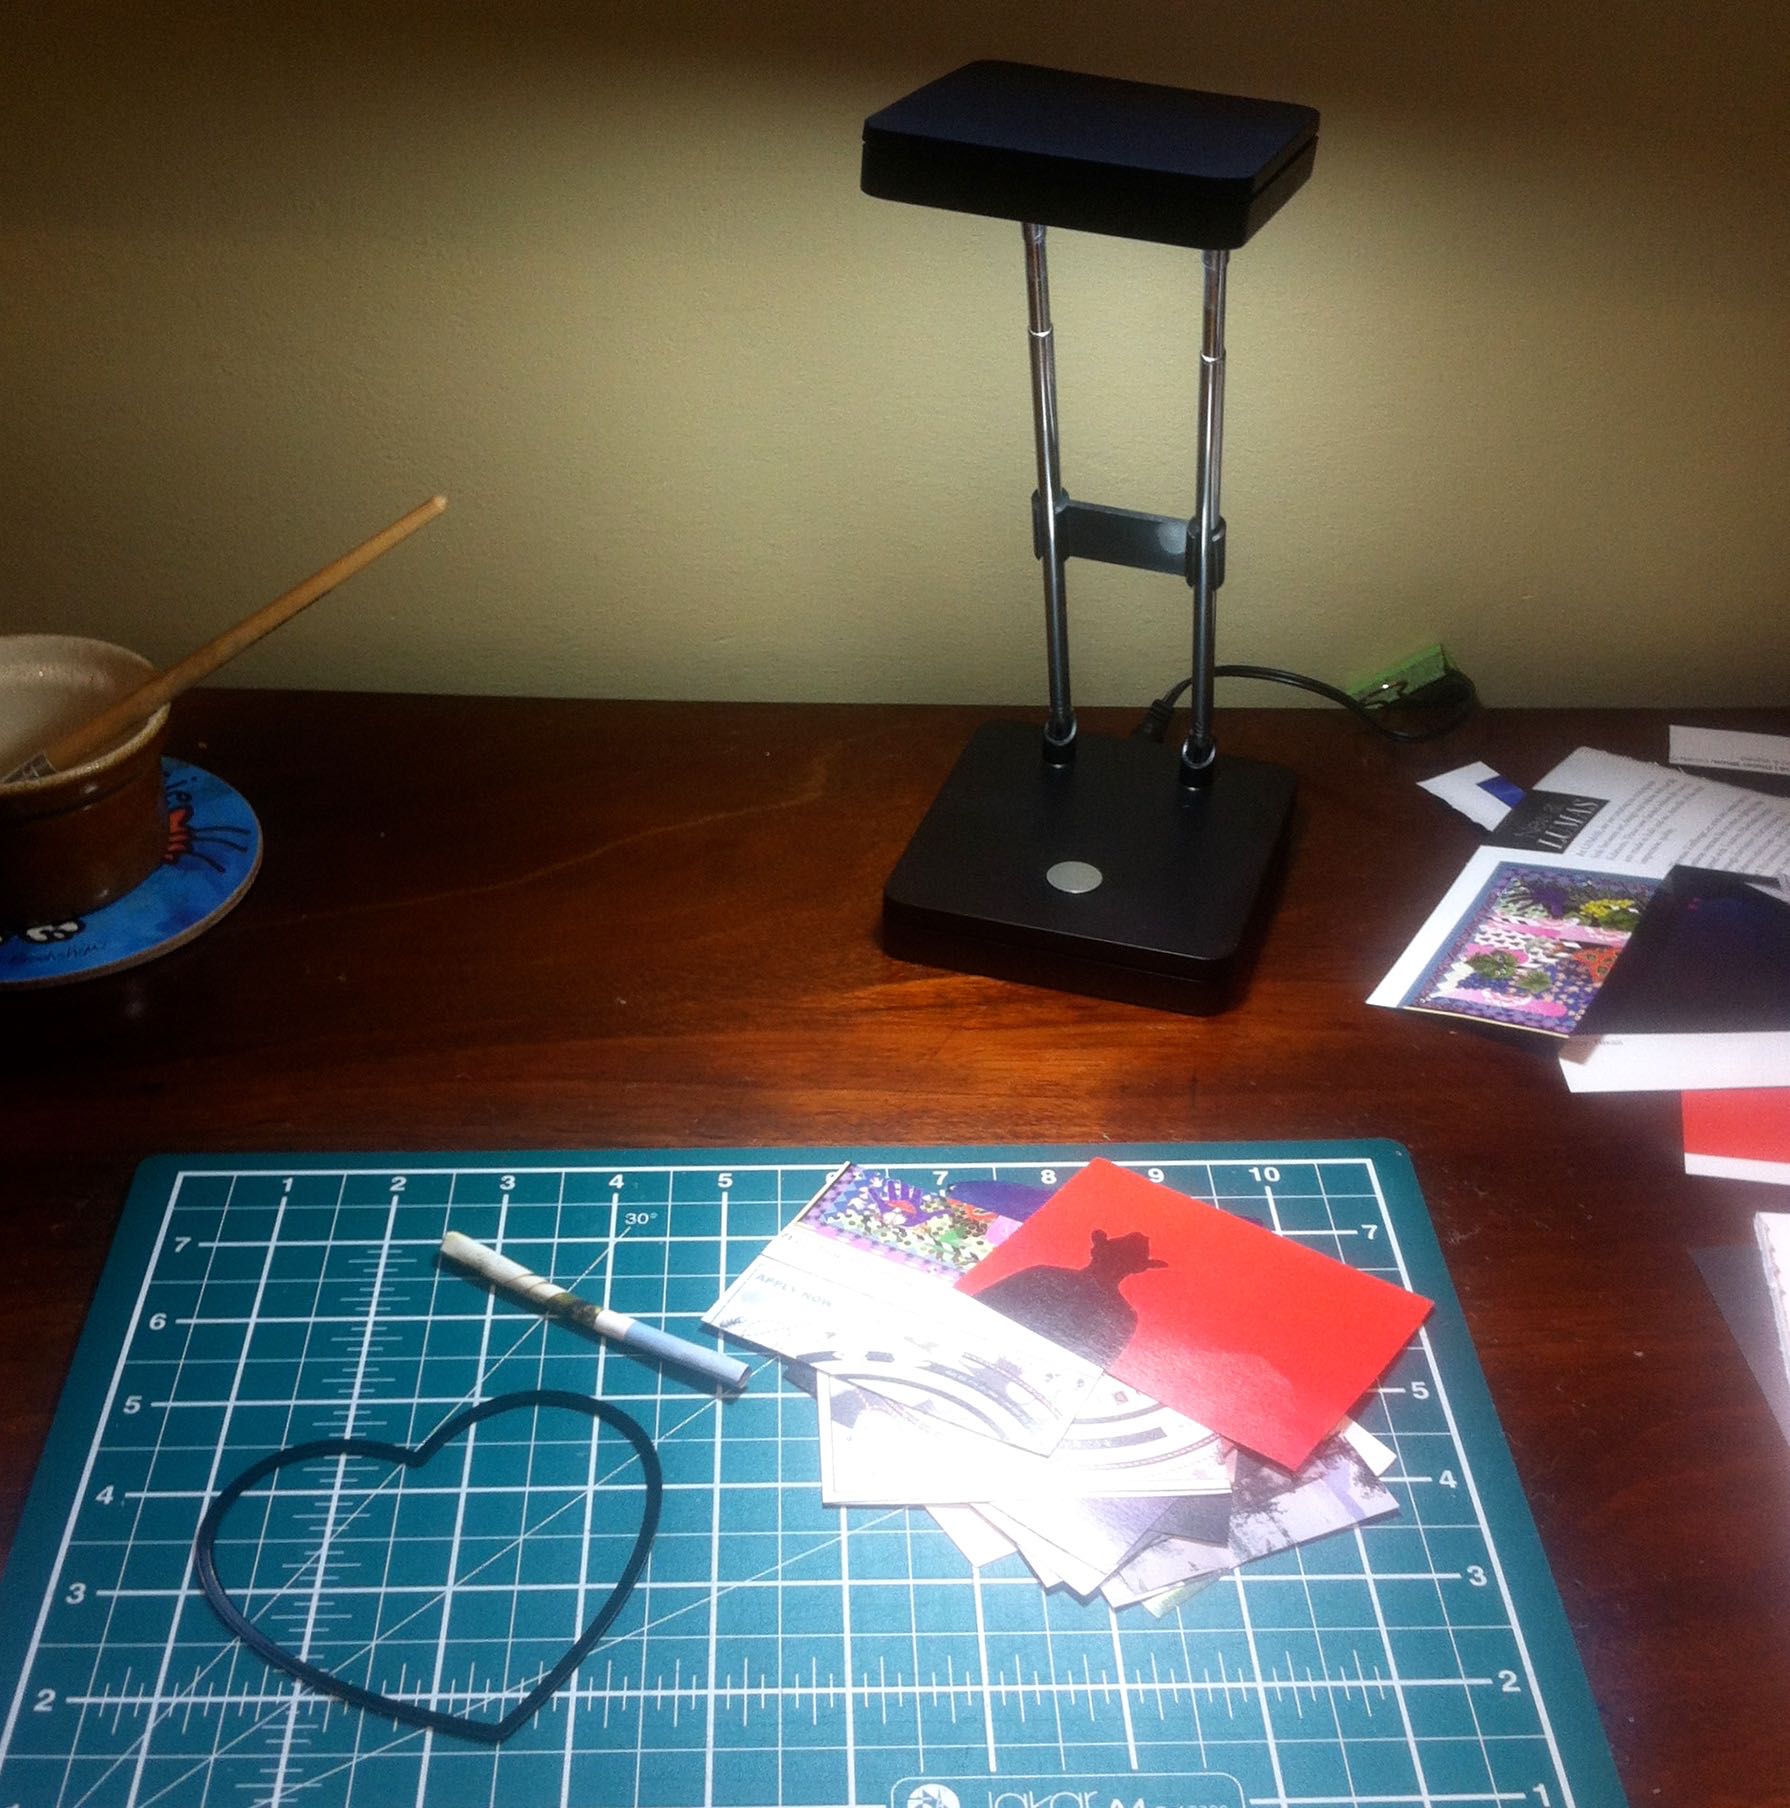
PVA Glue
Printed or handwritten message
Embellishments for decorating

I used scrapbook paper for these cards, but washi tape would produce quicker results.

  1. Cut a scrap of card that covers two thirds of your card with a margin on each side and at the top.
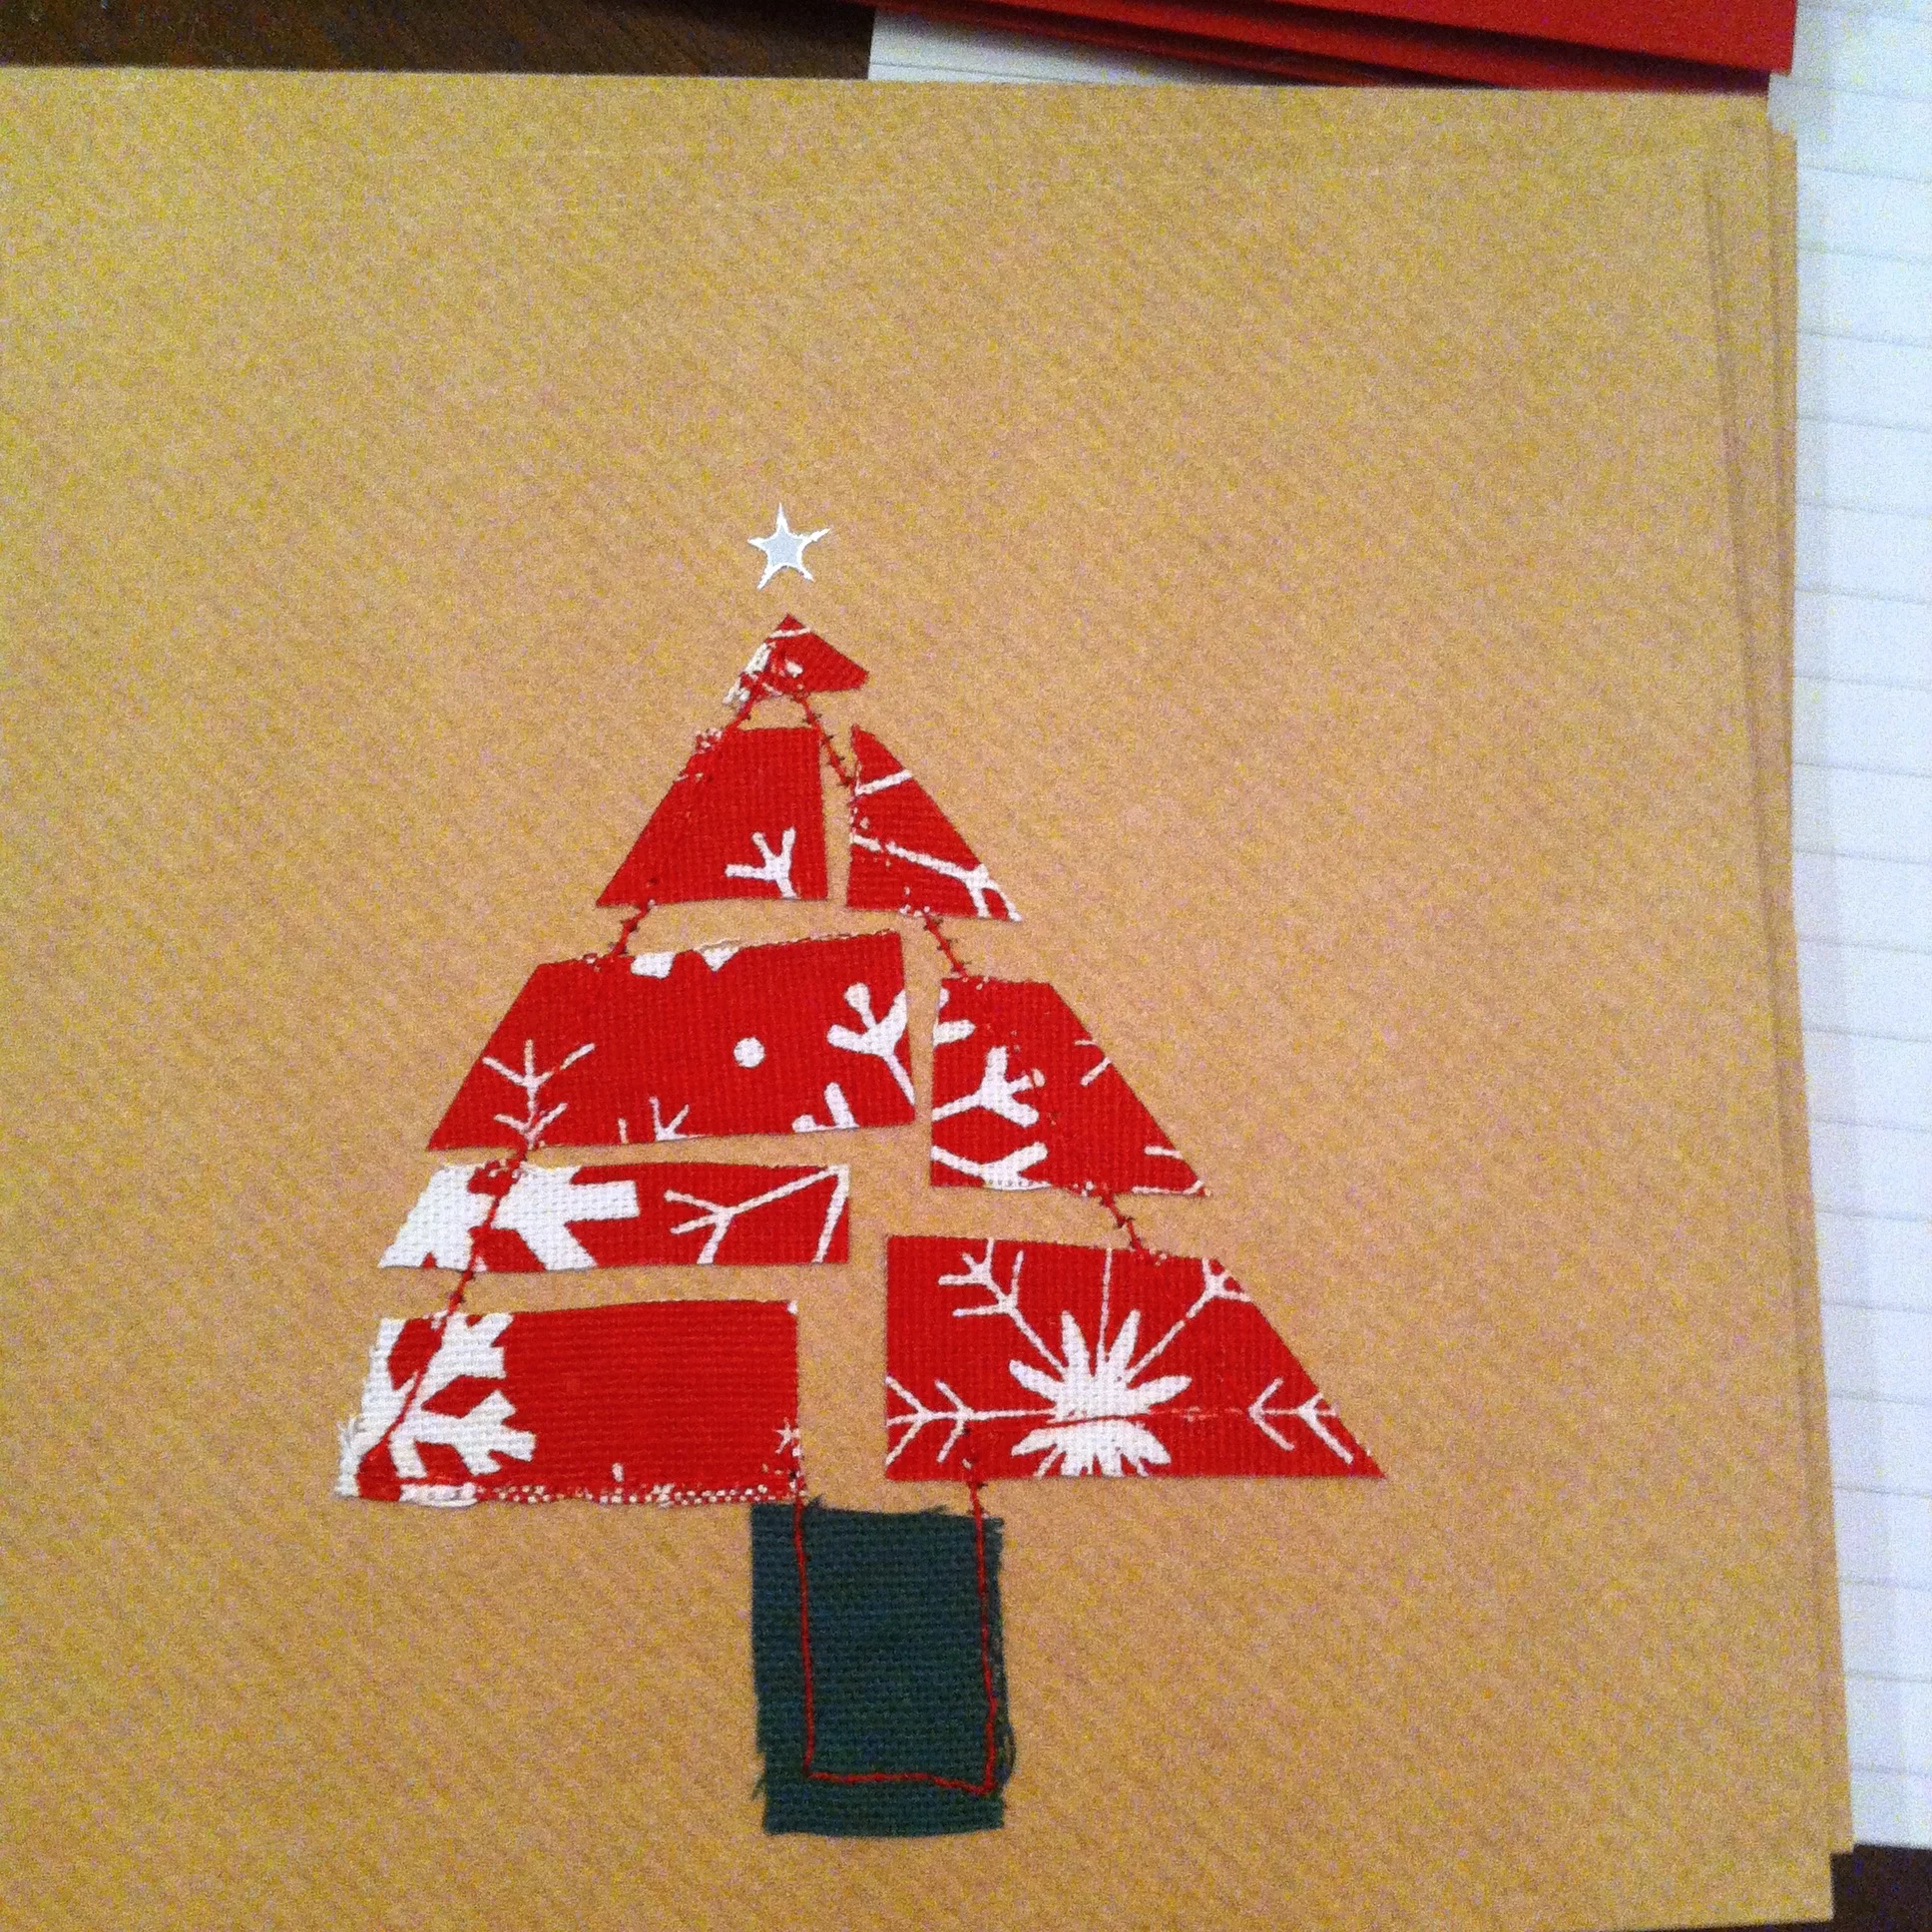
  2. In a diagonal pattern stick the 1cm strips of scrapbook paper onto the card*, turning it onto the reverse of the card.  Leave under a pile of heavy books to dry.
  3. Cut out your text and stick onto a small piece of scrap card and leave it to dry under a pile of heavy books.
  4. When they are dry, cut around your text to form a flag shape at one end, your choice which and then stick this onto a larger piece of scrapbook paper that fills the remaining space of your card blank. Leave this to dry.
  5. Take the decorated piece of card and stick it onto your card blank, and leave it to dry.
  6. When both of these elements are dry and flat, stick them onto your card blank and leave it to dry for the last time. The heavy pile of books (or anything else that's heavy) is important as it keeps the card flat.
  7. Once the card is completely dry, add an embellishment in the top left-hand corner and you're ready to write your message inside.

These cards have do need time to dry as you assemble each element, but if you're using washi tape - which I think would look just as pretty - you can reduce the time it takes to make the cards, but not the effect.

Mother's Day cards

So there you have it, cards for Mother's Day. I'd hoped to be able to take better pictures of them before they went in the post but that didn't quite work out - next time I'll need to factor that in as well!

If you want some inspiration on home made cards, take a look at my Pinterest board - and if you like it, it'd be great to have you follow along.

A Valentines card that's close to my heart

I can hardly believe it's almost Valentines Day. This year once again I'm making my card to MOH and this year I'm sharing it early - and he's under strict instructions not to read this post until after the event!

For all of my cards I like simple and strong designs and this card is no different. The part of it that's close to my heart, is that I've reused old magazines and made them into something pretty special.  Throughout this post I'm also going to share more about my new craft light from Iconic Lights. It's brilliant.

GETTING STARTED

GETTING STARTED

1. I started with some colourful pages from an old magazine and cut them into oblongs around 5cm x 12cm - just large enough to cover my heart die.

rolledscrapsofpaperoncard.jpg

My plan was to roll these pieces of paper up and stick them onto a piece of backing card, and then use my die cutting machine to cut a heart shape.

If you don't have a die cutting machine you can follow a similar approach but you'll need to draw a heart template and cut that out by hand.

2. I used a small amount of PVA Craft glue as I rolled each piece of paper up to stop it unrolling as soon as I'd turned my back, and then attached them to some scrap backing card using the same glue.  

Already you can see how the pattern is building up, and while you only see part of the magazine page I think it's interesting watching the pattern develop.

Before we carry on with the card, let me tell you more about my new light from Iconic Lights. I am clearly using it as a craft lamp, but it's more regularly known as a 'Stell' LED Telescopic Adjustable Desk Lamp. It comes in black and white and folds flat when not in use - so a mega-plus if you're using it for a specific purpose, like me and don't have room to keep it on show all the time.

It gives out a decent amount of light and really helped me focus on the close work. At £18 I think it's very reasonable and am considering buying some as presents for fellow crafters.

iconiclightsadjustabledesklamp

Here's a few photos of it fully extended, unextended, tilted and folded flat. What I especially like about this lightweight light is the telescopic bits which remind me of telescopic aerials we used to get on radios - perhaps they still exist, but I don't have those any more.

FULLY EXTENDED

FULLY EXTENDED

UNEXTENDED

UNEXTENDED

TILTED

TILTED

AND FOLDED FLAT

AND FOLDED FLAT

Right, back to the card.

3. Once you have stuck sufficient rolled paper pieces to cover your die or template, it's time to leave it to dry. If you're using a die cutting machine you can place it under a large book (or something equally heavy) while it dries, but if you're cutting your shape by hand be careful about how much weight you add, or you'll flatten your rolls of paper.

The rolls of paper will flatten in the die cutting machine which is why it is less important to keep the shape at this stage.

valentinescard

4. Now all that you need to do is to attach your newly created heart to a blank card. I've chosen a brown card to reflect the recycled nature of my card, and I think it shows off the heart well. 

completedheartsvalentinecardfromscrappaper

It really is as easy as that.  And as with my other cards, the possibilities are endless - who knows how else I use this technique. I'm pretty sure I'll be using it again though.

What green Valentines crafts are you planning this year?


I was sent the Stell LED Telescopic Adjustable Desk Lamp to review as part of my role as one of Iconic Lights' approved blogging ambassadors, but all views and opinions are my own.

Christmas cards: another year, another tree

Last weekend I knew I needed to find time to make my Christmas cards if I was going to send handmade cards again. I had a design - and a craft - in mind but hadn't worked out quite how to do that. So given the lack of time I decided to try something else instead. It's always good to have a backup plan!

I tested it out and it worked better than I'd hoped. With a plan that works and the motivation to do it I once again found myself making Christmas cards with trees on. Last year there were trees too, and I'm pretty sure there'll be trees again next year, because I want to go back to my original idea.

Just as well I like trees really isn't it?

This year they all have the same design, although there's still so scope for individuality.  I used material scraps and started out by placing the material on the cards, before tacking them down with some glue so I didn't drop them as I moved over to the sewing machine.

layingoutthedesign.jpg

At the sewing machine I added an outline to the tree. I liked them before this, but this gave them the finish I was looking for. I experimented with how to add the stitched outline and found it easiest to do this in a continuous stitching movement. The bonus is this leaves a cute tree shape on the inside of the card too.

addingsewingdetail.jpg

Then it was time to add a star to the top of my trees, a little sticky star was just the thing. In fact I found this the trickiest and was quite often juggling the stars and chasing them around the card to get them in place.

Phew, just as well I'm going for the individual look...

addingthestar.jpg

I'm really pleased with how they turned out, and especially how time efficient they were to create.   

handmadechristmascards.jpg
redhandmadechristmascards.jpg

But that meant there was no excuse for not writing them. This year MOH and I shared writing our cards - we don't send a huge amount, and it seems we don't have an equal distribution of labour here. MOH wrote one and I did the rest, and boy you should have heard him moan about having to do that and why wasn't there a stamped "Merry Christmas" inside...  

Because dear, we want to write a personalised message didn't seem to be the desired response, but it's true. I know that I love to receive cards where people have added a short message so I like to do that myself. I'll apologise in advance to the people receiving MOH's card...

Ah well, until next year when once again I'll plan to start earlier than I actually do!

writingchristmascards.jpg

Do you send many - or any - Christmas cards? And do you write the same or a different message in yours? And do you write them or share the task between you?

Post Comment Love