Gorgeous Gift Tags

You may have seen that Prestigious Textiles have a crafty advent calendar this December. Each day there's a snazzy new craft idea and there's been some real corkers so far. The wallpaper stars from day 10 are definitely going on my "to make" list.

So when they got in touch and asked if I wanted to get involved by choosing a day and making my own version of their prompt, of course I said yes. So by now you'll have worked out that I chose day 14 and gorgeous gift tags. 

materials.jpg

So let's get started.
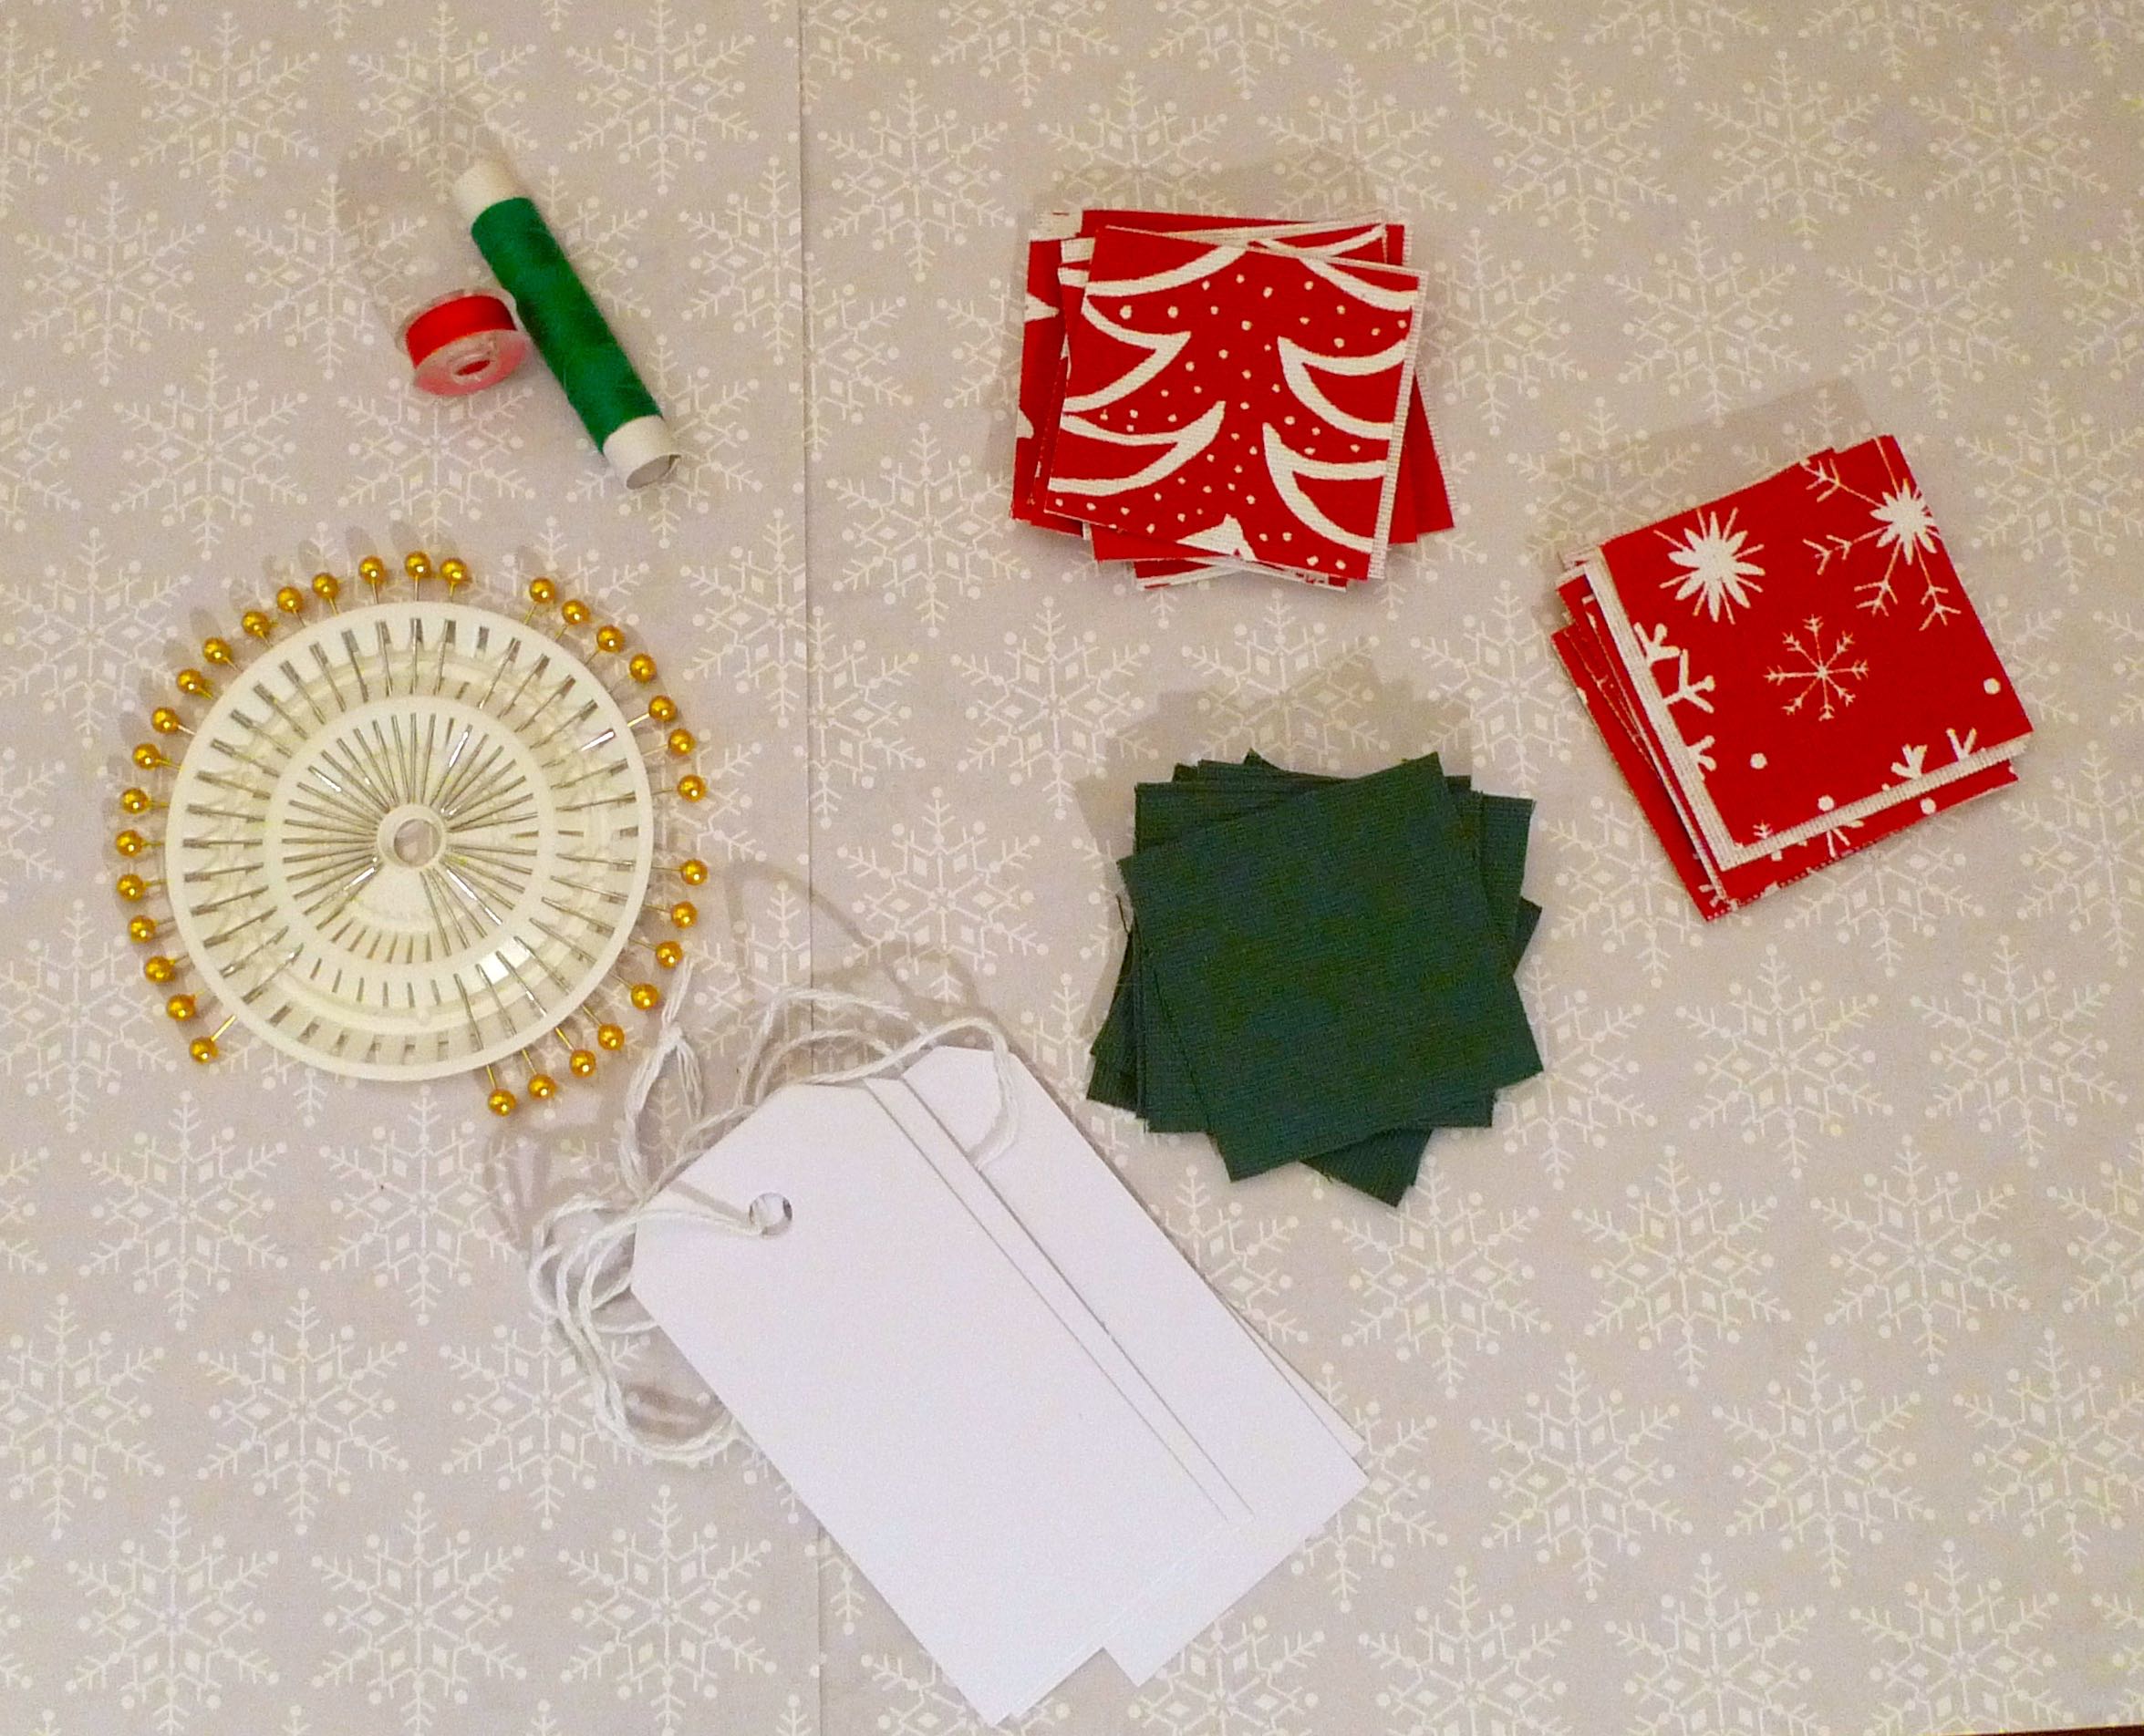
You'll need:

  • material squares in Christmas fabrics, my squares are two inches
  • plain gift tags, or card and twine to make your own
  • pins
  • needle & thread
  • scissors
  • glittery or glitzy embellishments
  • buttons

.

Inspired by my mum and the decorative additions she'd added to a new bag she'd made I decided to try my hand at Kanzashi. Yes exactly, I'd not heard of it before either - but mum assured me it was easy. It certainly looked impressive so I was in.

Kanzashi are decorative hair ornaments used in Japanese hairstyles and often worn by brides and geisha in tea ceremonies. The folded fabric flower kanzashi is just one type and that's what I'm going to add to my gift tag to make it gorgeous. I'm going to embellish them with some glitzy trimmings and then add a button as the flower centre. 

That's the plan anyway!

To make the kanzashi

1. Each of our two inch squares will make one petal. Take one of the squares and fold in in half diagonally and then fold the corners down towards your hand.

step1.jpg

2. Turn your folded fabric over and fold both tips of the "side" corners to the centre, see below.

step2.jpg

3. Now add a pin through the folds.

step3.jpg

4. Repeat the steps above to make as many petals as you need. The finished flower will be approximately the same size as the squares you started with, so in this case two inches. For this size I found seven petals worked best, but you can choose if you add more, or less.

step4.jpg

5. When you have the number of petals you need, trim each petal to remove the "bulk" of the material at the non-folded end.

step5.jpg

6. Ensuring all of your petals face the same way, thread them onto a length of cotton leaving both ends of the thread long.

step6.jpg

7. Pull the thread tight so the petals come together and form a circle, then knot the thread. I added a few stitches to keep the petals where I wanted them.

step7.jpg

8. Next I took some glitzy fabric trimmings and cut a length of about two inches. For each I sewed a loose running stitch on one edge and once again pulled that tight to form a rosette and attached it to the kanzashi.  I added a button in the centre, which not only finishes the flower, but it also covers my sewing. 

For the first gift tag I used a spotted craft button and omitted the glitzy trimming, for the other two gift tags I used an old shirt button. Then I replaced the gift tag string with a beaded string.

I'm rather pleased with my gorgeous gift tags, what do you think?

gorgeousgifttags.jpg

With thanks to Prestigious Textiles for the challenge and for the Christmas fabrics.

A Christmas wreath

Tuesday evening MOH turned to me and asked when were we putting up our Christmas decorations as we were the only people without any. This took me a little by surprise and while I'm pretty sure we're not the only ones without decorations yet - looking across the street I can't see any - I thought I'd better start to get my act together.

Earlier that day I'd seen a tweet from Susie Watson Designs asking who was planning on making their own wreath this year. I replied saying I'd love to, but I wasn't sure it would be anywhere near presentable, but Susie promised me it wasn't as hard as I thought, and then she said a glass of wine was recommended. Well, hello - it was sounding better by the minute. I read the tips she shared - and it really didn't seem that hard. 

So I took it to be fate. Especially as I'd noticed that our next door neighbour had had their evergreen hedge trimmed and some of the trimmings had fallen over the fence. Definitely meant to be. 

The key it seems is to create bunches of greenery and add those to the wire ring. I popped round to the local florists for a wire ring and stubbing wire - see I've even got the lingo now - and while there I also picked up some small wired silver baubles and some dried orange slices, so after spending just over a fiver on these, I was all set. 

image.jpg

I decided there was no time like the present so I popped into the garden and gathered the evergreen trimmings along with some holly, rosemary, bay leaves and variegated ivy - one of the few times of year I'm pleased our garden has so much holly and ivy! I wasn't sure how much I'd need and I think I went a bit overboard...

image.jpg
image.jpg
image.jpg

So I started by creating my bunches of greenery and then it was time to start adding them to the ring. Now don't laugh but I'd repurposed the dining room table as a temporary florists bench and for some reason I hadn't taken my gilet and scarf off from my earlier trip to the florist either - it definitely made me feel more florist-y and I'm sure helped me believe I could do actually do this. 

image.jpg
image.jpg
image.jpg

Phew, well that seemed easy enough. And I'd forgone the glass of wine too, I thought half three in the afternoon a tad early, even for me...

So with the base greenery attached, and not looking like it might fall off - I turned it upside down to check - I moved on to the decorative leaf bunches. I added bunches of rosemary to the bottom of the wreath, with a mixed bunch of bay and holly in the centre.

image.jpg
image.jpg

I added more holly and bay bunches towards the top of the wreath - I struggled with the ivy, so decided to give that a miss even though it's variegated leaves were dead pretty. And then I was pretty much done. I picked it up again and nothing fell off - phew! - it looked fairly neat on the back I thought too. 

The rear view...

The rear view...

Then I remembered the silver baubles and the dried orange slices. I didn't need both and with only one piece of wire and eight orange slices, I decided to use the wired silver baubles!

image.jpg

The baubles were actually the hardest thing to add.  Not because of the wires, but just knowing where and how to position them. In the end I decided on a spotty approach, fastening them to the greenery at the front and back.

And I was done and feeling pretty pleased with myself too.  It wasn't as hard as I'd anticipated and I think this passes as presentable.  It's definitely going on our front door, let's just hope it lasts!

image.jpg

And those orange slices? Well I've so much greenery left I'm back off to the florists later on for another ring and some more wire so I can make another one, they're addictive!  And maybe, I'll try it with a glass of wine too...