Embroidered sunflowers

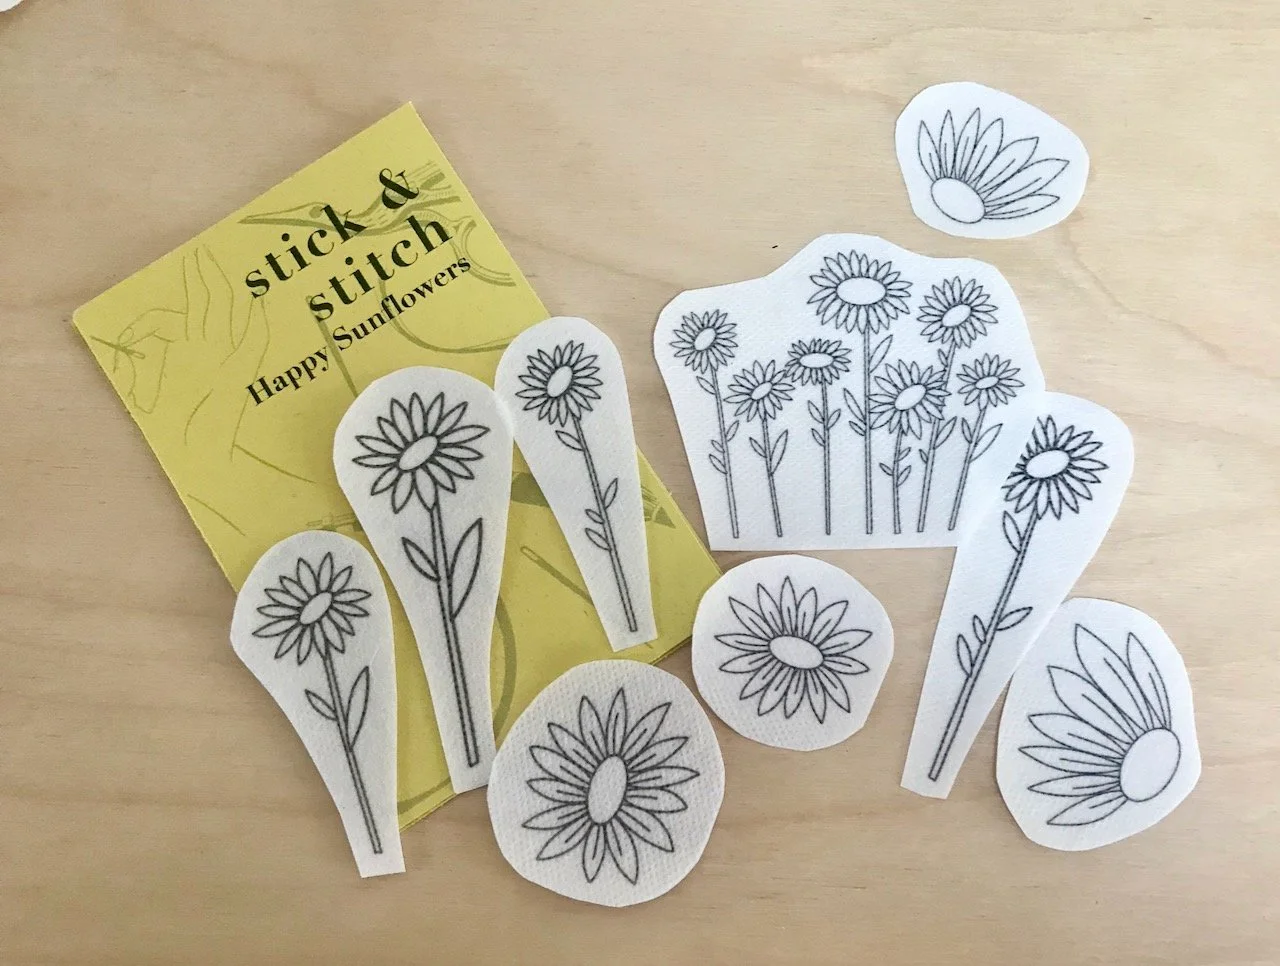
Another craft post, I guess my craft room is paying dividends! Though in fairness these stick & stitch embroidery patches were a pre-move purchase from BlackbirdnBloom on Etsy. I bought them, along with some bee patches, to use to embroider over those annoying holes you get in some t-shirts, but what with everything going on I didn’t get around to doing anything more than popping them into my sewing box. I knew that I had enough embroidery threads in varying colours and even better, I knew where these where now that I’d unpacked in the new house.

They’re easy to use too, all I needed to do to get started was work out where I wanted the designs and what colours to use.

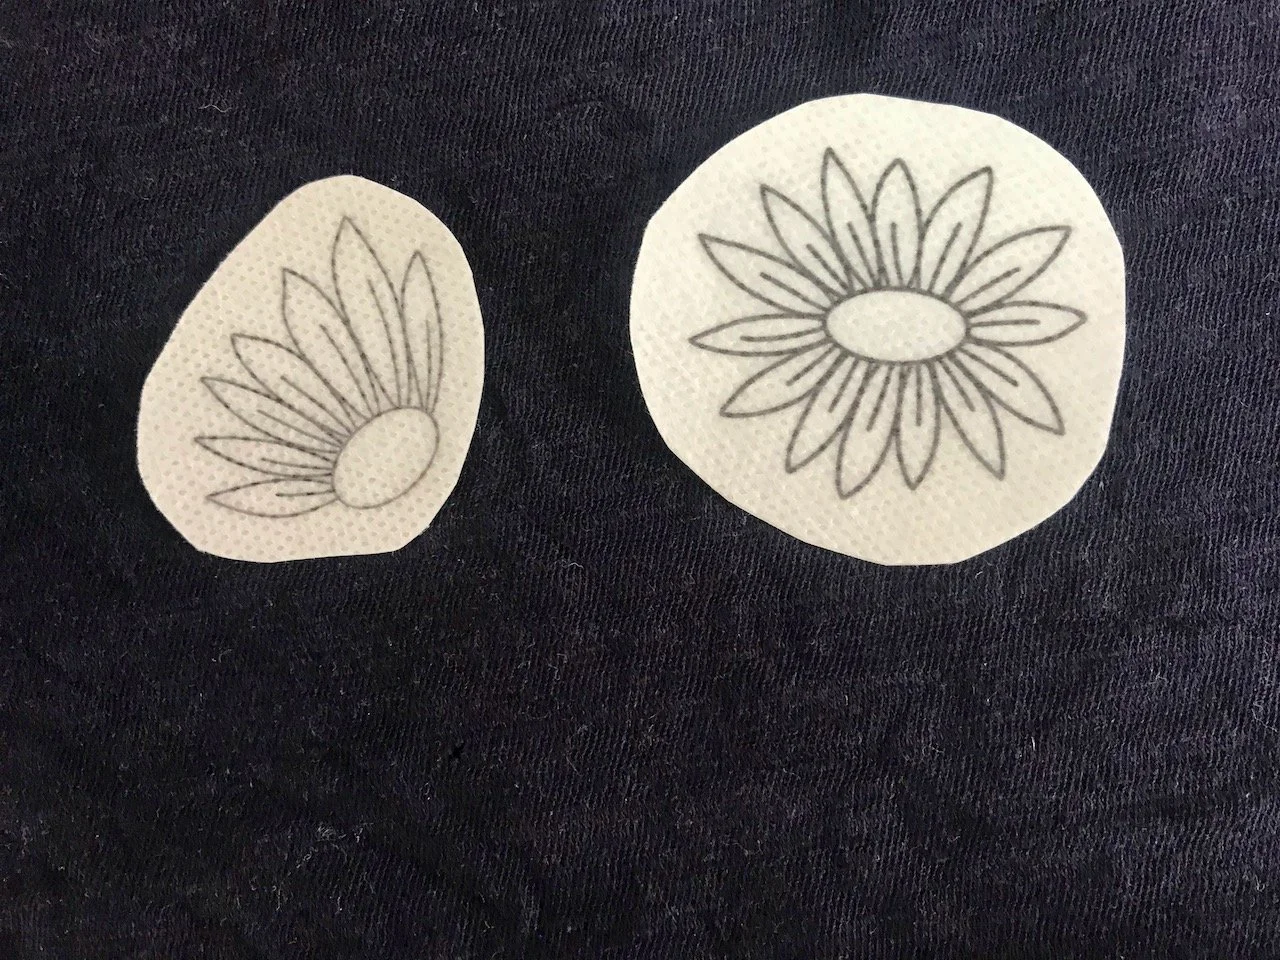
Two sunflower patches stuck on a navy blue t shirt - covering holes
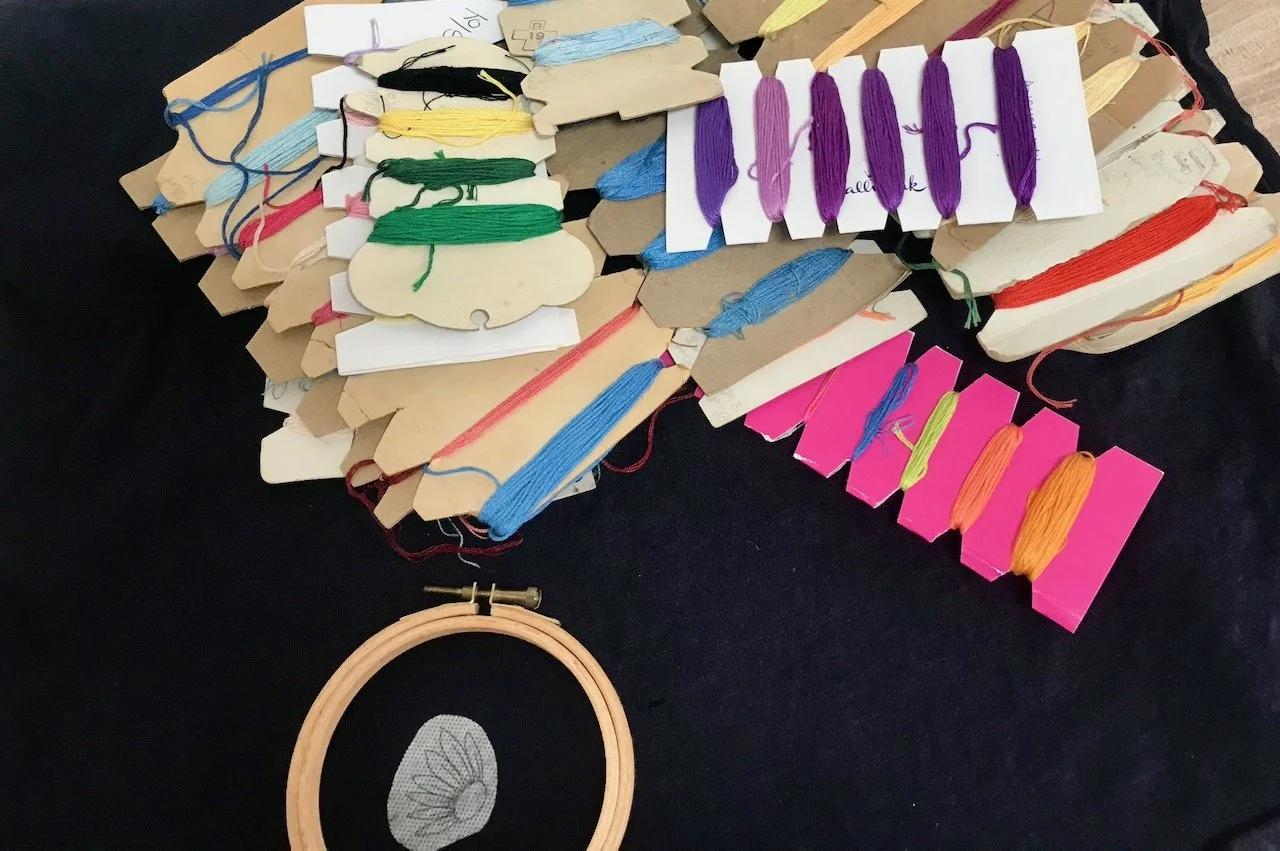
Choosing colours - from many enbroidery threads wound around cardboard

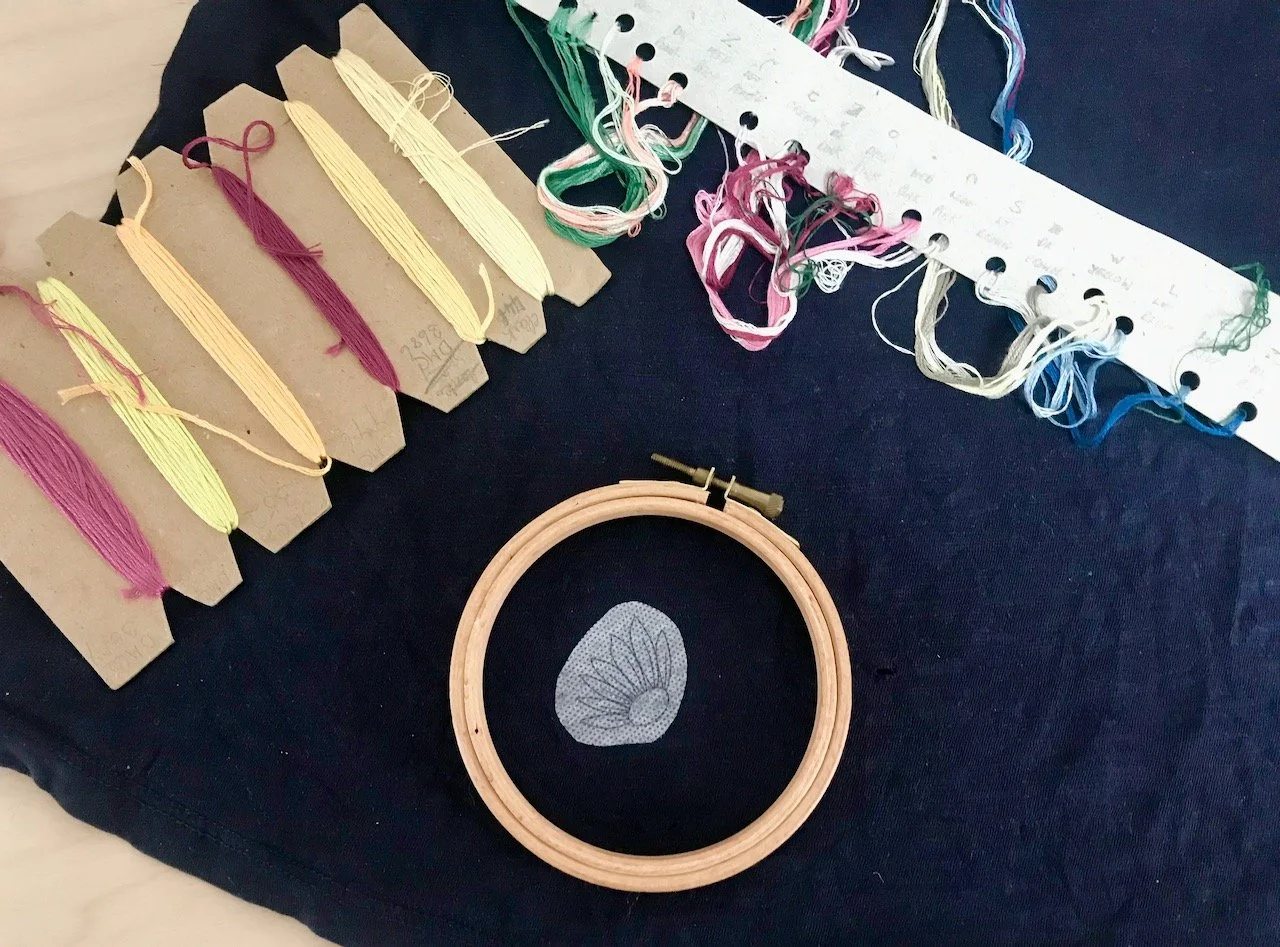
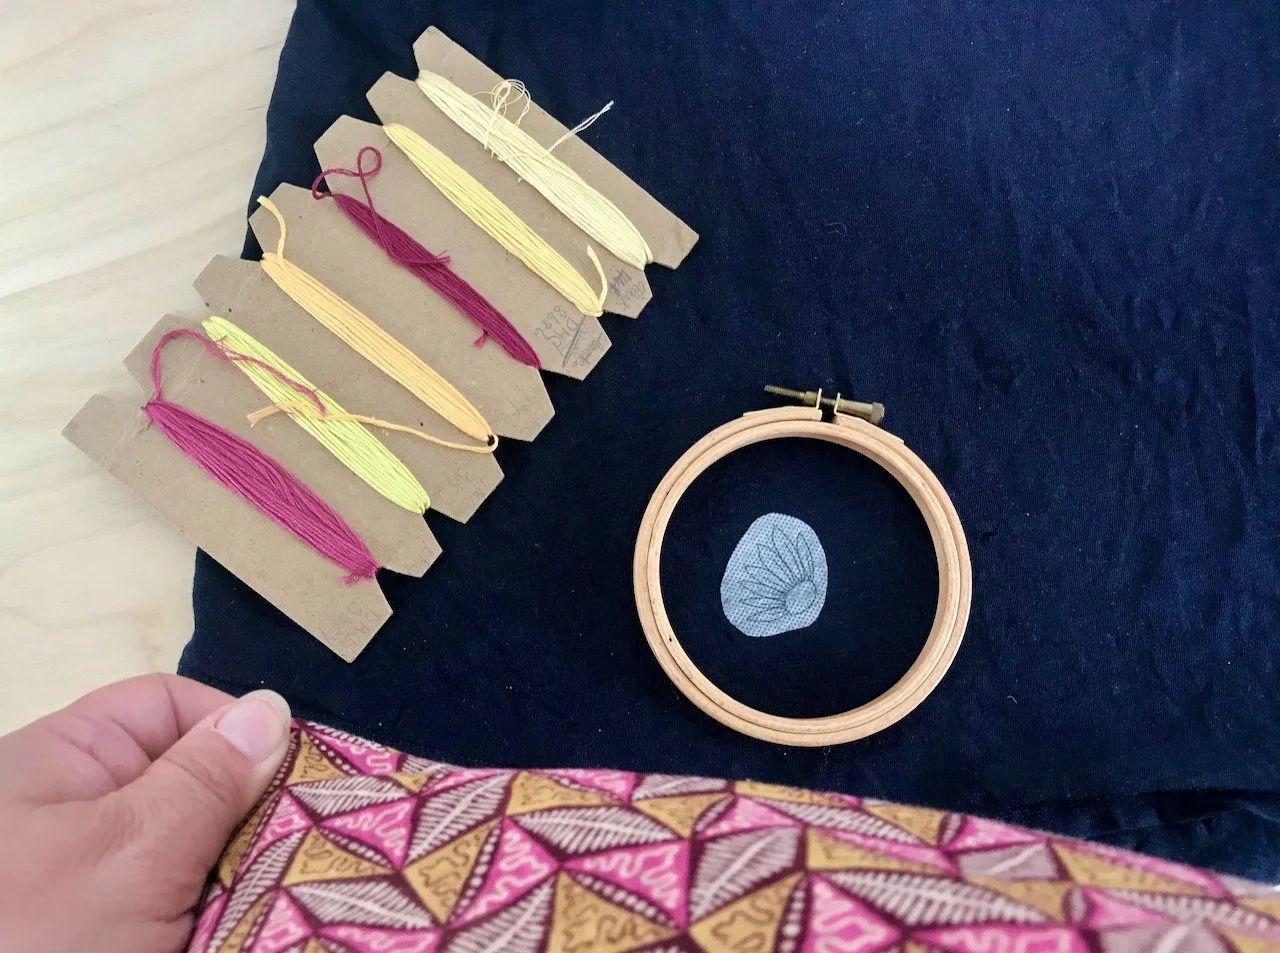
And while sunflowers are traditionally yellow and brown, I opted for the card with the dusky pinks and pale yellows (I told you in my recent crochet post that they’re my go to colours!), and then quickly realised that my choice was also probably influenced by my top!

Deciding on a colour pallete of muted yellows and dusky pinks
My chosen colours *may* have been influenced by the top I'm wearing - yeap, the same colours

But anyway, the embroidery finally started.

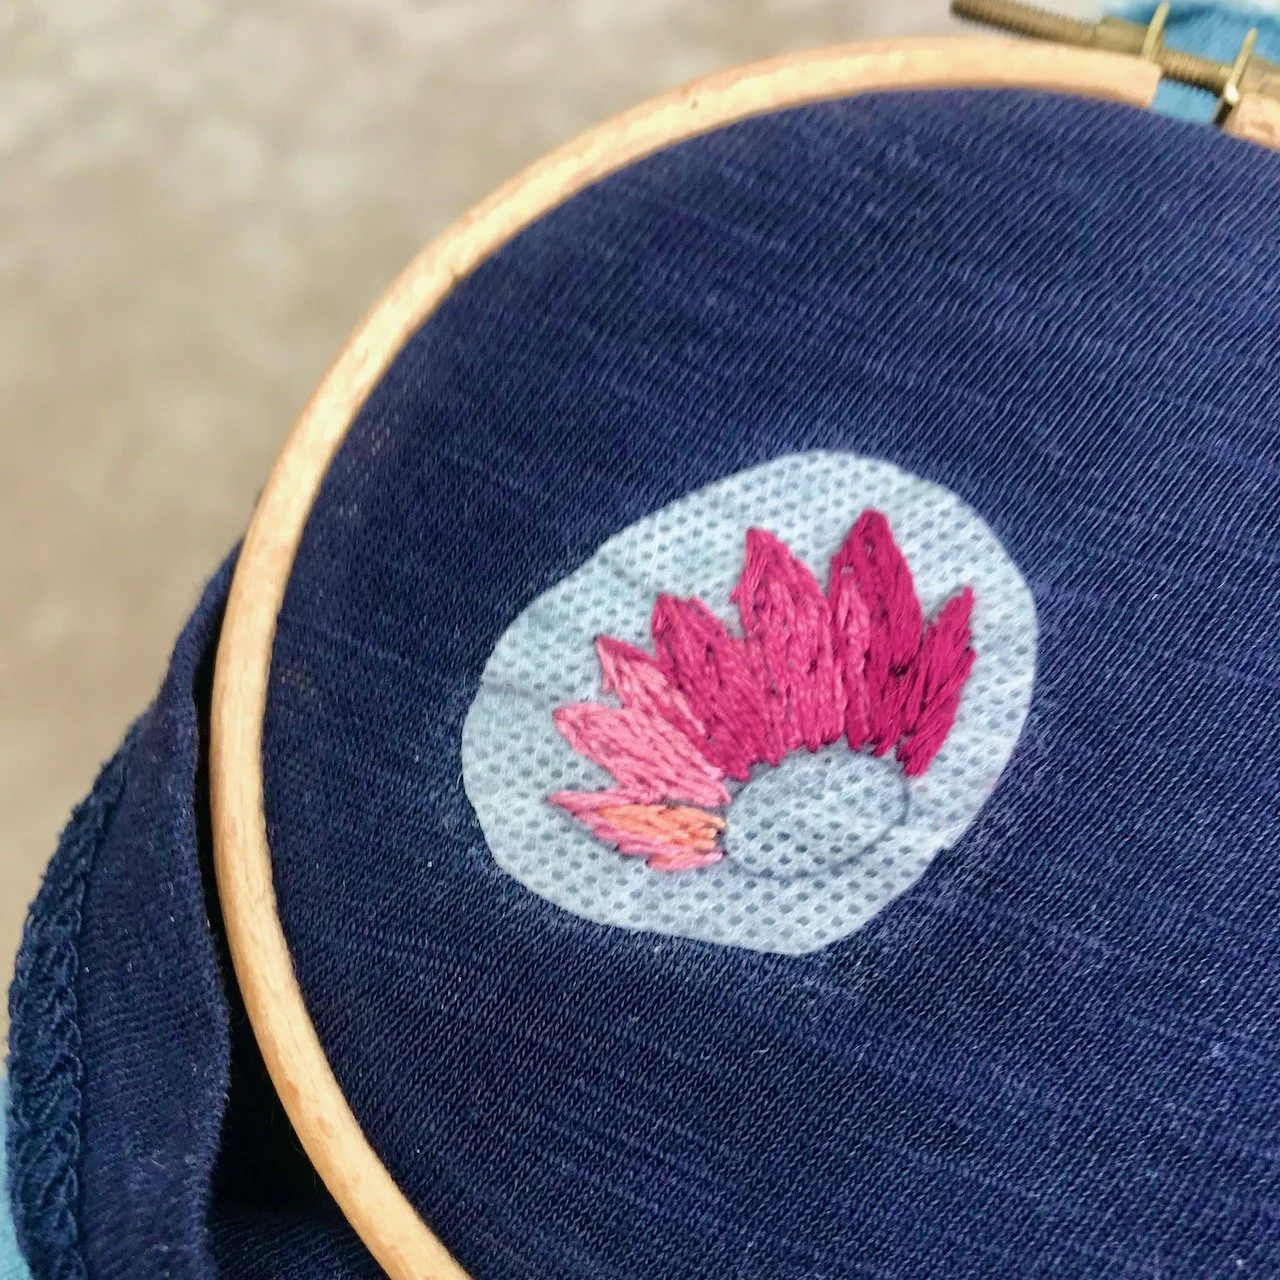
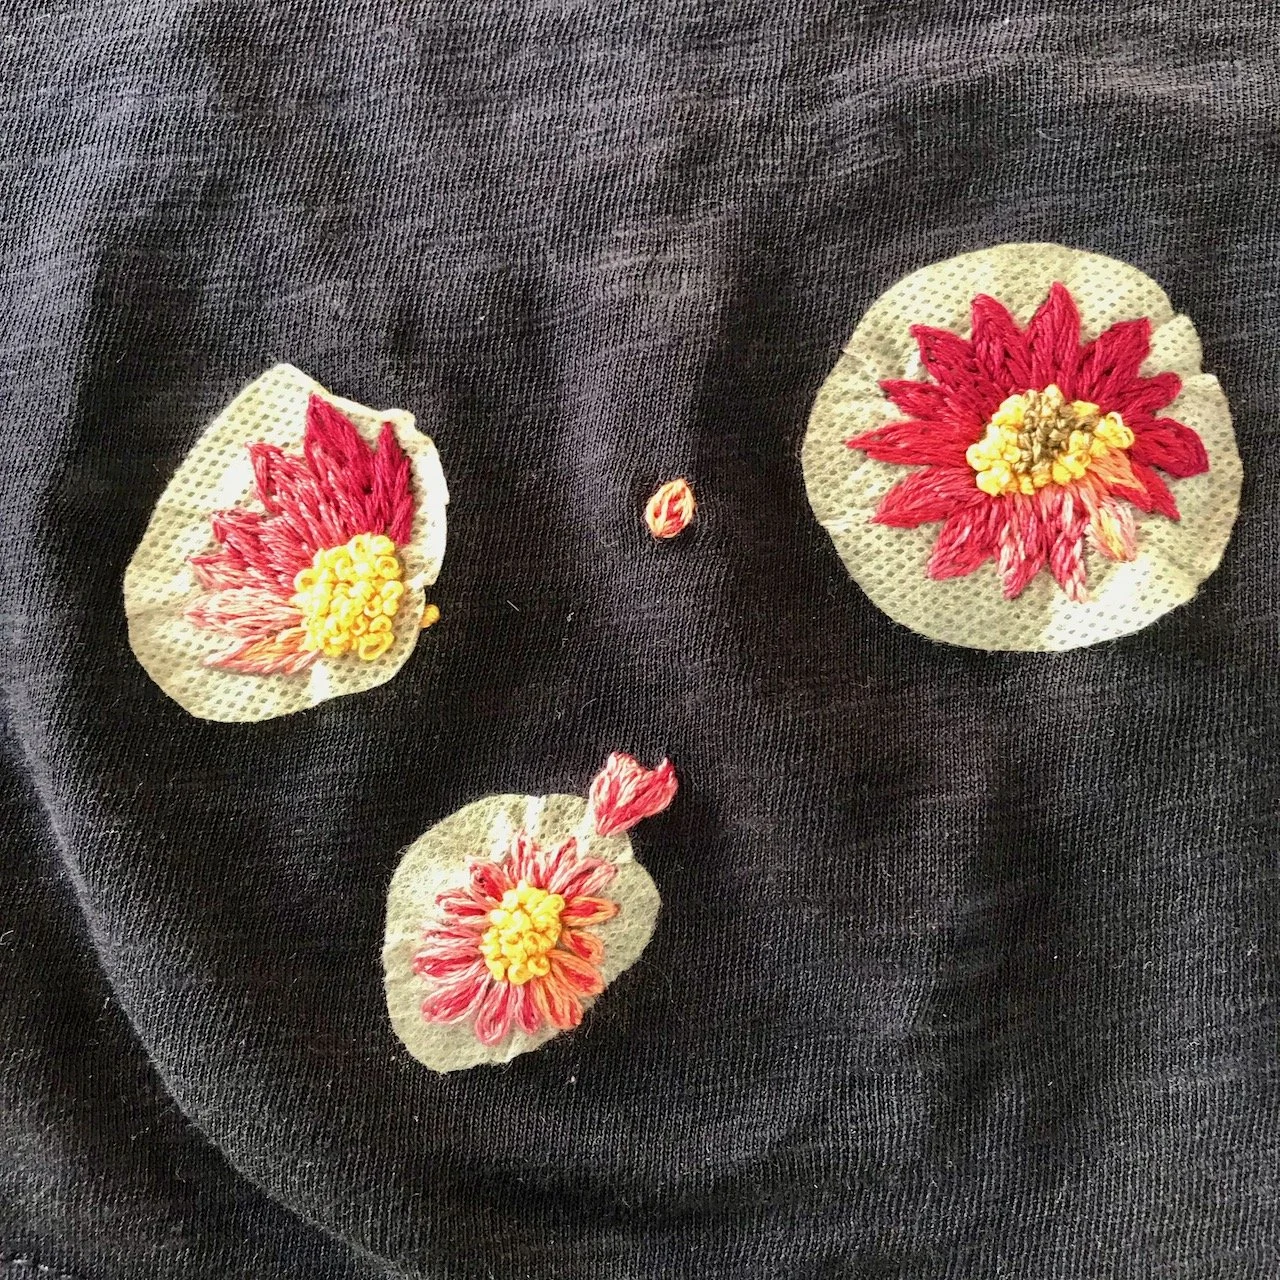
Starting embroidering the petals with deep burgundys through to dusky pinks

As ever I decided to improvise, with the colours, the blending and pretty much everything else. I also got braver with this as I went along, likening the embroidery thread to colouring helped a lot, and I think the effort was worth it.

Making progress - three completed sunflowers - with the template sticky material around them

Once the embroidery covering the small annoying holes was complete, it was time to wash off the excess patch.

It was magic. Cold water and a very small amount of rubbing and the white surrounds easily disappeared.

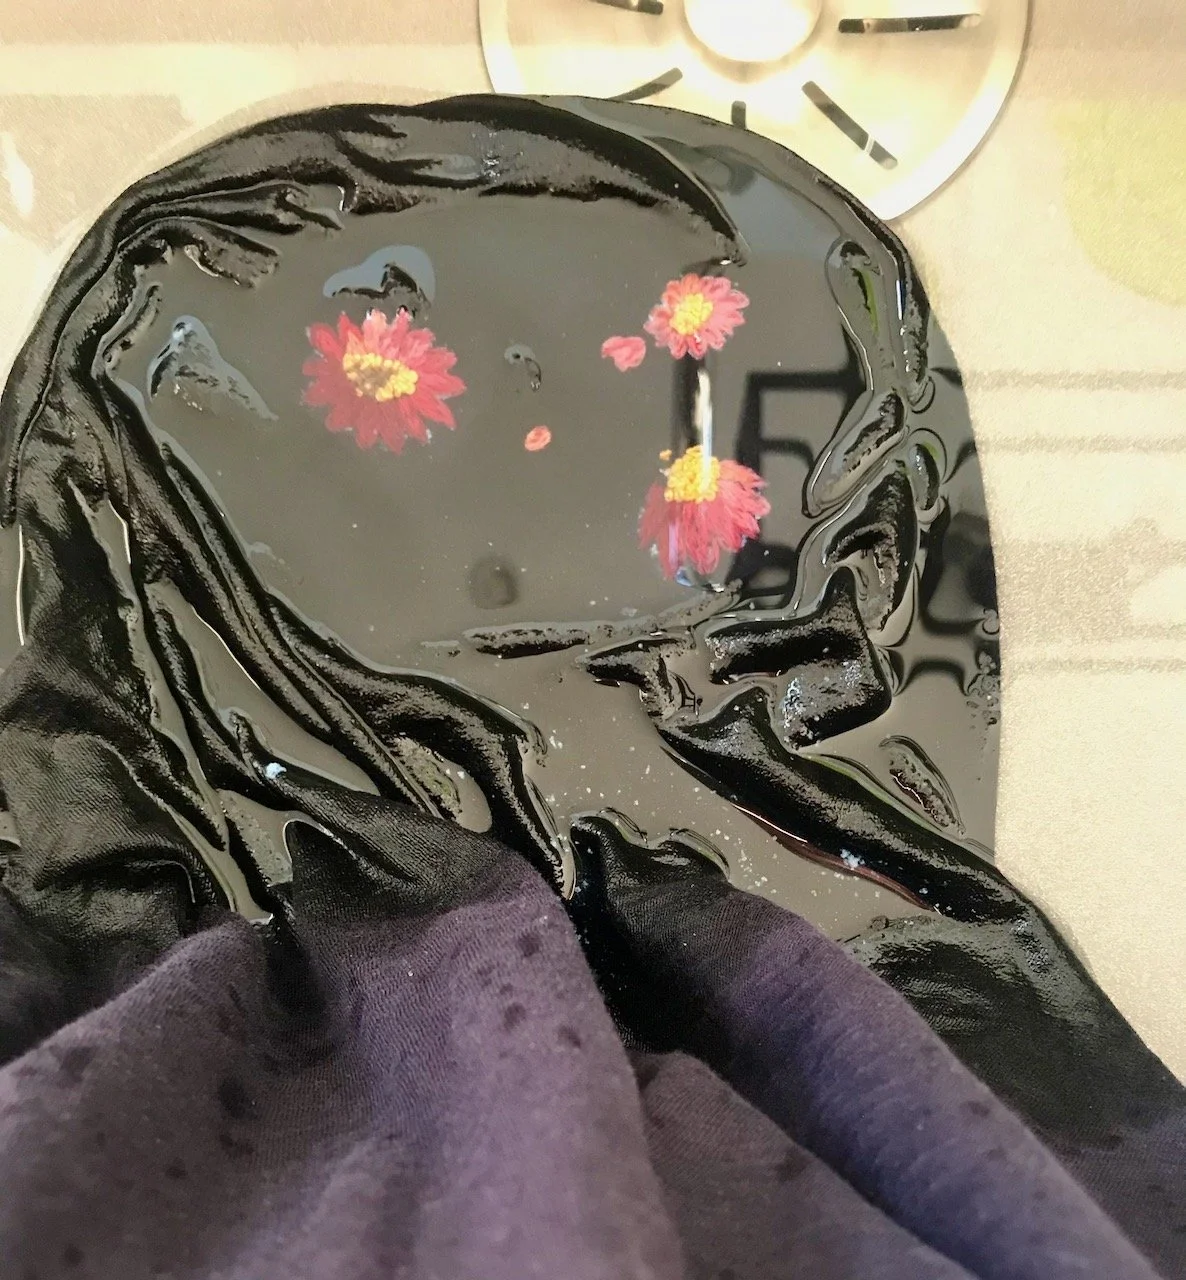
Washing off the template material in cold water - starting to reveal the finished embroidery

I think the photos look much more dramatic when it’s wet!

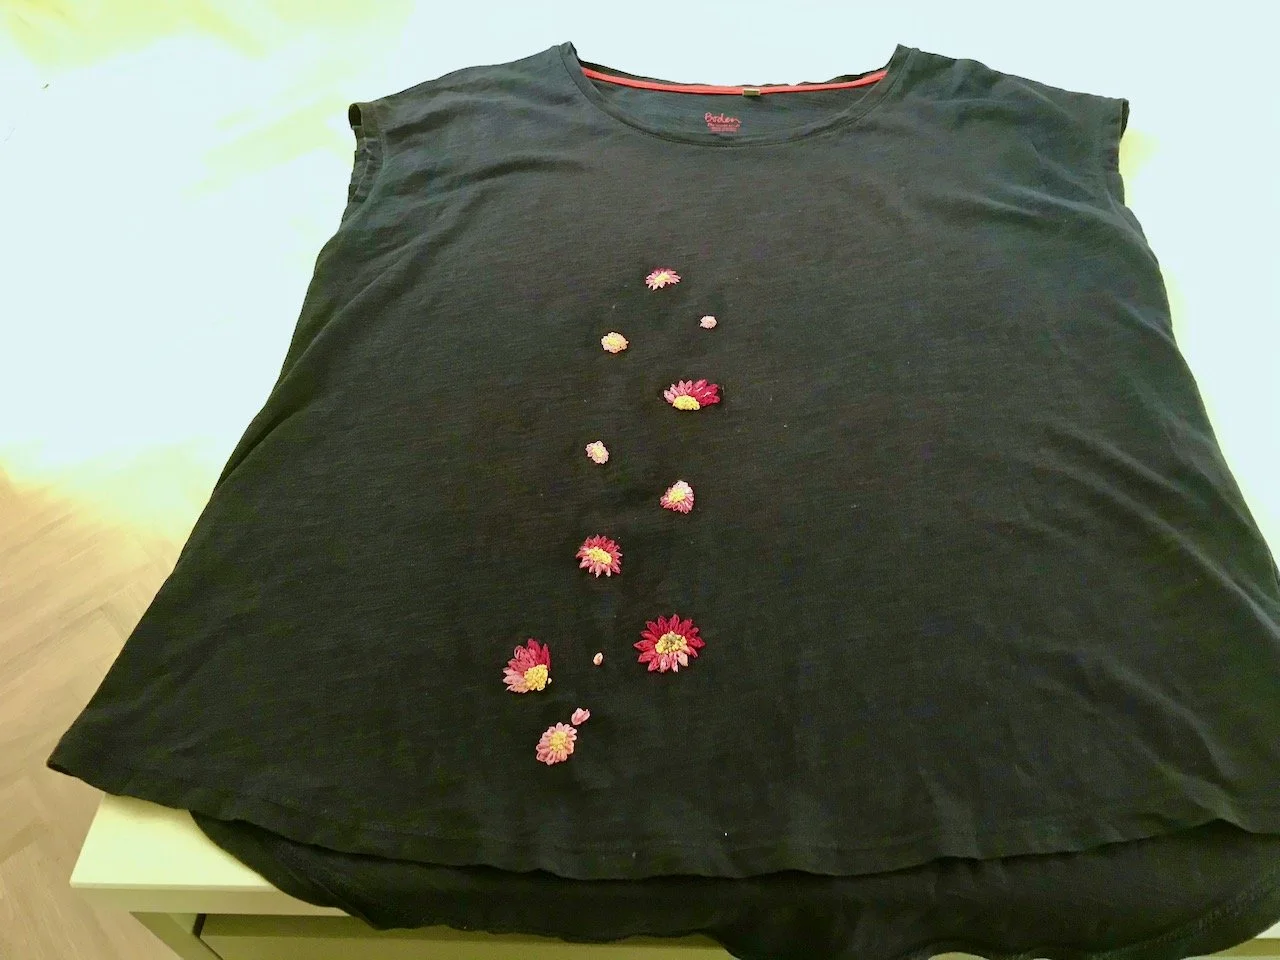
Anyway, after trying my top on to admire my embroidery skills, I decided to add more embroidery, and not just to cover the holes. Before I could back out I stuck the design in place and got my needle out again, sewing more flowers up towards the neck, but off centre - I’ve a thing for things being a bit skew-whiff, to me it’s much more pleasing.

The t shirt laid out to show the embroidered sunflowers which have now migrated up the top (I liked them so much)

And I’m really pleased with the results, though less pleased with my attempts to photograph them. In fact the navy blue top wasn’t photographing at all well, so there was nothing else for it but a mirror selfie.

Me wearing the top- it was too hard to get a photo not wearing it - I've worn it out and no one asked if it was home made - result!

As you can see, it’s subtle but visible - and I think it looks like it’s meant to be there. I’ve worn this t-shirt out a few times now, including to a local sewing group here, and no one has asked if I made it. I’m hoping that’s because it looks good, rather than the other!

I’ve yet to start a t-shirt with the bees, but it’s on my list - and more importantly on my workbench, rather than shoved away. But it’s behind a project or two yet, but I’m pretty sure it won’t be long before I start…

PostCommentLove

Making an autumn wreath

A few weeks ago I saw a post on Facebook by The Flower Fairy here in Newark offering workshops to create an autumn wreath, and I thought why not.

I’ve tried Christmas wreaths before, with mixed results - they look ok on the table, and ok on the door for a while, but not as good as those in the shops created by professionals. So I signed up before first making sure the workshops could accommodate a novice.

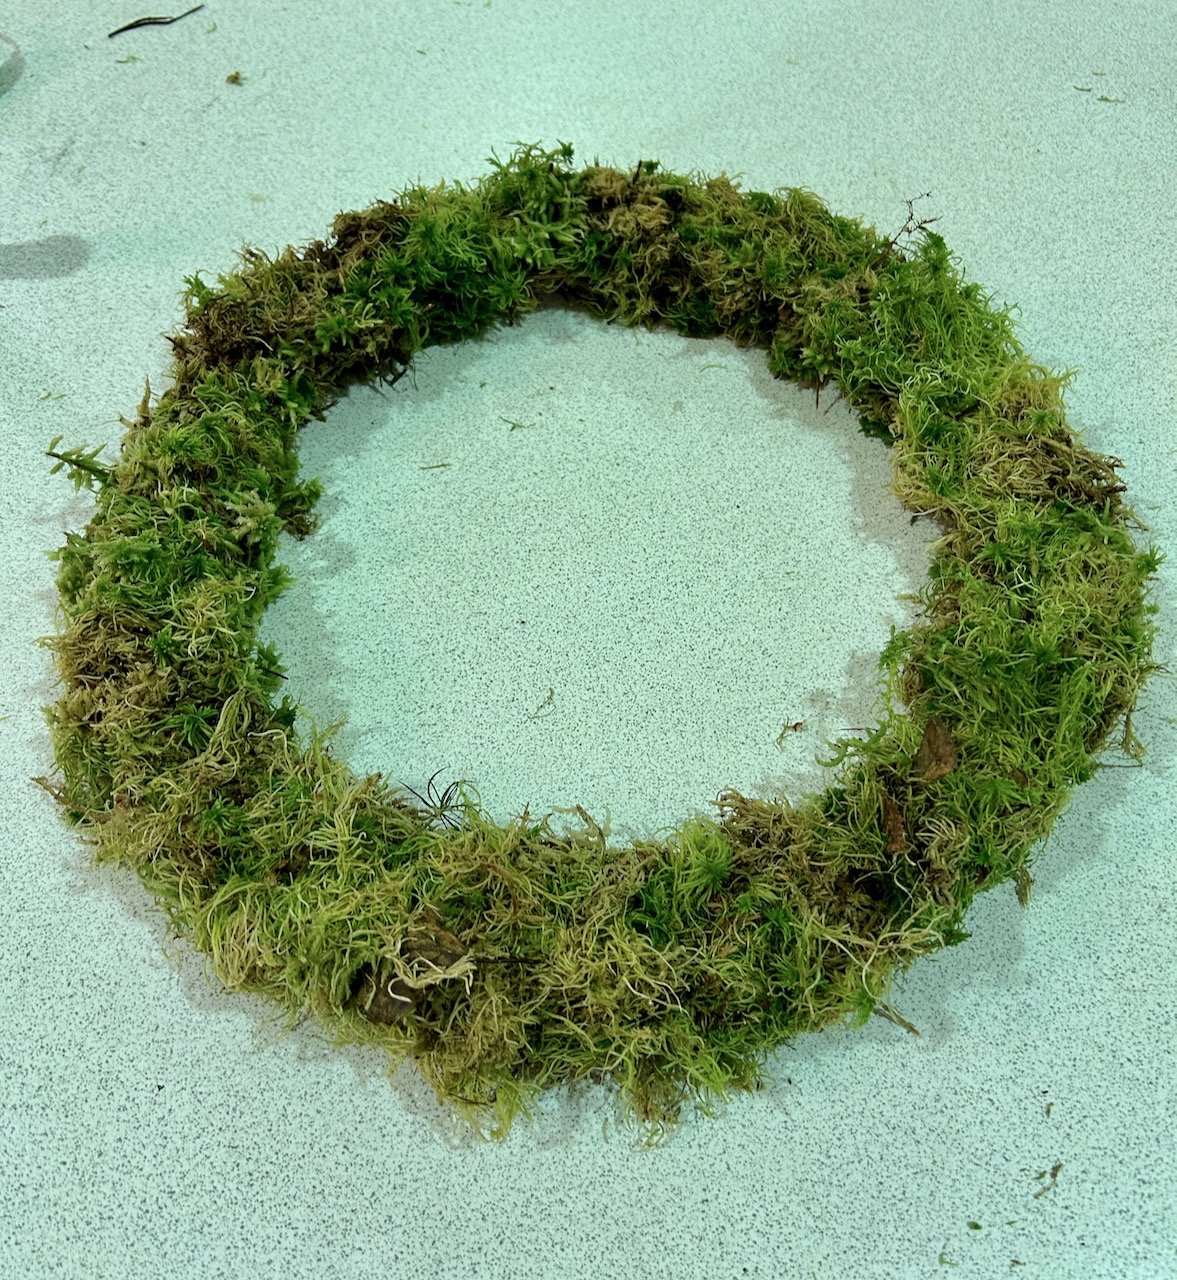
The first step was to fill the wreath ring with moss, which isn’t something I’d done previously - and after a trim it looked ok - and still round!

Moss added onto the wire florist ring - a good start!

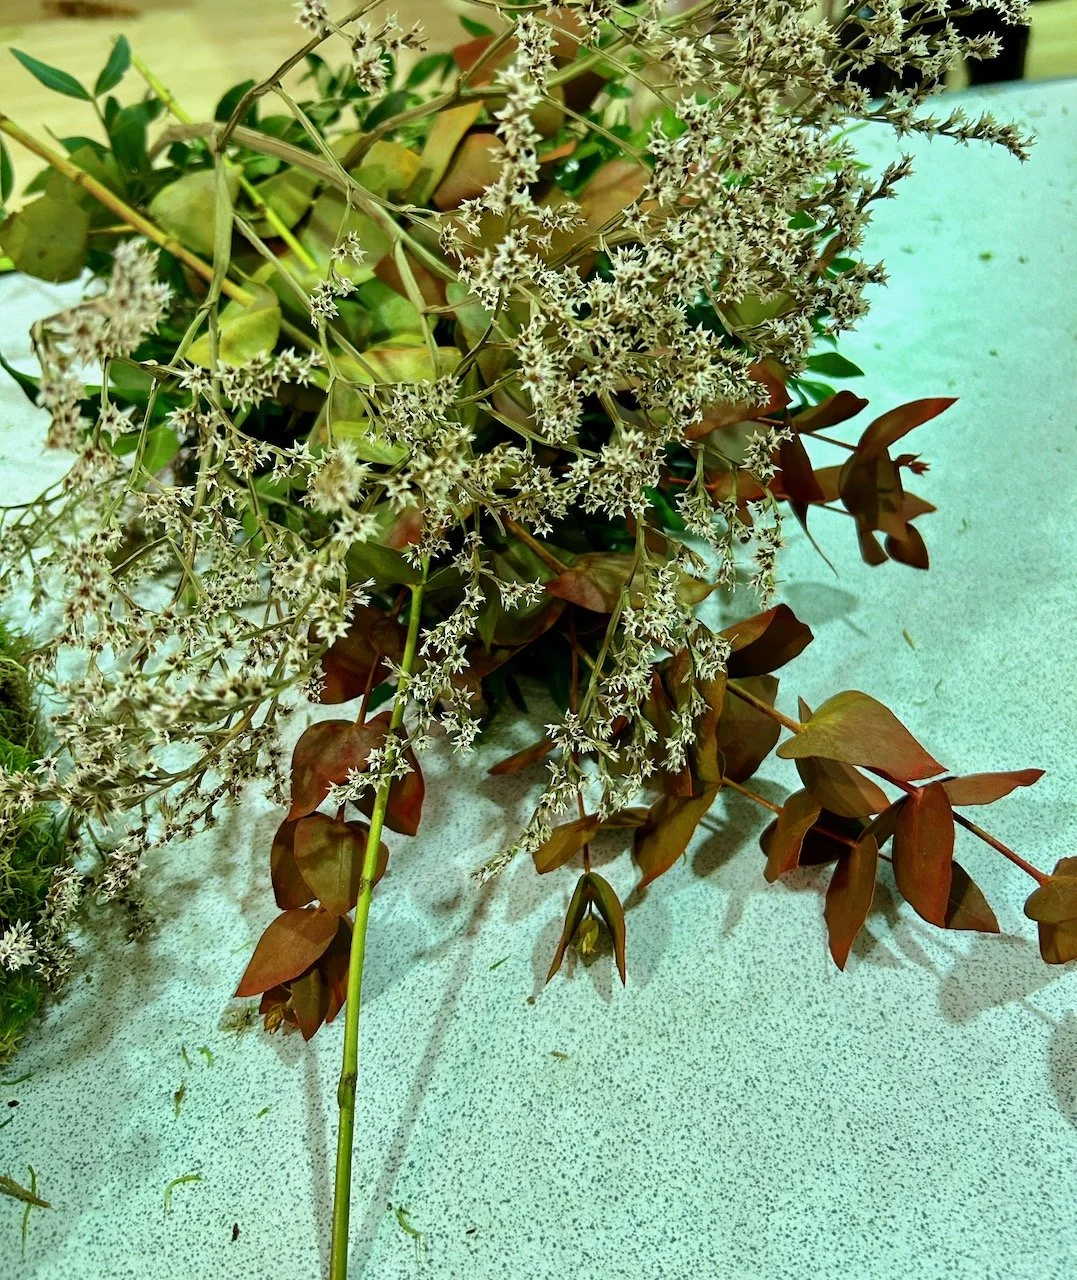
Lucinda had provided all the materials for the workshop, including tons (probably not literally) of stems in a range of greens, oranges and whites to create the wreaths. The next step was to break these larger stems into more manageable sections, and end up with smaller pieces to create bunches to add to the mossy ring. As well as these there were rosehips, chinese lanterns, crab apples and grasses. I opted for the first two, knowing that I could use the crab apples and grasses from my own garden if I wanted to top up my wreath, or even make another at some point!

I spent the evening wiring small bunches of plants onto the mossy ring, while chatting to the women alongside me. It seems that I was so busy making my wreath that I didn’t take any more photos until it was done.

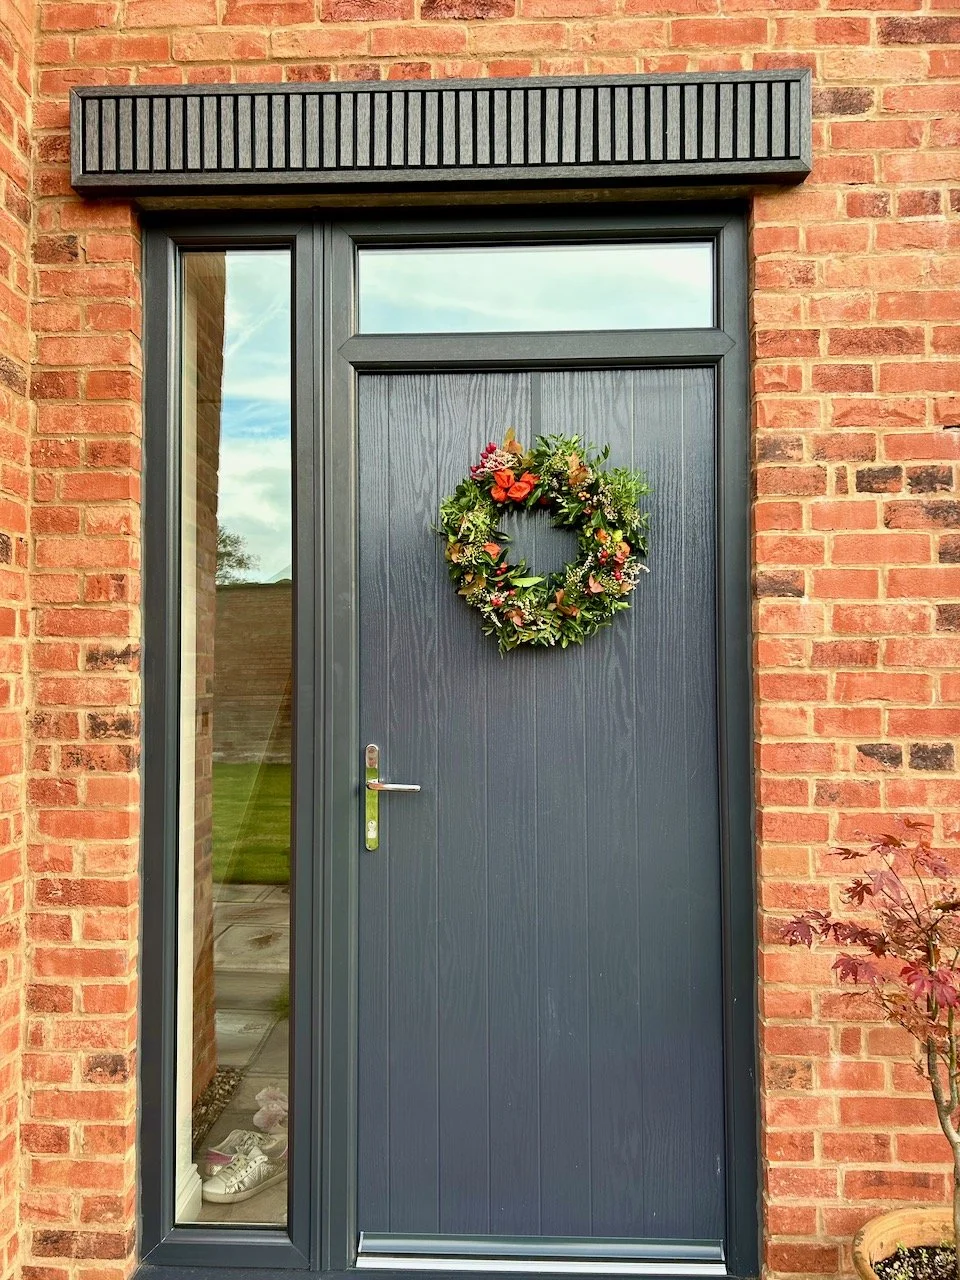
And I’m pretty pleased with how it turned out.

I purposely chose not to make it symmetrical, as nature rarely is, and I like the natural look.

I’d not used moss on a florist ring before, and each bunch was secured by winding wire around the stems, using a single length for the whole way round - which seemed much easier than I remembered. Arriving home I put my newest treasured possession safely in the garage so that I could work out how to hang it the next day.

Of course, we didn’t have the right sized hook and nor did we really want to put anything too permanent on our new door, either of them. I knew that I’d be hanging this on our back door, which is the door we use - we rarely use our front door, and so wouldn’t get to admire my handiwork hardly at all.

If you look closely at the photo you can see a dark strip over the top of the door - that’s a very clever wreath door hanger, which hooks easily over the top of the door. The wreath fits into the hook, but I’ve also used the ribbon to tie it on so it’s a little bit more secure - hopefully!

I’m so pleased with it that I’ve already bought some florists wire and some large wire rings (I already had some small ones) - all I need when I’m ready to make another is some moss and some greenery. I’ve already been eyeing up the plants in our border and I’ll be keeping a keen eye on the hedgerows when we’re out walking.

But in the meantime, I’m going to indulge myself with a few more detailed pictures of the one that’s hanging on the door.

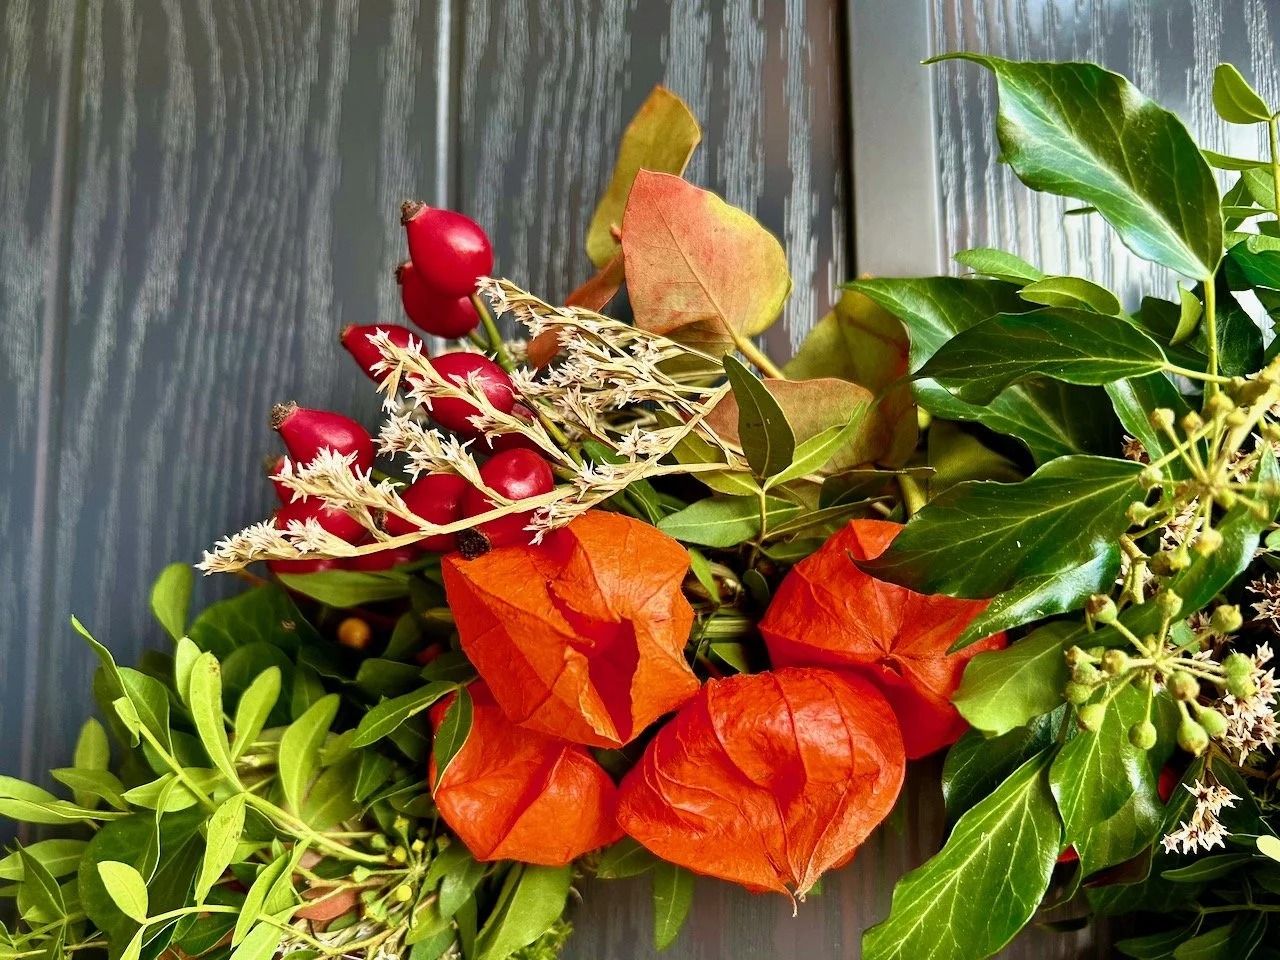
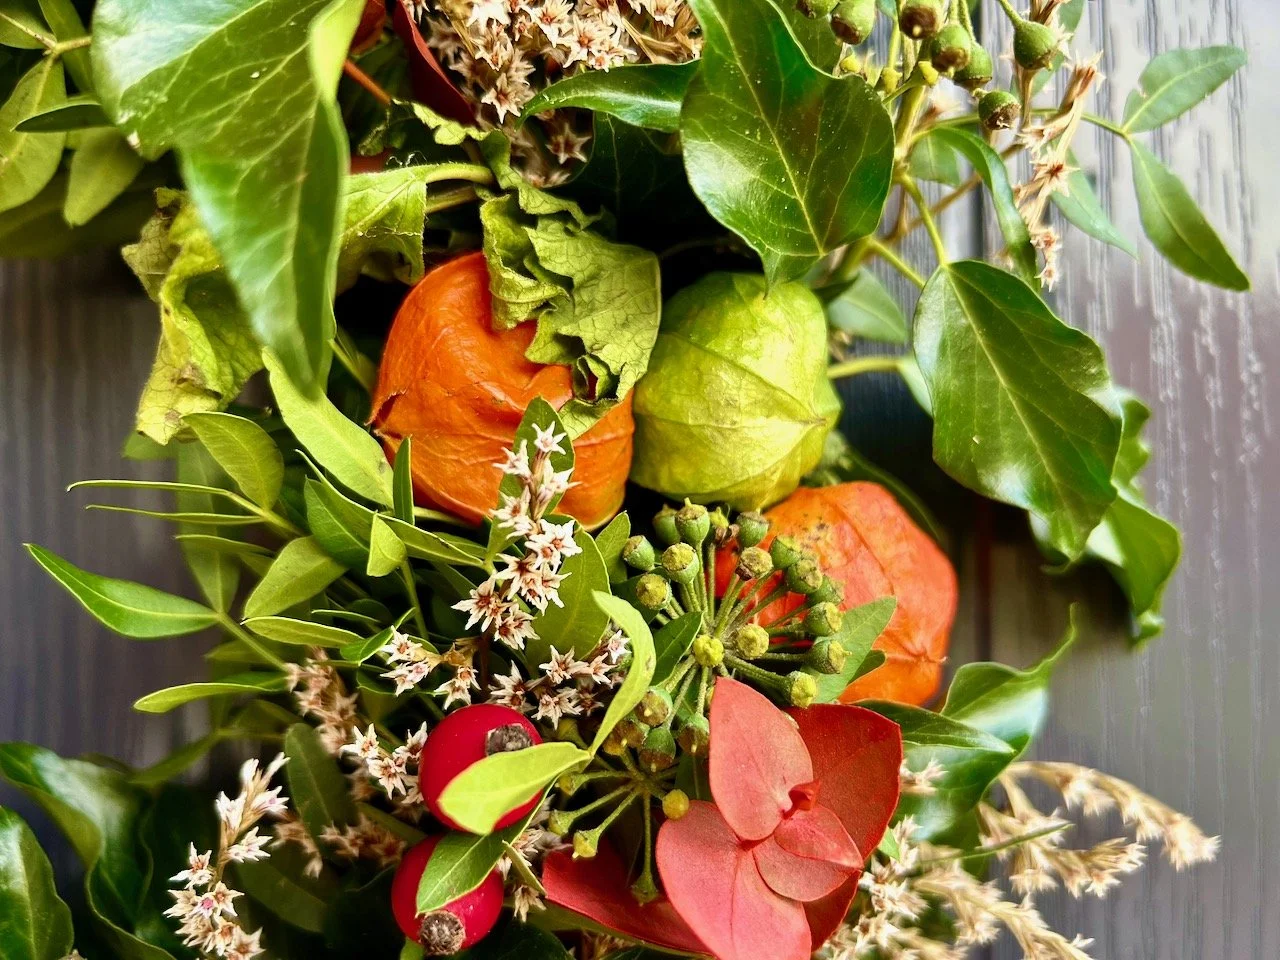
Rose hips, chinese lanterns and burnished eucalyptus stems on my wreath
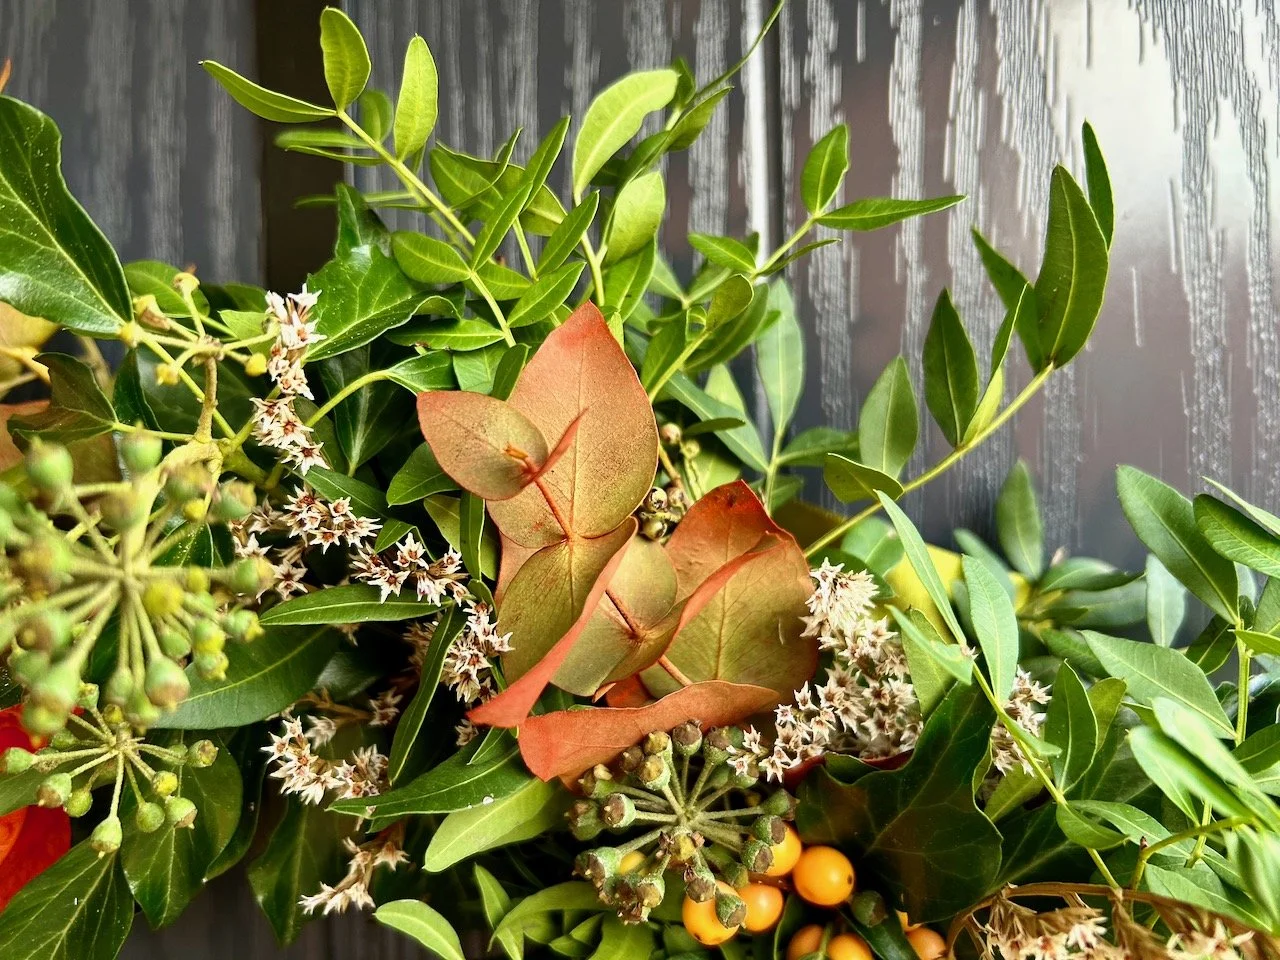
The orange tinged eucalyptus with some smaller orange berries, ivy and greenery
PostCommentLove

Celebrating colour at Hidcote

Since we’ve moved to Nottinghamshire many of our regular journeys to visit family and friends have changed, understandably, and that’s meant our usual places to stop have also changed. Our journey to Devon no longer takes us along the A303 (a blessing!) but it means Marlborough and Stourhead aren’t en-route either, both are places which we love to visit.

But it does mean that we have a whole new series of towns, gardens and houses to get to know, and that’s how we came to visit Hidcote. We’d originally planned to stop on the way down, but due to the weather that was correctly forecast the garden was shut for the day, so with remarkably better weather on our return journey, we stopped and I think I’m just a little bit smitten.

Hidcote is ‘one of the country’s most celebrated gardens’ according to the leaflet handed to us as we entered, and it didn’t disappoint. It covers 10.5 acres and the spaces are both formal and intimate, and full of vistas - and plants - to admire. The garden was designed by Lawrence Johnstone in phases from 1907 to 1938, and the borders are full of newly discovered plants and exotic rarities from plant hunting expeditions from around the world. He gifted Hidcote to the National Trust in 1948, and it’s now a Grade I listed garden, which until our visit I didn’t know existed.

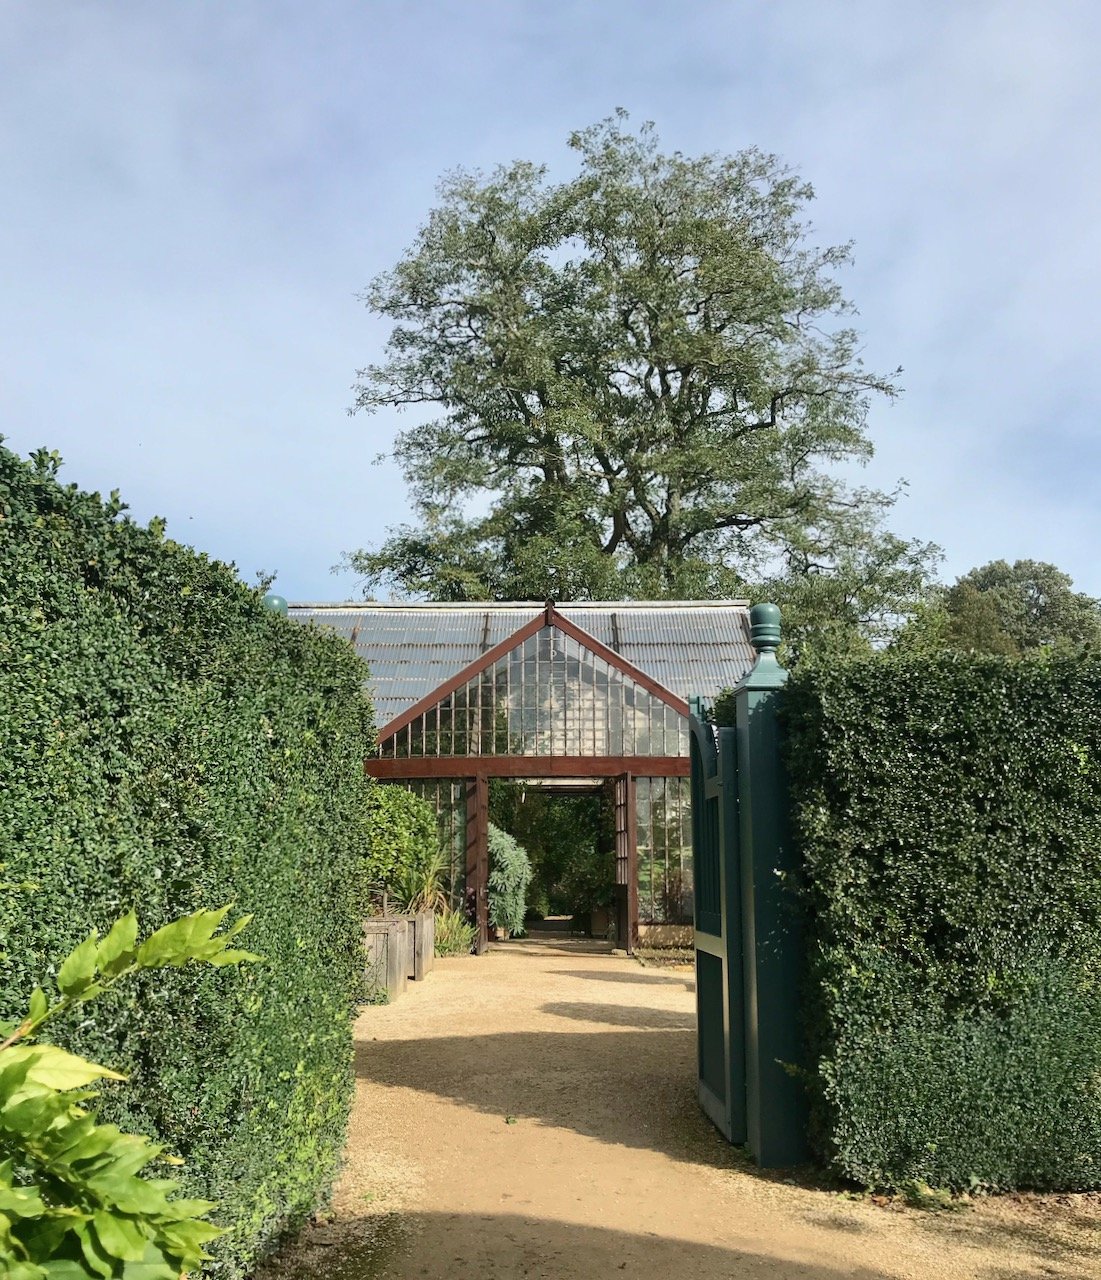
We weren’t surprised to be greeted by the typically honeyed cotswold stone, but the riot of colour alongside the cafe was perhaps not what we expected. Hidcote is one of those gardens where paths lead you to explore, with sights and colours pulling you through the garden - the map given to us as we entered was useful to identify which area we were in, but what I most liked about this garden was that there was plenty of spaces to start. Our starting point was clear, once I’d spotted the Plant House through the gate in the hedge…
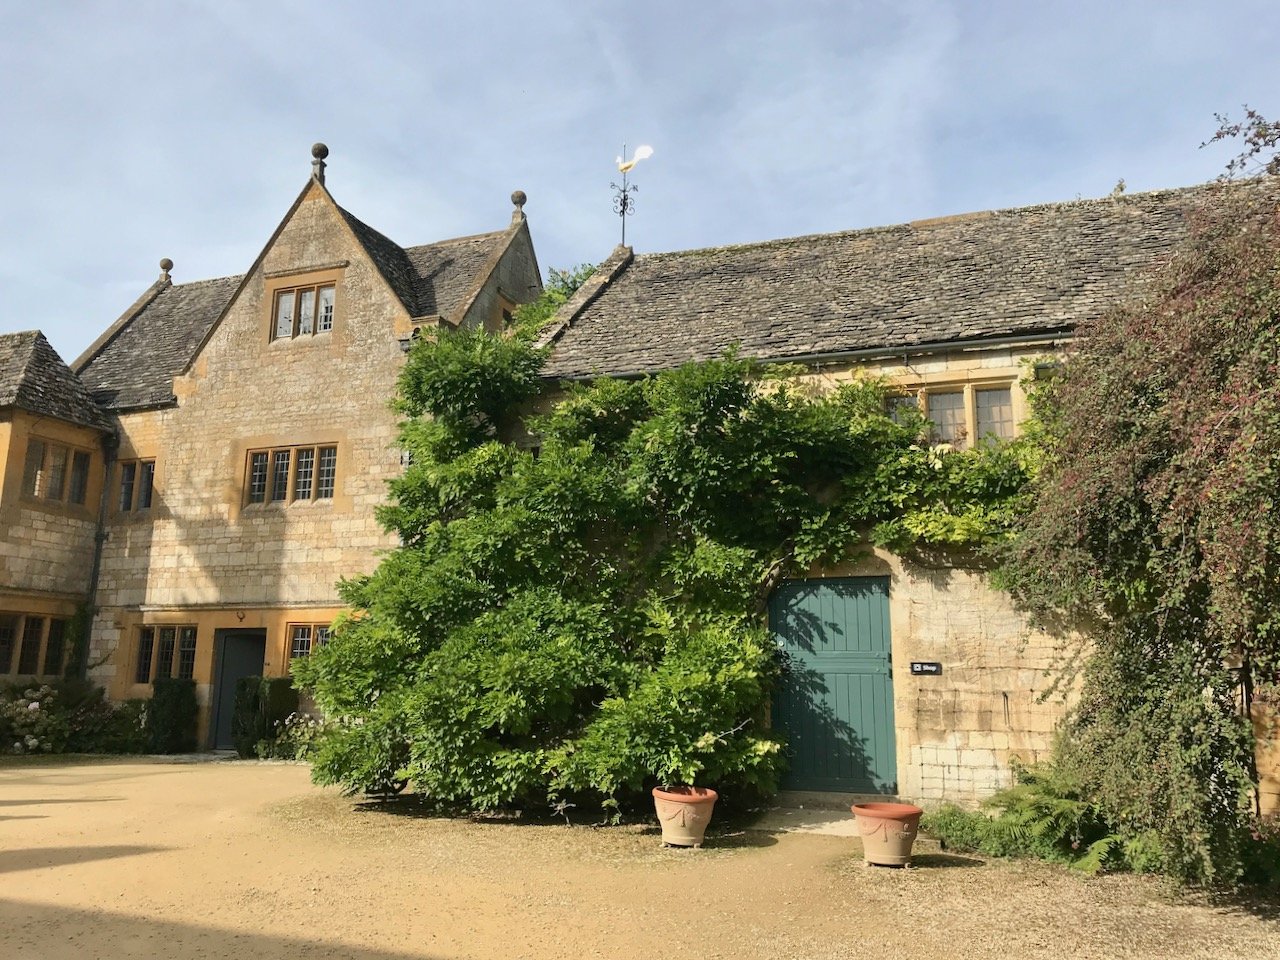
In the main courtyard looking towards the house as you'd expect full of the yellow cotswold stone
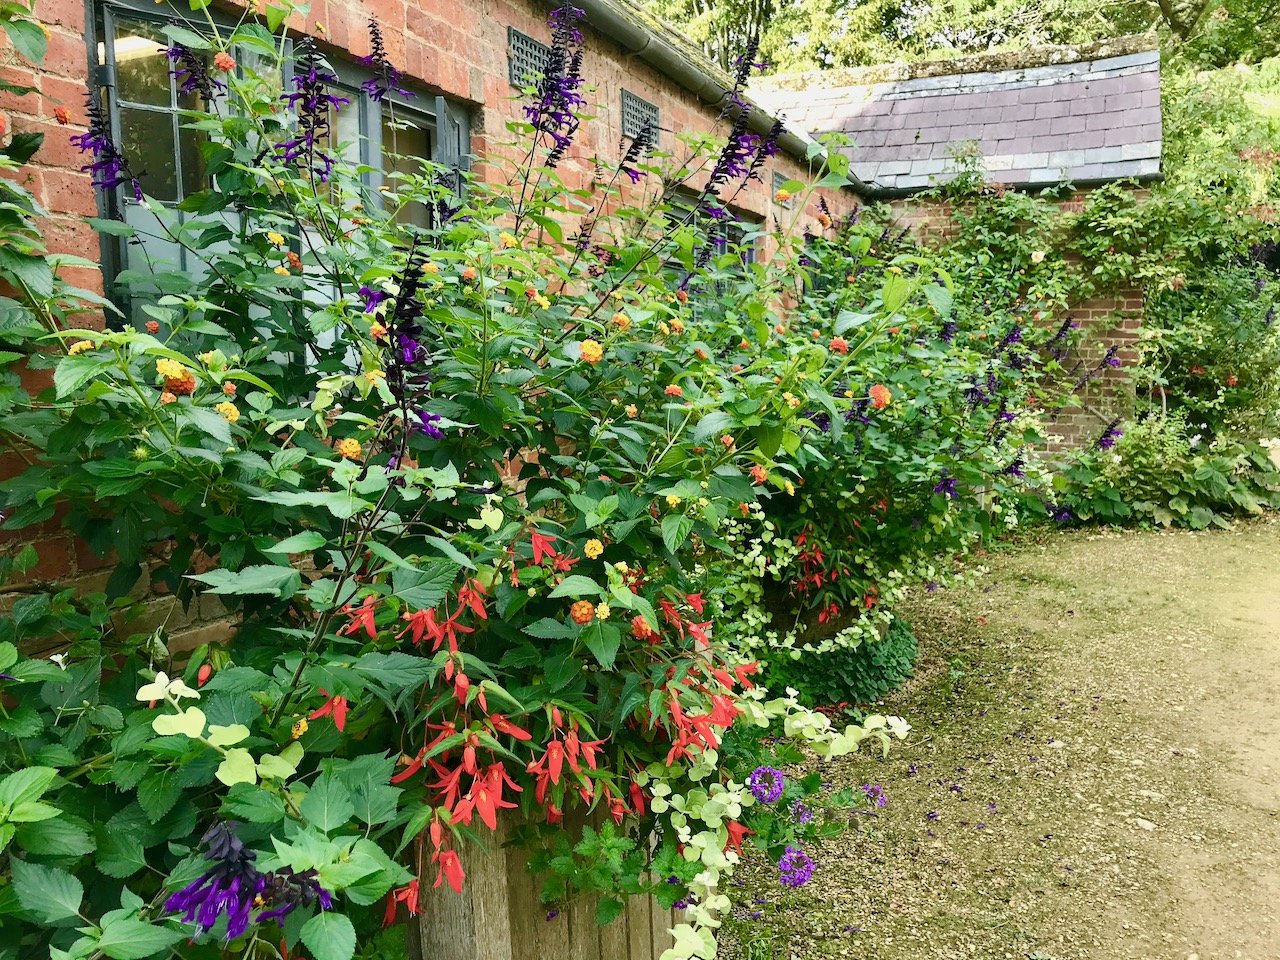
Luscious and overflowing borders alongside the cafe with plants in reds, purples, oranges, yellows and more spilling over the edges
An open gate in the hedge enticing us in towards the Plant House

Well, who wouldn’t want to explore further?

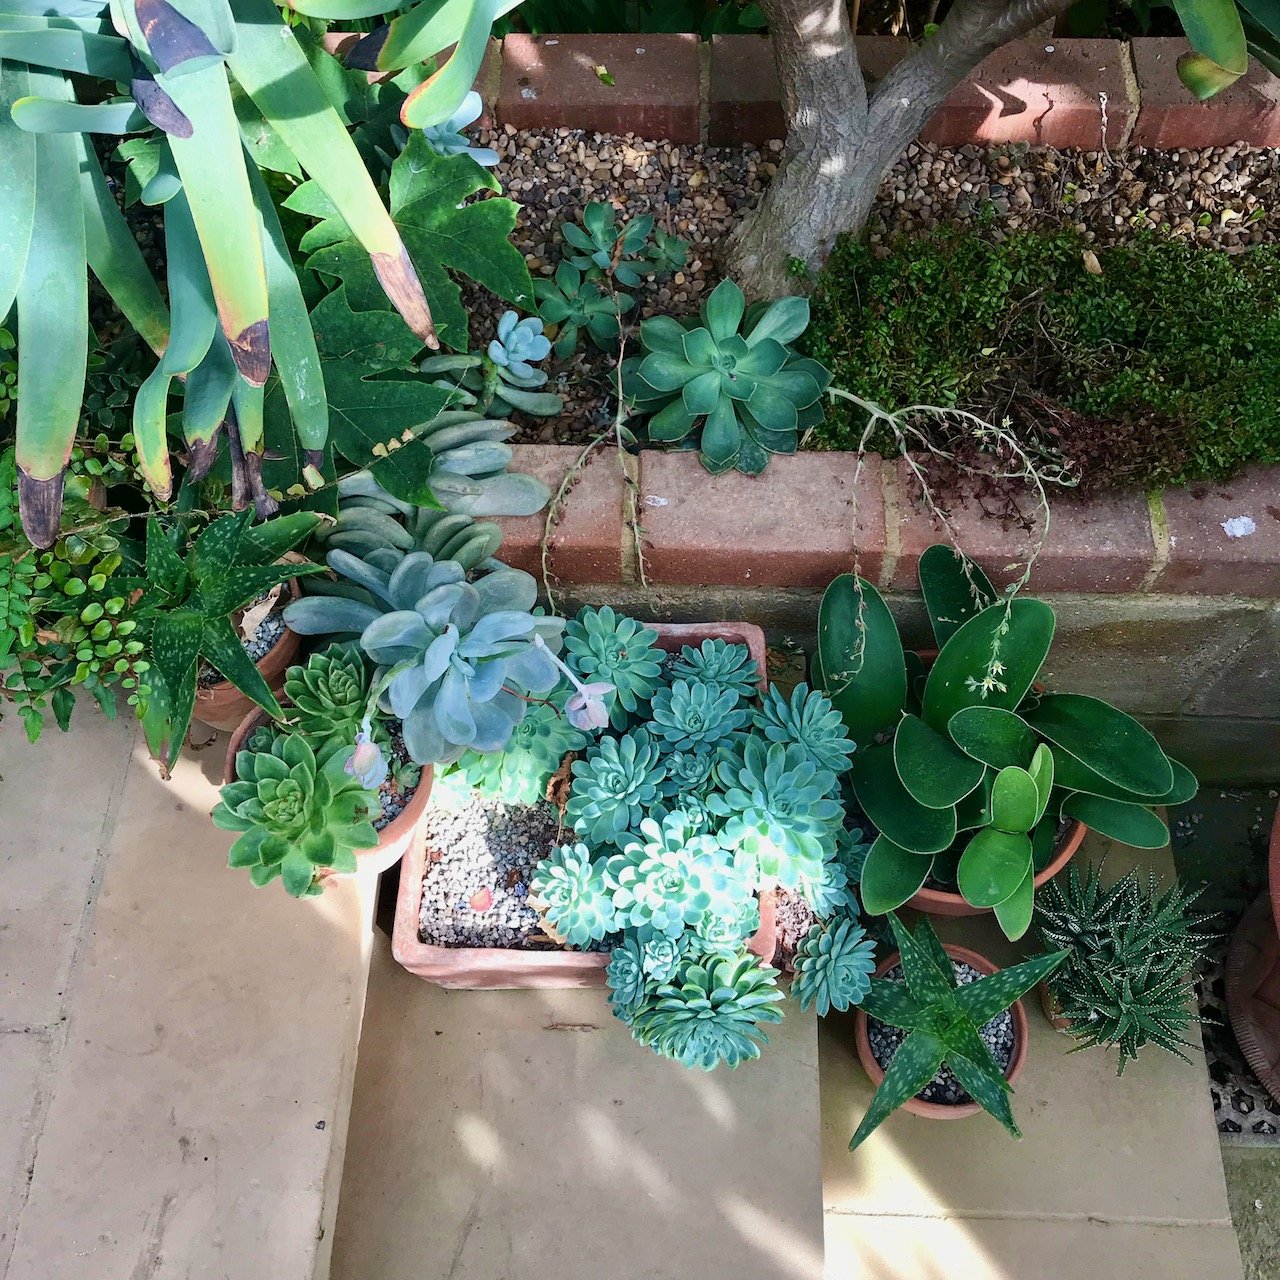
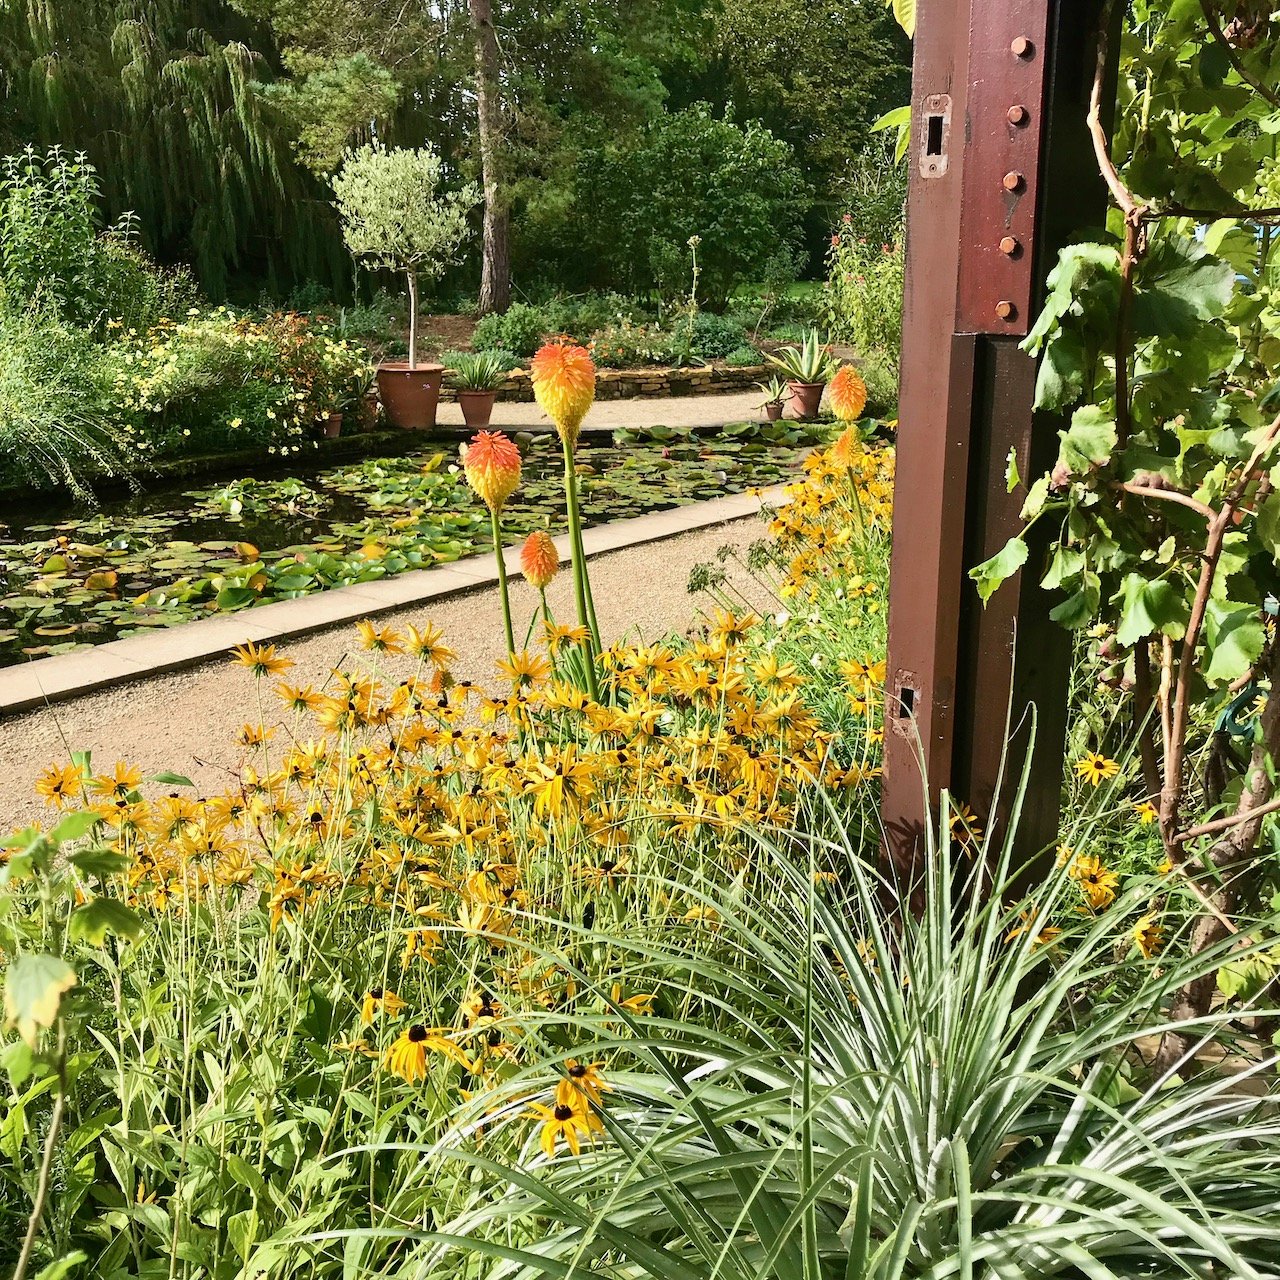
Inside the steel structured plant house there was so much to see, the plants, the structure itself let alone the stone planters of succulents nestled on the steps. And then there was the view over to the lily pond, which of course was beautifully framed by a vibrant yellow border. I’m so glad that we weren’t able to visit on the day we originally planned to, as seeing an all time favourite plant - the red hot pokers - on a warm, sunny September day was so much more worthwhile.

Looking along the length of the steel structured plant house, greenery on the right and a spent agapanthus flower in the foreground
Pots of succulents adorning the steps in the plant house
A glimpse of the lily pond from inside the plant house and our first closer  look at the yellow flower filled border

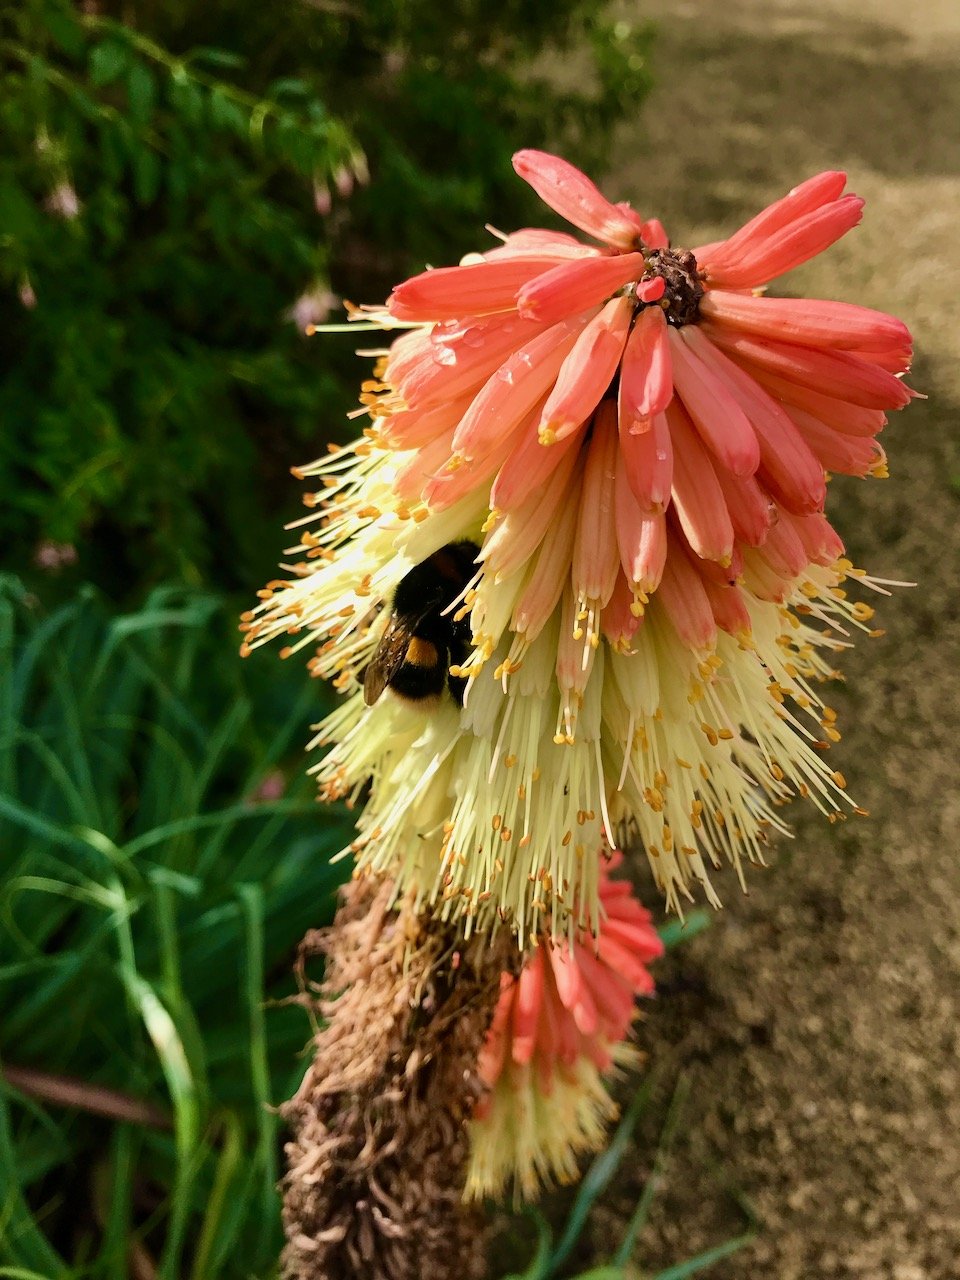
Somehow in driving rain I think the enjoyment would have been so much less! Especially for the bee which was having a quick nap.

A bee falling asleep in the red hot poker - like you do

But what colour, clearly being a bee here is hard work. But isn’t all this colour joyous?

Heleniums, rudbeckias and what looks like a pineapple lily in the yellow border outside the plant house
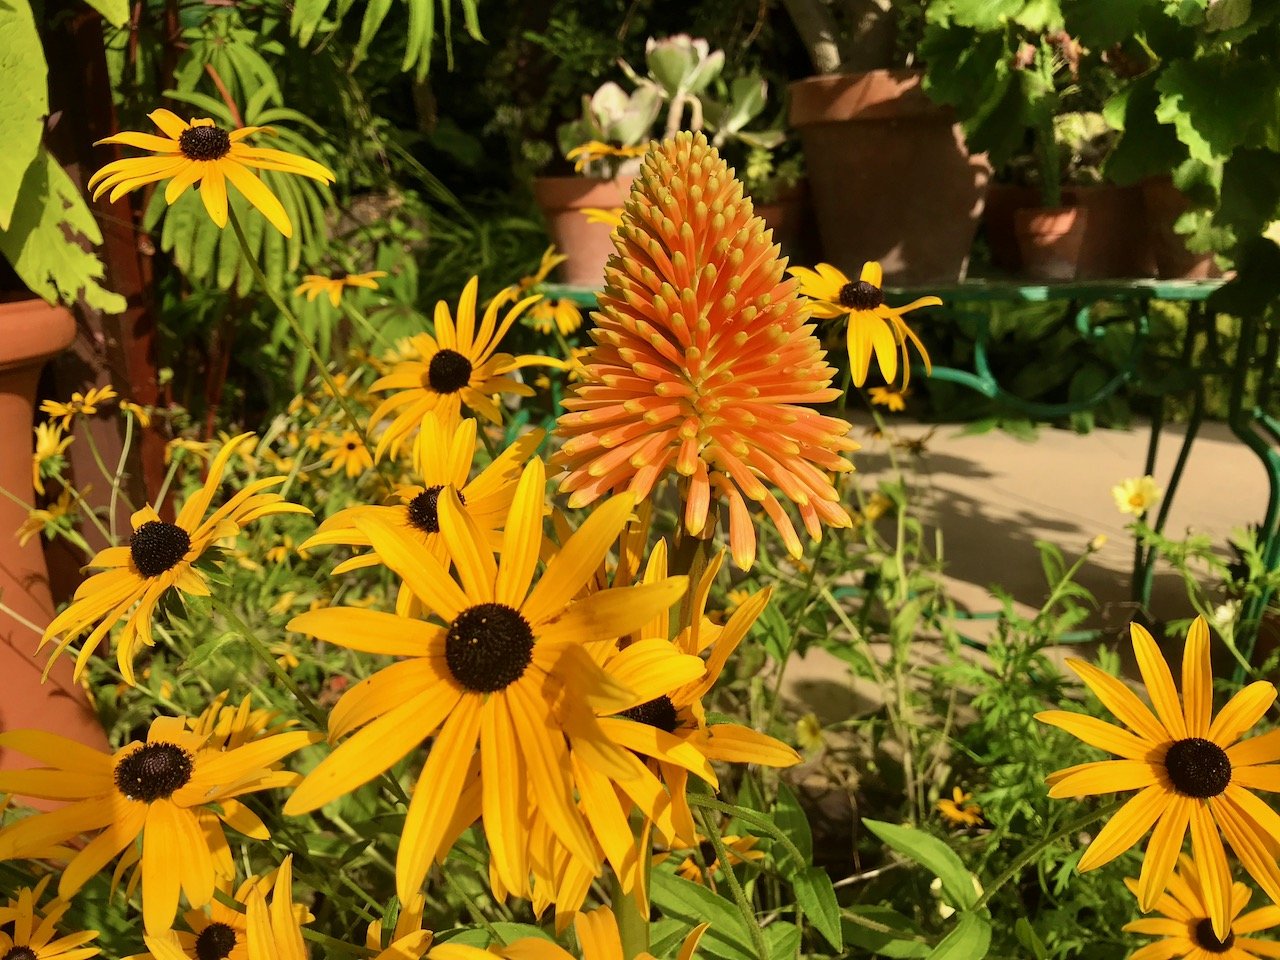
More of the rudbeckias and an orange red hot poker flower, who's ends look like they've dipped in yellow.

There were signs of autumn throughout the garden as you’d expect - it was the very end of September after all.

Green berries on the holly - signs of autumn

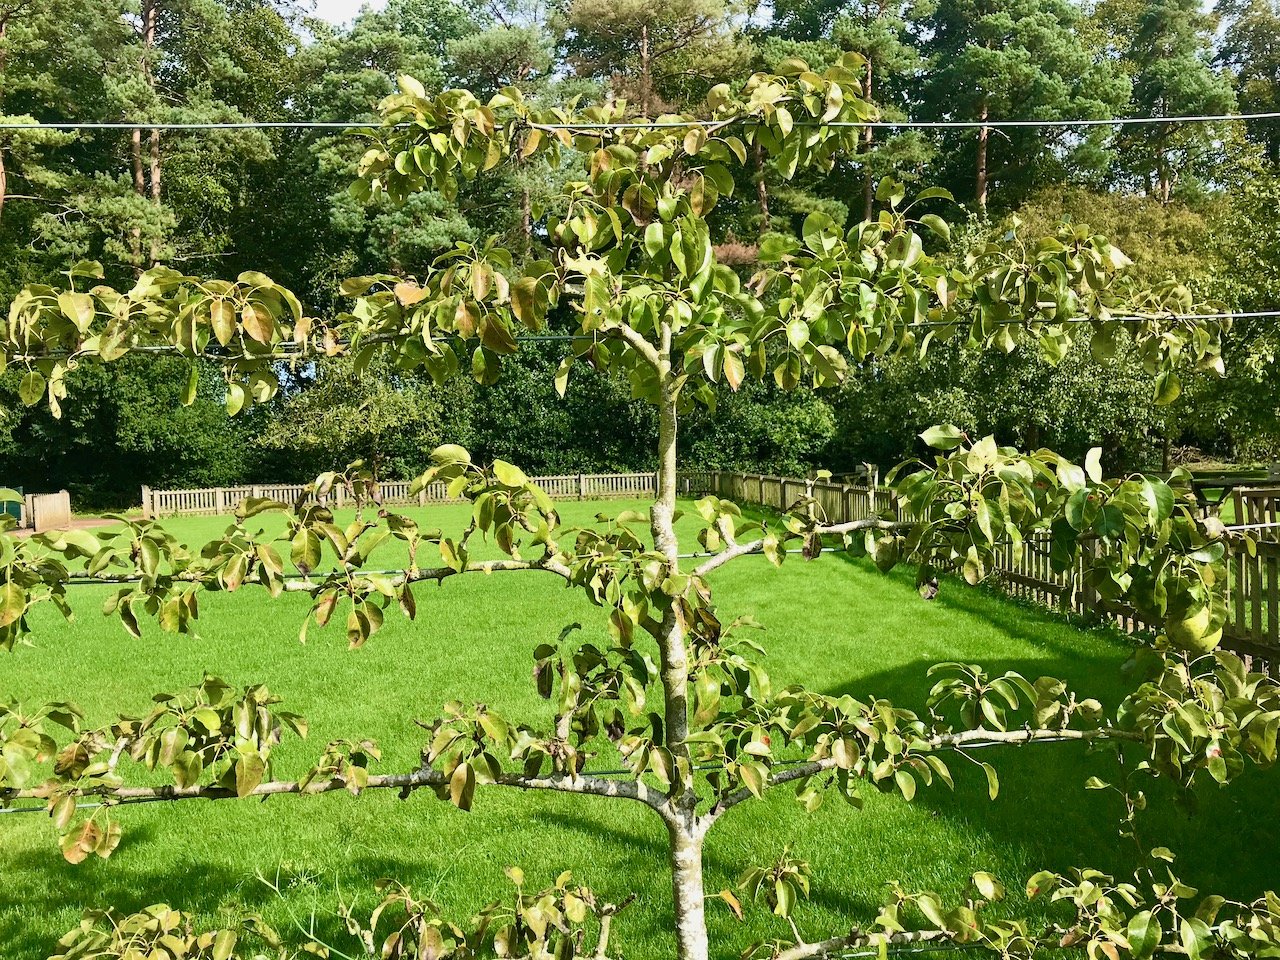
There was also plenty of inspiration. I’ve included this espaliered fruit tree here to remind me that this is what I want to do with the peach tree from dad, and to remind me that I still haven’t created a square frame from canes to start to train it into this shape.

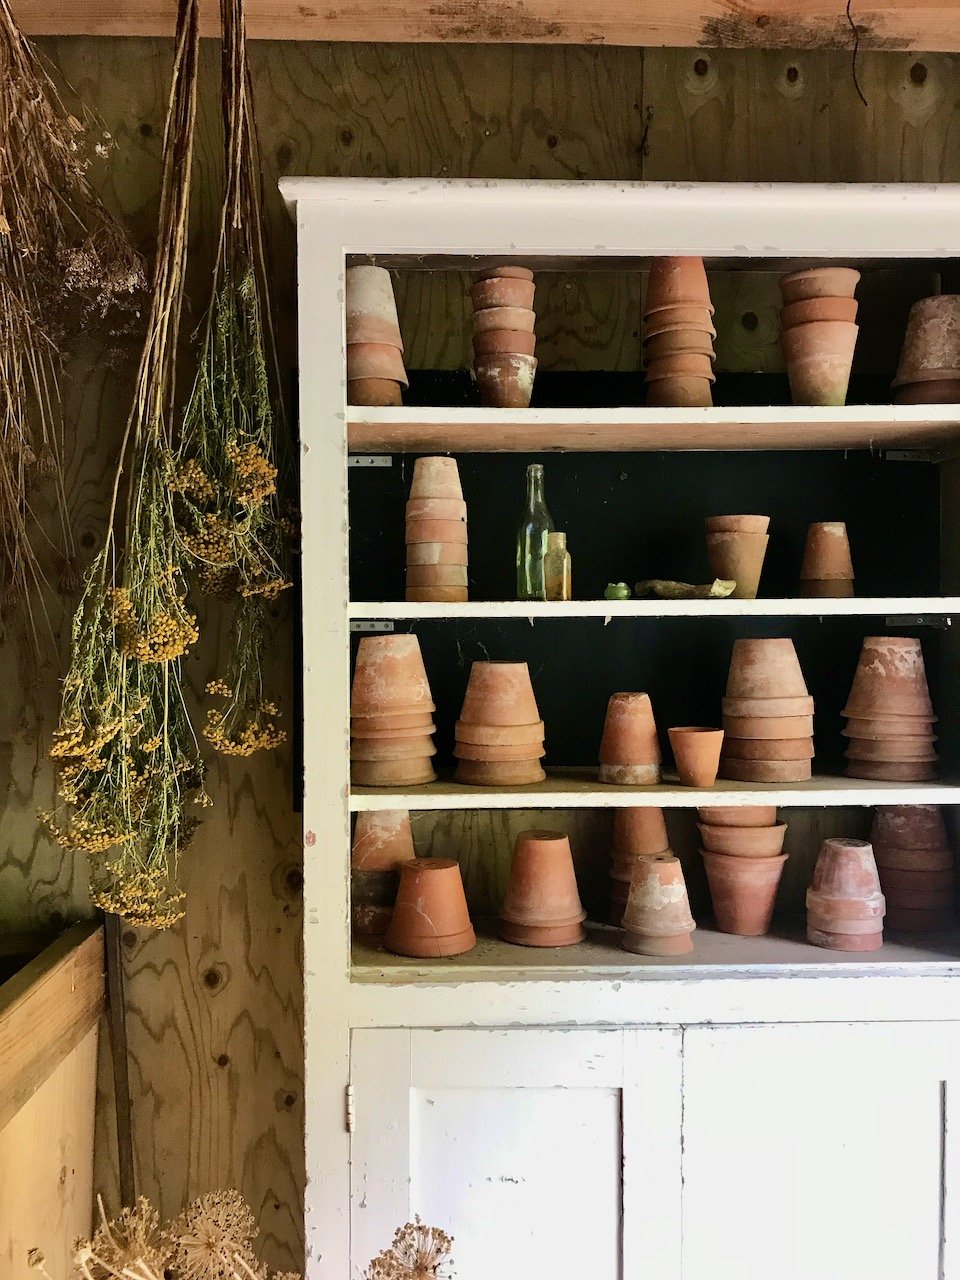
In the potting shed, I turned to MOH and said this is what I want my tiny greenhouse to be like. I’m not sure he got it as, well I won’t have this kind of shelving unit, but I will have the terracotta pots and the plan for the tiny greenhouse is to be pretty as well as functional, but it won’t be industrial functional as there just won’t be the room.

An open shelved unit in the potting shed displaying upturned terracotta plant pots

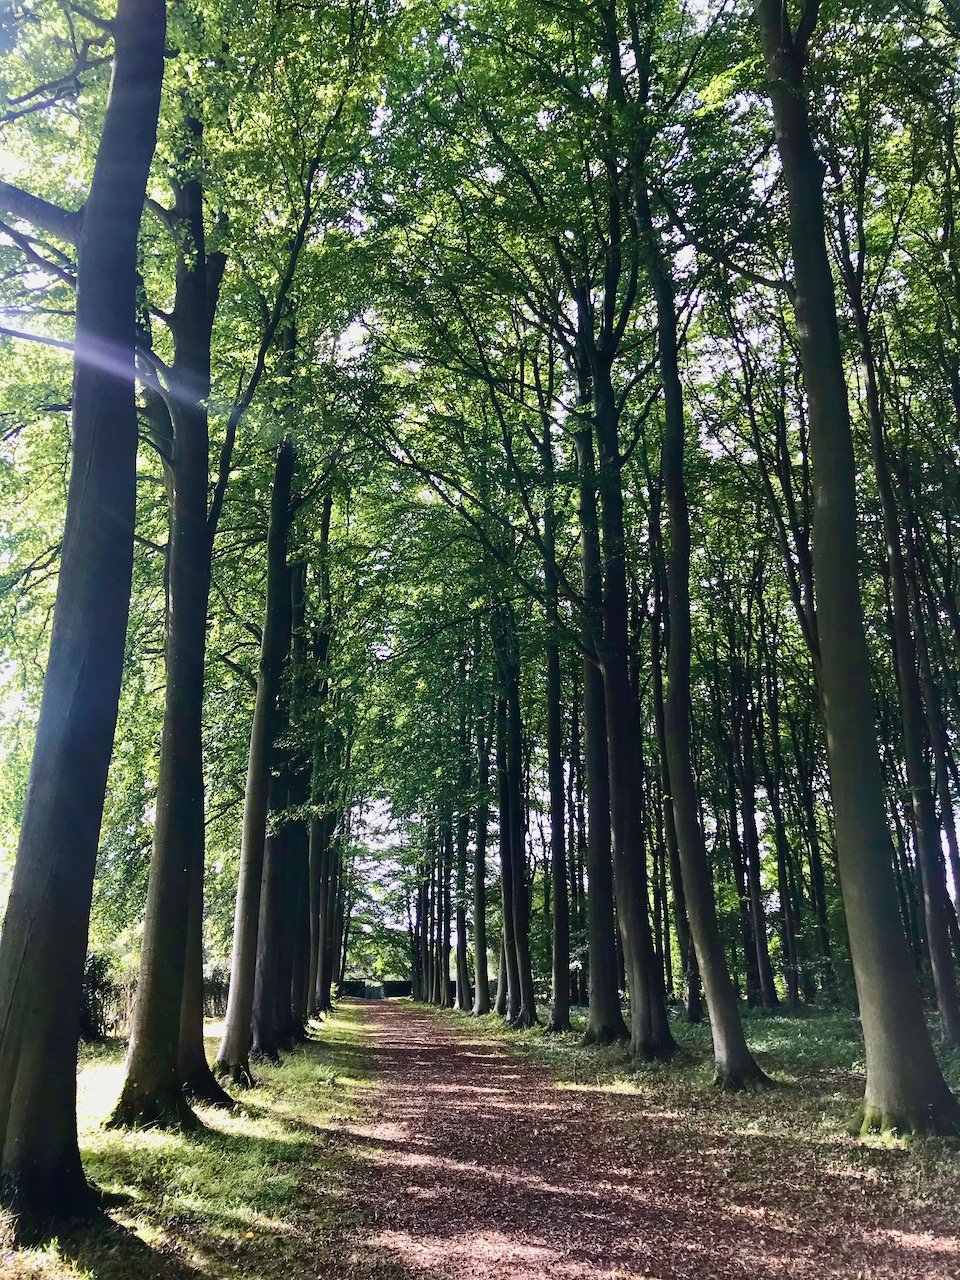
After a walk through the orchards and productive garden we turned and headed back on ourselves through the Beech Allee, and what a walk that was. Again made by the dappled sunlight streaming through the trees. Completely uplifting and again joyous.

Walking through the Beech Allee with dappled sunlight streaming through the tall trees
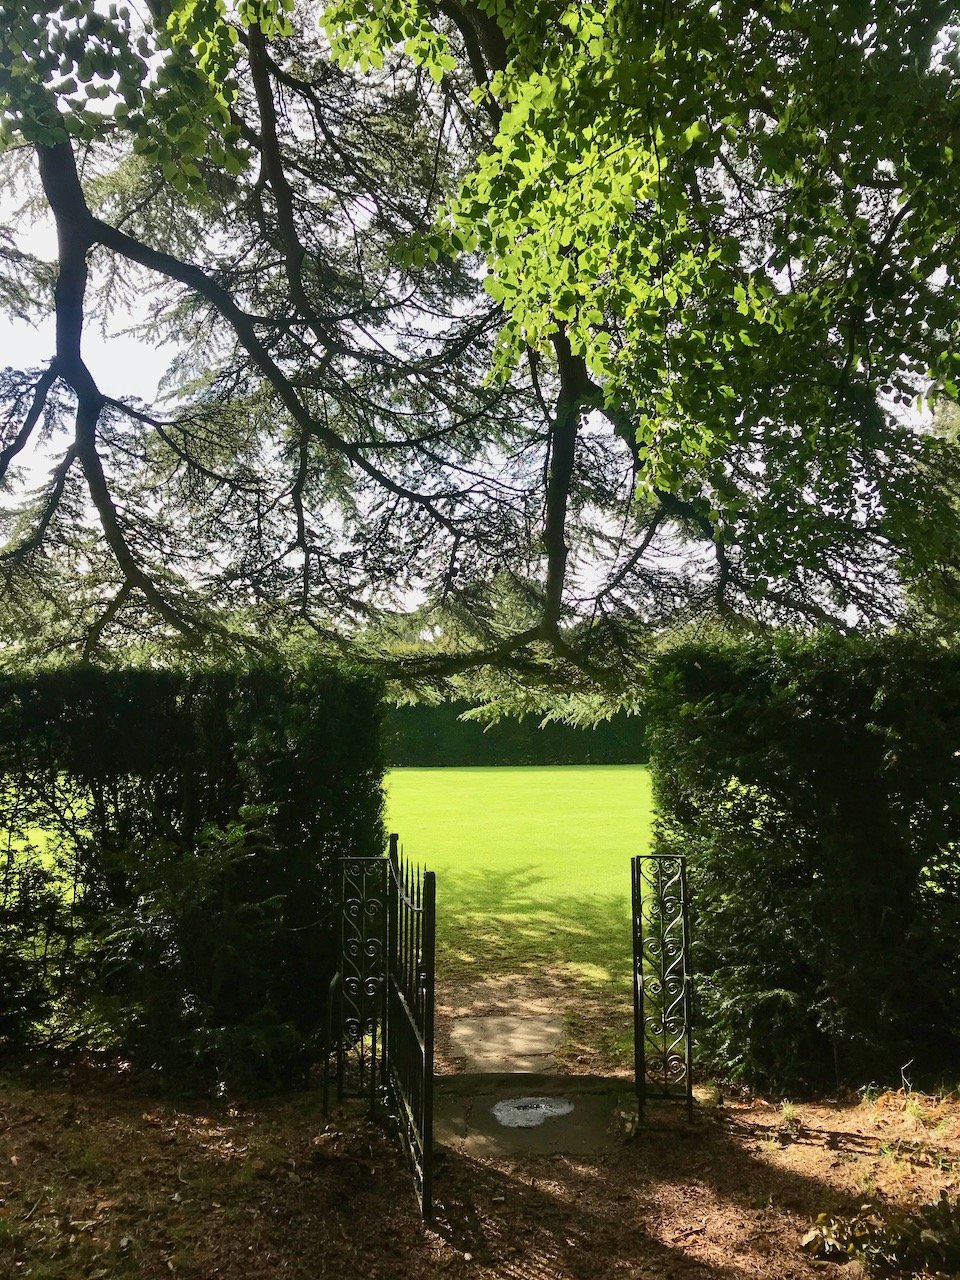
At the end of the beech allee is a iron gate amongst the hedge leading onto the great lawn

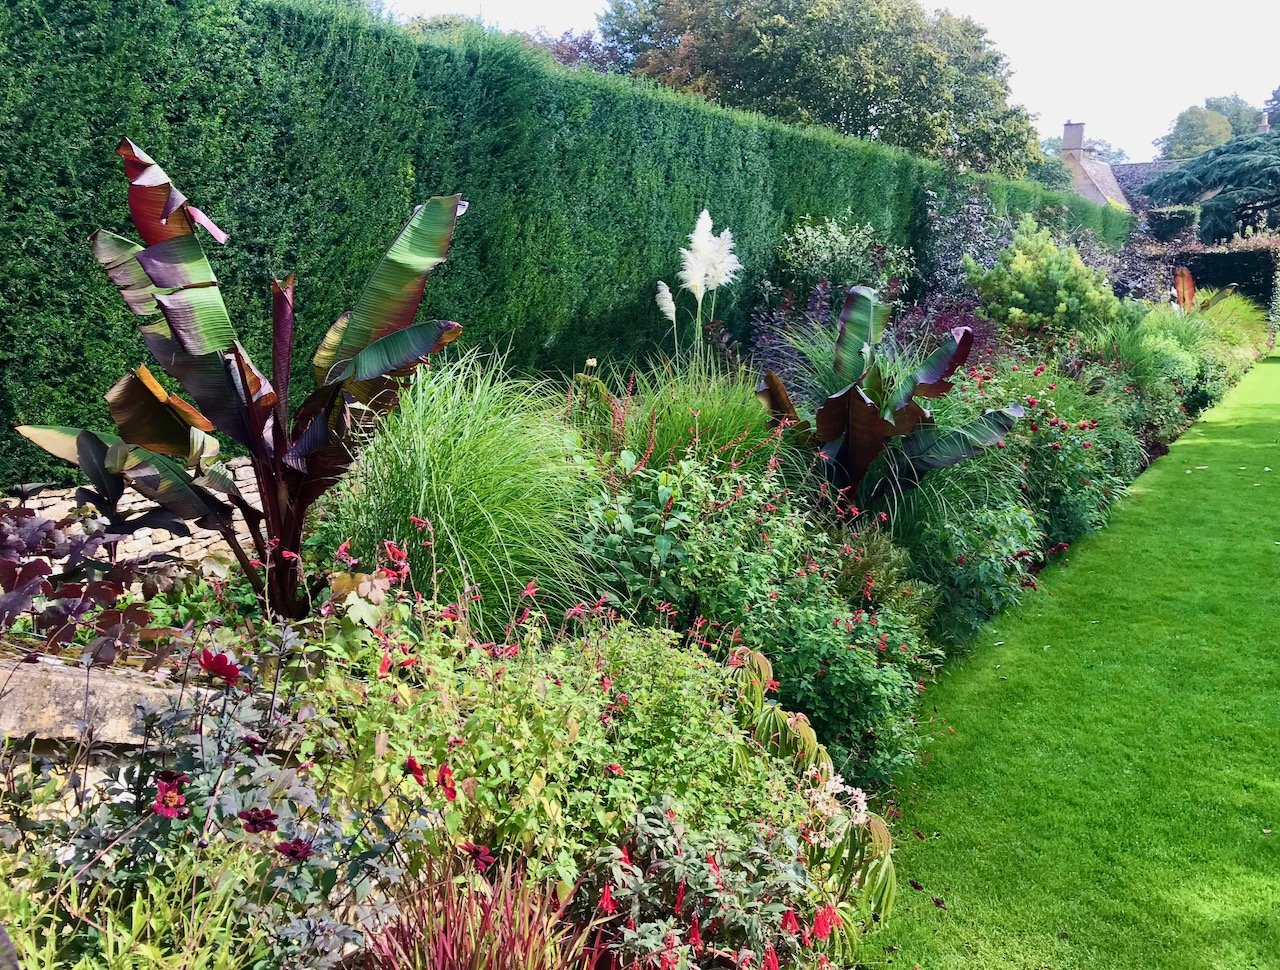
Walking through the iron gate, again set into a hedge, we found ourselves on the Great Lawn, heading towards the Red Borders, which as you’d expect from the name, had predominantly red leaved and red flowering plants.

Looking along one side of the Red Borders, which are as you'd expect planted with predominantly red flowering and red leafed plants
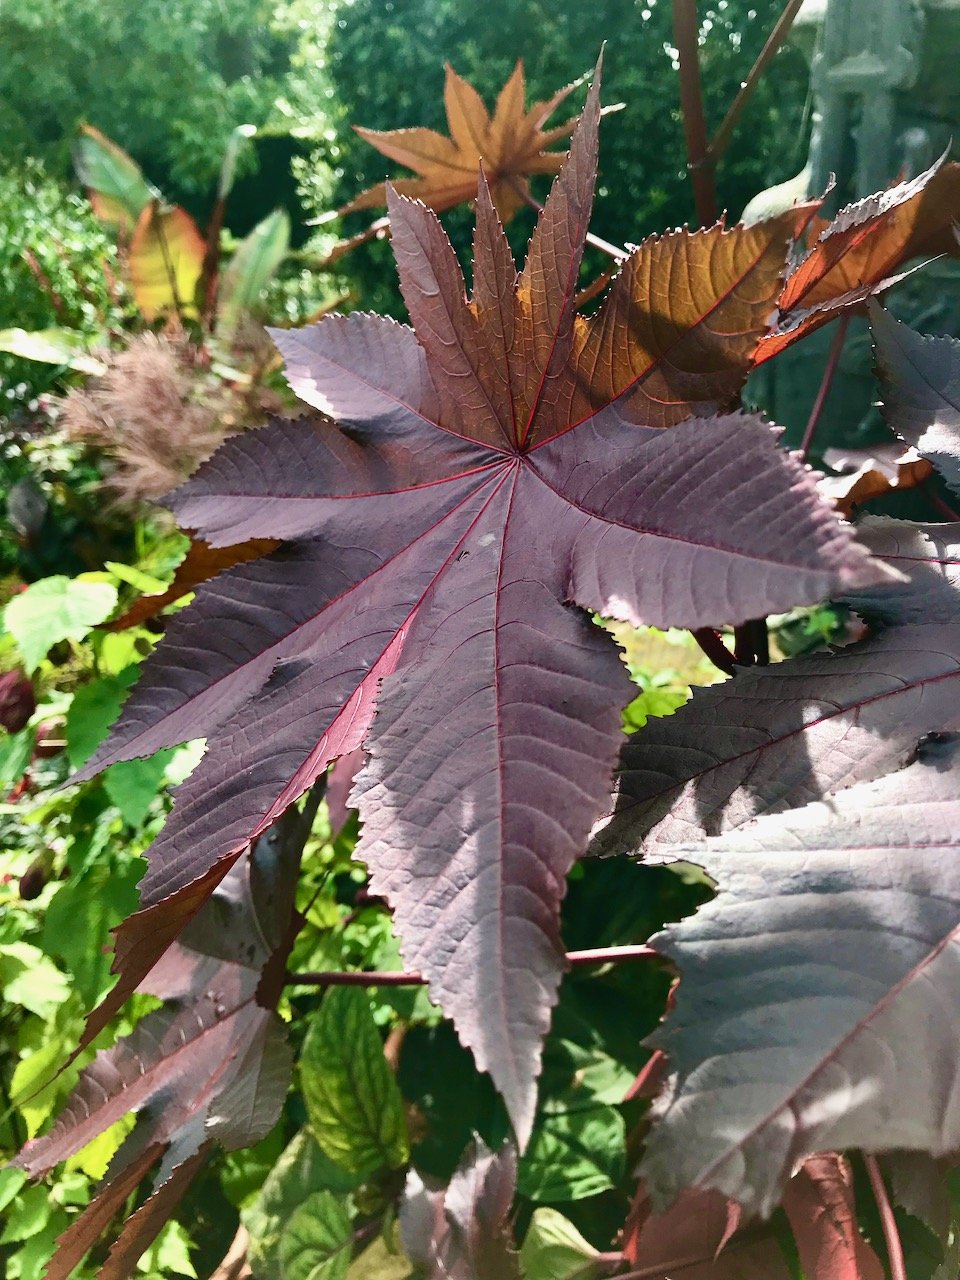
A closer shot of a one of the reddy/brown leaves which was probably as big as my head

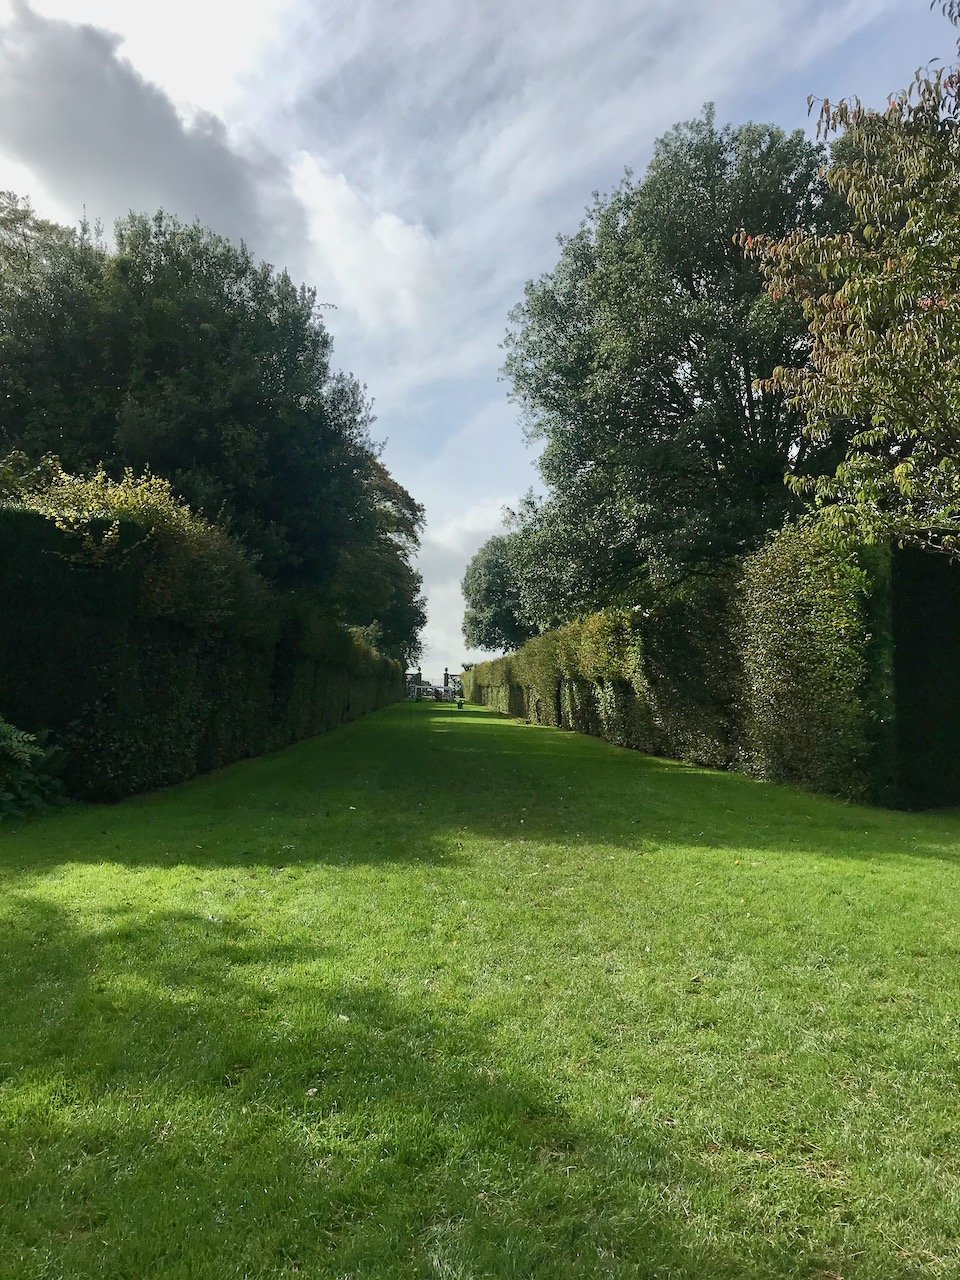
The Long Walk, again aptly named, was bordered by hedges which the gardening team were cutting. It takes five months, with four gardeners working each week day, to cut these hedges which given the amount of time it takes are only cut once a year. If it takes this long now, with modern equipment, I can’t imagine how long it would have taken beforehand.

Looking down the long walk to the viewpoint, the hedges either side were being cut back by the gardeners - a mammoth task
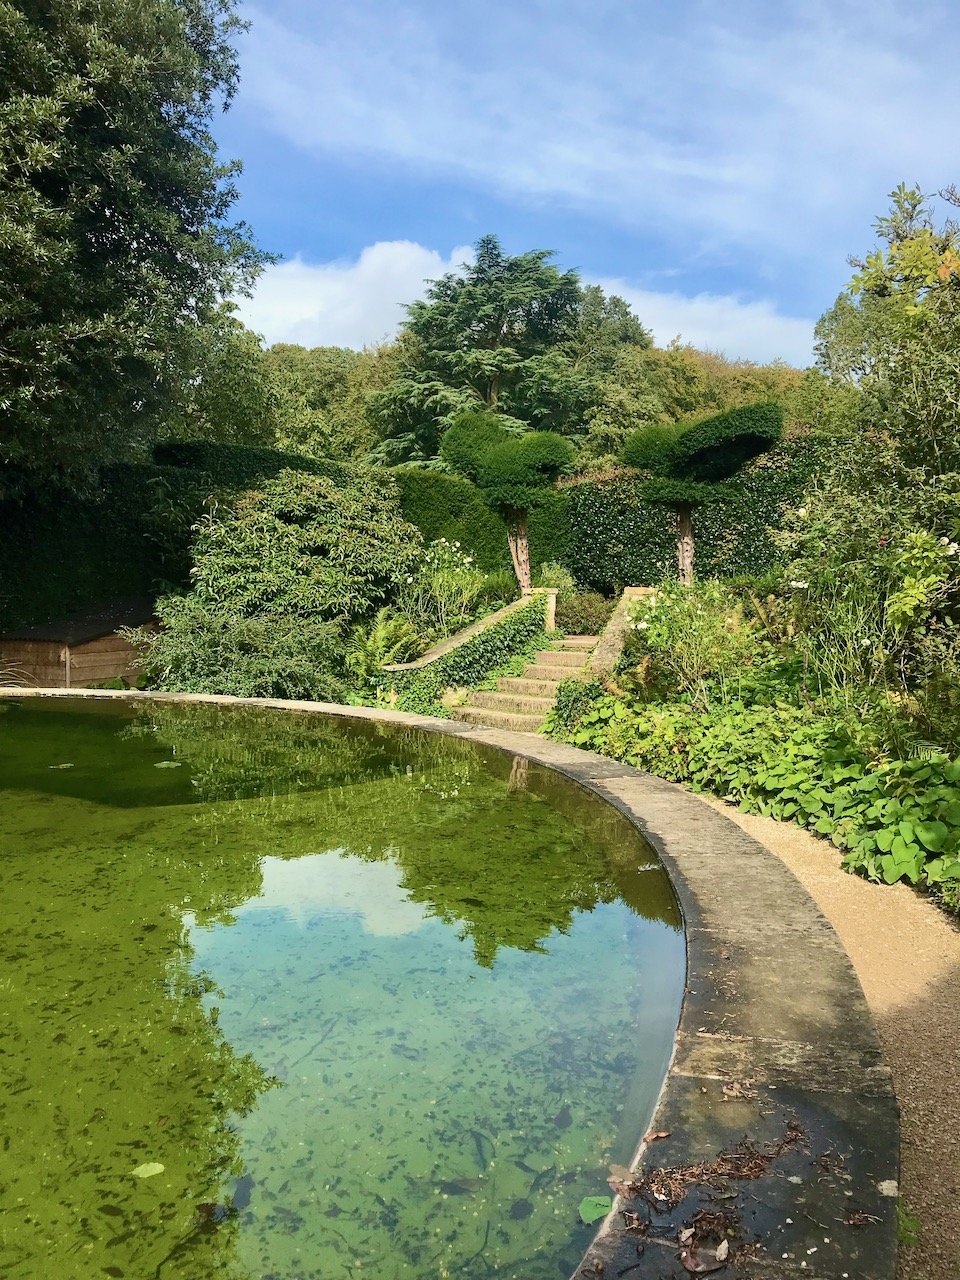
Wandering around the circular Bathing Pool, which I wouldn't fancy bathing in much at all tbh

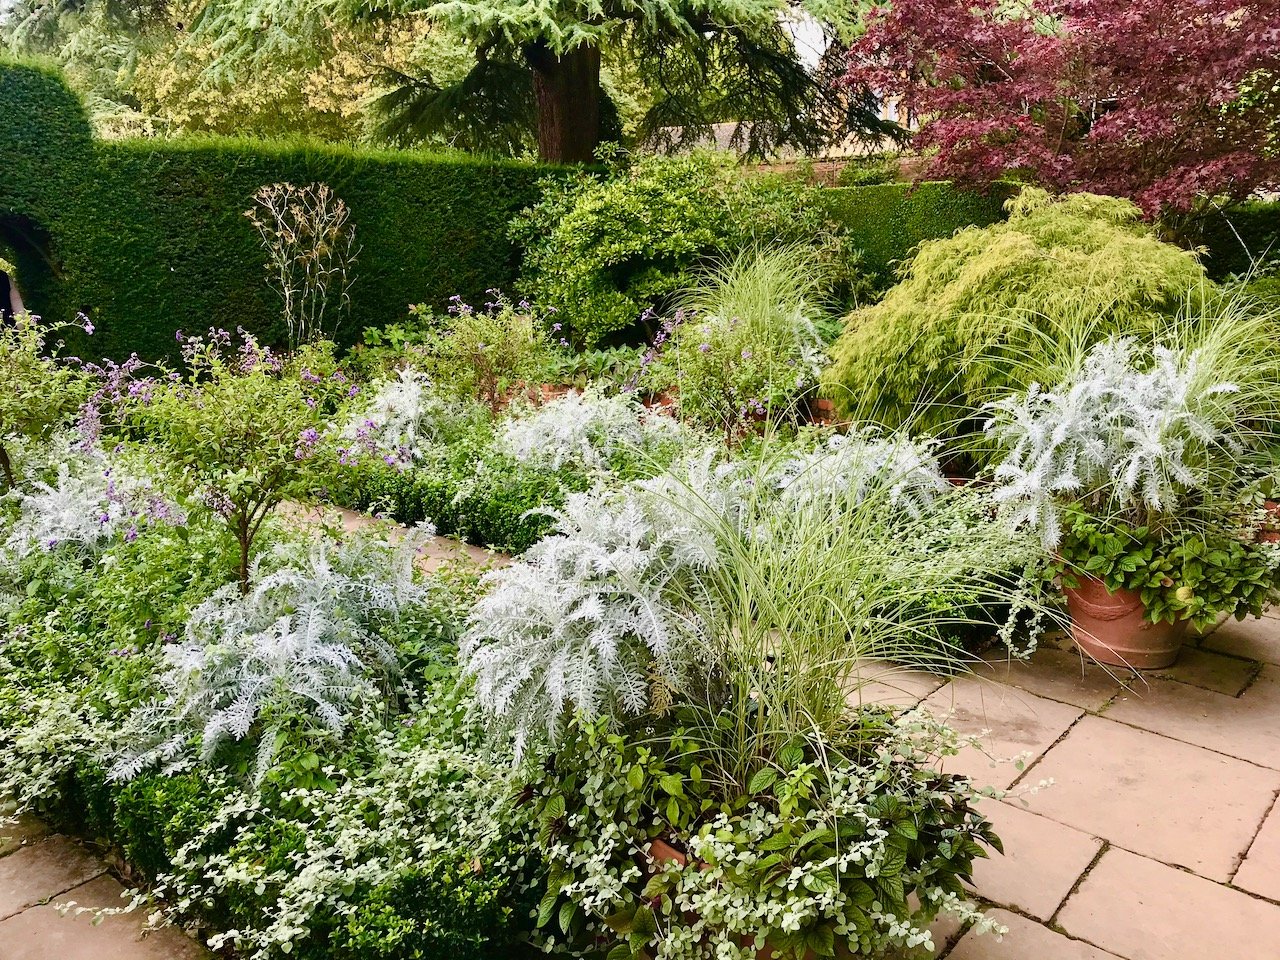
We wandered around spotting the bathing pool (above) and the vista towards the old garden below, with its magnificent cedar tree. We meandered through paths eventually finding ourselves under the tree and walking through the white garden with its silver leafed plants really helping this garden live up to its name.

From the red borders path looking towards the large cedar tree in the Old Garden
The pathway in the White Garden edged with silver leafed plants

So definitely a garden full of colour, and one I’m pretty sure we’ll be back to as well.