Repurposing a crochet project, and getting it done

Sometimes you start a project and it goes for a while, then it stops. If you’re lucky you may pick it up again and start where you left off and all’s good, but at other times there’s nothing else for it but to start again.

I liked the yarn, and the colour variation that two strands of double knit gave, as well as the thickness which for a laptop cover I was keen to have. I like the pattern. I’d crocheted a baby blanket in this pattern previously - the baby is now two and a half! - but I couldn’t get into the flow for my laptop cover, which I so desperately wanted.

I know right, it didn’t make sense.
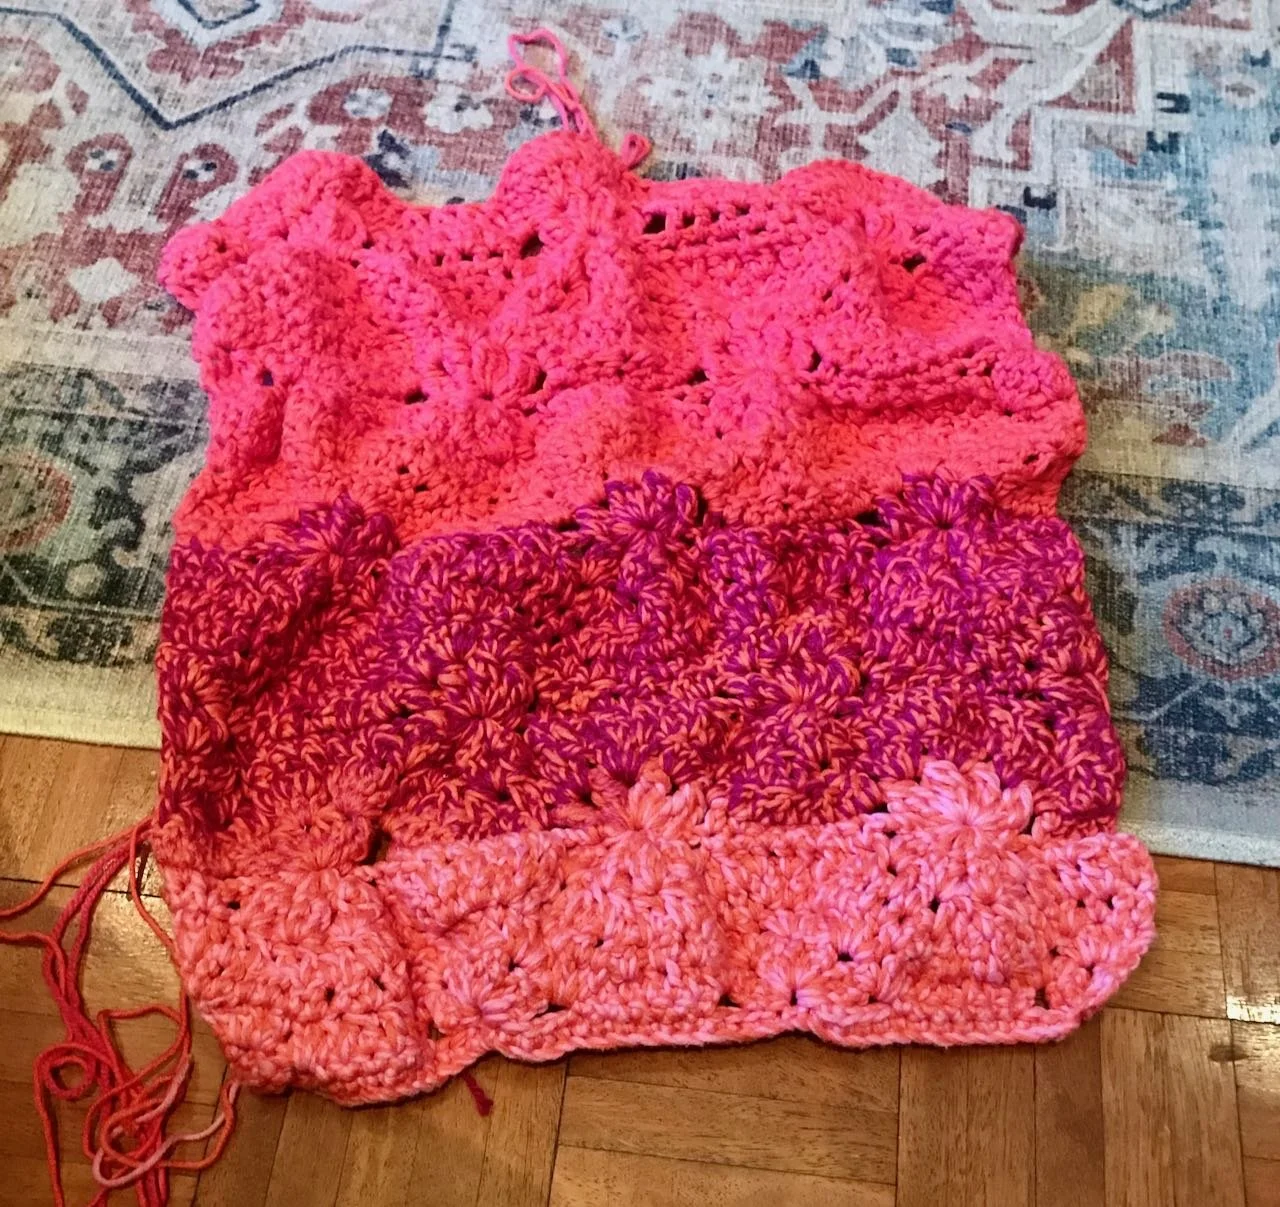
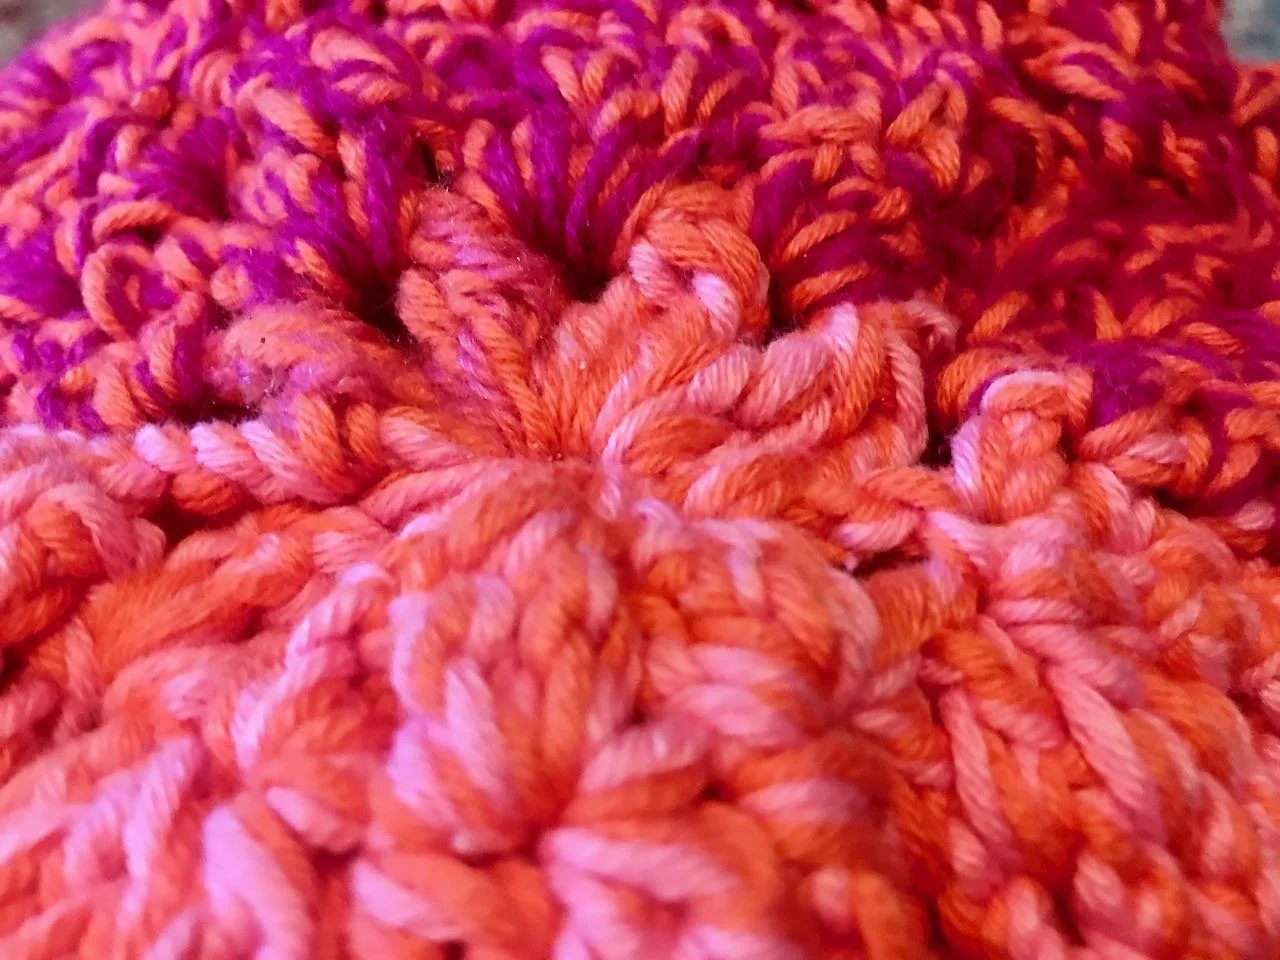
Making slow progress on this crochet work in progress

So I frogged it.

Frogging is a crochet slang for ripping it out - ribbit, ribbit - so frogging it, it makes me smile every time.

So with a large ball of wool, I started a granny square. I wanted something that didn’t take much thinking, and as this was the first time I’d really picked up my hook since last summer, I wanted to see progress quickly.
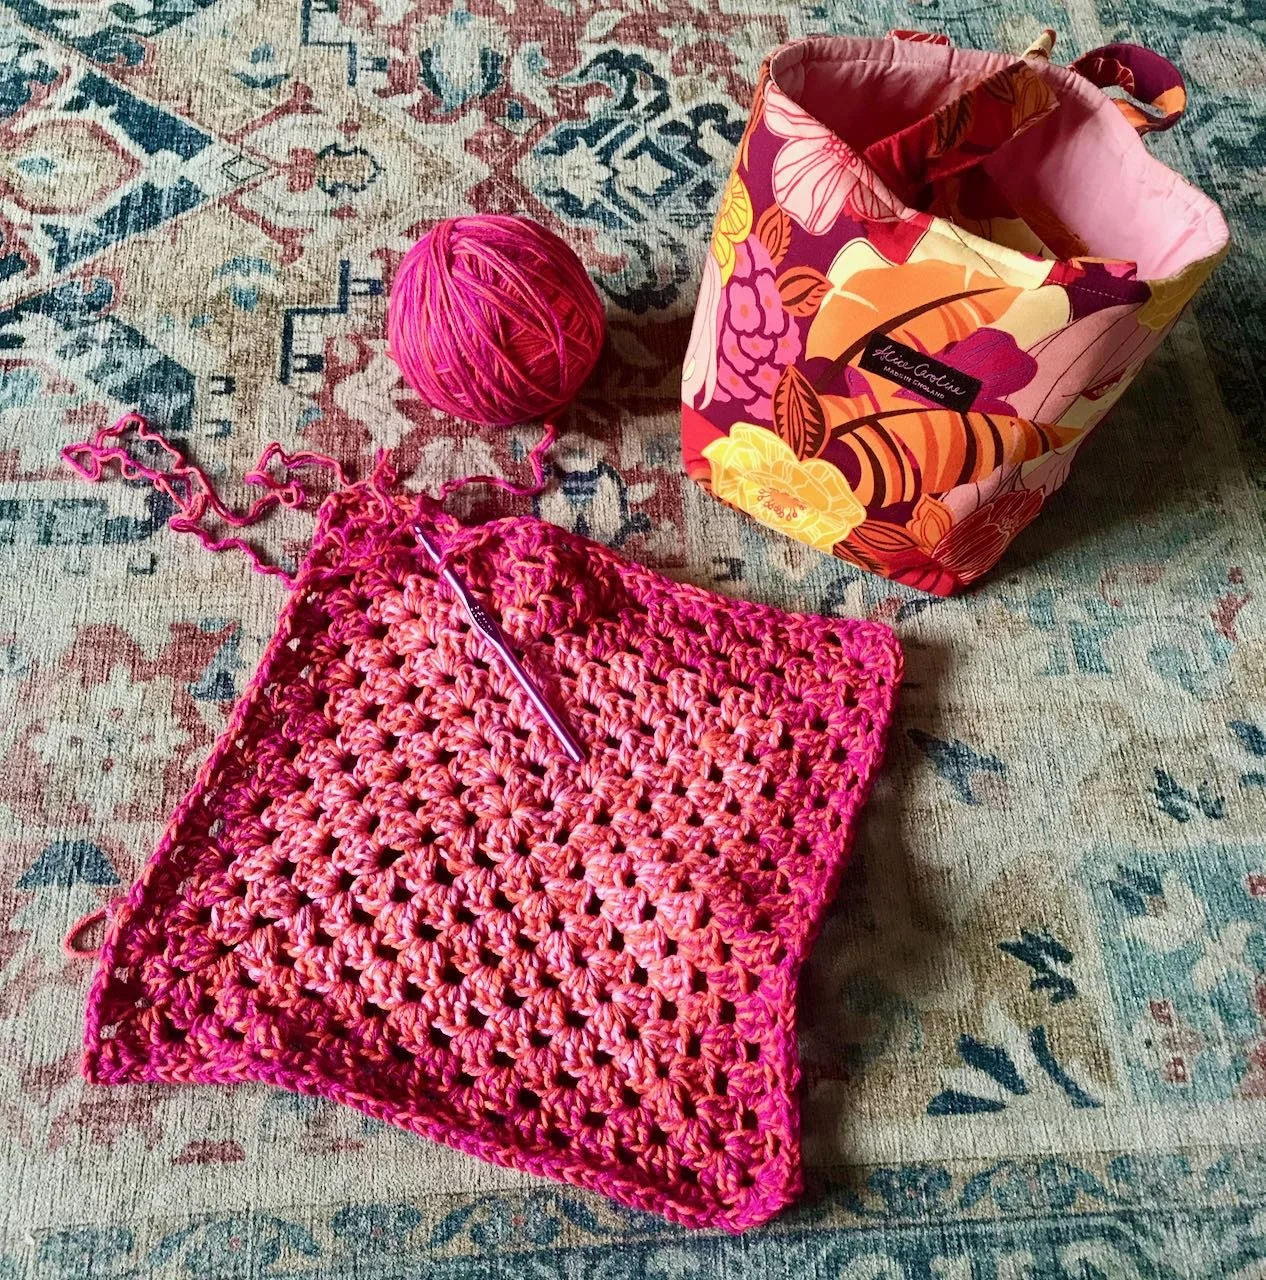
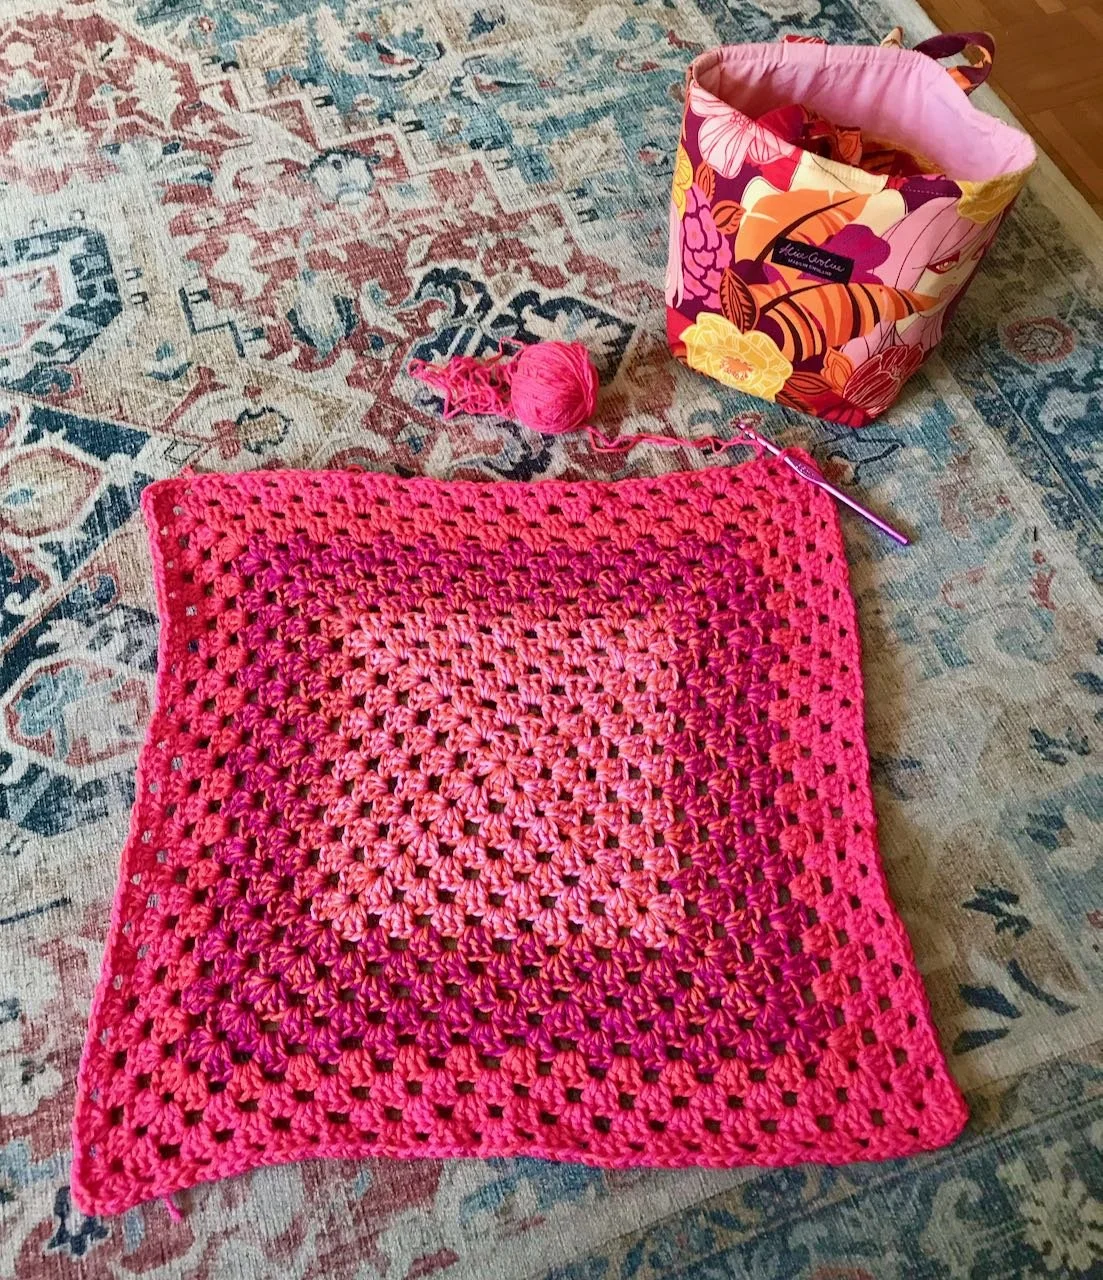
A quick growing granny square, the unwound project as a large ball and my unintentionally matching project bag
the Granny Square grew quickly, the ball of wool shrunk quickly too

And I did.

As it grew the colours by chance formed themselves into pretty even blocks of colour - I’d like to claim I planned this, but it was a fortuitous fluke.

My very loose plan was to make the square big enough so that when folded into an envelope-ish shape it would hold my laptop. As it grew, there was much trying it for size until it was done.
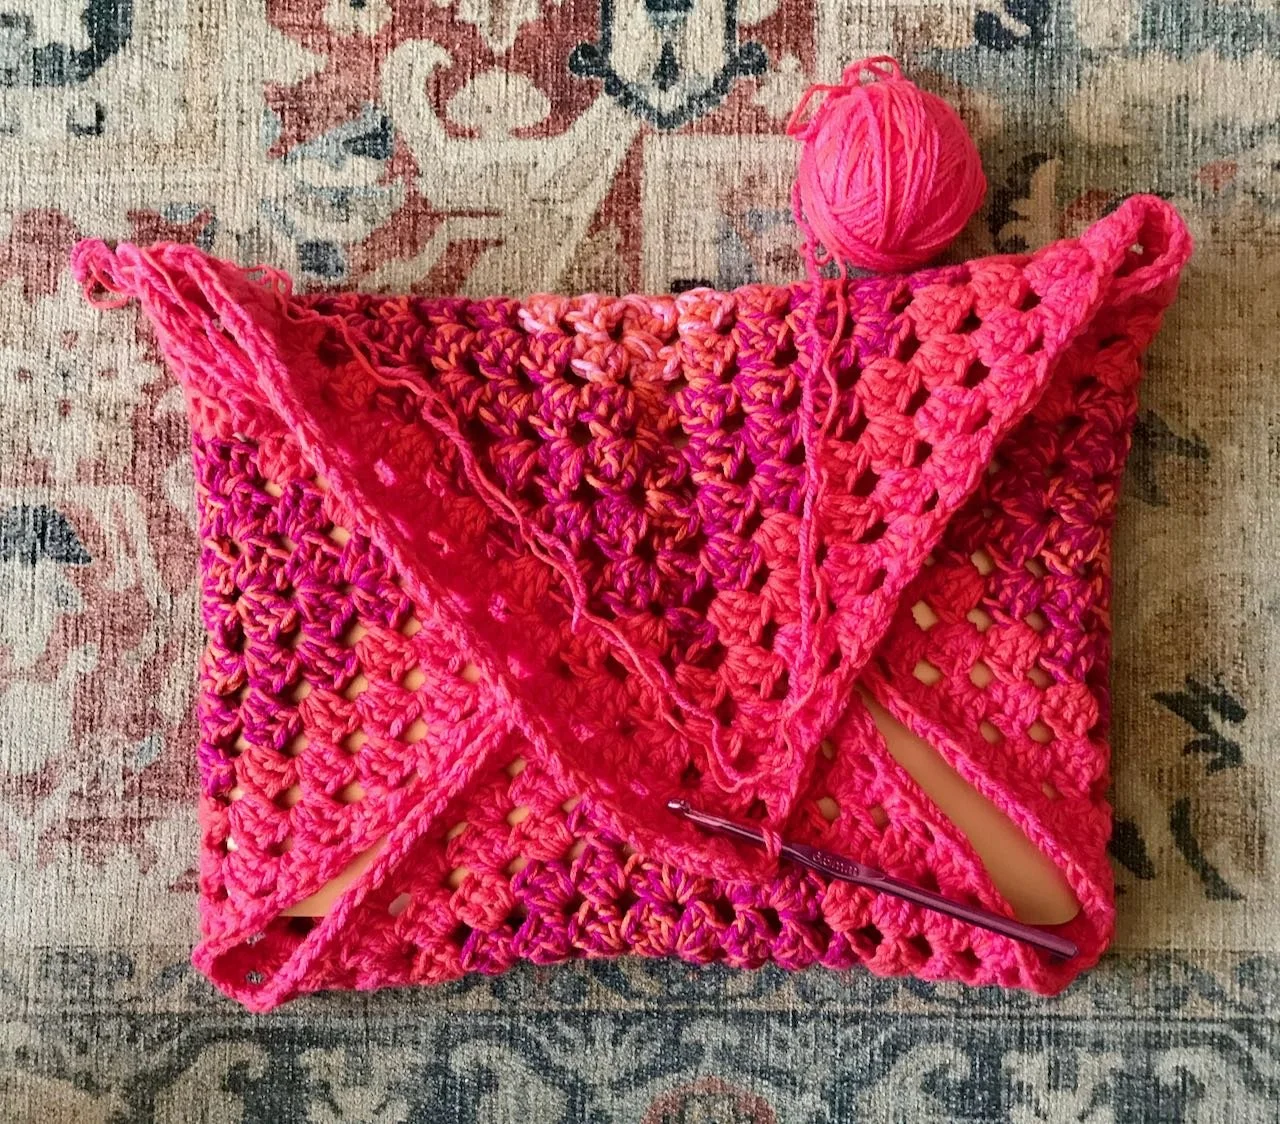
And just look how much wool from the previous project I had left. Clearly granny squares are less yarn hungry than my previous pattern, but thankfully the double thickness yarn gave the padding I wanted. I’ll use this cover when I pack my laptop into a weekend bag, so it doesn’t need to be as robust as if I were carrying it around everyday.
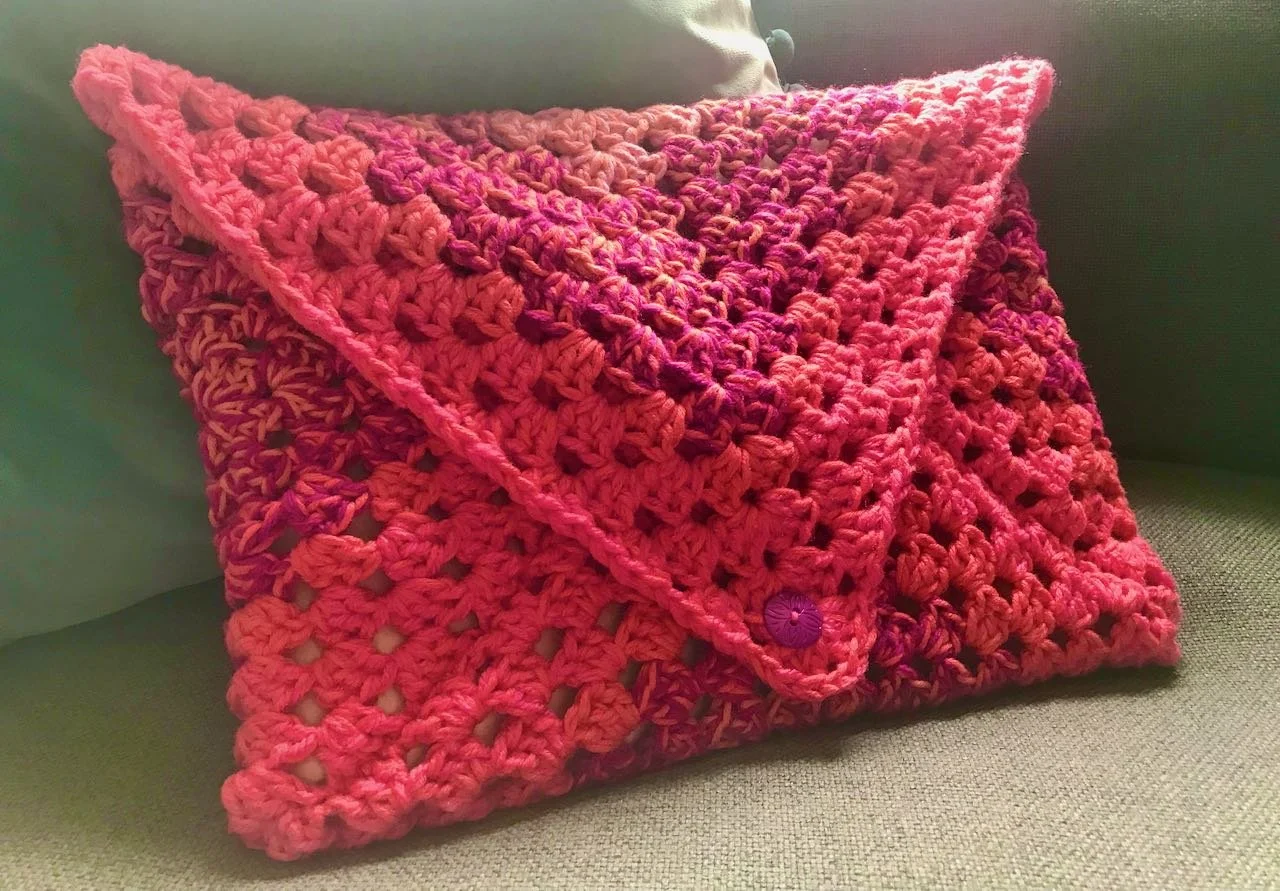
Sewn together and a button added - a granny square envelope laptop cover

With a button sewn on - contrasting of course - it was done, and in super quick time. And I’ve one less Work-in-Progress (WIP) on the go too!
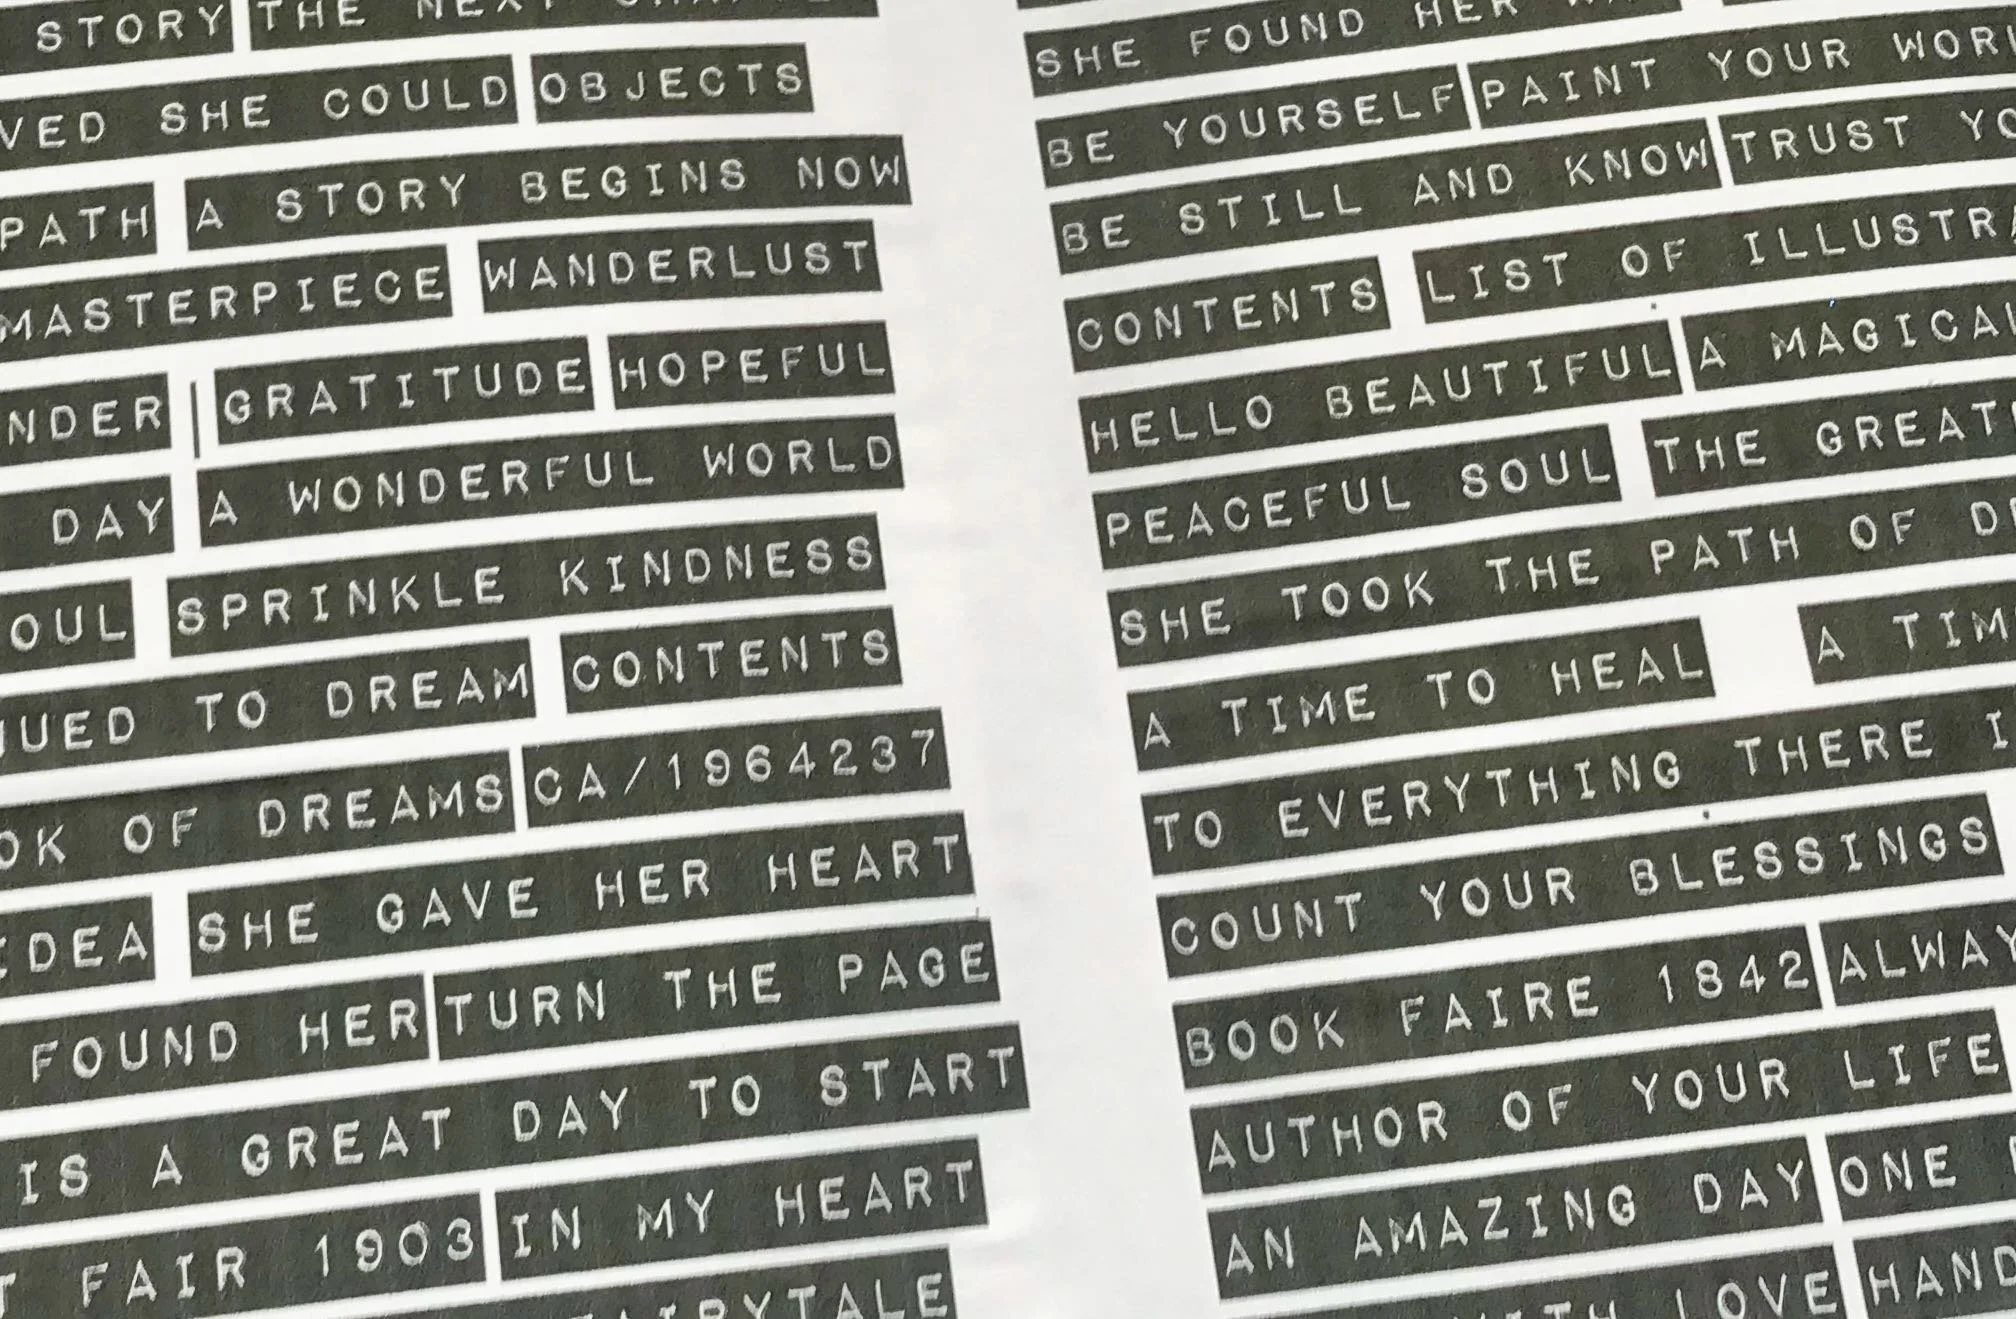
Words, text and script

I don’t usually struggle for words, but when I’m making cards they’re the one of the things I think I can improve on. And often as they are one of the final elements to be added, it can be make or break, so I’ve been looking at different options. I’m a big fan of brush lettering, but need to practice more to improve both my confidence and the finished result, and honestly it doesn’t work on all cards. I’ve die cuts and stamps for greetings, salutations and even numbers and letters of varying sizes and these work well, but again not for everything. And the longer the phrase or word the more time consuming it becomes.

I’ve tried stickers with mixed results, as I’m less keen on it being such an obvious sticker and the metallic lettering available in packs from well known craft shops again, only takes me so far. I’ve created my own text in Word and printed that, but doing this every time isn’t sustainable and I’m still working my way through a batch of greetings from a good number of years ago!

I’ve been watching the multi-media Instagrammers and admiring the phrases they use on their art, as to be fair this is a fair step up from where I currently am, and then inspiration - or rather Etsy-spiration - struck. And I found there was so much to choose from, so spending a few pennies over a pound for a download, I was off. I’ve included a snippet of the download from PixieDustFiles on Etsy below, so you can understand why I was so pleased with my (now obvious) discovery!

From the cards I’ve made recently I know that I prefer the text to be raised slightly, to stand out and add texture. Yes, I could use the sponge adhesive blocks, but I’ve also realised I can add craft foam to the whole piece and use a glue stick, which is a lot less tricky than trying to get the backing paper of such tiny adhesive blocks I can tell you!

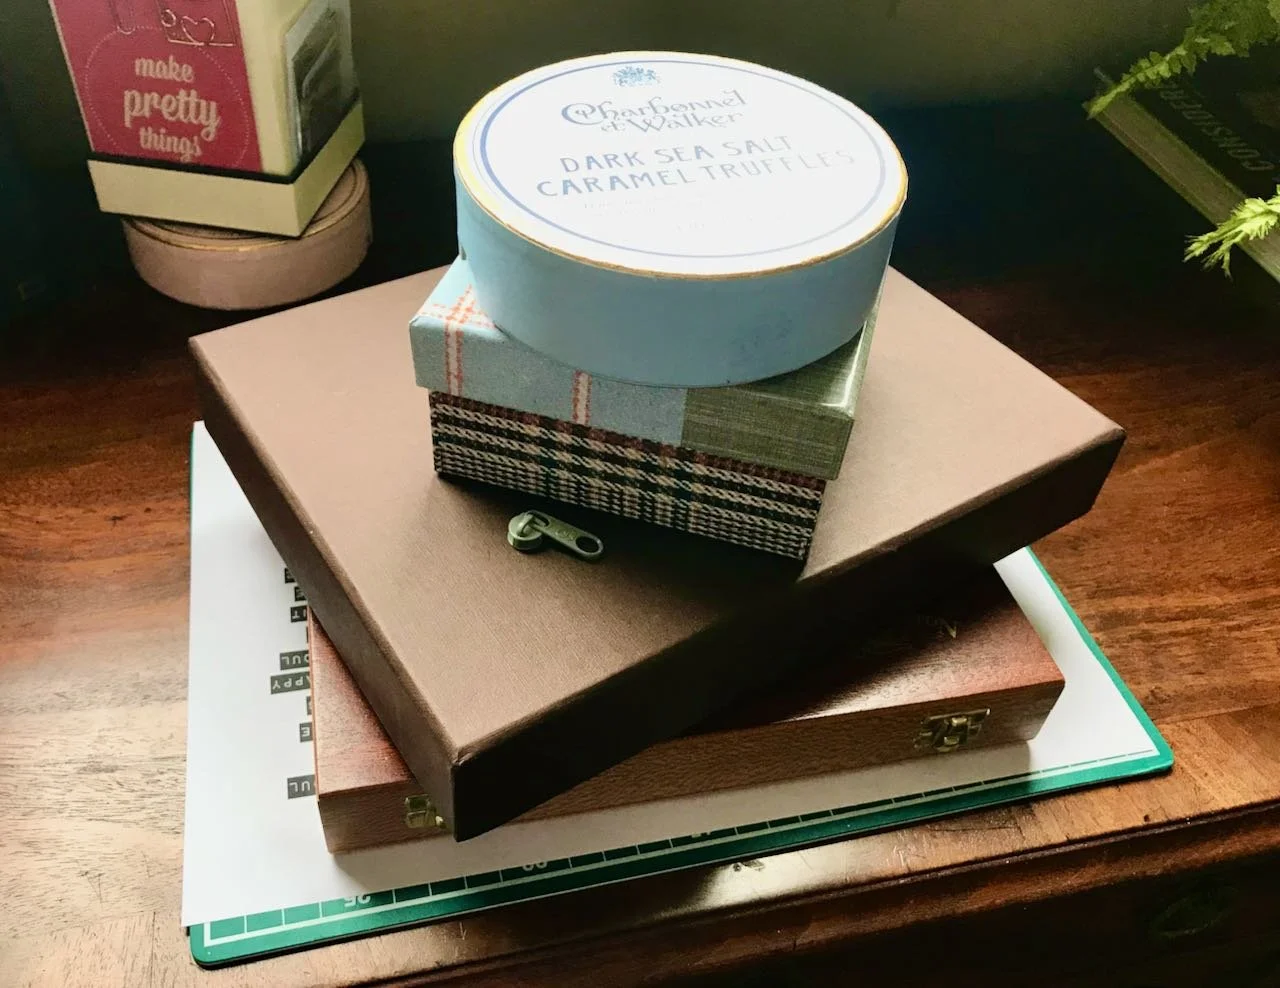
Weighted down with a variety of boxes

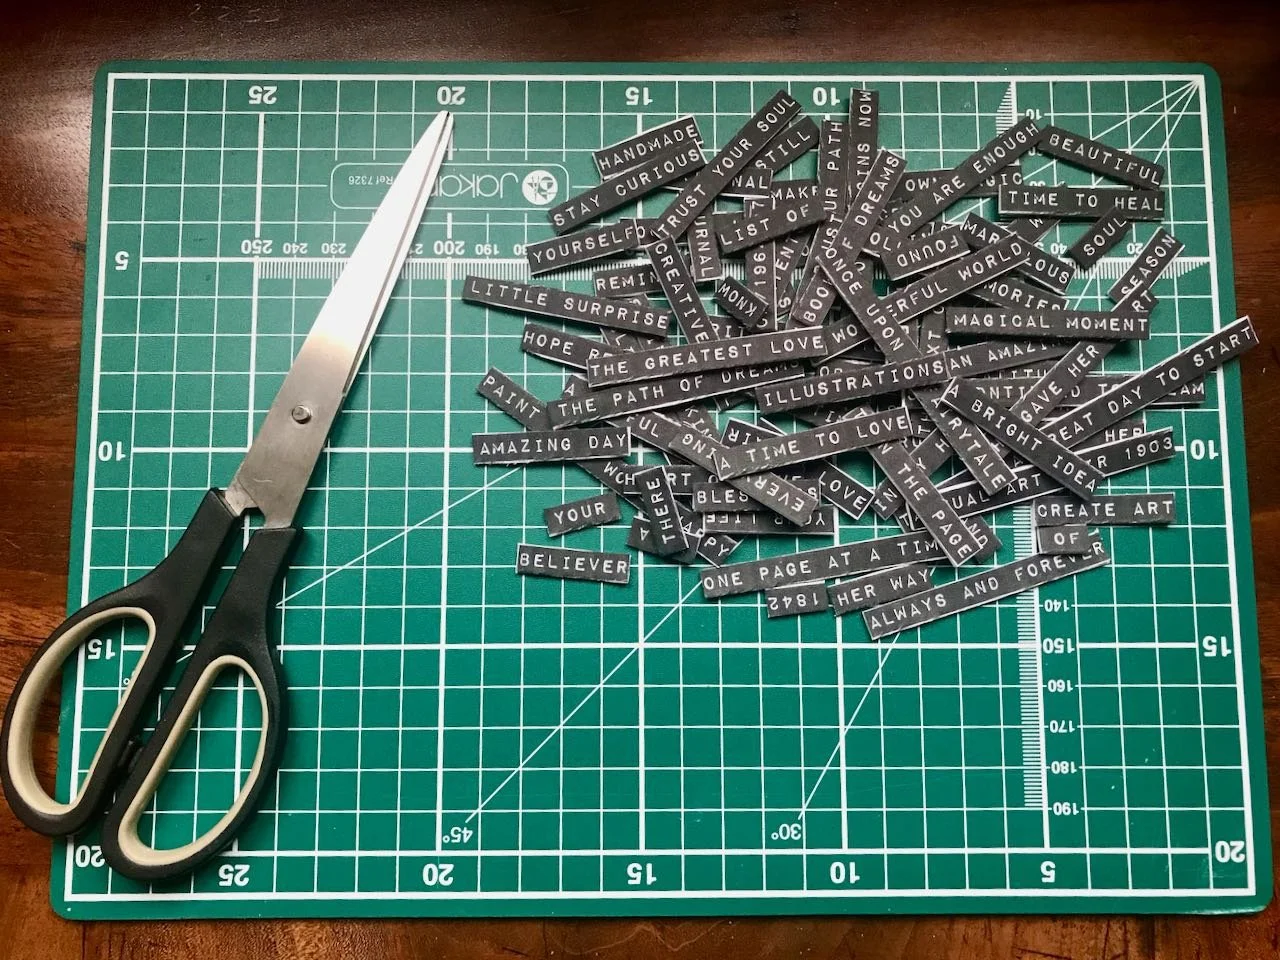
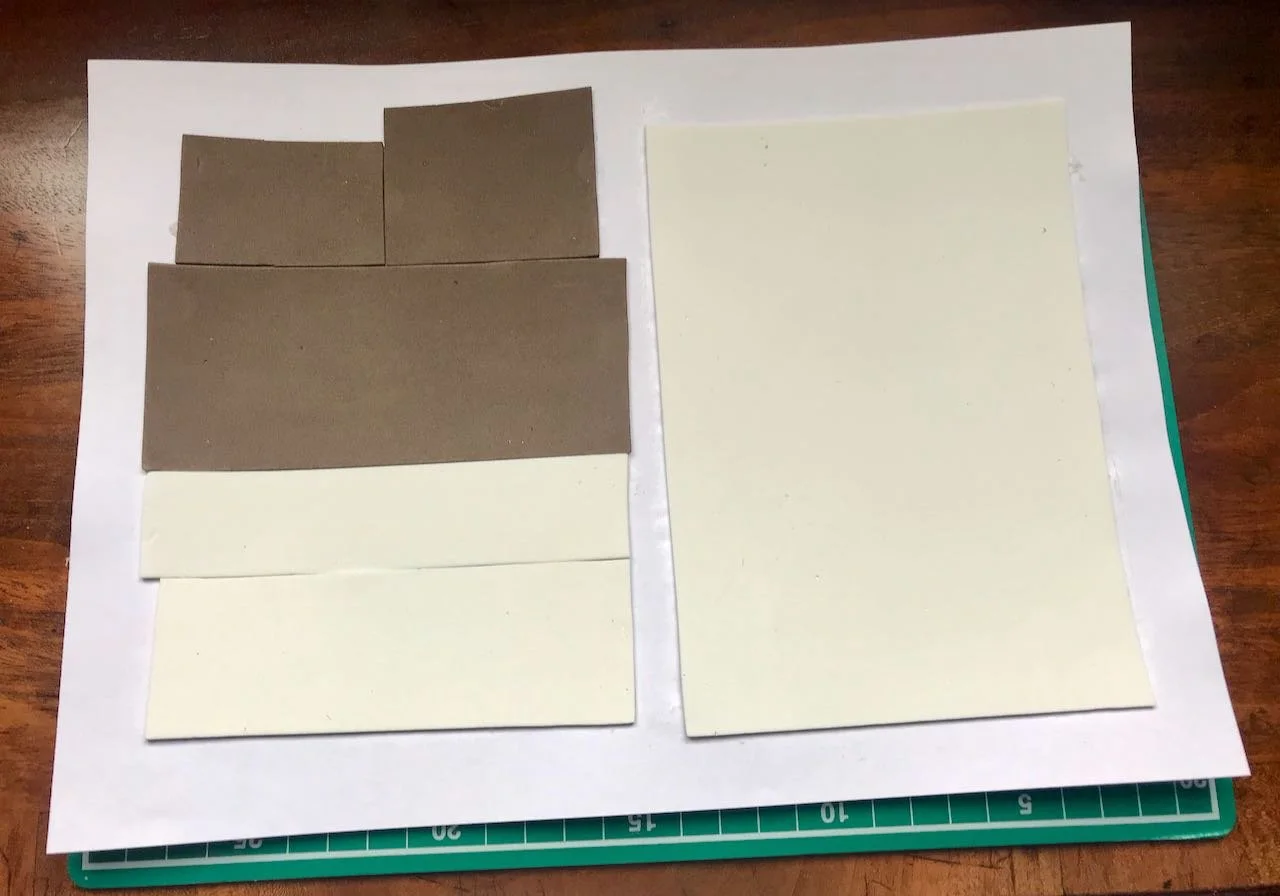
So with a patchwork of saved-from-other-projects craft foam stuck on the back of my printed sheet I was almost ready to go. All I needed to do to test my theory was to make sure they’d stuck - hence the random pile of boxes - and to cut them up. I started off with the scissors, and that worked well but was, as you can imagine, slow. So I tried with my guillotine and had some success with that. In the end though I reverted back to the scissors as there was something really mindful about creating these little adornments.

Scissors on my craft mat alongside a pile of words/phrases cut into strips

And a tip for cutting things out - which I know sounds obvious - but use the whole length of the scissor’s blade, not just the tip. The less you open and close the ‘jaws’ means the less scope there is for changing your cutting line, so you’ll have straighter, cleaner lines, assuming you position the scissors correctly. And of course this goes for whatever you’re cutting, it really does make a difference,

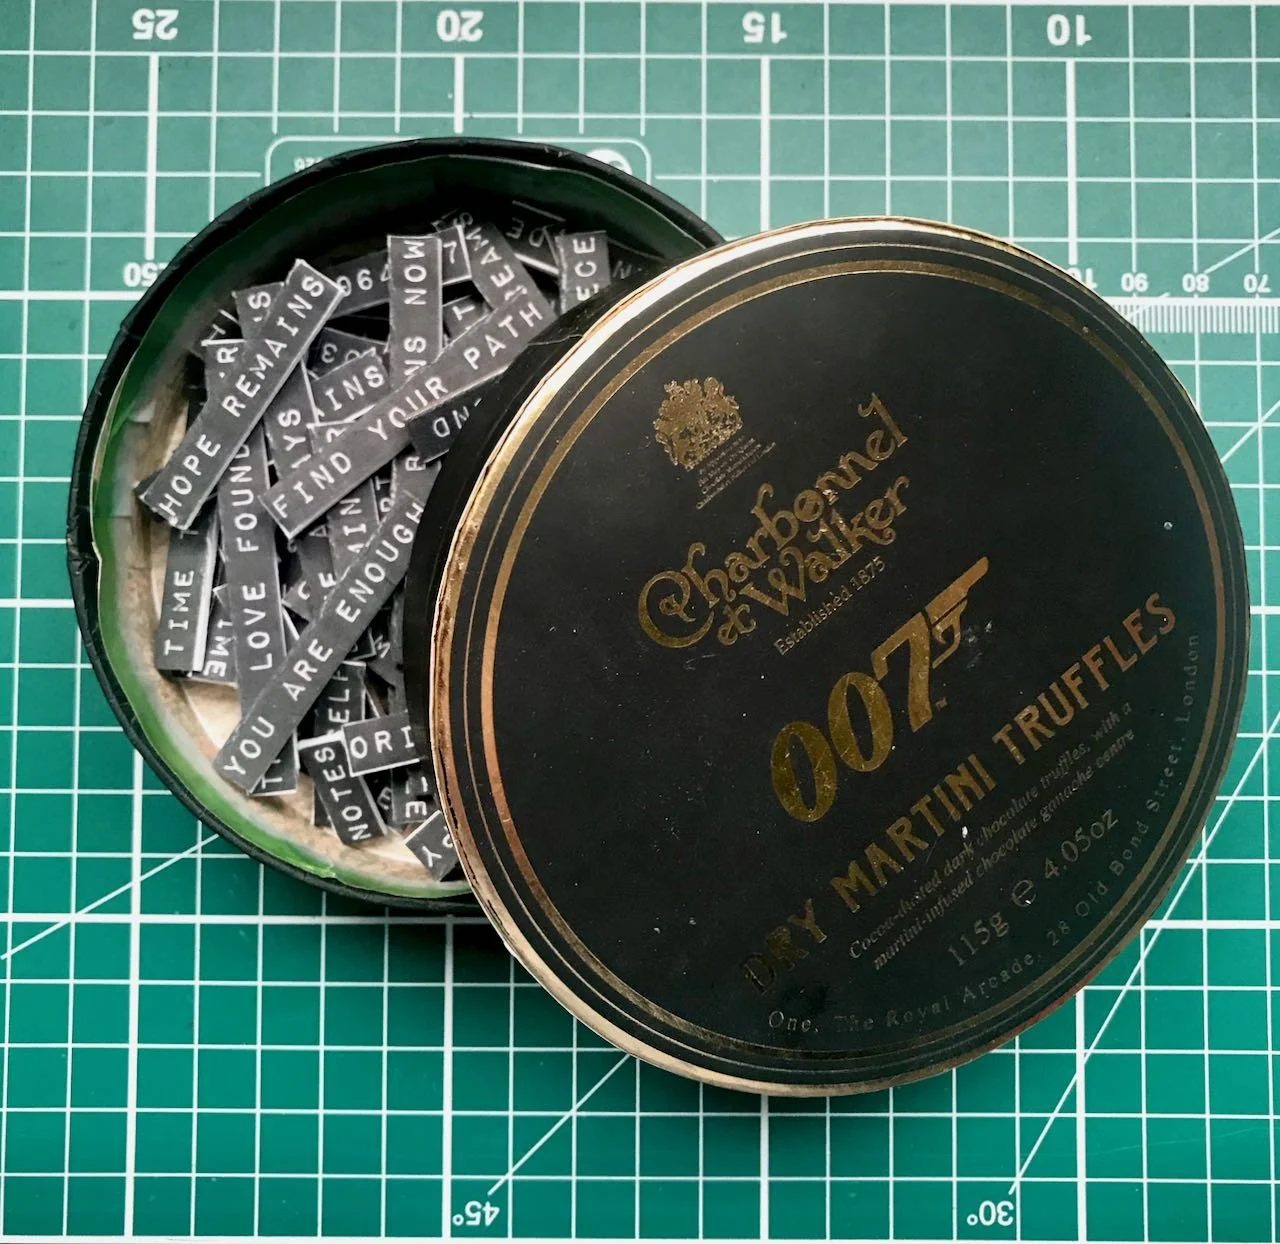
The words/phrases are ready to use and stored in a black Charbonnel & Walker 007 Dry Martini Truffle (round) box

So now I have a box of ready made adornments for cards and collages, and along the way I spent some time mindfully fully focussed on the task at hand, so a win-win all round.

I’ve learnt too, these used standard paper and printer settings, I’d be keen to try this on card, or even photography paper to see how that works, and I’m also thinking about creating my own text files, so I can get exactly what I want. And not surprisingly the section of foam that was less ‘patchworked’ worked better, and was easier to cut the individual phrases even though I’d tried to make sure the joins were carefully aligned.

A little bit of inspiration goes a long way doesn’t it?

I was featured on Blogger Showcase

Patterns and unexpected plans

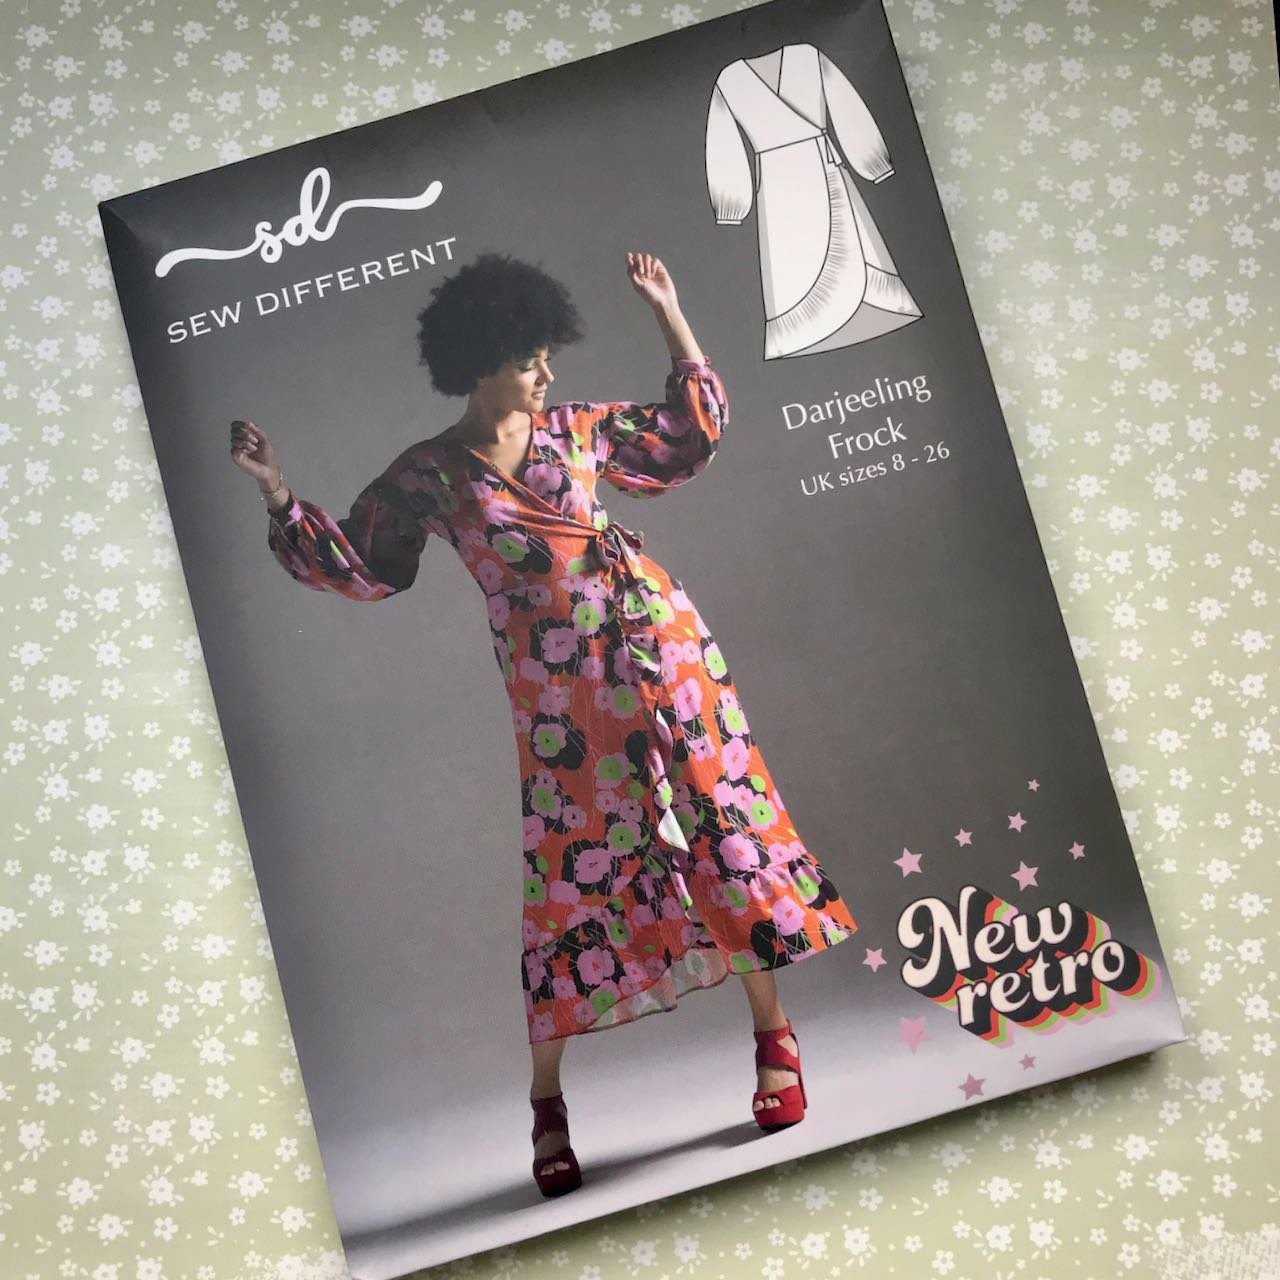
Unexpectedly I fell in love with a dress on the Sew Different stand at The Stitch Festival, and as I said in my previous post about the show, I would have happily bought the made up version if that had been an option. I loved everything about it - the main fabric, the contrasting frill and the shape, but I wasn’t convinced I could actually make it and spent a fair while looking at the pattern and the dress more closely.

Dresses on display on the SewDifferently stand at The Stitch Festival

And talking myself into it. I know I can sew, and I know I can follow patterns. However, mostly I don’t sew clothes, or follow patterns that closely, but it hit me hard and so I’m going to give it a go. As it was the material that was also part of the draw, I was keen to find out where that was from. Speaking to the people on the stand I learnt it was from Lady McElroy Fabrics, who were also at the show.

Guess where I headed next.

I showed the Lady McElroy people my picture and they knew the fabric, what was less easy was finding it on their stall, even for them they had that many fabrics. They even offered to check their van, but with people with bolts of fabric in their hands behind me, I decided to wait and order online. The doubts were creeping in again, but I left with the fabric name and a discount code, so it wasn’t all bad.

As I was browsing patterns I also saw this sundress pattern, and I thought perhaps a sundress might be easier to start with. I think sundresses are also pretty timeless, and this one looked pretty versatile too. I remembered the yellow fabric I’d bought at the Knitting & Stitching Show back in 2021 where I had the opposite conundrum - falling in love with the fabric, and not knowing what I’d make. I couldn’t remember how much I’d bought though…

The Fleetwood Frock pattern by Sew Different

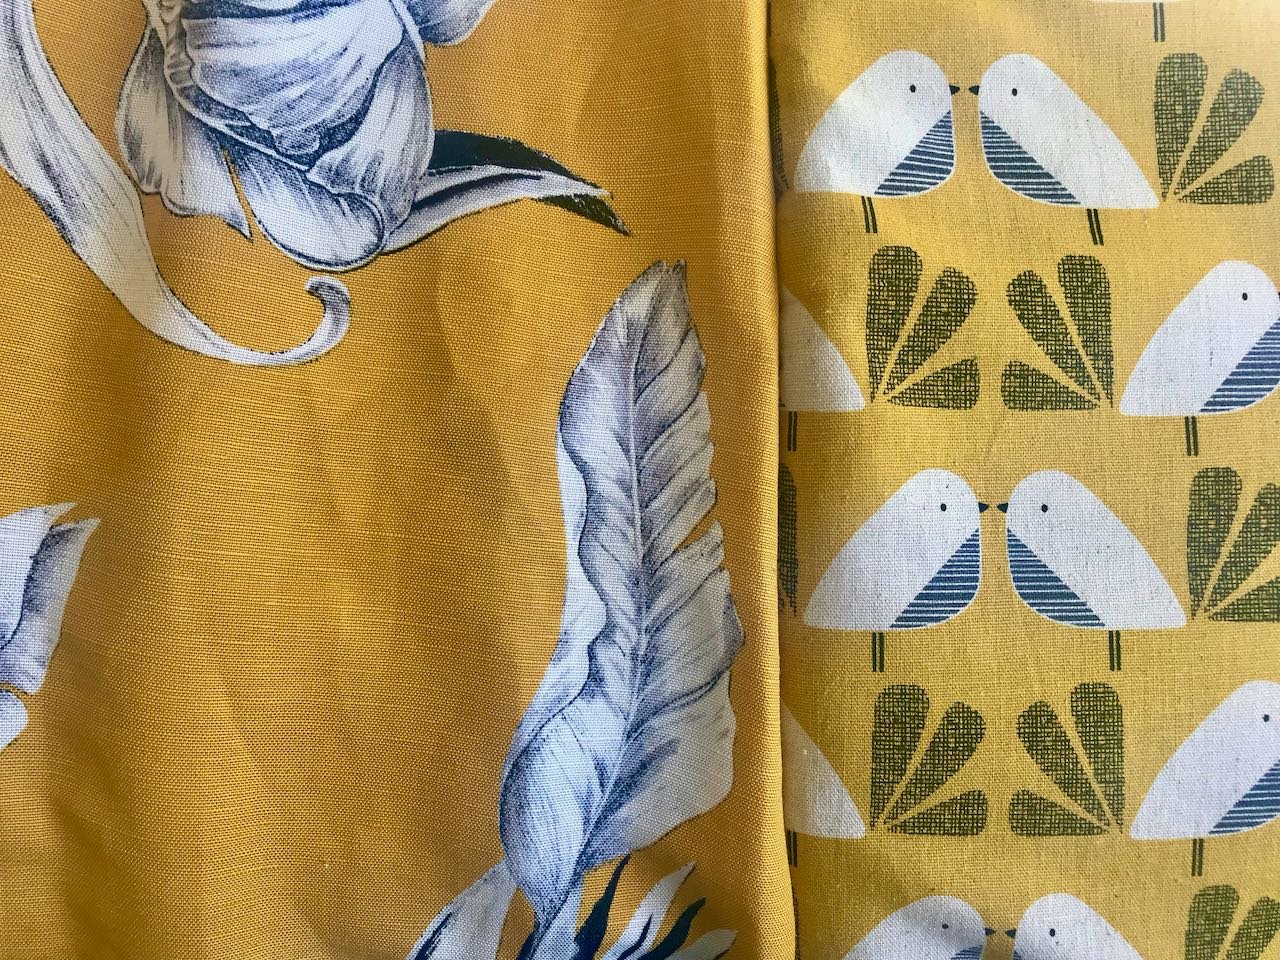
Later on I dug the fabric out from where it had been safely stored and rough measured the quantity, and as I half expected it’s unlikely that I have enough - but won’t the cute birds look great for this design?

LEFT: THE UNWORN DRESS
RIGHT: THE PROBABLY NOT ENOUGH FABRIC

The cogs were whirring and I remembered the dress I bought for my brother’s original date Covid-delayed wedding. I bought it in the sale because I loved the fabric, the fit needed some work, but as it turned out I never wore it as when the wedding took place last year I saw another dress that worked just as well with the hat I’d bought back in March 2020. The dress has hung in my wardrobe since, and I still love that fabric.

I wondered what it would look like alongside the bird fabric, and if it could work. I think it can - the colours are more similar than it looks in the photo, they are a similar fabric type and have a similar weave. They are clearly different styles, but that’s part of what appeals to me. If you’re going to make your own then you really don’t have to stick to convention do you, and I’m pretty certain there won’t be another one the same!

Of course, what looked like it would be a simpler make just got more complicated as the dress needs to be unpicked first (once I’m really sure it will work) and the pattern carefully planned and laid out before any cutting out will start. From then on though, it should be back on course.

I steeled myself and took my two patterns to the desk to pay to learn of the ‘too good to miss’ show deal for three patterns, so back I went and picked up the pattern which I’d almost opted for instead of the sundress.

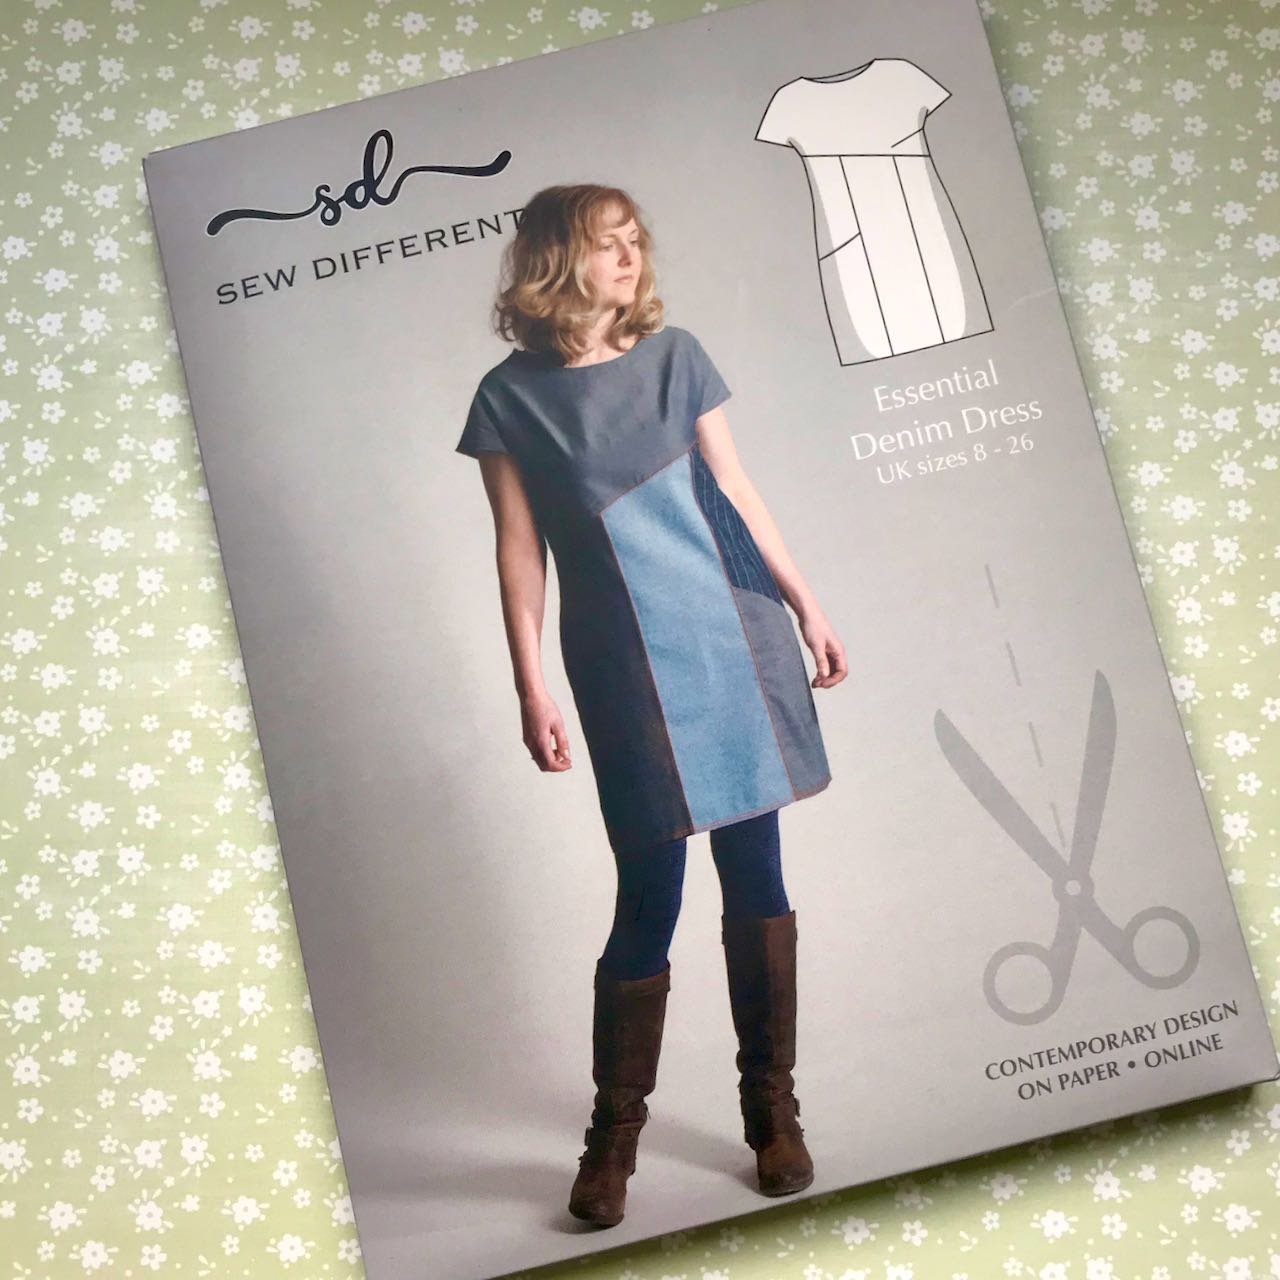
It was an easy choice as I’d already ummed and ahhed about this one, but also because over the last year I’ve found myself wearing jeans most days, and they have become my default option and sometimes I wish they weren’t. So a casual, easy to wear dress for almost any weather could be a good addition to my wardrobe, and as you’ll know from my plans for the sundress and my love of scrappy quilts, the number of materials in the pattern also appealed.

The Essential Denim Dress pattern by Sew Different

I’m glad I chose this pattern as further around the show I fell in love with this embroidered chambray. In fact there were so many gorgeous fabrics around the show, I’m surprised I only left with this one, the panels below and plans to buy the fabric for the first dress.

The embroidered chambray fabric I couldn't not buy at the show

I think I've bought too much of the embroidered chambray, as the pattern says to use this on the back as well. Though on reflection I think the back should be plain, but I can’t say I’m that upset to have more of this fabric than I need. I just need to collect fabric for the other sections now, and I’m sure that won’t be that hard once I put my mind to it!

So I have plans for three dresses, what now?

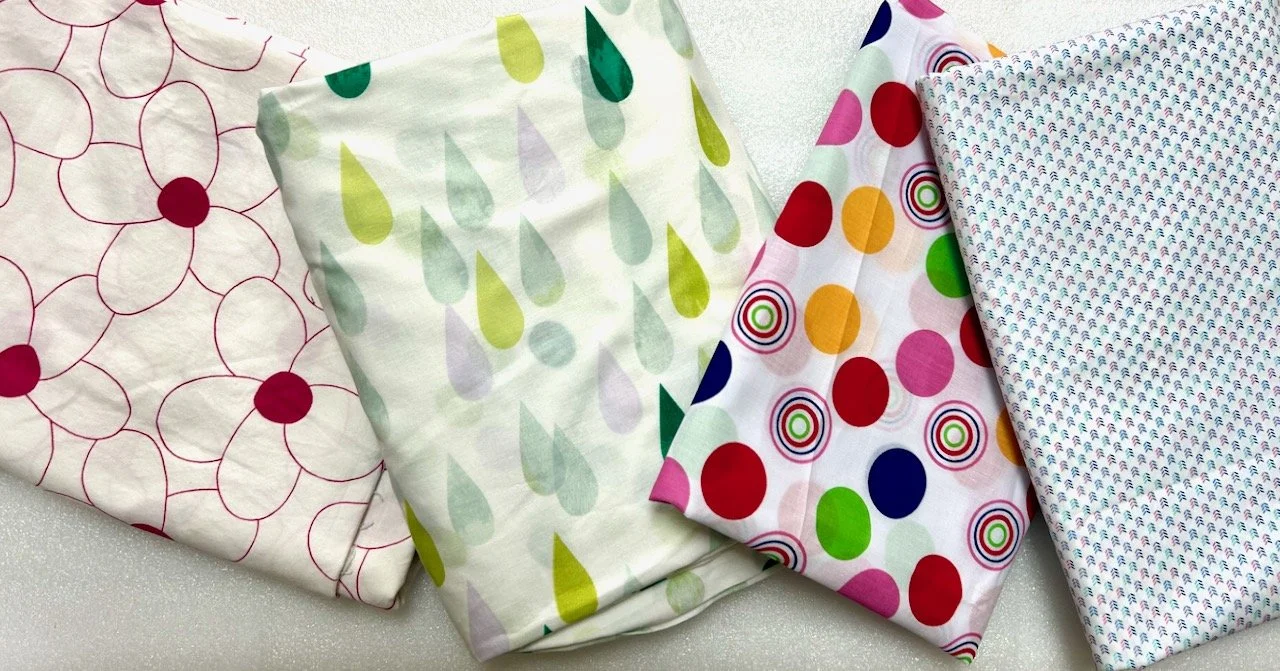
  1. I’ve ordered the material for the Darjeeling Frock, and I’m waiting for it to arrive. I knew the contrasting fabric wasn’t from the same place, but didn’t know where it was from so I’ve ordered a metre of two spotted fabrics to see which works best. I’ve also guessed at the amount I’ll need for a contrast frill, as the pattern uses the same fabric for the whole dress. I’m looking forward to receiving my order, but of course that will mean moving to the next step - choosing the contrast fabric, opening the pattern and getting started. Eek!

  2. So I potentially have the fabric - or two of them - for the Fleetwood Frock, but what should have been the easiest option is more complicated and will take some concerted brain power to ensure I have enough material before I start cutting out. That’s another eek!

  3. I’m less far forward with my plans for the Essential Denim Dress, and that’s ok. Given that I have that lovely fabric and need more fabric to complement and contrast, I know this one will follow as there’s no way that I will leave the embroidered fabric shut away for too long.

What I do need is to get started, I know that I’m a procrastinator especially when it’s something new. But I also know that it’s completely do-able, and mum’s on standby to provide advice when needed (as it will be needed) and I’m sure the sense of achievement will be immense, even if the dresses turn out a little wonkier than they’re supposed to be.

They’ll be my kind of wonky!