




Pepping up some patio pots

I noticed that my Spring pots had sprung and were all but done when I started to tackle the garden last weekend. And I resolved to change that and get some bedding plants for the patio. I asked MOH what colour plants he fancied this year - I wasn't quite expecting the look of confusion though. When pressed he chose orange, because as he later said, he thought it'd be hard. 

It wasn't actually. So orange and white we have. 
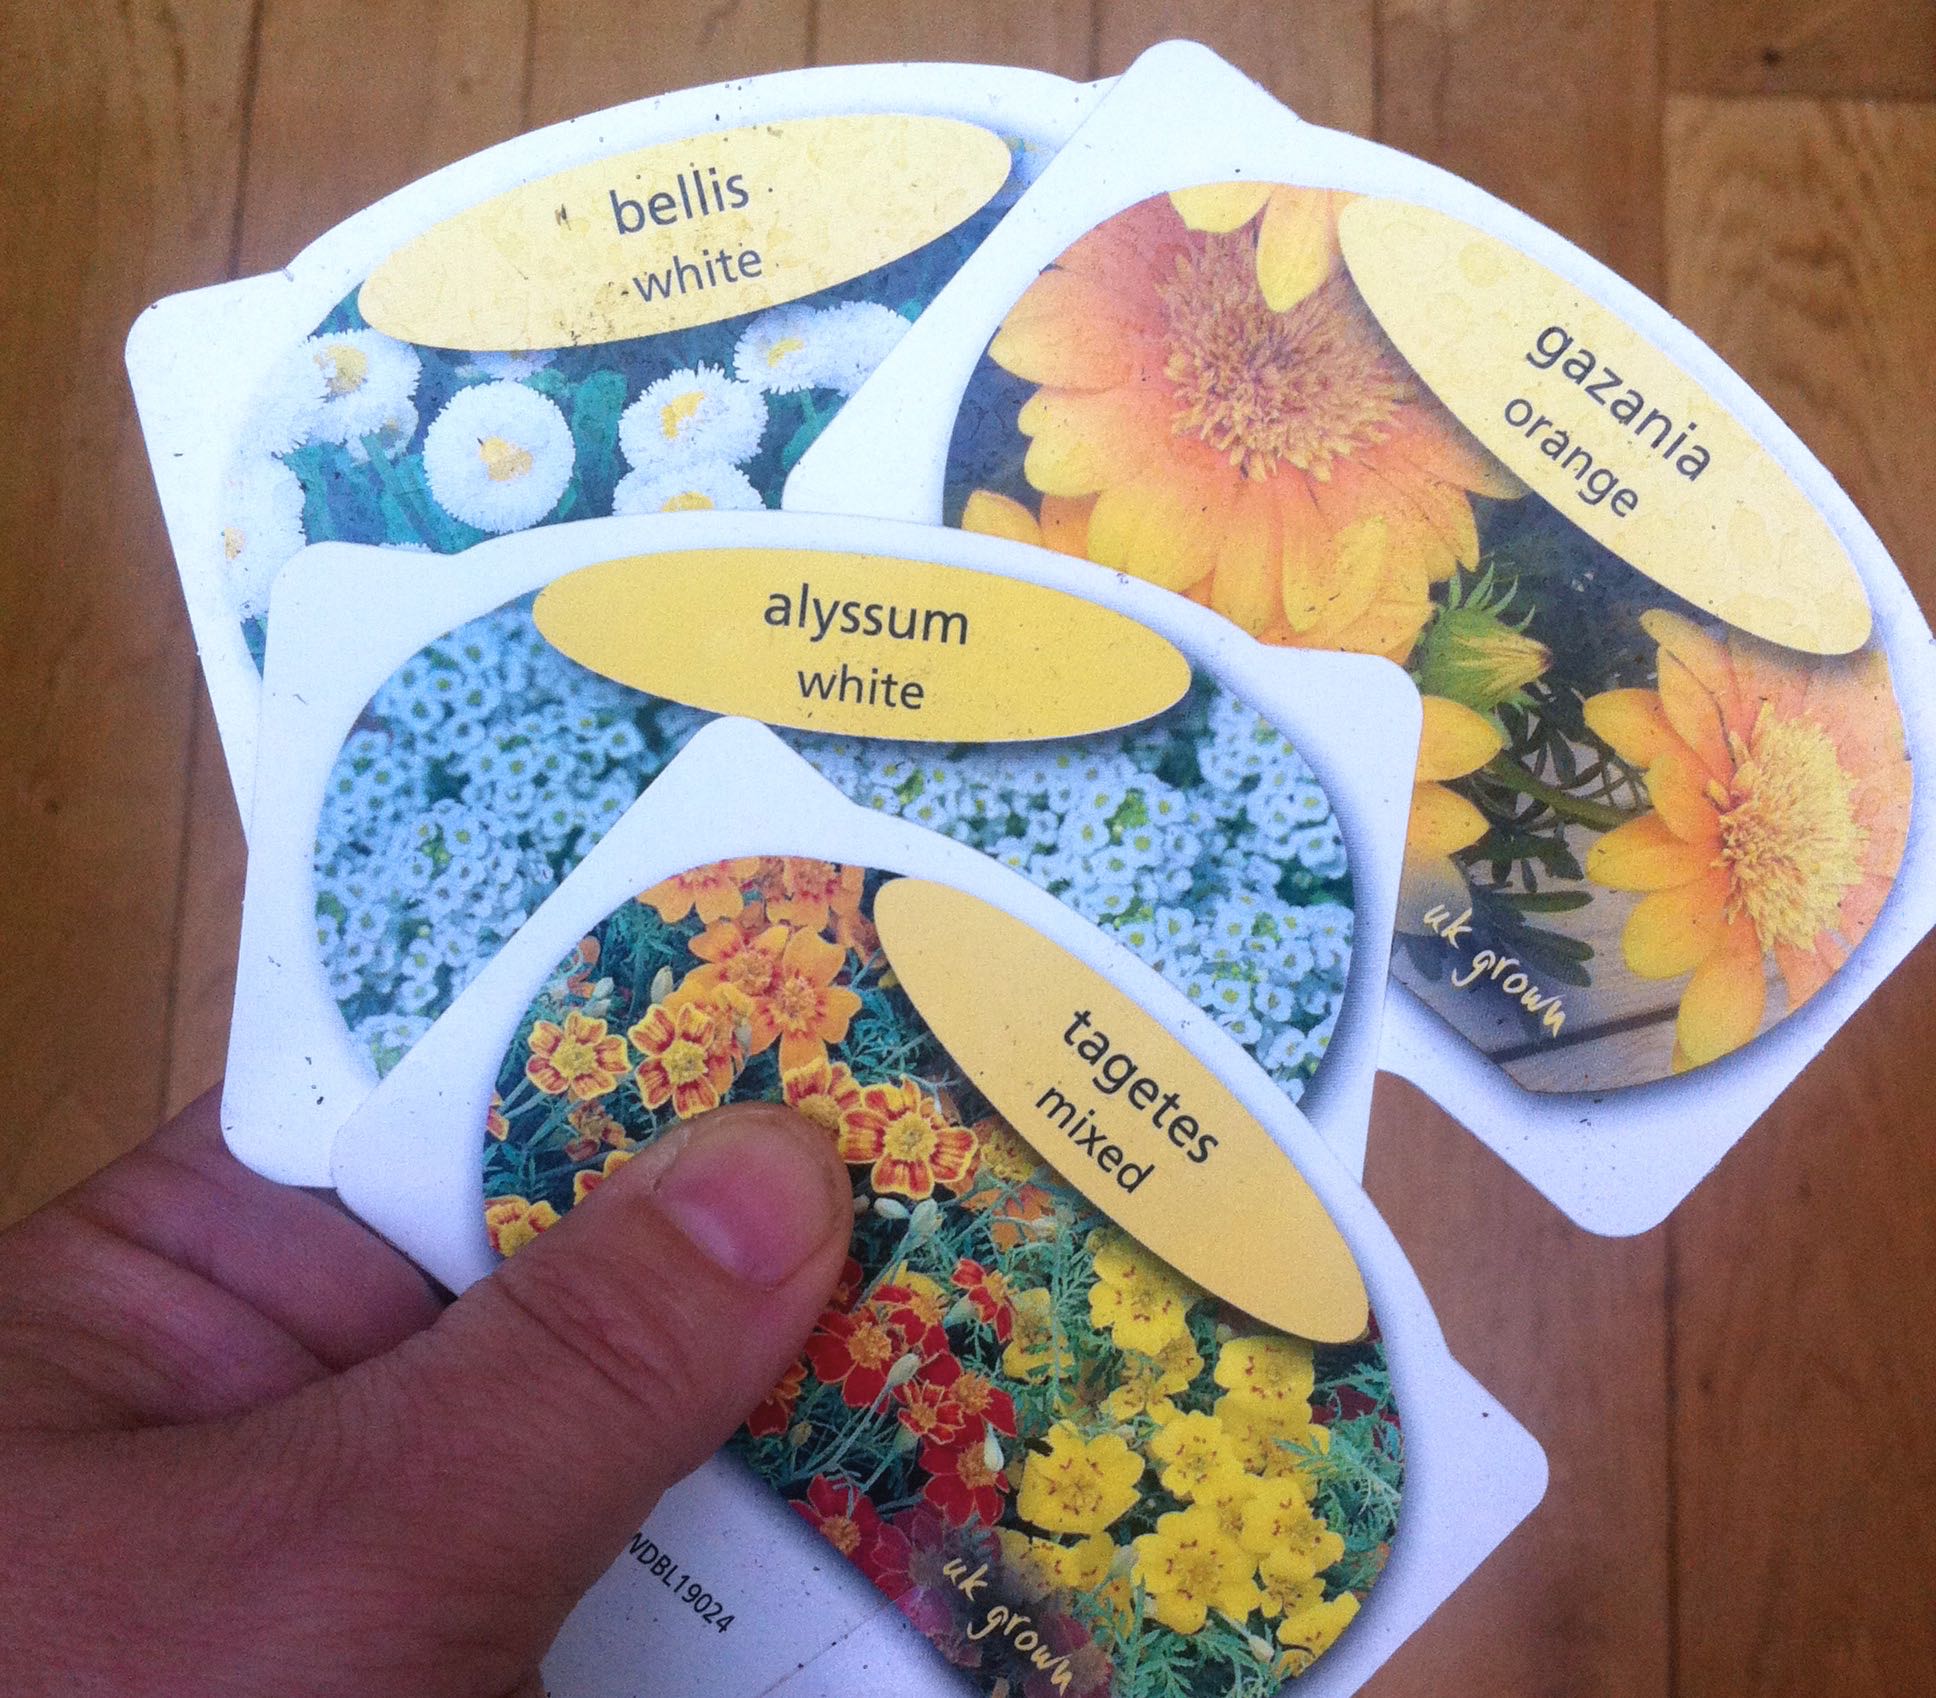
At the garden centre one lunchtime I picked up some Gazanias, Bellis, Tagetes and Allysum and left them in the boot of my car for the afternoon... Ahem. At home later they soon recovered, it's amazing what a drink of water can do. 

five pots, lots of plants some sun and the will to have some pretty pots on the patio

I have five patio pots which stand along the edge of the patio - somehow odd numbers work best here - but when I bought the plants I hadn't worked out how I would split the twelve of each variety equally between the pots. I was pretty sure though that six trays would be ample.  

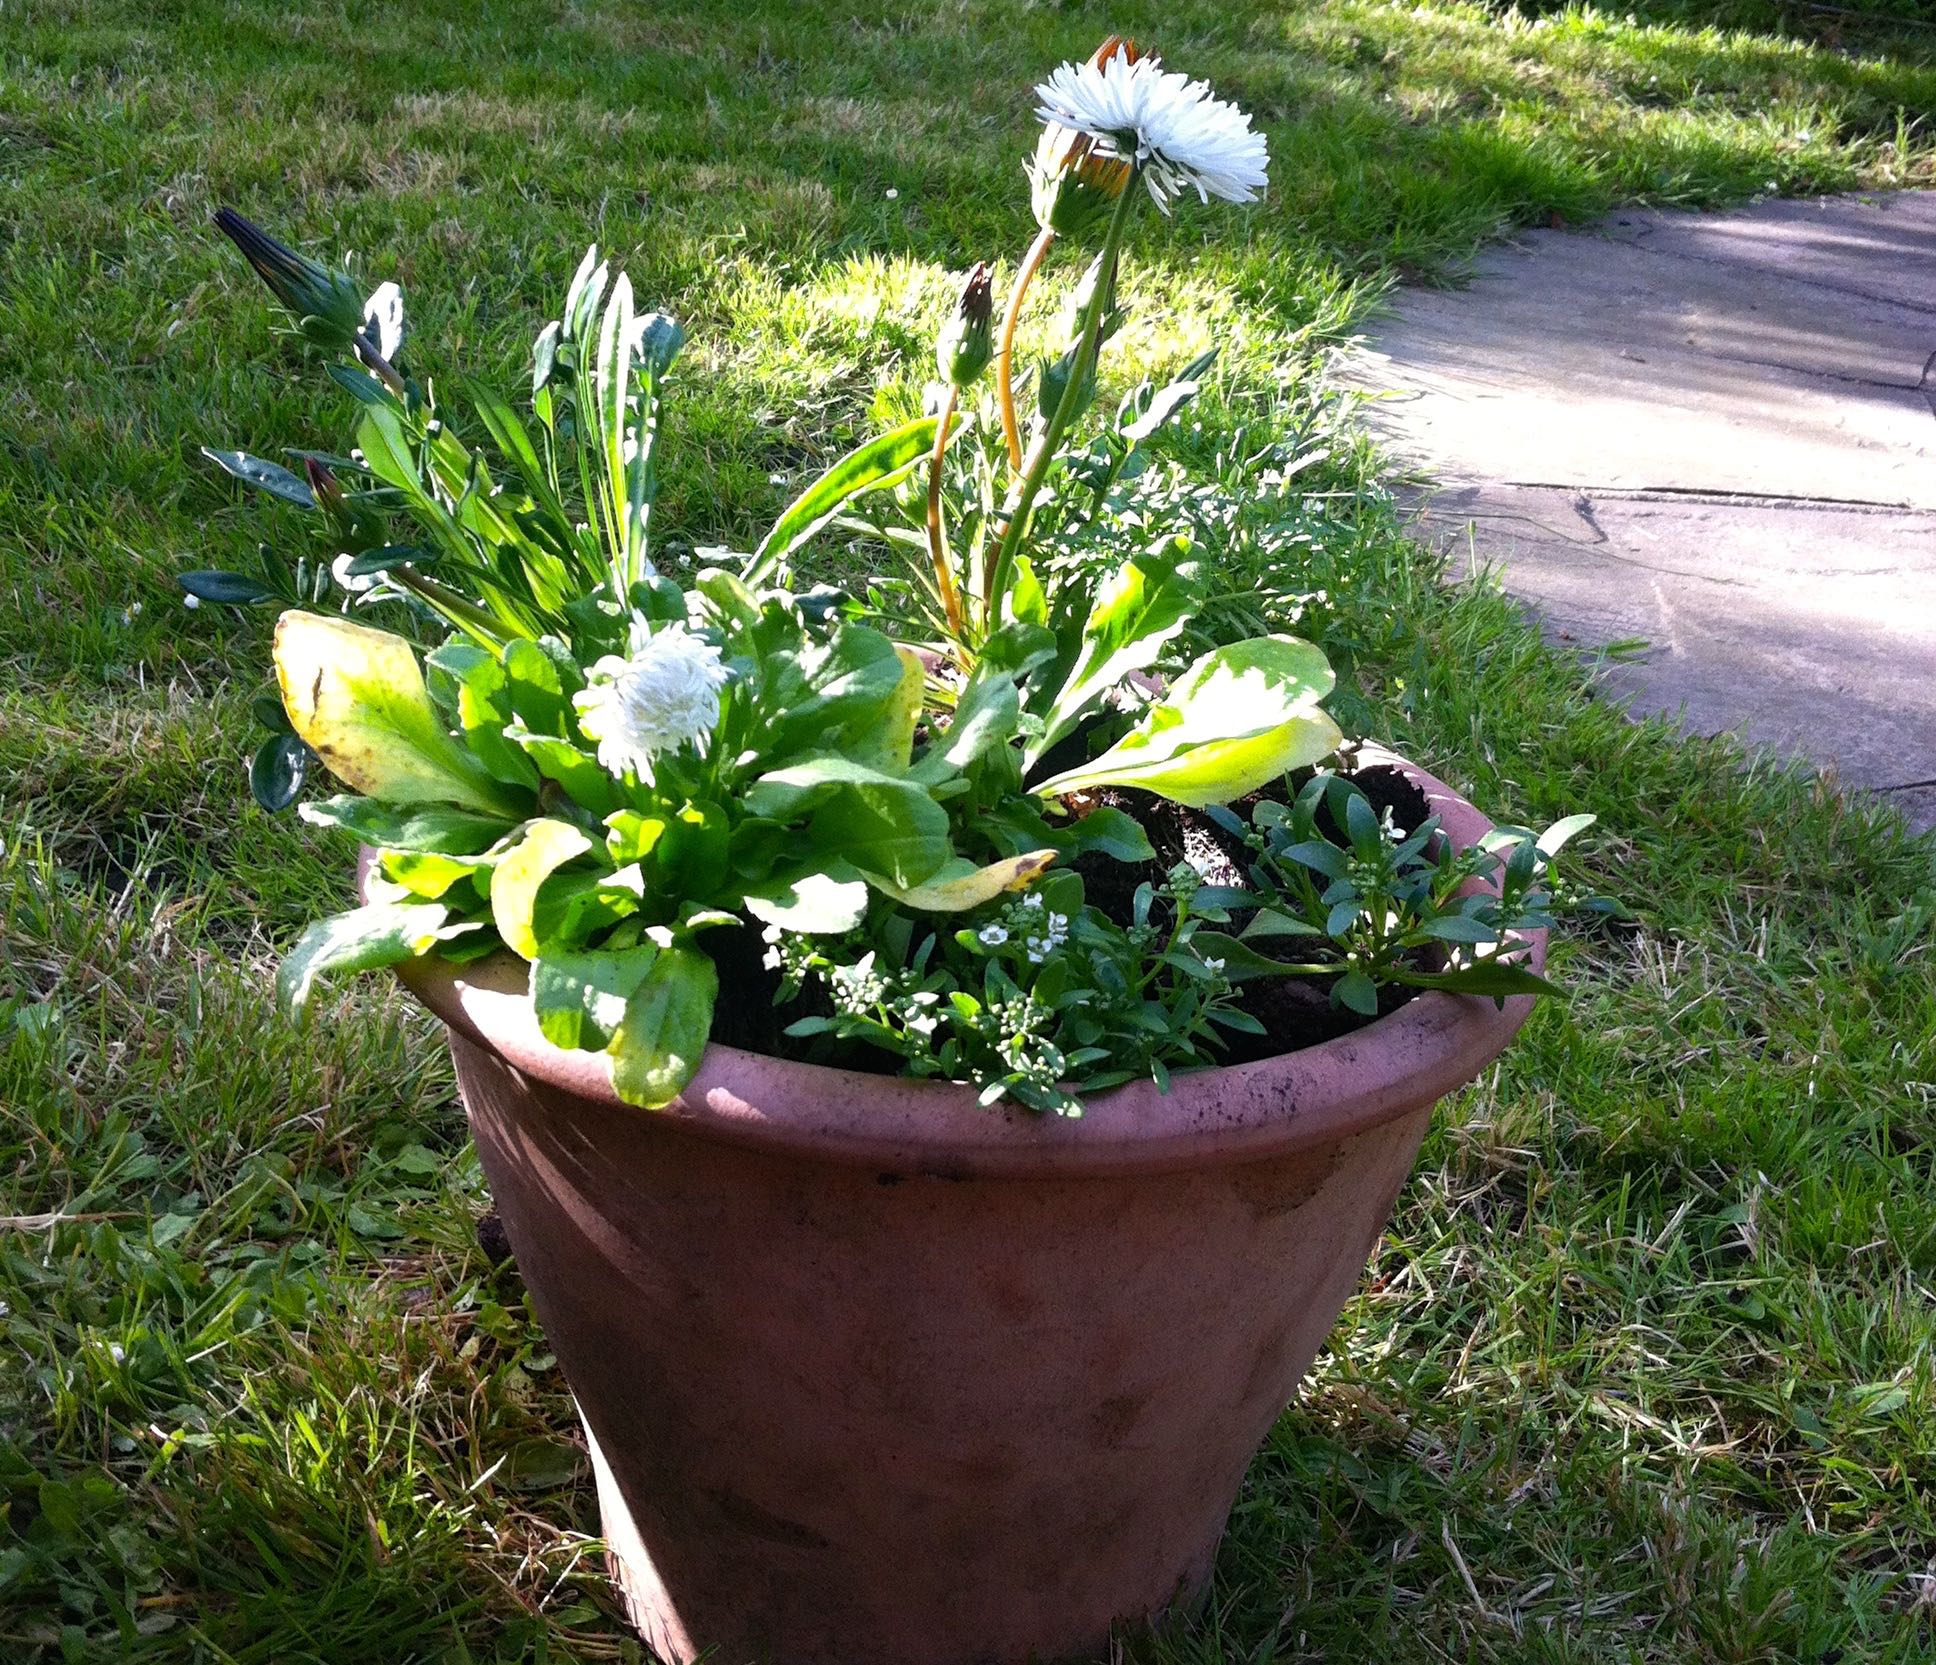
I still didn't know how I was going to split them as I started planting, so I broke the plants away from those terrible polystyrene cases and laid them in the pots: two of the Alyssum, Gazanias and Bellis for each pot and one of the Tagetes. 

It's not symmetrical, but it seems to work. Pleased with avoiding a complicated maths lesson I rewarded myself with some faffing about on my phone.  
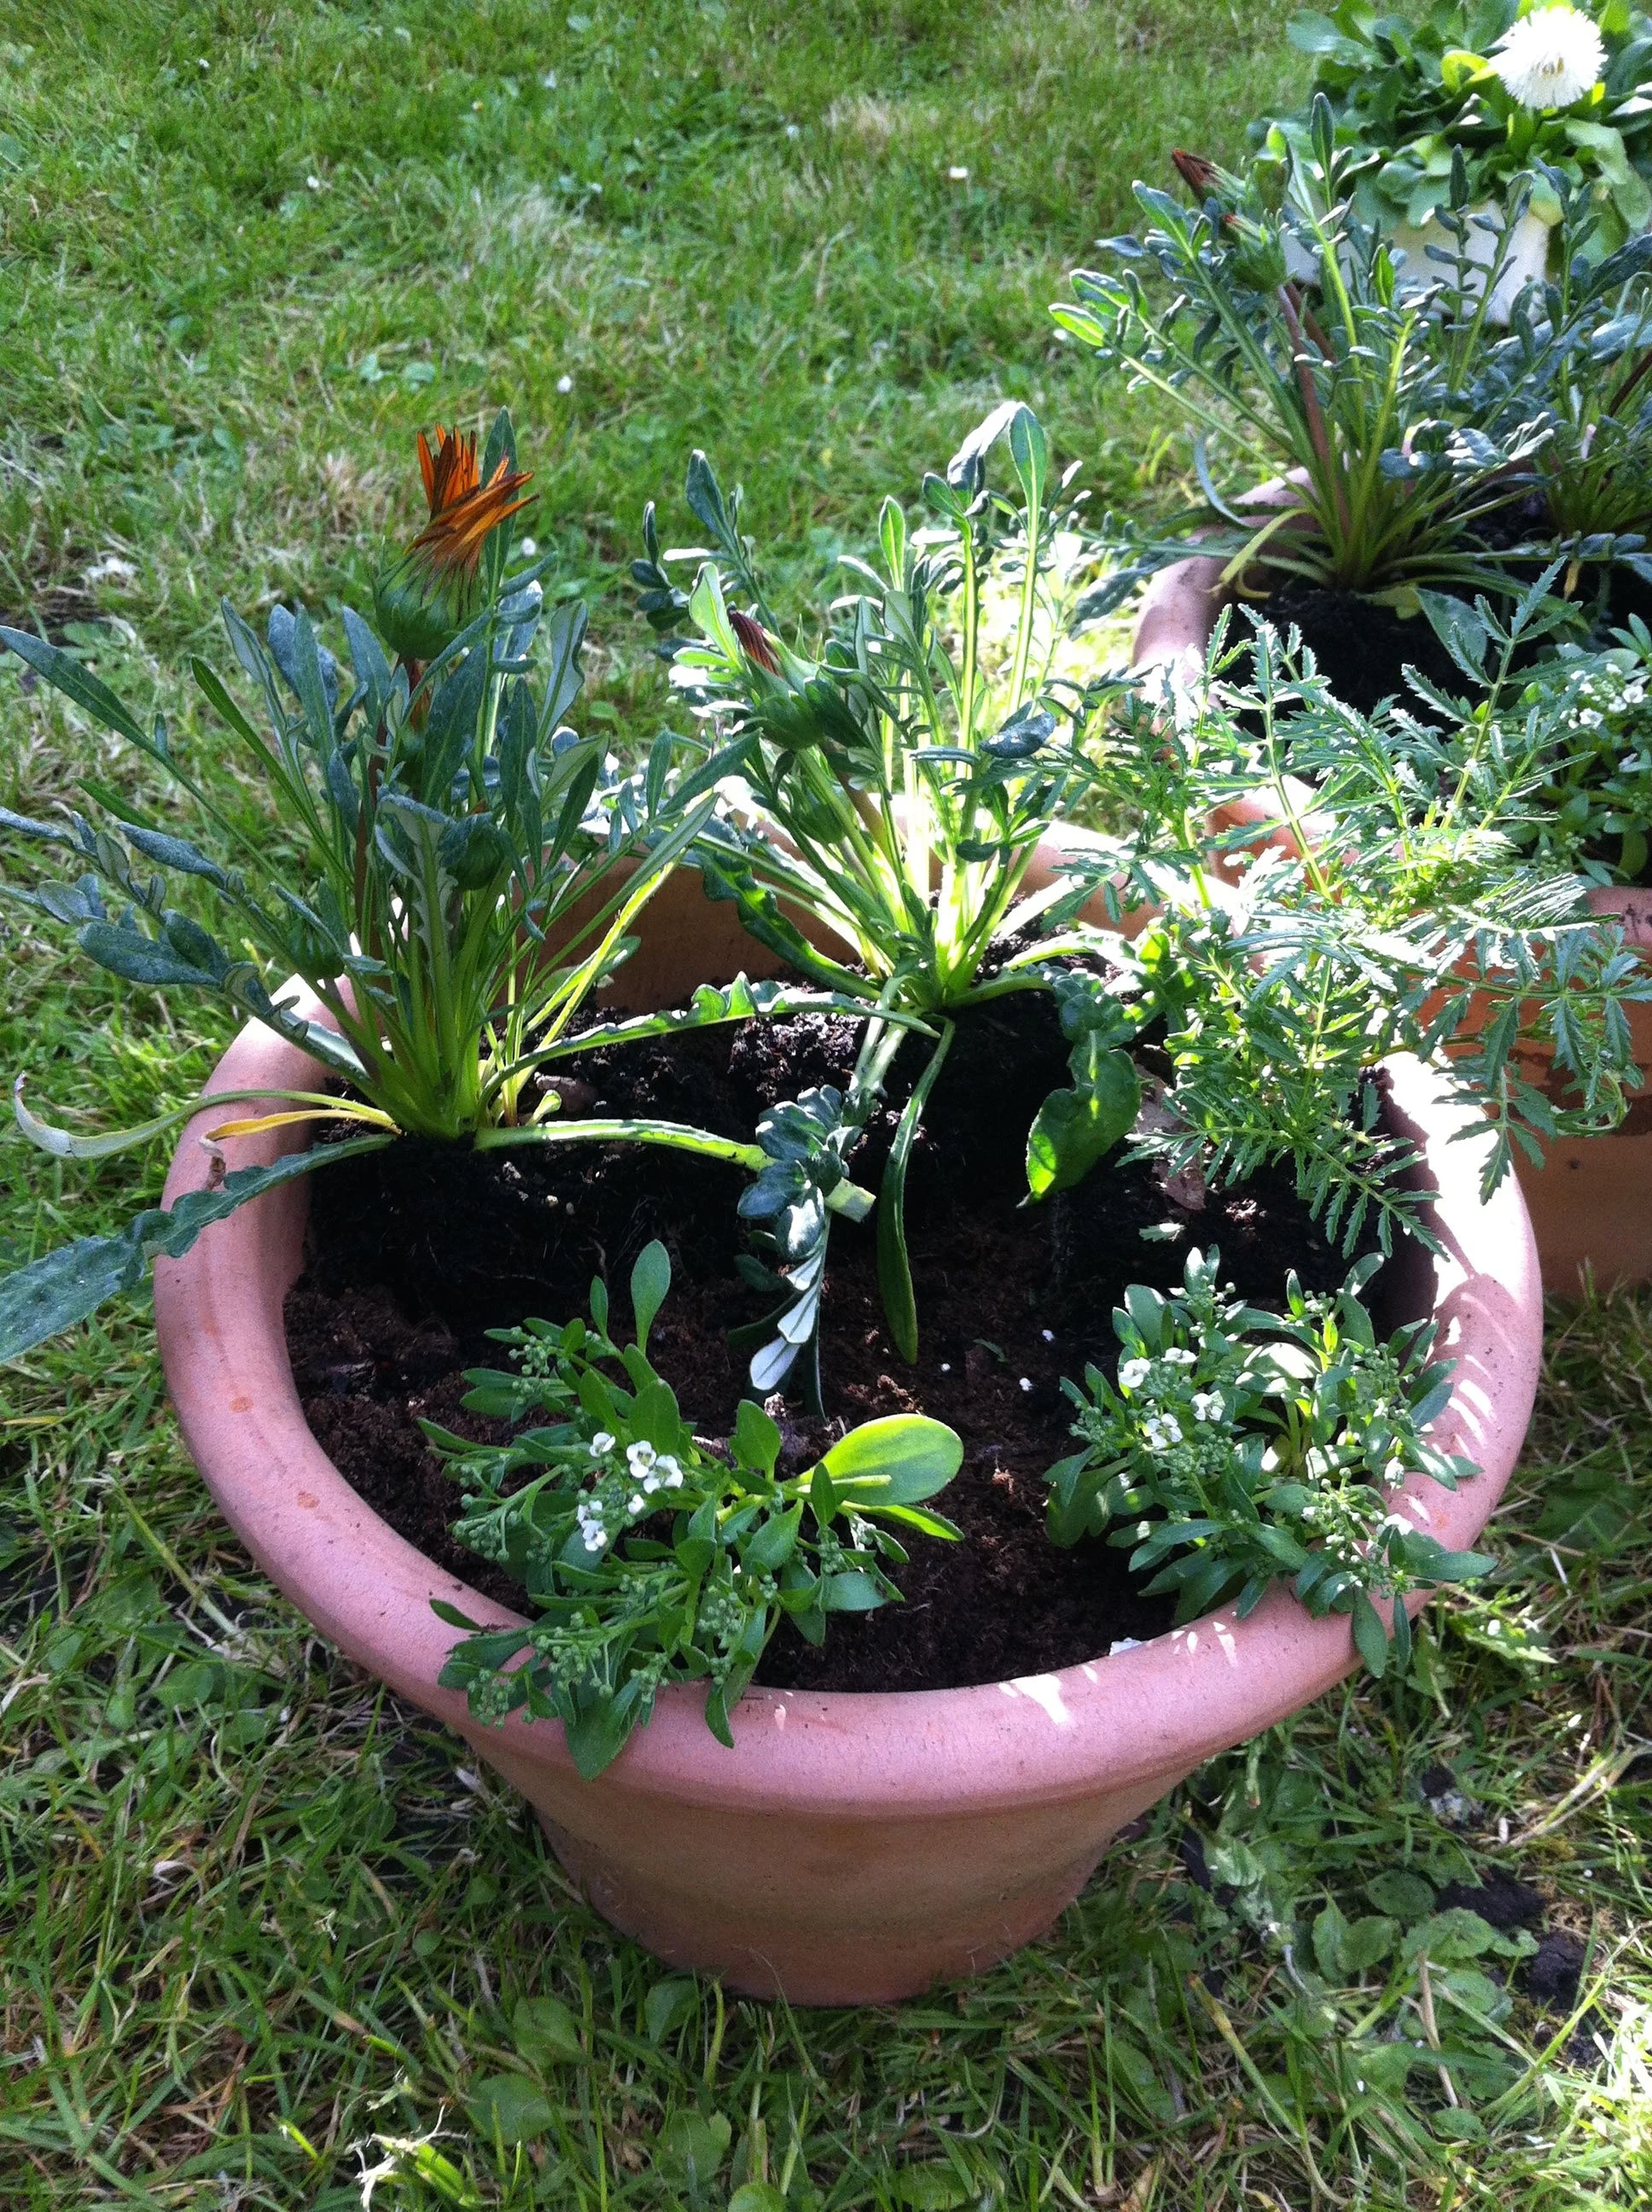
laying out the planting
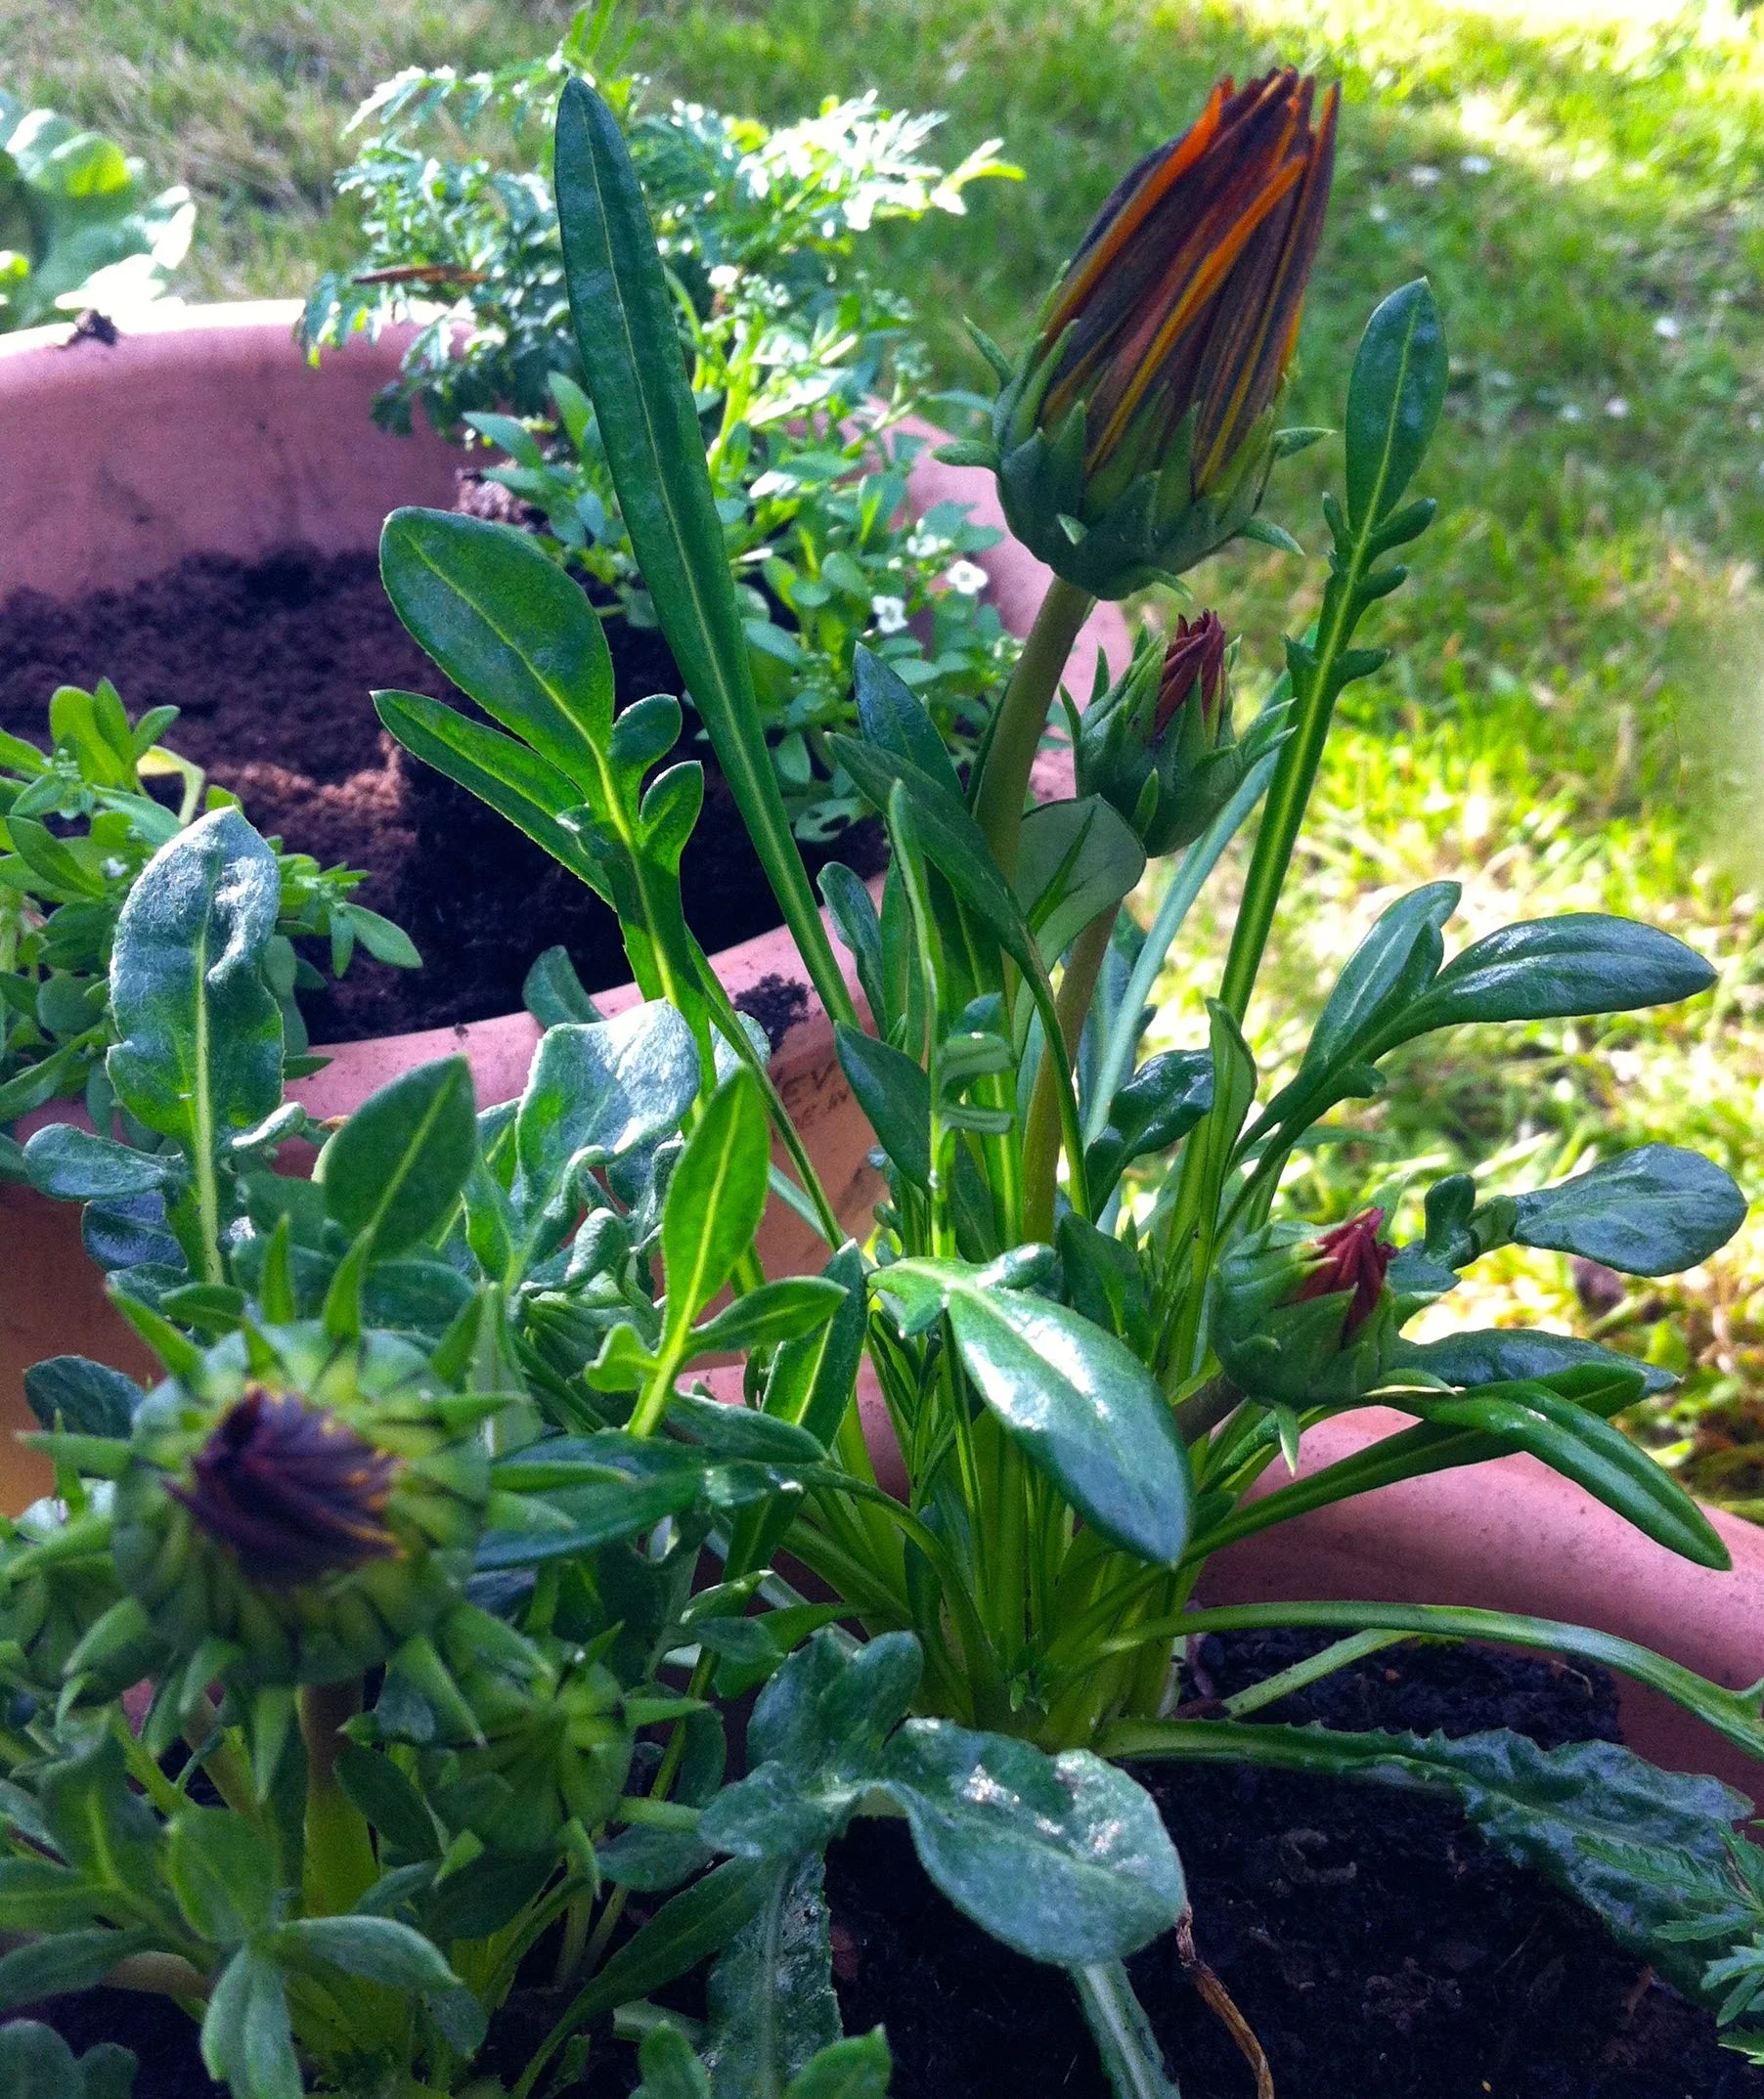
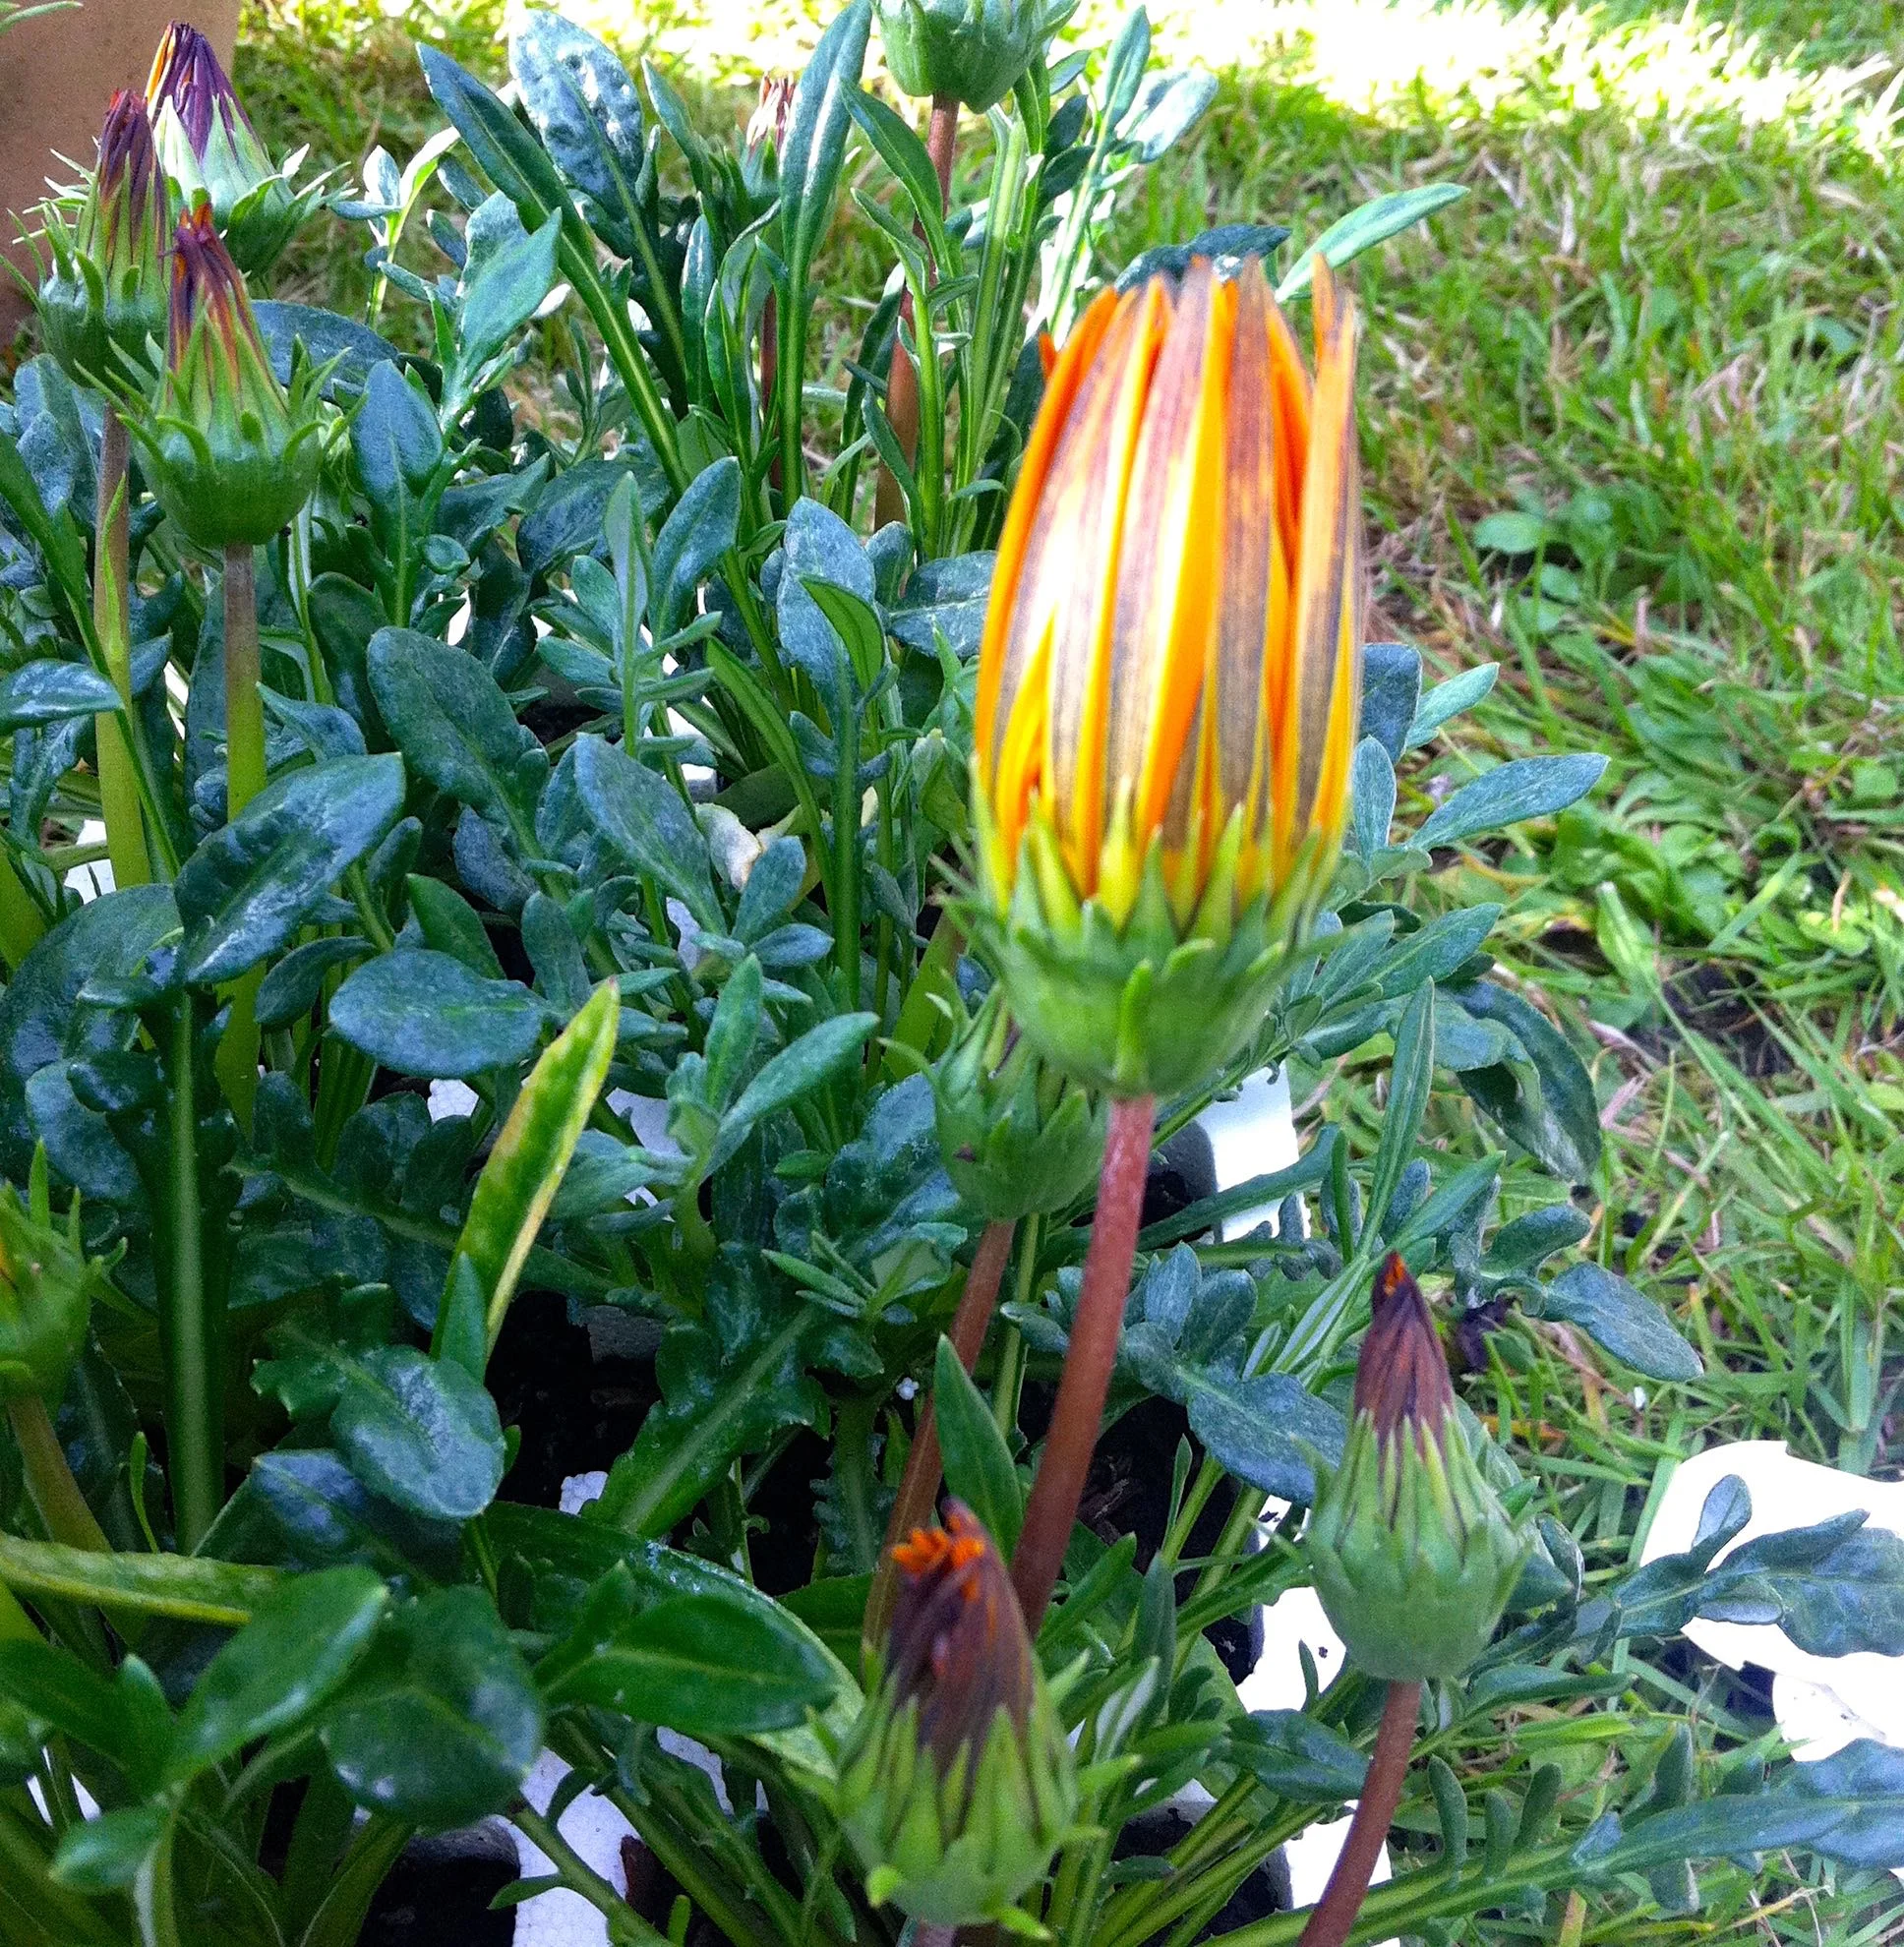
An orange gazania ready to unfurl and flower
Gazania catching the evening sun
Bellis white flowers standing tall
A close up of the white bellis
White frothy allysum
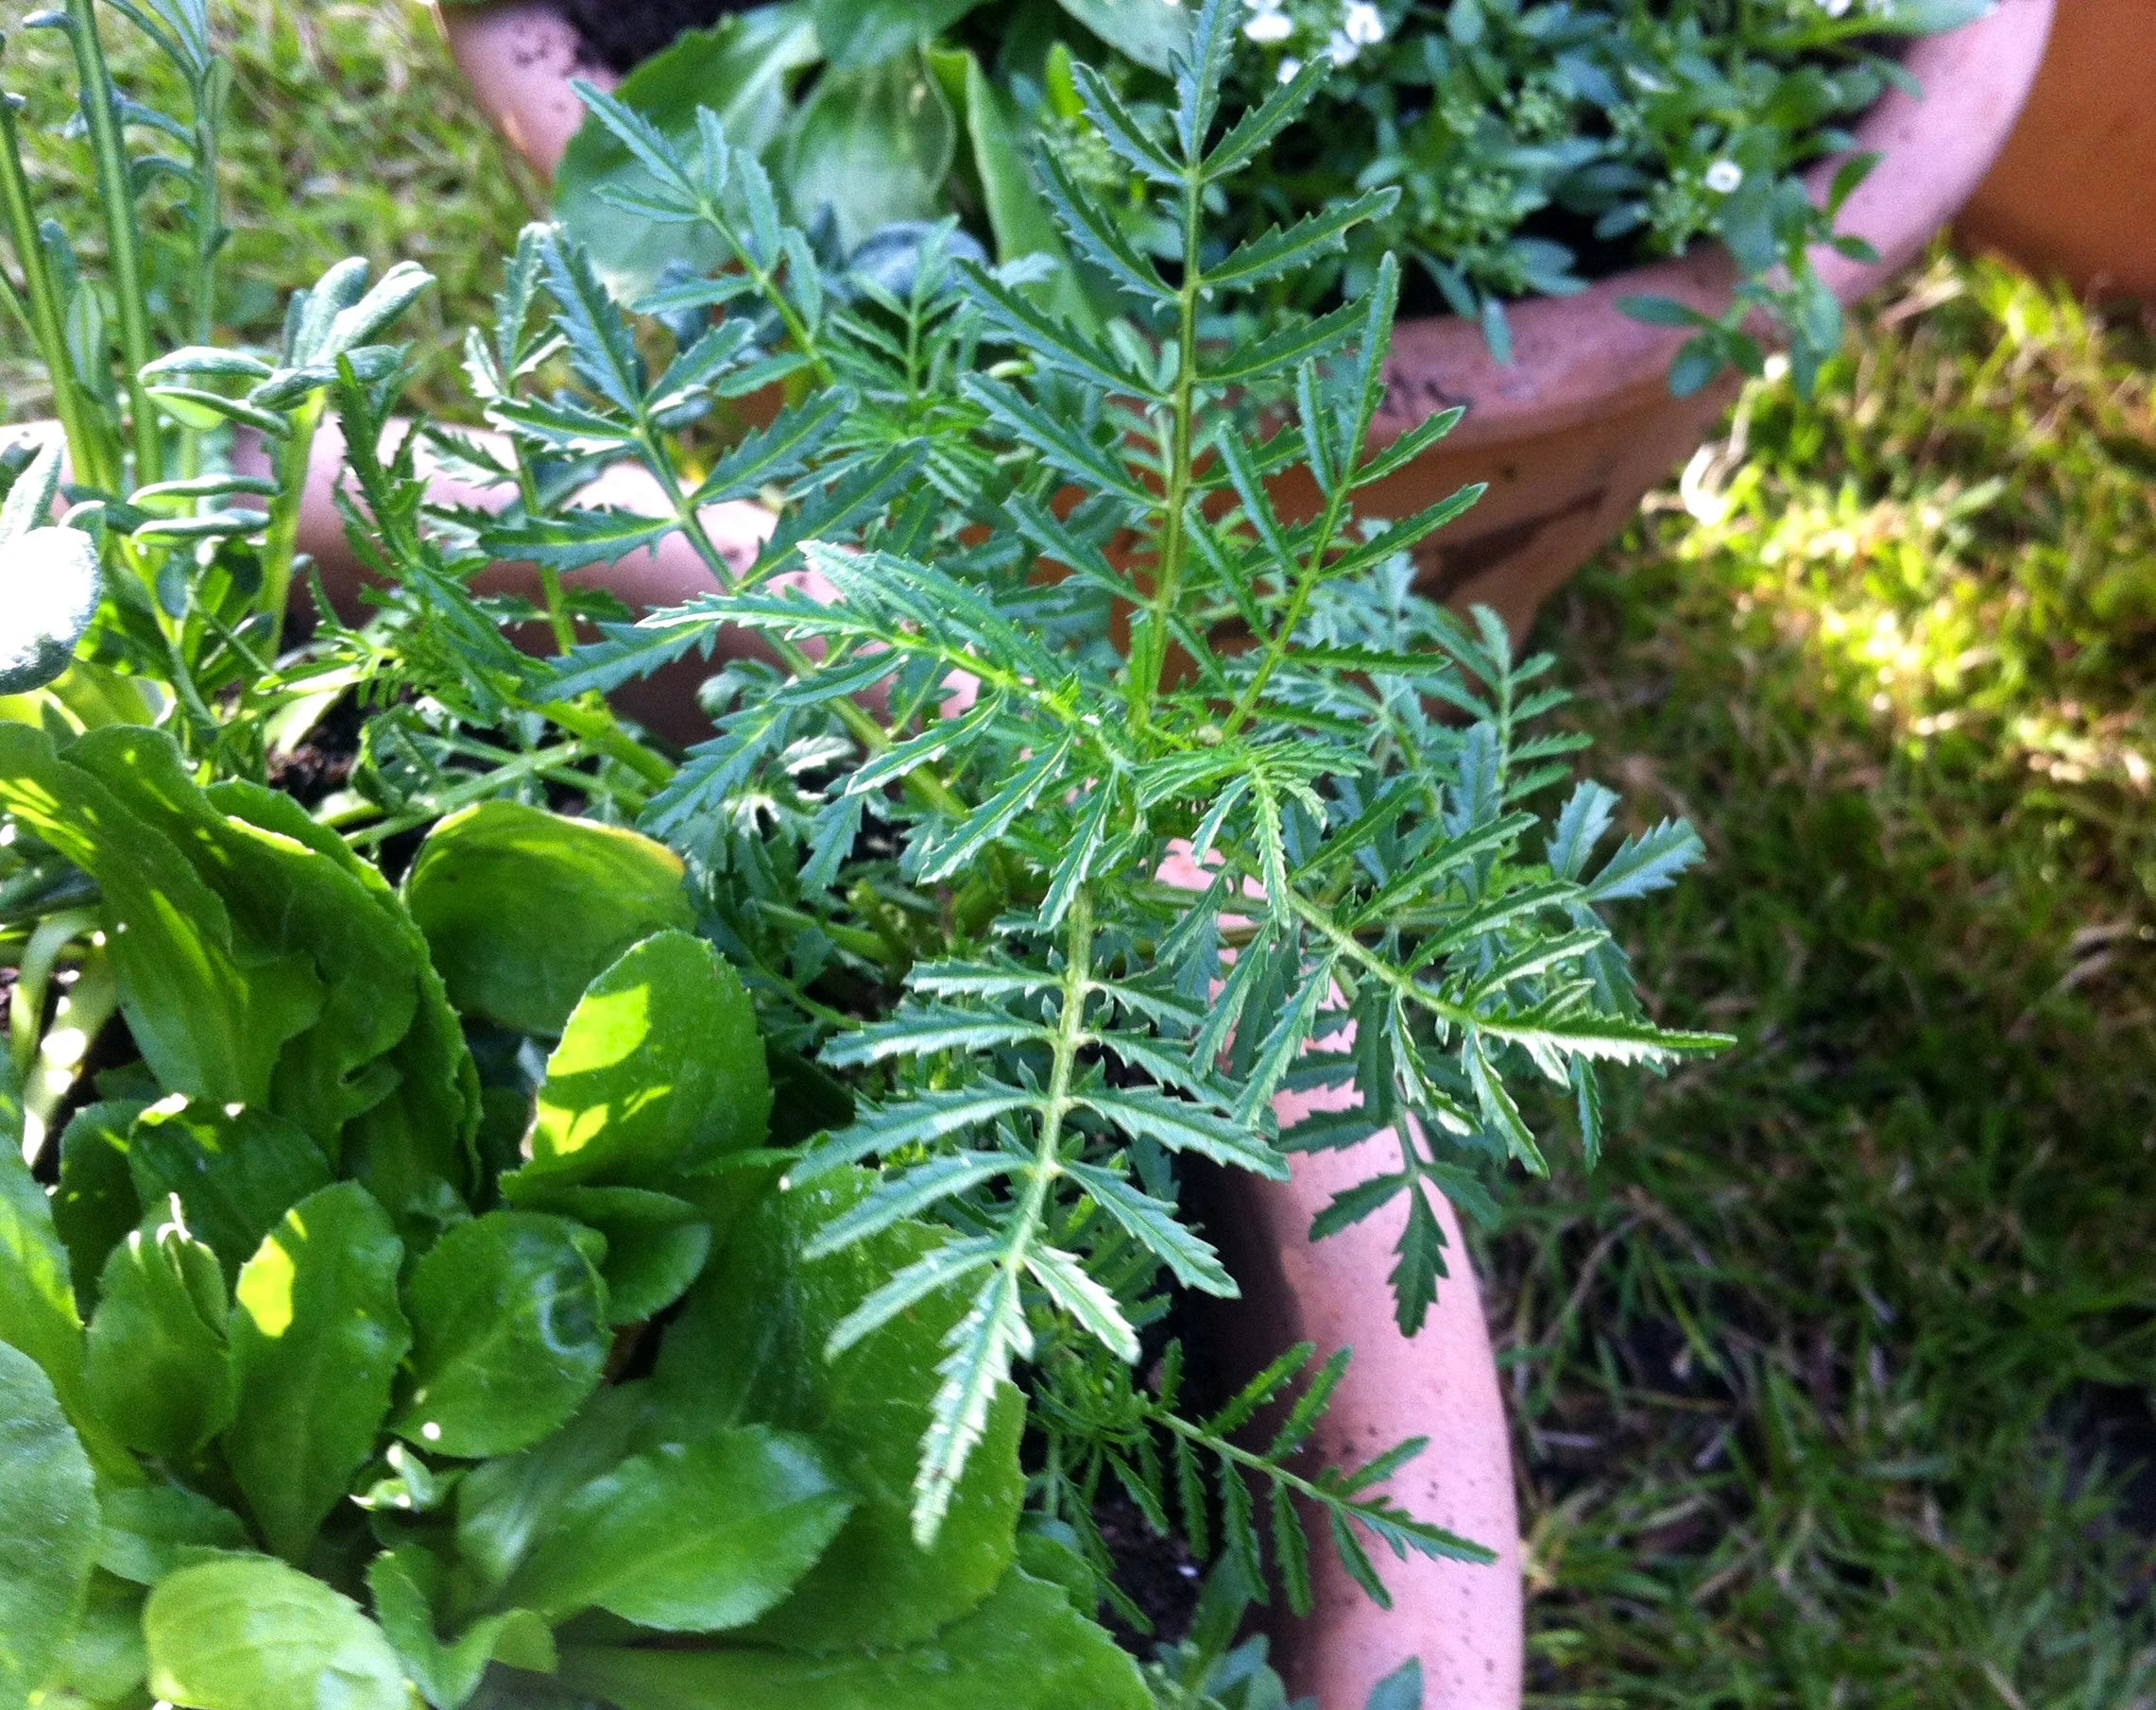
tagetes one per pot

And there you have it, some pepped up pots for our patio. And some that conform to the request, however tongue-in-cheek it was made. But why, oh why do I find myself covered in compost whenever I plant up pots?

Please say it's not just me!
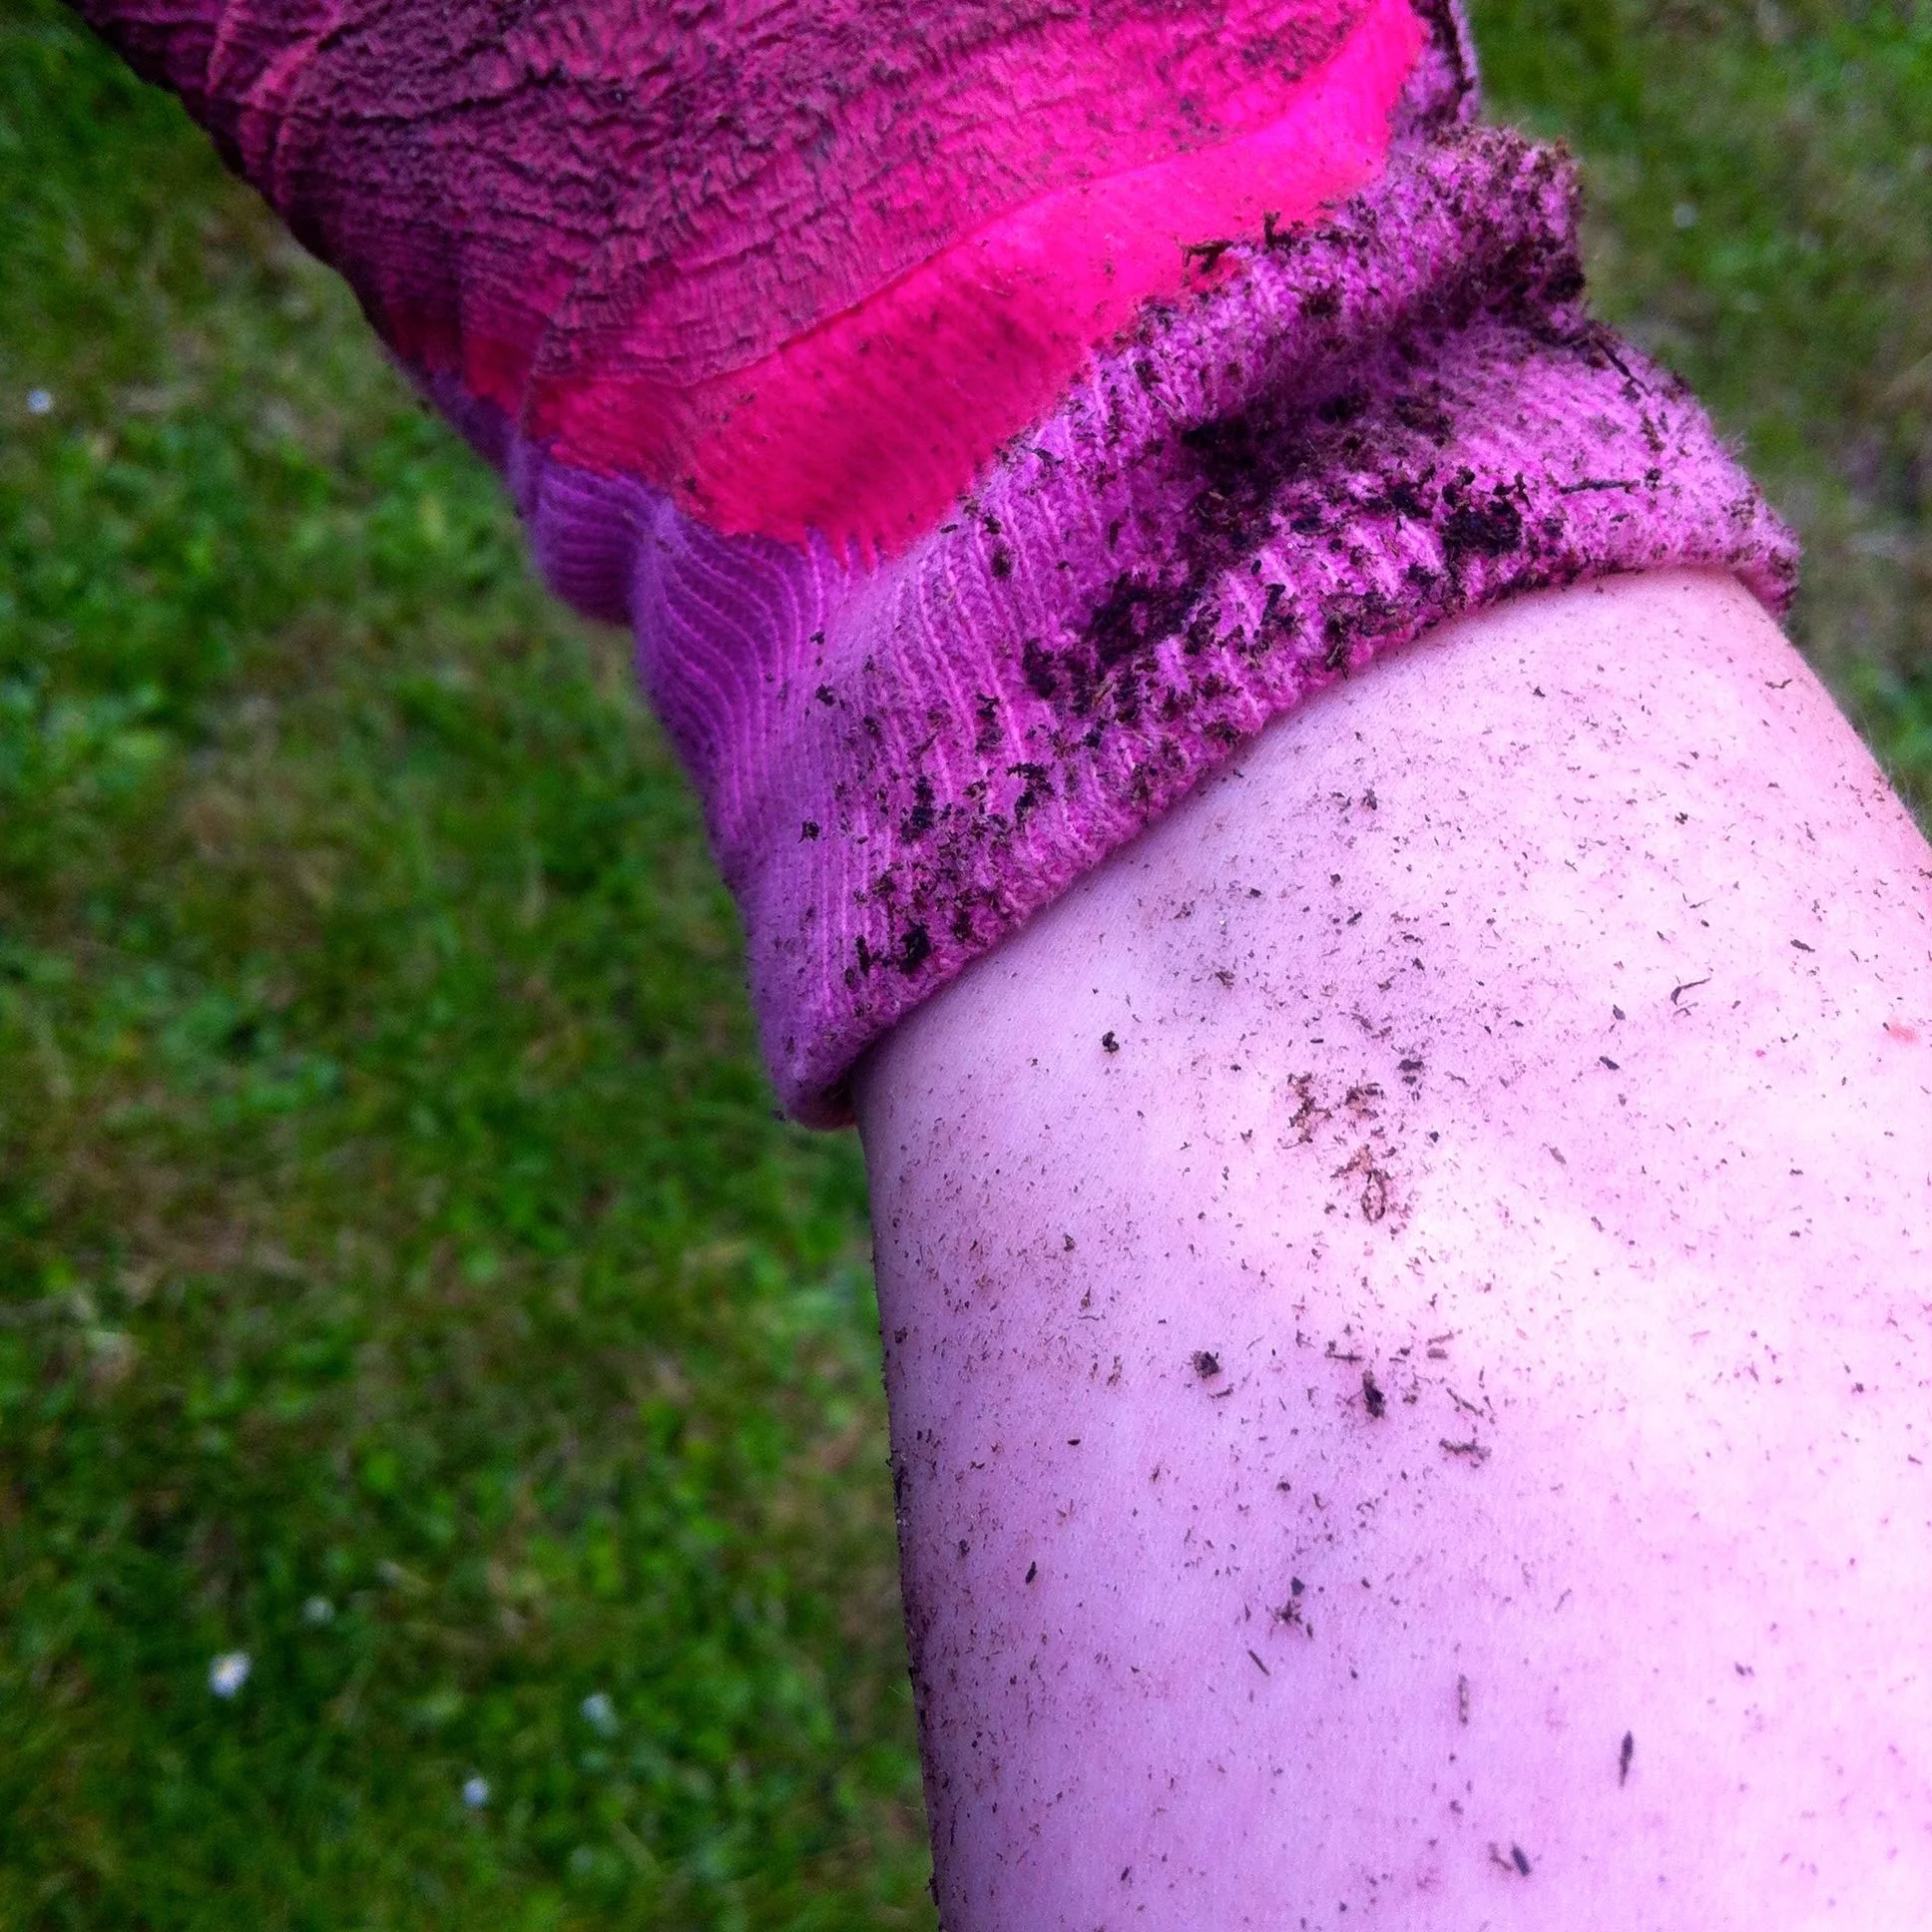
covered in compost
Home Etc

Giving my sewing box a new lease of life

When Clare from Maybush Studio got in touch about getting involved with a project using Chalk Paint Spray I couldn't tell you how keen I was. I've been wary about using chalk paint because I thought it couldn't be as good as everyone says and I was tempted to see how it worked as a spray.

I also had the perfect project in mind.

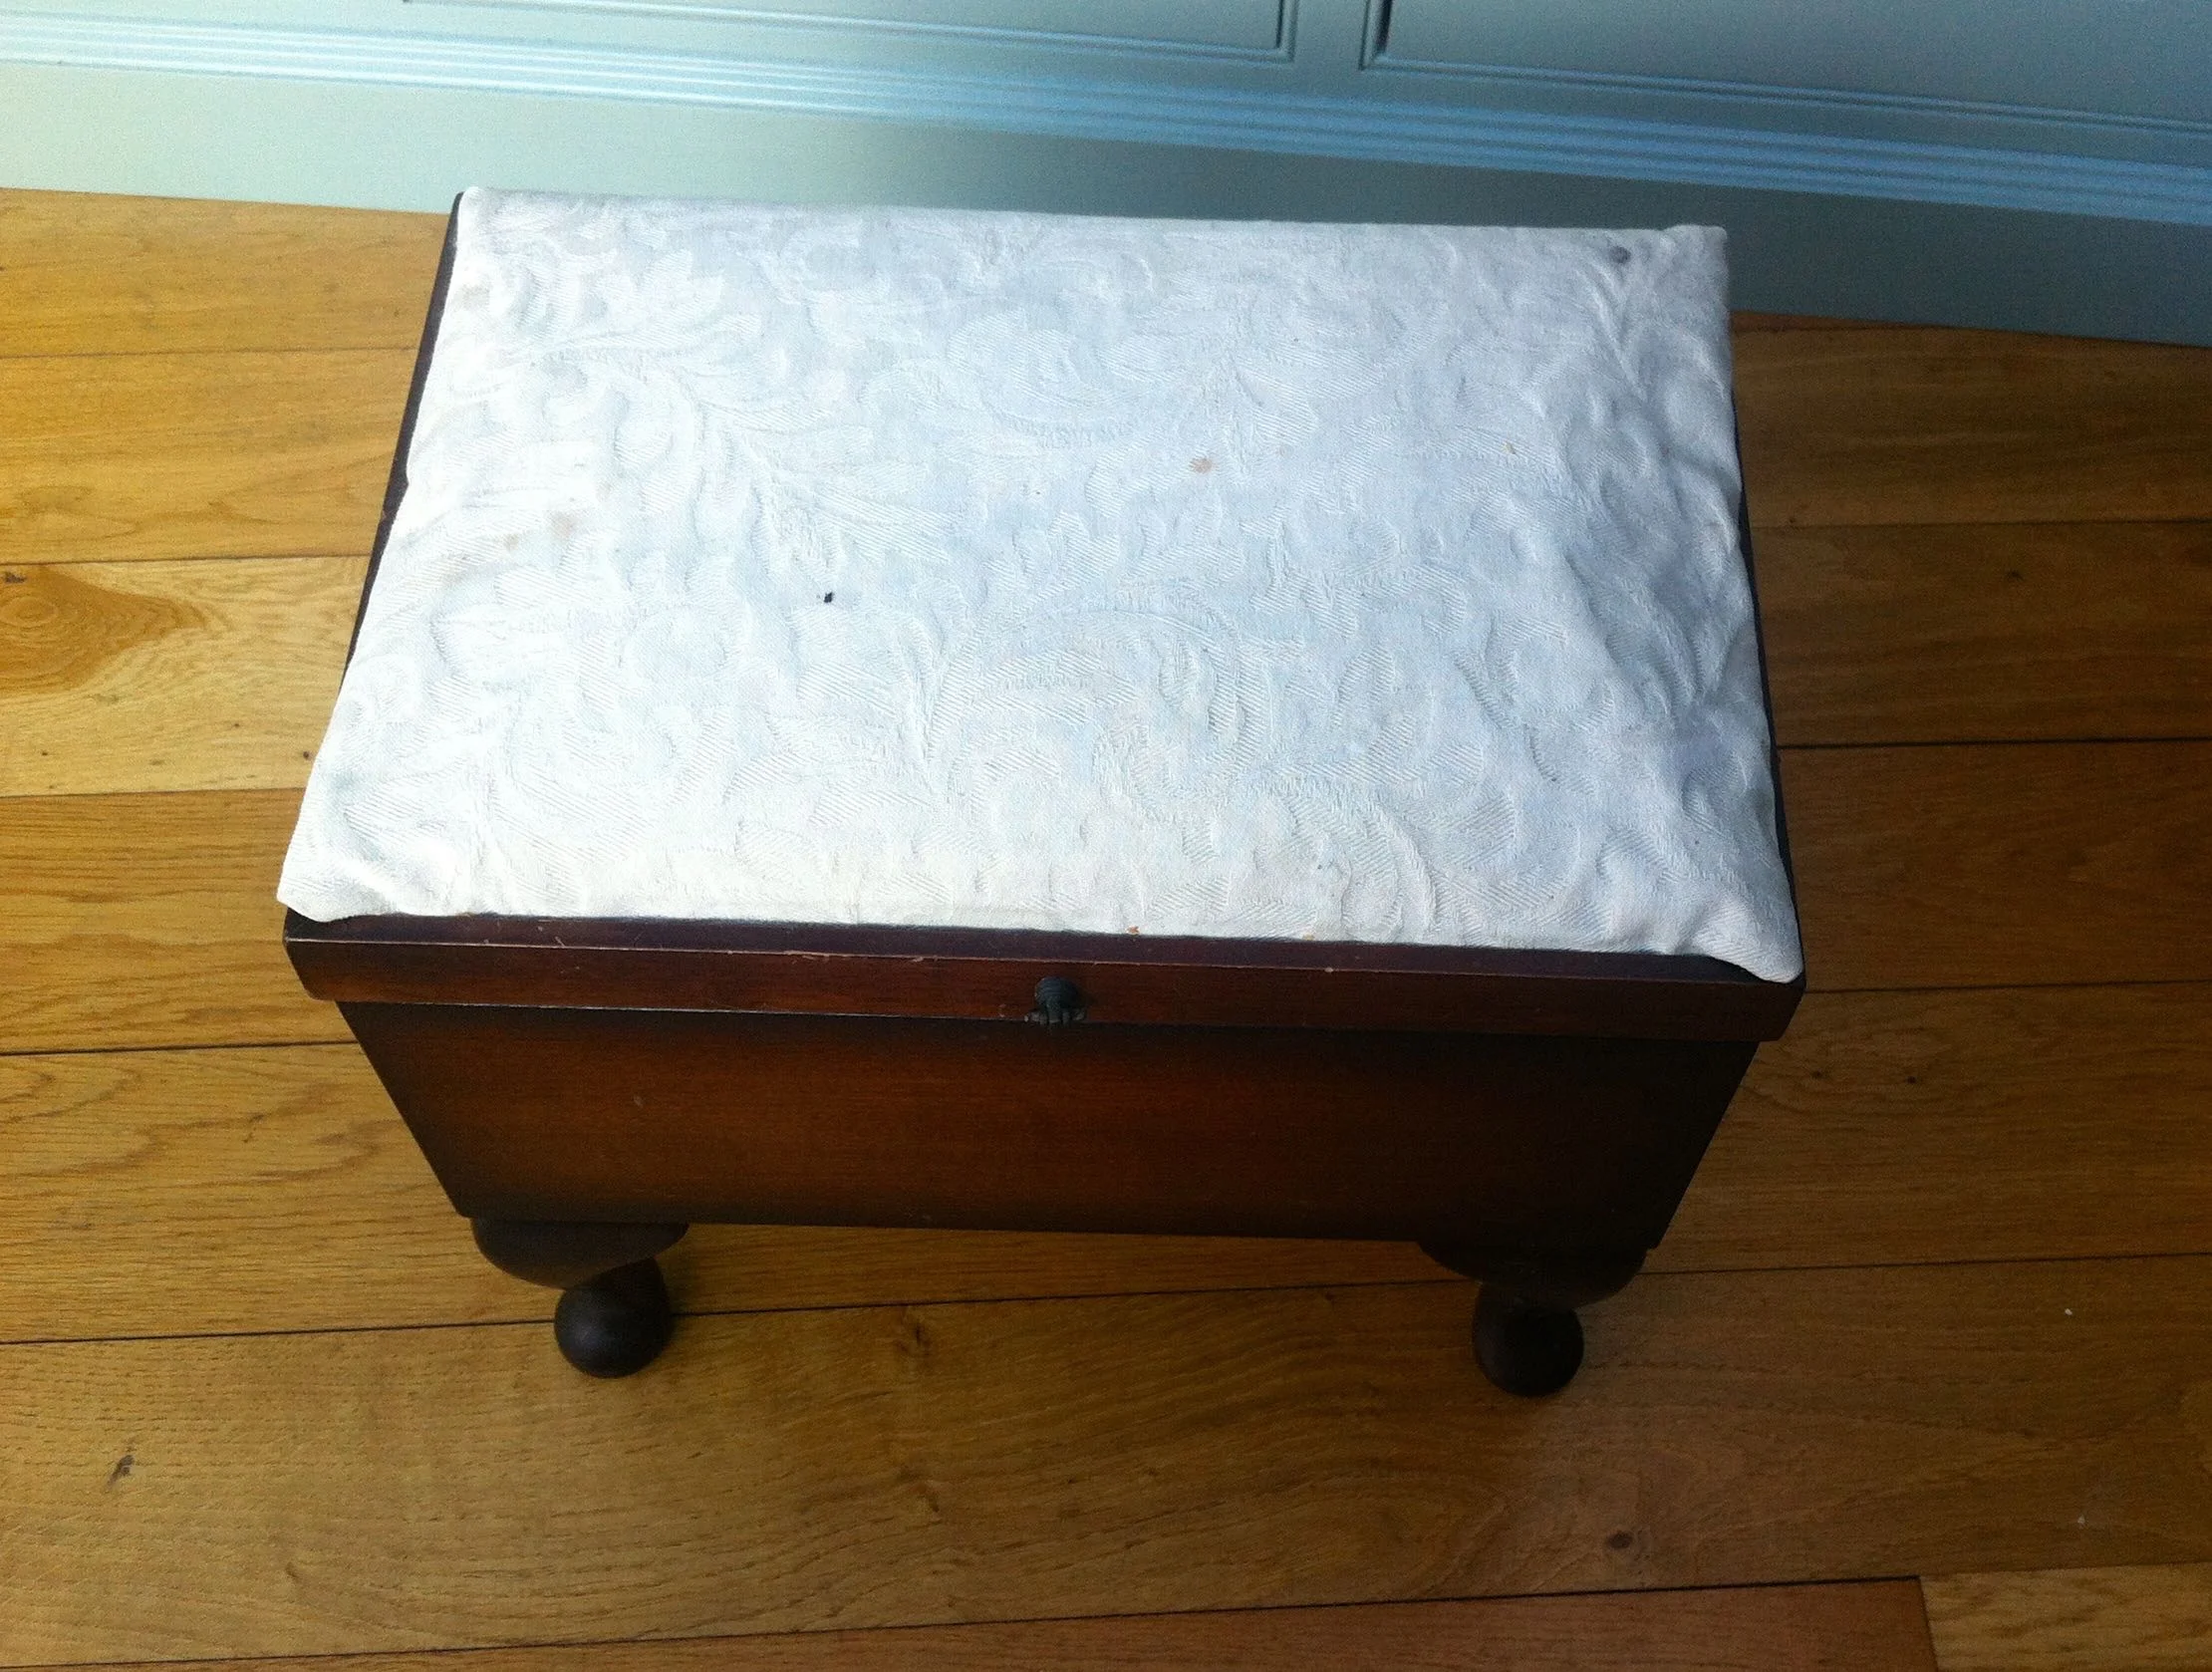
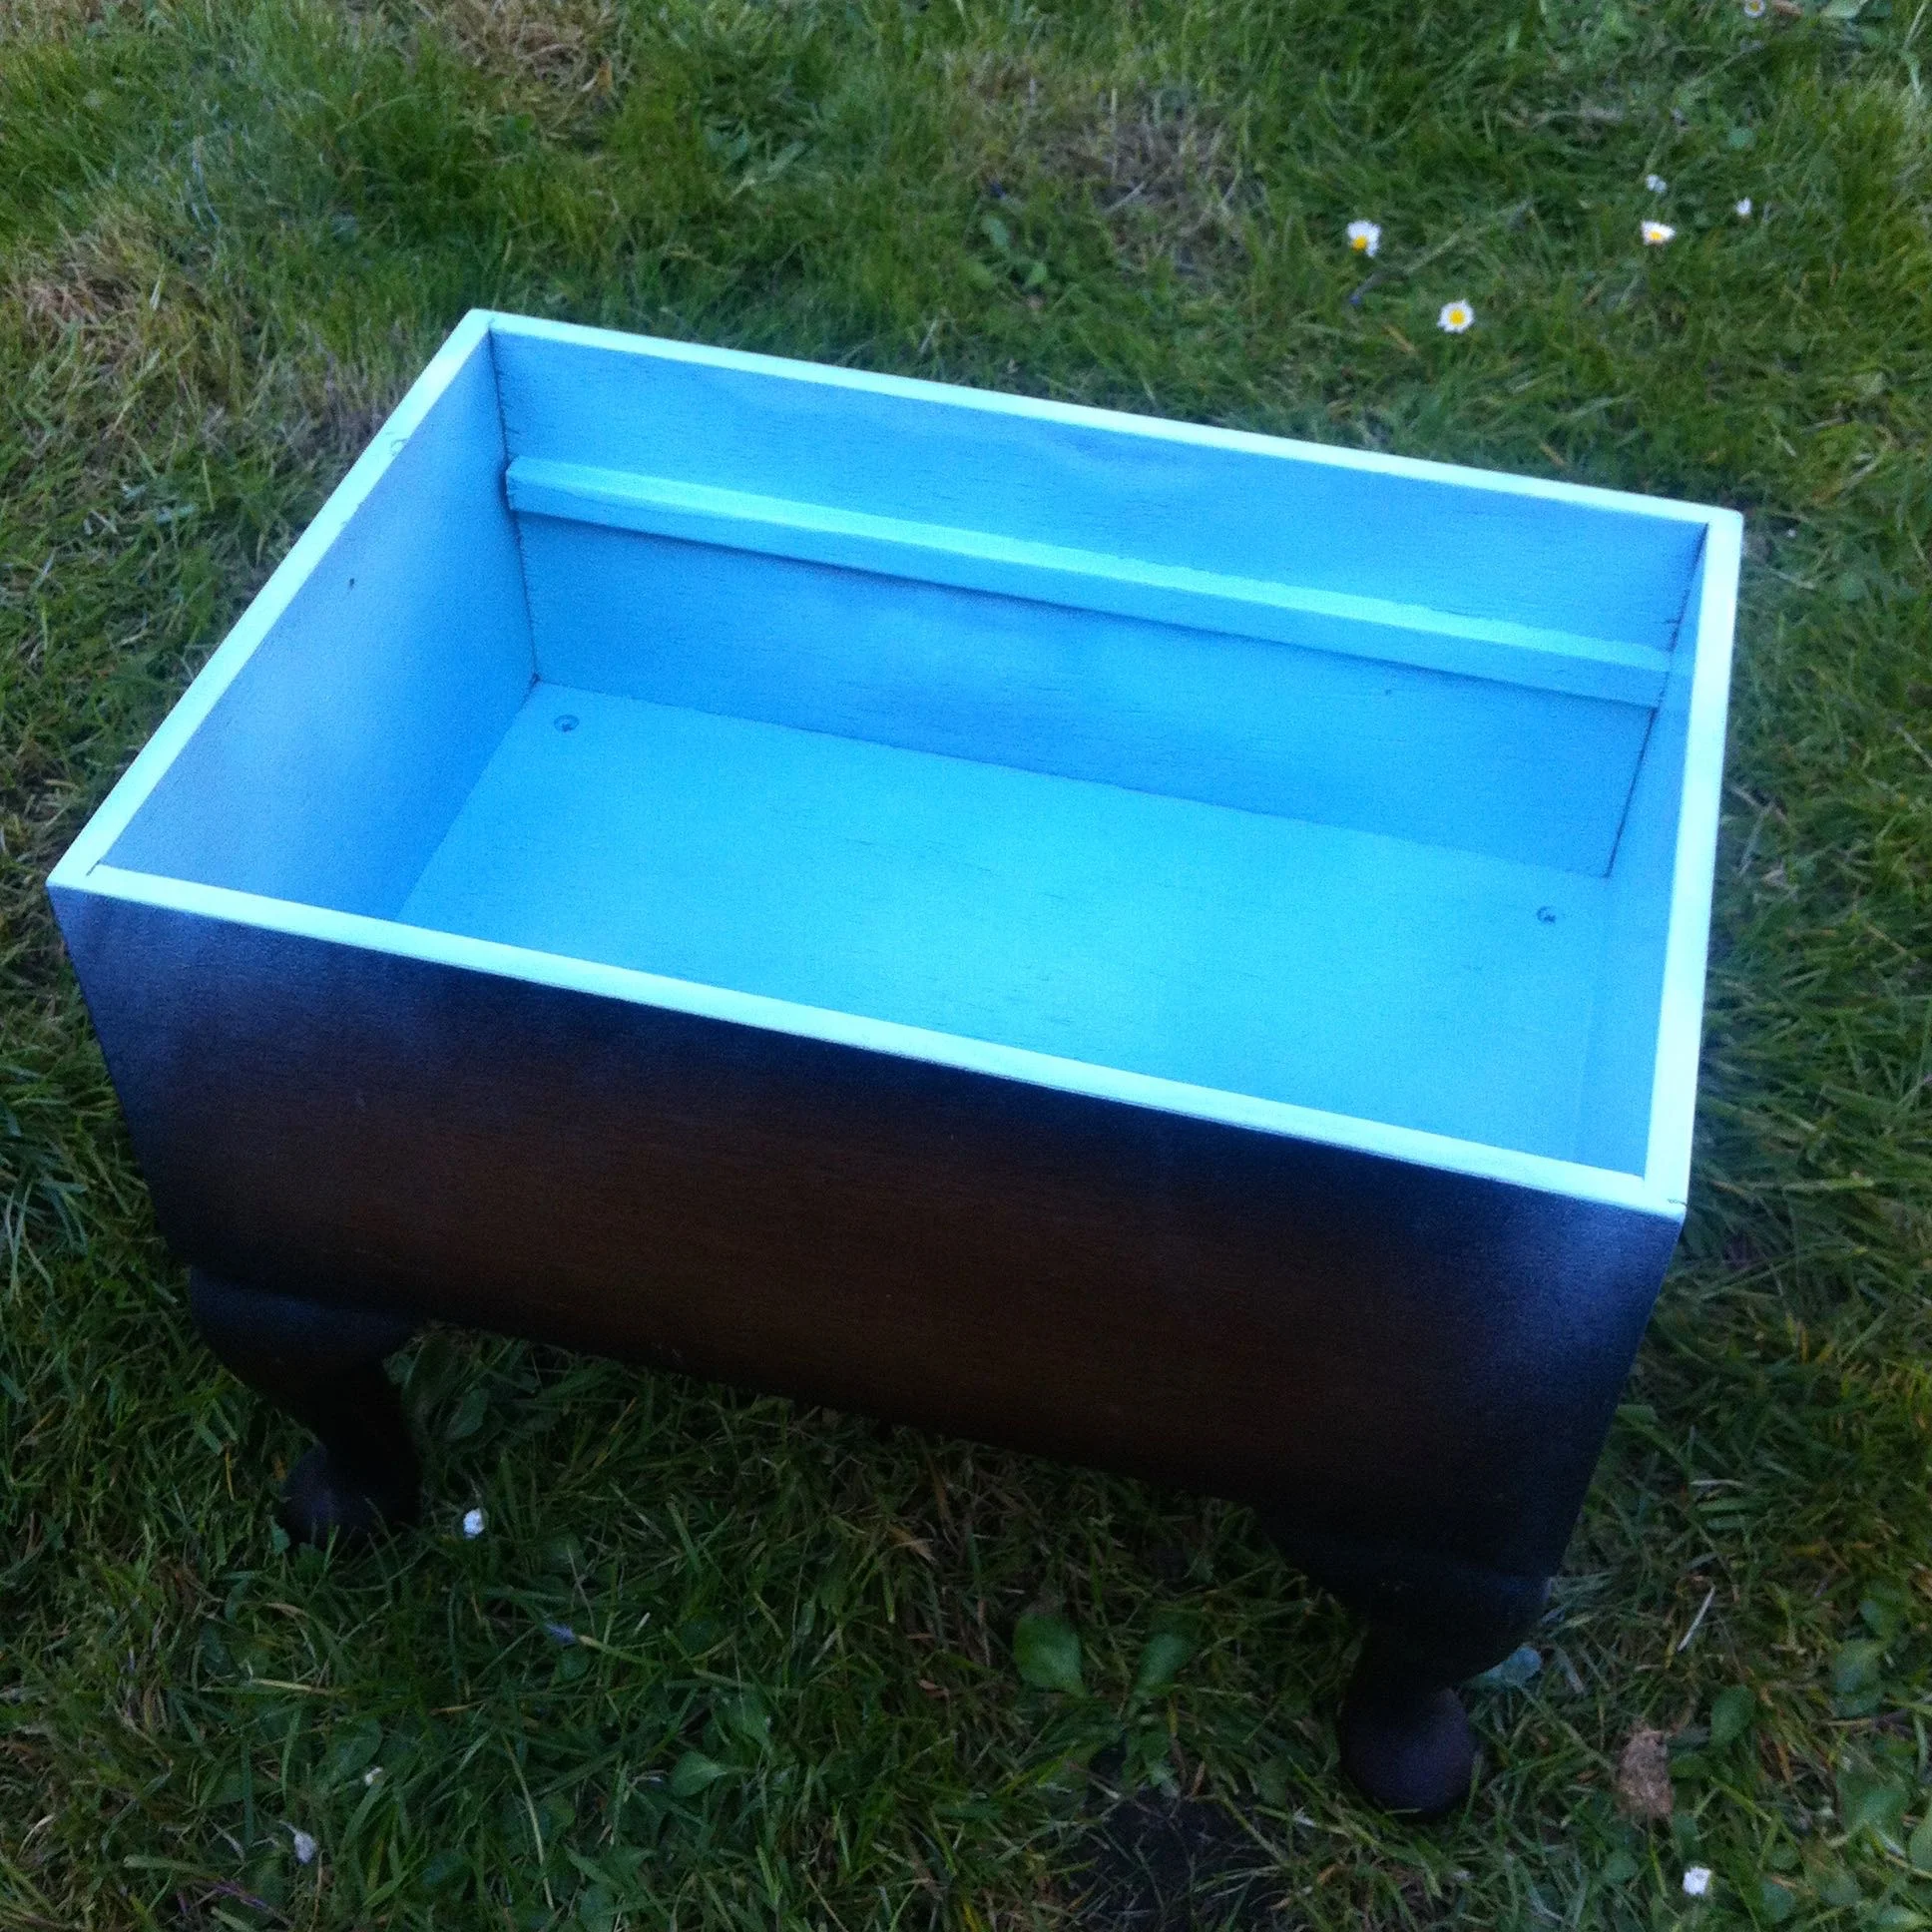
I've had this sewing stool for many years and for a while now it's been relegated to our conservatory and was one of the things I planned to get rid of in my 2016 items in 2016.  But I knew it'd be perfect for this so it was promptly promoted to My Next Project!

BEFORE

BEFORE

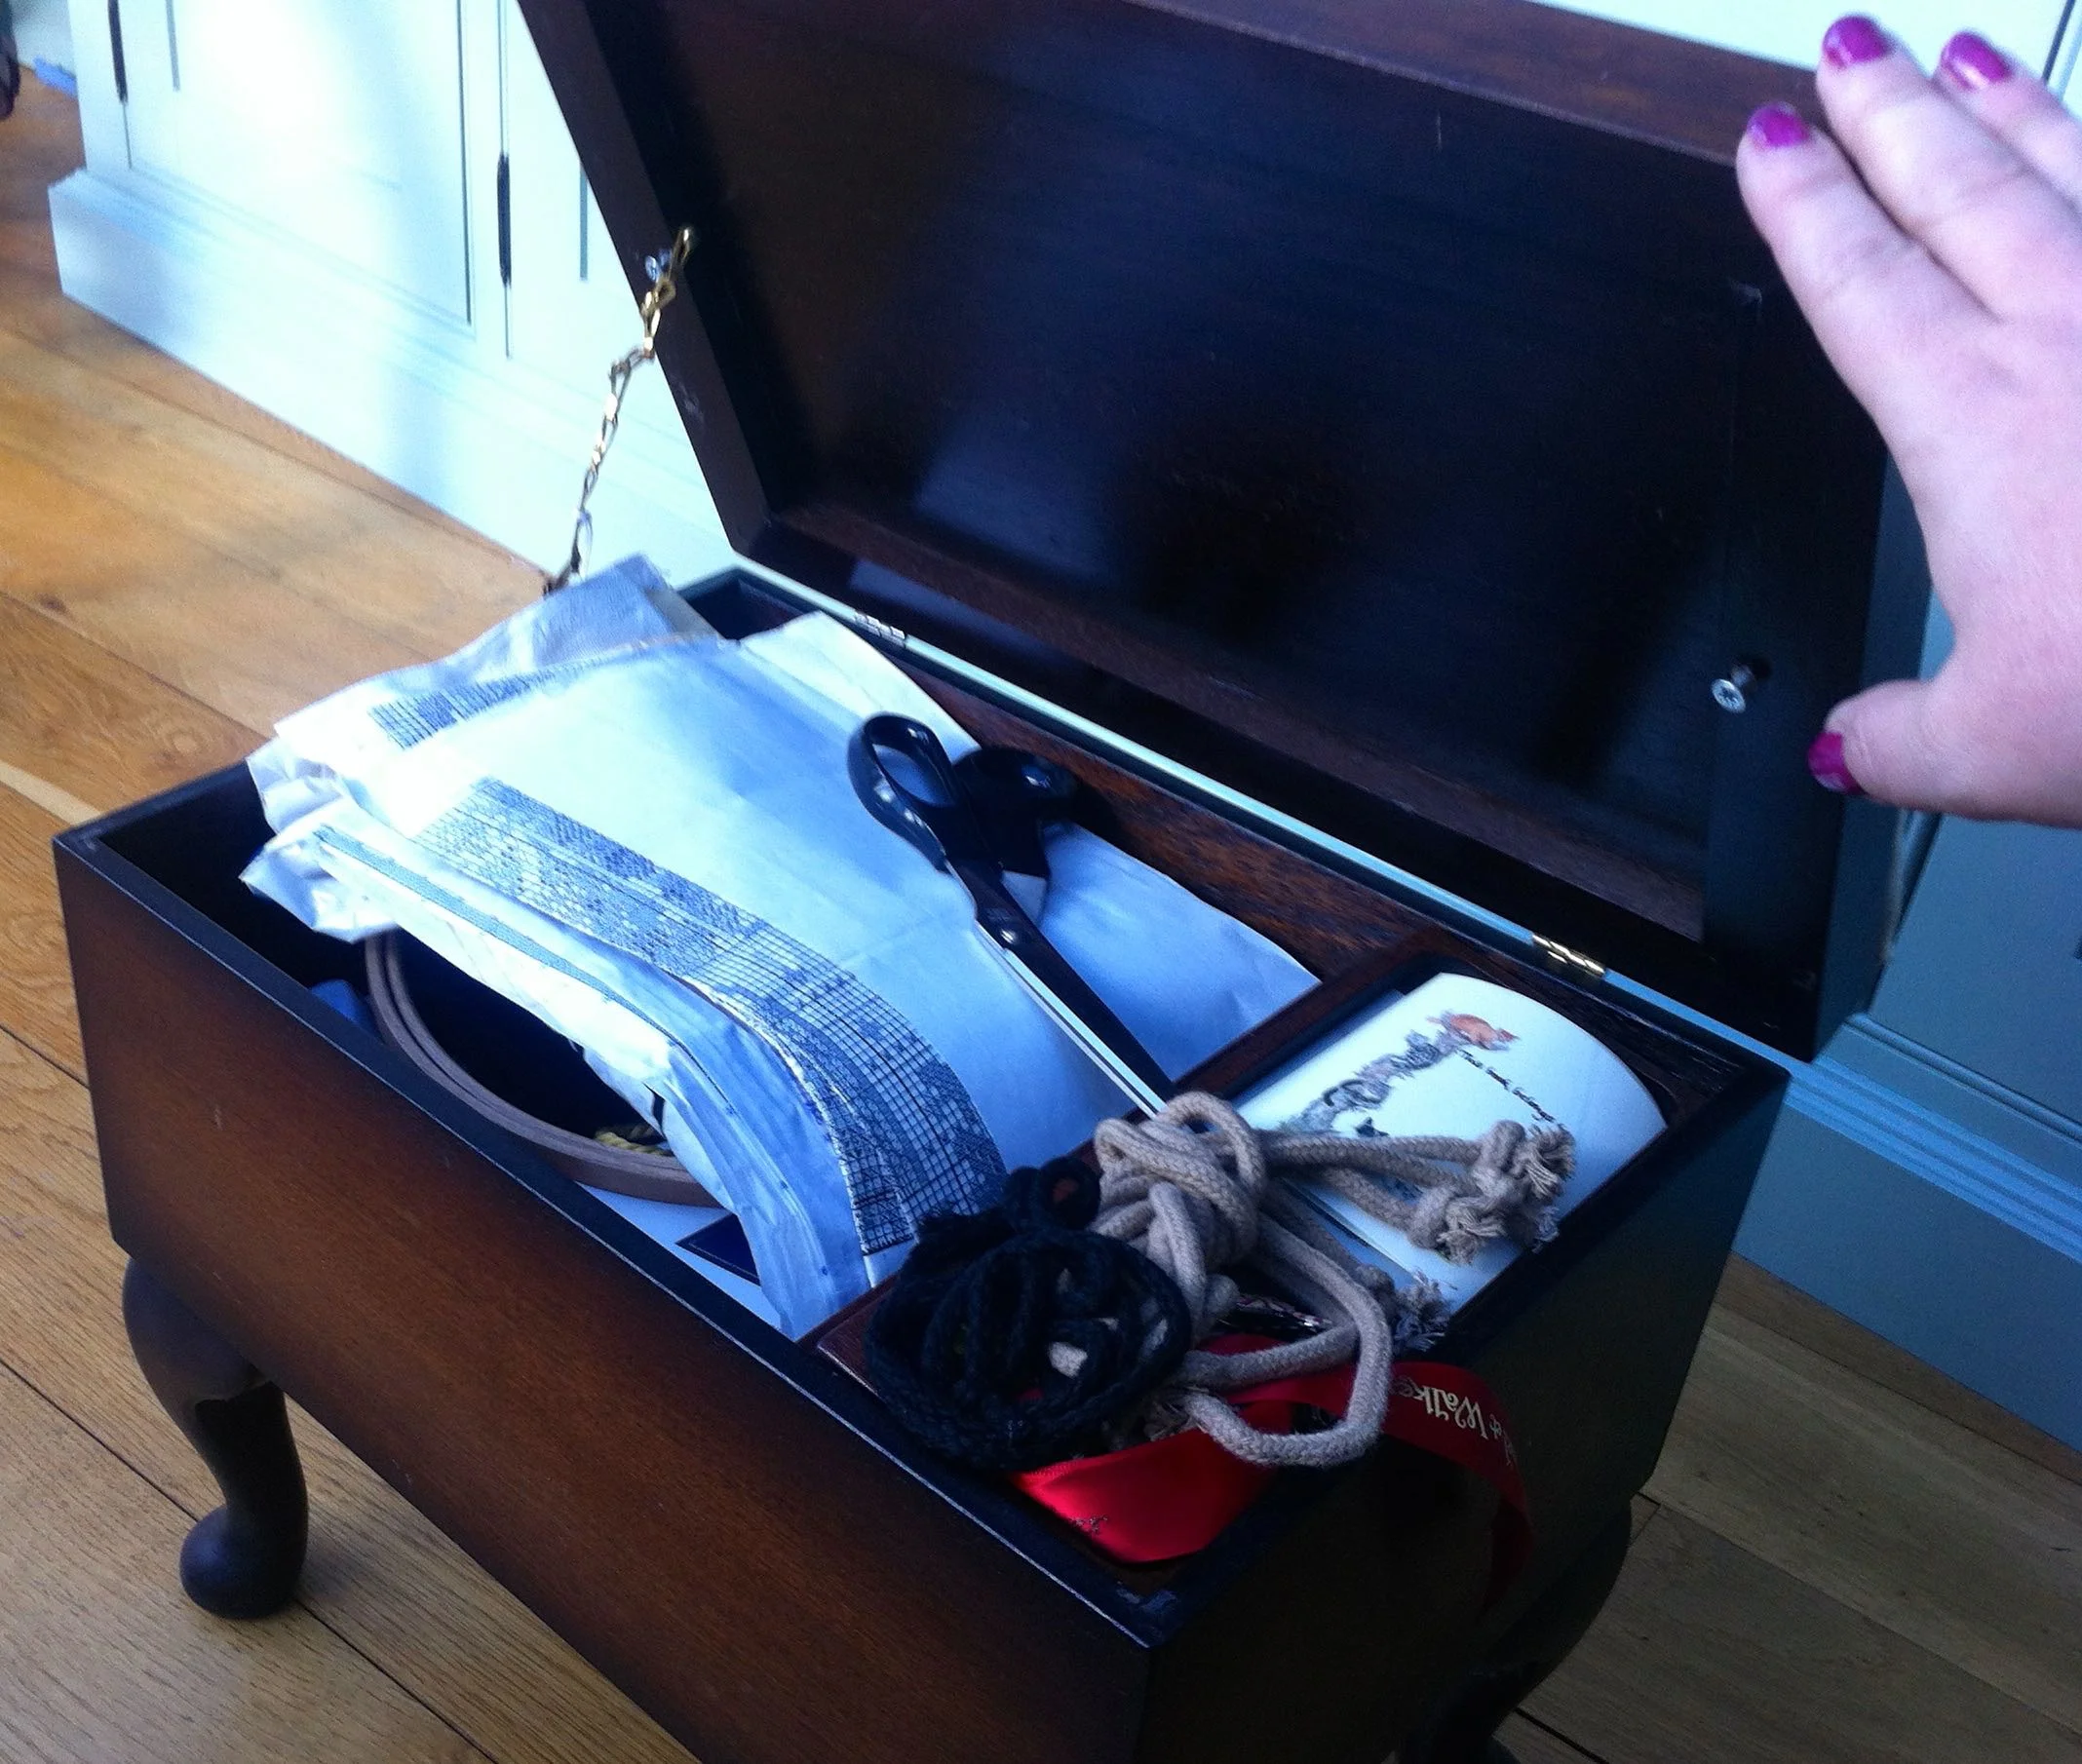
AND FULL OF STUFF...

AND FULL OF STUFF...

First though I had to empty it. It was stuffed full of stuff - most of it craft-related but also randomly a runner for the table. I wondered where that had gone...

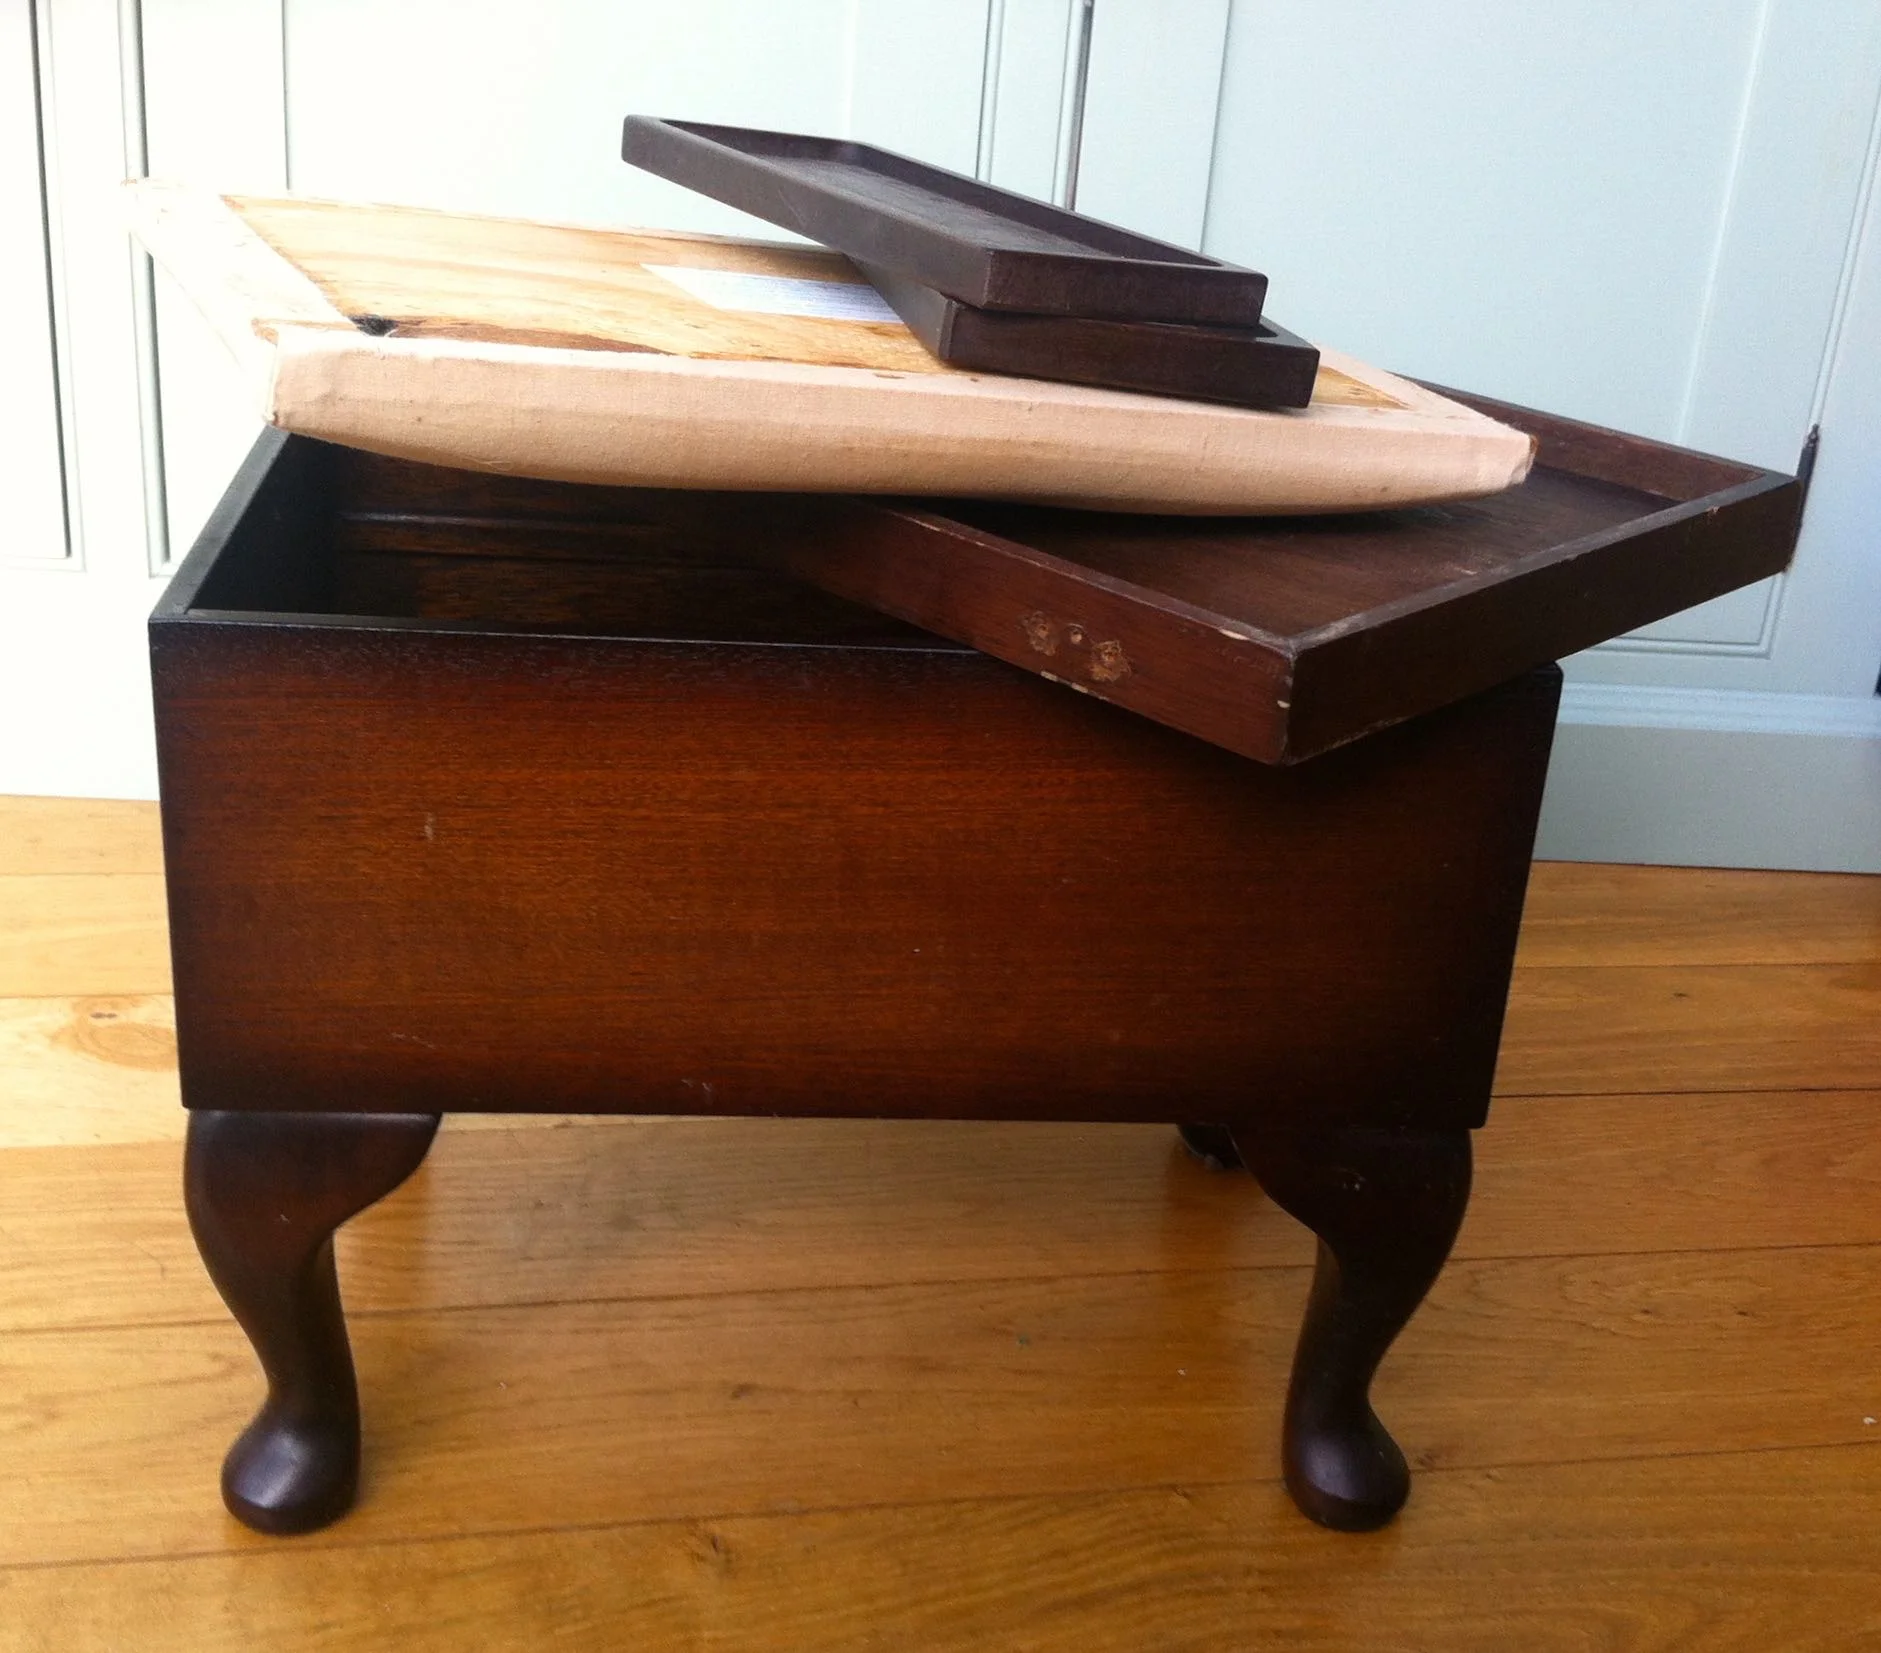
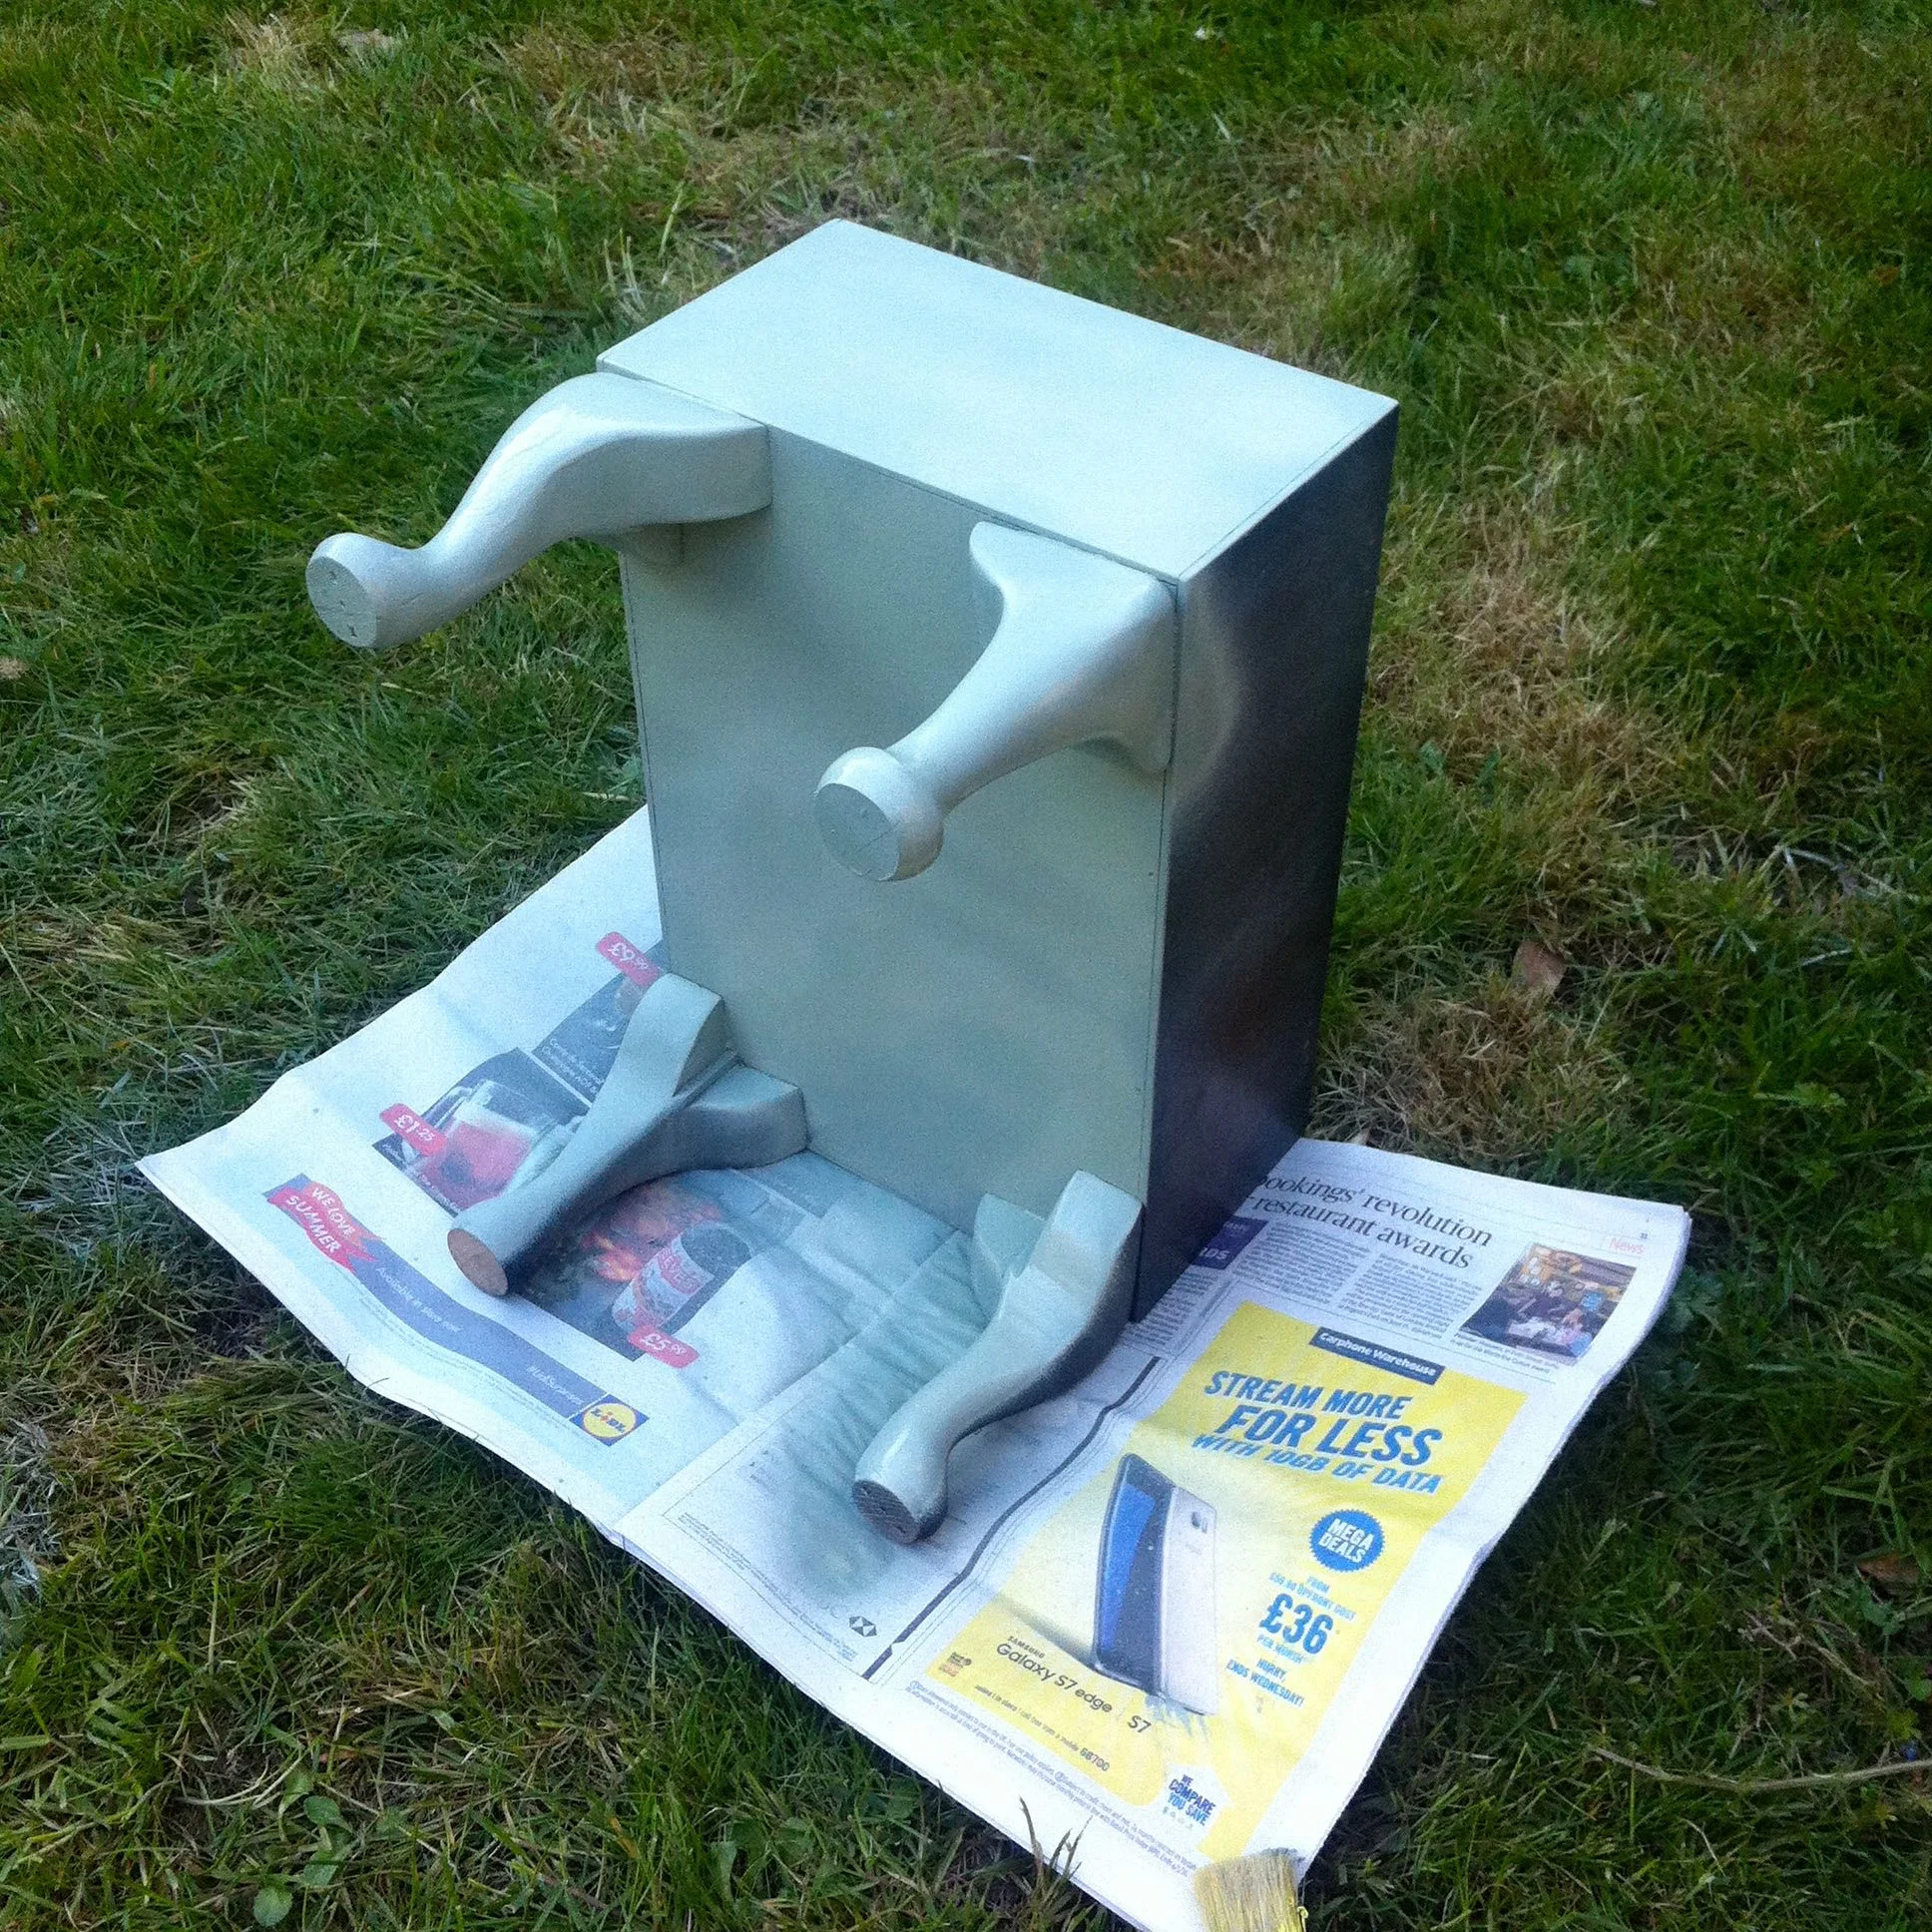
With it emptied I dismantled it, removing the cushion pad, its cover, the hinges and other ironmongery.

DISMANTLED!

DISMANTLED!

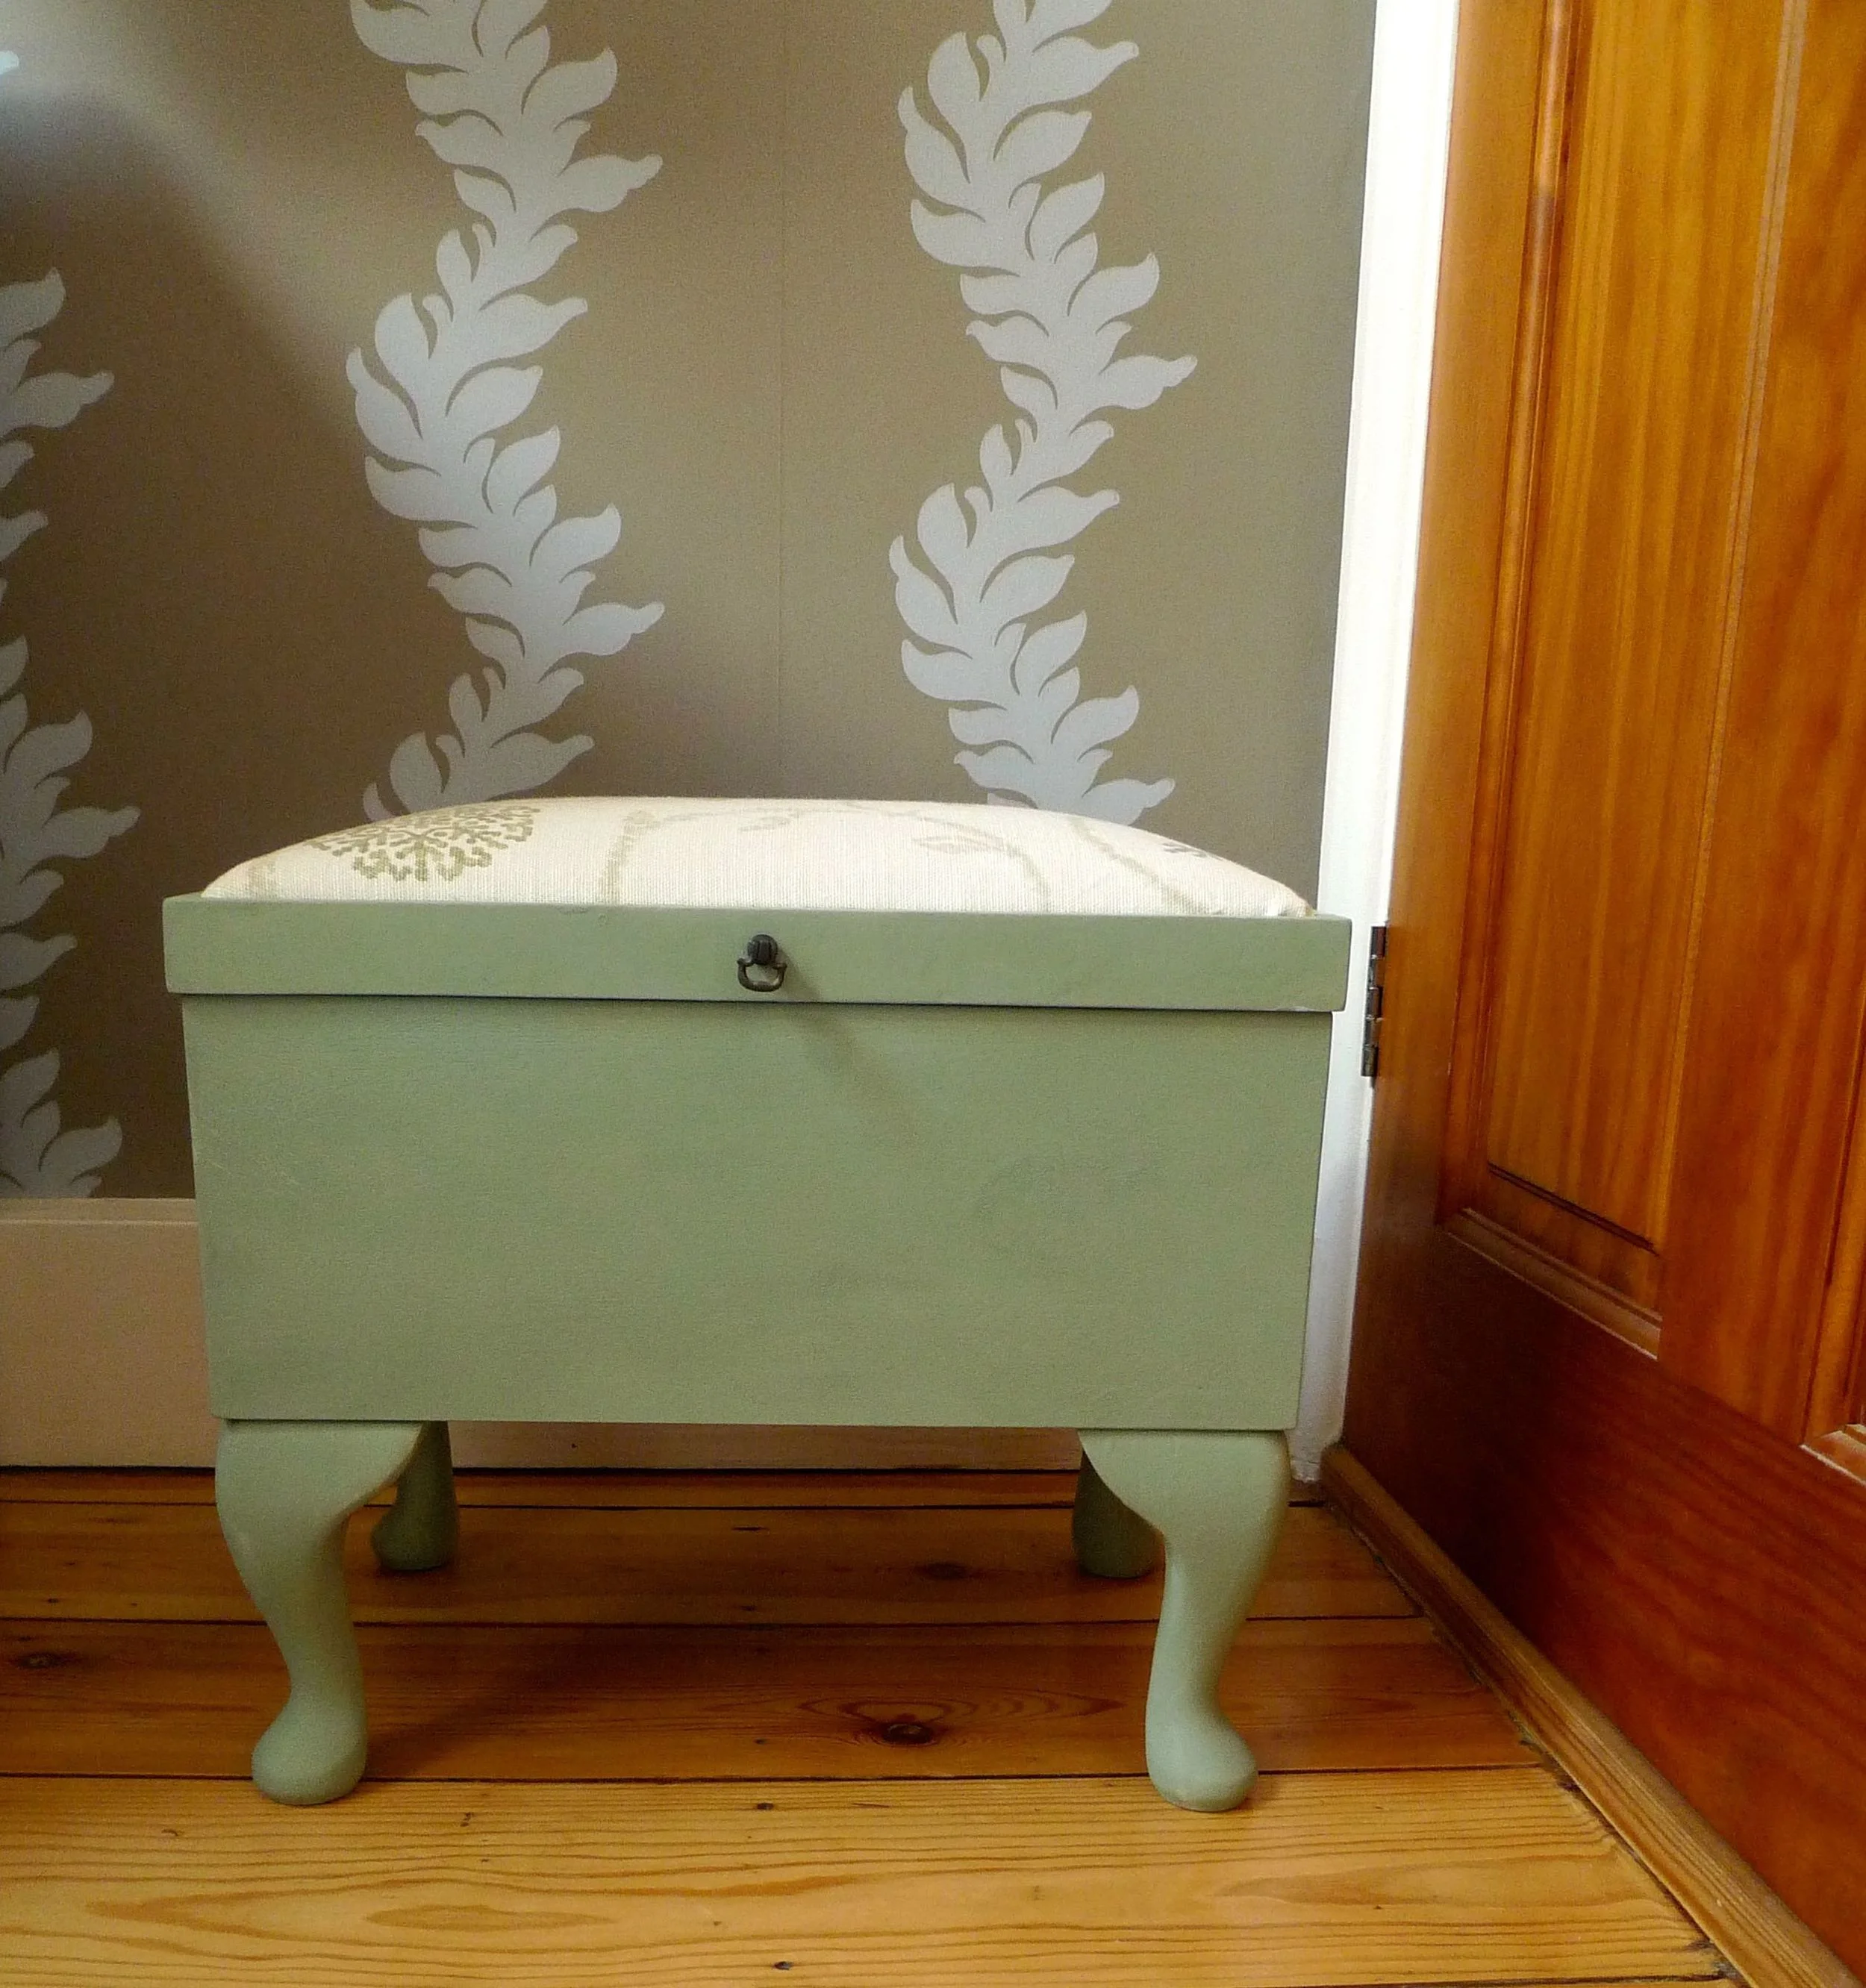
I was keen to get started and I was also keen to see how the colours I'd chosen would turn out.  I chose London Grey for the outside, and that is as I hoped a greeny-grey. For the inside I wanted something brighter and contrasting, so chose Light Turquoise.

I started small and sprayed the two removable trays, one in each colour.

It was really easy to do, and I couldn't help but start spraying some more.  It was easily touch-dry within twenty minutes. 

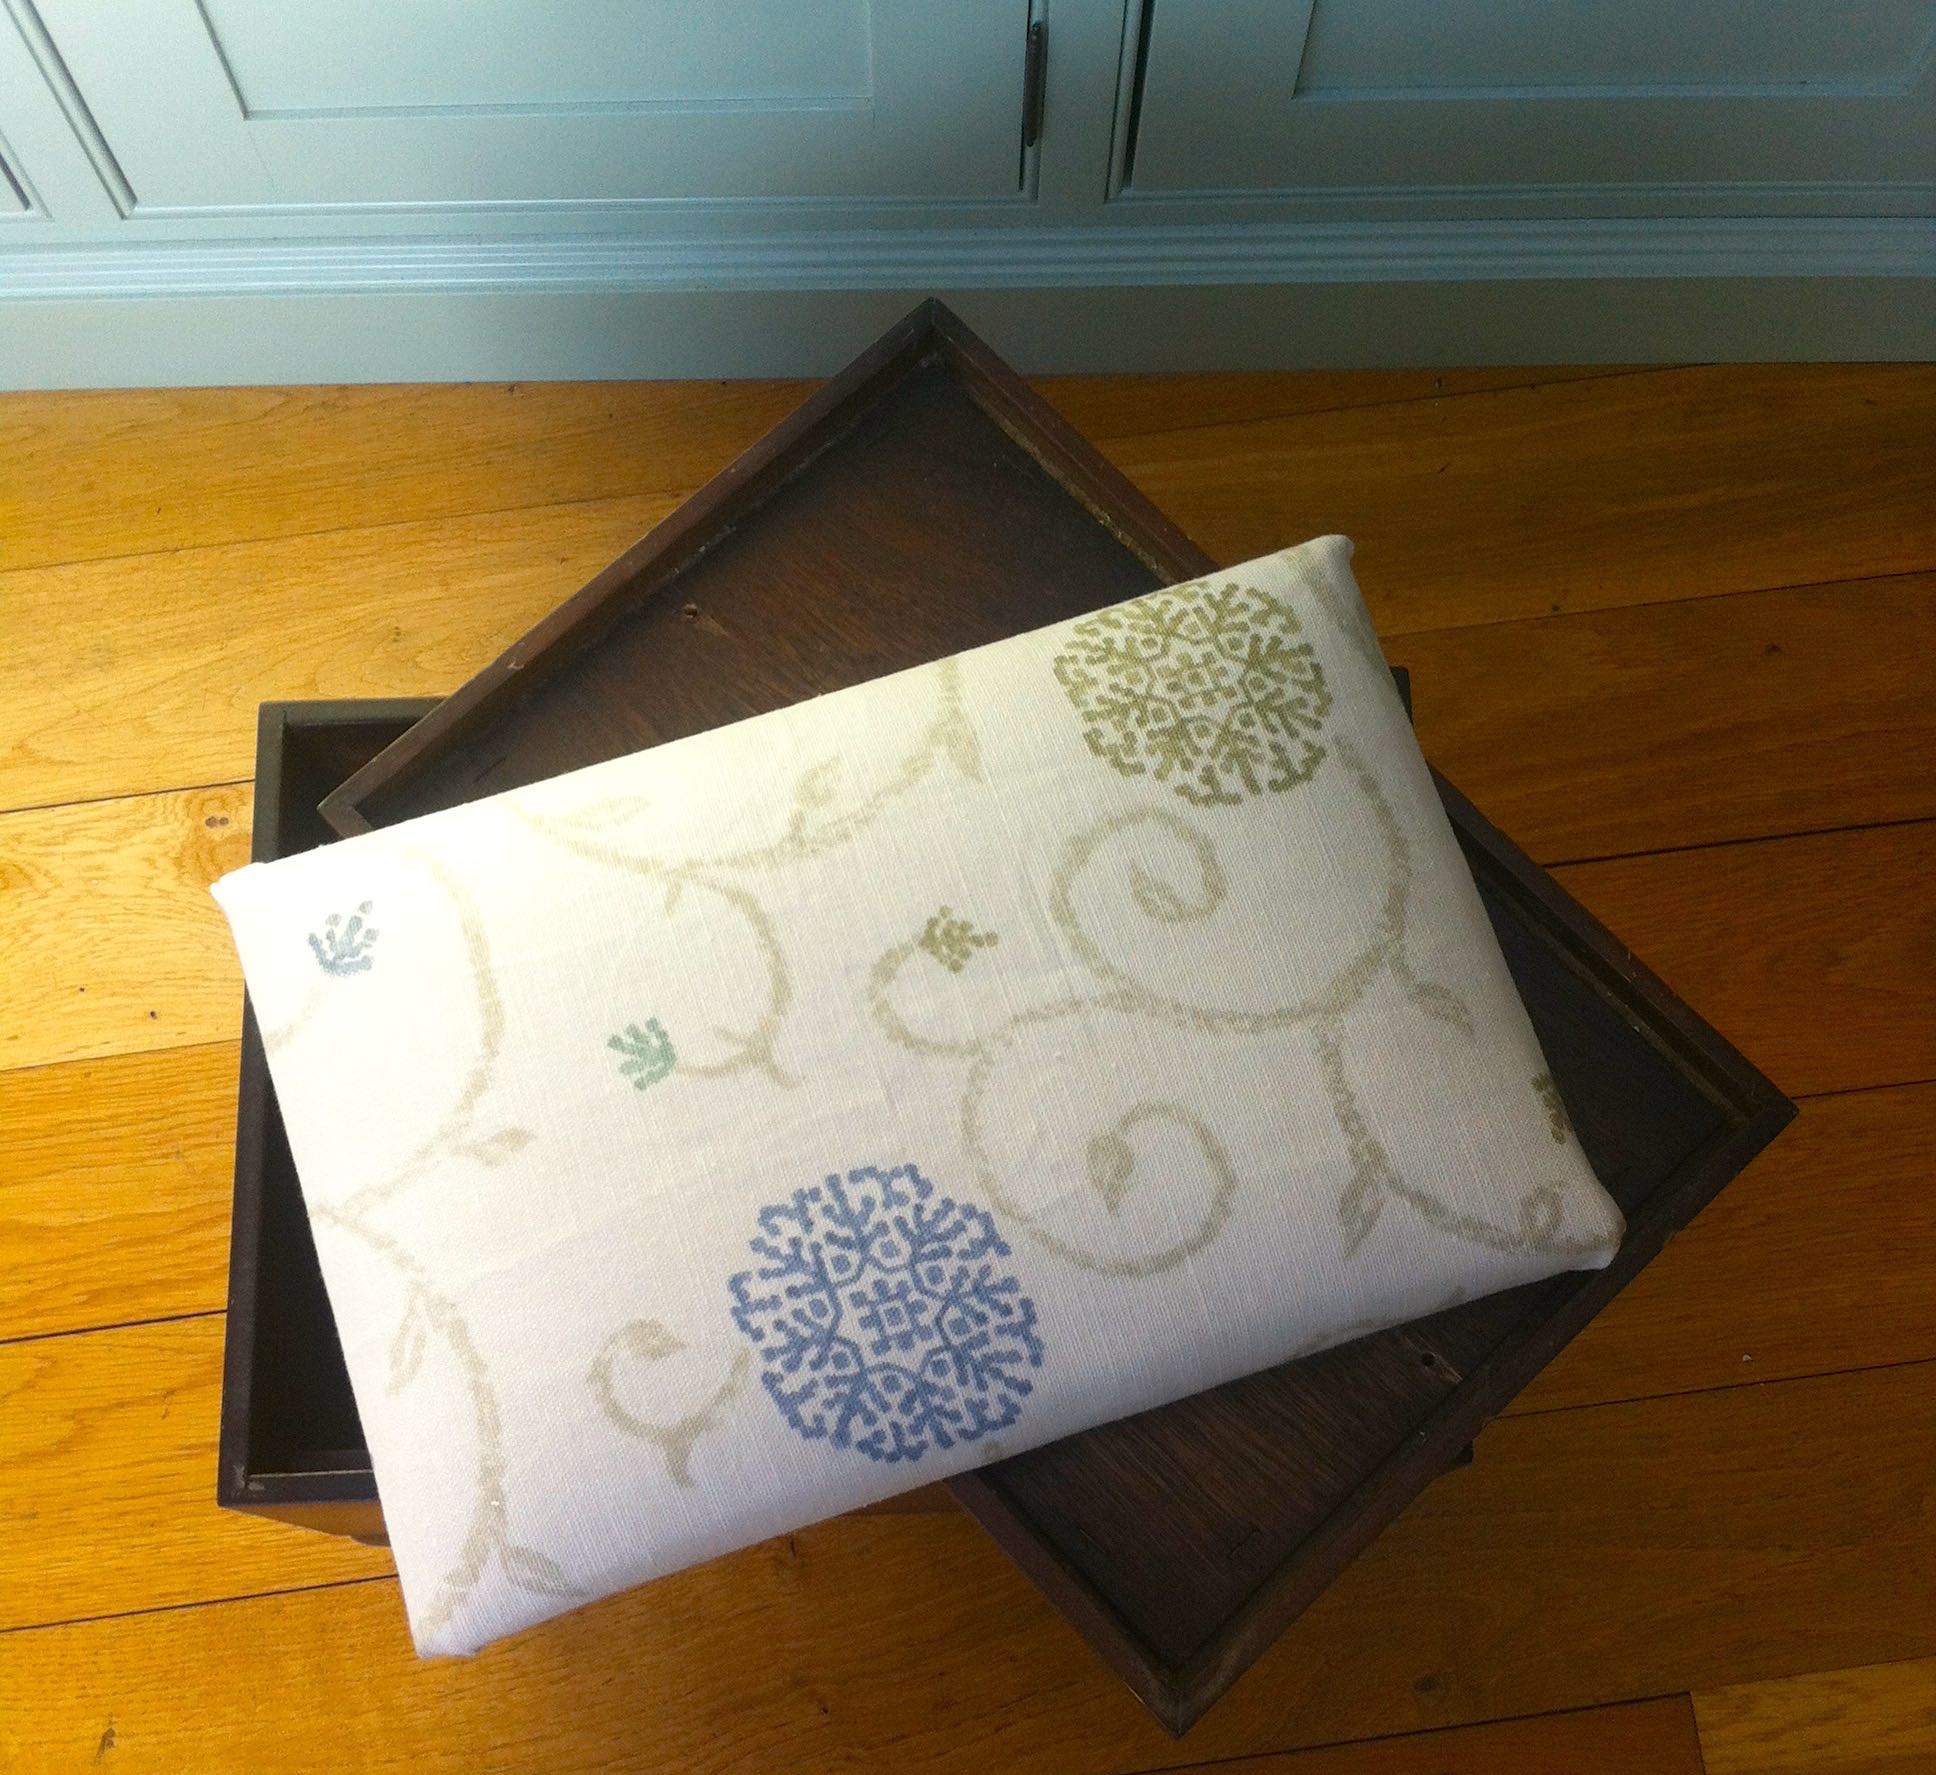
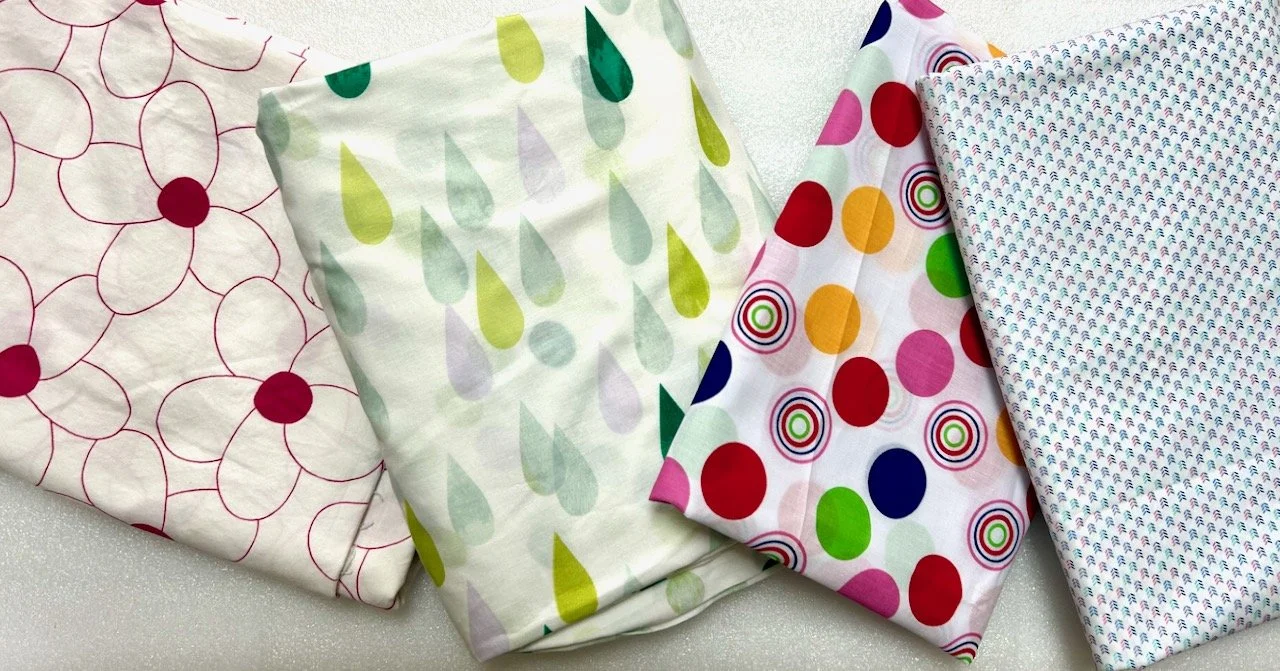
While I was waiting those first twenty minutes I recovered the top cushion.  I had in my mind that I'd use a floral fabric for the top, something Cath Kidstone-esque, but when I saw the colours I changed my plan.  You see the colours were very similar to the colours we've used throughout our house; the London Grey is very similar to Farrow & Ball's Old White and the Light Turquoise like their Teresa's Green.  

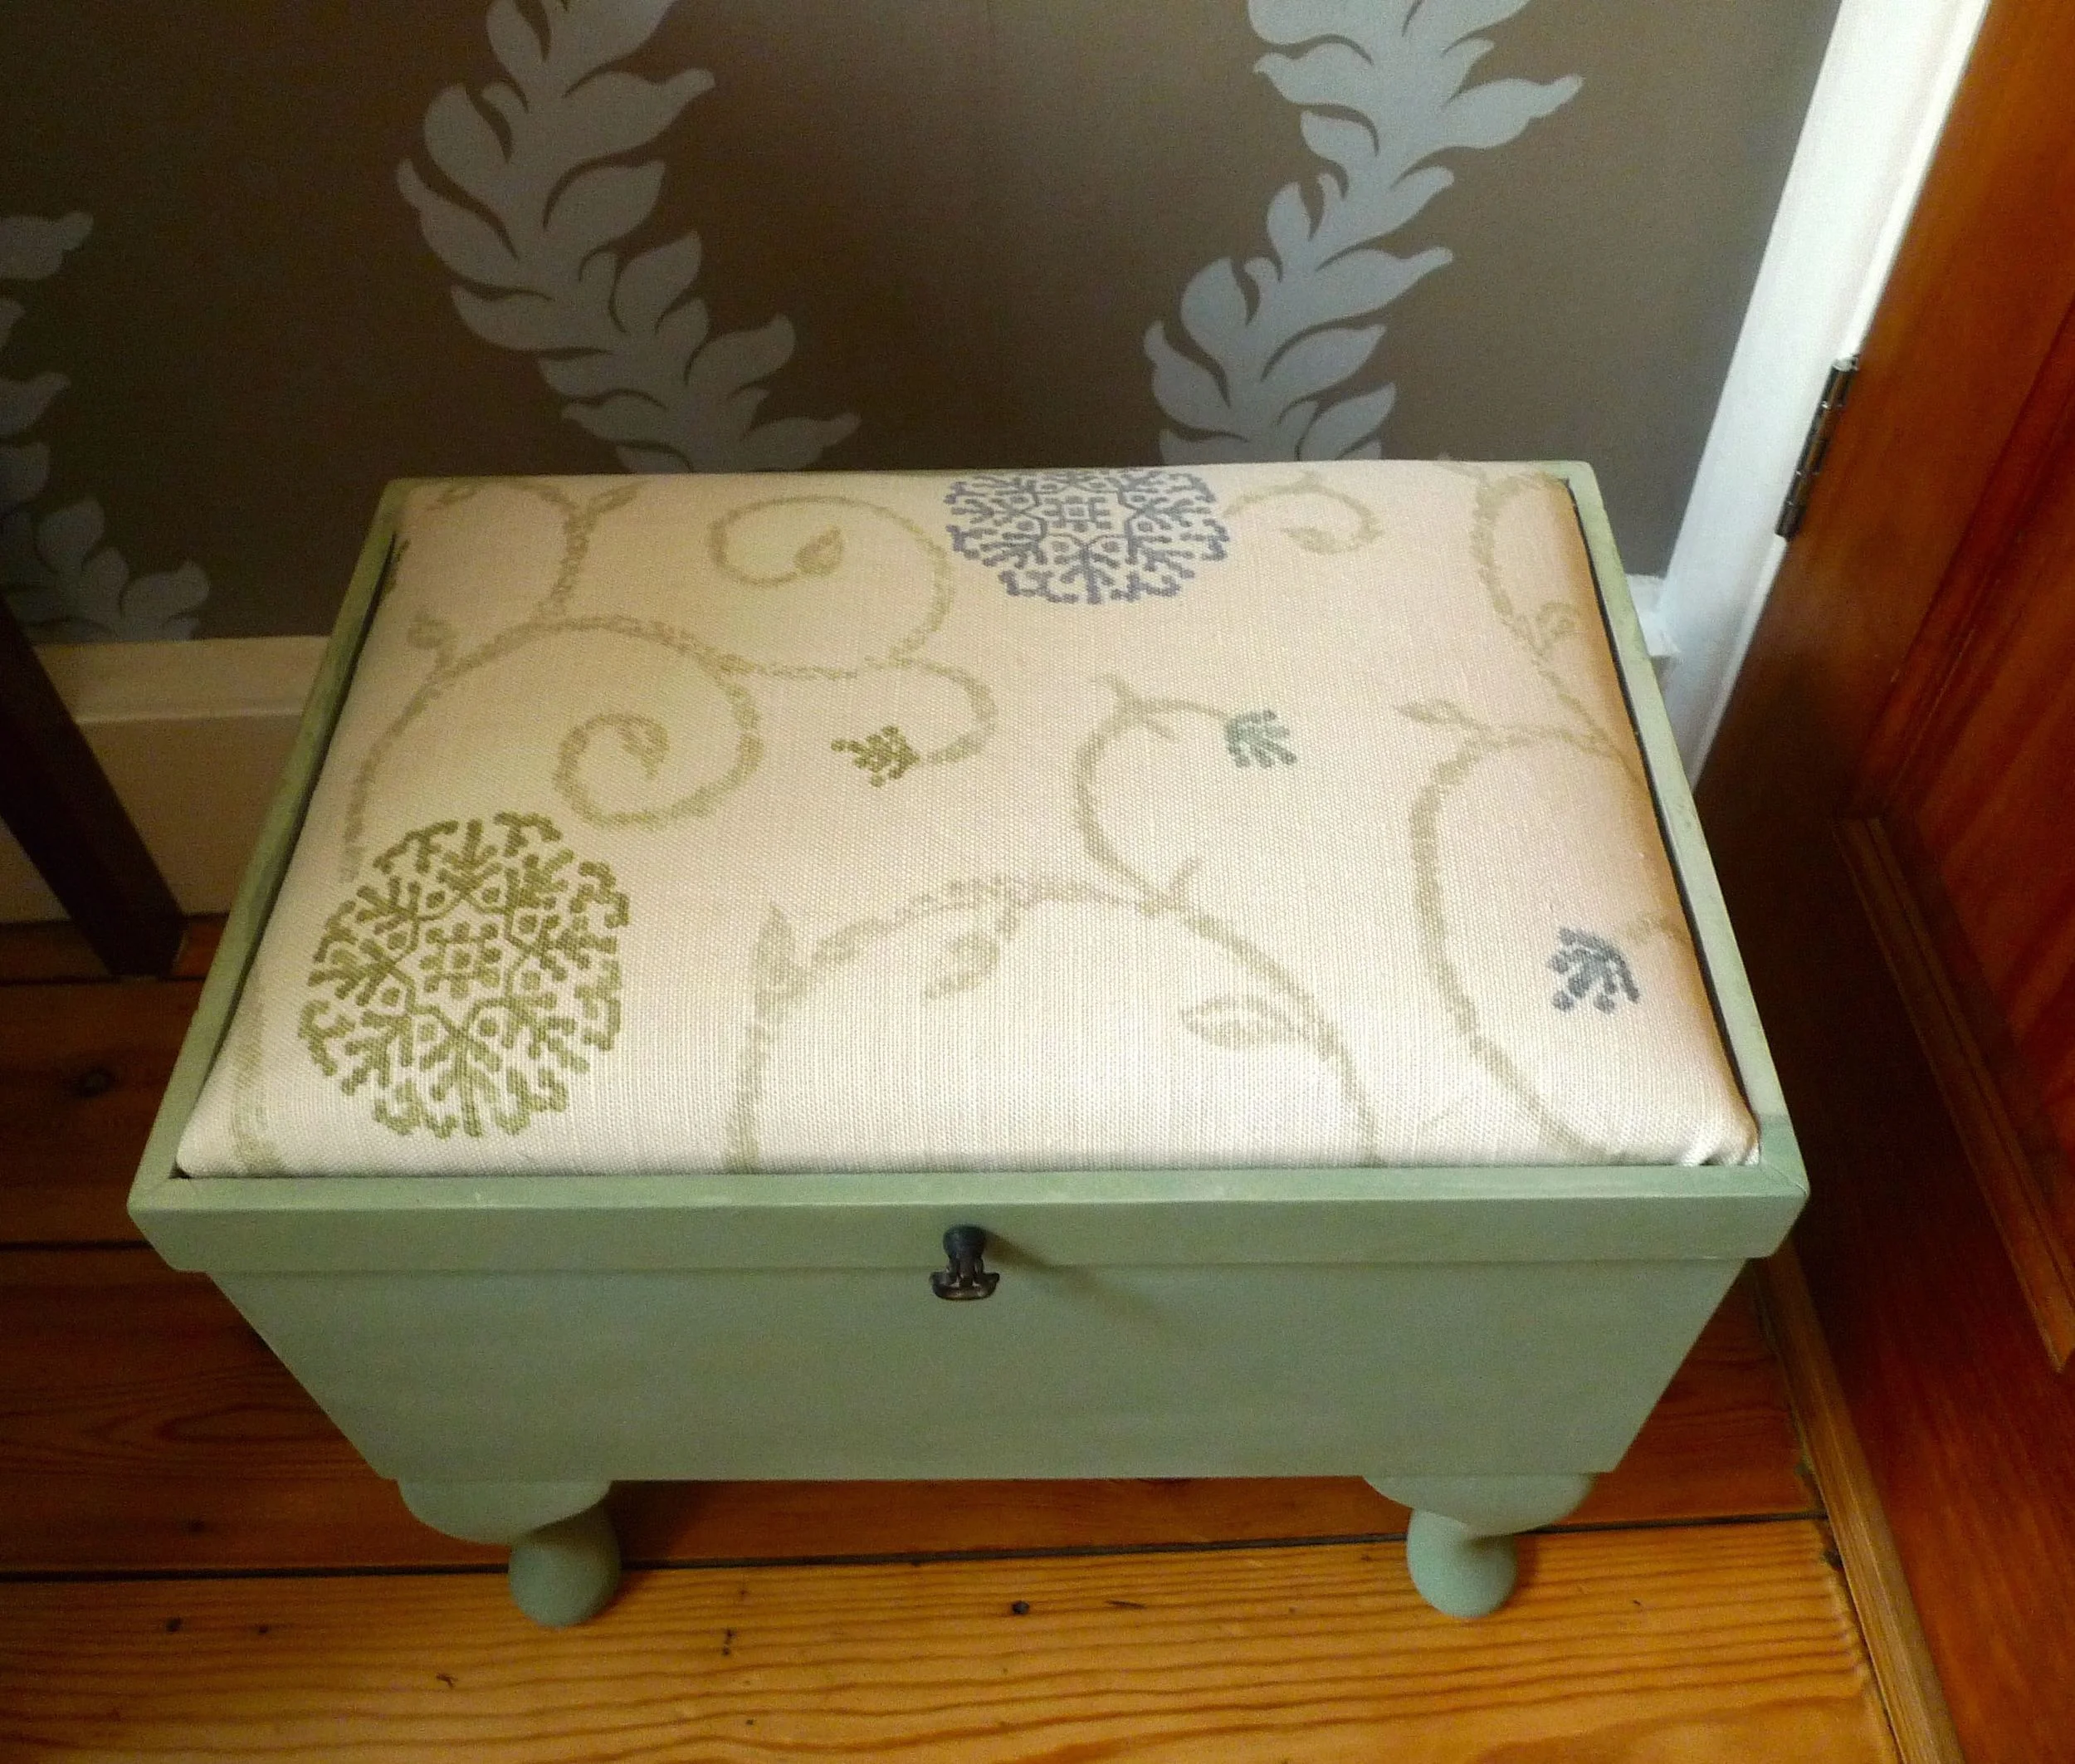
So I knew that the leftover material I had from our spare bedroom curtains would be perfect.  And isn't it?

RECOVERED CUSHION

I sprayed the inside first, and then because it was so easy and just a little bit addictive I quite quickly started on the outside.  I sprayed the edges where the colours met freehand, which despite my tremor worked out well.

LIGHT TURQUOISE CHALK PAINT SPRAY
LONDON GREY CHALK PAINT SPRAY

The hardest part in this project has been waiting the twenty minutes for the paint to dry so I could spray some more!  But I managed to curb my enthusiasm and take this (relatively) slowly.  I'd given each surface two coats and left it to dry thoroughly overnight before reassembling the stool.

I think it's turned out really well.  I was in two minds whether to apply a finishing spray or not. So far I haven't because I'm pleased with the velvety finish I currently have - I think I'll test run that on a spare piece of wood so I know how it'll turn out.  

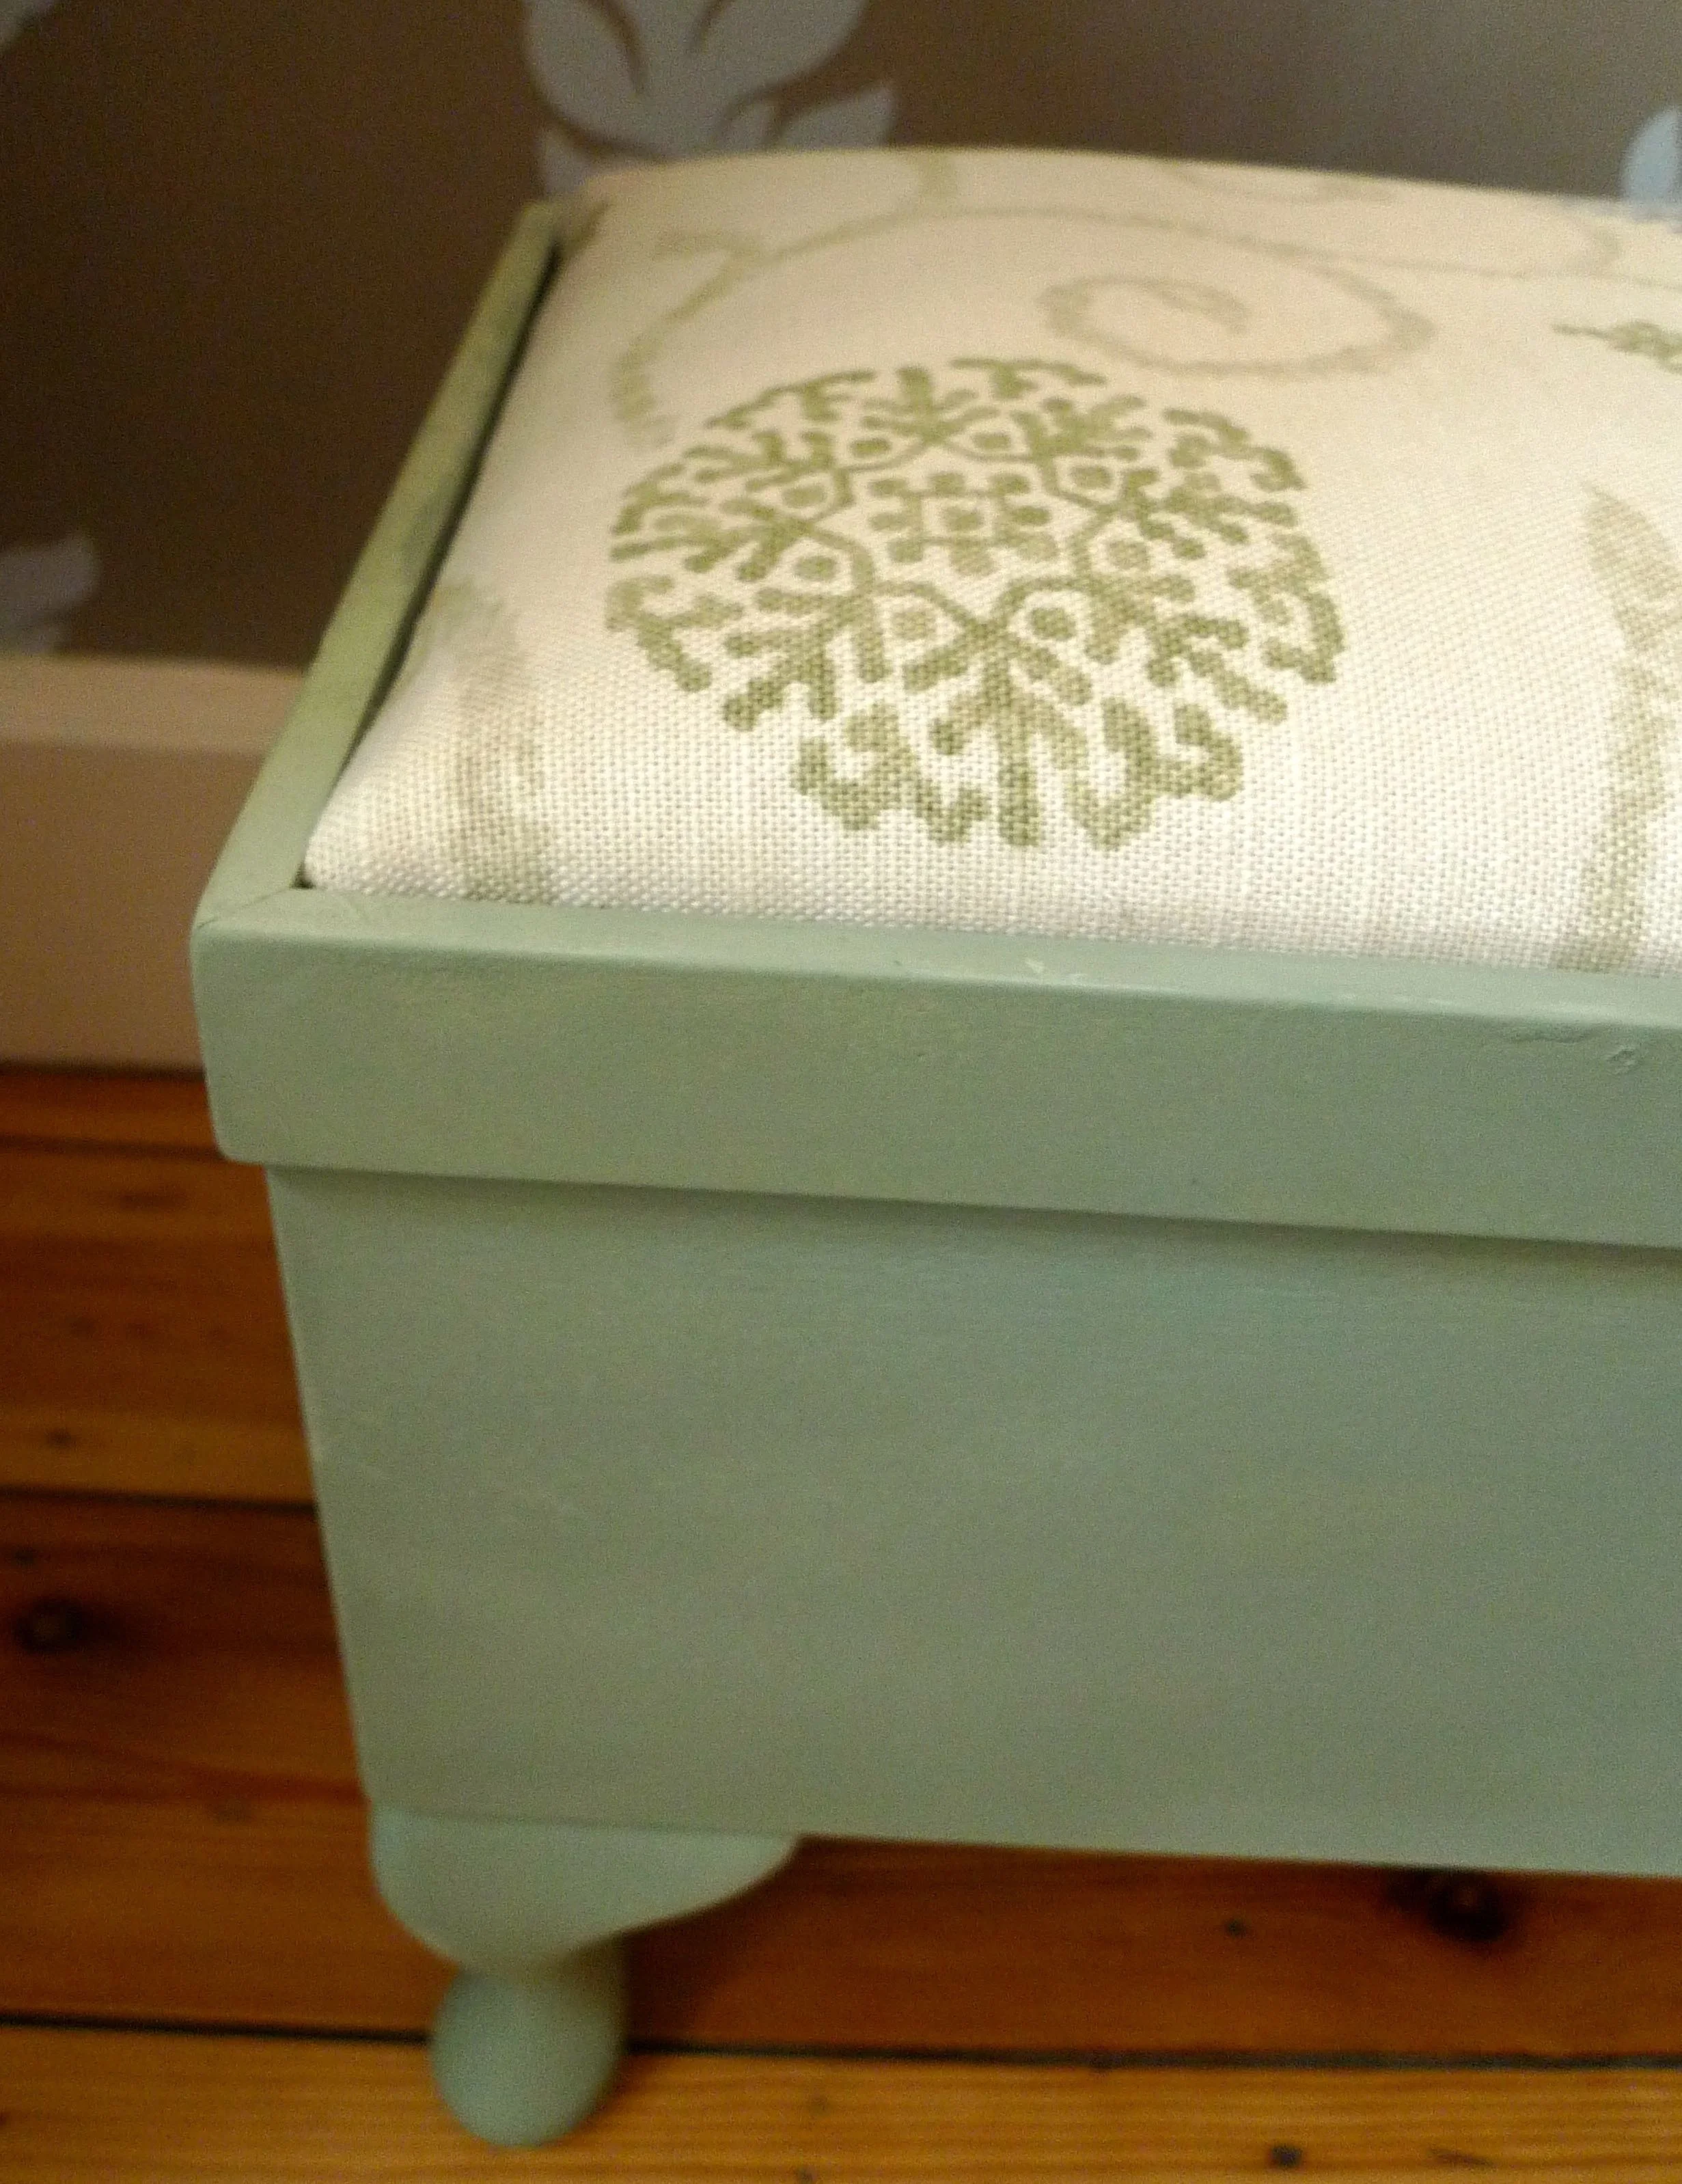
FINISHED SEWING STOOL
TOP VIEW
CLOSE UP

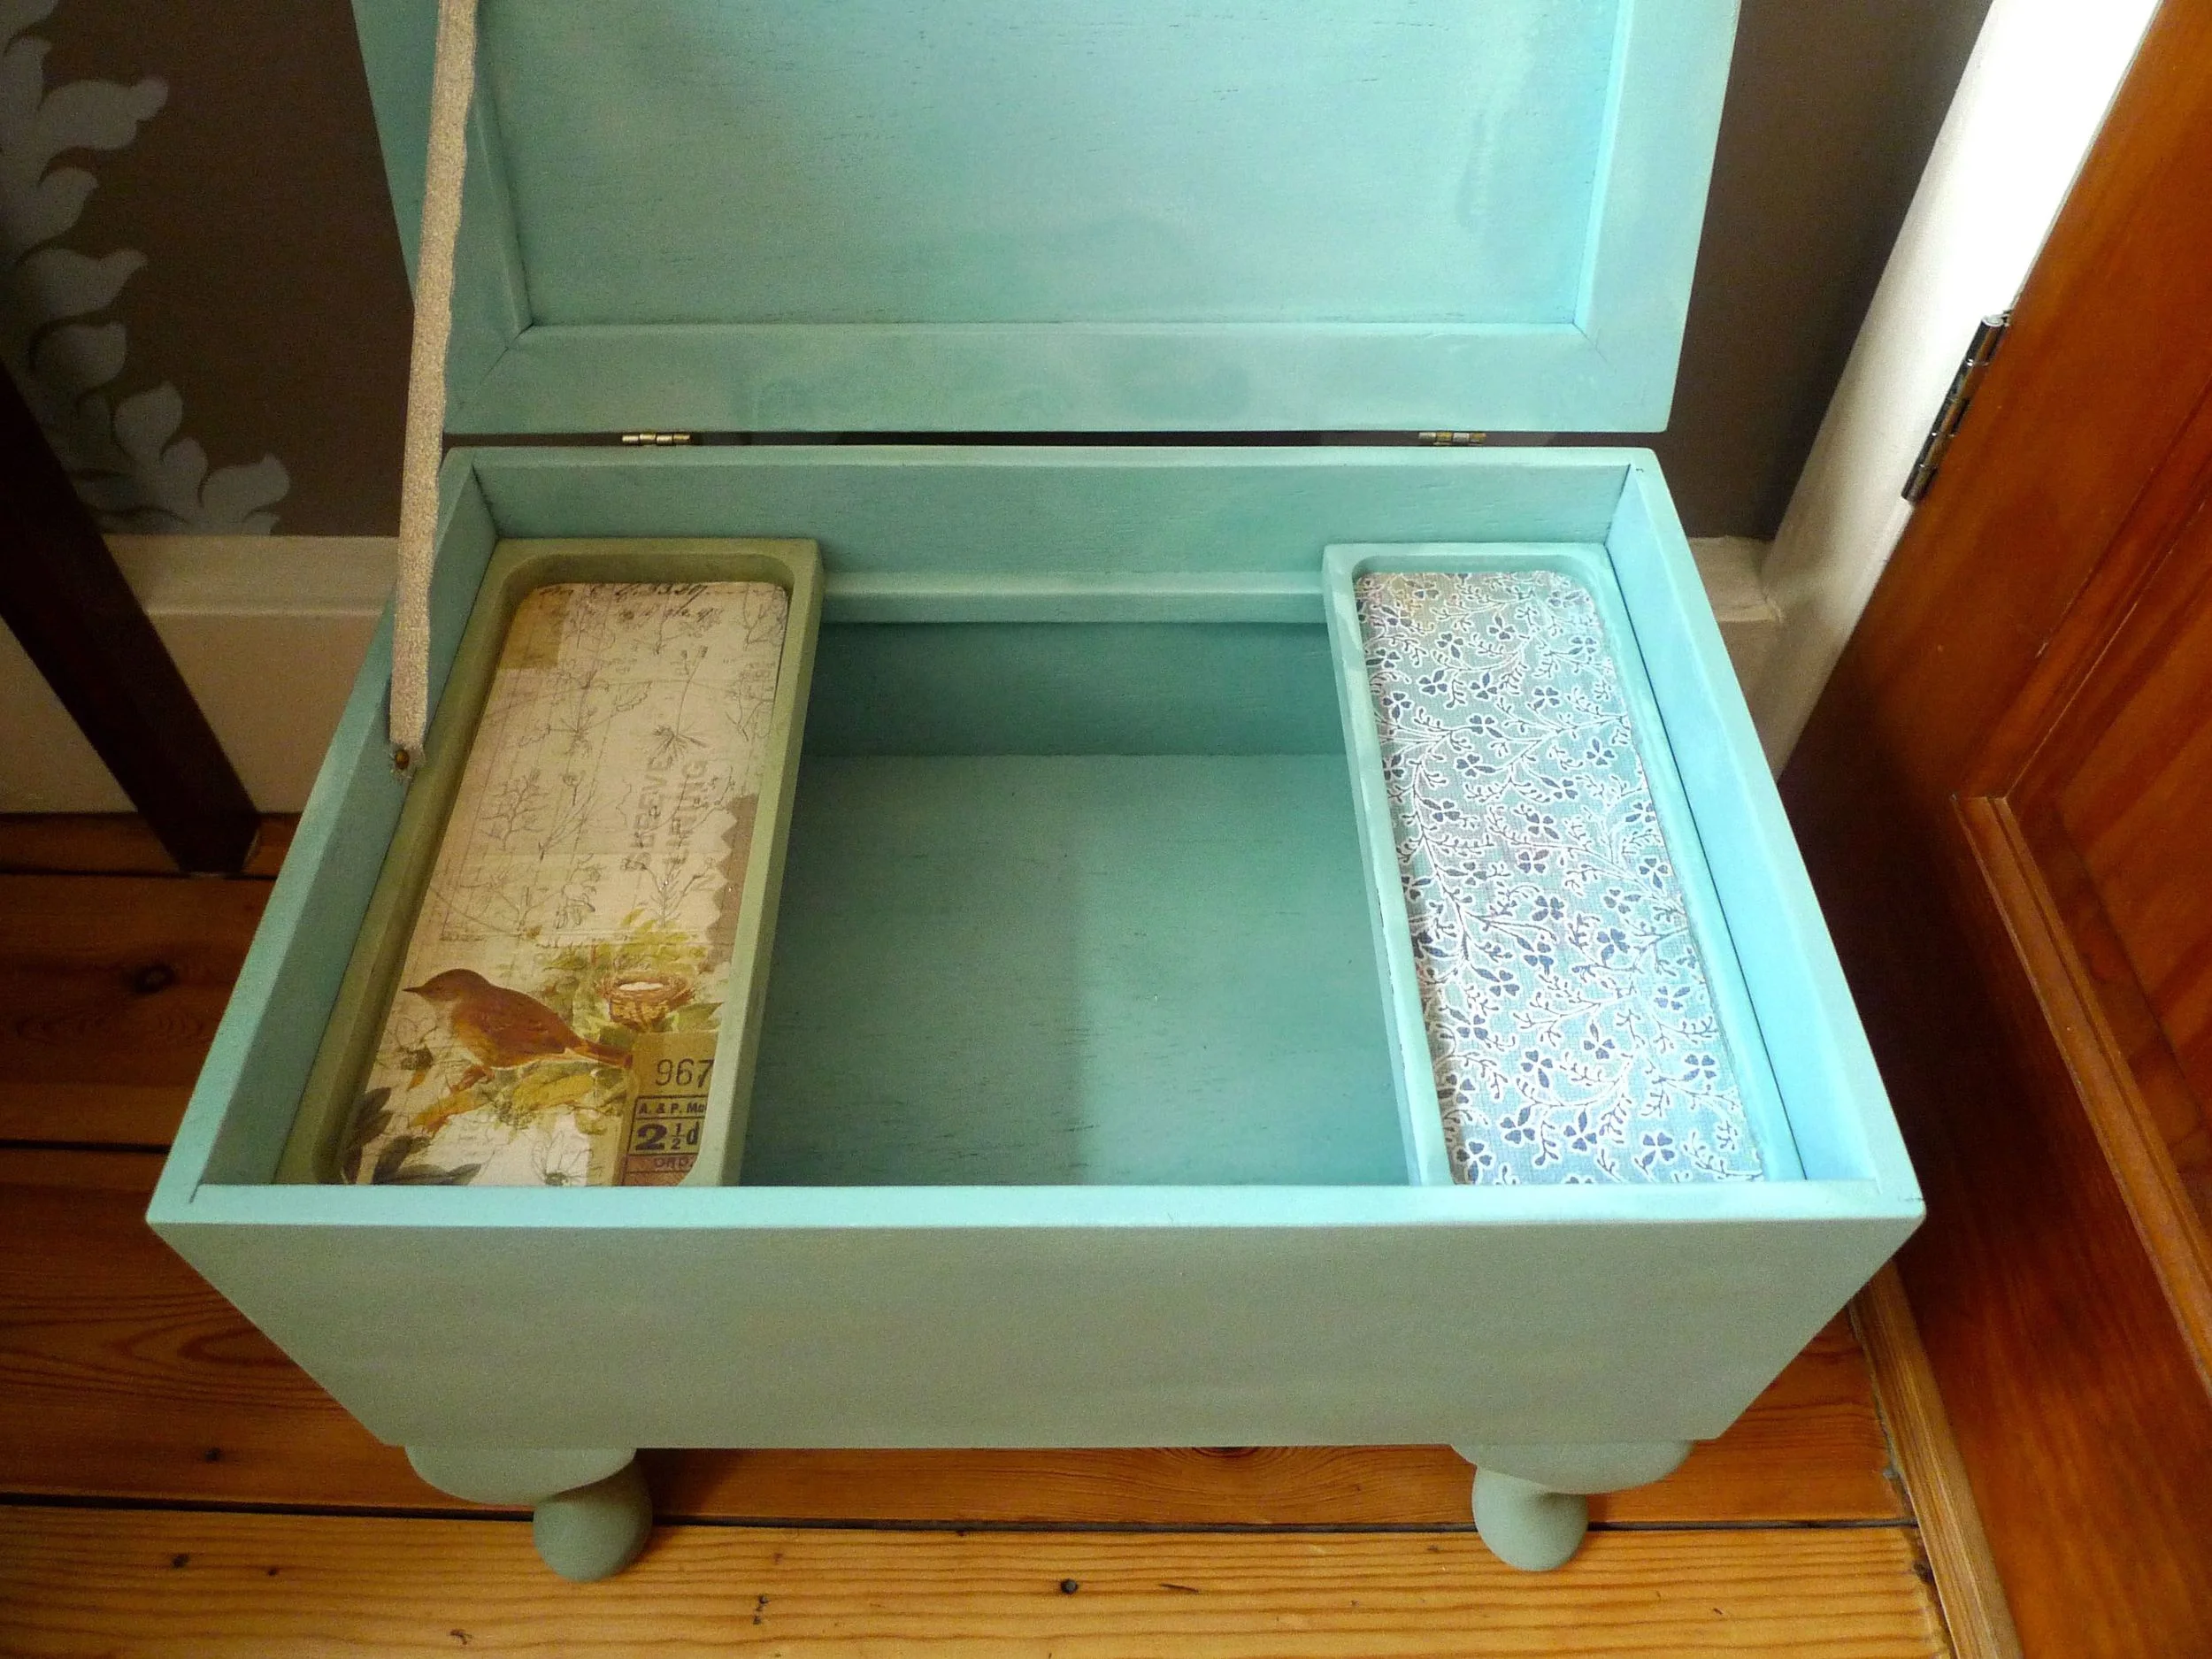
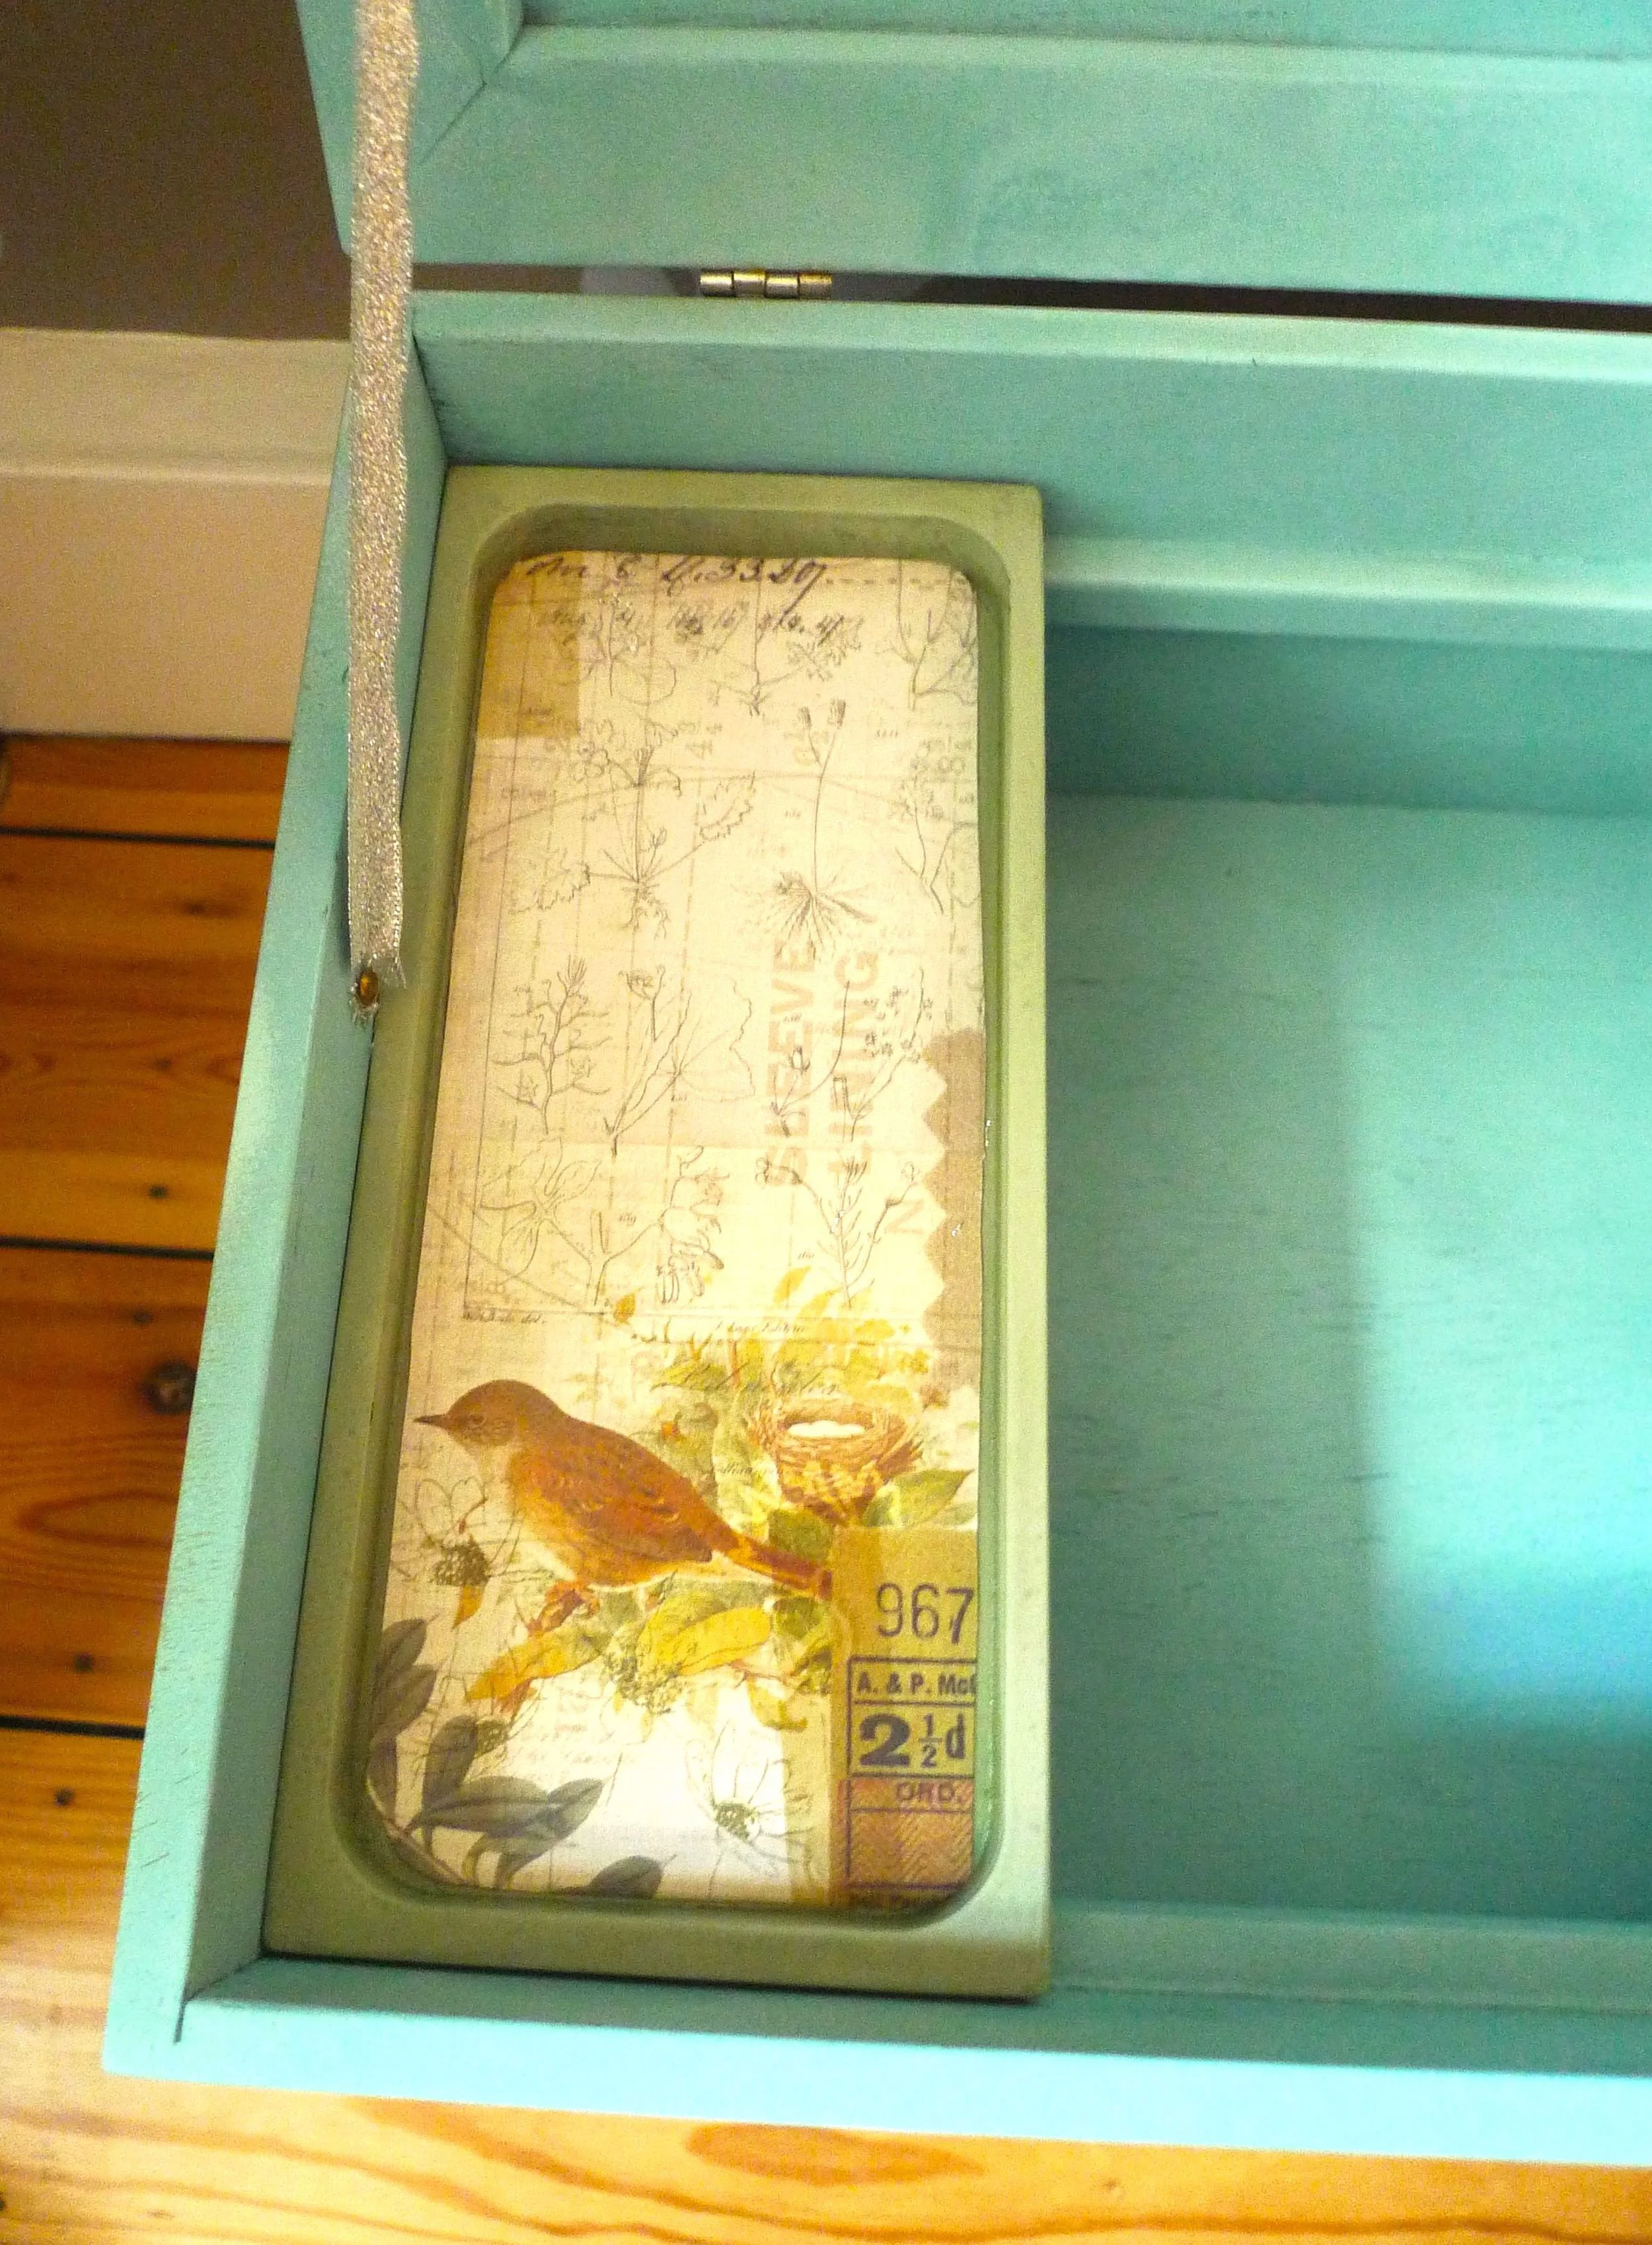
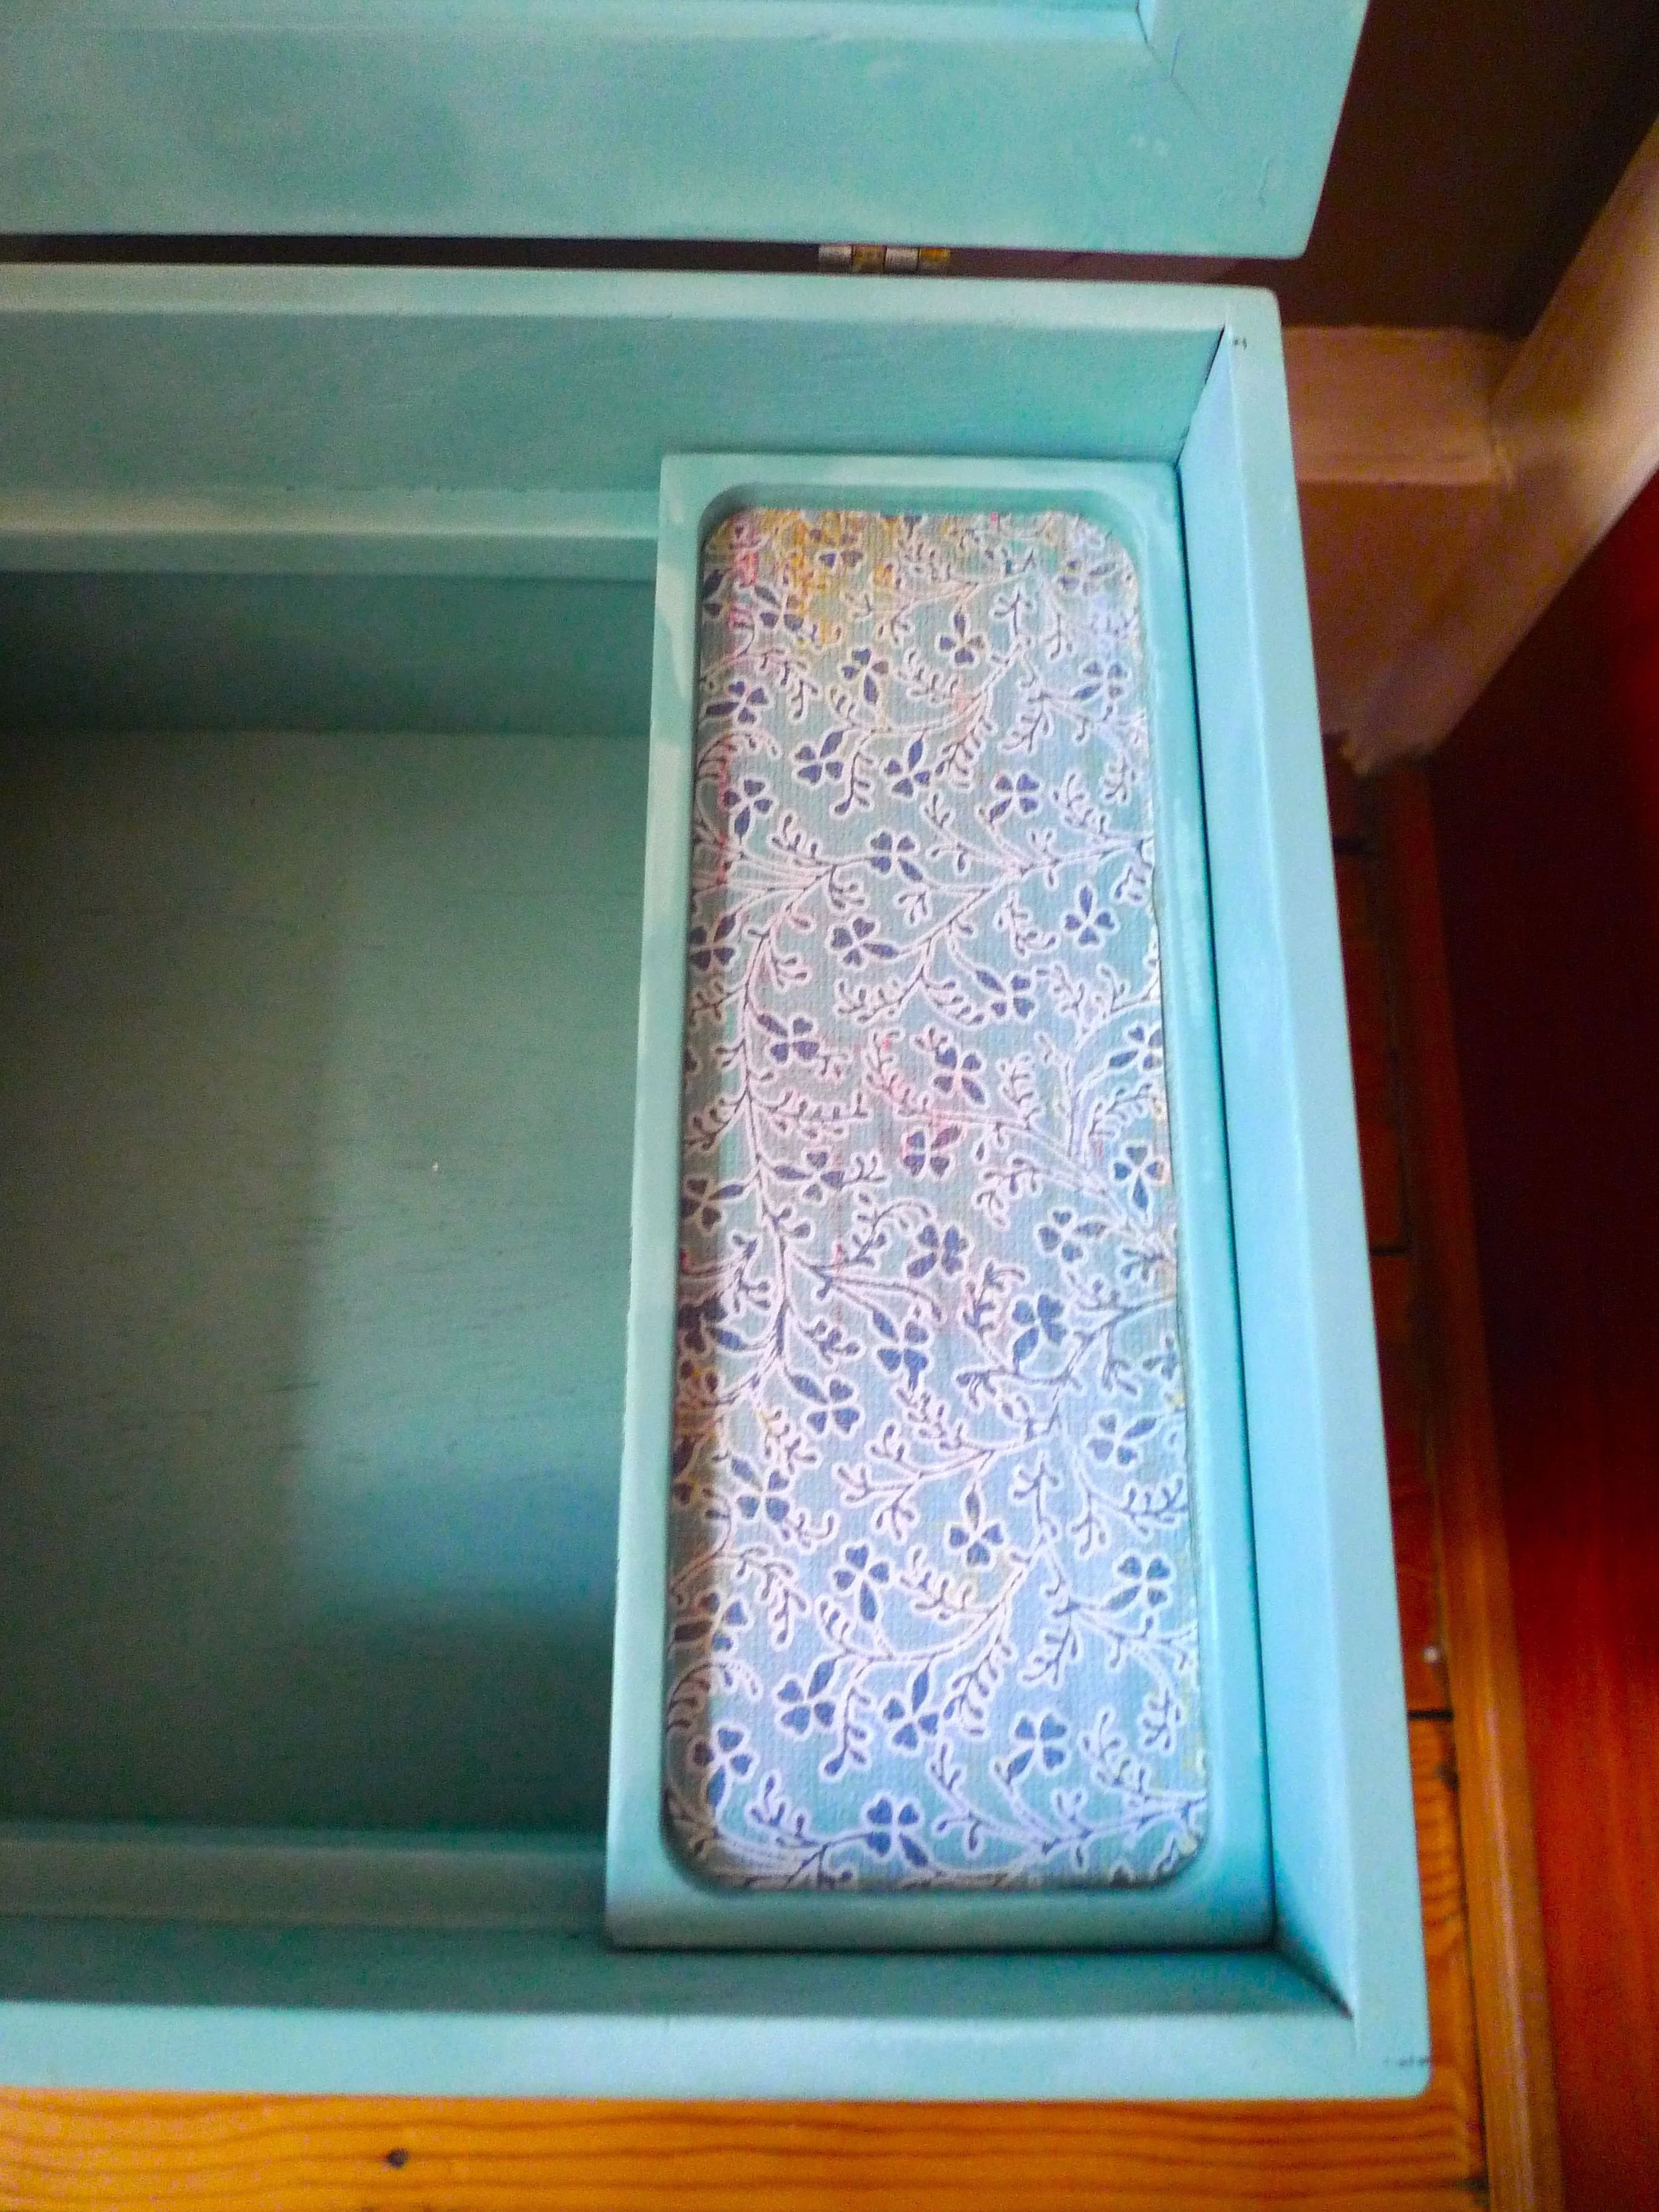
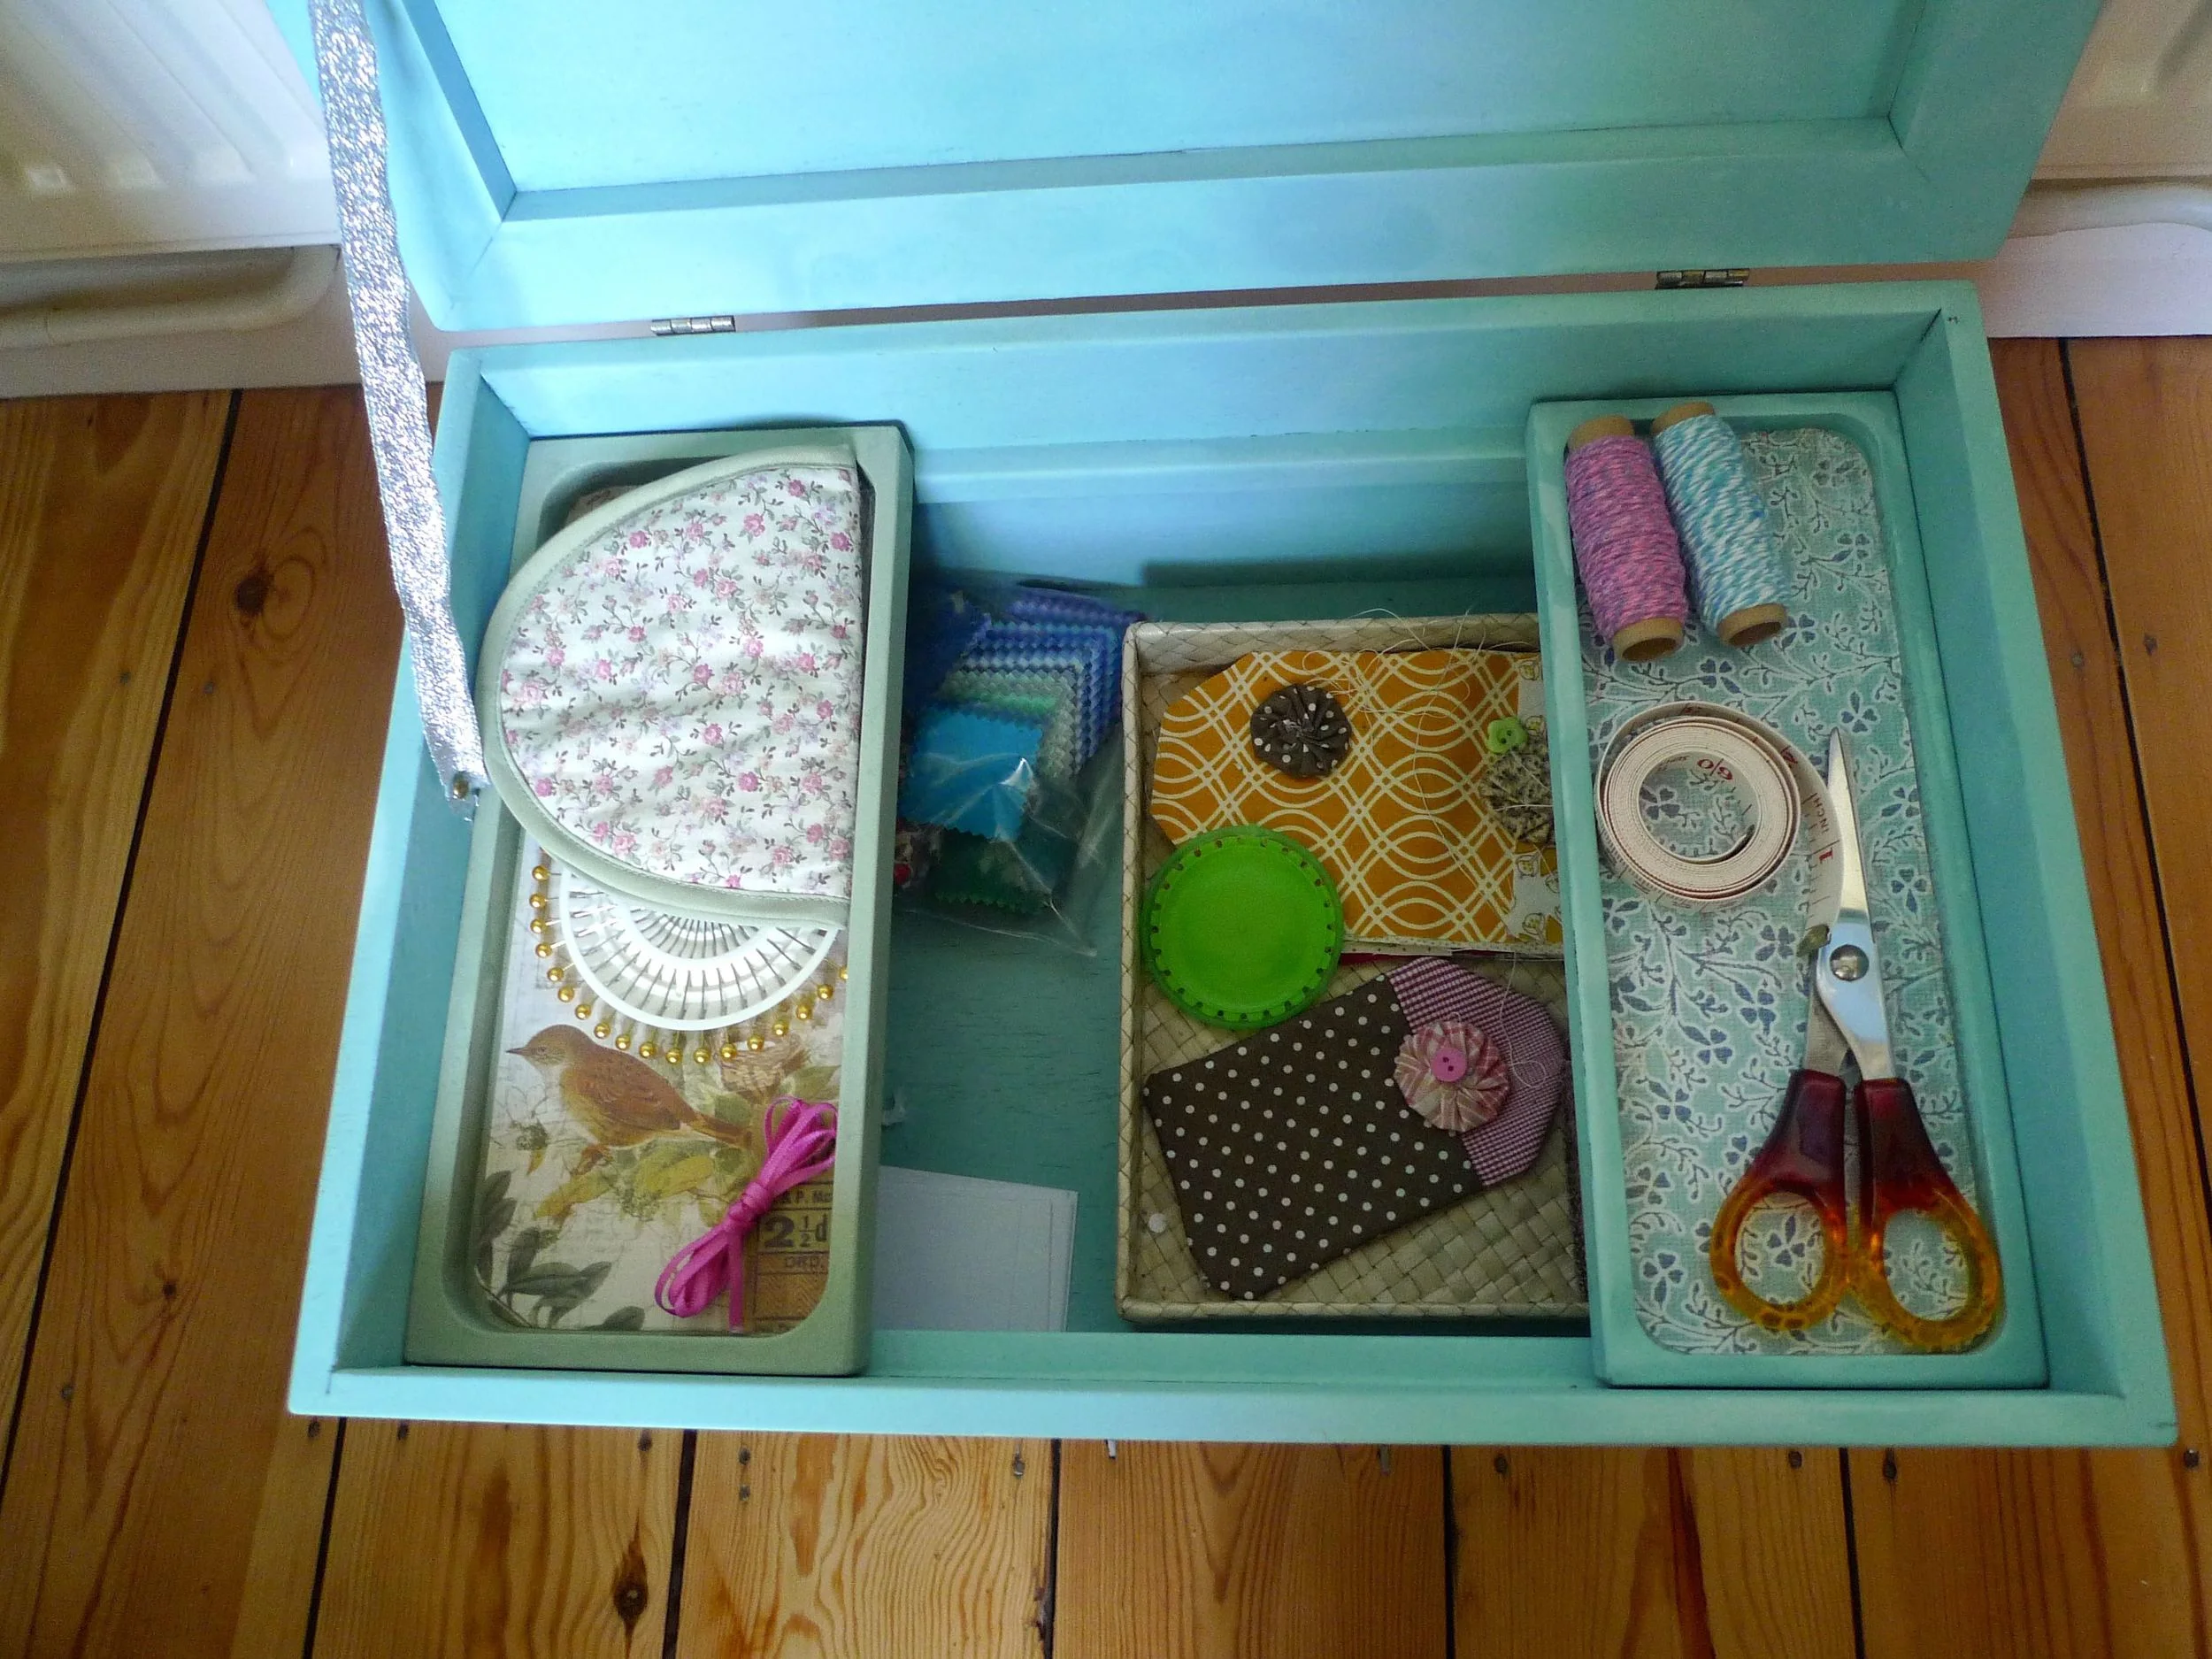
I decided to add some scrapbook paper into the removable trays to give them some extra character, and I think these look great. I simply used PVA Craft Glue to stick the paper to the trays.

INSIDE
LONDON GREY TRAY CLOSE UP
LIGHT TURQUOISE TRAY CLOSE UP

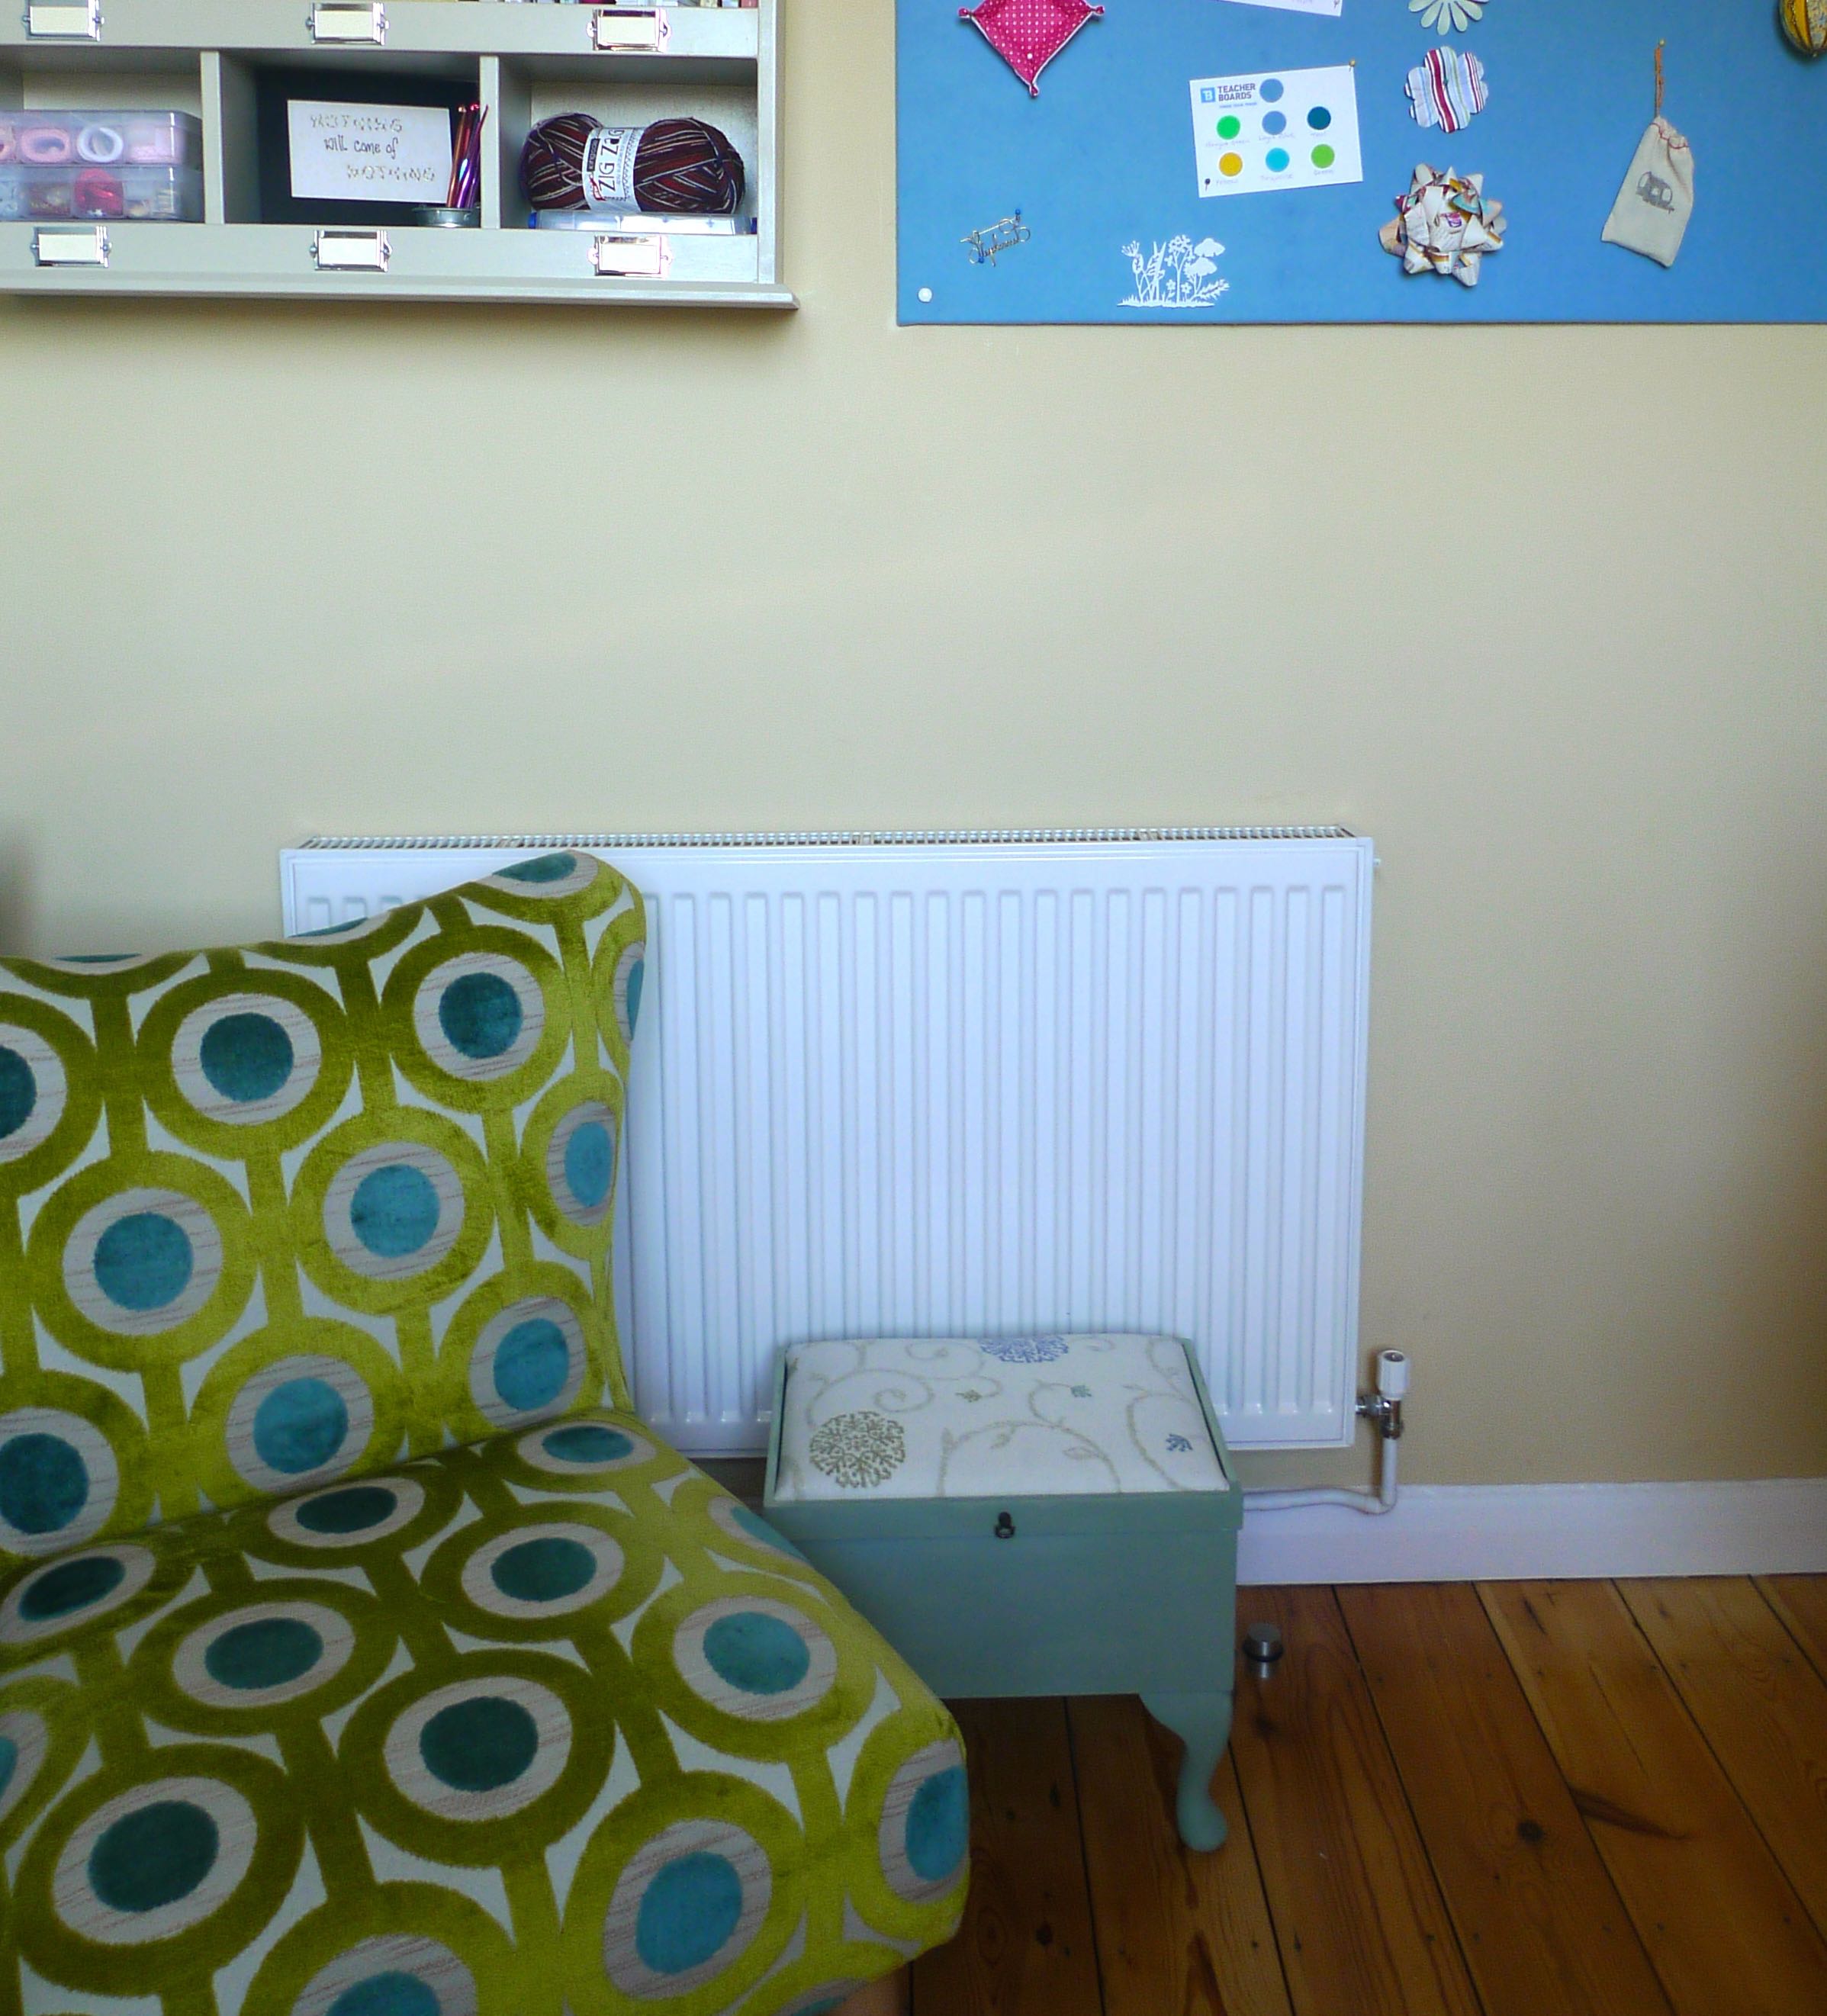
And now the contents looks much tidier too.  I'm sure that won't last, but I'm loving how it turned out and how it fits into my craft-room-cum-study. I've now the perfect sewing corner!

SEWING BOX BACK IN USE
SEWING CORNER

The only downside I've found with this product is that now I want to find even more projects to revamp and upcycle!  

I've even challenged MOH to help me find my next project - the paint can be used on many surfaces including wood, canvas, metal, plastic, cardboard and glass.

What I used

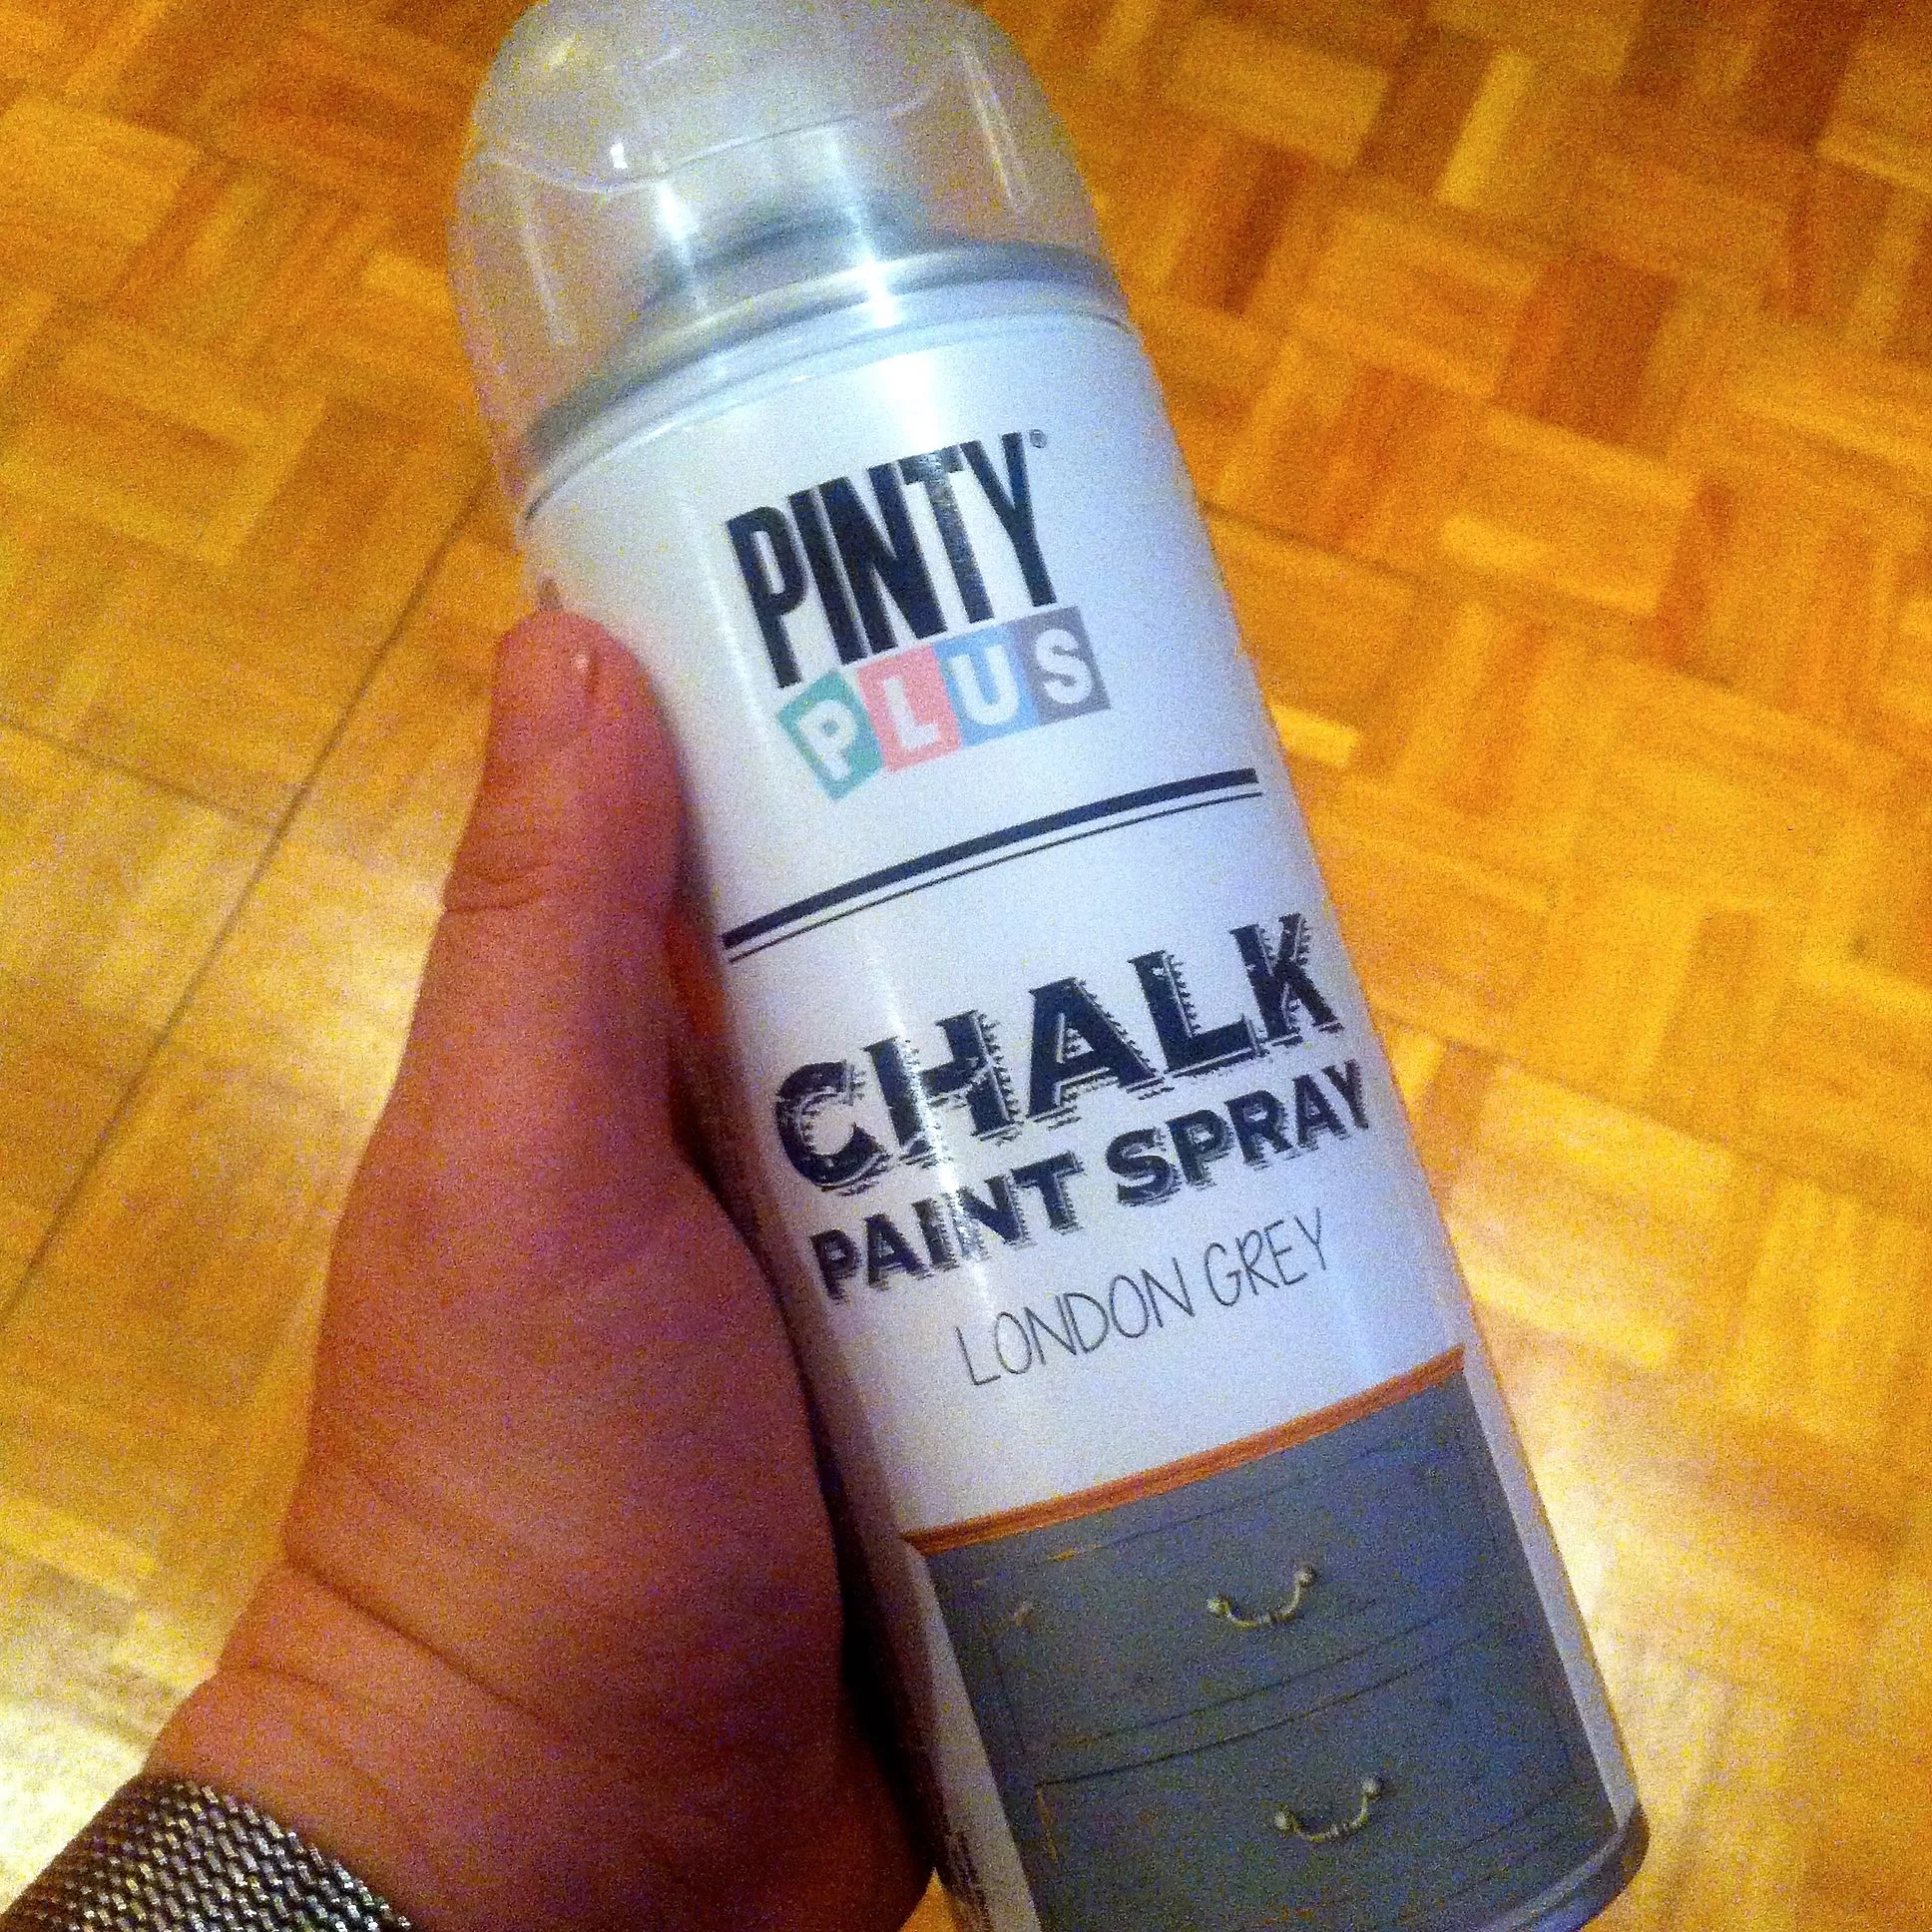
1 x London Grey Pinty Plus Chalk Paint Spray

1 x Light Turquoise Pinty Plus Chalk Paint Spray

I found coverage to be good.  I gave each surface of my sewing stool two coats of paint and while the London Grey can is emptier, I didn't use it completely.

While I cleaned the surfaces I didn't sand them down before painting. I hoped that everything I'd read about chalk paint covering any surface would be true - and it was.

I have another smaller project which I still need to complete - and one I'll share here too - and while this is a small project I'm confident I'll have plenty left for that.

The Pinty Plus Chalk Spray Paint is available from the Novasol Spray website, each 400ml can costs £11.50


This is a collaborative post with Novasol Spray who provided me with the materials for this project, but all words and opinions are my own.

A stationery stash

This month I've cracked and had a bit of stationery shop. I'd like to say it was in honour of National Stationery Week but it took place a couple of weeks ago. I discovered that not that far away from the office is one of those out of town shopping places which has a TK Maxx on. And as I'd heard they did some good stationery one lunchtime I headed off.

I wasn't disappointed, I left with two notebooks and a notepad because as we all know, you can never have too many!

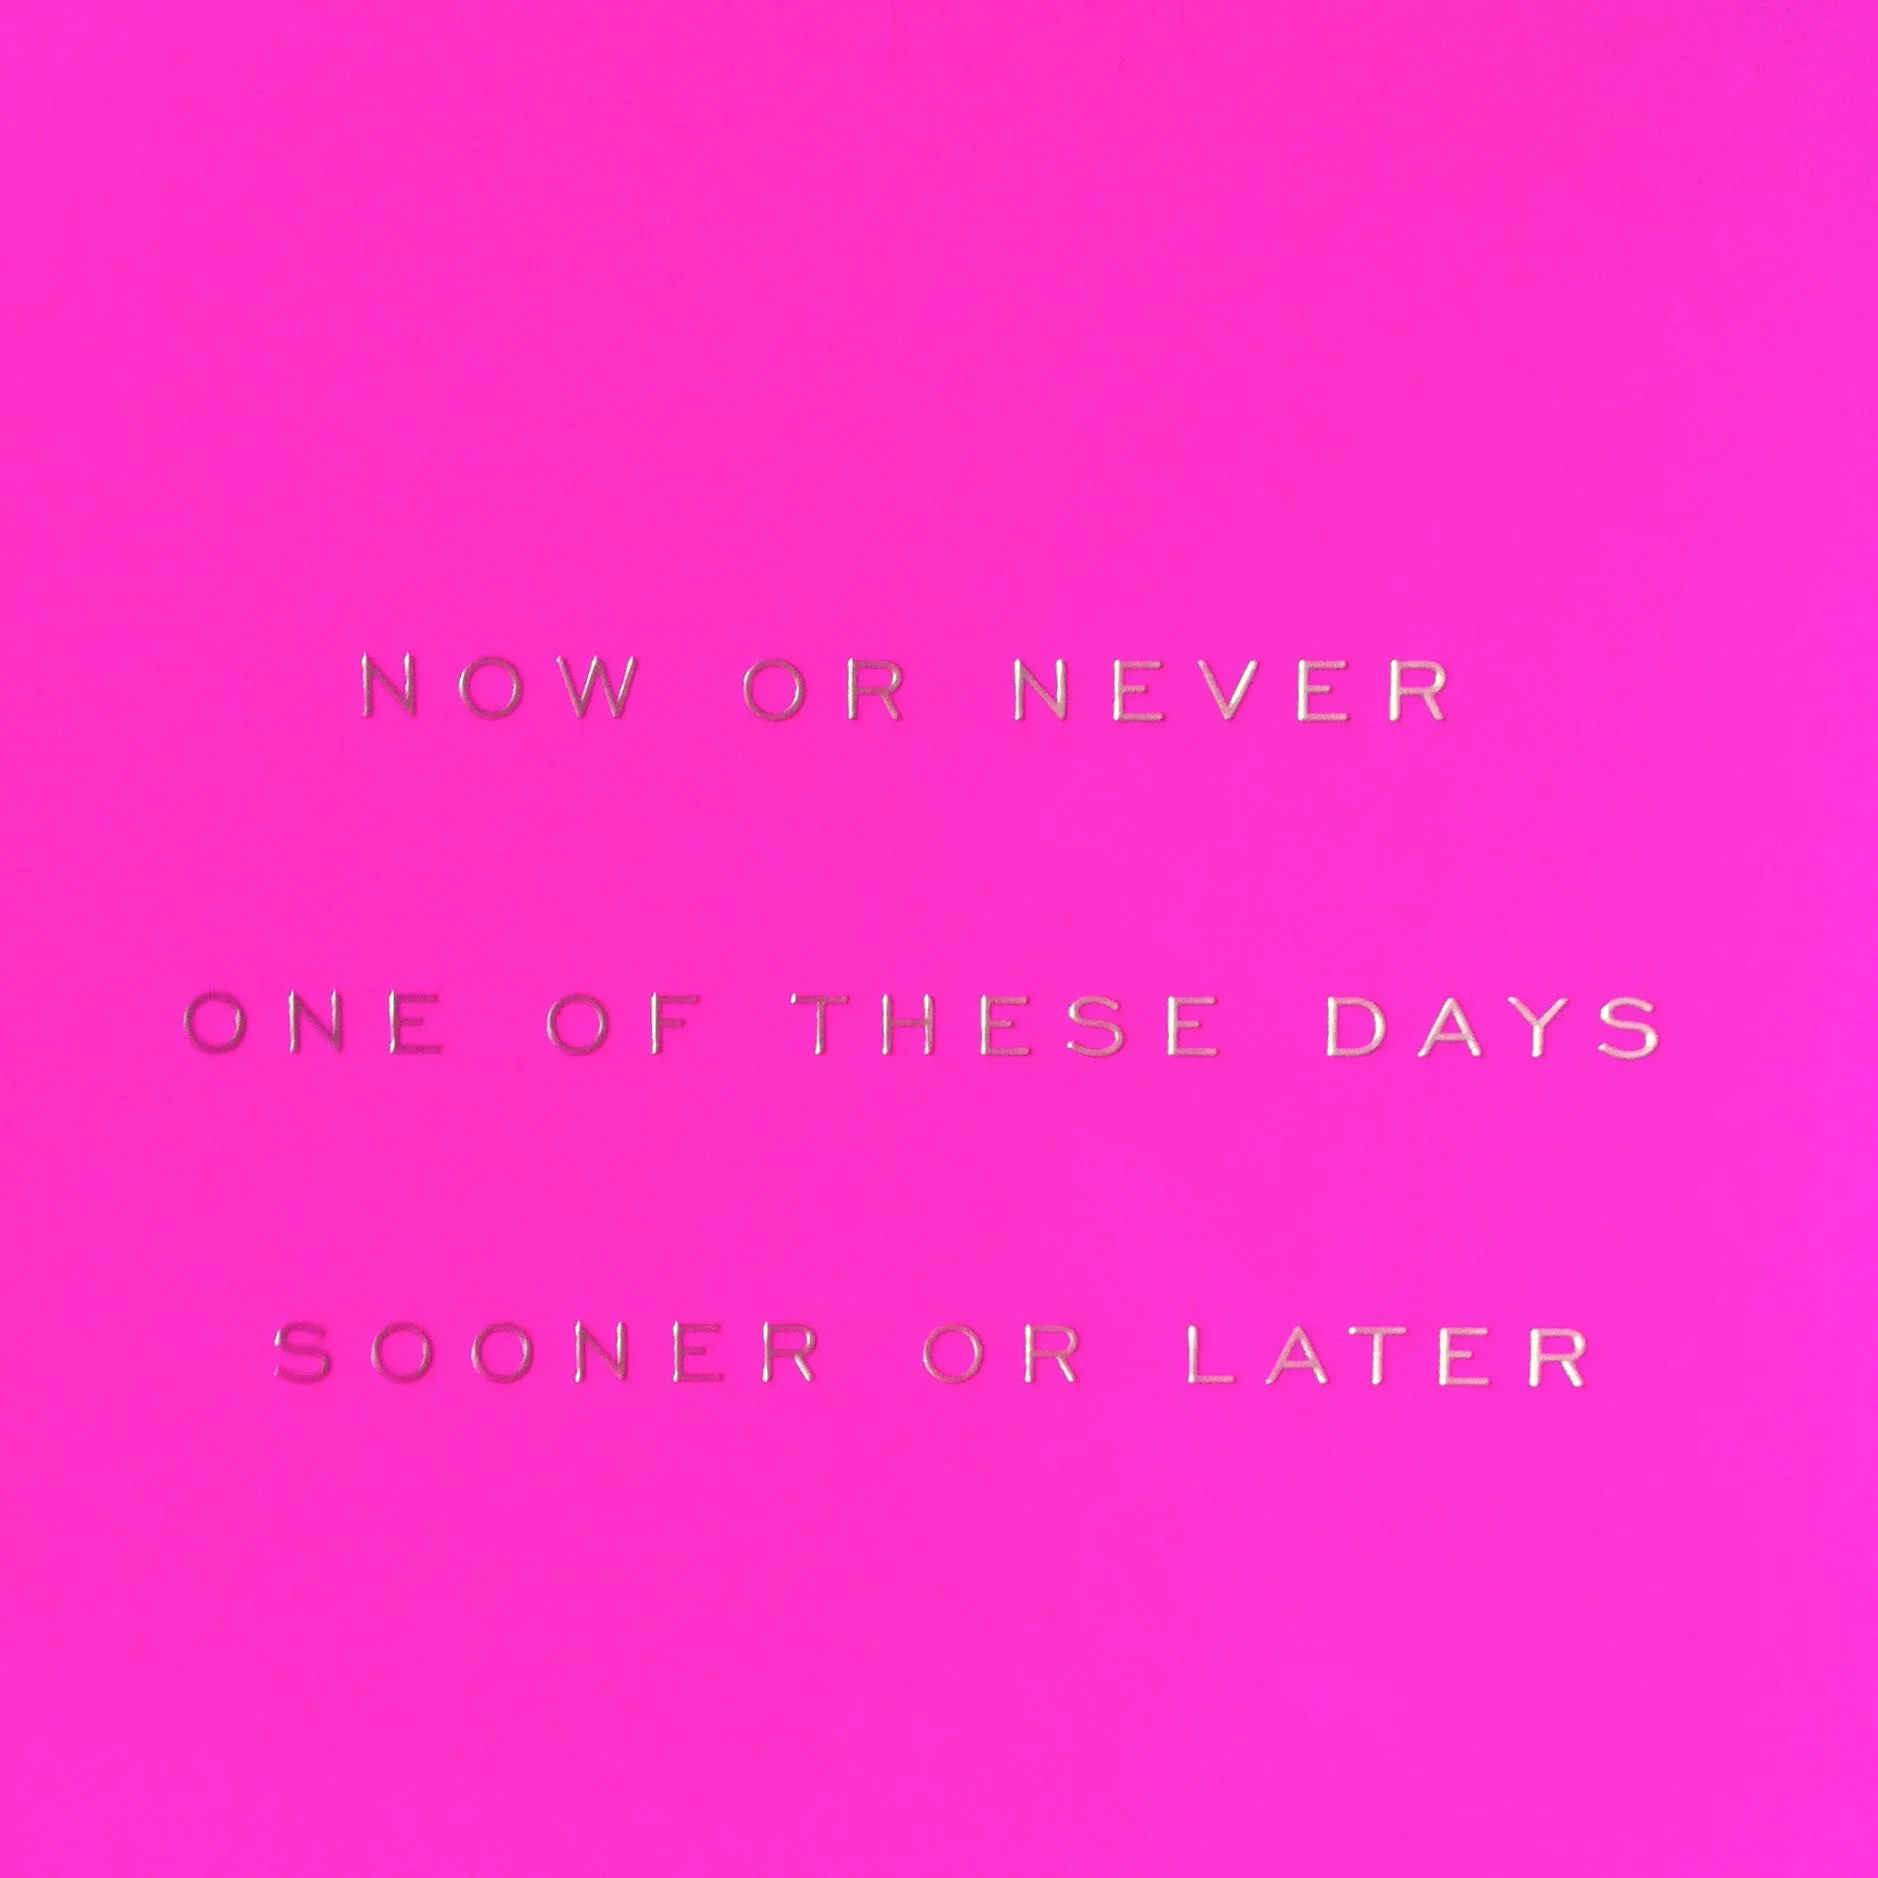
Here's the cover of the first notebook:

NOW OR NEVERONE OF THESE DAYSSOONER OR LATER

NOW OR NEVER
ONE OF THESE DAYS
SOONER OR LATER

Yes, I'm sure they're all things I say to myself at times!

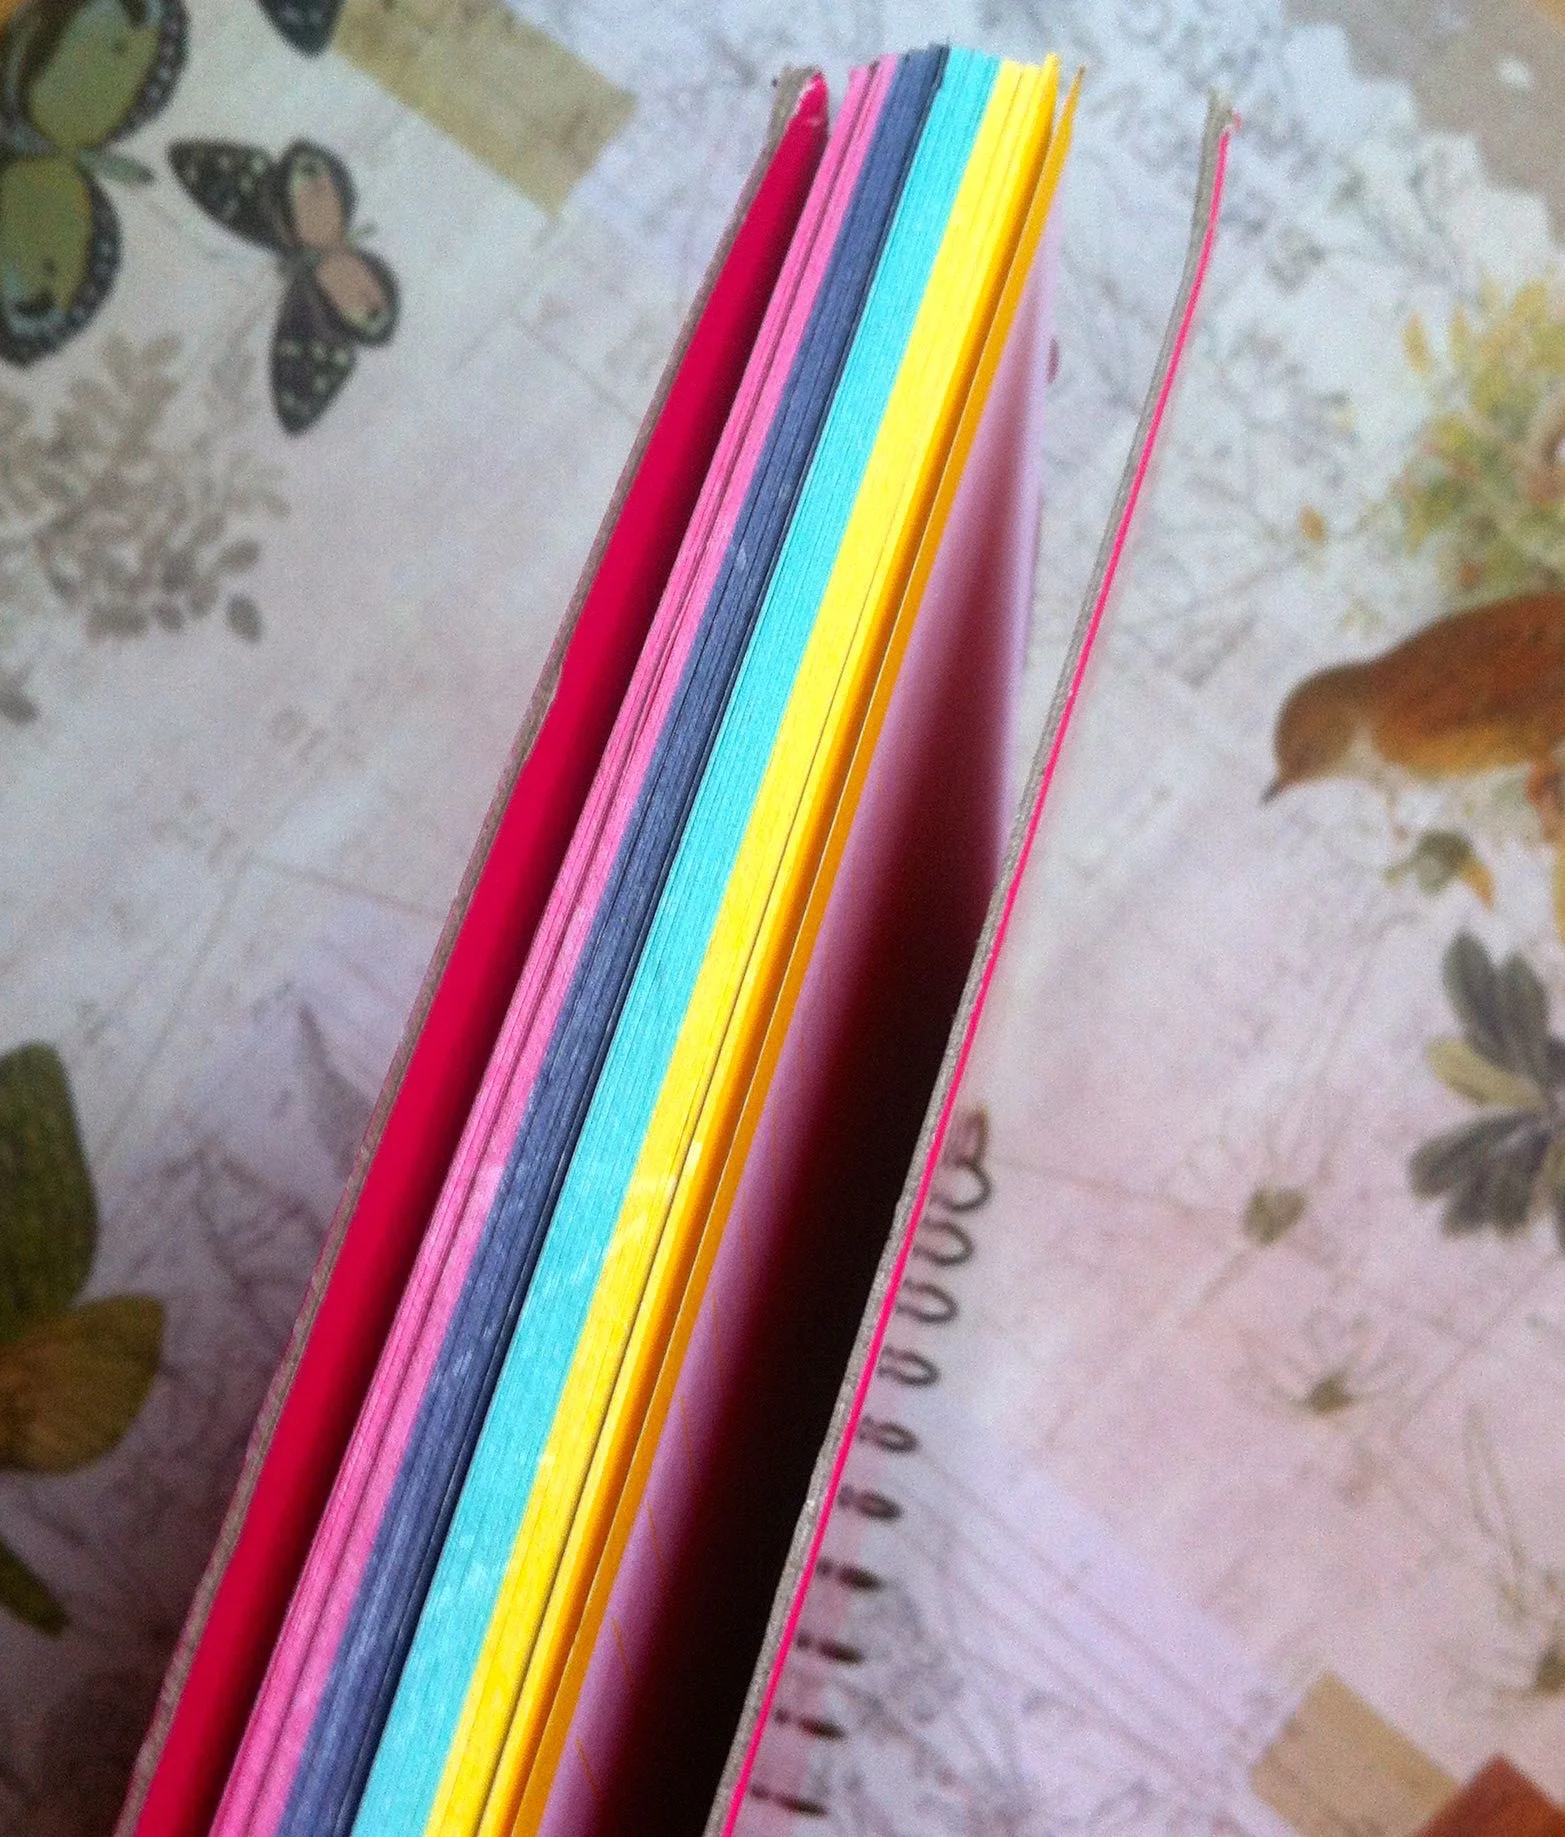
The lined pages are edged with bright colours, and I really don't think it'll be too long before this notebook comes into action.

coloured edges

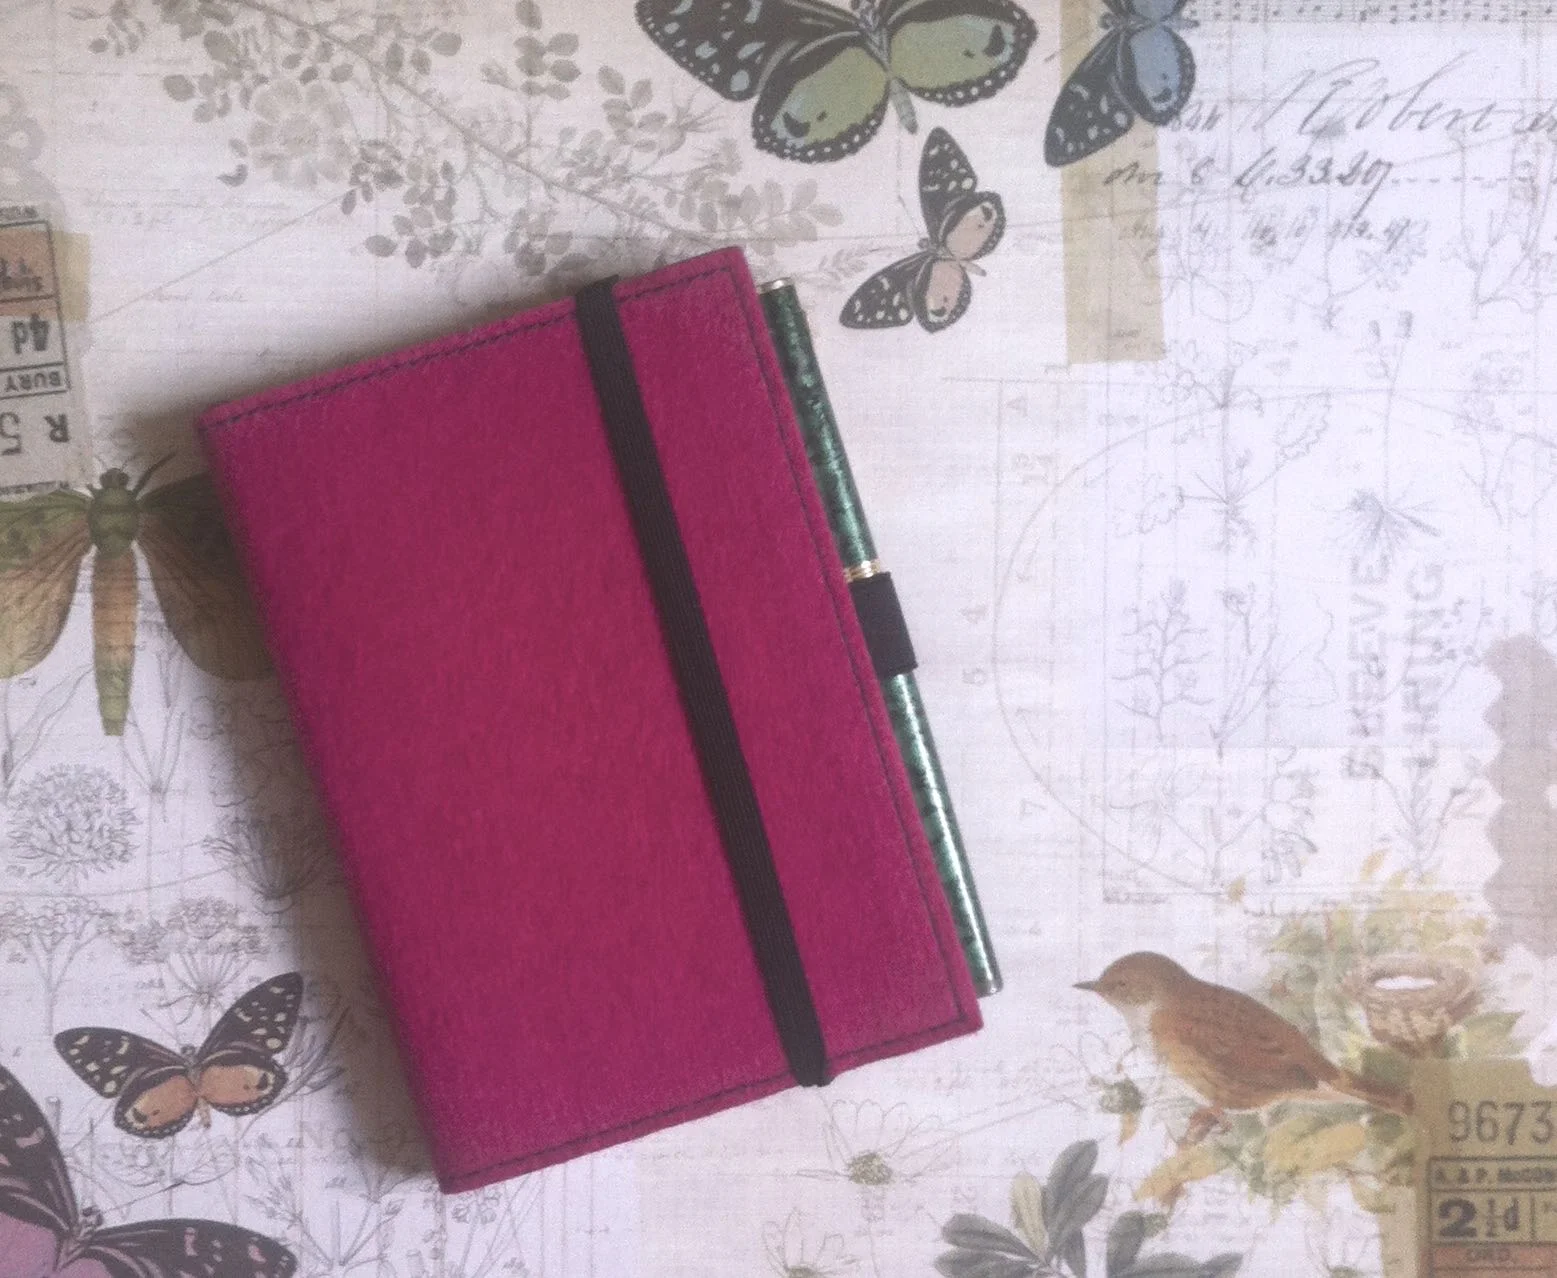
The second notebook - another pink, although I think this is more raspberry - has a felt cover, somewhere for a pen and plain numbered pages.  It was just too good to leave on the shelf.

felt notebook
numbered pages

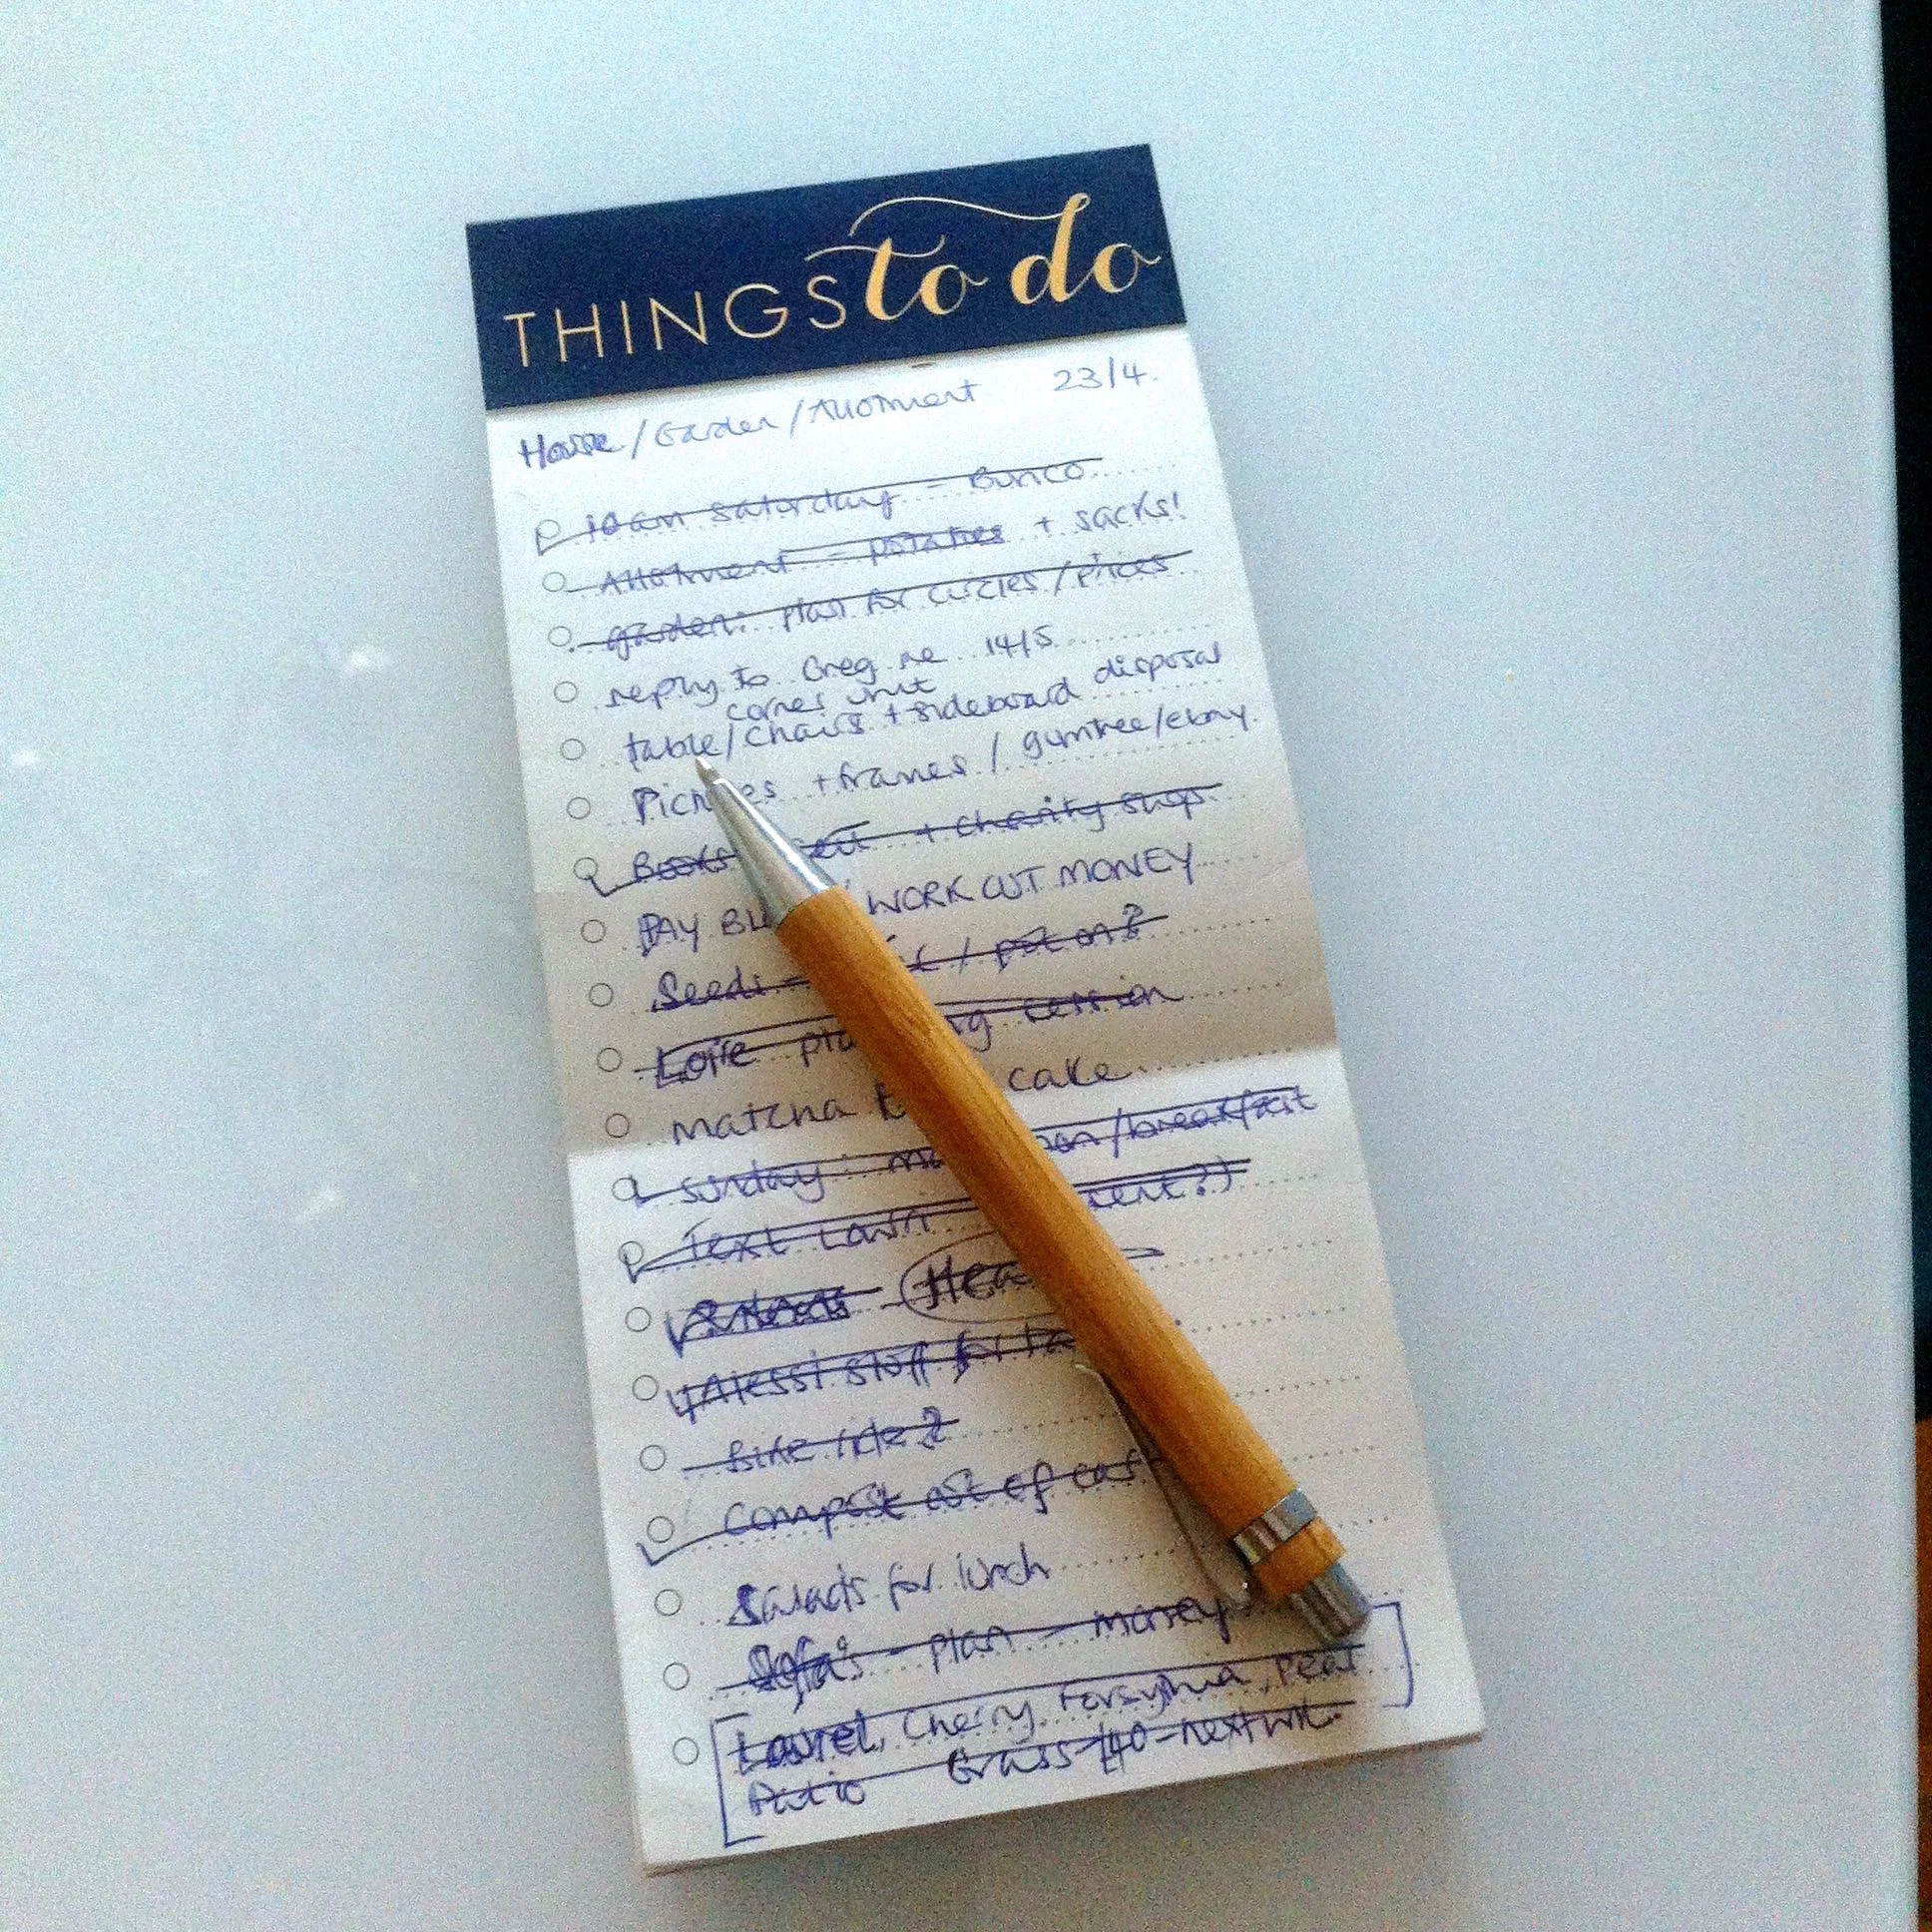
My last notepad was something altogether more practical and something that's already been put to good use, because I do like a good list. The only thing is that with it being so big I'm enticed to add more to my list than we can do!  I've got around that, I think, by having different lists on the go for different things. 

To do list

So far I've gone one for house things, one for the garden, one for the allotment, one for planning our next trip and another for blog tasks. That should keep me going for a bit!

What paper have you had in your life this month?