


Pottering in the greenhouse

So after being enthralled with the signs of Spring in the garden I made it to the greenhouse and enjoyed some pottering around - the first of the year. But for a change there wasn't aimless pottering as I set out to achieve one thing that'd been bothering me for a while.  And that job was to tidy my Aloes.

I've mentioned before how promiscuous my succulents are and they're at it again. I have three pots in a row on my kitchen worktop and they've grown and grown and had lots of babies, and so it was time to sort them out.

*Stop sniggering, I'm being serious*

Aloe Vera on my potting bench

My backup plant had also had babies. And yes I have a backup plant on the off chance that any that I pot on don't survive.  Truth is I can't bear to put any of them in the compost heap.

aloe vera babies

That purchase at a Dorset County Fair was one of our best investments ever, for a couple of quid I've been kept in Aloe Vera plants ever since.  The mother plant is still going strong and I was surprised to see so many roots.
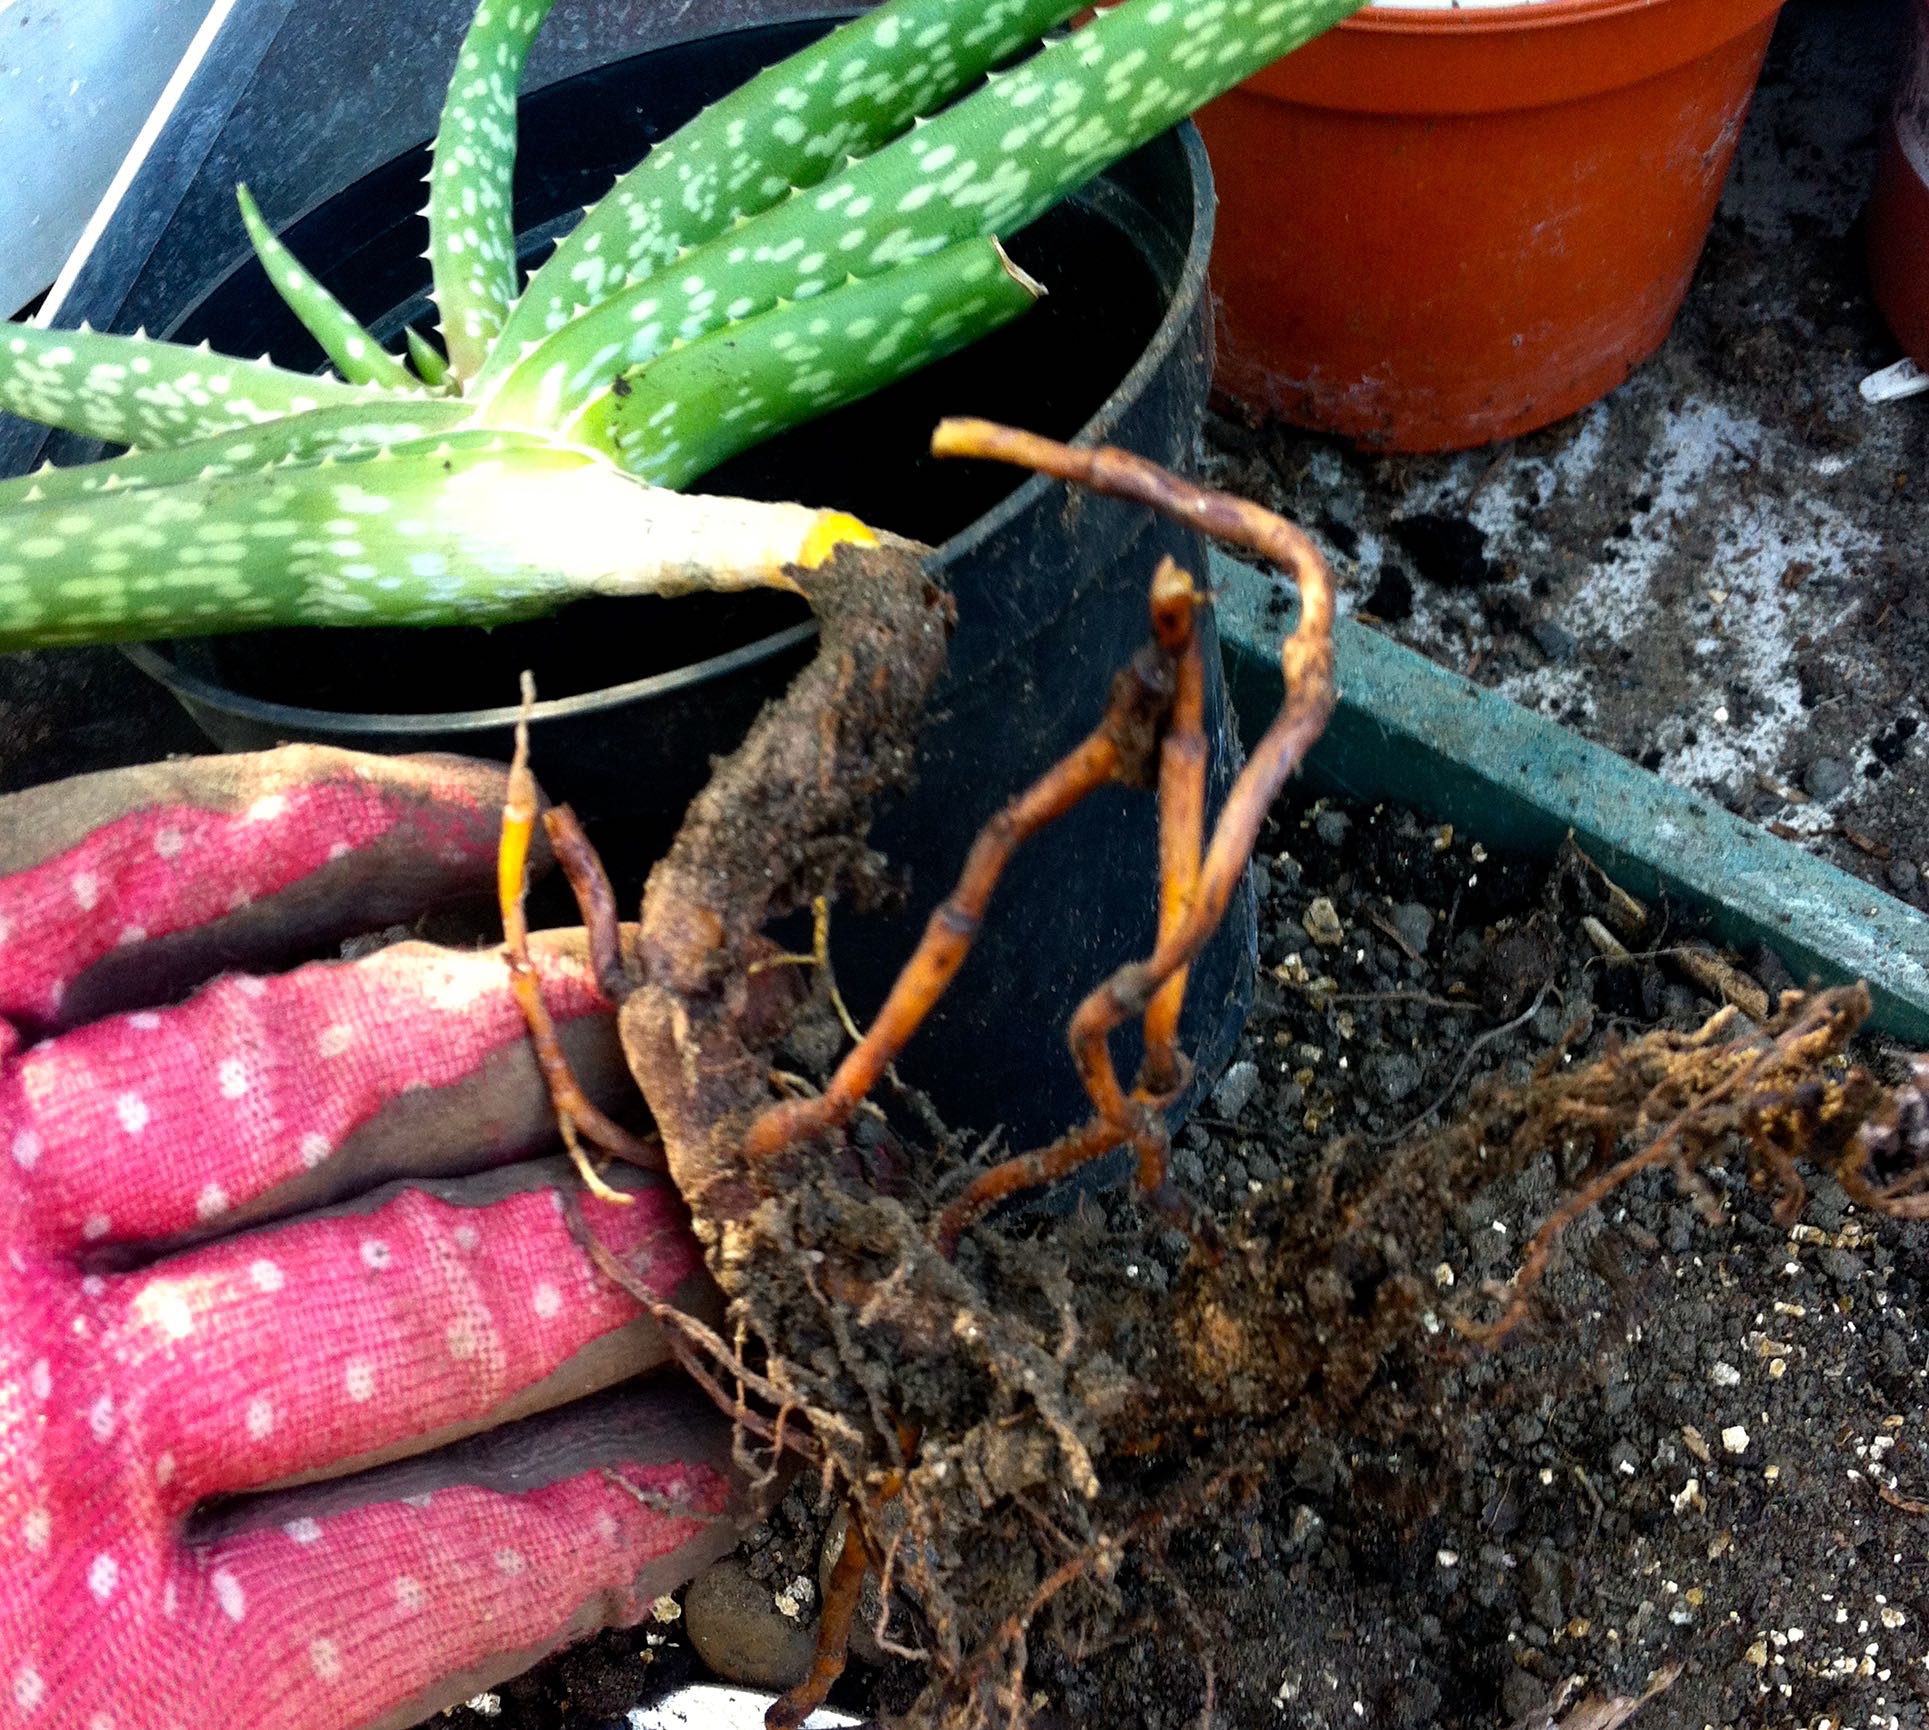
THE MOTHER PLANT WITH AN IMPRESSIVE ROOT SYSTEM

THE MOTHER PLANT WITH AN IMPRESSIVE ROOT SYSTEM

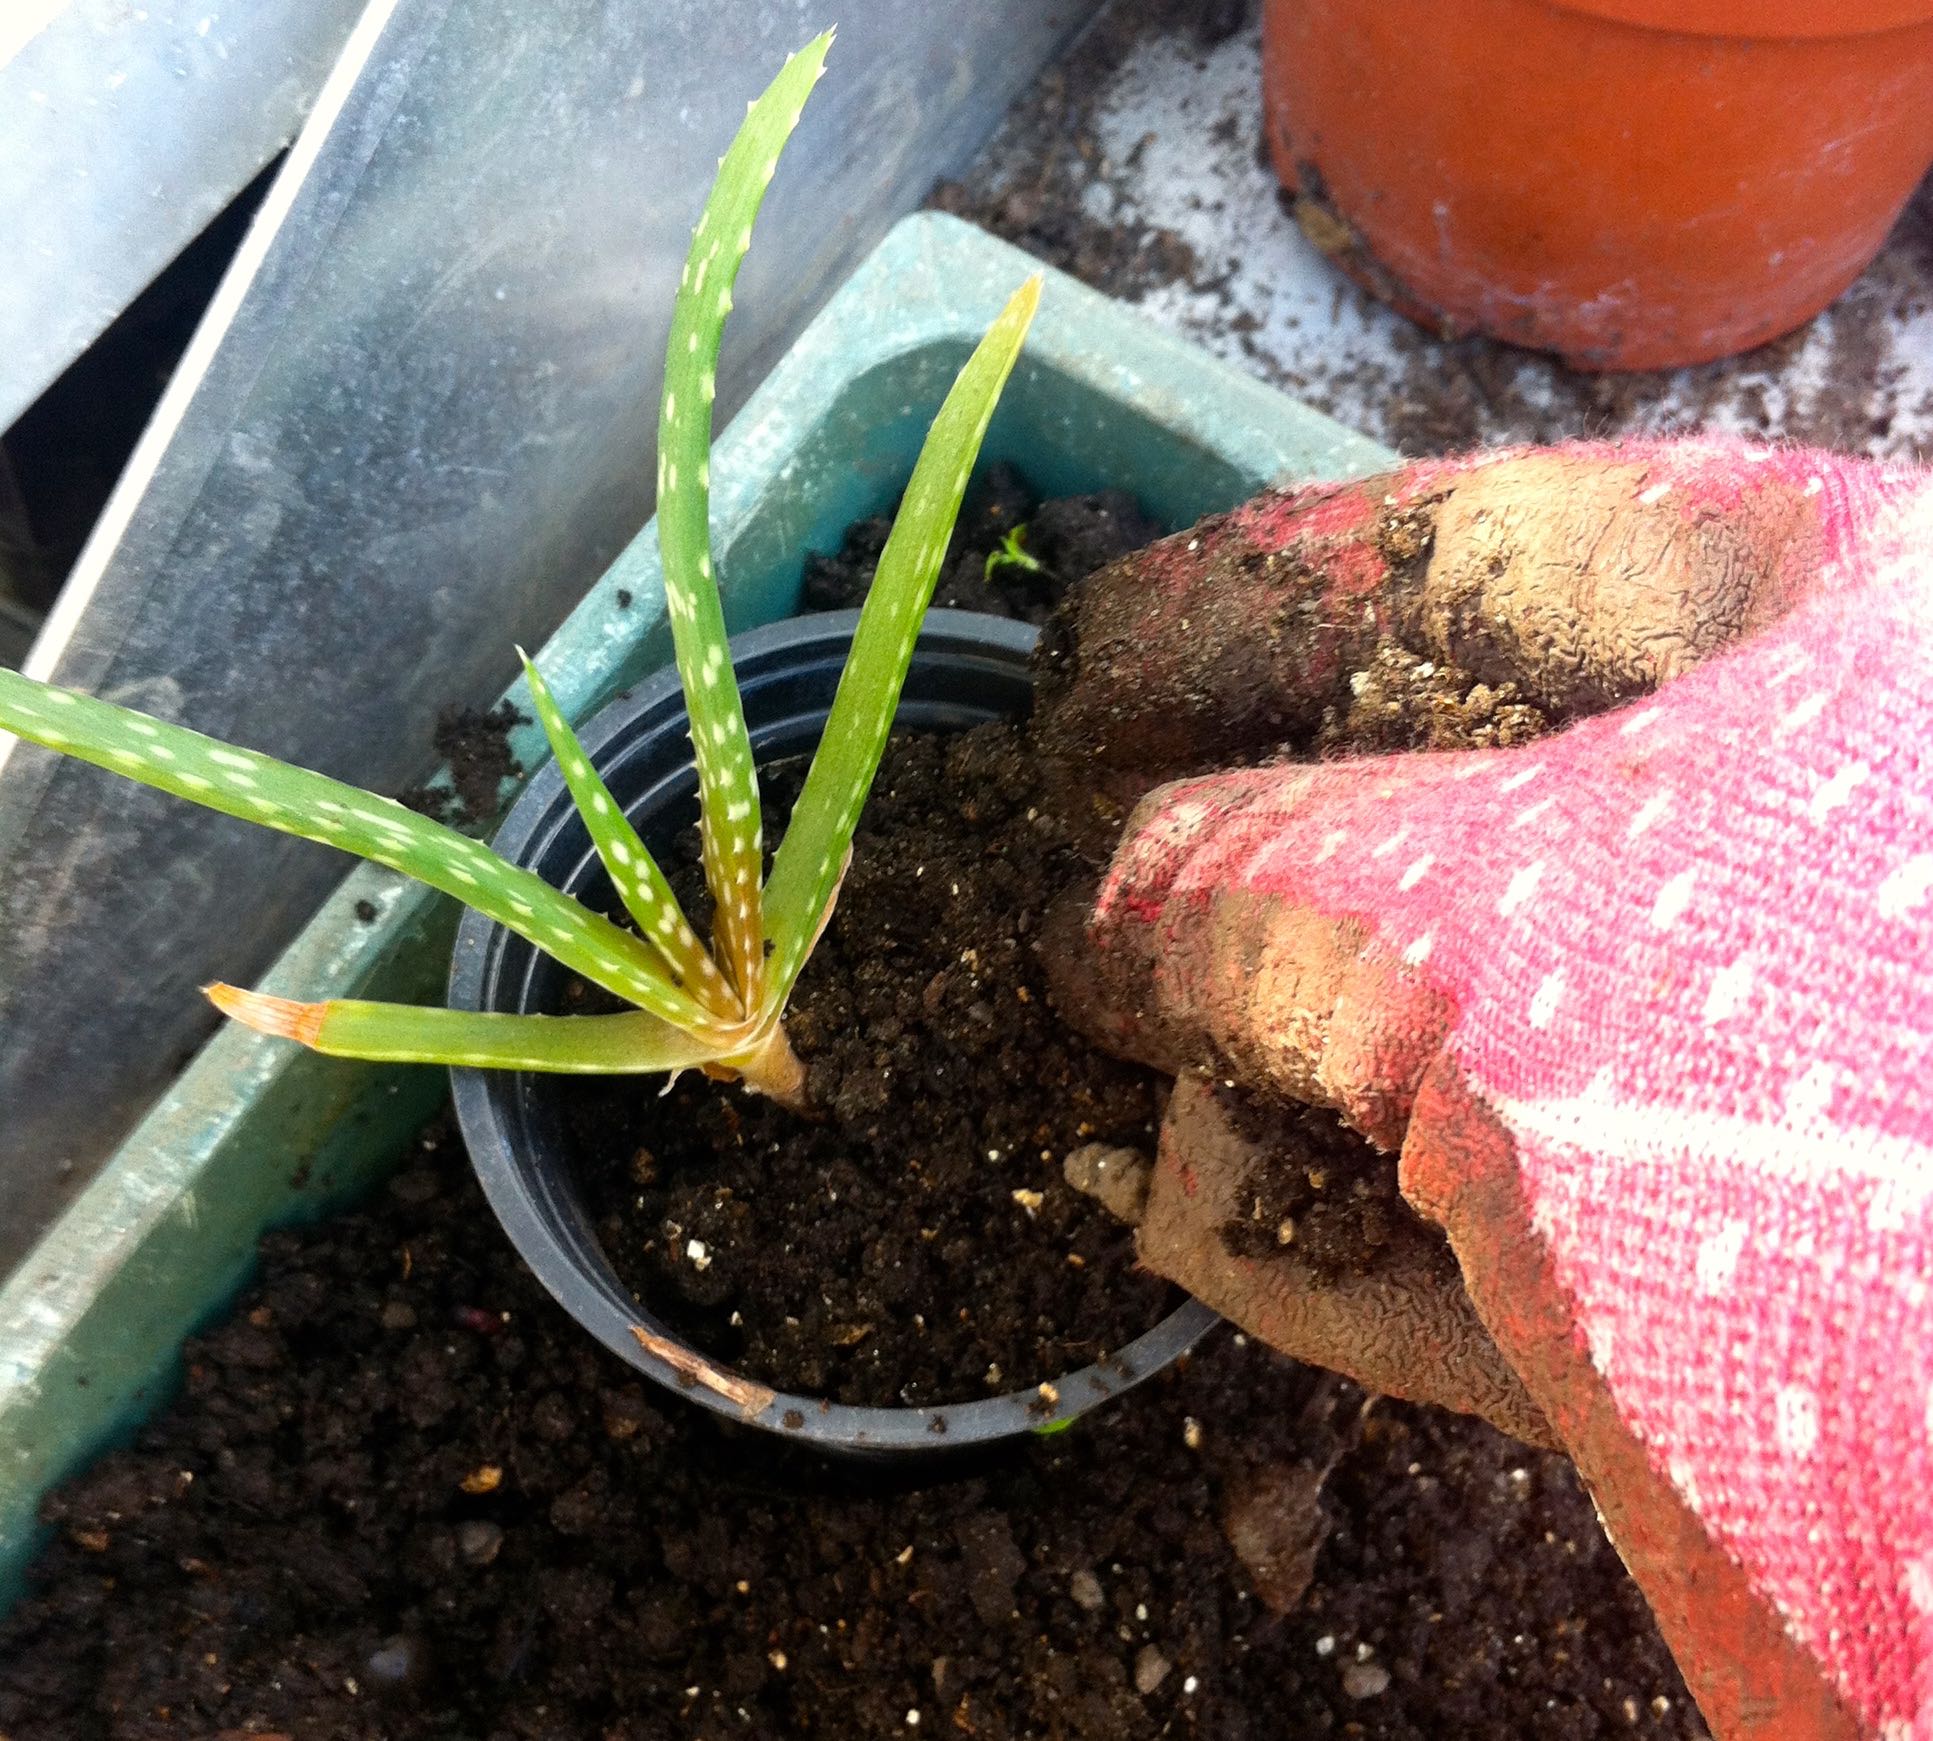
With all the baby plants separated, it was onto the potting up.
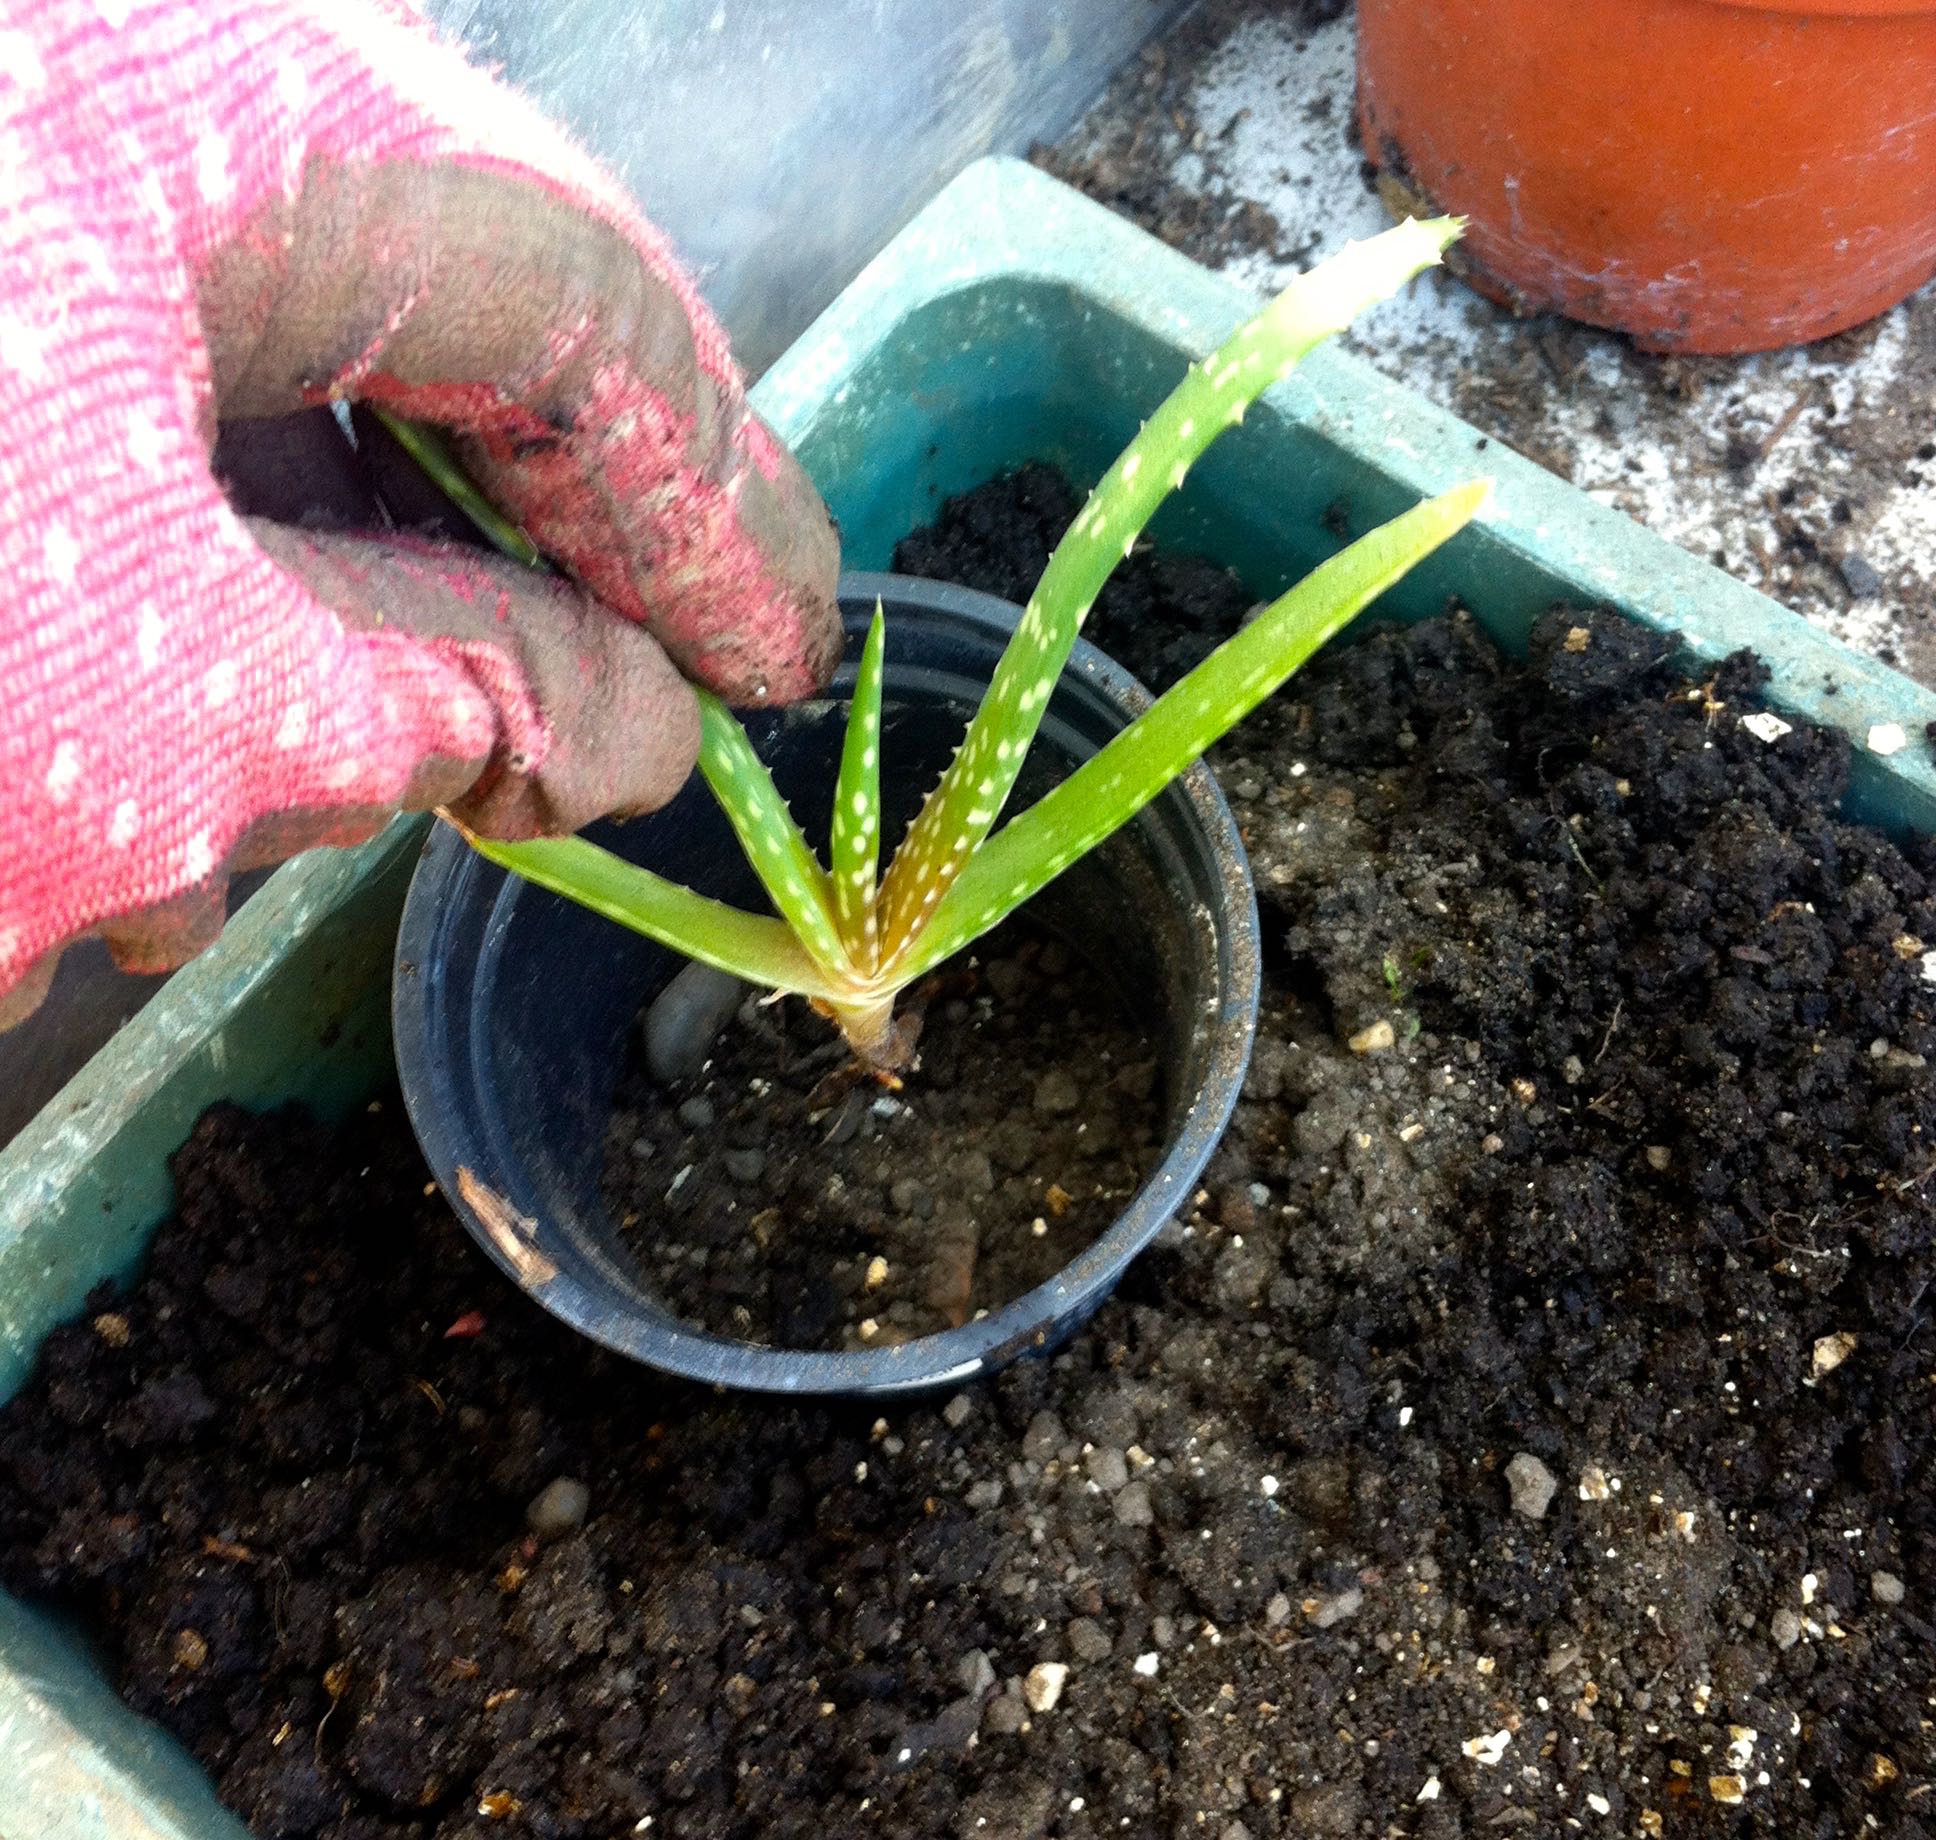
potting up
adding extra compost

First there was one:

one aloe vera

And then two:

two aloe veras

And a third:

three aloe veras

And then a few more, including the mother plant backup pot.

I had more roots than plant left when I'd finished with all the baby plants, so that pot with the label marker and seemingly nothing in has those roots, as I was interested to see if they'd continue growing.

more aloe vera plants

The mother plant which I also keep indoors seemed relieved and certainly looked to be enjoying the sun. 

aloe vera in the sun

And indoors, it was looking smarter too. While the newly potted plants have some growing to do, they're definitely an improvement on the before.
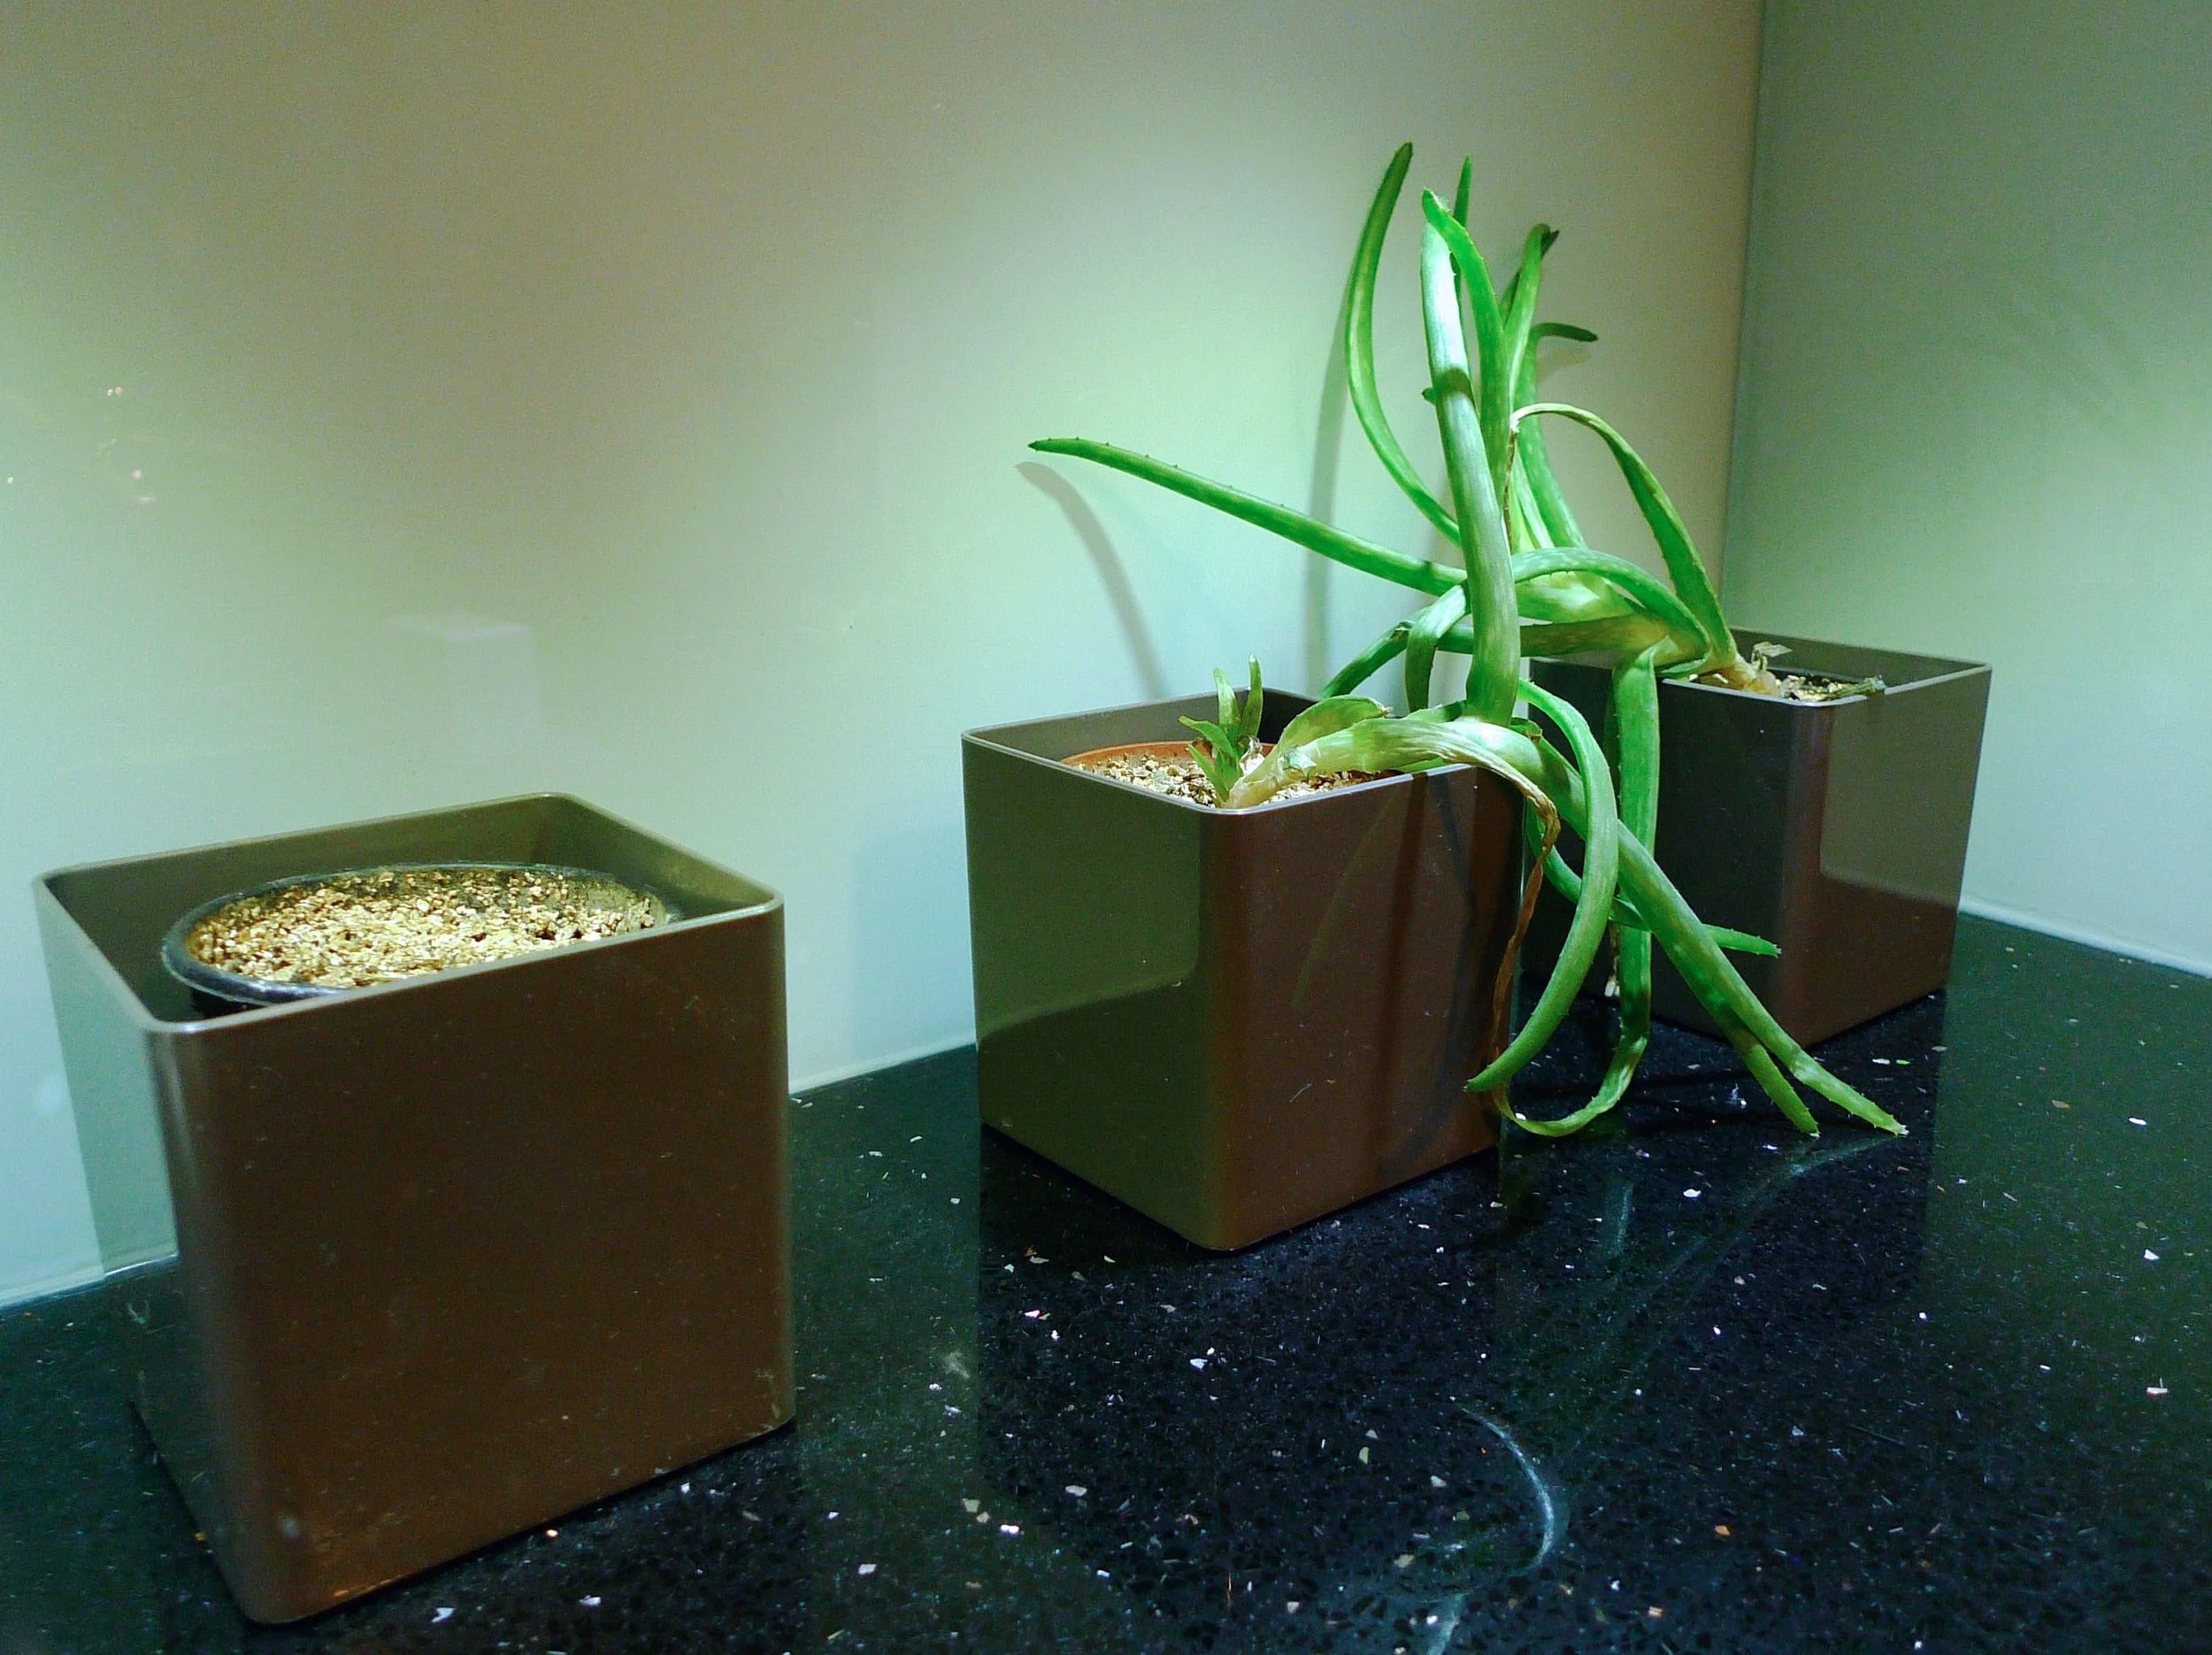
BEFORE

BEFORE

AFTER

AFTER

And that made me happy.  I'm also looking forward to much more pottering - it is the best thing to do, don't you think?
“TheGardenYear

Statement lights by lampcommerce

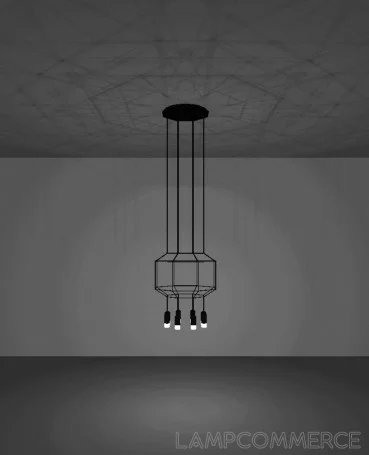
When Lampcommerce got in touch I was immediately struck by the stunning designs featured on their site.  This one in particular from the Wireflow collection by Vibia caught my eye:

VIBIA WIREFLOW Photo credit: LampCommerce

VIBIA WIREFLOW Photo credit: LampCommerce

It has a simple, classic but somehow futuristic feel to it. It's a tall light though with a drop of two metres and would need the right space to show it off to its best. Just imagine it in the perfect stairwell, it'd certainly create a stunning entry to any property. I'm not the only one that thinks that as it won the award for best hanging lamp of 2014 from Interior Design Magazine.

When I thought more about statement lights, the one at the V&A immediately sprung to mind. Their 'Rotunda Chandelier' sculpture hangs in a fantastic space, above the Information Desk as you enter the museum. And while it's a sculpture rather than a light, it's effect is similar.

For me  - the attraction to the wireflow light - is about the lines it creates. Just look at the ceiling in the image above - I know that if I were to be sitting in the hallway with that light, I'd be able to sit and lose hours just tracing and following the lines with my eyes. I guess that's a whole new way of being more mindful.

It does remind me of the lights I saw in the Gap House at the Ideal Home Show last April, and that proves to me that if you have a small space - the whole house was just three metres wide - then you can still be adventurous with lighting.

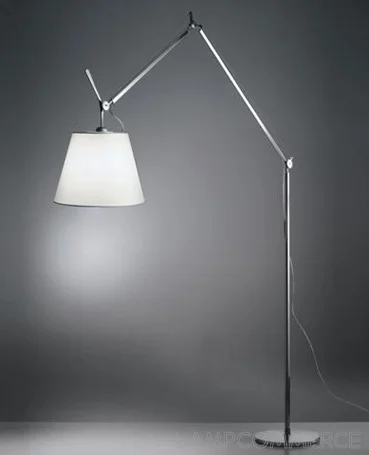
But finally having ruled it out for this house - we have a spiral staircase, so it wouldn't work for us I soon browsed the site further and discovered the Artemide Tolomeo range. 

ARTEMIDE TOLOMEO MEGA FLOOR LAMP Photo credit: LampCommerce

ARTEMIDE TOLOMEO MEGA FLOOR LAMP Photo credit: LampCommerce

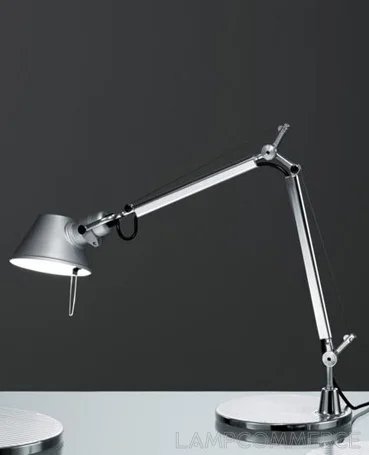
The possibilities for this range are endless - from floor lamps like the one above through to the mini desk lamps below, with sizes in between too.  They are, for me a design classic and I was surprised to learn that it was designed as recently as 1986, winning the Compasso d'Oro design prize in 1989.  I know that that's thirty years ago now, but well the eighties still seems relatively recent to me, it was the decade I started work, so that I think brings an extra touch of reality!

ARTEMIDE TOLOMEO MINI TABLE LAMP Photo credit: LampCommerce

ARTEMIDE TOLOMEO MINI TABLE LAMP Photo credit: LampCommerce

If you're looking for something that's stylish and colourful, then the Tolomeo micro table lamps come in a range of fun colours - including metallics, such as bronze and rainbow colours - which would brighten any space, whatever the look you were after.

I think most homes in the eighties and beyond have owned a light similar to this - I know when we moved in here MOH moved in with a large black table lamp, which at the time we didn't have the space for. Now though, it's one of the things that would fit right into our current decor, so perhaps we should have hung onto it after all.  

...Or perhaps it's time to treat ourselves to a replacement!

This is a collaborative post but all opinions are my own

A paper Easter egg

Today I'm sharing another Easter craft, and another that I saw on Pinterest and fancied trying myself. Like the pom-pom bunnies and chicks I shared yesterday I looked at the original post and was inspired. So I decided to make a mini-version and you might have already spotted it in my Easter Tea Party post on Sunday.

I popped down to my local craft superstore in the hope that I'd be able to buy an egg-shaped die to use in my die-cutting machine, but it was not to be. But while I was there I did manage to pick up some pretty scrapbook paper, a craft knife, some Easter ribbon and a square die as consolation.  They're dangerous places, aren't they?

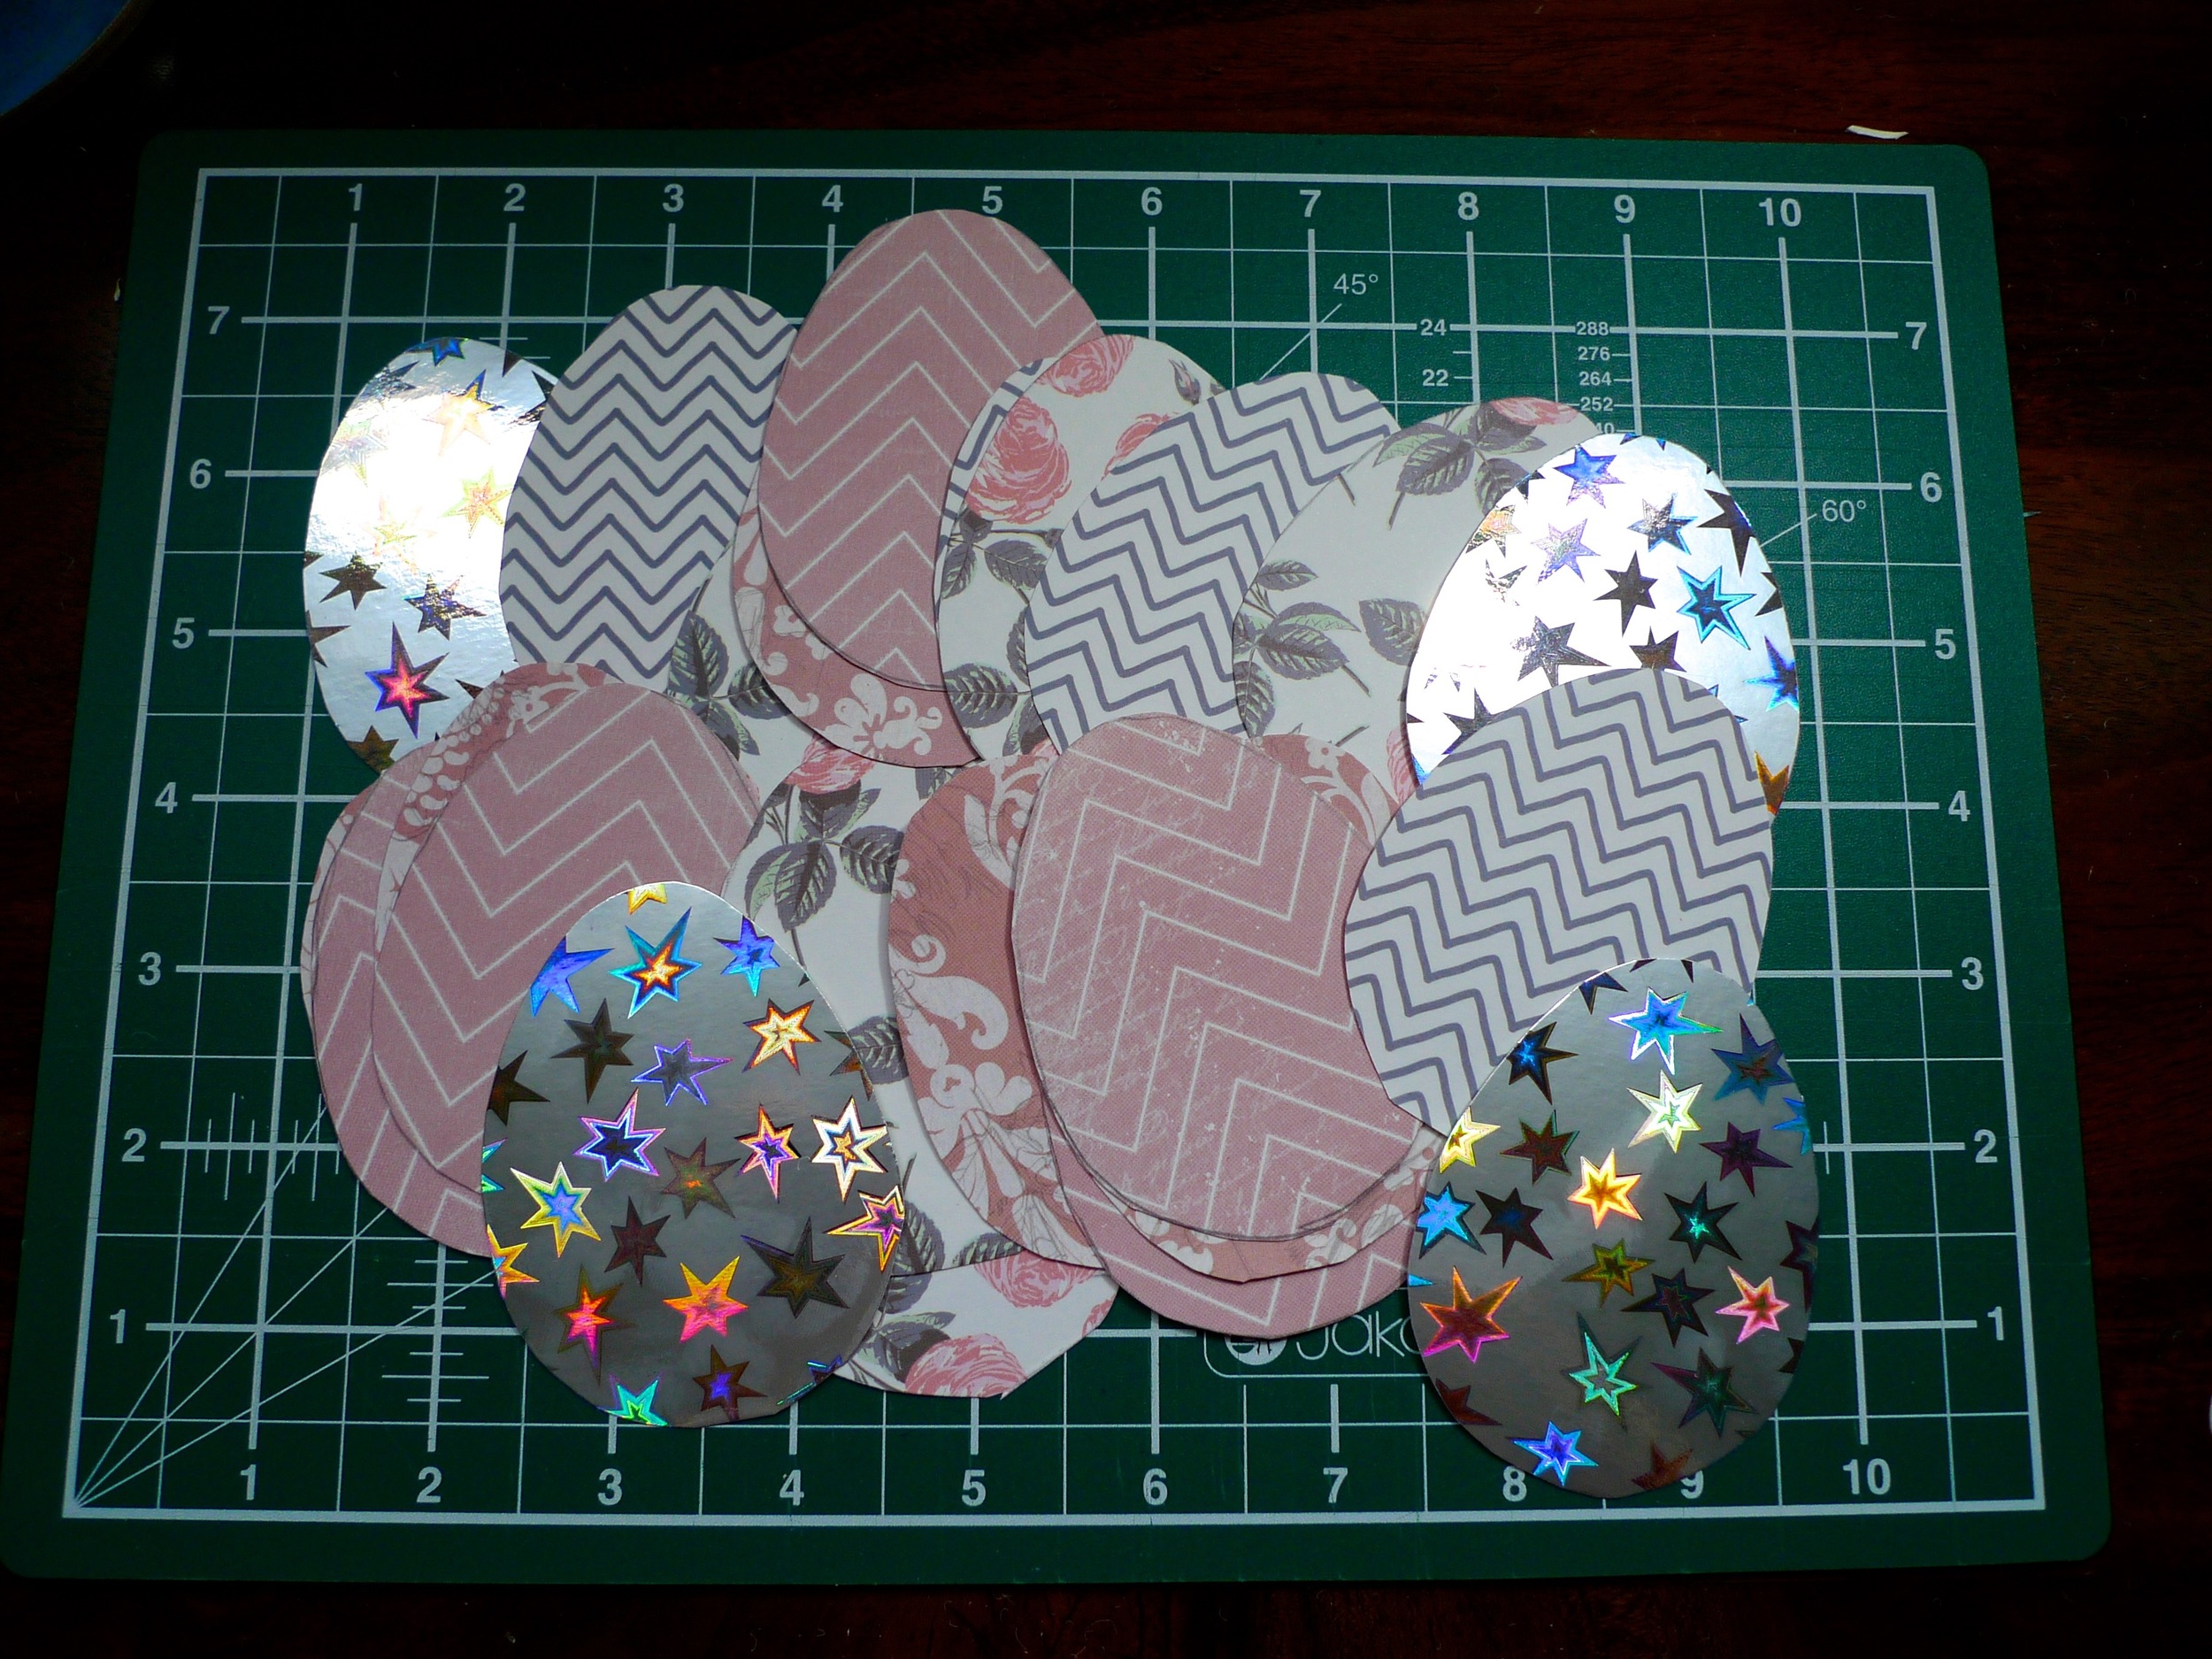
So armed with my new pretty paper, a pair of scissors and a 3 inch egg template I was ready to start.

egg shaped cutouts

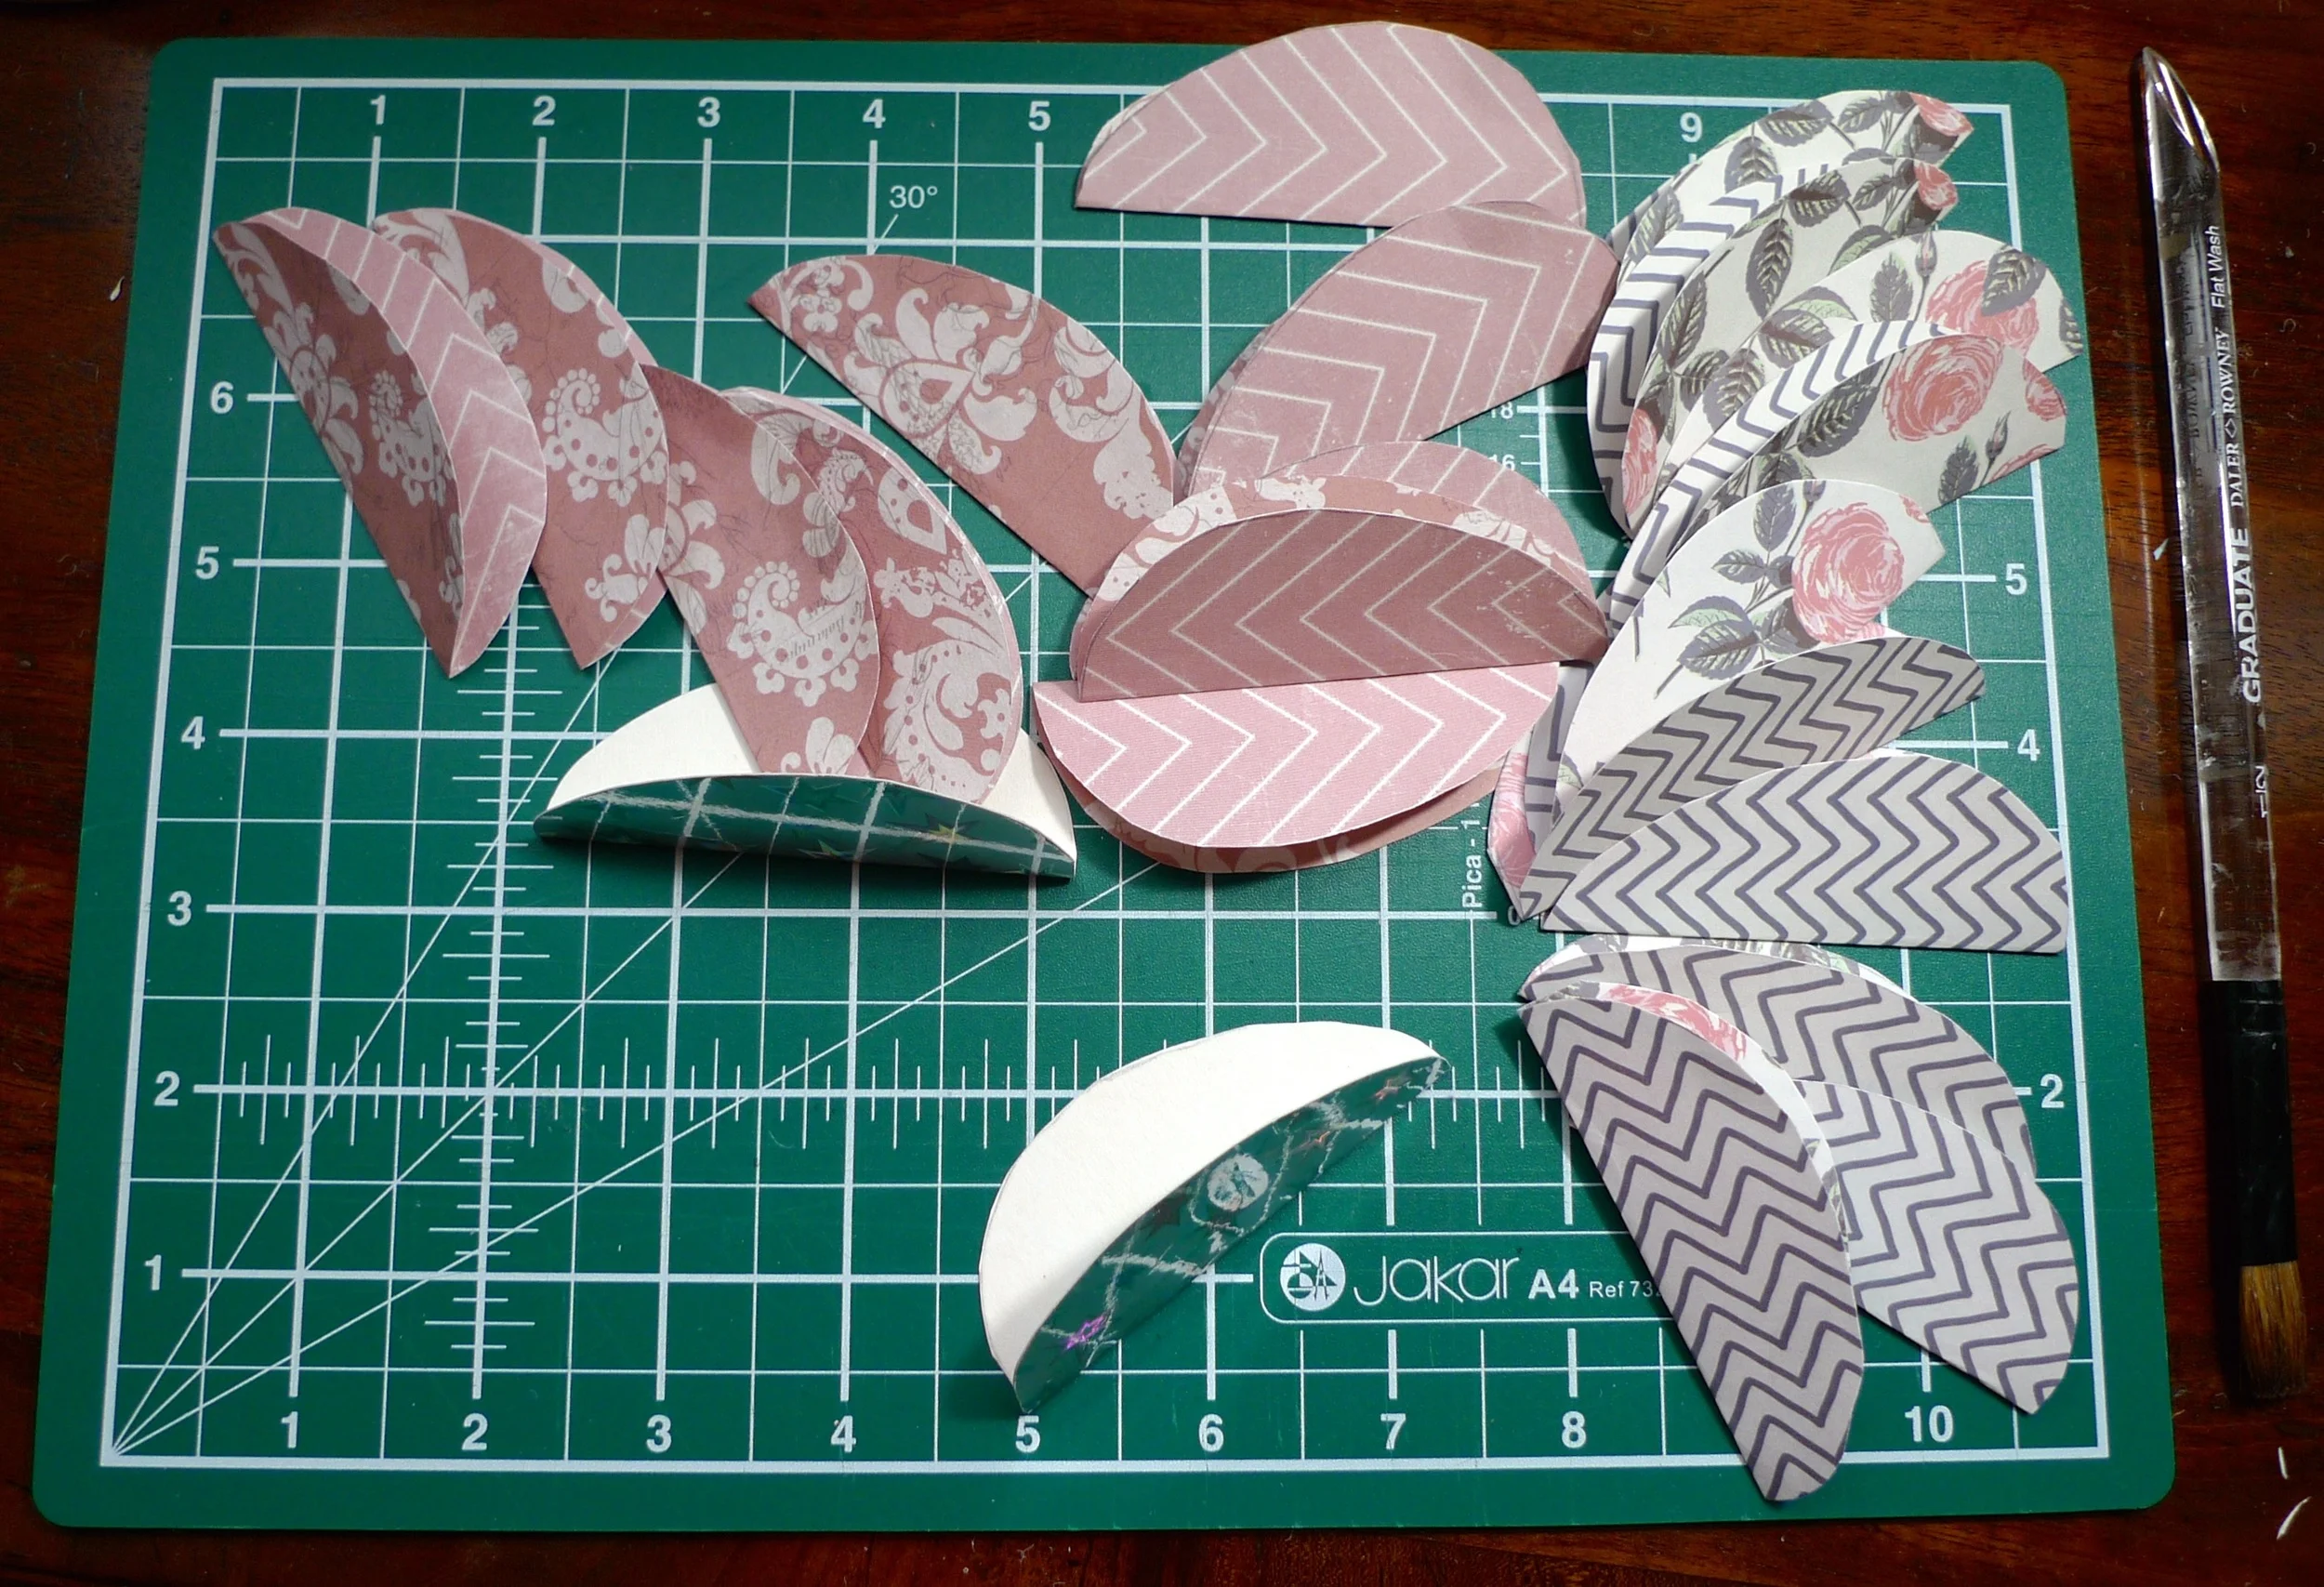
1. The first step is easy enough and you fold your egg shapes in half.  This caused me some dilemmas as while most of the new pretty paper I'd chosen had a pattern on both sides, the hologram card that I wanted to use only had the pattern on one side. In the end I folded the single side patterned card with the plain side on the outside - this seems to have worked, but next time I think I'd use all double sided paper/card.

folded paper egg shapes

2. Then it's time to start sticking!

I started with the hologram card and added glue to the fold (on the plain side) and stuck these together to form the basis of my structure.  In reality this meant that I don't see much of the hologram card, but as it was the heavier grade I wanted that spaced equally throughout my egg.

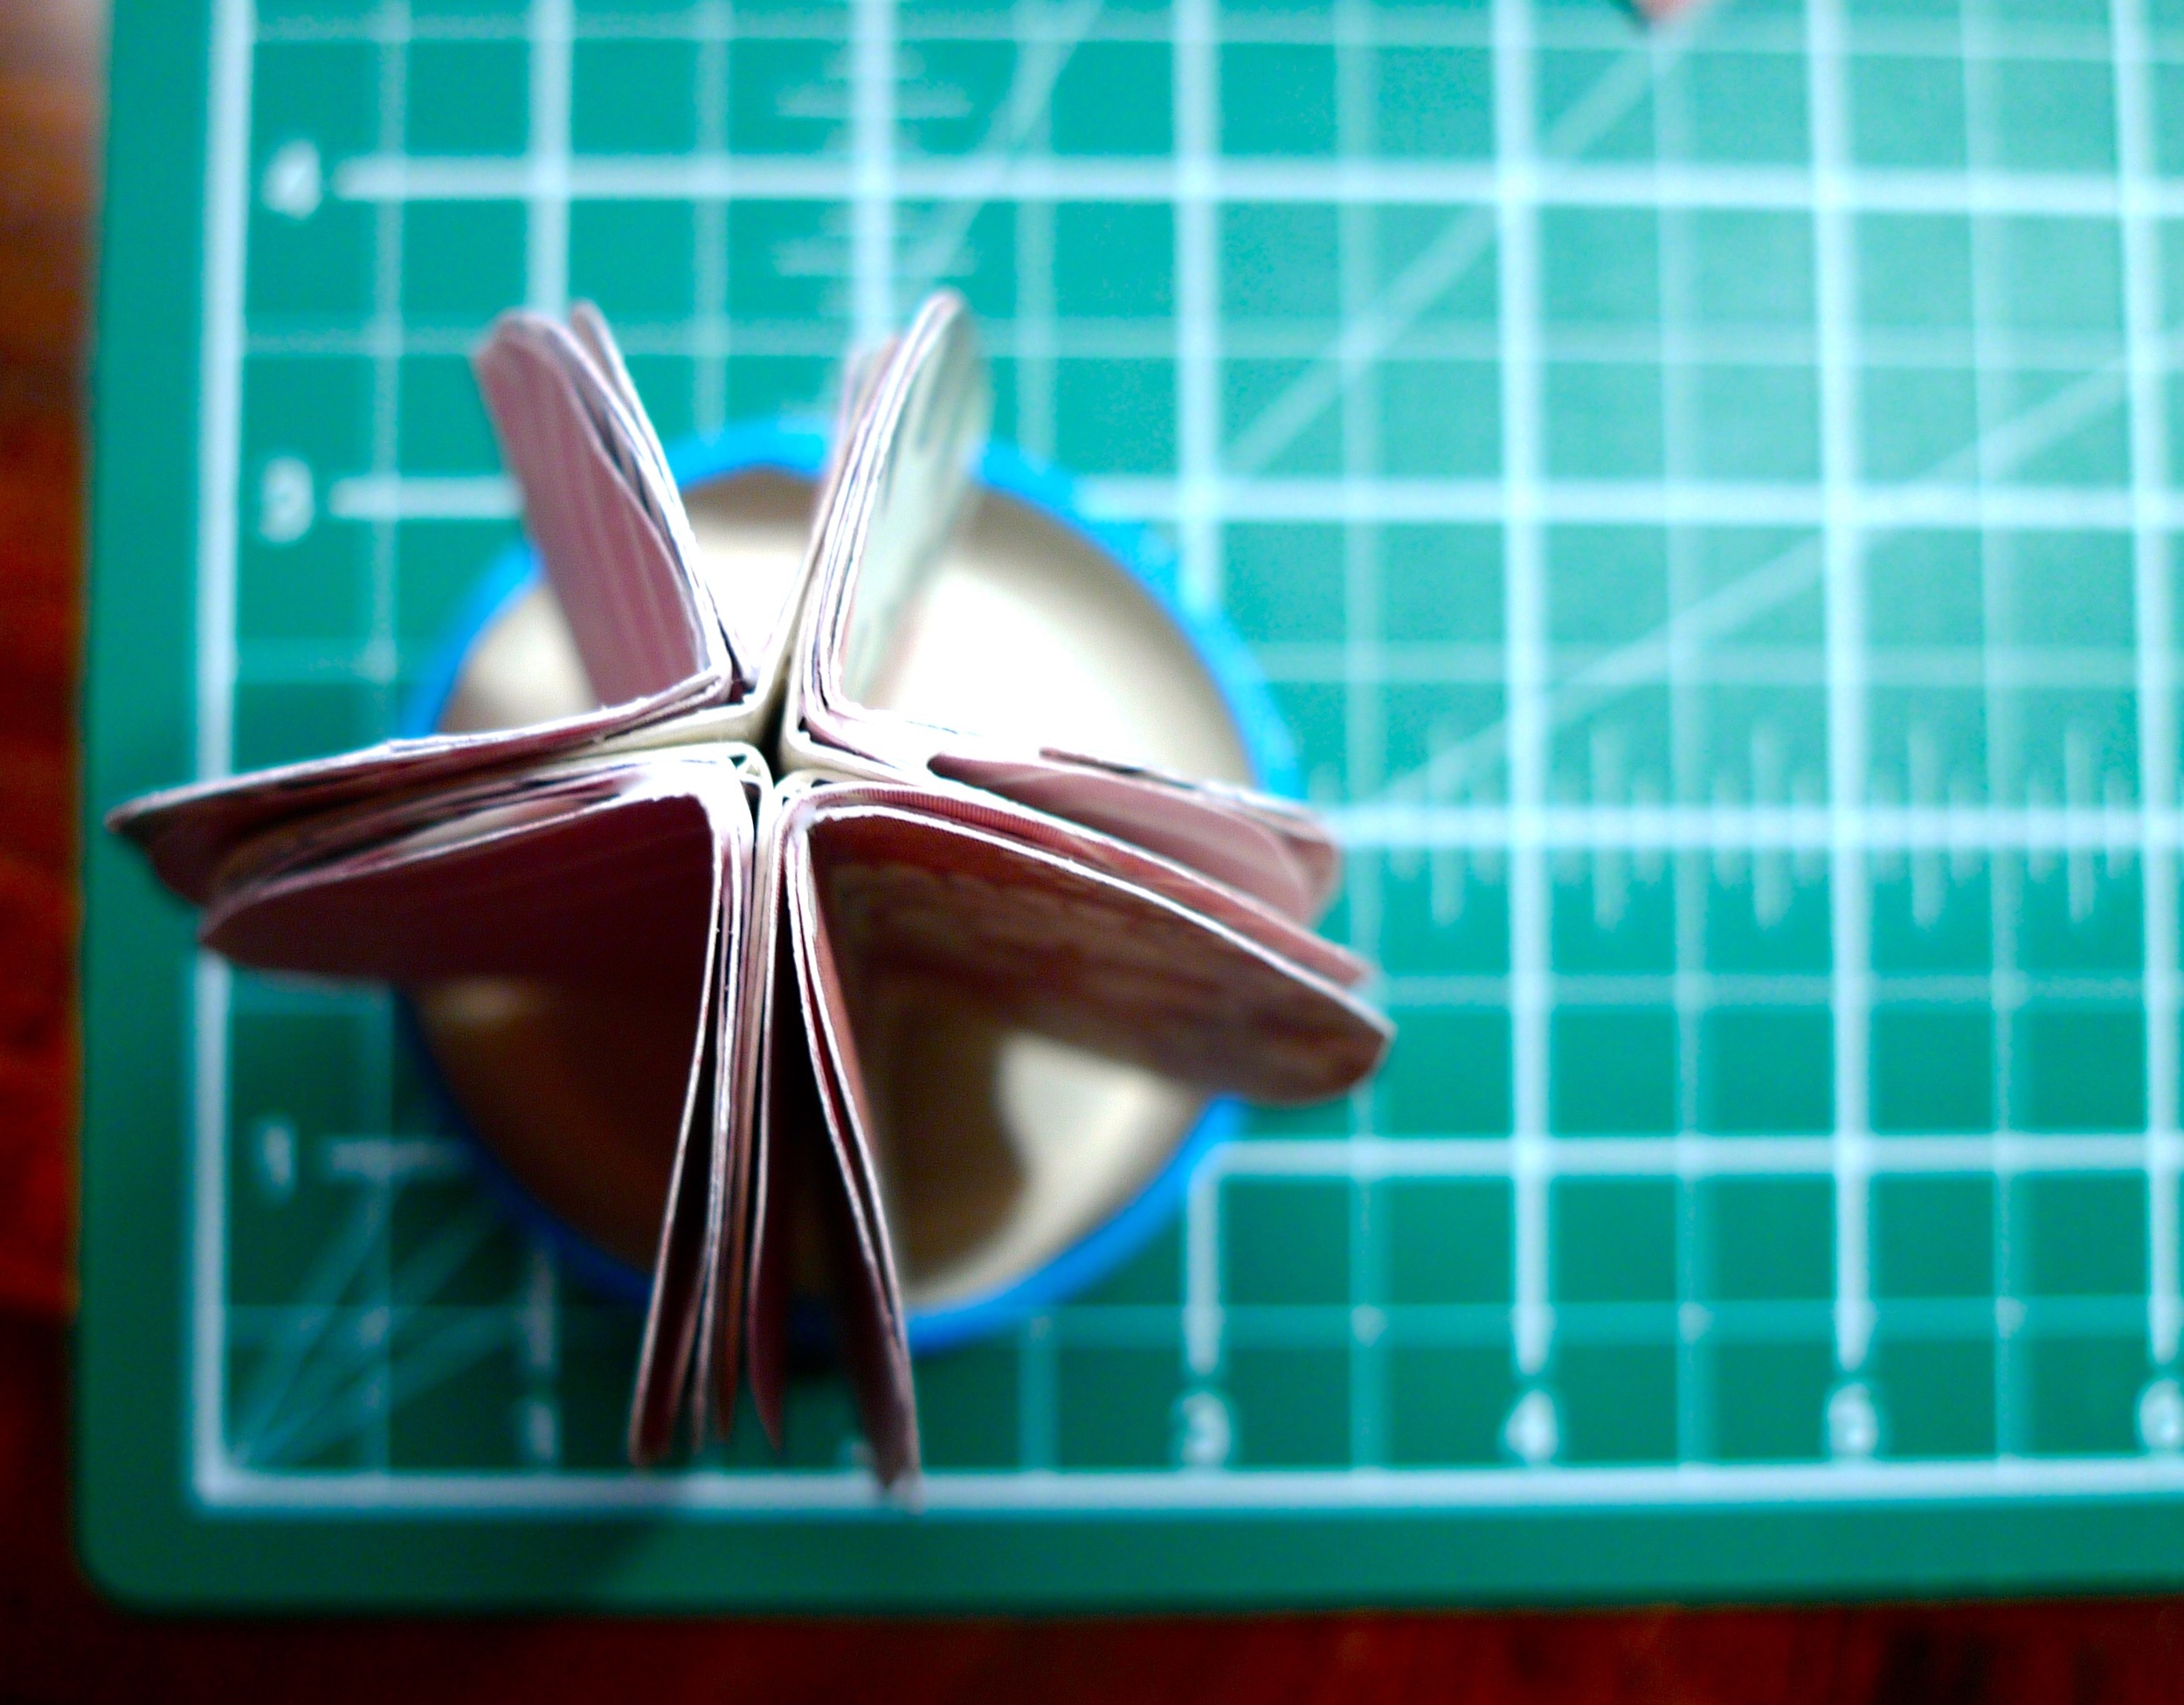
3. Then you keep adding more of the folded egg shapes. Make sure you only glue the fold, or else you won't get the fan shape that looks so good.  The tip to stand your egg as you build it in the lid of the jar, is a good one - definitely do this, it makes it much easier!

starting to stick

4. It doesn't take long for the egg to take shape.  Looking back I'd add the layers more slowly once the glue had dried a little next time I make one, as I think that might make it easier and reduce the amount of pressing together needed.

egg taking shape

5. Continue to add folded eggs wherever there are gaps, until you are happy - or bored of cutting egg shapes.  My egg had 34 egg shapes, I could probably have fitted some more in, and I think if I'd used a thinner paper I would definitely have needed more cut outs.

6. When you're happy with your egg, stick a ribbon bow onto the top of the egg using more craft glue and leave to dry. 

adding a bow

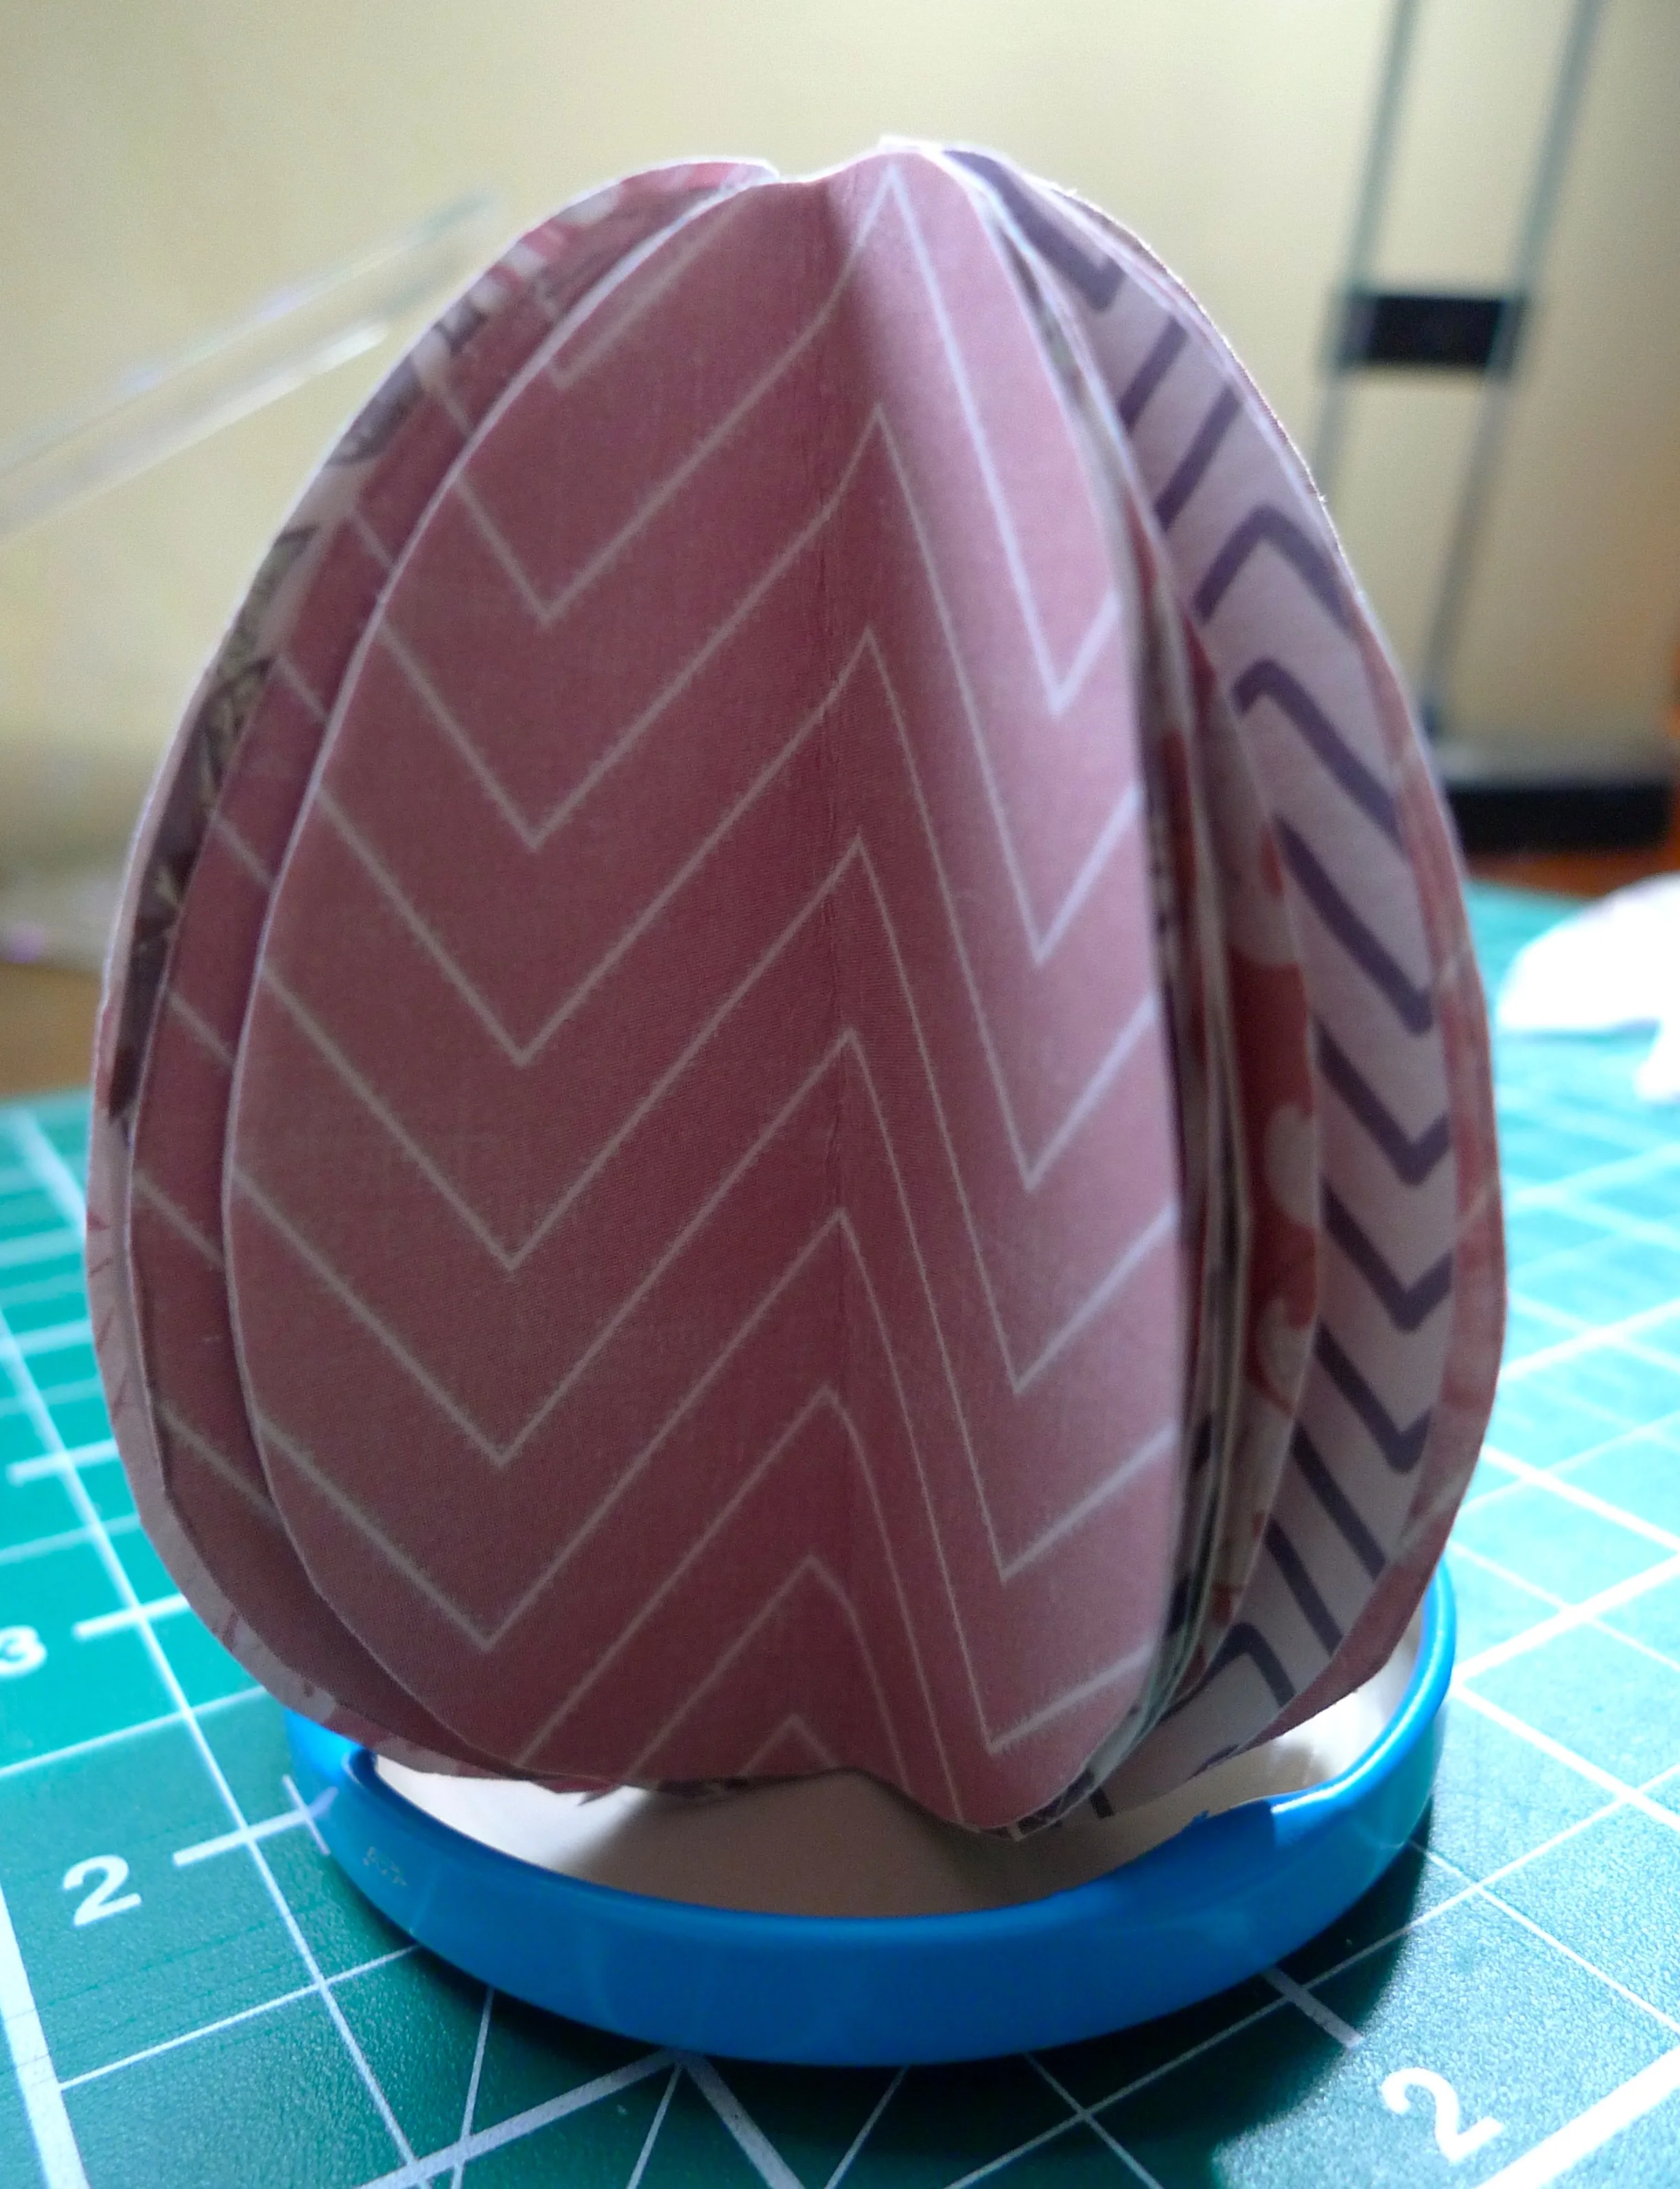
7. Once the egg is dry "fan" the leaves gently so you get the look you're after, and then use it for your Easter decorations or as an Easter gift.  

I'm happy with the egg I made and I'd make another and I think I'd also try a circular one too - they'd look great on a Christmas tree wouldn't they?

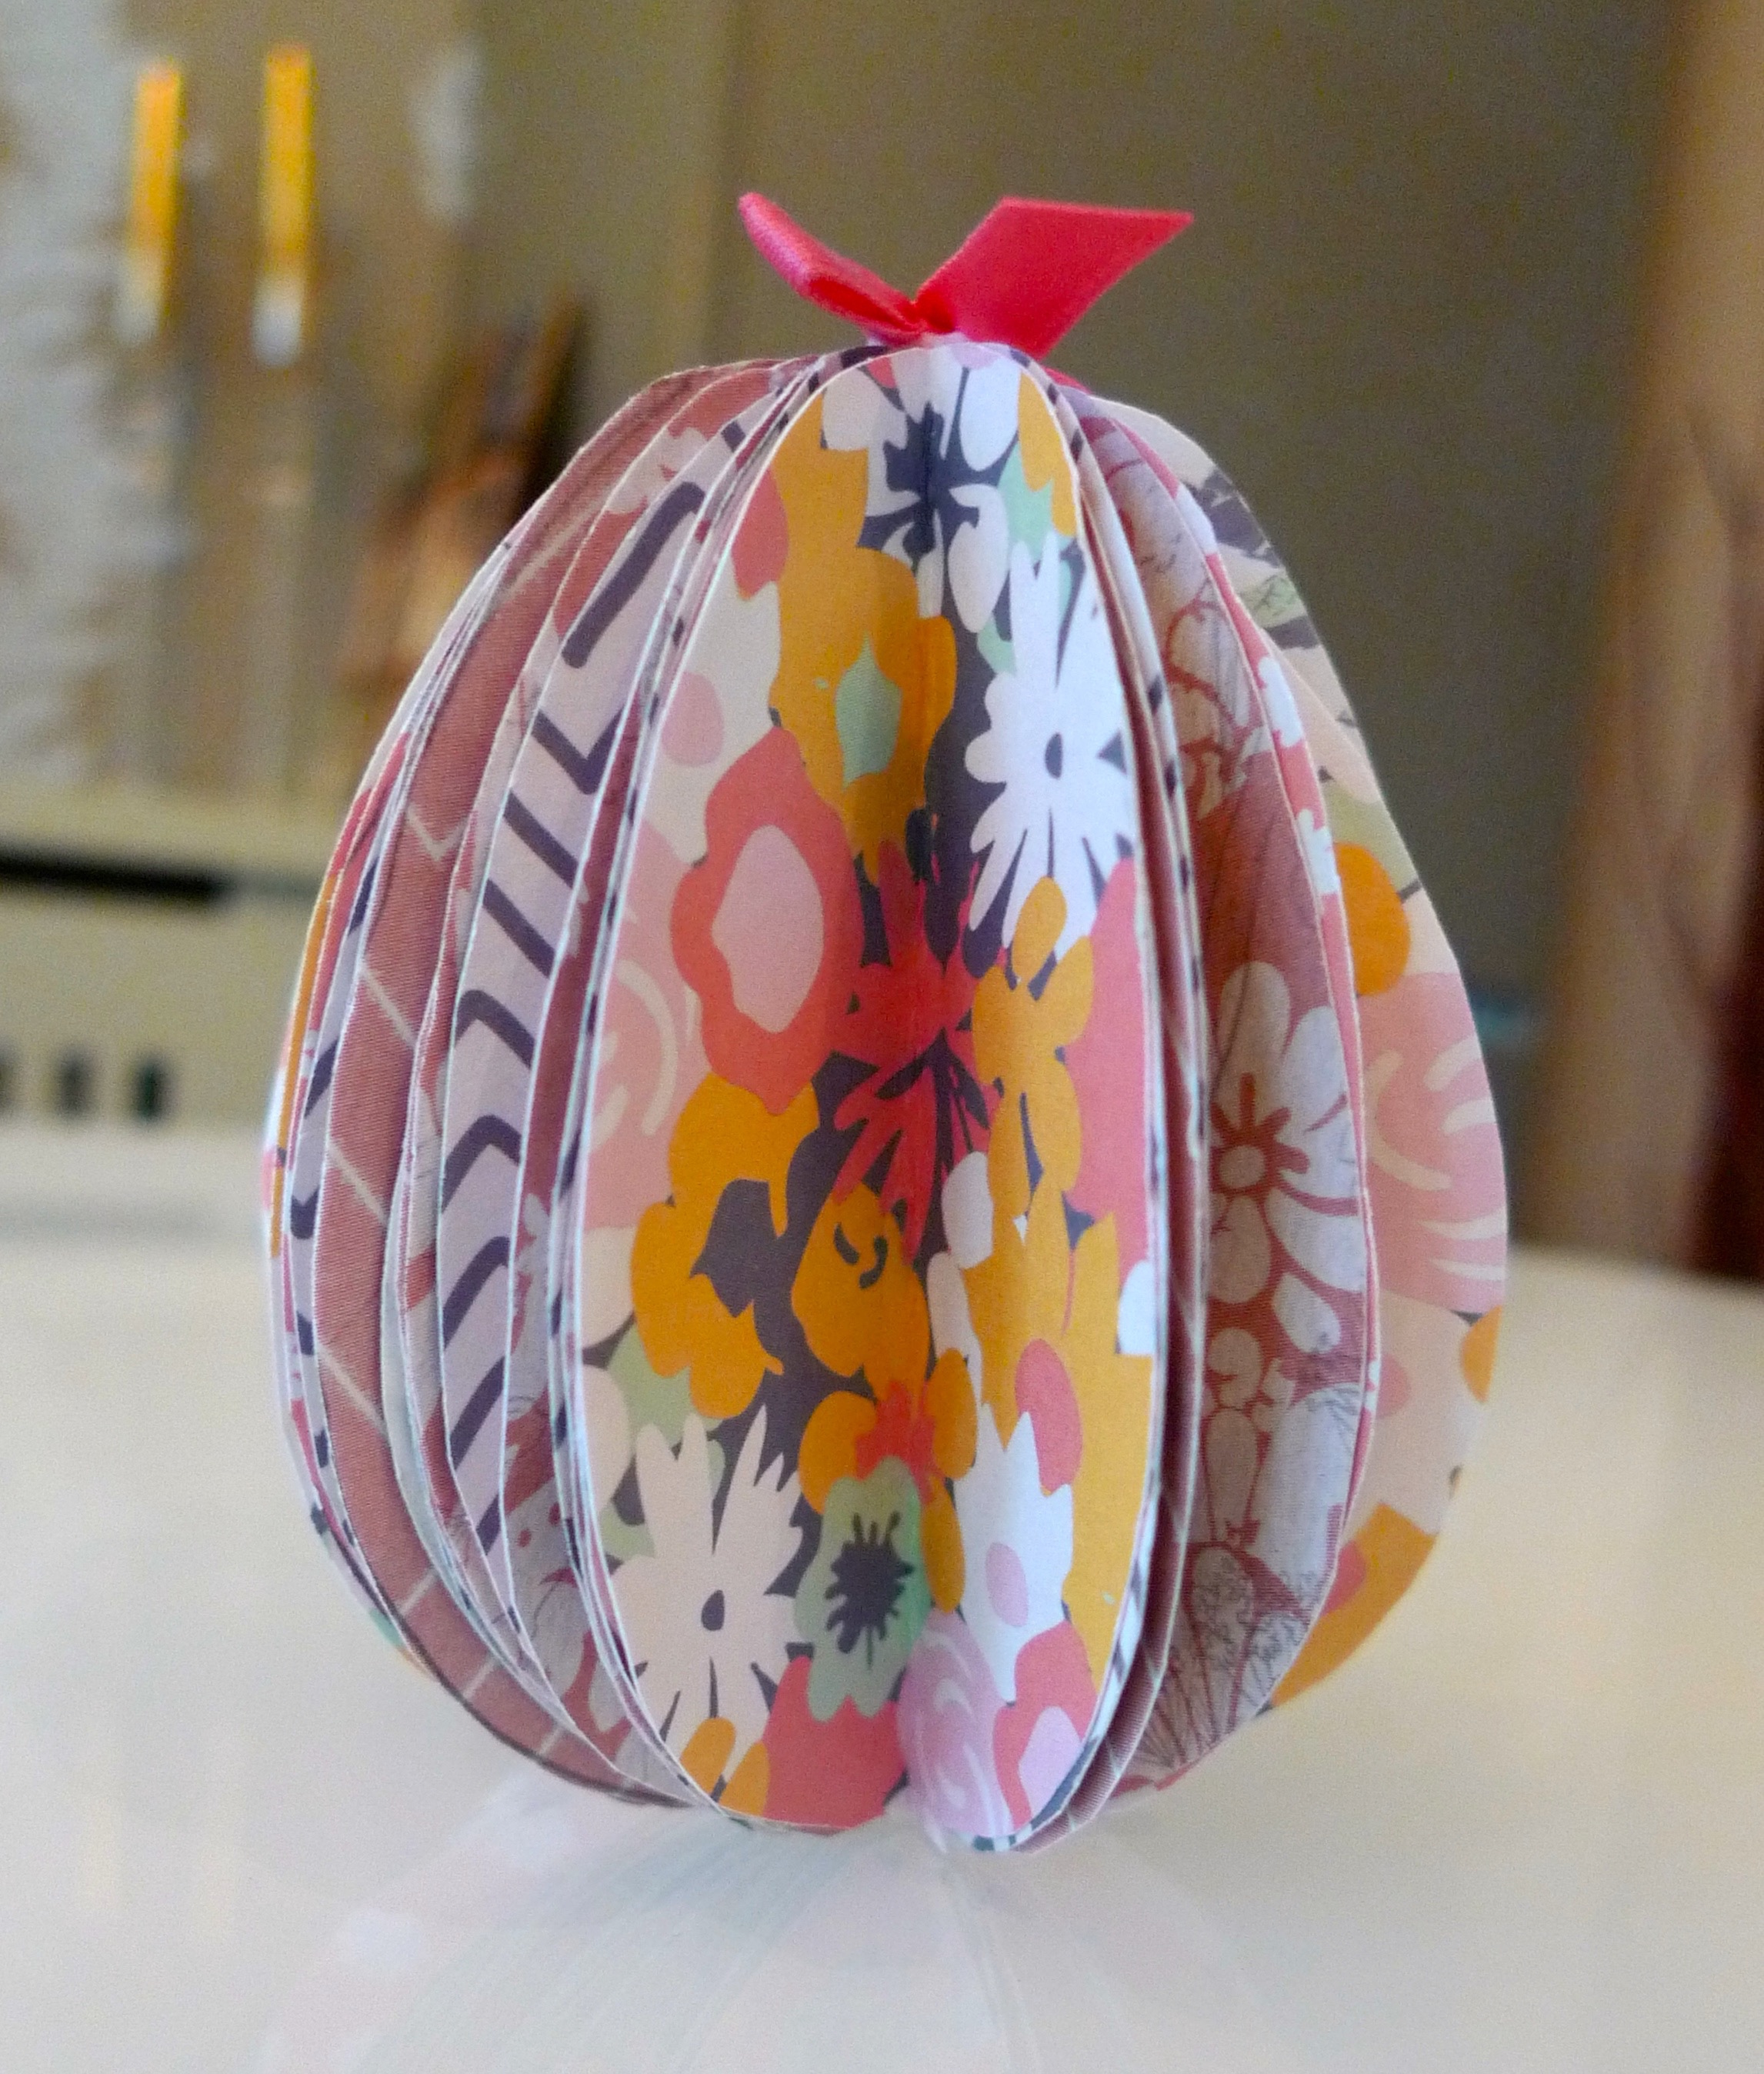
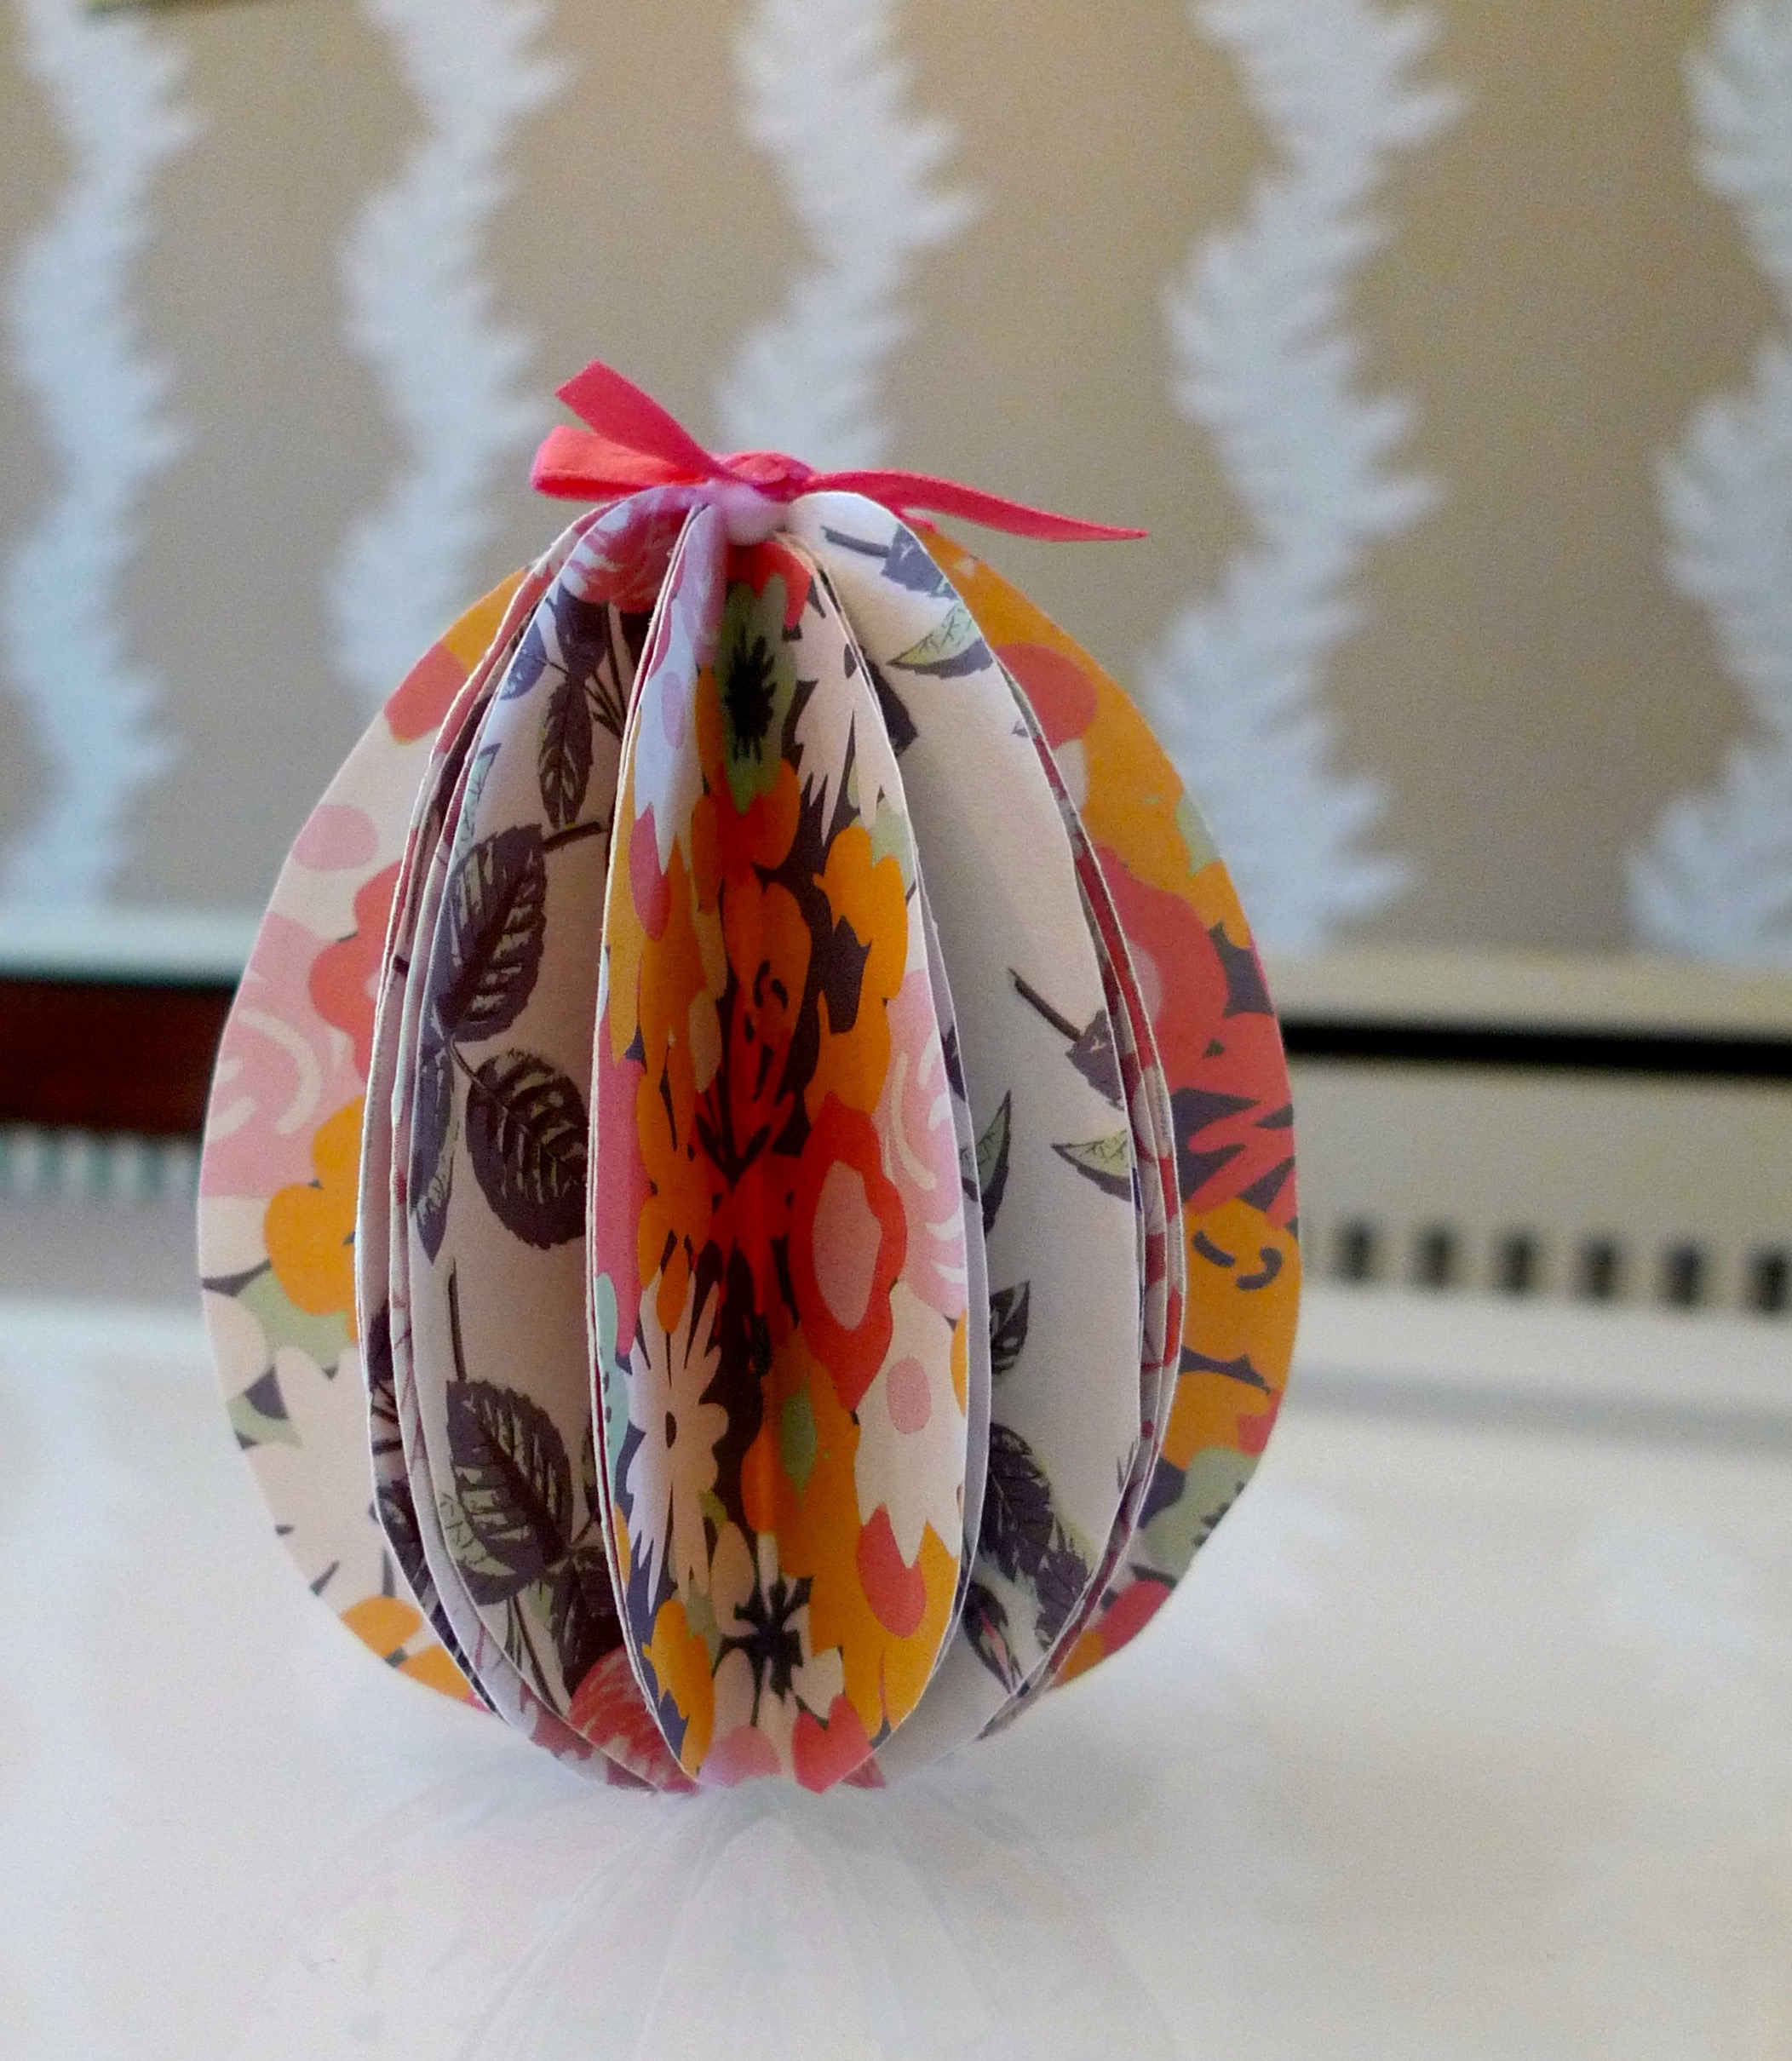
And before I go here's some more shots of my finished egg, isn't it pretty?

finished paper easter egg
pretty paper easter egg

To see more of my Easter-inspired pins take a look at my Easter PInterest board: