






Looking back at our stay in a snug Dorset cottage

I'd been umming and ahhing about writing this post about the cottage we stayed in on our trip to Dorset last year, and I'm not sure why. It was a beautiful cottage and we had a great time there, but whether it was time or something else I hadn't shared the pictures of our stay. Then last week the owner got in touch to say they no longer owned the cottage but had another holiday let cottage in the same village if we felt like a Dorset break again.

I realised then the cottage we stayed in probably looks completely different now, so whatever reservations I had about sharing its interior were gone as well.  So today I'm looking back at our stay in what was a snug and comfortable cottage, with a log burner that was very welcome in a very chilly January.

matches on the mantelpiece
In front of the fire

Throughout the cottage there were some fabulous touches, like these wooden fish above the dining space.

fishes
A dining space

The kitchen was in a single story extension at the back of the cottage with a stunning skylight, which let in light but also gave you a glimpse of the outside. It was a well stocked kitchen and one that had been cooked in - so often for self-catering holiday lets, there's basic equipment but not enough to cook as if you were at home, not the case here!

Into the kitchen
A skylight with a view
Plate rack

Upstairs the bedrooms were light and well accessorised. The single bedroom was very cute and the wooden hangers on the wall were a lovely design touch and practical too.
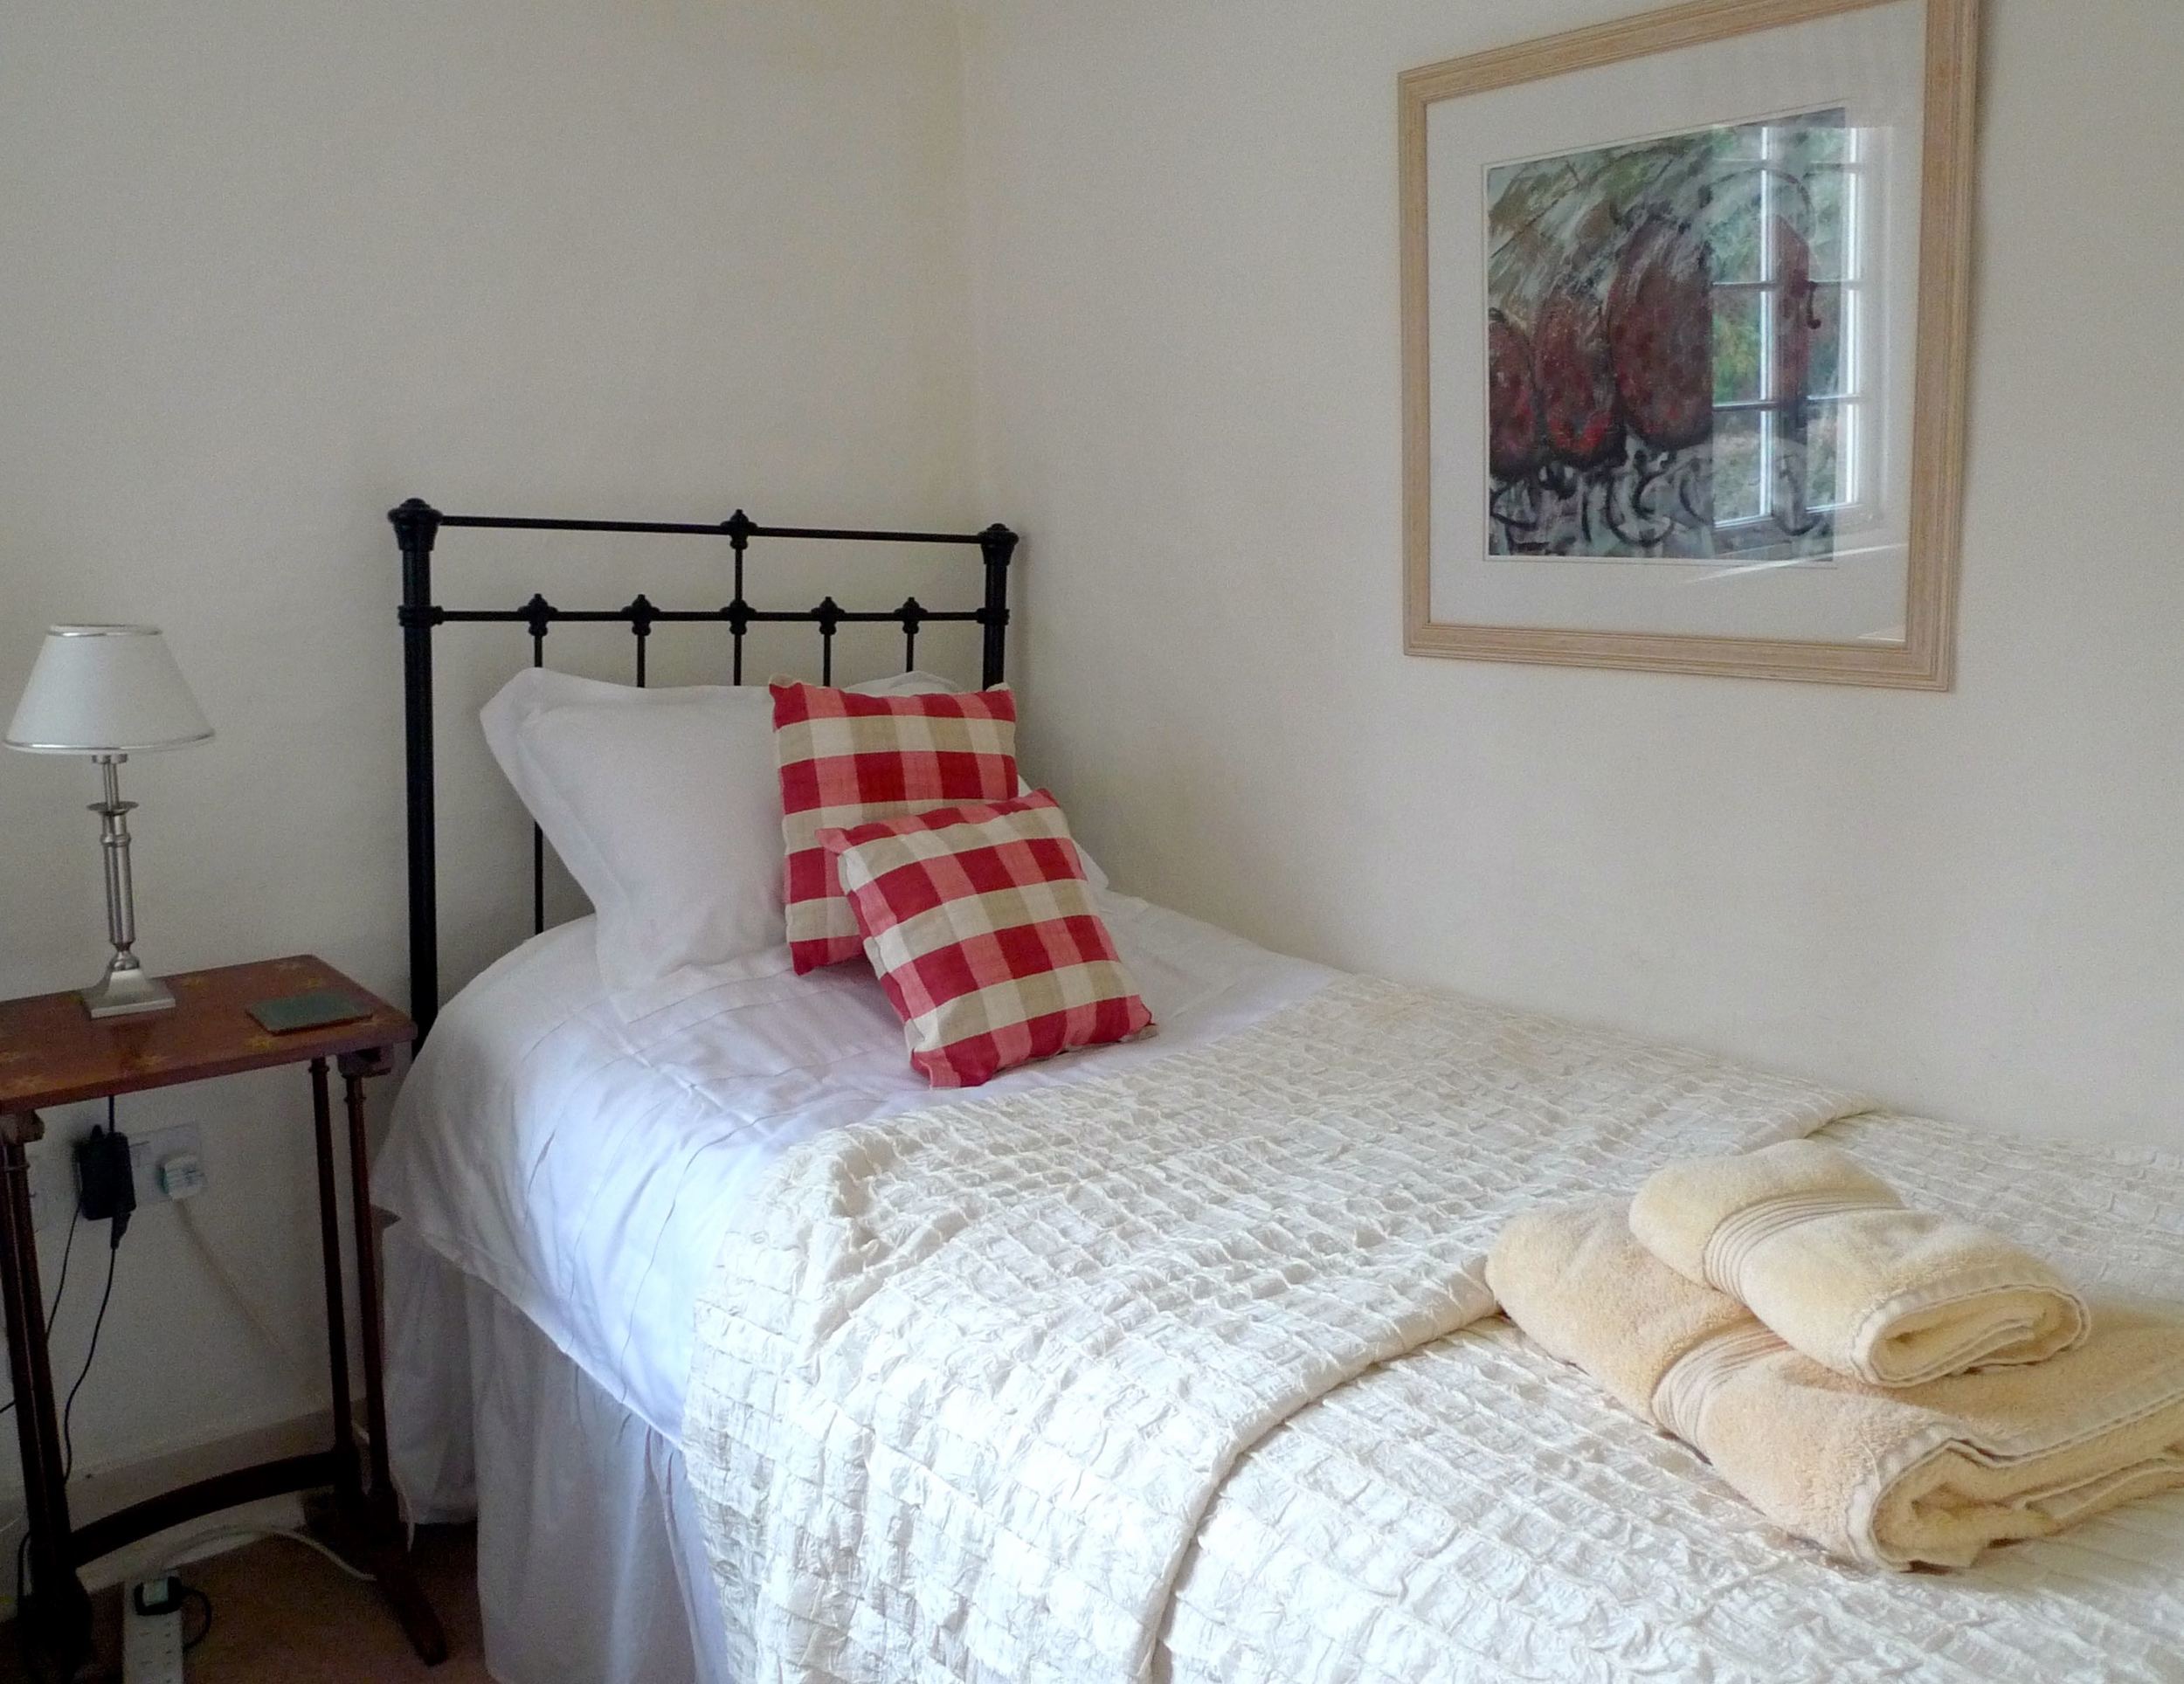
A single bedroom
A PICTURE THAT'S SIMPLE BUT ONE YOU KEEP LOOKING AT

A PICTURE THAT'S SIMPLE BUT ONE YOU KEEP LOOKING AT

SIMPLE, EFFECTIVE AND PRACTICAL

SIMPLE, EFFECTIVE AND PRACTICAL

And I thought that if I was going to be in the shot - I might as well be in the mirror - not sure what caught my eye though!

caught in the mirror

The main bedroom was full of character too, and a large comfy bed. After staying here I seriously considered buying a fluffy mattress topper as it was so successful here. In the end we bought a new mattress later in the year, but having never really been a fan of mattress toppers, here I was sold!
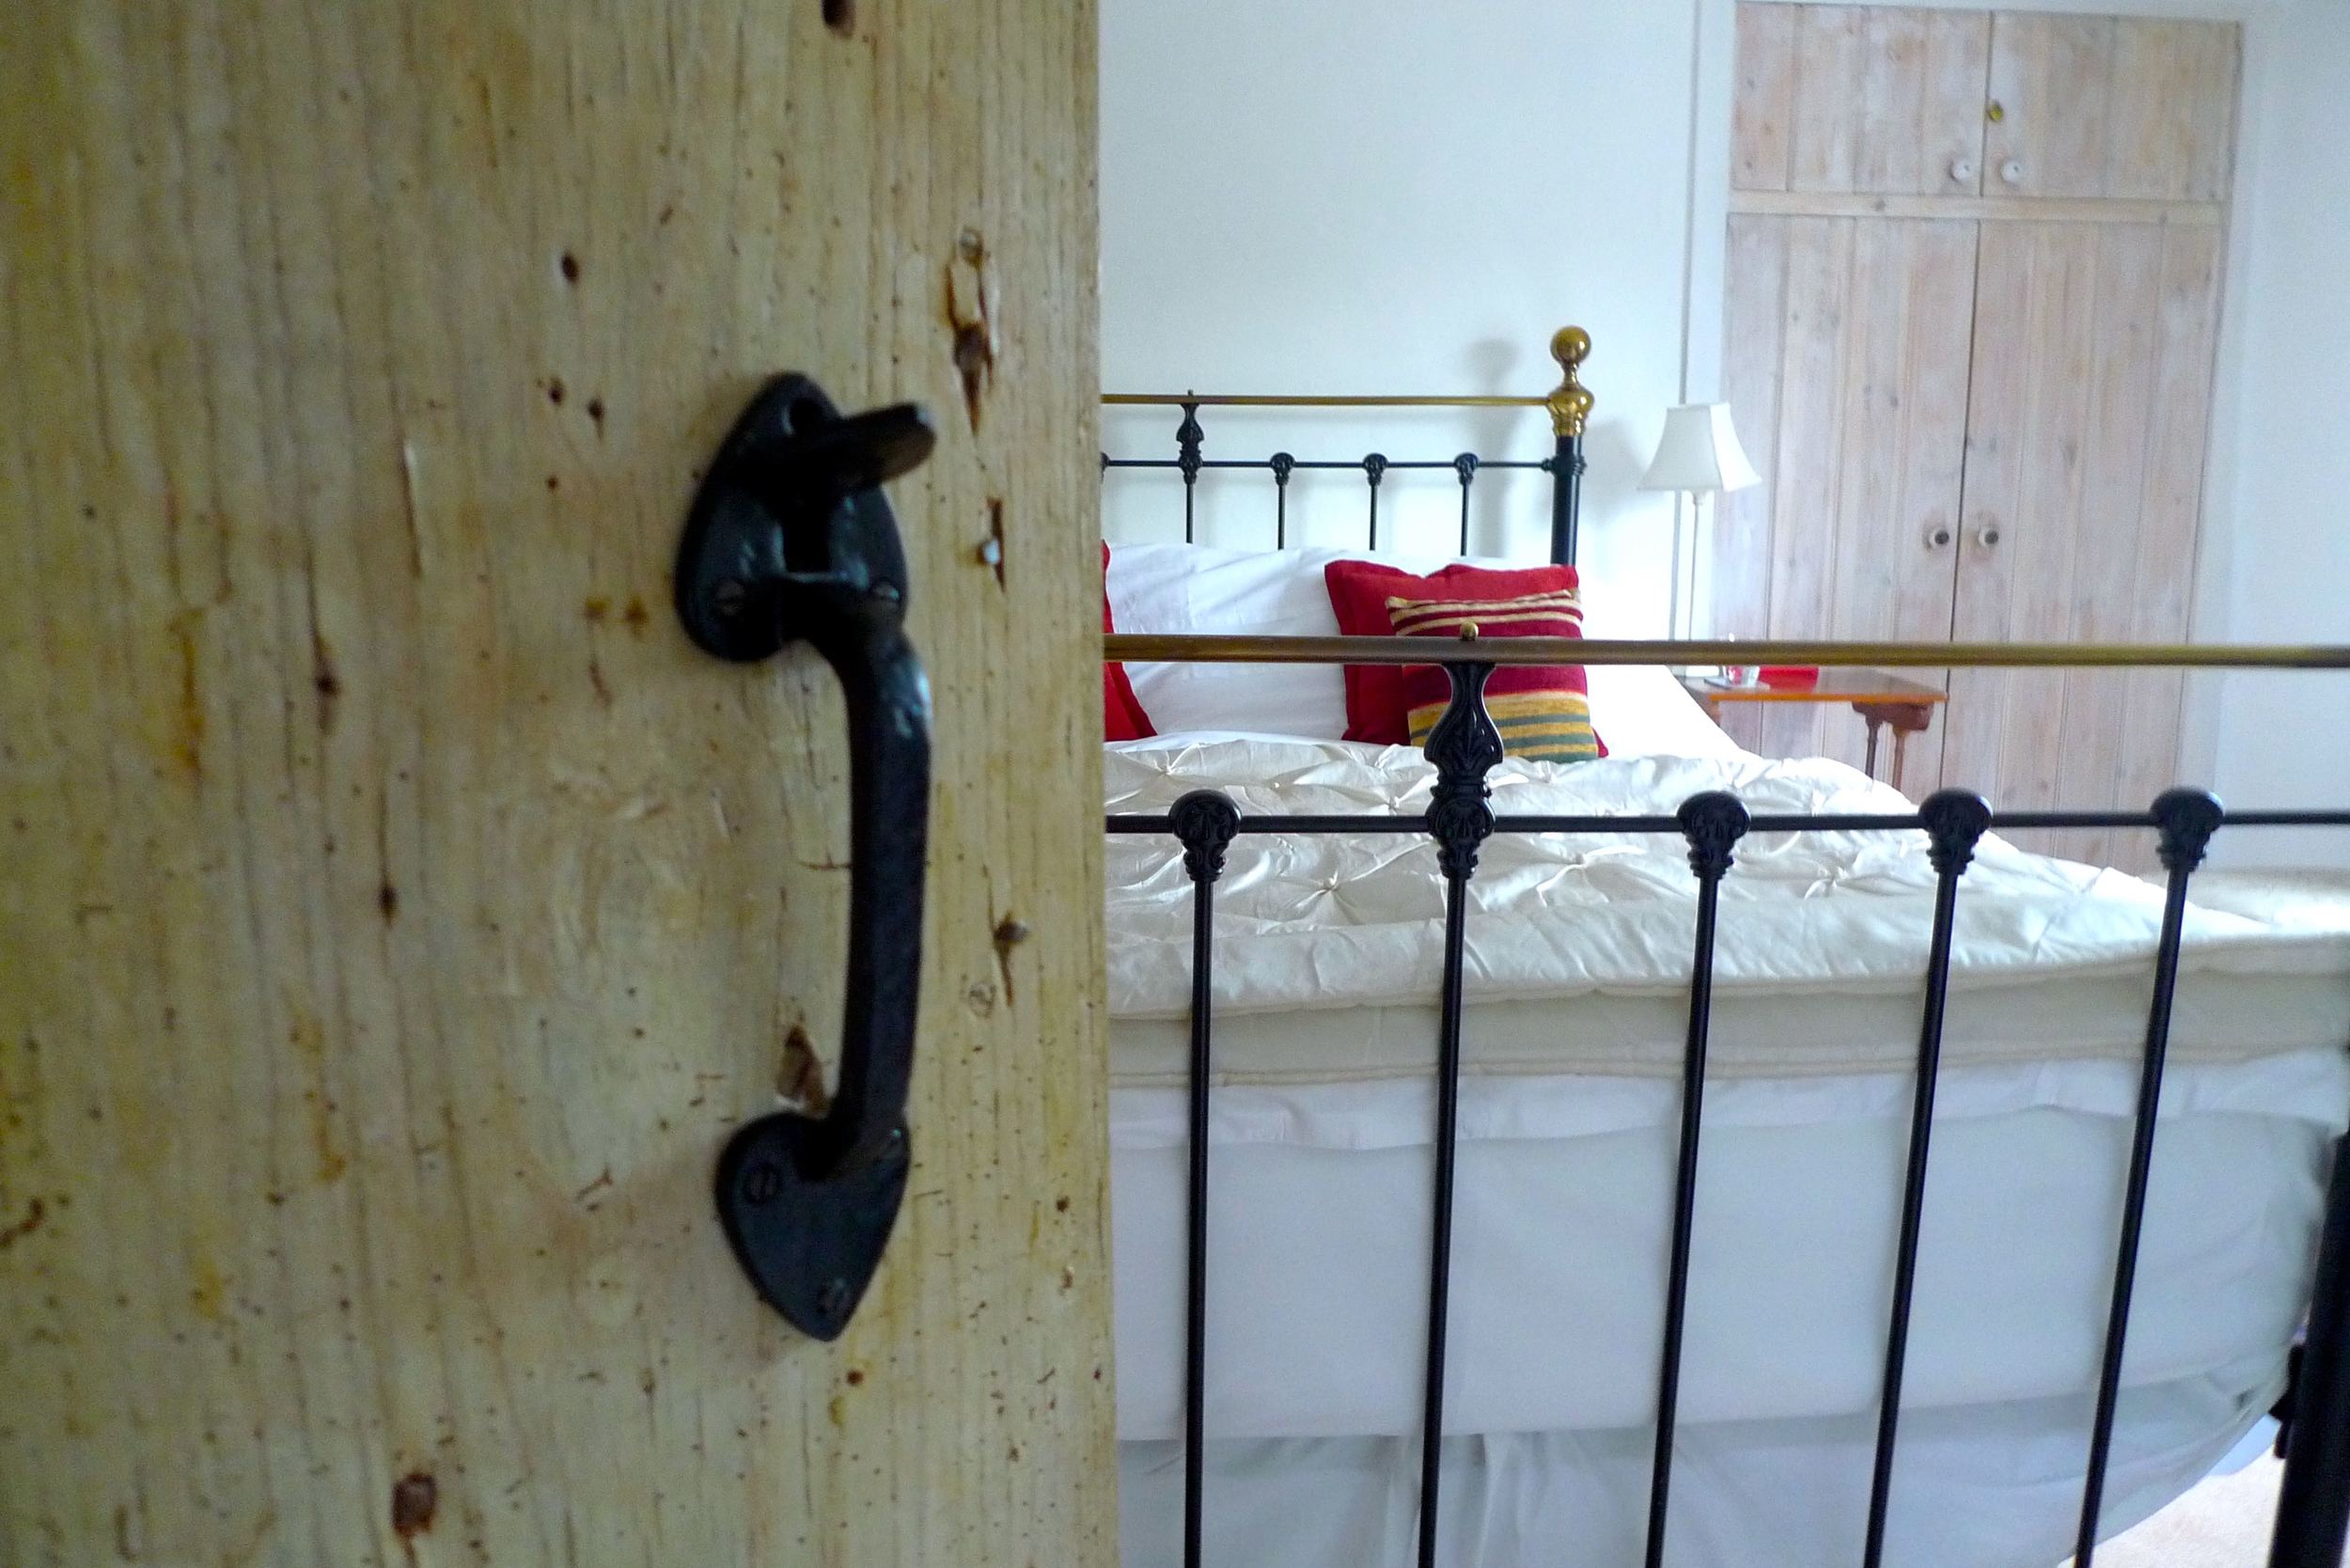
ANOTHER TRADITIONAL DOOR WITH IRONWORK

ANOTHER TRADITIONAL DOOR WITH IRONWORK

QUIRKY SIDE TABLES, WHITE BED LINEN AND A SPLASH OF COLOUR

QUIRKY SIDE TABLES, WHITE BED LINEN AND A SPLASH OF COLOUR

So a great stay in a fabulous cottage, which is now moving onto its next chapter. And looking back, I'm not sure why I didn't share before!


Home Etc
Lizzie Somerset

Cards for Mother's Day

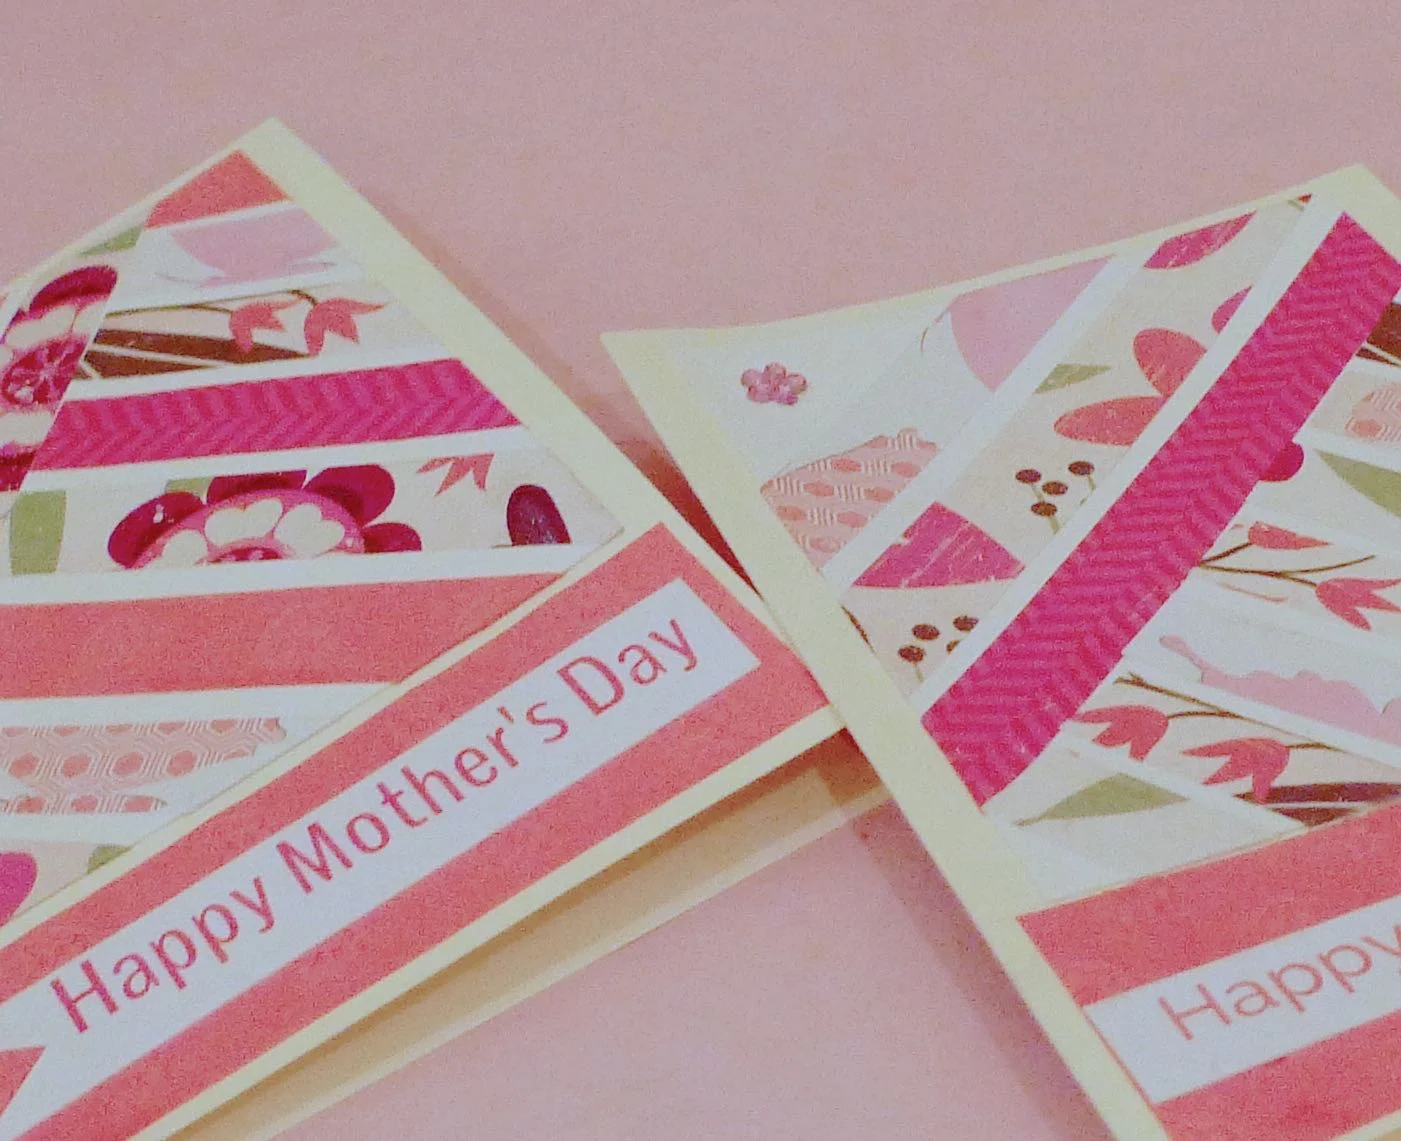
I'm taking a risk here posting my Mother's Day cards ahead of tomorrow, so if you're my mum or my MIL please stop reading now...


- - - Yes, if you're my mum or my MIL there's nothing to see here - - -


Right, with that out of the way, let me tell you more about the cards I've made.

I'm forever pinning ideas onto my Cards, Wrapping & Tags Pinterest board and so I thought I should check there for some inspiration before I started. And it worked.

Mothers Day card close-up

You'll need:

Card blanks
Card scraps
A selection of scrapbook paper cut into 1cm strips (or substitute washi tape for a quicker result)
PVA Glue
Printed or handwritten message
Embellishments for decorating

I used scrapbook paper for these cards, but washi tape would produce quicker results.

  1. Cut a scrap of card that covers two thirds of your card with a margin on each side and at the top.
  2. In a diagonal pattern stick the 1cm strips of scrapbook paper onto the card*, turning it onto the reverse of the card.  Leave under a pile of heavy books to dry.
  3. Cut out your text and stick onto a small piece of scrap card and leave it to dry under a pile of heavy books.
  4. When they are dry, cut around your text to form a flag shape at one end, your choice which and then stick this onto a larger piece of scrapbook paper that fills the remaining space of your card blank. Leave this to dry.
  5. Take the decorated piece of card and stick it onto your card blank, and leave it to dry.
  6. When both of these elements are dry and flat, stick them onto your card blank and leave it to dry for the last time. The heavy pile of books (or anything else that's heavy) is important as it keeps the card flat.
  7. Once the card is completely dry, add an embellishment in the top left-hand corner and you're ready to write your message inside.

These cards have do need time to dry as you assemble each element, but if you're using washi tape - which I think would look just as pretty - you can reduce the time it takes to make the cards, but not the effect.

Mother's Day cards

So there you have it, cards for Mother's Day. I'd hoped to be able to take better pictures of them before they went in the post but that didn't quite work out - next time I'll need to factor that in as well!

If you want some inspiration on home made cards, take a look at my Pinterest board - and if you like it, it'd be great to have you follow along.

Ideas to update our bedding from Julian Charles

Recently we had guests stay over and while I was making up the futon, I realised that our bedding had seen better days. But as it was just before our guests arrived there was little I could do about it. I guess (hope!) that like much of the spare room bedding out there, it's bedding that has been passed on from the main bedroom, when newer items have arrived there.  

Please tell me I'm right, or else I'm going to feel quite bad for our guests, and I guess most of you won't agree to come to stay either...

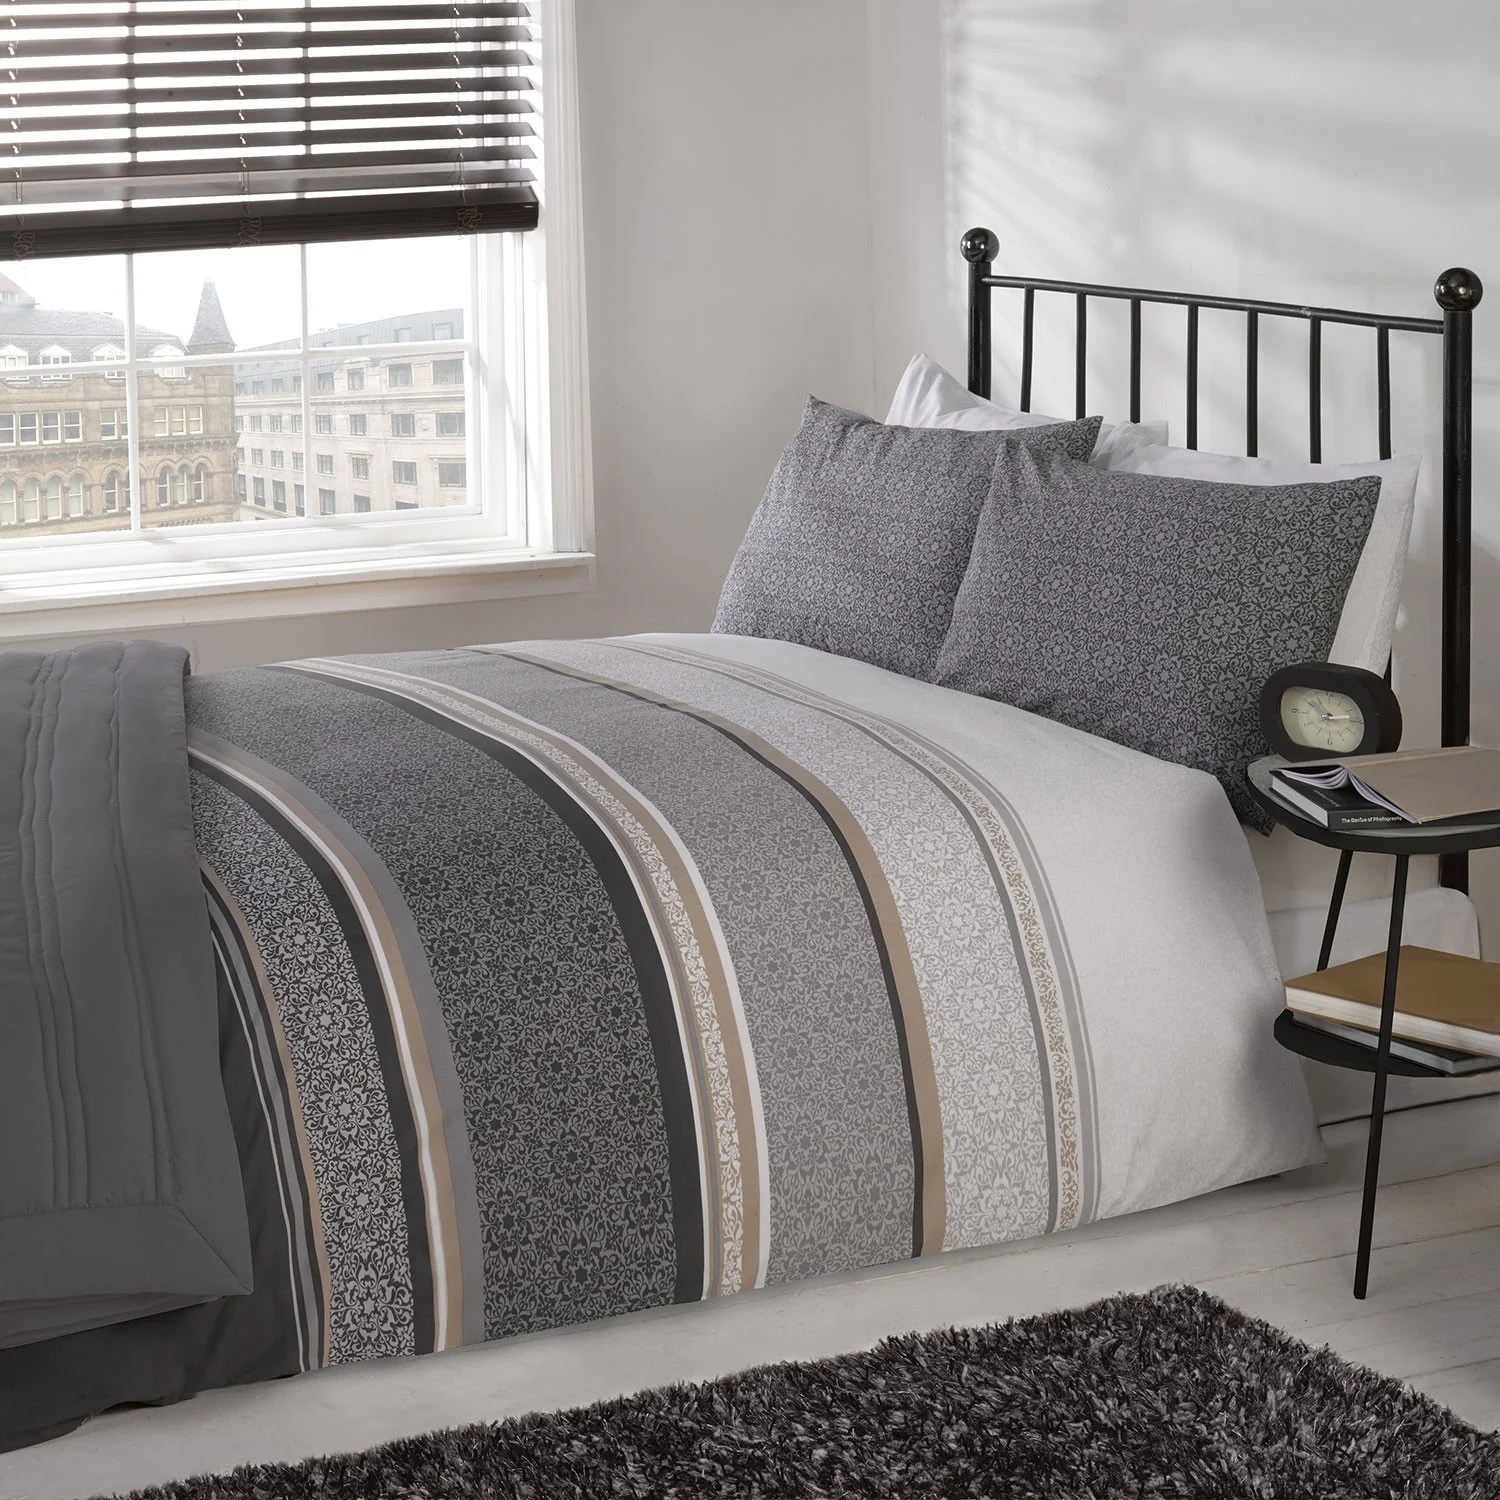
So when I saw that Julian Charles were inviting bloggers to put together a post detailing how their products would enhance my home, I knew just which room I'd focus on - our spare bedroom which we decorated last summer. The main wall is painted Dove Grey with black wall art and some large modern pictures, so this Ashford Silver Luxury Duvet set would be just the thing.

Photo credit: Julian Charles

Photo credit: Julian Charles

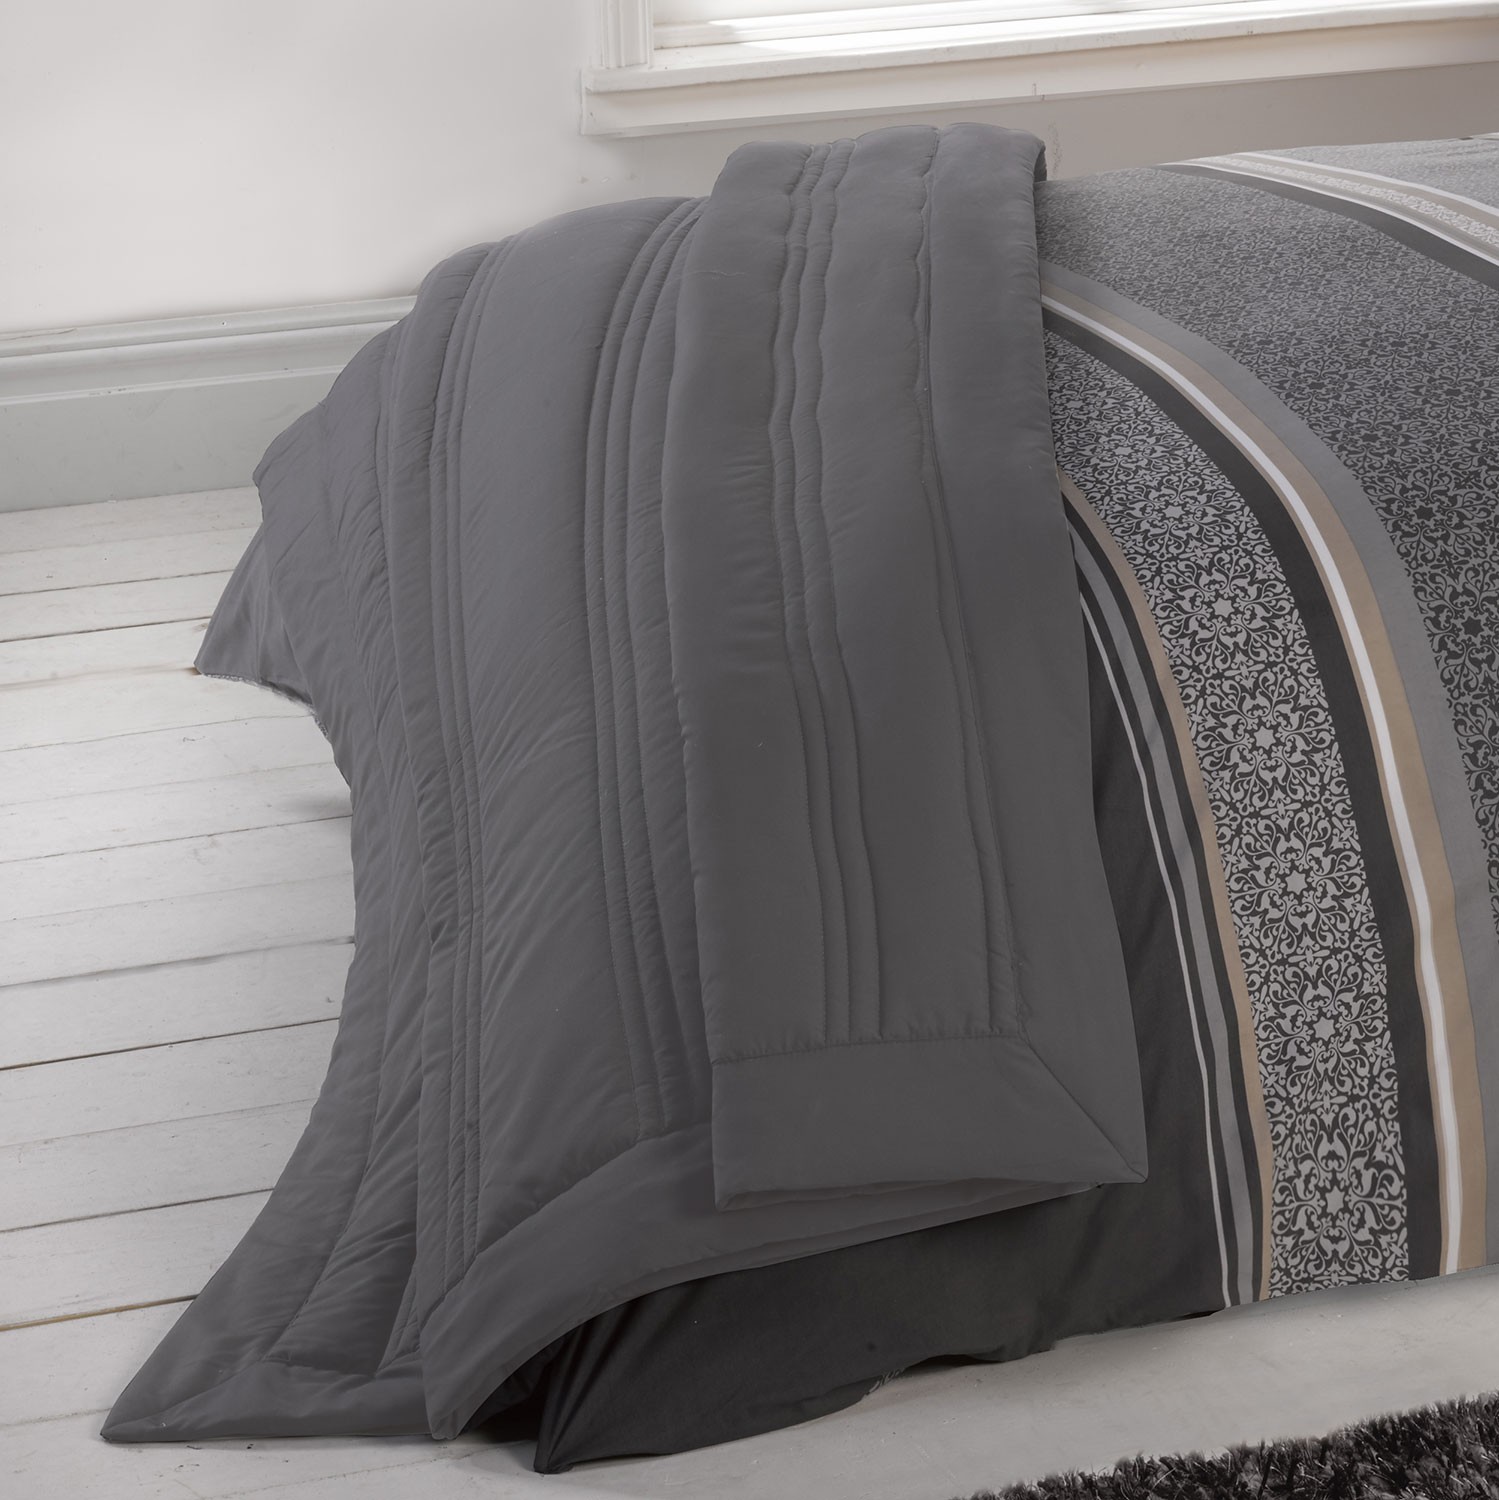
I like its pattern, and think the detail provides texture and interest without being overly feminine. And every well dressed futon needs a throw, especially for those colder nights and the Darla Grey Luxury Quilted Throw looks a good match for the bedding I've chosen.

Photo credit: Julian Charles

Photo credit: Julian Charles

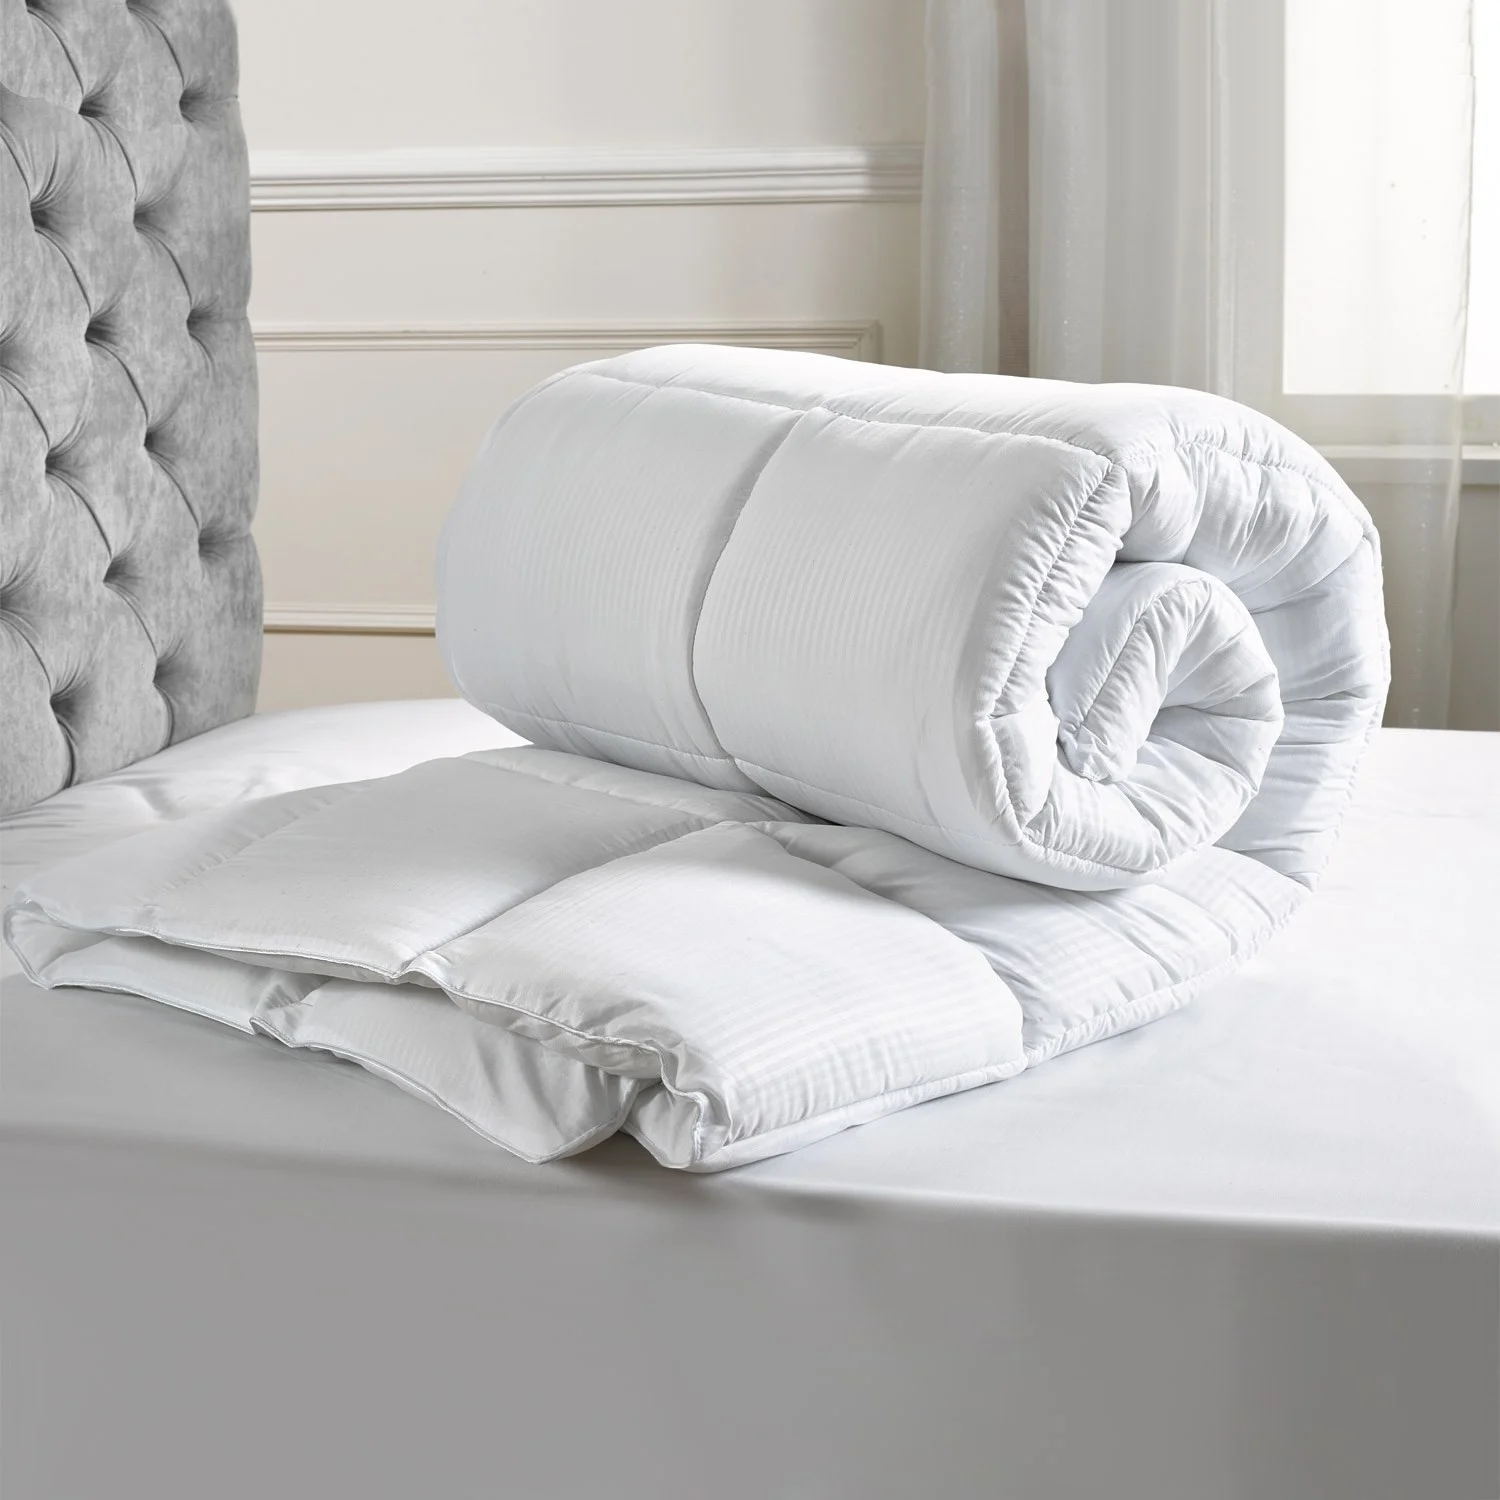
While I'd love to show you more of the bedding sets on the site, to make my spare bedroom more welcoming for my guests I have to go back to basics. Because a fancy duvet set isn't much use without something to put inside it. And I don't know about you but I think it's such a treat when you stay in a good hotel with good bedding, and that's the feeling it'd be great to reproduce at home for our guests.

So my last three choices would be:

  • 5 Star Luxury Super Soft 10.5 Tog Duvet

  • 5 Star Luxury Super Soft Pillow - Medium Support

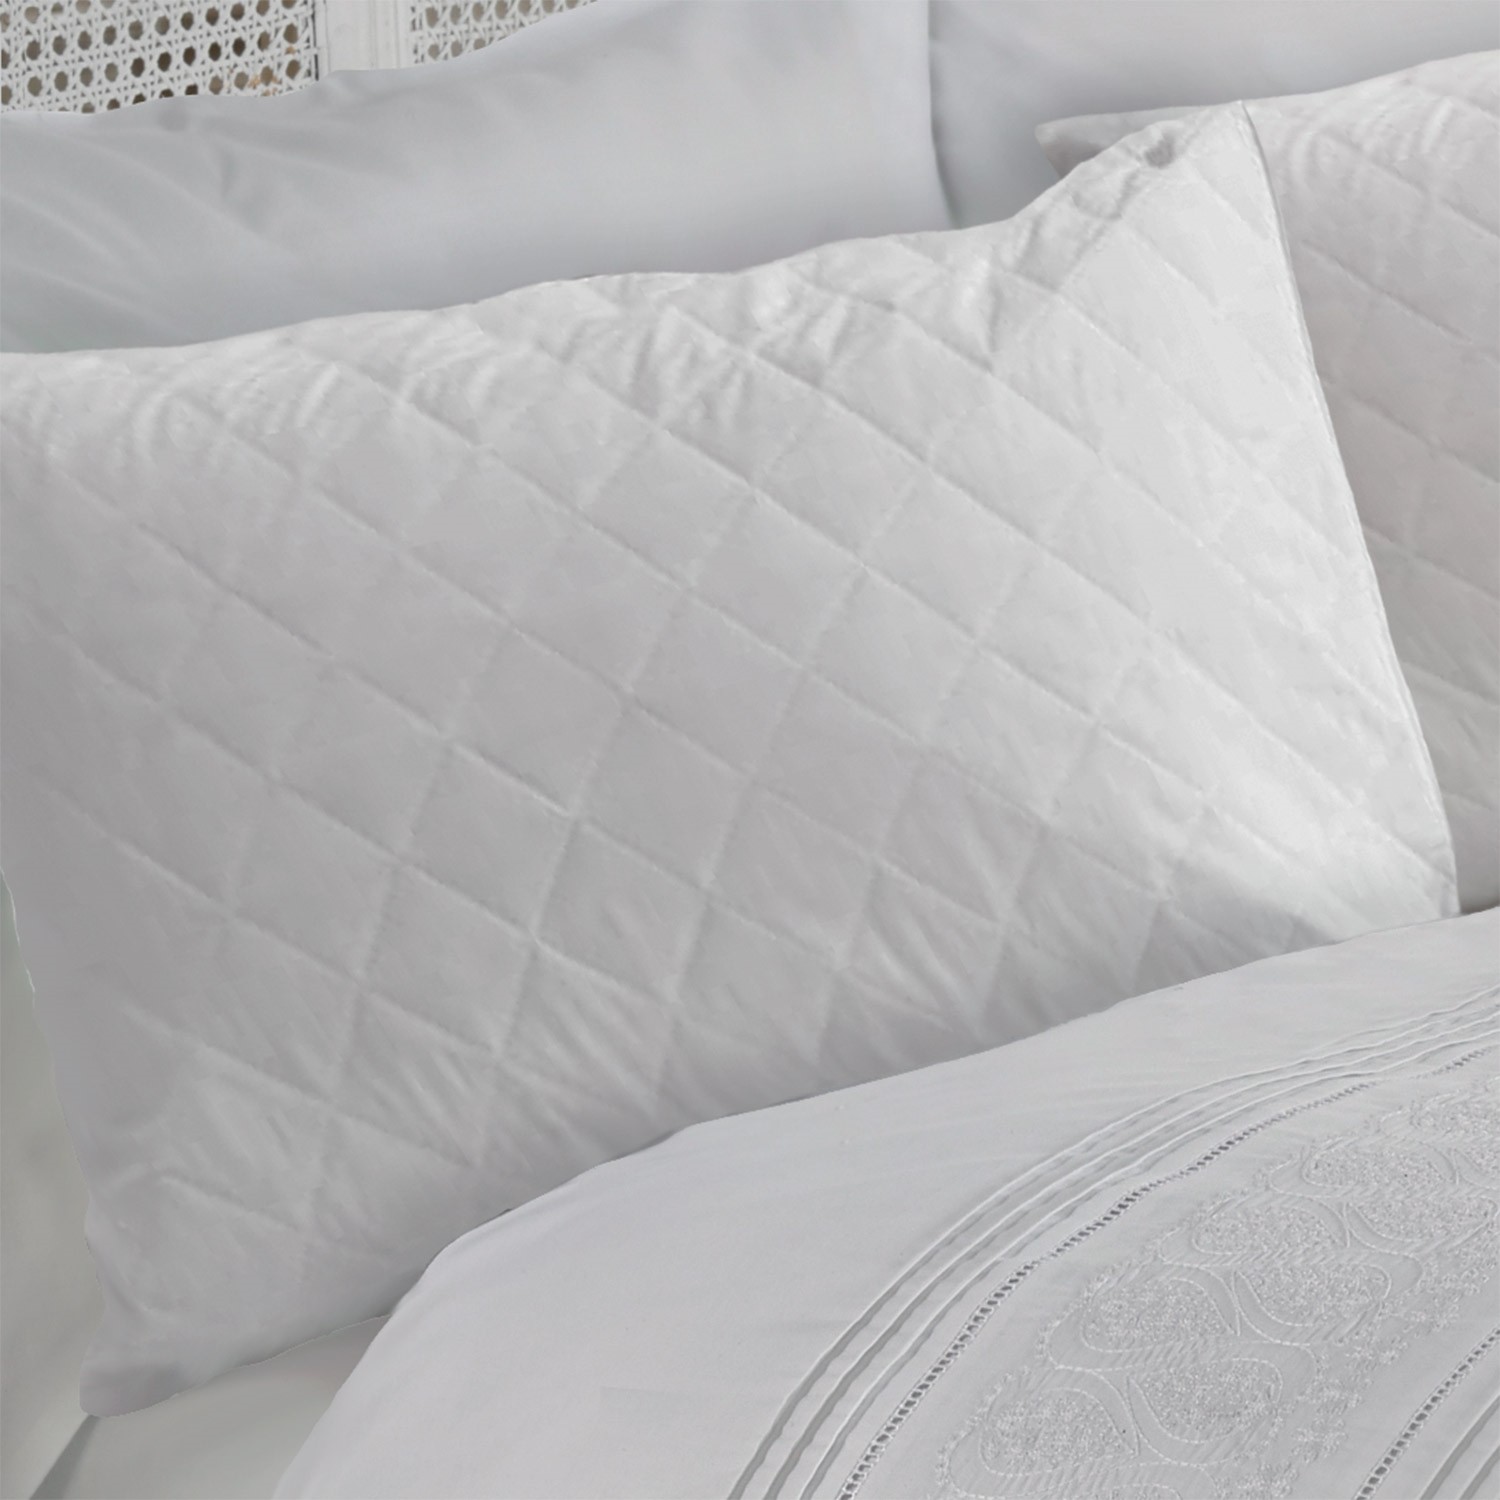
  • Luxury Quilted Pillow Protector - because let's face it, with such fab bedding I'll be having lots of people over and no-one really wants to (or needs to) share pillows do they?

Photo credit: Julian Charles

Photo credit: Julian Charles

Photo credit: Julian Charles

Photo credit: Julian Charles

Photo credit: Julian Charles

Photo credit: Julian Charles

I think if my spare bedroom was kitted out with this bedding I'd be welcoming more house guests, so I'd need one of my many empty notebooks to keep everything on track and make sure I didn't make any double bookings!


And you really can't beat new, crisp bed linen can you?


* This post is my entry into Julian Charles' Best Dressed Interior 2016 competition