

Planning our plot

So far this year I haven't purchased any seeds. I probably should have by now I suspect. But all is not lost.

Well I don't think so anyway as this year my gardening bug is showing signs of appearing earlier than normal though, so I think it bodes well - last year it didn't start to twitch until early March.

What I have done though is sat down and started to plan where things might go. From that, I hope I'll have a concentrated seed spend. 
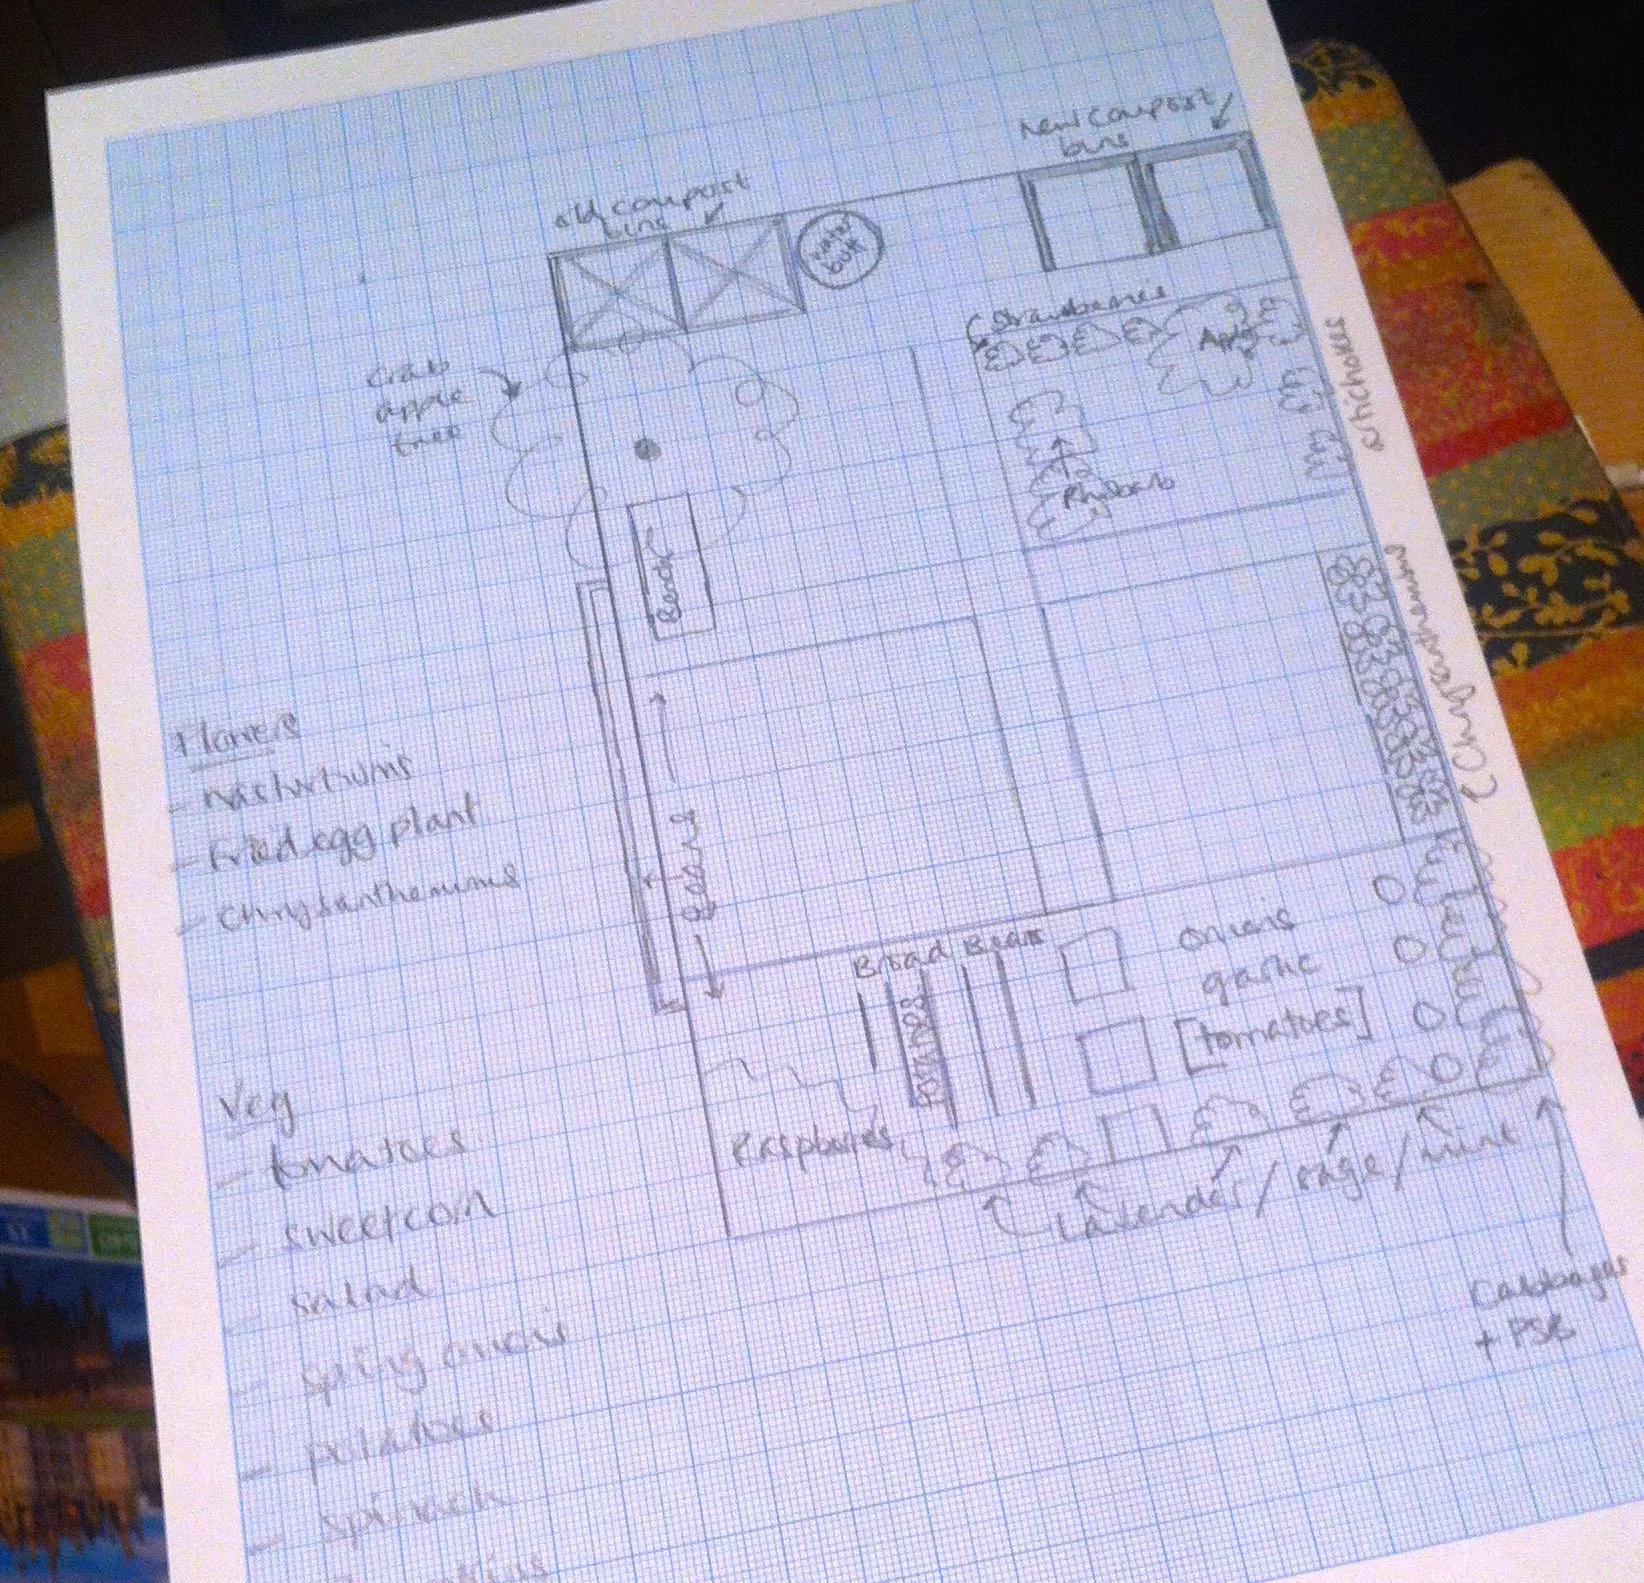
plans

Despite plenty of digging only part of our plot is functional; that's the large band at the bottom of my plan above - which currently is hosting the purple sprouting broccoli, some cabbages, a single cavolo nero, onions, garlic, some optimistic potatoes and some more promising broad beans.

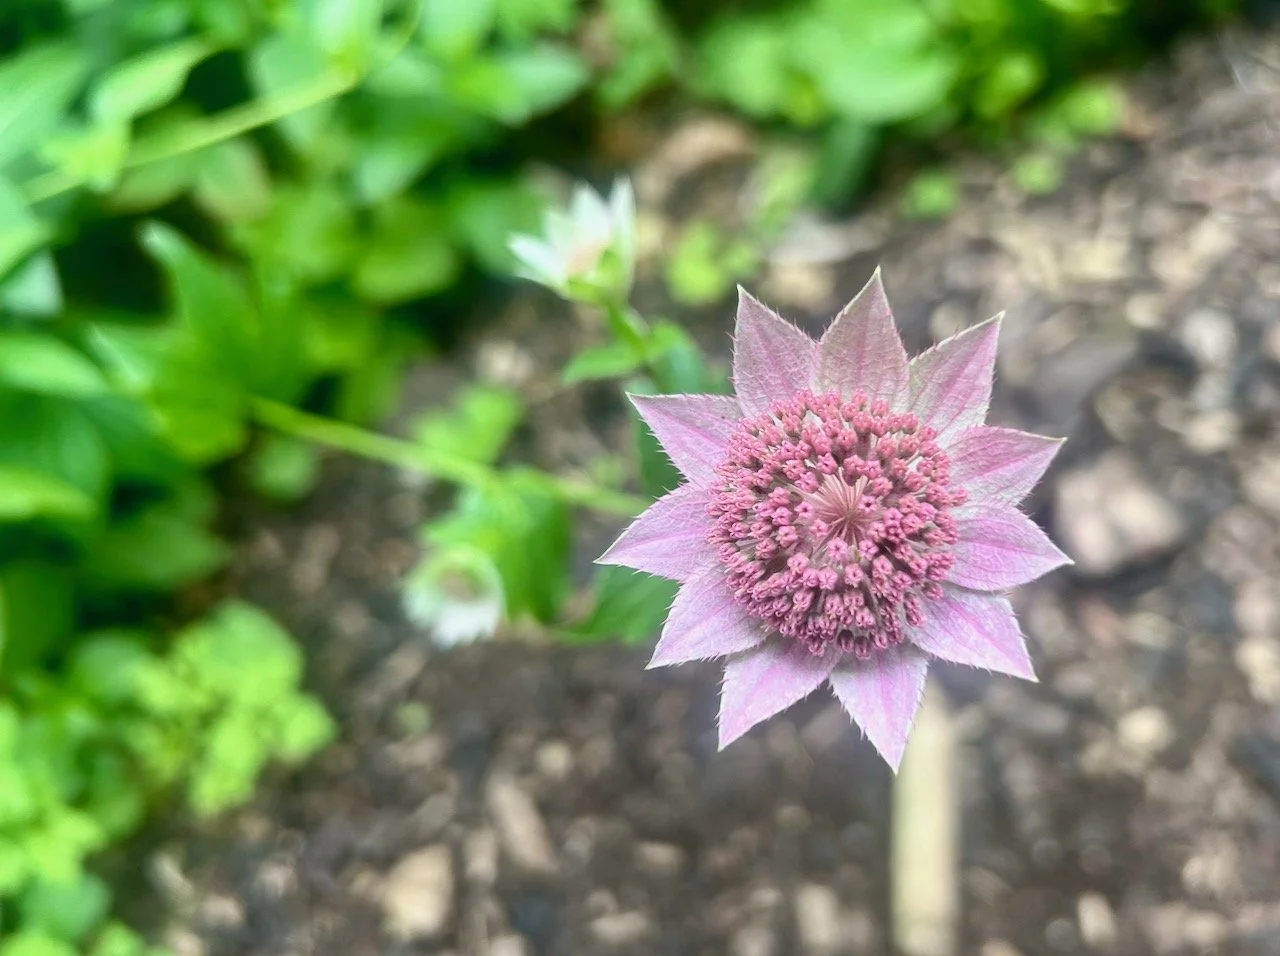
We've already planted lavender, sage and mint (in a pot) at the far end of our plot, along with the pink flowering plant which we split into three. As they grow they'll start to form a plant border to stop the foxes running through the crops that we've planted.

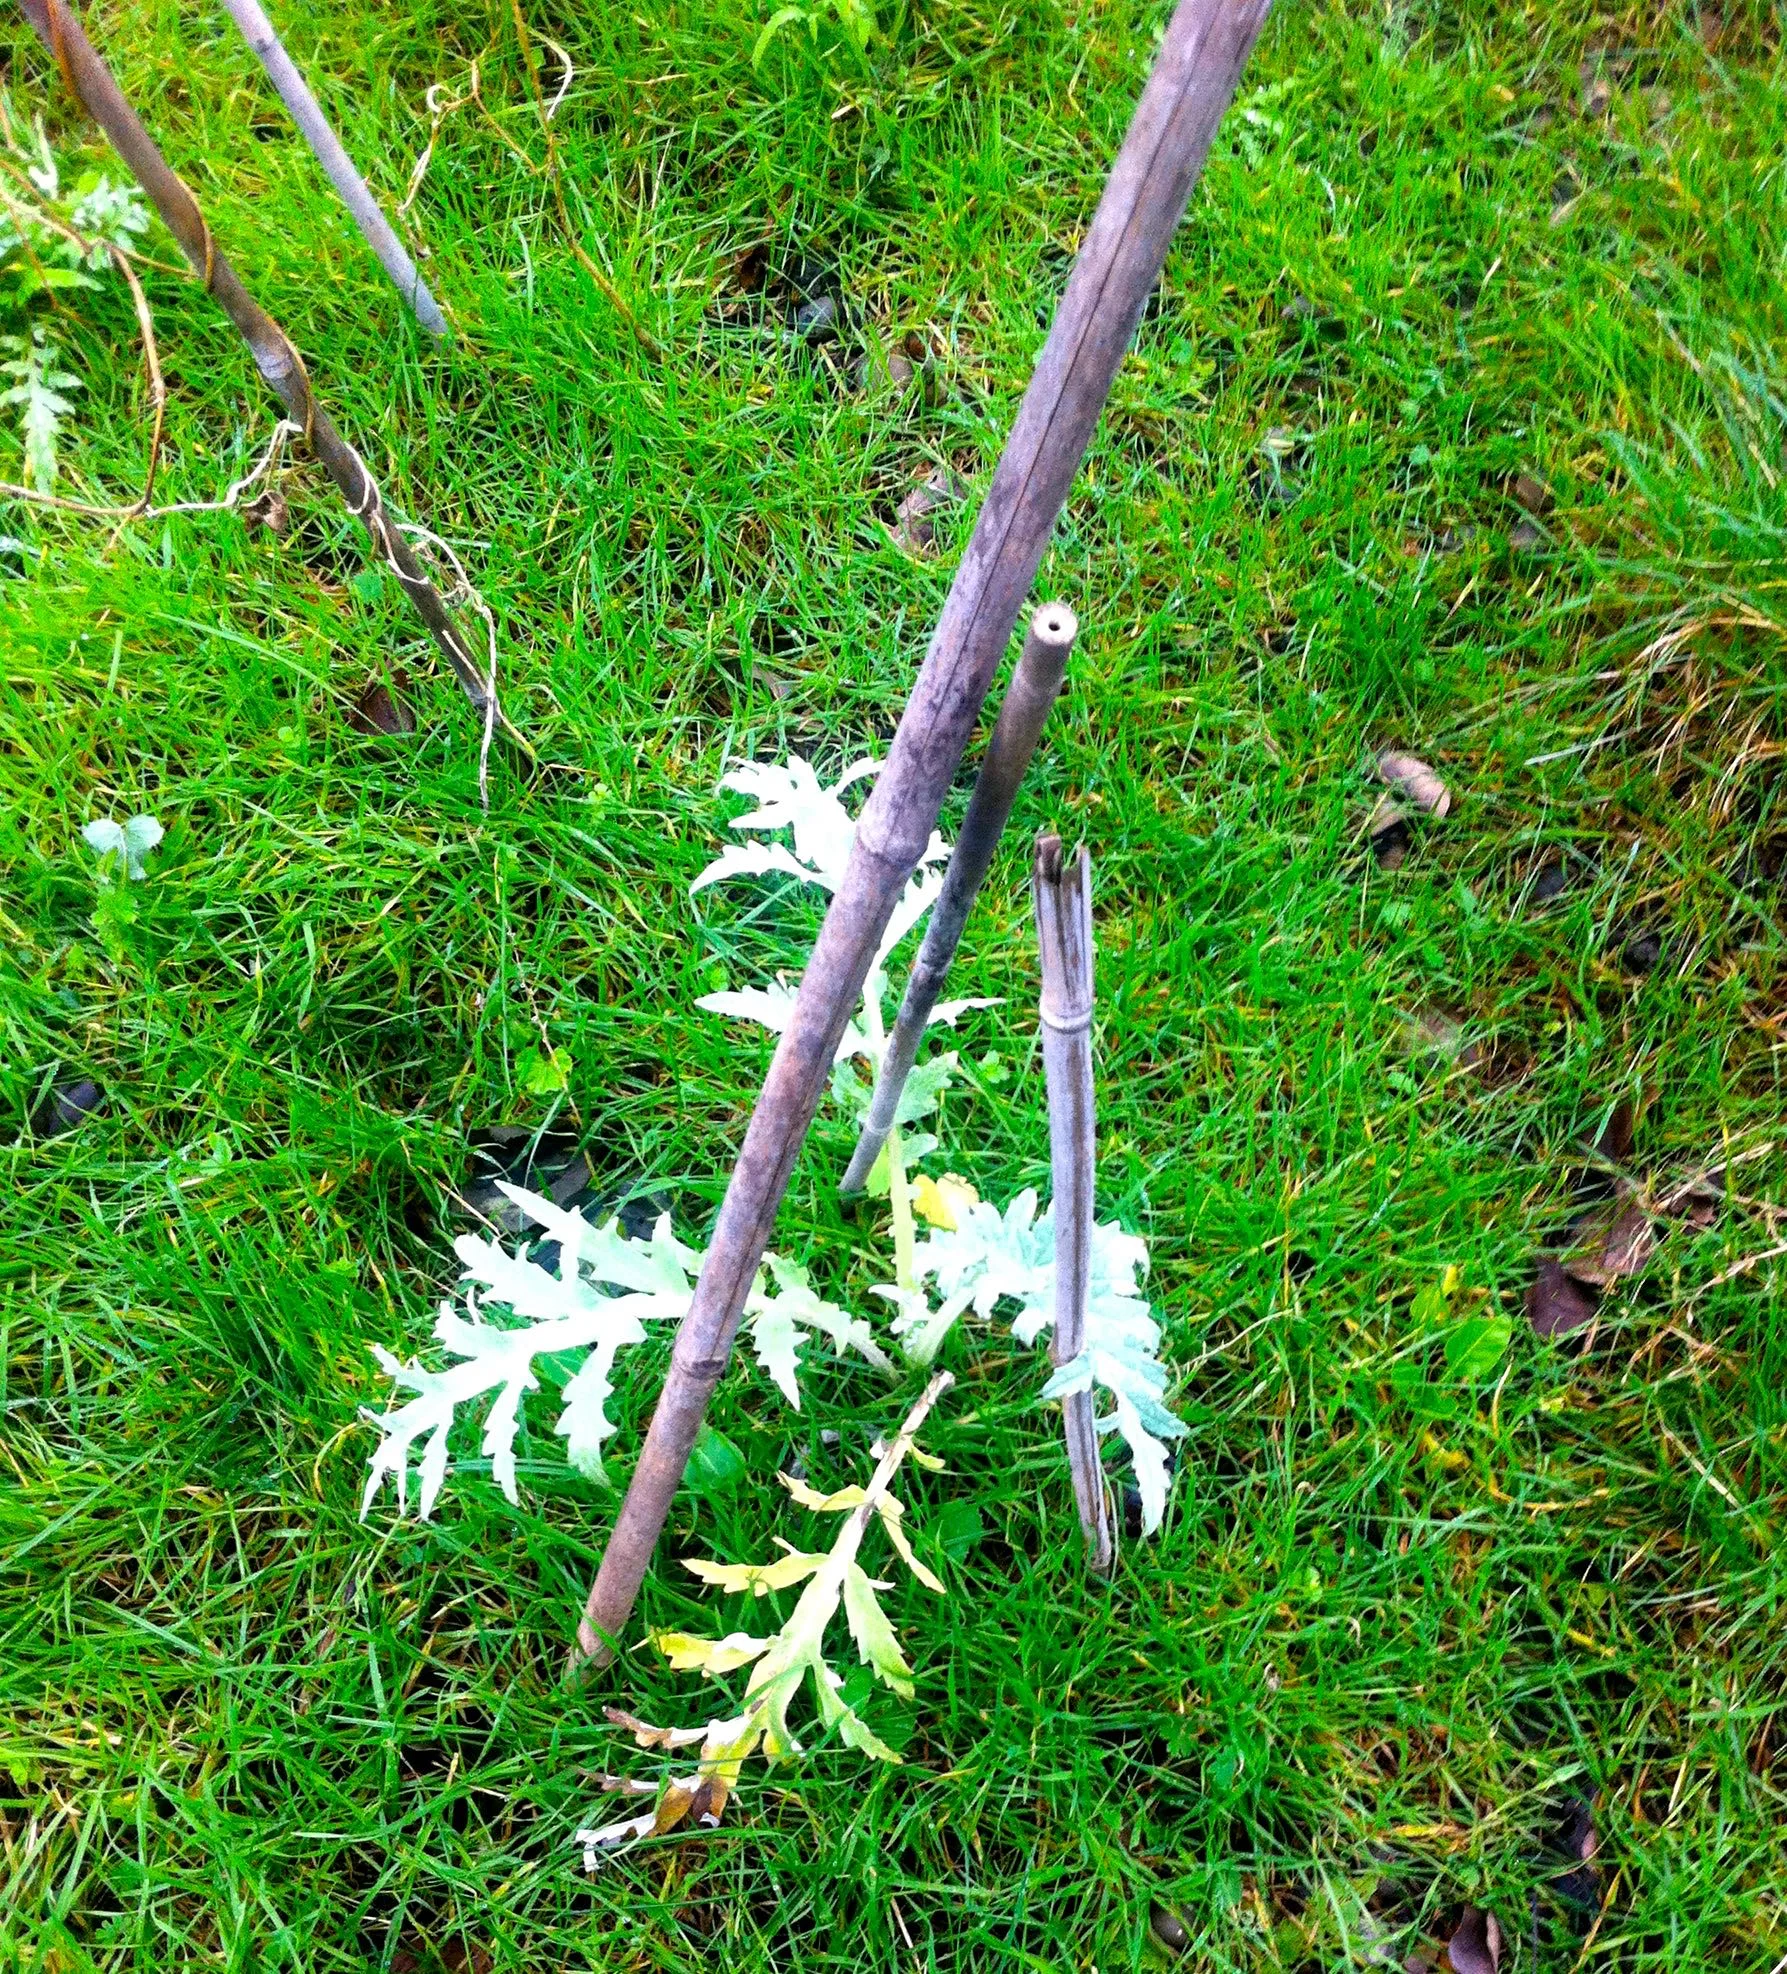
The other section that's almost functional is the section just in front of the new compost bins, where we moved the small apple tree to last October. As you can see from the artichoke picture below, the grass has grown back in that section...
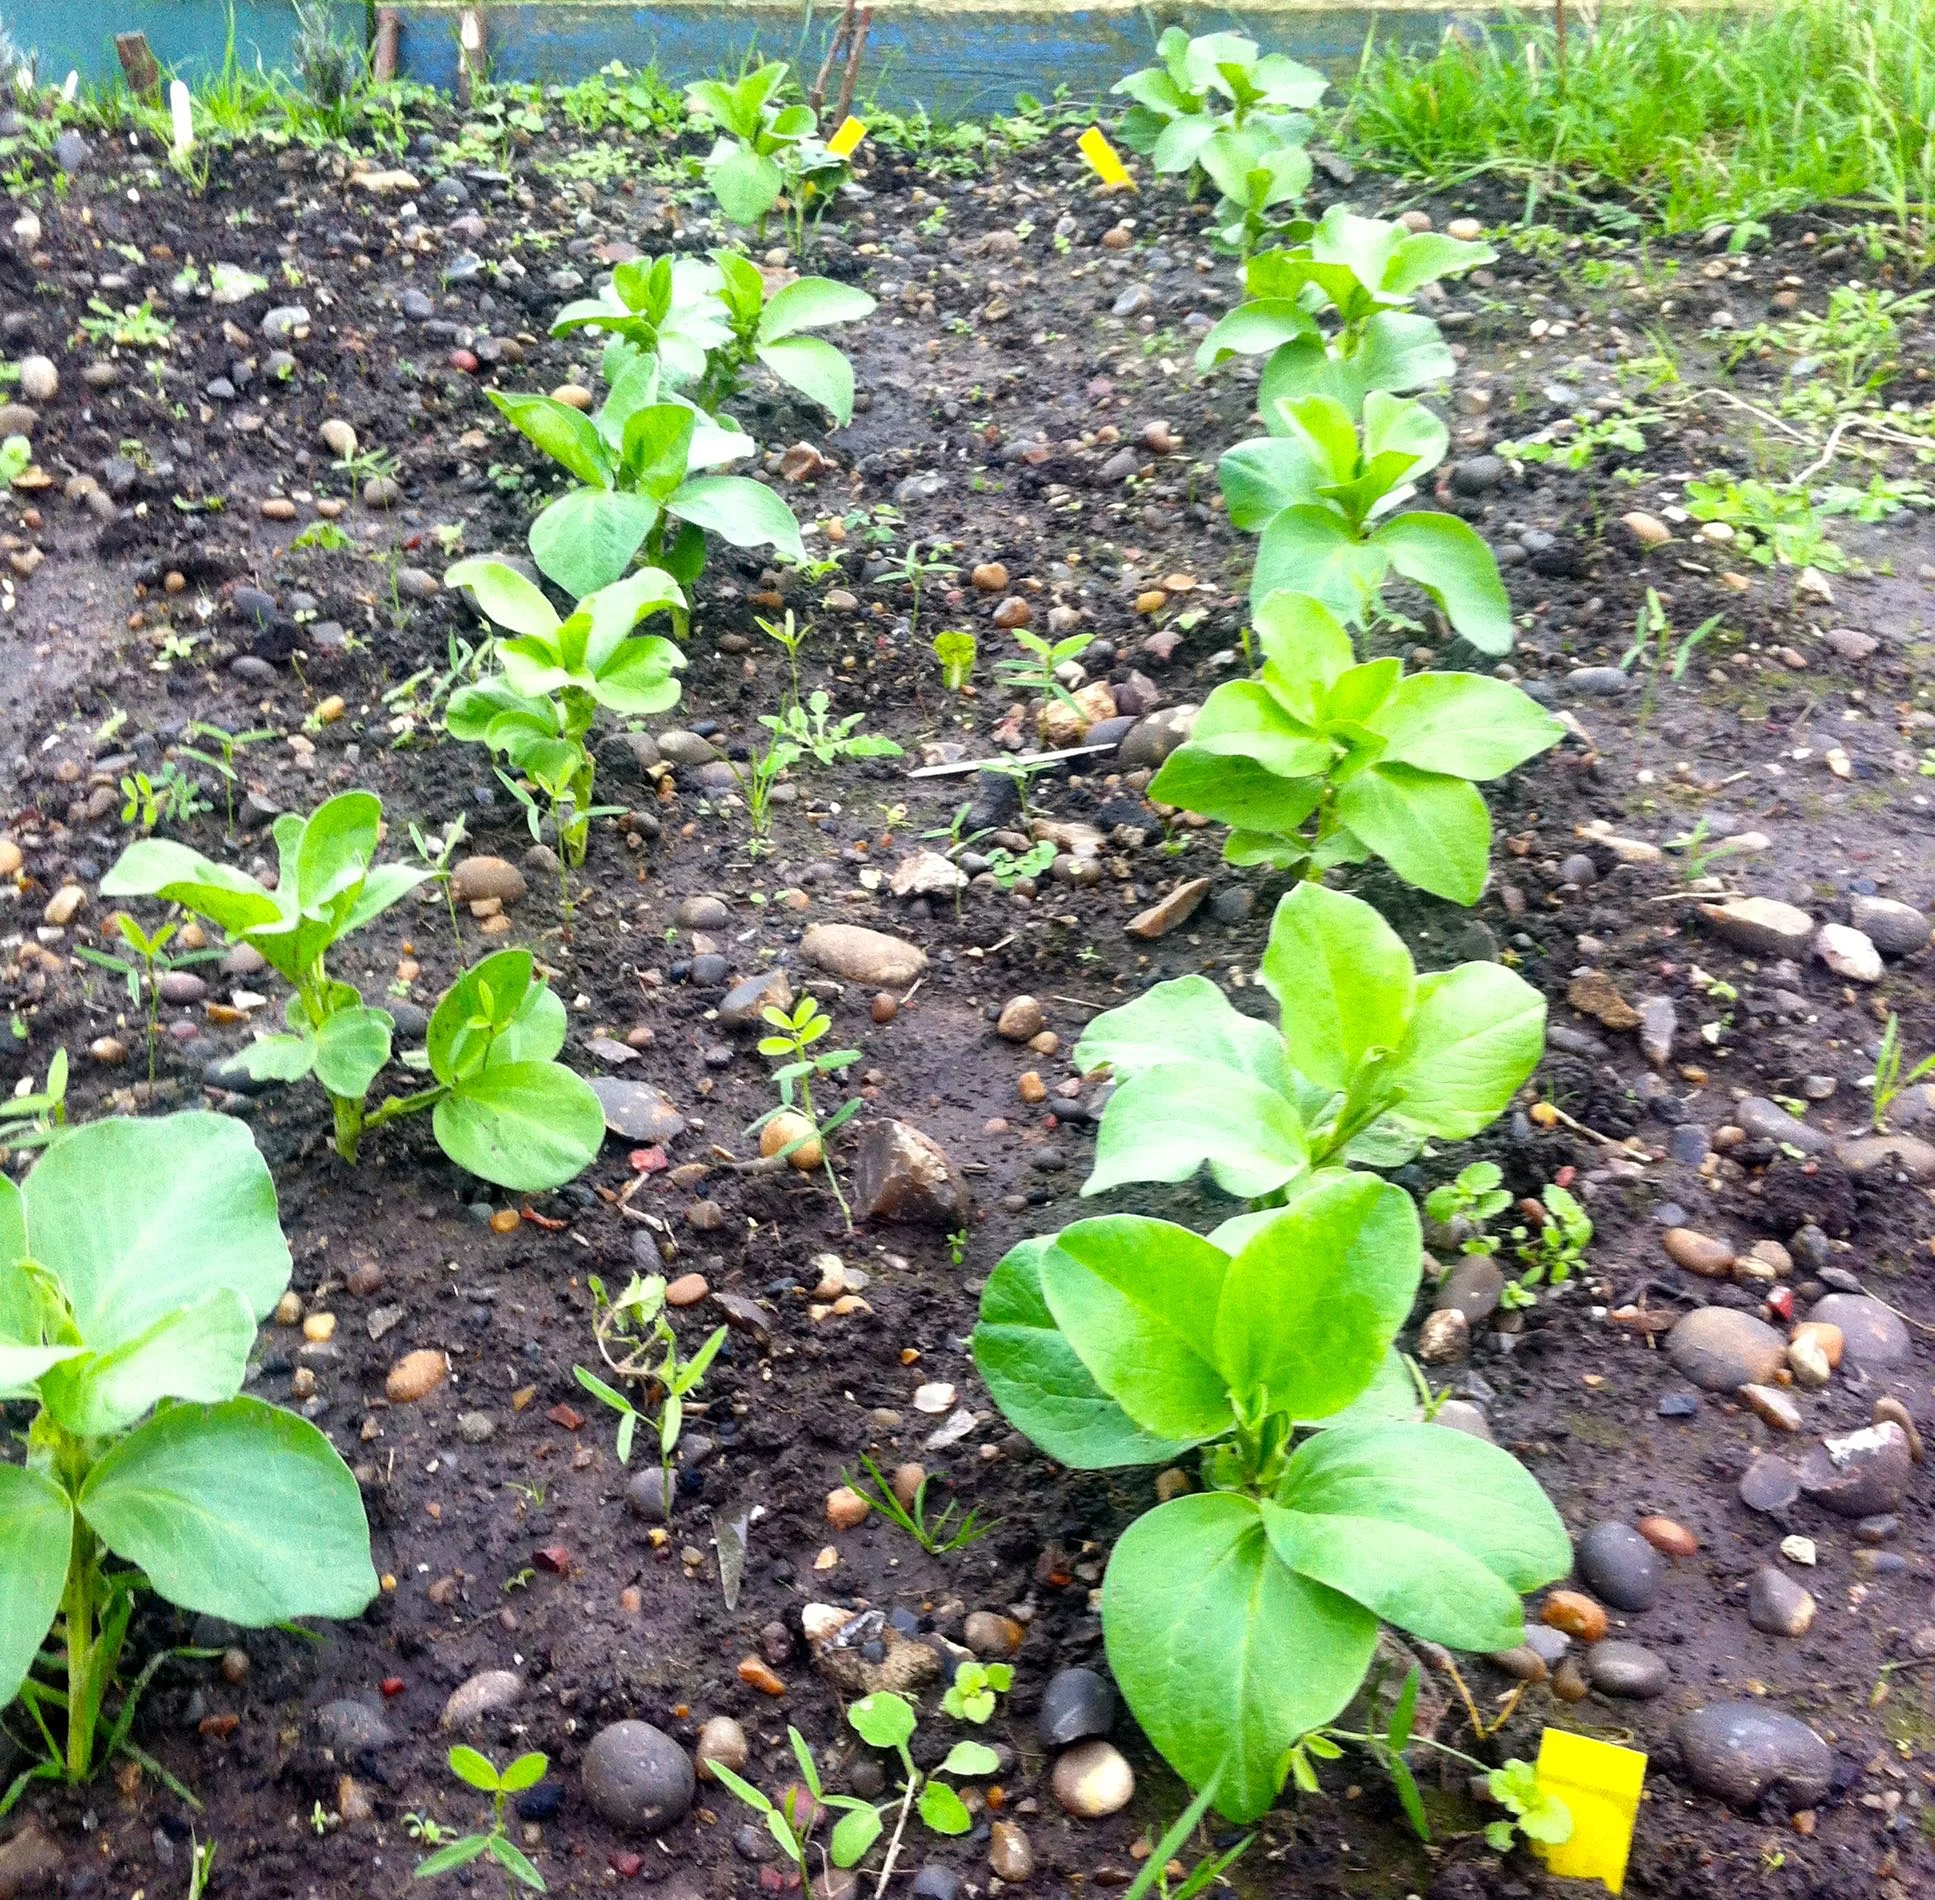
BROAD BEANS
BROAD BEANS

ARTICHOKES, ERM IN GRASS...

ARTICHOKES, ERM IN GRASS...

My plan

  • I'm hoping that once the onions and garlic are done I can replace them with my usual "farm" of tomatoes.
  • Where the purple sprouting broccoli is, I'm planning to plant a row of rosemary cuttings I've cultivated from the large plant I have in my garden.
  • In the middle right-hand section, as a border I plan to plant some chrysanthemums from my dad's garden, but I'll need to clear some space for those - as well as dig over the rest of that section.
  • I want to use the far side of the middle left-hand section for my beans this year. This may be a tad too optimistic as there's some large branches from who knows where there, and a grassy mound from some of our first digging attempts there. In its favour there is a metal "goal post" in place which will be ideal for the beans. And to hang some bunting from if I get my act together.
  • The plan for the bed in front of the new compost bins is for plants we won't need to move. The small apple tree is already there, so are the artichokes. I've got some more strawberries and some rhubarb to move over there once we've re-dug this whole section.

For now, I think that's enough. 

What I'll grow

This year I want to grow: tomatoes (of course!), sweetcorn, enough salad to keep us in lettuce, spring onions, pumpkins, spinach and potatoes. I want to grow some flowers too and last September at the Geffrye Museum I left with seeds for Nasturtium and Heartsease - I love their alternative name of Love-in-idleness! 

I've also got some Poached Egg Plant (Limnanthes douglasii) seeds which I plan to grow to attract the bees over to my plot. The flowers are supposed to look like poached eggs, but I'm guessing not so good on toast...
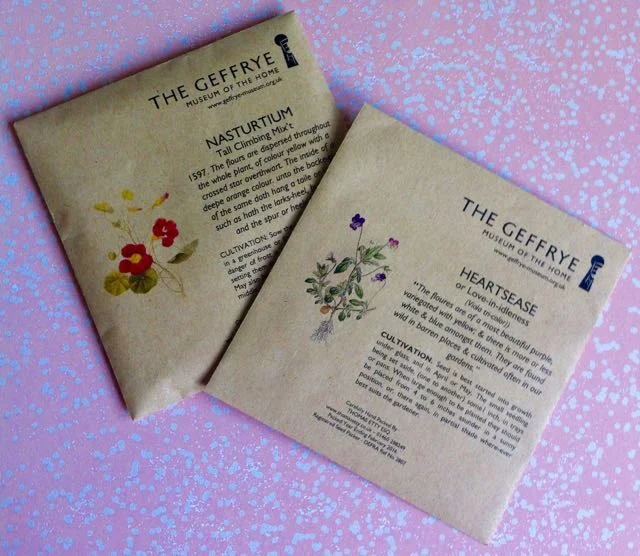
GEFFRYE SEEDS

GEFFRYE SEEDS

Fox-like visitors

On our last visit to the plot we checked, as we always do the state of the compost bins. The old ones hadn't got any worse and it seems the foxes hadn't been in them again. Good we thought, that was until we saw the new compost bins. 

The foxes it seems have found the new compost bins and have had great fun gnawing and ripping out the cardboard I'd stuffed down the gaps in the pallets.  So when I visit next with some time to do some work, my job will be to try to beat the wildlife again. And clear up the mess they've made, if the wind hasn't distributed the cardboard stuffing too far and wide! 

I'd thought the foxes had given up with our plot and moved elsewhere. I think they've sensed (or smelt) we've not been around much and so our plot has once again become their playground. I've made a mental note to walk around the plot more often next winter just to discourage them. I hope just being there will dissuade them...
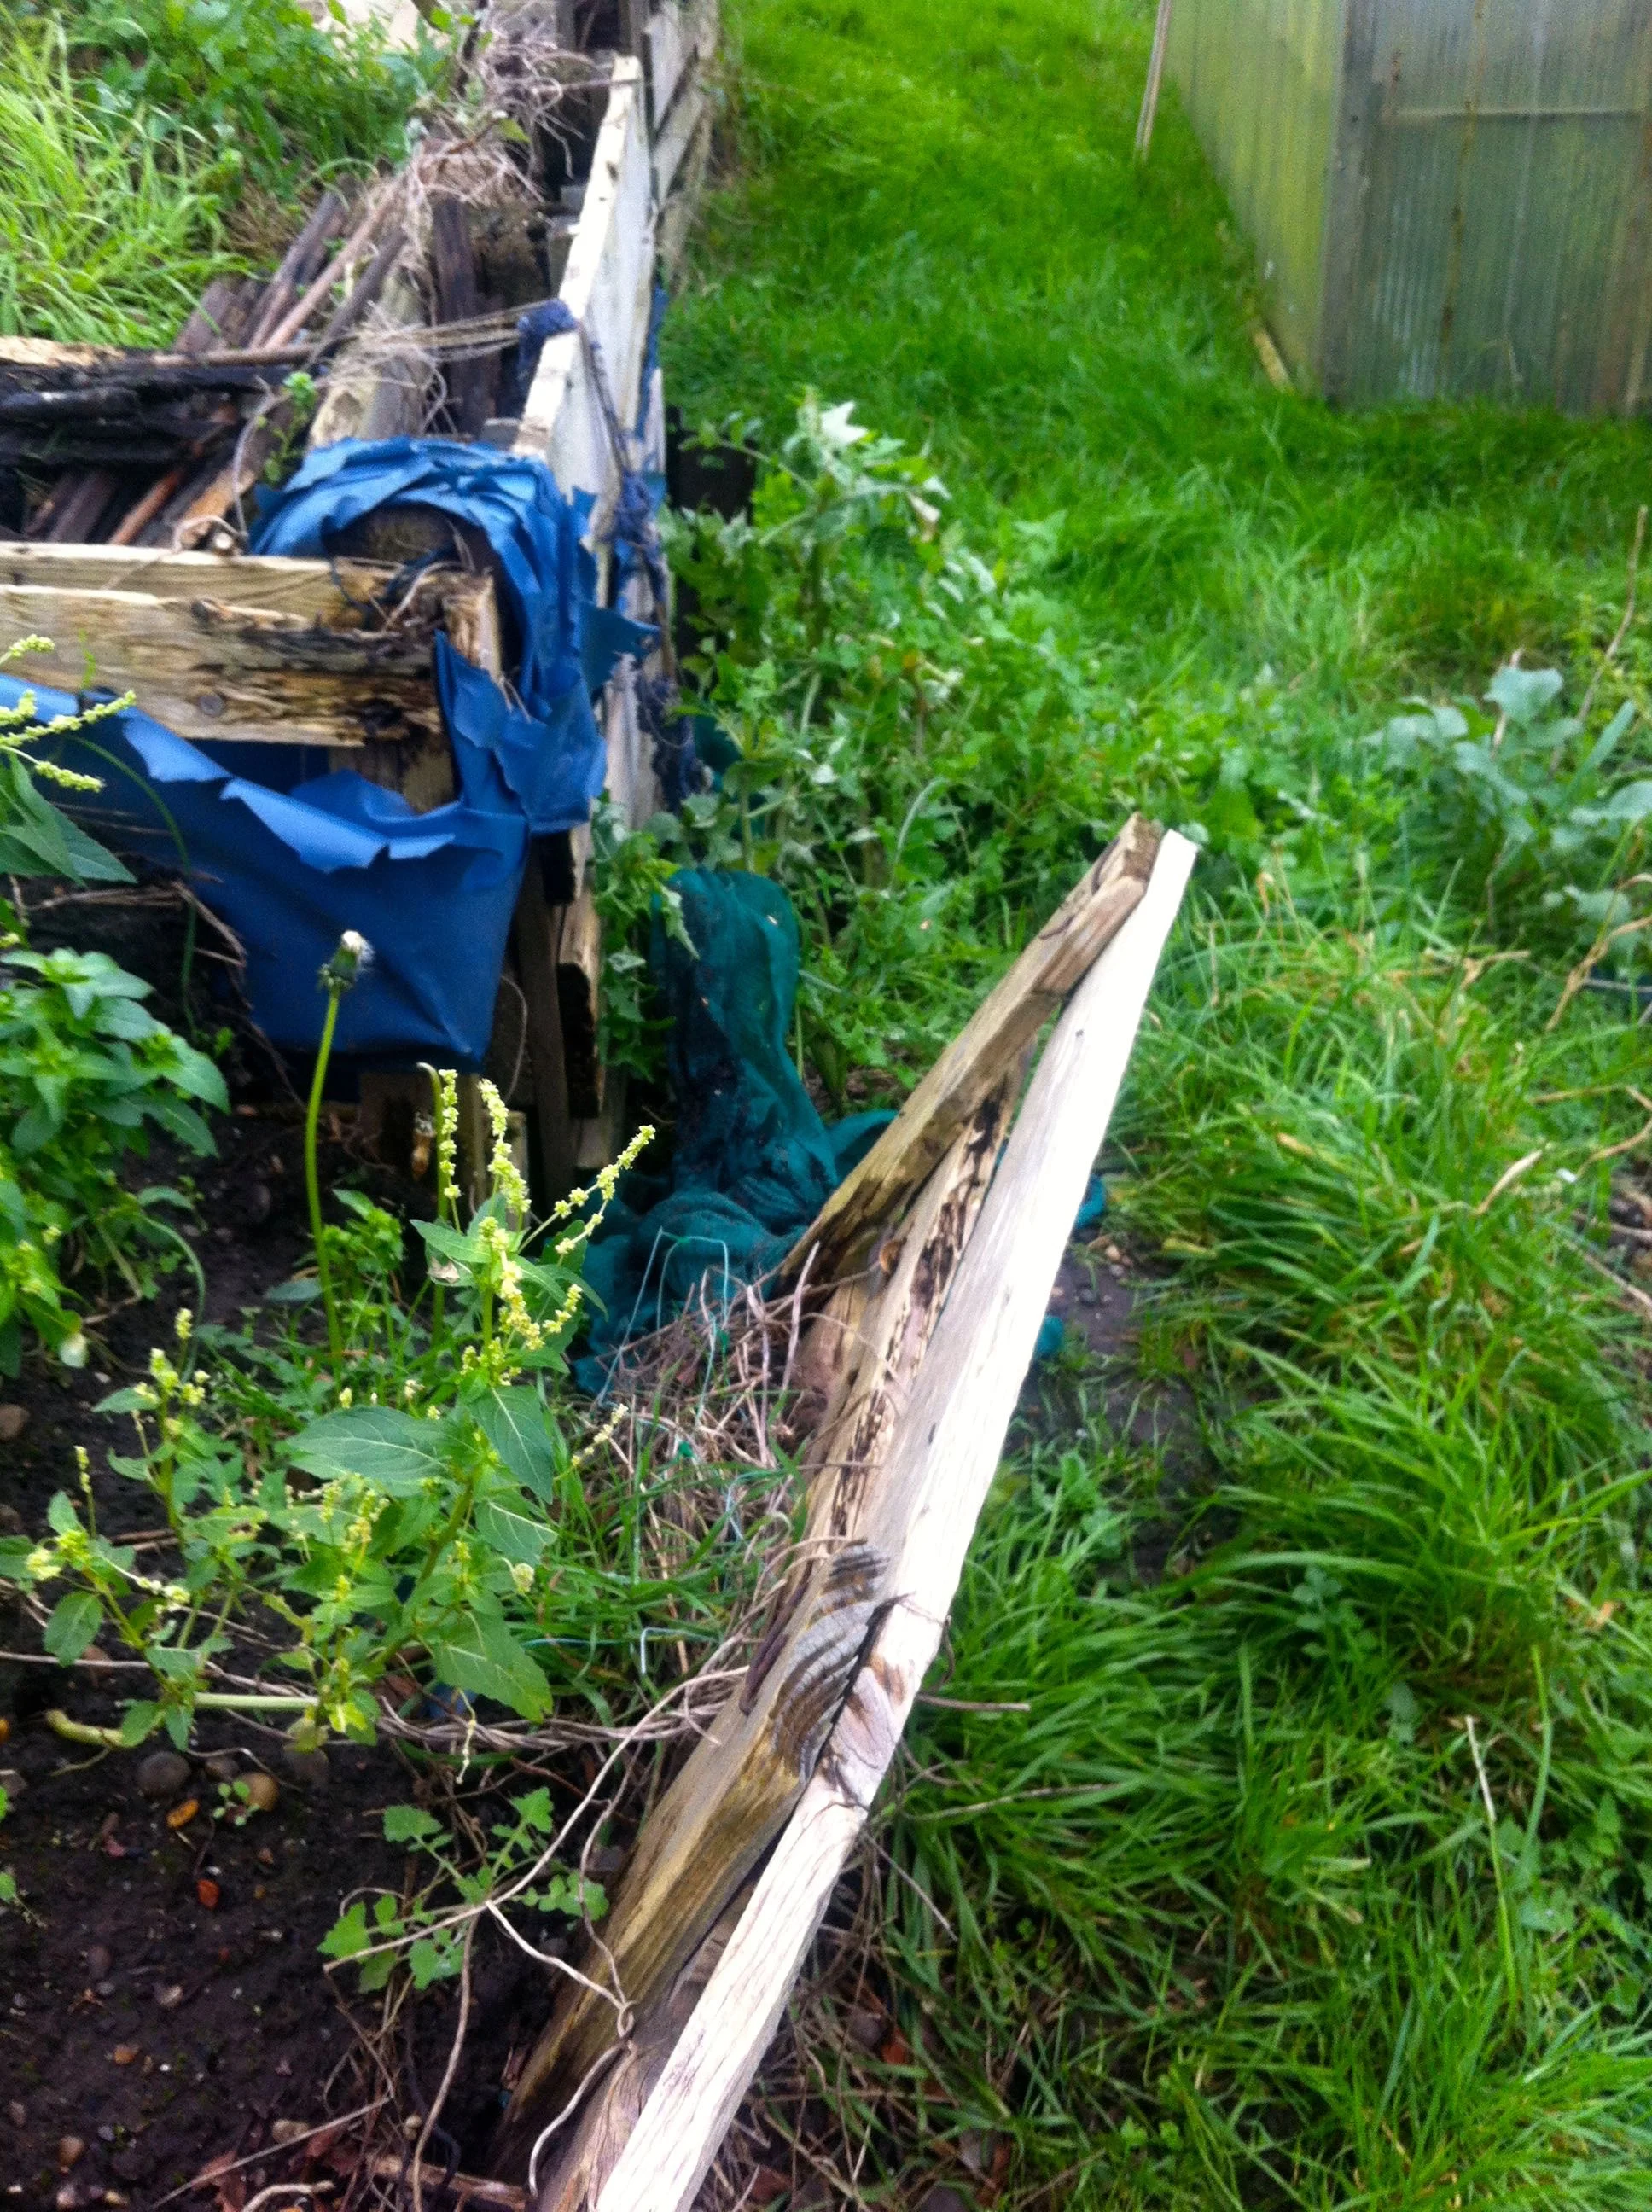
OLD - AND BROKEN - COMPOST BINS
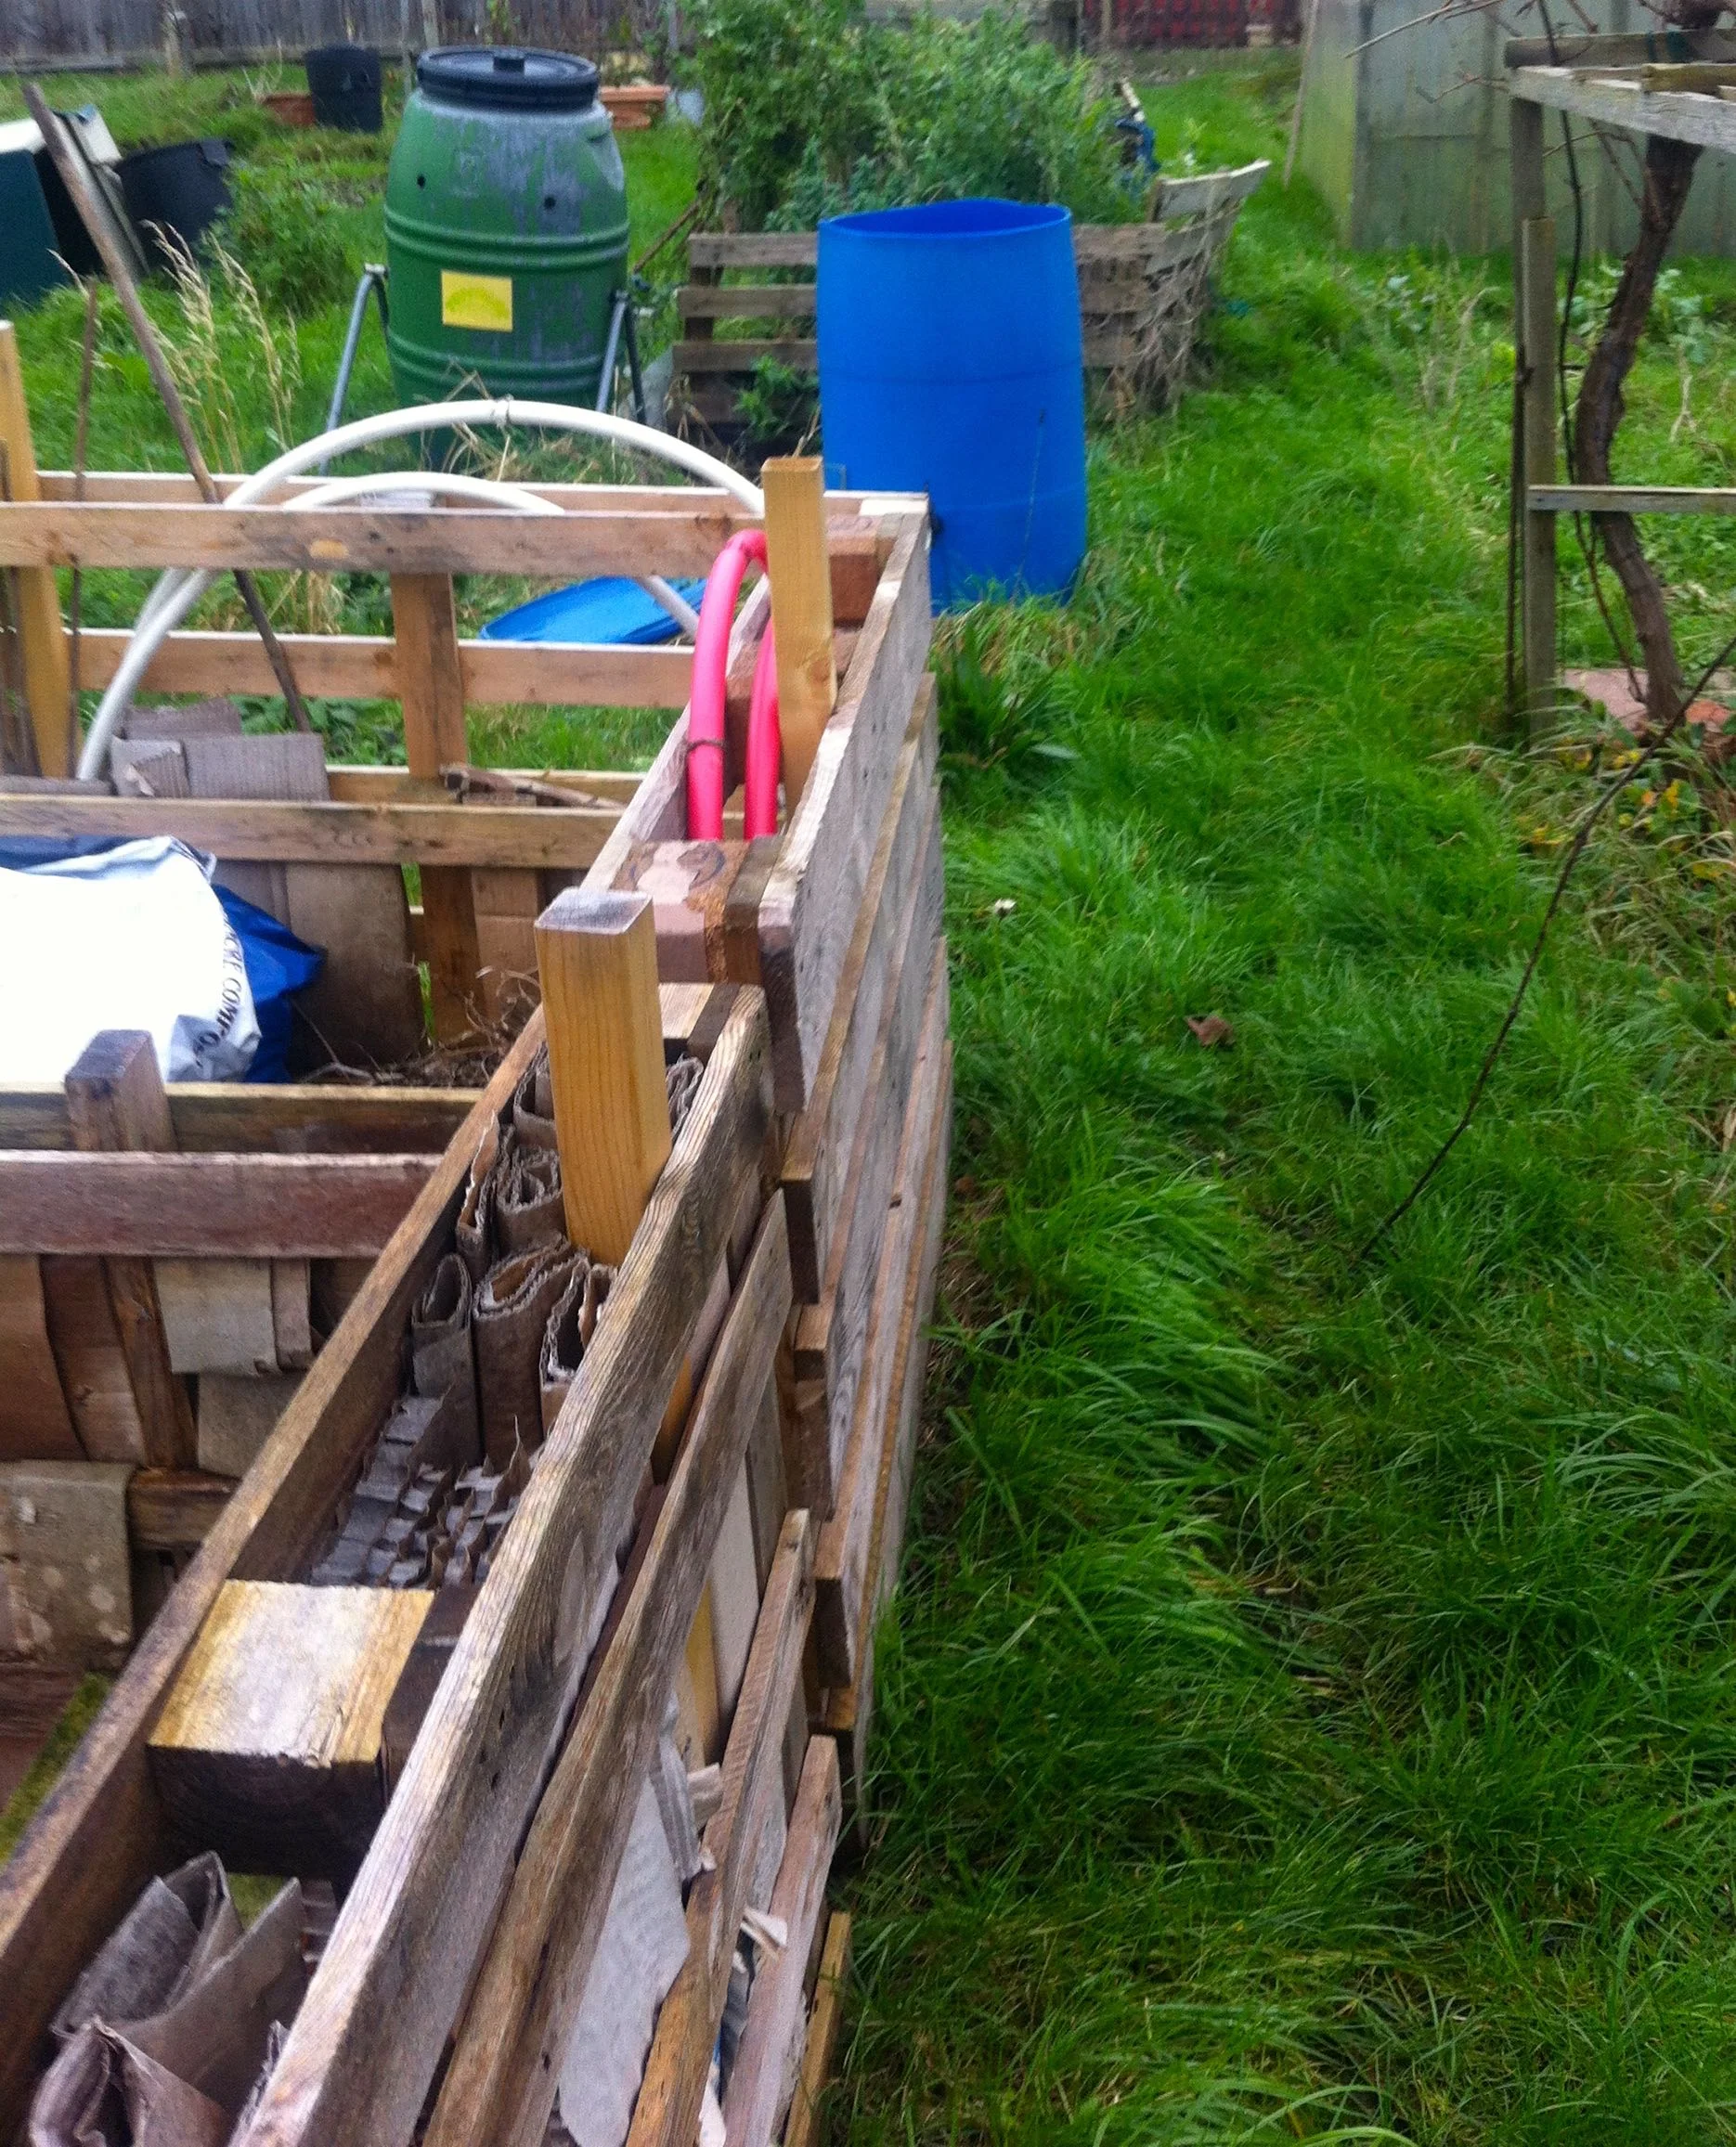
OLD - AND BROKEN - COMPOST BINS

WHAT THE NEW COMPOST BINS SHOULD LOOK LIKE

WHAT THE NEW COMPOST BINS SHOULD LOOK LIKE

So that's the start of my gardening bug re-awakening. I know with my north-facing garden I can have a slower start than some of you, but this year I think that'll leave some time to get ahead on the digging. 

Have you started to plan what you'll grow this year yet?
Things in 3s: The final three from Made London

It's been a while since I visited the Made London show at One Marylebone and today I'm sharing the last of the fabulous makers I met there. In fact it's a timely end to this series as last week I had a day at the Spring Fair at Birmingham's NEC and I plan to start sharing more of what I saw there soon.

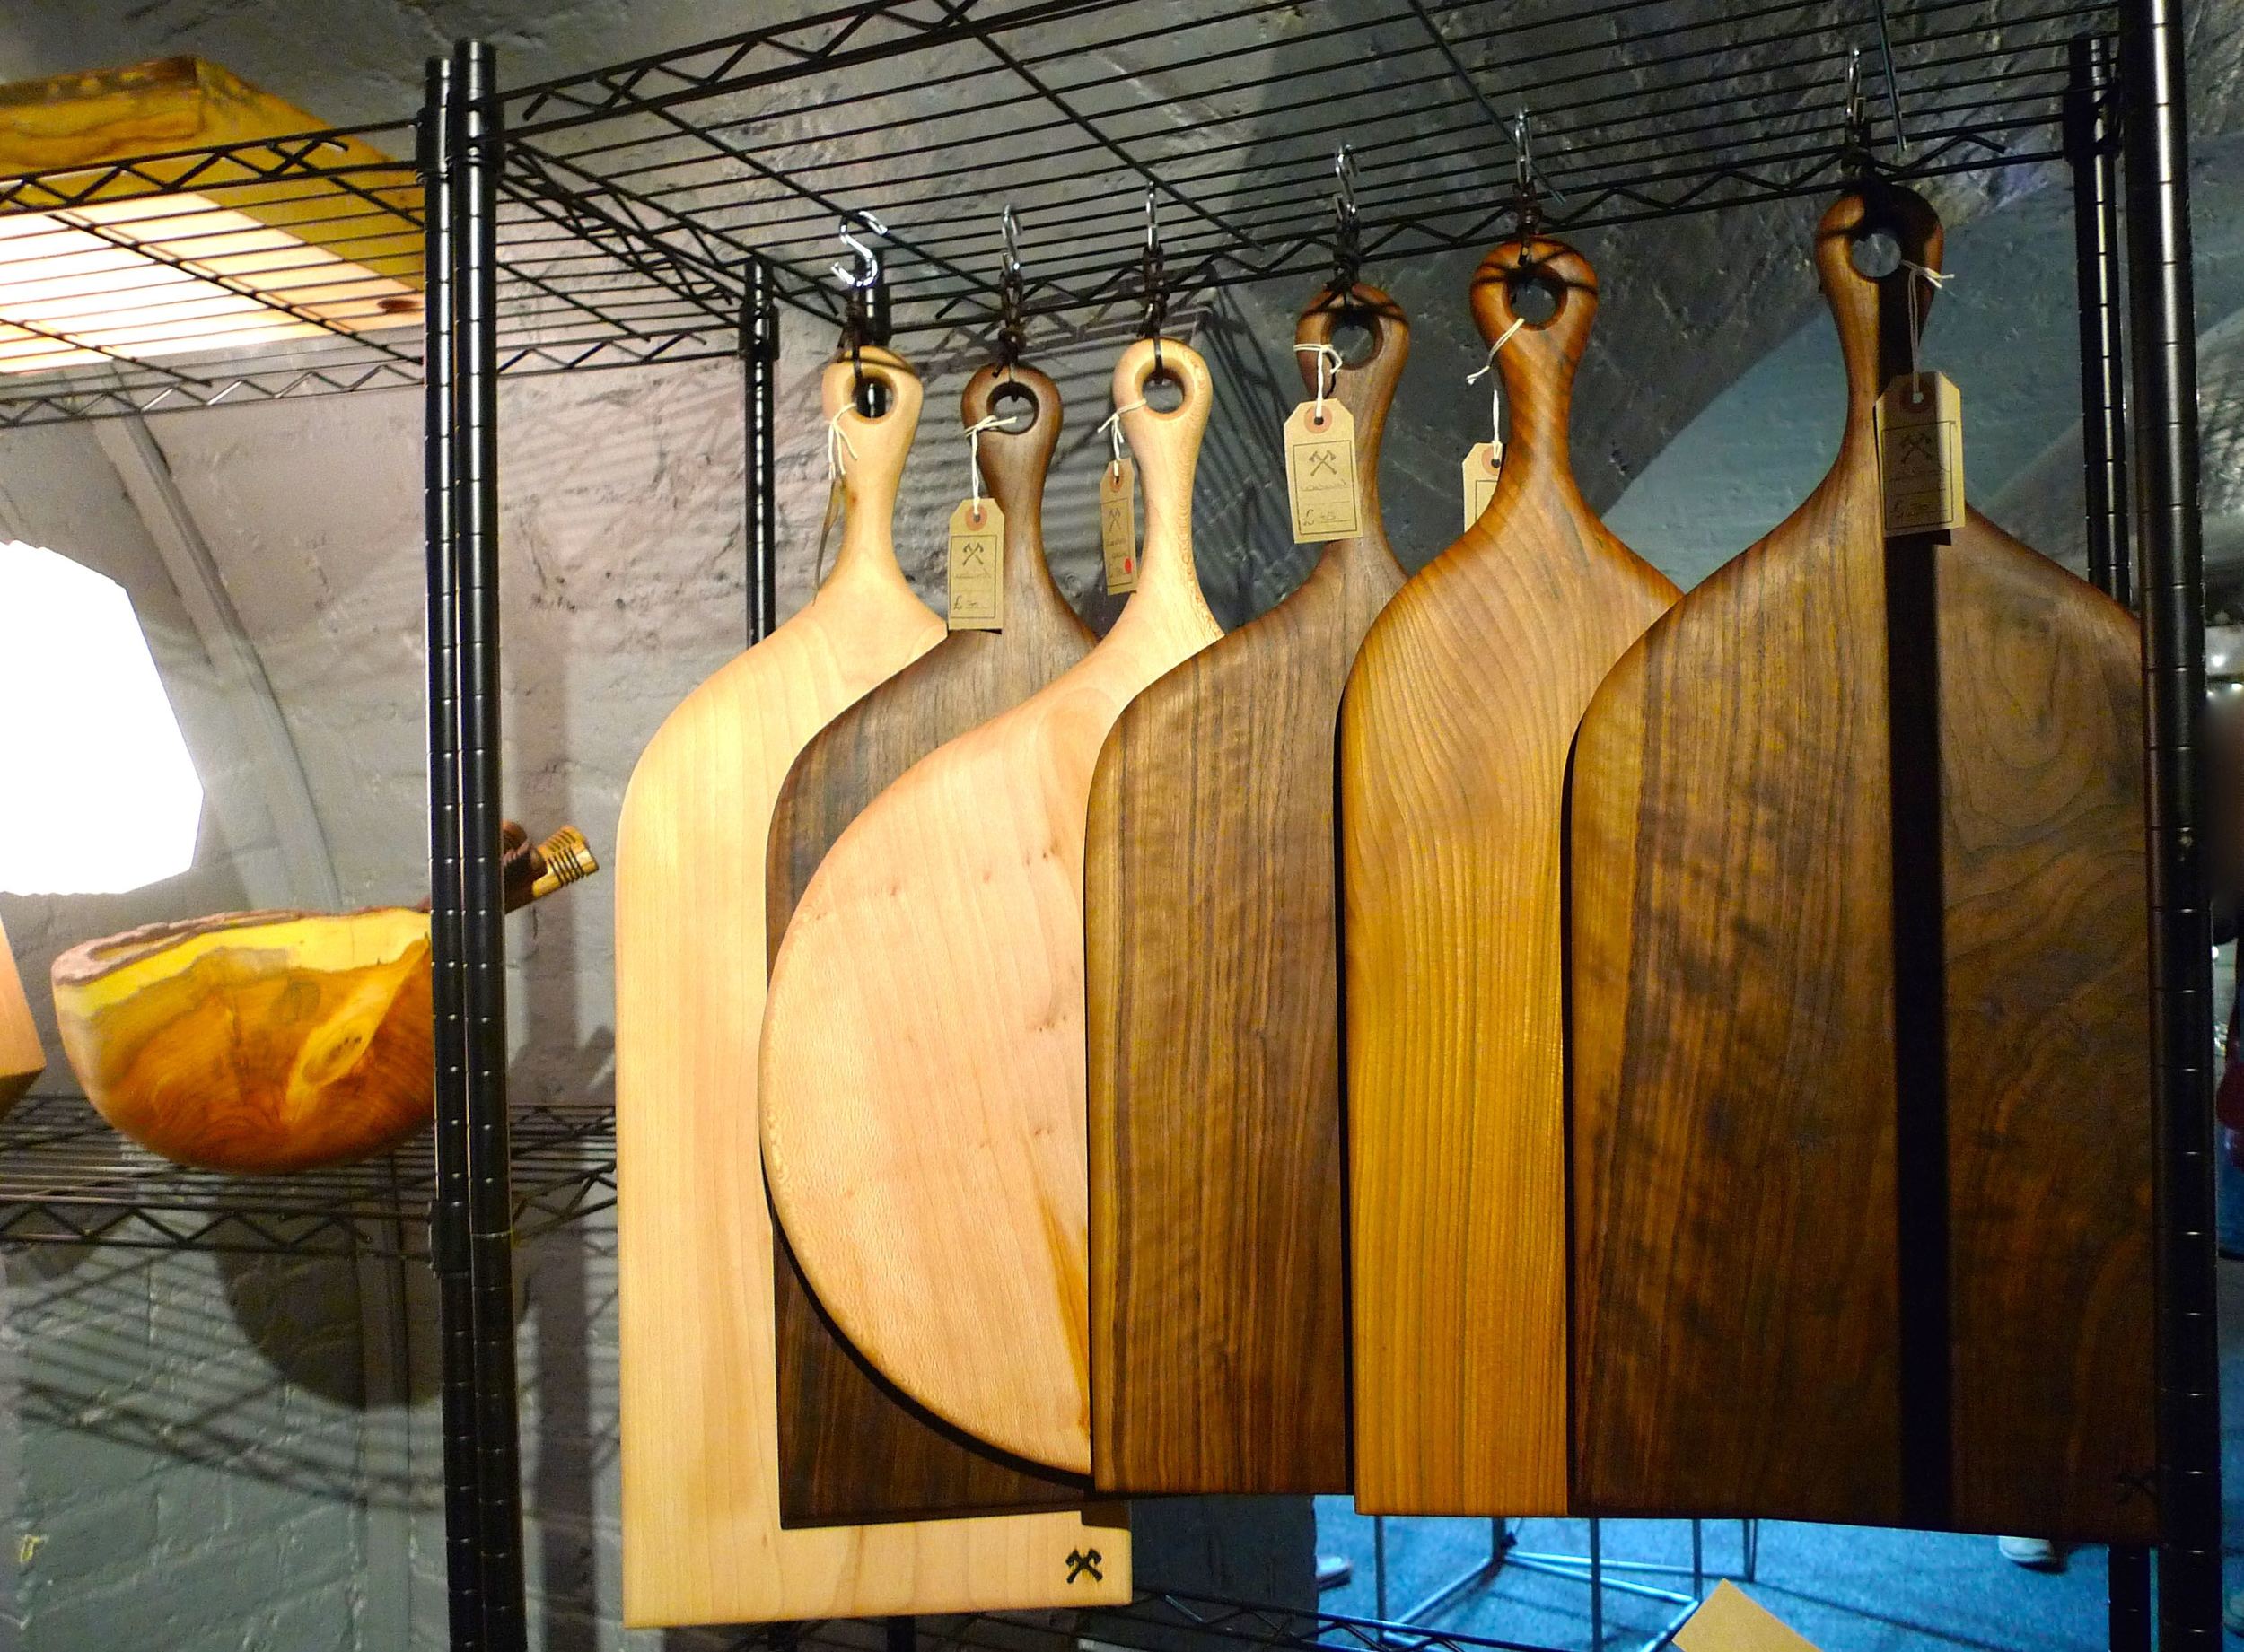
1. Head and Haft's functional and beautiful wooden homewares

Wood. Isn't it gorgeous, and who knew you could make such gorgeous bowls from it. These boards too were gorgeous and as smooth to touch as they looked. In some ways they're too beautiful to use everyday, but would I think look great with a nice hunk of English cheese on. Head and Haft are based in Cornwall and as well as these items make some fabulous furniture. Their website isn't live yet, but they say it's coming soon.

head&haftwoodenchoppingboards.jpg
head&haftwoodenbowl.jpg

2. Theo Wright's silk symmetry scarves

These scarves were just lovely - my favourite is the green and red one on the left. I'd been on the lookout for a non-wooly scarf for MOH and these still are serious contenders. Theo, originally from Derby acknowledged his "latent interest in textiles" while travelling in the late nineties. After acquiring a loom and weaving in his spare time he opened his textile design business in 2011.

These scarves are pure class.

theowrightsymmetryscarves.jpg

3. Victoria Clare Dawes' hand thrown tableware

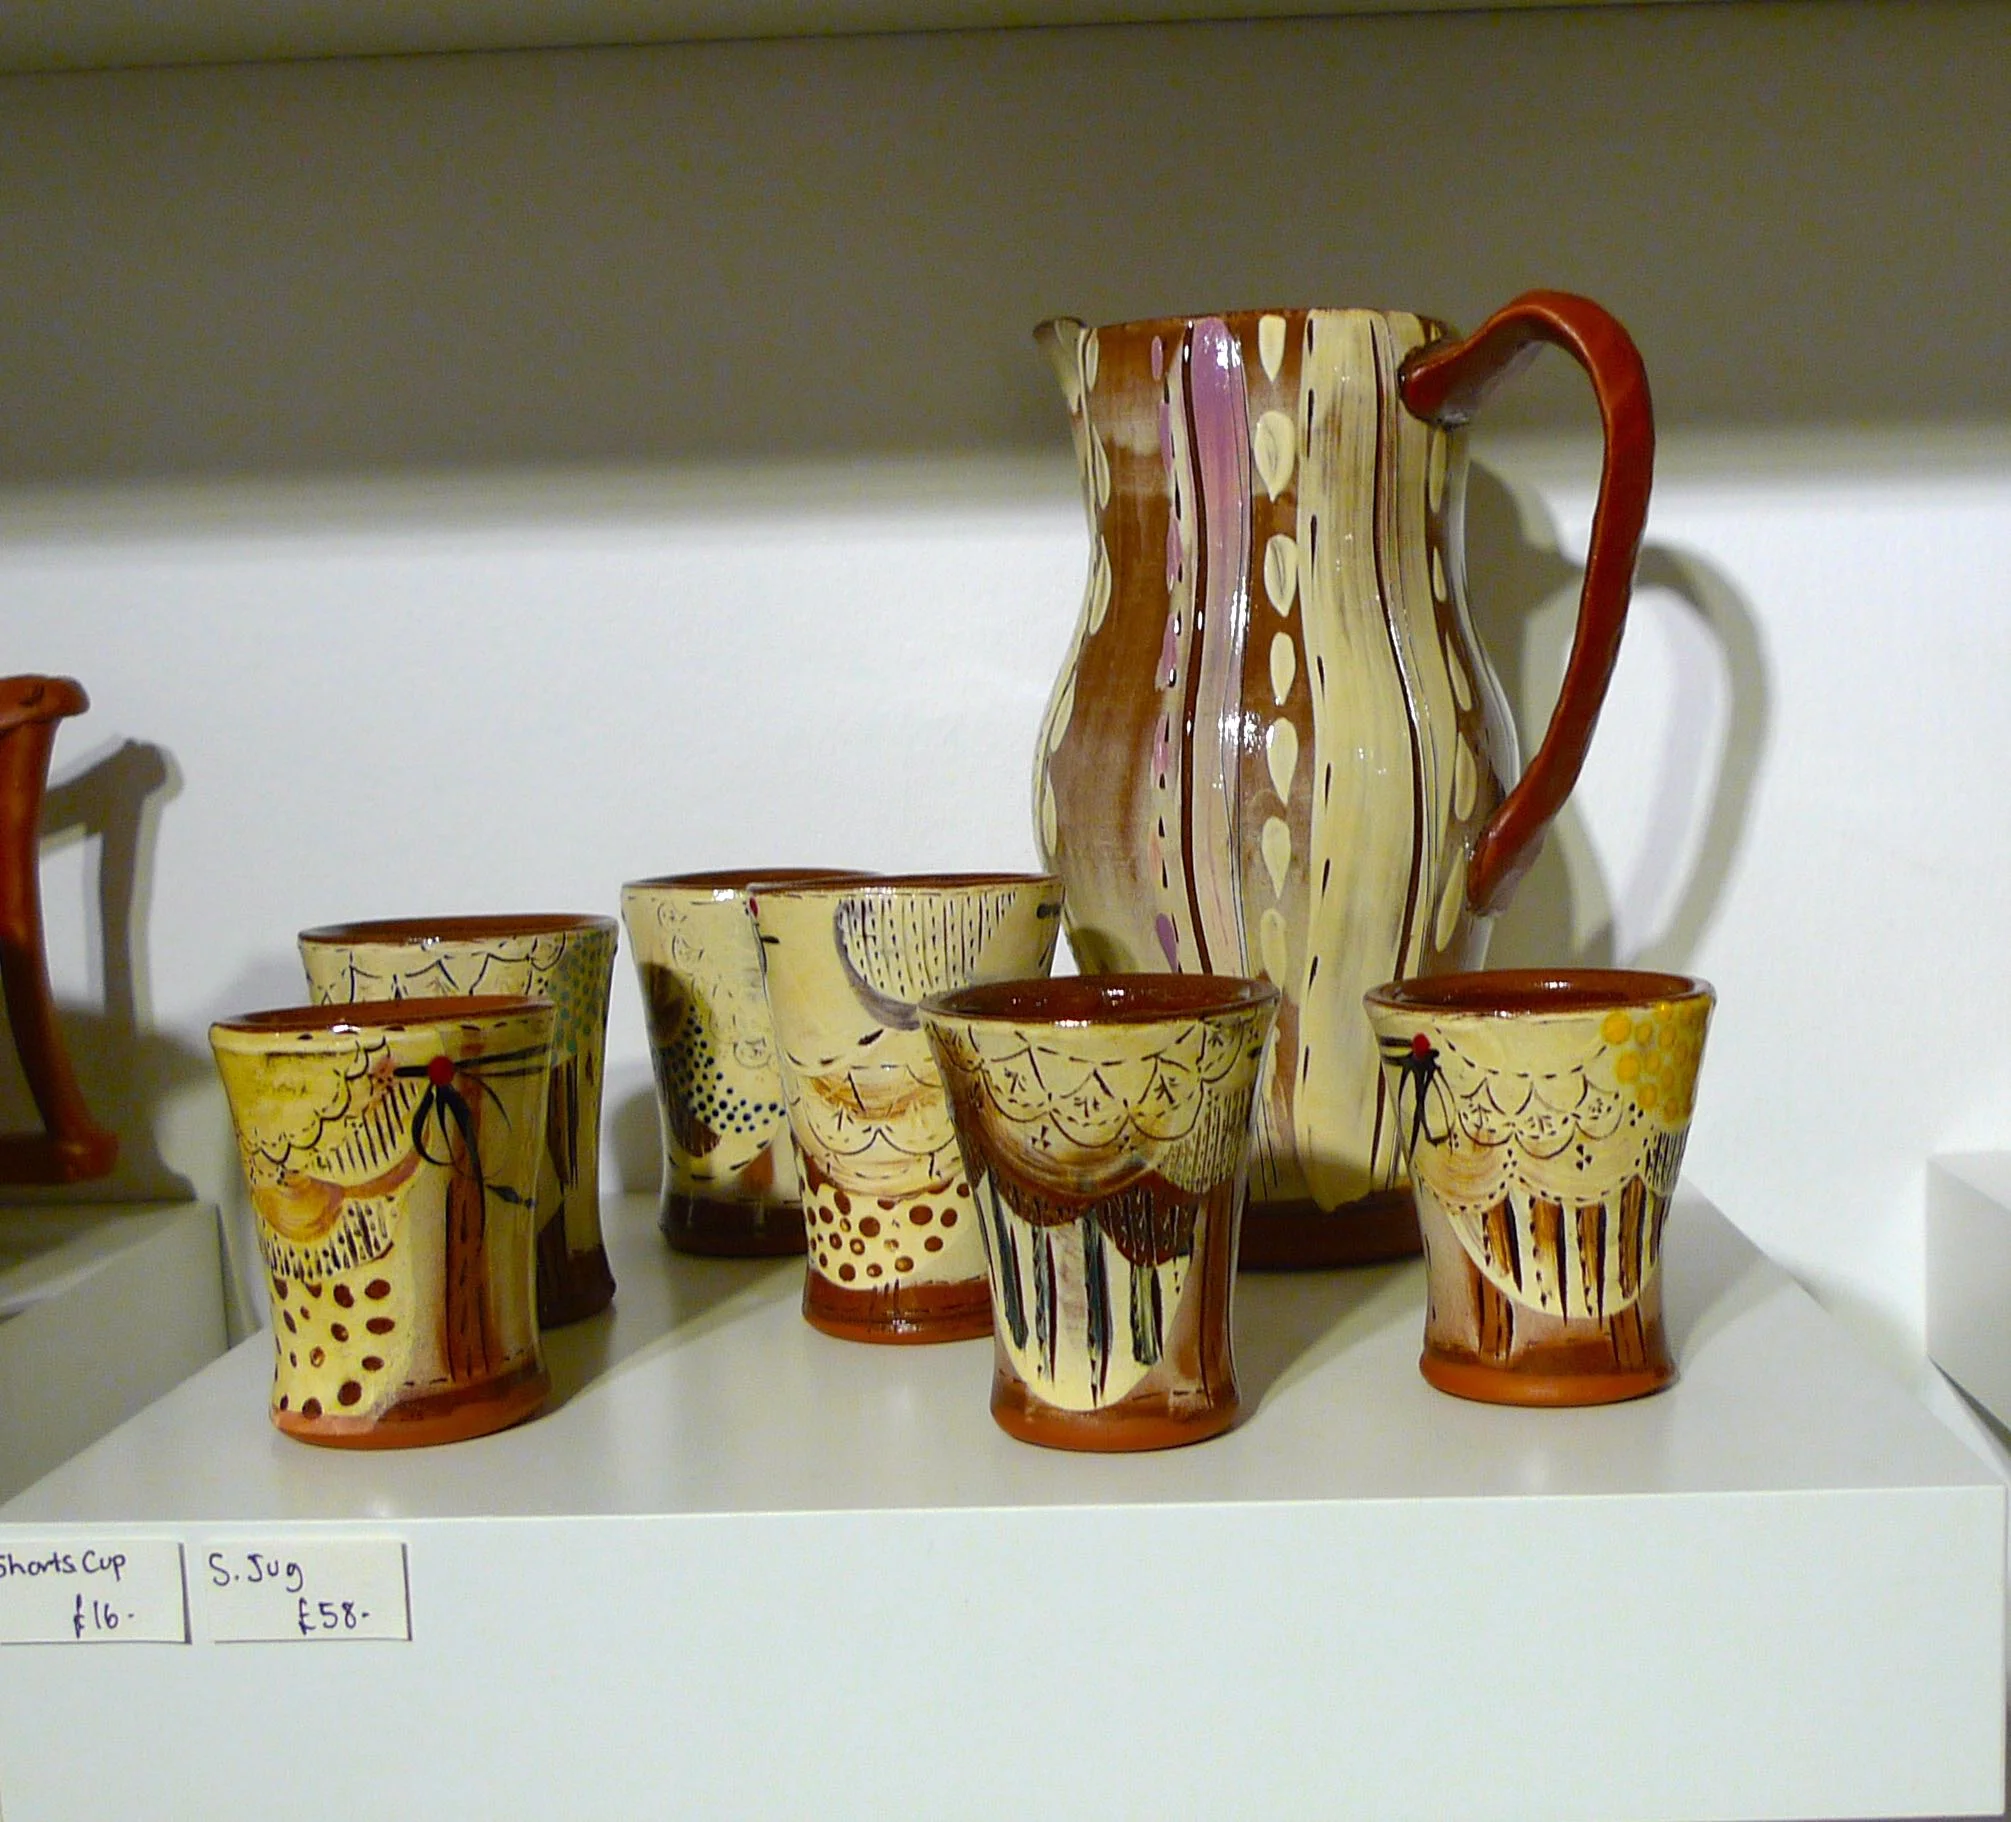
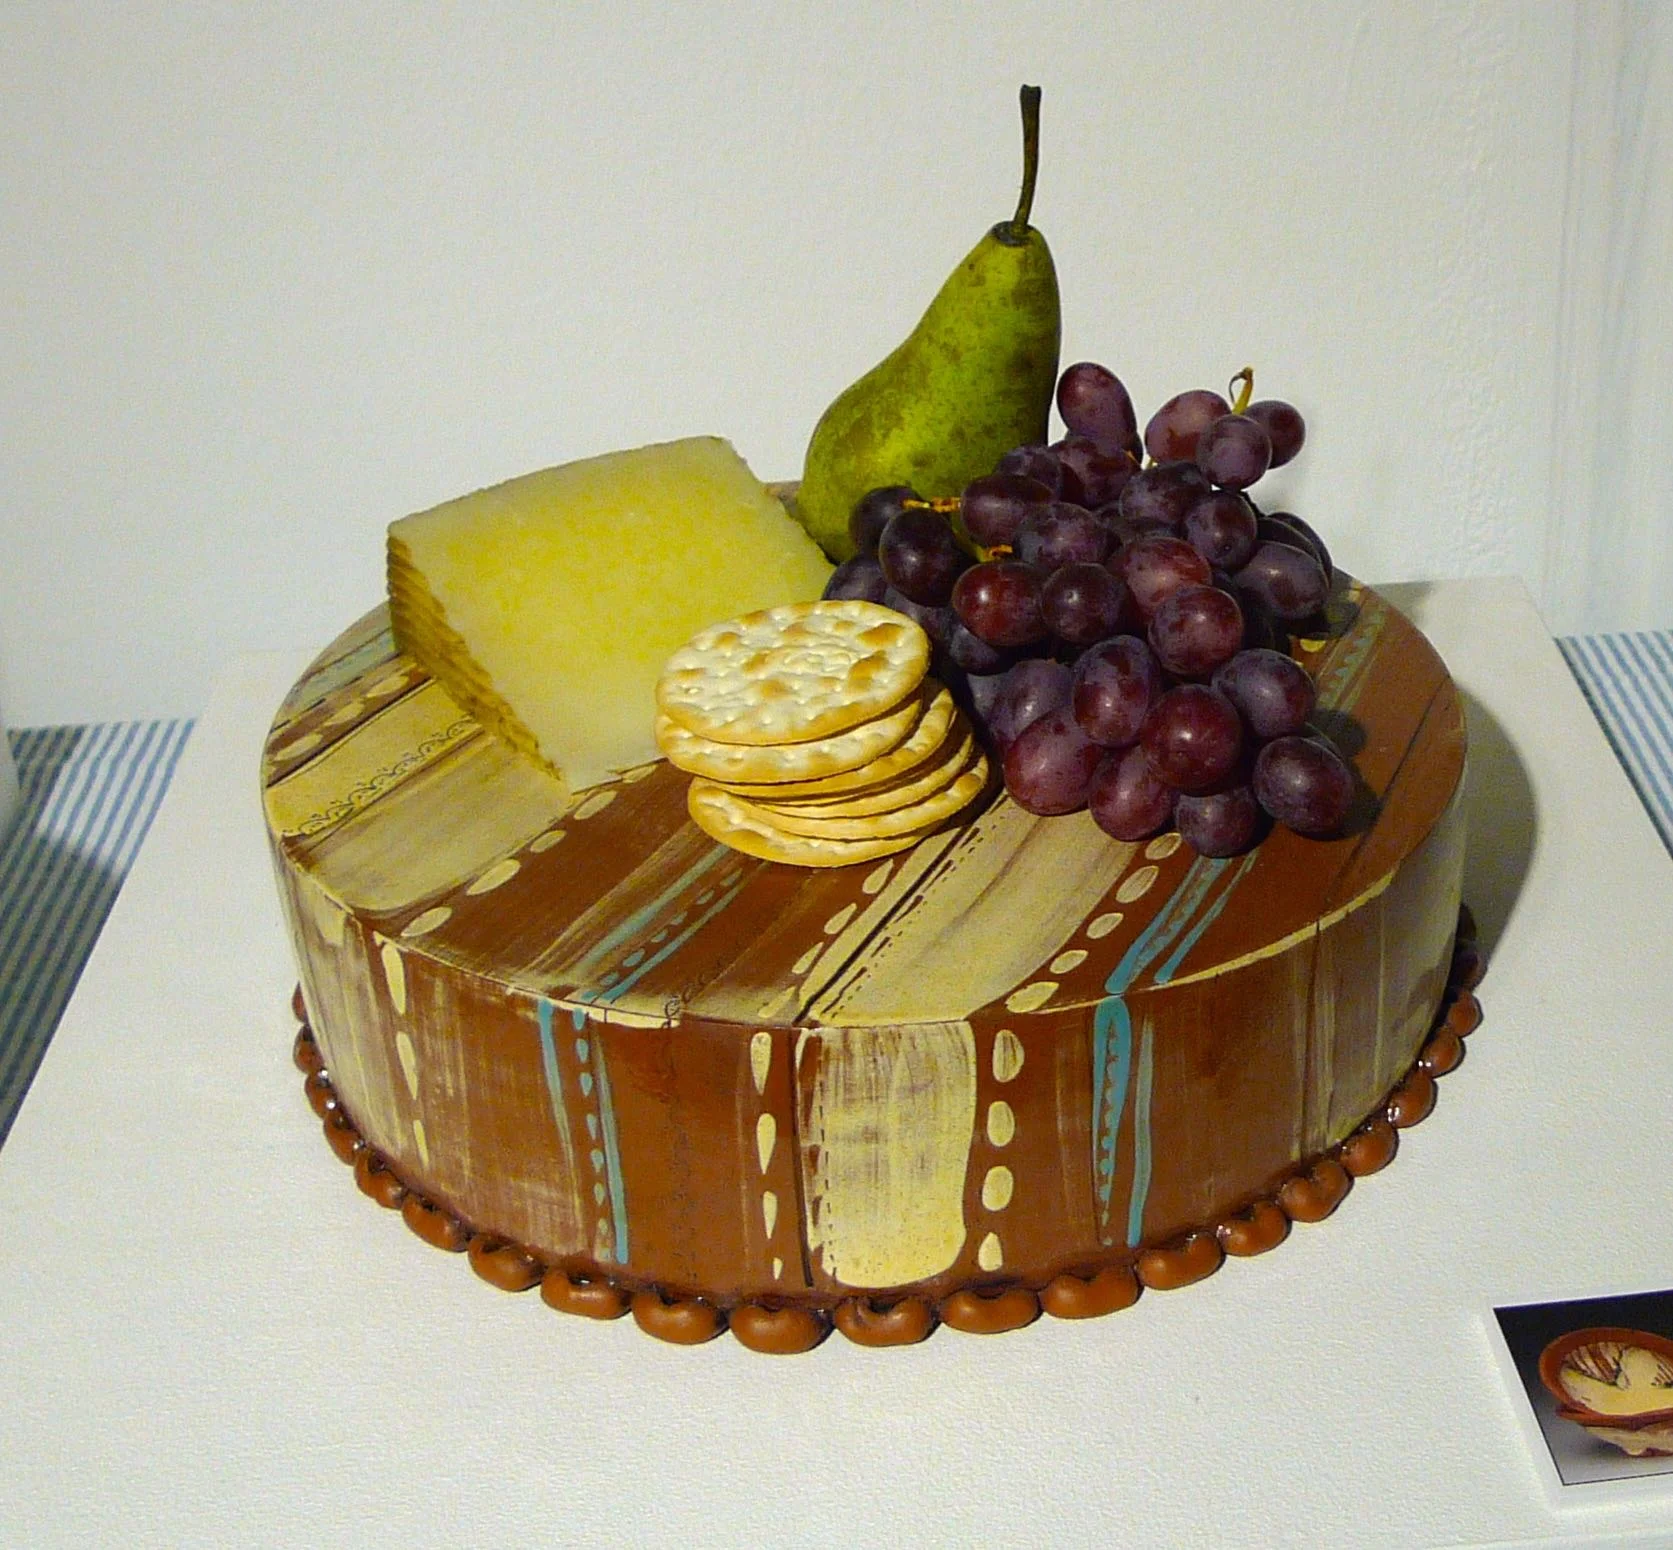
Victoria is currently based in Sheffield but her work represents her history which involves travelling and living in New Zealand, North America and the UK. Her designs stand out and she uses simplified icons and repetitions from the Maori kowhaiwhai patterns.

And although the cheese and the cheeseboard were what caught my attention initially - I mean, cheeeese! - it was this jug that I thought was her most beautiful and stunning piece.

victoriaclairedawesjug&beakers.jpg
victoriaclairedawescheeseboard.jpg

There were many more makers at Made London, but the ones I've featured throughout this series are the ones I spoke to and who had plenty of time to speak to the people viewing their wares. It was a pleasure to meet you all, understand more about your craft and share that here on my blog.

Home Etc


www.mrscraftyb.co.uk

A Valentines card that's close to my heart

I can hardly believe it's almost Valentines Day. This year once again I'm making my card to MOH and this year I'm sharing it early - and he's under strict instructions not to read this post until after the event!

For all of my cards I like simple and strong designs and this card is no different. The part of it that's close to my heart, is that I've reused old magazines and made them into something pretty special.  Throughout this post I'm also going to share more about my new craft light from Iconic Lights. It's brilliant.

GETTING STARTED

GETTING STARTED

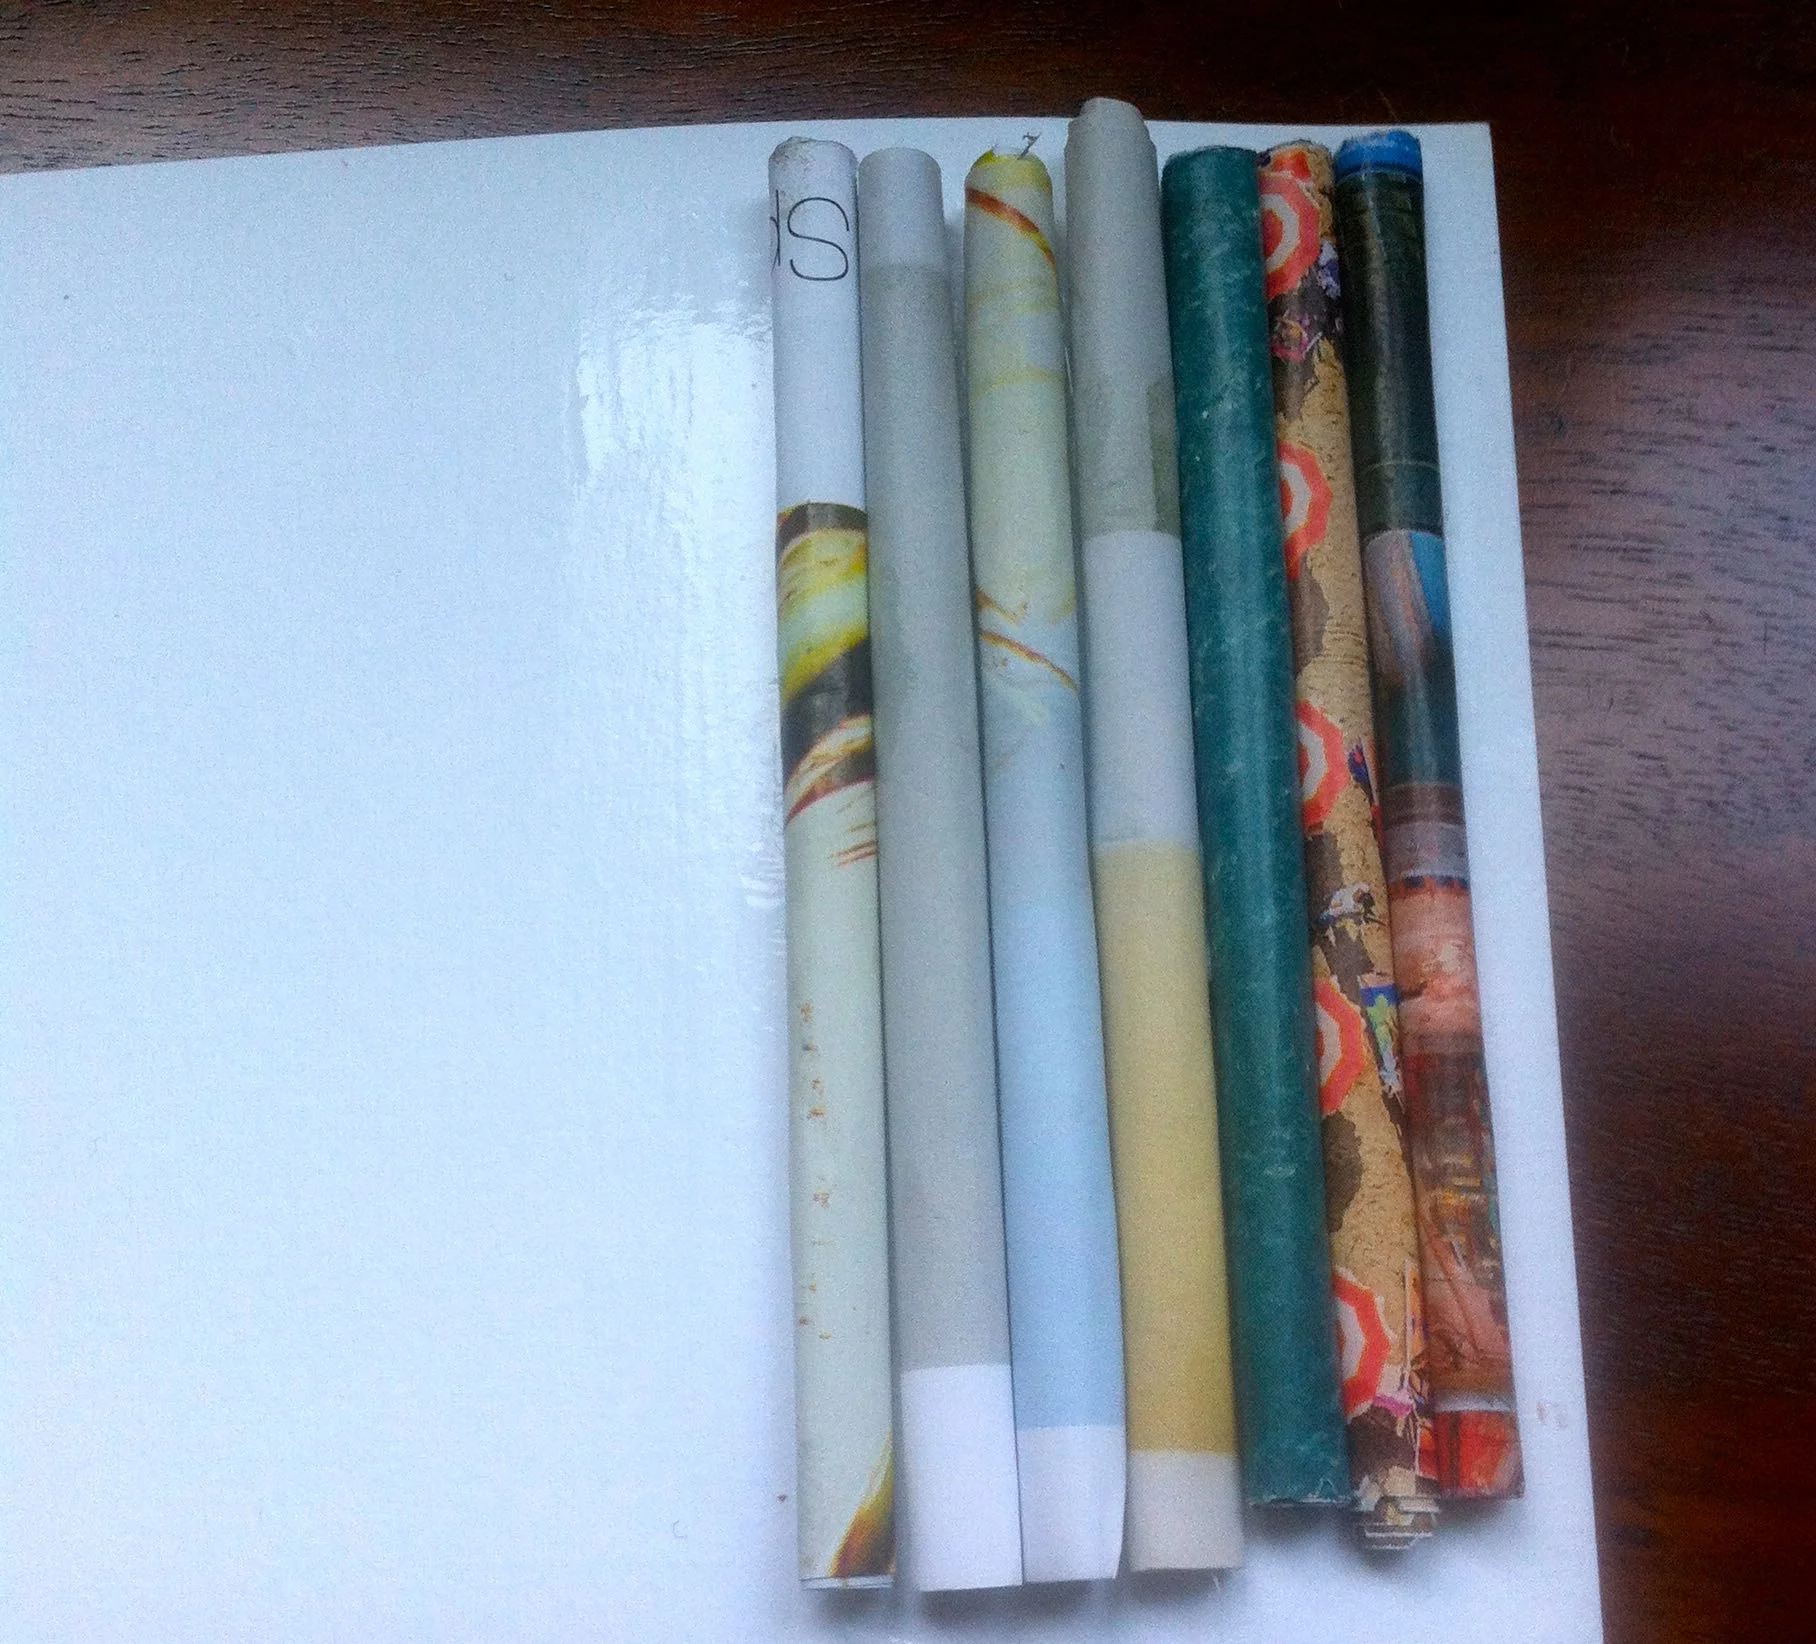
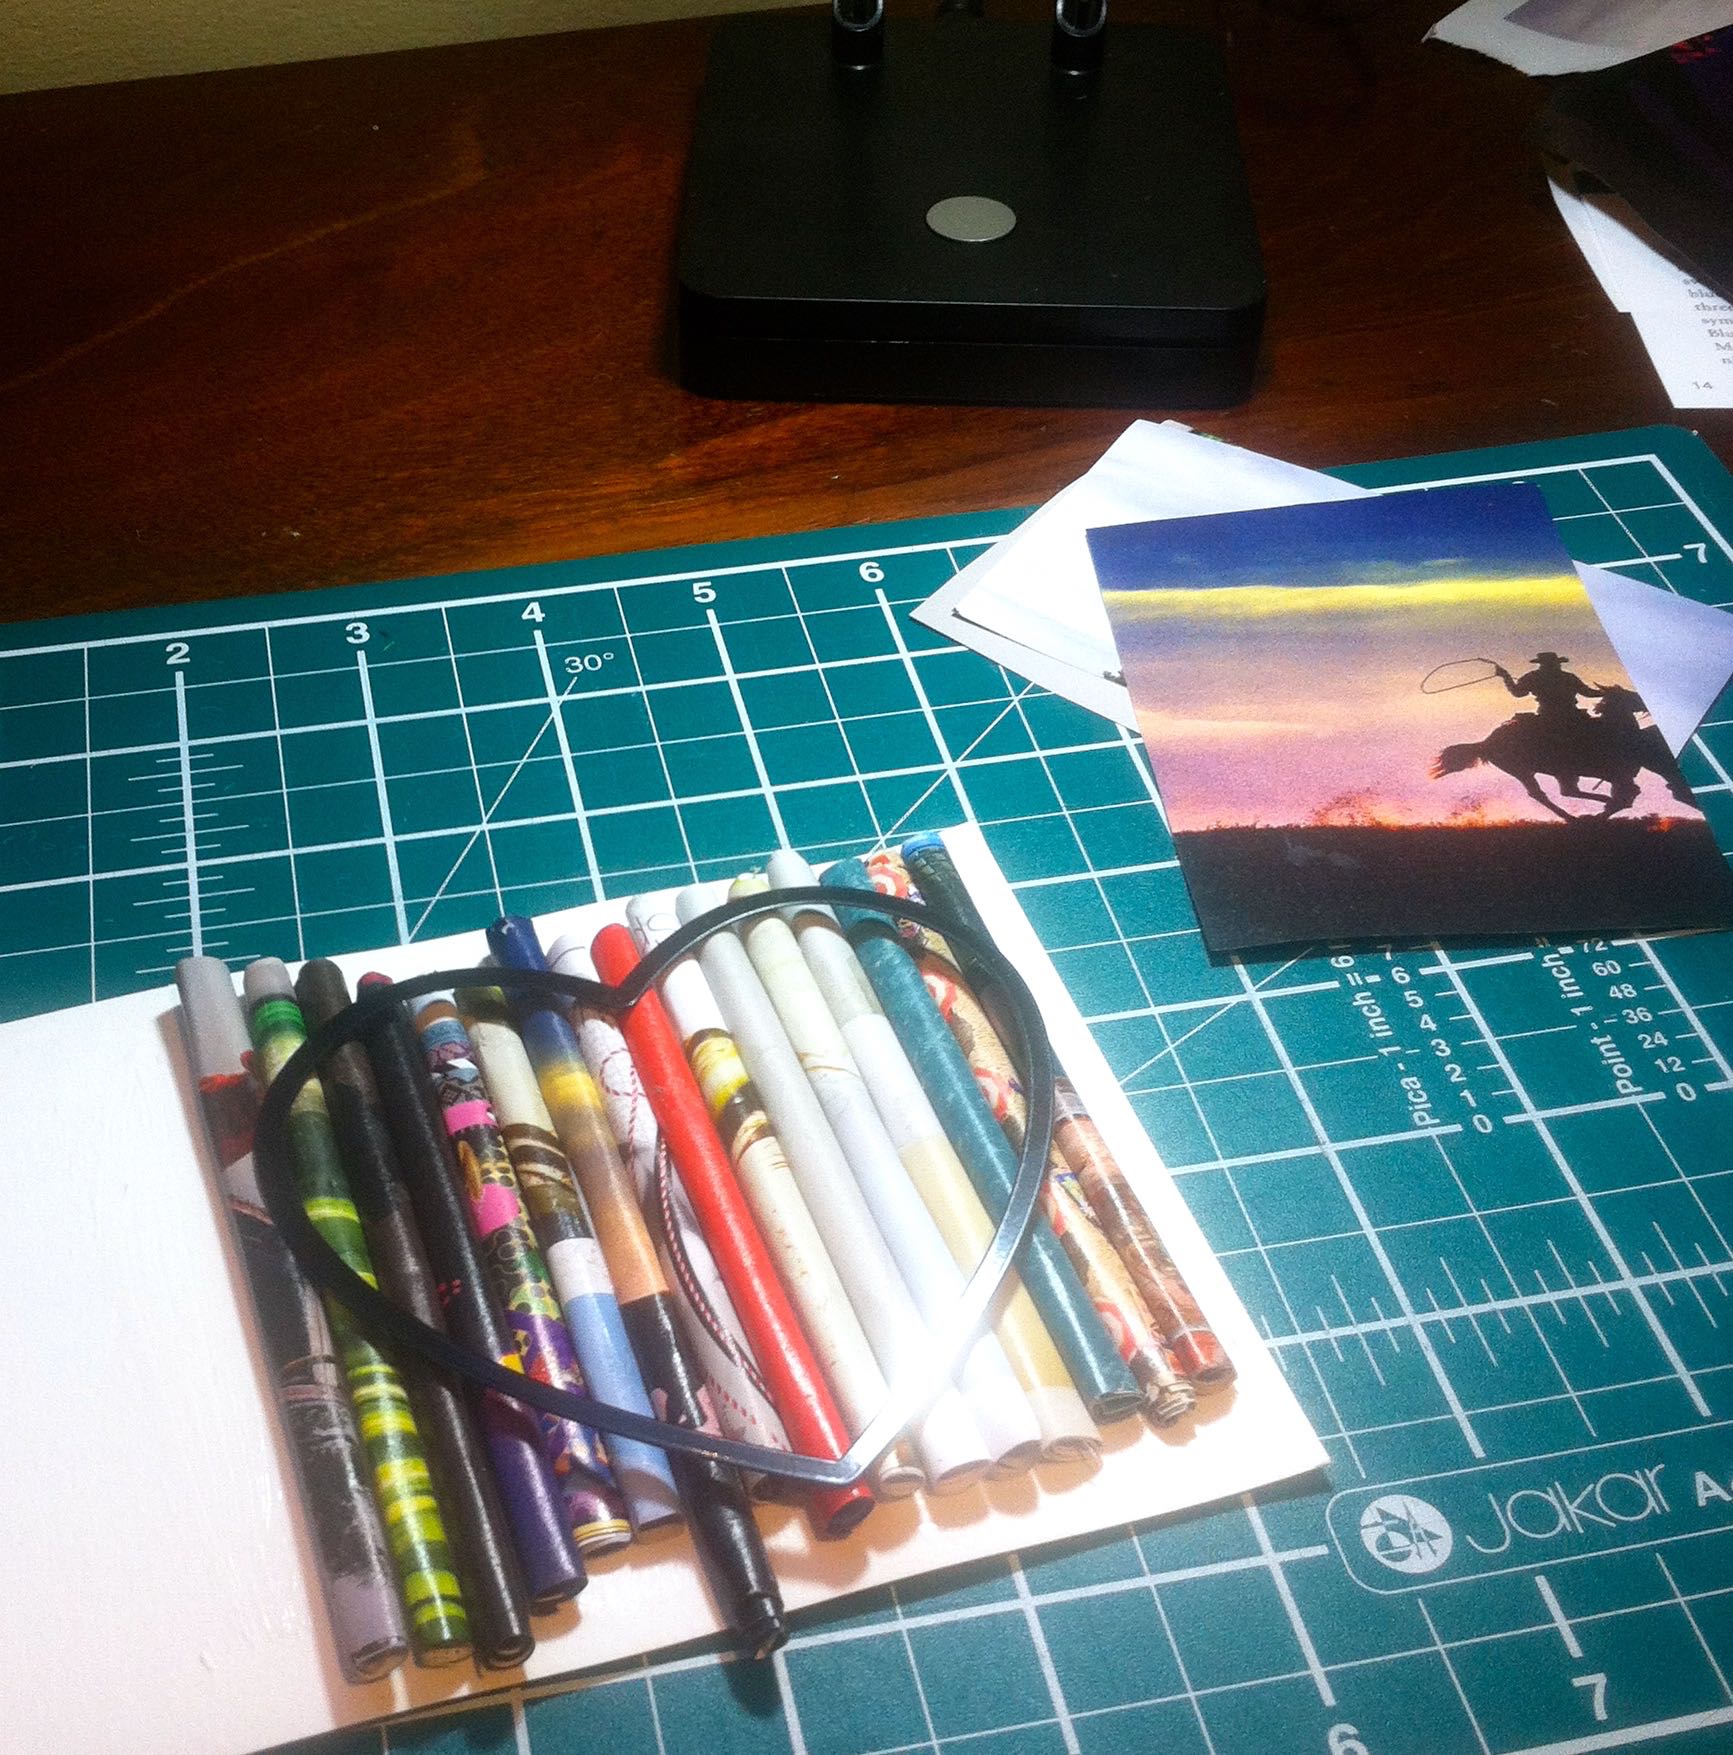
1. I started with some colourful pages from an old magazine and cut them into oblongs around 5cm x 12cm - just large enough to cover my heart die.

rolledscrapsofpaperoncard.jpg

My plan was to roll these pieces of paper up and stick them onto a piece of backing card, and then use my die cutting machine to cut a heart shape.

If you don't have a die cutting machine you can follow a similar approach but you'll need to draw a heart template and cut that out by hand.

2. I used a small amount of PVA Craft glue as I rolled each piece of paper up to stop it unrolling as soon as I'd turned my back, and then attached them to some scrap backing card using the same glue.  

Already you can see how the pattern is building up, and while you only see part of the magazine page I think it's interesting watching the pattern develop.

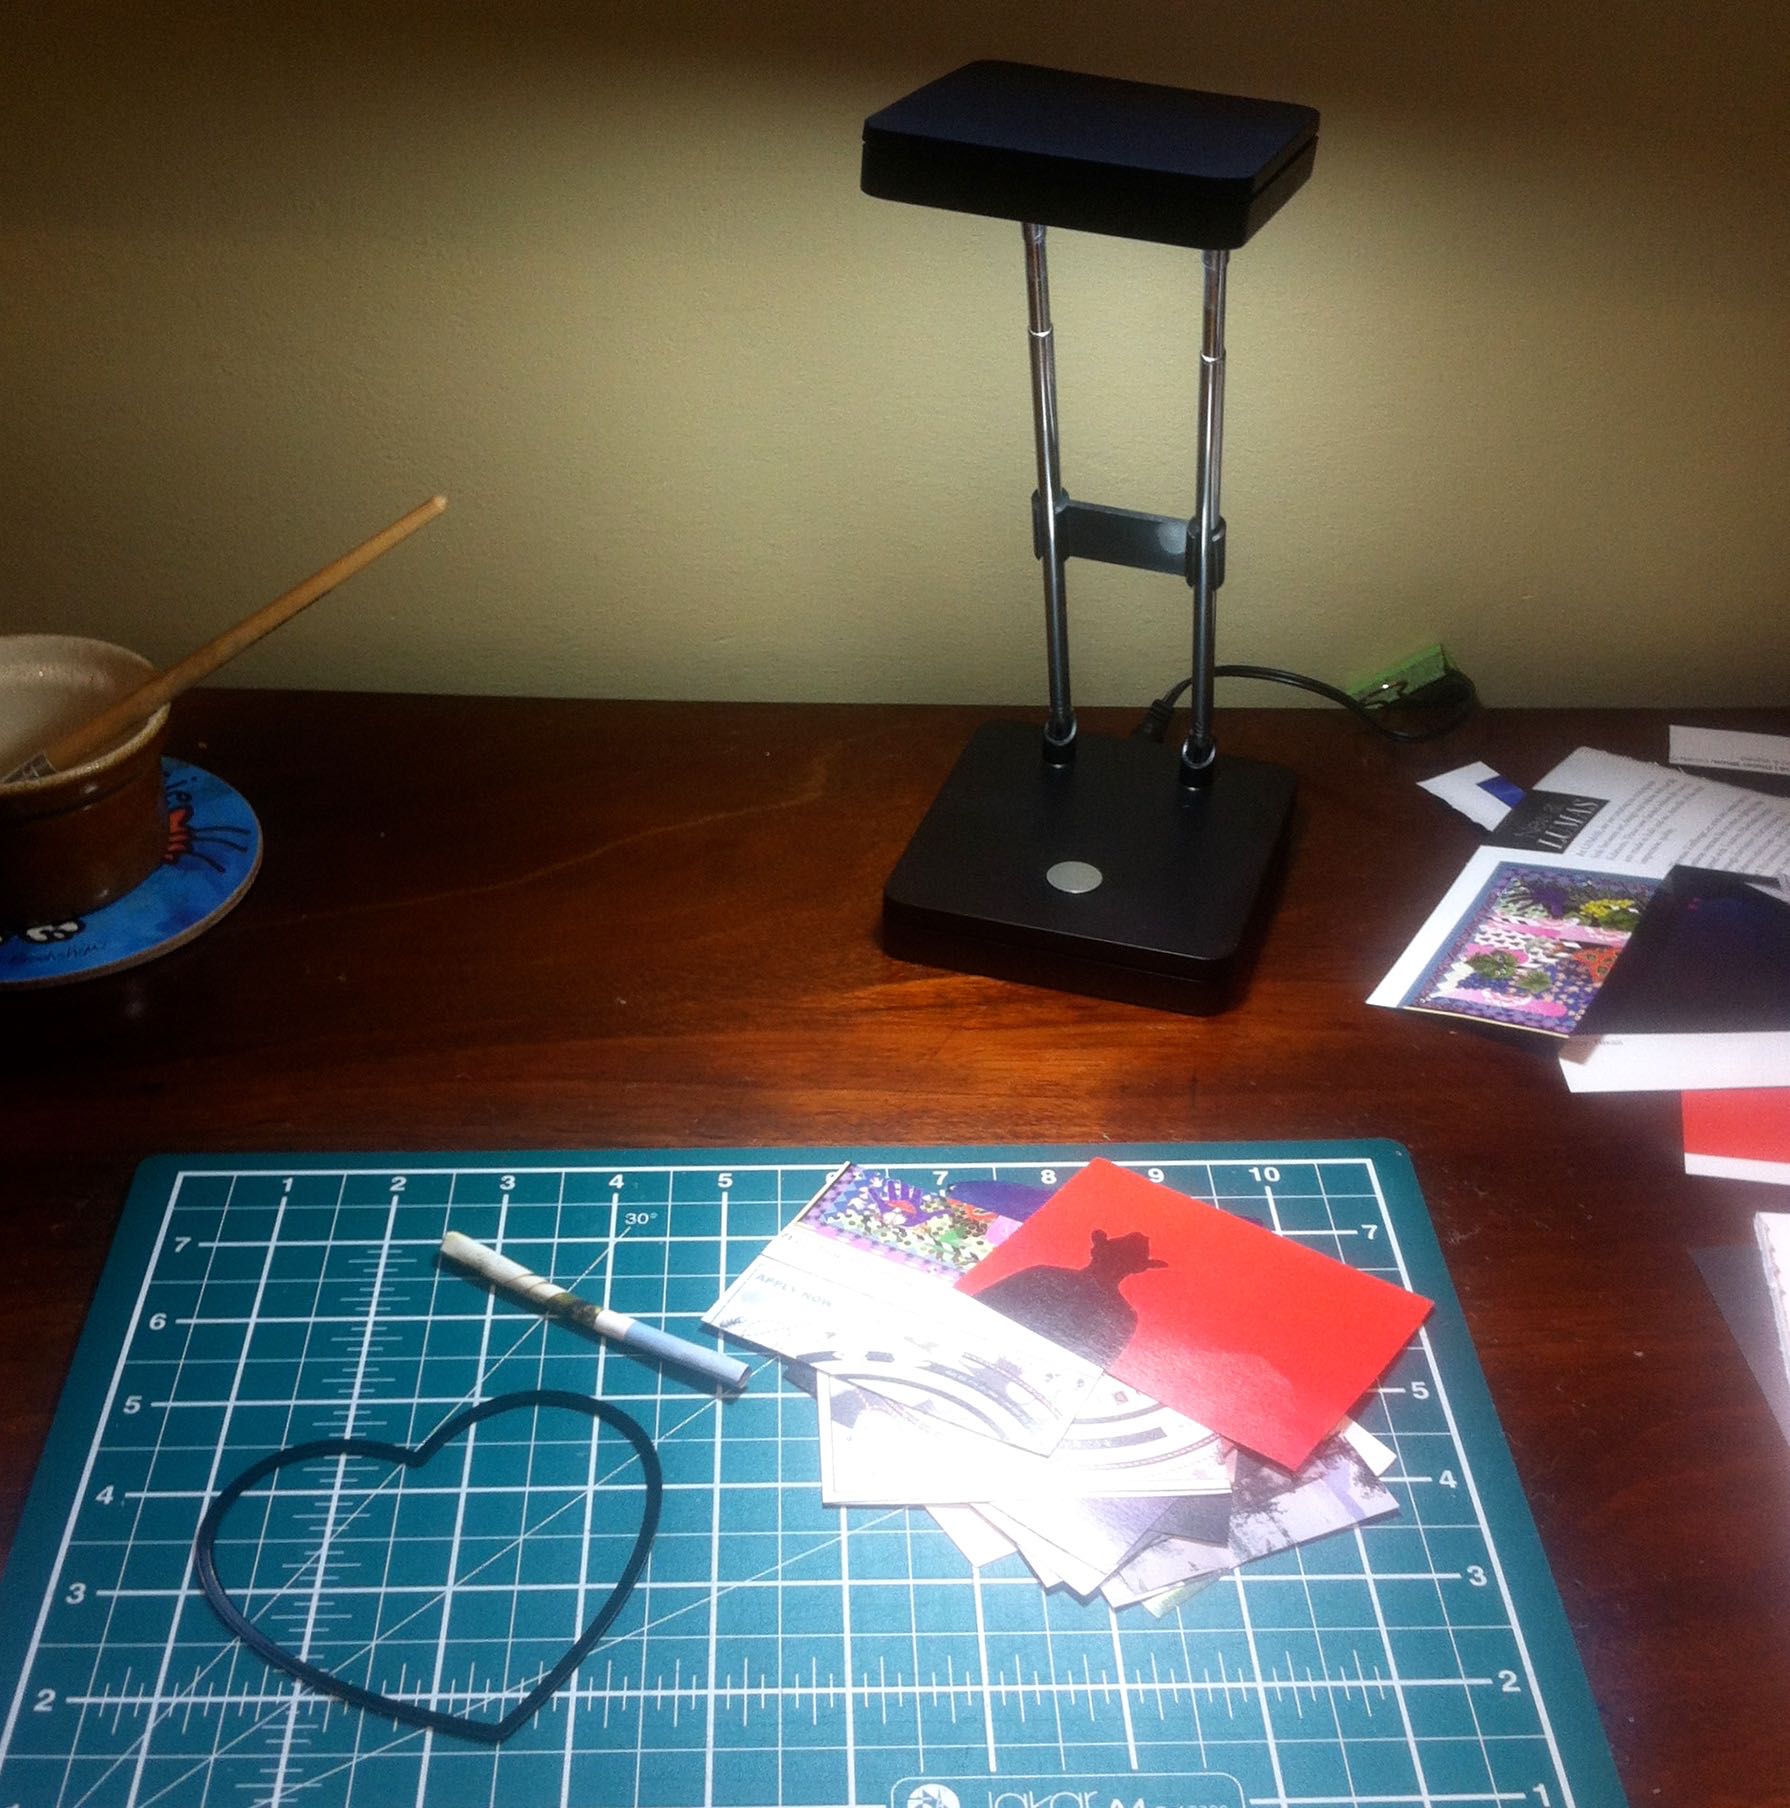
Before we carry on with the card, let me tell you more about my new light from Iconic Lights. I am clearly using it as a craft lamp, but it's more regularly known as a 'Stell' LED Telescopic Adjustable Desk Lamp. It comes in black and white and folds flat when not in use - so a mega-plus if you're using it for a specific purpose, like me and don't have room to keep it on show all the time.

It gives out a decent amount of light and really helped me focus on the close work. At £18 I think it's very reasonable and am considering buying some as presents for fellow crafters.

iconiclightsadjustabledesklamp

Here's a few photos of it fully extended, unextended, tilted and folded flat. What I especially like about this lightweight light is the telescopic bits which remind me of telescopic aerials we used to get on radios - perhaps they still exist, but I don't have those any more.

FULLY EXTENDED

FULLY EXTENDED

UNEXTENDED

UNEXTENDED

TILTED

TILTED

AND FOLDED FLAT

AND FOLDED FLAT

Right, back to the card.

3. Once you have stuck sufficient rolled paper pieces to cover your die or template, it's time to leave it to dry. If you're using a die cutting machine you can place it under a large book (or something equally heavy) while it dries, but if you're cutting your shape by hand be careful about how much weight you add, or you'll flatten your rolls of paper.

The rolls of paper will flatten in the die cutting machine which is why it is less important to keep the shape at this stage.

valentinescard

4. Now all that you need to do is to attach your newly created heart to a blank card. I've chosen a brown card to reflect the recycled nature of my card, and I think it shows off the heart well. 

completedheartsvalentinecardfromscrappaper

It really is as easy as that.  And as with my other cards, the possibilities are endless - who knows how else I use this technique. I'm pretty sure I'll be using it again though.

What green Valentines crafts are you planning this year?


I was sent the Stell LED Telescopic Adjustable Desk Lamp to review as part of my role as one of Iconic Lights' approved blogging ambassadors, but all views and opinions are my own.