Making green tomato chilli ketchup

Years ago I made the best green tomato chilli ketchup but somehow lost the printed copy of the recipe and I’ve been kicking myself ever since, especially as the recipe was removed from the website I’d found it on. Sigh. This year when dad said did I want any green tomatoes I searched harder online for something similar to the previous recipe - and found this Green Tomato Recipe on the From The Larder website, and it gets a huge thumbs up from me.

And of course with anything made with green tomatoes - fresh bright green tomatoes go in, and ends up as something more brown - but don’t let that put you off.

No really don’t.

This has a great taste and is so useful. I love it alongside roasted squash and rice and even in sandwiches.

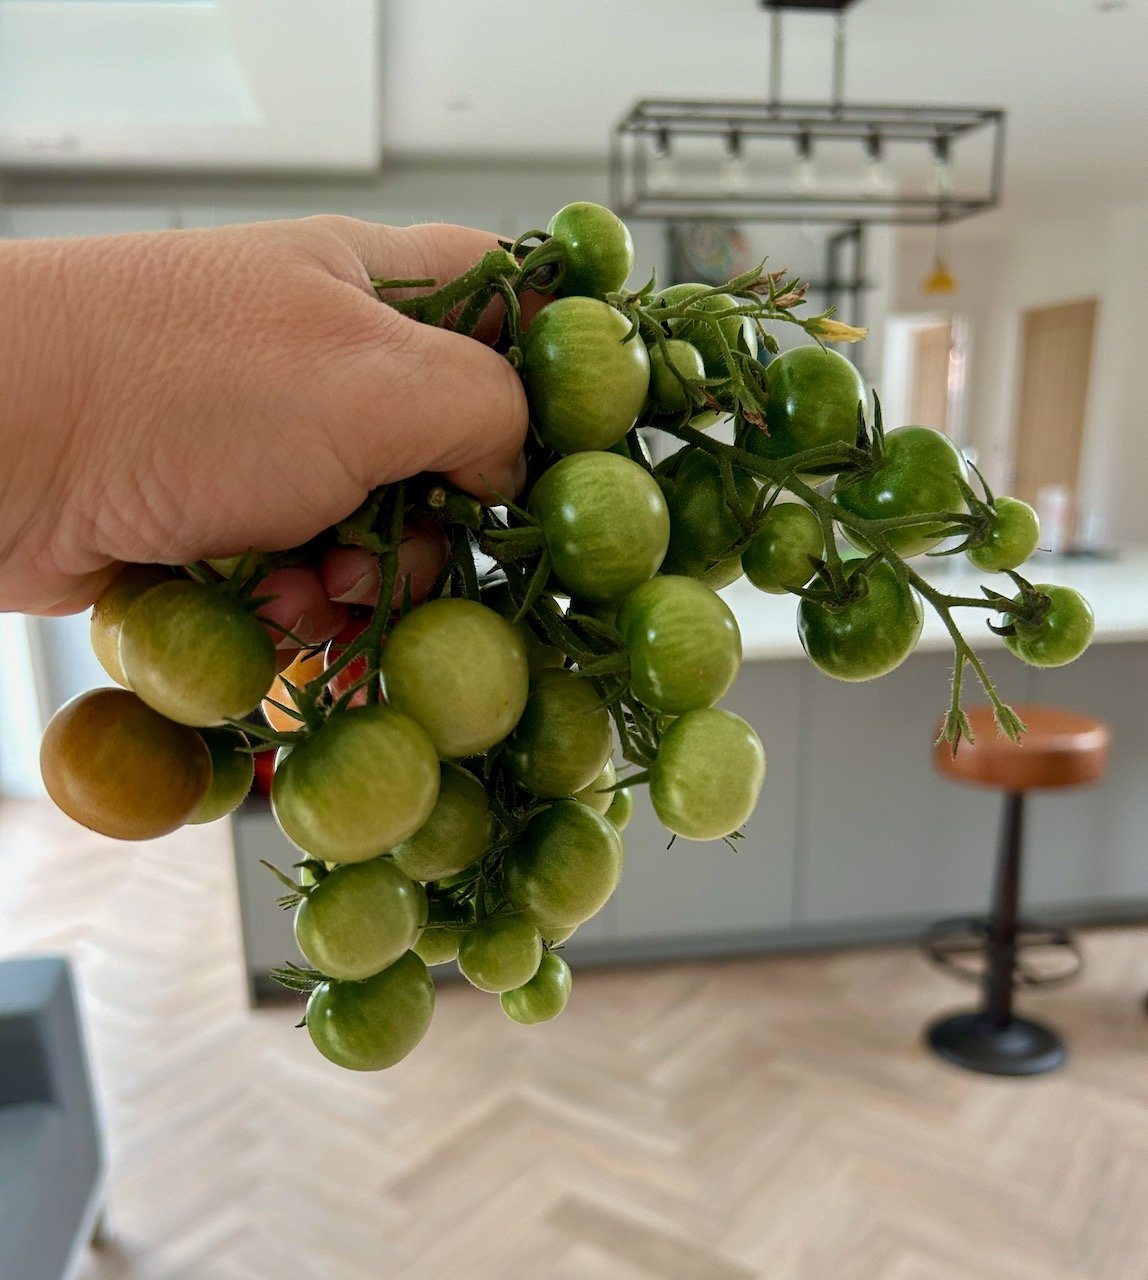
The recipe calls for 1kg of green tomatoes, and while I had a lot from dad (and I mean a lot) some had ripened as they sat alongside the already red ones and so had made their way into roasted tomato pasta sauce and subsequently the freezer, I was still a few short. And this handful topped me up to the full kilo - a quick last picking from my own tomato plants and I was good to go.

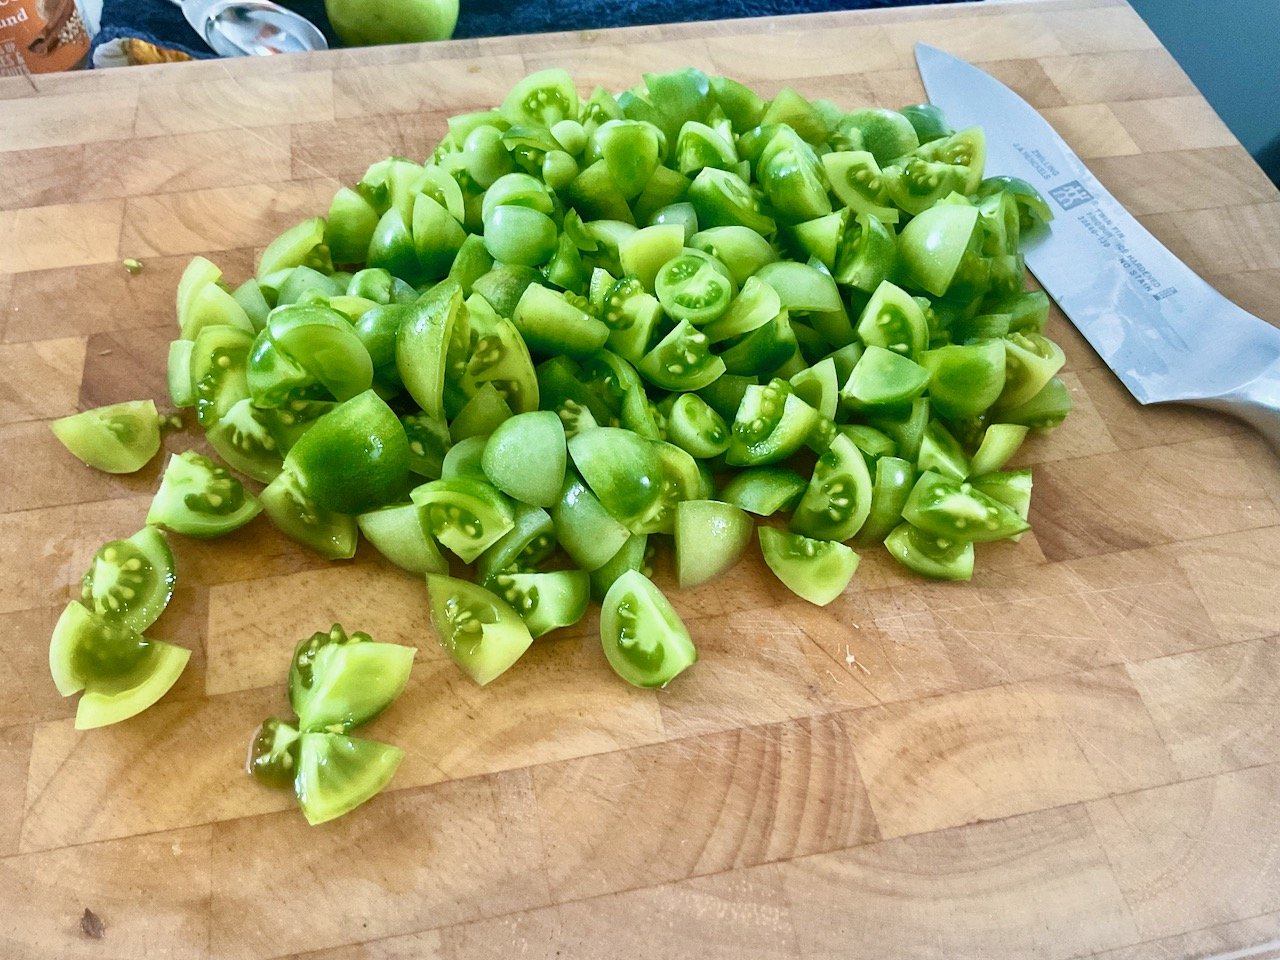
There’s a bit of chopping involved as you’d expect, but nothing too onerous. And don’t they look so fresh and vibrant?

Young, fresh green tomatoes quartered on a wooden chopping board

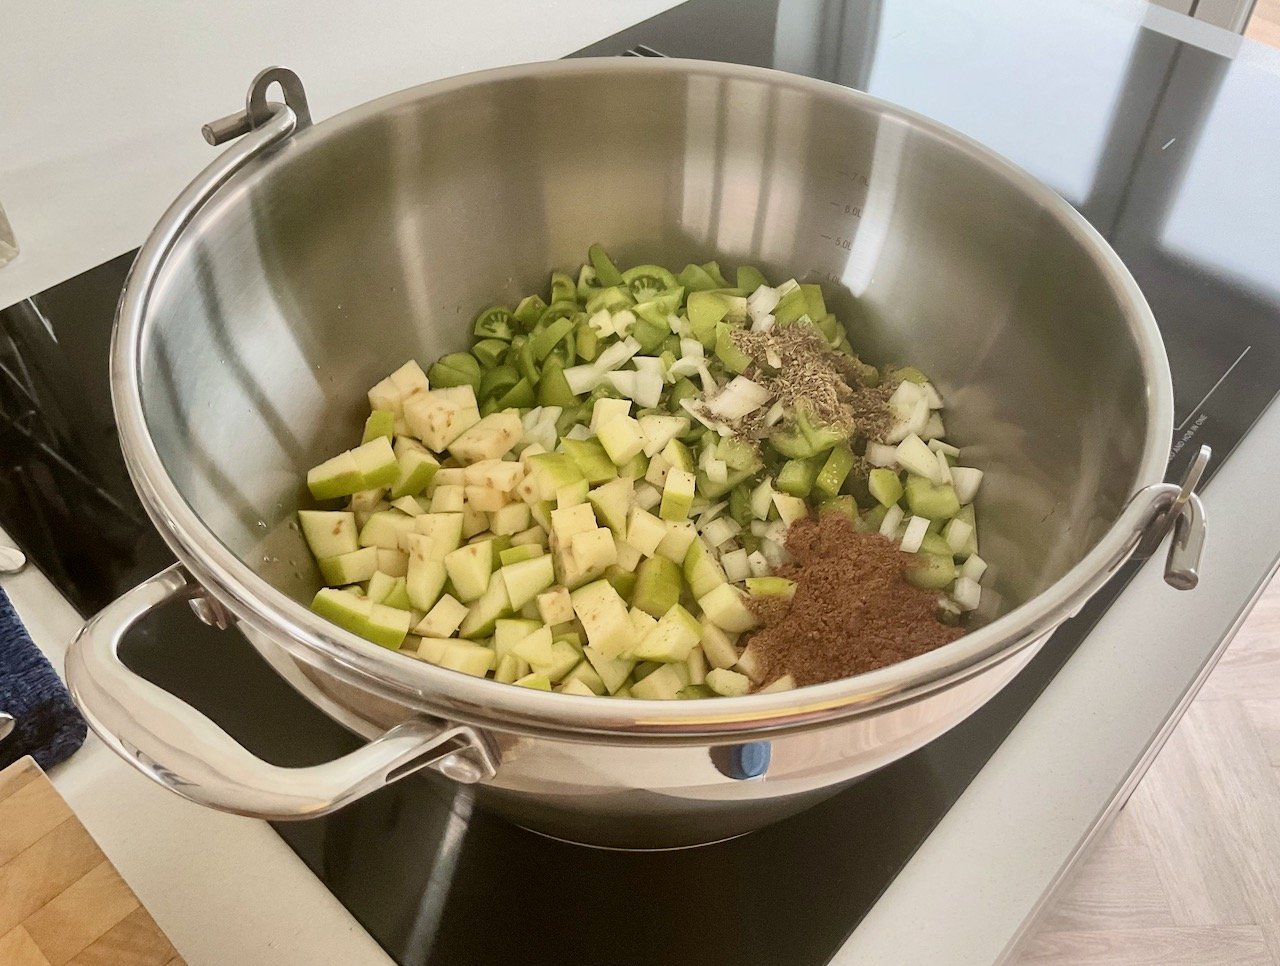
I debated (with myself, in my head!) about if I should use my preserving pan or not. And in the end the logical answer of ‘you’re preserving so why the heck not’ won out, and I’m so glad I did.

It is a large pan, and even though the amount of ketchup I was making was relatively small using this pan meant I was confident it would all fit in and there’d be no risk of anything bubbling over.

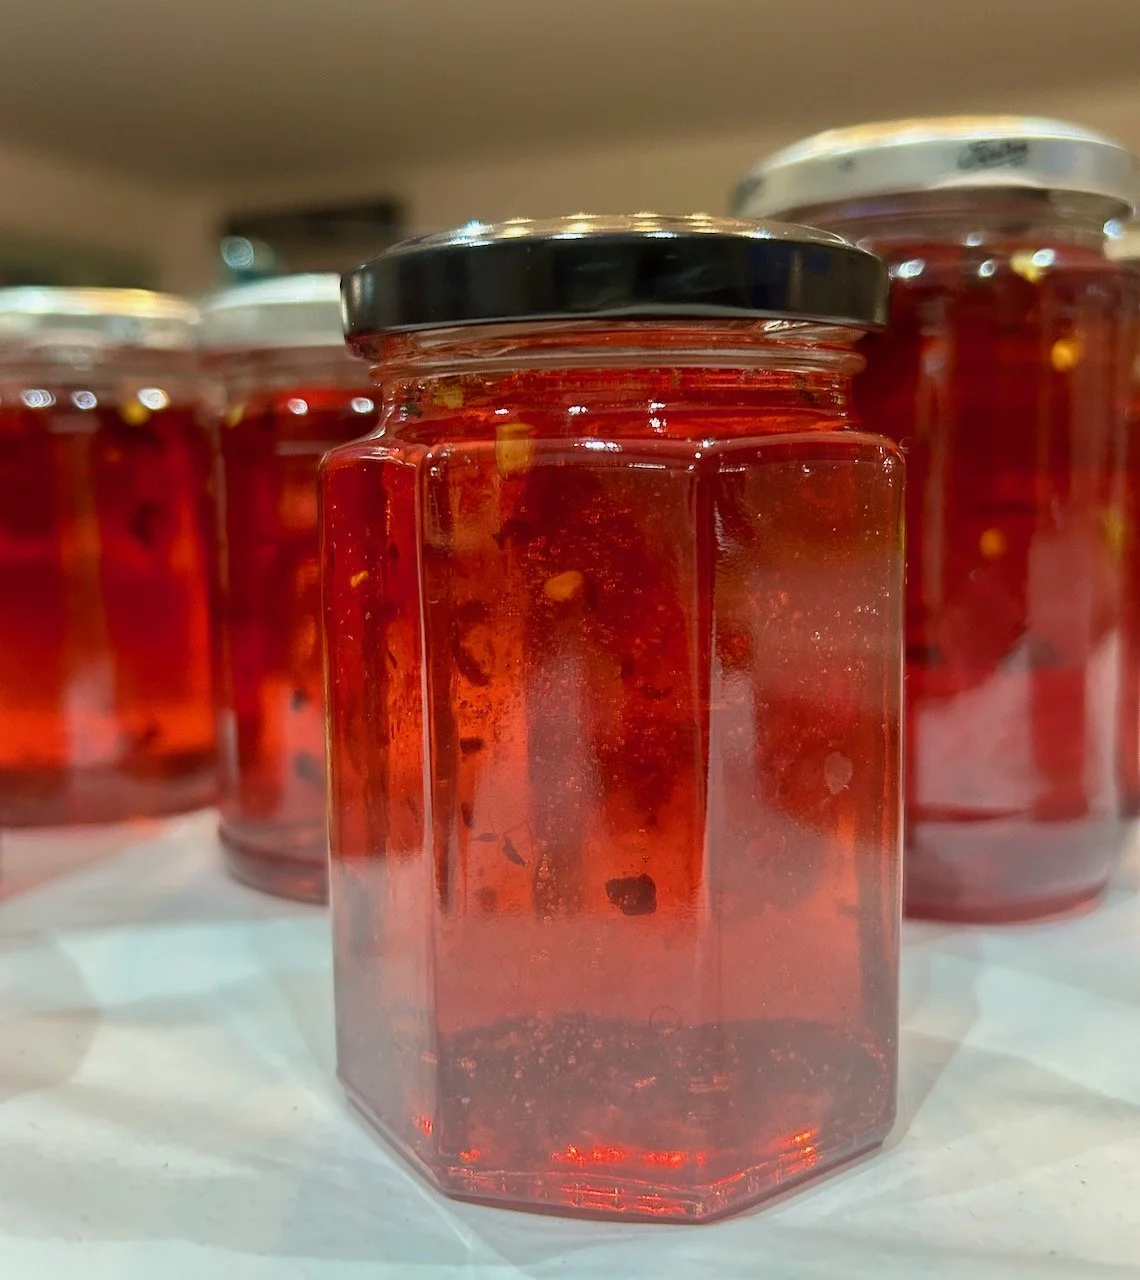
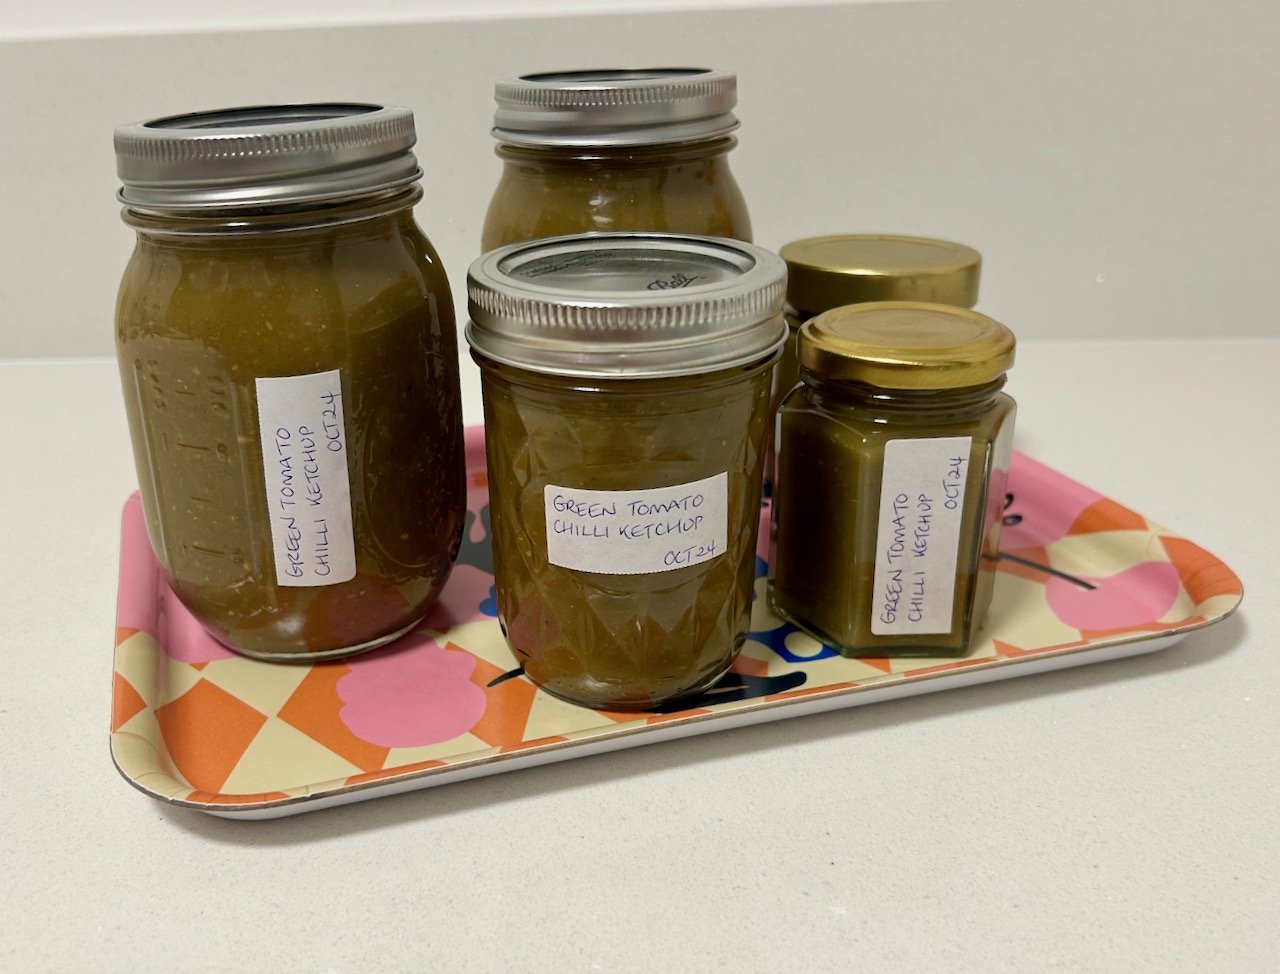
In preparation I’d even saved one of those almost 700g passata jars, but I didn’t use that in the end instead opting for smaller jars. I mean, it often takes me more than one attempt to use all the passata and I knew I’d be using the ketchup in smaller amounts, so it made sense to fill smaller jars.

This is very much like the recipe I remembered and I’m so pleased to have found it, and to have had the green tomatoes. I think next time I’d probably add more than one green chilli, and would consider adding some grated ginger too for an extra bit of zing, but that’s for next time when no doubt I’ll have lost the recipe again.

We’re already almost through one of the smallest jars, with the others safely stored on the top shelf of my pantry. And I couldn’t be happier!

PostCommentLove

I'm impressed with my Shark

What is it they say about age and getting excited about household appliances? Well, whatever it is I’ve a feeling it could be true…

Since we moved here - to a house with mainly carpets - it’s been clear that our well used and much loved little vacuum was struggling. It’s still great on the Karndean flooring but with the majority of our new house carpeted, it really was hard work to vacuum, so much so that instead of blitzing the job as we would previously, it made more sense to tackle a room at a time.

In the end though I had to agree with MOH - we needed a new vacuum.

Though a quick search of prices left my eyes wide open, as did all the options and permeations available. So nothing happened for quite a while as it was just too tricky. However we were in Nottingham a month or so ago and actually looked at vacuum cleaners, in person. Unsurprisingly this helped narrow the field a lot, but we still left without one thinking that we could probably pick one up a bit cheaper online, or at least have it delivered and avoid carrying it home.

But that didn’t work out so well, or not immediately anyway - as our ‘chosen one’ was out of stock everywhere I looked, even on the maker’s website. I signed up for the ‘tell me when it’s back in stock emails’ but nothing ever arrived, so I took this to mean that the model was being retired and hopefully replaced.

It wasn’t all bad news though as we’d identified we wanted a Shark. We’ve had good vacuums in the past - a Dyson (which has been retired to the garage) and a Hoover, which had been promoted to our first choice. Both have served us well, but it was time for something new. And the Shark cleaners were new to us.

Our must haves were:

  1. Be able to remove the battery and charge this independently of the vacuum cleaner.

  2. Be able to deal with a lot of carpet, but also hard flooring.

  3. Two batteries.

  4. Store compactly.

  5. Noise - nothing too high pitched and screechy.

  6. Not cost the earth.

For me number 1 and number 5 were really important. One because I like our current arrangement of storing the cleaner in our plant room, and being able to charge the batteries separately. This ruled out a Dyson as I didn’t want the vacuum on show in our utility room, where we have a spare power socket (or to have the faff of getting a socket put in where we store the cleaner). And five because, our Dyson hurts my ears; the Hoover is better noise-wise but the Shark we tested in the shop was at a much lower pitch, so that worked in its favour too.

I’d expect all vacuums to manage my second and fourth requirements, but it’s worth making sure isn’t it - some claim to, and are, better than others. Having two batteries means that if the battery does run out on you, you can still carry on - maybe not a blessing every time, but useful if you want to finish off cleaning a room.

And number six, well - we can’t have everything can we?

It was definitely worth signing up to the ‘tell me when it’s back in stock emails’ as while I’d already clocked that Black Friday (which seems to last at least a week now) was approaching and was hoping that I might be lucky with that final option on our wish list. And it turned out to be a good choice, as one of the emails that arrived promised ‘early access to Black Friday deals’.

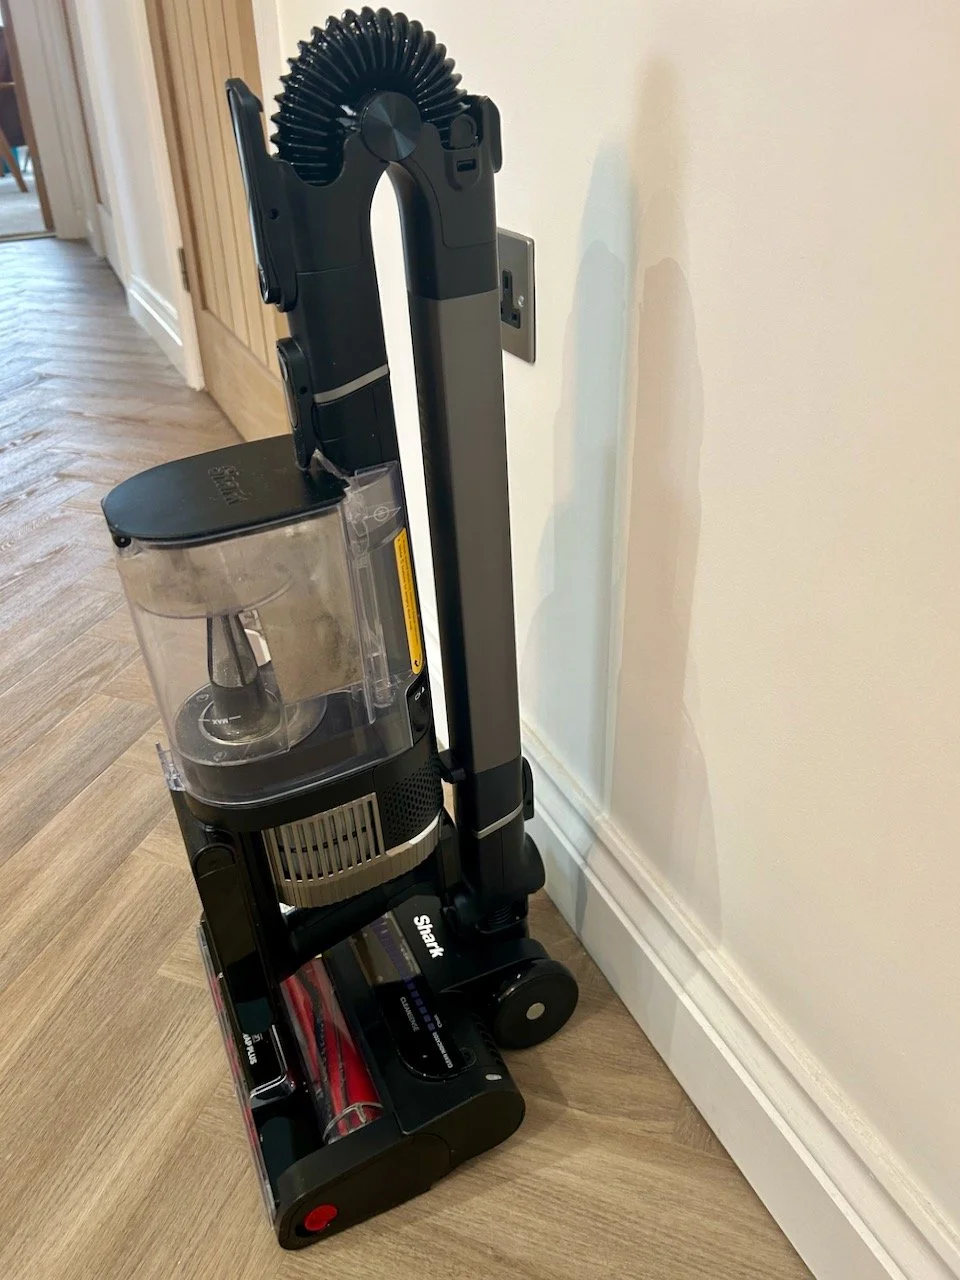
I was right when I’d assumed the model we looked at no longer existed, but I found one - the Shark Stratos Anti Hair Wrap Plus Pet Pro Cordless Vacuum [Double Battery] IZ420UKT - that had similar details to the photo of the tag from the shop. And so, around 7.30pm I ordered that, which was also £150 cheaper than we’d seen in person.

What I wasn’t expecting was for it to be delivered by 11am the next day. But it was. That was impressive.

I set about unboxing it, putting it together and trying it out. I was still impressed.

Over the next day or so we vacuumed the whole house. We were still impressed.

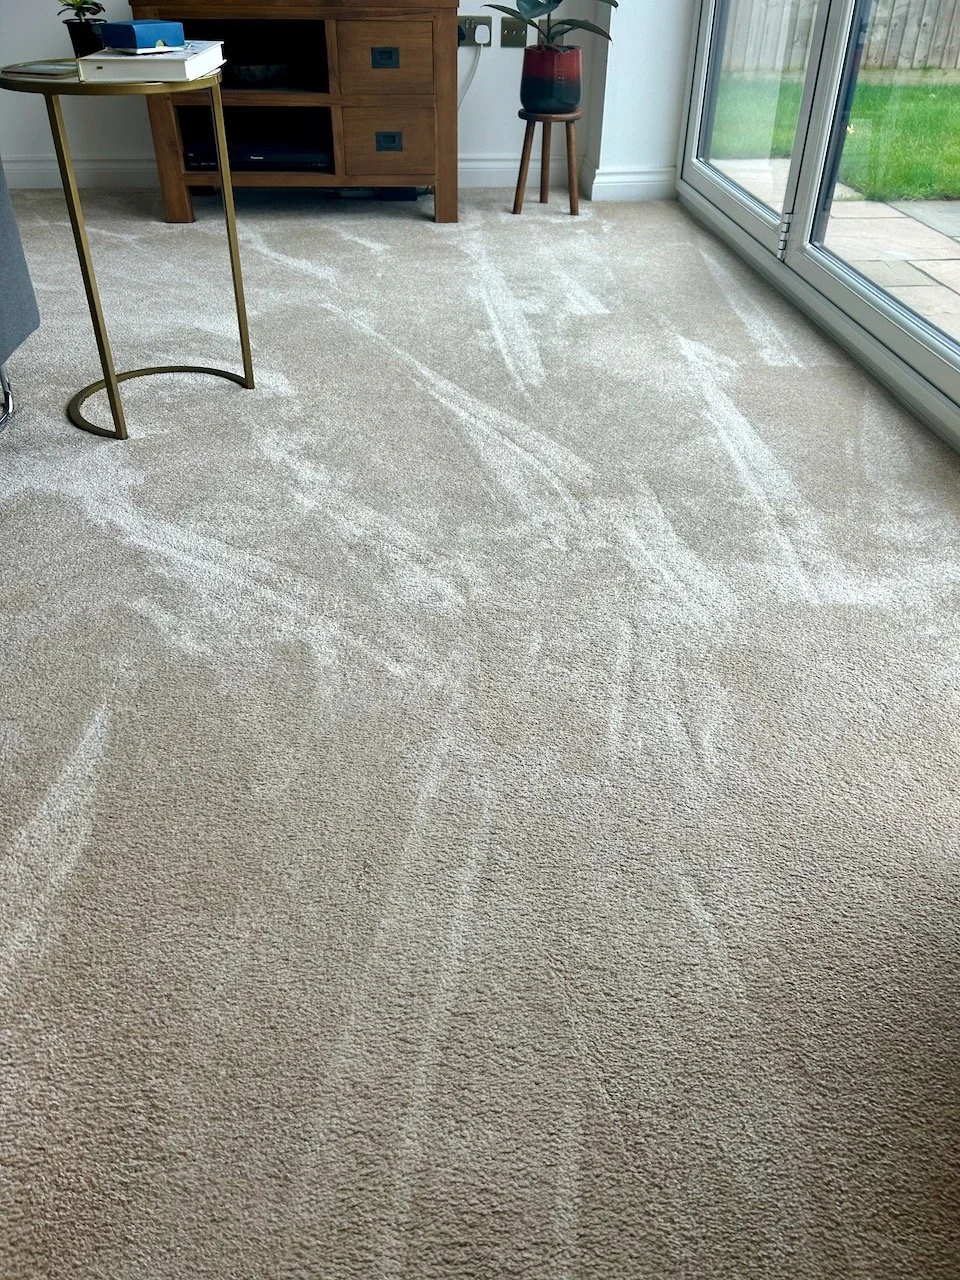
Although I’m both impressed and slightly depressed about how much dirt it’s picked up - oops! And it’s worth noting that it’s heavier than either of our previous vacuums.

So back to my list of must haves - we’ve achieved all of these, which is great news. I know it’s only a fortnight or so since it arrived but I have no regrets, and I’ve a few learnings too:

  1. The delivery experience from Shark (we bought directly from their website) was exceptional.

  2. This doesn’t come with a manual, which was ok - and there’s enough information printed on the box, but if you like all the details it’s worth checking what’s included. I’ve ended up cutting out and keeping part of the box - and storing with the accessories, so I remember what they’re all for.

    So far for me it’s been a bout straight up vacuuming, I haven’t branched out into the accessories yet - but it comes with a multi-surface tool, anti-allergen brush, 12” crevice tool and a motorised pet tool with a handy storage bag.

  3. The ‘flexology bends’ means it gets under the furniture much more easily than I anticipated, and retains its full power while doing so.

  4. It senses and automatically adjusts when there’s more dirt to pick up from where you’re cleaning, and shows this on the floorhead, the noise intensity also changes - but even better, it reverts when the dirt has gone.

    We had the ideal opportunity to test this when MOH wanted to see how it opened and hadn’t quite made it to the bin in time! It was like one of those 1970s ads, but for real!

  5. One thing I wasn’t prepared for, and I’m still not sure about is the suction pads on the bottom of the battery charger. They have good suction, and I guess it means it will stay where you put it - but mine is currently on a paper bag while I work out exactly where it will live.

    I’ve a feeling it may get an upgrade to something fancier than a paper bag at some point, as I’m not sure I want it stuck in place if I’m honest.

We chose the Shark Stratos Anti Hair Wrap Plus Pet Pro Cordless Vacuum [Double Battery] IZ420UKT

So all in all, it’s been a great experience - and one that has made keeping our house clean slightly easier, and quicker too. And we remain impressed.

FYI: This isn’t an ad, but I shared some pictures on Instagram Stories and had so many questions that I’m sharing everything on my blog, as a quick and easy way to provide answers.

And yes, we are now a three vacuum household - which is something I’m still coming to terms with…

Making myself some chunky fabric weights

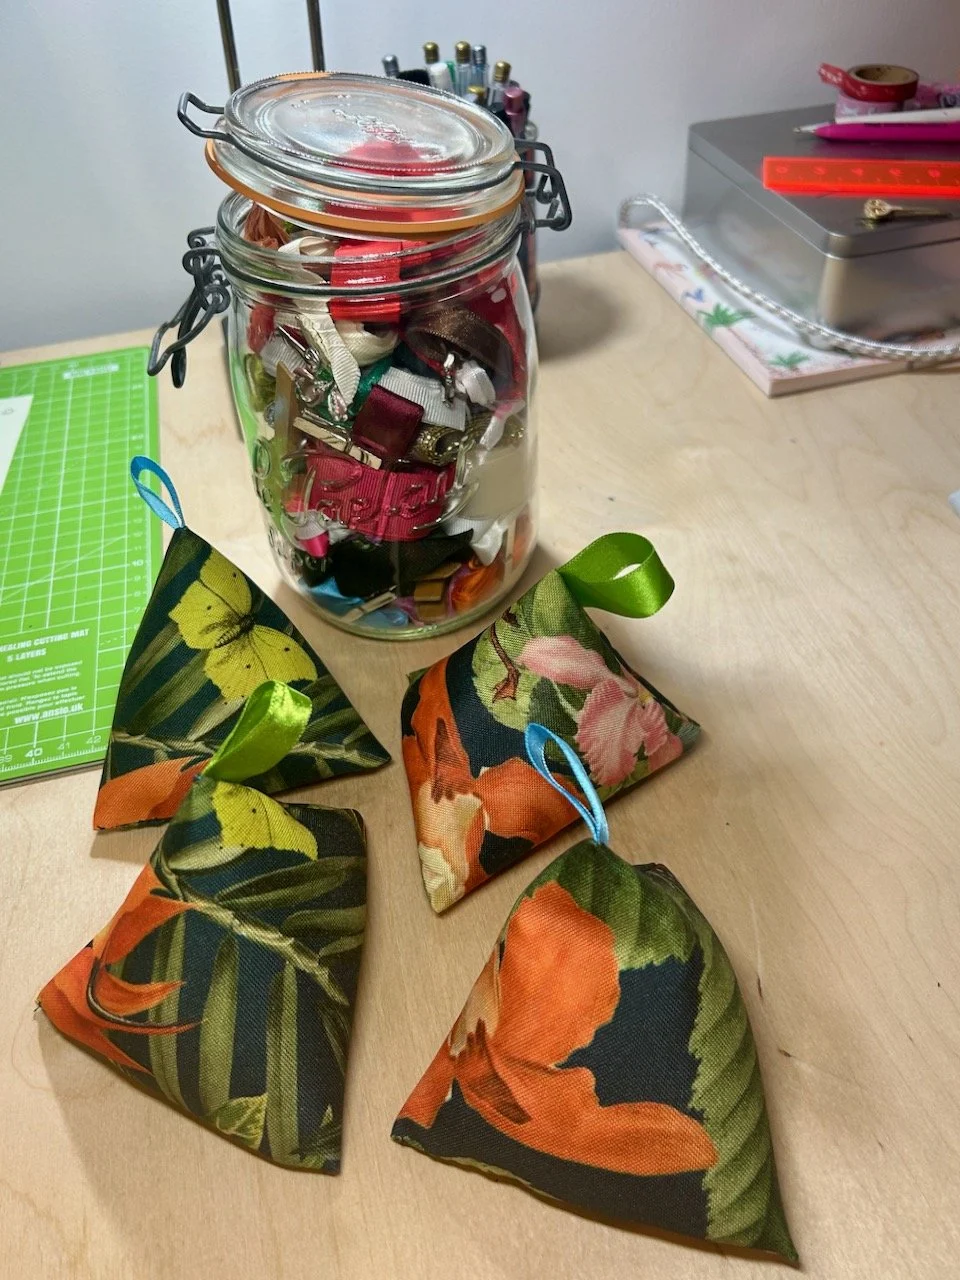
Once I’d cut out the pieces for my outside cushions I was left with a strip of fabric that I knew I wouldn’t use in future cushions, and I wondered if it might work for some chunky pattern weights which I’d had my eye on making since that bag making course I went on in May. I have some smaller pattern weights which I use, but I used some of these on the course, and they were really good at holding the fabric in place on the table, which if you only have a small space to work in is a life saver.

Clearly I could just have easily added the leftover fabric to my stash, but I thought I’d strike while the iron was hot and so I looked out the pattern that the tutor had shared on the course, and worked out with some small adjustments I could make it work. And they’re really easy to make, trust me.

All you need is a rectangle of material, mine was a bit smaller than the suggested 11cm x 21cm, a piece of ribbon for the finger loop, plus something relatively heavy to fill them with. I used rice for these, but would consider adding some dried lavender along with the rice to any future ones I make - as rice alone doesn’t have the greatest smell. I wouldn’t use too much lavender, or lavender on its own as I’d be concerned that the oils might seep through the fabric and onto the fabric I was cutting out.

You simply fold the fabric in half to form a square, insert your ribbon at the fold and then sew along the top and side open edge, leaving the bottom edge unsewn. Then open the bag so the seam is now in the centre, and sew but remember to leave a gap so you can add the filling.

Turn it through, push the corners out and fill with rice (it’s definitely worth putting it into a tray to catch the spilled rice - trust me) and then sew the gap closed.

Simples. And really useful too.

There’s plenty of free patterns for these kind of fabric weights online - if you want more detailed instructions try googling ‘triangular fabric weight patterns’ or ‘pyramid fabric weight patterns’ and you’ll be able to choose from written or video examples.

And of course using the outdoor fabric means that mine will be handy for outside sewing, or cutting out - though not that I’m actually planning any of that!