Over the winter MOH spent some time creating a workout space in the garage, as let’s face it not many of us put our cars in there these days and there’s no longer a gym or such like on our doorstep. There’s still space for all our junk (though there’s getting less and less of that as we continue to sort through our moving boxes), the usual paraphernalia and my greenhouse station, so all’s good.
We’ve spent the summer using the space and it’s been really good to have - I already know we’ll appreciate it even more in the winter months - but it is kind of, well functional. There’s some finishing touches that I want to add and I’m hoping to get to more of those soon.
We’ve also finally had our large inbuilt wardrobes kitted out so we can make the most of the space we have (more on those another day!) and so we’ve been sorting through our clothes; some have headed to the charity shop and others are for sale on eBay and Vinted (with many more to list!) and some I’ve kept to reuse. One of MOH’s first cycling tops was in the reuse pile, along with one of his now holey Superdry t-shirts.
In our workout space we knew that storage was going to be key, and we’ve hooks of all shapes and sizes to add to the walls (when we decide where things need to go) but sometimes you just want to shove stuff out of sight don’t you? And away from the spiders (or as much as we can, anyway).
And so the idea for a drawstring bag was born.
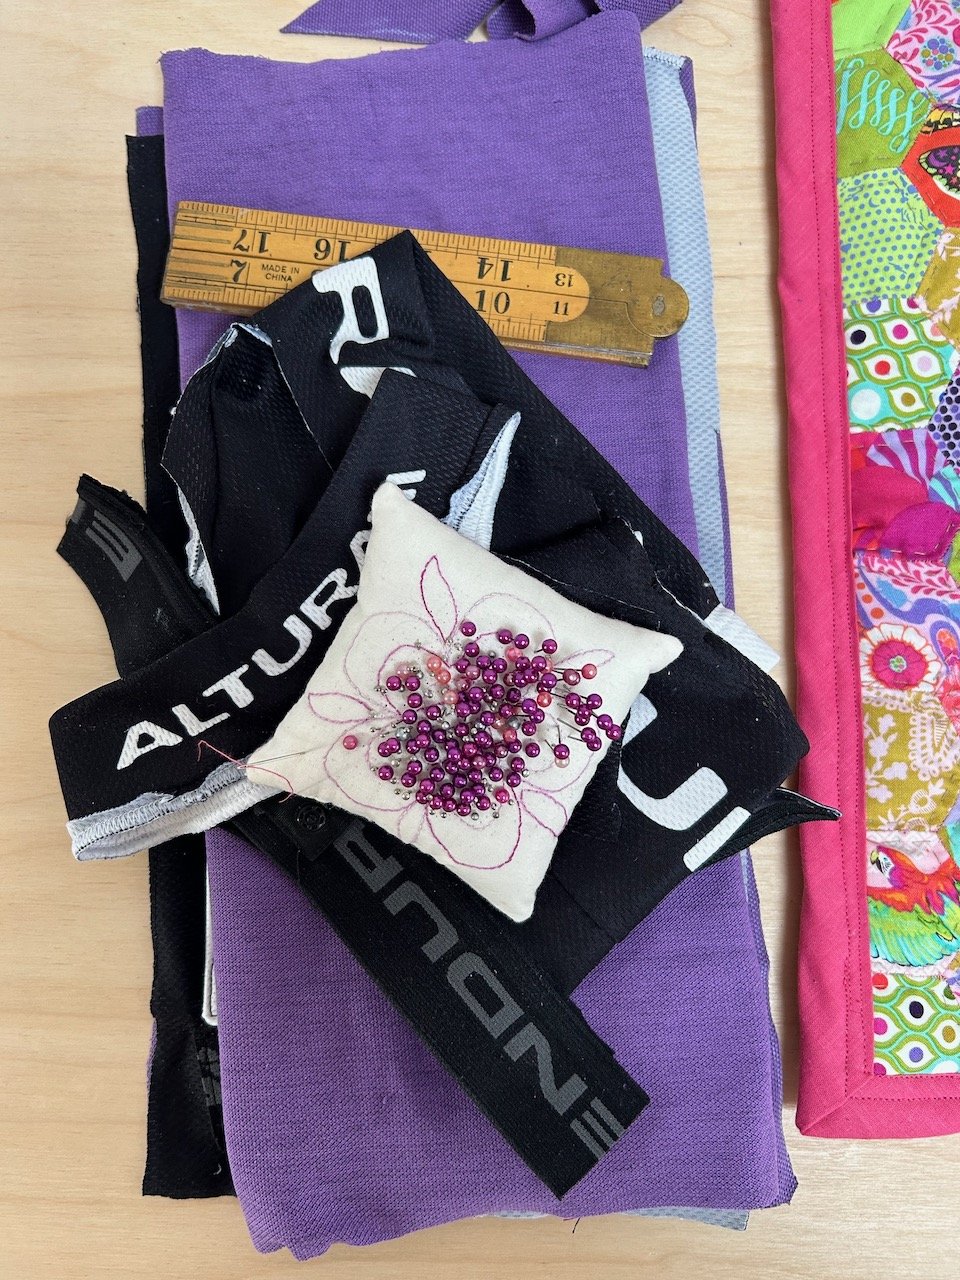
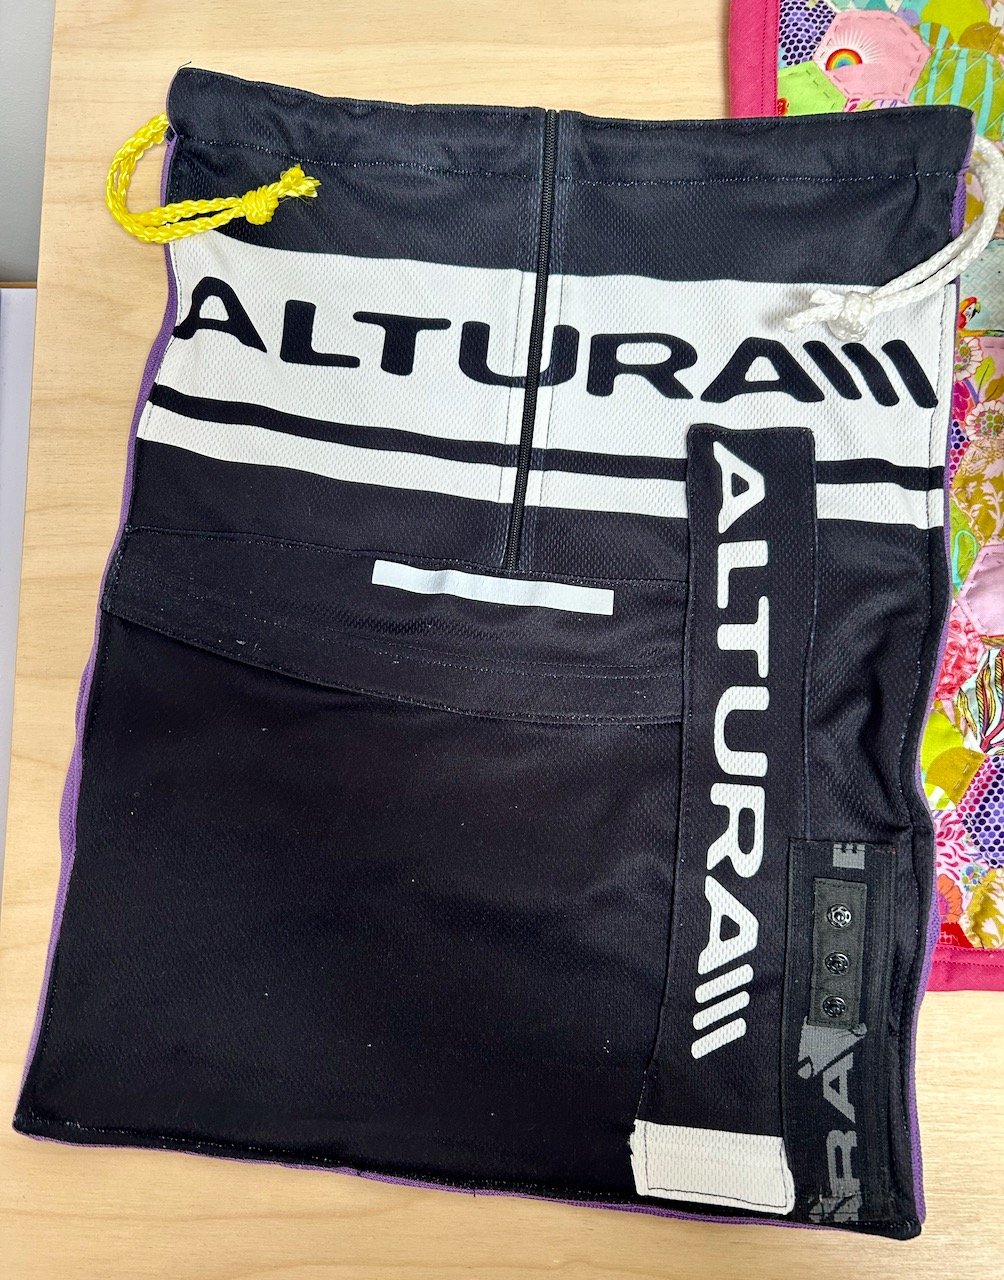
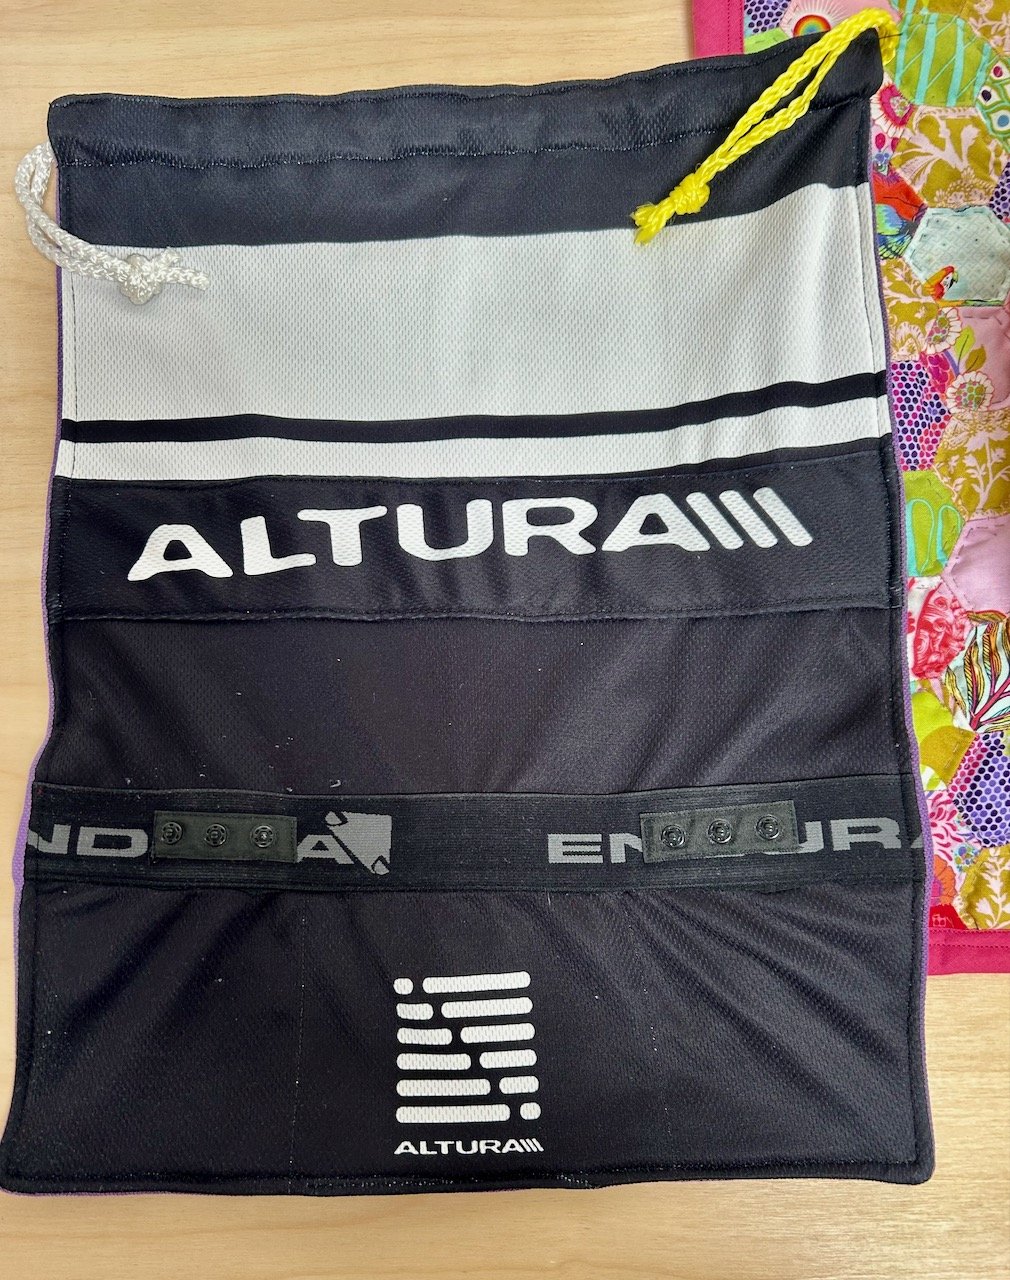
Having looked for an easy tutorial on YouTube I set about creating the front and backs using the purple t-shirt as lining. I wanted to keep the cycling top details, so cut off the Altura logos from the parts I wasn’t using and supplemented these with the elastic waistband of some cycling shorts which were heading for the bin.
Rather than start by sewing the bag together, my first job was to piece the logos and elastic to add detail to the front and back of the bag, which I’d used the main body of the cycling top for. It was only then that I could actually make the bag, and it turned out pretty well.
THE FRONT, COMPLETE WITH THE CYCLING TOP ZIP IN ITS ORIGINAL PLACE
I kept it simple and kept the zip from the front of the cycling top, though at one point my sewing machine grumbled about that. The front has an additional logo (at right angles) and some of the elastic with poppers on the front, as well as the curved lower edge of the back, complete with the reflective strip.
The back, which is the back of the cycling top has another logo added across the back, and thinking ahead to spider-proof this (you can never be too careful) on this side the waist of the cycling shorts was used to seal the pockets.
AND THE BACK, THE THREE REAR POCKETS HAVE BEEN SEALED WITH THE ELASTIC TRIM
The yellow and white cord I’d kept from carrier bags - you know the duffle bag type - which were no longer used (and in fact had already been recycled long before we moved).
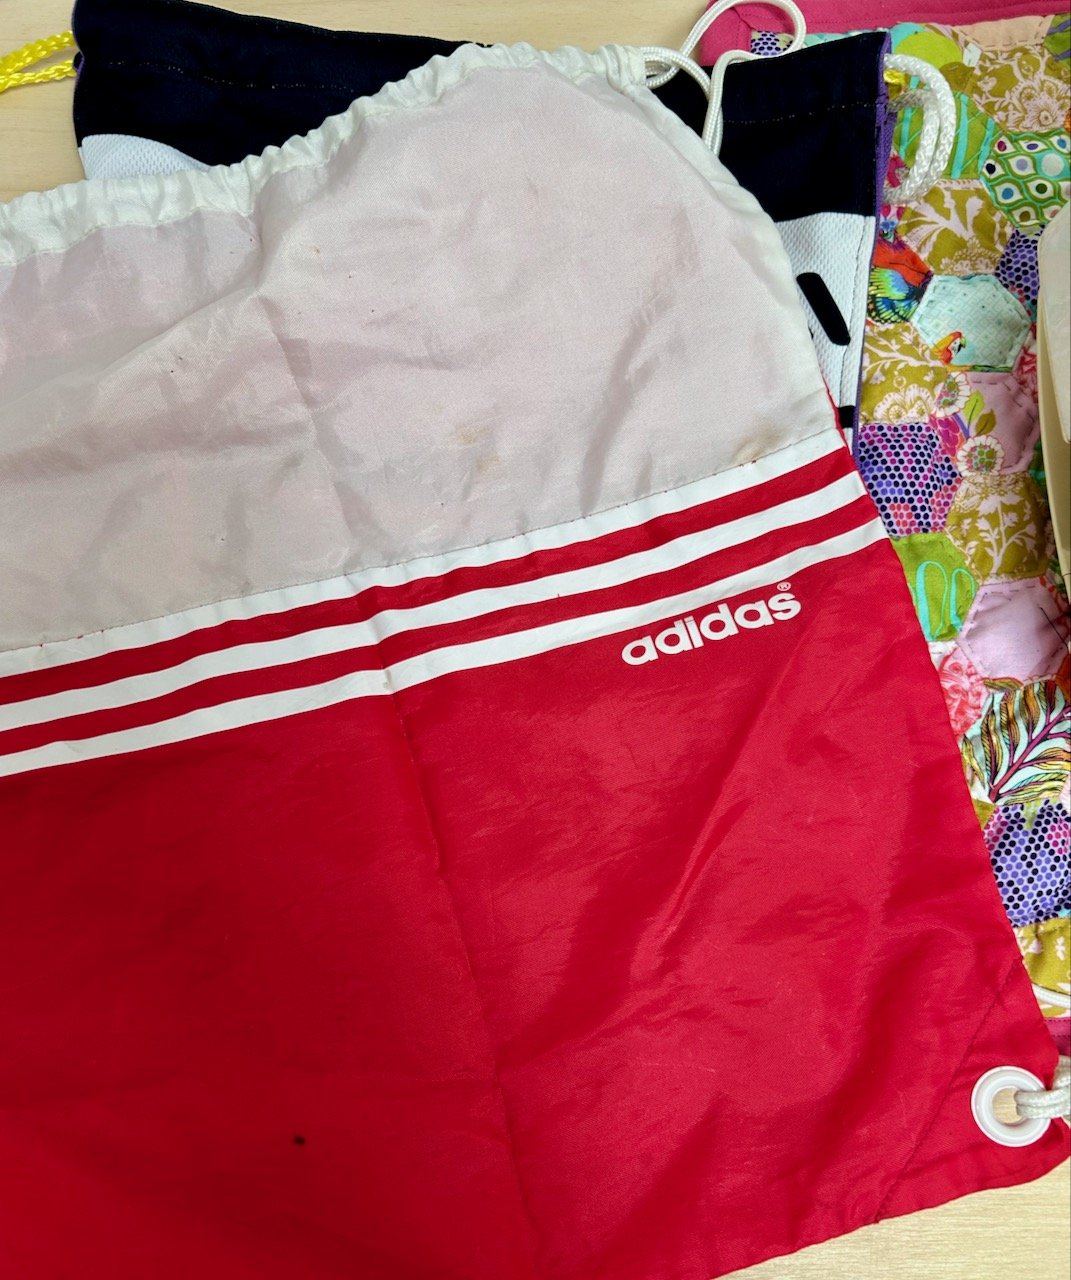
I’d planned to make myself a bag along the same lines, but was undecided about which of my netball kits to use. In the end I found my Adidas gym bag which I used to take to netball matches - I know this because it still had the eight safety pins pinned into in for pinning on those velcro bibs to non-velcro-ed tops - something I’d completely forgotten about!
So I’m reusing this one as a starting point, though I’ve a feeling that turning old sports kit into drawstring bags could become a bit of thing - and I’m not sad about that at all!


