

The Blagger's Guide to Gardening...

Gardening could be something you grow into, or maybe it's something we all need a little help with along the way. I first got into gardening through a case of having to when I bought my previous house that came with a Very Overgrown Garden. I had no idea what I was doing, but luckily dad was on hand to guide me - and do a lot of the work. 

Many of you tell me you have no idea on where to start with gardening, sadly I can't lend you all my dad. He'd be very willing you understand (and at times mum would be happy to send him your way too) but I have the next best thing for you and that's this Extremely Busy and Important Person's Guide to Gardening.  The Scotts Miracle-Gro company created this "blagger's guide to gardening" because 61% of Brits say they avoid gardening as they deem it too complicated. Or maybe it's because they don't have my dad on hand to help get them started... 

Photo credit: The Extremely Busy and Important Person's Guide to Gardening

Photo credit: The Extremely Busy and Important Person's Guide to Gardening

It's true that there is a bit of gardening lingo that those in the know often try to bamboozle you with, but this guide aims to help you overcome that so you will be able to "talk the talk" with neighbours, friends and family and well anyone really. 

It's designed along the lines of those popular Ladybird Books for Adults which always make me smile and it also draws on a range of gardening guides from author and botanist Dr D G Hessayon, and as well as the guide there's plenty more useful information over at www.lovethegarden.com/littlegreenlies 

The guide is split into three sections: lawns, plants and weeds.

Let's start with my speciality, weeds!

Every gardener and every garden has weeds. Don't let them tell you otherwise. Really. Even the most preened National Trust gardens have them, I know because I look out for weeds when we visit gardens and it's always reassuring, and I might just do a little dance of joy.

Photo credit: The Extremely Busy and Important Person's Guide to Gardening

Photo credit: The Extremely Busy and Important Person's Guide to Gardening

Scotts Miracle-Gro sent me products to tackle each section of the guide, for the weeds there was this rather large vat of Weedol Pathclear. And it was perfect to help us tackle our front garden.

Weedol pathclear

It's powerful stuff and prevents new weeds appearing for up to three months, which even in my book is a big win. As with any chemicals it's important to read the instructions carefully and avoid getting it onto yourself. 

Here you can see MOH taking it all very seriously. 

Reading the weedol instructions, something I'd always recommend

Now if you're wondering what the toothbrush-like attachment is for (tip: it's not a toothbrush) then this is another fabulous work saving innovation, the power sprayer. While using your forefinger to operate a manual spray doesn't sound overly onerous, I think it depends on how many weeds you have, and how much of a workout your forefinger wants.  This device is battery operated and makes spraying weeds easier for your forefinger, and helps you to get the weedkiller exactly where it should be, with three 'flow' settings.

Getting to work blitzing those weeds

It's worked well on these smaller ground level weeds and some moss which started to grow on our driveway, and if you have weeds that you want to zap I'd recommend getting them early. I have a few larger weeds and they've been a bit more resistant to its charms, but not for much longer I hope.

So, moving onto plants

With the weeds under control it's time for the part of gardening I find the most rewarding. The plants. The bits that make our garden look like a garden, rather than an outdoor rectangular space. They're how we can stamp our personality on a garden, and my tip here if you don't know what to grow is to take a look at gardens near yours. You'll start to see plants cropping up regularly in those gardens, and that's a good indication that this plant will also grow in your garden.  

Your next challenge is to work out what it is. The easiest way is probably to take a photo and either search for it online or show a friendly person at the garden centre and ask for their help.  Everyone likes to share their knowledge, right?

Photo credit: The Extremely Busy and Important Person's Guide to Gardening

Photo credit: The Extremely Busy and Important Person's Guide to Gardening

Where the Miracle-Gro All Purpose Plant Food comes in is that it's the easiest way to feed and water your garden so you can grow spectacular flowers, bigger vegetables and so on. I mean imagine if you were a happy plant in a garden centre being regularly fed and watered and then you were bought, planted in a new space and then left to fend for yourself. Exactly.

Using Miracle-Gro all purpose plant food in the greenhouse

You'll not be surprised to know that dad's a fan of feeding his plants, and as he has some spectacular results in his Norfolk garden, which can't just be put down to "good soil" I think he's got a point and we should all feed our plants, and give them the help they need.

IMG_4249.jpg

And so to lawns

You'll know grass - and circles - have been a major project for us this year, and grass, or lawns, are very important in our gardens. Whether they have bald patches where the goal has been or maybe the dog has been, or in our case where the squirrel has started digging, they can prove to be very emotive things lawns. 

Photo credit: The Extremely Busy and Important Person's Guide to Gardening

Photo credit: The Extremely Busy and Important Person's Guide to Gardening

Grass quite happily grows in most places, and often ends up growing in places you don't want it to as well.  We've got some bald patches in ours where we need to give it a bit more attention, but generally it grows, and often there's weeds and moss in there too.  There definitely is in ours.  This EverGreen Complete 4 in 1 Lawn Weed & Feed aims to help making it easy to feed lawns for thicker, greener grass and killing weeds and moss all at once.

Miracle gro complete 4 in 1 lawn feed and all purpose plant food

As with any pesticides it's important to read the label and follow the instructions. My challenge here has been the weather and enough good weather when we've been around. After all the rain, the grass has grown, so understandably MOH has wanted to cut it, that's meant no lawn feed for 2-3 days and then of course the rain has been back, or we've been out.

So I've yet to try this but I am keen to see how it goes. The pack says the moss and weeds will go black, so that's something to be aware of, and that any grass blackening is temporary. I'm running out of potential good days to try this out, but I'll be sure to let you know how this goes.

So if gardening scares you, take a look at the guide and let me know what you think, because gardening really isn't - or shouldn't be - an exclusive world for the knowledgeable, and if all else fails perhaps you can open negotiations with my mum to borrow my dad!

* This is a collaborative post but all views are my own

Post Comment Love

Red and green bounty from the plot

Leaving the plot laden with produce is always good for the soul, and often good for the kitchen too. As I said yesterday I wasn't sure what I'd find on the plot, but going there before heading to the local shops was the best plan. It wasn't until I got home and unpacked our produce that I realised nature had colour coordinated my home grown fruit and veg.

There was another good handful of runner beans. They really do taste best fresh and home grown, and while we do freeze them fresh is definitely best. The frozen ones though have the most amazing smell, bringing back summer in an instant when it is long since forgotten.

Another handful of runner beans from the plot

And then there were the borlotti beans.  As you can see there were quite a few and equally as many left on the plants for another helping soon.  As I piled the borlotti beans on top of the runner beans I was amazed how many there were and how quickly they covered the runner beans.

Add some borlotti beans from the plot to the pile

But I wasn't done yet. There were apples too, the small apple tree was straining at the weight of the fruit so I picked a few to help it out. A pear from the fruit bowl added a touch of gree again.

apples from the small apple tree and a pear

And on top of the fruit, there was more rhubarb.  

And rhubarb from the plot too

There wasn't much space left on my chopping board, and I'd never thought of rhubarb as being the same colour as borlotti beans before, or apples and pears, but they are. 

That's quite a pile of produce isn't it - rewardlingly so

And we've already made good progress on eating these. A rhubarb crumble is half-eaten in the fridge, there's plans for apple and pear compote. We've eaten the borlotti beans with some pork loin from the butchers, and the runner beans will no doubt feature on our plates during the week too.

I cooked the borlotti beans covered in water with a sprig of sage, three squashed garlic cloves and three squashed cherry tomatoes. When they were soft I added some salt to the water and left them to stand for ten minutes or so before draining them, forgetting to save some of the cooking water as I planned! Then added some olive oil and lemon juice and mashed some of the beans. They tasted great and I'd cook them again this way. They lose their pink and white speckled colour when they're cooked, which is a shame, but for this harvest alone they're alwasy going to be on my growing list.

EVEN THE SAGE AND THE CHILLIES FROM THE GARDEN MATCHED THE RED AND GREEN THEME

EVEN THE SAGE AND THE CHILLIES FROM THE GARDEN MATCHED THE RED AND GREEN THEME

It's clearly a red and green time of year, and long may it continue!

Post Comment Love

Overcoming my overwhelm and letting inspiration strike

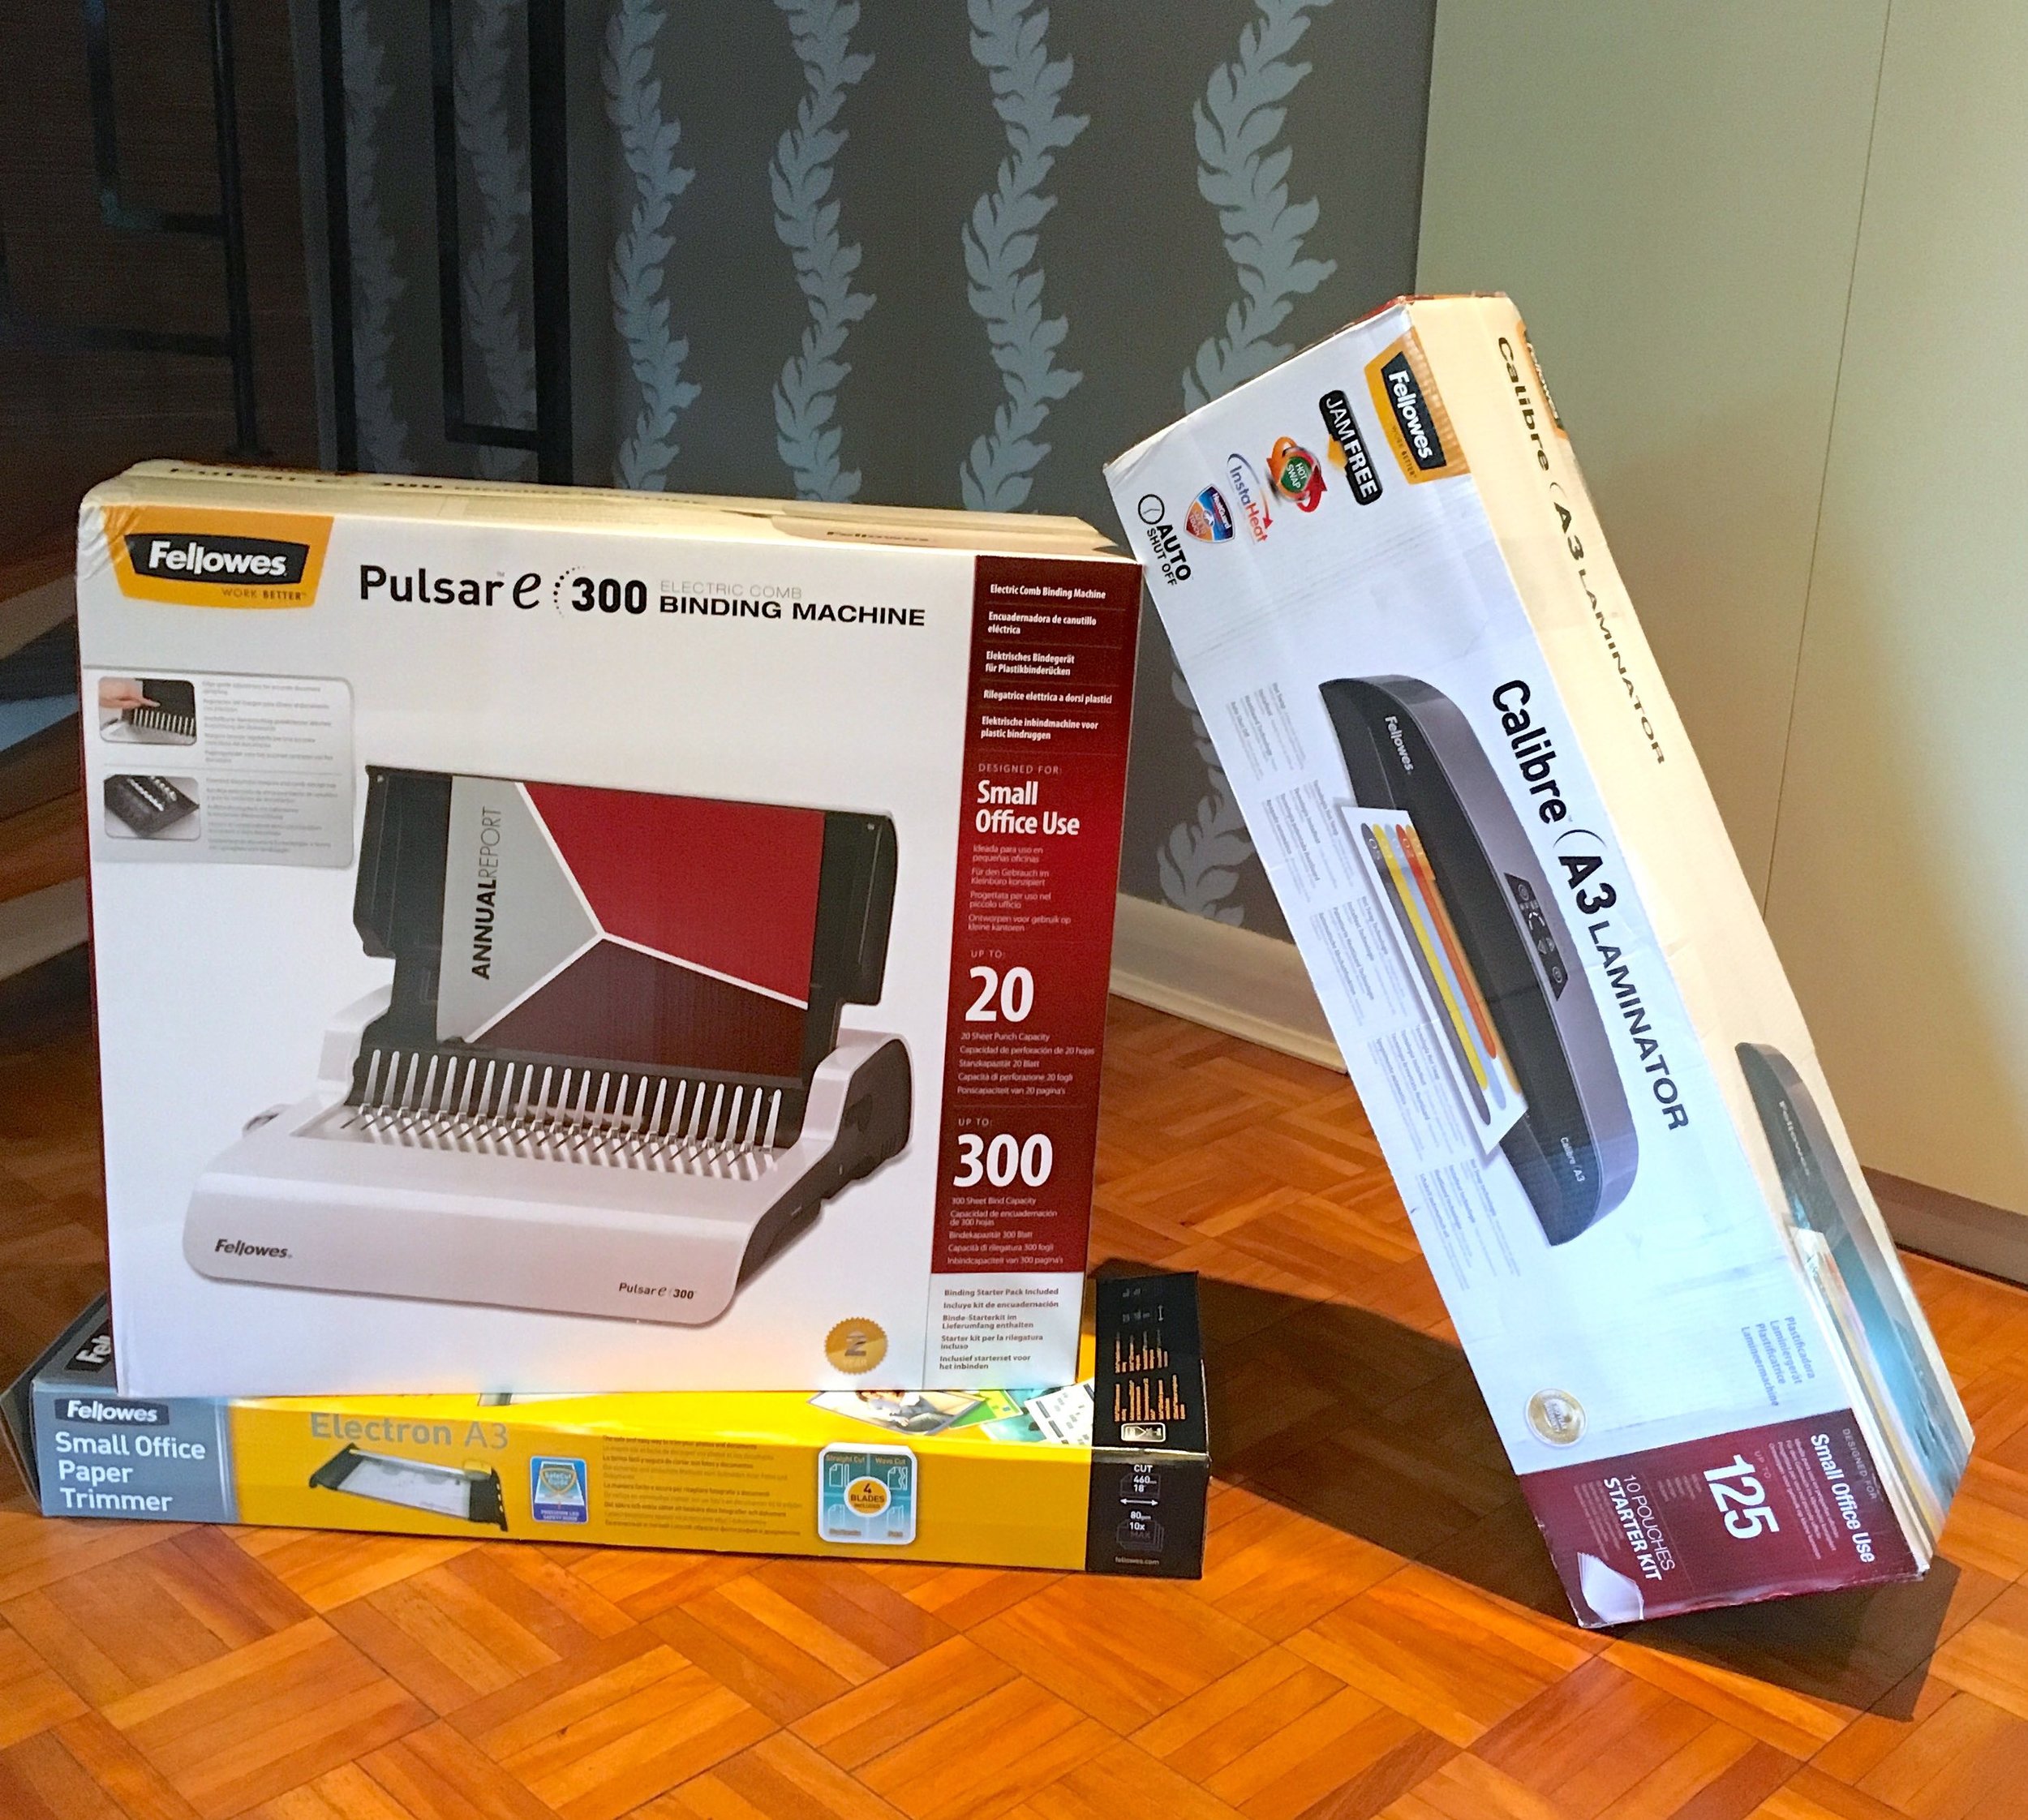
Now that may seem a strange title but let me explain. In August I received a delivery from Fellowes of some small office equipment to review. My neighbour's house sitter took in the parcels and then when I popped round to collect helped me bring them home as the largest of the boxes was, he said heavy. He wasn't wrong and later that evening I unboxed a binder (the heavy box), laminator and trimmer along with accessories to get started with the laminator and binder machine.

A delivery from Fellowes taken in by my neighbour's housesitter
unboxed and wow

It's fair to say I was pretty overwhelmed. Not only by the kit in front of me and where I would store them, but also how I could use them. I wanted to do something more creative than organise MOH's shed, labelling where he should put things (although I will do that at some point) but what exactly, I wasn't sure. The Ideas Centre on the Fellowes site helped with the inspiration, and after a little percolation I started to have some ideas.

First though I needed to address where to store them, as MOH kept saying he was getting fed up of walking past them.  I knew I had to have a bit of sort out in our study-cum-craft-room which had become our dumping ground. On the face of it the sort out looked like I'd just moved stuff into the top bedroom (and I have) but I've also rationalised what's in the study.  And the things I've moved out are in a "to be sorted" pile. 

CLOCKWISE FROM LEFT: BINDER, LAMINATOR AND TRIMMER

CLOCKWISE FROM LEFT: BINDER, LAMINATOR AND TRIMMER

Out of their boxes the items looked equally impressive; the laminator and trimmer are A3 size, which I know will be handy as often scrapbook papers are larger than the smaller A4 size. The binder - which is the heaviest item looks sleek and I think will fit inside one of the Ikea Corras units we have in the study.

I was intrigued to see inside this machine, as while I've seen many bound documents, I've not actually done any myself. It had the look of a typewriter (without the keys) if you looked quickly. If you're not sure what I mean, you're probably too young to know, so please just humour me.

The binder machine by fellowes was fascinating - I've not seen one before

A hive of activity

With space in the study almost sorted, and renewed vigour to finally tackle the collage wall that I've been collecting frames and pictures for, this weekend we set about making it happen. It seems my frames to pictures ratio is slightly out and we have many more frames than pictures. My thinking is that if we're going to go for the informal collage approach, then all the frames need to be on the wall at the same time, especially as I've pictures ranging from A2 size to A6 (postcard) size. 

I wasn't keen to have empty frames on the wall, so while I find the long-term pictures I decided to fill the frames with scrapbook paper, and so, in came the trimmer.

Trimming scrapbook paper using the Fellowes trimmer
 
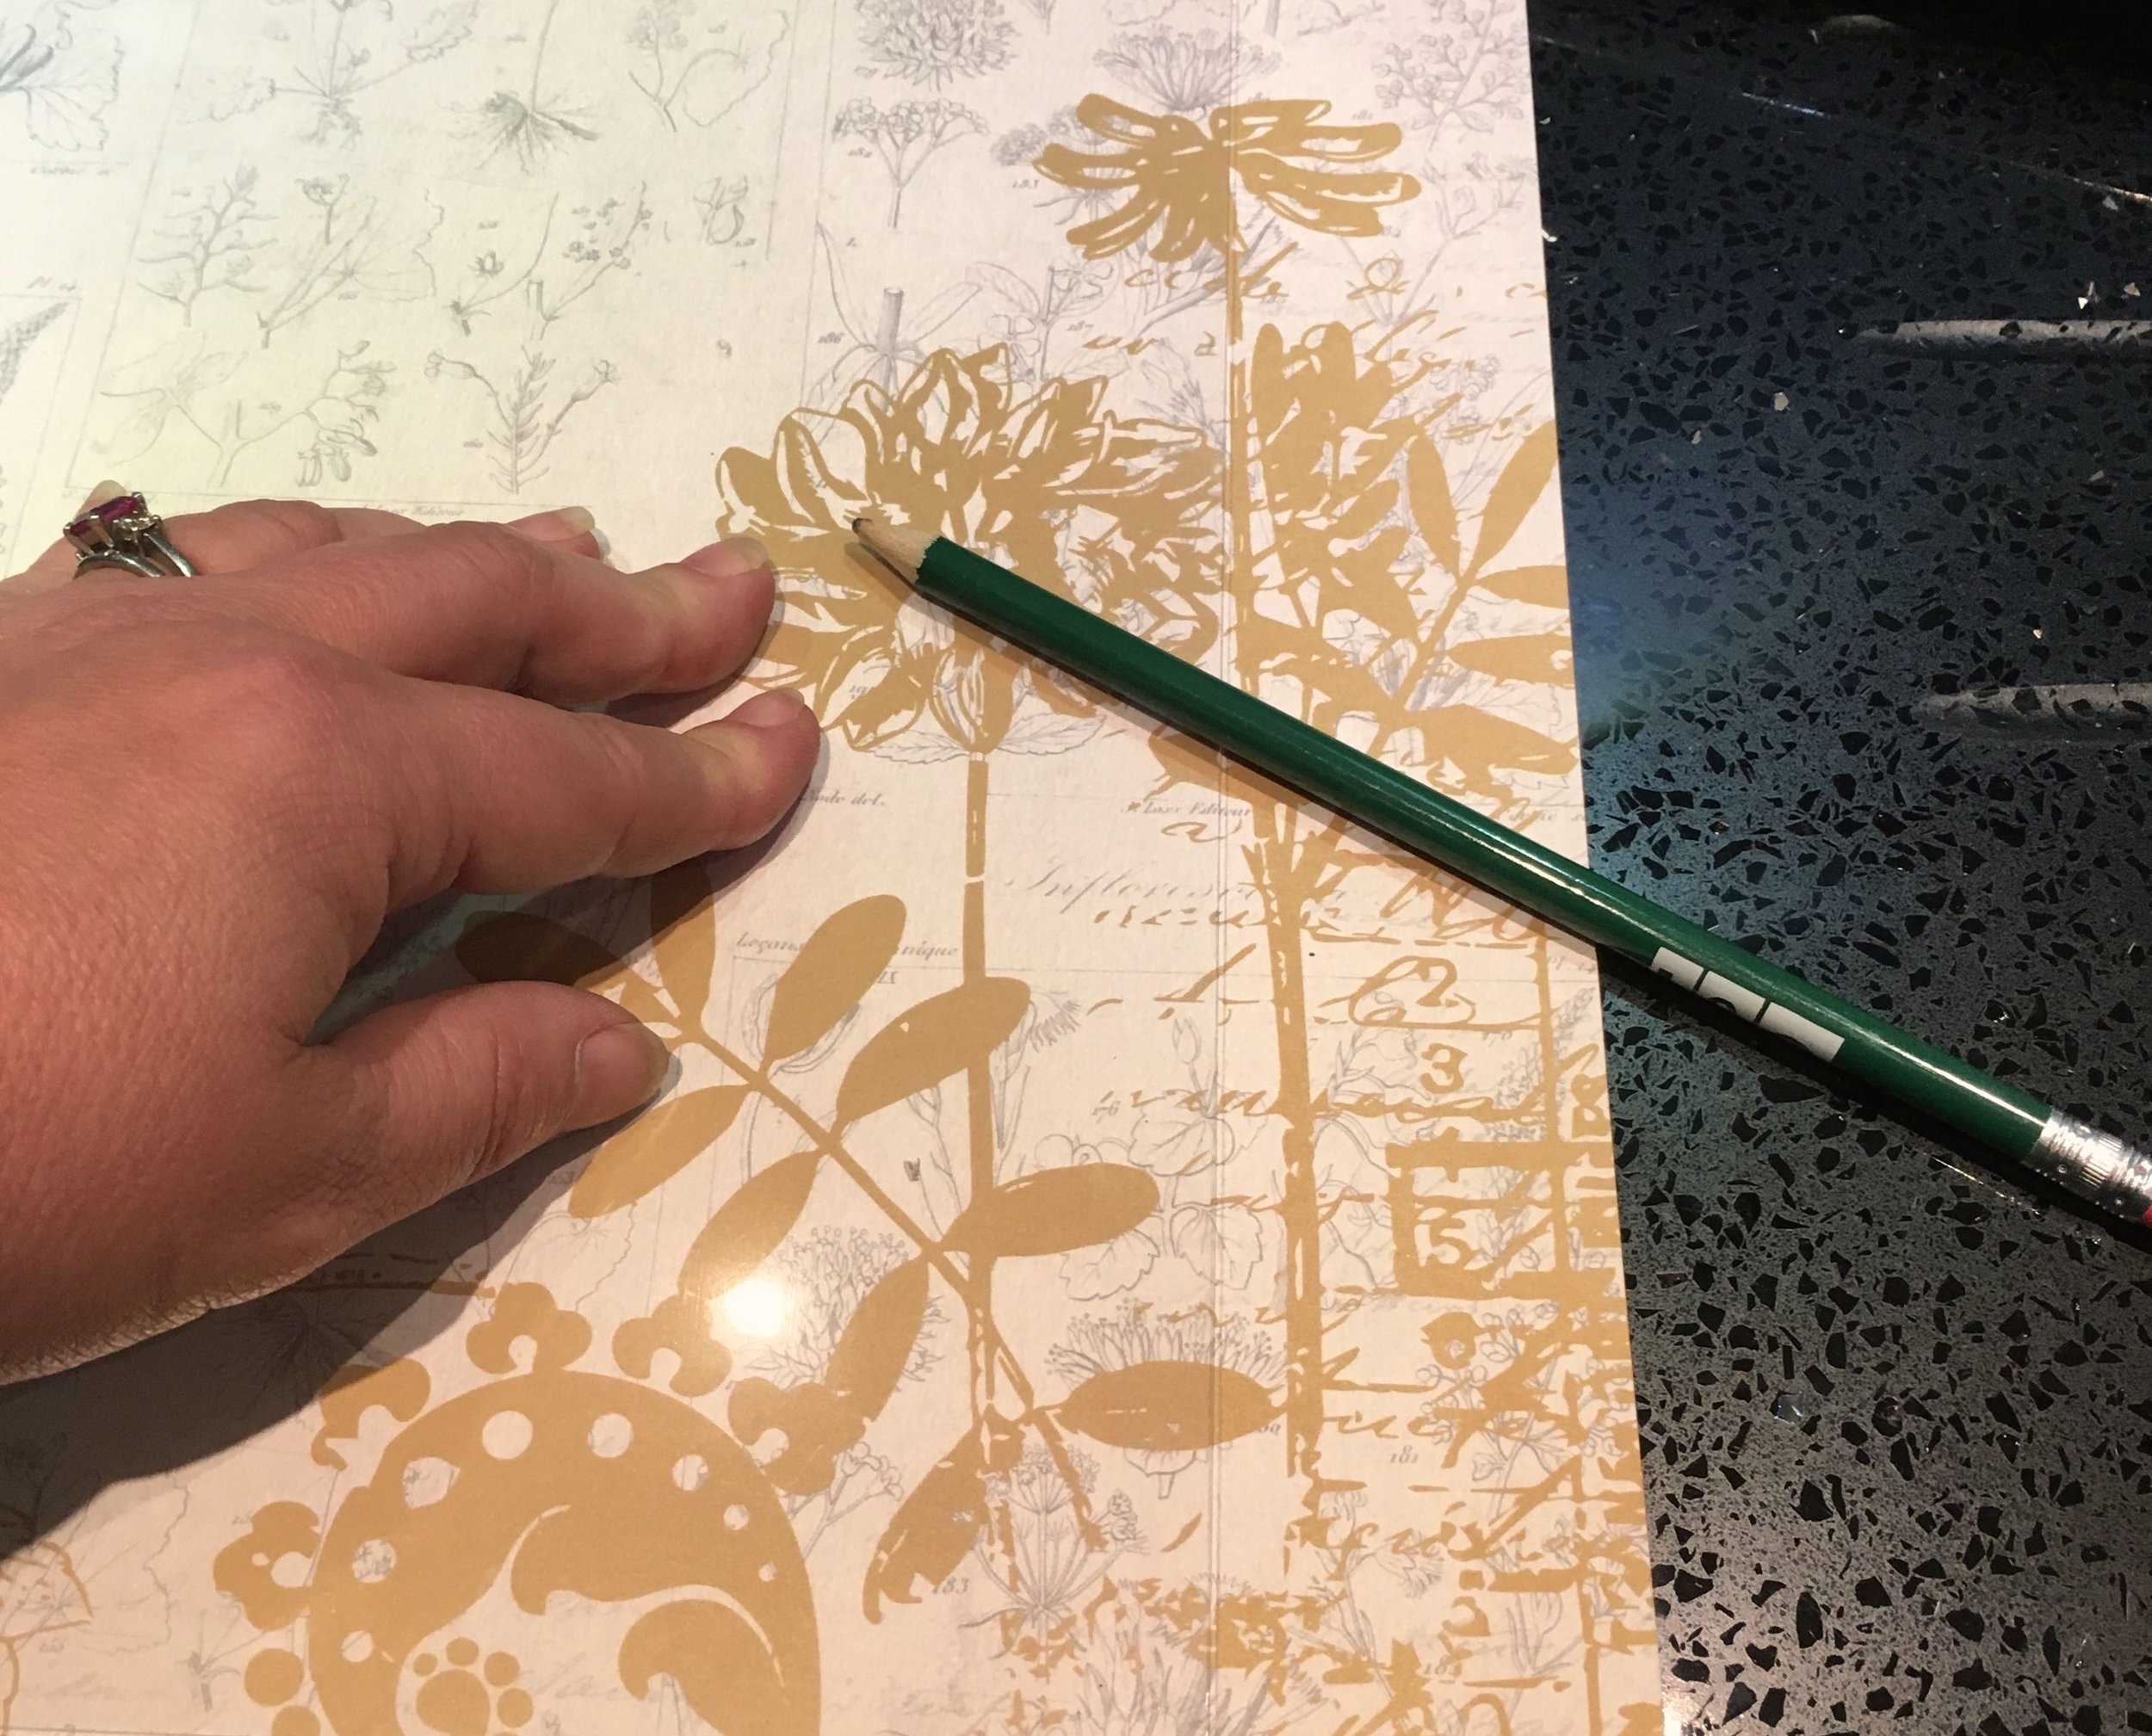
Marking out where to cut using the perspex from the frame

After marking where I should cut in pencil I lined it up on the cutting line of the trimmer, which has a LED guide to help you cut just where you expected to.

Lining up the paper along the LED lit cutting line on the Fellowes trimmer

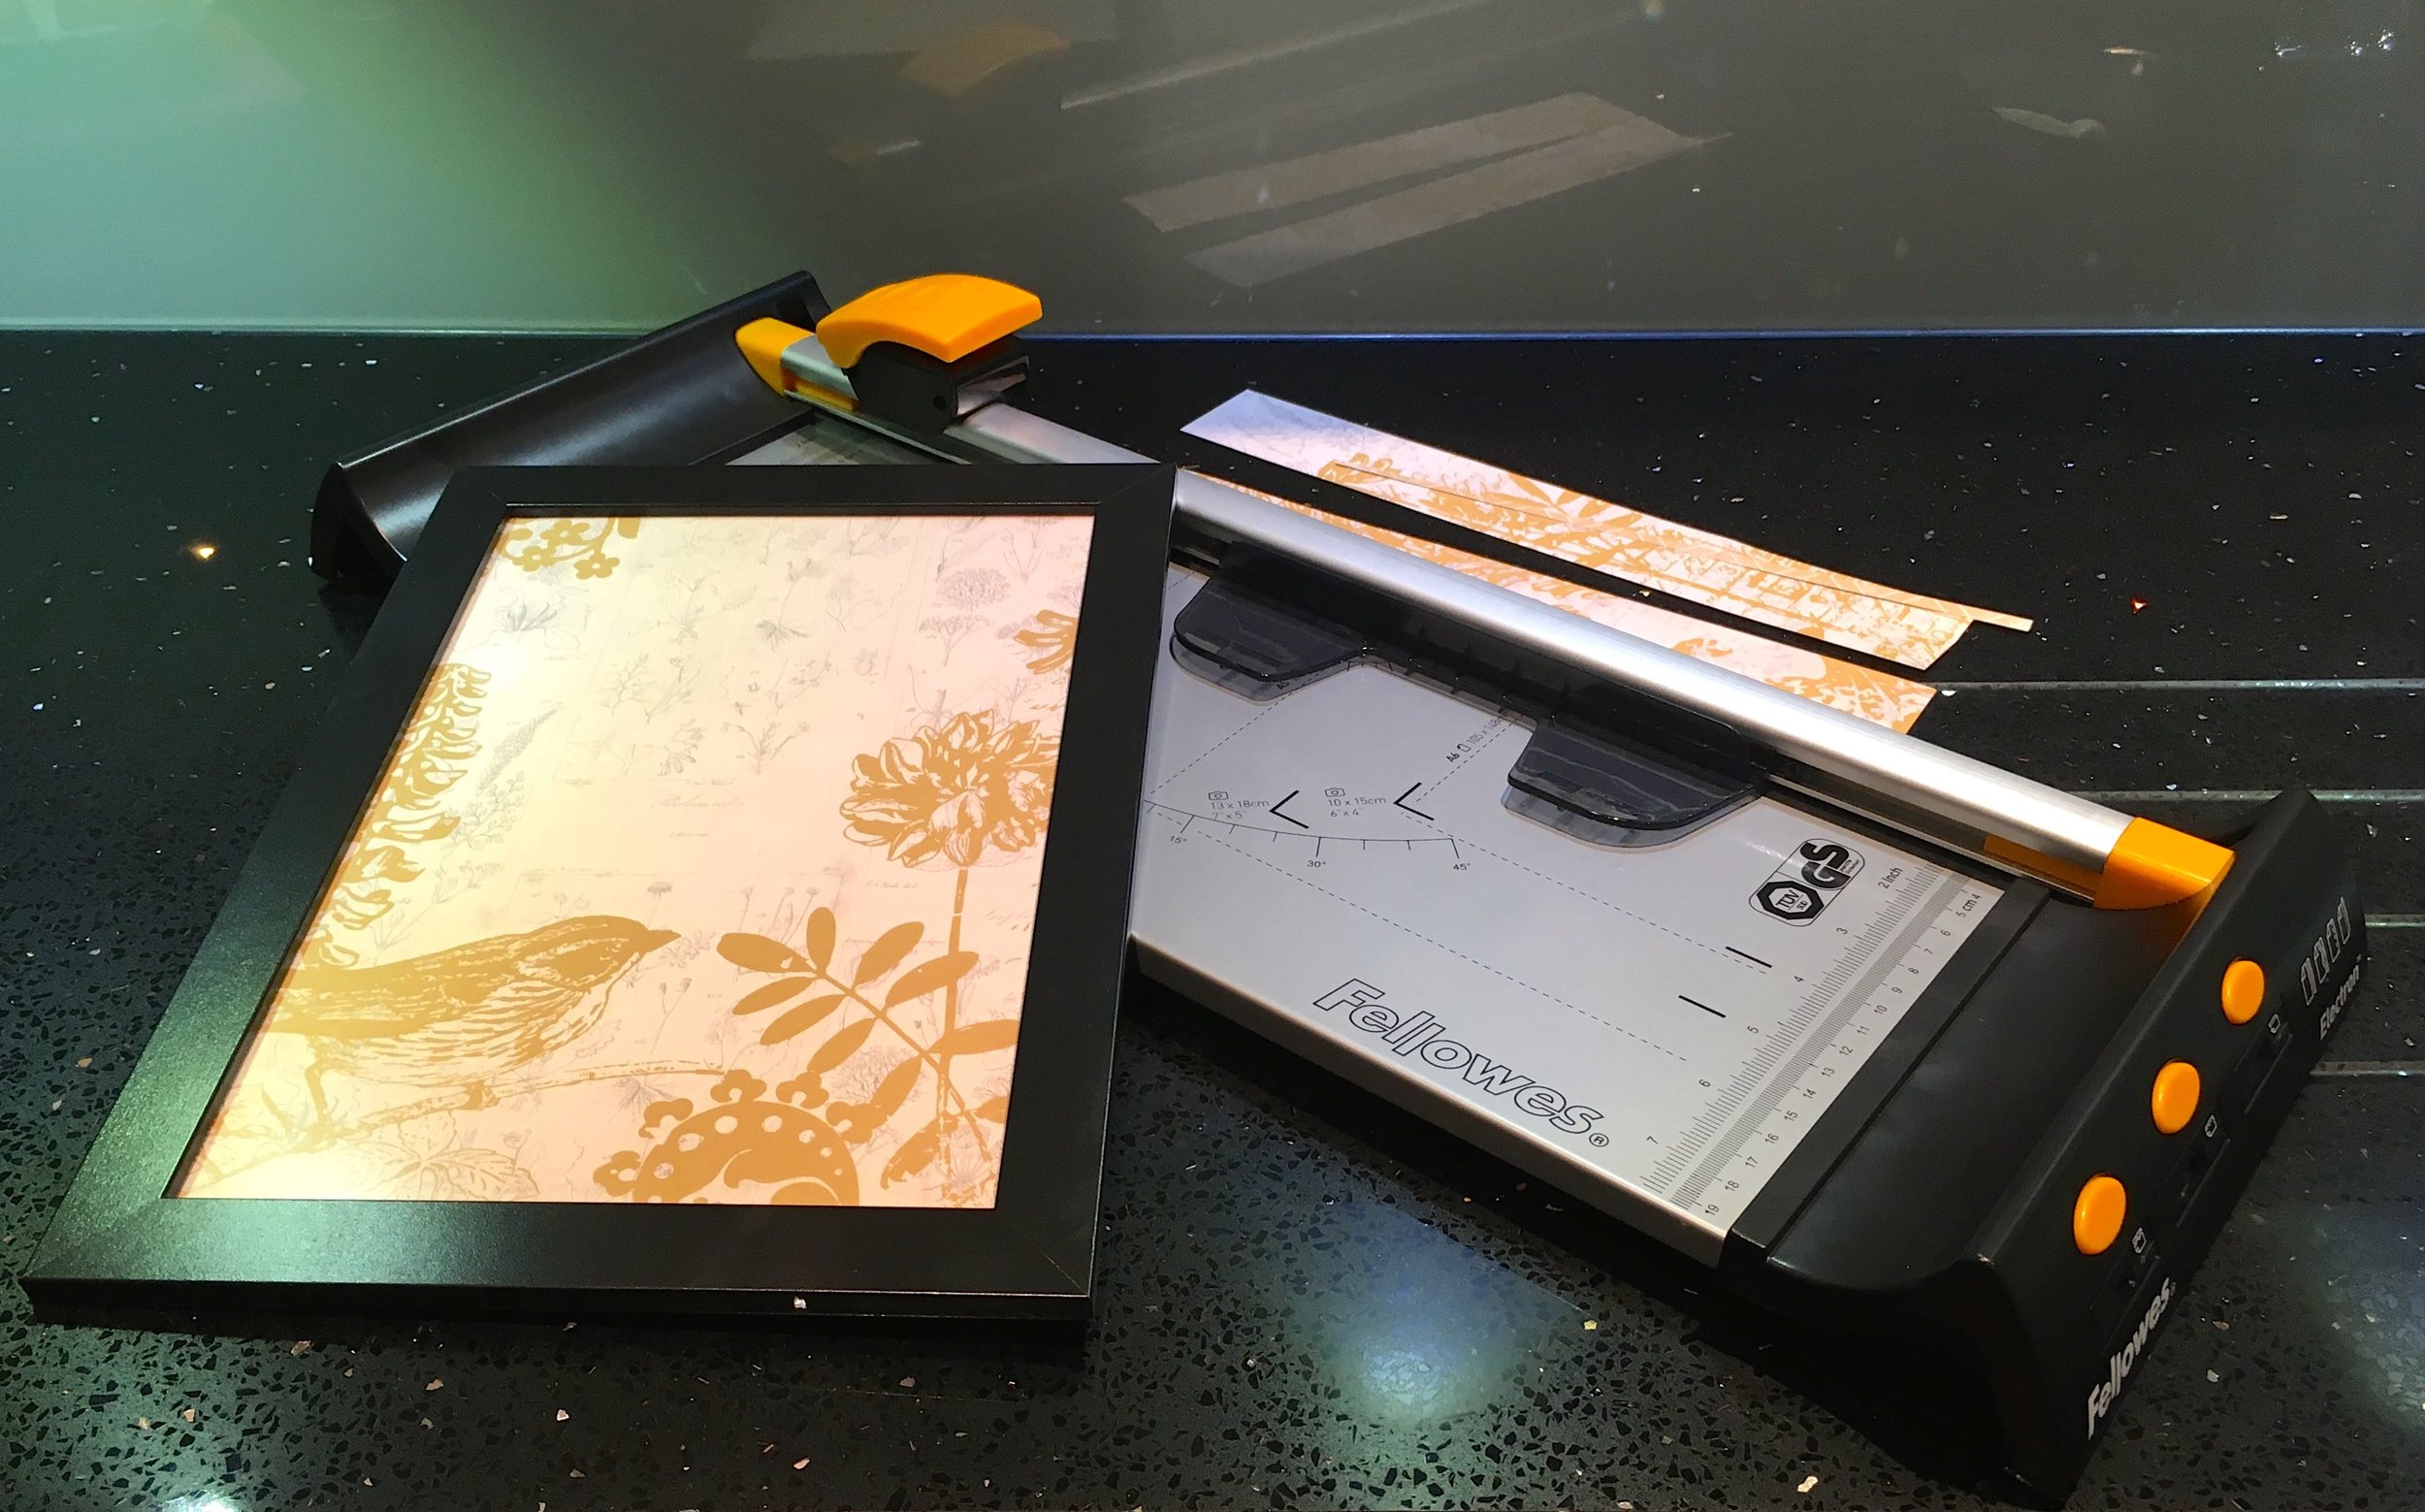
The trimmer was easy to use and easy too to trim small amounts from the edge. As well as the LED guide, the other really handy part of the trimmer was the gripper (the smoky plastic "flaps" to the left of the cutting line in the picture below) which worked well keeping the paper in place. 

trimmings cleanly alongside the trimmer by Fellowes

With my paper cut to size it was easy to add to the frame. I'm quite pleased with how it turned out, and with how the trimmer performed. The trimmer itself is lightweight and there's some additional cutting blades that I still need to try out. What I like about those is their integral storage - those three orange buttons in the picture below are those blades. They're easily inserted into the cutting head too, I'll let you know how I get on with those.

My completed filled frame with help from the small office trimmer from Fellowes

And isn't it always the case, that once you get started it's hard to stop?

That was me on Sunday too. 

Like many crafters - tell me I'm not alone - I have a collection of paint charts and paint strips, and an idea was starting to form for my next project, and it would make use of the laminator and the binder too. 

Trimming paint charts using the Fellowes trimmer as inspiration struck
 
With my paint chart trimmed and ready to laminate I'd overcome the overwhelm of my new office tools from Fellowes

With my paint chart cut ready, I was ready for the laminator.  But what's my project? Can you guess?  

I'll share more soon, I promise!

* This is a collaborative post, I was sent the small office equipment in this post by Fellowes for use in my creative projects in return for sharing my views and opinions. 

Post Comment Love