Down to the coast

Starting this walk from Gargano’s highest village meant that there was only one way, and that was down - phew! The 14.2km walk, expected to take around 4 1/2 hours had a total descent of 940m, which is about as down as you can get. The day’s walk would be partly on an old mule track across panoramic slopes towards the small town of Mattinata, amidst stretches of olive groves, and then up to our hotel which was ‘perched on a hill overlooking the bay’ - already I wasn’t looking forward to that last bit!

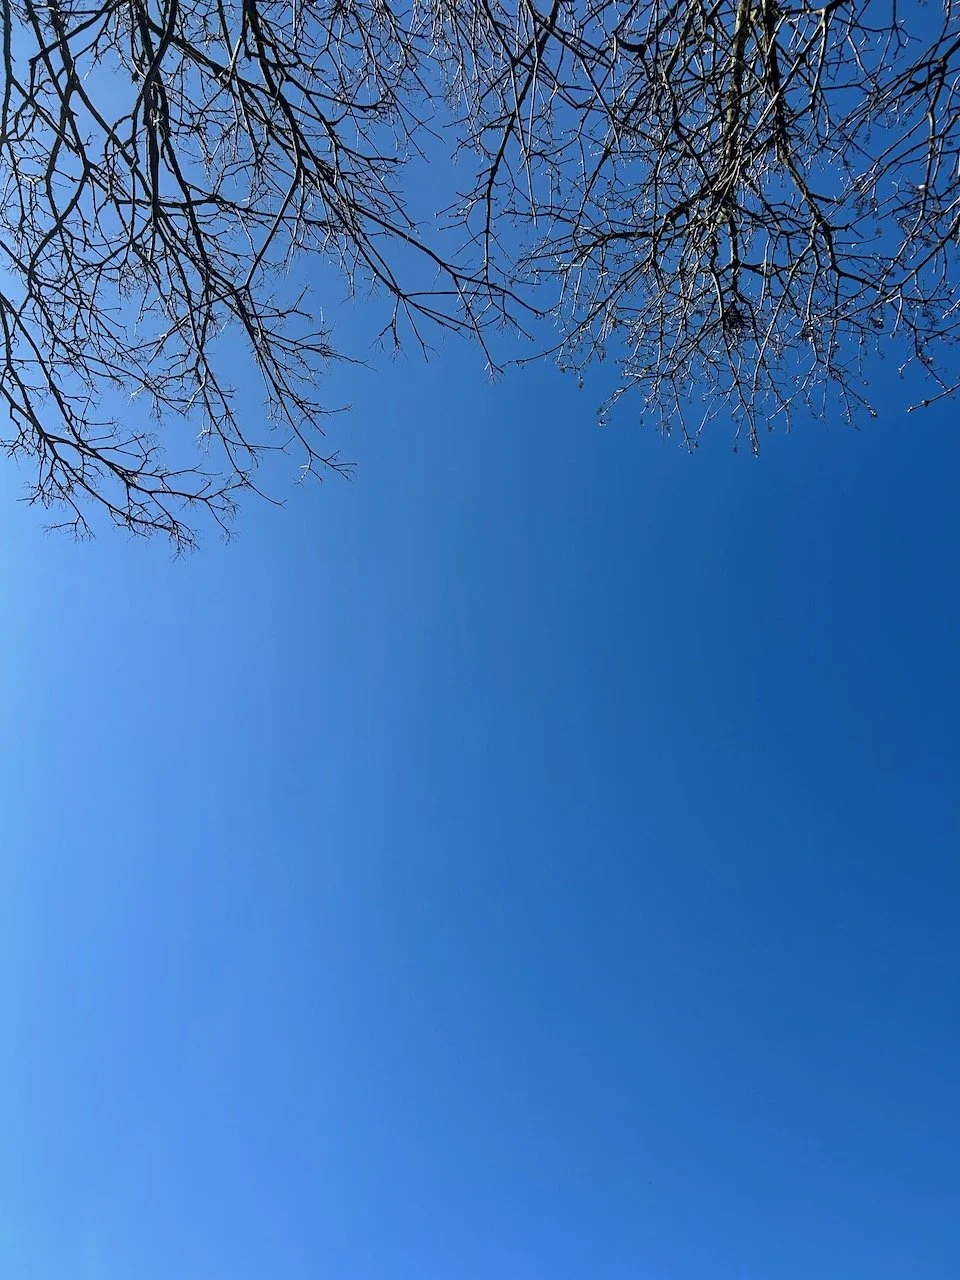
But the weather was vastly improved from when we arrived - just look at those blue skies as we passed the castle.

The castle at Mont Sant'Angelo with the bluest skies

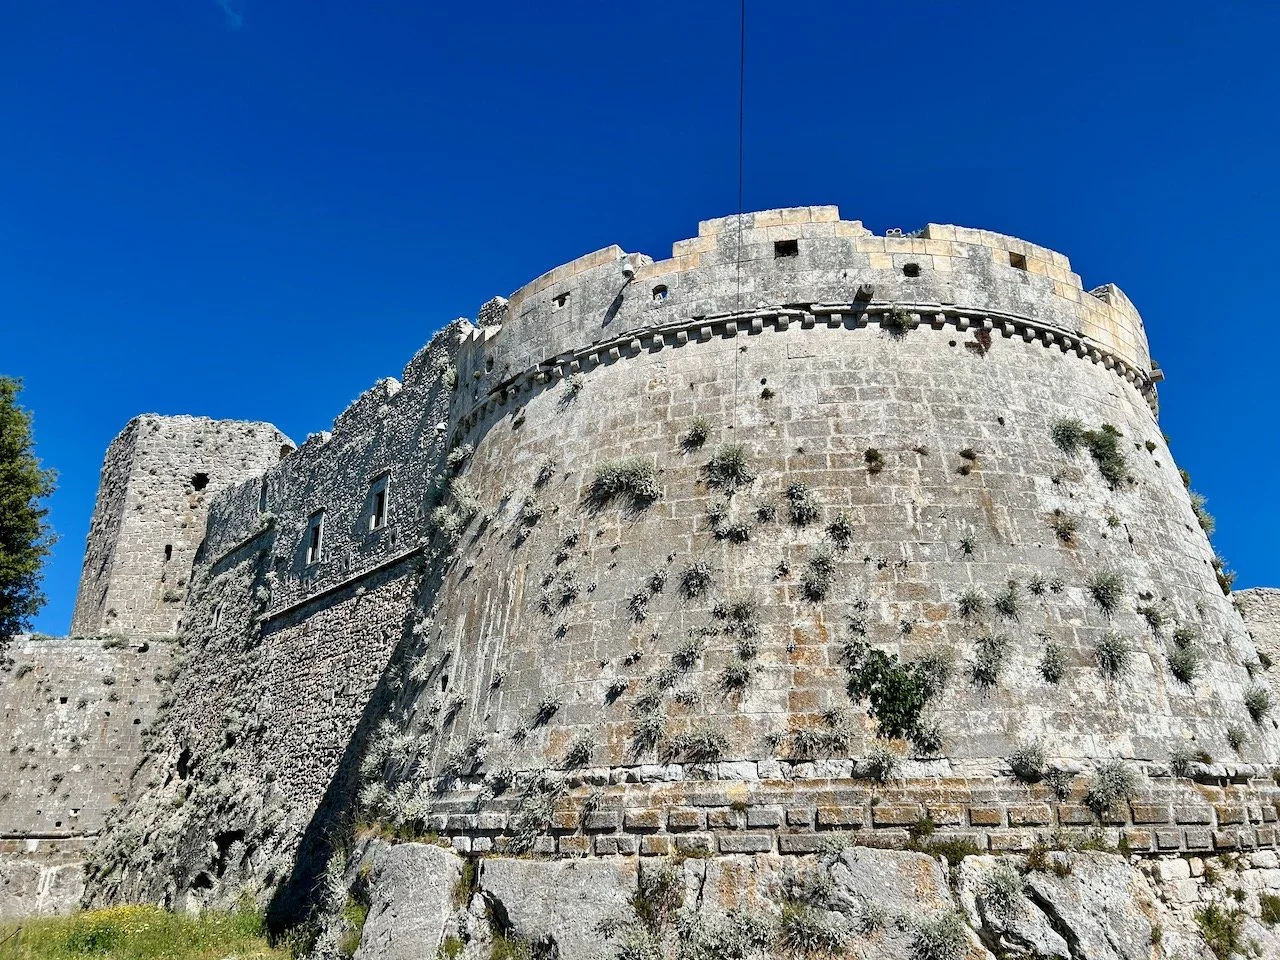
The Castello di Monte Sant’Angelo to give it its full name has been rebuilt several times over the centuries by the Normans, Swabians, Angevines and the Aragonese and commands the highest point overlooking the town. We didn’t go in, as we had a full day’s walking ahead of us but our walking notes said it “offers an evocative ramble through the site with striking views from the ramparts.”

A street in Mont Sant'Angelo

We enjoyed a walk through the town having rushed through it to avoid the expected downpour the previous evening. It was a pretty town but busy, and so after picking up something for lunch we continued on our way. We spent a fair bit of time finding the start of the path, and eventually we spotted the blue arrow on the end of the wall, but even then we weren’t convinced.

The road out of town, but with a blue arrow pointing to our path on the end of the concrete wall

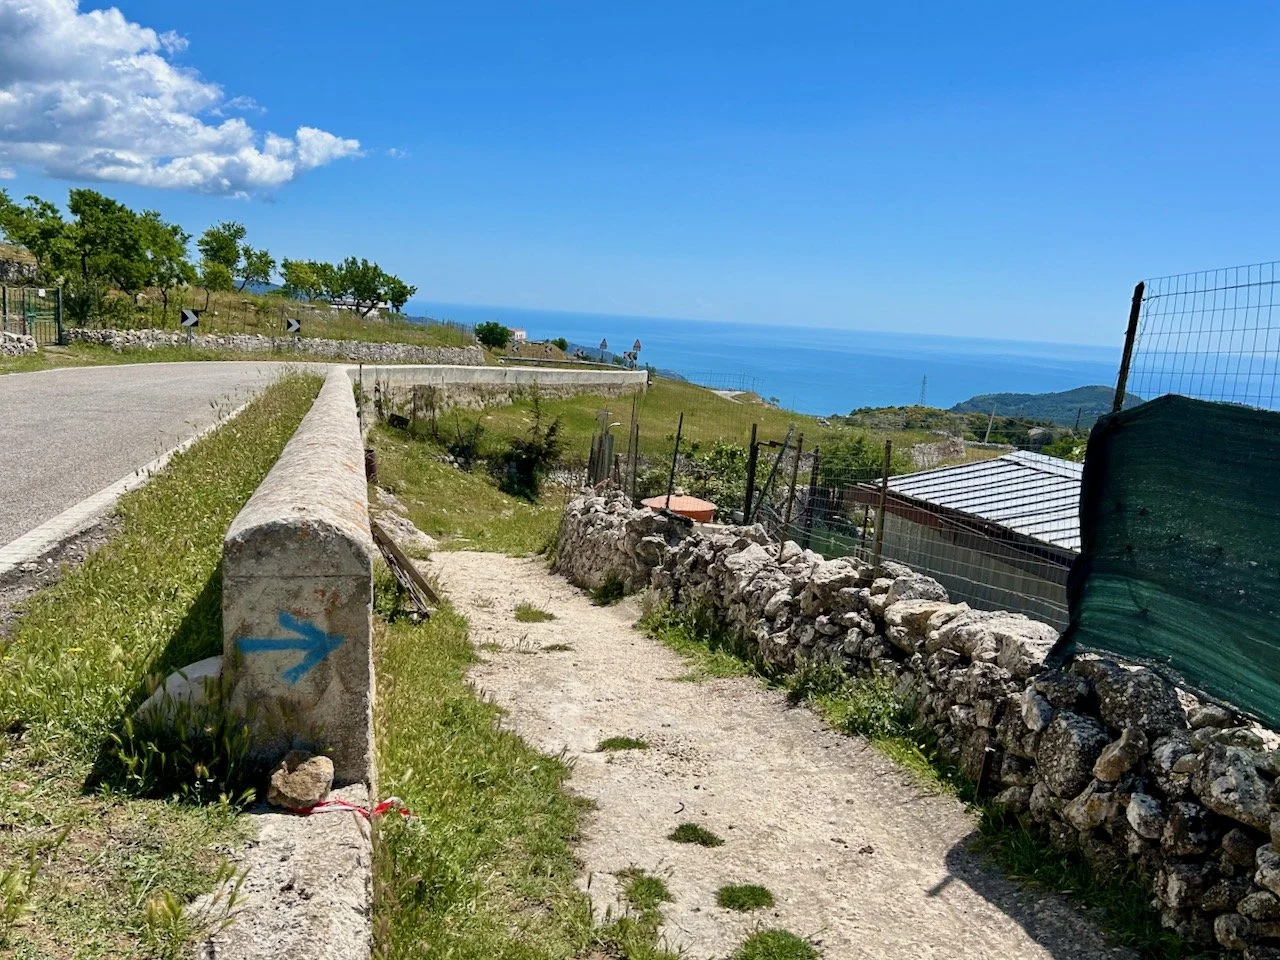
It’s like anything though isn’t it, if you start off alright you’ll generally be ok - but get a bad start and it’s hard to recover. We still weren’t sure, as this was the path that it led onto - but it seemed to tie in with the walking notes, but I’ve learnt that anything can mostly if you want it to!

A rocky path heading down towards the coast
across the fields and continuing on the rocky path

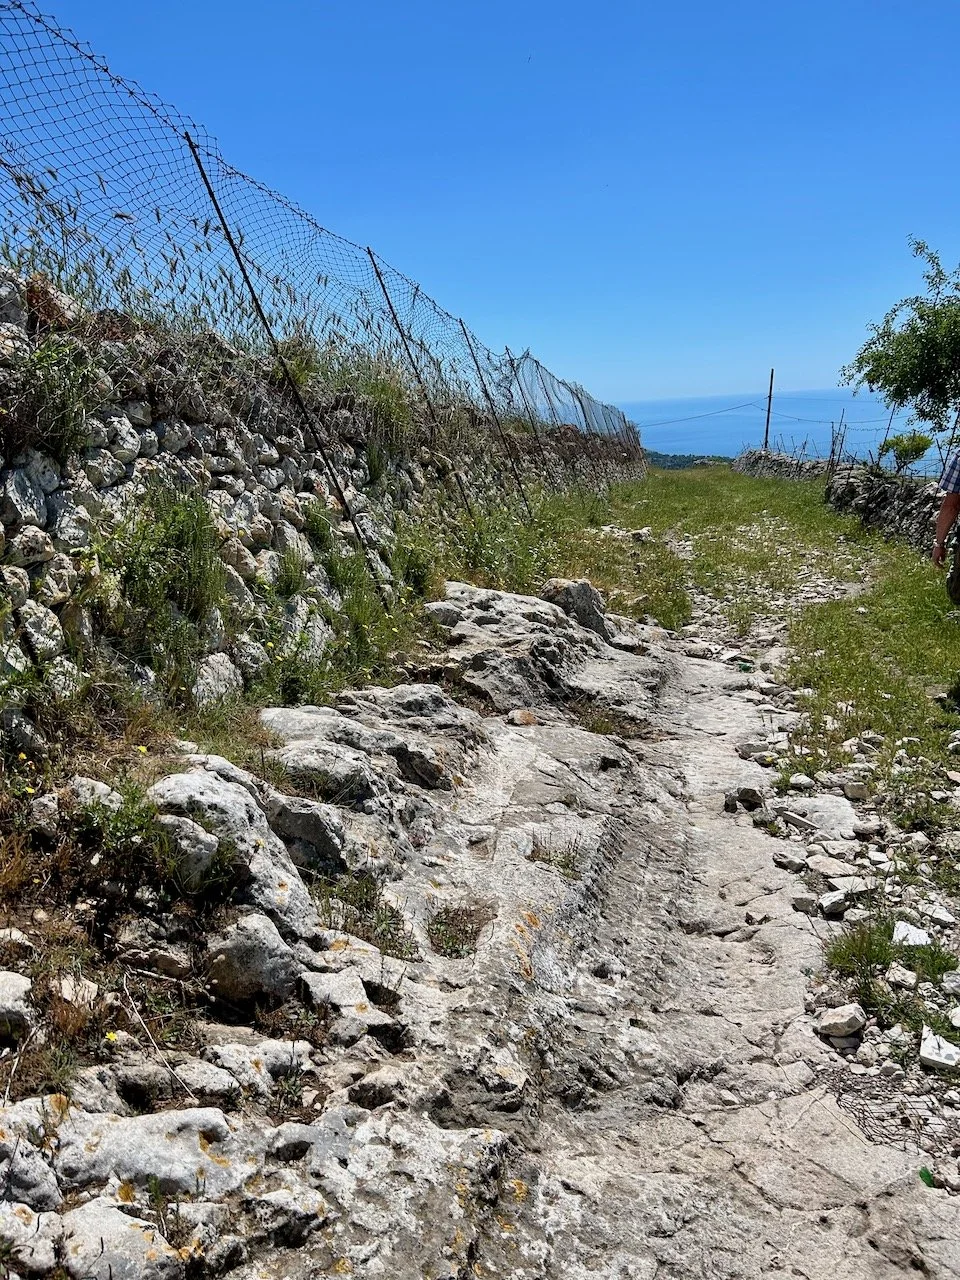
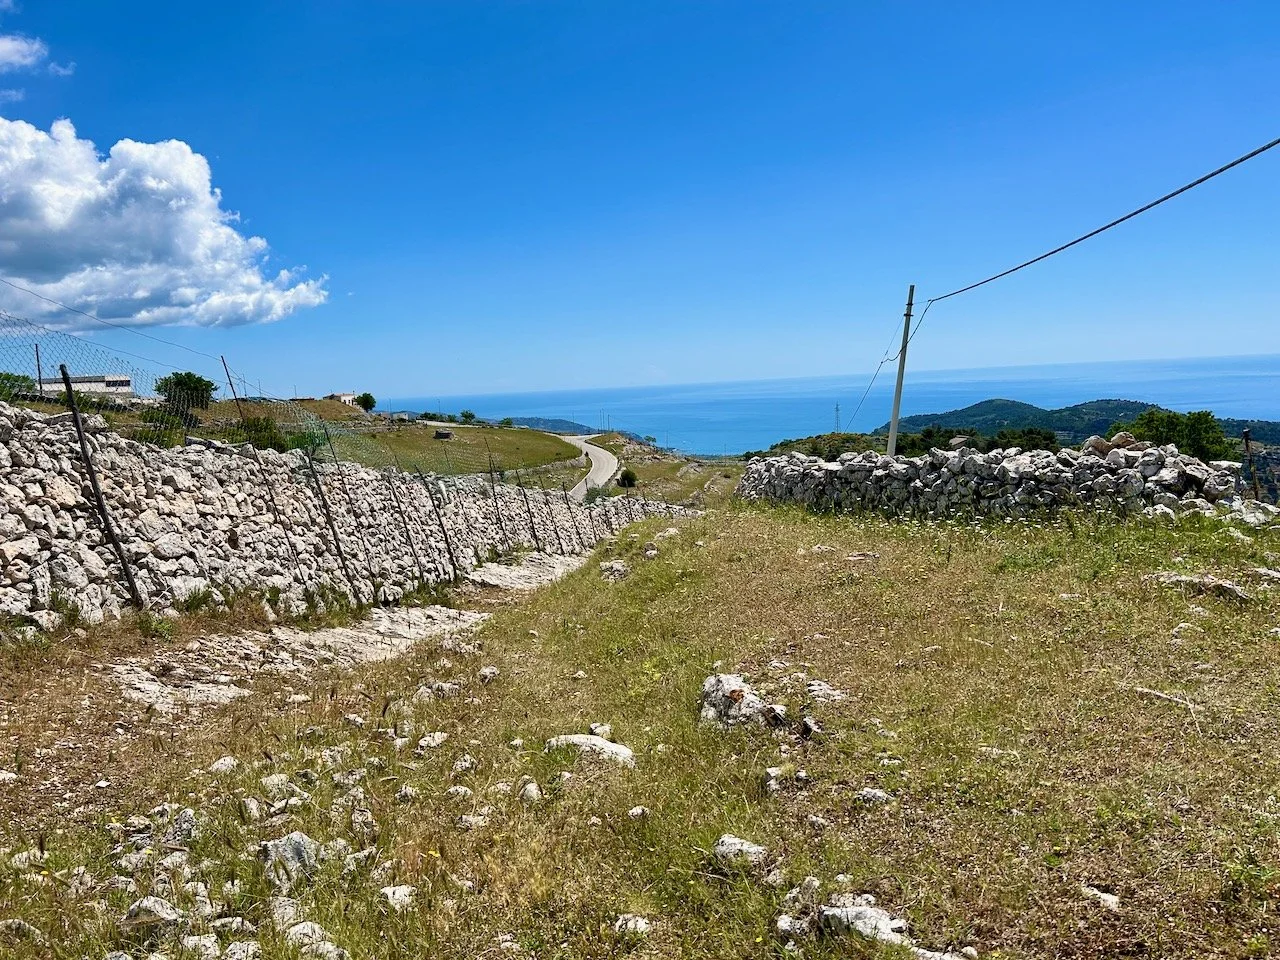
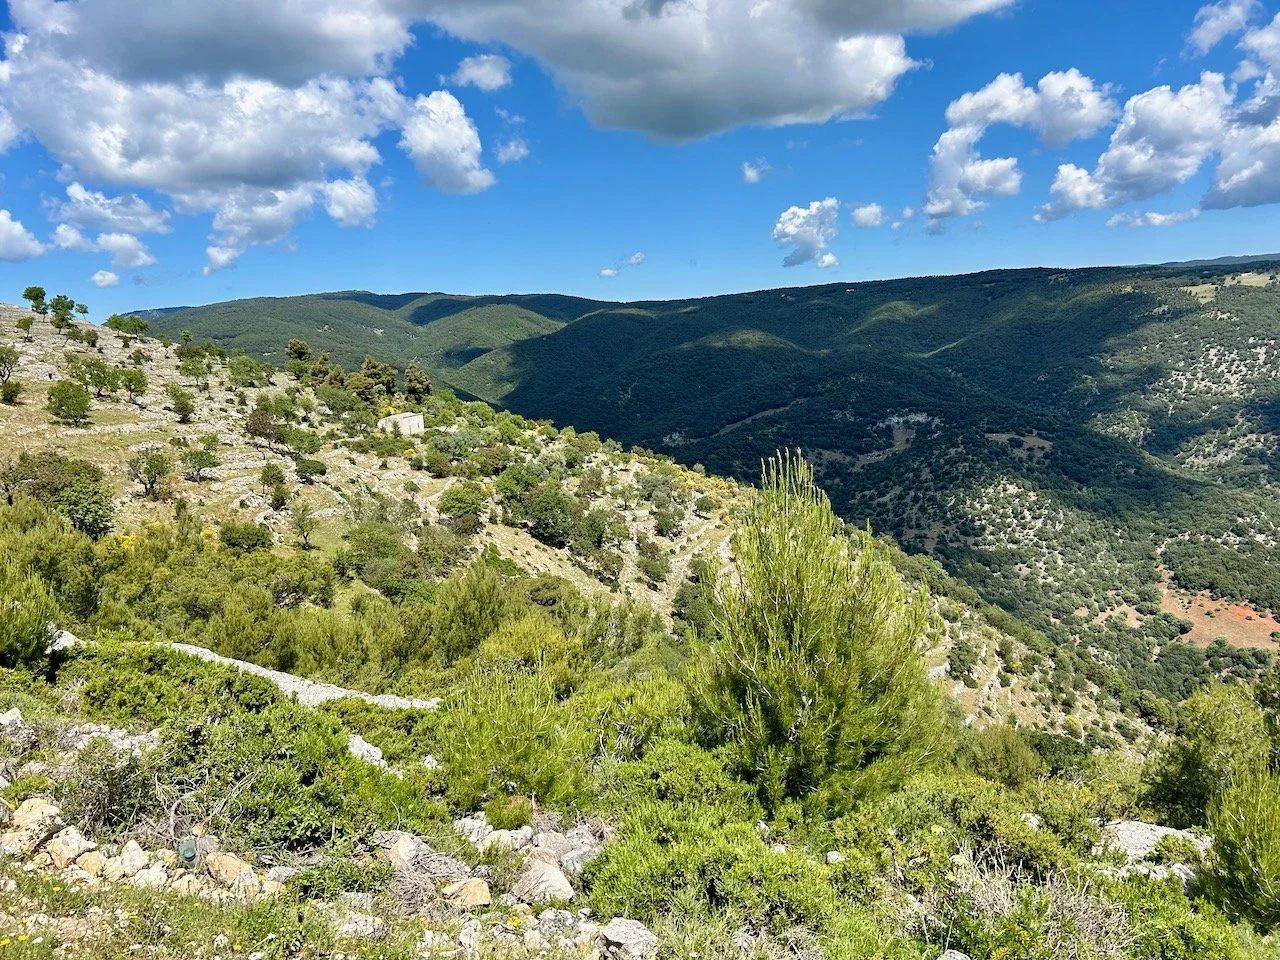
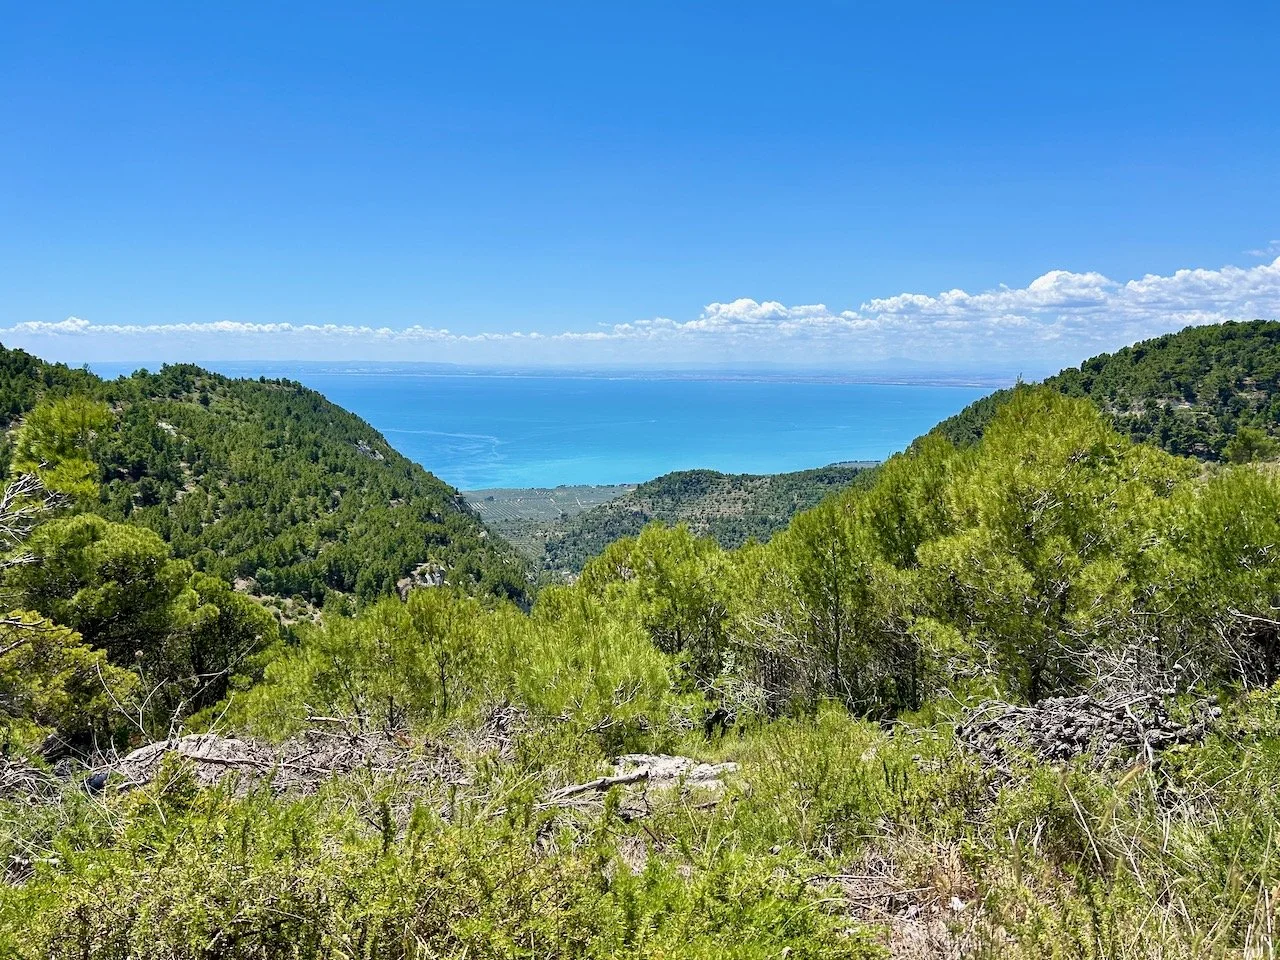
It wasn’t long before we convinced ourselves we were on the right path, and were grateful that we didn’t have to walk down the road. The path seemed to cut off quite a few of the bends, which was welcome - and all the time we got to enjoy some great views down to the coast.

Looking at the bending road from this side of the barbed wire fence

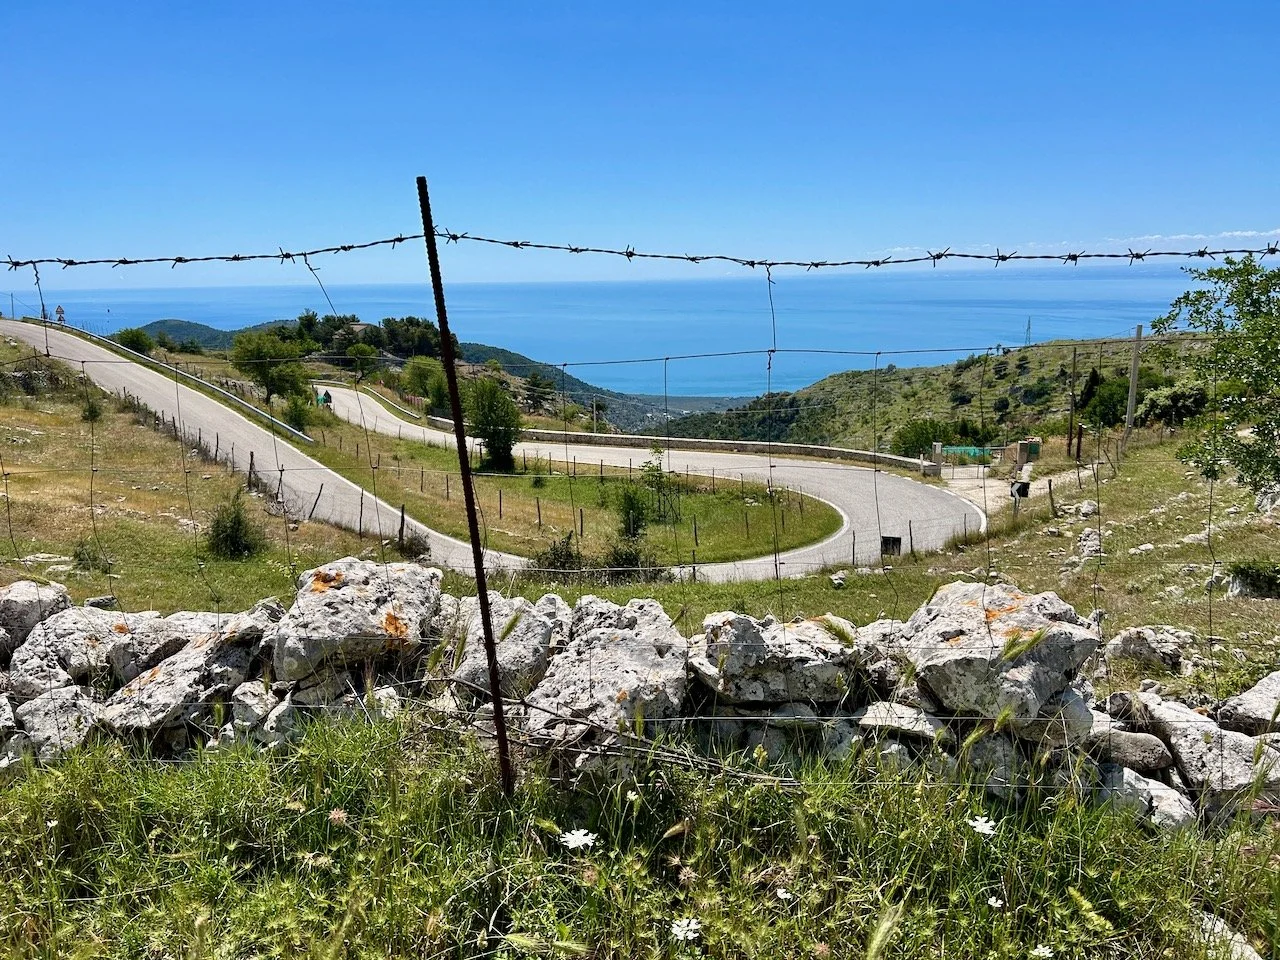
There was some walking along the road, and when I took the photo below I had no idea how much that peace was about to be shattered…

Walking along the road, blissfully unaware of what lay ahead

… by these guard dogs, who meant serious business. So much so that we had to cross the road and recover our wits while quickly getting out of their sight. Yes they’re behind a fence, but quite frankly they were so incensed that if they got over it, then they would definitely have been after us. I don’t mind dogs, but I’m not keen on large dogs that bark and growl so much, and I was glad to get past them.

the guard dogs amongst the goats that really weren't happy to see us

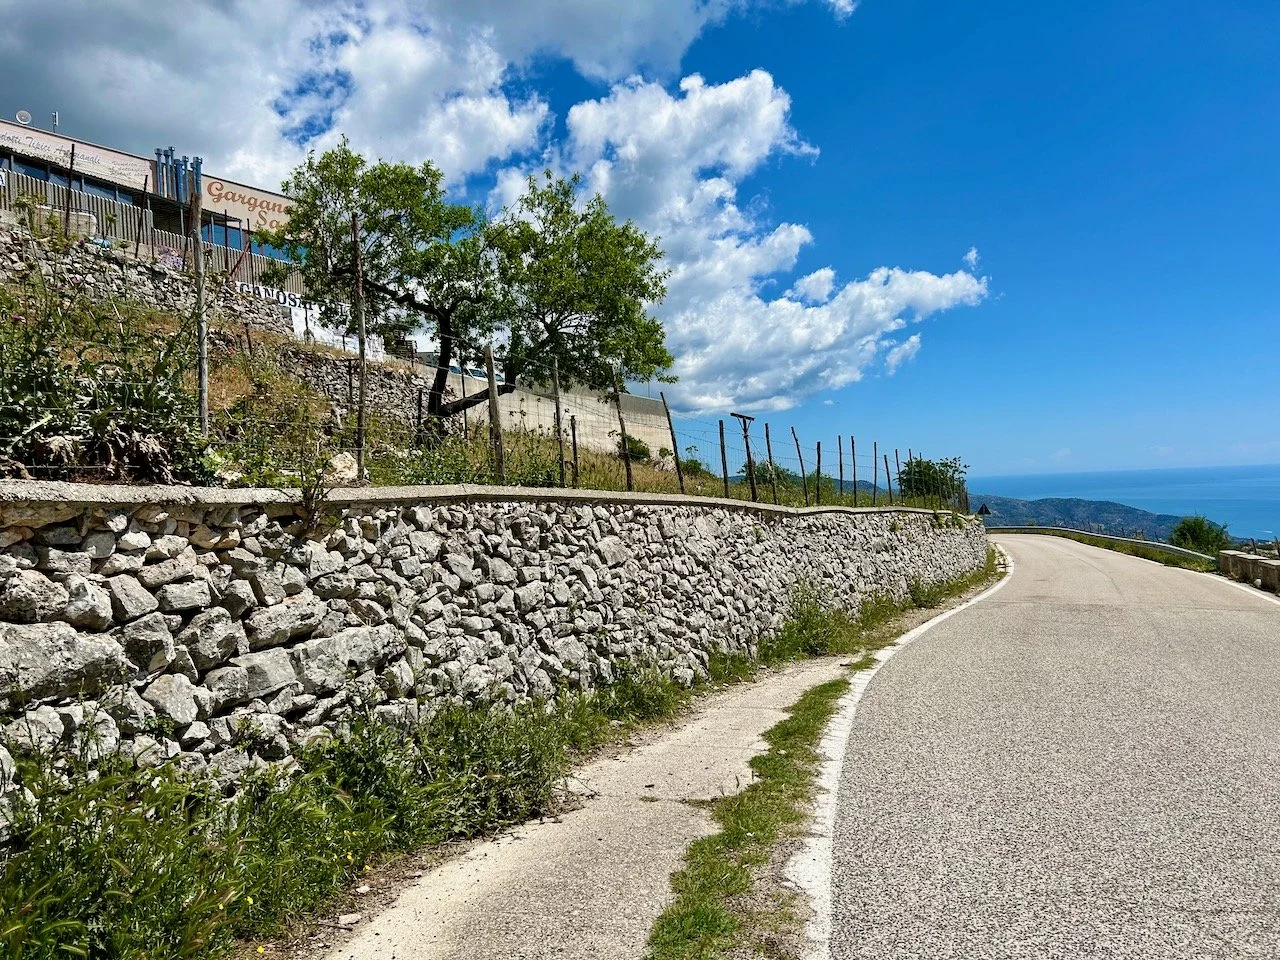
Thankfully there was another cut through to cut of this bend, a rocky path but a lot less steps than by road!

Taking another path to cut off another of the hair pin bends
The view across fields to the coast and sea
The grassy path which followed the road, though slightly beneath it
Looking across the valley - beautiful scenery

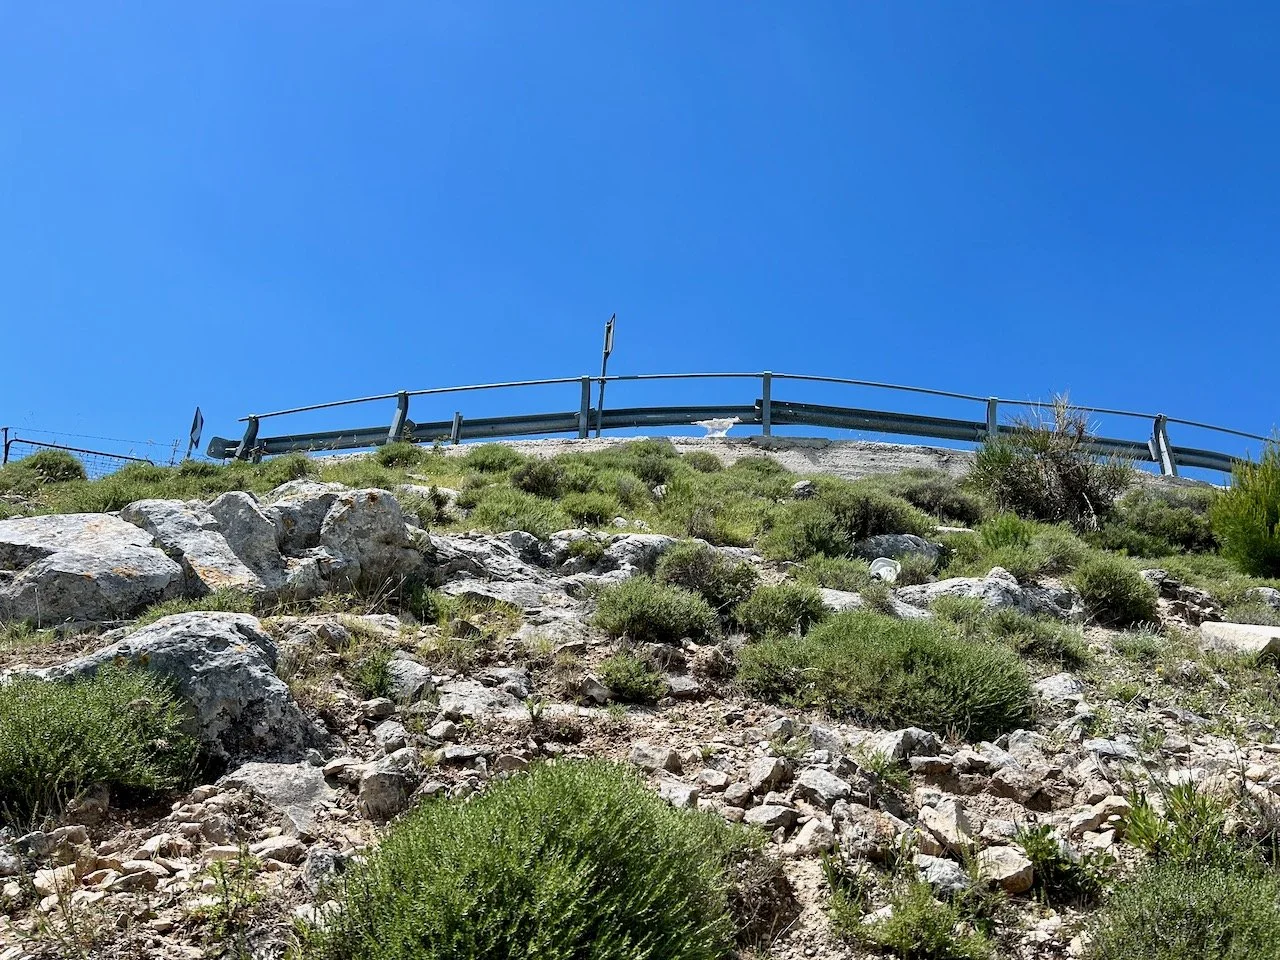
By now we were walking much below the road surface, and it seemed odd to look up and see the cars whizz past us up high!
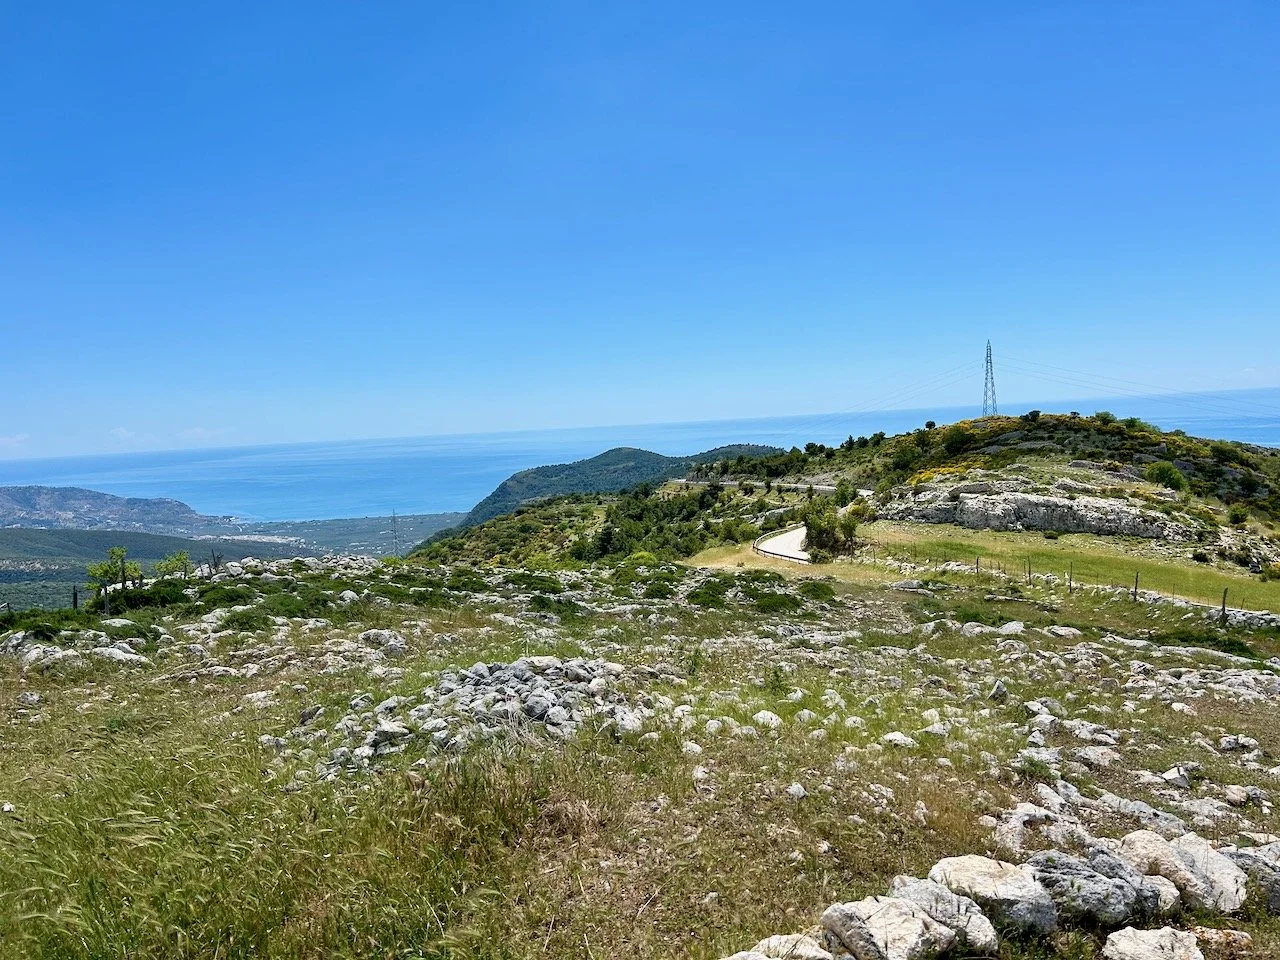
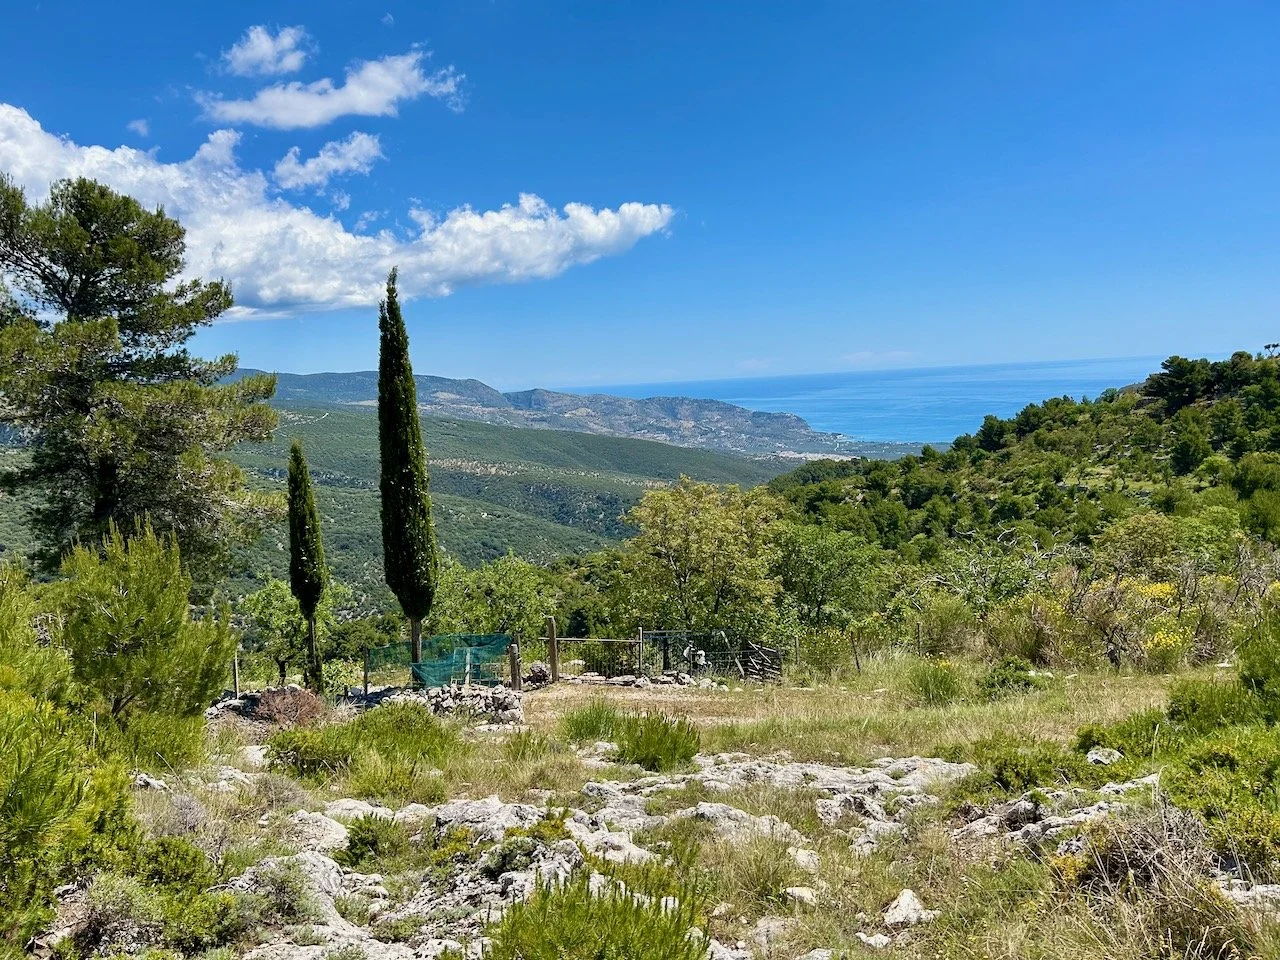
Looking about 20ft or so up to the crash barriers of the road and blue skies

But the views…

The view to the sea - much better than the road!

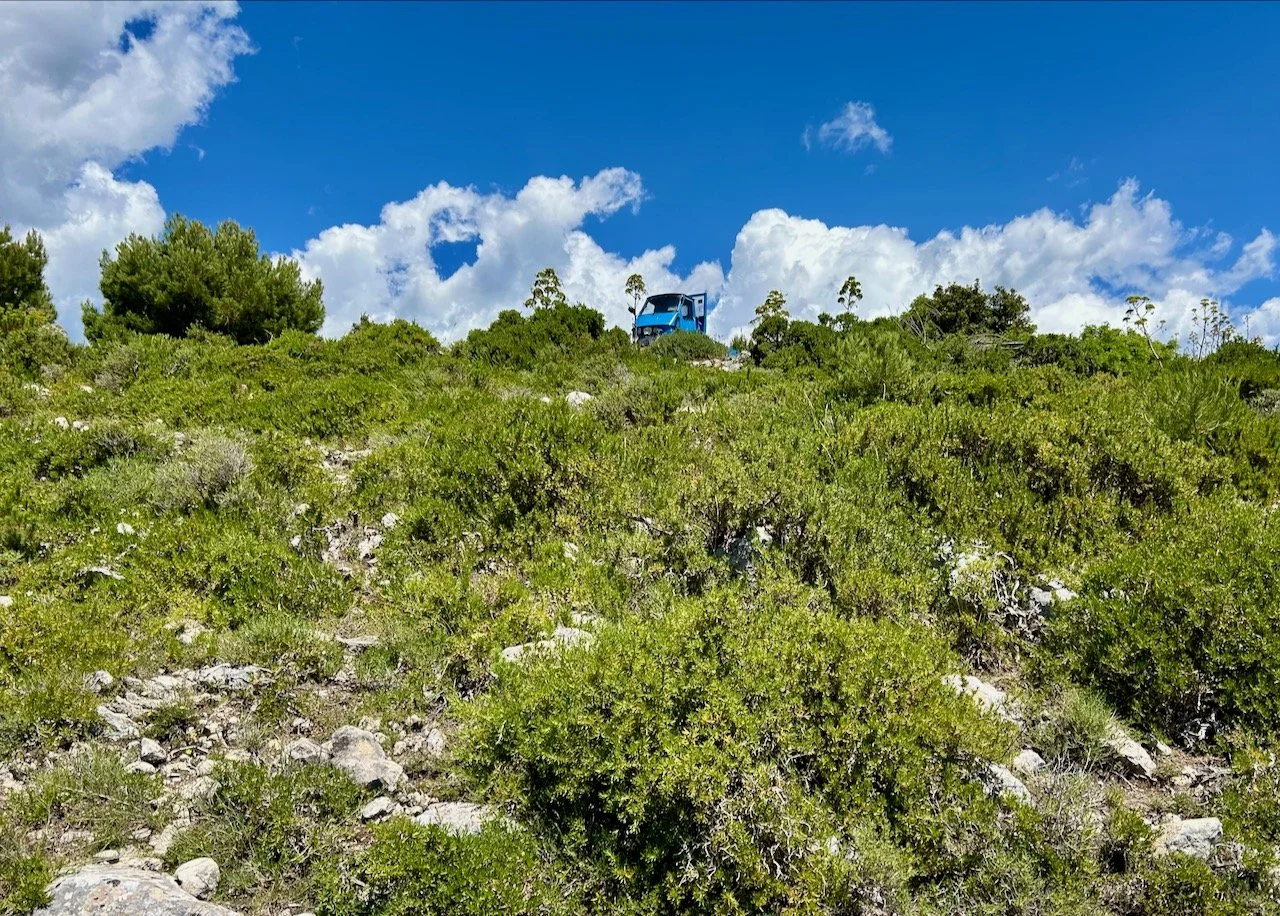
And then we spotted an abandoned TukTuk - which was quite random, and not quite what we’d expected to see.

The abandoned blue tuktuk on the crest of this ridge
the blue sea between two sides of the valley

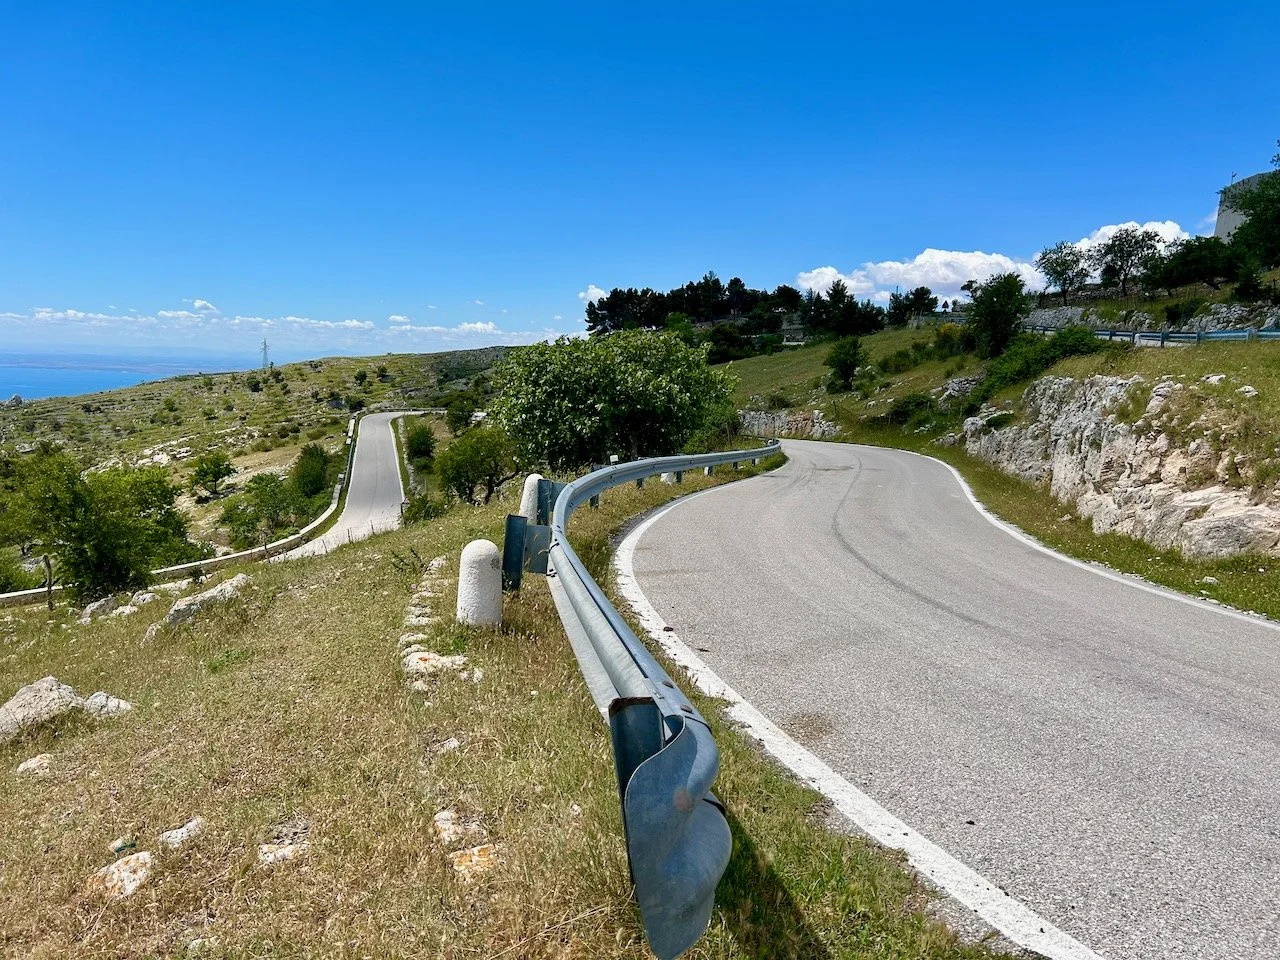
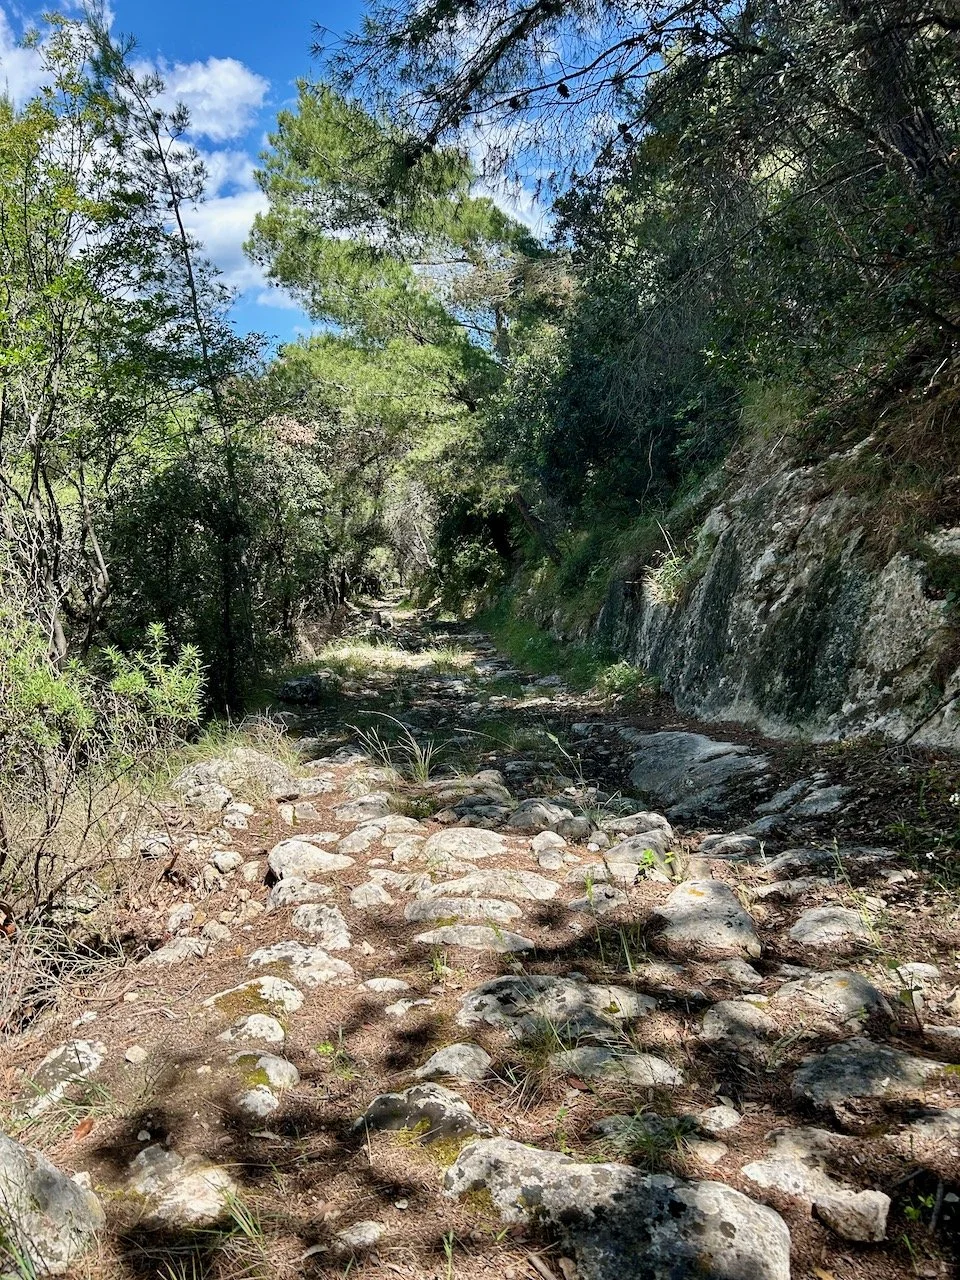
Eventually we turned off from following the road and joined the old mule track, which winded steeply downhill. Thankfully it was dry as in the wet I imagine it would be quite slippy.

Pine tree in the sun
Pine trees edging another rocky path - this one downwards

And it was on this rocky path that we decided we shop stop for lunch, spending the next few minutes searching for the best rocks to sit on, but each time being drawn onto some further down the path. We did find one, or rather two close to each other, in the end - with some shade, not too mucky, and not too bumpy!

The most gorgeous white lillies growing wild behind a wire fence

It was a tough walk down stepping from rock to rock, but it was oh so quiet and oh so beautiful.

The rocky old mule path down

We emerged onto a wide track and finally after twisting and turning a tarmac road, and a hint of the gnarly olive trees that would dominate the next part of our walk.

a tarmac road with gnarly olives on each side
more olive trees on each side of us, those on the right are behind brown/rust railings

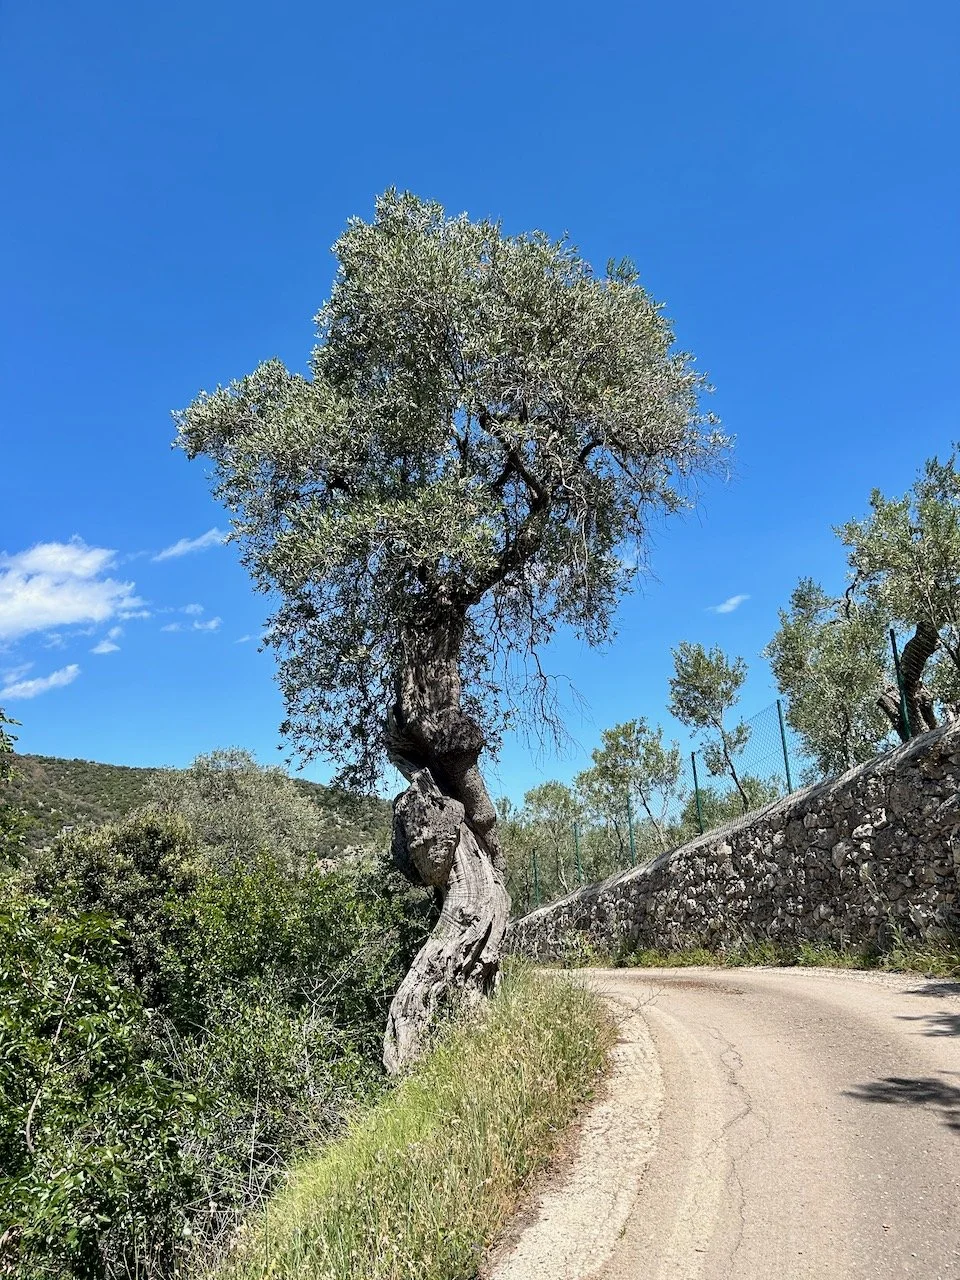
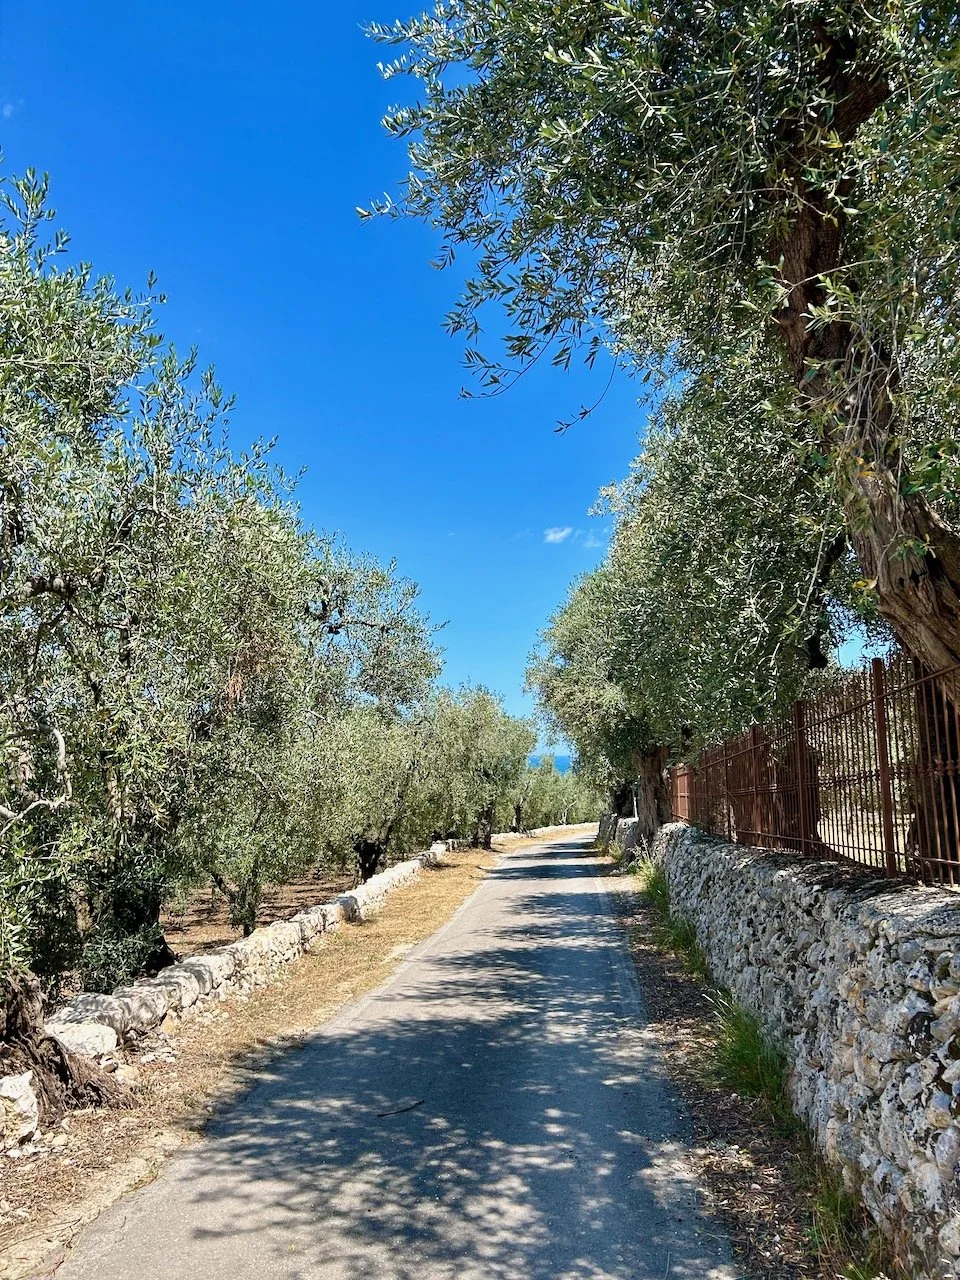
I ended up taking way too many pictures of the olive trees, and so I’ll share their distorted shapes and more in a future post.

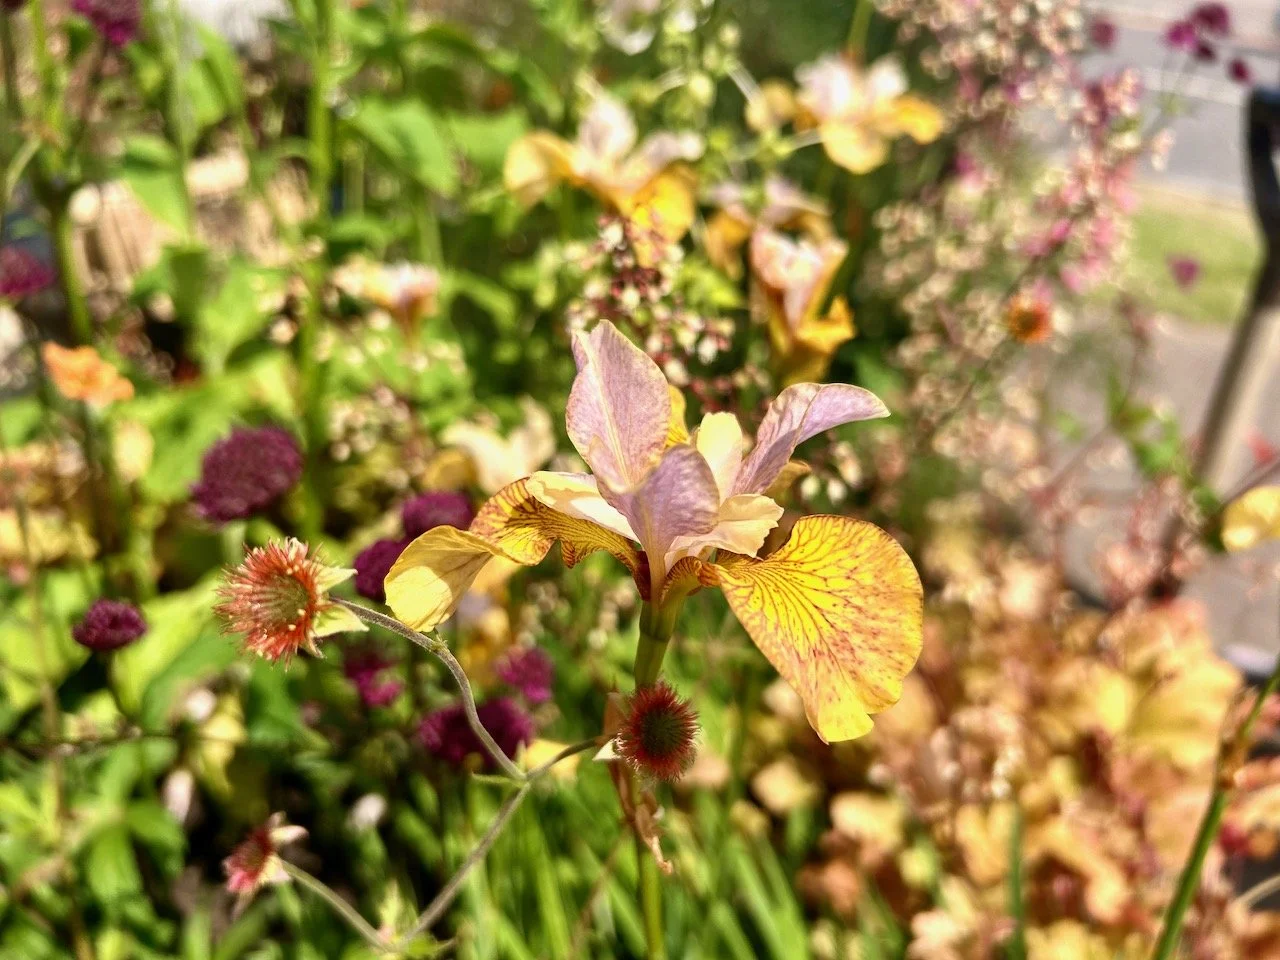
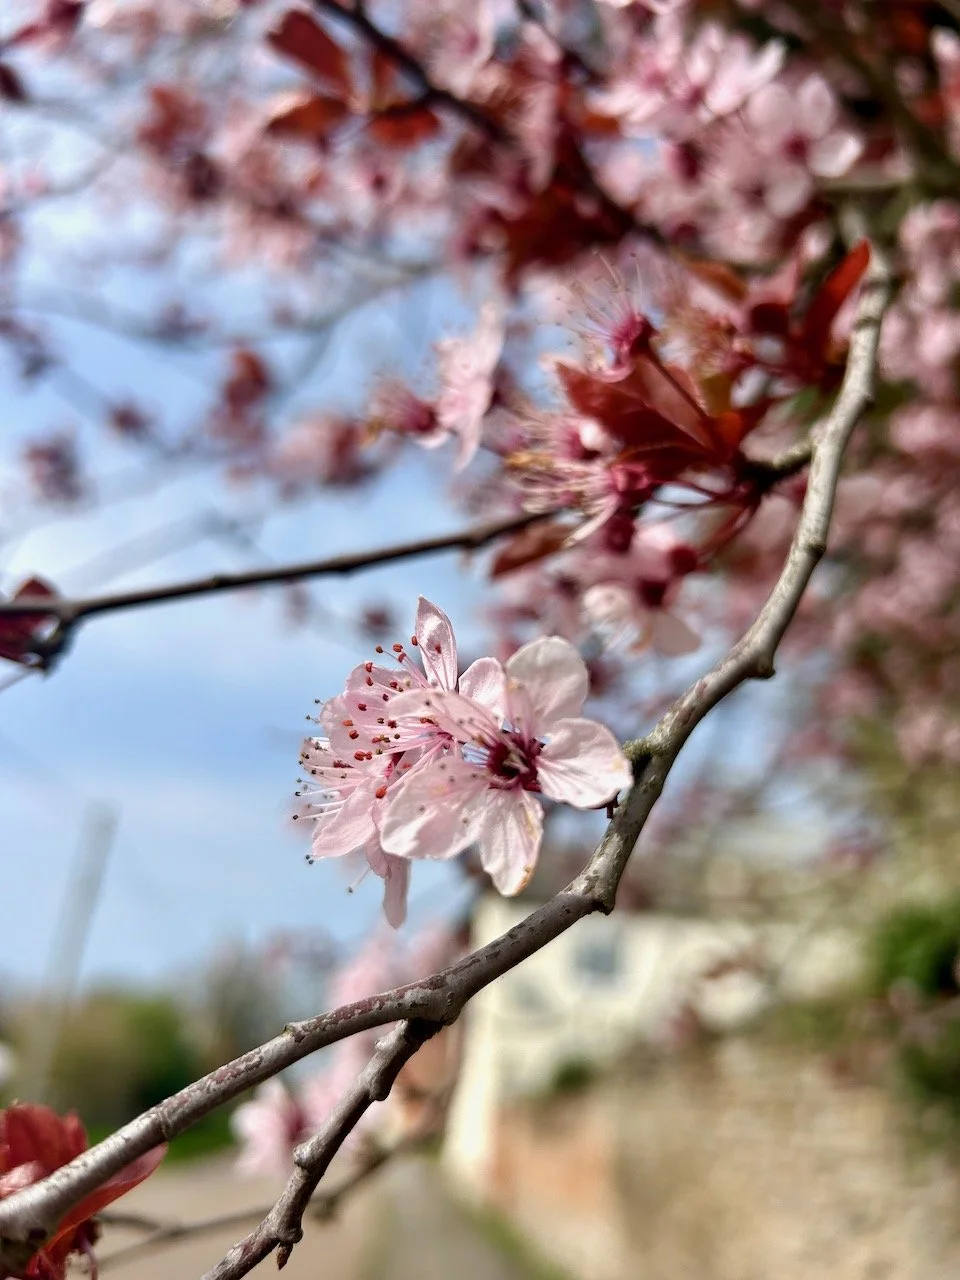
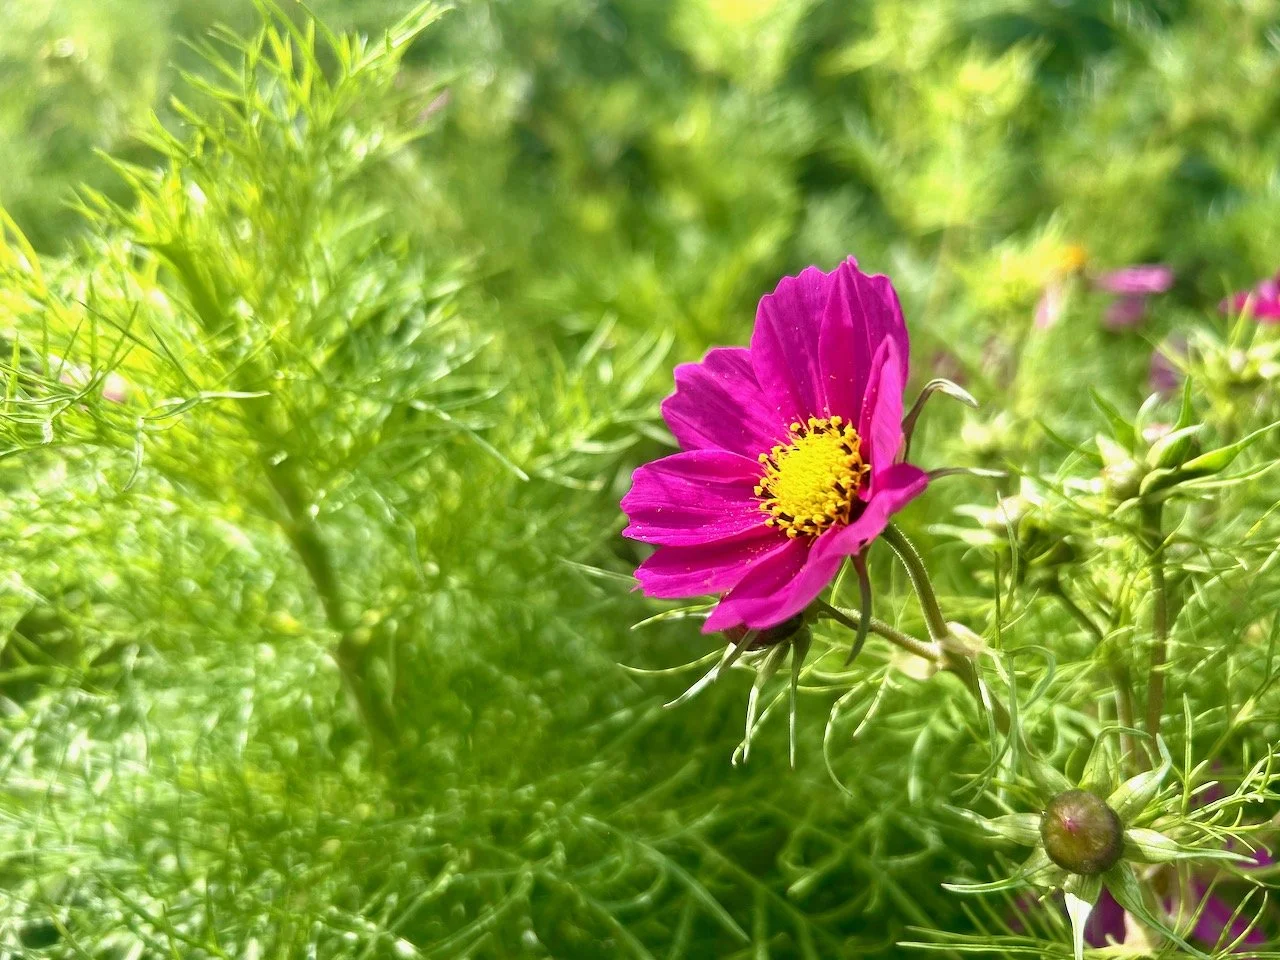
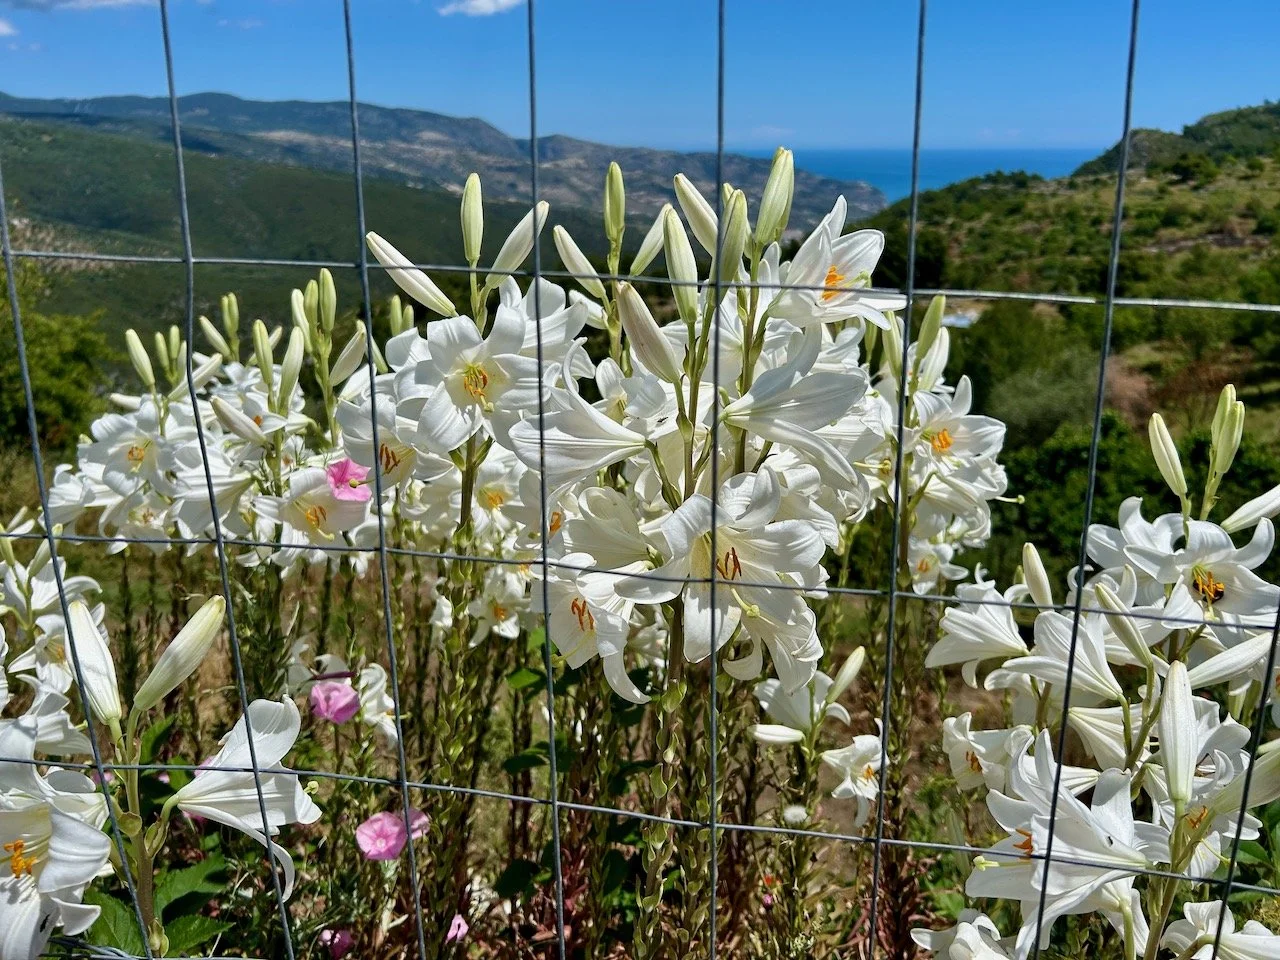
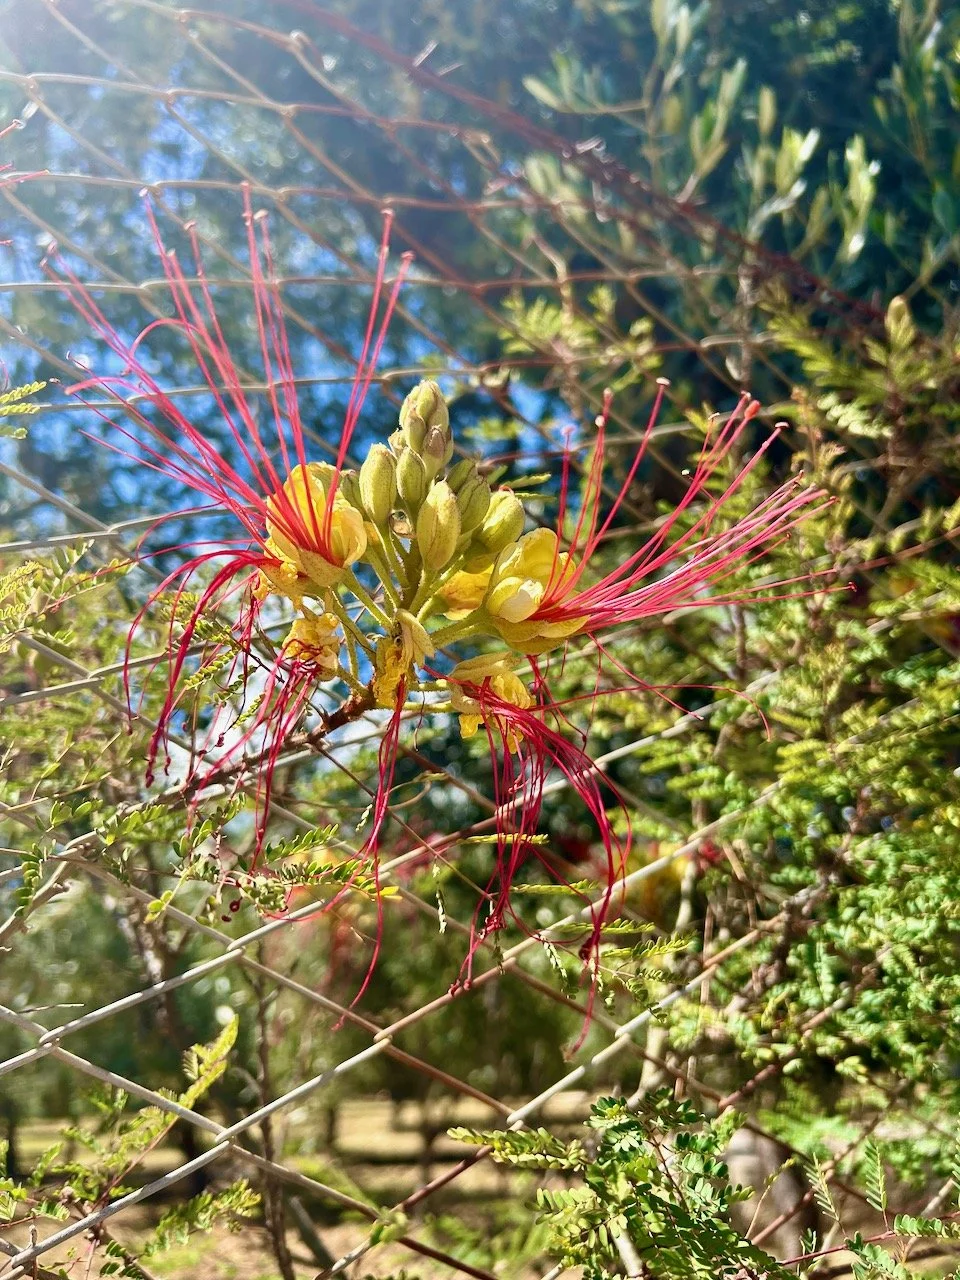
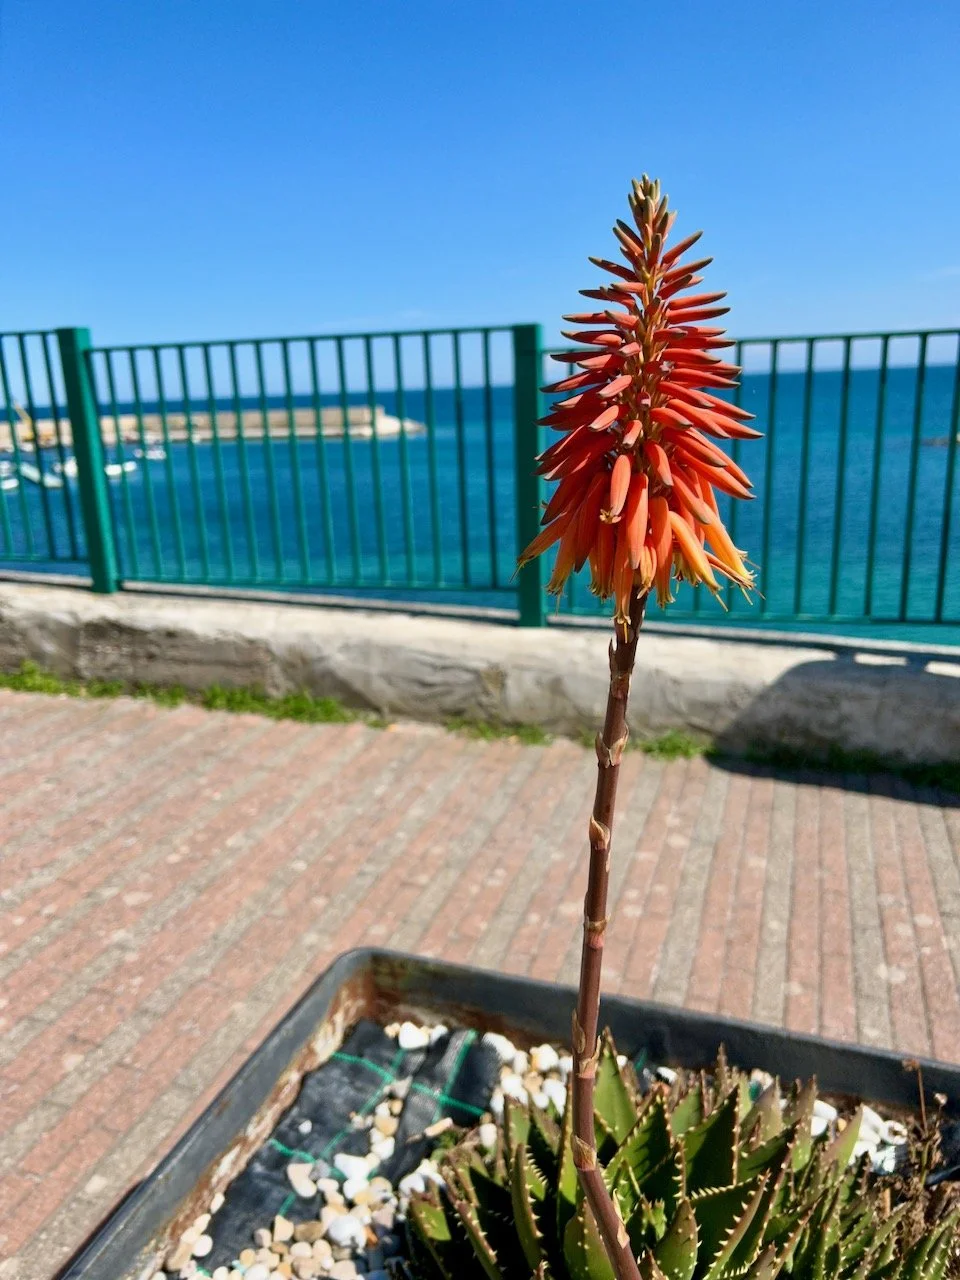
As we headed towards the small own of Mattinata which is surrounded by vast olive groves and colourful almond trees we enjoyed spotting these gorgeous blooms on what was quite a dull section of the walk, given everything we’ve experienced earlier in the day. But needs must, and sometimes there needs to be some dull road walking.

A yellow flowering hibiscus with many red/cerise stamens on show

We found our right turn which took us along an alleyway and meant we were no longer walking along the road, which was welcome. It also gave us a chance to look into the gardens that backed onto the narrow path - another reward! And then the path opened up to the most amazing view.

the path opens up to the pebbly beach, but now the sea is bluer than the sky

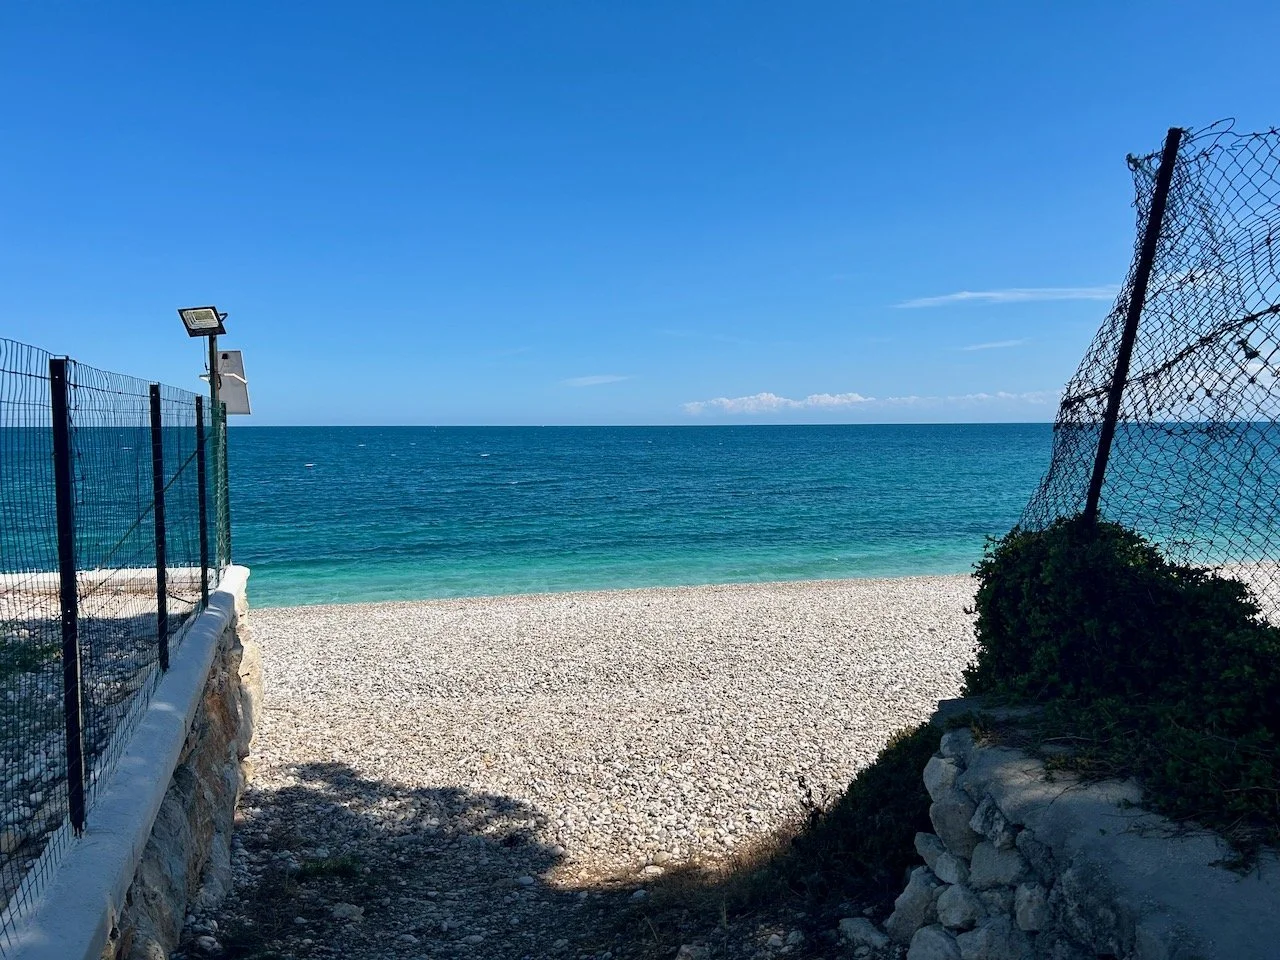
We’d made it down to the coast - and were rewarded with another spectacular view, but one that was much, much closer this time.

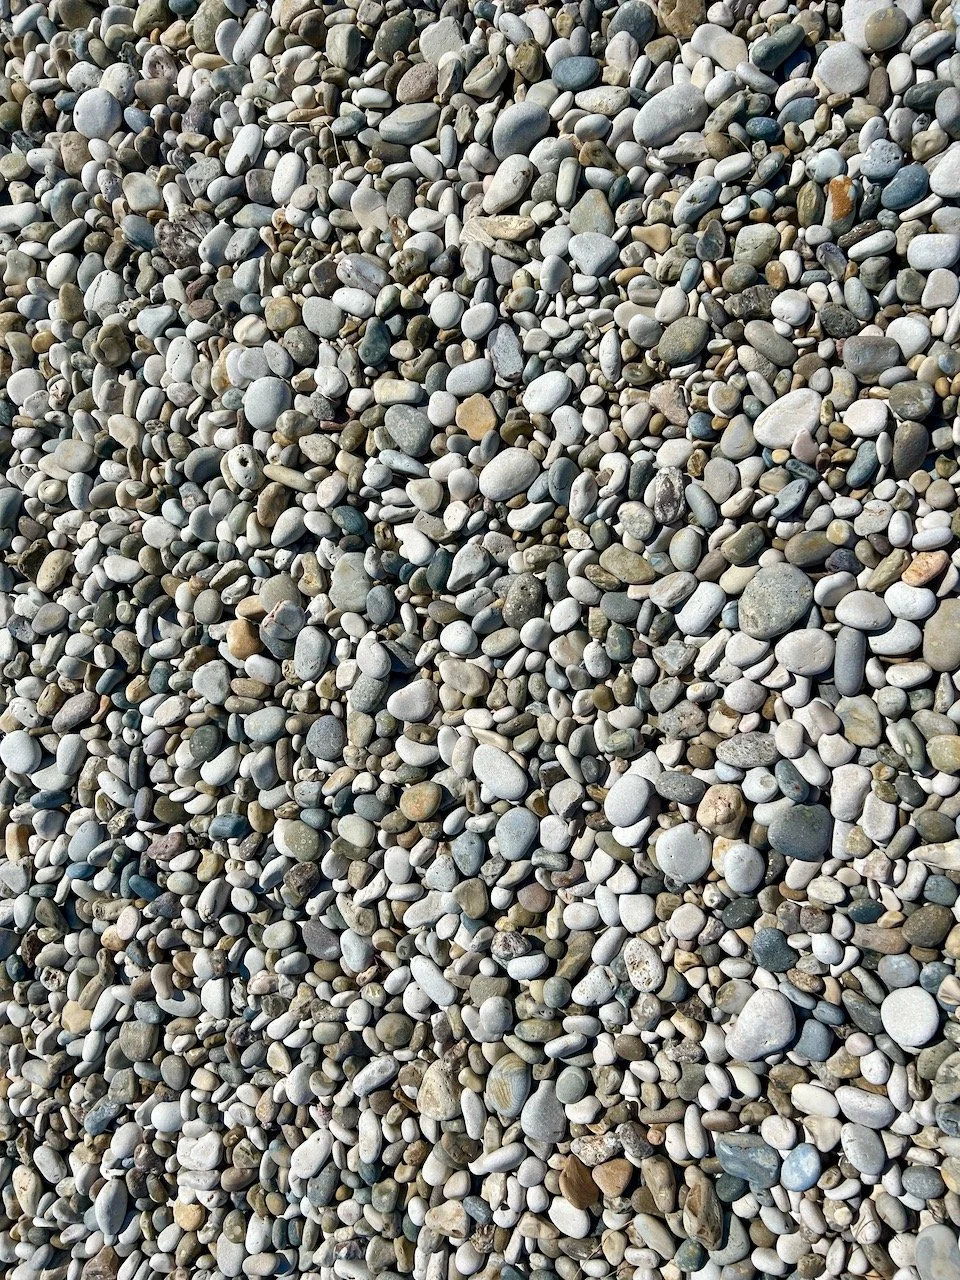
The pebbles though were less welcome, we had a hundred metres or so to cover to get to the beach bar restaurants. Unfortunately the first one we went in to wasn’t serving, not that they told us, they studiously ignored us until finally after drinking our own water we got up and left! We never went back to this one either.

Pebbles!

We were resigned to heading straight up to the hotel, which was still approximately half a kilometre away, but thankfully as we turned the corner we spotted another bar, and one that was very happy to serve us a cool refreshing beer and some snacks.

A lone red hot poker with the sea behind

And then we started to the climb up to the hotel’s reception and check in. From here we could see the apartment style rooms of the hotel were set high up into the cliff overlooking the bay, thankfully though they took us up to our room in a little golf buggy. That was so very welcome, even though I felt like I was holding on for dear life sitting on the back seat facing the beach we’d just left!

Post Comment Love 12 - 14 September

Hello there, and welcome to this week’s #PoCoLo - a relaxed, friendly linky which I co-host with Suzanne, where you can link any blog post published in the last week. We know you’ll find some great posts to read, and maybe some new-to-you blogs too, so do pop over and visit some of the posts linked, comment and share some of that love.

Please don’t link up posts which are older as they will be removed, and if you see older posts are linked then please don’t feel that it’s necessary to comment on those. If you were here last week it was great to have you along, if you’re new here we’re pleased you’ve joined us.

There’s definitely been an autumnal feel at times this week, and then just as quick it’s almost like summer again. Though we have at last had a decent amount of rain, which I know the farmers around us are thankful for.

We’ve had another relatively easy week, but with those hints of autumns there’s also been roast dinners and long slow cooks, which I’m not sad about at all. I know people say they have favourite seasons, but I think one of my favourite things about seasons is when one switches to another - especially winter to spring, and then summer to autumn.

Have a great week.

spiky teasels growing by the roadside

You are invited to the Inlinkz link party!

Click here to enter

Planting my new olive tree

I shared the start and end of this in my August garden update, but as you’d imagine there was a bit more to it than just filling the pot and popping in the plant.

We’d seen the pot when we were at Grand Designs back in May. We weren’t looking for a pot, but there was something about it, as well as the show price and free delivery, that had us hooked. I always knew that if we bought the new large pot, then it would be going on the far corner of our patio and I just needed to convince MOH it would look fine there.

Lots of pots and pots on display at Grand Designs Live at Excel

Pot delivered, now for the tree

When it arrived and we’d stripped its wrapping off, the first thing we did was to see it in situ. Thankfully it worked just as well as I hoped it was, and MOH was convinced. The second thing we did was carry the pot back to the garage where it stayed for a while, while we sourced the right sized, right shaped and as importantly right priced olive tree.

I didn’t want something so small it was lost in the pot, but equally I didn’t want something that was too large - a real goldilocks tale! So we had a tour of a few garden centres near us to check out the olive trees, and they had a lot. Again we hadn’t intended to buy one straight away as we knew we were going to some garden shows, and well, there’s always a deal to be done at a garden show isn’t there?

But we found the right sized tree for the right price at the second garden centre we visited. And £32 later and yet more convincing MOH it would work we were back home with our new tree. Which of course we left in its garden centre pot for a good couple of months…

The chosen olive tree's position alongside our garage

Sourcing the soil

It’s a large pot to fill, and just as I’m running out of pots I also don’t have much spare soil in this garden. I didn’t want to use all new compost as I wanted the pot to have even just the smallest part of our local eco-system. I asked in our village Facebook group if anyone had any soil they wanted to get rid of, but no joy.

I knew I’d need to add drainage to the pot, and plenty of it but I didn’t want to add rocks and weight to the pot. I’ve used polystyrene seed trays before in pots, so I thought using larger blocks would work here. I was kicking myself though as we hadn’t that long ago had a purge of the polystyrene that we had, but never mind. So I also asked in the group if anyone had any of those chunky polystyrene blocks, but I didn’t get much joy from that request either.

However while out walking around the villages lanes I did find a large chunk of polystyrene blowing along so I brought that home and stored that for a while. In the end though over the summer we had some more deliveries which included enough hefty chunks of polystyrene that we could use.

But we were no further forward on the soil.

Or not much anyway. With my tomatoes finishing relatively early this year I had two pots of soil that I was sure would have a relatively active eco-system, and so they were earmarked for the big pot - but I would need more.

In the end we bought some compost for trees and large shrubs and some bags of topsoil, and used a mixture of these along with the tomato pot soil and a very large helping of horticultural grit, again to help drainage. It makes sense that olive trees don’t like soggy roots doesn’t it, when you think about the countries they grow.

Actually planting the thing!

There might have been more than one or two suggestions from MOH about when the thing would actually get planted, and get that large pot out of the garage. So with a morning free and time to potter about, it was time.

But before anything went in the pot I wanted to get some pot feet stuck on the bottom. I’ve used these round silicone feet (from Amazon) wedged under our other pots and they’ve done well. As this pot won’t be moved that often, and will be heavy, I didn’t want to have to faff about getting the pot feet in the right place if we do move it. I used PVA glue to stick these in place, and before long we were good to turn the pot the right way up.

The new large pot upside down with four black pot feet stuck on

I had help adding the polystyrene blocks for drainage - we found sawing them into smaller chunks was the most efficient way to break them down.

MOH sawing blocks of polystyrene into the large pot for drainage

And then before any soil was added, it was time for a quick position check.

Looking across the patio to the large pot in its corner - checking the position is right

Yeap, all good so in went the soil from the tomato pots, two bags of tree/shrub compost and a bag of horticultural grit, which I forked through the soil using my original ‘ladies’ gardening fork. This was my first (and only as it’s still going strong) garden fork from Homebase, which I bought along with a small spade when I got my first house (and garden) back in 1992.

The large pot partly filled with compost and horticultural grit - with a garden fork stuck in the contents

After firming the soil down, I gave the pot a good water and left the soil to settle for a day or too. it didn’t change the level much at all, but that itself was good to know.

It really was finally time

While giving the olive tree a good soak in a trug of water, we added a couple of bags of topsoil and more horticultural grit to the large pot, making an hole for the tree in its centre by standing the olive tree in its pot, in the new pot at the level we wanted to plant it. I’ve seen this done before by Monty Don and co, but have never really done it myself.

Placing the olive in its pot in the large pot to get the level correct

It worked well, as removing the potted olive tree left the right sized hole. So all that was left to do was to get the olive tree out of its pot, and pot it in the ready made hole.

The olive pot sized hole once the plant was removed

And then, after checking it was straight enough from all angles and adding some decorative grit on the top to deter weeds, we could sit back and admire our new olive tree in the large pot.

Looking back across the patio to the pot now complete with olive tree

I think it works well. And with a couple of olives on it already this month, I think it’s happy in its new home too.

A couple of tiny green olives on the lower branches of our tree

We’ll need to give it some protection over winter, but I have some garden fleece in the garage I can use for that. I’ll probably also add some bubble wrap to the pot, as while it’s frost proof, olives don’t like their roots frozen which is fair enough really, I wouldn’t either.

Caring for olive trees in pots

I’ve found the following pages useful, and if you’re thinking about adding an olive tree to your garden, or if you have one already, then you may too:

I’ve yet to get some seaweed feed for my olive, but it’s on my list for my next visit to the garden centre. I’m loving this new addition to our patio, and along with the garden sofa and the pots I’ve started to place around the garden it’s really feeling like we’re starting to ‘own’ our garden.

I’m sure there’s much more to come though, but that’s all for another day.