Getting to know my new Bernina

I’d been thinking about buying a new sewing machine on and off for a few months, and in January I bit the bullet and went for a test drive of two machines on my hit list. Unknowingly I’d chosen the same brand of machine that both my mum and SIL have, so I’m in good company!

I was between two models, one in the 4 series and one in the 5 series - with the price of the 4 series being my preference until I saw them in action. The 4 series looked small, and smaller than I’d imagined and while the BSR (Bernina Stitch Regulator) could be added as an accessory, it was included like it was with the 5 series model. Truthfully, I knew I’d probably never get that as an add on so if I was interested (or intrigued) by that then I knew it made more sense for me to opt for the slightly larger and pricier 5 series model.

I was definitely glad I went to my local stockist (in a new to me part of Nottingham) to see them both in action though, and didn’t just buy online - and if you’re thinking of buying or replacing your sewing machine, I’d recommend you go along and see them in person too.

My new machine arrived at the end of January and I spent time unpacking it and noting everything that was in the box, not always sure what it was or what it was for at that point. But over the next few days I spent some time familiarising myself with the basics, and a little bit more, feeling immensely proud I’d managed to write (part of) my name using it - my name is long, and by the third letter I was keen to move on to try something else, so implemented a short name, often adopted by my young nieces, which I’ve not used for many years!

Trying some appliqué

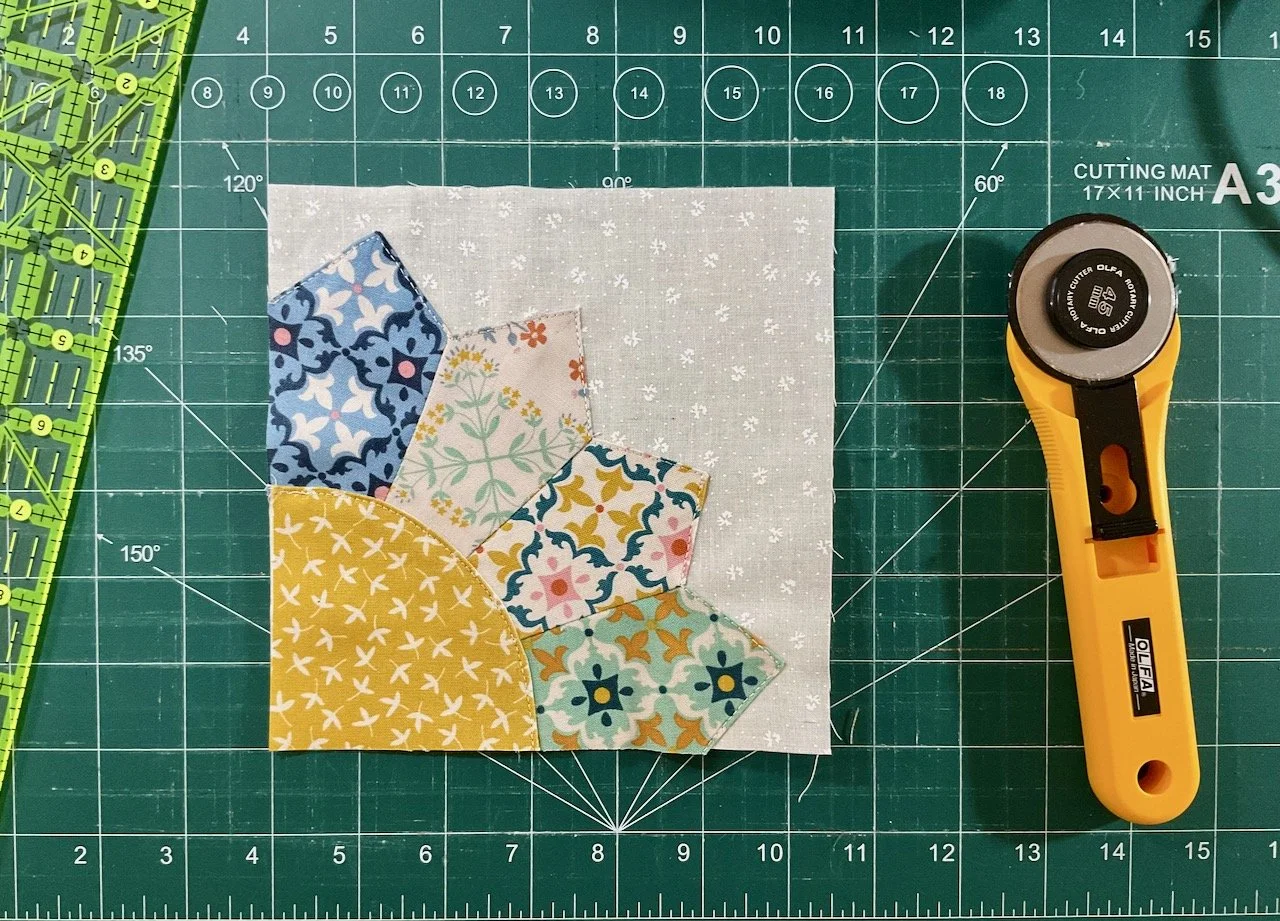
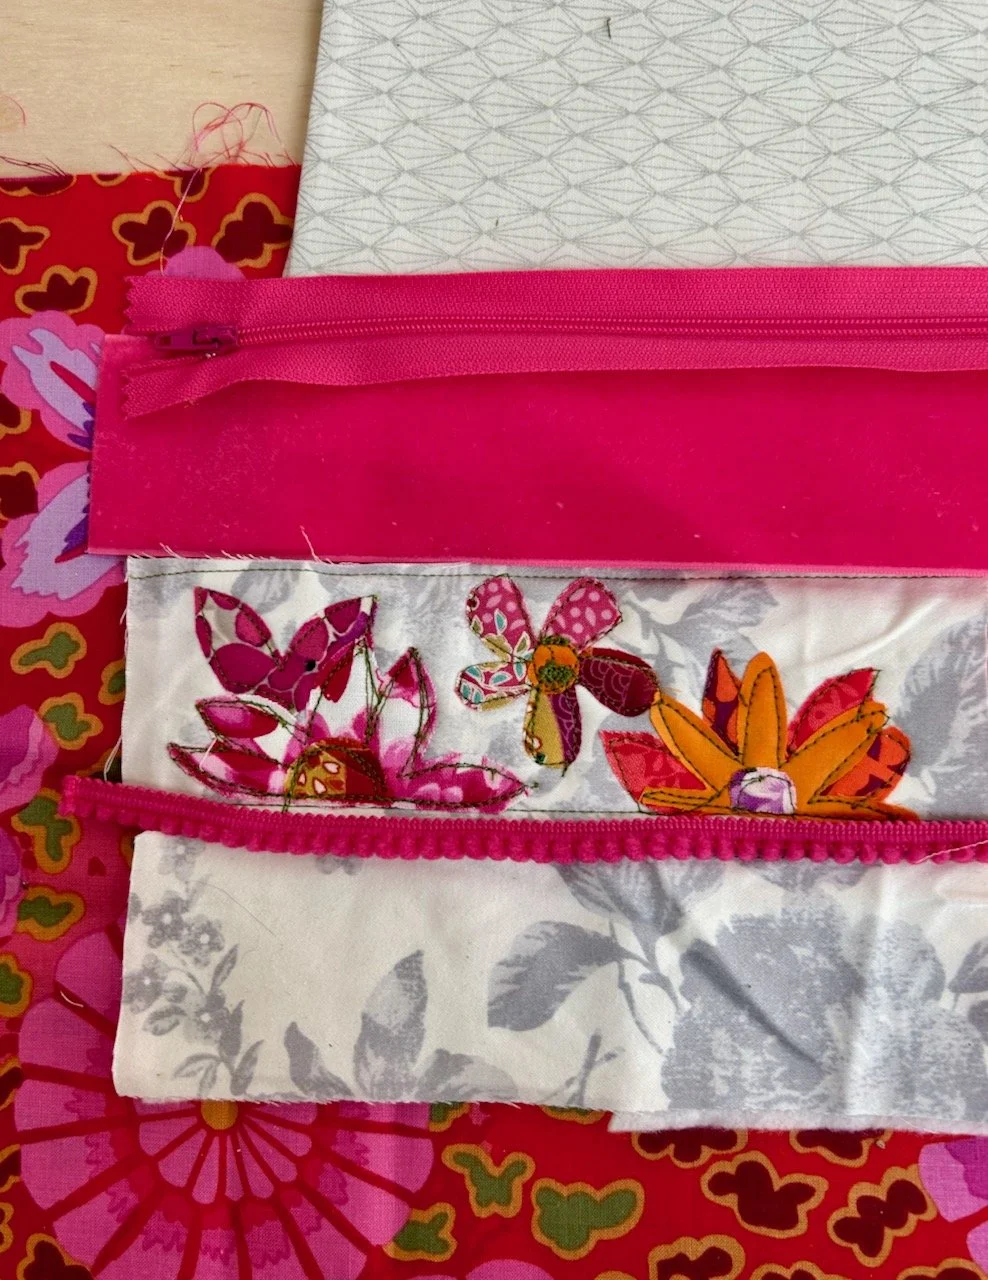
After trying several stitches I was keen to try more, and so with my floral fancy project in mind I thought I should try some appliqué. I’d saved the larger off cuts from the workshop with good reason, so it turned out. As I dug through them I realised I could quickly knock up some test backing the same thickness as my floral fancy.

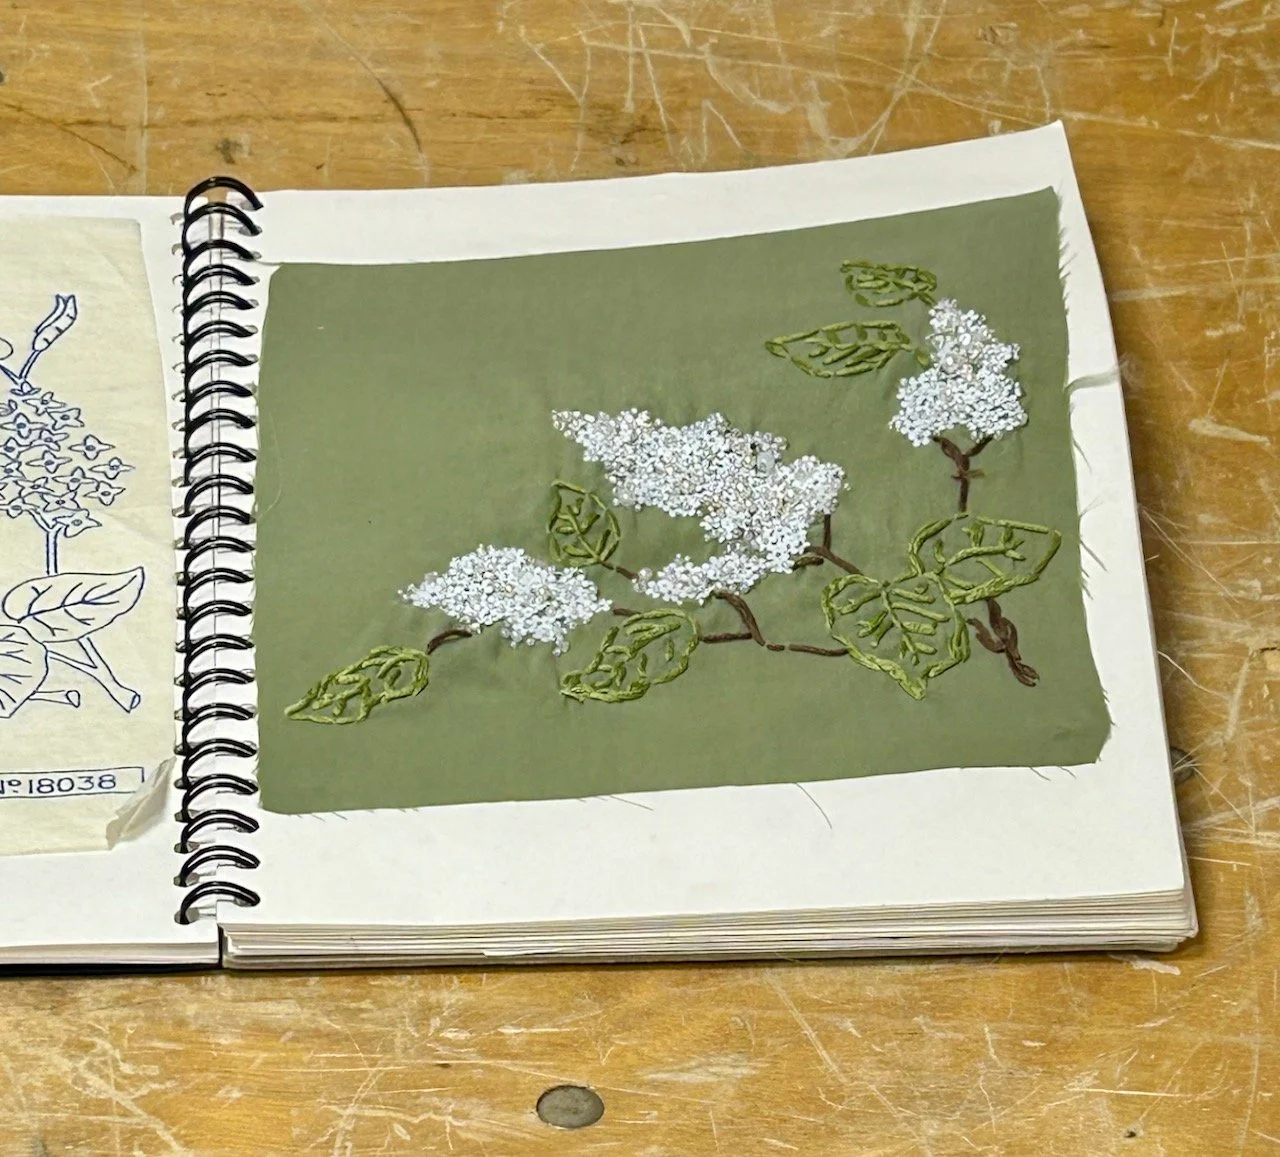
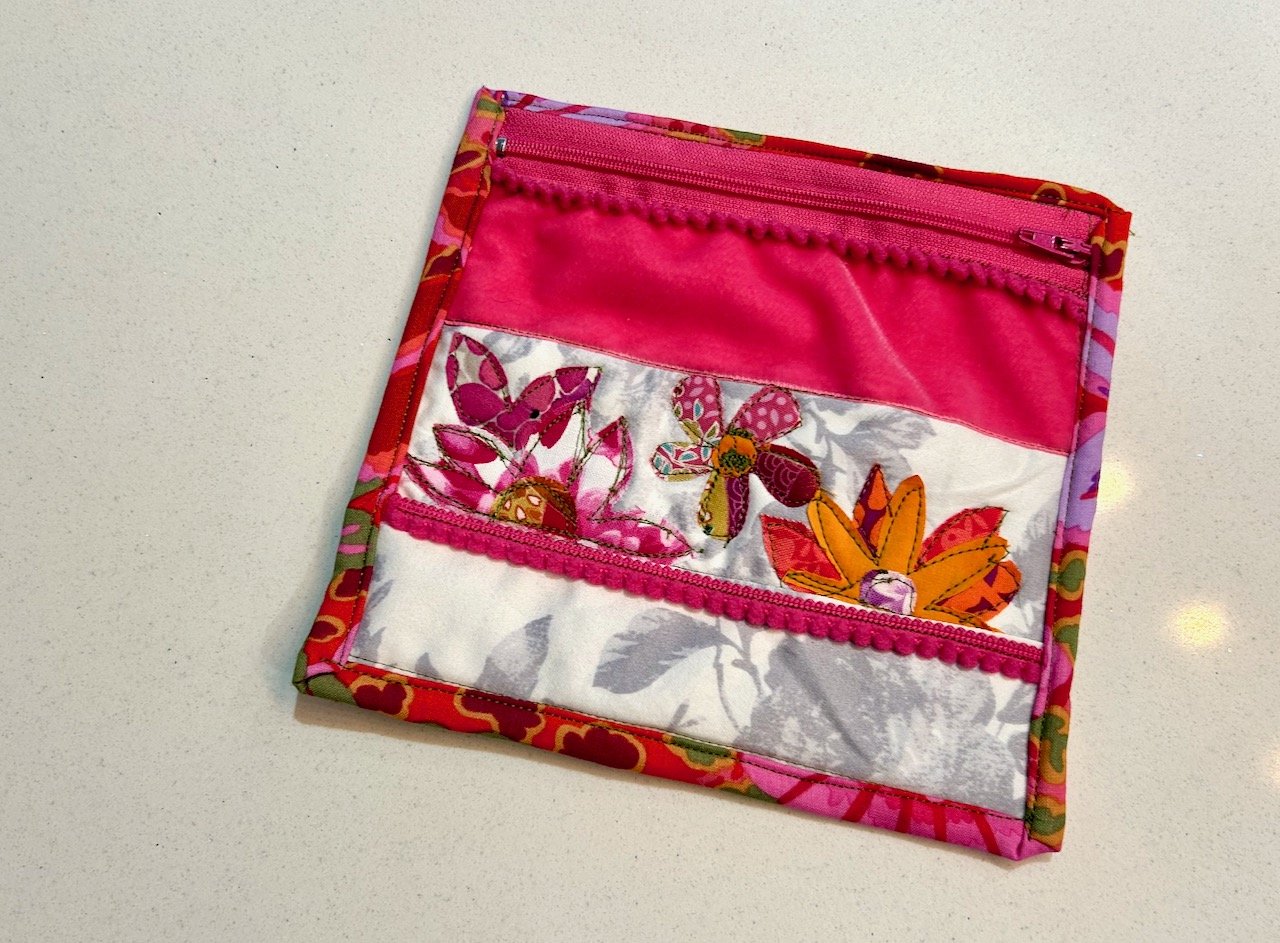
With some tweaking I settled on this design, peeling off the Bondaweb and ironing them into place before adding a stitch outline. For this I didn’t change the foot, and with hindsight I should have - but you live and learn, and that’s what this was all about.

There are elements of this that I’m really pleased with, and there are also some learning points, such as it would have been better to iron the petals and centres on as separate layers as that would have allowed me to follow the lines independently, especially on the orange flower on the right. And I also realised once I’d finished that the design looked better inverted - who knew.

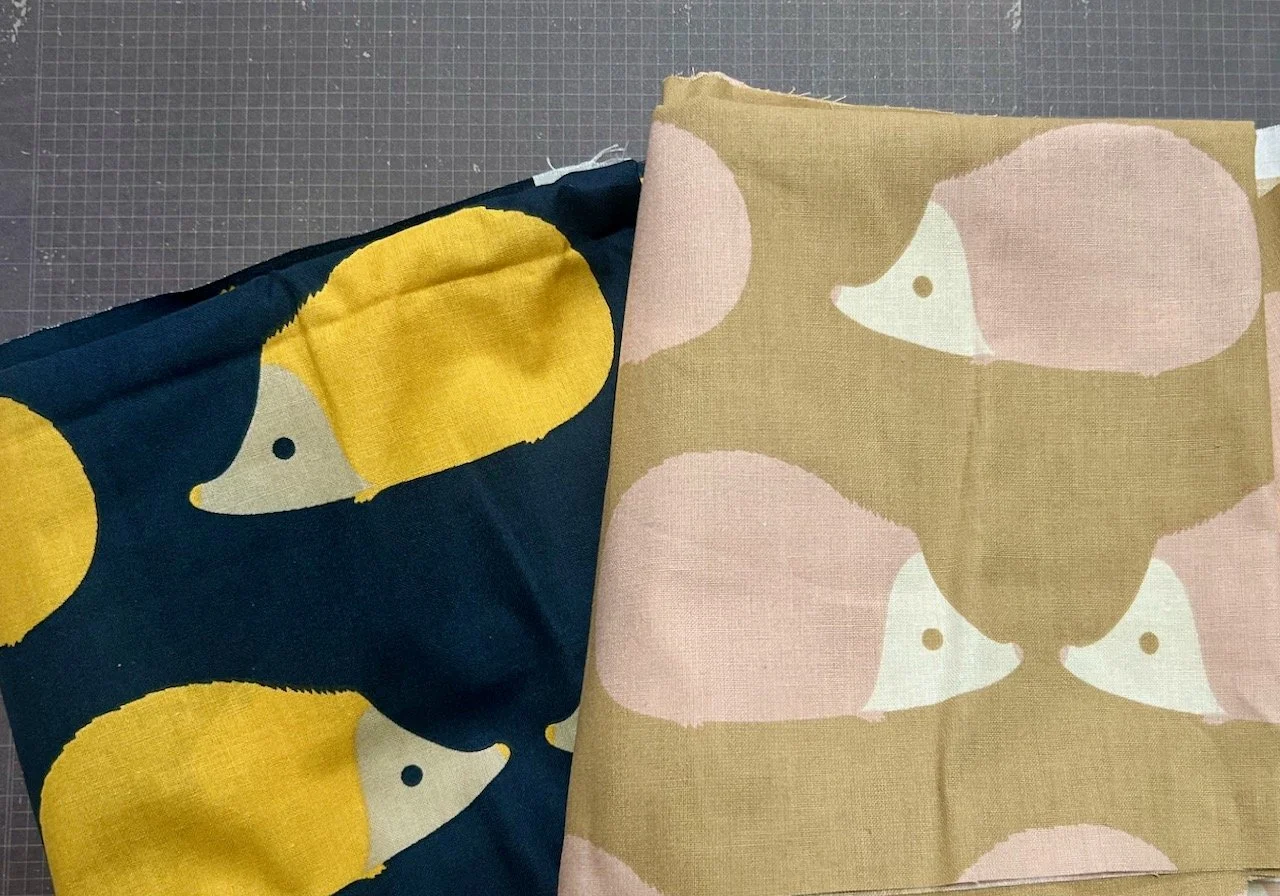
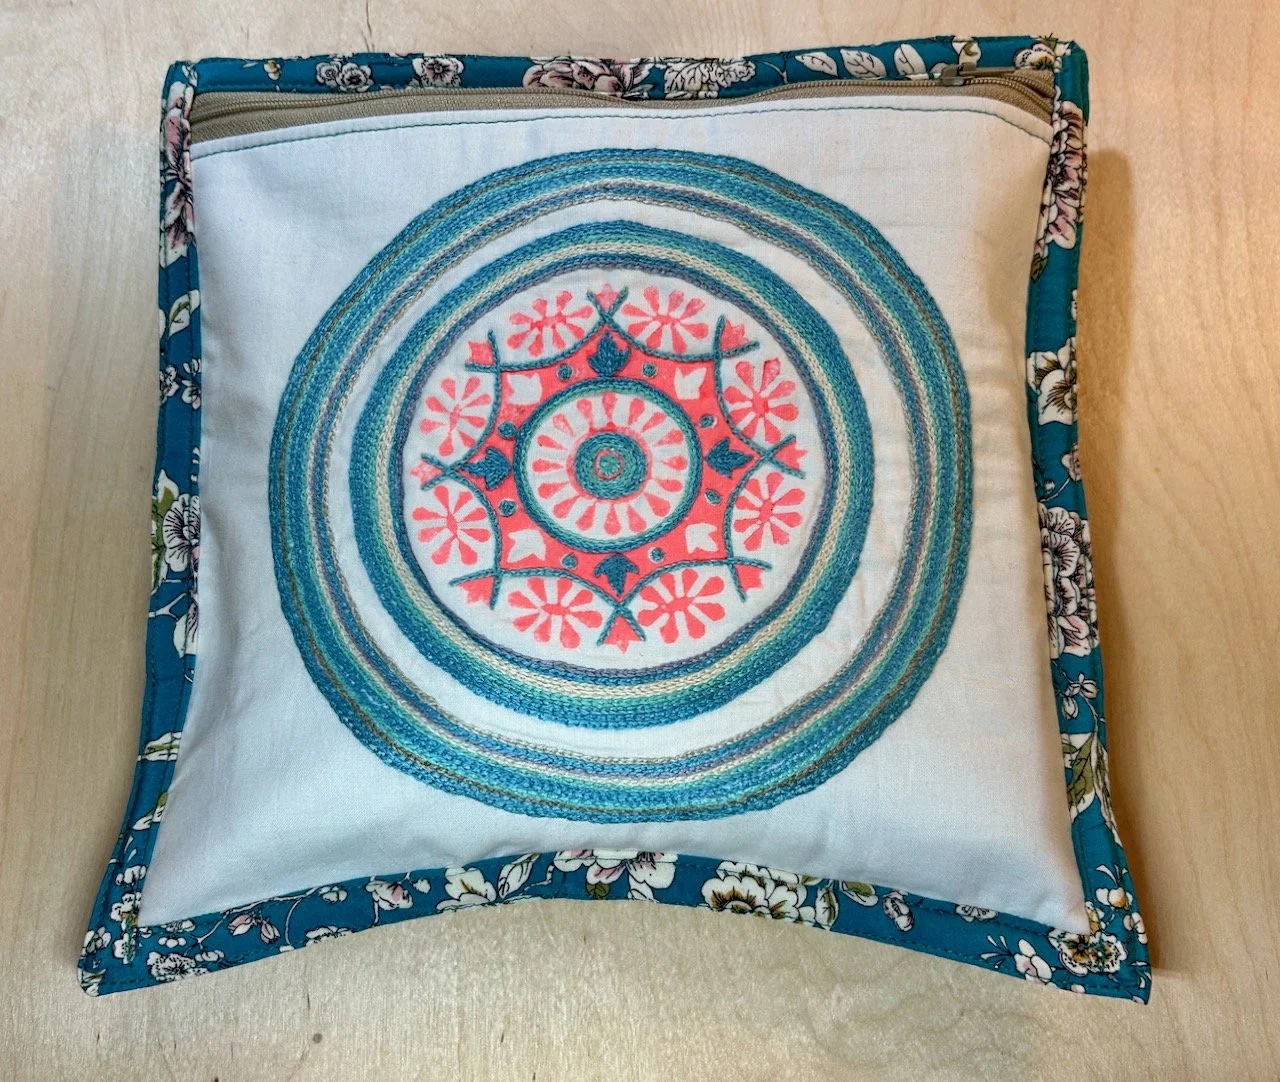
I was pretty sure that I had some material that matched both the colour of the flowers and the lighter background - and it wasn’t long before an idea formed, and yes that idea was a pouch. At this point though I had no idea what the question was, but I knew I needed this pouch (well wanted, rather than needed!).

And so, I made a new pouch - this one’s already in my jewellery box holding a rather large and chunky piece of costume jewellery which up until now was in a bit of bubble wrap. This, even though the velvet ribbon is a bit ruched, is a much better solution.

Trying some quilting

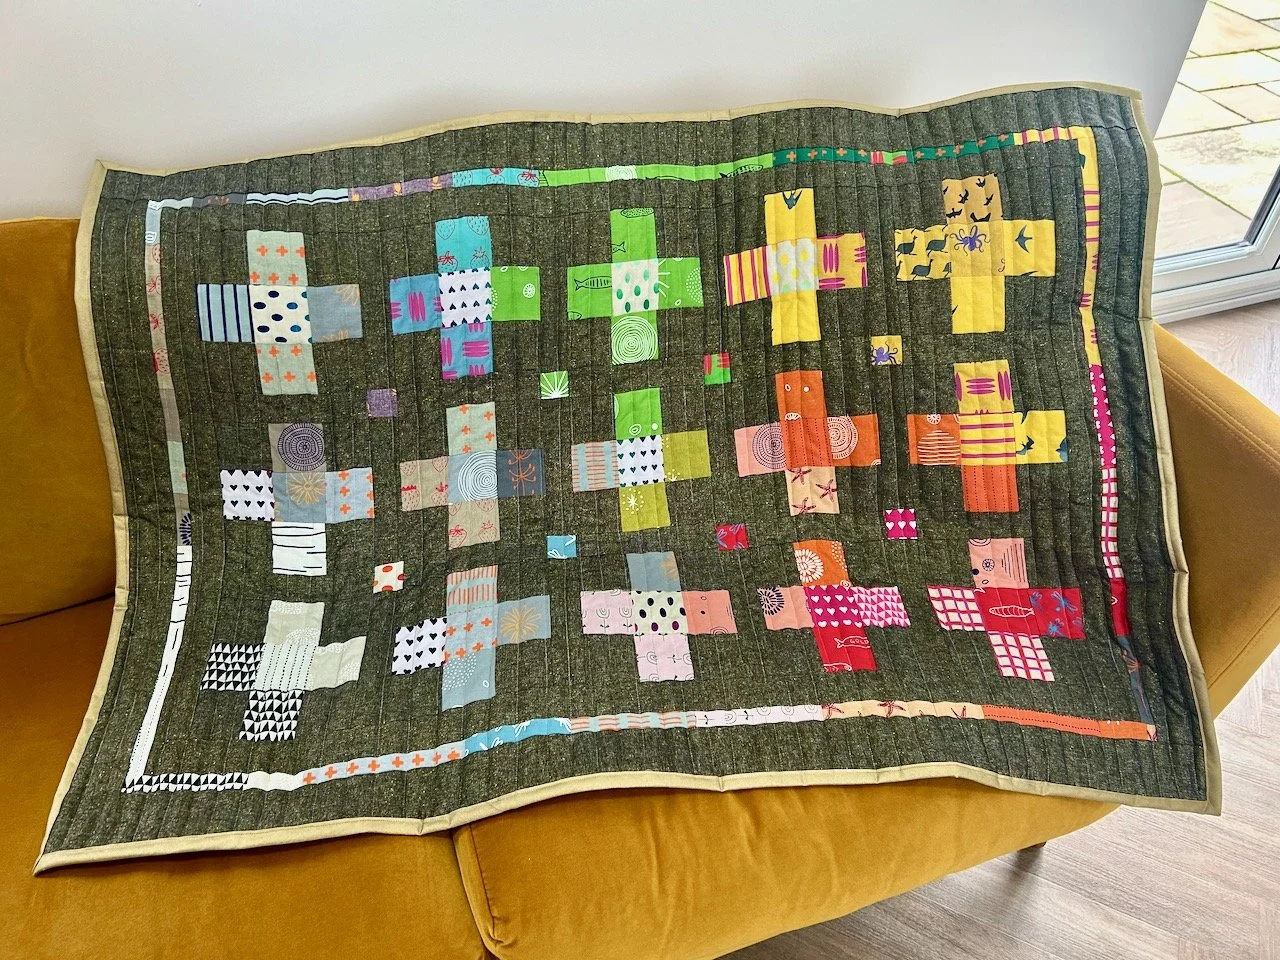
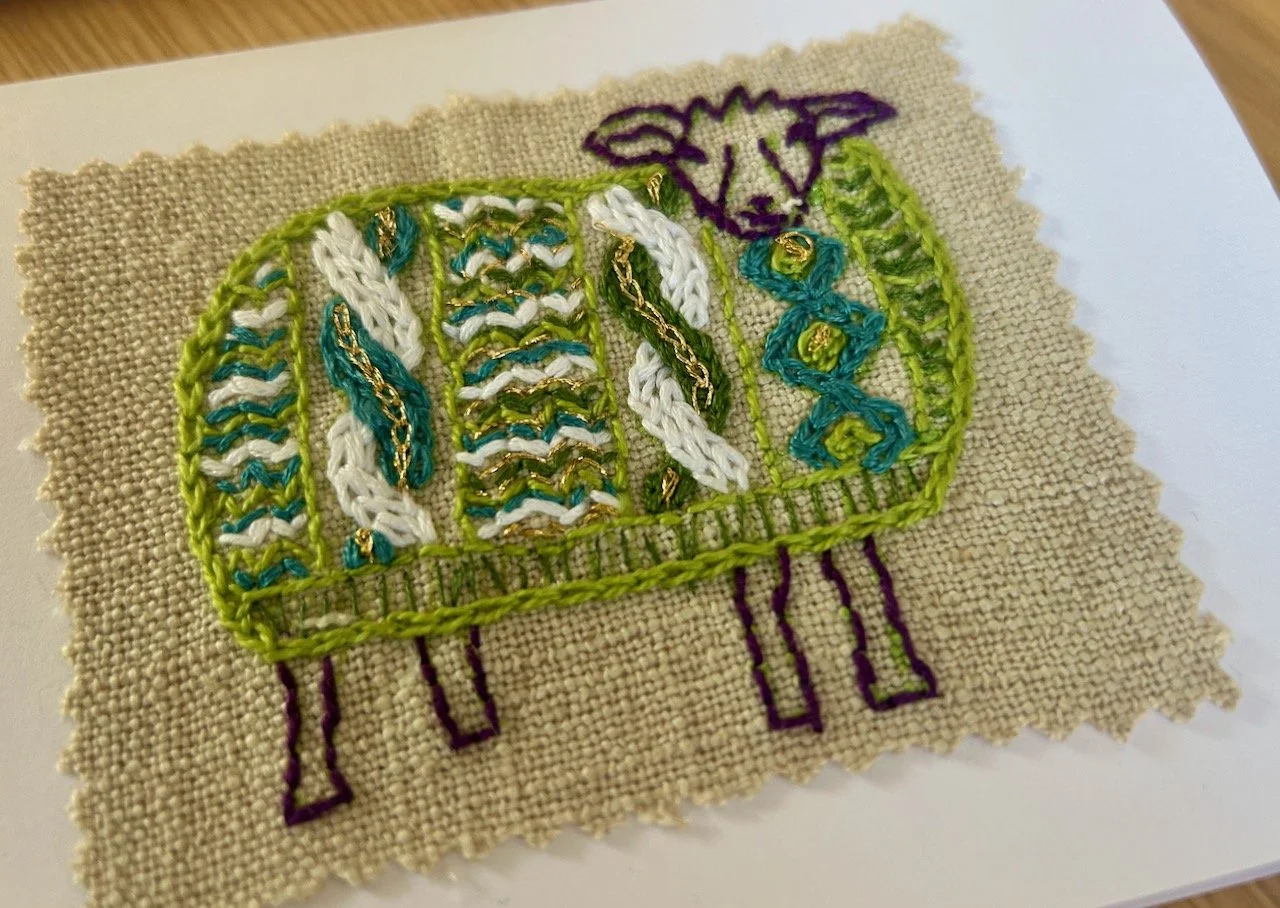
I was also very much aware that my Log Cabin Log Cabin quilt was waiting in the wings to be finished, but I didn’t want to dive into finishing that and quilting it without being more confident with my new machine. So I started another test piece, this time to try out some quilting.

For this I changed to the quilting foot, and added the extended table top - and tested using the inbuilt walking foot, and without. I’d pulled an almost 8 inch square from a lucky dip purchase from a while back. It’s the kind of selection that you can use some - and I’ve used some in the binding of quilts, and some that you really don’t care for. This blue and green square with a white daisy was in between - there’s absolutely nothing offensive about it, but I had no idea what I’d do with it. Until now.

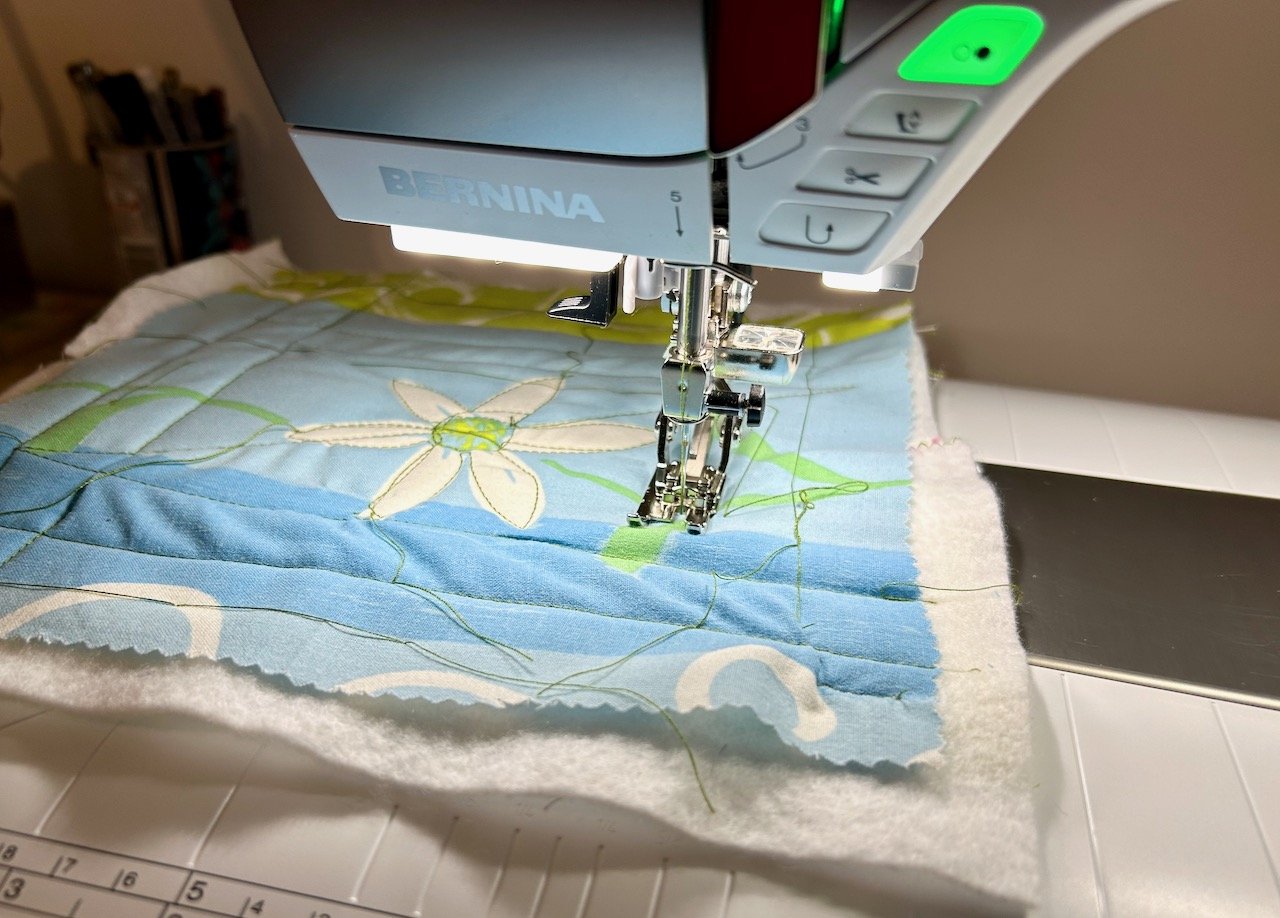
I frankebatted some wadding together, added another square on the bottom for the backing and set about freeform initially using the basting stitch to keep the layers in place - I found this a bit of a faff on this sized project, goodness knows what it’d be like on a much larger quilt, though I’m prepared to be proven wrong!

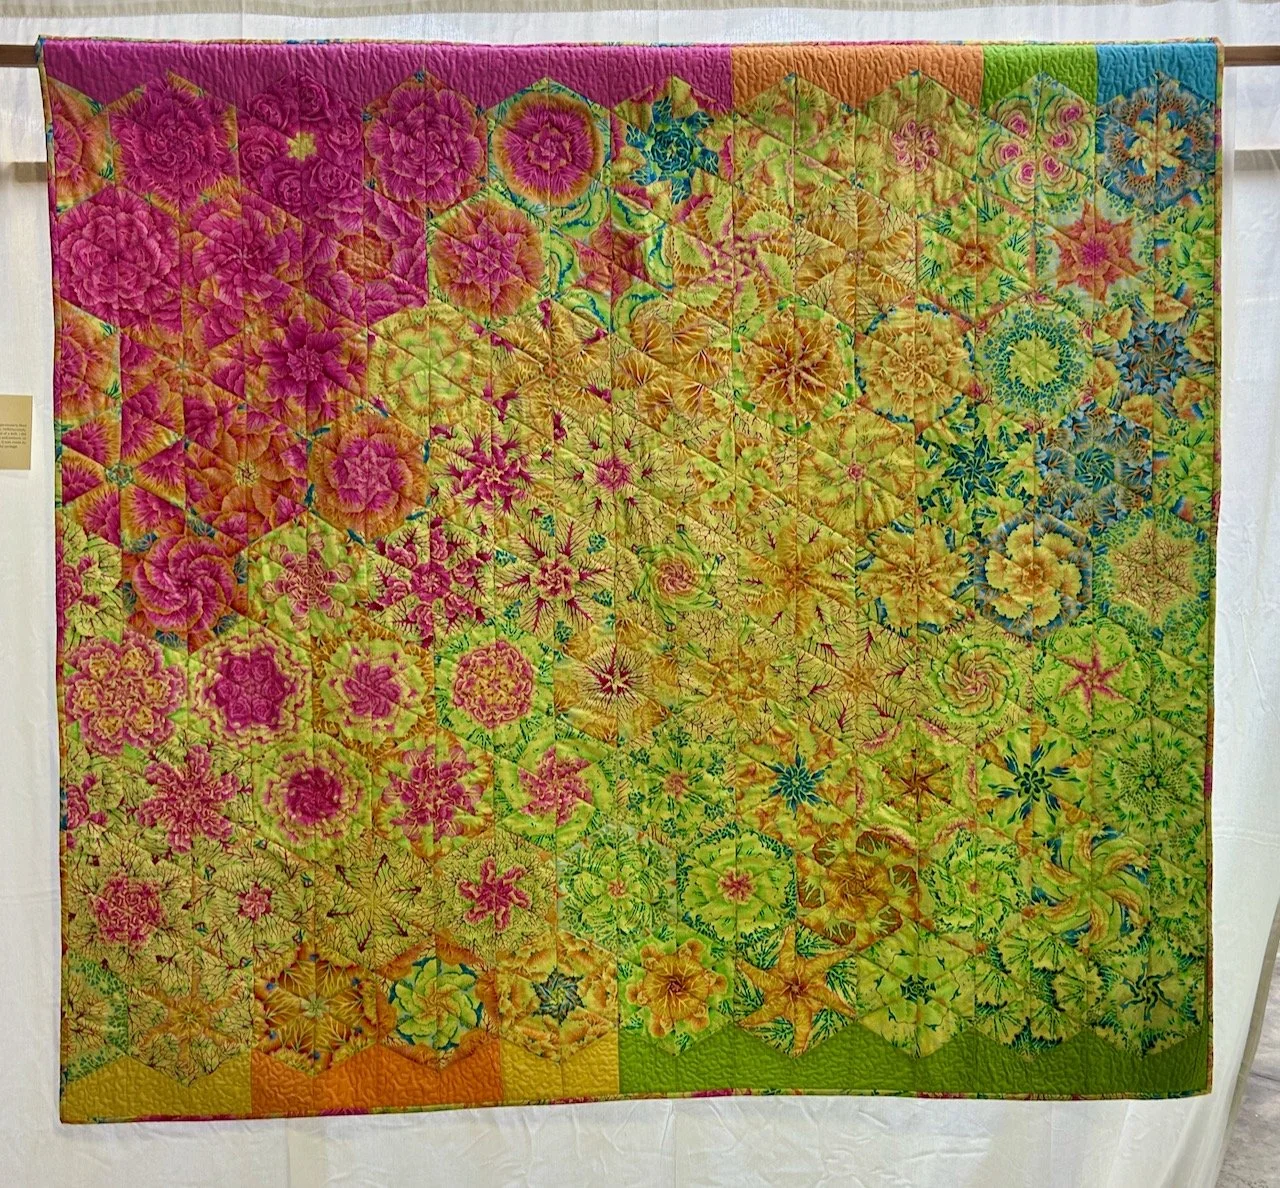
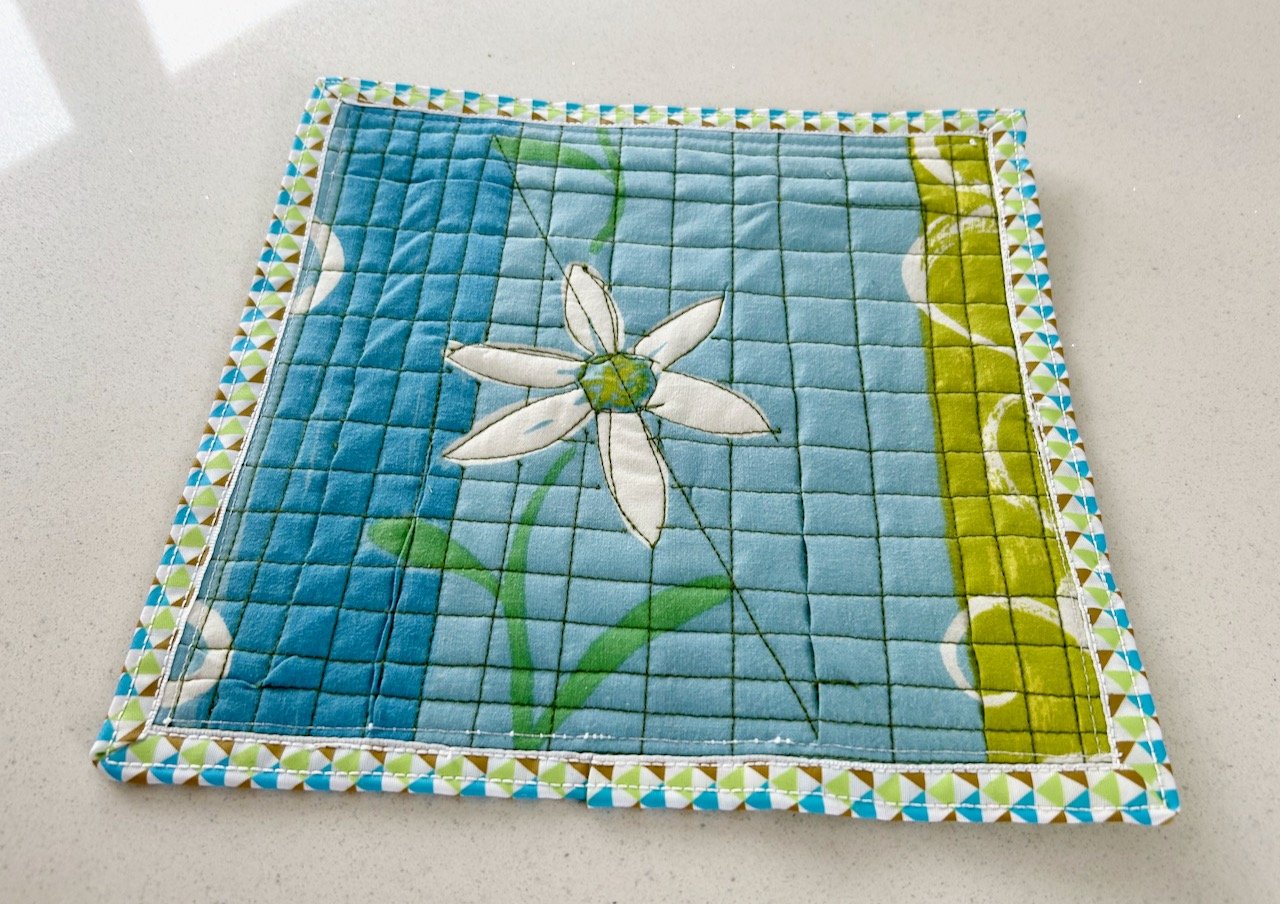
I tried with the walking foot and without and the differences are apparent, and as you can see below at one point I went a bit left field with a diagonal line. I also decided to try out my Hera marker (a piece of plastic which with a ruler you can ‘mark’ indents into the fabric) and so that’s why I ended up with more gridlines, as I’d particularly liked quilts at the recent Newark Quilt Show quilted that way.

When it was finished I wondered what I could do with it, as I was keen to do something with it rather than it just hang around my craft room. After a day or so I knew what it could be and so added some toning ribbon as binding (yes, I had this too - I bought it while checking out the haberdashery department in Yorkshire Traders in Newark!).

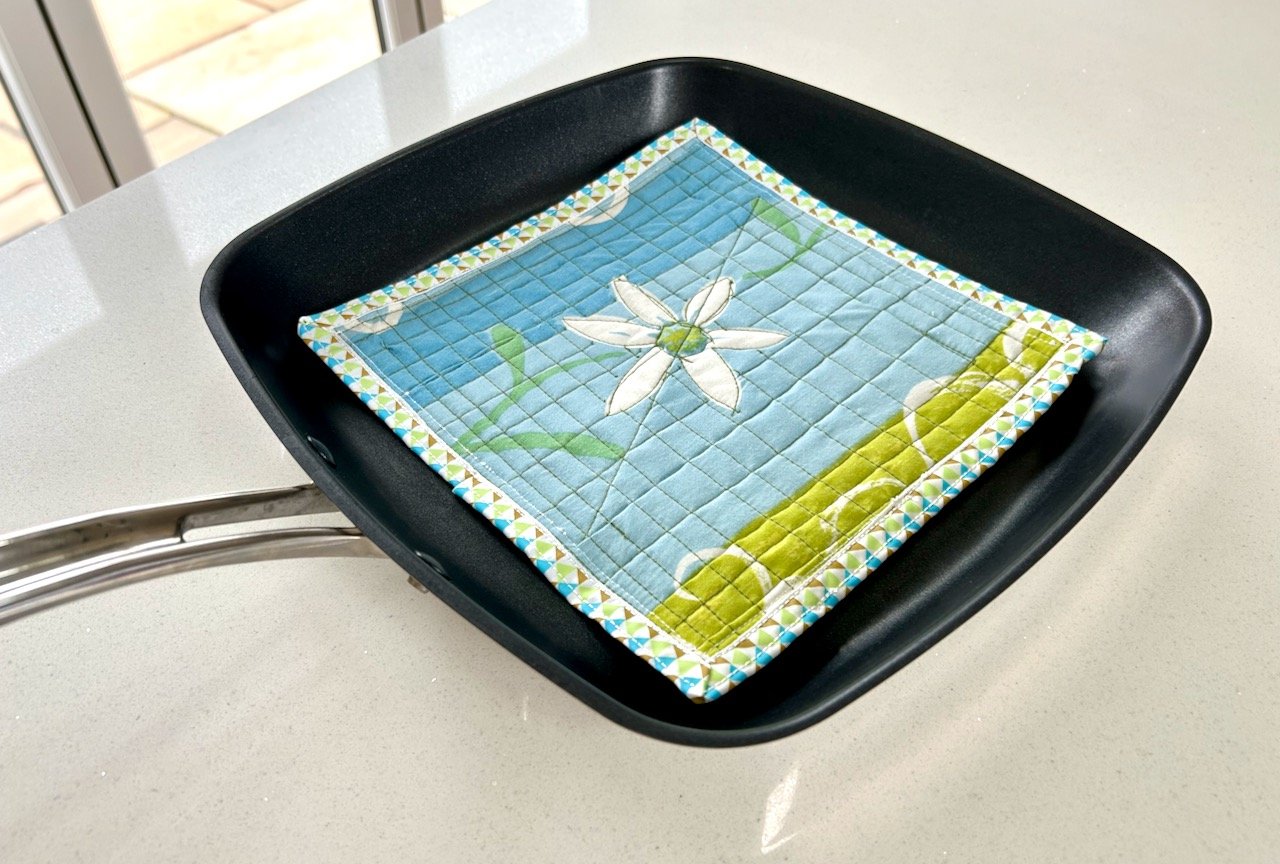
And the sizing worked - so this test project is now a pan protector for our new griddle pan. How lucky was that? The wok lives on top of the griddle pan in the cupboard, and as they’re both new I was keen to give them both some protection.

So I have two new unintentional projects, and I got to try out more features on my new Bernina than I would have, at the same time.

Since then as you know I’ve finished both the Log Cabin Log Cabin quilt and my January mystery block of the month block and I’ve started the test blocks for the next quilt - but more on those another day!

Pegboards for tools in the garage

Around the same time that I bought some pegboards for my craft room, MOH ordered some for the garage aiming to make good use of the space above his workbench. He’d spotted some reasonably priced metal pegboards, with accompanying accessories on VonHaus and was set to put his order in.

However when we measured the space we realised it could fit two sets in, as each set comprised of three individual sections. And while it wasn’t totally clear from the site, we reckoned that you didn’t have to hang all three side by side - and thankfully, that small gamble paid off.

But first, look at the accessories that came with them - this is for both of them - there’s quite the choice there.

So we set to work - the Royal ‘we’ mostly! - in the opposite corner of the garage from where we added the hooks for our garden tools shortly after we moved after getting fed up of constantly stepping over and moving them. Side note: it’s worked out really well, I highly recommend!

With the workbench in position, which was my FIL’s and which we’d been storing dismantled in our shed for a fair time before our move in the hope that we’d have the space for MOH to make good use of at some point, we set about positioning the pegboards.

One set/three sections did go up as shown on the website directly above the workbench, but leaving enough space for tools to hang down, and also to allow a shelf to be put up above for additional storage.

We (the Royal sort again) hung the second set/three sections in an inverted L shape and higher than the others, aiming to make it easy to access as many tools as possible easily.

This is very much not my space, so after initially helping to get some kind of working plan for the best place for tools, I’ve retreated and left it very much to MOH. As I know from my using my craft room it’s once you start using a space that you really work out what works. And I think he’s done that, as from this little space have come the shelves for the bathroom cupboard, and the herb and spice shelves in the pantry, and as you’d expect I’ve some other jobs lined up for him too.

Thankfully though, he’s not surprised at all!

Welcoming songbirds and deterring bugs

* I was invited to the Garden Press Event, a one day show which connects garden product suppliers with garden media, therefore I’m marking my blog posts from the event as 'Ad’ though as usual my views and opinions are very much my own.

We’re all aware of the need to encourage wildlife in our gardens, and to maintain the balance - but I’m also sure that many of us also encounter some of the more annoying bugs too, and need all the help we can get dealing and coping with those. At the event there were companies there covering both of these, and so today I’m sharing some of their messages and products.

SongBird Survival

The clue’s in the name really, SongBird Survival is fighting to change the future for songbirds by funding research into the causes of decline to create and promote solutions, and as numbers have fallen 50% in 50 years that’s very much needed. In that time more than half of our UK songbirds are threatened or already in decline, so they really do need our help.

As part of their awareness for this SongBird Survival have partnered with Nicola Oakey who has designed their garden at this year’s RHS Chelsea Flower Show in May. The garden aims to show gardeners how they can do their bit to help stop the dramatic decline - so do look out for more on their garden later in the spring.

We’re already in the breeding season, which takes place between February and July - so if you haven’t already make sure your nest boxes are clean and ready for any feathered occupants, though go carefully in case any have already moved in.

If you’re wondering what you can do to encourage a wildlife-friendly garden then SongBird Survival recommends including their five essentials:

  1. Shelter - important for escaping predators; trees, hedges and shrubs can provide this.

  2. Food - a mix of flowers and greenery will attract insects, and berries and fruit trees can also provide a good source of food.

  3. Nesting - nest boxes are a great way to provide safe nesting environments, but also planting long grasses and cardoons supplies birds with good nesting materials.

  4. Water - provide a space for water, such as a shallow bird bath, which is cleaned regularly.

  5. Be natural - ditch the pesticides to help wildlife thrive.

I’m planning to cover more of their advice in my monthly The Garden Year linky when that opens for this year, so pop back on the first of each month between April and November to read more.

Alfresco, Anti Bug Bite Botanical Blend

Free from DEET, parabens and synthetic chemicals these products by Alfresco feature a unique blend of over 25 essential oils which means a naturally derived mosquito repellent, along with a pleasant long-lasting fragrance - which is a world away from the usual insect repellent smell we’re used to, trust me!

I tried the Power lotion on the day of the show and was pleased with how it smelt and felt on my skin, so I’m looking forward to trying it for real as the year goes on, as I don’t think there’s anyone that enjoys attention from the bugs is there? The spray looks as if it could be useful too - there’s a few different varieties to choose from - Classic, Planet and Power, each with a different fragrance.

Super Ninja Against Plant Flies and Fruit Flies

In the past we’ve experienced both plant flies and fruit flies, and they are very annoying. These products from Super Ninja are also from natural ingredients and claim to provide ‘immediate results, without harmful side effects’ as well as easy to use. And when you’re inundated with bugs, you want something easy don’t you?

The Against Plant Flies, made from recycled plastic (and are recyclable) are the yellow sticky traps which are said to last up to three months. The Against Fruit Flies are innovative and discreet, according to their website. The pack contains two small bottles of liquid which attracts the unwanted pests, and these also come with a sticky pad so you can get the bottle close to the source of the problem.

I’ve not tried either of these, and in some ways I hope I don’t need to! But if I need them, then I know from previous experience that it’s great to have something to hand to use straightaway, so if (when) that day comes again I’ll be hoping they’re as good as their word.