The Newson Health Menopause Garden

* I was invited to the press preview for and provided with a pair of tickets to Gardeners’ World Live so I’m marking posts from the show as 'Ad’ - as usual my views and opinions are very much my own. Be sure to check out all of my posts from the show.

This garden was to empower visitors to the garden to feel empowered to start conversations about their health, and get inclusive and accessible perimenopause and menopause support. And you may automatically assume it’s a space for women, but as Dr Louise Newson said at the Best in Show Awards, which took place after the press preview, menopause is something which directly affects 51% of the population, and 49% of the population indirectly.

Entering the garden encouraged in by log piles stacked to form a curve

She also said while she is a menopause expert she wasn’t a gardener, but had worked with Ruth Gwynn who was an extremely talented garden designer as evidenced by these photos.

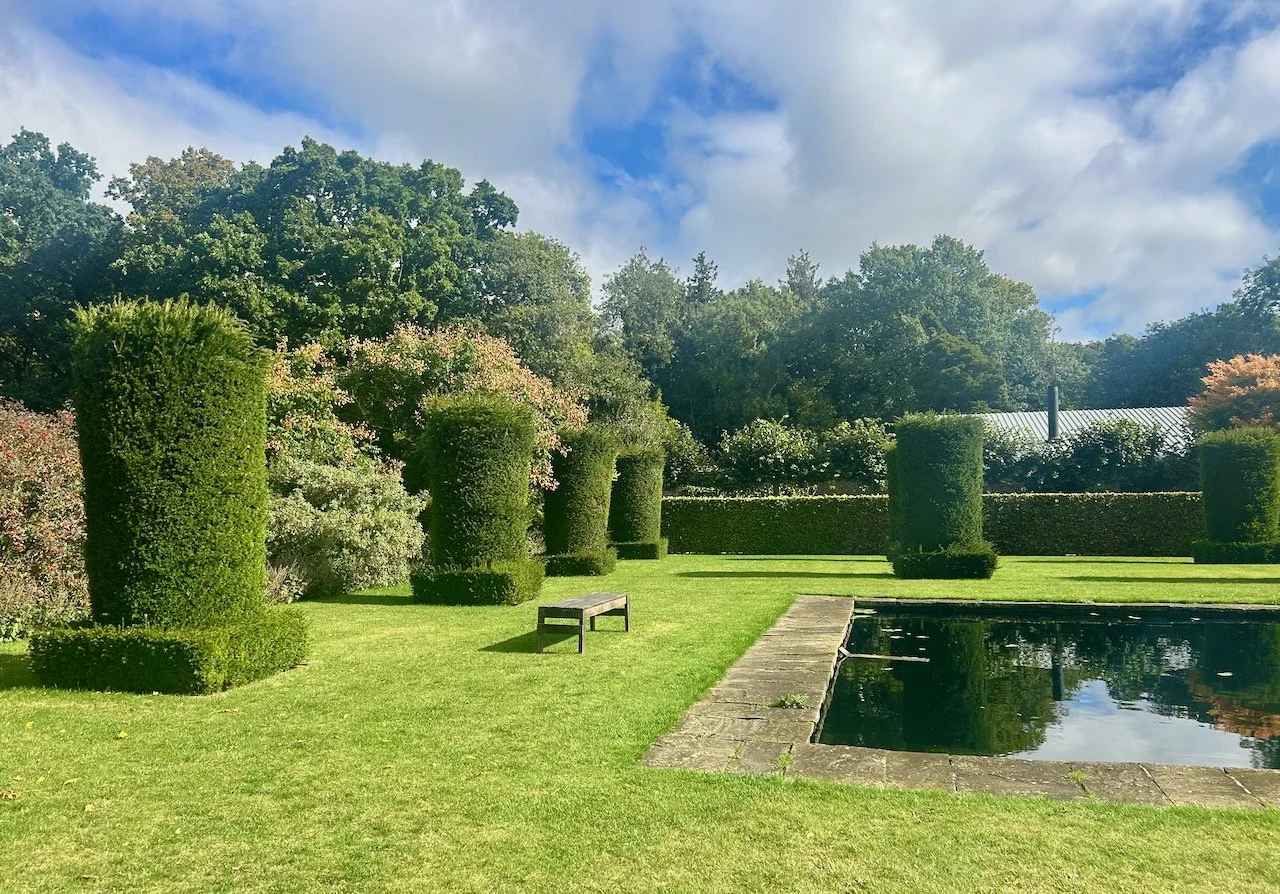
The garden is designed to be a place to relax and reflects ways of relieving symptoms of the menopause, and importantly it is also affordable and achievable, and can be done without overwhelm.

Two wooden rocking chairs painted grey set on gravel in front of the border

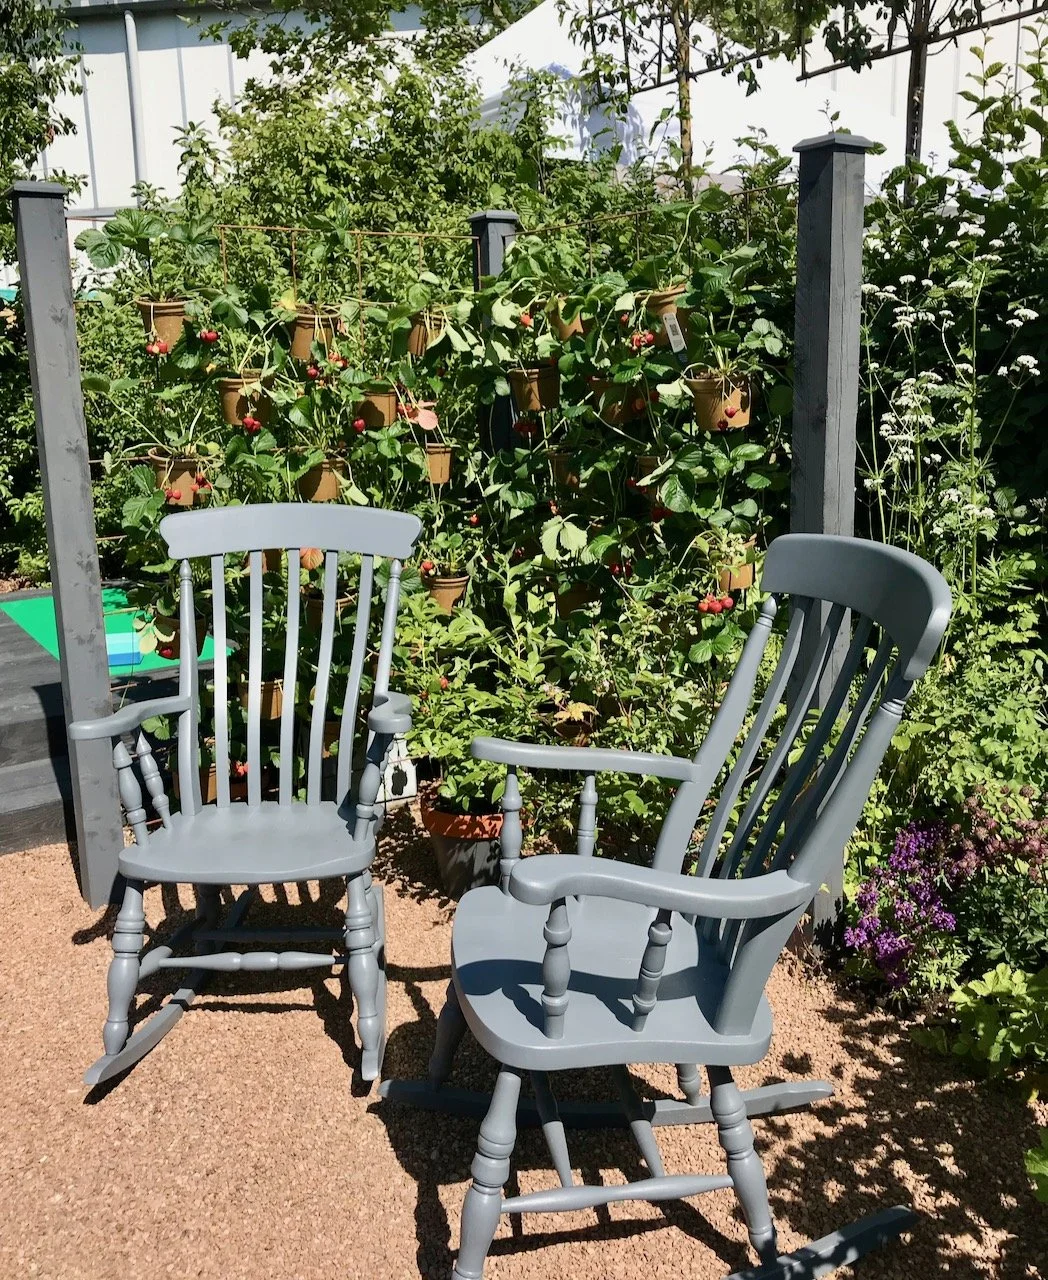
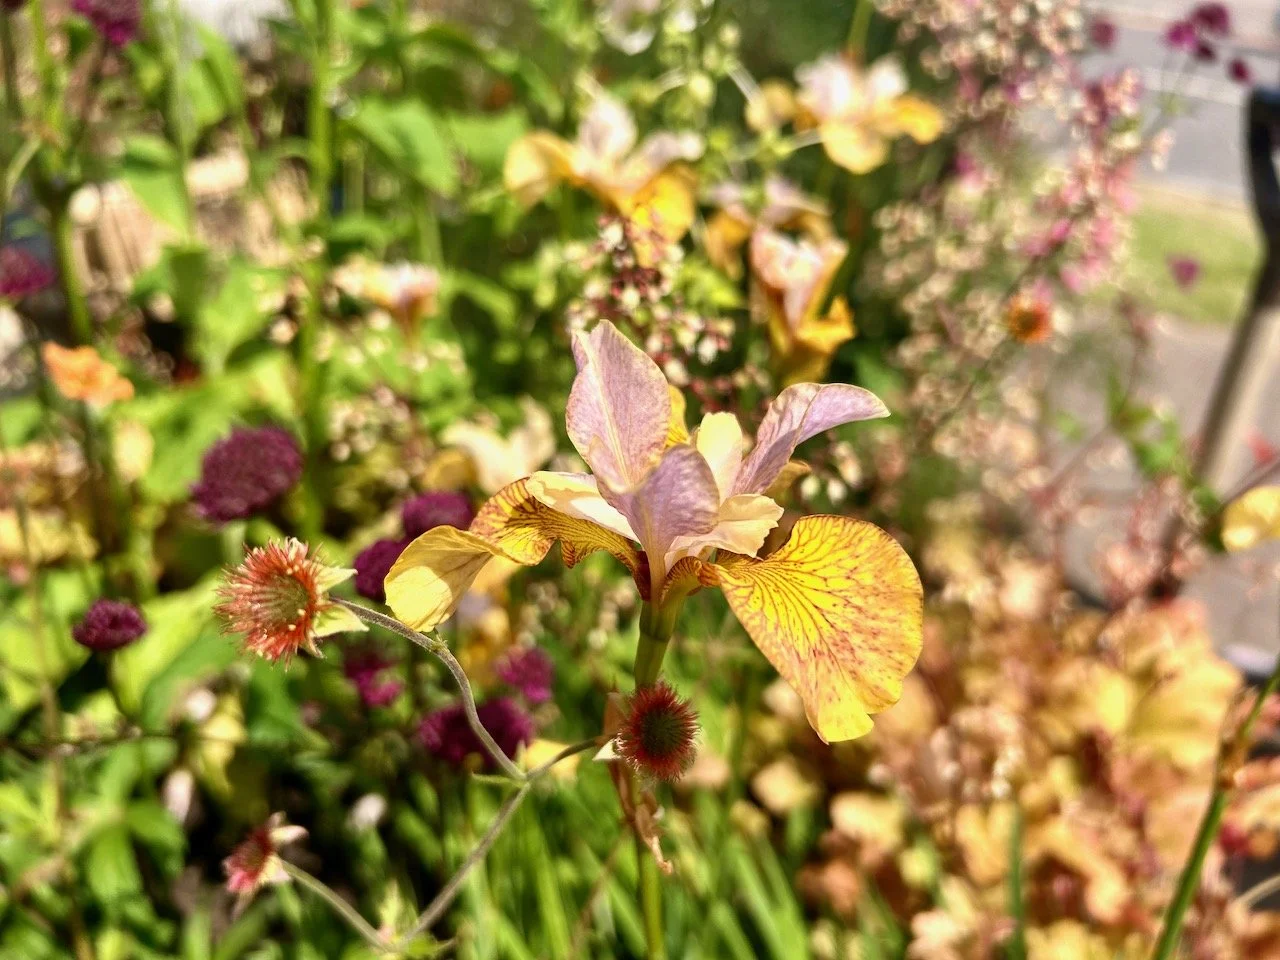
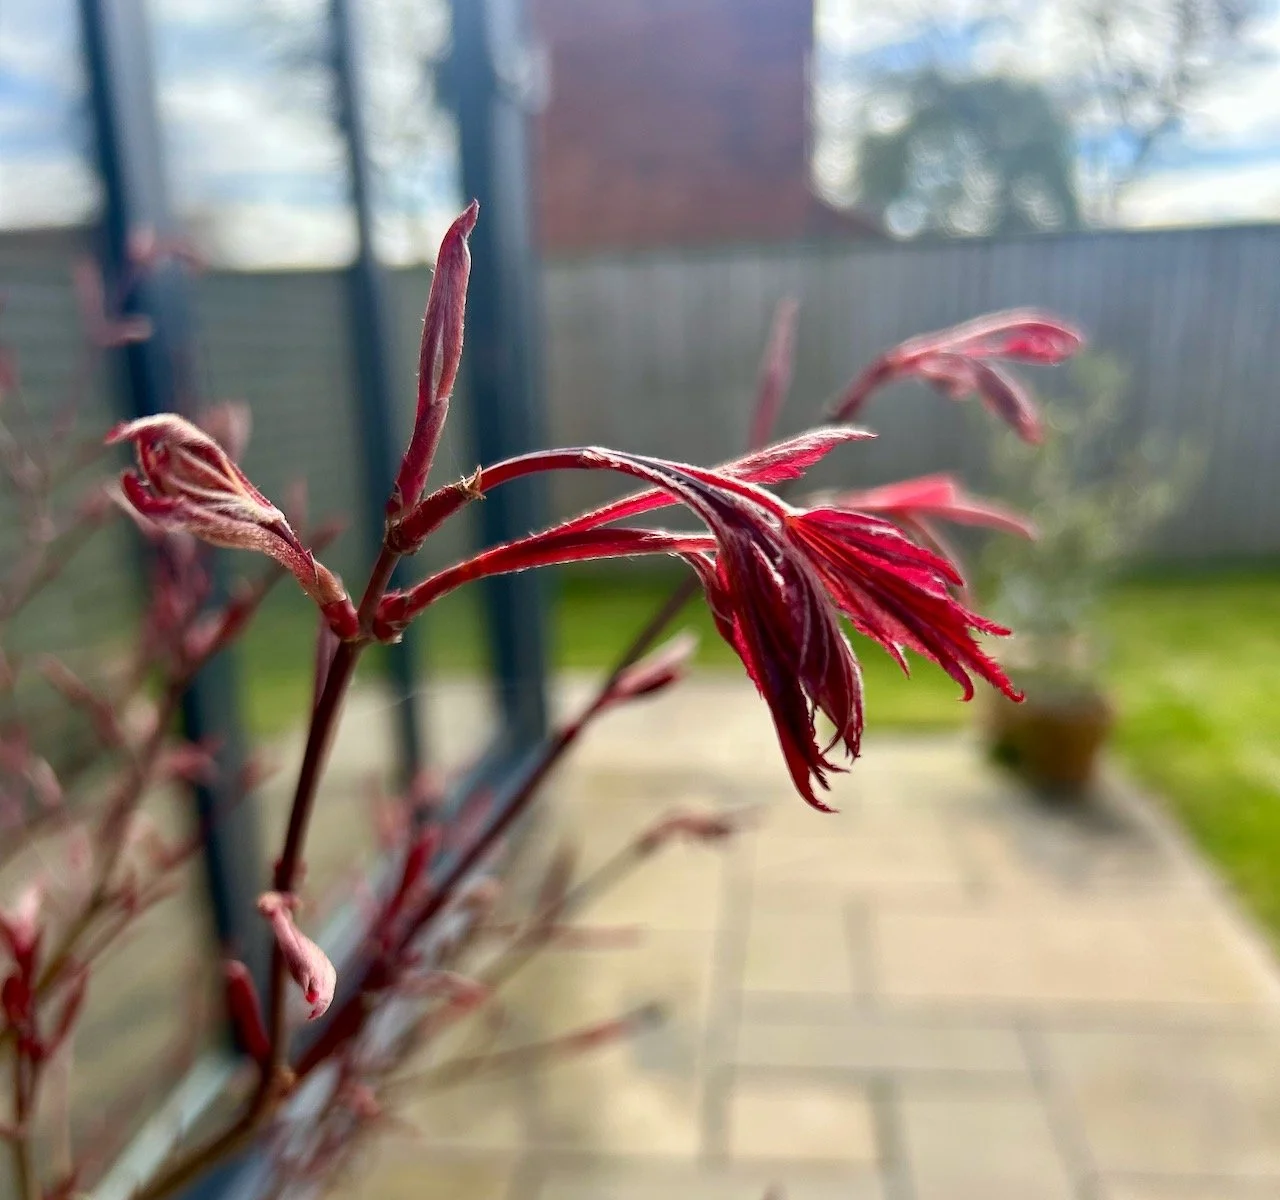
The plants were selected to create a visually enriching yet calm atmosphere, and during the show it held talks around relaxation, yoga and nutrition as well as having clinicians and experts on hand with information and advice for those visiting.

Stacked logs acting as both a border edging and bug hotel, in front gravel and baskets of logs, behind a colourful flowering wild border

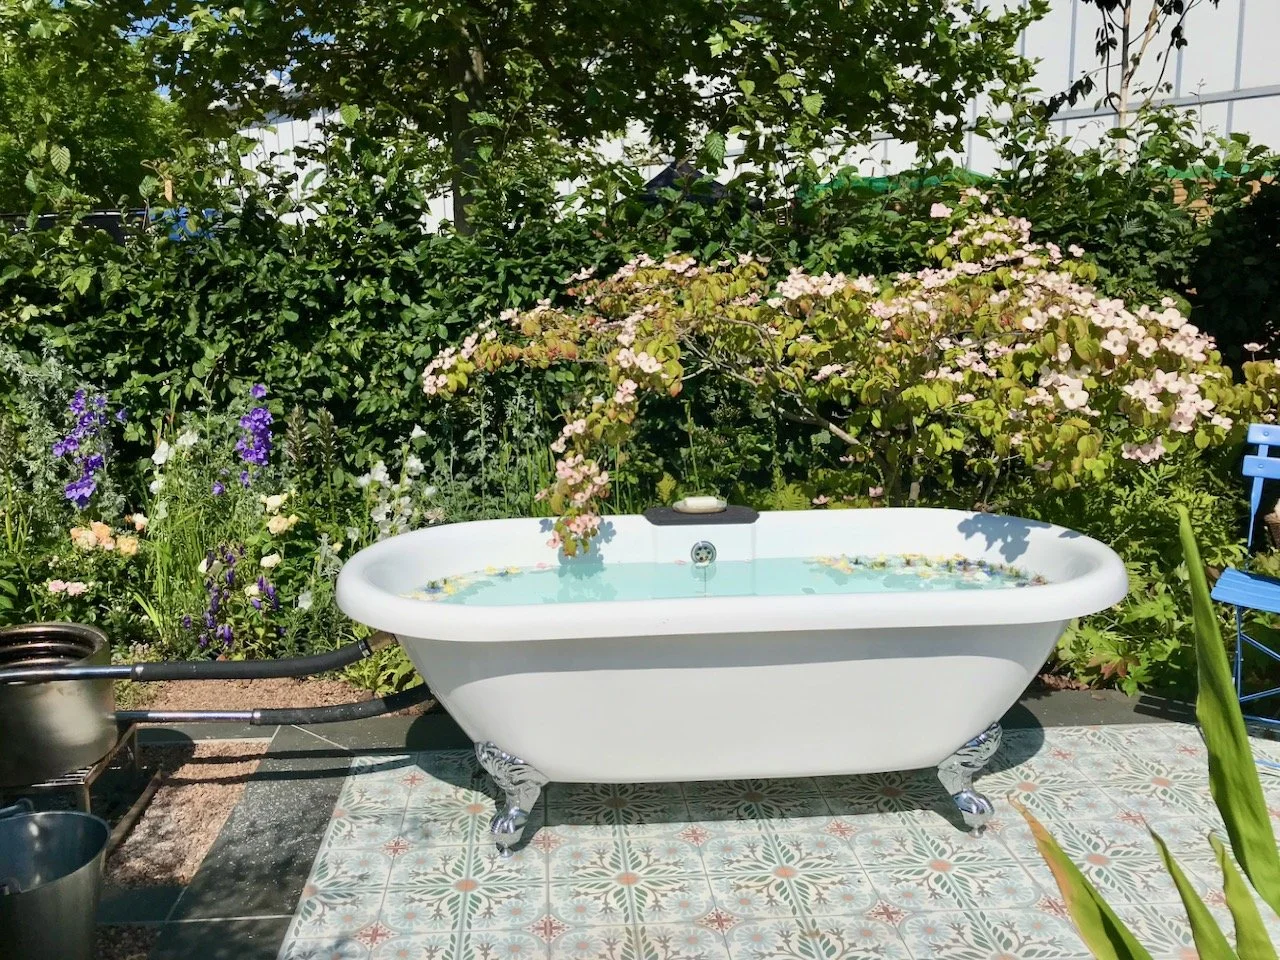
The show stopper for this garden was the standalone bath tub with the scented rose bush behind. It was especially appealing on the very warm afternoon we visited, and we weren’t the only ones eyeing it up!

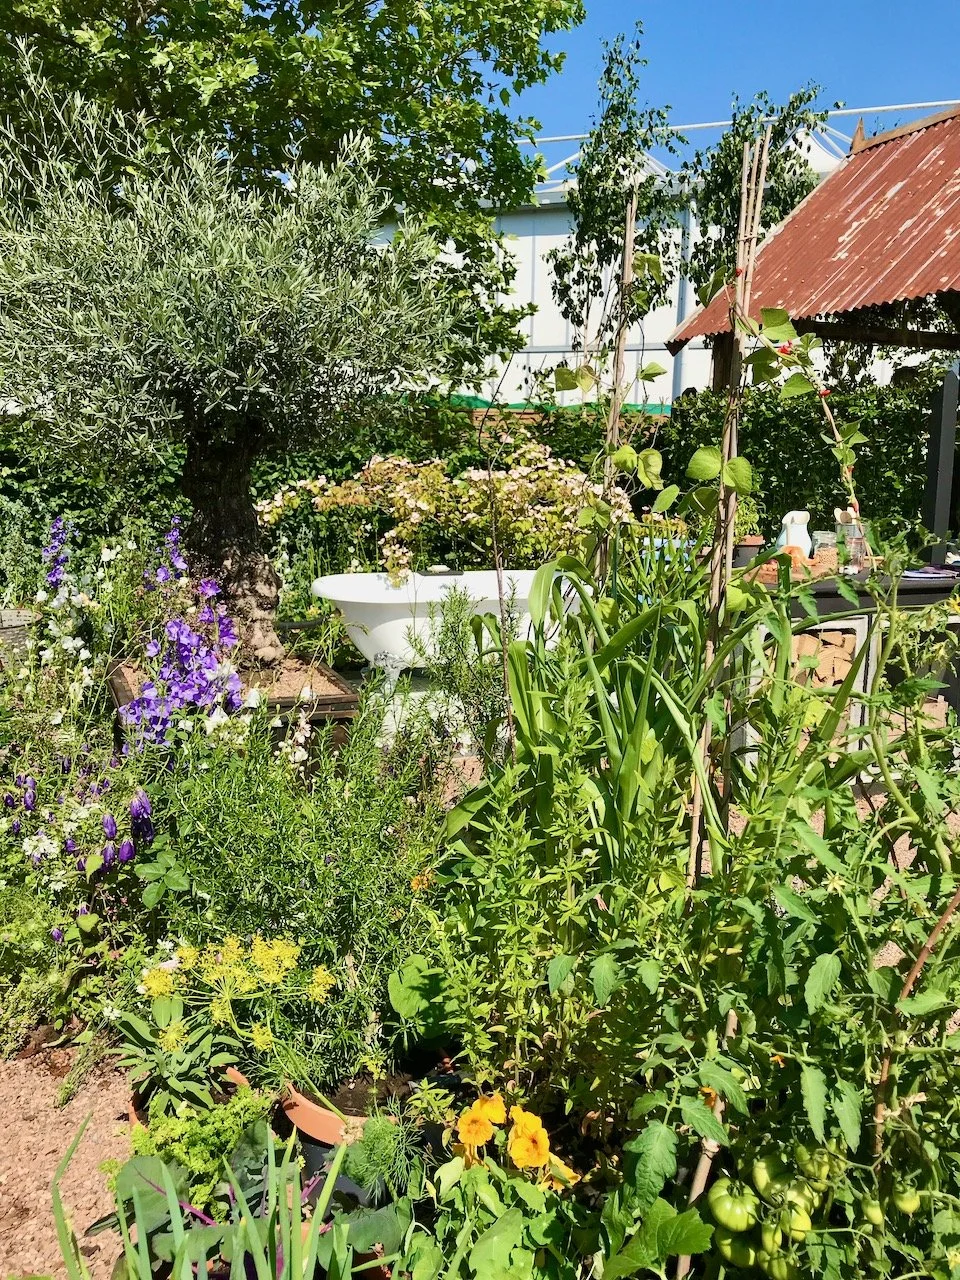
The whole space was incredibly calming, and it was great to see this space at the press preview as I’m sure it would have been a really popular garden at the show. It was also a great way to further raise the awareness of this subject in a non-controversial, practical and inclusive way. It was also a very worthy winner of its platinum and Best Show Garden awards.

* With thanks to Gardeners’ World for inviting me to Gardeners’ World Live, it was as fabulous as ever!

My garden in February

The weather in February has been just as dire and uninspiring as in January’s update, and I’ve not been tempted into the garden for anything more than taking some photos and moving some daffodils onto the patio so we don’t miss them flowering. But the good thing about our new garden is that we see a lot more of it from the house as every room pretty much has a vista over the garden and we walk through it every time we go out, so that alone brings plenty of opportunity to see what’s going on.

And in summary, that’s quite a bit for this month - hellebores, daffodils and even a few weeds!

Let’s start with the daffodils, they’ve come on so much.

Daffodils peeking through the soil in pots with a brick wall behind

AT THE START OF THE MONTH

Once I’d spotted that the new daffodils were peeking through the soil and gaining height, they became a regular waypoint on the way to the car, and by the middle of the month after being looked at a great deal the flower buds started to develop. Though I was still in for a long wait for further developments, but I can wait (mostly).

FLOWERS DEVELOPING MID-MONTH

The bulbs are much taller and more daffodil like, but still not flowering.  The pots are now in terracotta pots on the edge of the patio with the grass and brick wall behind

BY THE END OF THE MONTH THEY WERE ALMOST THERE, ALMOST!

By the end of the month I was sure that flowering was imminent, and I didn’t want to miss it by leaving them alongside the garage and nestled against the wall where they’d spent the winter months. So despite being full of cold I moved them, arranged them and rearranged them several times to get them in prime position.

I’ve taken to growing my bulbs in smaller flower pots so that I can move them around and add them to some terracotta pots when they’re in bloom (or about to be) - that approach worked well for the tulips in our last garden and it’s something I’ve done for the first time with the daffodils we bought from the garden centre here in the autumn. I’m hoping it gives me the flexibility to have some colour on the patio without necessarily tying up pots for bulbs when they’re dormant, or have gone over.

The errant daffodils (which were the ones I was late to plant) have also been checked on, and they’re still errant but are still growing - they’ll be the crazy gang members of the daffodil world this year I’m sure!

The errant daffodils bulbs growing in all sorts of directions in pots in front of the brick wall and nestled behind the mahonia

Other plants which we brought with us (and haven’t potted out yet) are also doing well - the early flowering elephants ears did just that, and their burst of pastel pink among the shrubs, where I’d hidden the pots for protection over winter, was very welcome.

The pastel pink flowers of the elephants ears we brought with us in a terracotta pot
The euphorbias (centre) and tulips either side enjoying some dappled sun through the trellis in the troughs alongside the garage

The euphorbias and tulips enjoyed bursts of February sunshine, almost appearing to dance with glee in the warmth - and quite honestly, I know how they felt. It was also good to see the geraniums which originally came from my FIL’s garden come back, I’m less keen to see the grass they seem to have acquired, but at least its still in a pot so should be relatively easy to resolve at some point.

The geraniums in another pot in front of the brick wall and nestled under a planted bush have also come back well, though this one seems to have been interspersed with grass

The rhubarb is a bit of a star, already I can see some delicate red stems which glistened in the sun. It’s coping well with being in the pot, and sharing that with some lords and ladies, and I expect it will do even better when its planted out when the soil warms up a little. Though of course that means no cropping for a while, but I think it’ll be worth the wait.

early growth on the rhubarb

The mahonias continue to look majestic and they’ve added some great structure to the flower bed over winter, their yellow flowers are no more but berries with a blueish tinge are starting to appear - I think there’s more to come from this new-to-me plant yet.

Looking into the crown of the mahonia, with it's blueish berries replacing the yellow flowers
The red tipped 'red robin' bush providing plenty of colour in the beds and against the brick wall

The red robin bushes have also been much welcomed during the greyer days, and they’ve held up well with their gorgeous red tips - as well as this one, there’s one in the outside border which makes me smile every time I drive in.

And remember that buddleia that brought so many butterflies to the garden last summer, and the one I was tempted to cut down and move slightly? Well I gave it a hard prune instead, and already it’s back and growing well - I shouldn’t have been quite so worried about it should I?! I’ve also removed many seedlings from the gravel, so it seems I was never going to be without one, which is absolutely fine by me.

The buddleia is already going strong despite cutting it back well last year

I thought the deep maroon hellebore that we brought with us was a goner when I looked at it early in the month, it had lost most of its leaves and gained a lot of weeds, but I was pleased to be proven wrong as it’s given us the most beautiful deep coloured flowers as it usually does.

The palest creamy greeny hellebore in flower - so delicate

But this year it’s been joined by a hellebore in the border which is aiming to steal the show with its creamy green flowers which really does pop against the bark mulch. I’m hoping that both of them are happy enough to drop seeds which in turn are happy enough to develop into more plants!

weeds growing in the gravel, the border edging and bark mulch

And weeds, they’re starting. We’re seeing a lot more in the gravel now the sun’s making an appearance and so I’ve a feeling that one of our first gardening jobs of the year will be to remove as many as we can. I’m under no illusion, this is something that won’t be a one-time job, it’ll be the thing that becomes my life’s work in this garden, but looking on the positive side on the right day it can be quite mindful!

Creating plaids with gelli plate printing

In my previous post on learning to gelli print I shared how to print using stencils and shapes. Today I’m sharing how to create plaids, which I think is one of my favourite approaches so far. As with gelli plate printing generally, it’s quite random - so if you’re a perfectionist or like things measured exactly this may not be the craft for you. However, if you’re happy to go with the flow and see how things turn out, then I think you’ll love it.

I ended up with three plaid designs from the class which I’m sharing here, but this is something I will try again as it’s great to see how it’s going to turn out.

To create plaids you need more paper

It’s simple really, but you need to cut lengths of paper in the width you want, or varying widths to create your horizontal and vertical stripes. First you work the ‘stripes’ one way, and then the other, laying them on the gelli plate and working quickly as is the gelli printing way, so that your thin layer of paint doesn’t dry on the plate.

The results can be pretty spectacular, and you can reuse the extra strips of paper as many times as you need to to get the design you’re after. And even when that’s done, the strips of paper will be covered in their own unique colours and can be used for example in card making - the possibilities are endless.

Red and pink plaid created with gelli plate printing

Though that’s the danger I’ve found with gelli plate printing - I’m keeping more and more pieces with the view that I could use those ‘one day’ - a bit like you do, or well I do anyway, when cutting out fabric. And how small is too small, well one thing’s for sure and I think they’re probably different sizes for fabric and paper, just don’t get me to commit to what that is for either of them!

Experimenting with colours

You only have to Google ‘colour wheel’ to discover the theories and relationships between colour, and how you can use primary, secondary and tertiary colours, and I’m not about to explain that here, you’ll be pleased to know. But after trying the complementary colours above, I wanted to try something bolder for my next print - and I think the blue works with the reds and oranges, don’t you?

Orange, red and blue working well (despite how it sounds) for another gelli plate printing plaid

Using up those misprints

This is a great way to use, or reuse those prints which didn’t quite work the first time as you’re printing over the top adding more paint and therefore more interest as you go.

In the image below my starting point was a very patchy yellow print, but by adding vertical and horizontal stripes in reds and oranges I’ve created a pattern that I really like for it’s ‘distressed’ look, and which I know I’ll find plenty of uses for in my paper crafting days ahead.

A more distressed plaid with less full coverage using yellow, orange and rust coloured paint

Here I’ve only scratched the surface of the many, many combinations and patterns this technique can create - but as a taster I think you can see that it’s one that’s intriguing and has the potential for further exploration when I set up my gelli plate at home.

Yes I succumbed and bought my own gelli plate - it was inevitable really wasn’t it?