Digging out my watercolours

I’ve been experimenting. It’s been a long time since I used my watercolours, but I’ve been mesmerised by the many tutorials and reels on Instagram, as well as the fab artwork they seemingly easily produce. So rather than keep watching and wondering what if, I had a go.

I was quickly reminded that it’s been a long time since I used my watercolours, and as you can see they’ve probably had minimal use previously.

My watercolours - two rows - in a wooden box with a white mixing tray at the front end of the box

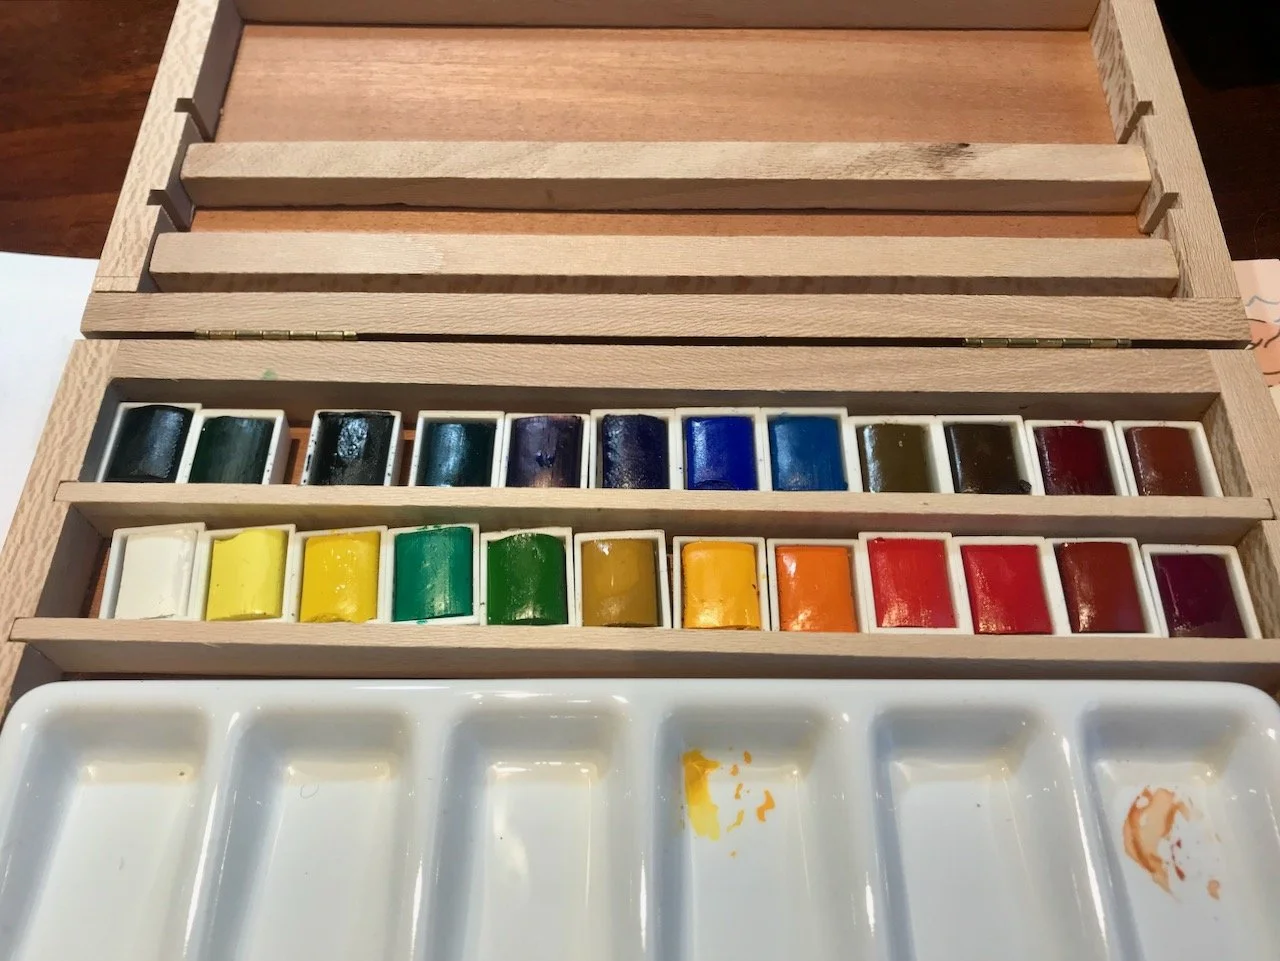
But I figured it couldn’t be hugely different to other crafts, even though a paintbrush is perhaps a less familiar tool. So I thought I’d start with something easy and explorative, as well as useful - what colours are what, and how they were different on wet and dry paper. It’s the wet paper approach that had really caught my eye, and it worked well in real life too.

Trying all of the colours on wet and dry applications.  In the central column of 'wet' colours I've doodled flowers in black pen.  The names of the colours are written alongside each.

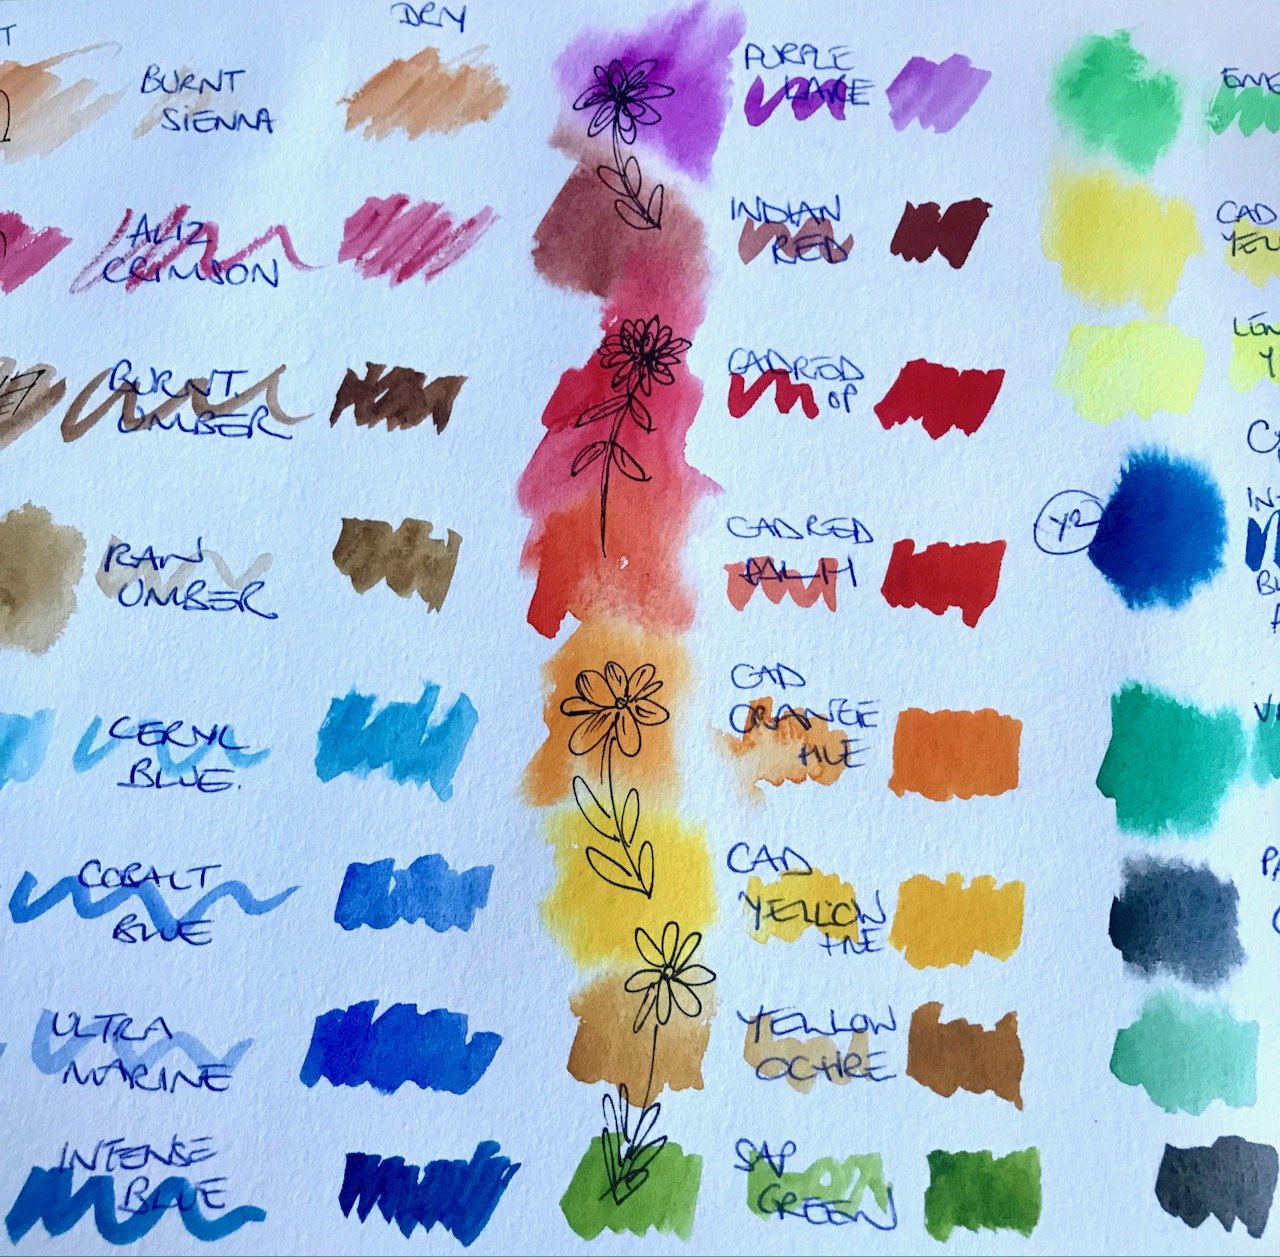
Where I think it really works is with the doodled flowers, which are in pen rather than with a brush. Again they’re rough and unplanned but they also show that that’s ok, and I think this is something that I’ll be exploring further.

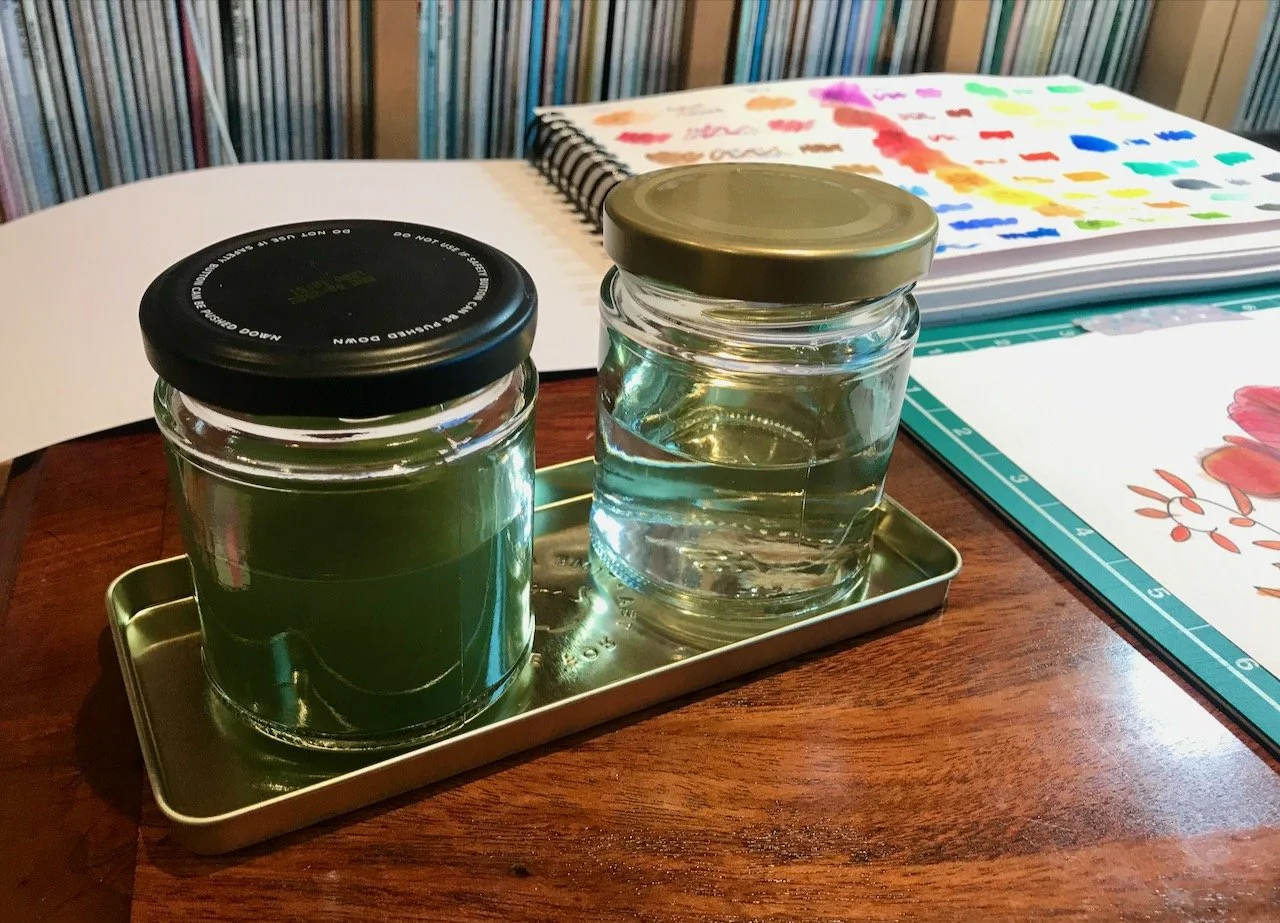
It was definitely worth watching some ‘how to’ videos before I started, both for inspiration and practical tips. The most practical tip was to have two water jars, one for cleaning brushes and allowed to get dirty, and the other for applying on the paper and paints. And it’s working. The other tip related to this which is probably even more important is to keep your mug of tea in a separate part of the desk so you don’t dip your brush in that by mistake!

Eminently sensible.

A dirty and clean lidded jar of water on an upturned lid on my desk

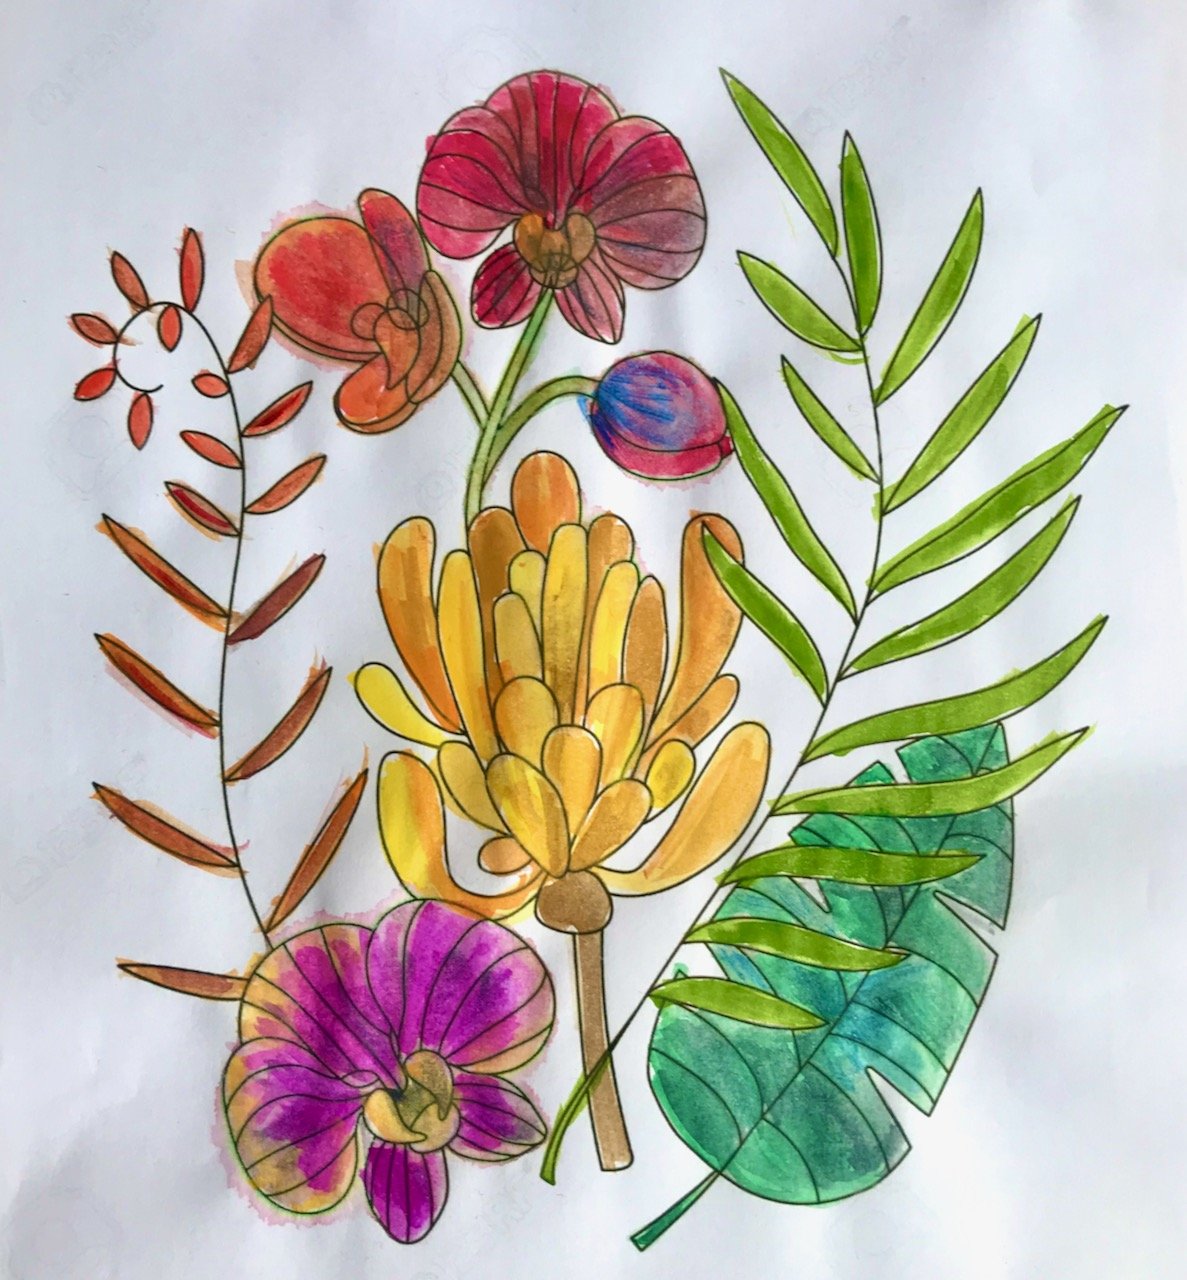
Not feeling quite brave enough yet to go freehand, but wanting to do more than squiggles. I decided my next step would be some ‘watercolour colouring in’ and so I found a design which could be printed. Of course this meant it was on usual printer paper, rather than the paper I’d used for the colour test in my sketchbook, and so it performed differently.

A first attempt at "colouring in" using watercolours and rough blending, with the colour palette sheet in the background

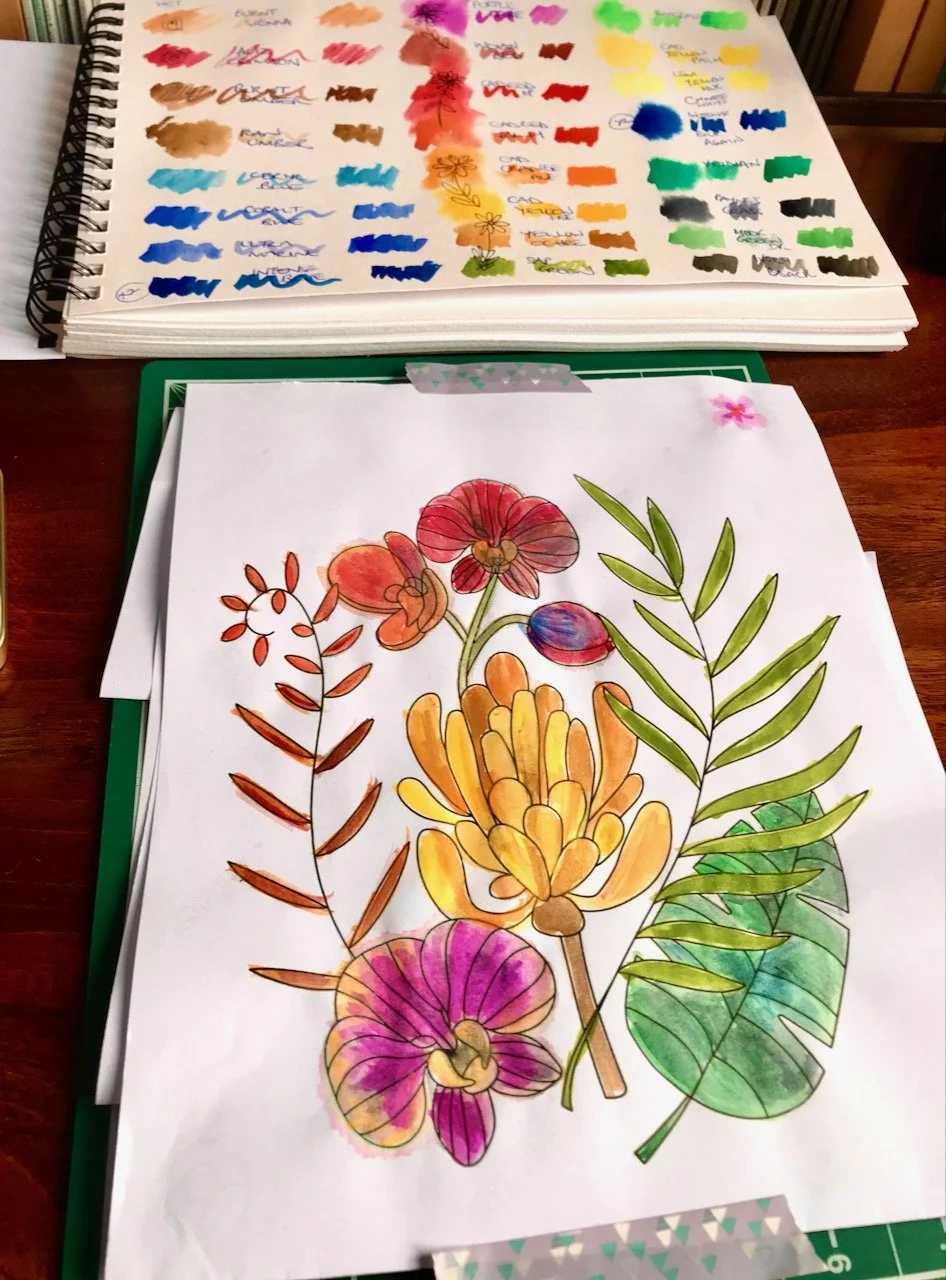
But it worked well enough for what I wanted. The blending is a bit rough, the colours are over the lines - but it was great fun, worthwhile and part of my learning journey. Now I just need to be braver and try something freehand - though I’ll be watching a few more of those tutorials before I start.

My finished colouring with watercolours - over the lines and all

I’ve a feeling I’ve a few more afternoons ahead of me experimenting and refining (or picking up) some technique!

I was featured on Blogger Showcase

Deliberation lies ahead

If you’ve been here for a while then you’ll know that I’m a fan of scrappy patchwork quilts, and may even know that I had a grand plan to make my own using fabrics from my stash. As it turned out, progress has been slow - it’s been on the go since 2017, but as the saying goes you can’t rush a good thing! Or that’s my excuse anyway.

Over the Christmas break of 20/21 I picked it up again, the delay had been cutting the cream fabric which surrounds the coloured blocks, and once that was done I’ve been plodding through making up the blocks. The pattern says twenty blocks, but I’ve decided to make more i) for practice, ii) because I’d already sewn more when I realised and mostly because iii) so I can make sure the quilt fits a double sized bed.

This week I finally met the target of my forty blocks. Some are better than others, but overall even though I say it myself, they’re pretty good.

A pile of 40 great granny patchwork blocks

So having reached the target, I’ve stepped out of my chain sewing comfort zone and I’ve trimmed all the blocks so the final cream piece can be added on all four sides.

squaring off one of the blocks

The next few stages are ones which create some offcuts. Hating waste I contemplated what I could do with them, but as I have no need for even more new projects they have gone into the bin.

A pile of trimmings
Pinned the final strip ready for sewing

Now I’m ready to square off the blocks. I’ve practised this next step on my wonkiest blocks, with the ones where the seams were not quite aligned. And I’ve surprised myself - this was my first sewing project for a long time, and since I started putting the blocks together I temporarily broke off to sew masks for both MOH and I during the early stages of Covid.

the patchwork blocks with a square ruler centred over them

I’ve got fifteen blocks that are trimmed, so that leaves 25 to go - and then the deliberation and procrastination can start as I’ll need to decide on the layout for the quilt top, and exactly how many blocks I’ll use and the subsequent adjustments needed for the rest of the pattern.

With any luck, and a good wind behind me, I could actually have a quilt top in the not too distant future!

I was featured on Blogger Showcase

Leaving flowers and a crocheted throw

For the past few weeks the house has been full of flowers and it’s been lovely. I’ve appreciated their bright colours and the scent and the thoughtfulness from my former colleagues. They were beginning to go past their best, as cut flowers do, but it was good to have them at their best for a good two weeks before we came away. It struck me as I was removing some of the blooms that hadn’t lasted quite so well that the colours were very similar to the crocheted blanket I was close to finishing. And so that became my challenge - to finish, or almost finish - the throw before the flowers completely went.

My aim was to photograph them together. And I did.

a brightly coloured crochet blanket thrown across a  garden table with a jug of brightly coloured flowers alongside

The crocheted throw is in the very loosest terms ‘finished’. It’s finished in that I’ve used up all of the Yarn Advent box from last December, and the two additional skeins that I’d bought to offer some consistency through the project. I knew this was always going to be a colourful blanket, and I wasn’t wrong was I?!

But what I didn’t know at the time -and couldn’t have known as the Yarn Advent is 24 individual small skeins where the colour is a surprise - is how well they would match my leaving flowers, but they do, don’t they?

zoomed in to the crochet blanket and jug of flowers
a green dahlia alongside the brightly coloured crochet blanket

So this blanket will now forever be known as my leaving flowers throw, and nothing could make me happier.

A closer look at the striped square crochet blanket

I’ve still to completely finish the throw by sewing in the ends, and I may add a couple more rows to enlarge it a little - though I’ll need to keep the colours bright, but I’ve a feeling that will be easy enough. And what a great unplanned memory to have of my leaving my job flowers.

I was featured on Blogger Showcase