


But the memories are still strong.
In fact it's only relatively recently that I've dismantled my old dolls house, partly because of the space it took up and how it contravened my "clear under the bed policy" and also because, it's unlikely that I'll ever play with it again, although sorting it out for the final time I did quite enjoy myself.
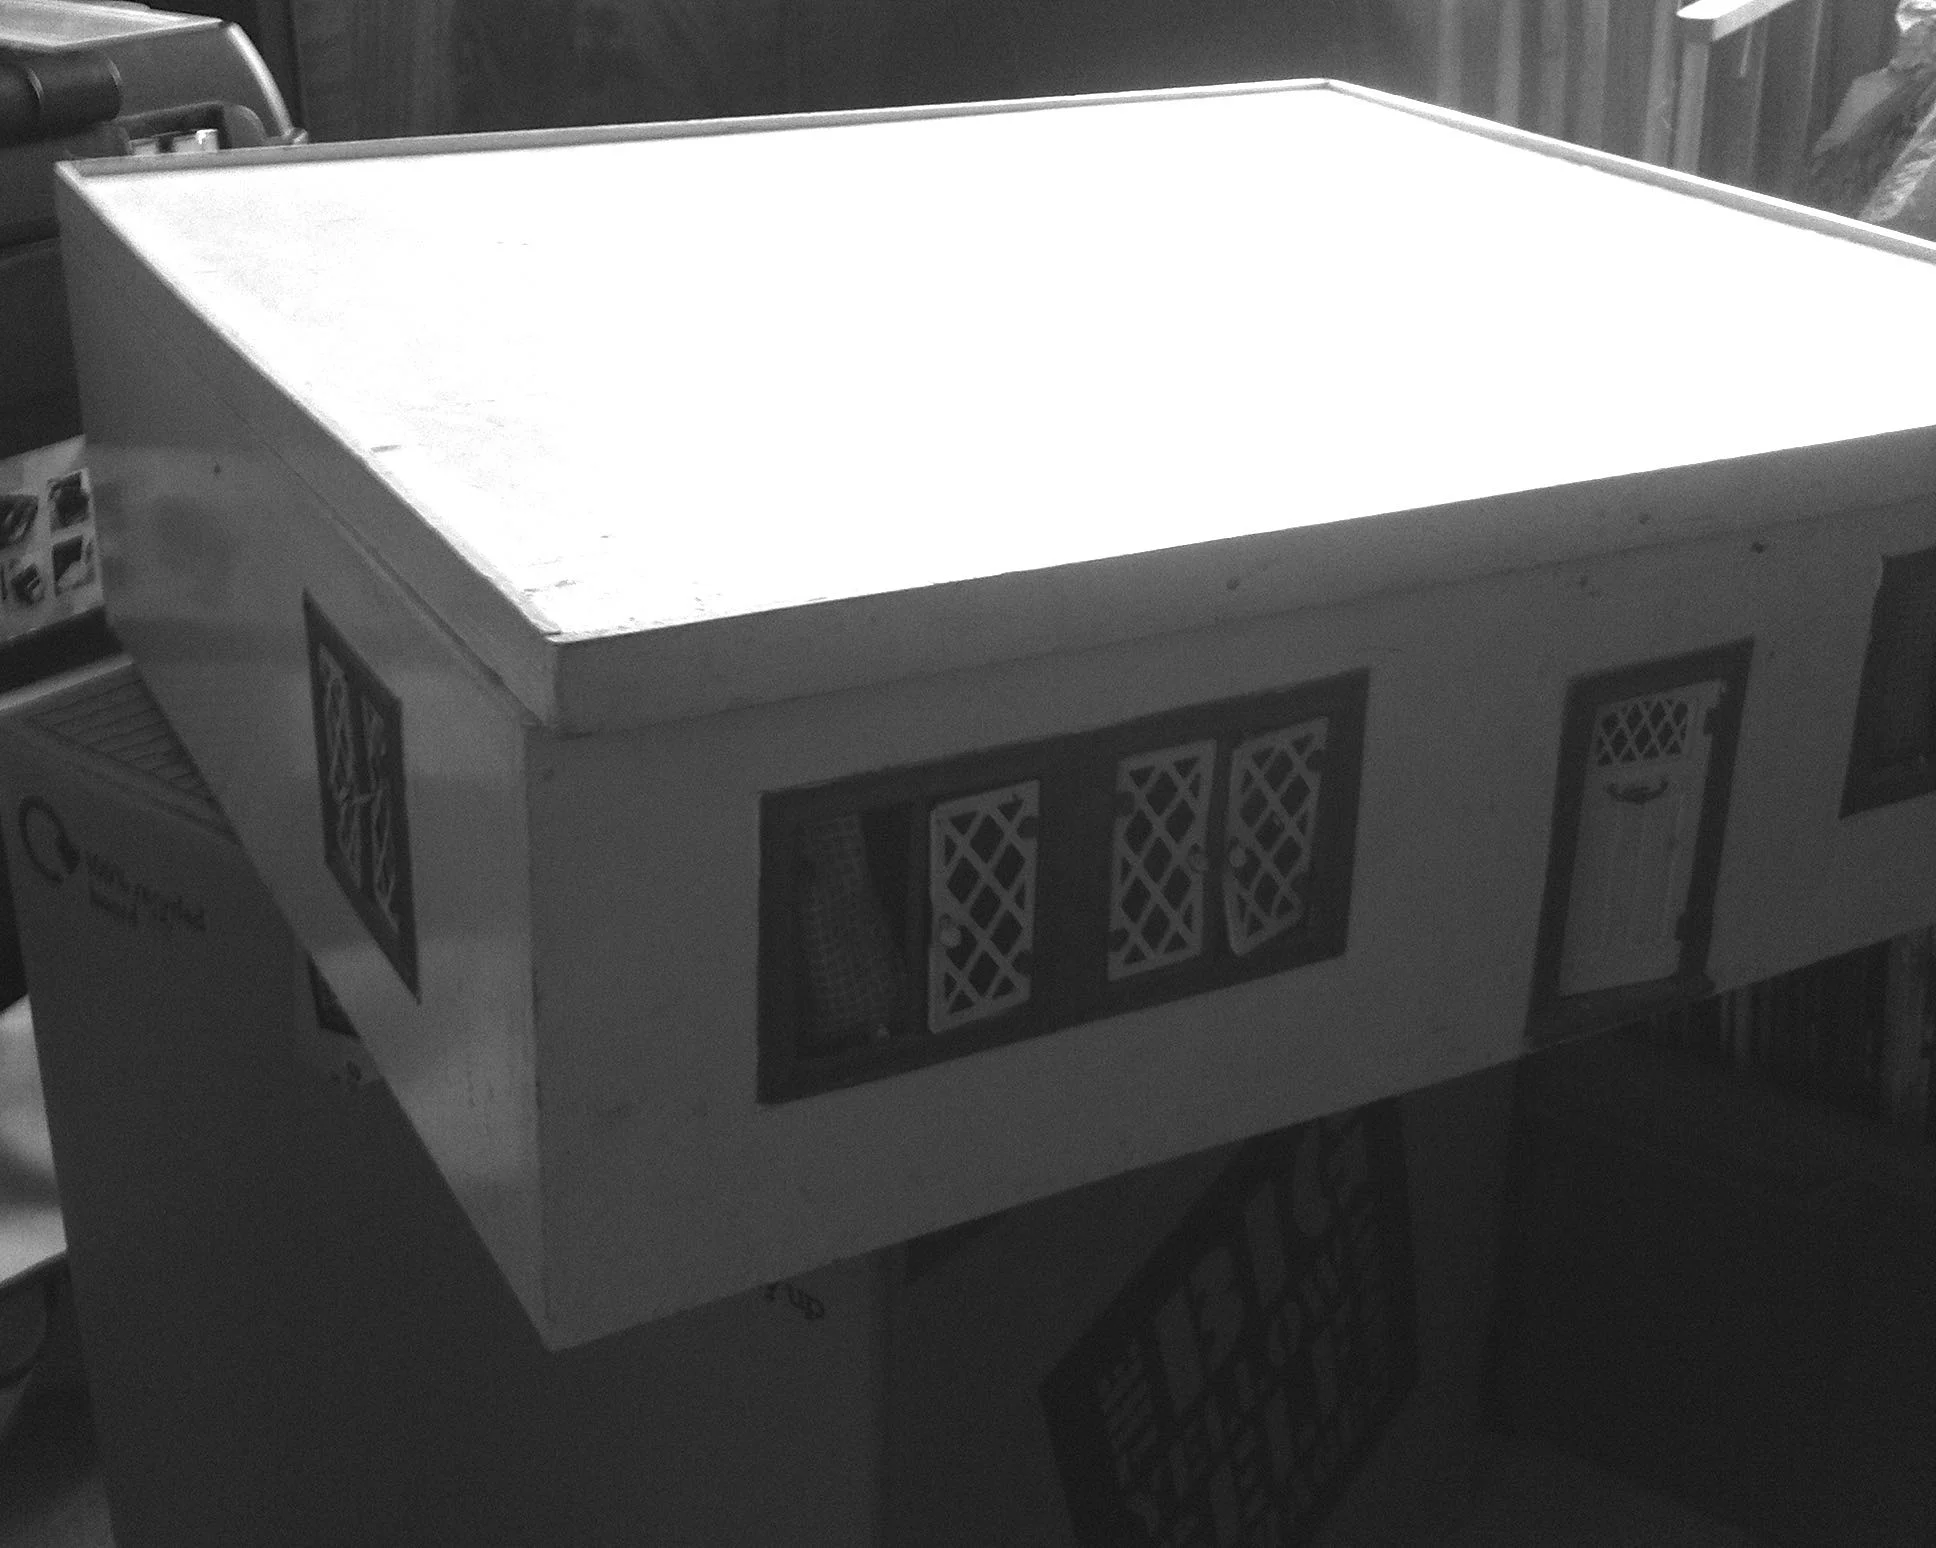
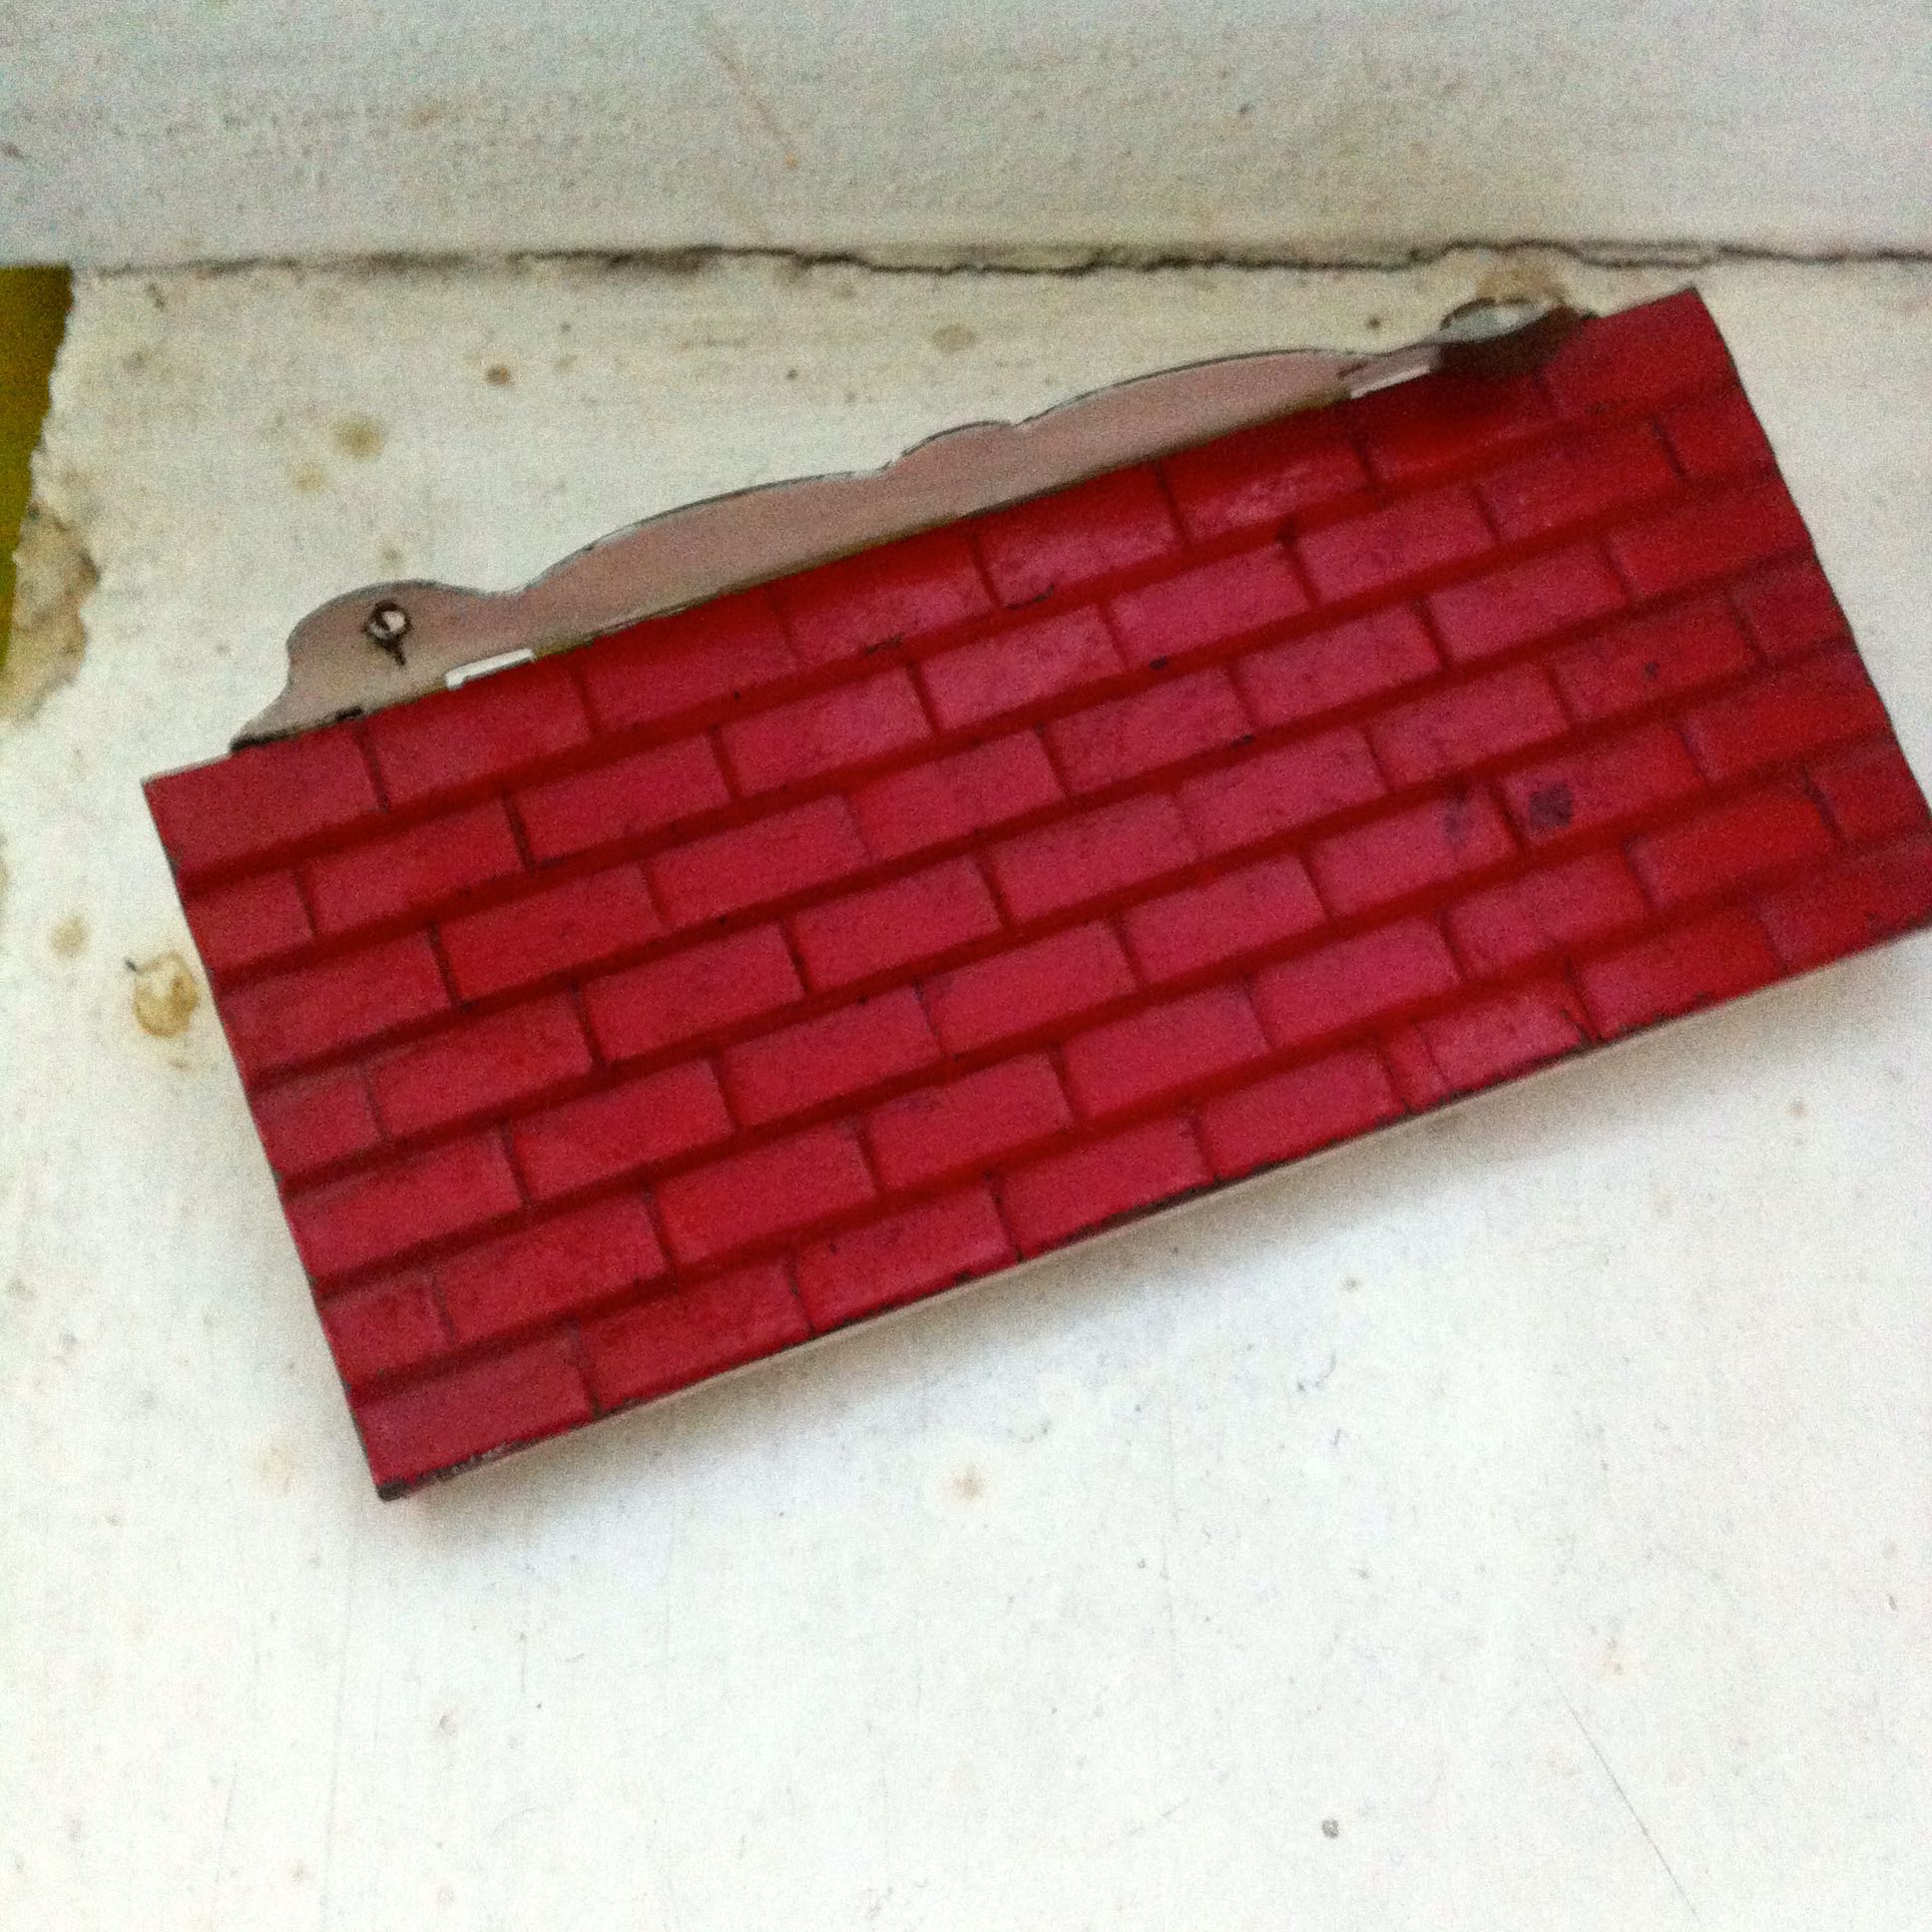
It was a handmade affair, crafted with love by my grandparents and parents and as we lived in Bungalow Road, it was a bungalow. The flat roof lifted off and doubled up as a garden, complete with a 'mirror' pond. Just don't ponder what happened to the water when the roof went back on!
Lifting the roof also unveiled the high-tech lighting system, a series of battery-powered coloured switches that lit up each room, and I think a standard lamp in the main room, clearly a sign of the times, which like many things fashion or interiors related come back again, and a number of decades later we have a standard lamp in our living room.
Which now I look at it is red and white. Just like the exterior of my dolls house was. A spooky coincidence?
THE PORCH ROOF
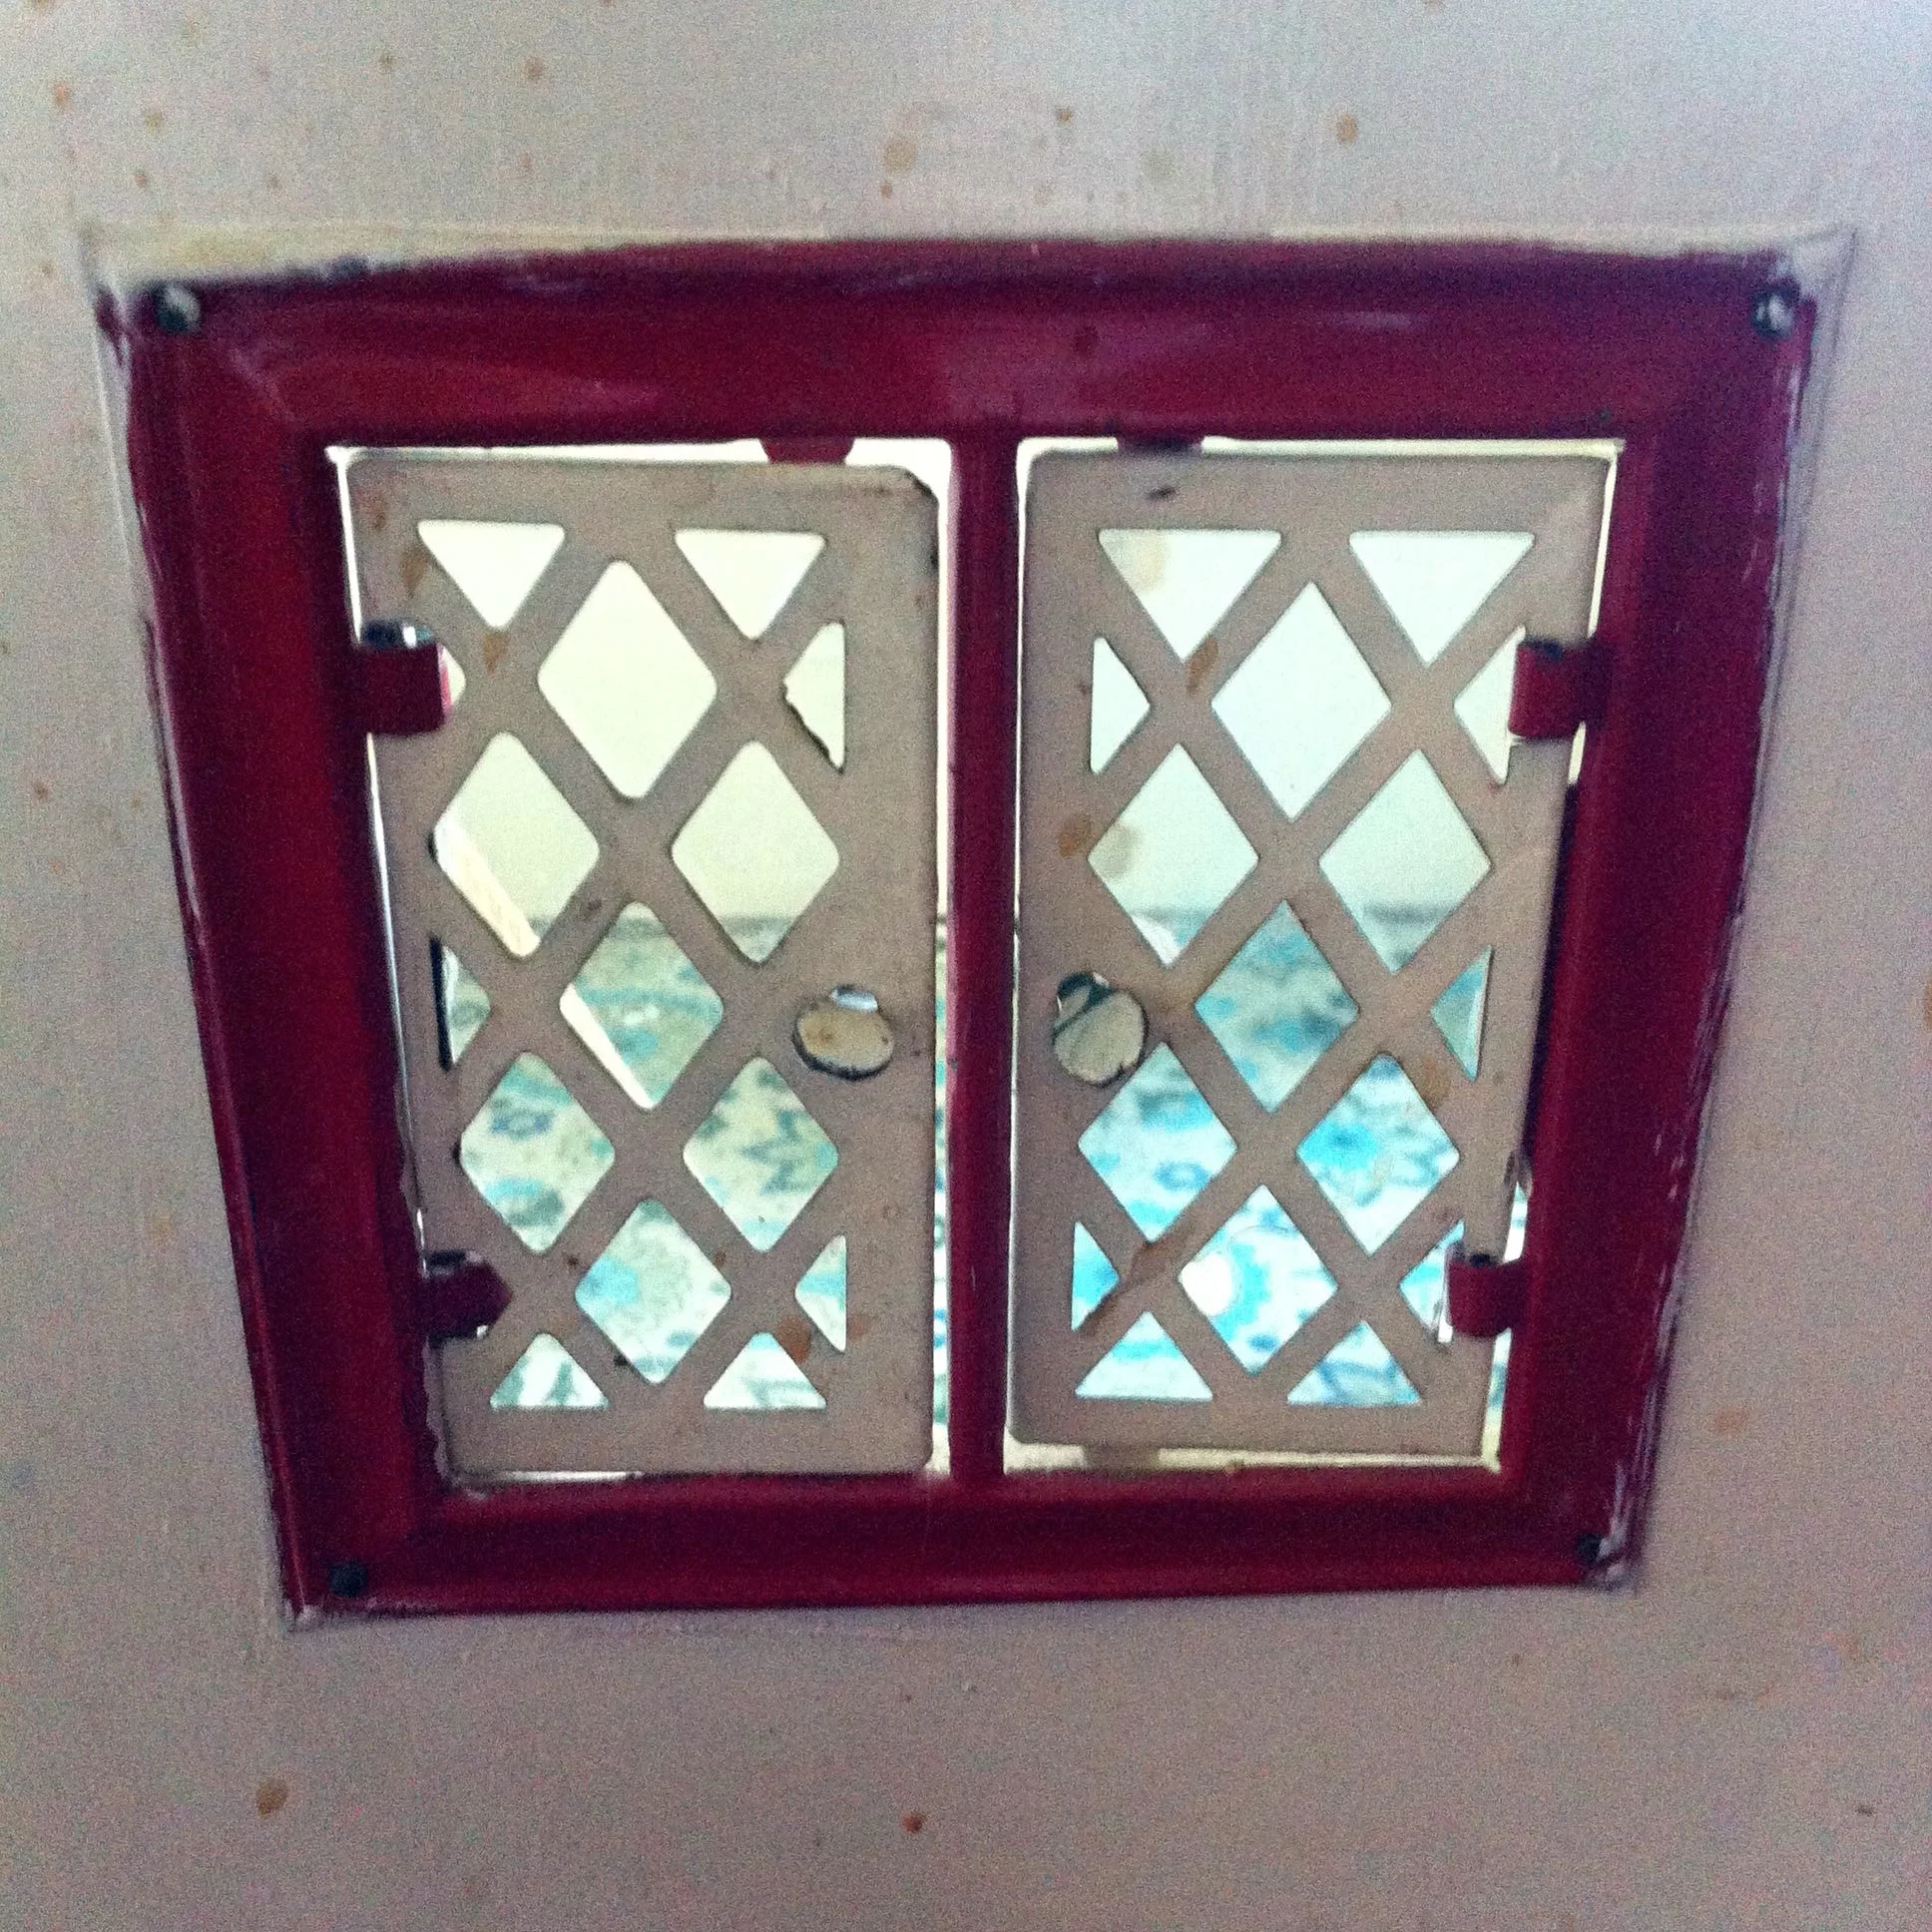
WITH WINDOWS

AND FRONT DOOR
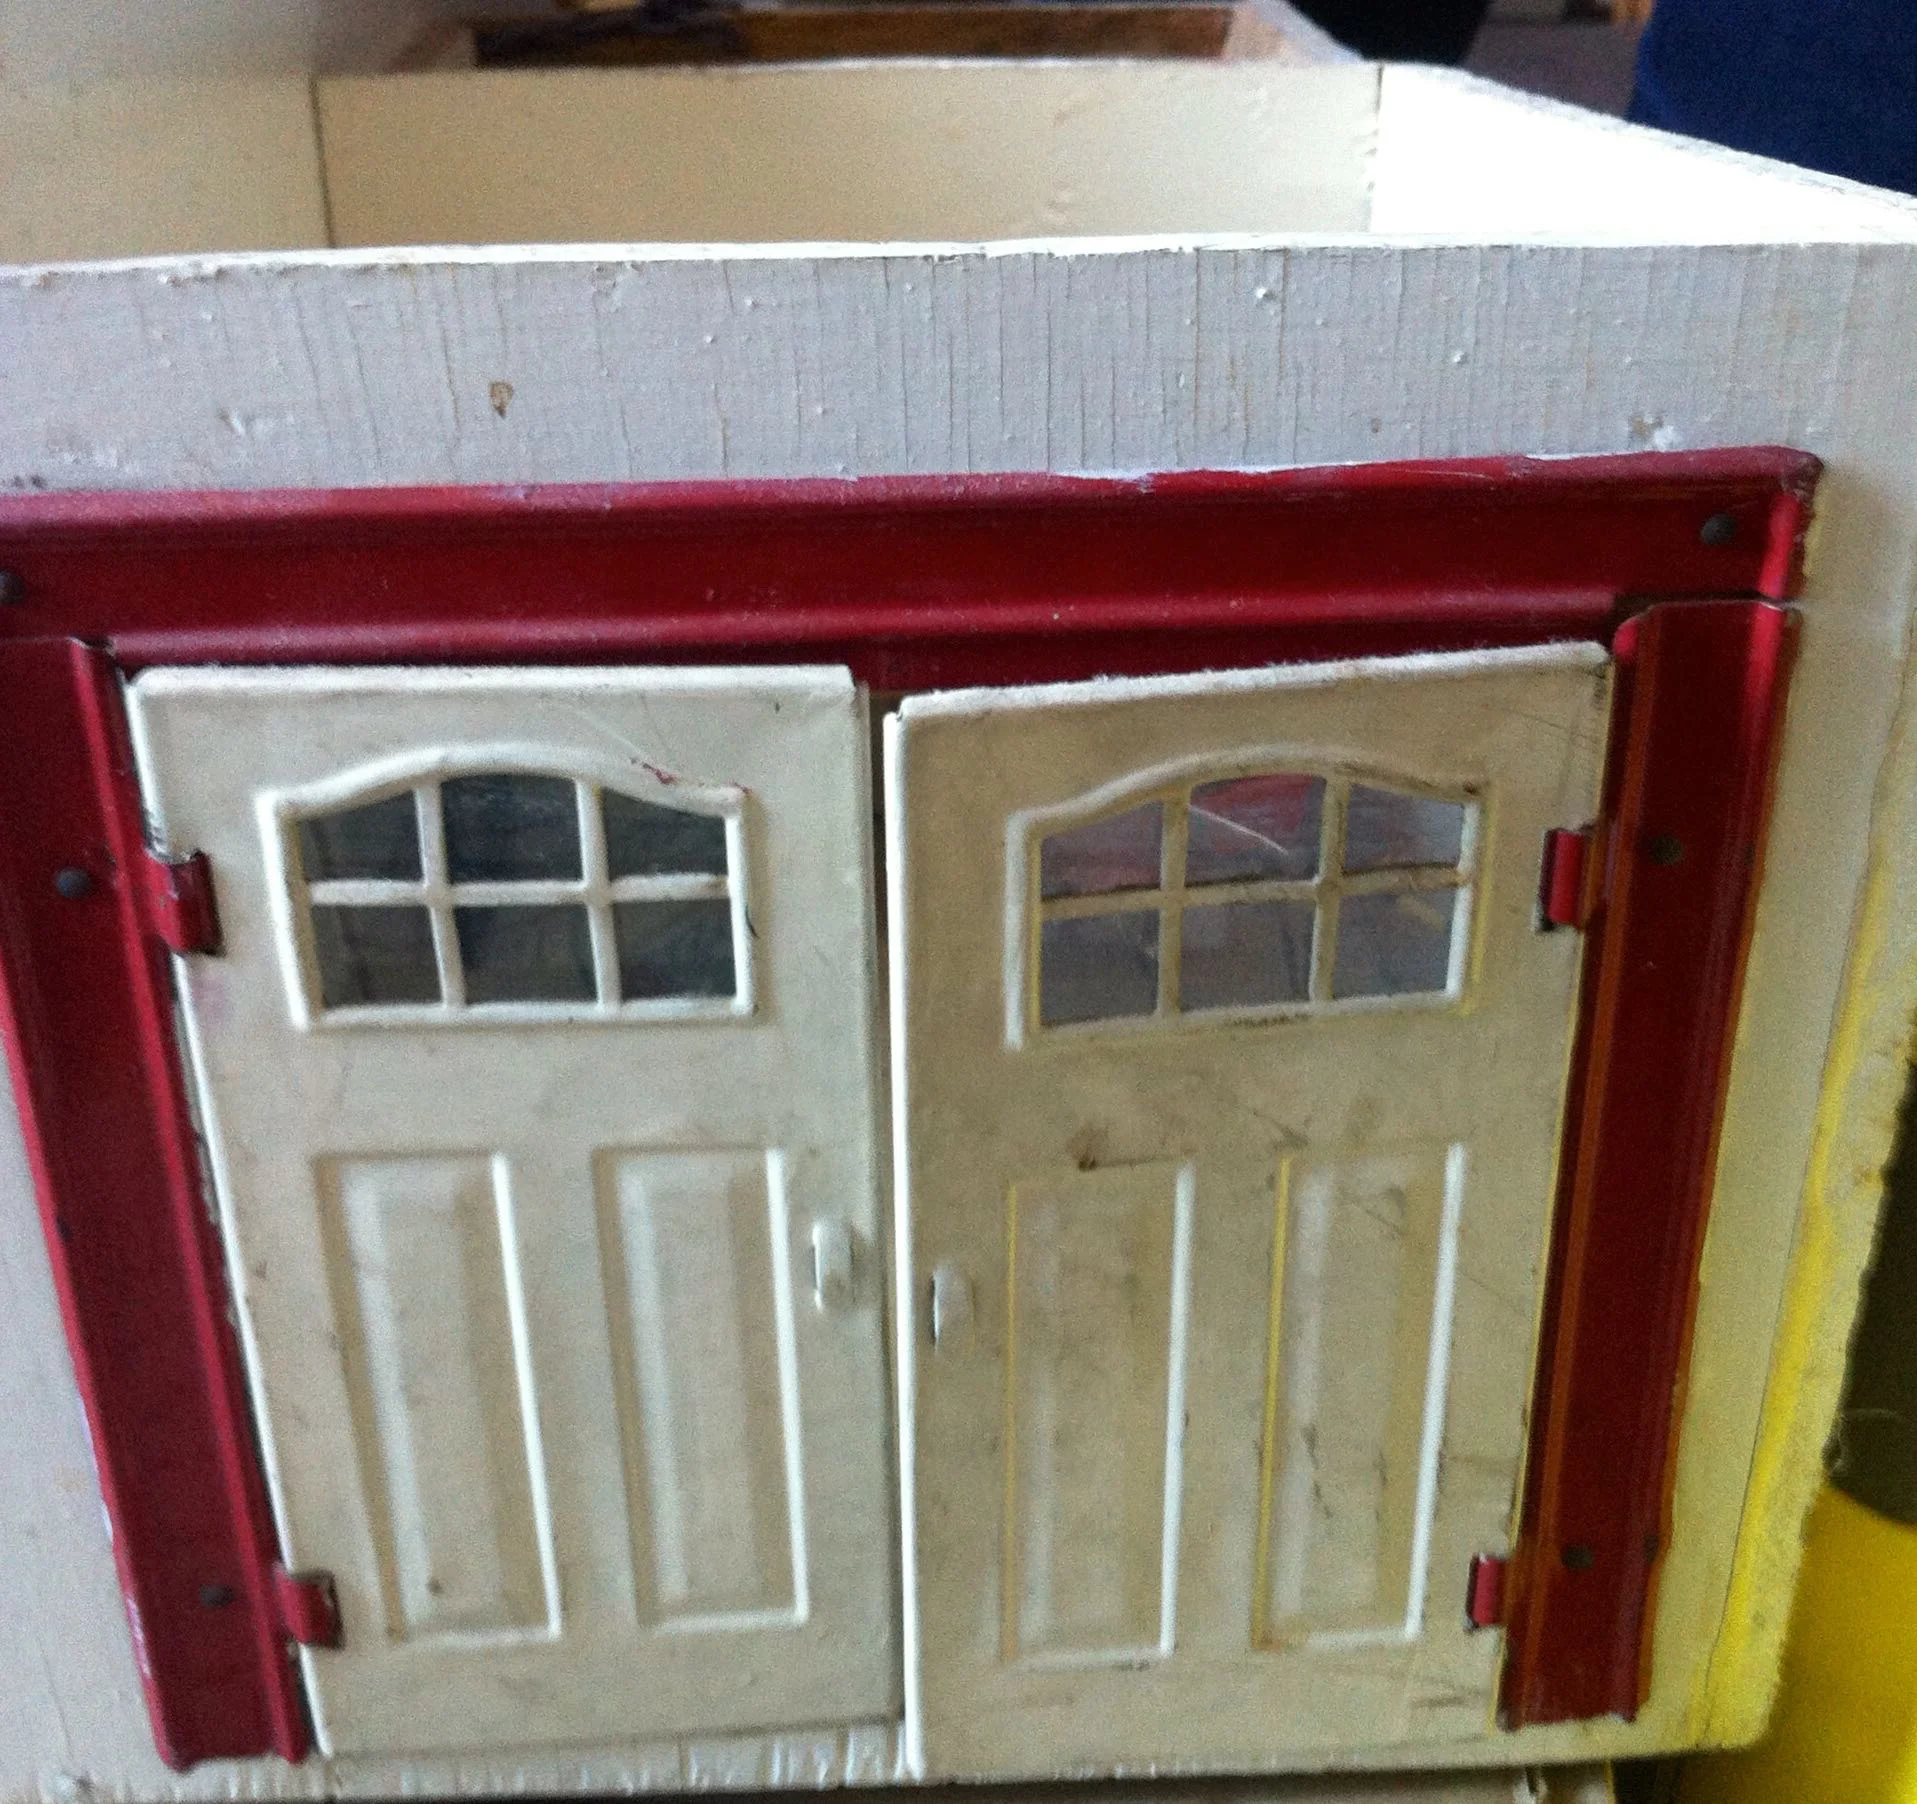
AND GARAGE DOORS THAT MATCH AS WELL.
Inside was a bit of a mess. Most likely to having been moved around, although perhaps the garage less so as that seemed to be taking a more realistic role.
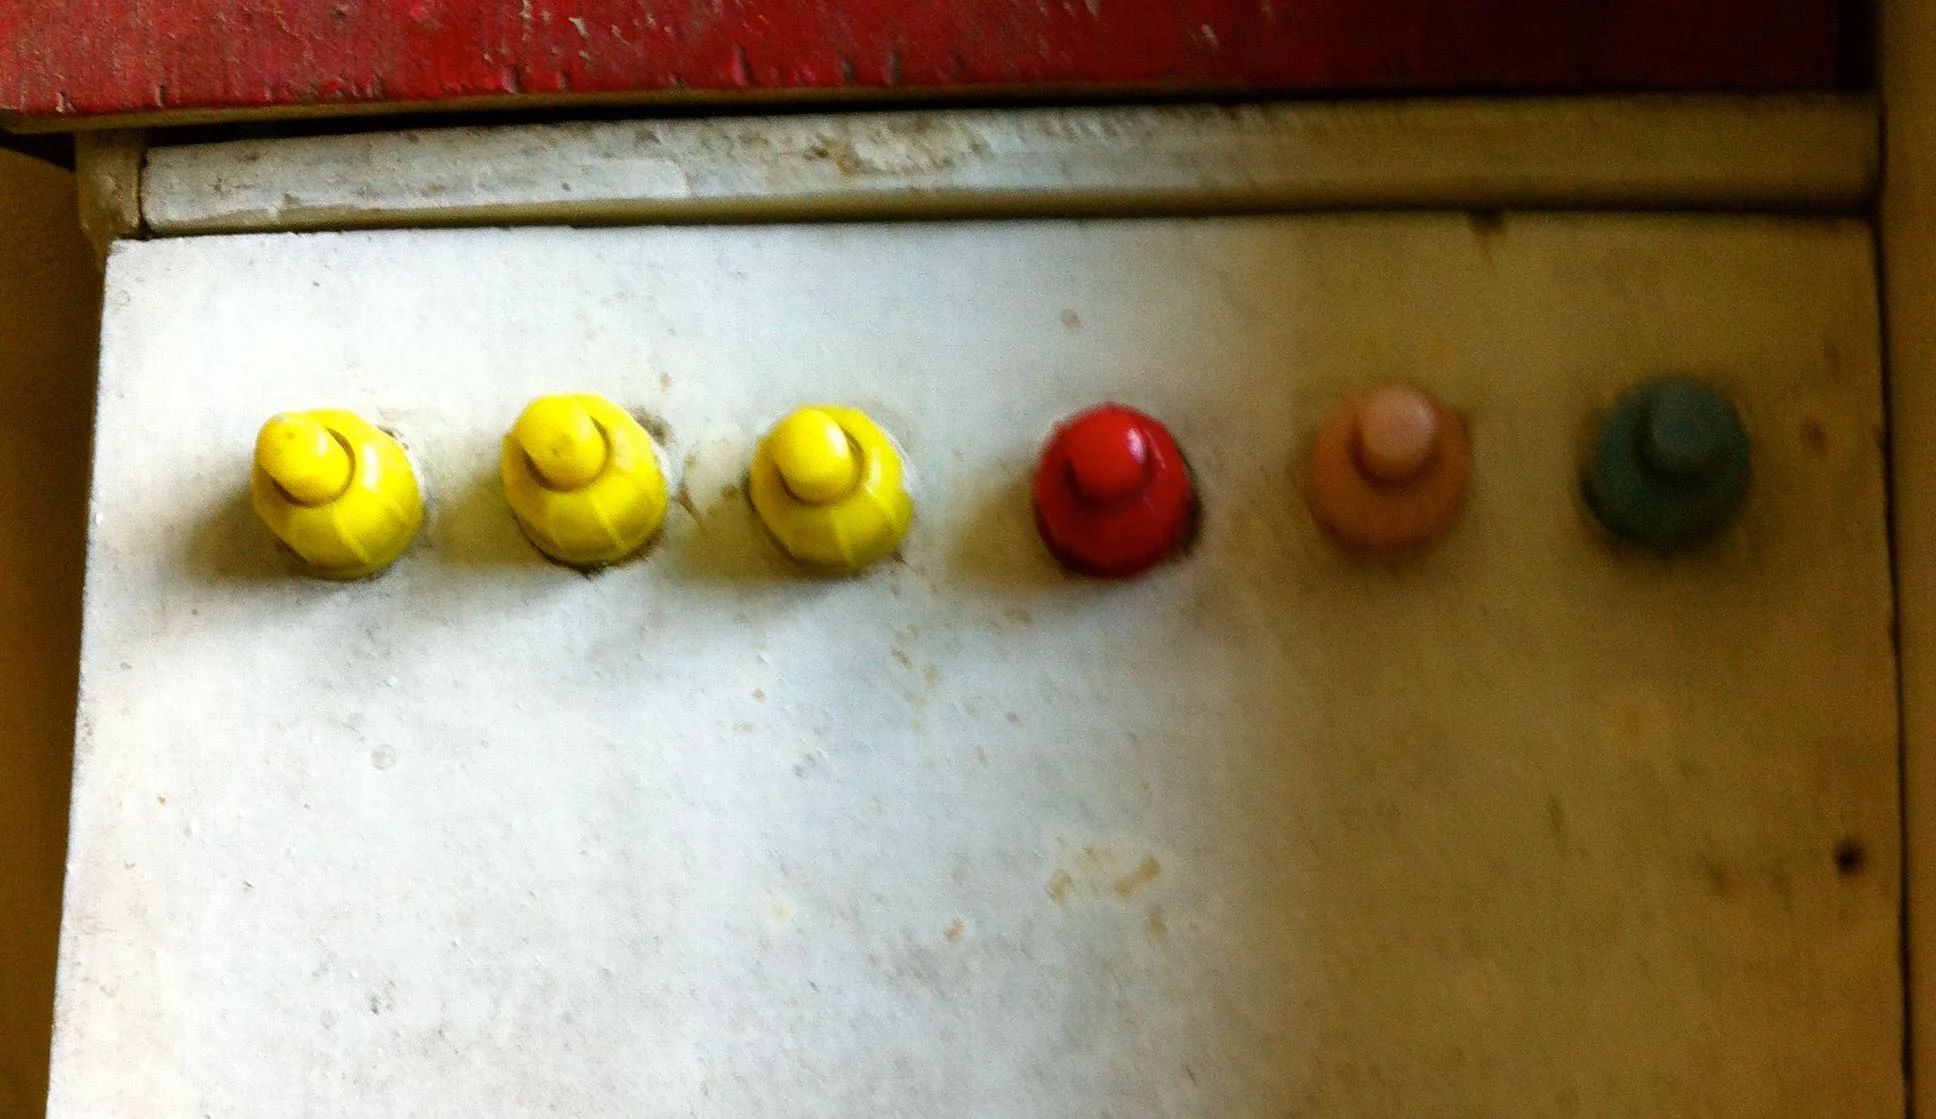
THE LIGHT SWITCHES WERE STILL IN ONE PIECE
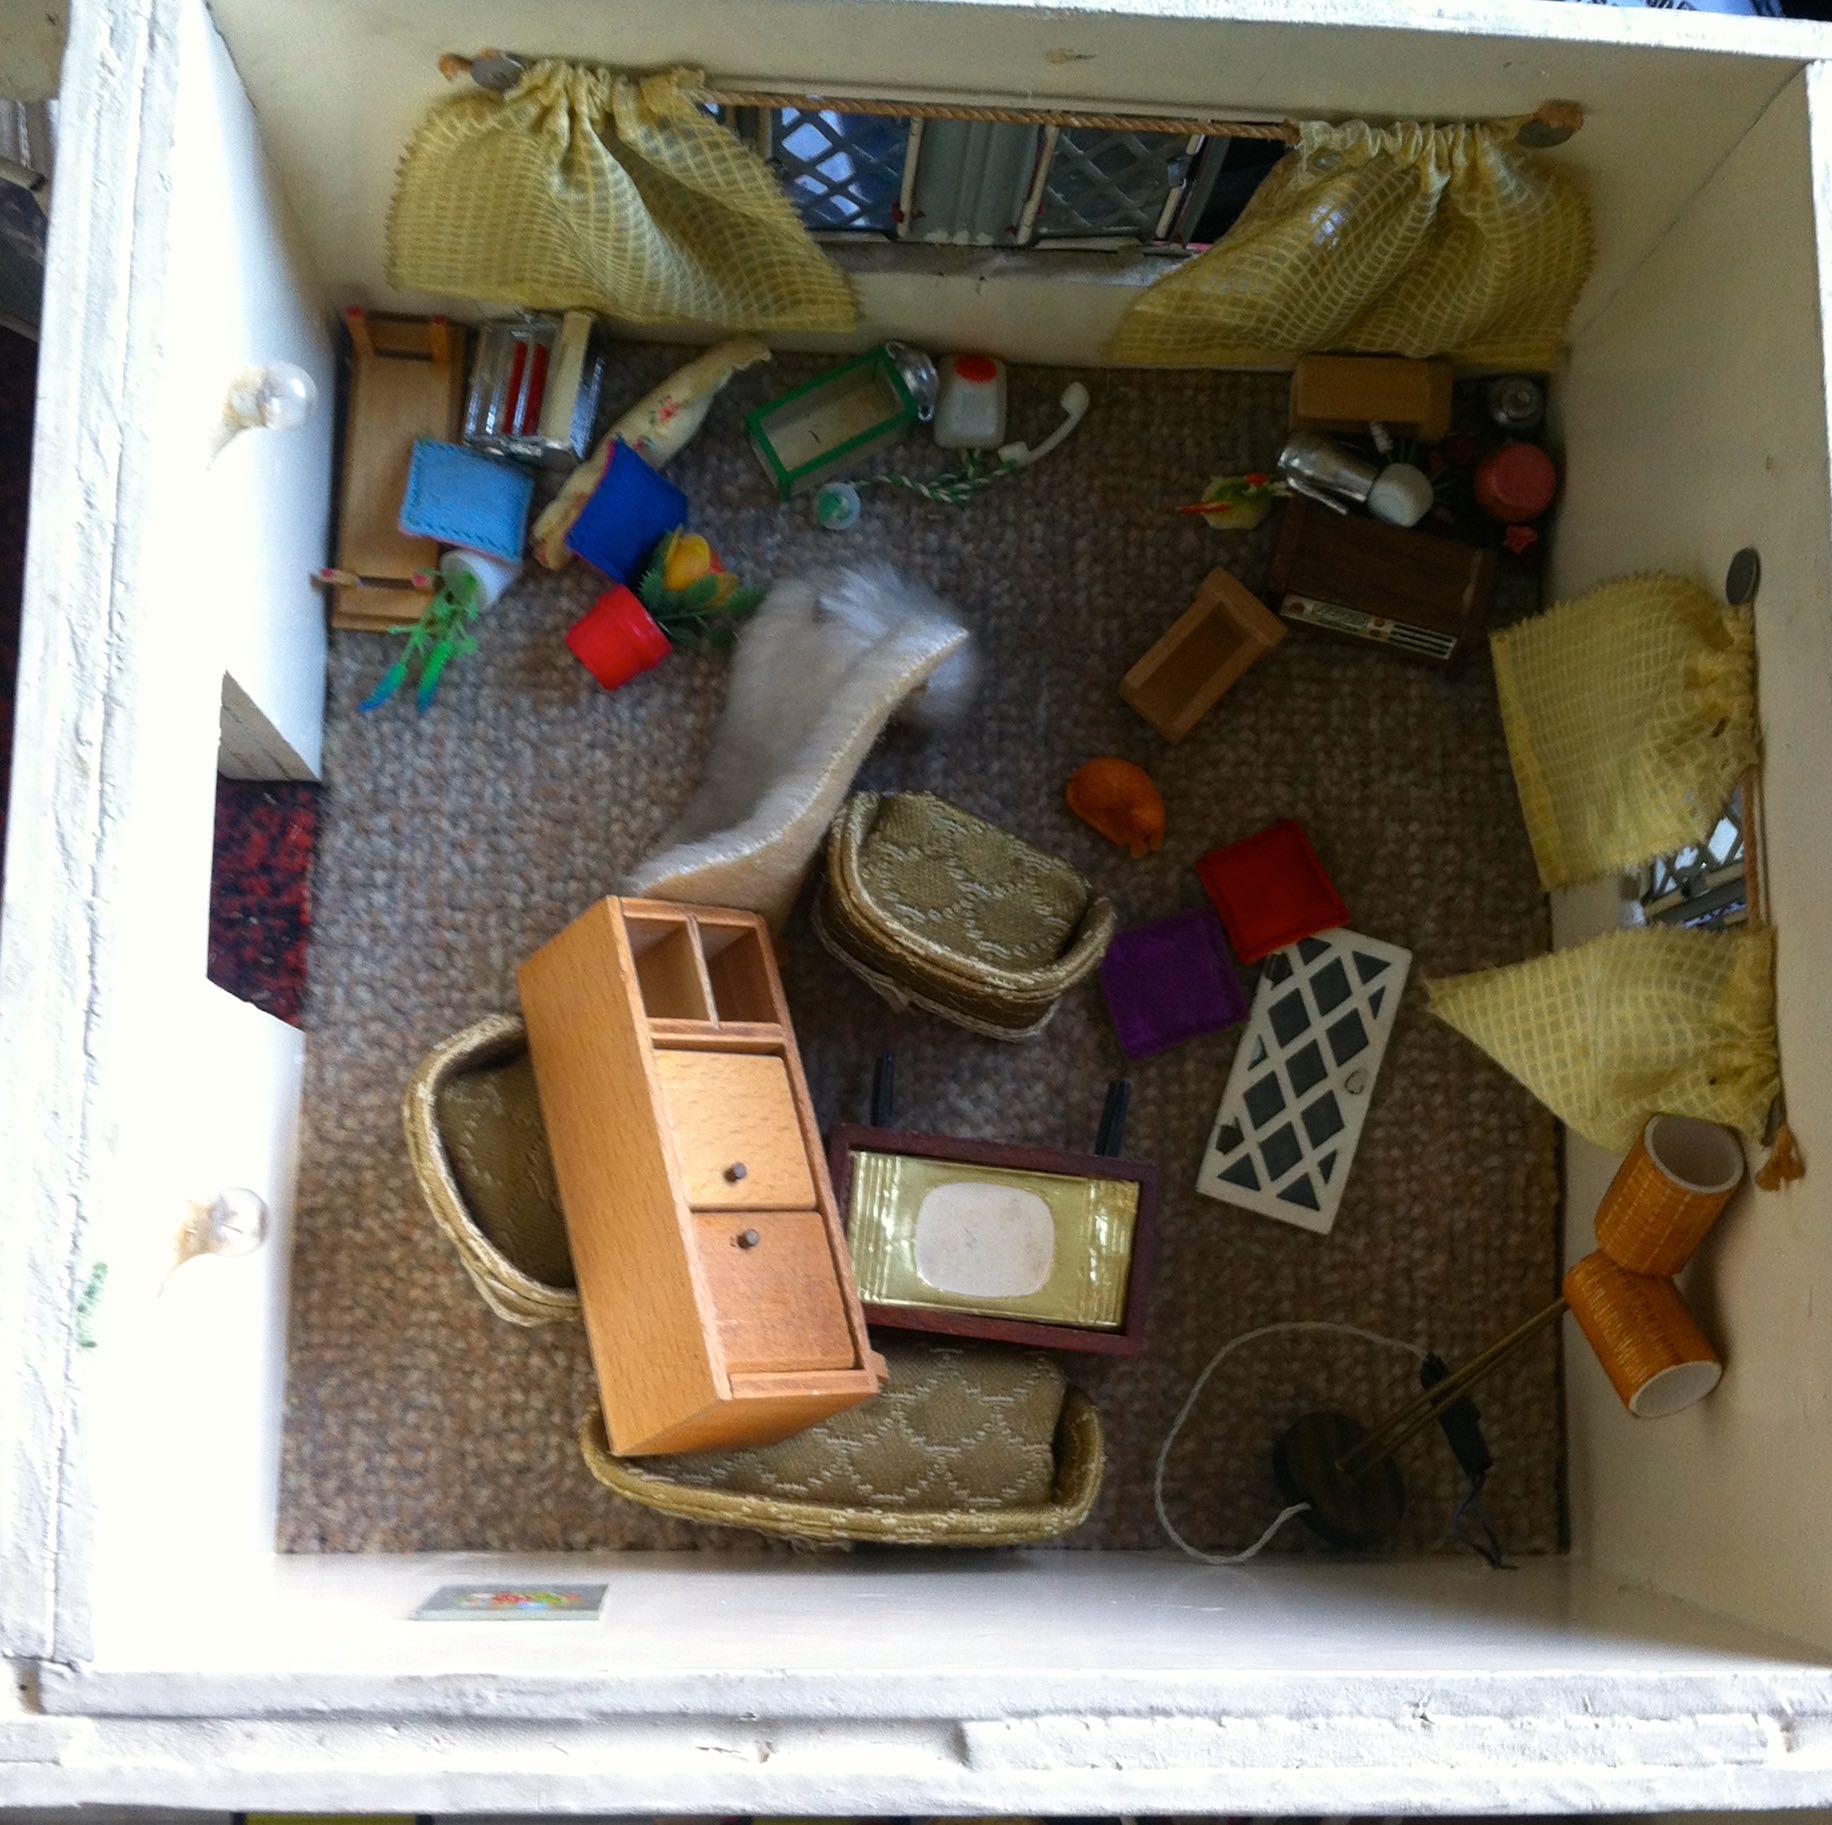
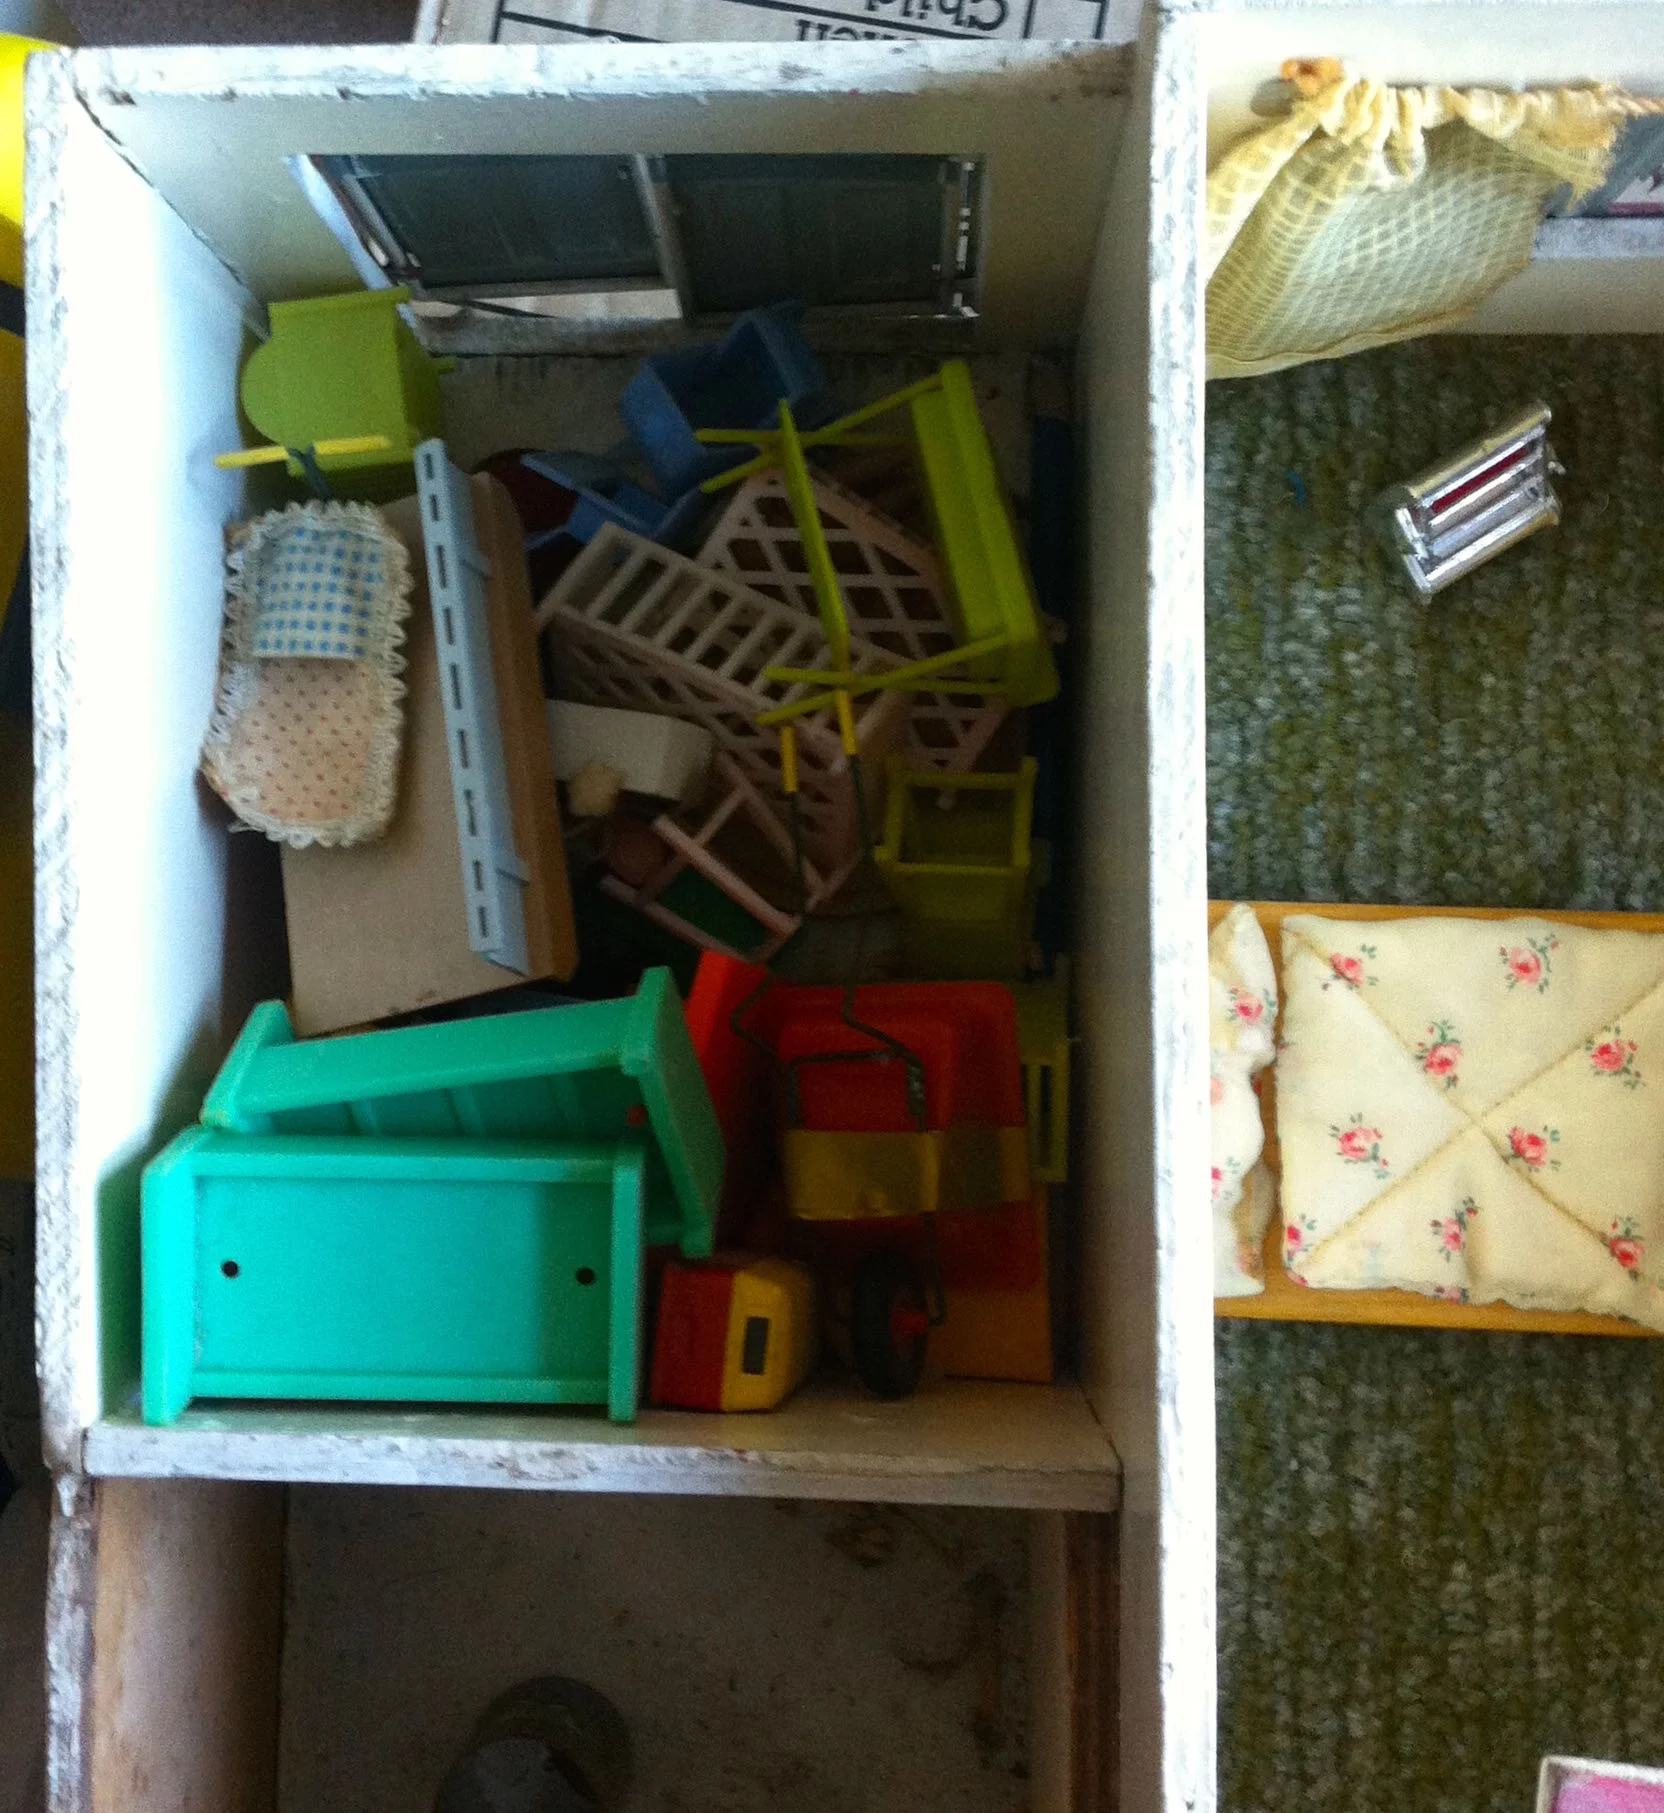
THE LIVING ROOM WAS A BIT TOPSY TURVY
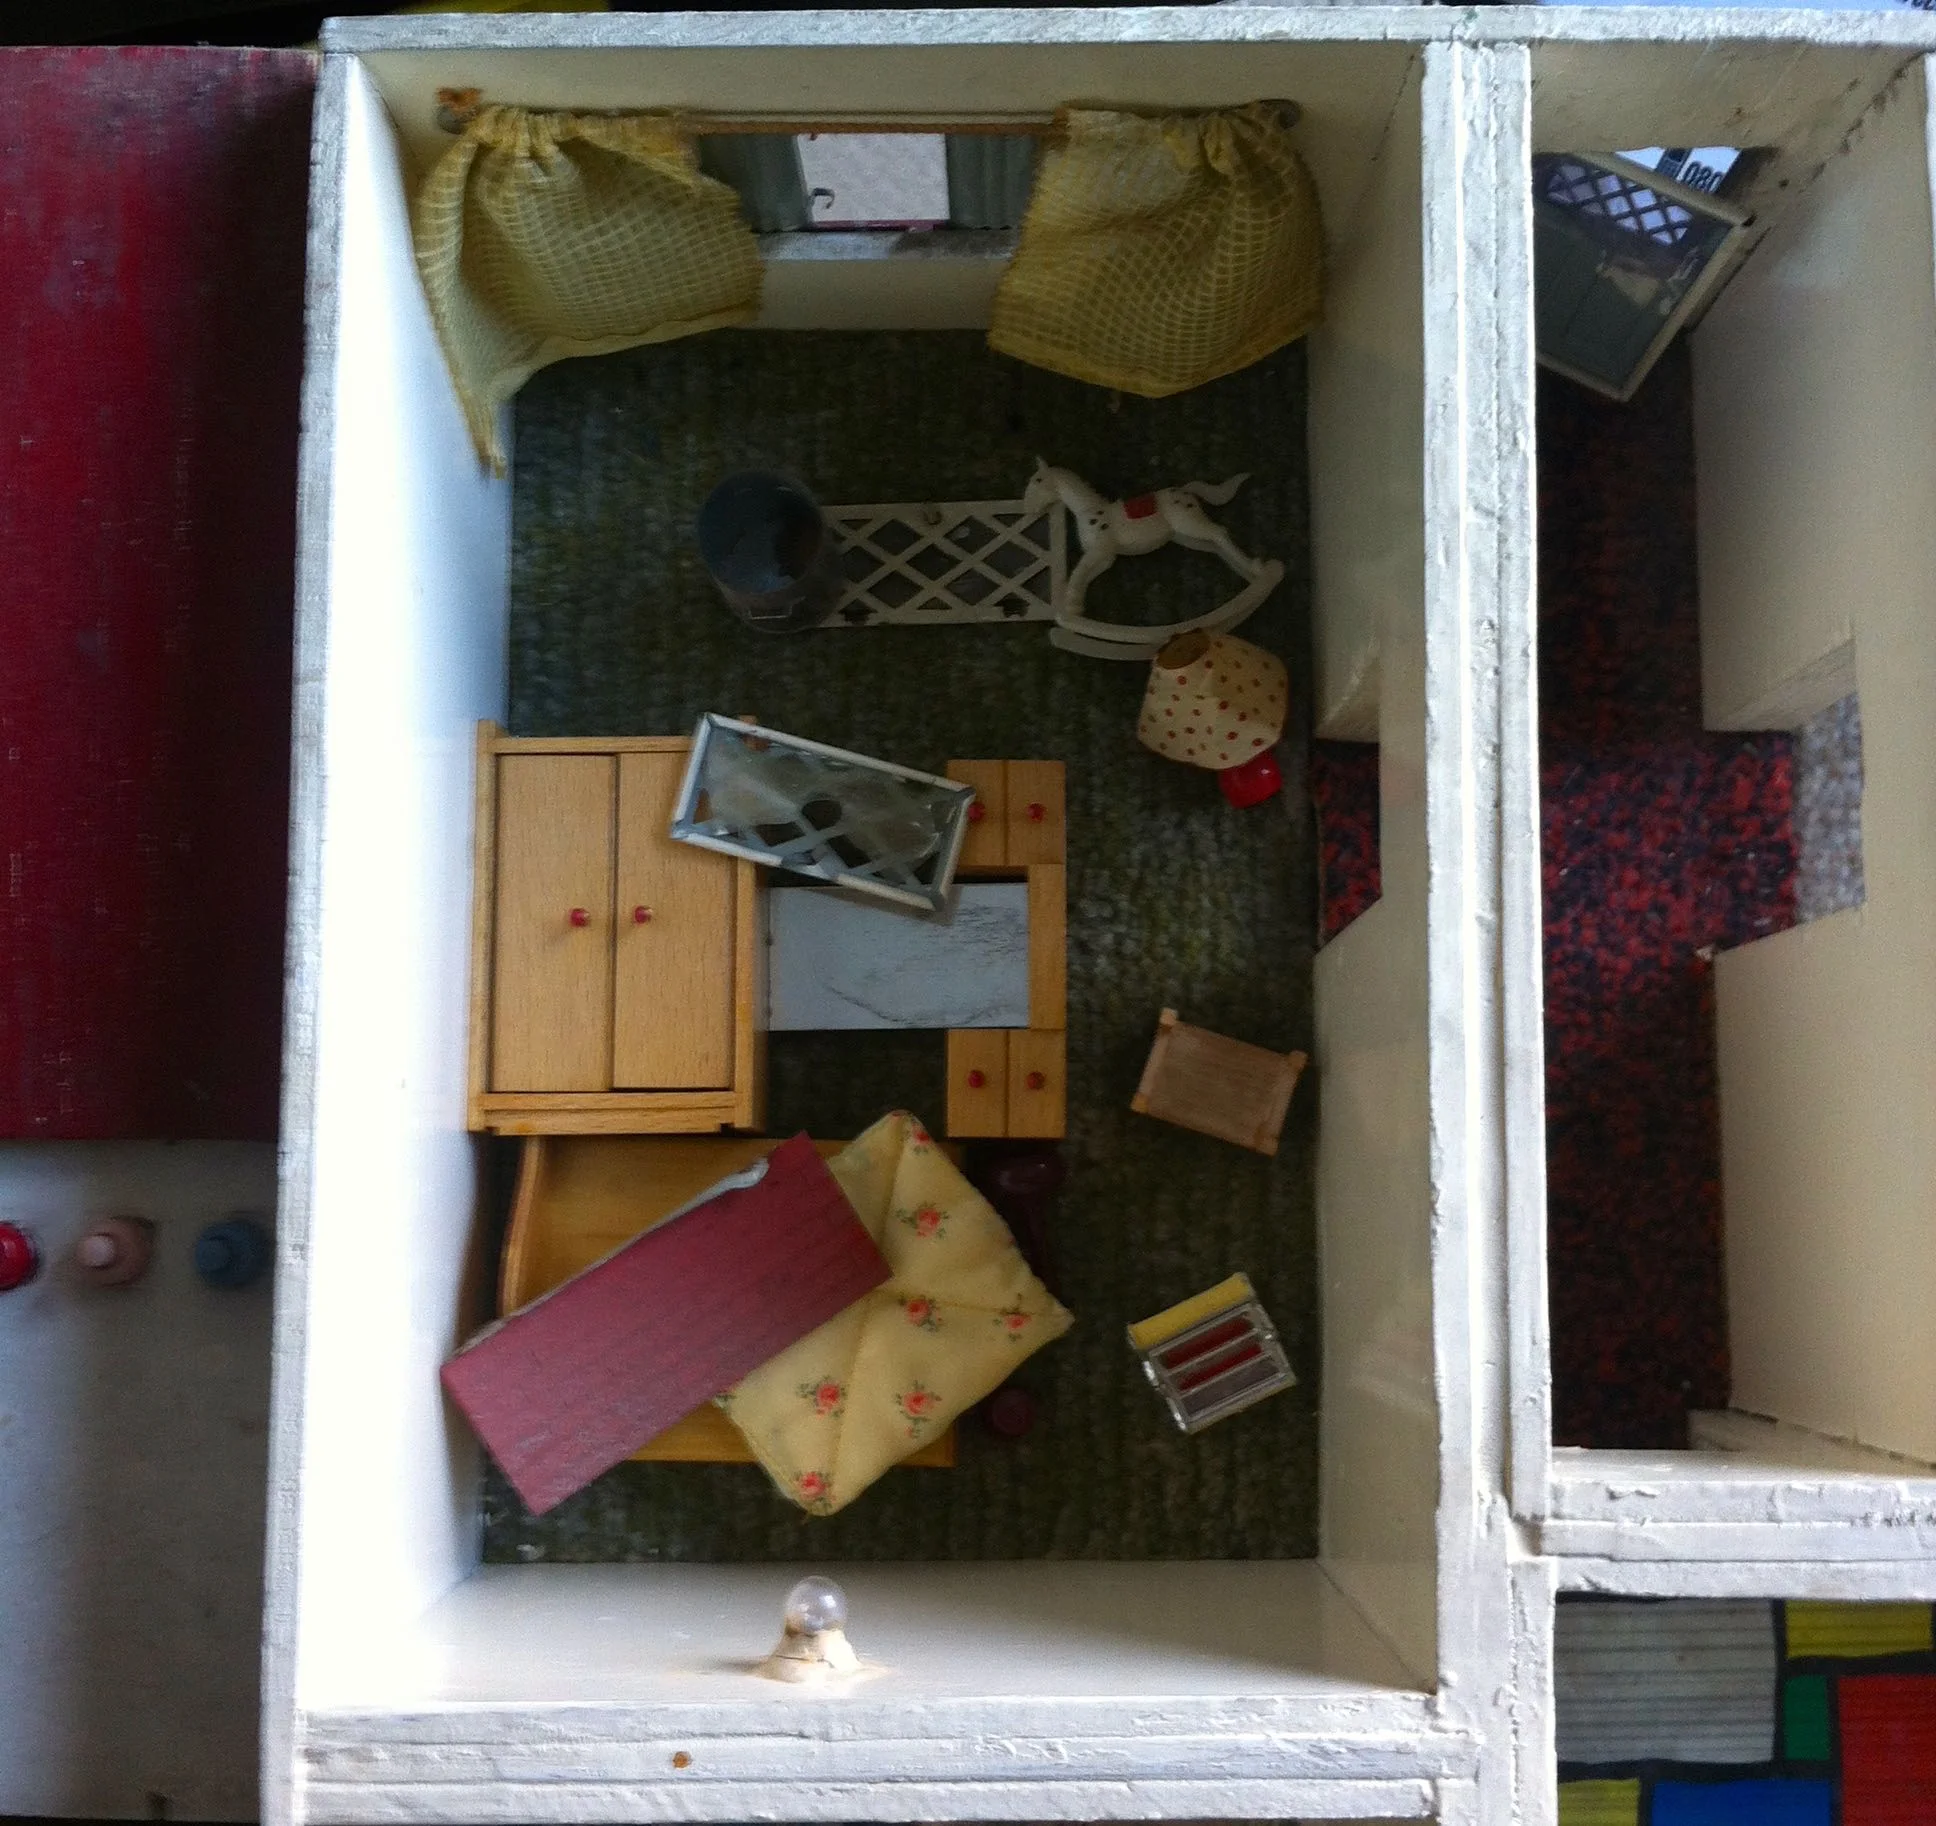
AND A SIMILAR SCENE IN THE BEDROOM
IN THE KITCHEN TOO
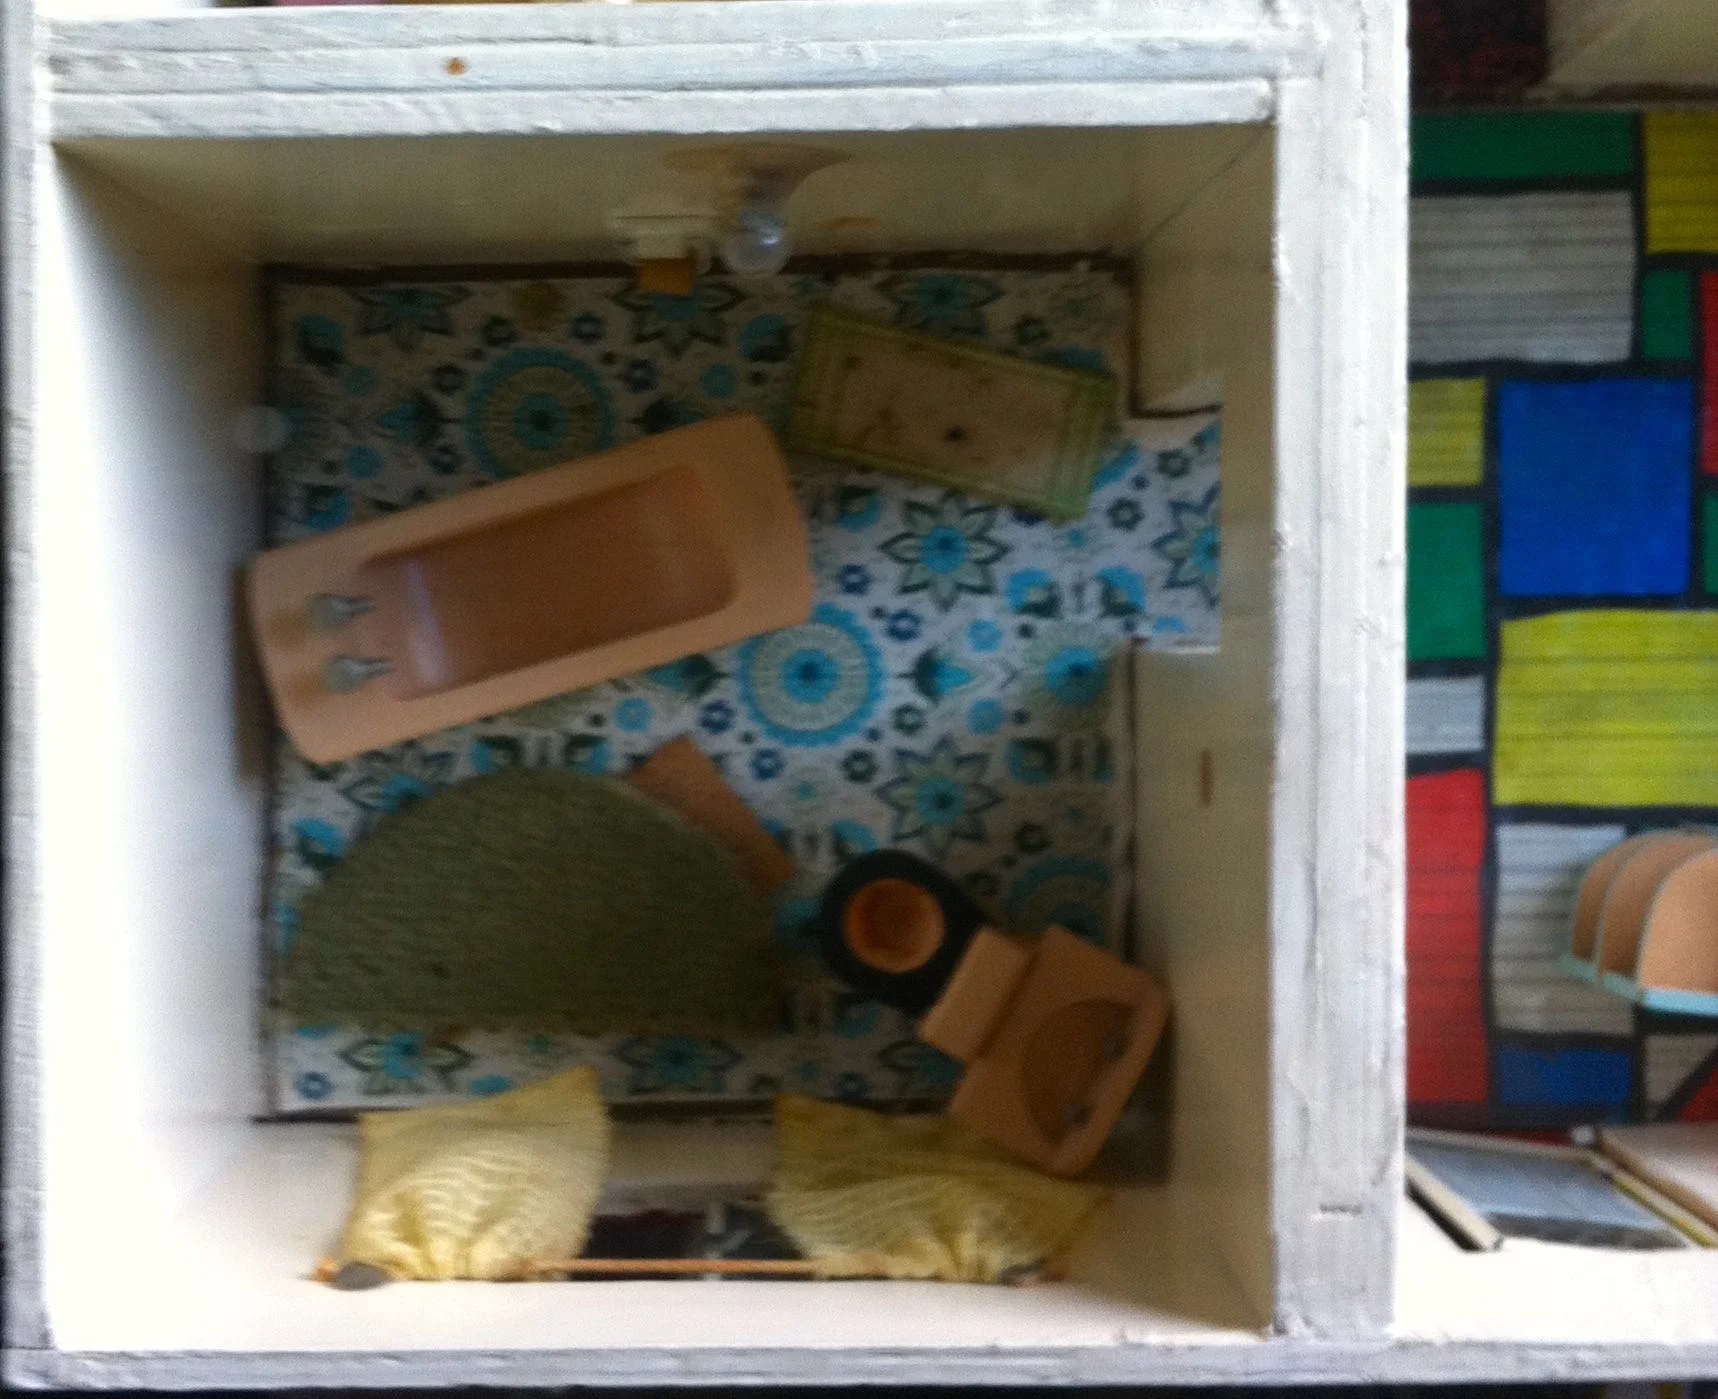
AND IN THE BATHROOM
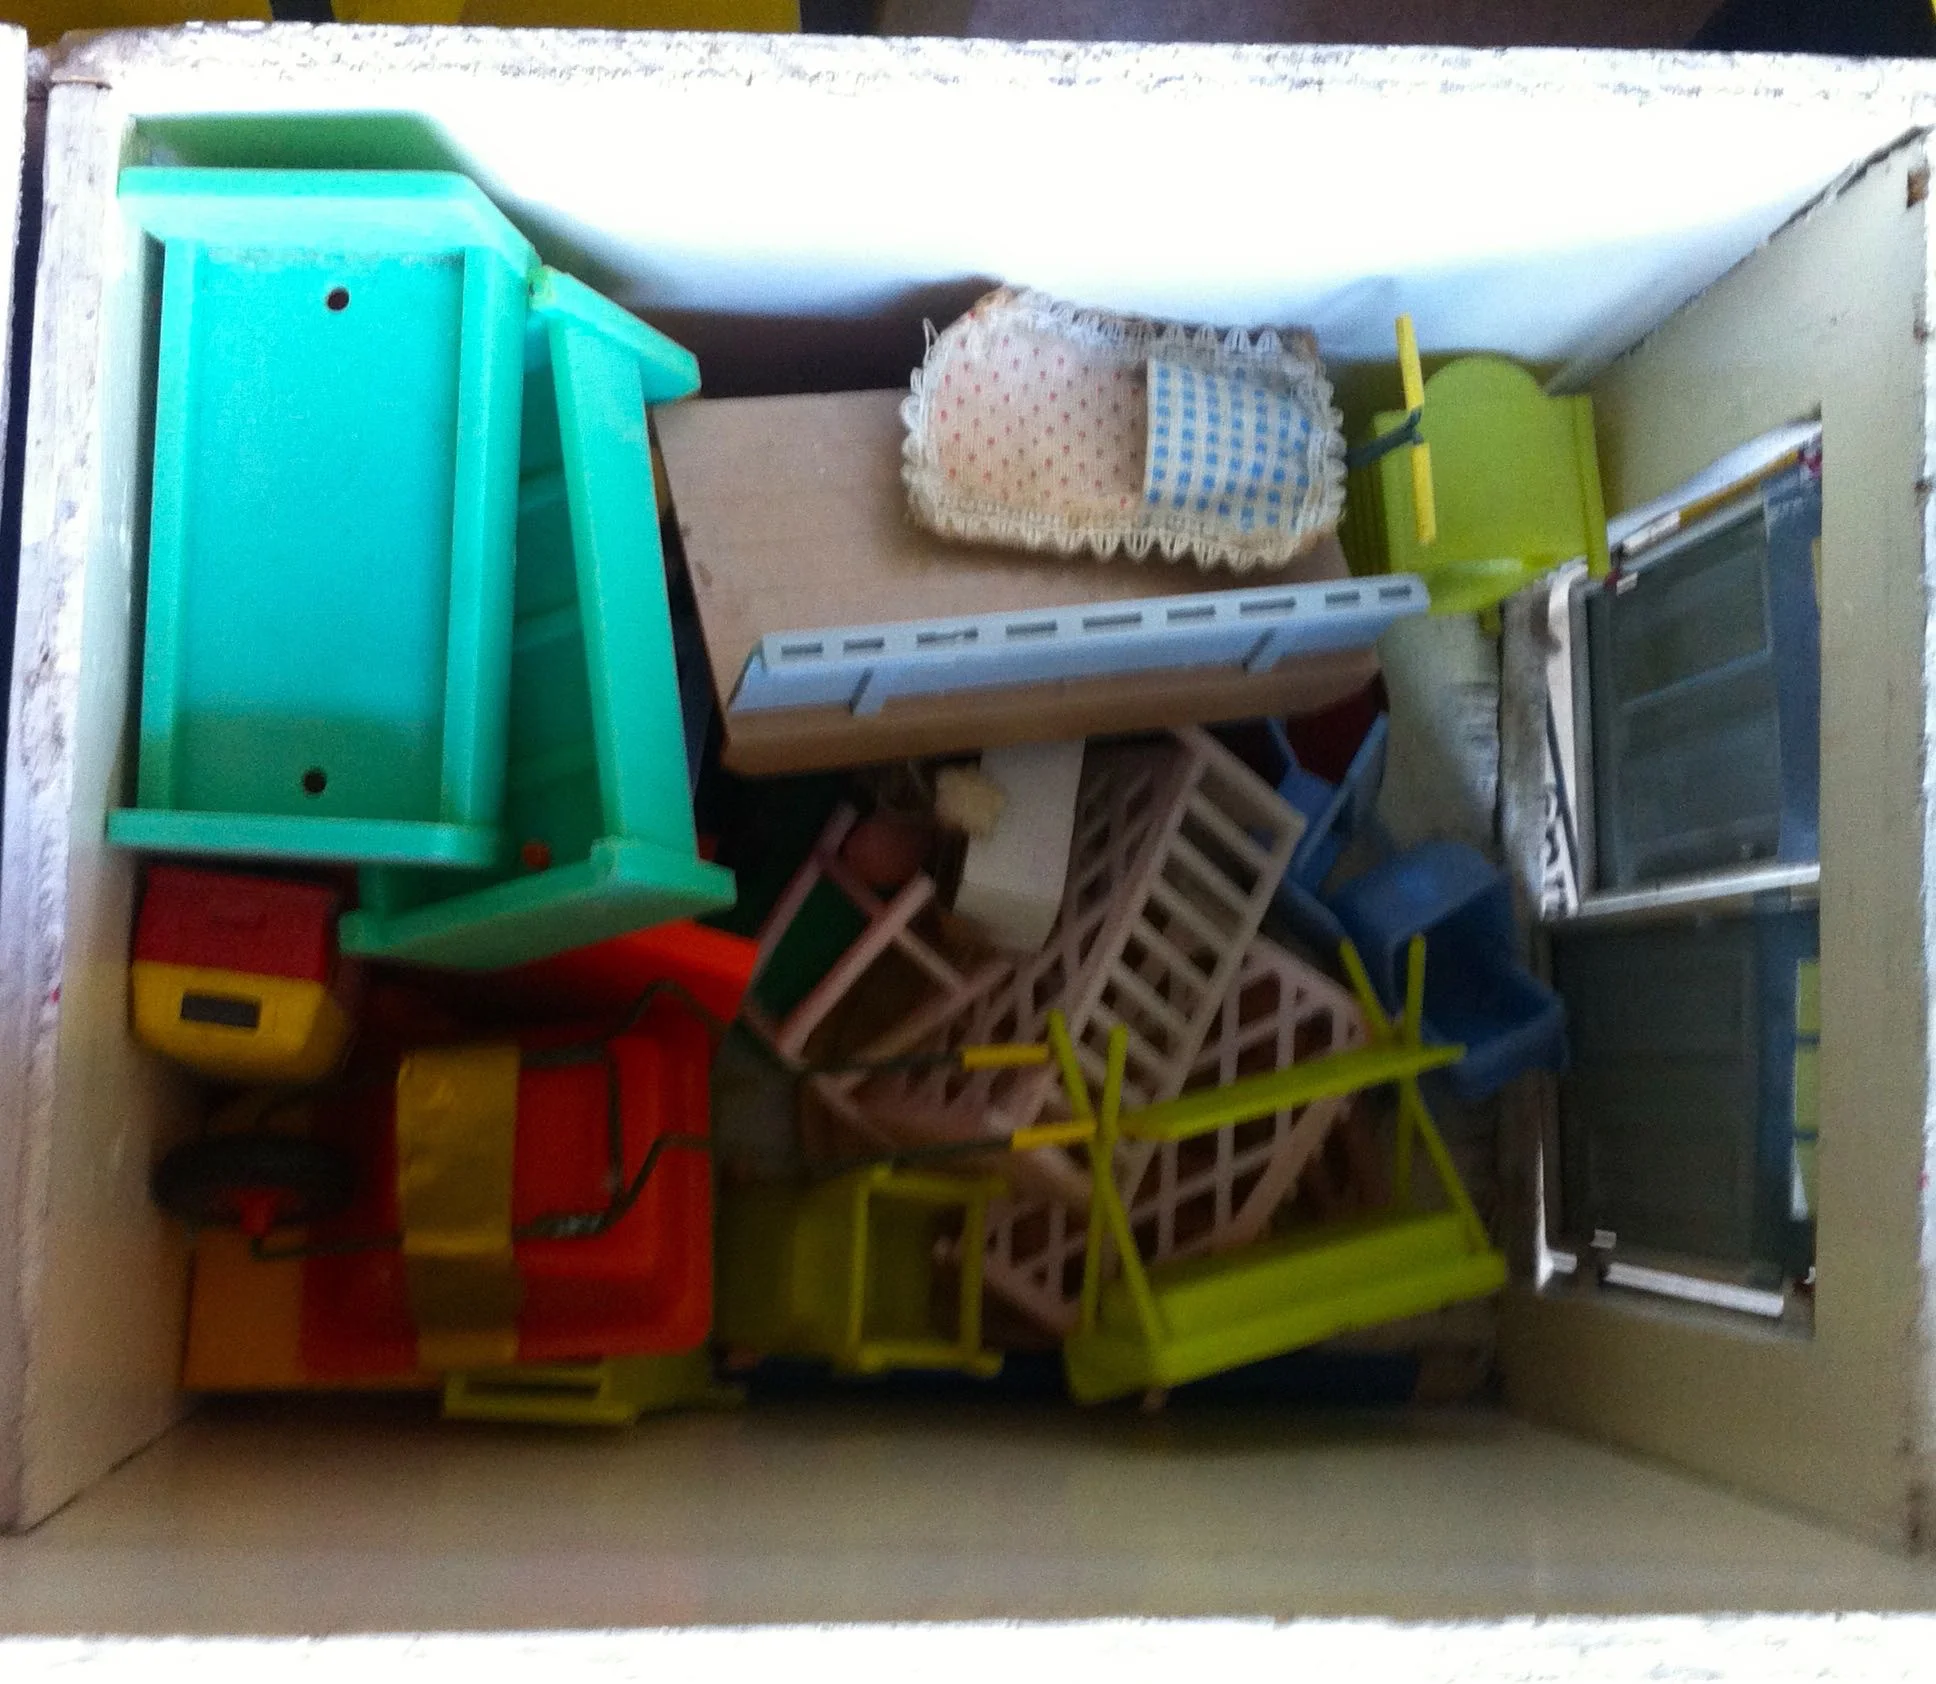
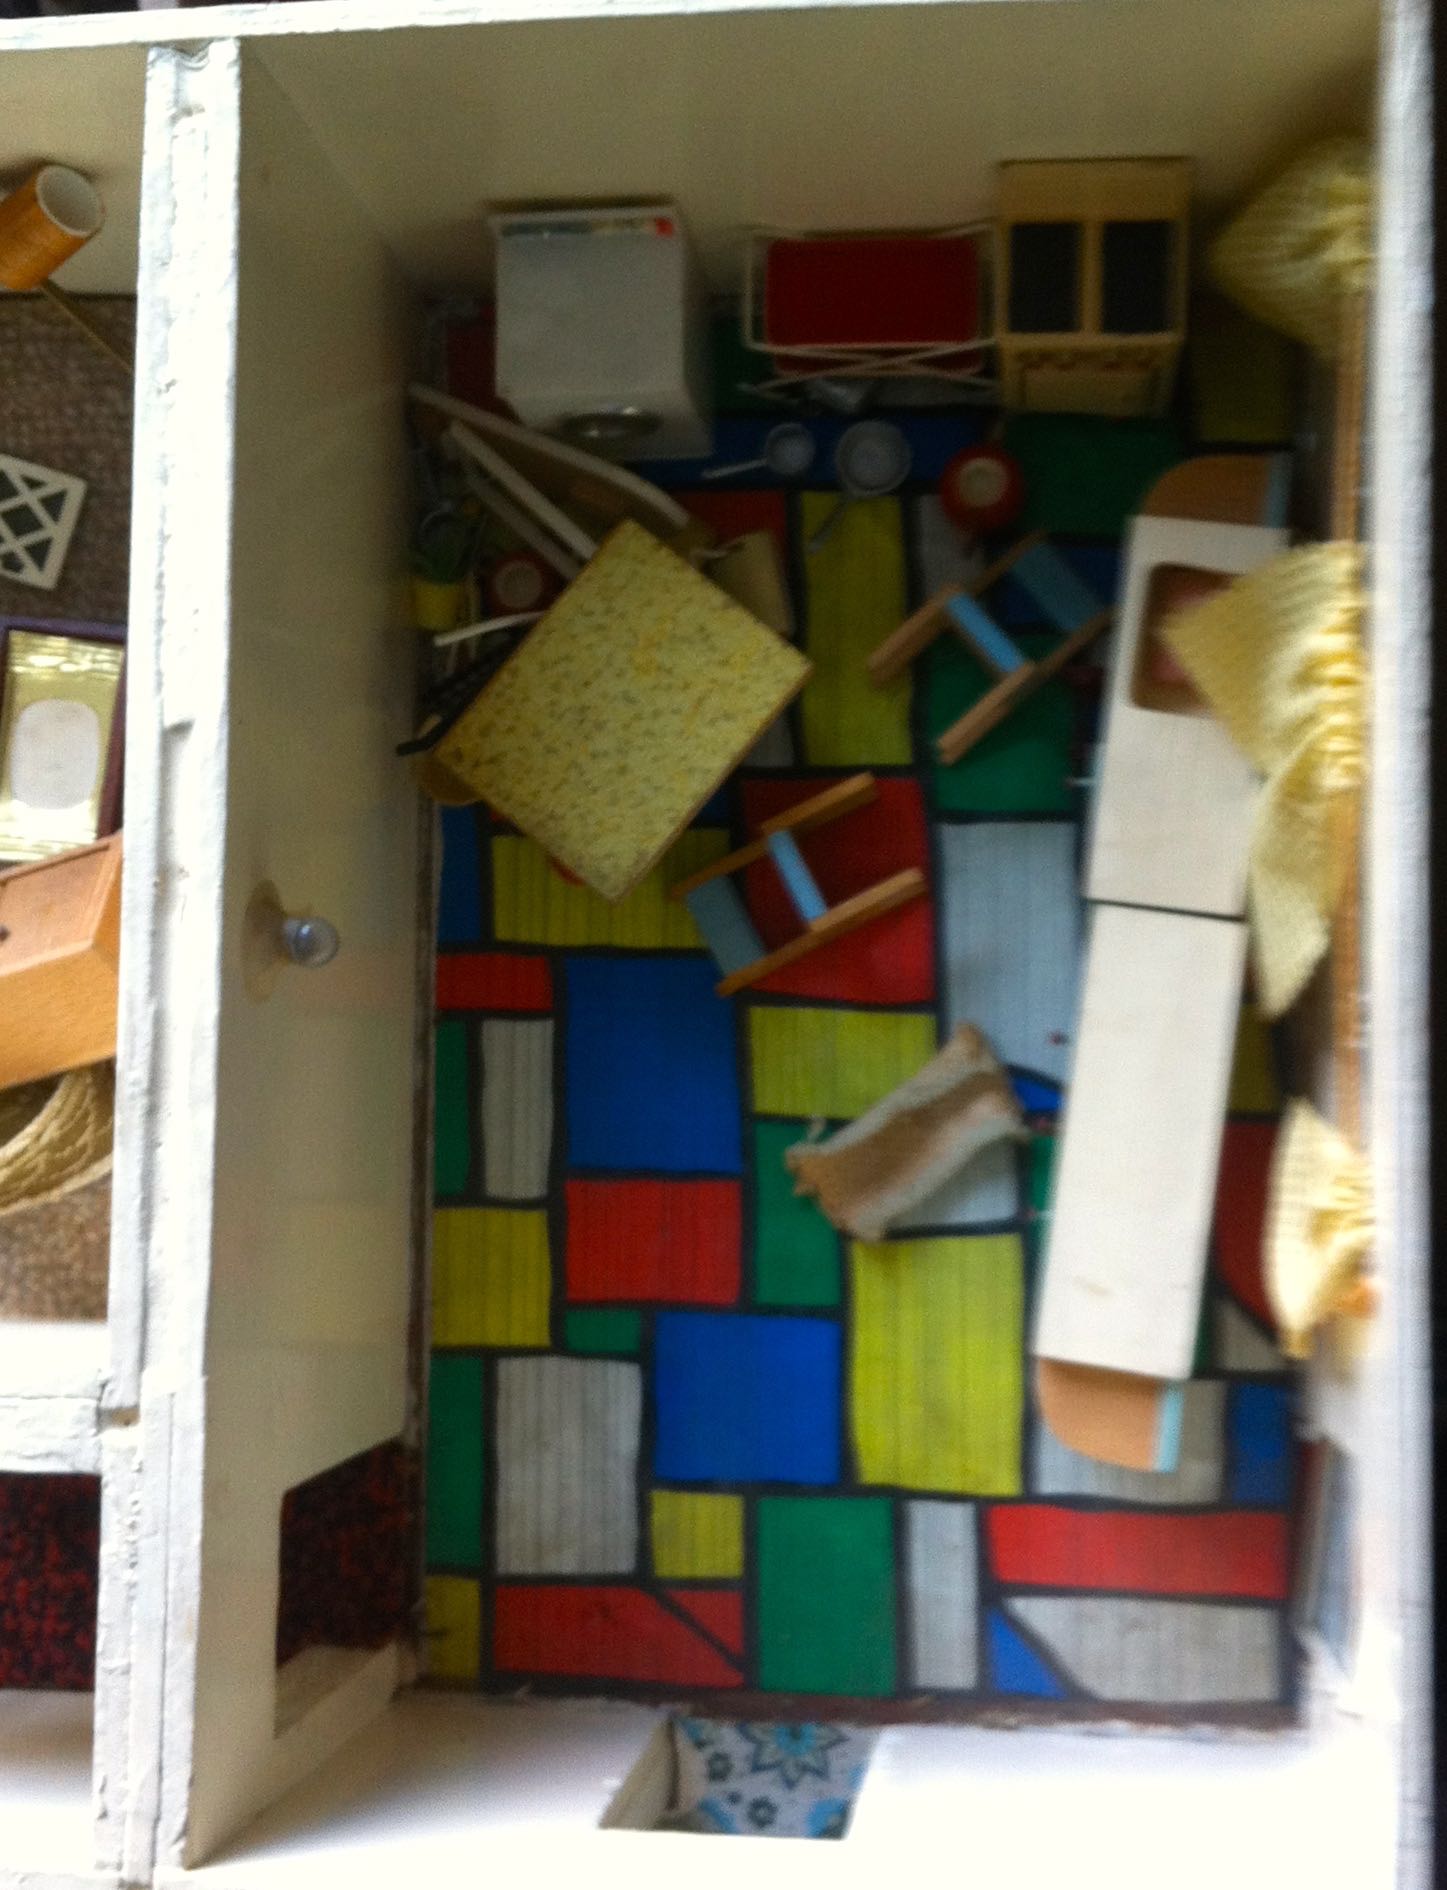
...AND AS EXPECTED THE GARAGE NEEDED A CLEAR OUT TOO
It seemed only right that I should put things in order, so some tidying up was undertaken. Much easier than a real-sized house!
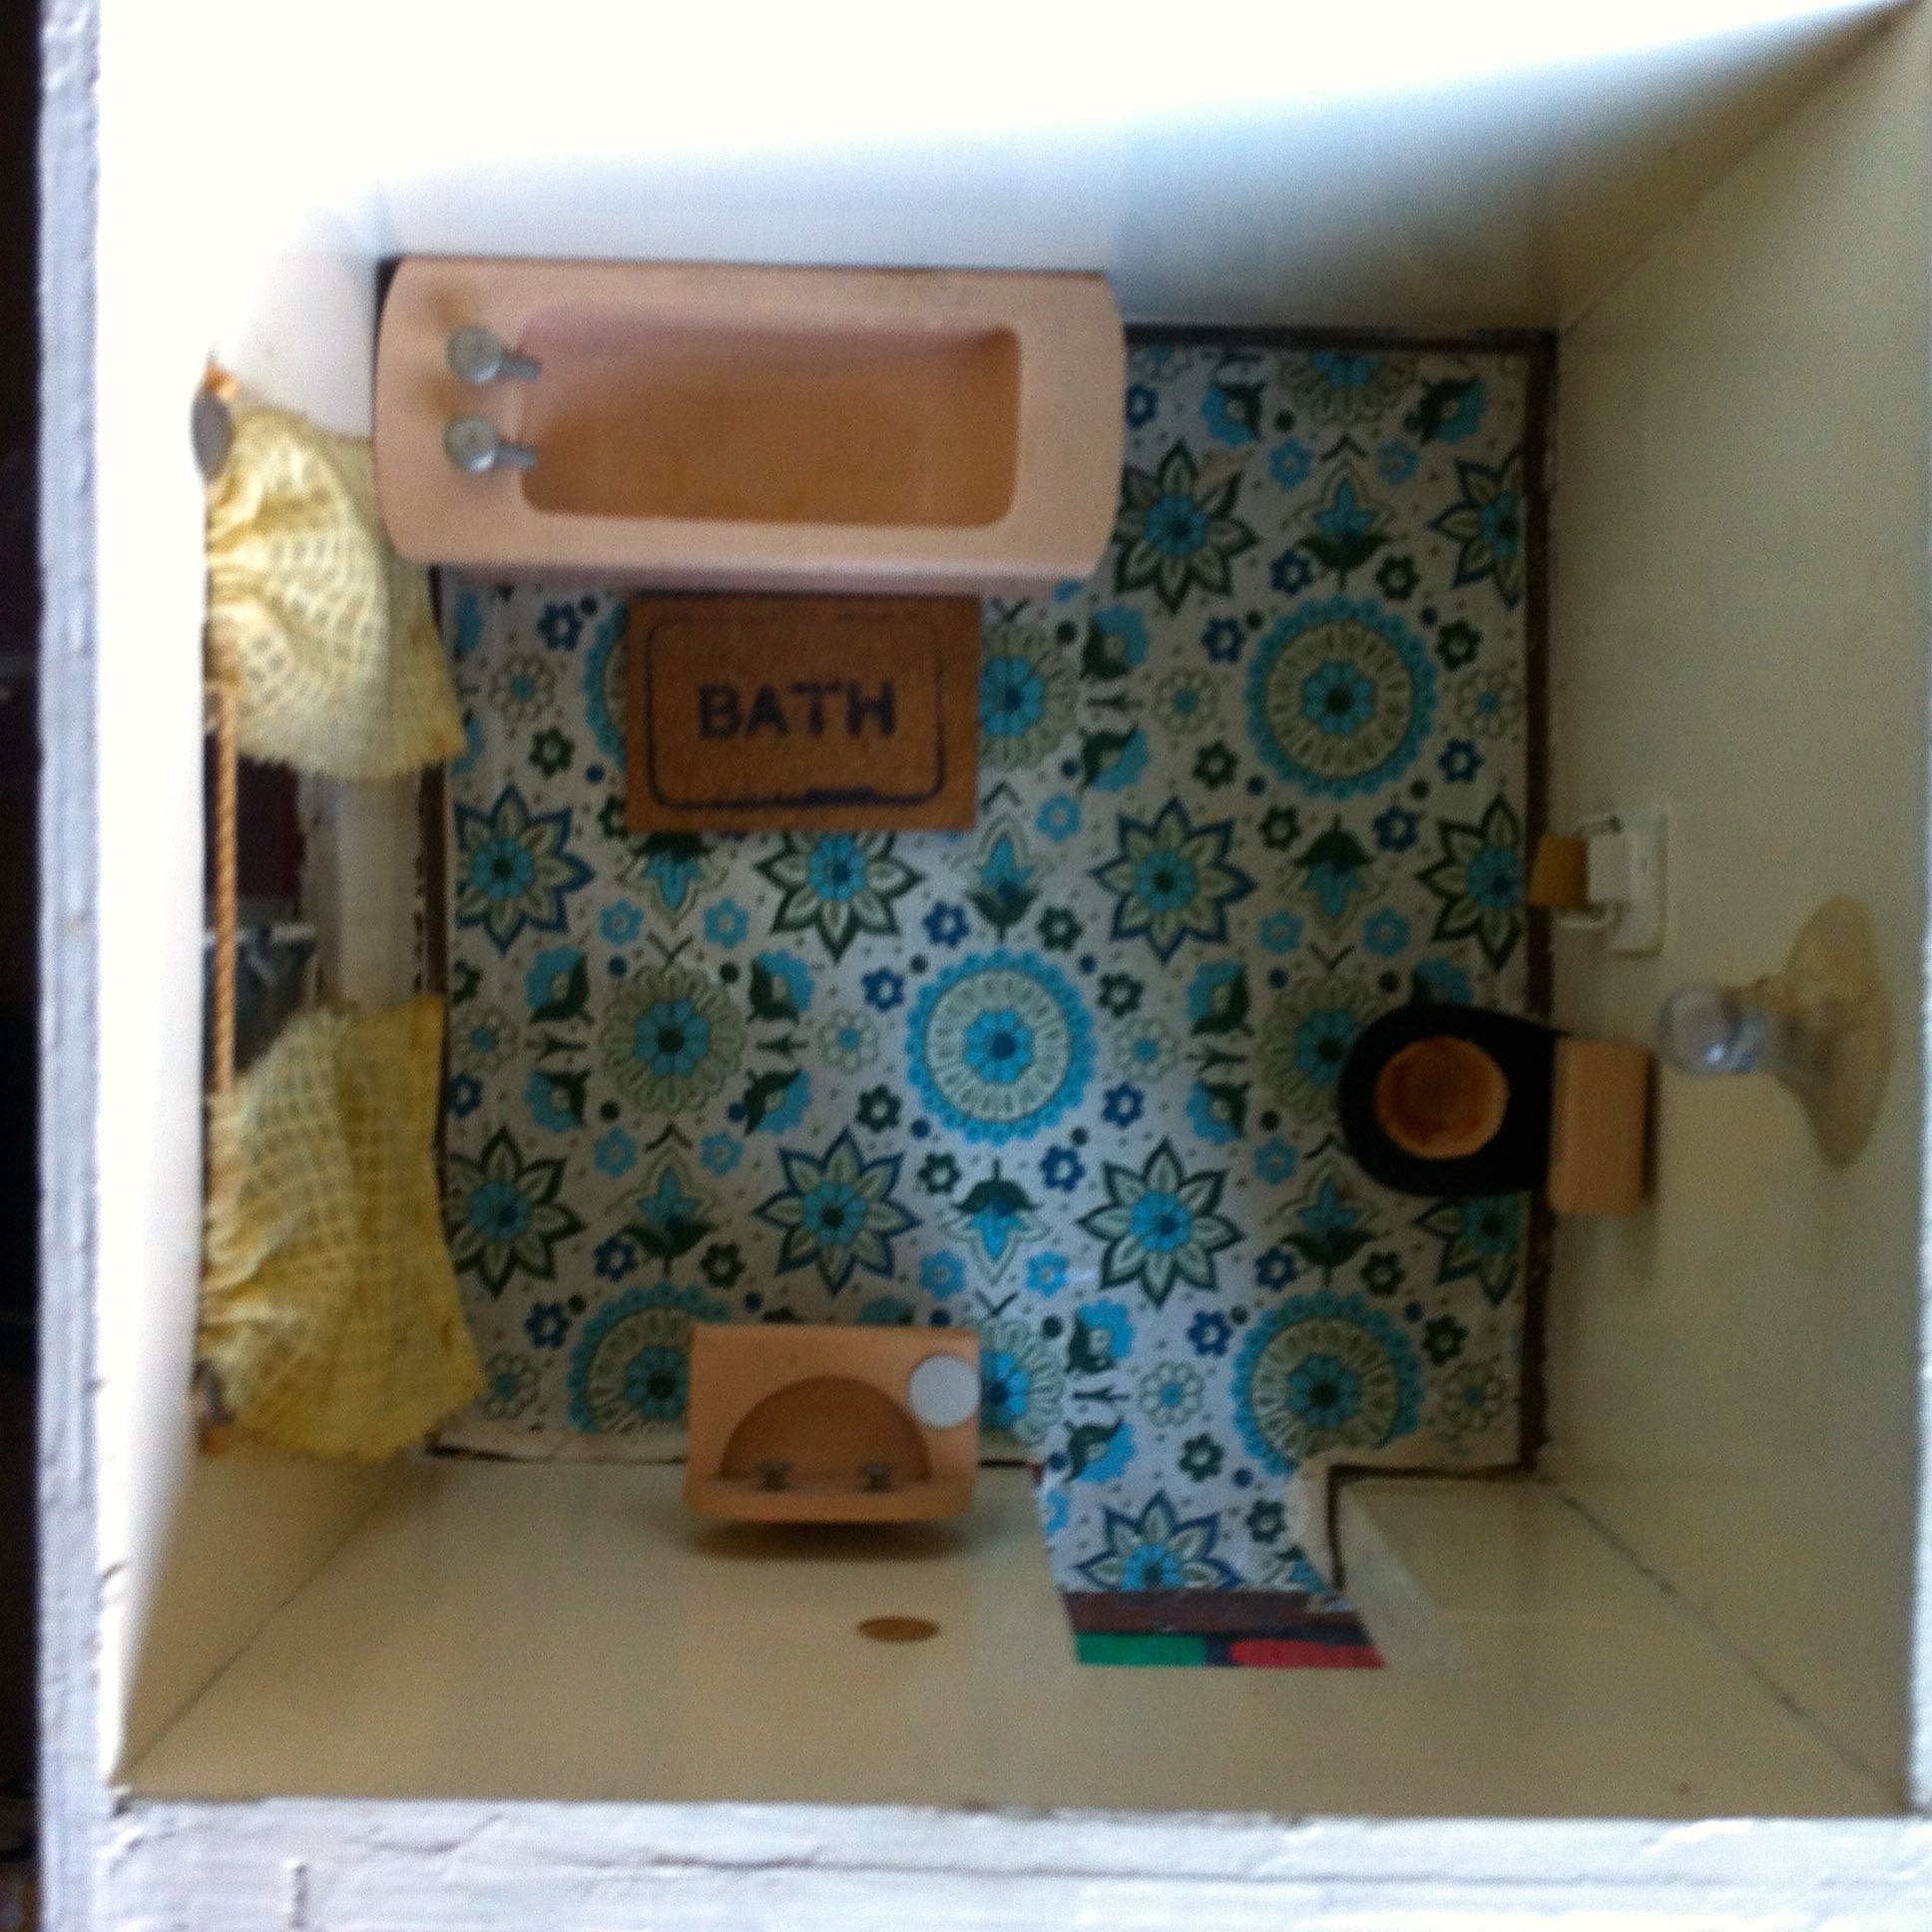
ORDER IN THE BATHROOM

SHIP SHAPE IN THE BEDROOM ONCE MORE
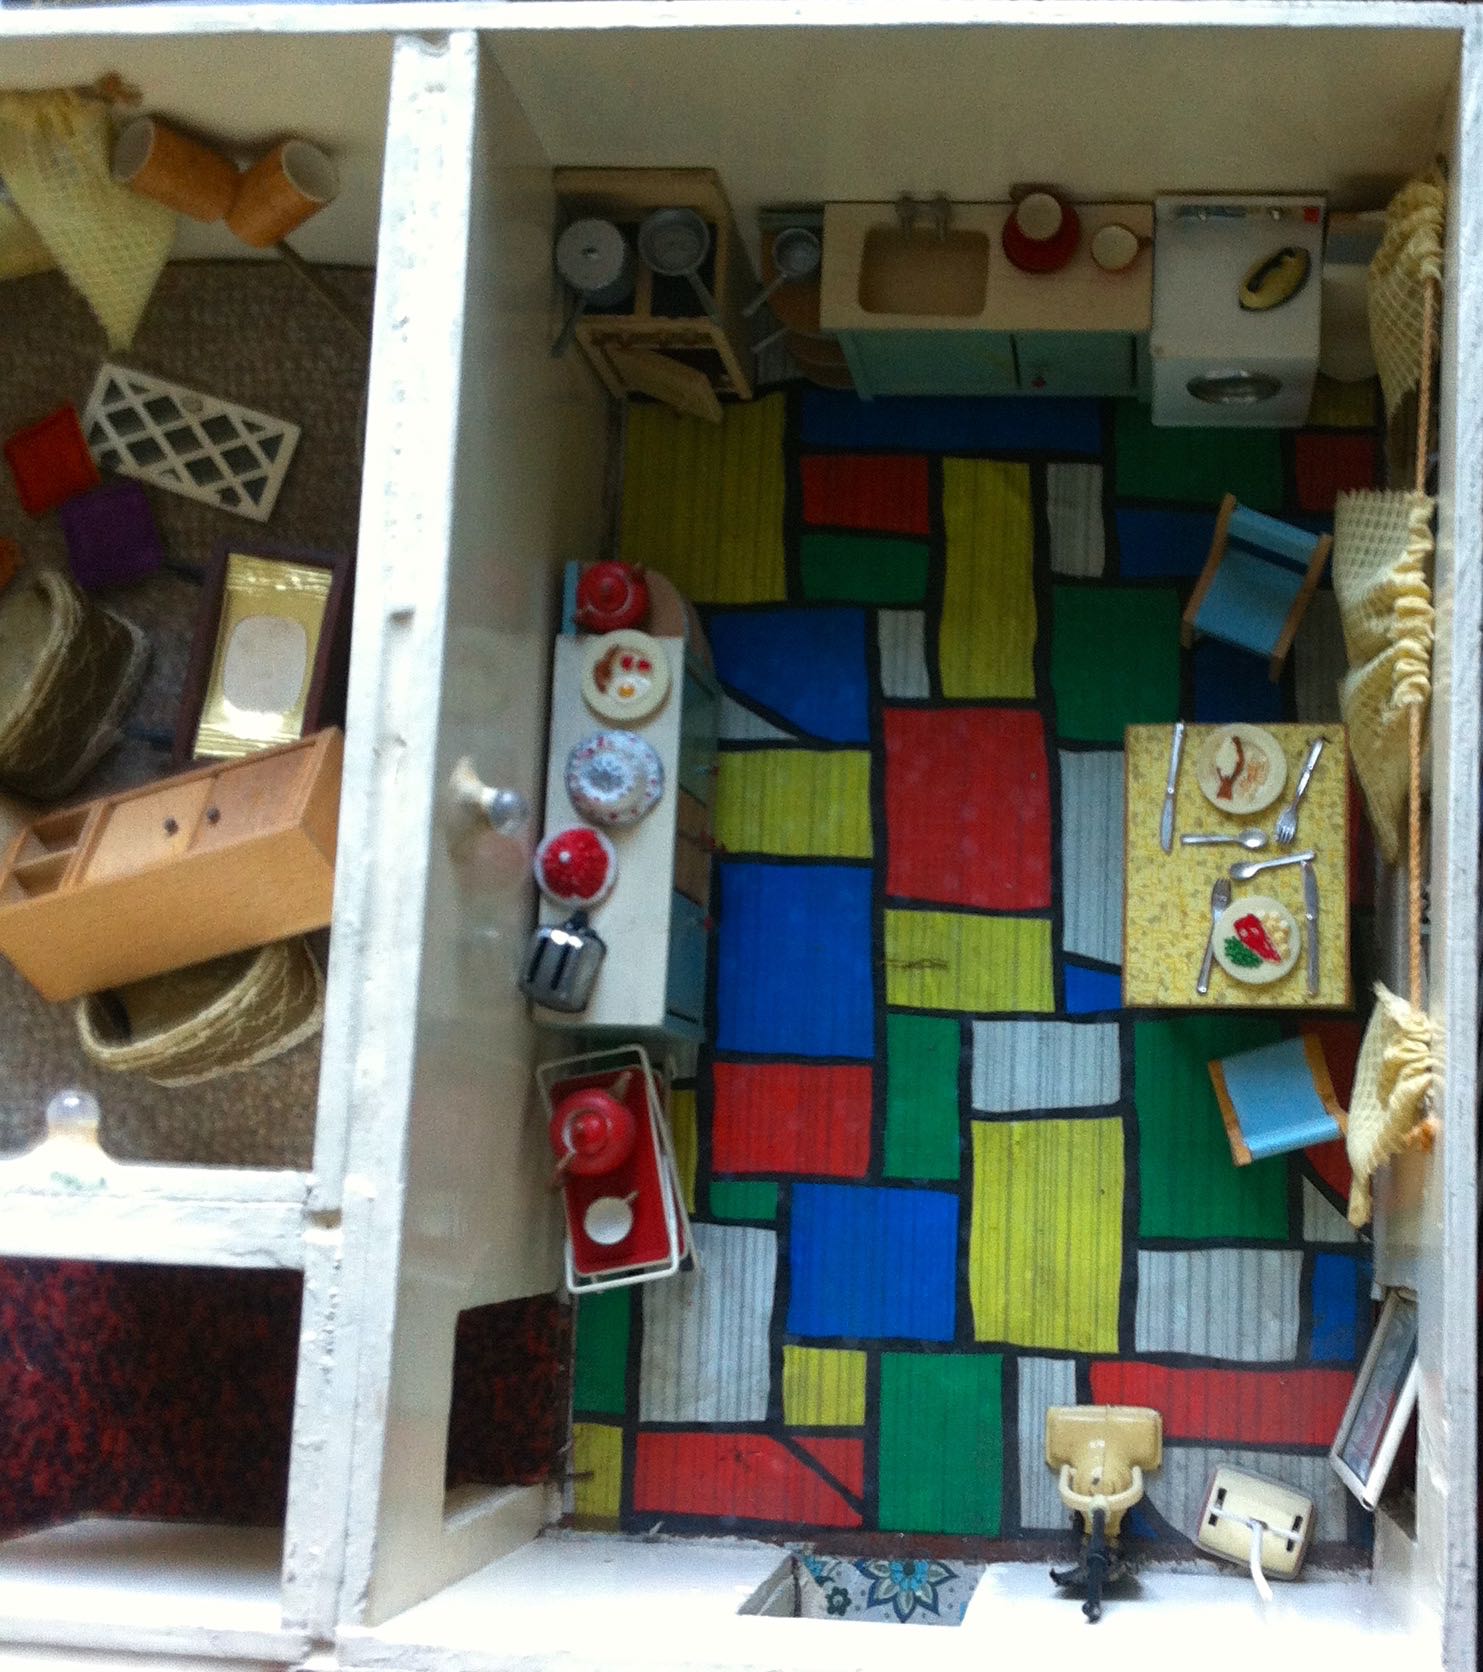
AND THE TABLE'S SET FOR DINNER
BUT NO PROGRESS IN THE GARAGE
Note the yellow curtains and bedding set, yes the yellow thing is a long-held thing. And I had a smocked dress, in the same material as those curtains. It was always my windows dress, now I wonder if this is the reason why.
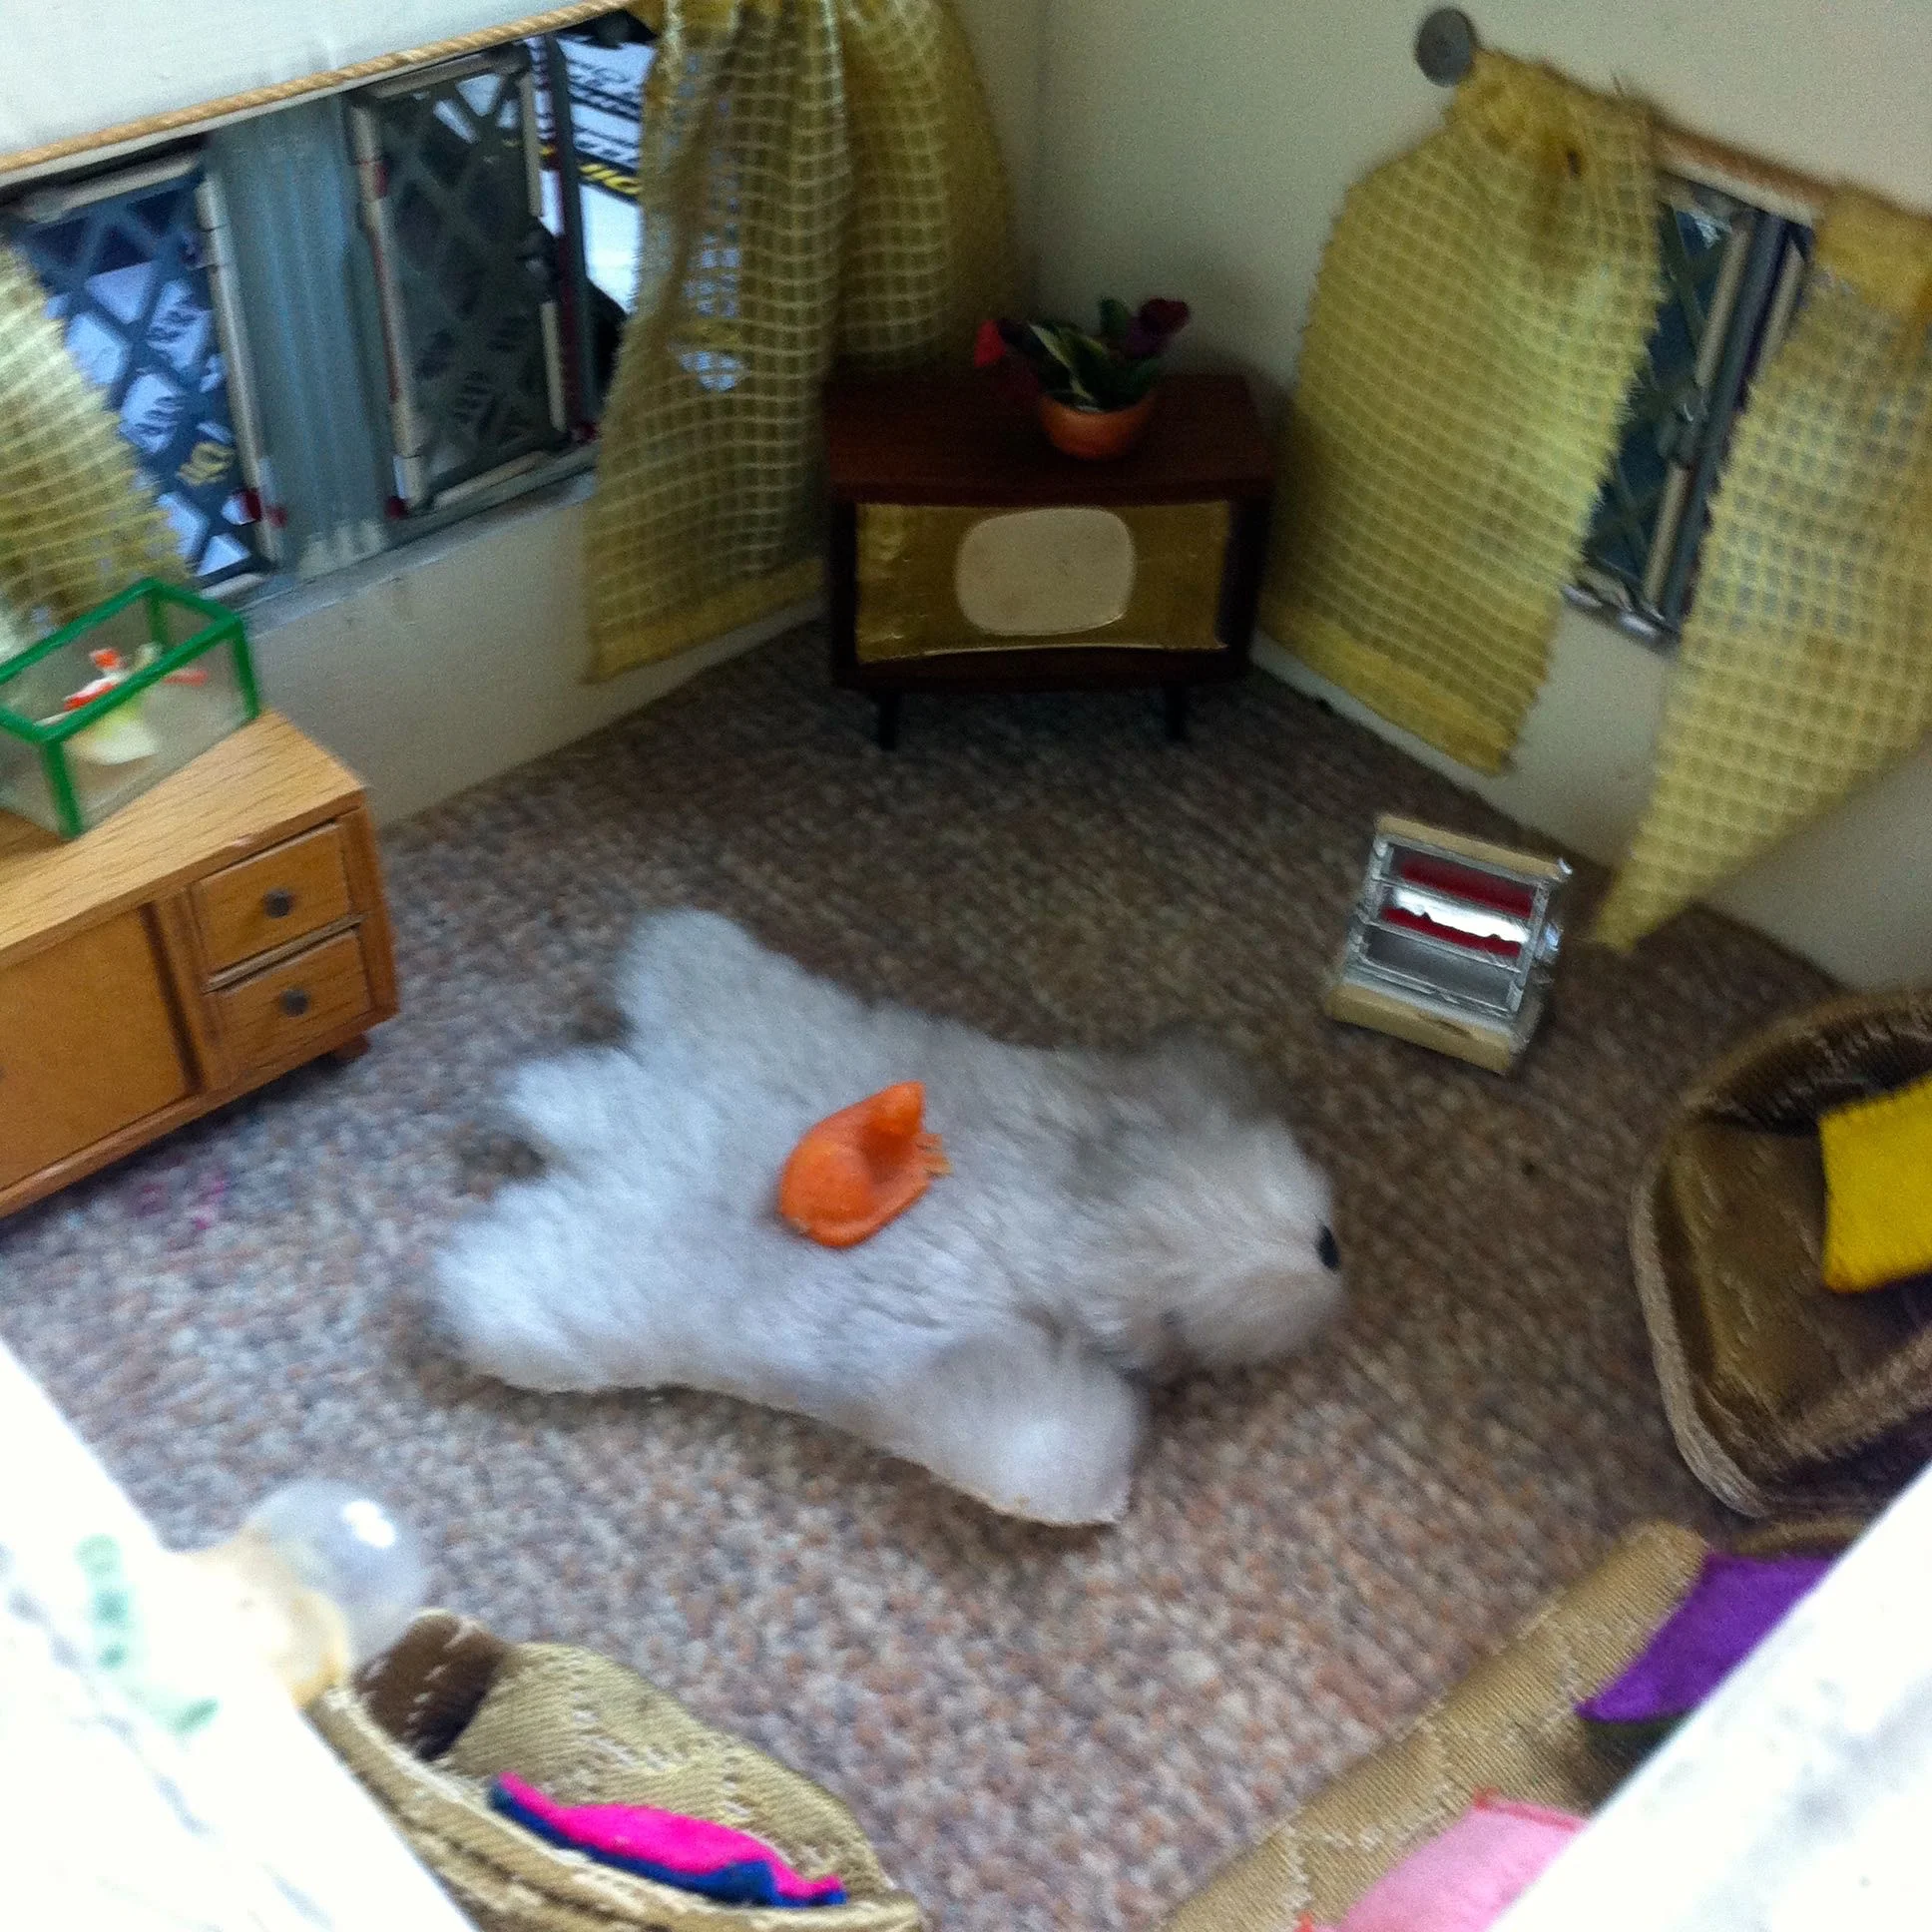
THE CAT REALLY DID SIT ON THE MAT
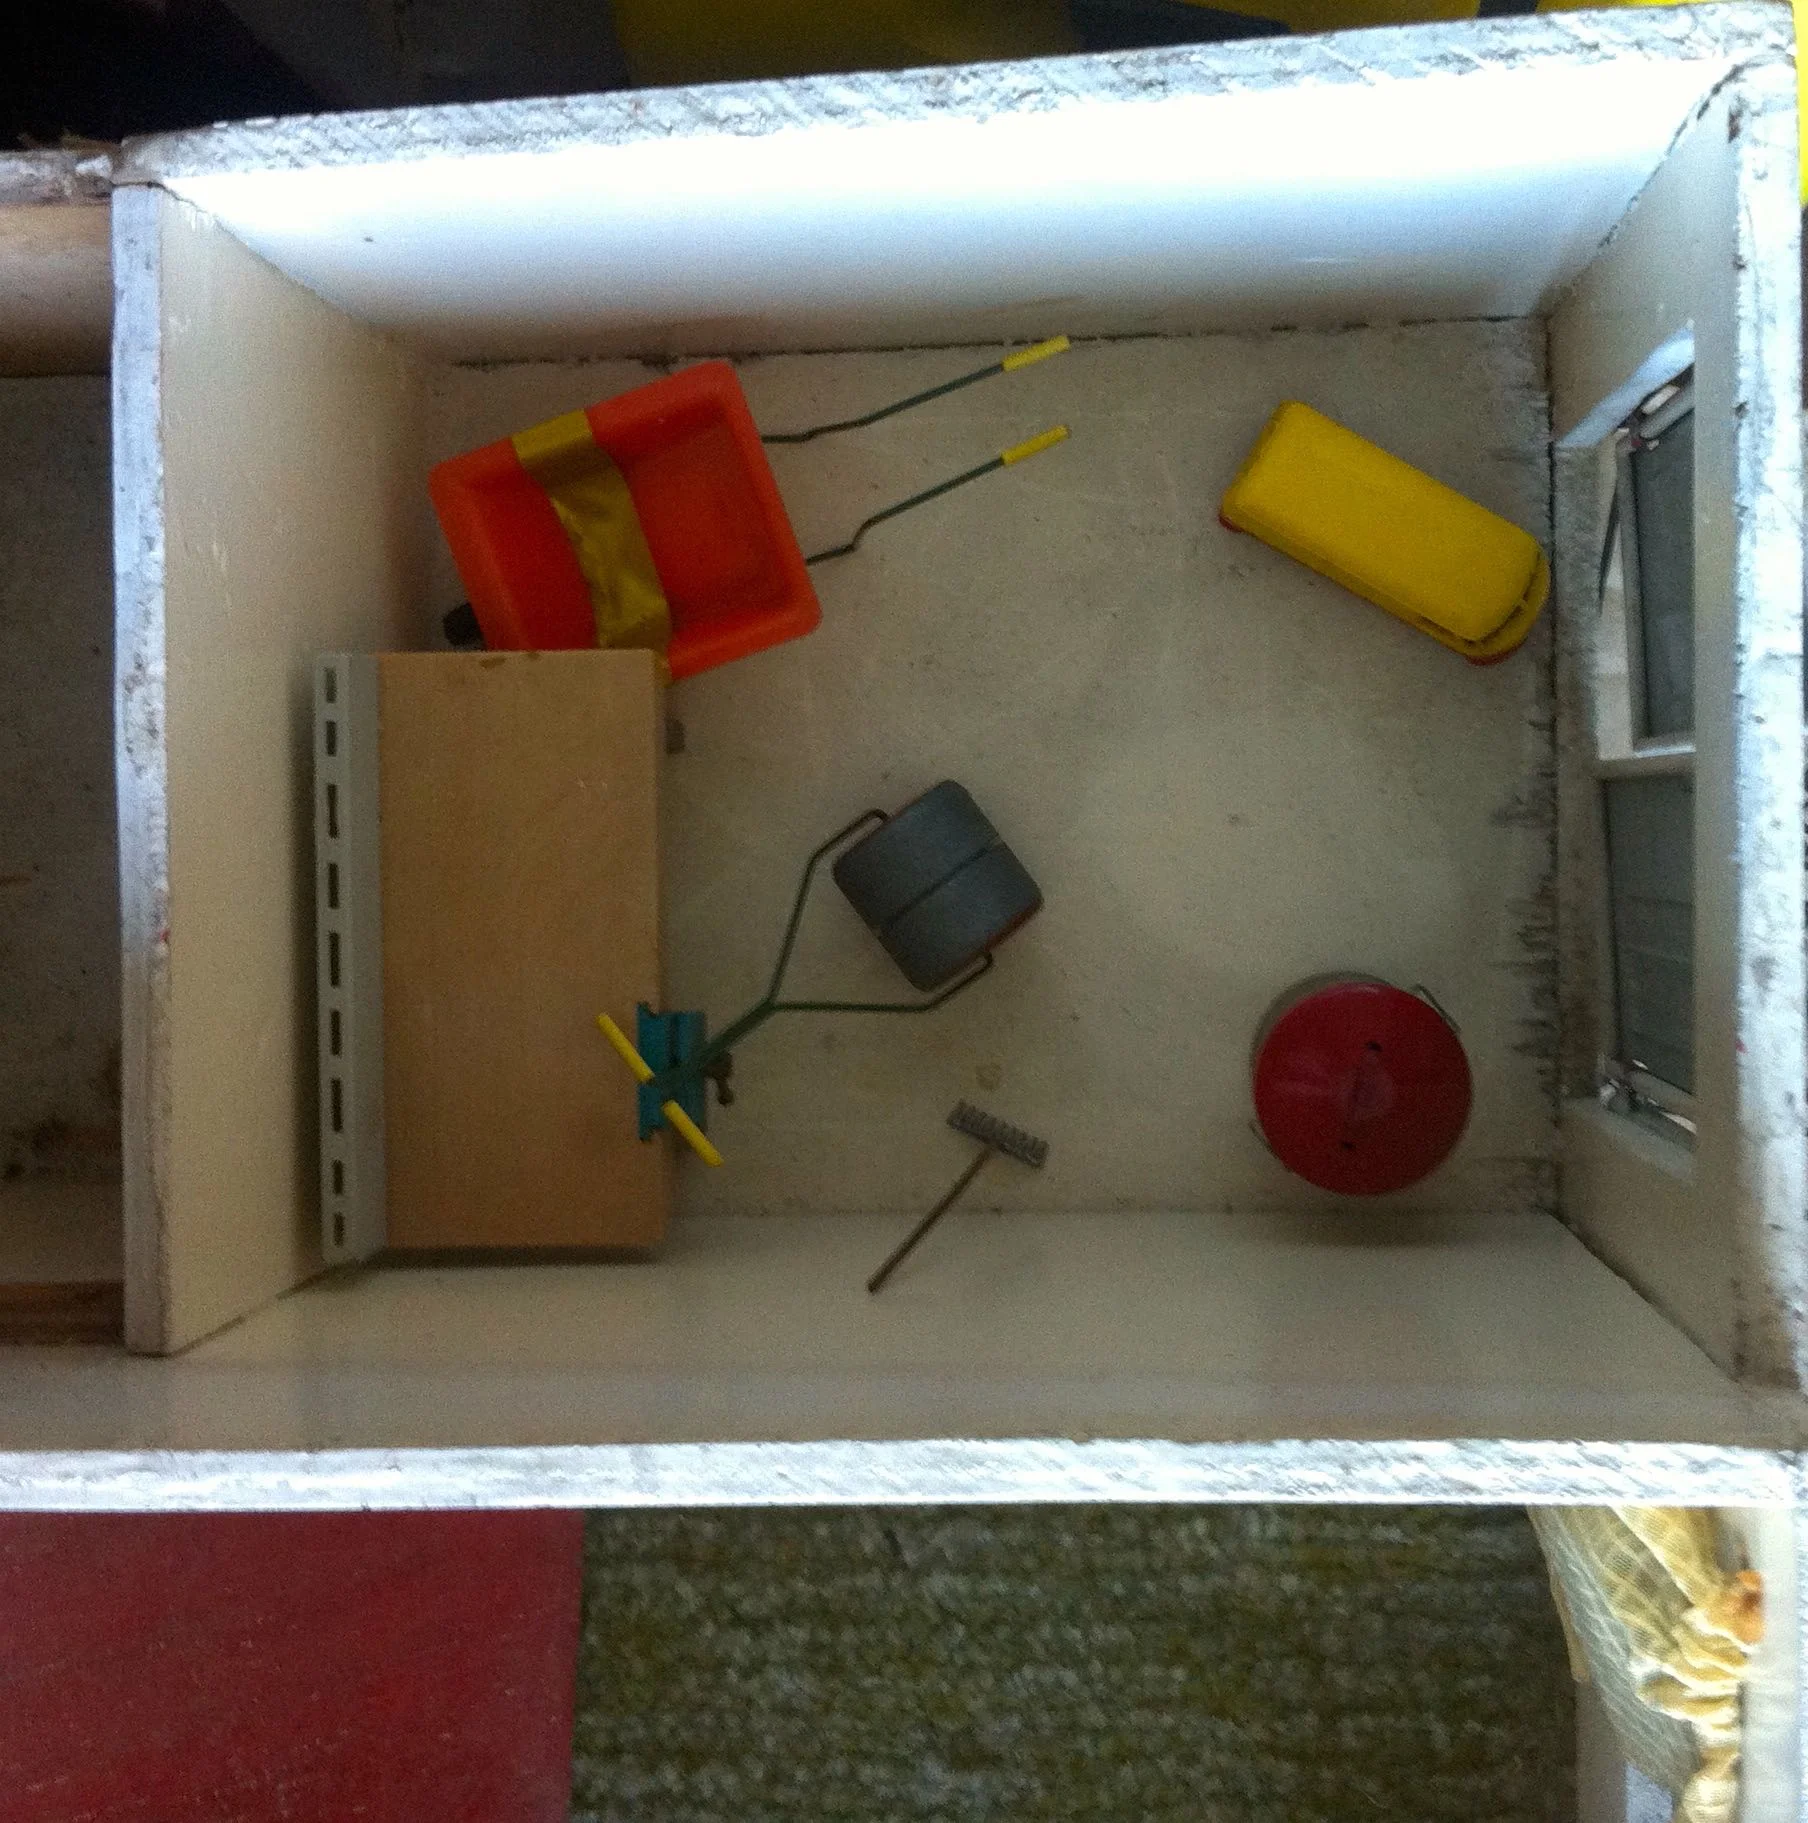
AND I REALLY DID TIDY THE GARAGE
And can you tell by the decor that I'm a child of the Seventies?
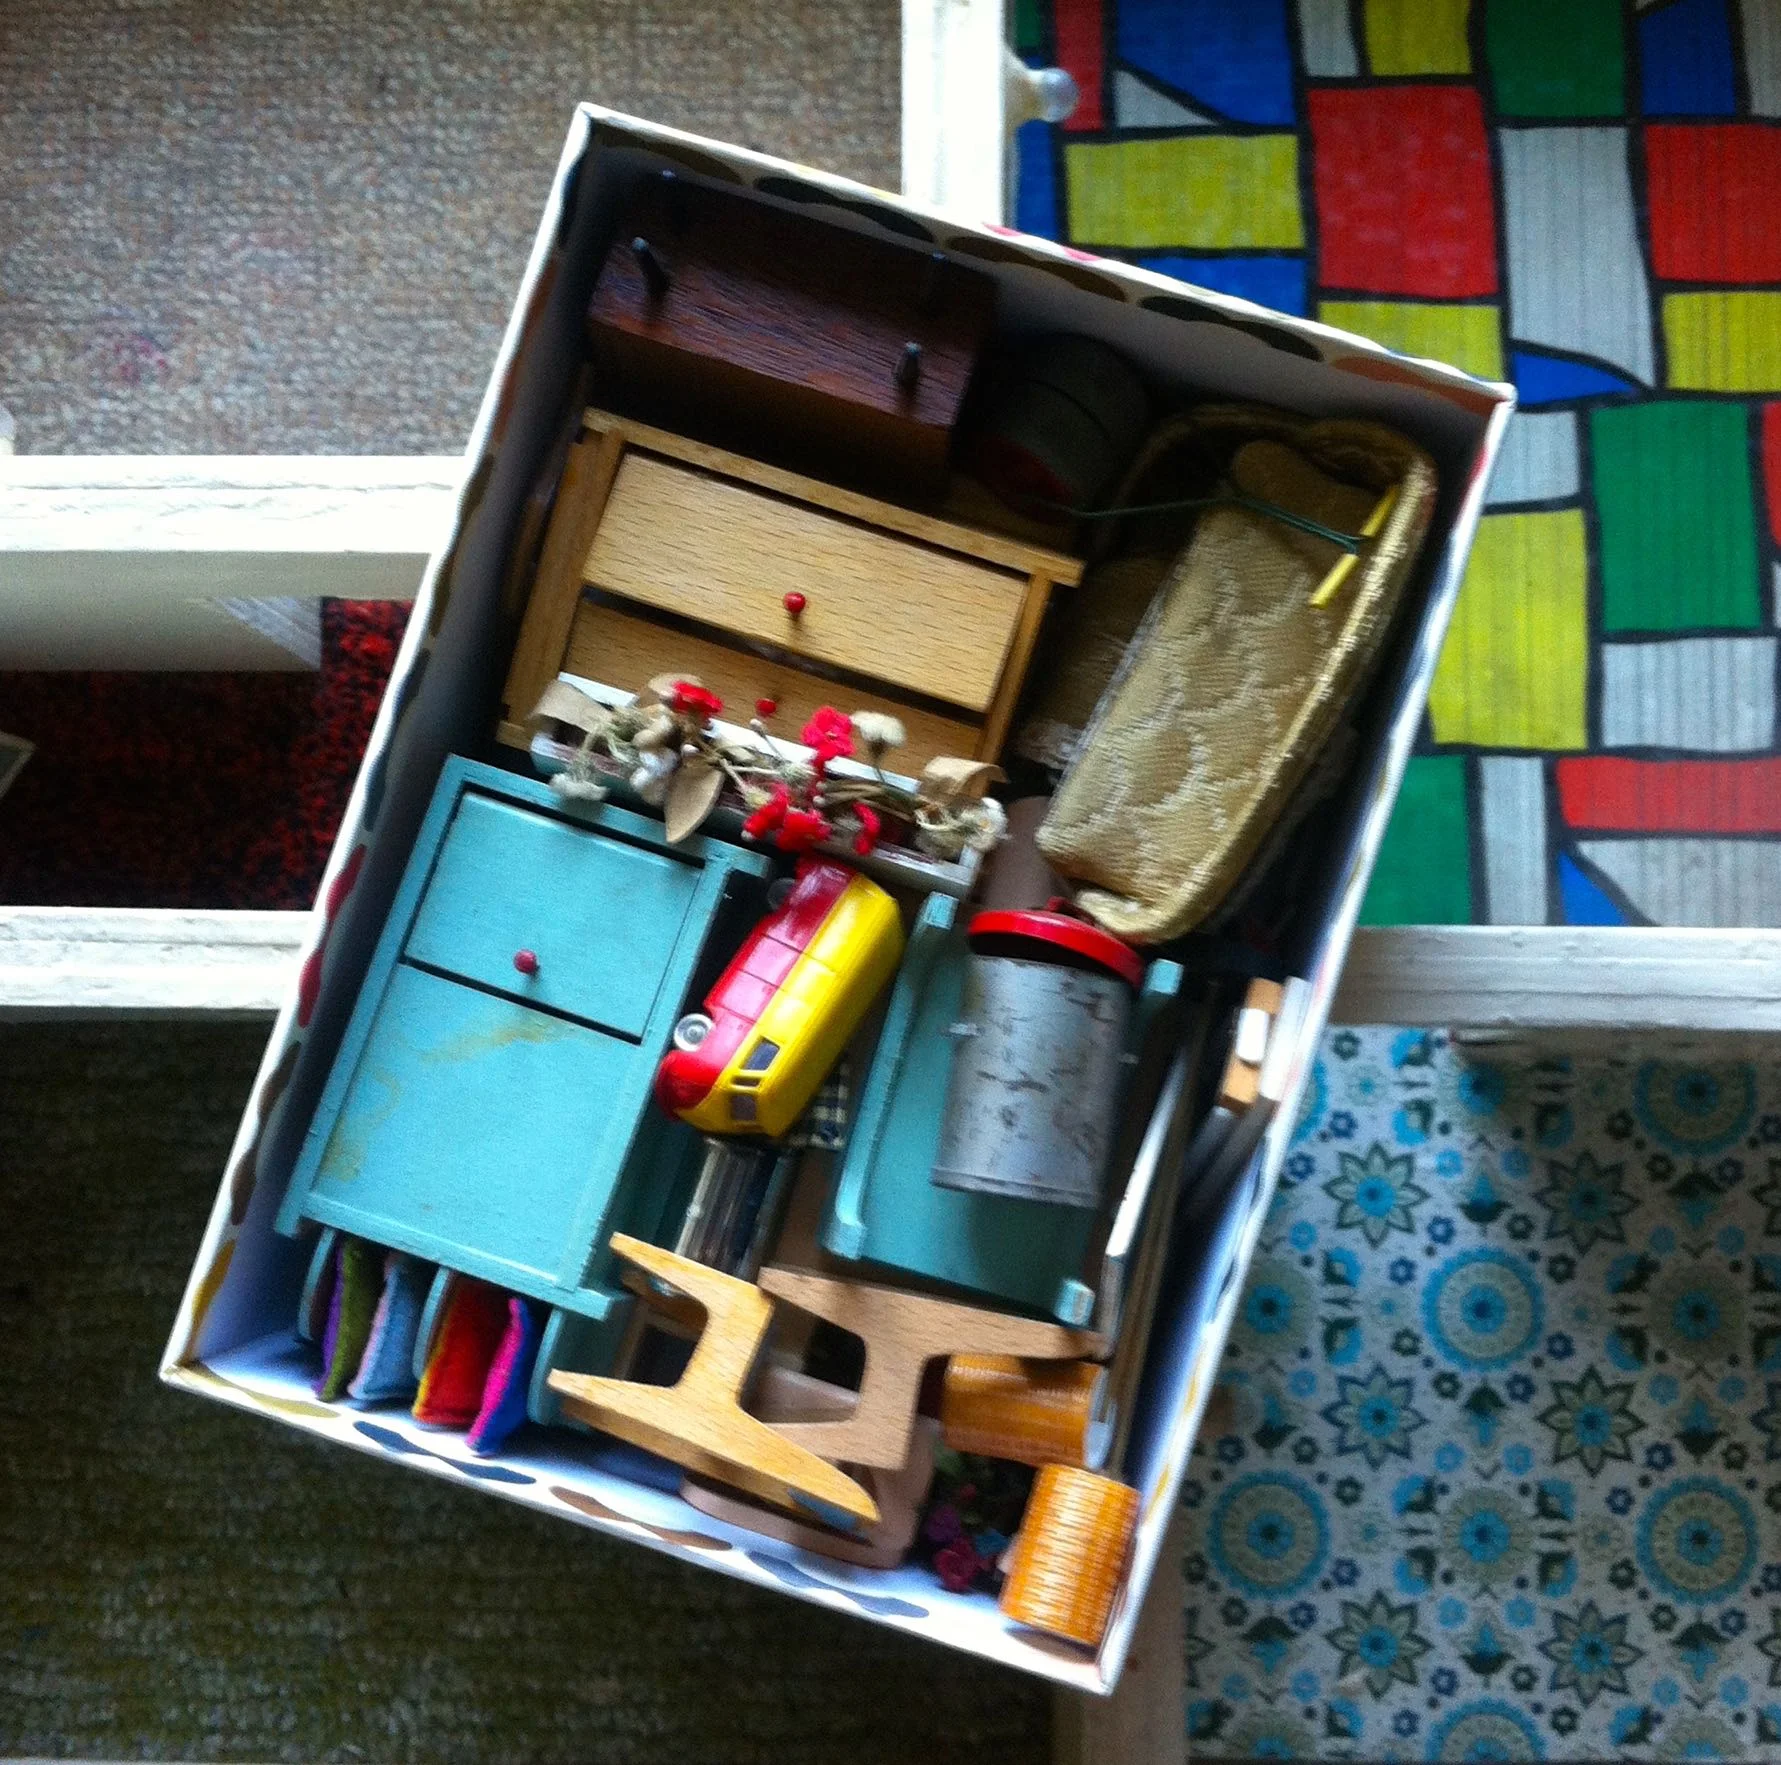

Once everything was sorted most of it was packed into a pretty storage box, and then quickly rearranged to make space for the lighting panel. So now I have a smaller box of parts of the inside and exterior of my dolls house, and of course I'll always have the memories.

Do you still have any of your childhood toys?