Hedges and huts at Houghton Hall

Houghton Hall in Norfolk was built for the first British Prime Minister Sir Robert Walpole. It's Grade I listed and is a key building in the history of Palladian architecture and is surrounded by 1,000 acres and its estate borders the Sandringham estate.

We visited at the start of September and cycled there from Hunstanton and eventually got there after a bit of drama (more on the drama here) It was a beautiful day, once the downpour happened and we'd dried out. And it's an impressive looking country house. There's plenty to do there and we hardly scratched the surface so I can see it being somewhere we'll go back to.

In this post I'm focusing on just part of what we saw, the hedges and huts. Yes there's a lot of H's at Houghton Hall.

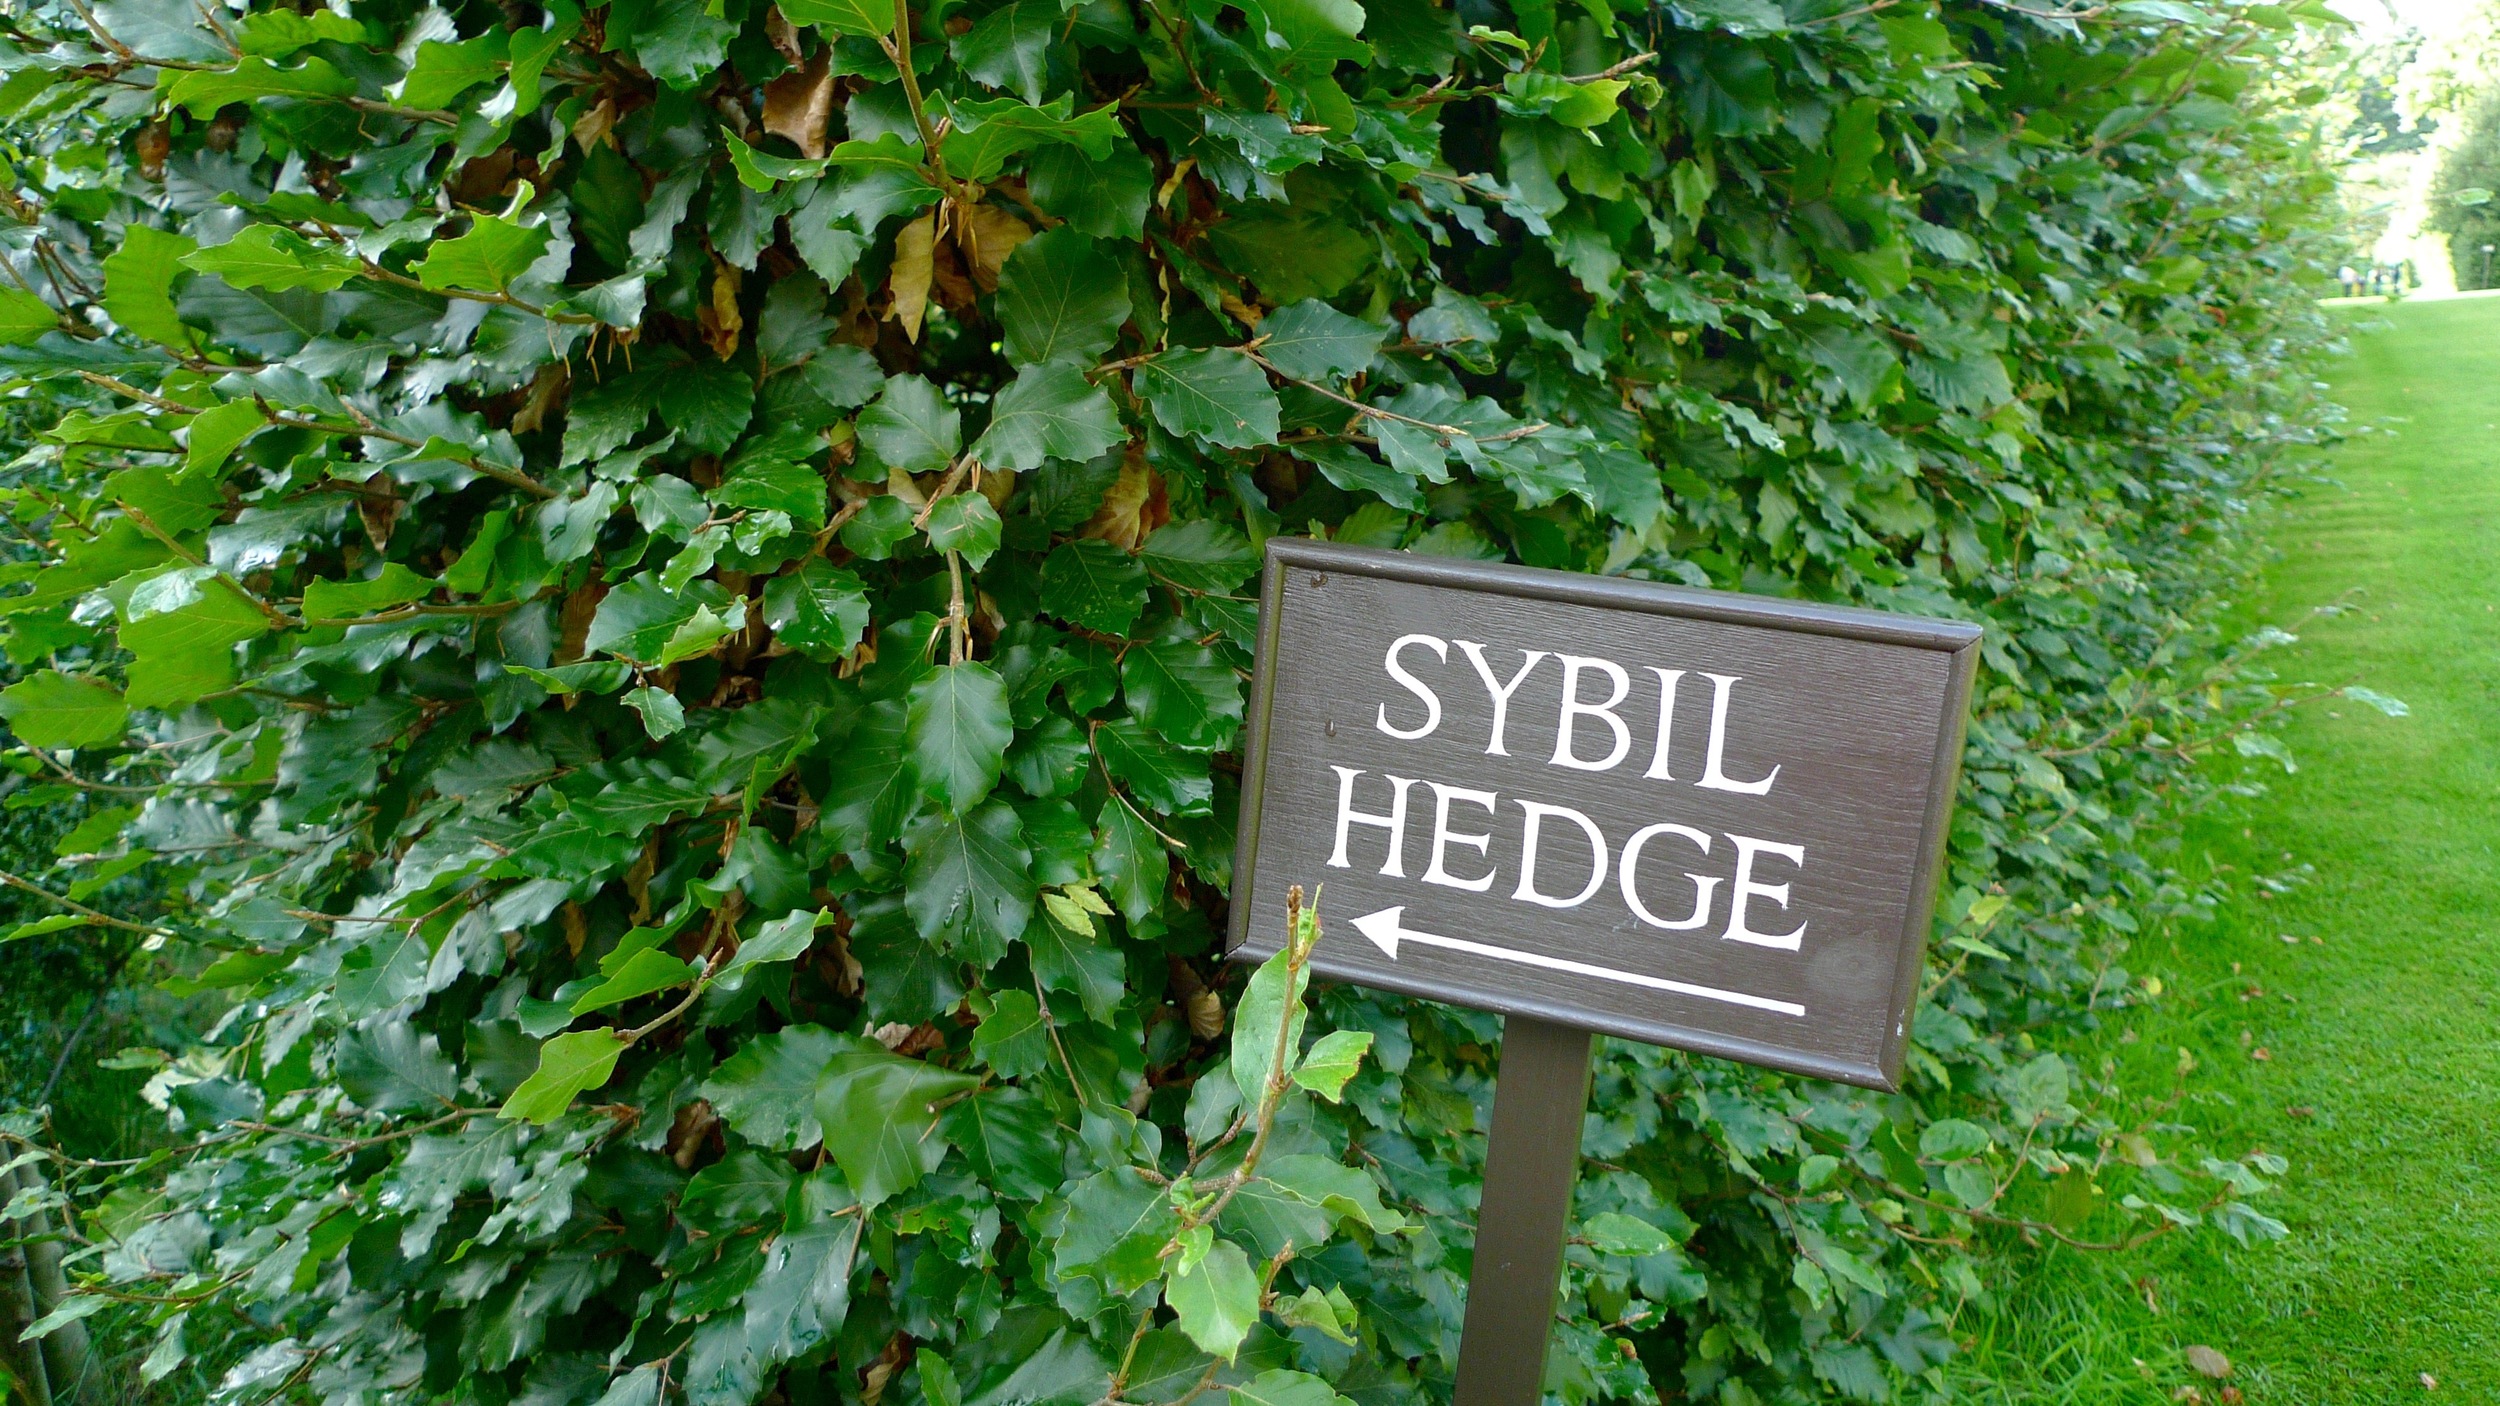
As we walked through the grounds we saw this sign. Hmmmnnn.

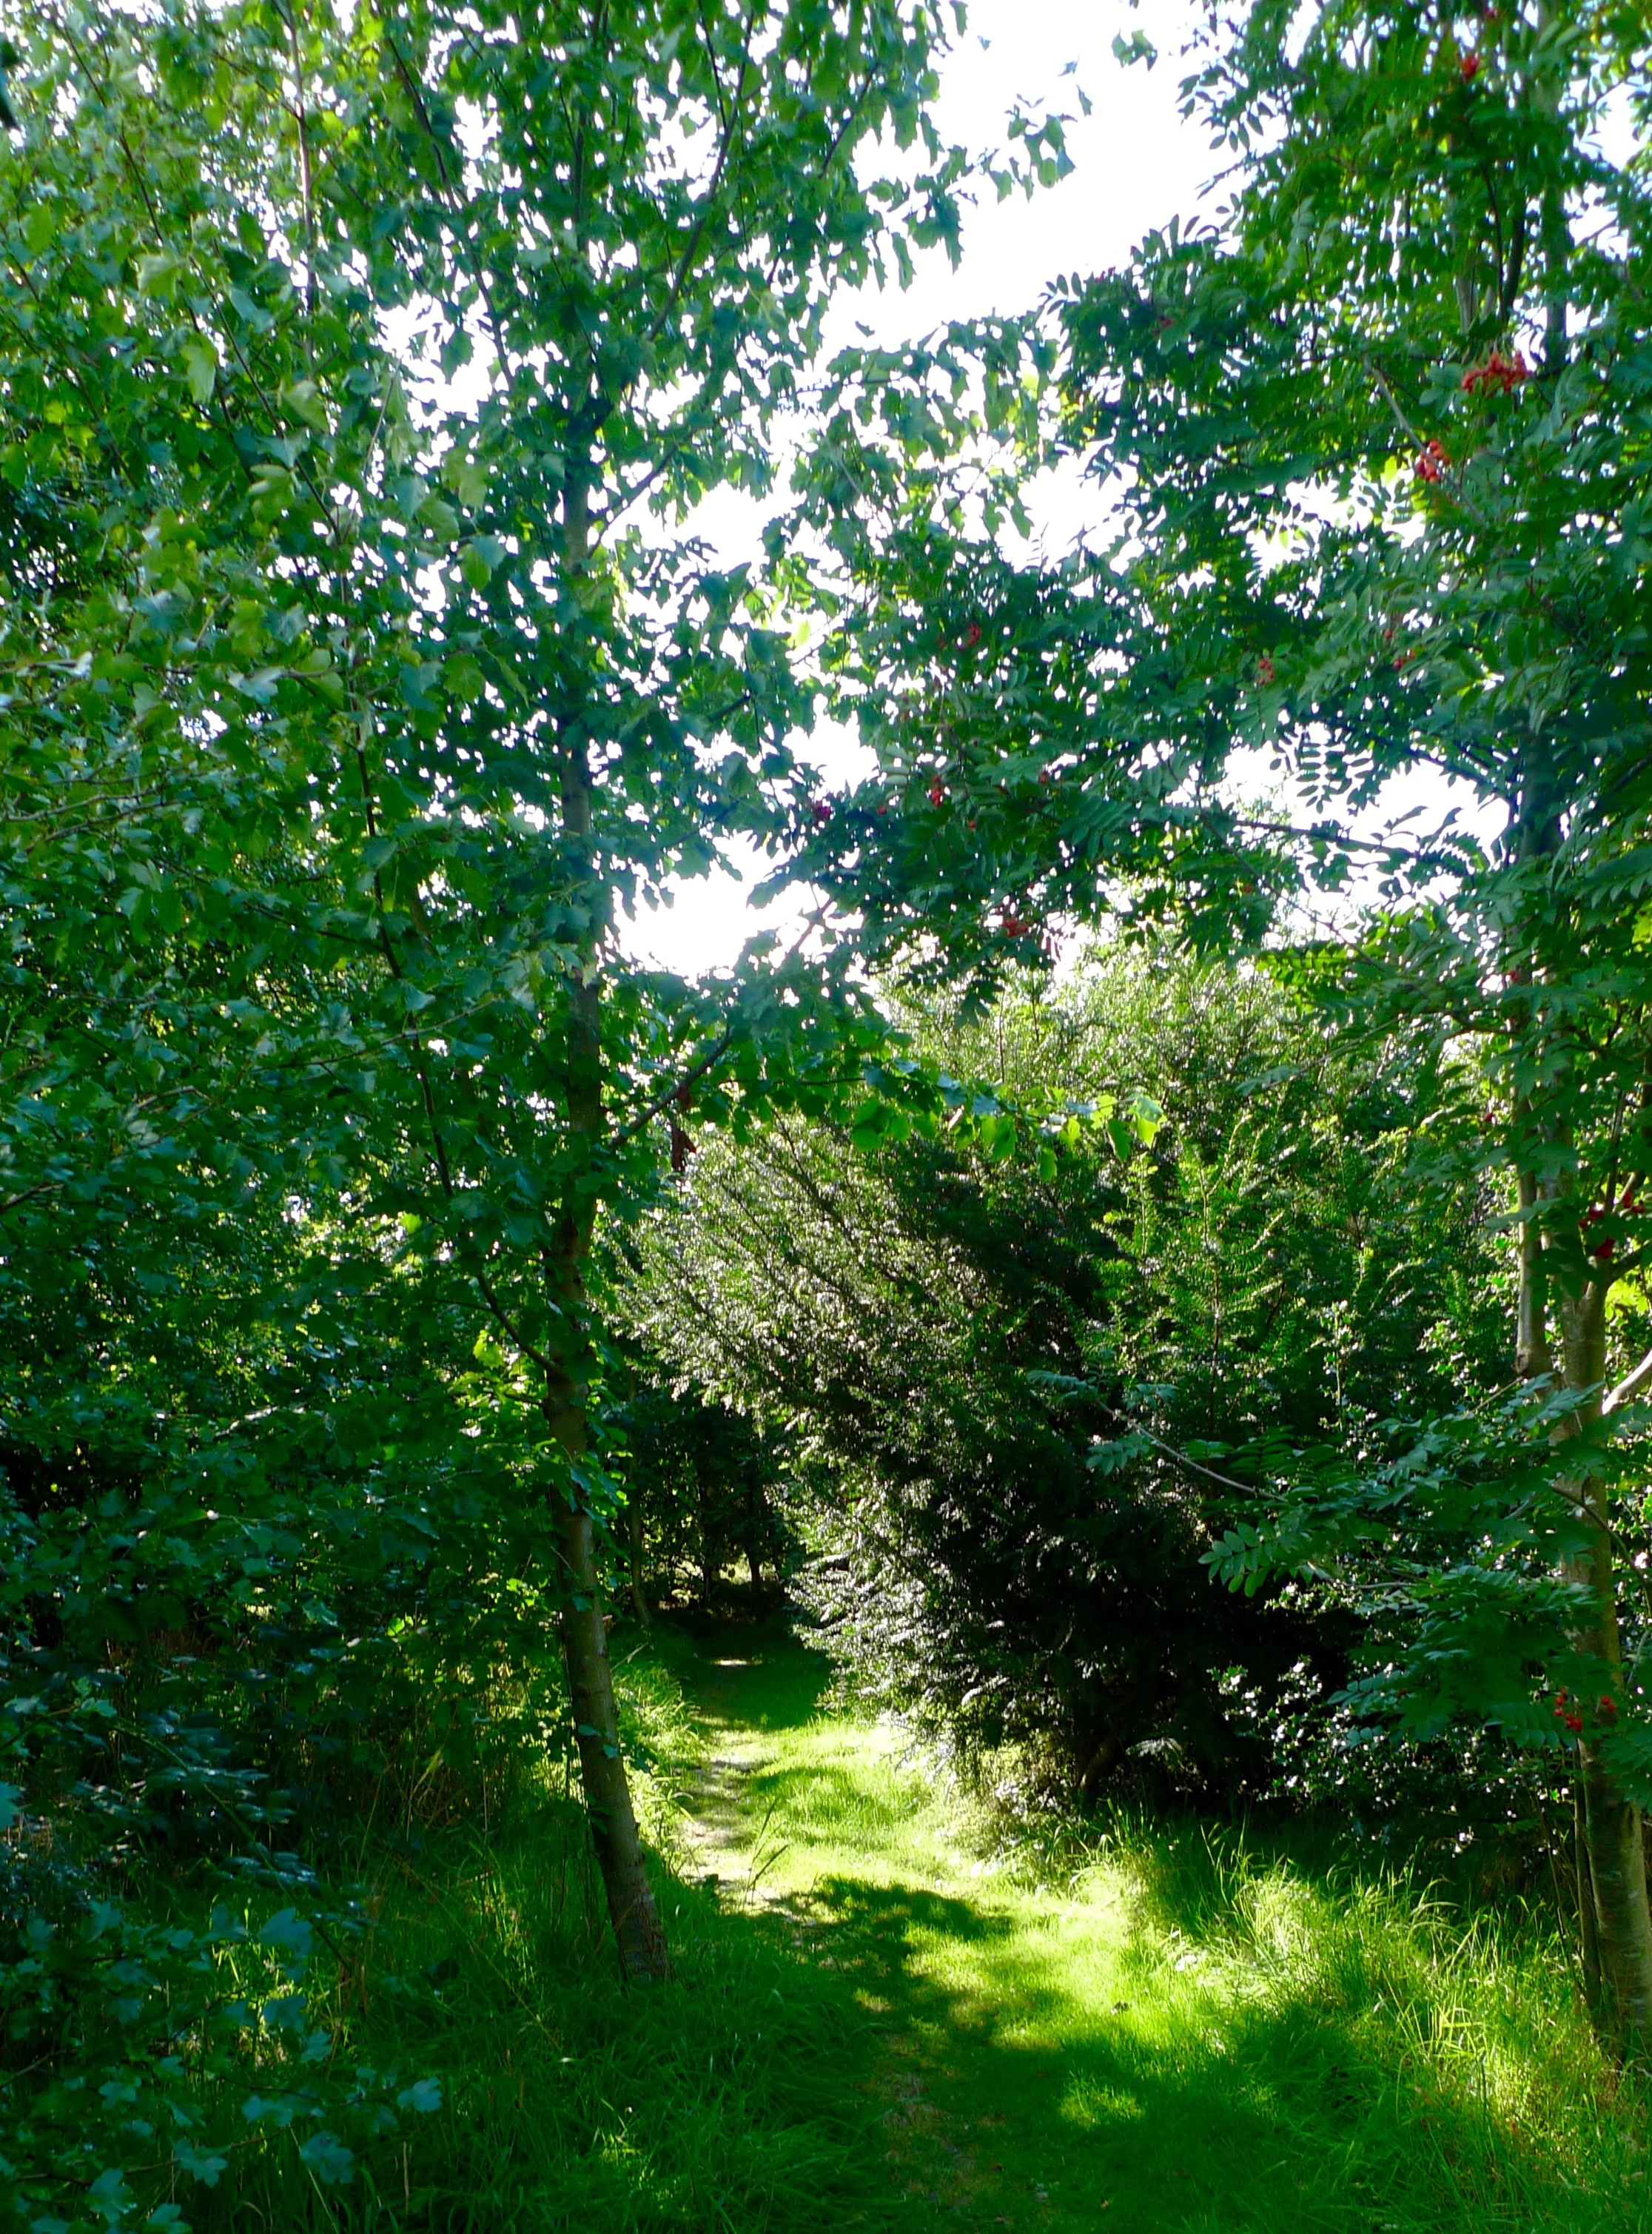
And not knowing what to expect, we headed in and found ourselves on this path.

As we turned the corner we saw this redder hedge. Assuming this hedge was called Sybil (like you do!) we explored further.

We worked out it was an S, but it's only when I looked on the internet that I saw it's a hedge that spells Sybil. My first thoughts weren't that far off after all.

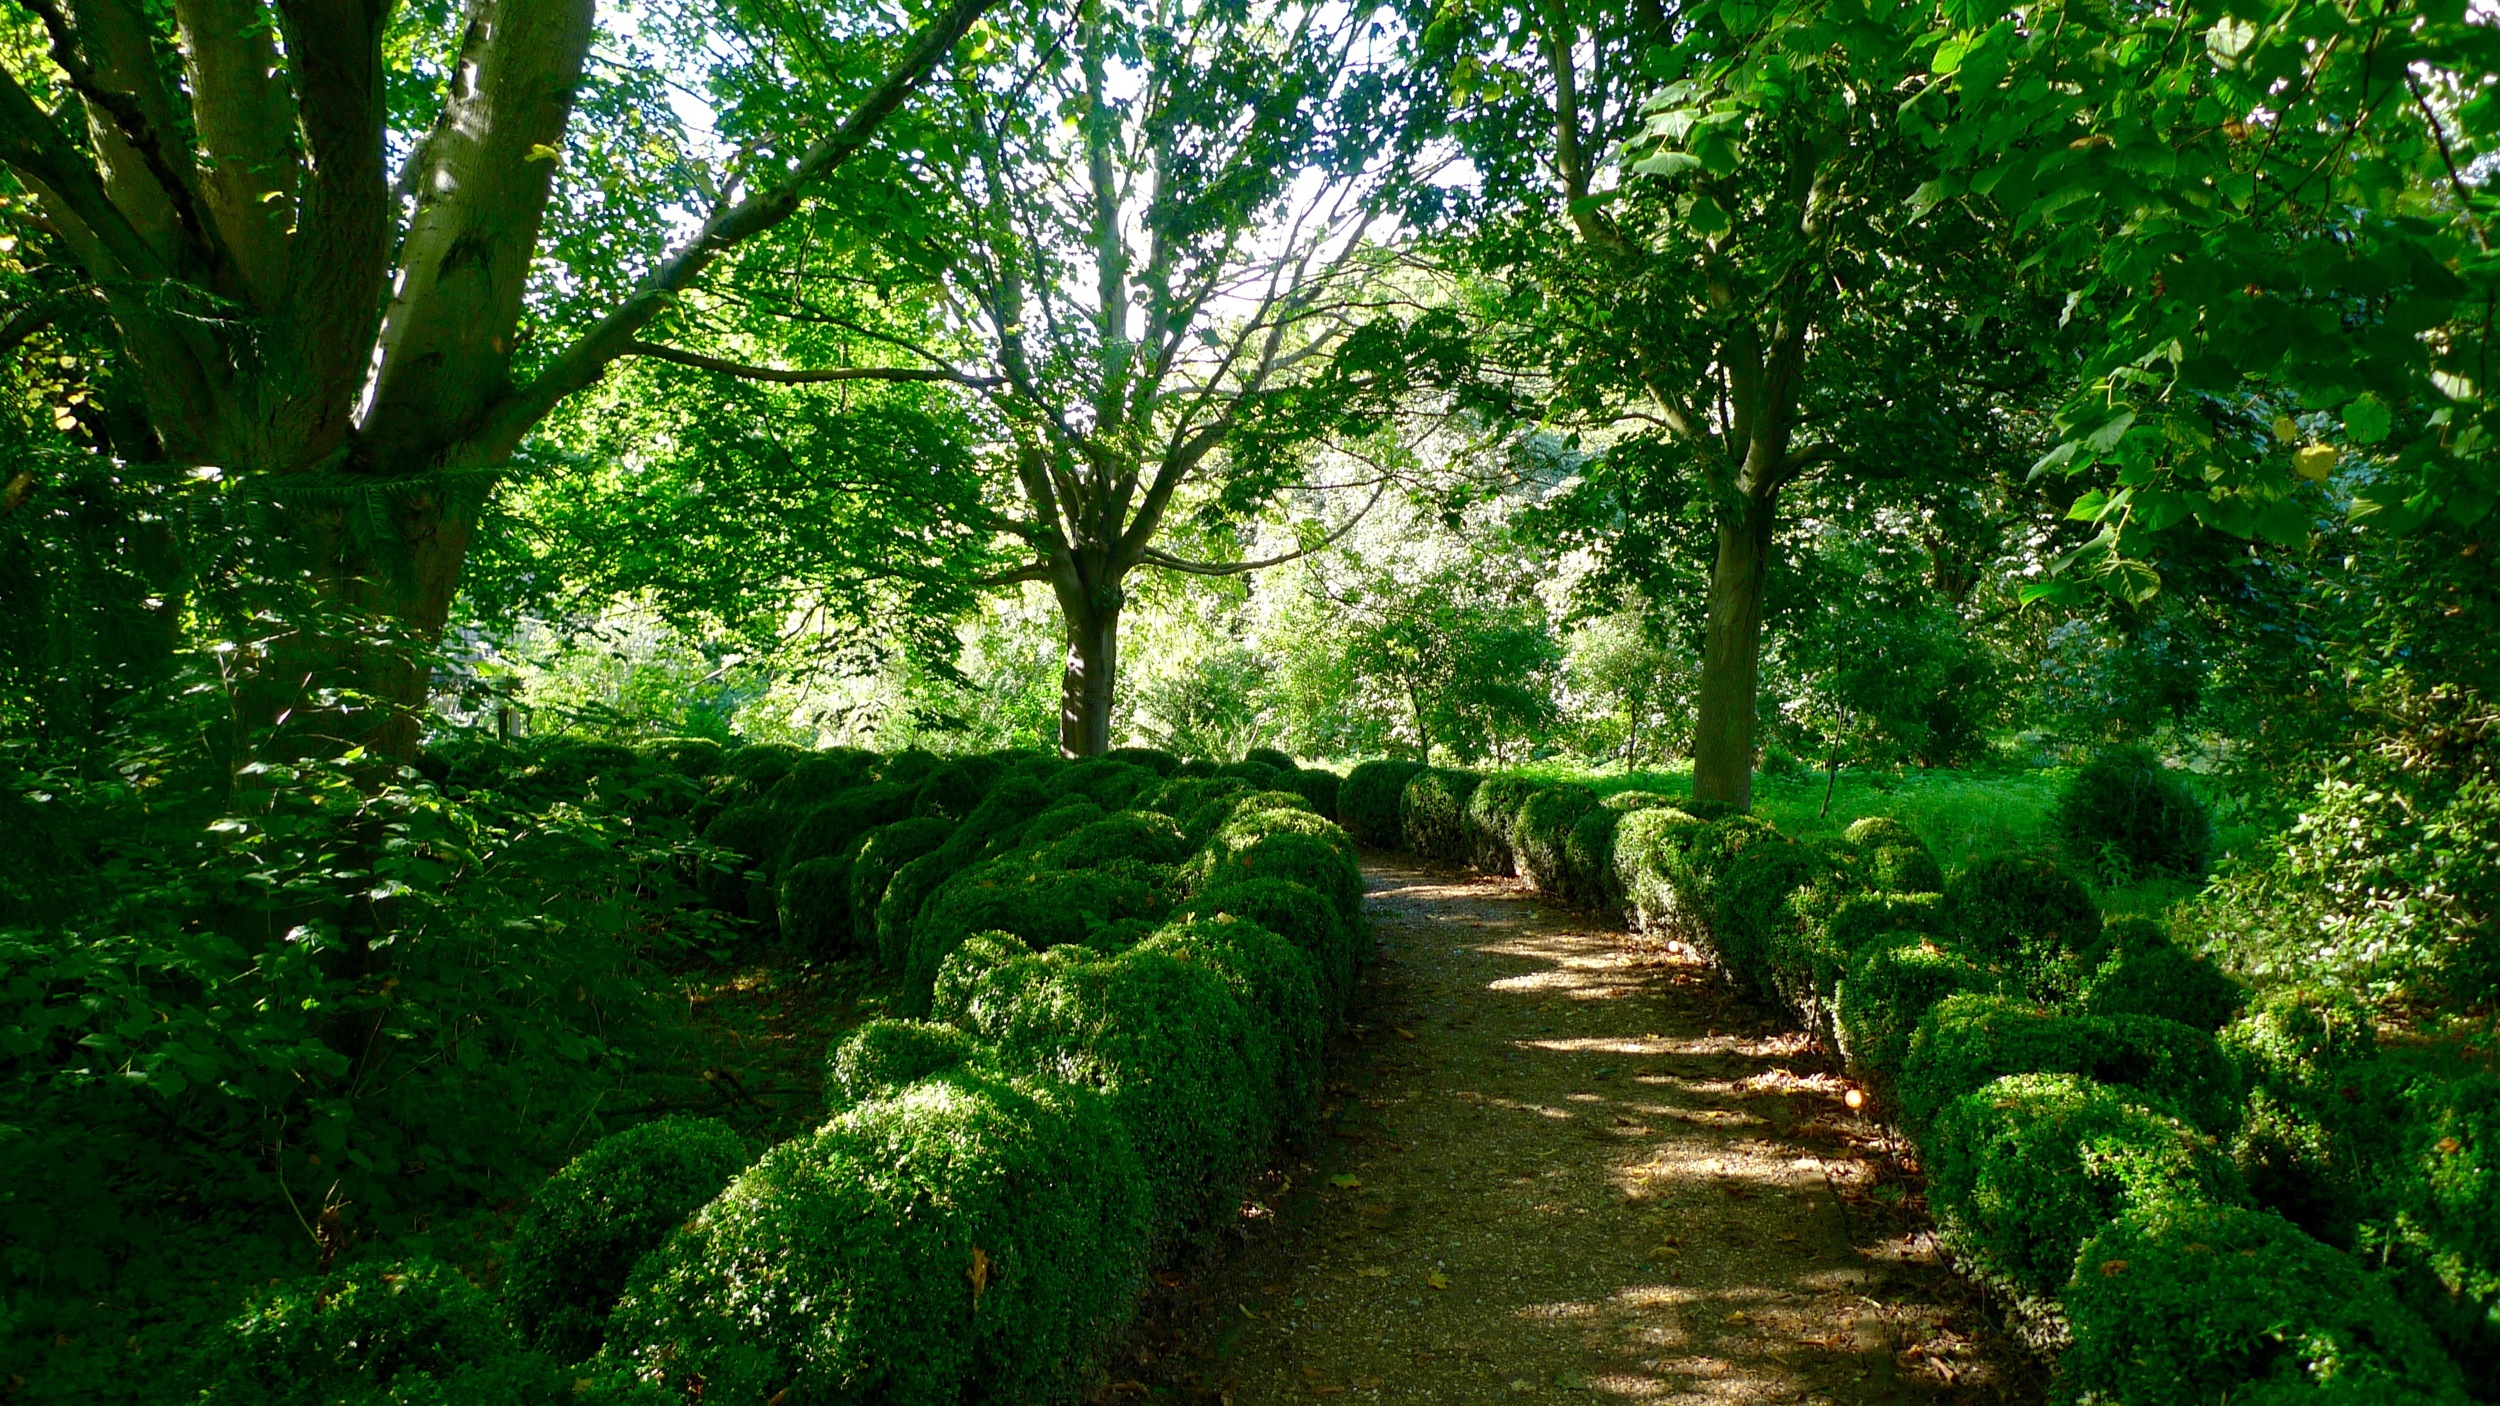
We returned to the grassy walkway encased with hedges and headed towards the Skyspace installation.  The path that led us there was edged with box hedges that merged into each other like bubbles.

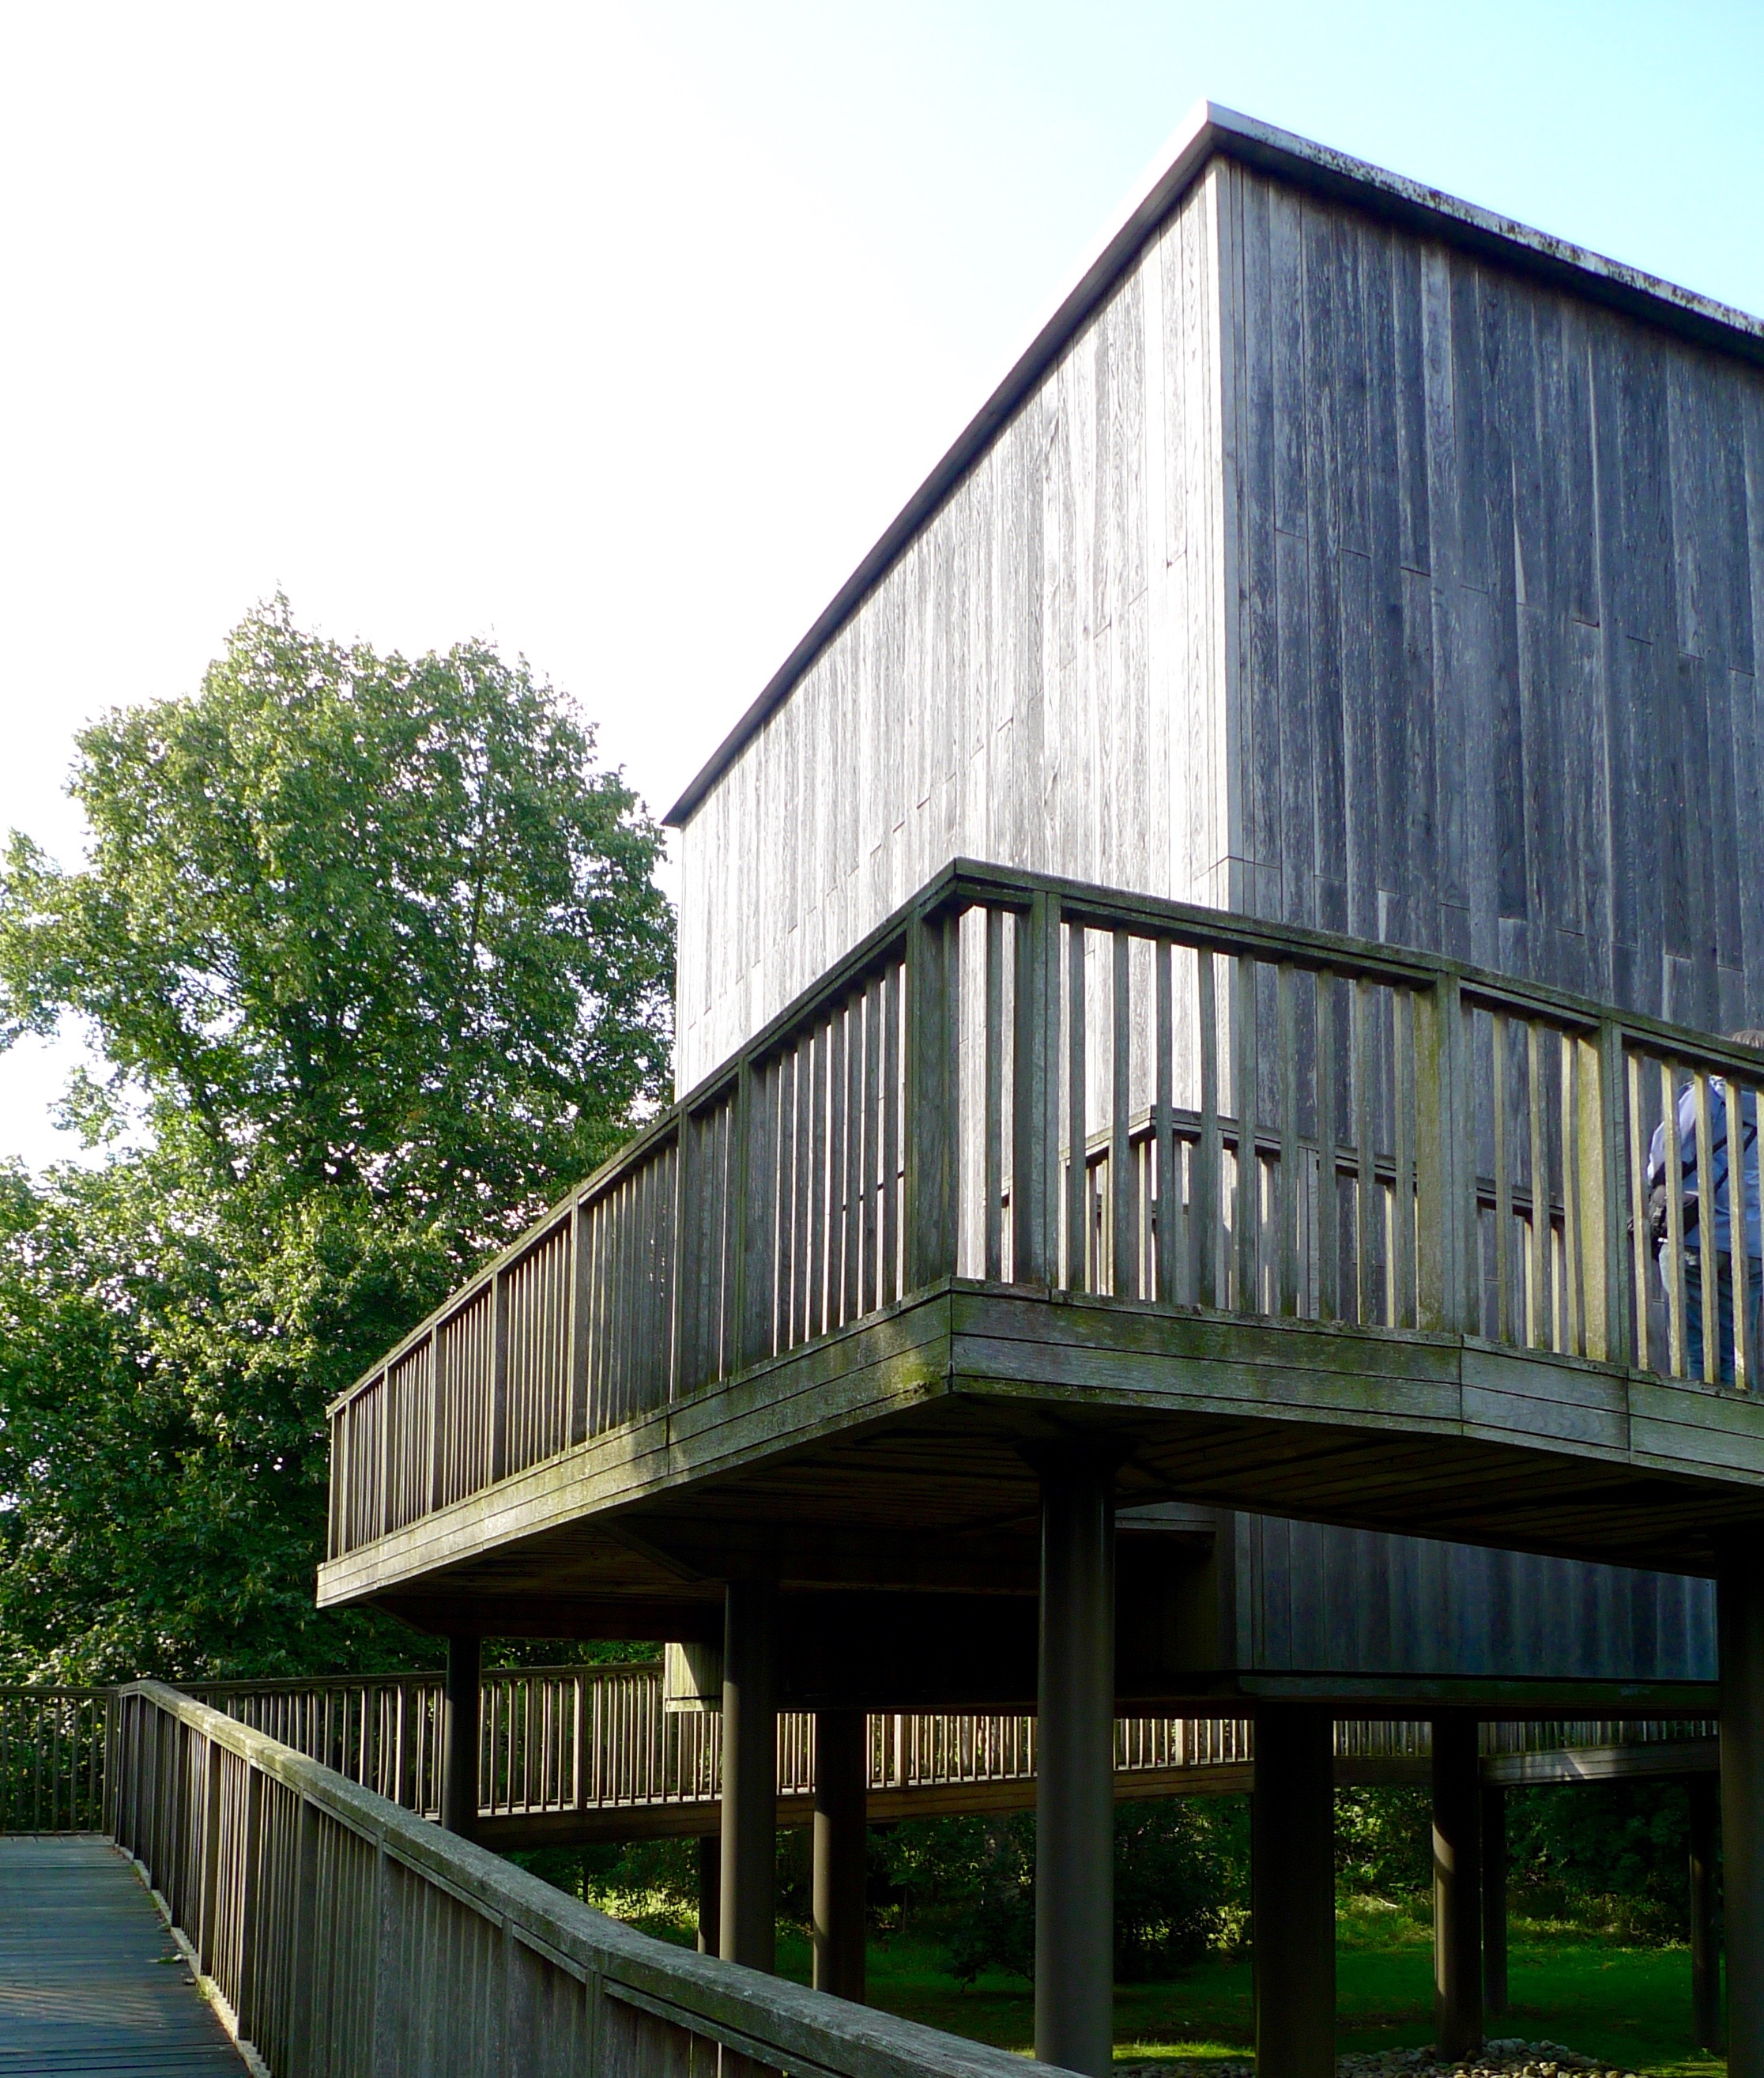
At the end of the path, there was this very large hut with a walkway around it. So off we went.

At the top there was a doorway on its own. So in we went. 

We weren't sure what to expect, but I don't think either of us expected this.

It had the sky framed perfectly. We stood there for a while just watching and wondering. Then we realise there was still so much more to see and hurried off.

This was the view along the hedged, grassy path. It was unusual, but really did lead you along.

It wasn't long though before we saw another sign and headed off towards another hut.

And sure enough, there was the hut. 

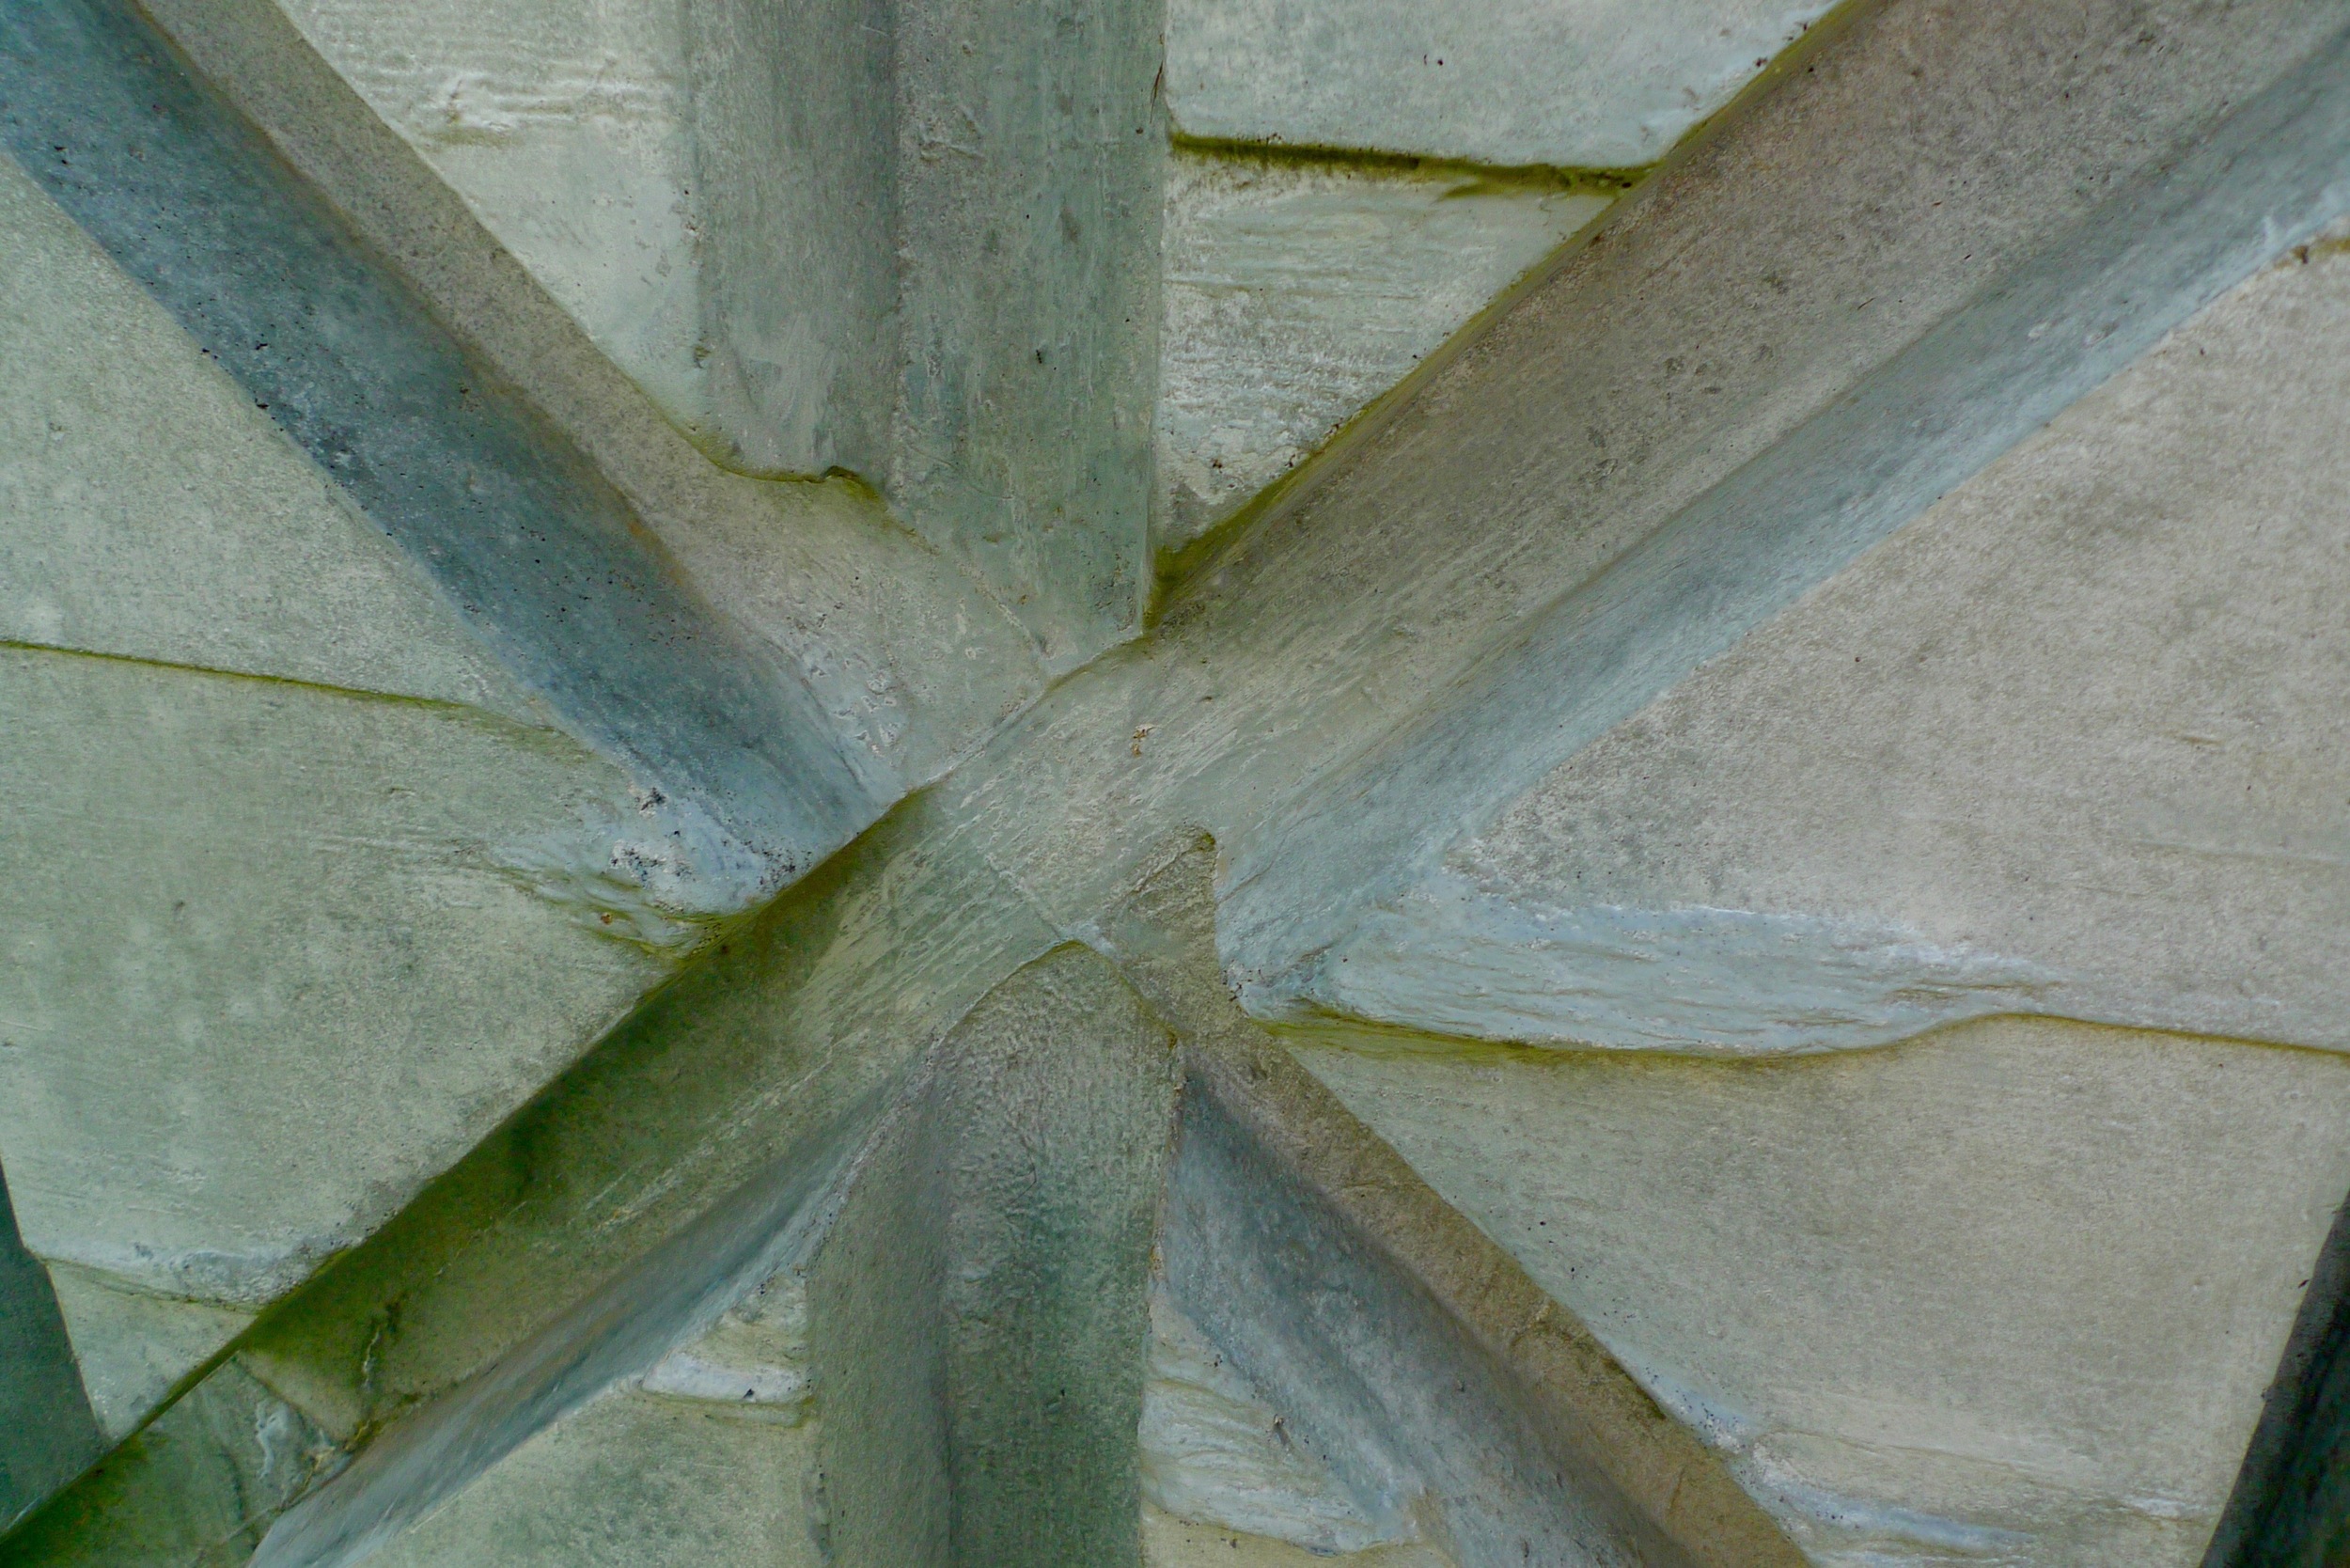
It looked like a normal garden shed and totally out of place in such a grand estate. But closer up, it wasn't quite what it seemed.

It wasn't wood at all, but what I think is concrete - I haven't found out much more about it yet. To me, it looks as if a shed has been filled with the stuff and then removed to leave the hut - what do you think?

Either way, this part of Houghton Hall - part of the Sculpture Park - was interesting, thought inspiring and most unexpected. It was somewhere that brought a smile to my face, and there was lots more to see before cycling back - but I'll save that for another day.

Mammasaurus


Our World Tuesday

Decorating our spare bedroom

Today me, my blog and our spare bedroom have been featured on Wayfair, the online home store, in their Inspiration section - see How to Adhere Wall Stickers Like a Pro. Below is an image of the finished room, to see how I stuck the wall art, pop over to Wayfair.

wayfairinspiration.jpg

It was quite a job getting the room looking so good. Not only had it become our dumping ground for just about everything, there was also a box we hadn't unpacked since we moved in nearly thirteen years ago (whoops!) and we'd had a bit of a leak above the window. Yes the leak was on our middle floor, but it's all fixed now thankfully - but it did leave us with an unsightly corner.

OUR UNSIGHTLY CORNER!

OUR UNSIGHTLY CORNER!

Those curtains too had to go - they were hung when we moved in, and had come from my bedroom in my last house.  You'll remember we got a lovely wooden venetian blind to replace them. Much, much smarter!  

Even with the wallpaper repaired there was still a way to go to get the whole room looking fabulous, and we also had to tackle the floor. We decided to go for sanded floorboards, so it was out with the carpet, the hardboard and the gripper rods.

Thankfully the floorboards weren't too bad and I spent a few hours pulling out all the tacks before the professional sanders came in. When they left, this is what our floor looked like:

What an improvement.

With the floor done and dried MOH's job was to add beading between the floor and the gap in the skirting board - a tricky cutting exercise with so many corners in one room. It took him most of one Saturday morning to complete - and in that time I'd painted three walls and done the seemingly never-ending job of cutting in, in Farrow & Ball's Skimming Stone. It's a colour we have throughout the house. This works for us as it brings continuity as you move through our rooms and it also means we have less tins of paint to store in the shed!  

The fourth wall - and the largest by far - is painted in Farrow & Ball's Dove Grey, which we've also used in our bedroom on three walls (in there we have wallpaper on the largest wall). With the painting completed it was time for the bit I was looking forward to, adding the wall stickers.

Here they are with MOH's 40th anniversary Naim posters which I had framed by Bernie at Bromley Picture Framing. He did a great job - at short notice too - and I'm really pleased with them and I'd go there again, especially for large pictures. We had planned to use IKEA frames and bought the Stromsby variety. However they aren't truly A1 size and so there was an uneven border of white showing around the edges, and then there was the small matter of not being able to get them to hang on the wall!

Seriously, one evening we spent more time than I ever thought possible trying to hang a very large picture on a single screw, which we discovered barely fitted the hole in the fitting.  Neither of us were convinced it was safe, even if we managed to get all three up on the wall - and it was a big if. And after trying to hang one picture for at least two hours, we gave up!

With the now custom-framed pictures hung (much more easily too), now it was time to unbox and start assembling the maze of cardboard boxes we'd stuffed into my Clio on the Friday night. We bought four Kallax units, a couple of drawer inserts and twelve door units. Let me tell you that's a lot of assembling. Each unit has twelve storage compartments - we joined a 4x2 and a 2x2 together, more on that another day though. One unit is for MOH's records, our DVDs and some tools.  The other one has been dedicated to shoes - mostly mine and it's glorious!

So that's our spare bedroom done - and another room ticked off the list. What dou you think? 

Home Etc

Thank you to Wayfair who provided the wall art stickers for this project.

My IKEA hack: HOL storage table to laundry basket

A while back now I bought an IKEA HOL storage table with the intention of converting it into a laundry basket. When it arrived MOH set to work putting it together, and he did a great job.

And it soon made it upstairs and filled the space in our bedroom, the one that if our bedroom had been a hotel room then it's the place where the suitcase rack would be....

And for a while, that's how it stayed. For quite a while actually until I remembered that one of my aims for this year was to master my sewing machine. That prompted me to dig out my sewing machine and finally get around to sewing a liner.  And in case you're wondering the picture that's resting on it in the photo above now hangs above it on the wall, and is a good match for the colours we have in our bedroom.

On a trip to the large orange DIY store I bought these brackets and some dowel to rest in them. The brackets are actually for a wardrobe but they work just as well here. The dowel was cut so it's easy to lift it out of the bracket.

The liner is made from cream lining fabric and is in essence a rectangular box. I measured and measured and then cut the material to size - one of these days I'll advance to using a pattern I'm sure!

I added three tabs with contrasting stitching to thread the dowels through and to ensure the liner stays in place. Using the pinking shears gives a nice finish and ensures the material won't fray either.  As it's easy to slip on and off the dowels it means if it gets a bit smelly then I can easily wash it too. 

And so, there you have it a fully functioning laundry basket - photographed thankfully sans dirty washing!

How to you adapt your IKEA purchases?