







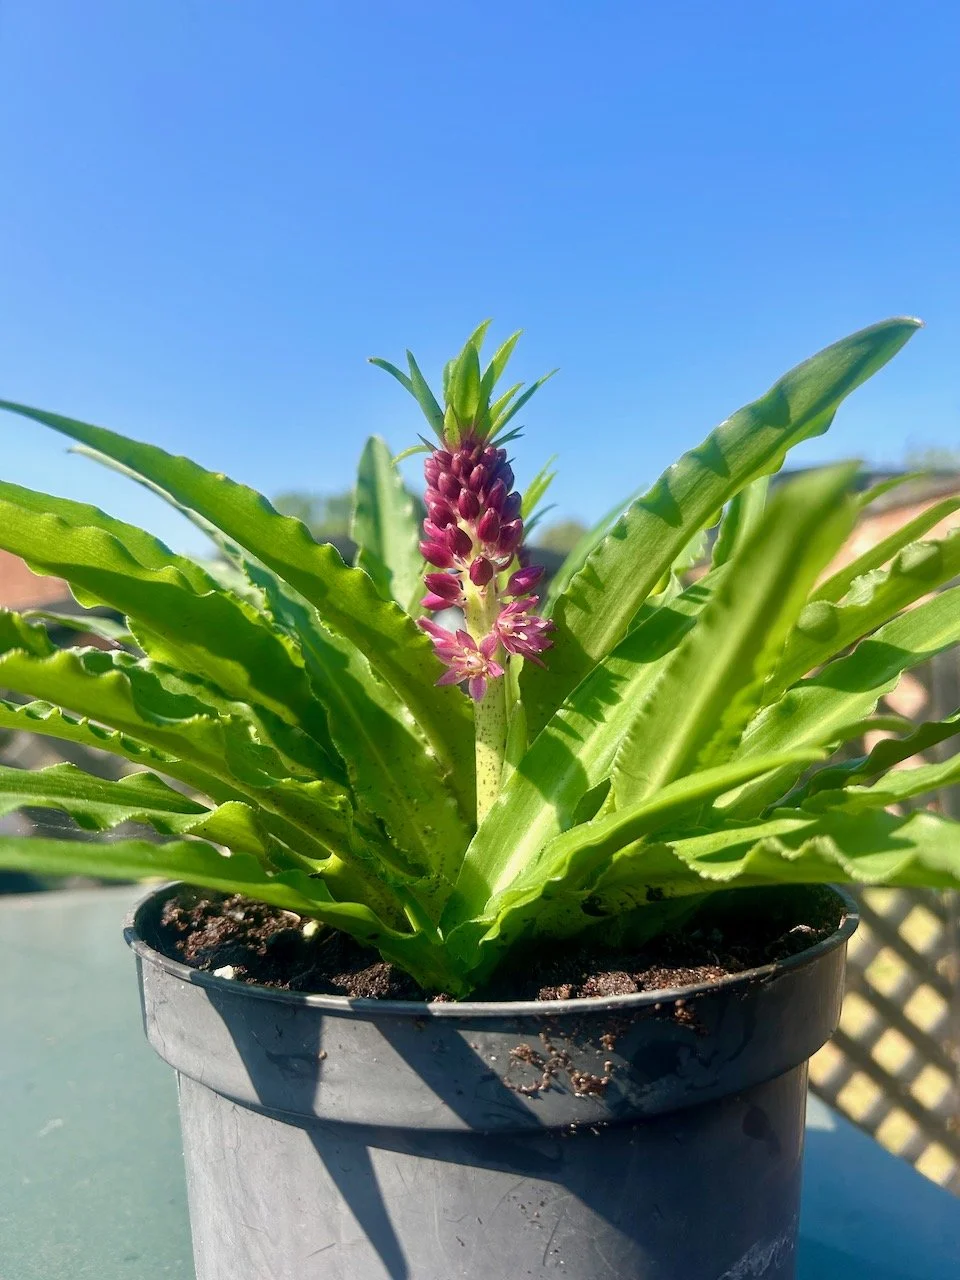


Getting my garden summer ready with help from Tesco and advice from Katie Rushworth

It'll come as no surprise to you that I've got a bit of work going on in the garden. Actually, more accurately, we're undertaking quite a lot of work in our garden, and you'll have read all about our circles, but there's more. There always is, isn't there?
There's a couple of areas at the back of our garden that we've never quite mastered, despite trying a couple of things. So even with all the work we're doing, and all of the established plants we have, even we have some problem areas. So when the people at Tesco gardening got in touch and offered me help to get my garden summer ready, including advice from Katie Rushworth from ITV's Love Your Garden, and with the date for our 110th party looming, you can imagine how keen I was.
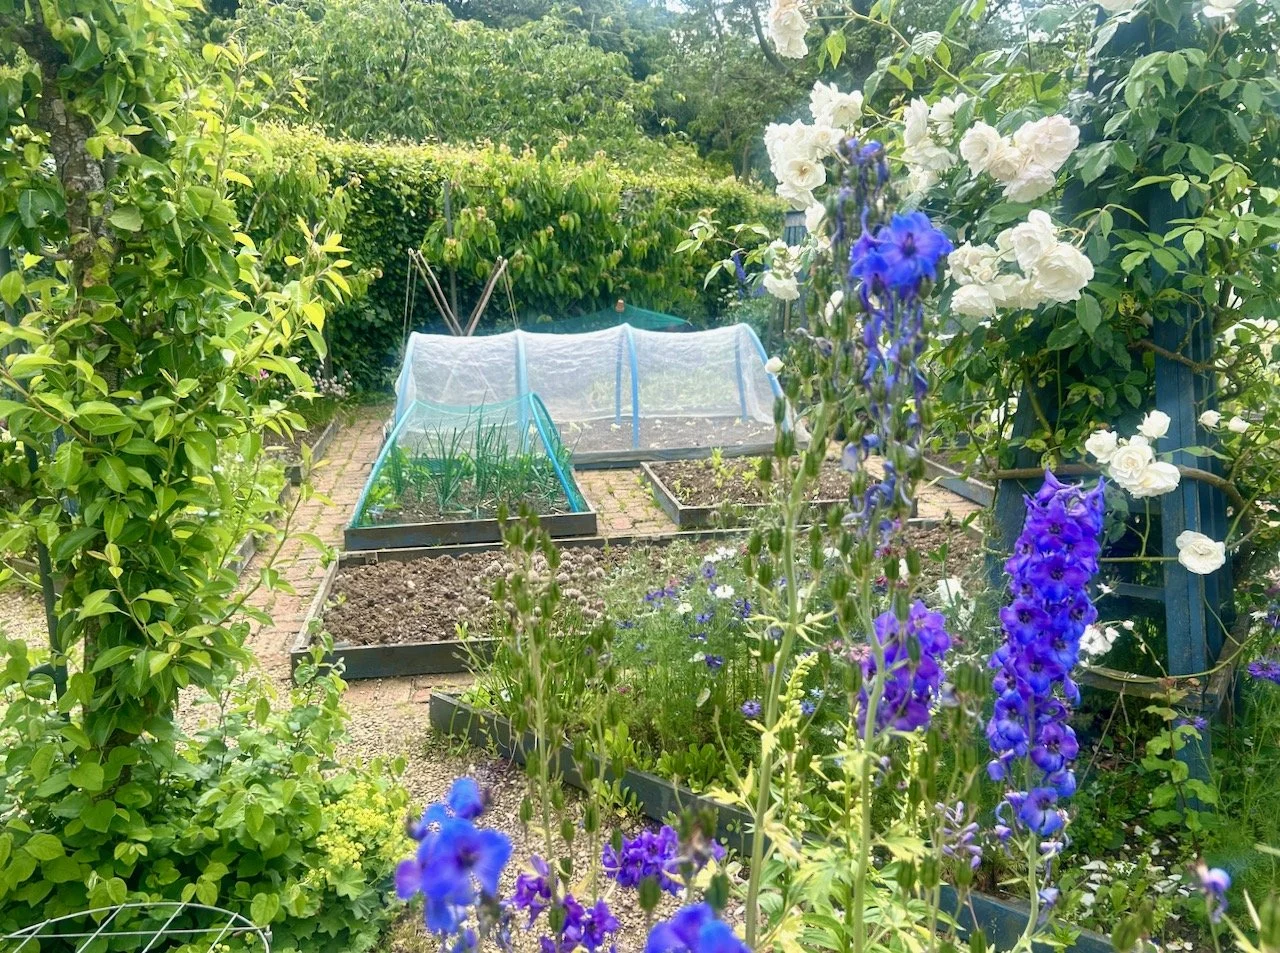
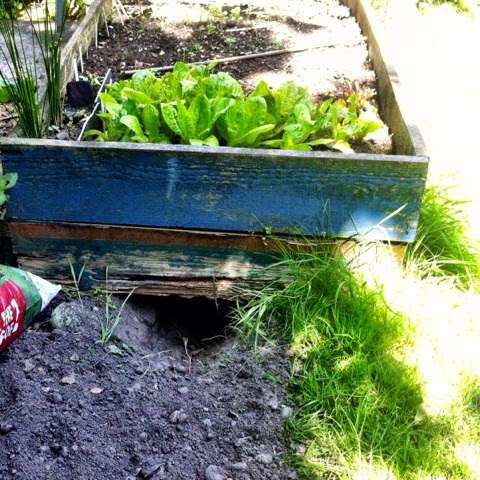
OUR VEG BEDS BACK IN 2014

OUR VEG BEDS BACK IN 2014

It was a real opportunity to get some pro advice on these areas, and I was surprised at how much advice Katie managed to cram in during a thirty minute phone call. But before I get to that, let me tell you more about the areas I was keen to get advice on.

Problem area #1

It's the area where we used to have our veg beds, but since we got our allotment a couple of years ago they've been redundant. We dismantled them and the parts that weren't rotten have been put to use again on the plot. 

In the garden they took up a relatively large space, and it's the part of our garden where I planted the small Christmas tree and where we installed some trellis to grow jasmine on.

I wanted a relatively large flower bed here in its place, and one that was in proportion with the rest of the garden and my thoughts immediately went to the plants I could have in it. But I knew that I couldn't get too carried away with the planting as more substantial work needed to take place first.  

But what.

The second part of this problem area is around the lilac. The lilac sends up plenty of shoots, as they do, but they're not really the problem. The real problem is that the soil level is higher than the paving. We've had wood around this area in much the same way as the raised beds, but that's rotted and crumbled and has long been disposed of.
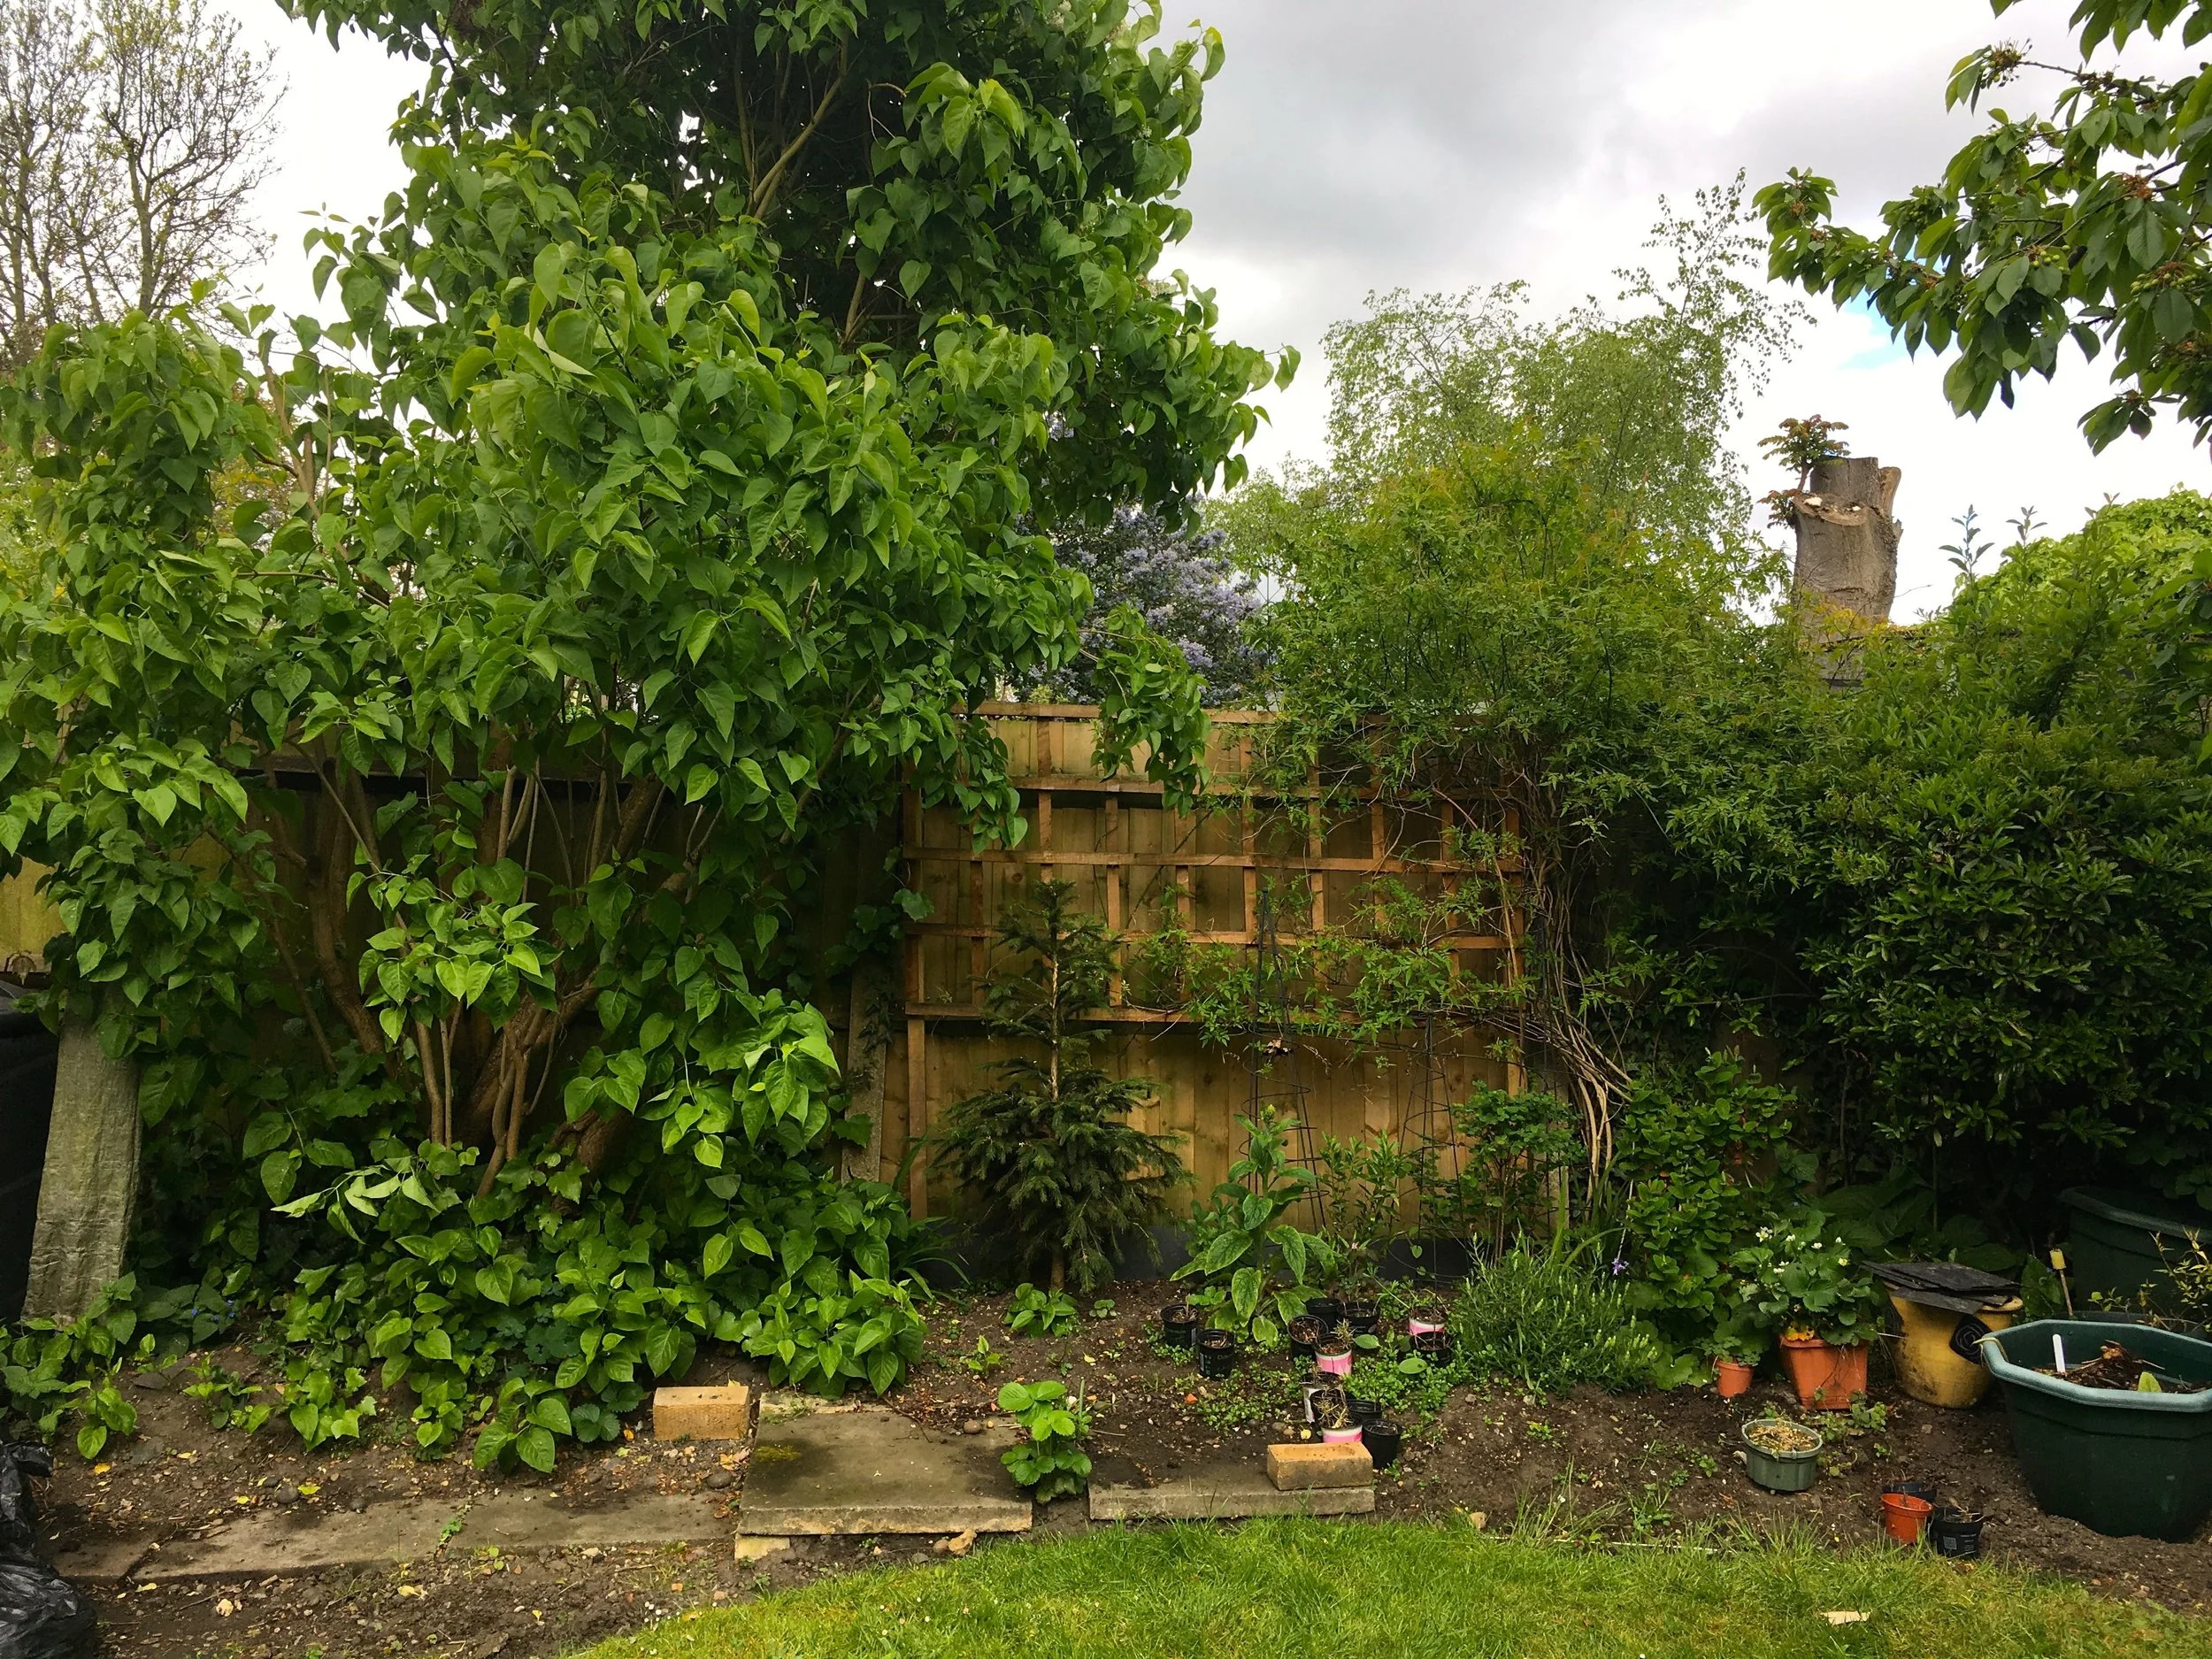
PROBLEM AREA #1 IN ALL ITS 'GLORY'

PROBLEM AREA #1 IN ALL ITS 'GLORY'

So our plan was - and still is - to install sleepers as a raised bed, but how, and what should I know before we started. What type of sleepers should I go for, and did they need to be lined - these were all questions that went on my list to ask Katie.  And how did we fix them, did they need fixing together to prevent them moving, and would we be able to cut them, or was paying for the cuts worth it. Yes, the questions kept on coming.

You'll be pleased to know I had a plan, I shared that with Katie too.  But I needed advice on how to work out what lengths I needed, as despite liking a plan, maths isn't my forte and it was making my brain ache, especially as every site we looked at the sleepers appeared to be different sizes.

THE MASTER 'SLEEPER' PLAN

THE MASTER 'SLEEPER' PLAN

Katie's advice...

It's made all the difference and really spurred me on, and given me the confidence to work out what I need. In fact the sleepers are due to arrive this morning!

Katie recommended:

  • Installing 4x4 posts at each corner, digging them into the ground at least a foot and a half, securing them with post-crete (a quick drying concrete that's often used for fence posts) and which won't interfere with the plants.
  • Fix the sleepers to these posts using large coach bolts, and using a good drill. That's MOH's domain.
  • Line the inside of the raised bed with Visqueen (a damp proof membrane), attaching it using a staple gun, to protect the sleepers from moisture and prevent rotting.
  • Interlocking the sleepers at the corners to give a nicer finish as well as adding strength.
  • And to finish cutting the lilac tree (on the left of the photo above) as soon as it's finished flowering, so that it flowers again next Spring.

Katie also warned me the raised beds will take much more soil than we expect. I hadn't told her I'd been collecting soil for a while!

So last weekend armed with my master plan, MOH and a tape measure we measured the space again, and I was rather relieved that my measurements were spot on. So having had those double checked we sat down and worked out the cuts we needed in the six 2.4 metre brown softwood sleepers we'd settled on. And it wasn't long before I was contacting the sleeper company asking how I could specify the cuts I needed.

Before breakfast on Monday I'd heard back from the sleeper company, with a quote and a contact number - that's pretty good going. So by the time I arrived in work I'd ordered the sleepers, paid for them and arranged delivery for today. That's a great way to start a productive week - and I'll let you know how we get on!

Problem area #2

The second area that we've not managed to crack ever is another quite large area mostly under our laurel tree. It's where we will have the gabion wall and seating area, along with the pizza oven, so I've a feeling that cracking it isn't too far away. But again, it's a big undertaking and well, although we know we want gabion baskets filled with a hotch-potch of bricks and materials (well that's what I'm planning anyway, MOH is still to be convinced) we have little idea of actually how to do it.

The area also slopes down towards the stone circle so there'll be more digging and more 'spare' soil; it's a shady area (despite what it looks like in the picture below) and for the past couple of years has been home to a large bag of slate and a less full bag of 'spare' soil as I wasn't keen on getting rid of something I knew I'd need in the future, only to end up buying new soil, and has become quite a dumping ground.

PROBLEM AREA #2 COMPLETE WITH THE 'BUILDING YARD' LOOK

PROBLEM AREA #2 COMPLETE WITH THE 'BUILDING YARD' LOOK

It's also been used to store some of the old patio paving slabs, as well as bags of slate and large stones that I'd kept because I might need them one day.  And that day is approaching, I tell you!  I was keen to pick up tips from Katie on installing our gabion baskets as I was sure it was something she'd done before.

Katie's advice...

Her advice here was a real gem, and one I wouldn't have thought of at all. I explained how I didn't want to use rocks in our gabion baskets, which is the normal way, but wanted to use a mix of bricks, pebbles and slate for a more industrial look, and to add paving slabs on the top for seating and for the pizza oven.

Katie suggested adding a paving slab as the top layer inside our gabion baskets to give it stability and to sand-cement that in place to the lid and to another paving slab on the top as we'd planned, so in effect forming a paving slab sandwich around the gabion basket lid. I told you, that, along with how to install the sleepers was the kind of pro-tip I was after.

Making progress with problem area #2

Last weekend I made good progress clearing the building yard look by laying the old patio paving slabs under the cherry tree and bamboo and using up two bags of sand left over from the patio installation too. Under the cherry tree I encountered some large roots and so changed my plans about where the last slab would go, placing it instead under the bamboo.  I'm rather pleased with how it turned out, and MOH who never wanted to keep the paving slabs at all even praised it. It will eventually have slate around it too, so will tie in with other parts of the garden.
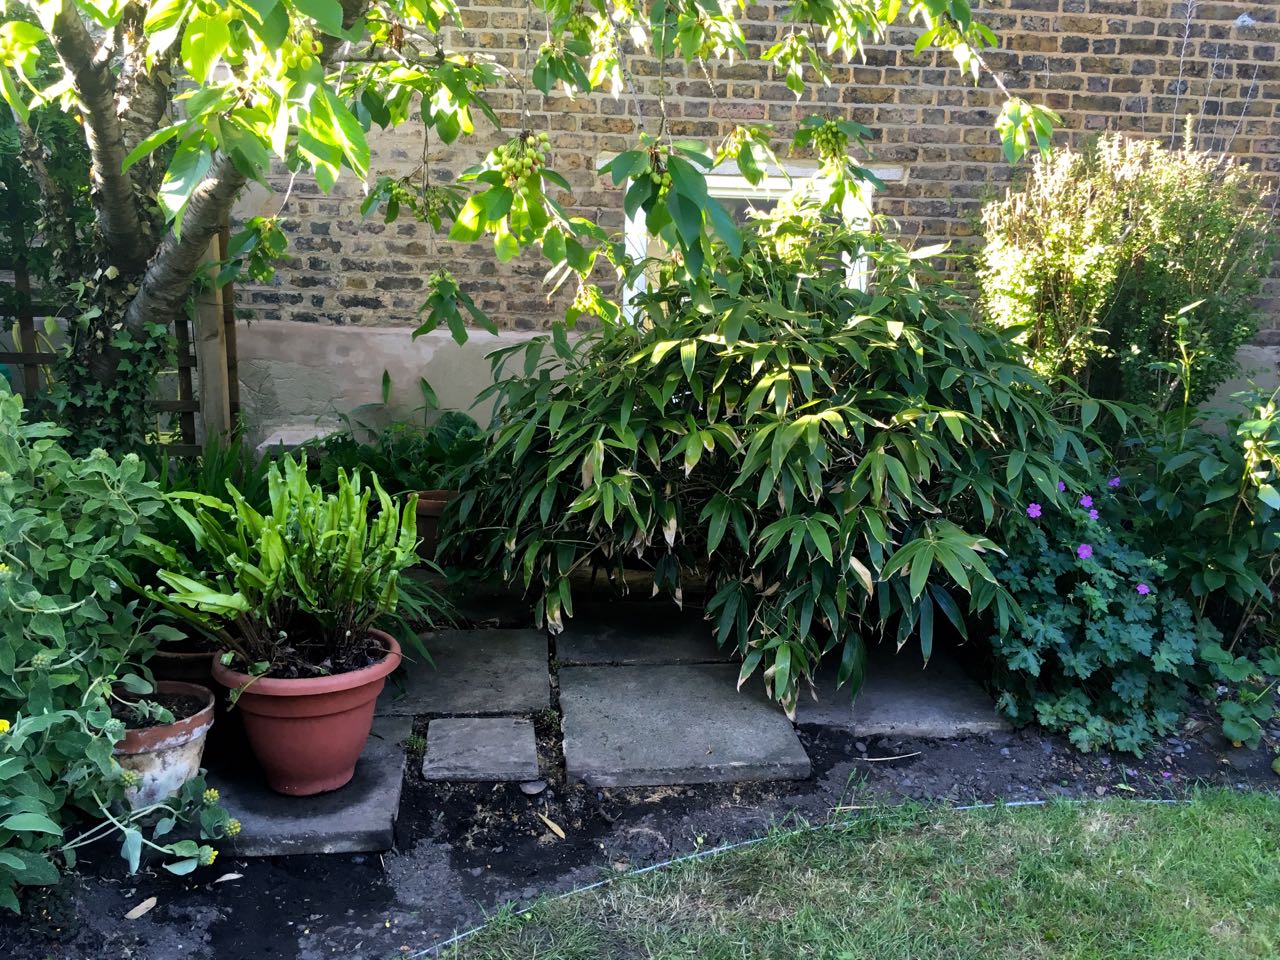
RECYCLING PAVING SLABS FROM THE OLD PATIO

RECYCLING PAVING SLABS FROM THE OLD PATIO

As I cleared that space I dug out a trug full of bamboo roots and shoots, and inspiration struck. I could reuse some of these in our problem area, to disguise the badly pointed brick wall of one of our neighbours (the lighter coloured bricks in the picture) - and you know how much I like plants for free. I reasoned if the bamboo was in a pot, our neighbour, who's prone to everything being our fault, could find no fault, well with that at least.

With the space cleared, including potting up a fern I knew would be in the way, it really did look quite big.
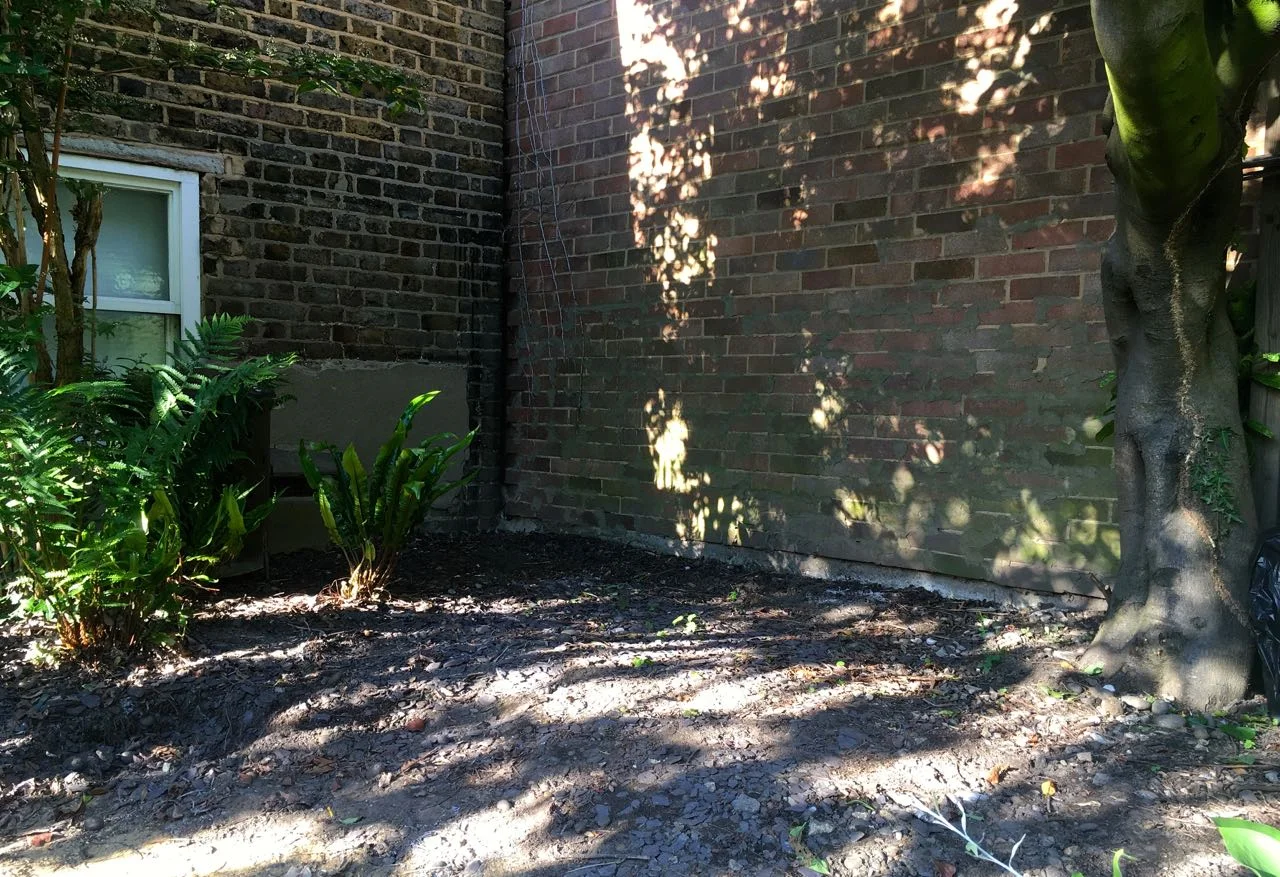
A CLEARER SPACE, WHICH IS AS LARGE AS IT LOOKS

A CLEARER SPACE, WHICH IS AS LARGE AS IT LOOKS

But of course those bags had to go somewhere.

And they're temporarily housed on our stone circle, along with the remnants of the slate in the yellow bag.  The blue bag now also contains soil as I needed to decant some so we could move the white bag.  And yes, I did have a chair facing the space I was clearing, I wanted to enjoy the fruits of my labour!
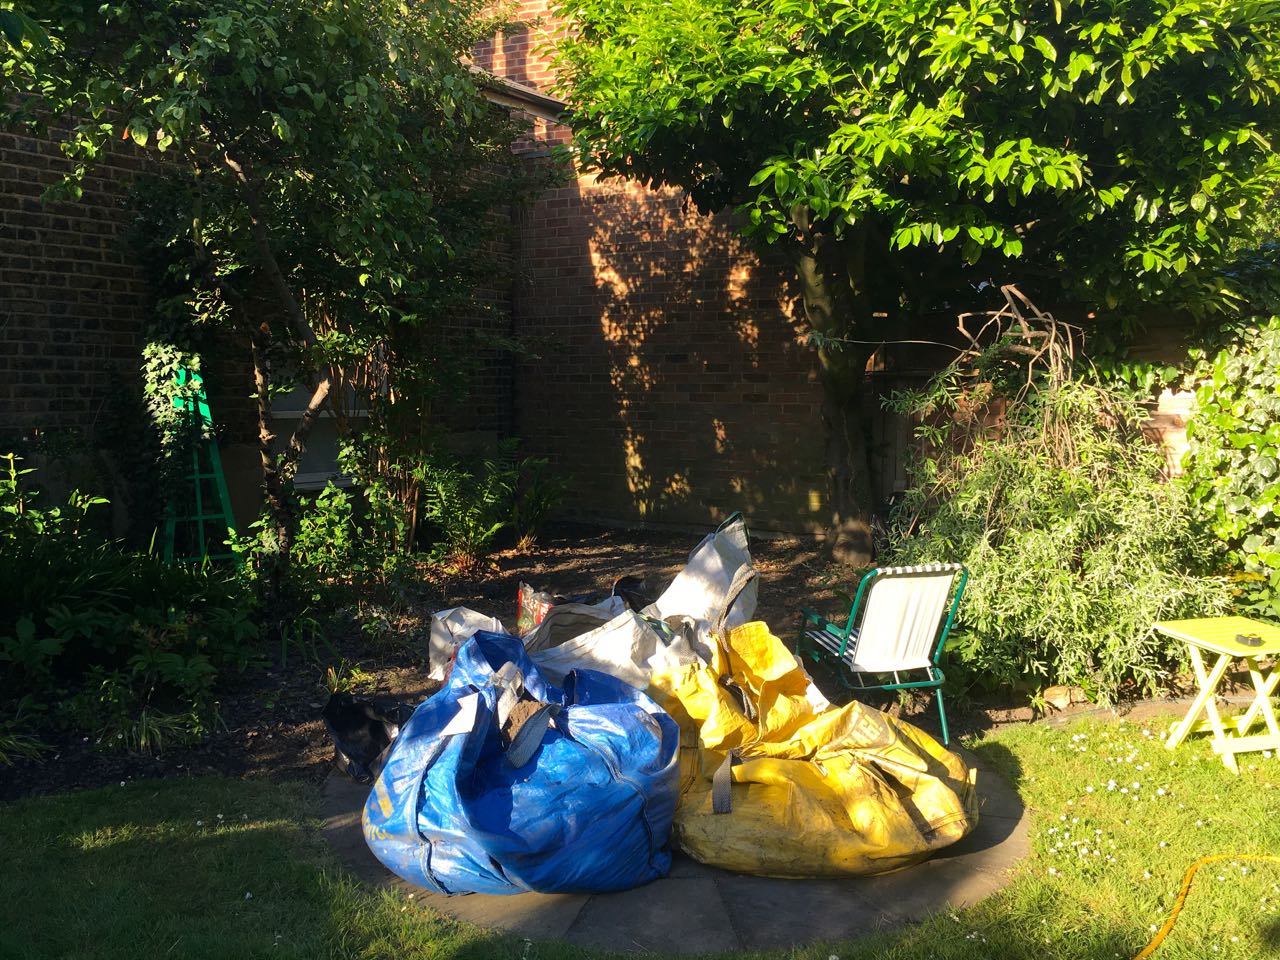
A TEMPORARY HOME FOR OUR BUILDING YARD SUPPLIES

A TEMPORARY HOME FOR OUR BUILDING YARD SUPPLIES

So with the space cleared, and our 110th party date still looming, I ordered the gabion baskets and helicoils (spring-like pieces of metal to connect the baskets). They arrived on Wednesday and were outside our front door when MOH got home, and if I'm honest they don't look very basket-like yet do they?

So what with these and the sleepers, we've got a busy few days ahead of us. Plus we're going to a family barbecue and I'm celebrating my birthday on the Bank Holiday. We've a few days off work, and as usual we've a lot packed into them.
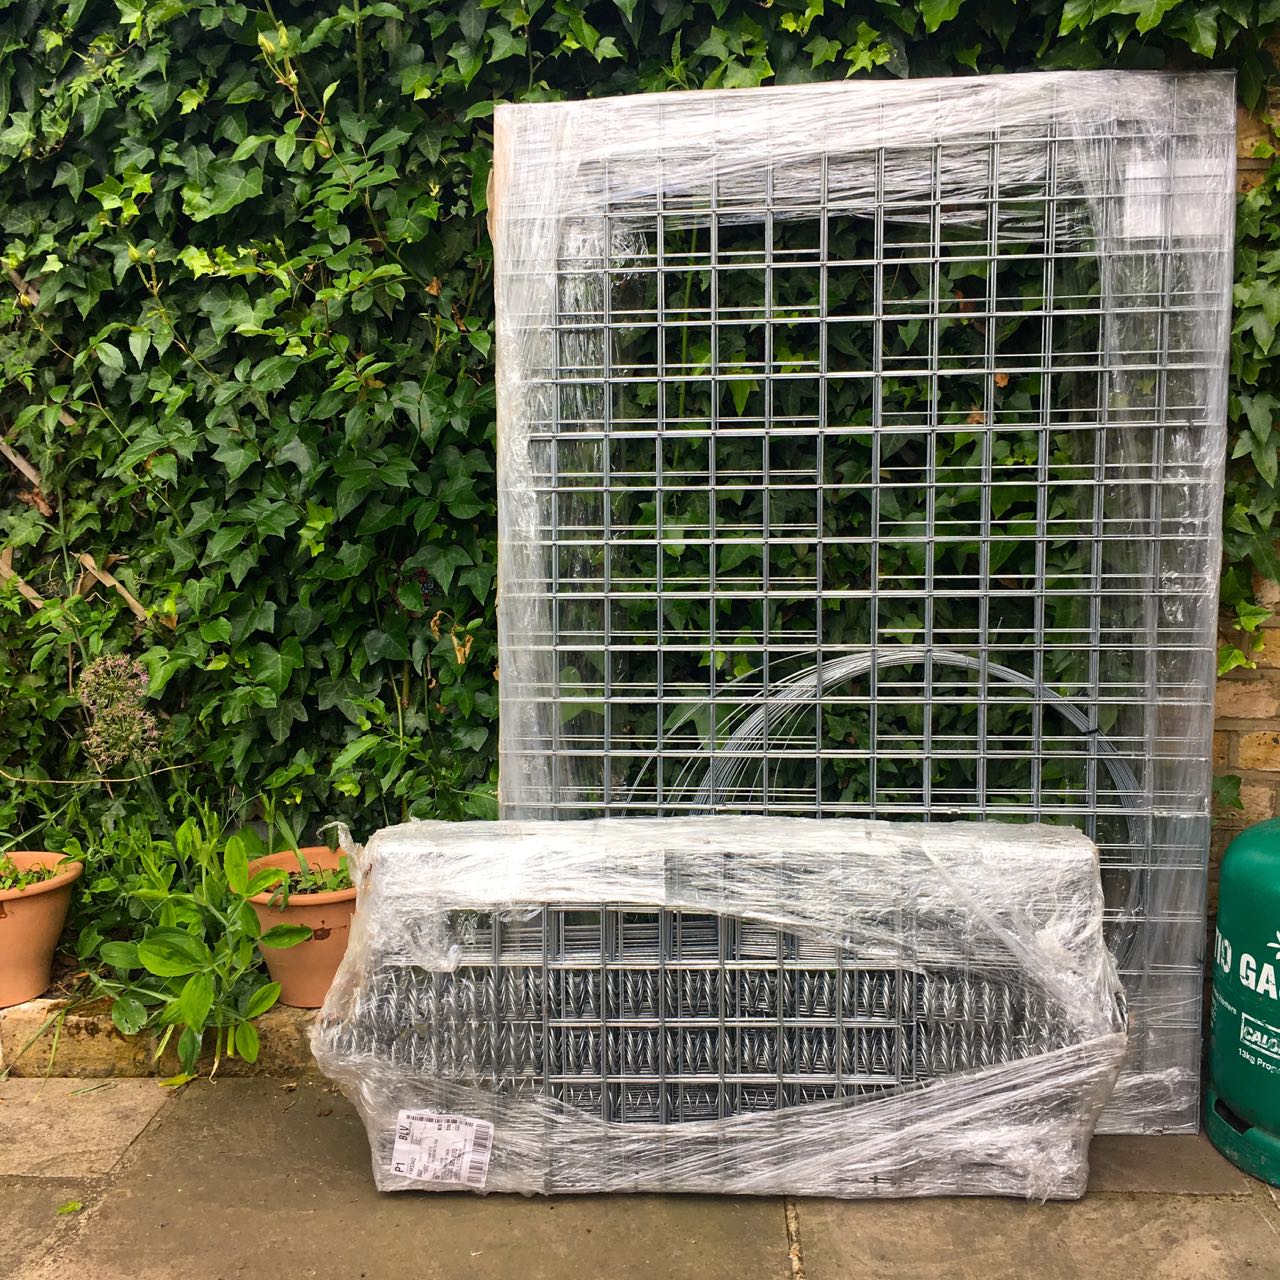
OUR GABION BASKETS, NOT LOOKING VERY BASKET-LIKE YET.

OUR GABION BASKETS, NOT LOOKING VERY BASKET-LIKE YET.

More from Katie

I'd shared some pictures of my garden with Katie to help her give me the advice I was after and I'd included a picture of our circles to show that our garden wasn't as dire as our problem areas made it out to be. What was nice was that Katie said she thought our circles were "really cool" which was great to hear as we think they are too, and even though it took us a while to build up the courage to do them, they've turned out really well.

Katie suggested adding a circular arches about two-thirds of the way down our garden, to break up the space and obscure part of the view. We'd also be able to grow plants along and over the round pergola like structure, and it would tie in with the circles in our grass.

After our phone call I looked on the Tesco gardening site and I was amazed at the range of their products, and I really liked the arched pergola, I had no idea these even existed. At the moment that's a project too far for us, but I know I'll be looking to see what Tesco have when I start scoping out project ideas in the future, and I'm pretty sure I'll be lusting after this round pergola a while yet.

Thanks Katie, it was great to talk with you and your advice has really inspired me to tackle these parts of our garden, giving me the confidence to get stuck in. And I know it won't be long before I'm sitting in a slightly more stylish garden chair admiring the results of all our hard work and contemplate the perfect spot for those super cute toadstools!


* This is a collaborative post and all views and opinions are my own
Sean Murray's Great Chelsea Garden Challenge

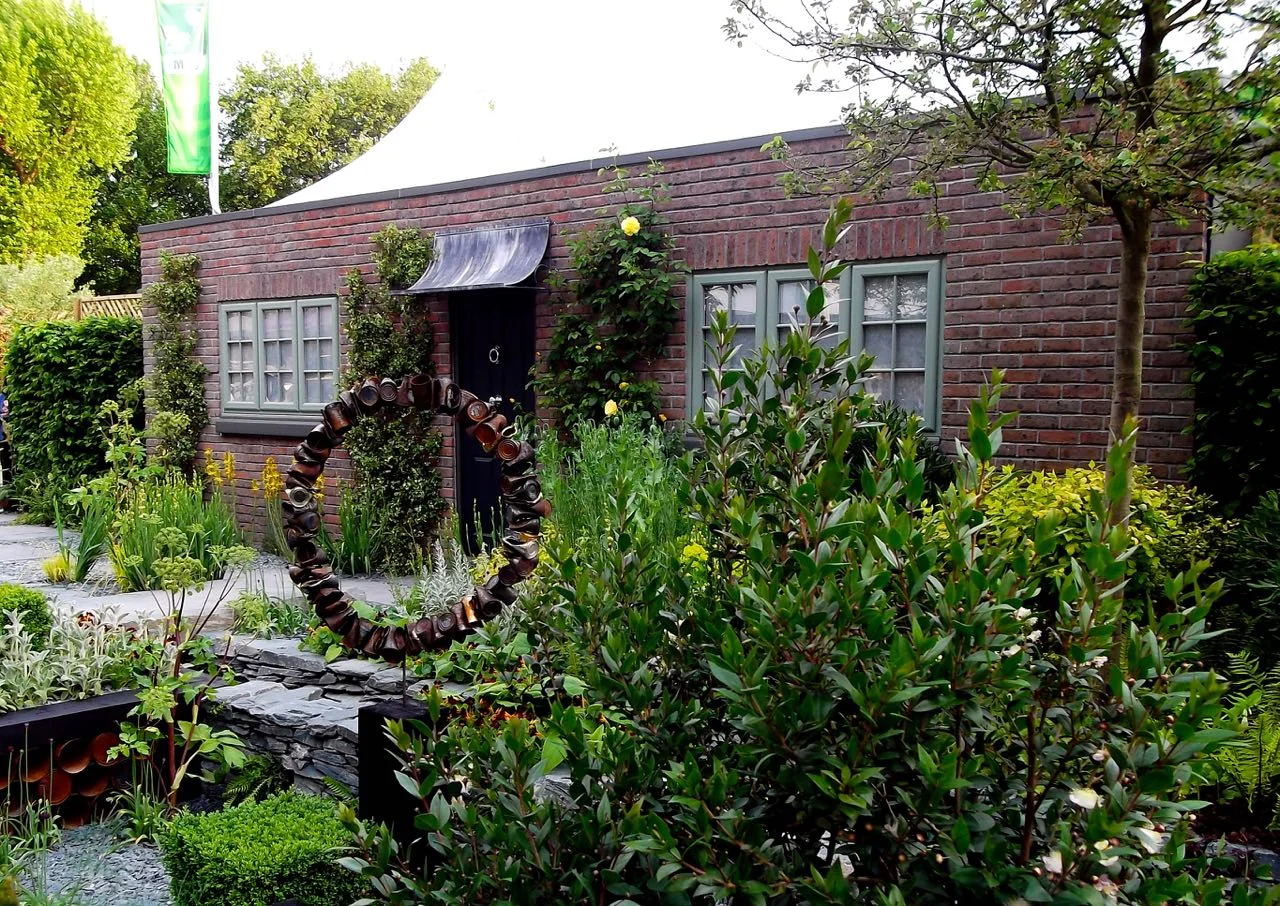
I recently discovered some unedited and mostly un-looked at photos from Chelsea in 2015, and as I won't be at Chelsea this year, I thought the timing fortuitous so am sharing some of those, now edited photos, today. 2015 was the year the BBC and RHS partnered on The Great Chelsea Garden Challenge TV programme with the winner fulfilling their dream to design a garden at Chelsea. 

Now wouldn't that be fun. And, no doubt, a lot of hard work. We watched the series avidly - armchair gardening really was the best that year!

In his Chelsea garden the winner, Sean Murray, created a front garden for a couple of keen gardeners nearing retirement. There's an abundance of plants, and practical off street parking too, and I suspect there's another message in there for all of us that have very little greenery in our front gardens.

The Great Chelsea Garden Challenge 2015 - a front garden by Sean Murray

At the time I remember thinking I didn't think much of the roof of their house - isn't it funny how those things stick with you? I know it's just a facade, but there you go. Looking back there's a lot of stone and slate in this garden as well as more natural and realistic planting, even for keen gardeners, so you've a feeling that they'll actually have time to sit down and enjoy the garden too.

The sunken garden worked well, and is much more adventurous than lots of front gardens, which for many - and me included - is somewhere to park the car and somewhere that leads to the front door. I wonder though if having a prettier front garden would encourage me to spend more time in it, or if the busy main road would still dominate. I think the latter, but I do wish we had more greenery there - maybe one day, if logistics can be worked out and around - ours is a complicated space, used by us and the three flats next door.

The sunken garden element of The Great Chelsea Garden Challenge 2015 - a front garden by Sean Murray

Even then - before I re-acknowledged my love of yellow - it was the yellow flowers that drew me in. And lupins too, another favourite, which although a favourite I'm still struggling to grow. I've some seeds in the greenhouse which are resolutely refusing to do their thing (so far)

Lovely yellow lupins softening an area of The Great Chelsea Garden Challenge 2015 - a front garden by Sean Murray

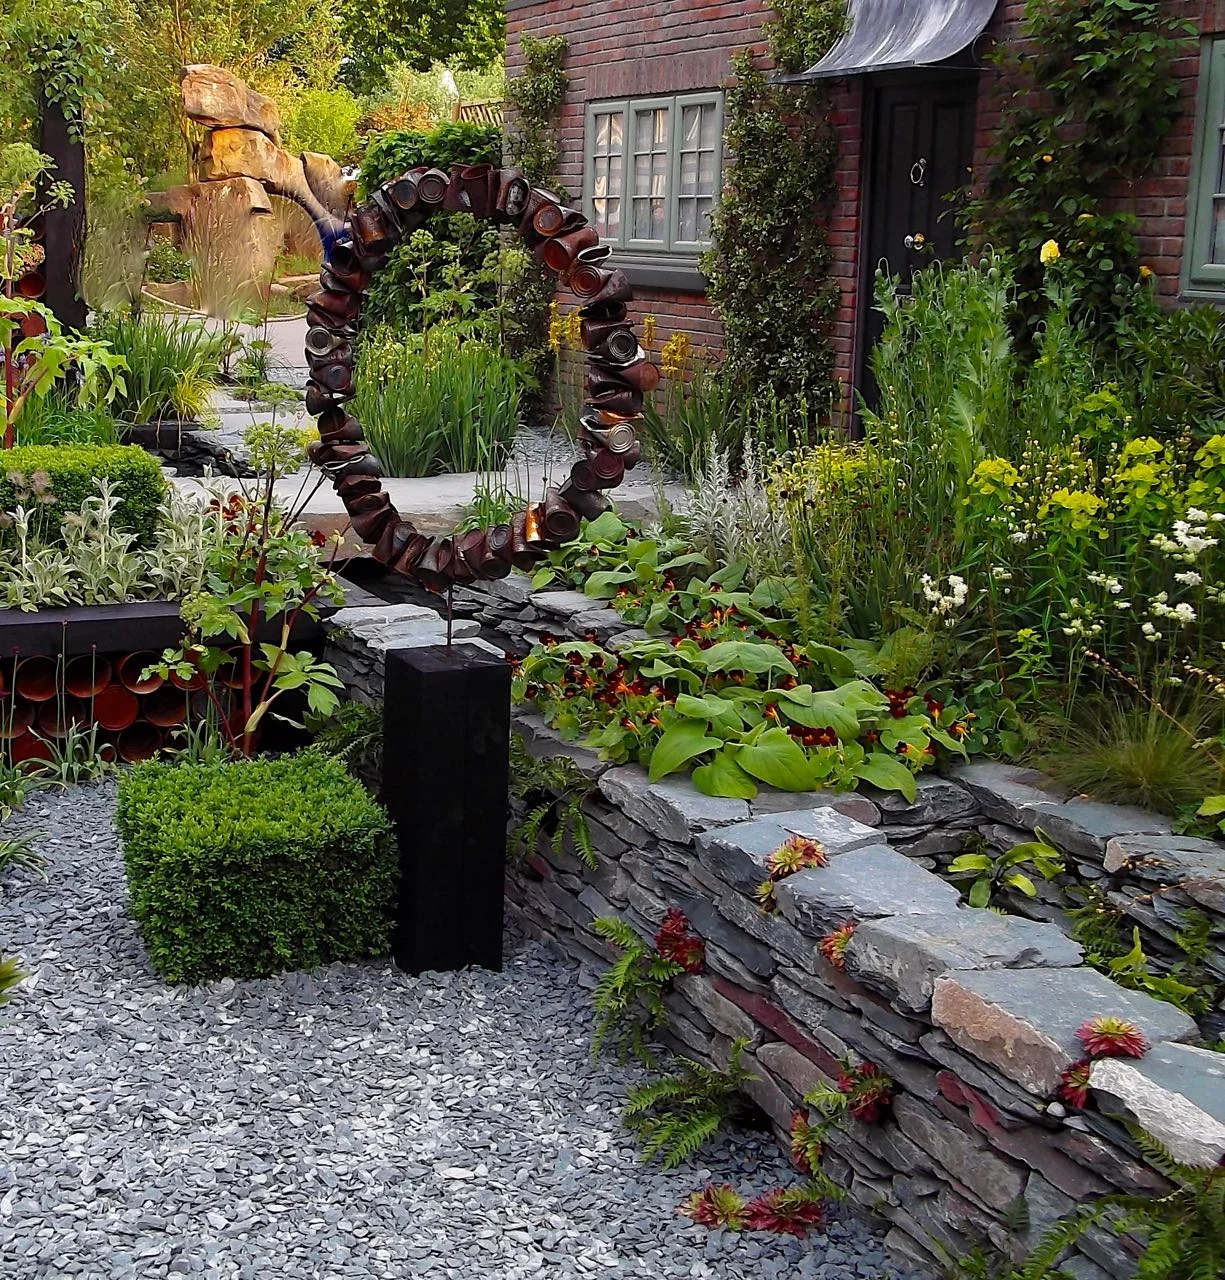
The sculpture looks great, but even though MOH admired it I think I'd struggle to get him to agree to a "ring of old rusty tins" in our garden space, let alone the catering size tins under the bench seating.  And it is a lot of tinned tomatoes to eat isn't it?

A look at the garden sculpture used in The Great Chelsea Garden Challenge 2015 - a front garden by Sean Murray

While we were there the winner of the TV programme and garden designer, Sean Murray was talking to people admiring his garden. And who could blame him, it was definitely his moment to shine. Shortly after his competition win he quit his job to become a full-time gardener and by all accounts he's still doing that today, having recently designed a community garden for a local mining village, so that's great to know.

Sean Murray in his garden for The Great Chelsea Garden Challenge 2015

As I flicked through the photos it was these slate ones that jumped out at me. I hadn't realised at the time that this "river" of sedums and alpines was the off street parking area - surely it's way too pretty to plonk a car on top of?  My car rarely moves off the drive these days so I wonder how they'd cope, but isn't it great to challenge our idea that parking spaces have to be dreary.

Pretty and practical off street parking in The Great Chelsea Garden Challenge 2015 - a front garden by Sean Murray

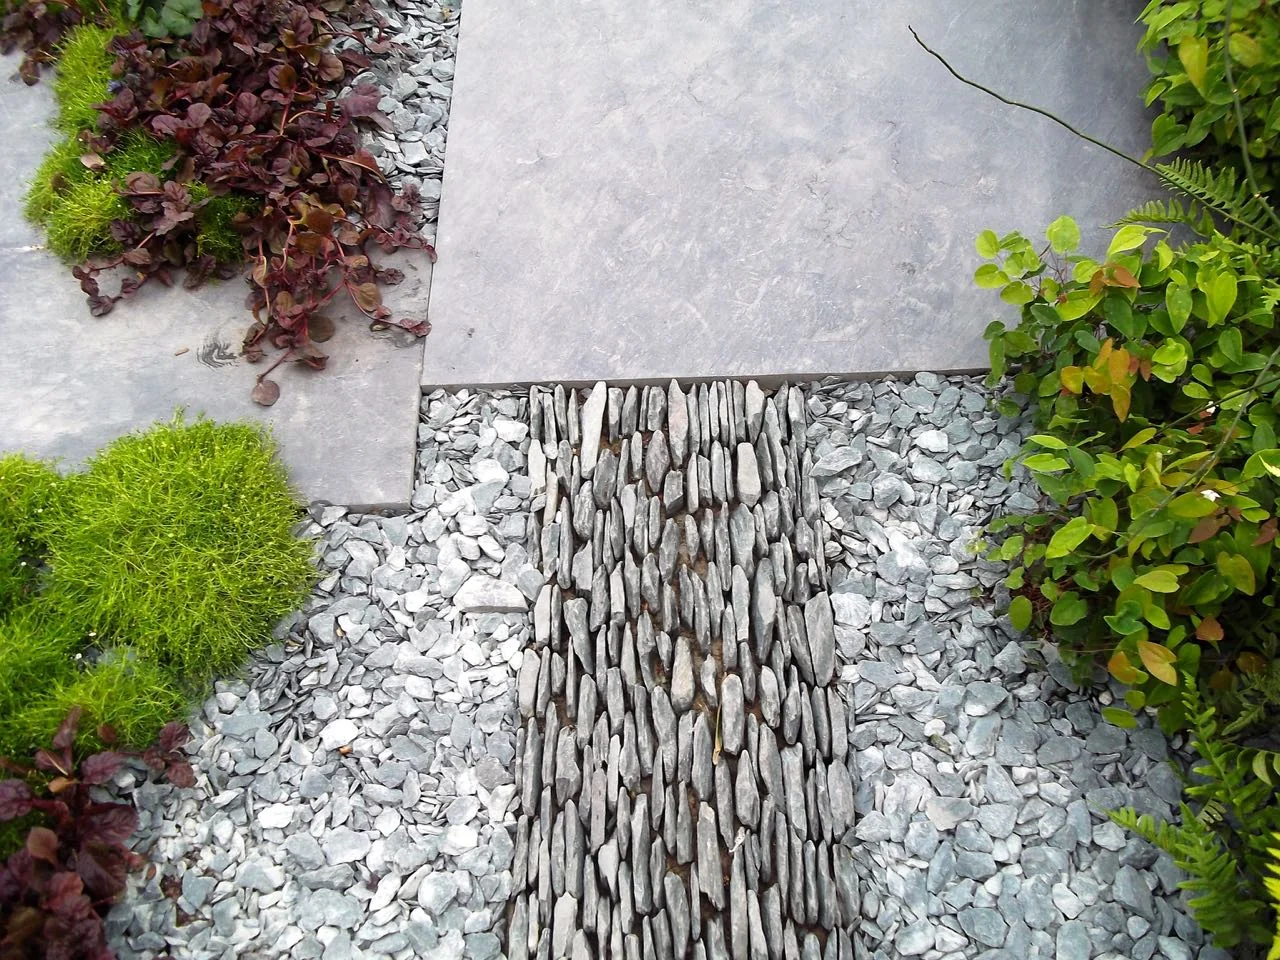
And take a closer look. I know it was a Chelsea garden, but the attention to detail is phenomenal. I think I mooted the standing the slate up on its edge approach to MOH at the time in our own garden, and you're right, we didn't do it, nor even consider it. But it's a great look.

Intricate slate patterns in The Great Chelsea Garden Challenge 2015 - a front garden by Sean Murray

What do you think - would a front garden like this work for you?

A little light and colour crazy

Last week I shared some of the HomeSense summer ranges, and you weren't surprised I was drawn by the more colourful ones were you? Me neither. Today I'm sharing some more of their items and ones that I plan to enjoy all summer long, so let's hope this current warm spell hangs around as I've a serious amount of lights I want to enjoy both in our conservatory and in the garden.

Because nothing says summer garden more than jewel coloured ice lolly lights, now does it?

ice lolly battery operated lights from HomeSense in my garden parasol
They are just one of the fun battery operated lights (#) in my local HomeSense store, which is a little bit further away than I'd ideally like. Although, to be fair, that's probably a good thing - but I hear there's likely to be a new store much closer to home in Greenwich by the end of the year. I already know that MOH will be rolling his eyes with dismay when I share that little gem with him, so sshh, let's not tell him yet!

I also picked up these white textured heart lights and while I'm showing them draped around my laburnum tree here, I plan to use them to decorate the gazebo we've bought for our 110th party next month. They're the kind of light that can be used almost anywhere around the house and I've a feeling our conservatory may turn into a bit of a fairy grotto at some point.

Heart shaped battery operated lights by HomeSense in my laburnum
I'm loving the contrast of the white hearts against the bark and background of the ivy

And they'll be easy to move outside for the days we have people over, or when we spend the evenings relaxing in the garden, they'll add a lovely glow and help me find my glass of rose more easily!

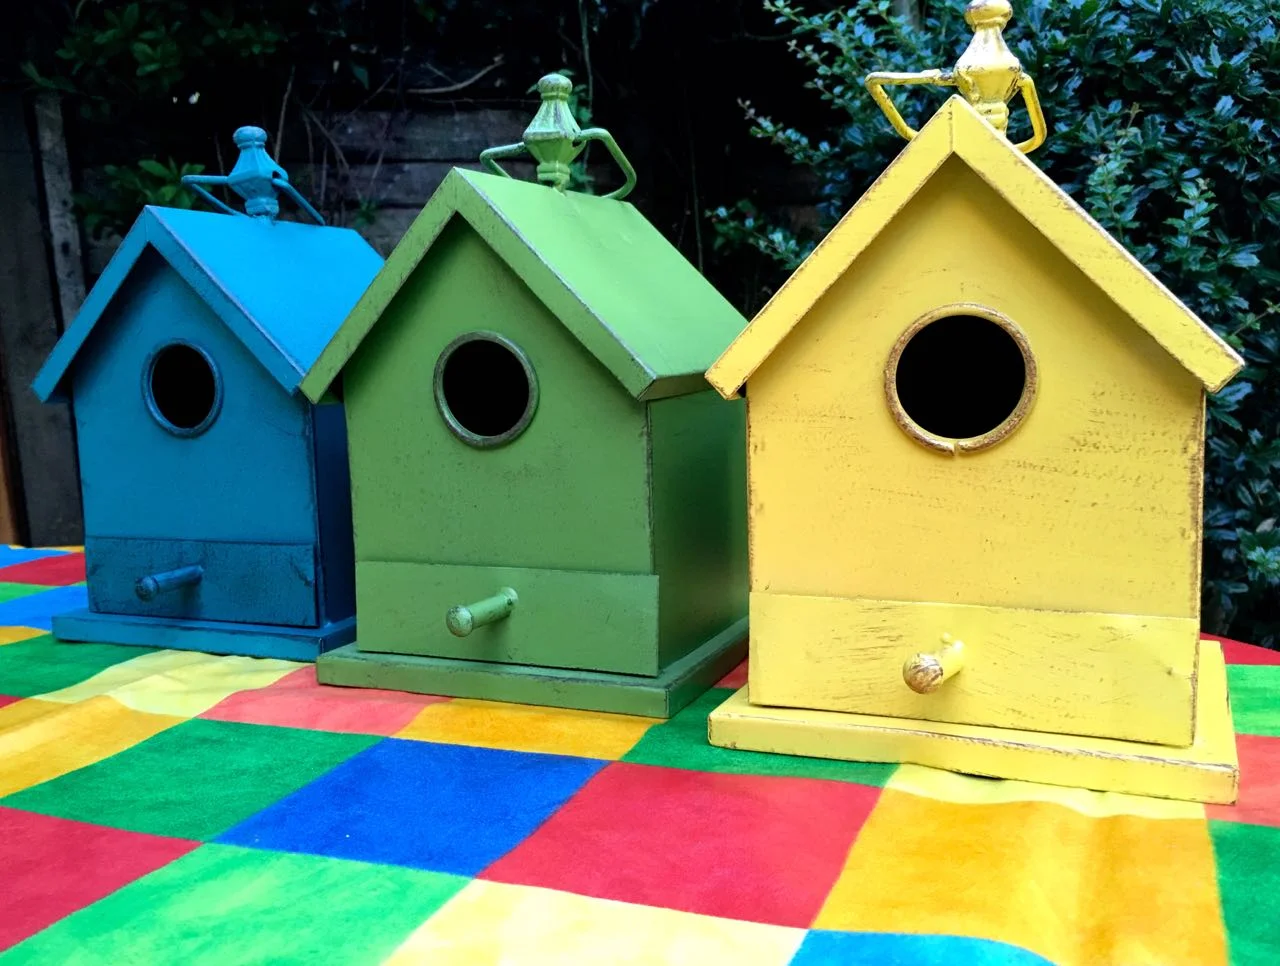
I'm hoping too that our local bird population are pleased with what I have planned for them. I think if I were a bird I'd be queueing up to move into one of these, we'll see how they go. I loved the colours of these, and three is perhaps excessive, but I'm hoping to hang them on a particularly stark bit of fence to add some colour and interest where it'll be harder to get plants to grow.

A colourful "estate" of bird houses from HomeSense ready to be deployed in the garden

They're metal and there's a drawer at the bottom so, if any of the bird life do move in for a season it'll be easy to get them ready for the next residents.  And yes, you're right, it must be time for some more battery lights. 

A string of paper lights by HomeSense adorning the fence

These have a paper origami detail and complement the textured hearts lights earlier.  I'm keen to see the shadows that these throw around the patio, and you'll begin to see why over the summer I don't watch so much TV, as it's all about being outside - and trying to avoid being bitten, which so far, I'm struggling with. Usually I'm left alone and they feast on MOH, but this year, not so much and I much prefer how it used to be...

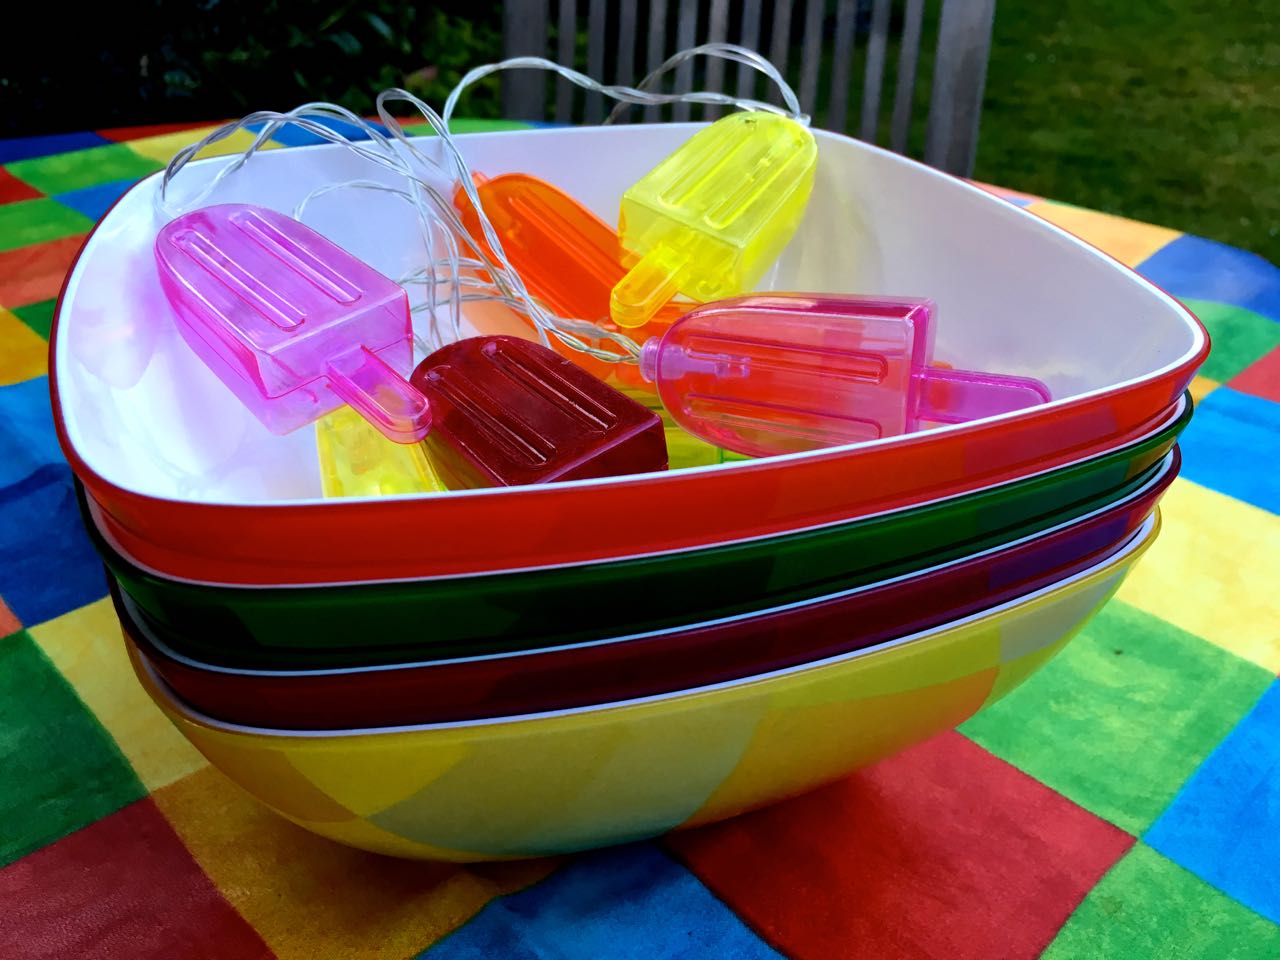
Another find from HomeSense are these four plastic bowls, ideal for use outside and light enough to take on picnics too. I'm all about having a civilised picnic if you can, as long as there's not too far to carry everything!

Colourful melamine serving bowls from HomeSense

And the photo above just sums how colour and I get on.

My mission on my latest visit to HomeSense was all about the garden lights, and so I've another set to show you. If I'm honest I was less sure about these 'willow' lights, but MOH was keen on these, so in the spirit of harmony I acquiesced, sometimes it's the only way isn't it?  

Green LED willow lights from HomeSense in our conifer
 
The more robust battery case on the Green LED willow lights from HomeSense

But you know what I was pleasantly surprised. These have a more robust battery casing and can be left outside (although I still wouldn't leave them out over winter) and while I can't see the willow leaves - I see green chillies instead - I'm ok with that. I draped them around a prickly conifer bush next to the barbecue, but I've got plans to add these at the end of the garden where the pizza oven will bebut we've some work to do before that happens.

Green LED garden lights from HomeSense in the dark

They looked great in the dark, and well I couldn't resist some arty shots.

And a final arty shot of those green LED willow lights from HomeSense because I couldn't help myself

And yes, I've gone a little light crazy, but they're fun and are an easy way to add some lighting outside if like us you don't have - or plan to have - electricity outside. I've a whole series of solar lights too, on one side of the patio, so it's fair to say I'm a bit of a fairy light queen!


(#) Of course, battery operated lights should be used sensibly outside and I'd recommend you only leave those that are designated for use outside, outside over the summer.


* This is a collaborative post, but all views and opinions are my own