







A little light and colour crazy

Last week I shared some of the HomeSense summer ranges, and you weren't surprised I was drawn by the more colourful ones were you? Me neither. Today I'm sharing some more of their items and ones that I plan to enjoy all summer long, so let's hope this current warm spell hangs around as I've a serious amount of lights I want to enjoy both in our conservatory and in the garden.

Because nothing says summer garden more than jewel coloured ice lolly lights, now does it?

ice lolly battery operated lights from HomeSense in my garden parasol
They are just one of the fun battery operated lights (#) in my local HomeSense store, which is a little bit further away than I'd ideally like. Although, to be fair, that's probably a good thing - but I hear there's likely to be a new store much closer to home in Greenwich by the end of the year. I already know that MOH will be rolling his eyes with dismay when I share that little gem with him, so sshh, let's not tell him yet!

I also picked up these white textured heart lights and while I'm showing them draped around my laburnum tree here, I plan to use them to decorate the gazebo we've bought for our 110th party next month. They're the kind of light that can be used almost anywhere around the house and I've a feeling our conservatory may turn into a bit of a fairy grotto at some point.
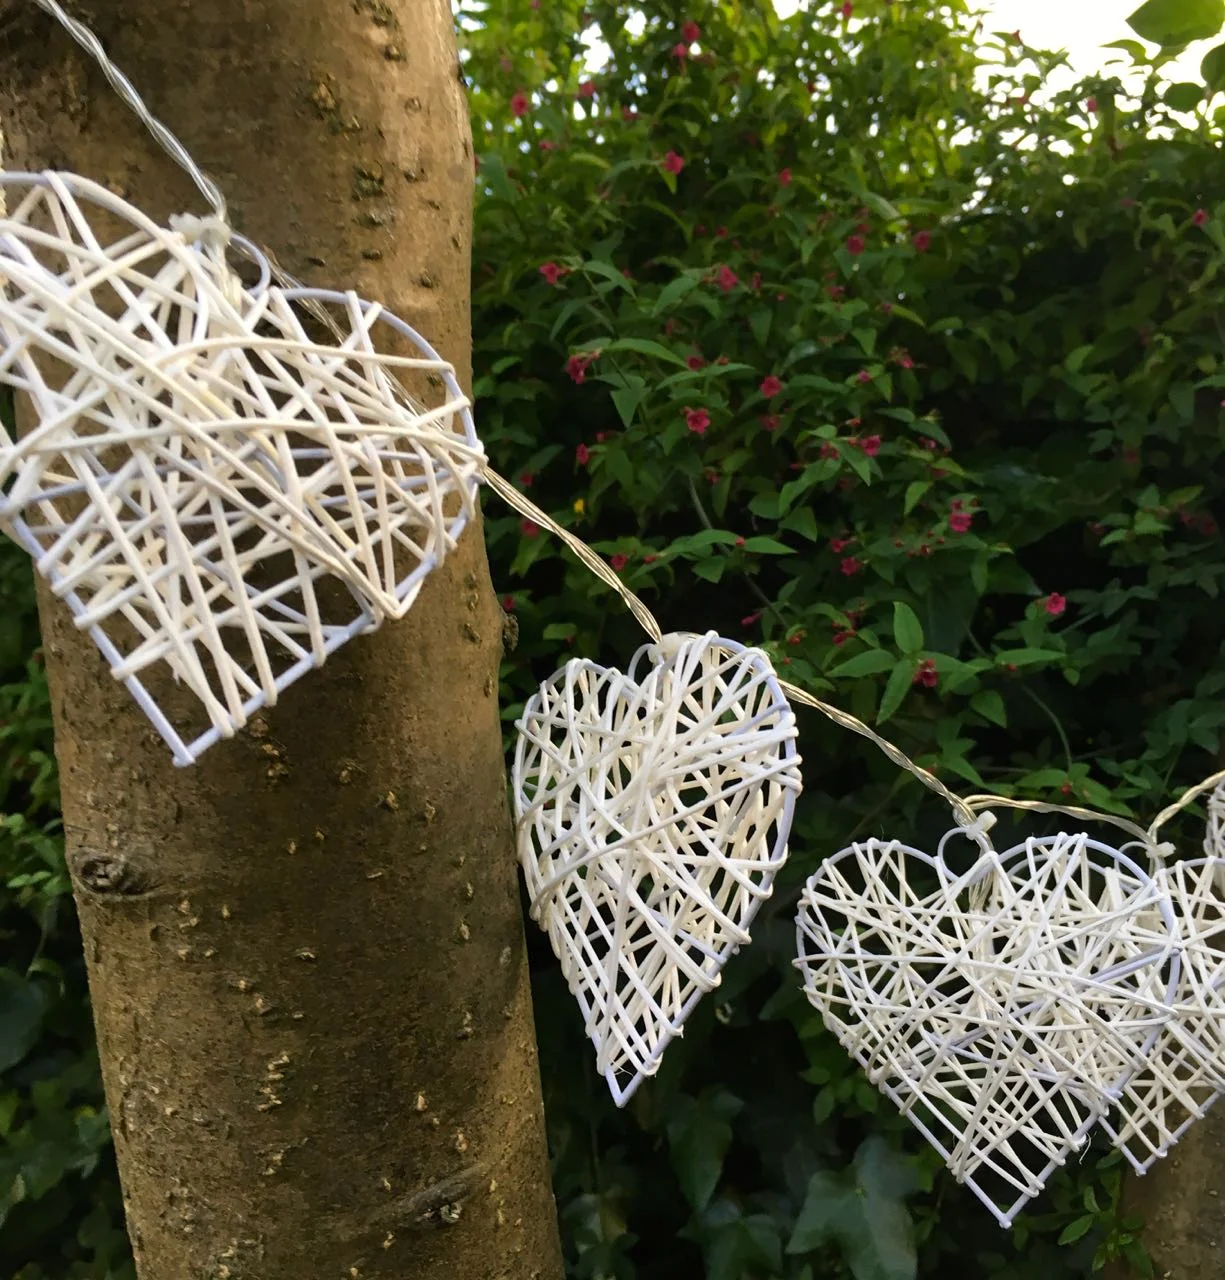
Heart shaped battery operated lights by HomeSense in my laburnum
I'm loving the contrast of the white hearts against the bark and background of the ivy

And they'll be easy to move outside for the days we have people over, or when we spend the evenings relaxing in the garden, they'll add a lovely glow and help me find my glass of rose more easily!

I'm hoping too that our local bird population are pleased with what I have planned for them. I think if I were a bird I'd be queueing up to move into one of these, we'll see how they go. I loved the colours of these, and three is perhaps excessive, but I'm hoping to hang them on a particularly stark bit of fence to add some colour and interest where it'll be harder to get plants to grow.
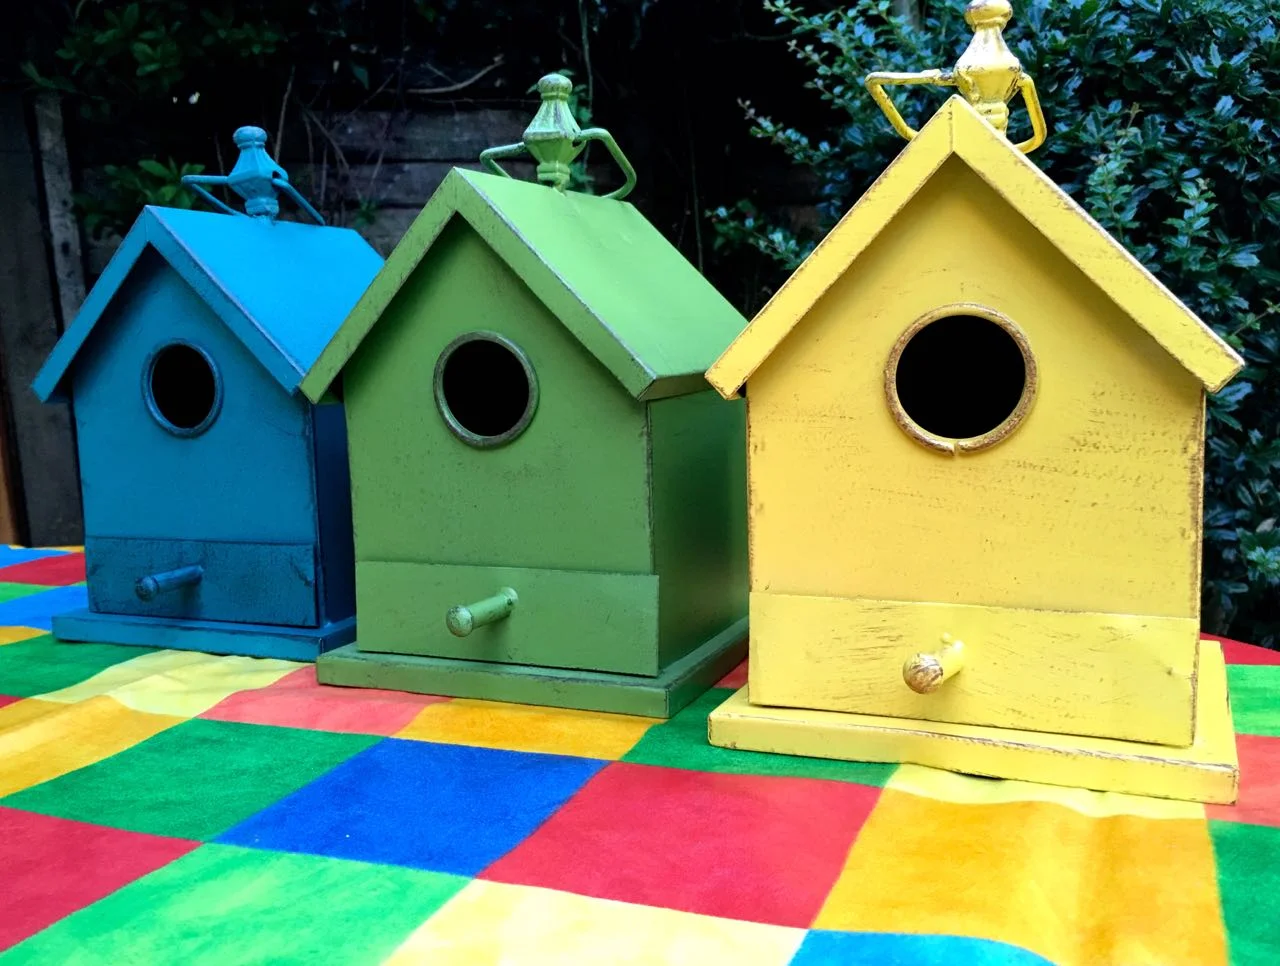
A colourful "estate" of bird houses from HomeSense ready to be deployed in the garden

They're metal and there's a drawer at the bottom so, if any of the bird life do move in for a season it'll be easy to get them ready for the next residents.  And yes, you're right, it must be time for some more battery lights. 

A string of paper lights by HomeSense adorning the fence

These have a paper origami detail and complement the textured hearts lights earlier.  I'm keen to see the shadows that these throw around the patio, and you'll begin to see why over the summer I don't watch so much TV, as it's all about being outside - and trying to avoid being bitten, which so far, I'm struggling with. Usually I'm left alone and they feast on MOH, but this year, not so much and I much prefer how it used to be...

Another find from HomeSense are these four plastic bowls, ideal for use outside and light enough to take on picnics too. I'm all about having a civilised picnic if you can, as long as there's not too far to carry everything!
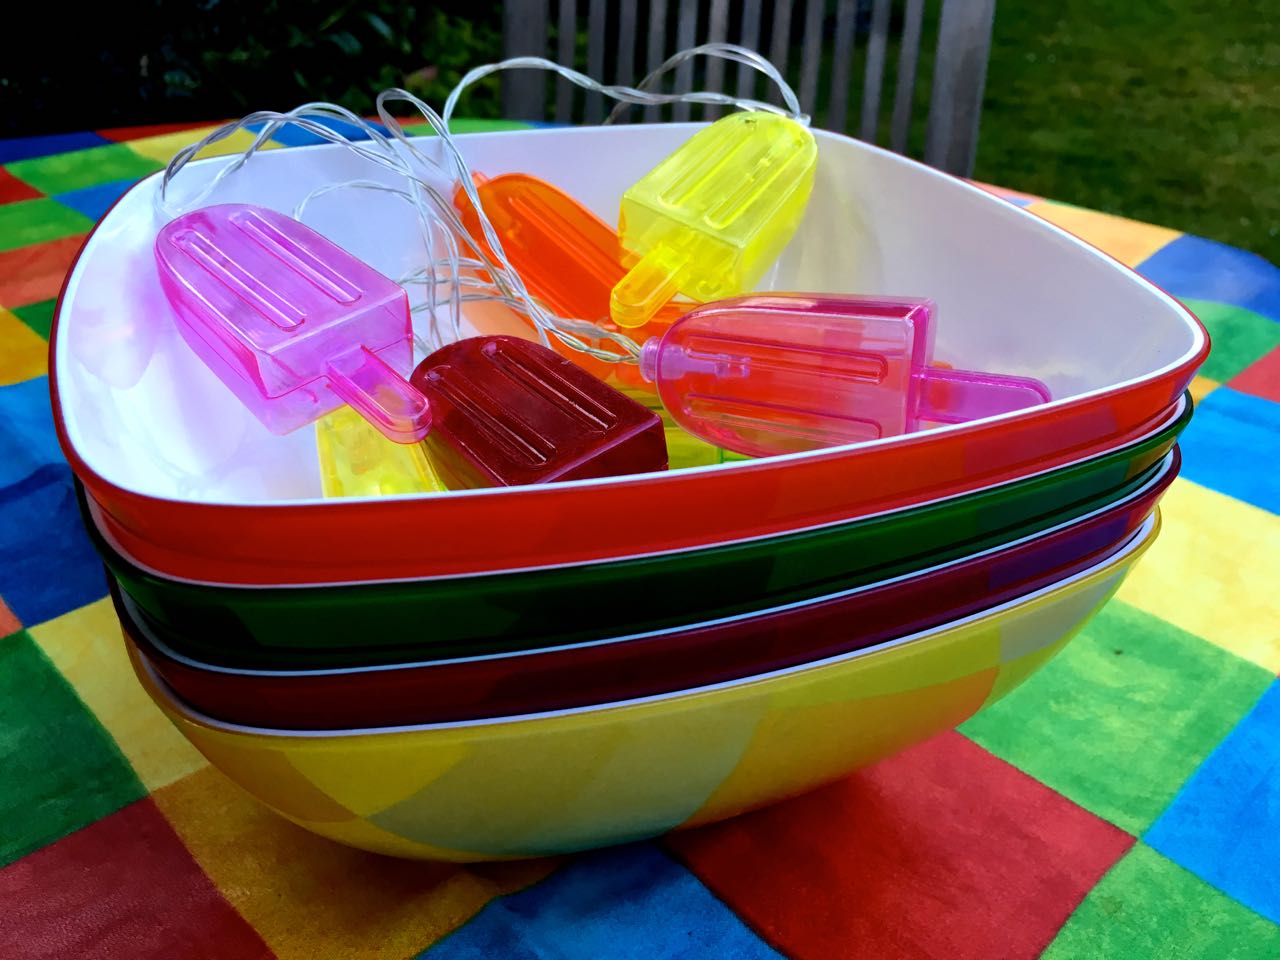
Colourful melamine serving bowls from HomeSense

And the photo above just sums how colour and I get on.

My mission on my latest visit to HomeSense was all about the garden lights, and so I've another set to show you. If I'm honest I was less sure about these 'willow' lights, but MOH was keen on these, so in the spirit of harmony I acquiesced, sometimes it's the only way isn't it?  
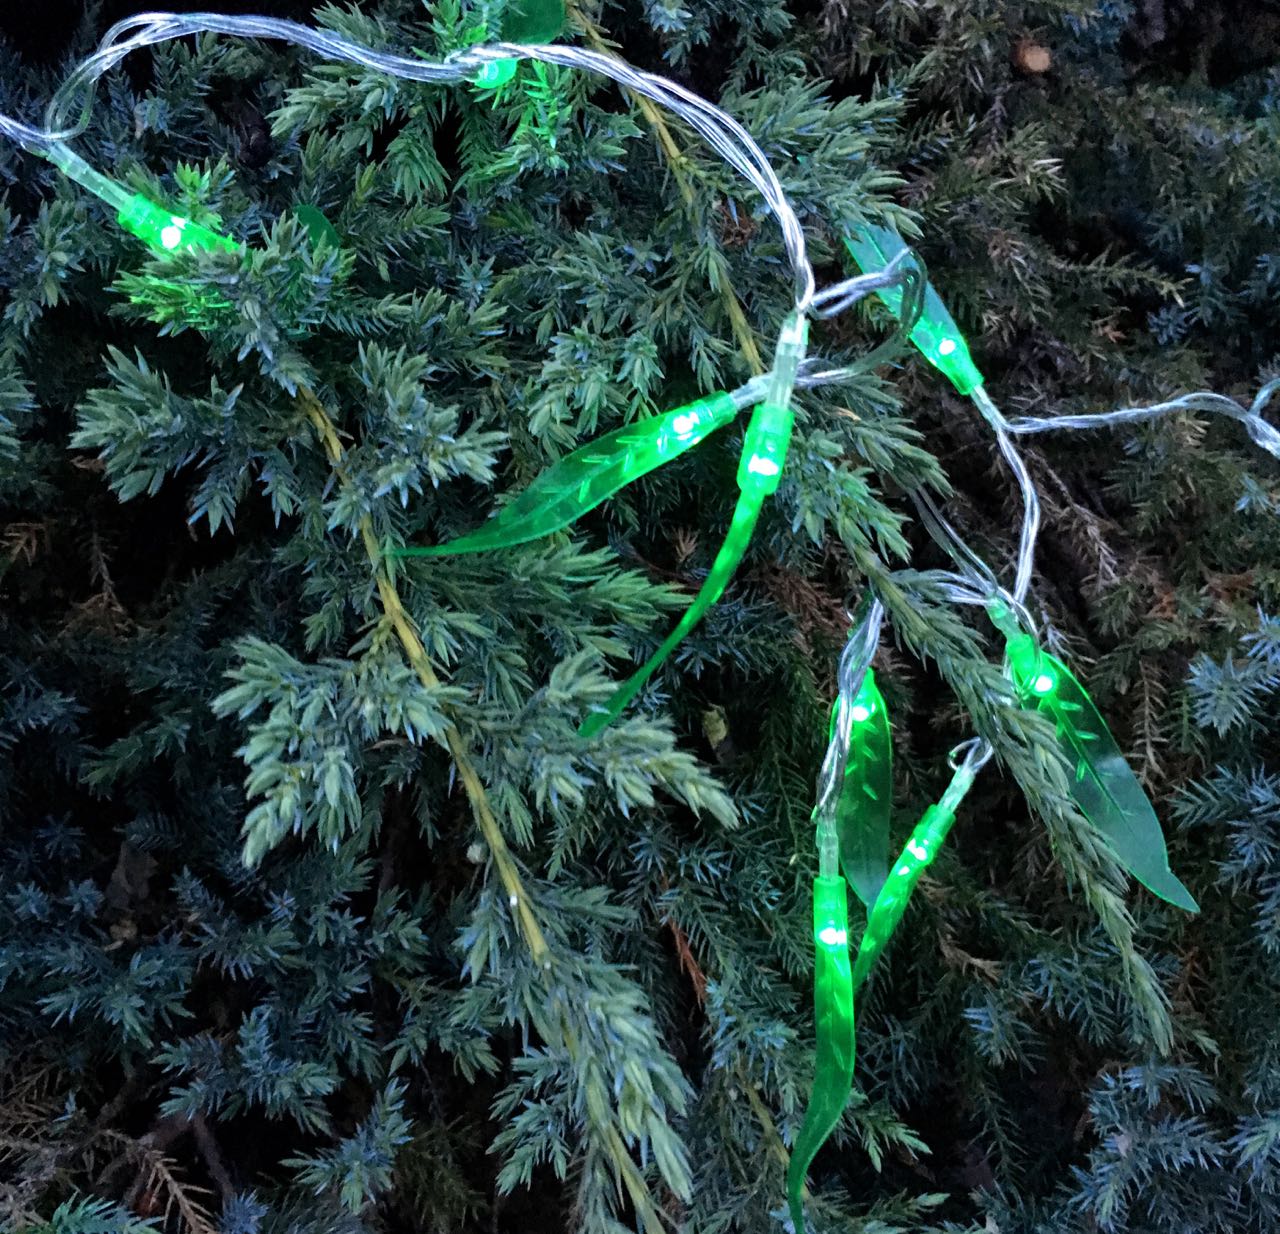
Green LED willow lights from HomeSense in our conifer
 
The more robust battery case on the Green LED willow lights from HomeSense

But you know what I was pleasantly surprised. These have a more robust battery casing and can be left outside (although I still wouldn't leave them out over winter) and while I can't see the willow leaves - I see green chillies instead - I'm ok with that. I draped them around a prickly conifer bush next to the barbecue, but I've got plans to add these at the end of the garden where the pizza oven will be, but we've some work to do before that happens.
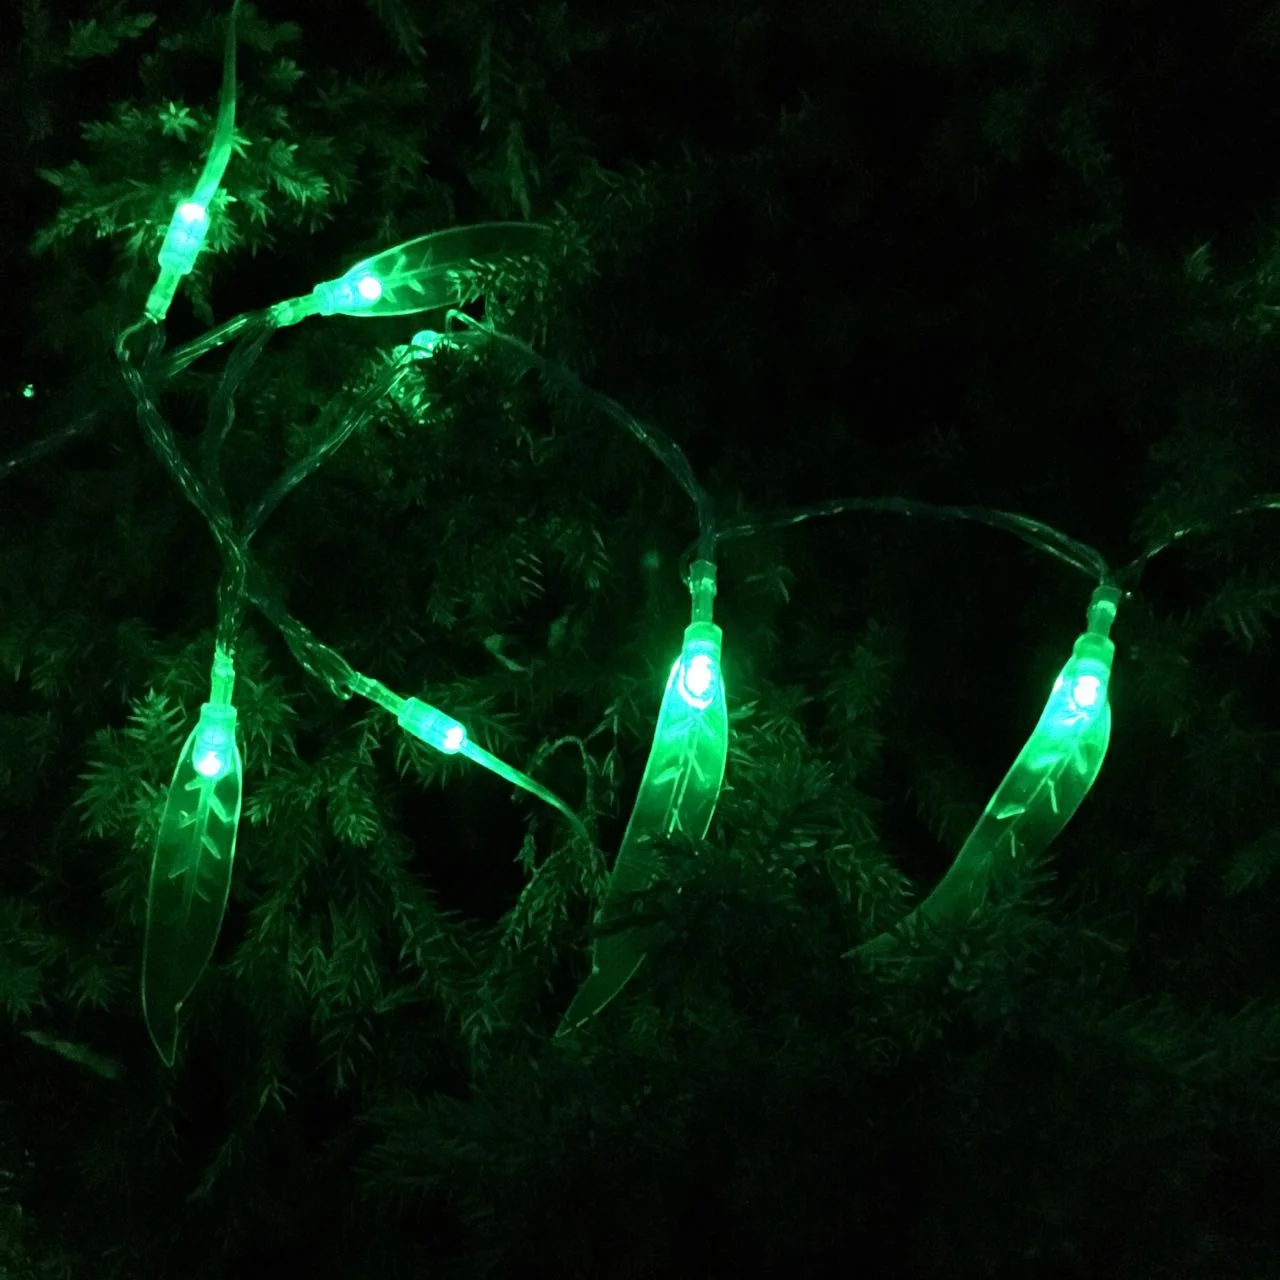
Green LED garden lights from HomeSense in the dark

They looked great in the dark, and well I couldn't resist some arty shots.

And a final arty shot of those green LED willow lights from HomeSense because I couldn't help myself

And yes, I've gone a little light crazy, but they're fun and are an easy way to add some lighting outside if like us you don't have - or plan to have - electricity outside. I've a whole series of solar lights too, on one side of the patio, so it's fair to say I'm a bit of a fairy light queen!


(#) Of course, battery operated lights should be used sensibly outside and I'd recommend you only leave those that are designated for use outside, outside over the summer.


* This is a collaborative post, but all views and opinions are my own

Showing my yucca some love

Remember back in February when Storm Doris arrived and blew her way across the country? Well, my yucca had been feeling the ill effects of her visit every since. I'd looked in various garden centres for the right kind of stake, or the stake I had in mind, but couldn't find what I was after. I'm sure it exists, but maybe not.

I'd persuaded MOH he could make something that would hold up the yucca, but while he agreed he seemed less sure. And then when we got to put slate down in front of the yucca it made sense to sort it out before that.

Looking around the garden I found a stake that was long enough, which used to be part of our leaf bin, before our neighbour's bonfire got a bit out of control a few years back. So out of control that the Fire Brigade came and put it out, quite a scary time and we were lucky just to have a singed leaf bin and fence.

Banging in a stake for the yucca

While MOH was banging this in my job was to hold the sharp, pointy and quite vicious leaves out of the way. Then to climb into the bed to strap one of the limbs to the stake. I get all the best jobs...

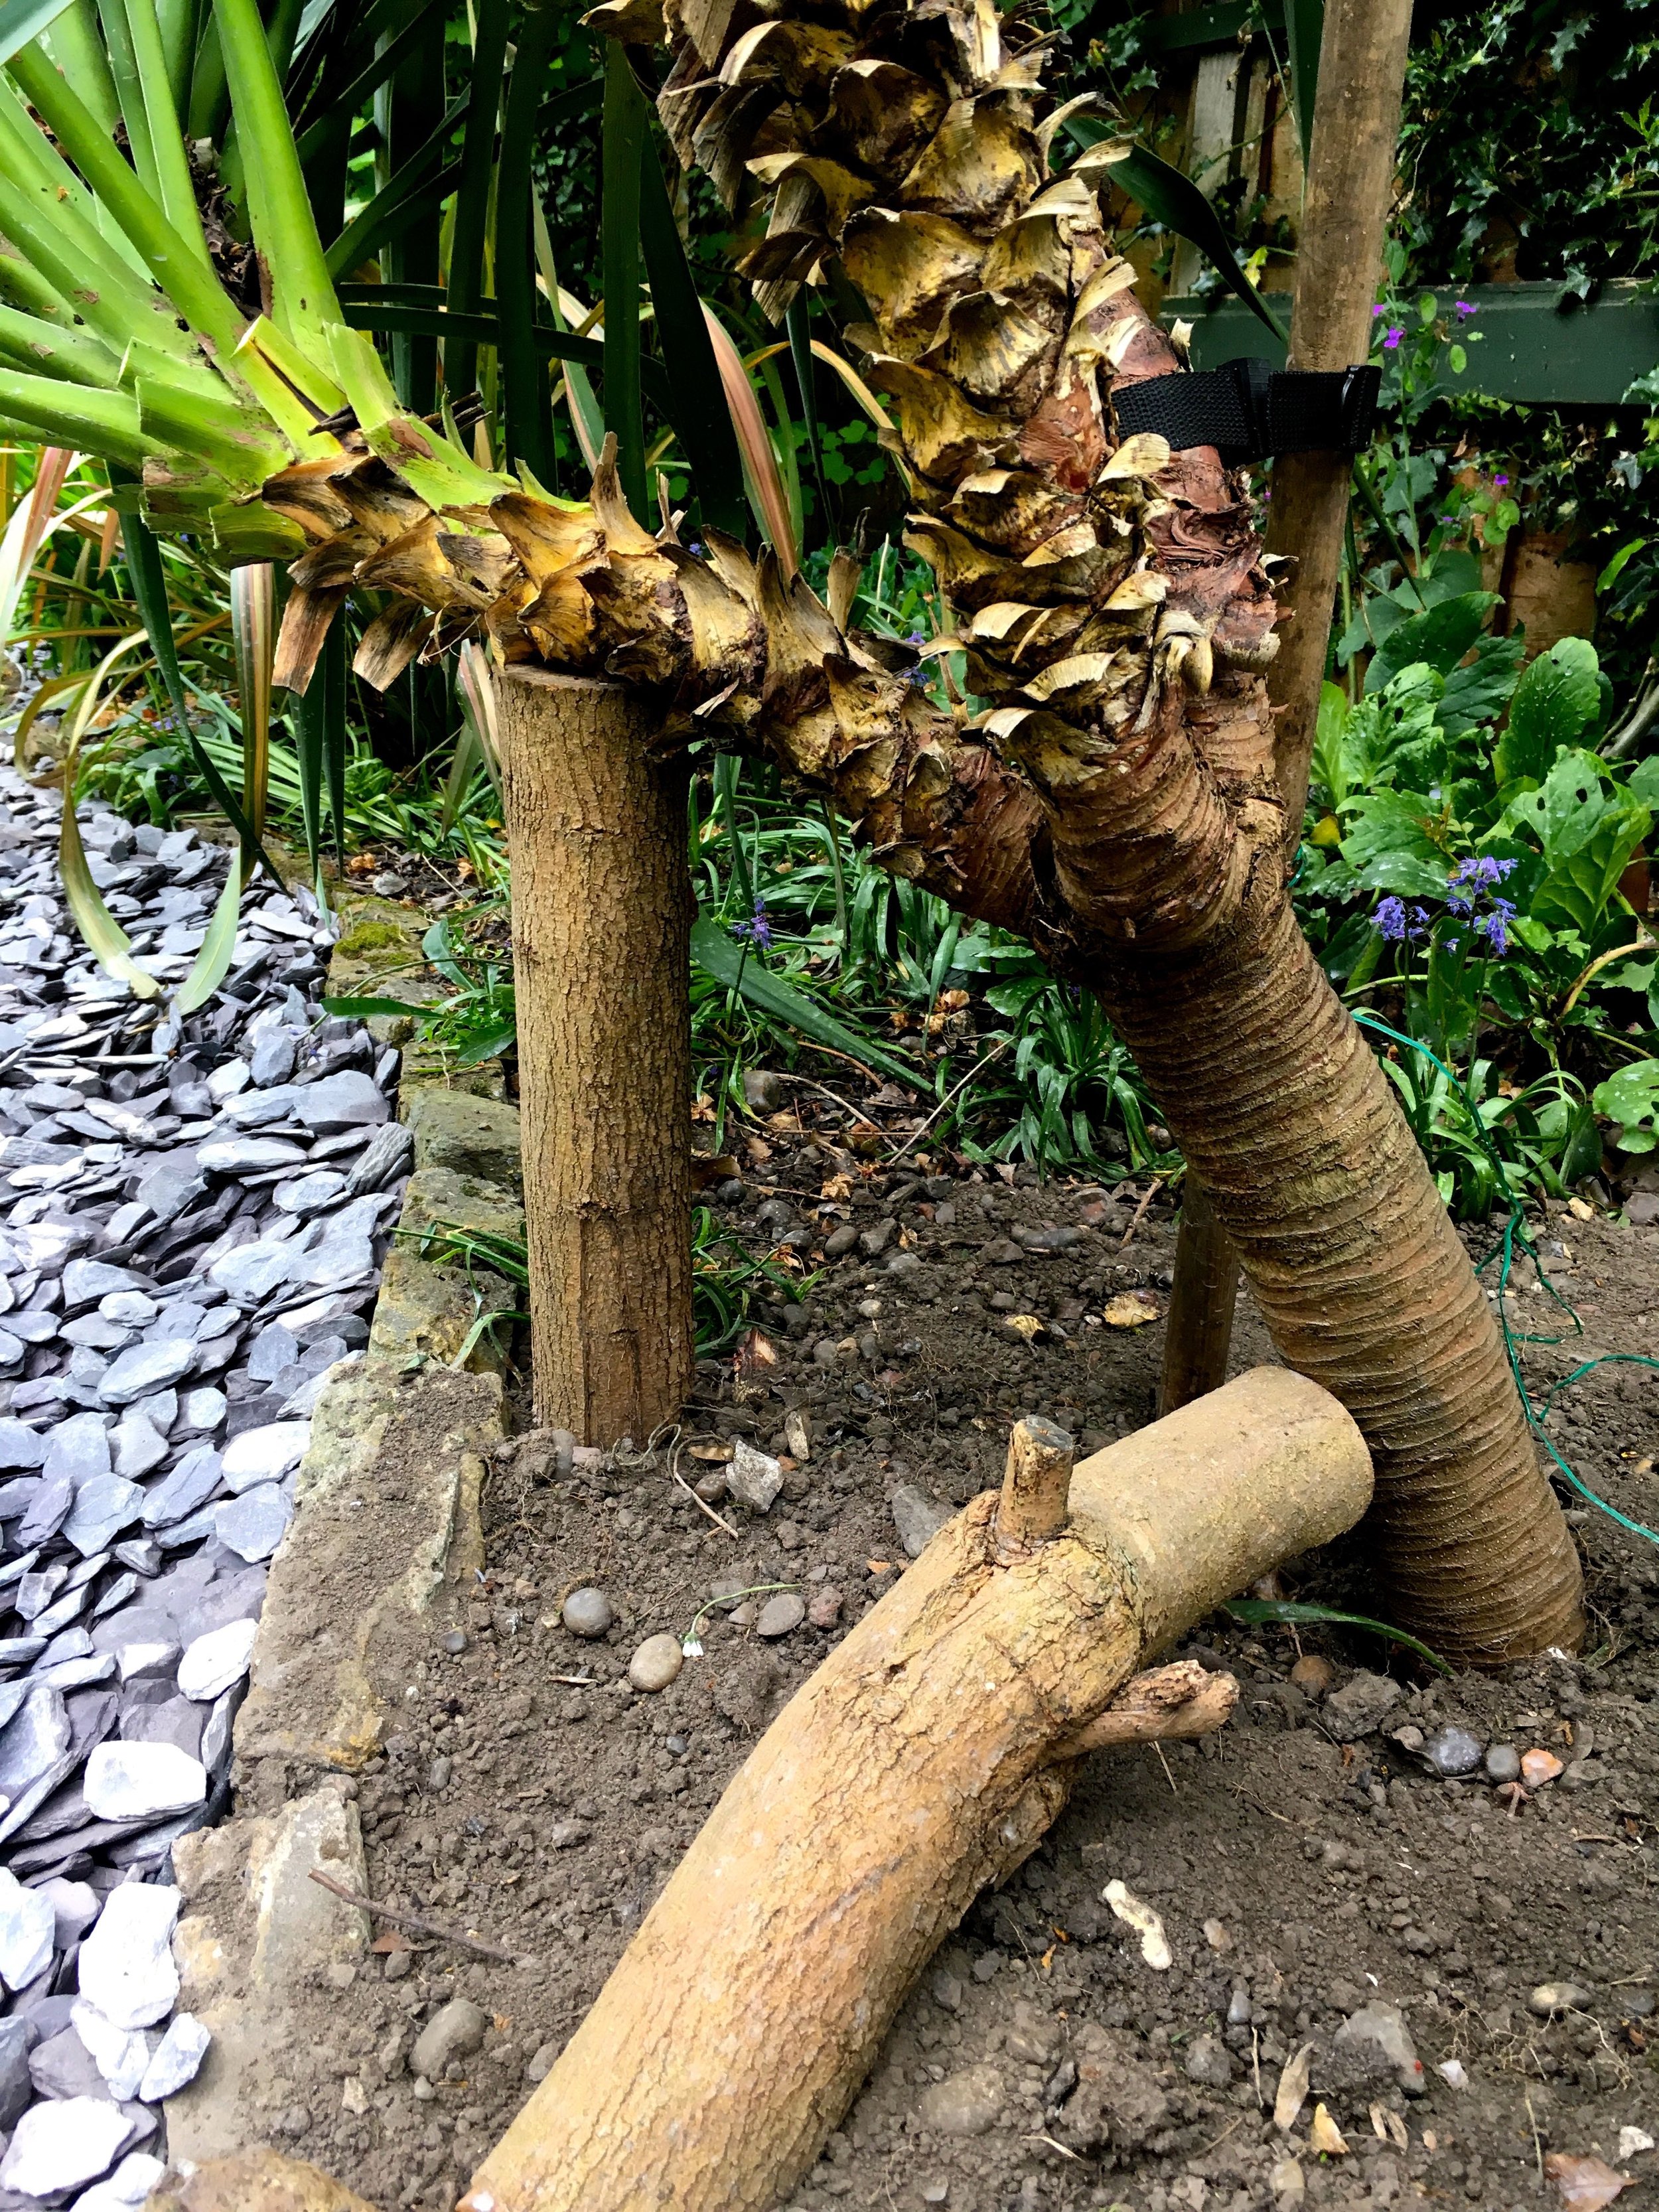
It was clear that this alone wouldn't work and the front branch would need further support.  I was back to looking around the garden and spied some logs from the lilac tree, which we'd cut last summer and were saving for the planned firepit. A couple though were put to use straightaway supporting the yucca.

Using old lilac tree stumps to support my yucca.

So with some ingenuity and a couple of things I already had, we managed to prop the yucca up. And straight away it looked better.

YES, THAT'S BETTER...

YES, THAT'S BETTER...

And just a week later it was clear how much difference it had made. I joked on Facebook that some flowers would be appreciated. It last flowered in 2013, and I was hopeful it would be time for more flowers again soon.  I wasn't sure though, as Doris had given it a bit of a bashing and we'd taken a while to resolve that.

So imagine how shocked - and pleased - I was when I saw this as I wandered up the garden to water the greenhouse.

A flower on our yucca, and I think there's at least another one on the way

Yes! A flower!  And I've feeling that there's at least another one on the way from the front branch that's propped up by that lilac log. I can't believe how quickly it's appeared, but I'm really glad it has.  And then this weekend there was further evidence that it's happy with it's new lot. The second log that was propping up the main stem, and was wedged against the brick edging was now defunct, it was no longer holding anything up, the yucca it seems has remembered about growing upwards towards the light, which is great.

Now it's just a matter of waiting for the flower to do its thing... 

But I'm so glad it's happy again, this was one of the few plants that I brought with me when we moved here back in 2002, and it's got quite some history.

Circles and slate

Yes, another post on my grass circles, but there's good news as we're reaching the end of this project. All, but the final piece of edging is down and our grass is looking less like we've put one of those expandable cake tins around it.  And if you're wondering why we haven't put the last piece of edging down, it's not because we have some weird kind of topping out ceremony planned, but all to do with the fact that the edge was covered with one of those huge tonne bags and full of slate.

So with as much edging down as we could manage, it was time to tackle the membrane and redistributing the aforementioned slate. But where to start?

We decided to tackle one of the larger areas at the back of our garden first so we could practice our techniques and so we didn't botch the most visible part of our garden, the bit that is right in front of the patio.

Looking at what was outside the edging more closely we were once again reminded that our house was built on an old gravel pit, to say we have stony soil is an understatement, I mean just look.

Circles dug and edged, now for the slate

We could have picked out the stones, and in fact could quite easily go into business selling them for a good while, but instead out came the big hammer and some serious arm work got underway - the results are pretty impressive aren't they?

But first some arm work compressing the earth
 
And what a difference it makes, a nice smooth surface to lay the membrane on

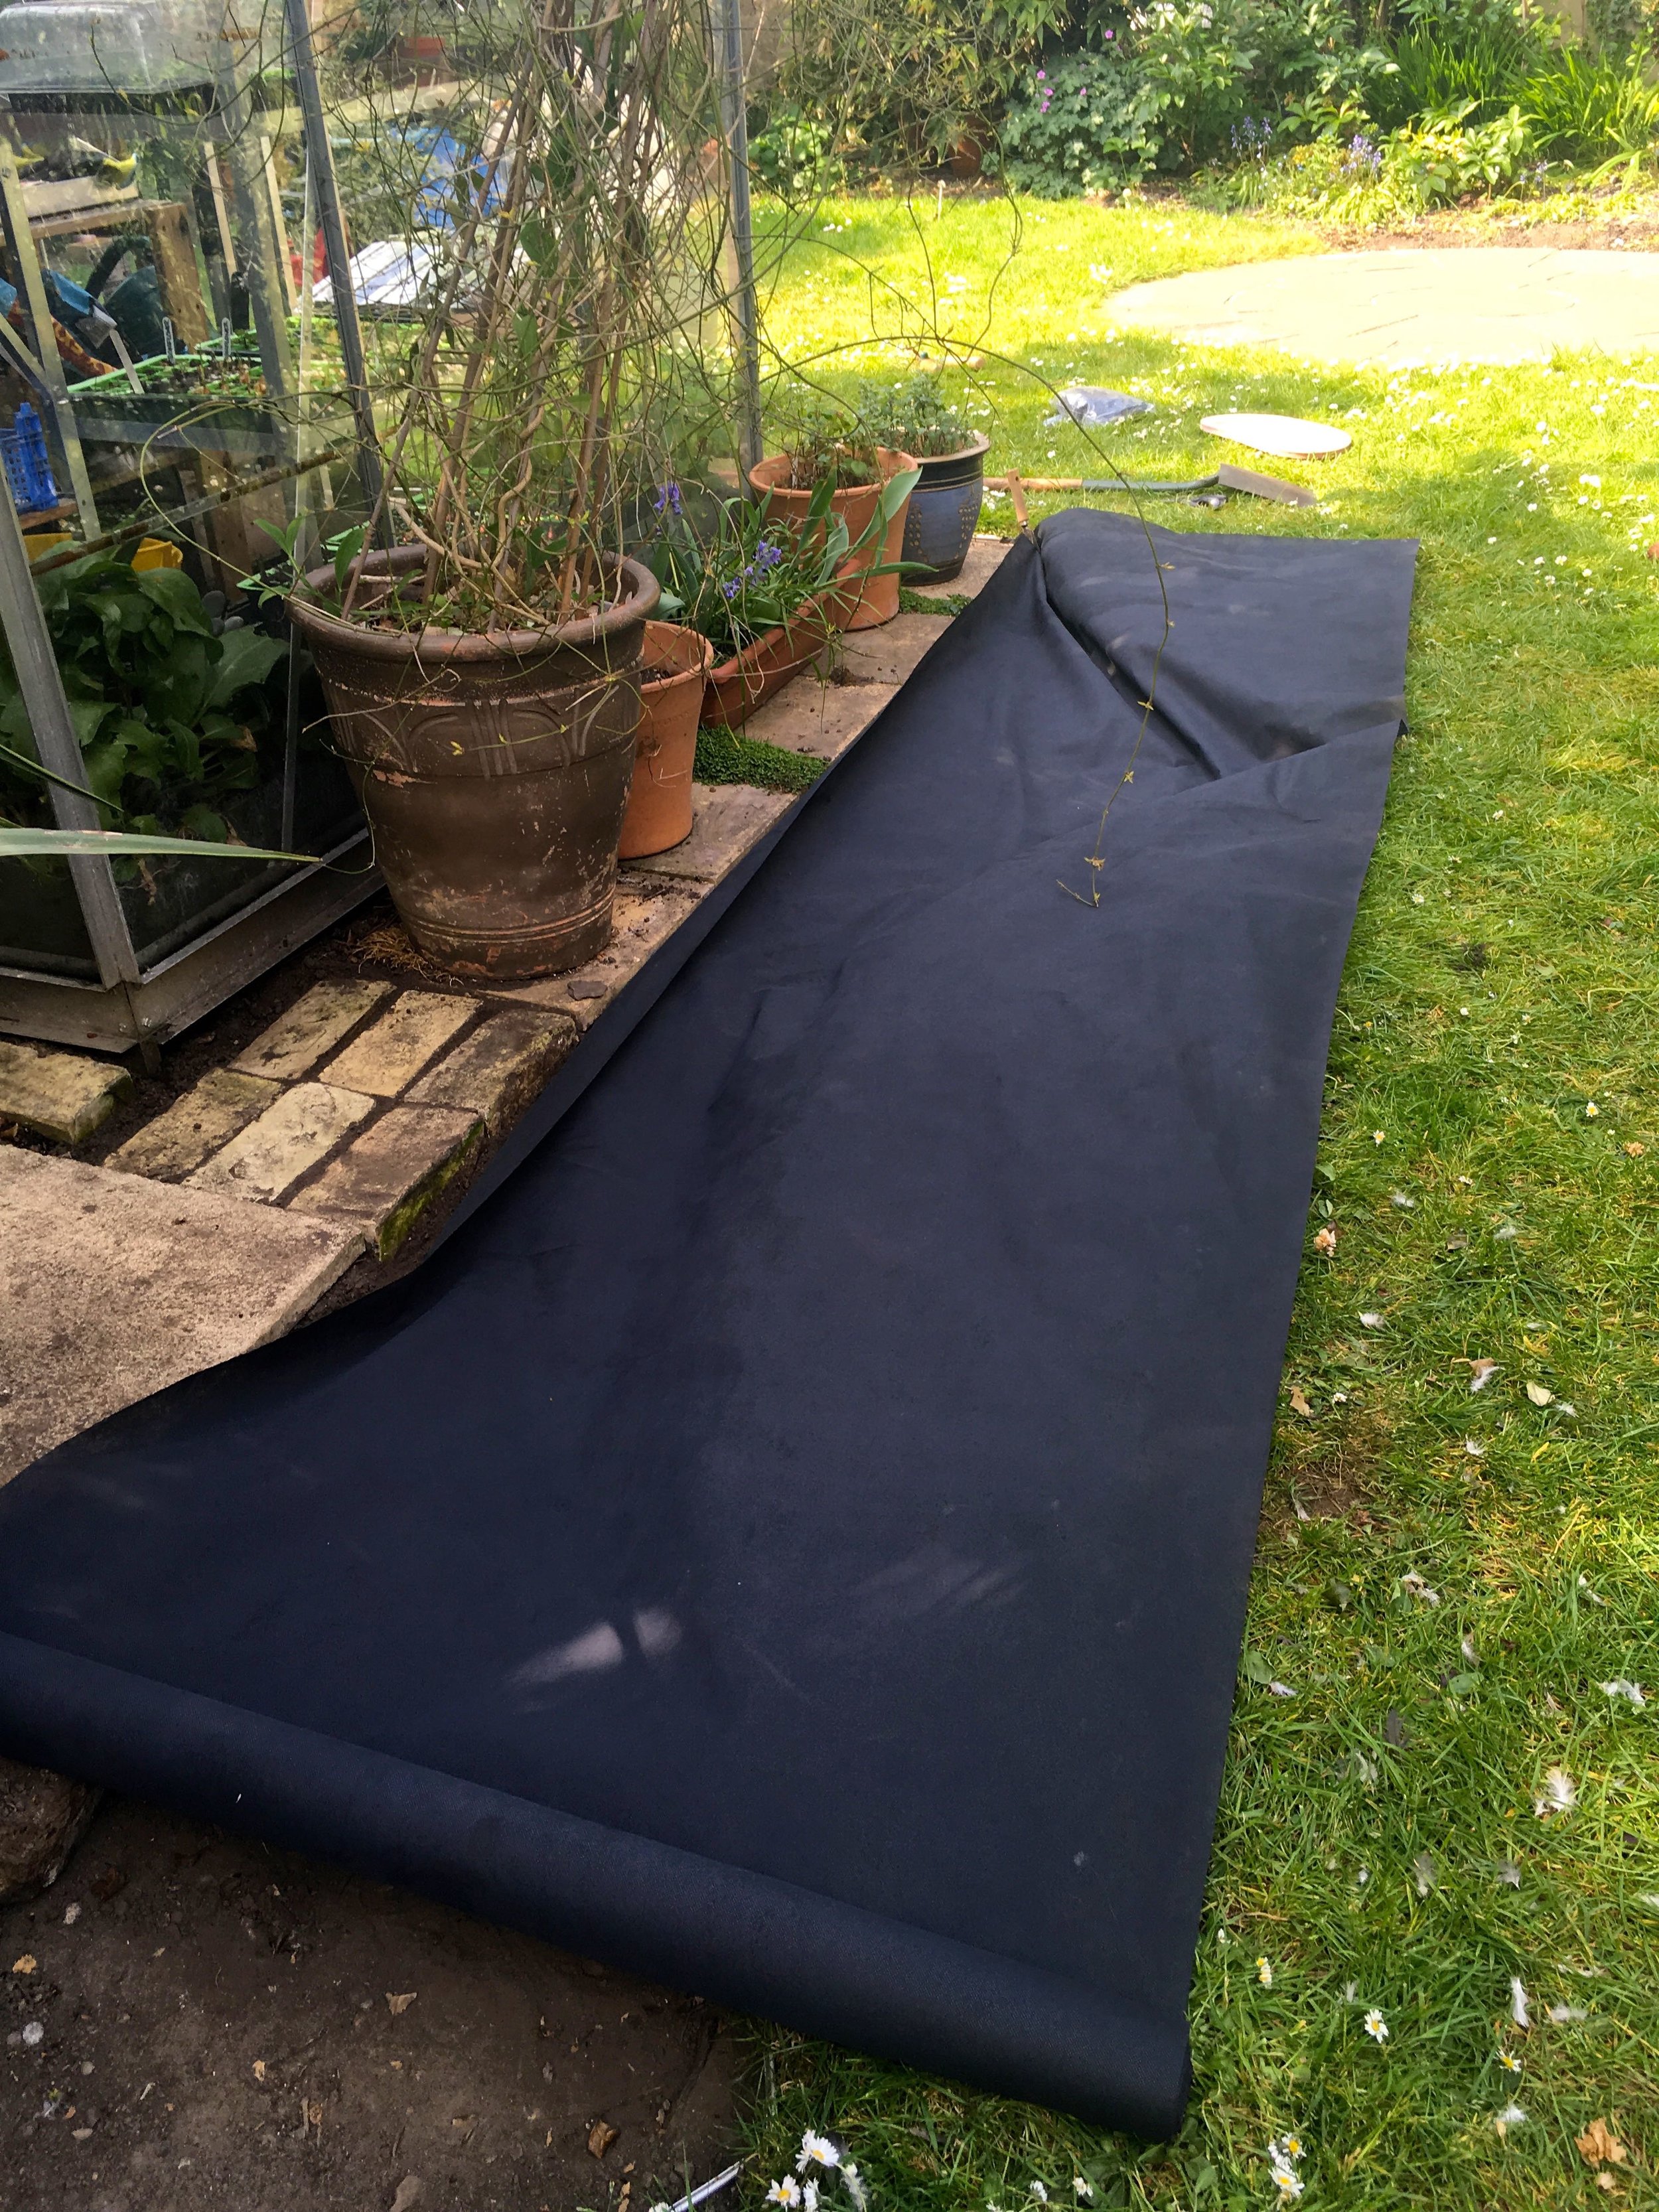
So out came the rolls of membrane. It was much thinner than I'd expected, but it was just like rolling out material and kind of weird. We quickly learnt that the longer the piece of membrane the more effective it's likely to be, and that it's best to secure it first and then cut the shape, leaving plenty of overhang.

And then it was time for the membrane, which was much easier to lay than I anticipated

Pleased with our progress and learning quickly we shifted our attention to the patio area.

After practicing on the rear of the garden we moved to the most visible part of our garden by the patio

And the results were pretty impressive, and quick - which is definitely my kind of project!

And then we added the slate

It was clear though that despite having one very large bag delivered (which we'd split into two when we decanted it through the house back in 2013 - how time flies hey?!) it wasn't going to be enough to do the whole garden. When we ordered it we weren't sure, but as the circles were only a glimmer in our eye at that time, we weren't too fussed. We ordered it along with the new patio and therefore saved on delivery fees, I don't think though that either of us thought it would sit in our garden for the next four years!

So tactical decision made, we decided to lay the slate by the patio and then all the way up the left-hand side of the garden up to the greenhouse, and then to complete the area in front of the shed, which I'll show you in a moment. 

But first, I'm enjoying a couple of more arty-farty slate pictures.

The slate has made such a difference
 
A picturesque view of our circles, slates and plants

And look, the yucca is no longer lolling over the grass, it's staked up - but more on that tomorrow.

Looking up the garden towards the phormium and the yucca, now bathed in slate beneath them

And so in one afternoon and evening session we'd laid slate right up to the greenhouse, it makes such a difference, don't you think?

Looking down the garden towards the house, the slate is currently only on one side of the garden

And then we had to tackle the area outside the shed. This has been one of the problem areas in our garden, along with the area in front of the lilac (on the right of the picture). It's not obvious from the photo but there's a distinct change in level from the grass to the paving, and just where our pile of leaf composting black sacks are, there's quite a dip.

The before shot of the greenhouse and the shed

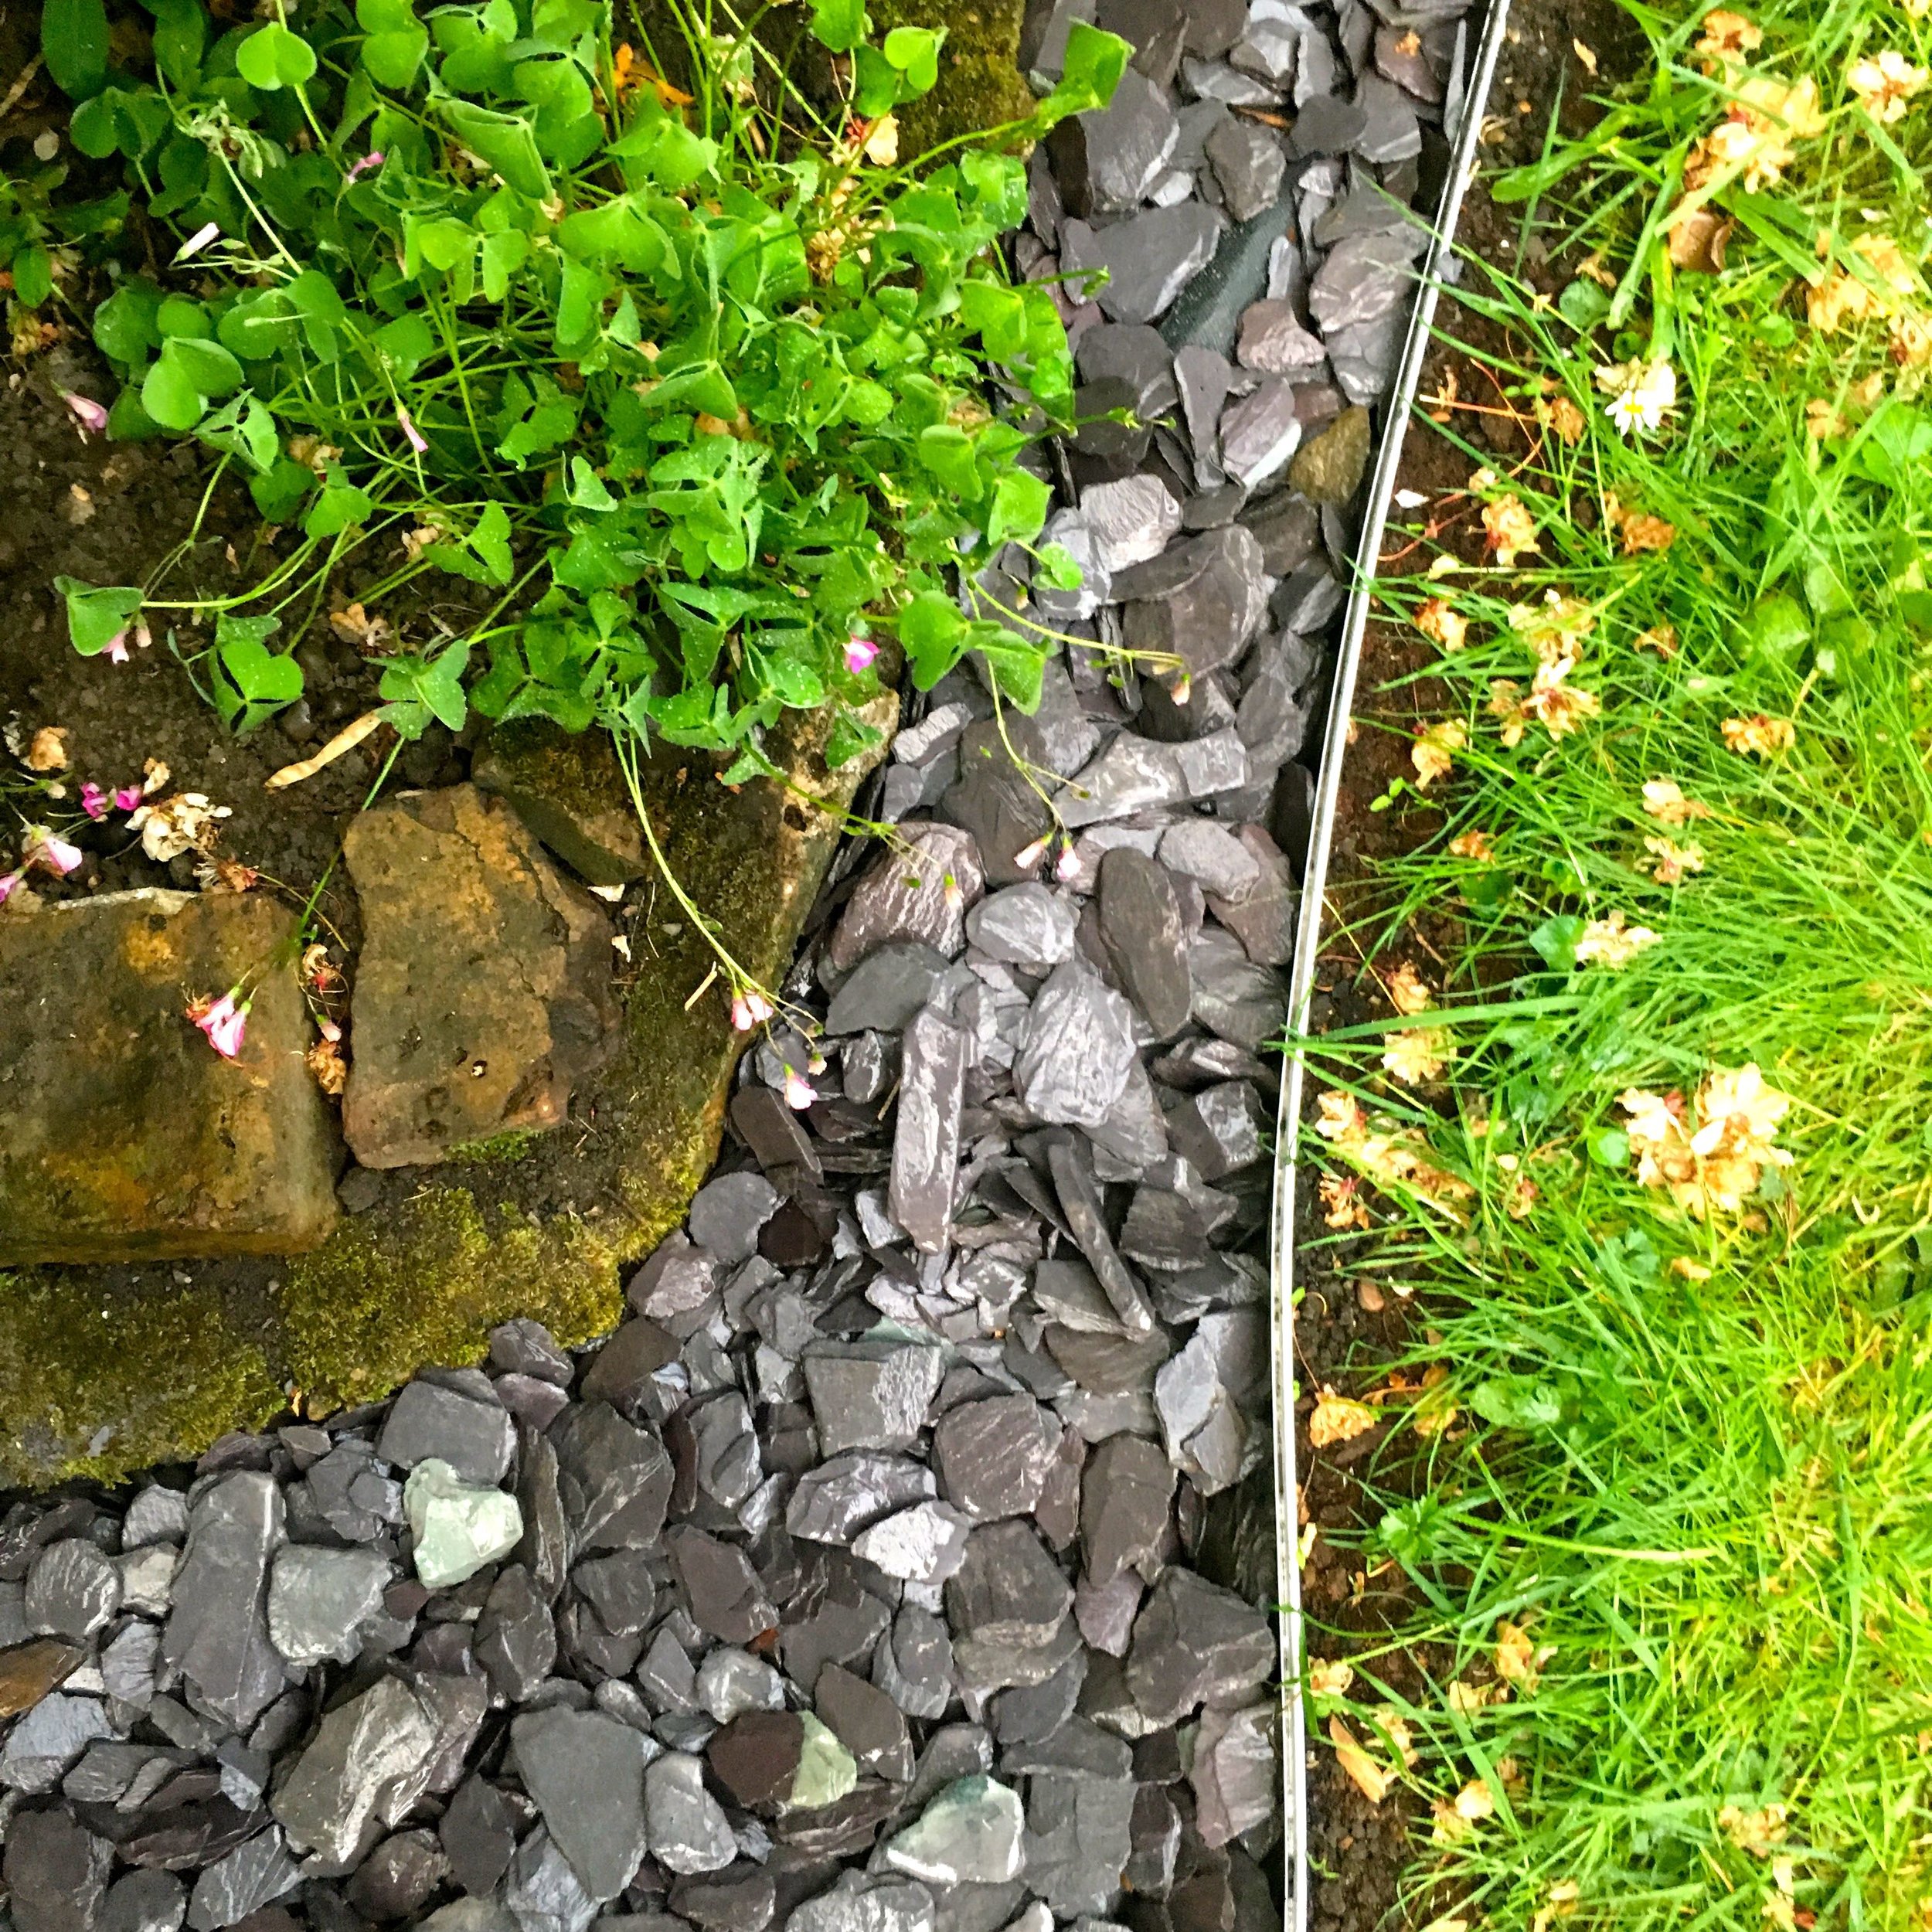
So in an attempt to avoid the rest of our free time picking up slate from the path and putting it back where it should be, we installed a piece of the edging as a retaining boundary. Then the membrane, and finally the slate.

And a look at the shed corner now it's decked out with slate, it makes such a difference

And fingers-crossed this will sort one of our problem areas once and for all. I've got a post coming up soon on how we plan to fix the problem area by the lilac too, it's more work (obviously) but I'm quite excited about our plans and how they've come about.

So we need to buy some more slate, I think we can easily use the same amount again, especially as I think we'll need a fair bit by the stone circle and pizza oven area, and I'm resigned to many more trips carrying slate through the house, but at least this time we'll be able to decant them to their final position (she says hopefully!)  - although I suspect this job won't reach the top of our list for a month or two.

So circles and slate - we're almost there - and it was well worth the bravery it took to make those cuts in our lawn last summer.  What do you think?