Dyeing my own yarn

And doesn’t that sound grand?

Well technically I did, and it was easier than I expected, but it was at a workshop I booked on, and so I had a fair bit of help and lots of guidance. To be honest dyeing wool isn’t something I was brave enough to try for the first time at home, and in reality I don’t think it’ll be something I’ll do at home in the future either, but it was great to try it out and to get a greater understanding of the process. Clearly dyeing one or two skeins, is way easier and much less effort than doing anything even remotely ‘in bulk’ and so my hat goes off to the small businesses where dyeing wool is their thing, they are truly amazing.

I’d seen on Instagram stories that the wool shop in Nottingham where holding workshops, and had one coming up that piqued my interest, and so that’s how I came to dye my own yarn. I spent a couple of hours in their workshop room chatting to the shop’s new owner, while MOH ran a few errands and enjoyed a solo coffee.

Unusually for me I actually had a plan for what I wanted to do with my newly dyed yarn; I’d seen a short sleeved jumper in a knitting magazine a week or so before which had caught my eye. It’s knitted in the round and it has a decorative slip stitch pattern with a multicoloured yarn - I think there’s was named hydrangea and the main colour of the jumper was a delicate pastel green. But as I’m never one for following the colours in patterns, that didn’t faze me, nor did attempting anything in the round.

I have another knitting project on the go, which has been put aside for the summer, so the actual knitting part shouldn’t cause me any issues either. Before I learnt to crochet, I was a knitter - and I’ve knitted many complex patterns in the past, though sadly I have none of these picture jumpers today. Oh how I wish I did!

But anyway, having a plan made a lot of sense as there were a lot of colours to choose from. I decided to go with colours I wear frequently - so pinks, greens, yellows and oranges, though I skipped the orange at the final moment.

The workshop included three 20g skeins and one 100g skeins, so I opted for the multi-coloured versions of the smaller skeins and a plainer - but not completely plain/solid colour - for the larger skein.

Two smaller skeins with pink and green dyes applied

The smaller skeins were up first and they’d been soaking in a water and white vinegar solution to prepare them for taking up the dye, so placed on clingfilm and armed with my squeezy ‘ketchup’ bottles of dye I dabbed and dotted colour randomly along their lengths. I used four colours on the natural coloured yarn, two pinks and two greens.

Happy with the dye I dabbed and squirted on, the clingfilm was wrapped up and my skeins were off to the microwave to cook, and set the dye - who knew - while I set about putting a lot of mustard dye on the larger skein.

the same skeins, but almost dry
the larger, and plainer, mustard skein - almost dry

While I wanted it plainer, I didn’t want the mustard skein to be a uniform colour - that seemed a big ask for a first time dyer to be honest, and so I’m pleased with the variations that came out, and even the small area which has an element of darker green.

I think if anyone really wants a very precise colour, then it’s likely that this process isn’t for them and they should stick to large manufactured wool where they aim to deliver a standard colour for each and every ball of wool.

Final drying took place with the skeins hung over the clothes horse in our plant room

The skeins were wound and tied when they were mostly dry, but they needed to finish drying at home. I set them up over the clothes horse in our plant room, which is a lovely warm small room I use to dry my washing. It’s worth putting an old towel or some newspaper underneath as the water has to go somewhere, and gravity can take over.

And so I ended up with some pretty colourful skeins of yarn, and I’m more than happy with that.

My finished skeins - a multicoloured pink and green version and a plainer (but not solid colour) mustard

I realised though that I needed twice the amount of mustard yarn, I could have added an extra large skein to my workshop had I given it more thought in advance but I hadn’t, and in the back of my mind I was sure I had a mustard skein of yarn at home, which I probably should use before buying even more yarn…

Thing is though when I checked, it was the wrong colour mustard - a more brown pigment, still lovely but not a good match for this newer mustard. Then I saw another skein (yes I have a few) which was a better match for the mustard, but is more colourful than perhaps I’d like for this project.

My dyed skiens - multicoloured and mustard - alongside a third larger skein I already had

But the tone is right, and so now I’m convincing myself that I can use these together. I think I can, but as I’m not starting just yet I’ve a little while longer to muse over this.

I think the plan will be to start with the third skein (on the right above) and then switch to the plainer mustard, using the multi-coloured skeins as planned for the decorative pattern. Well, I think that’s the plan, for now anyway!

PostCommentLove

My garden in July

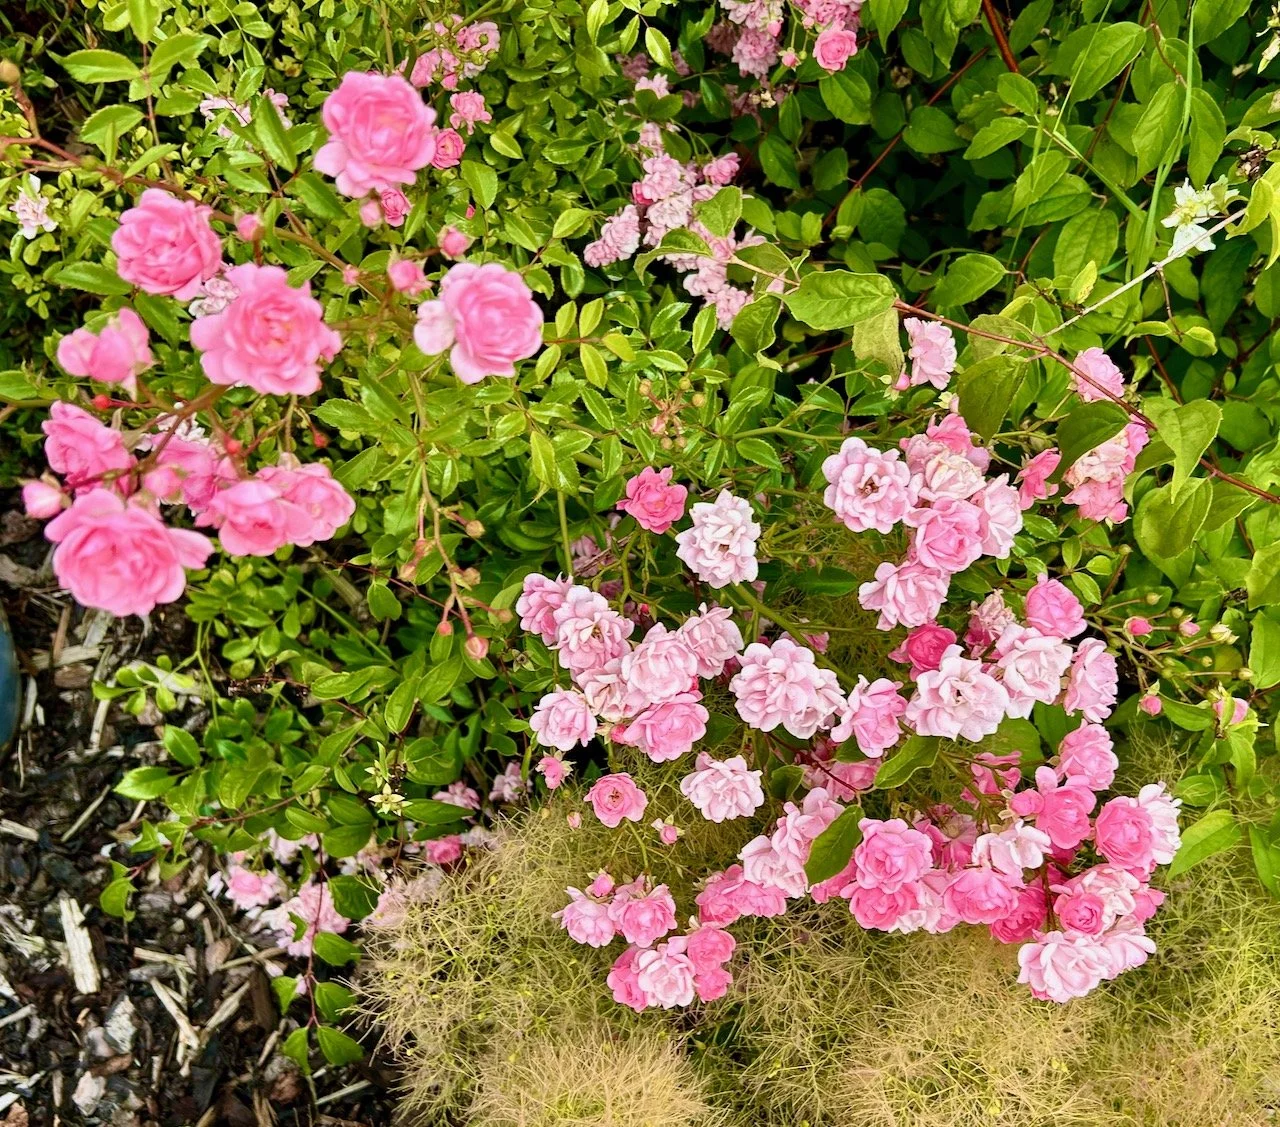
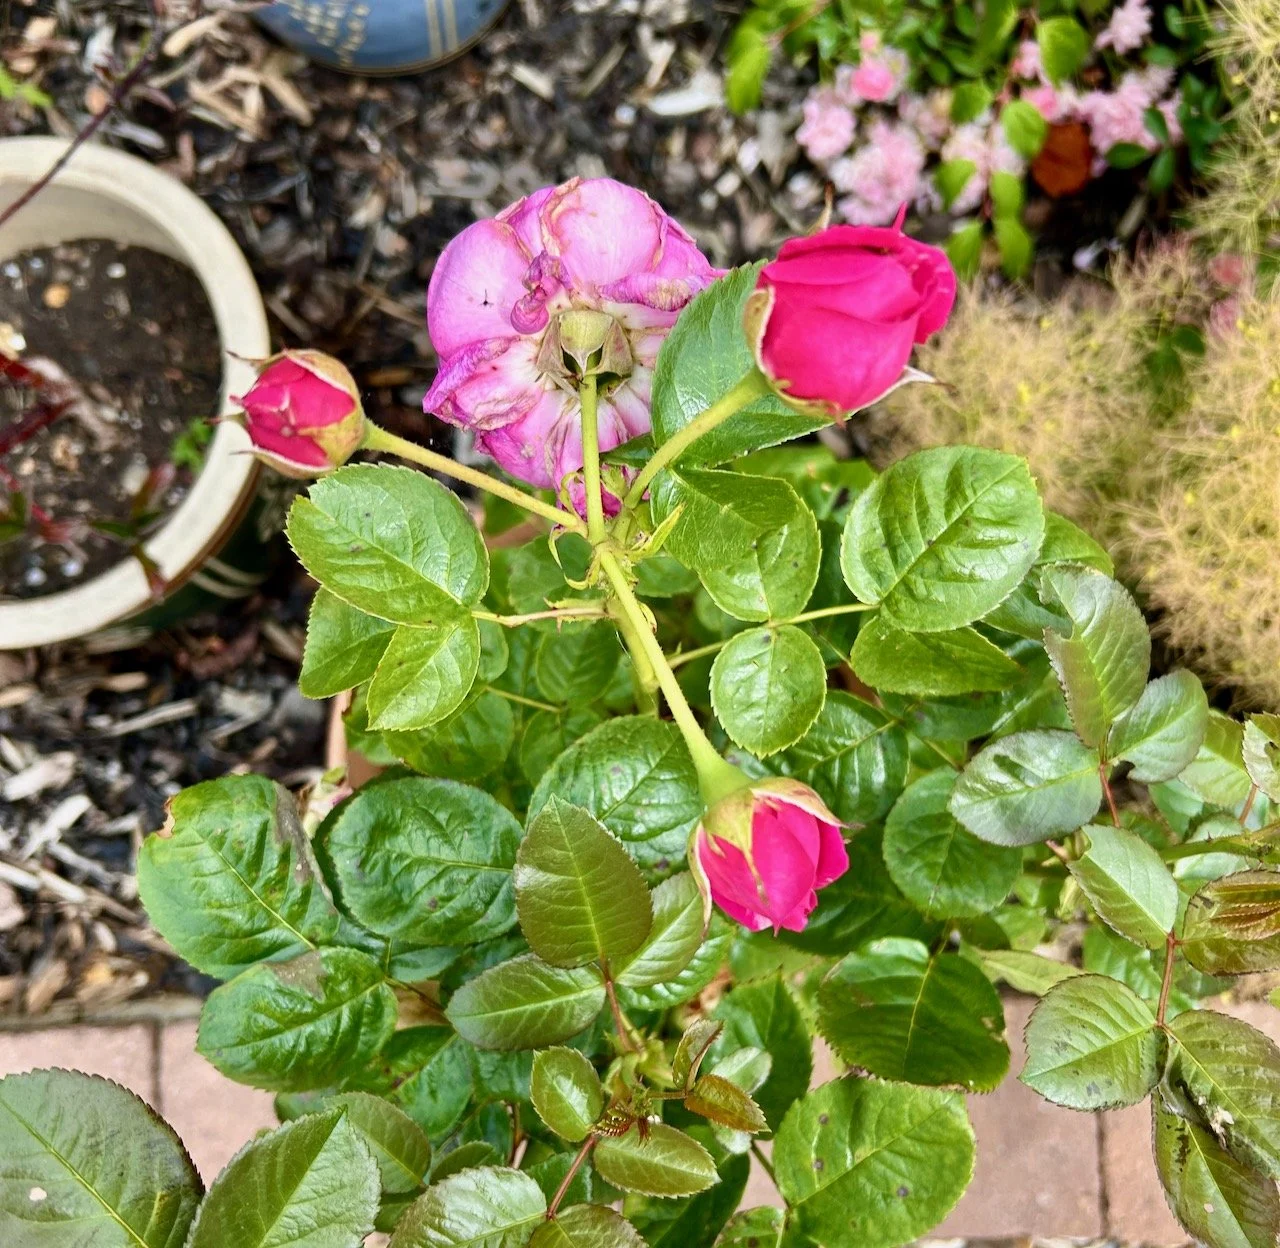
The roses from last month, continued to flower and I’ve spent a good morning or two deadheading this abundant rosebush in between showers - but it was so, so worth it as the rose bush has continued to flower throughout the month. The potted roses have also repeat flowered so if you’ve not been convinced before about deadheading, definitely do it!

a pale pink rose bush in full bloom
rosebuds on one of our potted roses

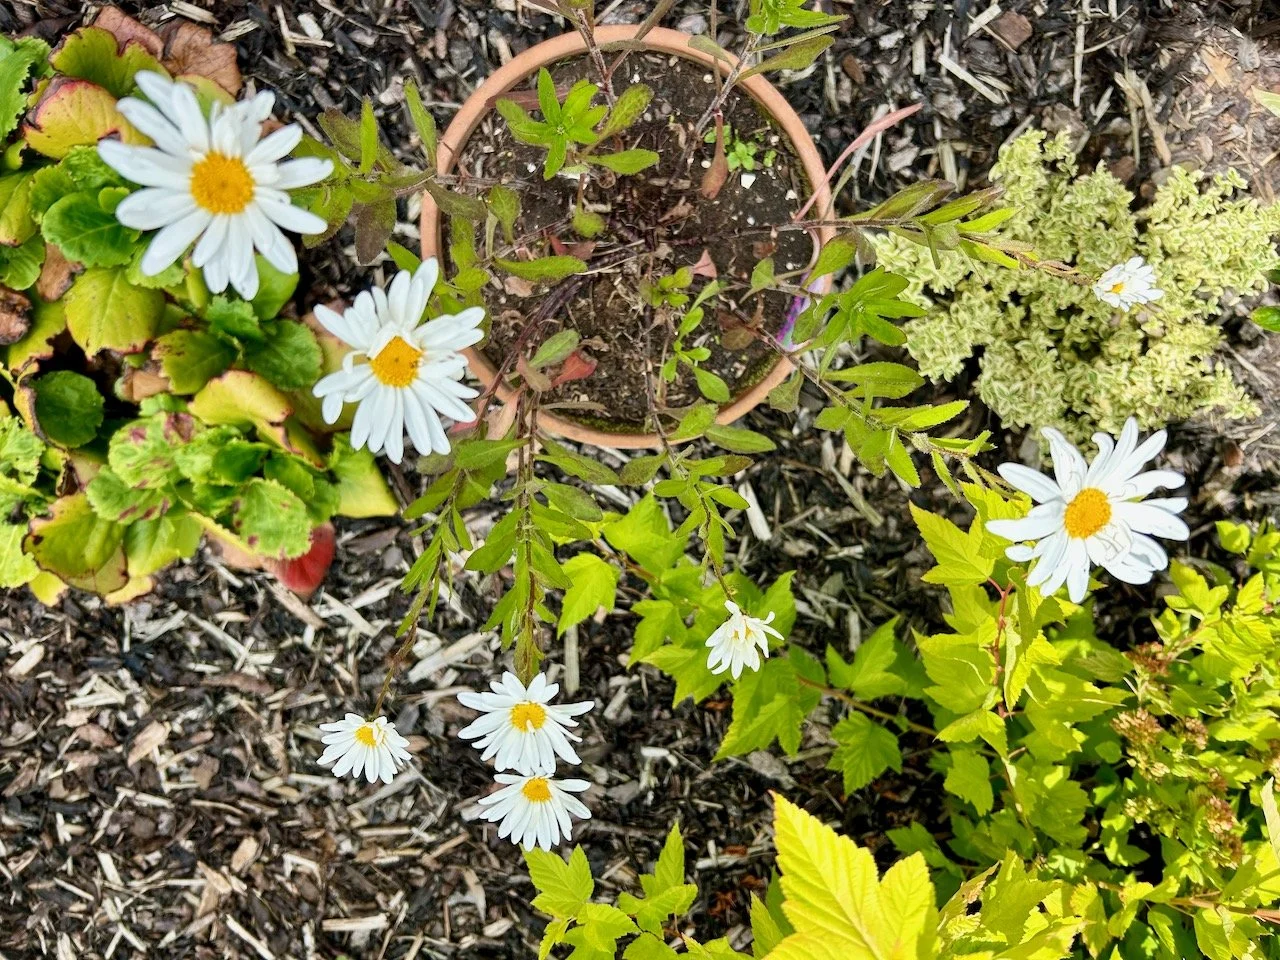
This month the oxeye daisies have also been one of the stars - I just have a single pot of them, but look how well they’ve done. Last year I had three flowers, but this year so many more. I’m looking forward to getting them into the ground at some point so that they can really maximise their potential. My garden plans are starting to form more in my mind, but my challenge is to get those down on paper.

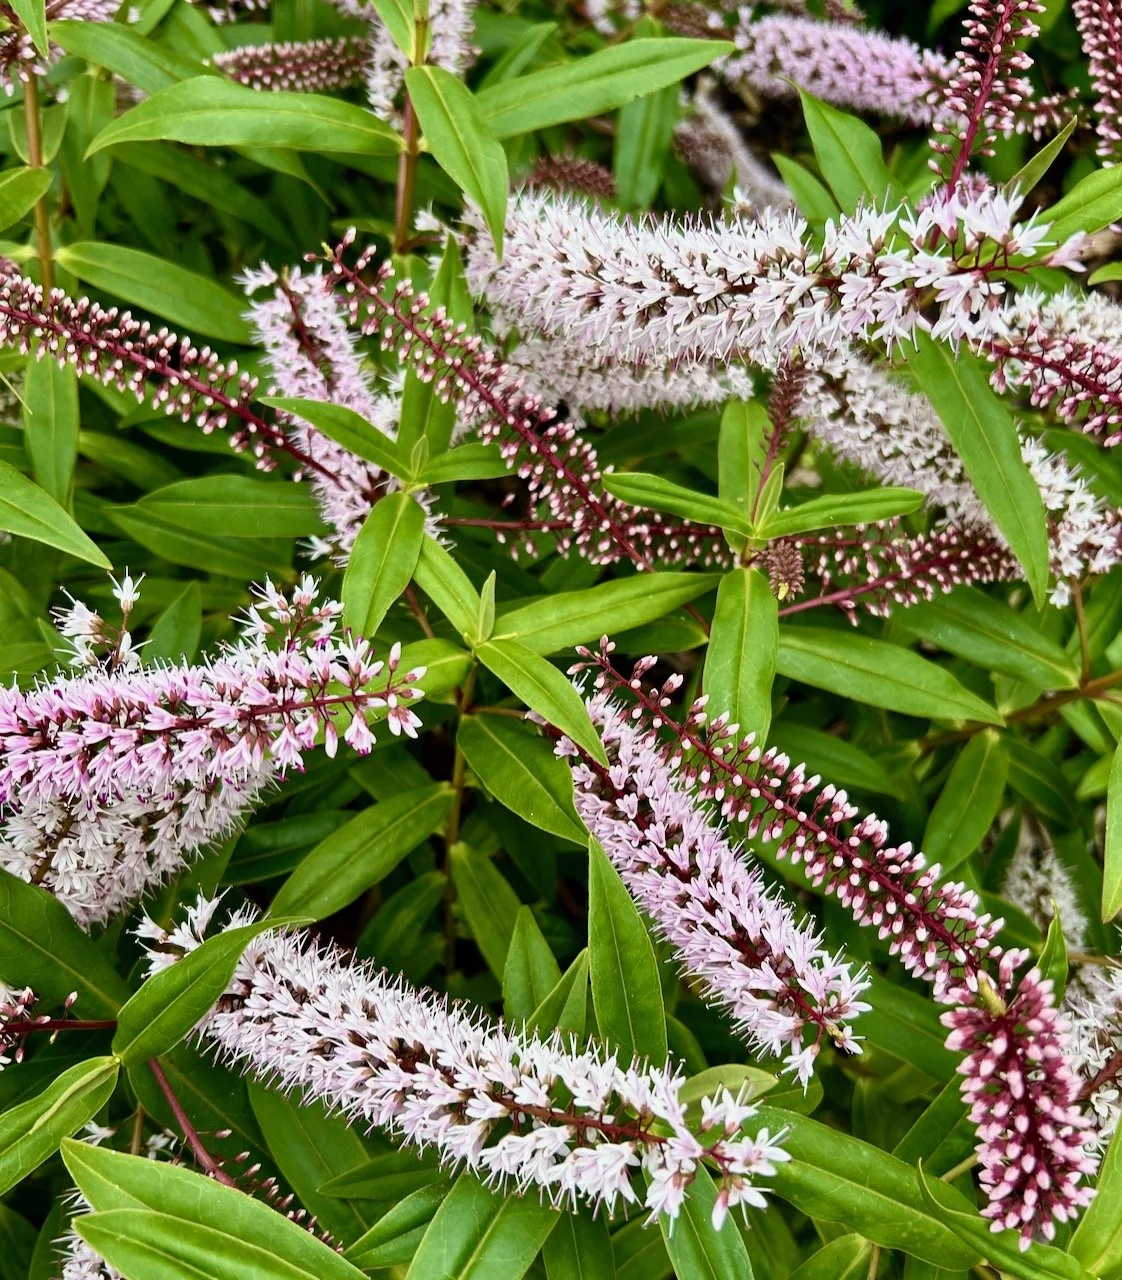
Our previous garden was best in the early spring, but here it’s definitely a late spring/early summer peaking garden, or rather the side border is. I’m loving the flowers on all of the hebes.

The flowers on the hebe bush filling the frame

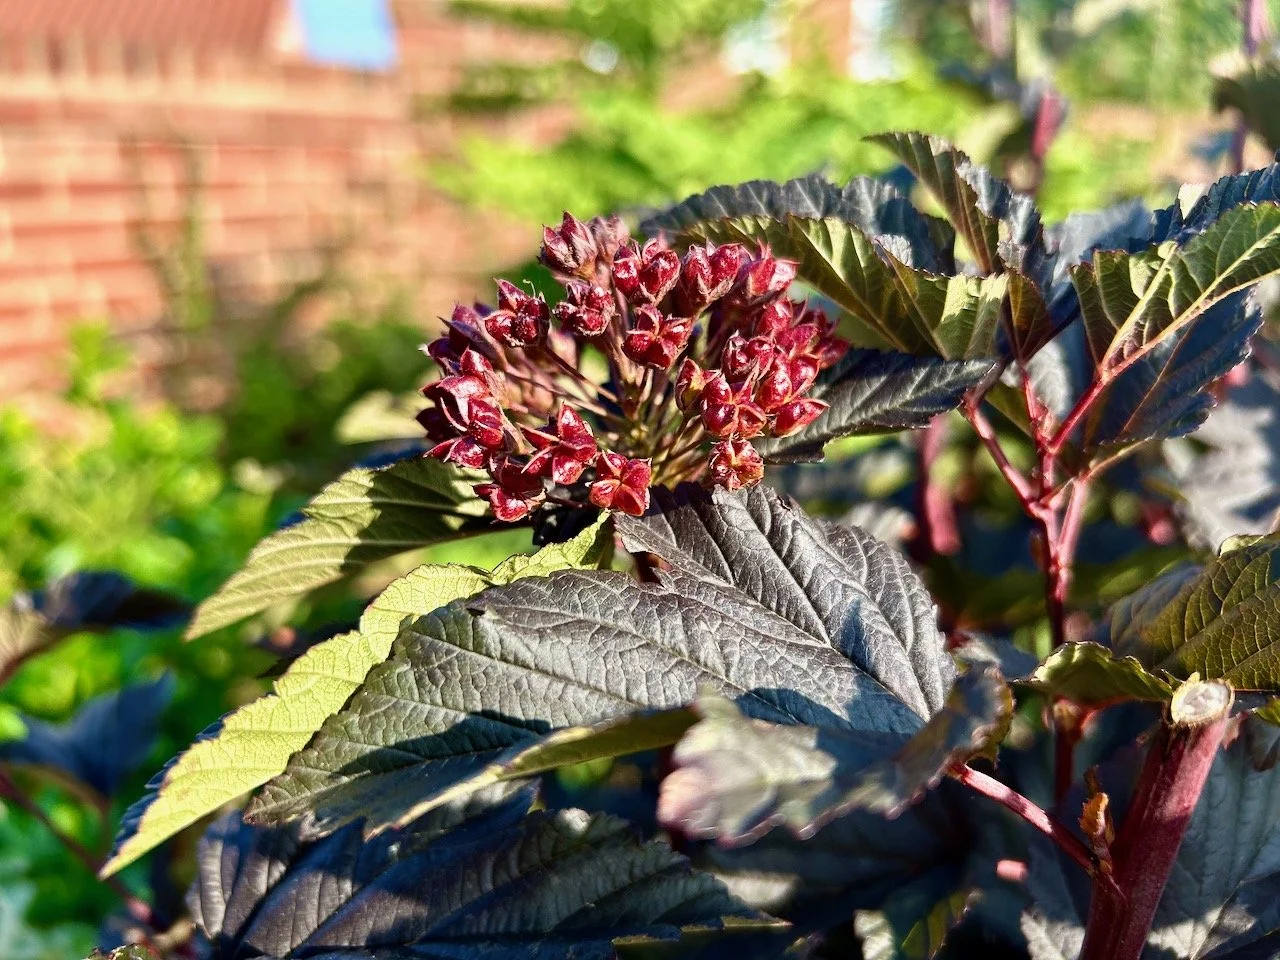
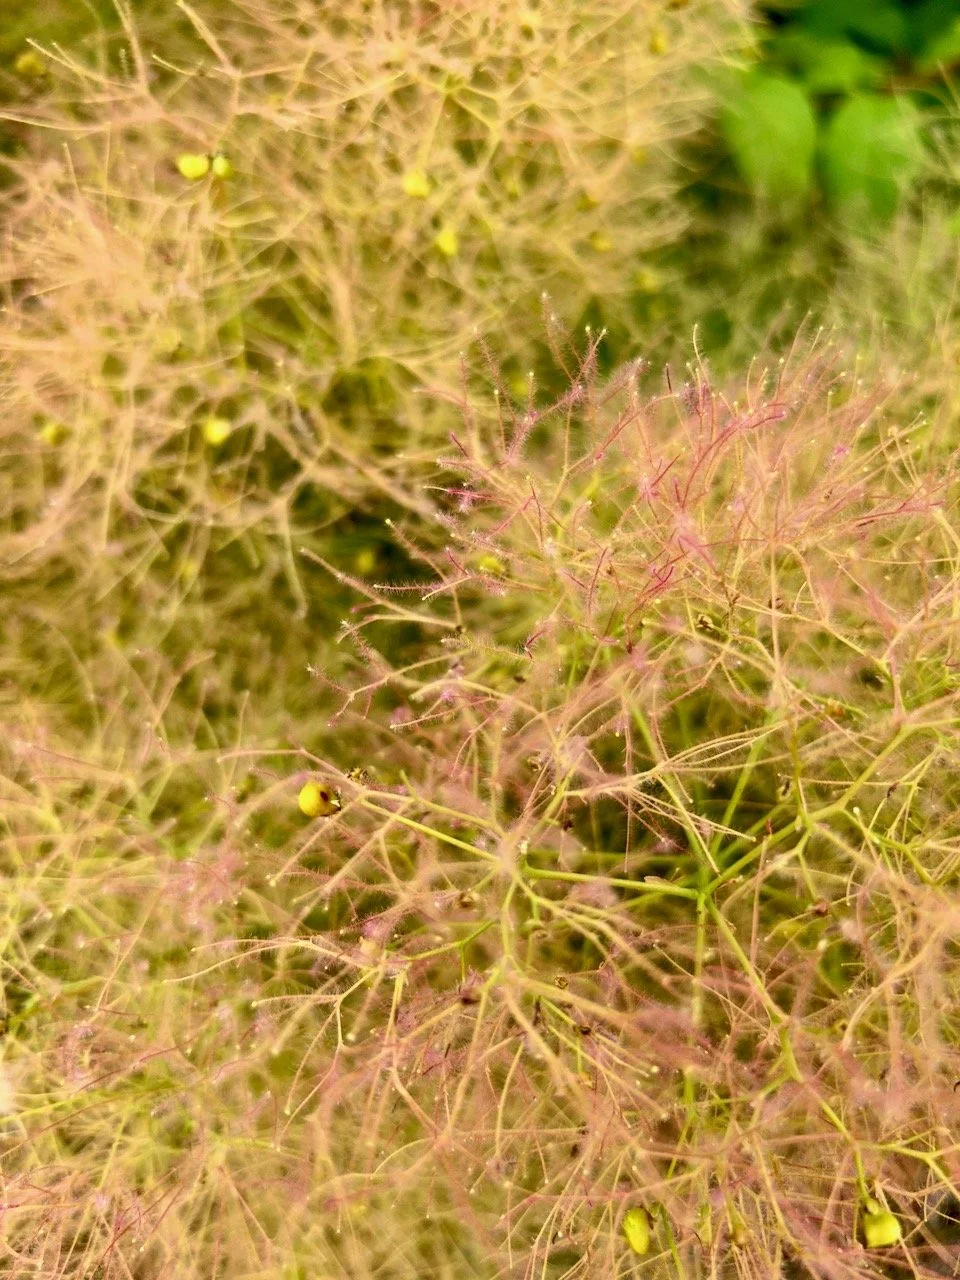
What has really stolen my heart though are the european smokebushes - we have this green leafed variety, and the darker burgundy leafed version; they are both delightful and well, just, frothy!
A close up of the frothy smokebush

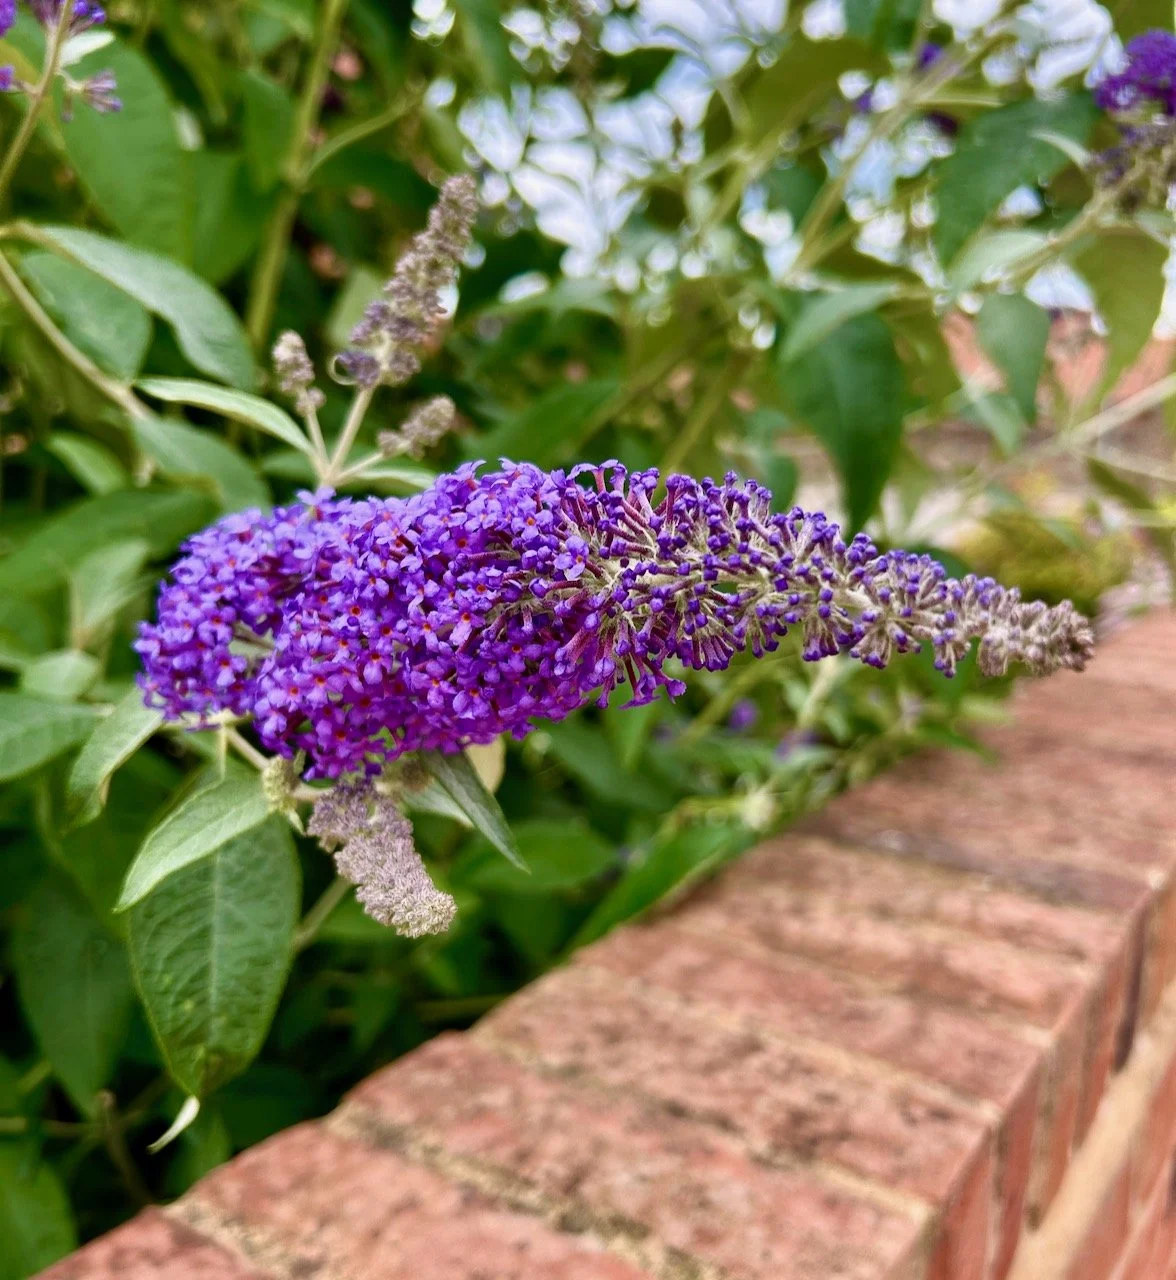
The buddleia is full of flowers, and full of butterflies. Despite being cut down much earlier in the spring, it’s regrown and then grown some more. I’ve discovered that the main stem has a label so it was definitely planted on purpose, and not the self-seeded plant I first thought.

A purple buddleia flower poking over the brick wall

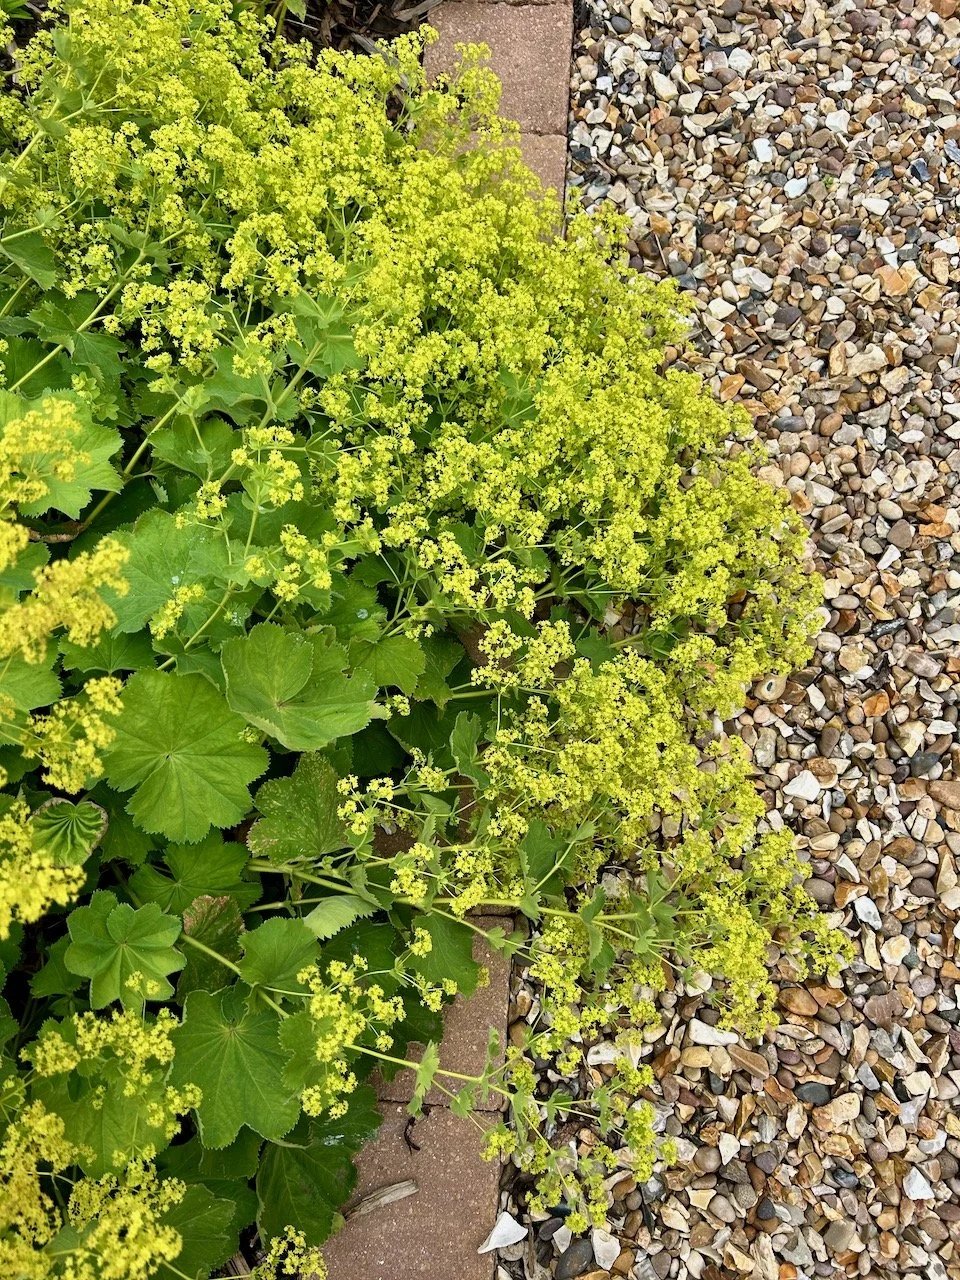
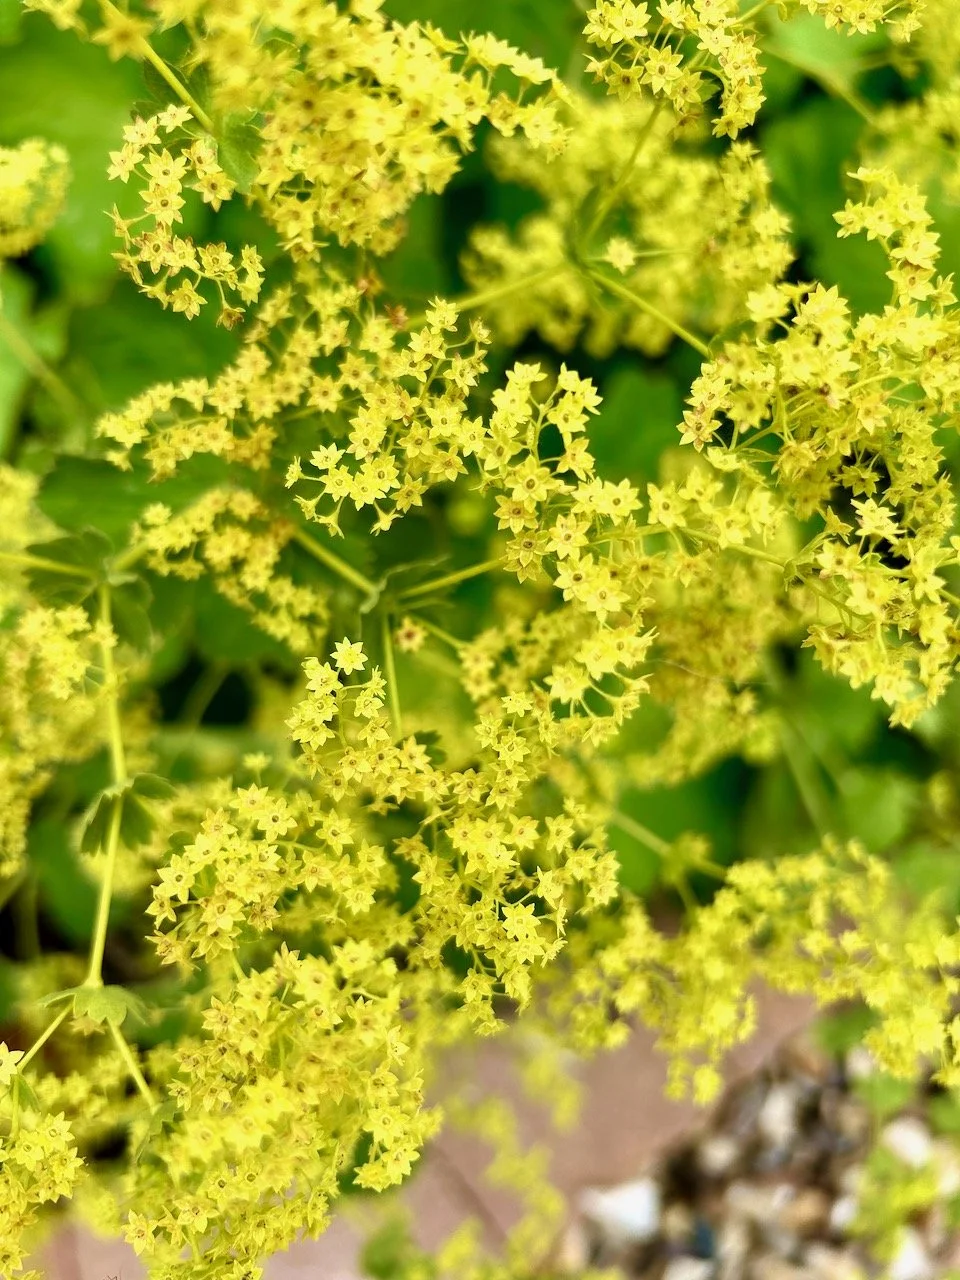
The flowers on the Lady’s Mantle are a beautiful yellowy-green, and also frothy. They have tumbled over the edge onto the gravel.

The flowering Lady's Mantle falling on to the gravel
A close up of the flowers on the Lady's Mantle

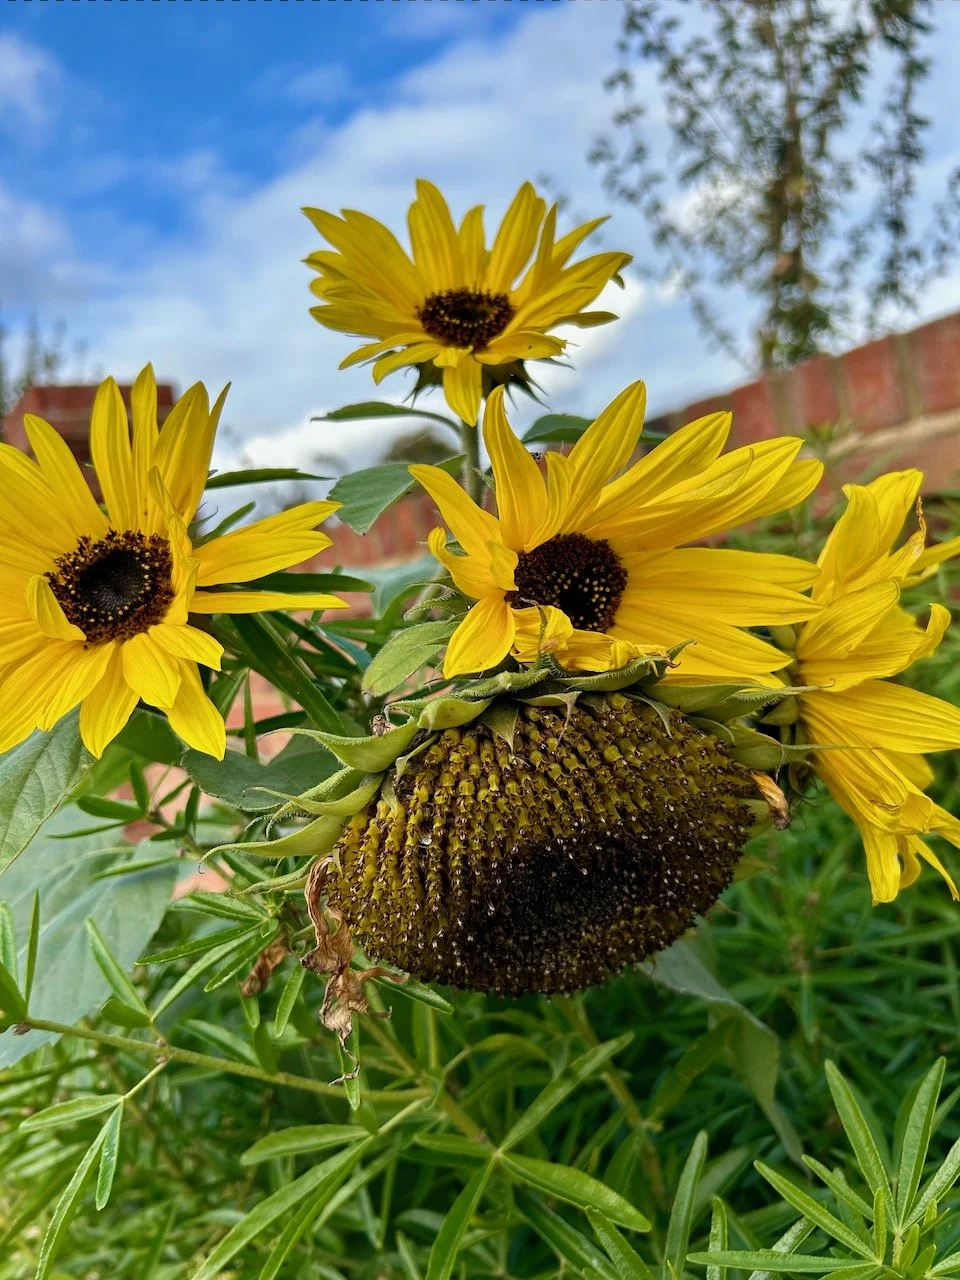
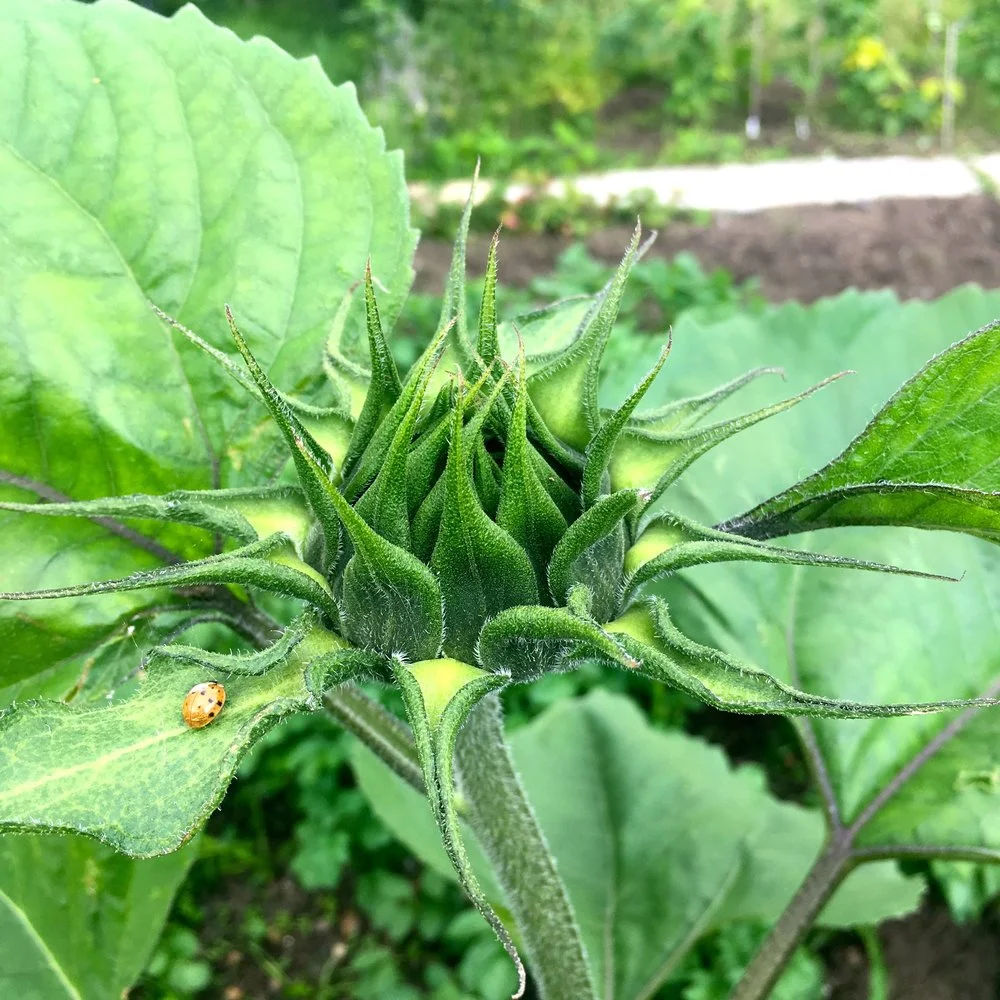
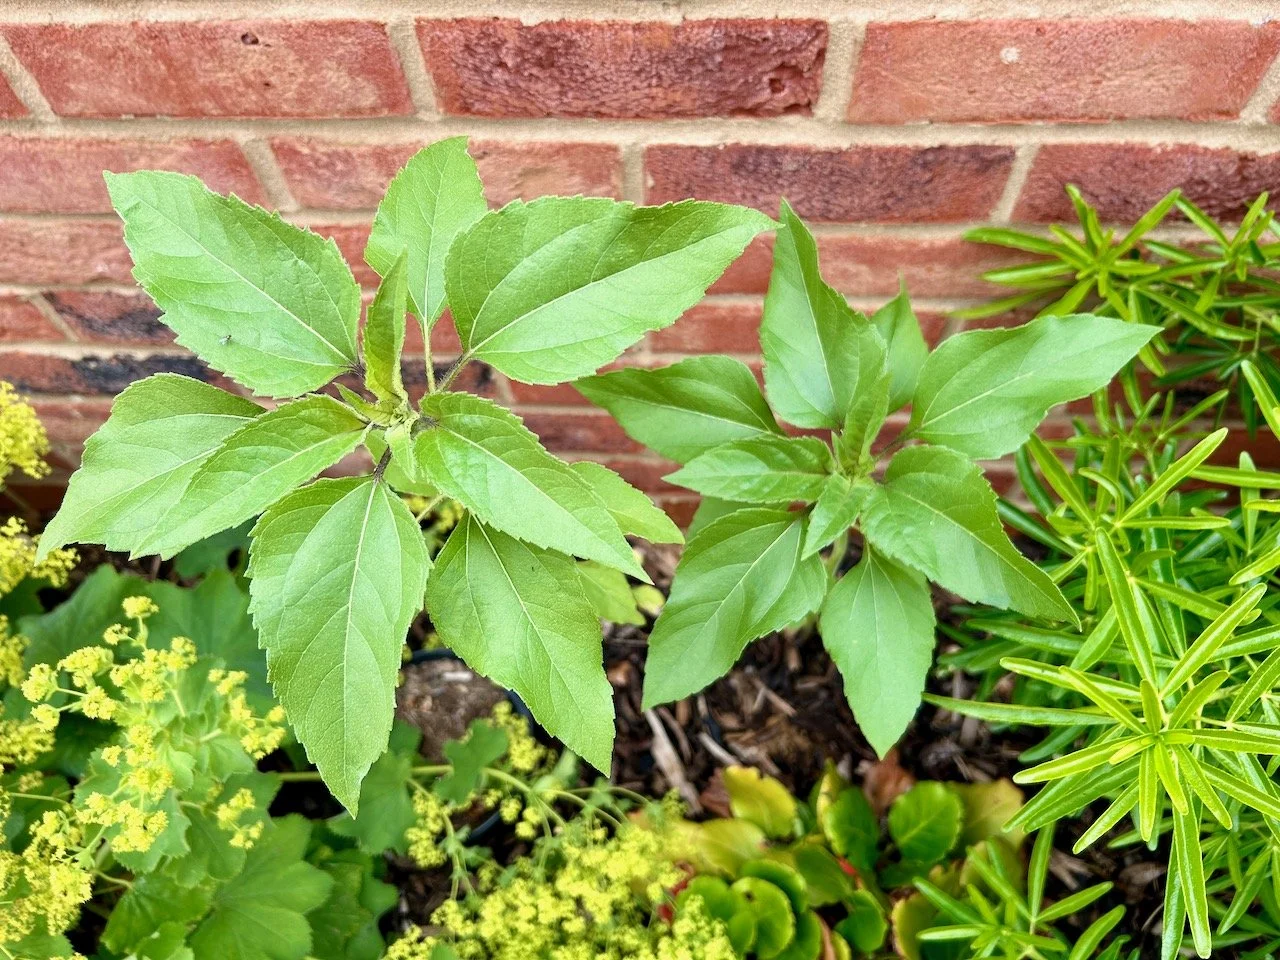
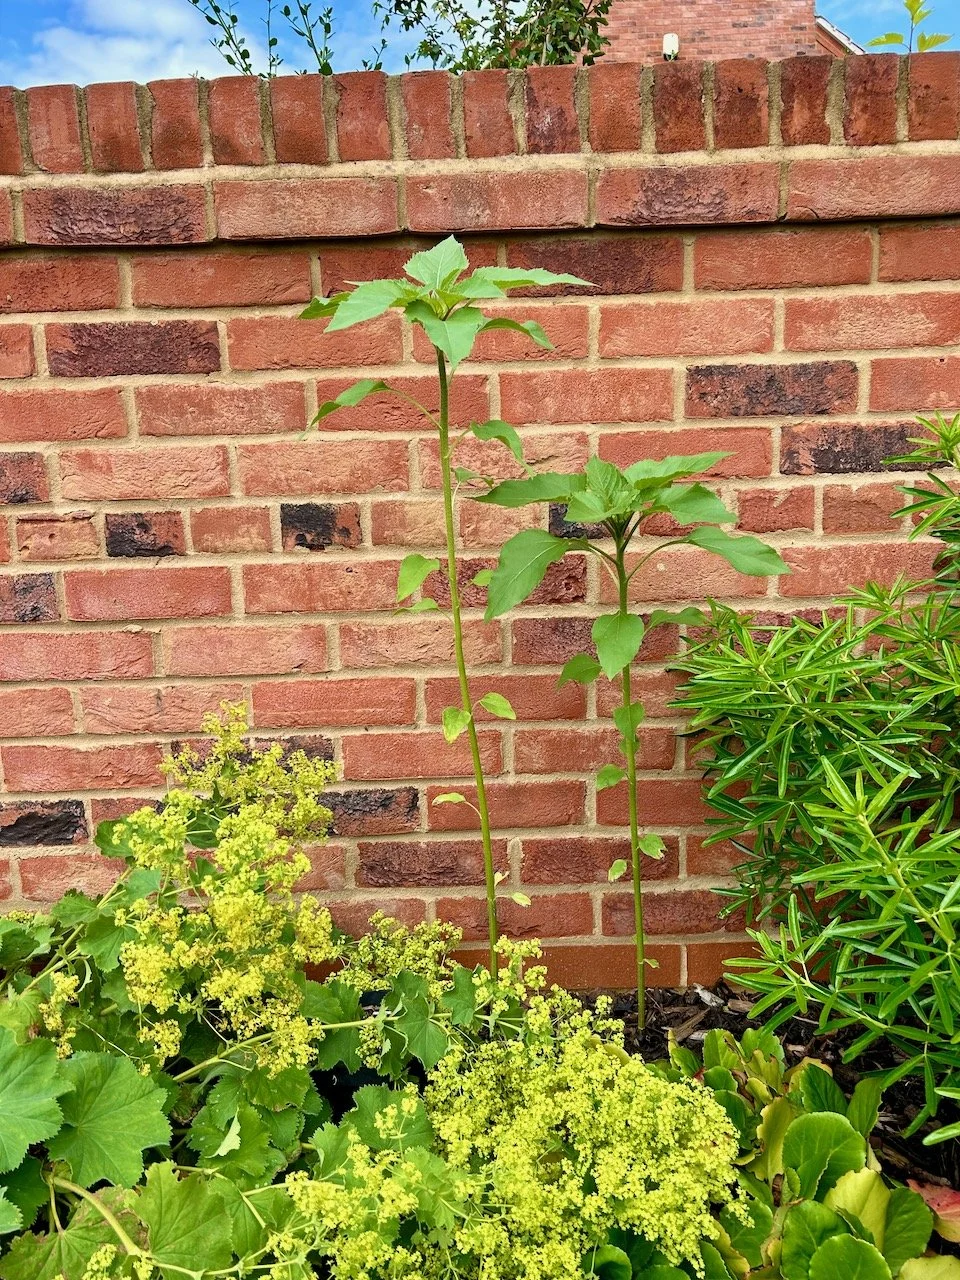
The two surviving sunflowers are thriving next to the wall, where they are as I hoped enjoying the warmth from the sun and the wall. It’s been great to measure their progress as they grow brick by brick, edging ever closer to the top of the wall.

Looking down on the still growing sunflowers

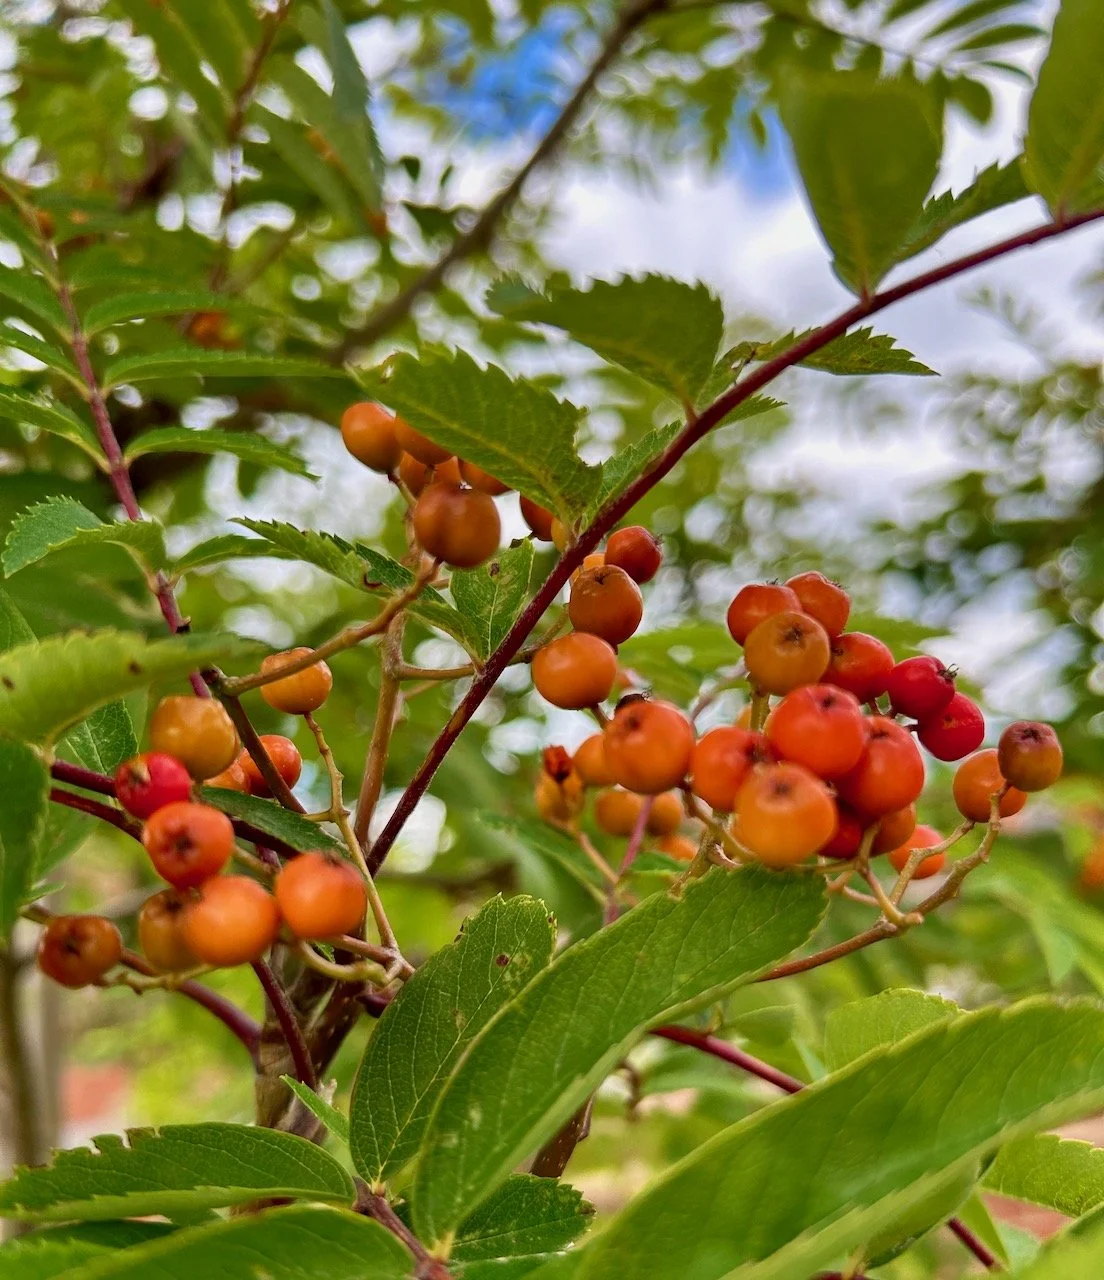
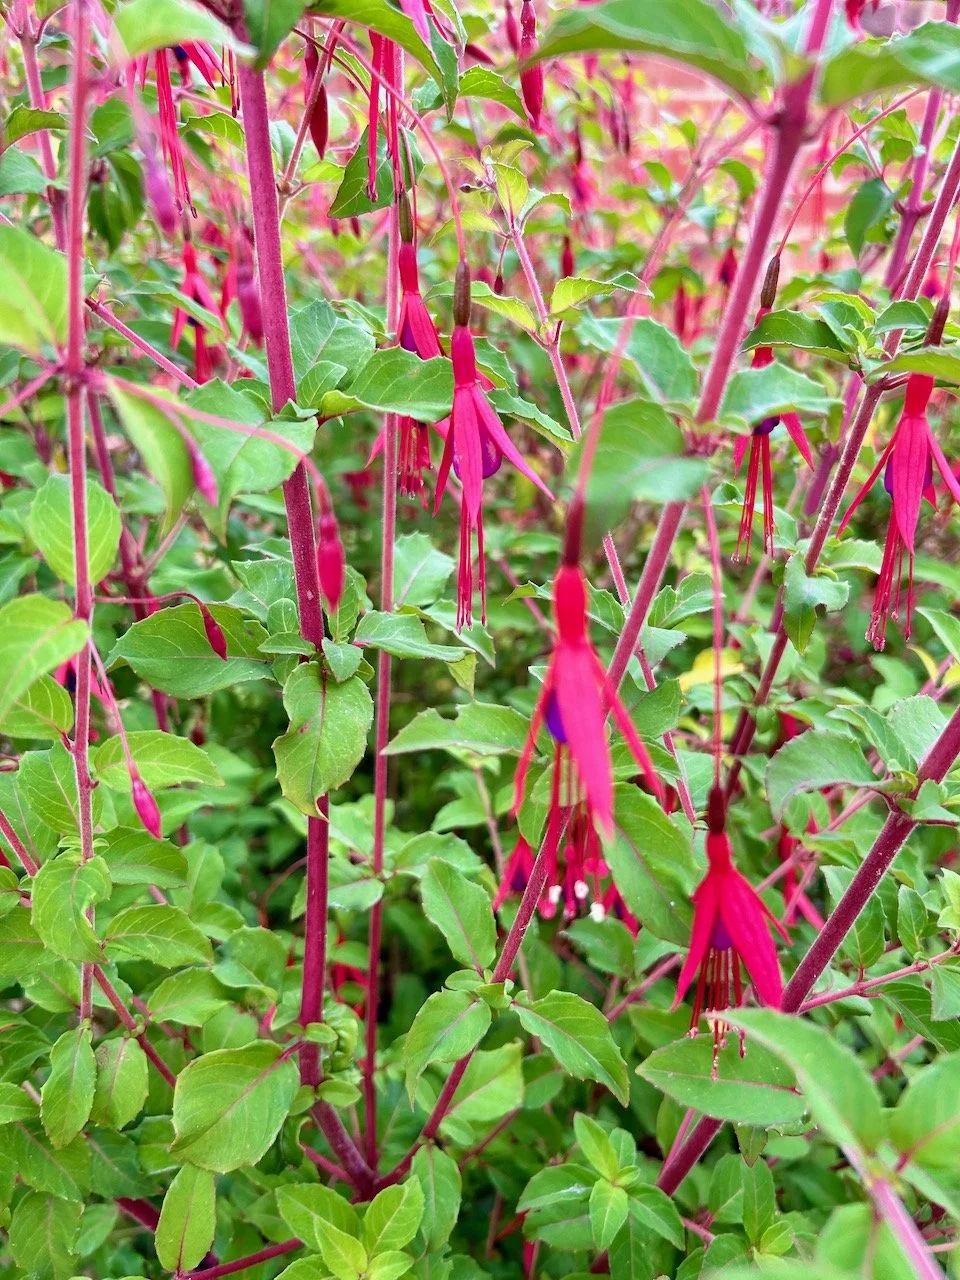
Elsewhere in the border there is more colour - the orange berries on the rowan tree, and the pink fuchsia flowers whose stems are also a beautiful pinky-red.

The flowering fuschia standing upright

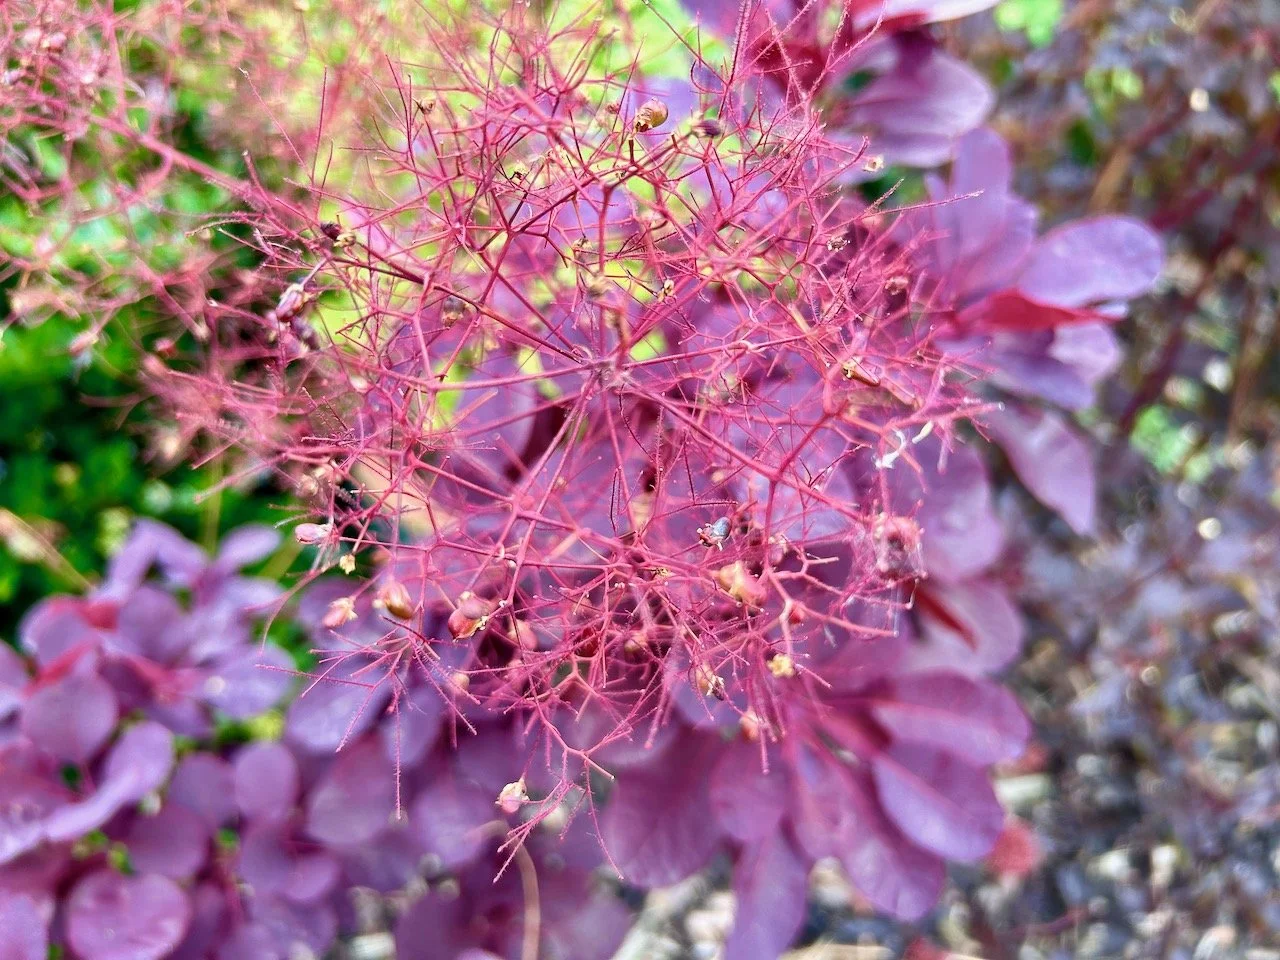
Ah yes, the burgundy european smokebush - isn’t it a beauty?

The burgundy smokebush in frothy flower

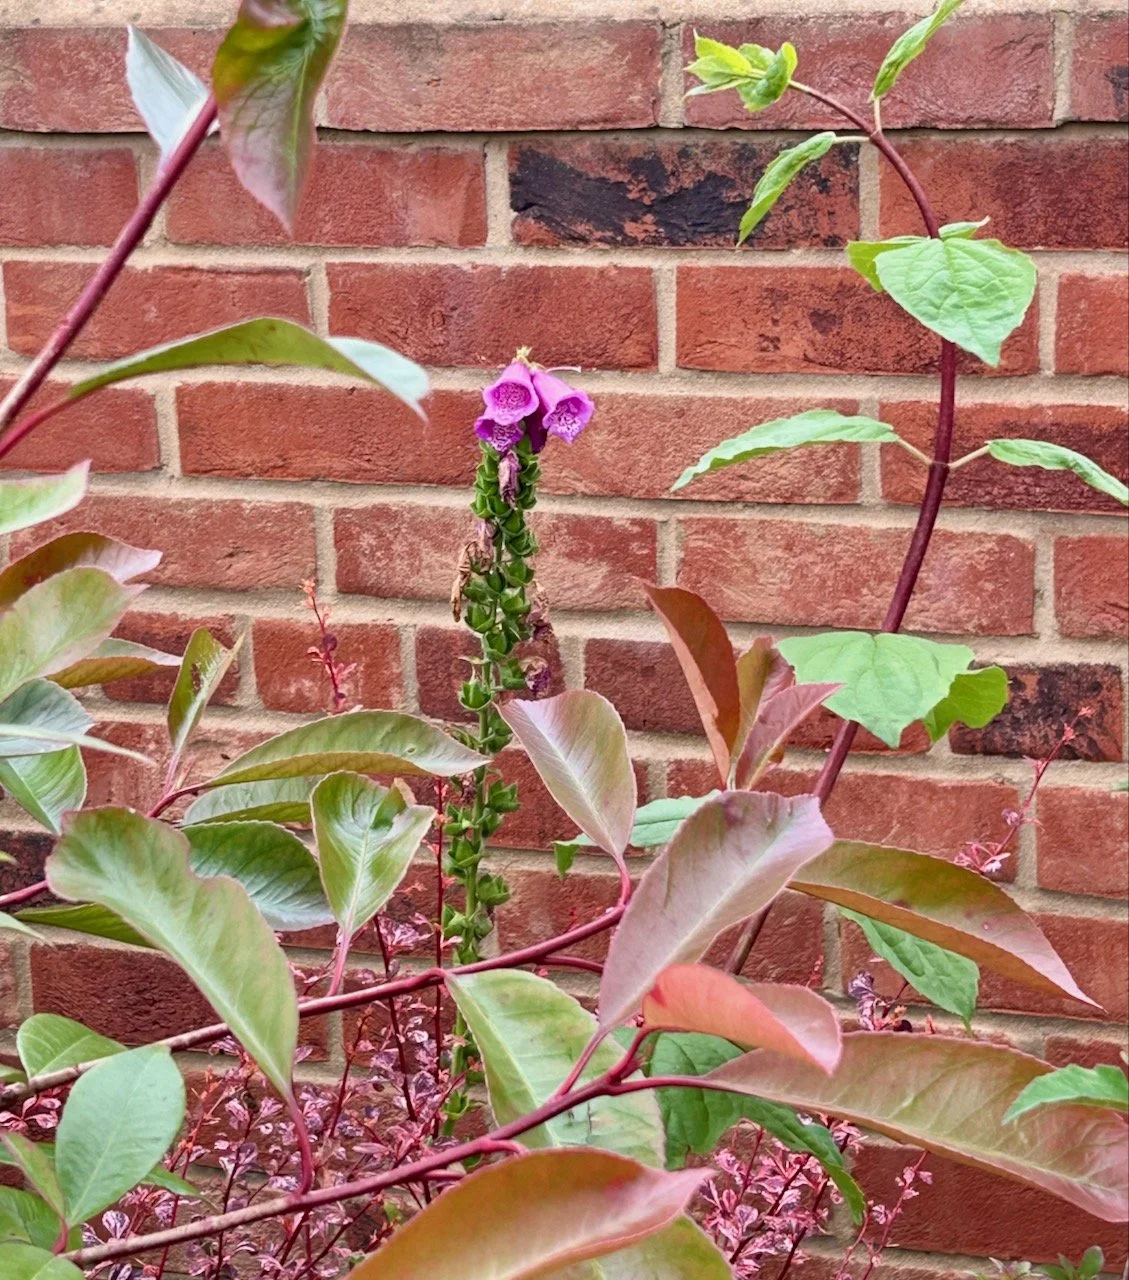
The sunflowers aren’t the only plant that is hugging the brick wall on the boundary - the foxglove flowers are hanging on, and I’m sure there’ll be more to enjoy next year.

At the back of the border the last of the foxglove flowers

Edging towards the top of the wall…

A height check on the sunflowers - getting closer to the ledge on the brick wall

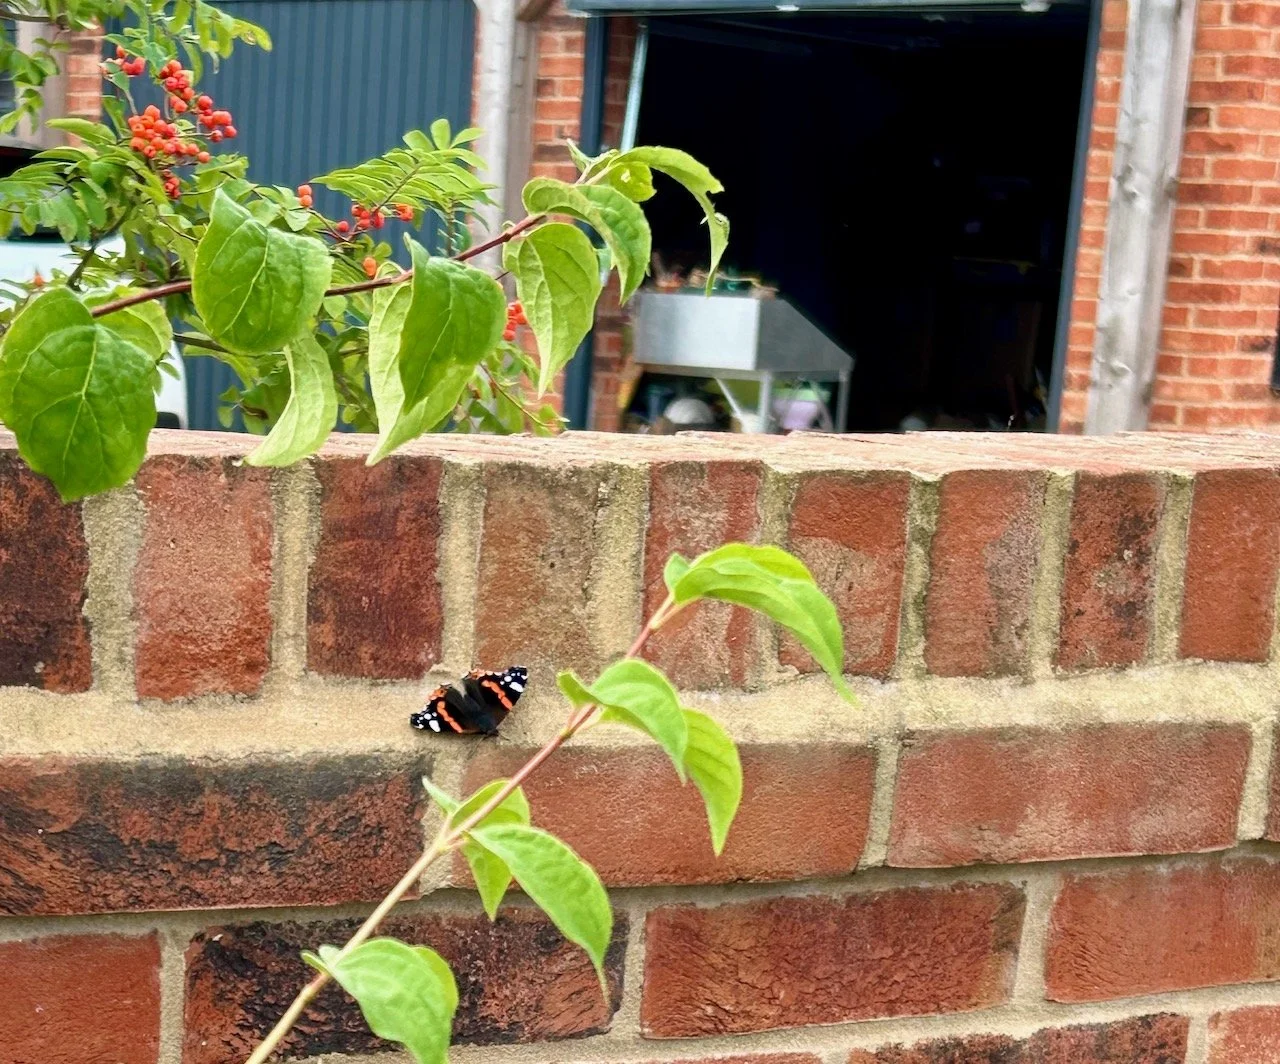
The outside border has grown and got a bit wild, so I’ve spent some time out there pruning and squishing as much as I can each fortnight into our garden bin, priding myself at my ingenuity at packing quite so much in. Instead of a usual robin companion, I’ve been enjoying the company of the butterflies which are regulars at the buddelia.

A butterfly on the brick wall - a new gardening friend?

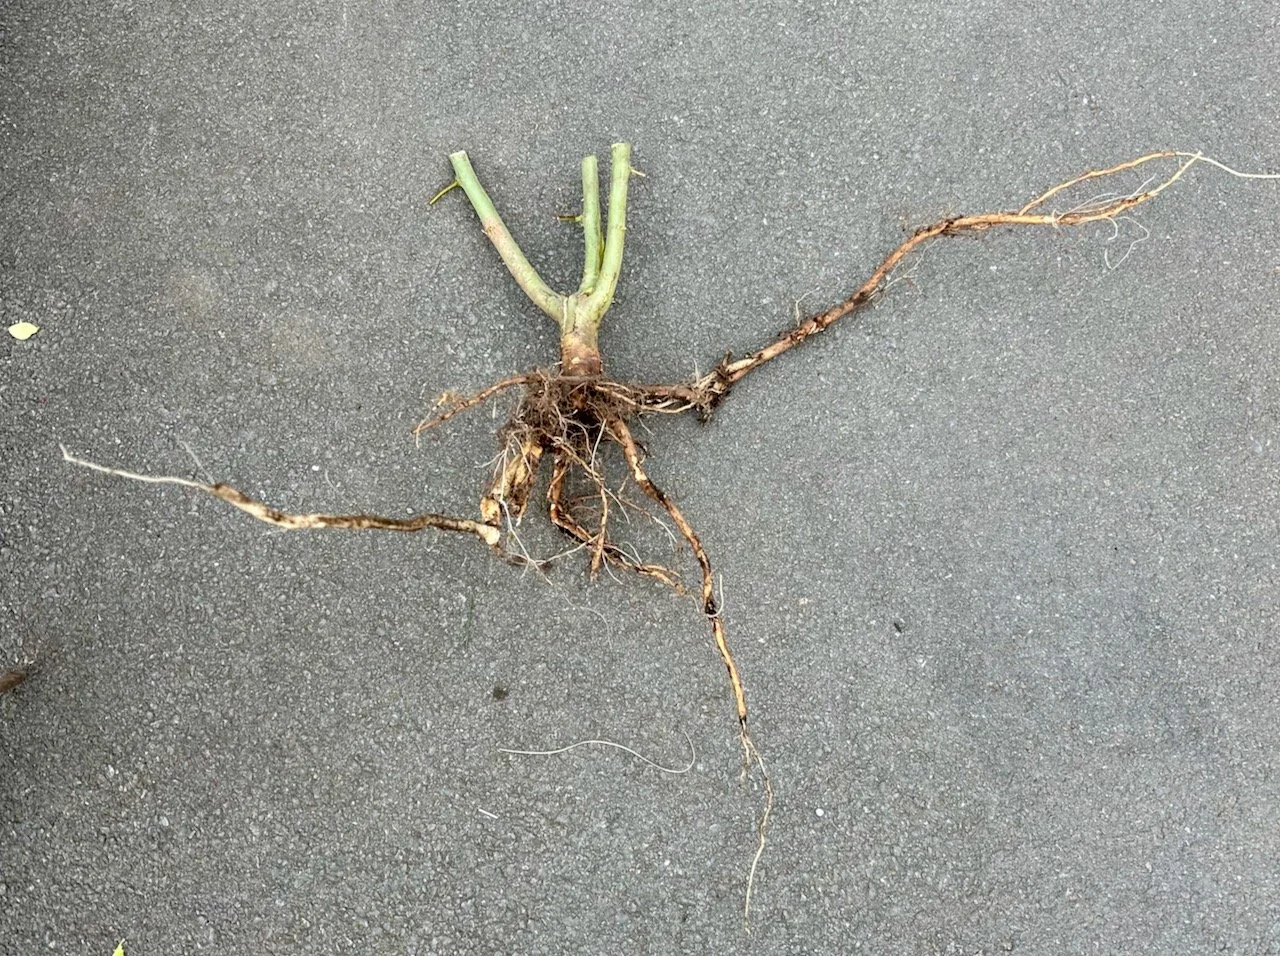
I found an unwanted and leafy tall shrub, which after some googling I classed as a weed. I cut its leafy branches off, then as it looked to have enough space around it I decided to get the root out.

Mission accomplished. But quite a mission it was.

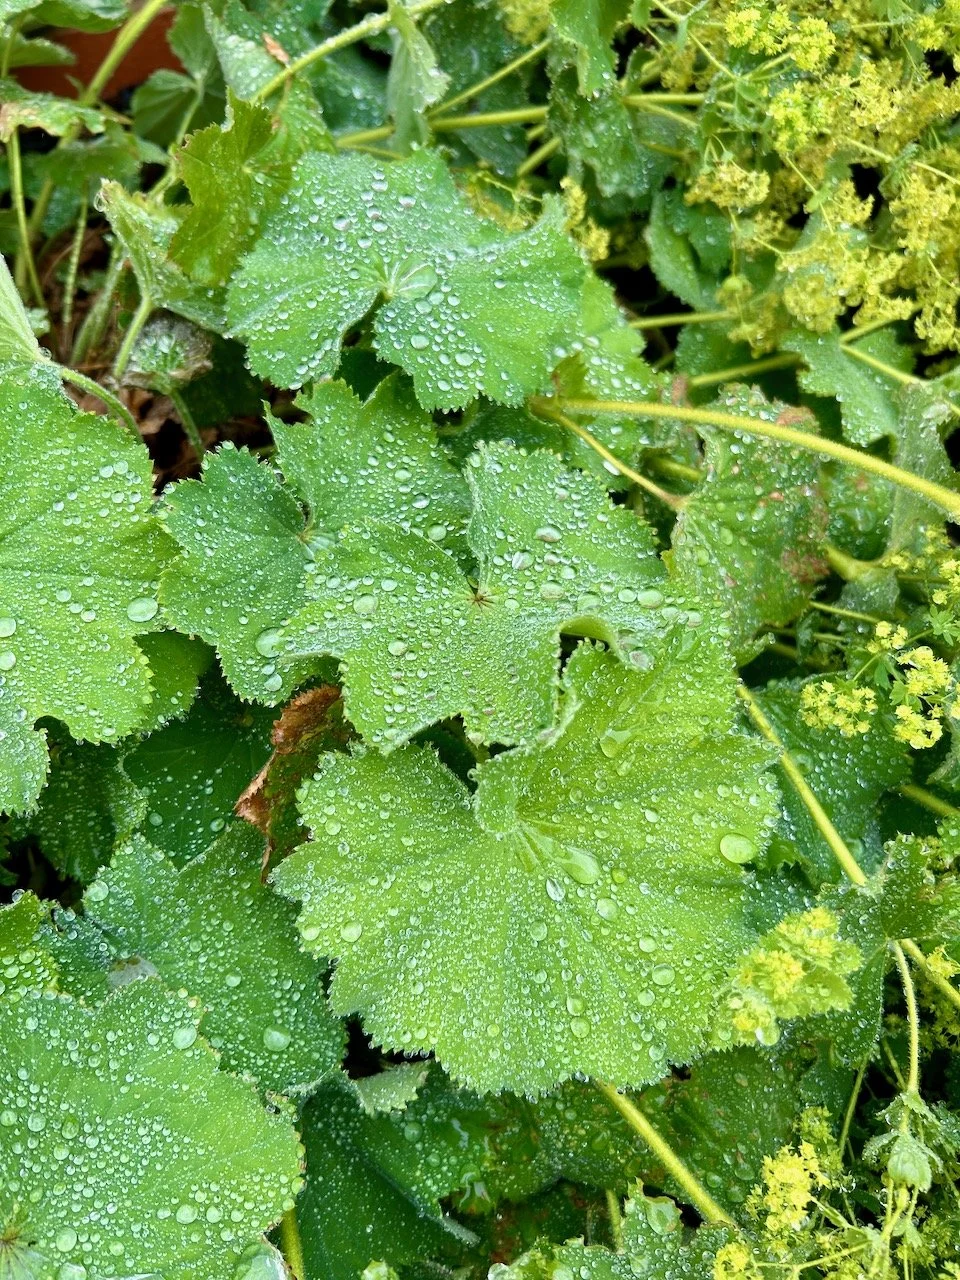
What better to end this post on though, with the raindrops on the leaves of the lady’s mantle.

PostCommentLove

Pockets, a pouch and reusing old curtains

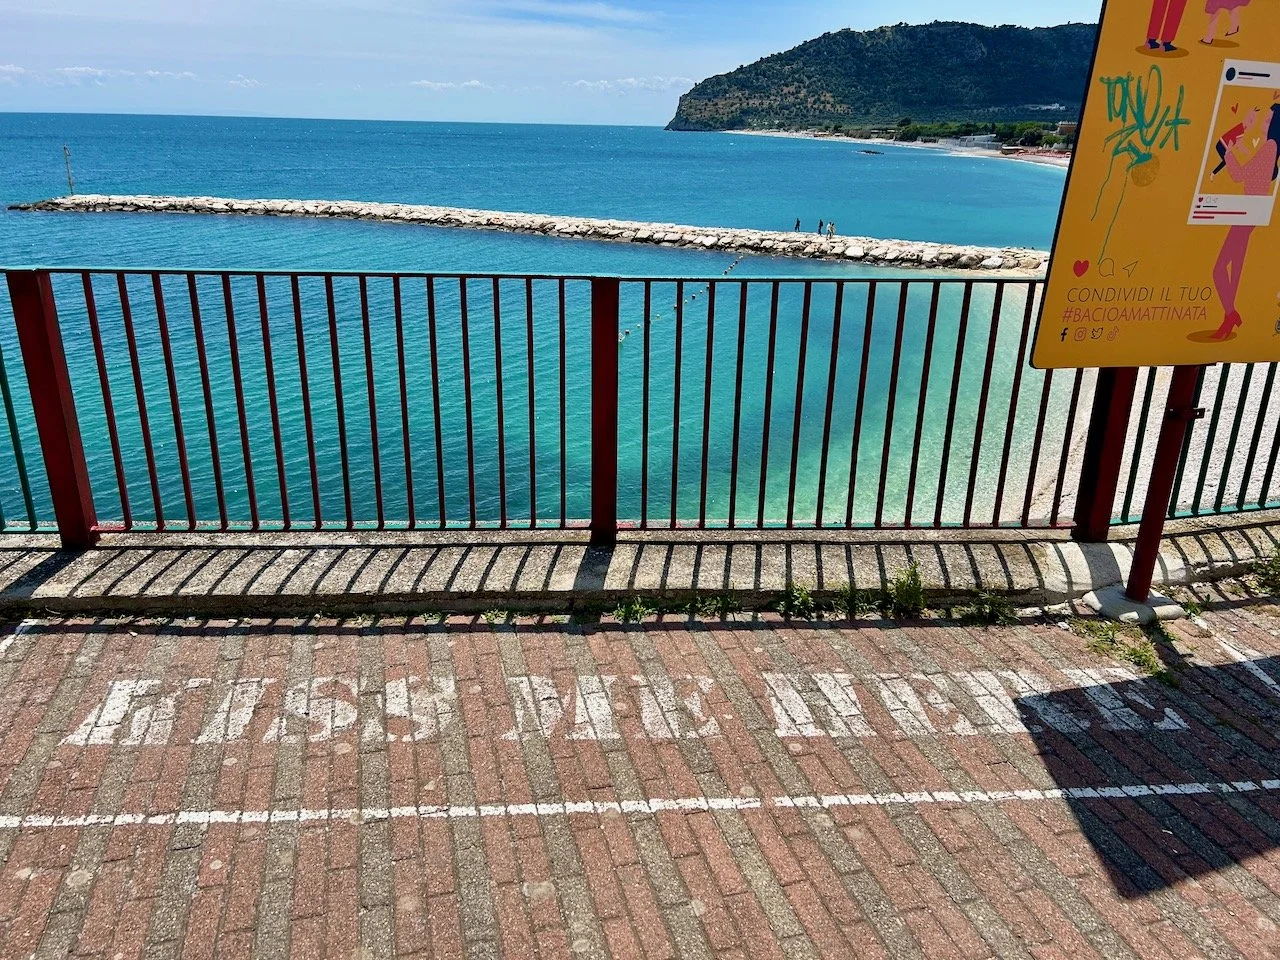
It’s been a while since I updated you on my most recent Adult Learning class where I immersed myself in making bags - in the loosest sense for me, as my aim was always to make pouches rather than bags. I missed the final week of the course for our trip to the Gargano Peninsular, but left with really clear guidance on how to finish my piece.

Of course life happened, and what with one thing and another, and one of those being that in my mind it was way more complicated than I’d imagined, my unfinished pouch kept get putting to one side (spoiler: it wasn’t as hard as I thought, who knew?!)

But the unfinished pouch has been nagging me, and so I finally made time to finish it off.

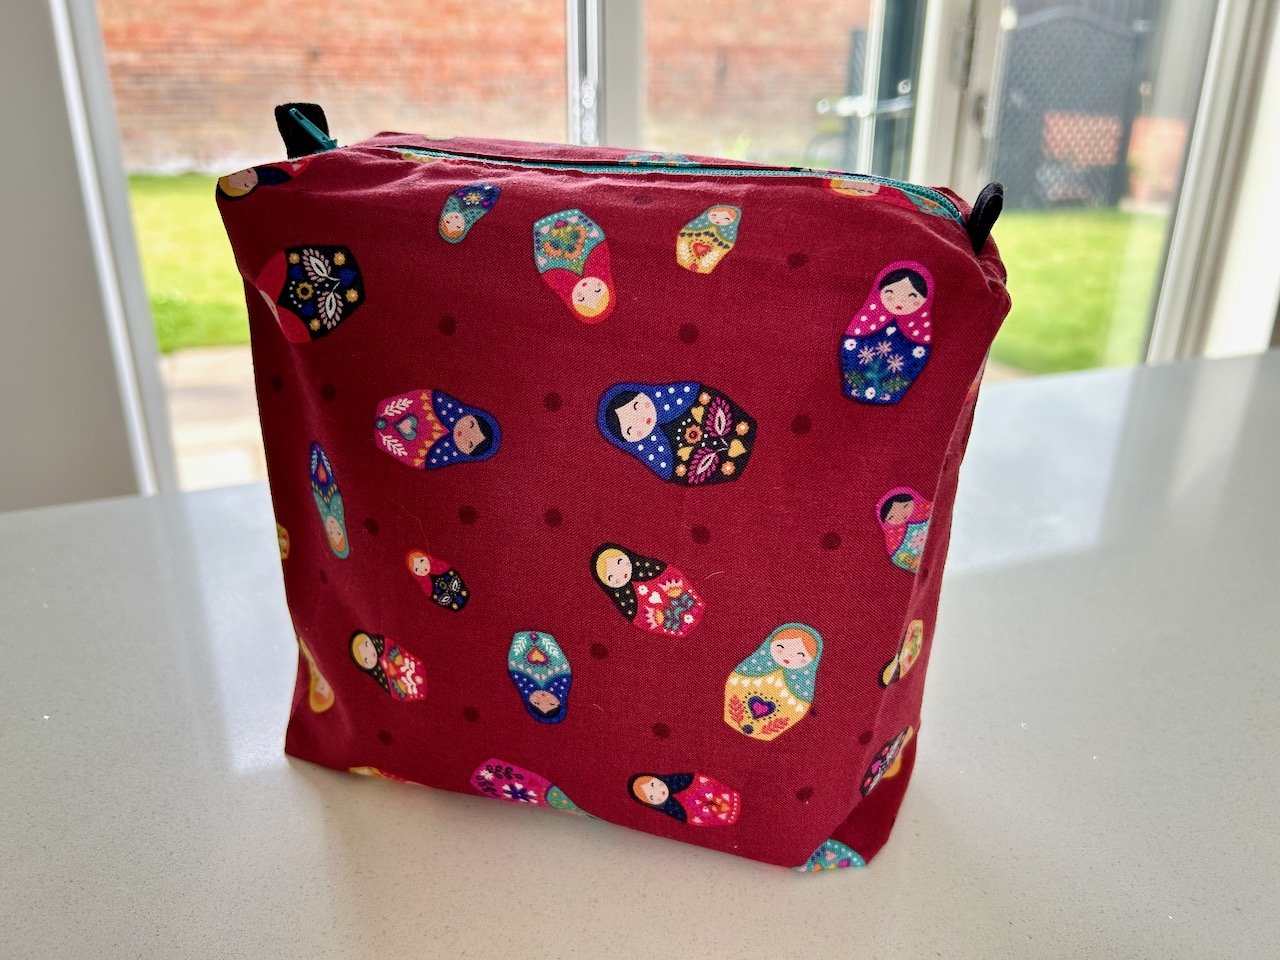
A tall rectangular pouch in burgundy fabric decorated with russian doll motifs

And didn’t it turn out well?

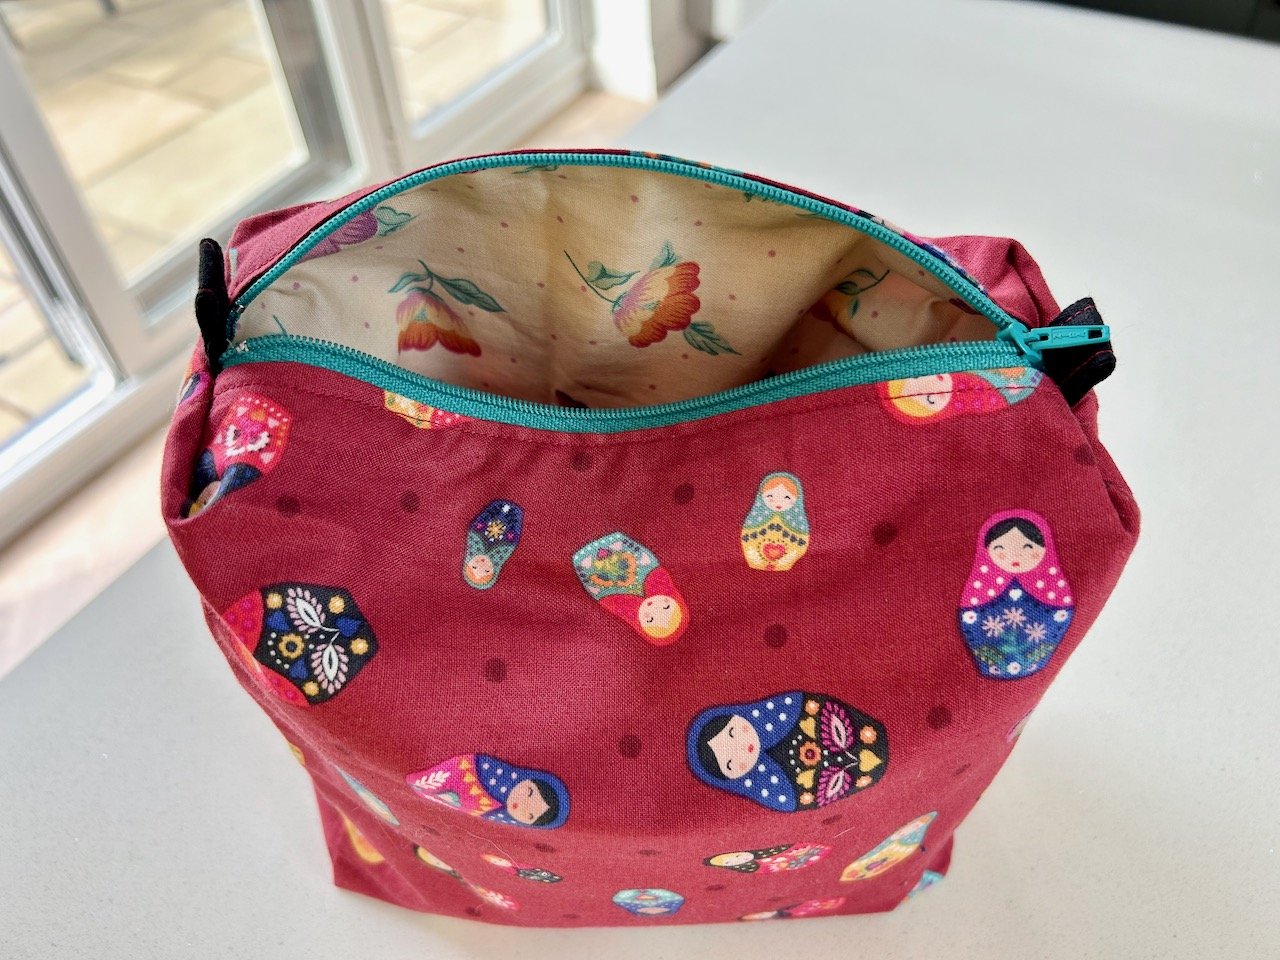
I’m so pleased with how it turned out, but also at how ‘put together’ the materials and notions look. They all came from my stash, but what impressed me was that I’d pulled material from it randomly, and so was pleased to discover that these two pieces complemented each other, and I think the contrasting zip is a genius touch - even if I do say so myself!
I’m not sure what I’ll use it for yet, but I’m pretty sure it’ll come in handy before I know it - and I bet it won’t be long before I make more!

But there was more. I did make a bag, the rest of the class chose to make more of a handbag, but instead I opted for a bucket bag - and I used some old curtains for it. They came from my house before our previous house (if you follow) - a house I bought back in the early 90s which needed a lot of work, and more than a lick of paint - oh if I’d have been blogging then!

But I loved these curtains, and there was a lot of them. There was a large square bay window in this old Edwardian house, which meant a lot of curtains, lovingly made by mum (though I’m not sure she has the same memory of them!).

Clearly I’d kept the curtains for many years, I think I’d used them in our previous house as a stop-gap solution in our bedroom when we first moved in in 2002, but they’d been safely stored since then, making the move with us last summer. They probably could be classed as vintage, or close to anyway.

Though now part of them is a bag!

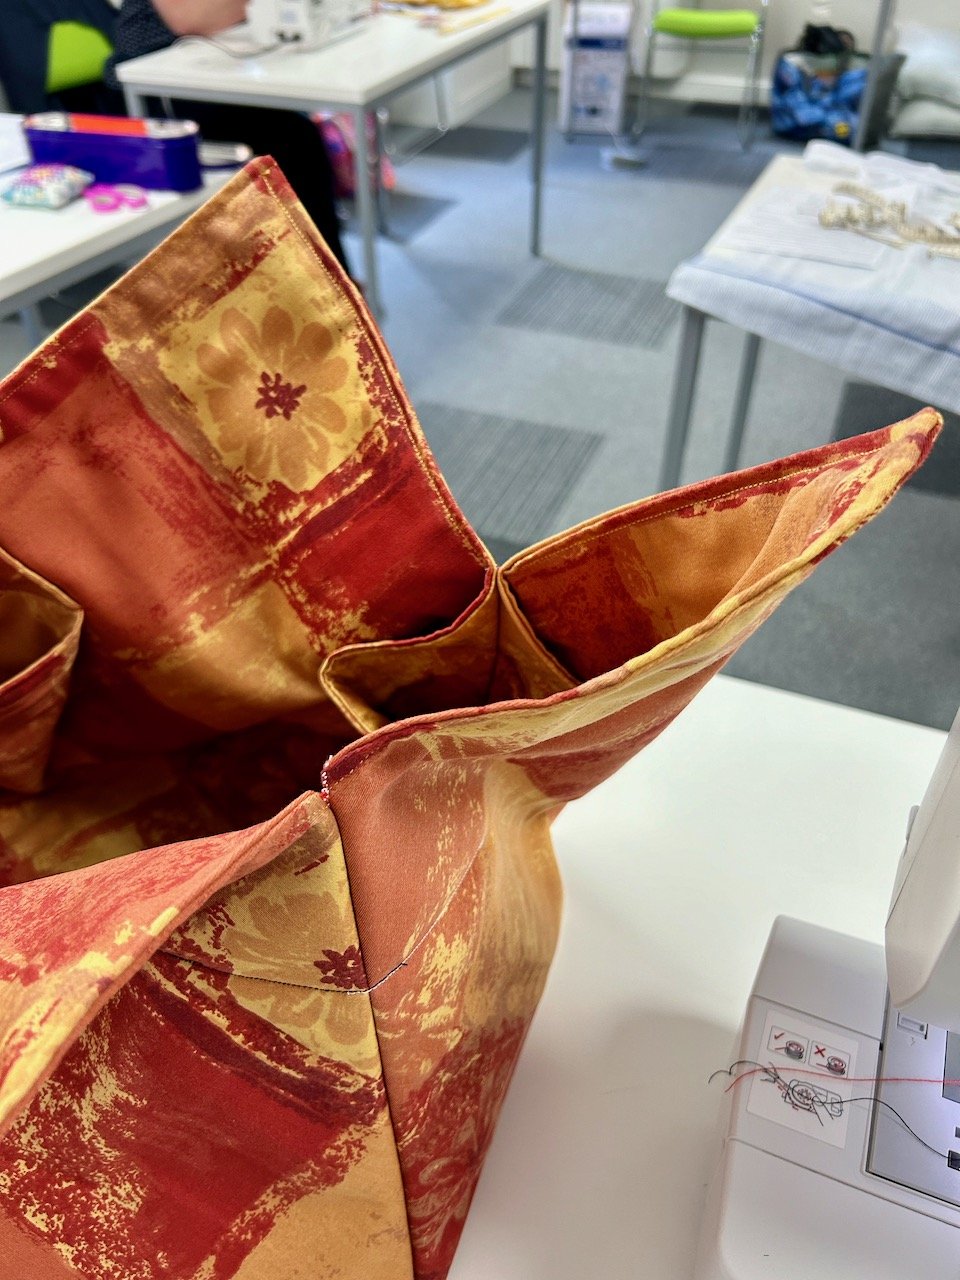
mid-way through bag making with my old curtains in the 'classroom'

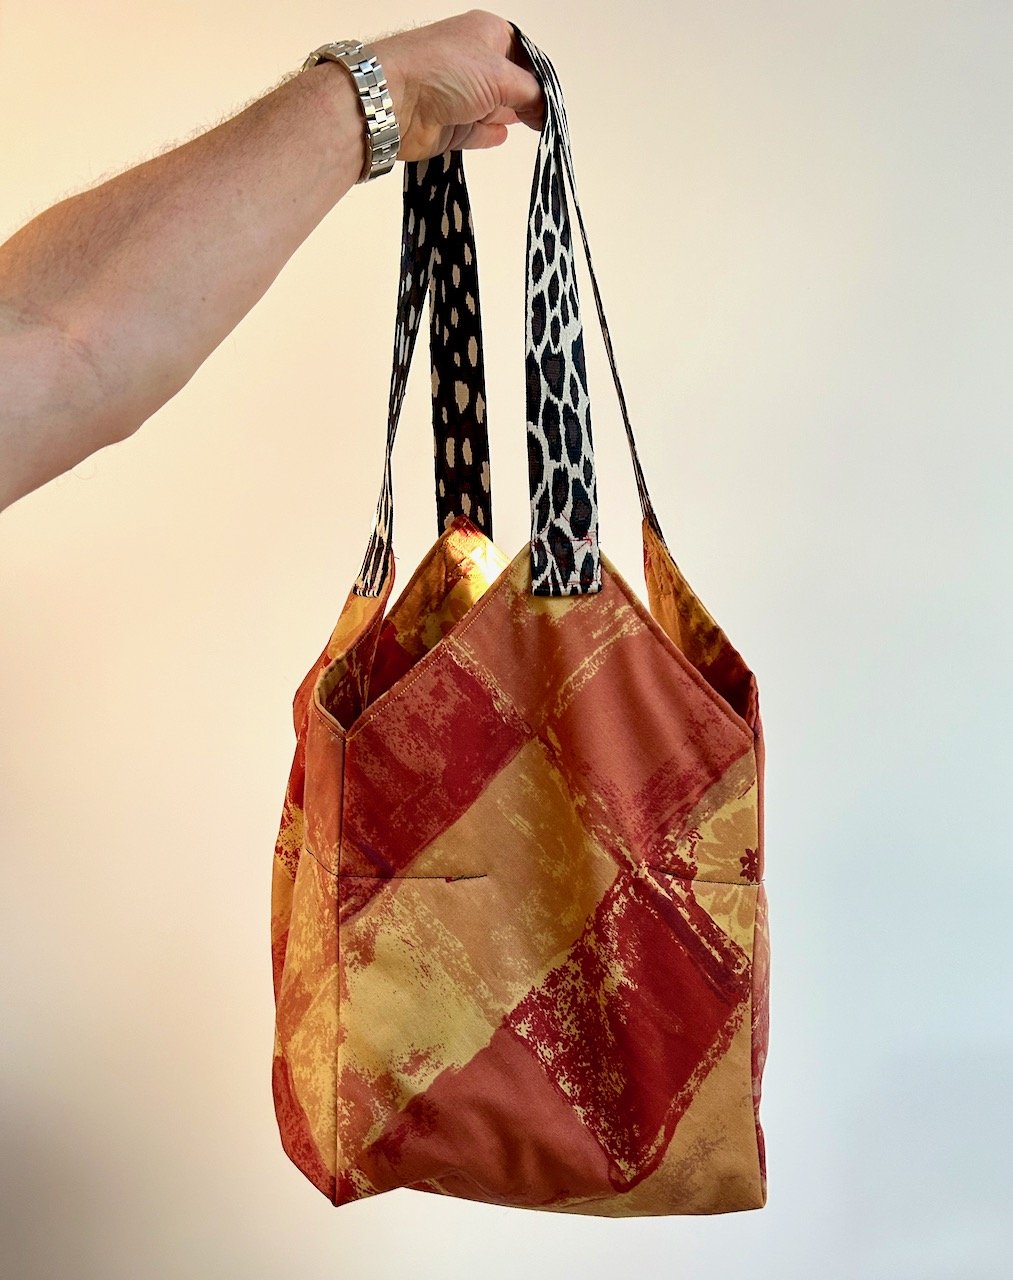
It looks like it’ll be a useful sized bag too, ably held up here by MOH. Taking a picture and holding this one just wasn’t going to happen. I also particularly like the leopard print webbing I bought for the handles, they’re a nod to my inner Bet Lynch but also to some of the large sofa cushions I had in the same room (and which I also still have and use!)

The finished bucket bag made from orange and mustard material (old curtains), the leopard print webbing handles held up by MOH

One of the things I was keen to get more practice and know-how for was zips, which I’d successfully avoided for many years. But no more, I’ve learnt they are way easier to insert with a zipper foot (yeah, obvious hey?!) and not as scary as you’d imagine.

At the course I practiced making some pockets for inside bags - or pouches - that’s why the surround material (and future lining) is large, they’re ready for when I need them. Whenever that might be.

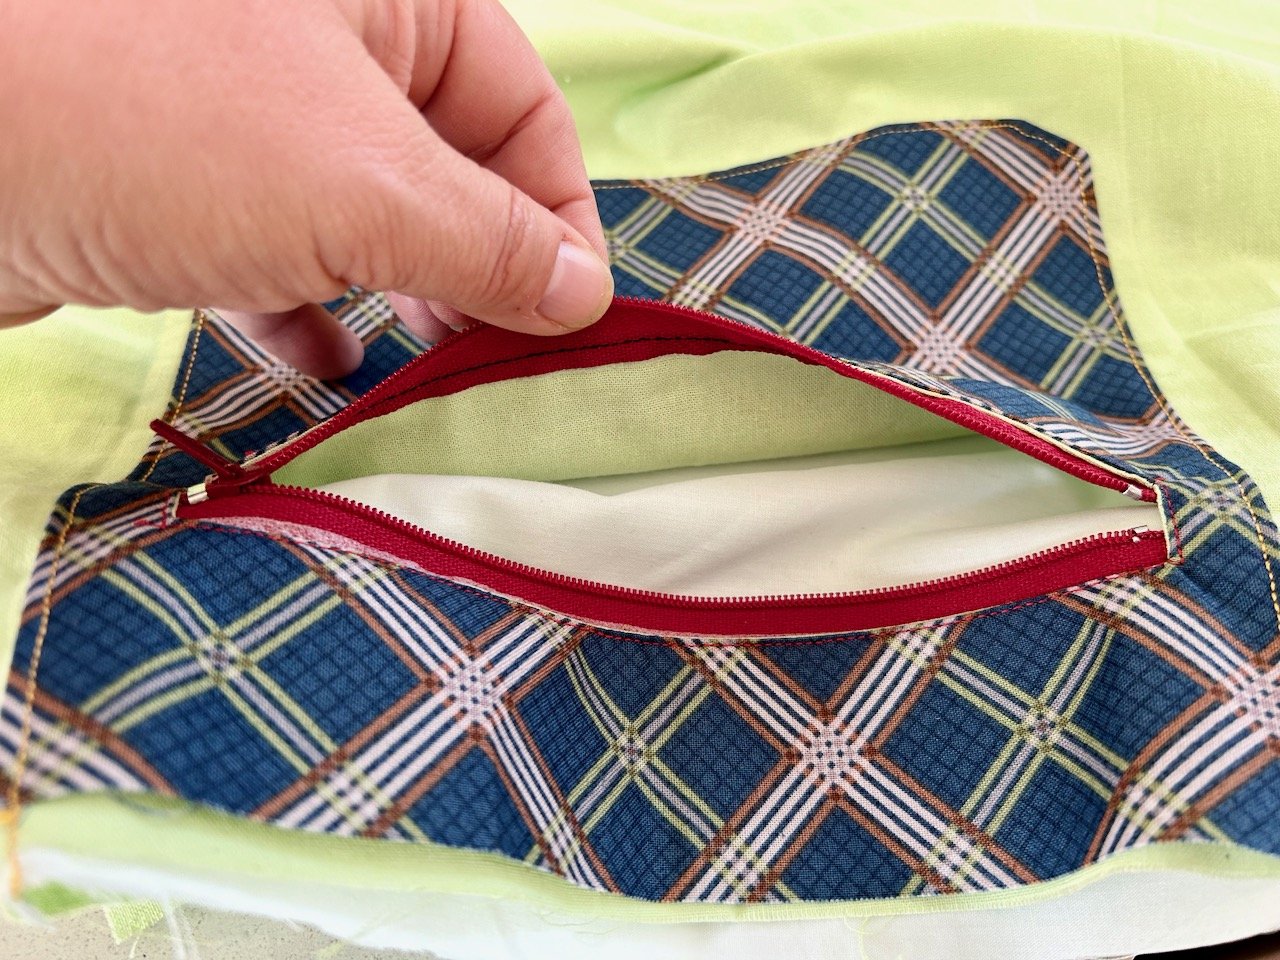
This blue criss cross pocket (remember that from my sunglasses case?) was my first attempt, but without realising it I’d put in the zip facing the wrong way - doh!

Blue criss cross fabric with a red zip forming a pocket on mint green lining

The blue criss cross material was supposed to be the lining for the pocket, but after a bit of head scratching (in the intervening week, not at the class) I realised that if I added some lining to be the pocket back, I’d have a very pretty pocket indeed.

Peeking inside the blue criss cross pocket to the tweaked fix and plain linings

Pocket solved!

Not wanting to be beaten though I decided to have another go - giving myself homework!

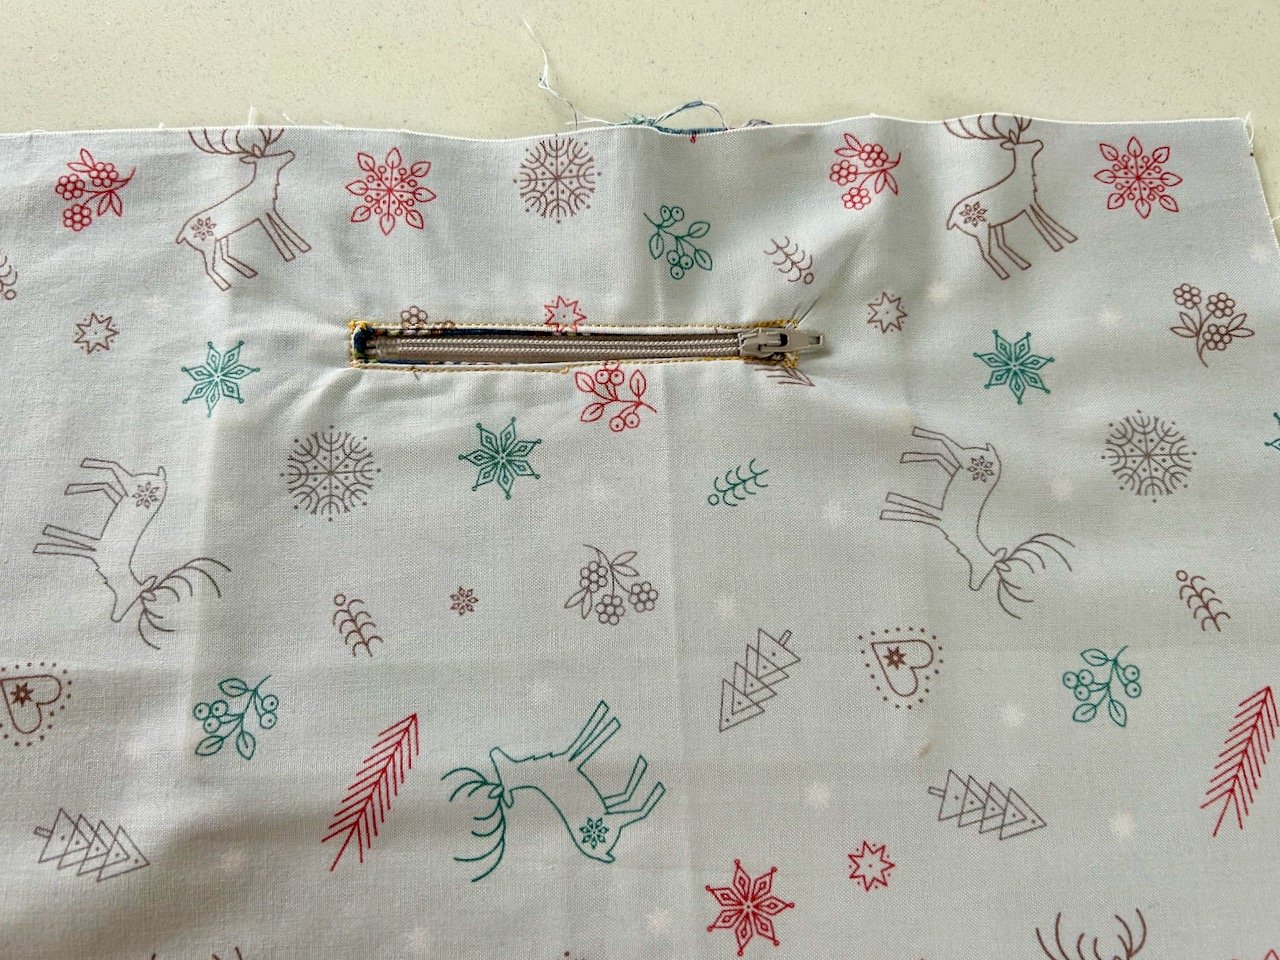
The grey christmas fabric with a beige zip and pocket inserted

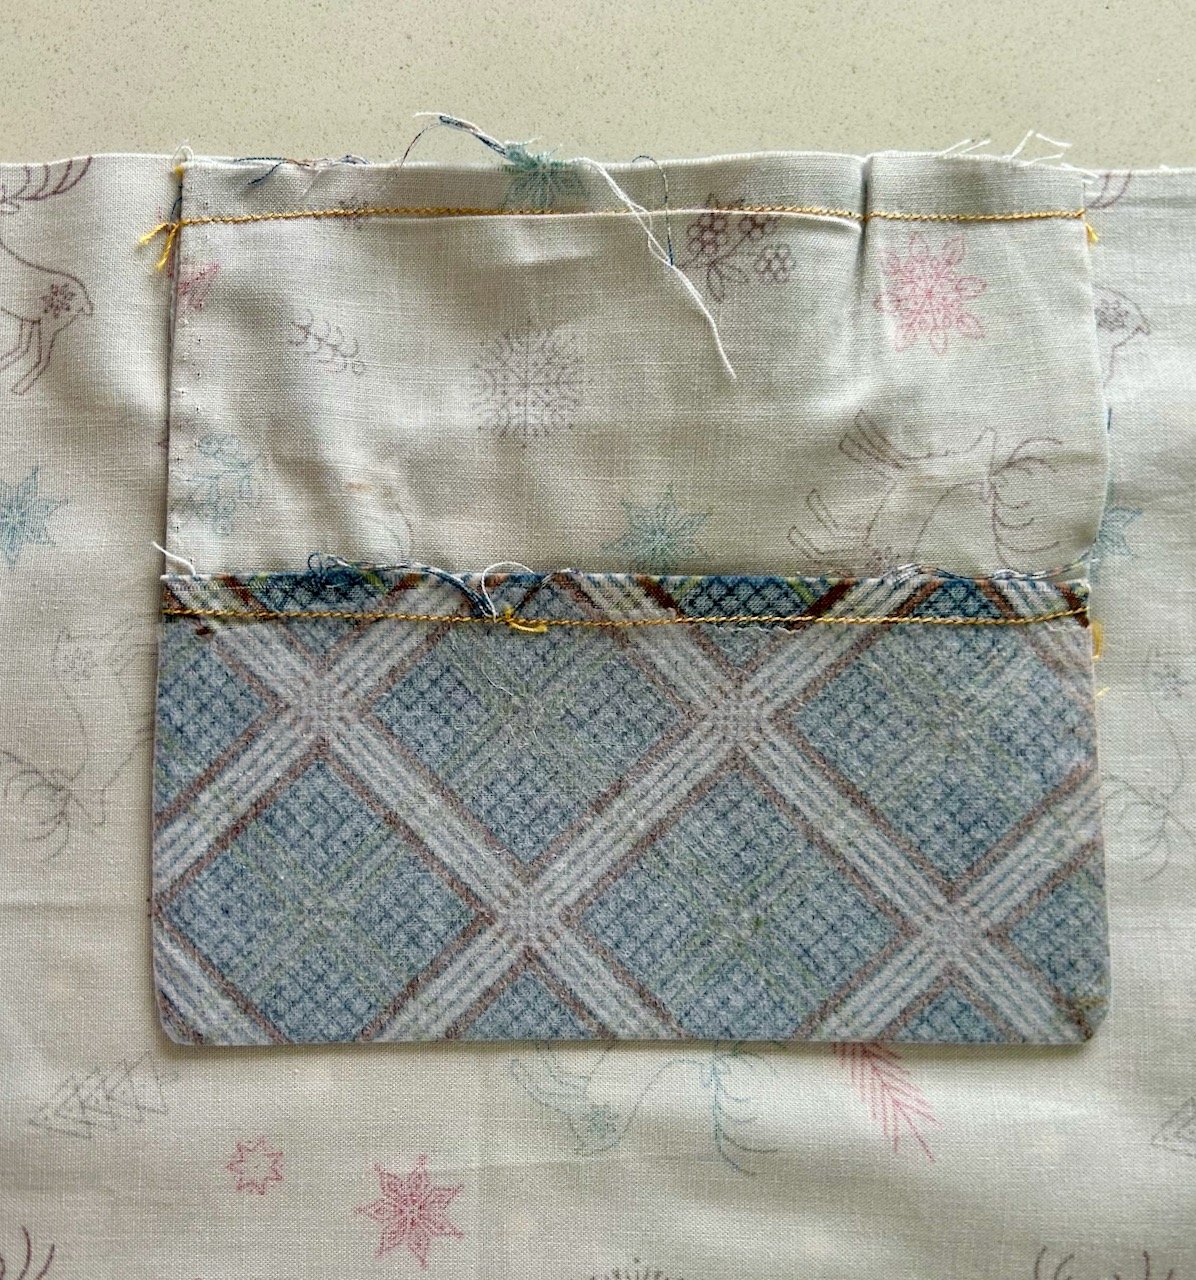
Out came the Christmas pincushion fabric again, this time for a bigger starring role - and an inserted blue criss cross pocket.

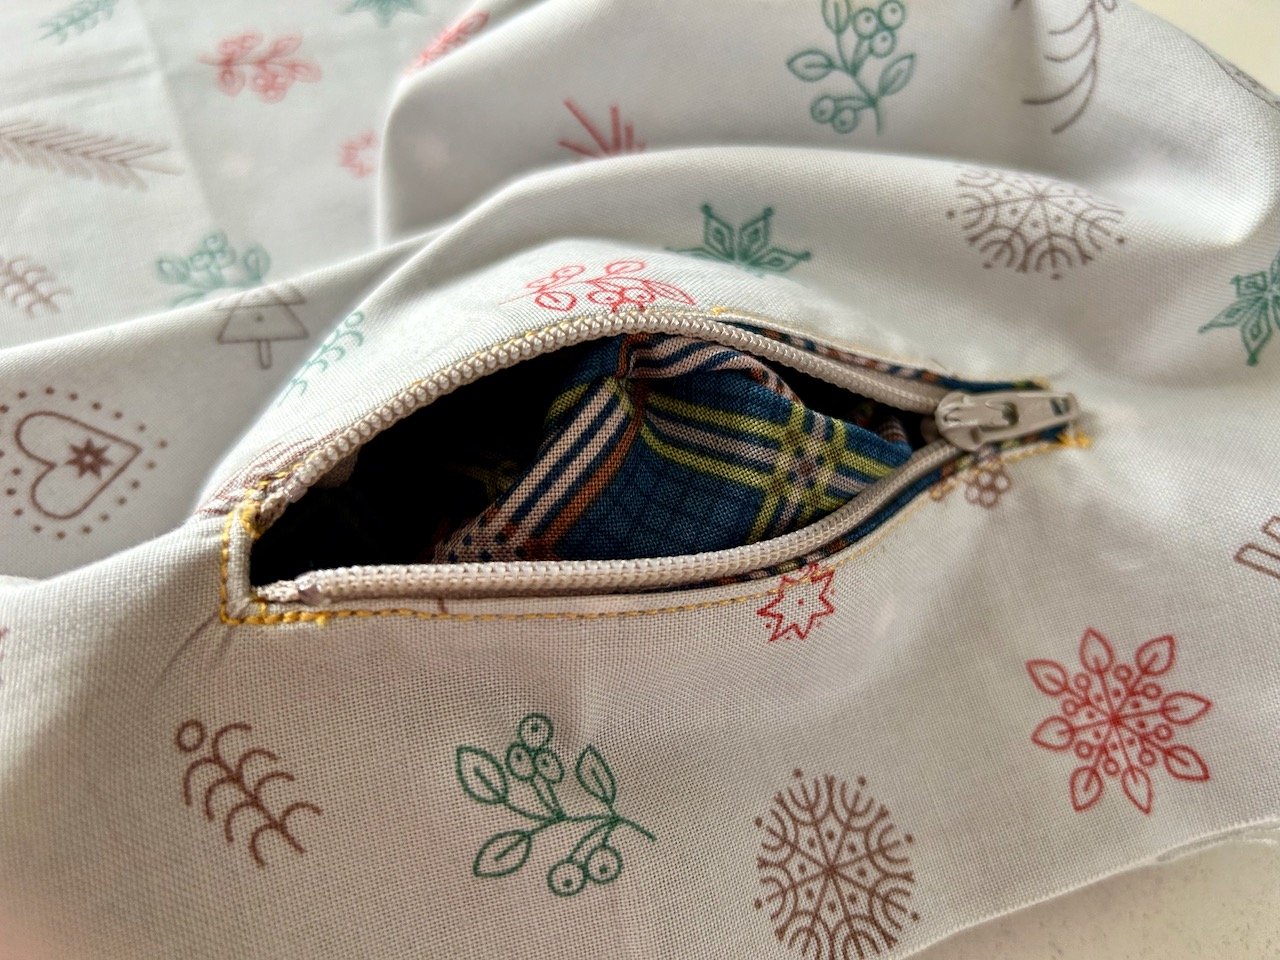
Peeking at the inside of the pocket - to see more of the blue criss cross fabric
Looking at the reverse side with the pocket 'bag' on show

I did need to make another tweak though as I was running short of the blue criss cross fabric, so added a strip of the Christmas fabric for an added touch of resourcefulness - and a two toned pocket.

New skills most definitely unlocked!

PostCommentLove