A stack of vinyl pouches

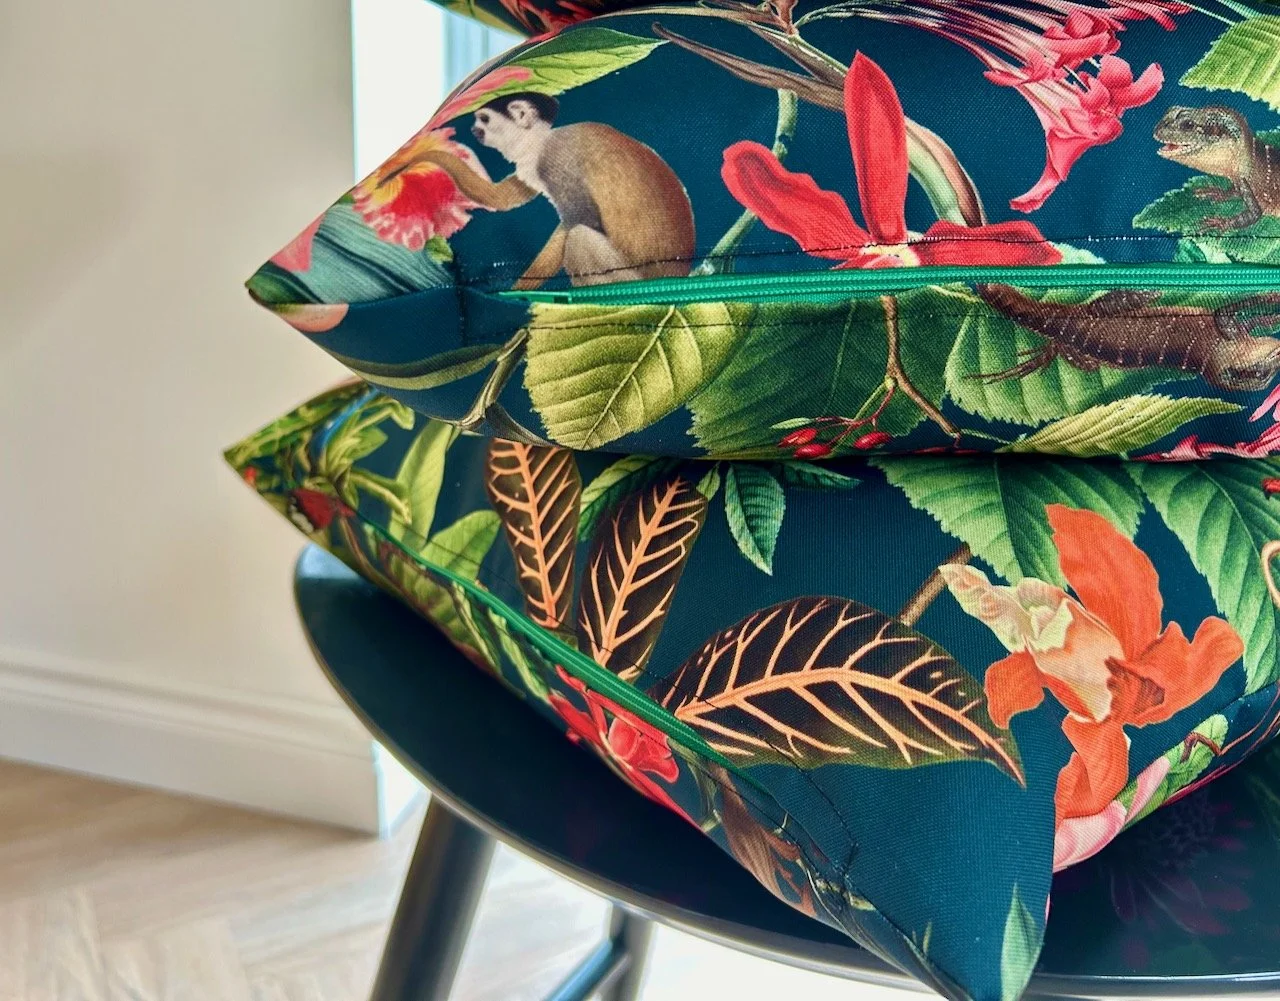
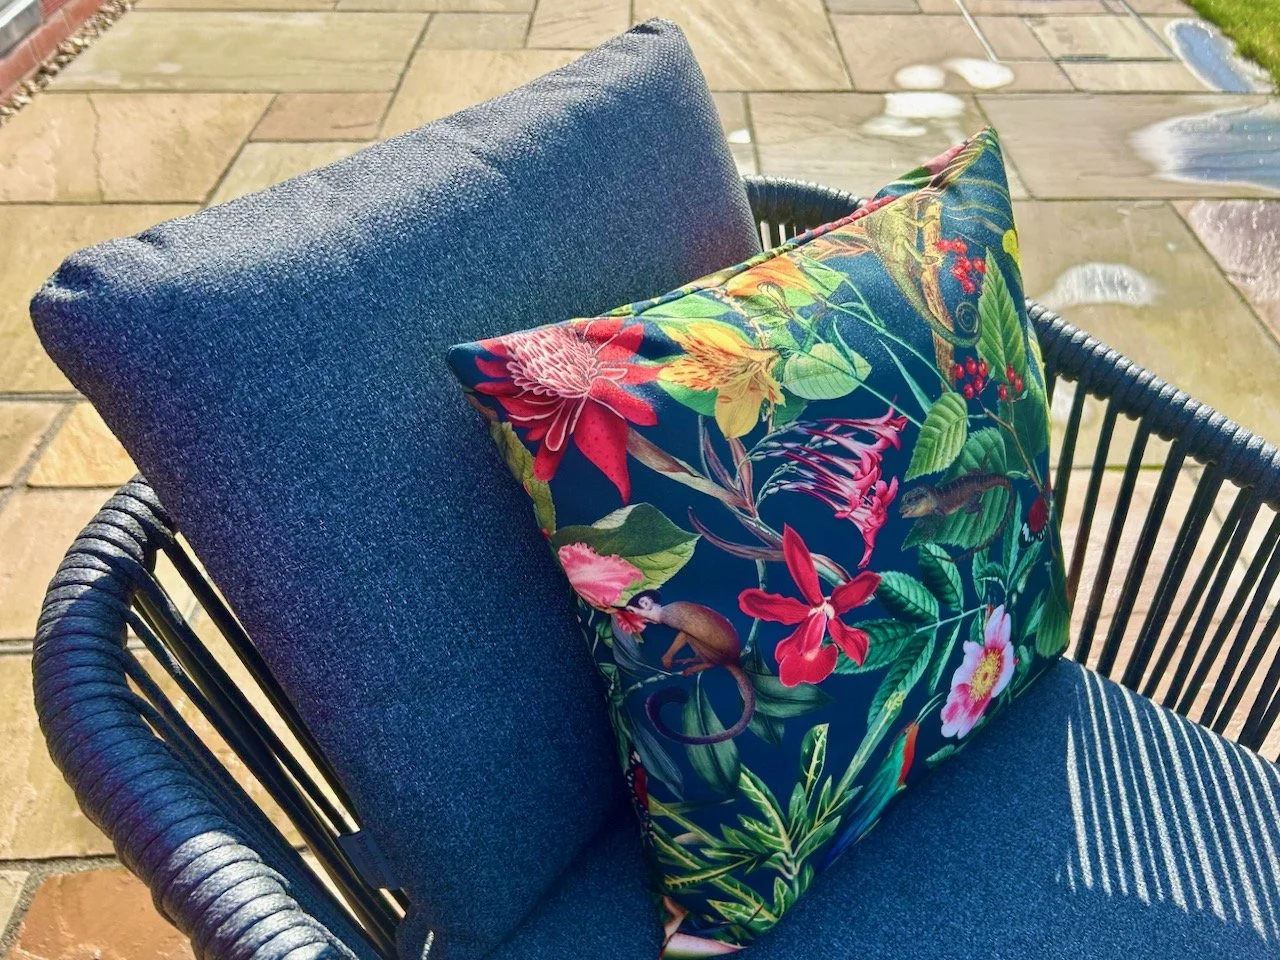
You’ll know that I did a bag making course earlier in the year, and I even completed the pouch that I hadn’t quite finished before our holiday. I wanted to get more confident with zips, and since then have gone a bit zip crazy, what with those garden cushions I’ve shared recently, and now this stack of little pouches.

It started with a kit I picked up a while back after seeing them online and deciding I couldn’t live without them. Before the bag making course I sat down to tackle it but got stuck at the first tip, which was to put the interfacing on the whole fat quarter before cutting out - but there was more fat quarter than I needed for the little pouch, and much more than the amount of interfacing included. The other tips for sewing the vinyl put me off too - it recommended using tissue paper, which makes a lot of sense - and a zipper foot. Neither of which I used making these - so the course has been a success as it’s given me the knowledge and confidence to follow what I’ve learnt in practice.

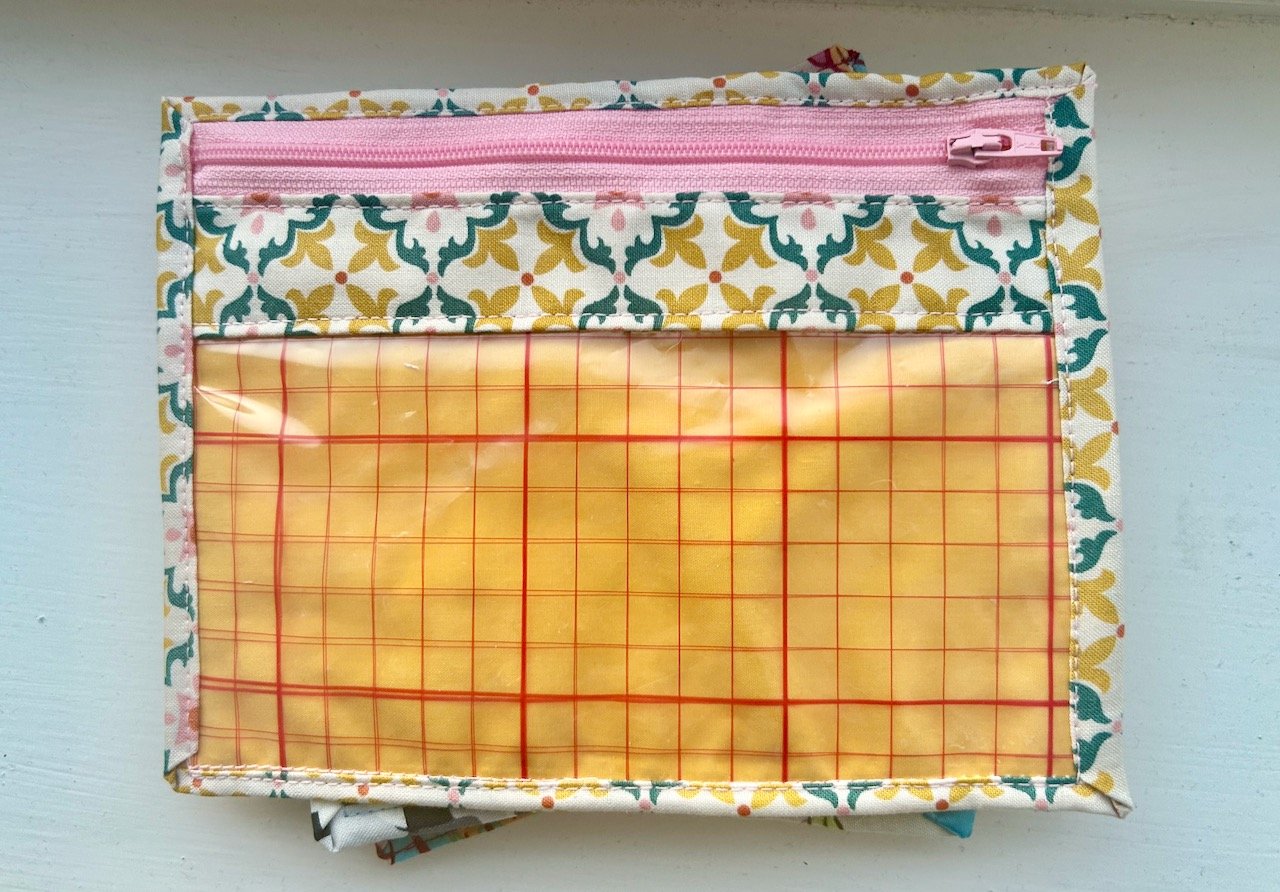
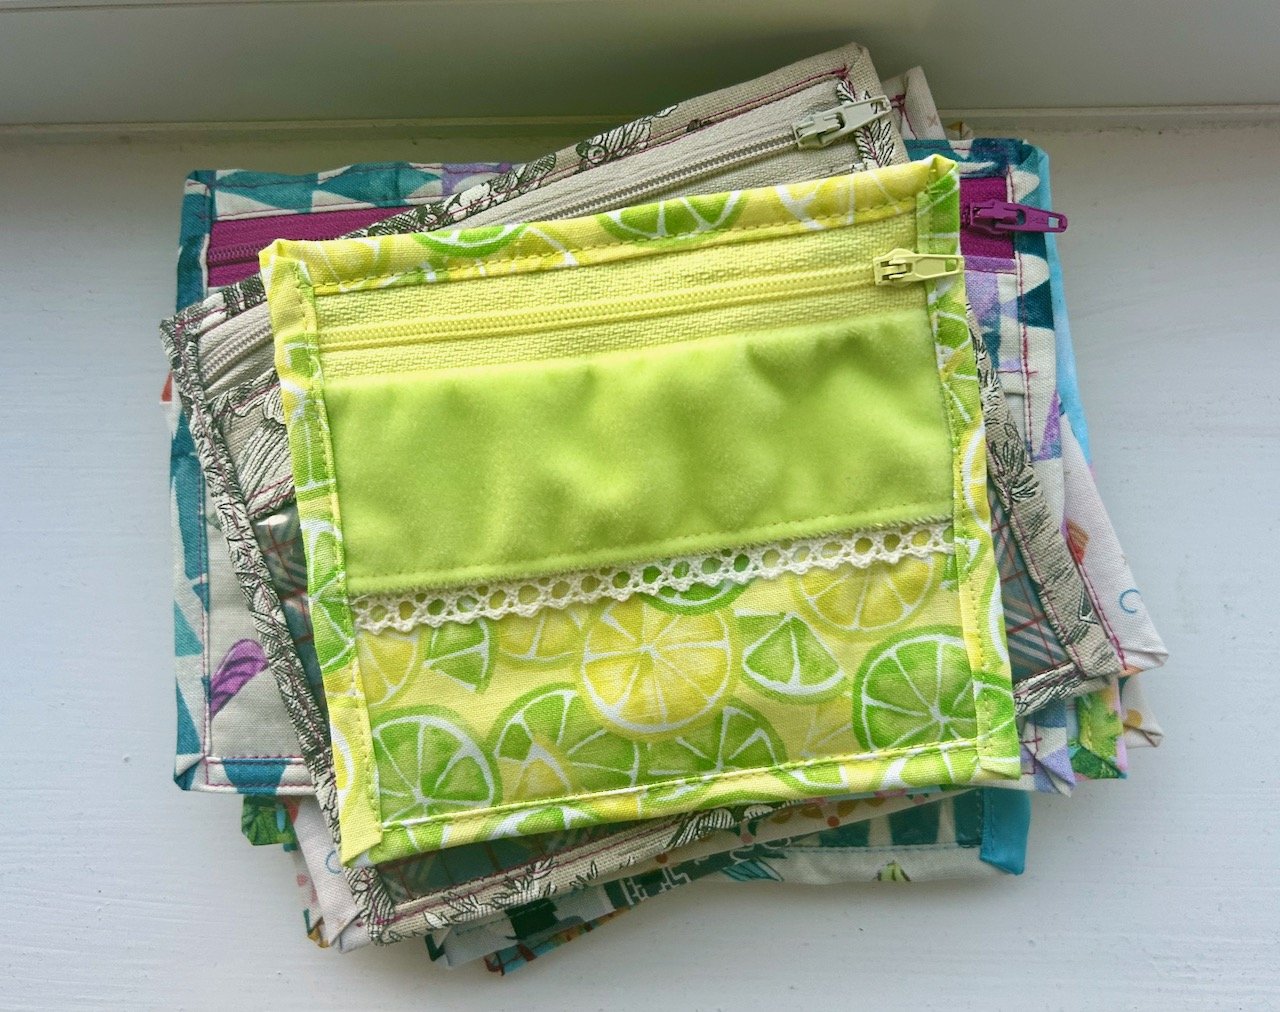
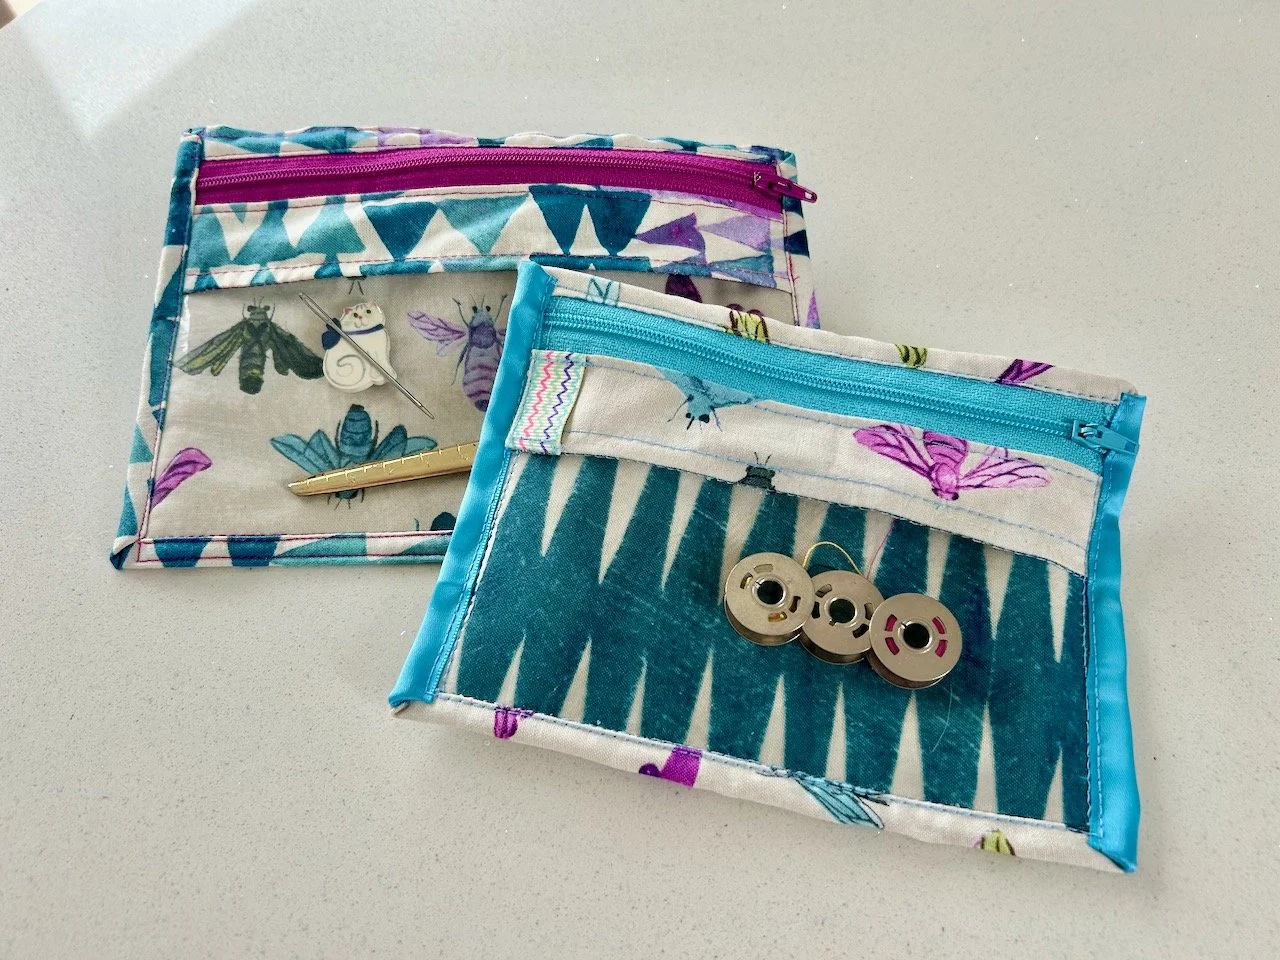
But anyway, they are rather cute - I made the small and mini versions from some of the materials provided in the pack, which are probably ones I wouldn’t have chosen myself, but I like nonetheless.

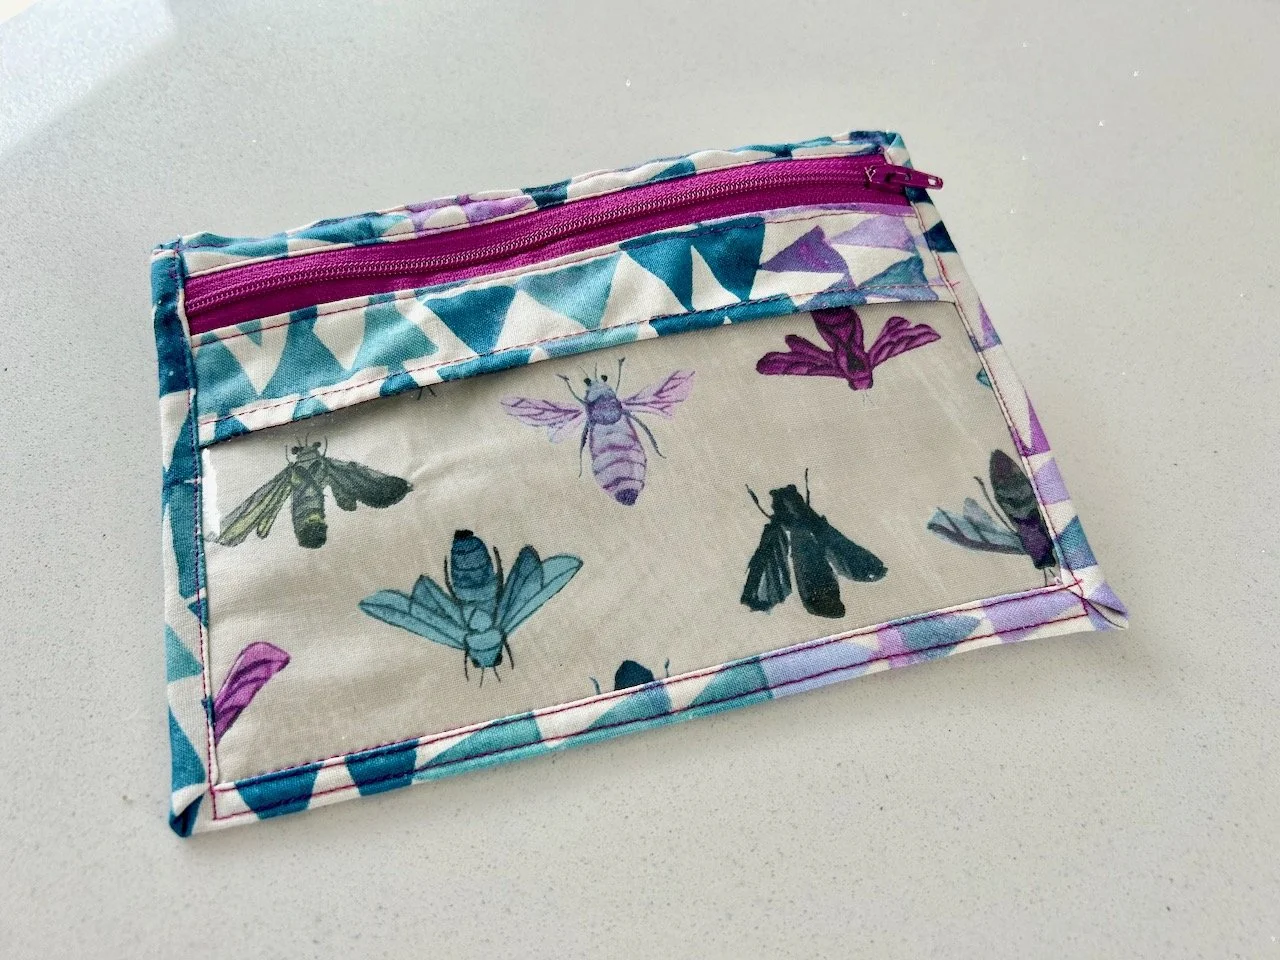
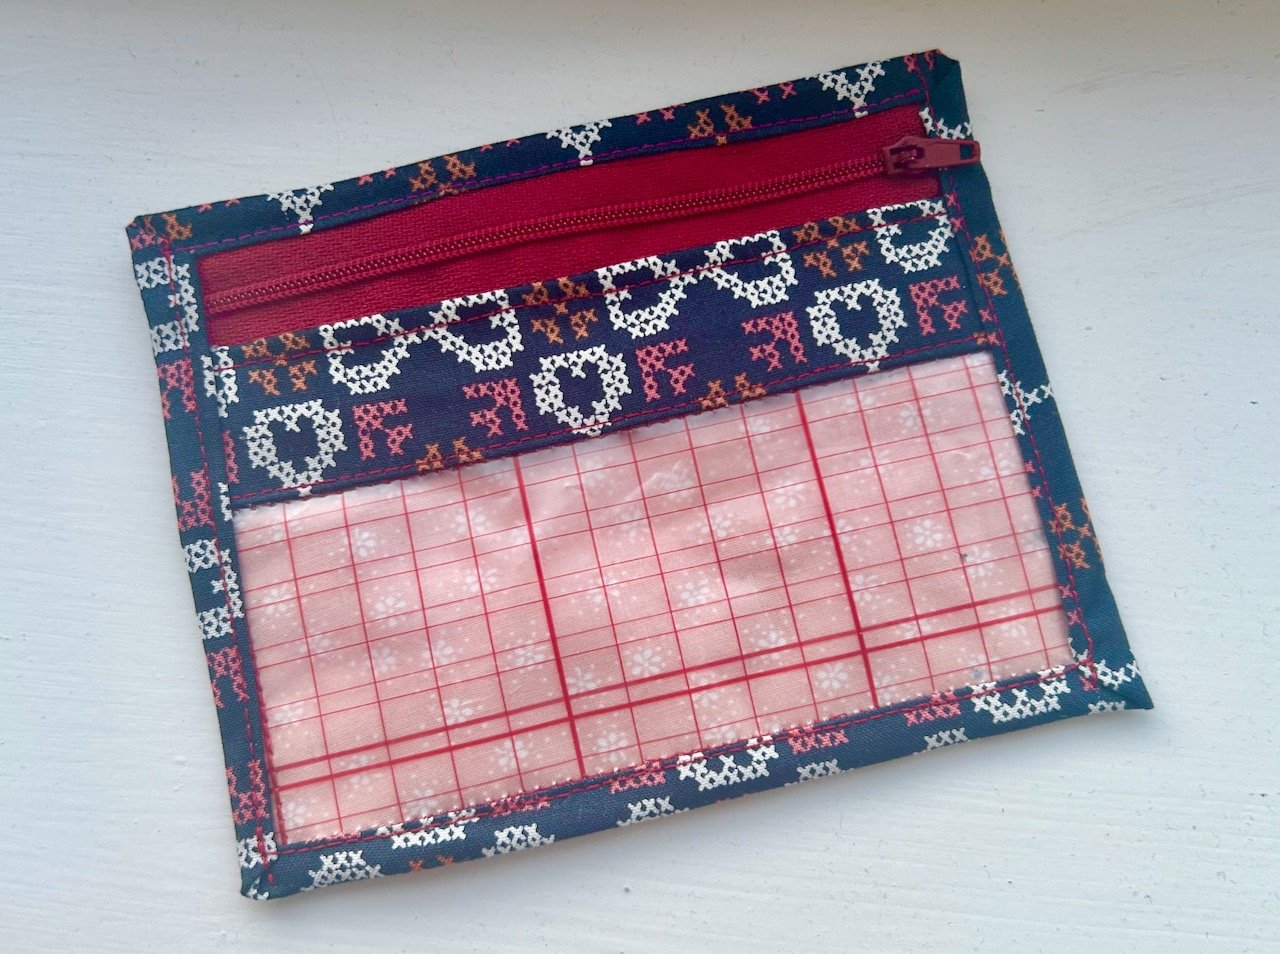
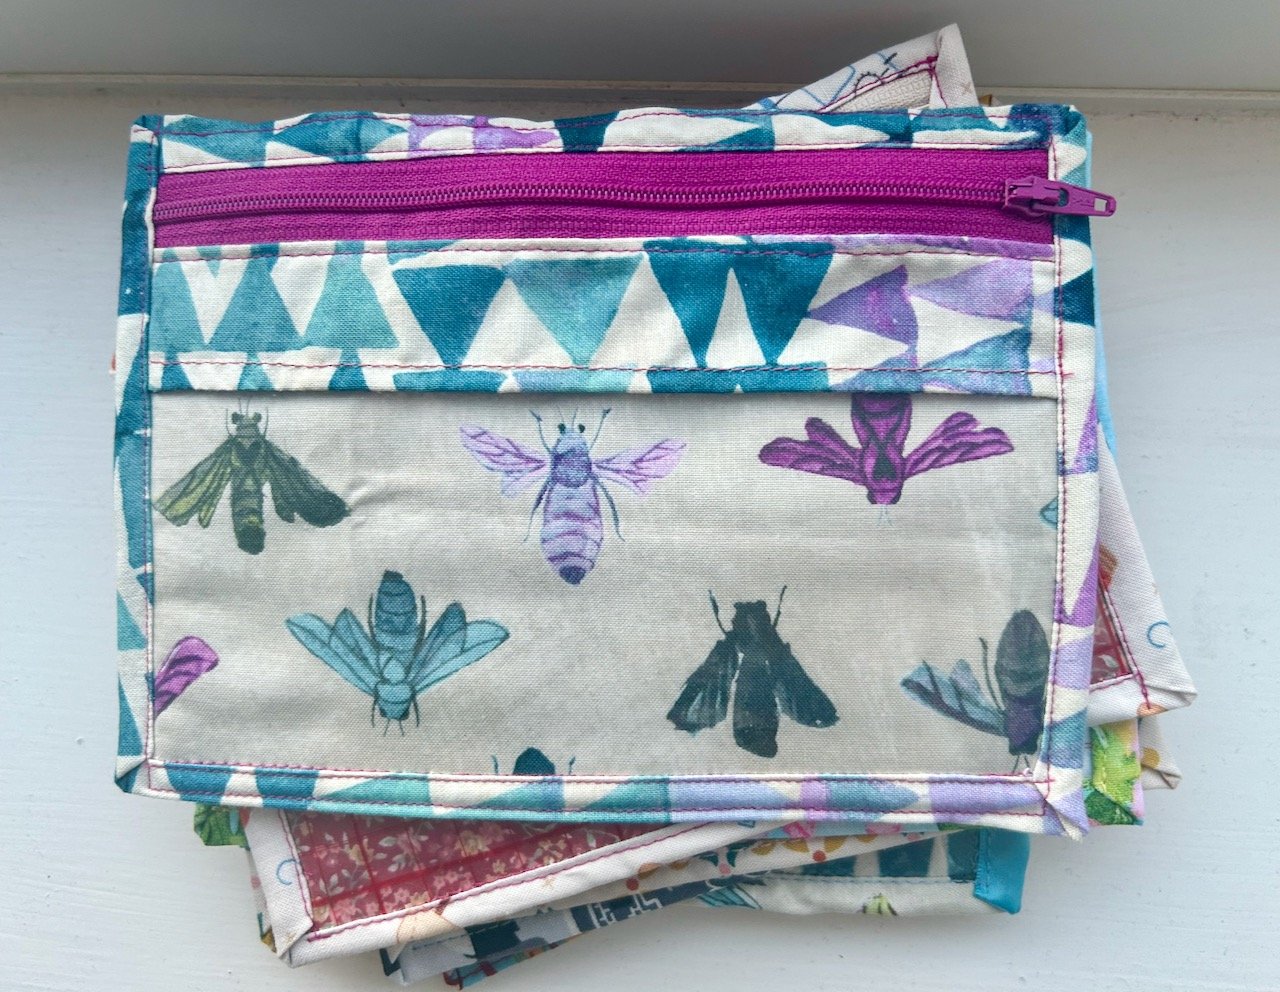
Following the instructions, and using the materials provided in the kit I ended up with a small vinyl pouch which I’m very pleased with - and definitely benefited from having the experience of a tutor-led session previously, even though it wasn’t for this exact item as there was lots that could be applied to this pouch.

I realised after I’d finished that while I’d used the fleece lining on the pocket’s lining (the insect fabric) I hadn’t used the thinner interfacing anywhere, and it probably would have benefited from it, at least on the strip below the zip.

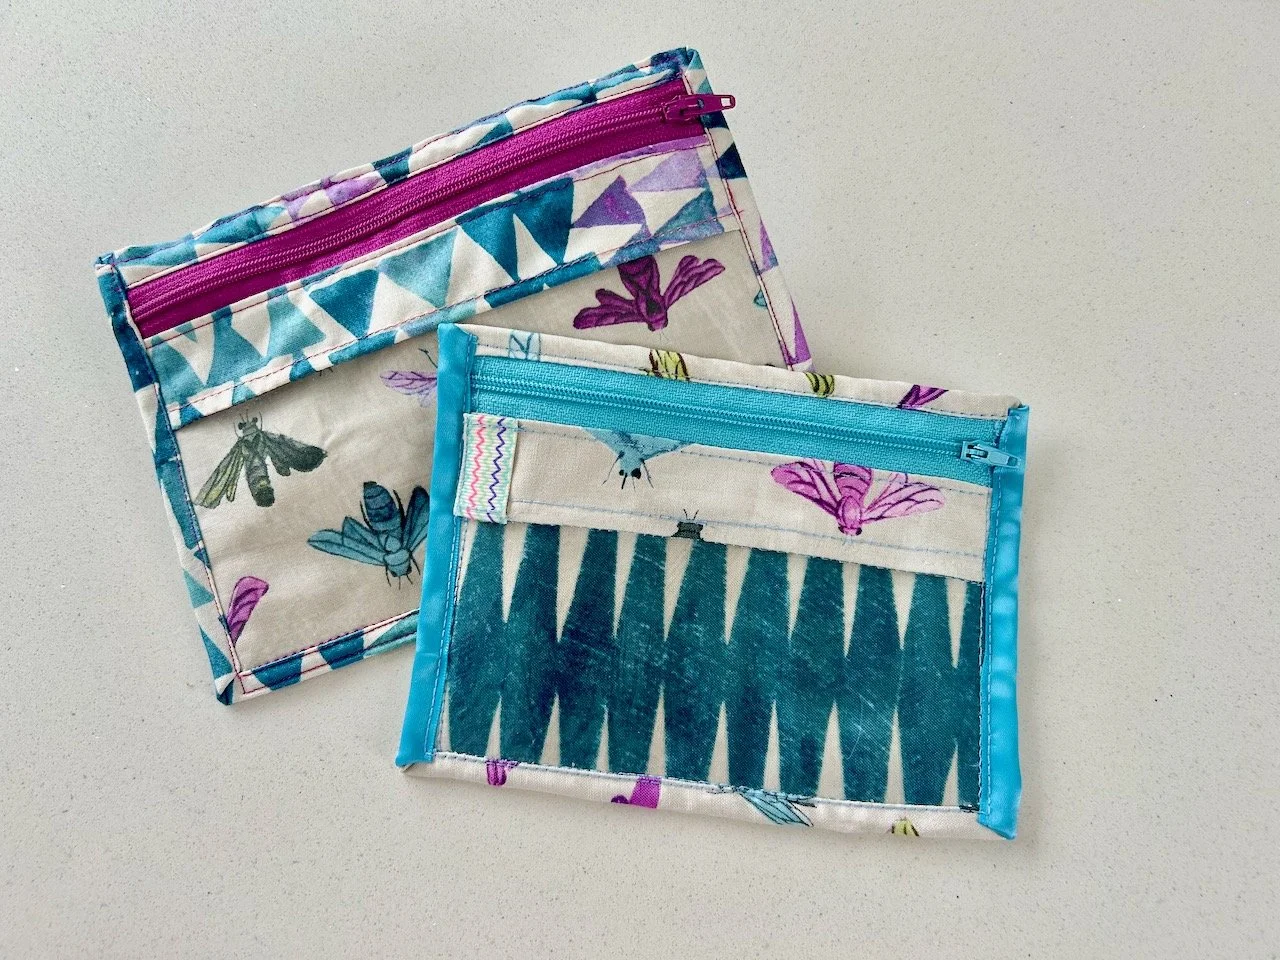
I decided to have another go and make a mini version - that one didn’t go quite so well, but it does have the interfacing below the zip. I added some ribbon embellishments to the sides as afterwards I worked out that I’d attached the backing piece the wrong way round - doh! I was pleased to find the zigzag strip in my stash as it covers a stitching mishap - but you wouldn’t have known that if I hadn’t told you.

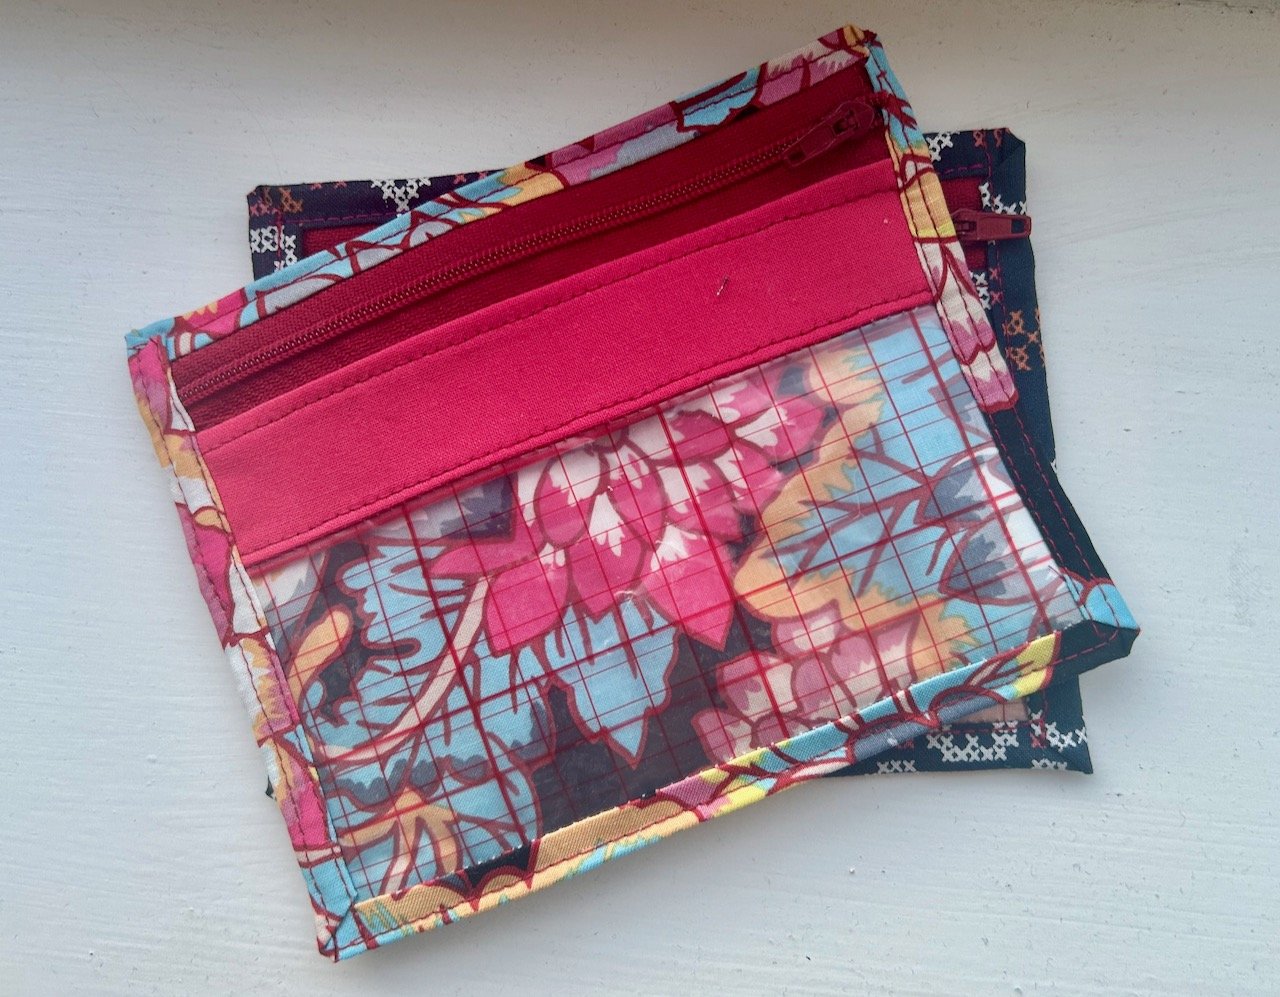
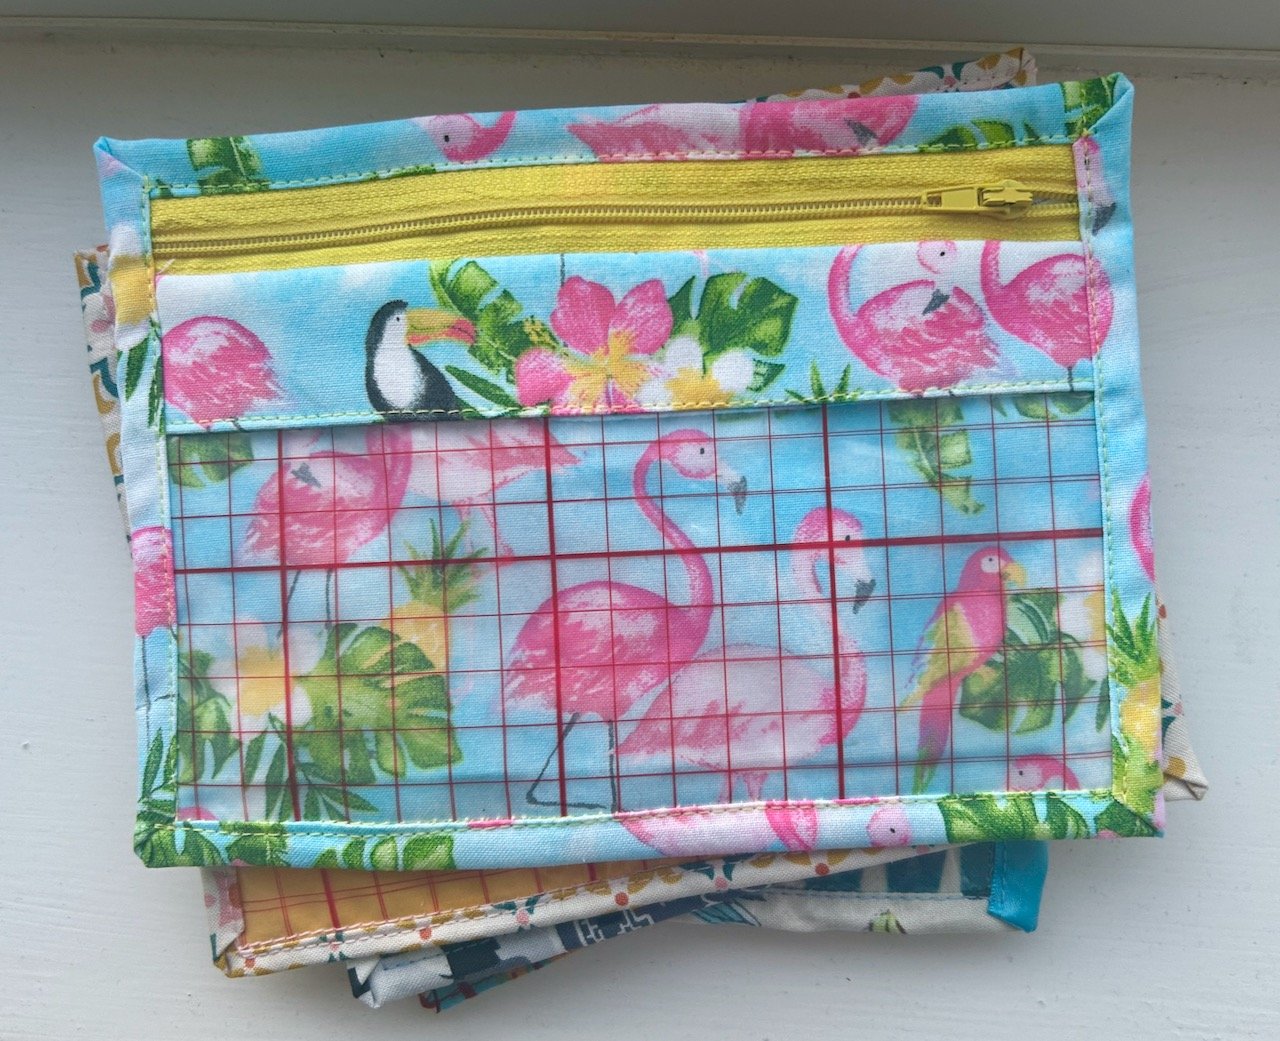
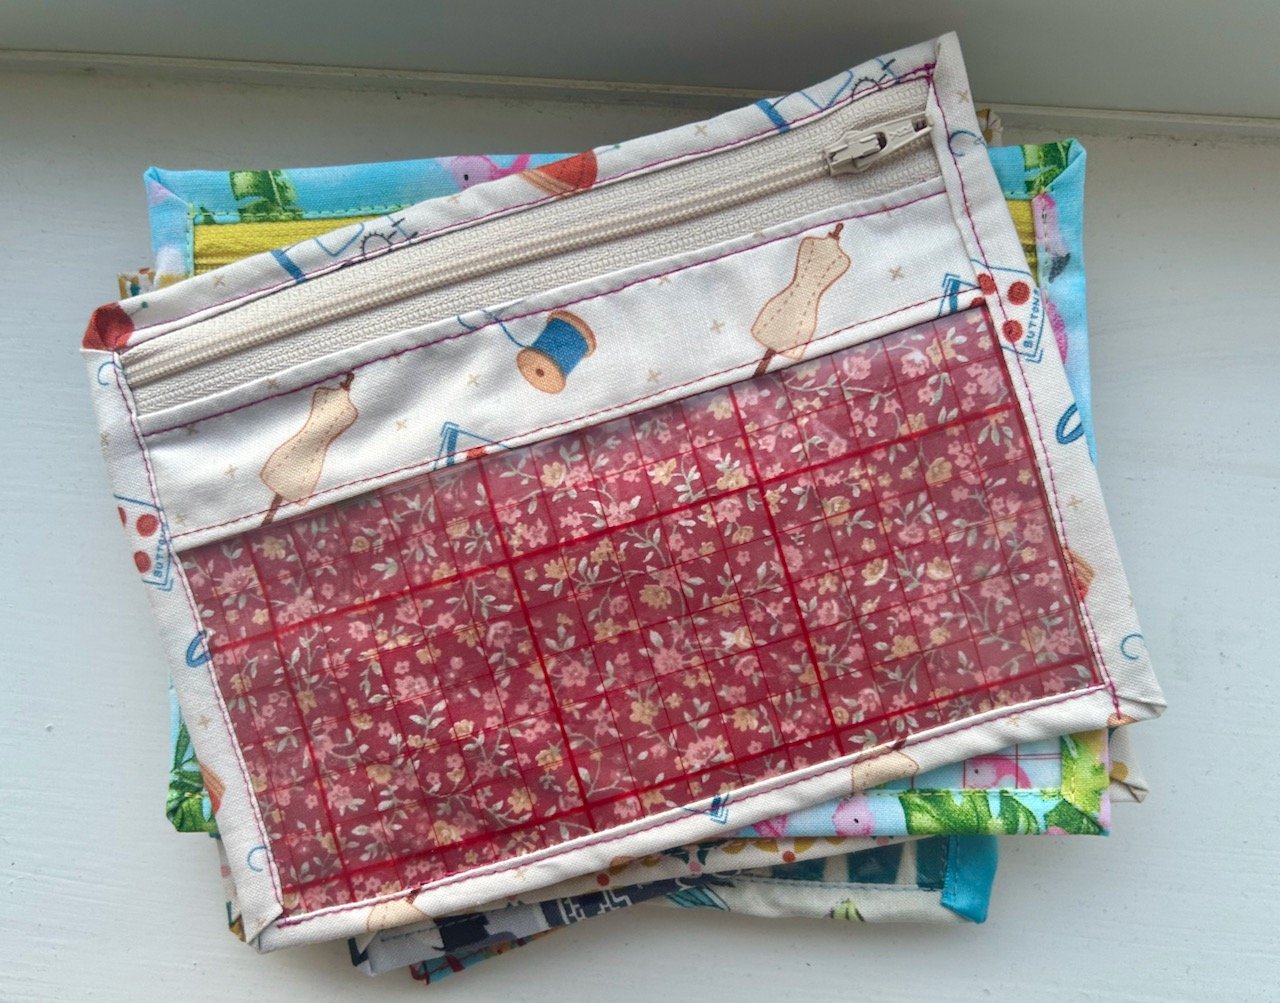
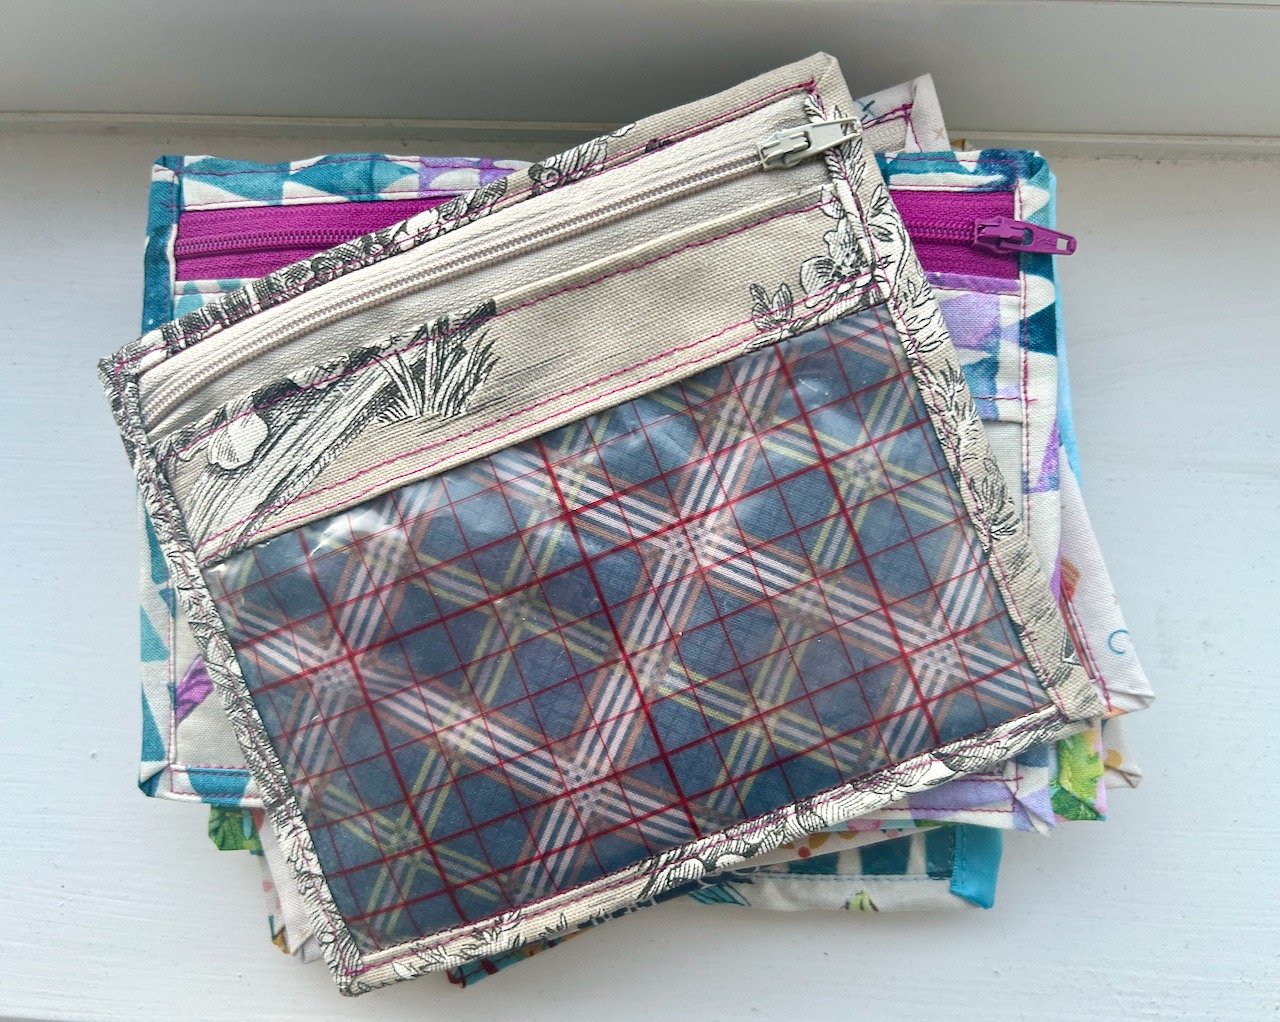
Even at this stage I could see how useful they would be, both for crafts and elsewhere. But I didn’t want to leave it there on my ‘embellished’ version, as I was sure I could master this little pouch, and I’d also been saving some red-checked vinyl which had (strangely) come as packing, all scrunched up between bottles, and I was keen to see if that would work.

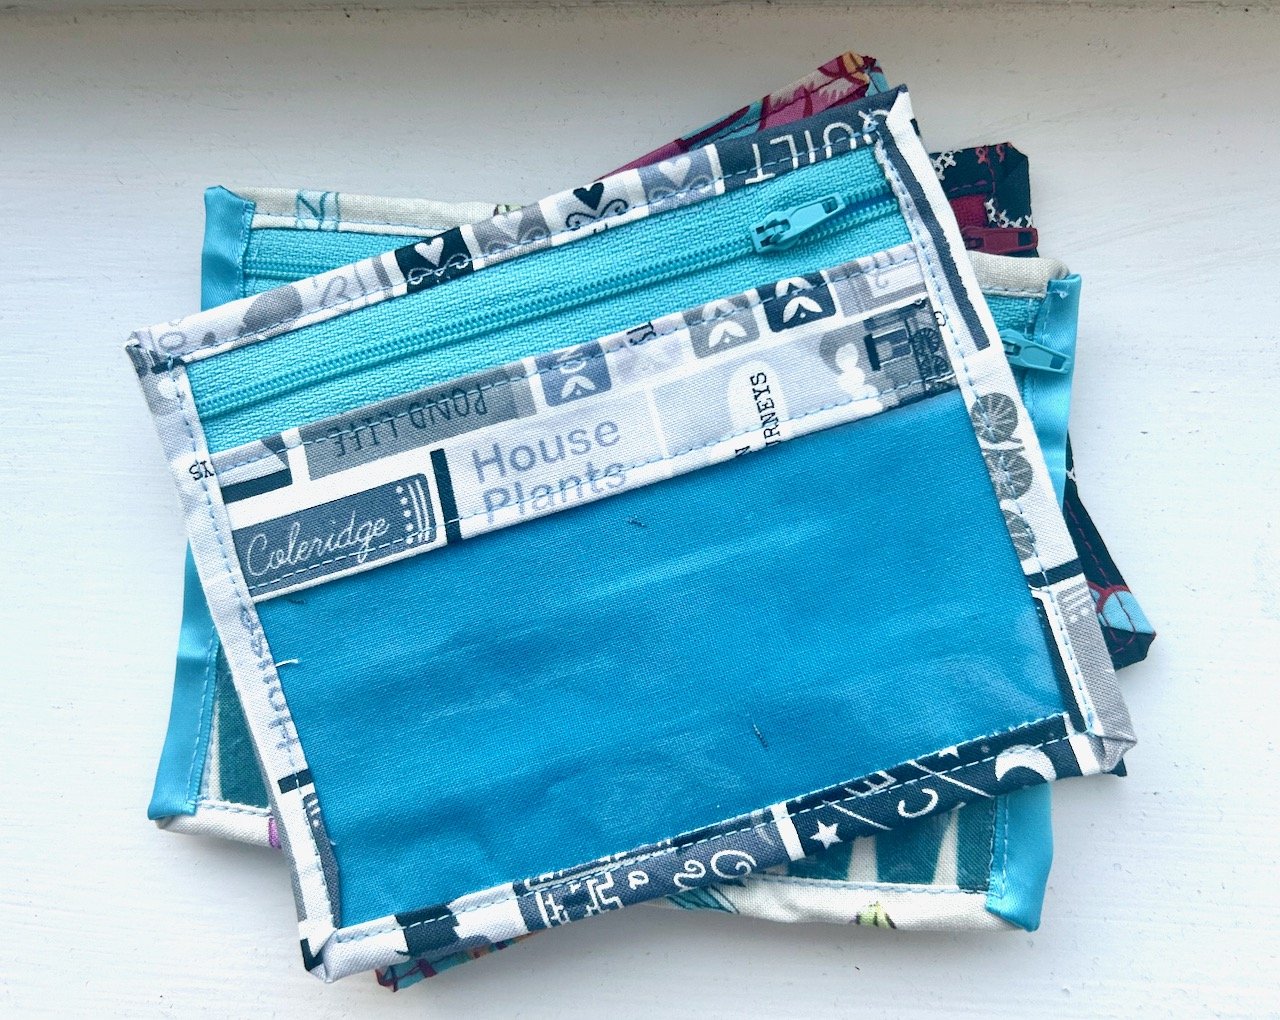
Turns out it did, and I’ve now made ten of these pouches, learning and adapting as I’ve gone along - and I’ve got a stack of pretty pouches too!

PostCommentLove

Walking East Stoke's Lanes: August 2024

It’s still later than I hoped, but much less late than last month’s post - the photos in this post are from a couple of walks, one to the pub in Elston on our way to steak night, and the second later in the month further along our usual walking route of Moor Lane.

I don’t remember seeing teasels in flower before, though I’m sure I must have, but seeing these only just in flower made me think how such a delicately coloured flower can conceal such a prickly inner!

MOOR LANE

Along the bridleway/path to Elston there were clear signs that summer was soon be done - the sloes, or are they damsons, the blackberries - we never did get back to pick any this year, and most of all the rosehips with their jewel-like berries being restrained by the fencing.

It’s lovely to watch the changing of the seasons, but it seems a little early this year - and I’m still in denial today!

As we left the path and walked along the lane to Elston I was pleased to see what is I think one of my favourite views in our new area - and I was even more pleased when I saw how I’d symmetrically captured this shot.

HEADING TOWARDS ELSTON

A few days later we headed back along Moor Lane again, this time it was the seed heads of these cow parsley which caught my attention, getting ready to disperse their seeds far and wide I’m sure.

The newly laid hedgerows had been growing well all summer, and it’s easy to see how well in the photo below.

It wasn’t long before we reached our turning point of the bridge, and after a few moments to see how the view had changed this month - a freshly ploughed field and a mown edge - we turned and headed back towards East Stoke.

It really is a glorious place to live, and to observe how the seasons and farming and the local landscape change throughout the year.

Thanks for joining me this month, hopefully I’ll be back to sharing the next instalment around the third week of the month, but in the meantime if you enjoyed this post you may also like some previous series where I revisit the same place - there’s my year in Greenwich Park and remember that time when I followed a tree?

PostCommentLove

Just in time for autumn...

I’ve finished my garden cushion covers, just as autumn arrived! But even though the weather has been changeable (to say the least) we have been able to try them out in the garden, and in the sun. I should have talked myself into doing these way before now though, as once again the task in my mind was way harder than it actually turned out to be in real life.

I’d seen the outdoor fabric l liked last year and as luck would have it, when I looked again shortly after our new garden table and chairs arrived I saw that it was on sale. So I made a way over the top guesstimate purchase on the basis that I probably wouldn’t be that lucky twice. I guesstimated enough for the four scatter cushions I wanted to make, the two I will make for the garden sofa when it finally moves outside, and some leftovers for anything else I’d potentially want to make after that.

Then I bought the cushion pads from Dunelm, and a pack of multi-coloured zips, and they all sat in our kitchen for most of the summer! It’s amazing though the motivation for filling the recycling bin, and the cardboard box of cushion inners was nagging me, so some research was needed on how exactly I was going to make these cushions.

That’s where Alanda Craft stepped in. I found their zippered cushion cover tutorial, watched the video and read the written instructions and convinced myself that it actually wasn’t that hard. And it wasn’t.

There was conflicting advice on the internet for what size to cut the material for the covers and so I decided to make a toile, which would also give me an opportunity and confidence boost (hopefully!) about putting in the zip. I know, who even am I?

And with the toile made, I really couldn’t put it off any longer…

FIRST THERE WERE TWO…

…AND THEN THERE WERE FOUR.

And the weather gods were smiling on me as we even got to test them out for real in the garden, IN THE SUN! Given that a weather warning followed for the next day we were very lucky weather wise - and the good news is they work, they act like cushions and they look great.

The zips worked out ok too. I purposefully chose bright colours - two cushions have green and two have a royal blue - so that they added a pop of colour, and looked like a design feature - which of course they are. They could be neater, of course they could but I’m happy with them and they work, and don’t look awful!

Was it worth sewing a toile?

Absolutely. I sacrificed a zip, but didn’t sacrifice any material I might actually use at some point. I remembered I’d saved some of the plain covers from some of the furniture we had delivered and that worked perfectly for this - I discovered though it doesn’t like a hot iron so needed to make a quick adjustment for that.

I realised that it would also work for tracing patterns onto, you know the ones that come with magazines, but are printed double-sided so need tracing, which on paper or even greaseproof paper seems a bit of task to avoid as not only do you have the tracing to do, you then have to stick them all together (though a tip there I’ve seen online is to sew them together using your machine, rather than using sellotape). The pieces of this cover fabric are relatively large so that would hopefully be minimal too.

As you can see I could leave myself plenty of clues along the way for repeating this on my four cushions, and it allowed me to test the size to cut the material. I started with this one cut at 45cm for a 42cm pad, but found it too large, so reduced it by 1cm for the actual covers. This was reduced by a small amount more as I overlocked all the edges - again that was definitely worth doing, as the material was quite partial to fraying, and of course it will give some longevity to these covers. I’m not planning to replace them anytime soon, in fact the seating pads we’ve used up until now I bought in 1999/2000, so it isn’t something I change that often!

Now of course I wish I’d started much sooner, but at least they are done!

PostCommentLove