A Valentines card that's close to my heart

I can hardly believe it's almost Valentines Day. This year once again I'm making my card to MOH and this year I'm sharing it early - and he's under strict instructions not to read this post until after the event!

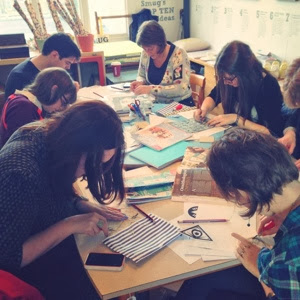
For all of my cards I like simple and strong designs and this card is no different. The part of it that's close to my heart, is that I've reused old magazines and made them into something pretty special.  Throughout this post I'm also going to share more about my new craft light from Iconic Lights. It's brilliant.

GETTING STARTED

GETTING STARTED

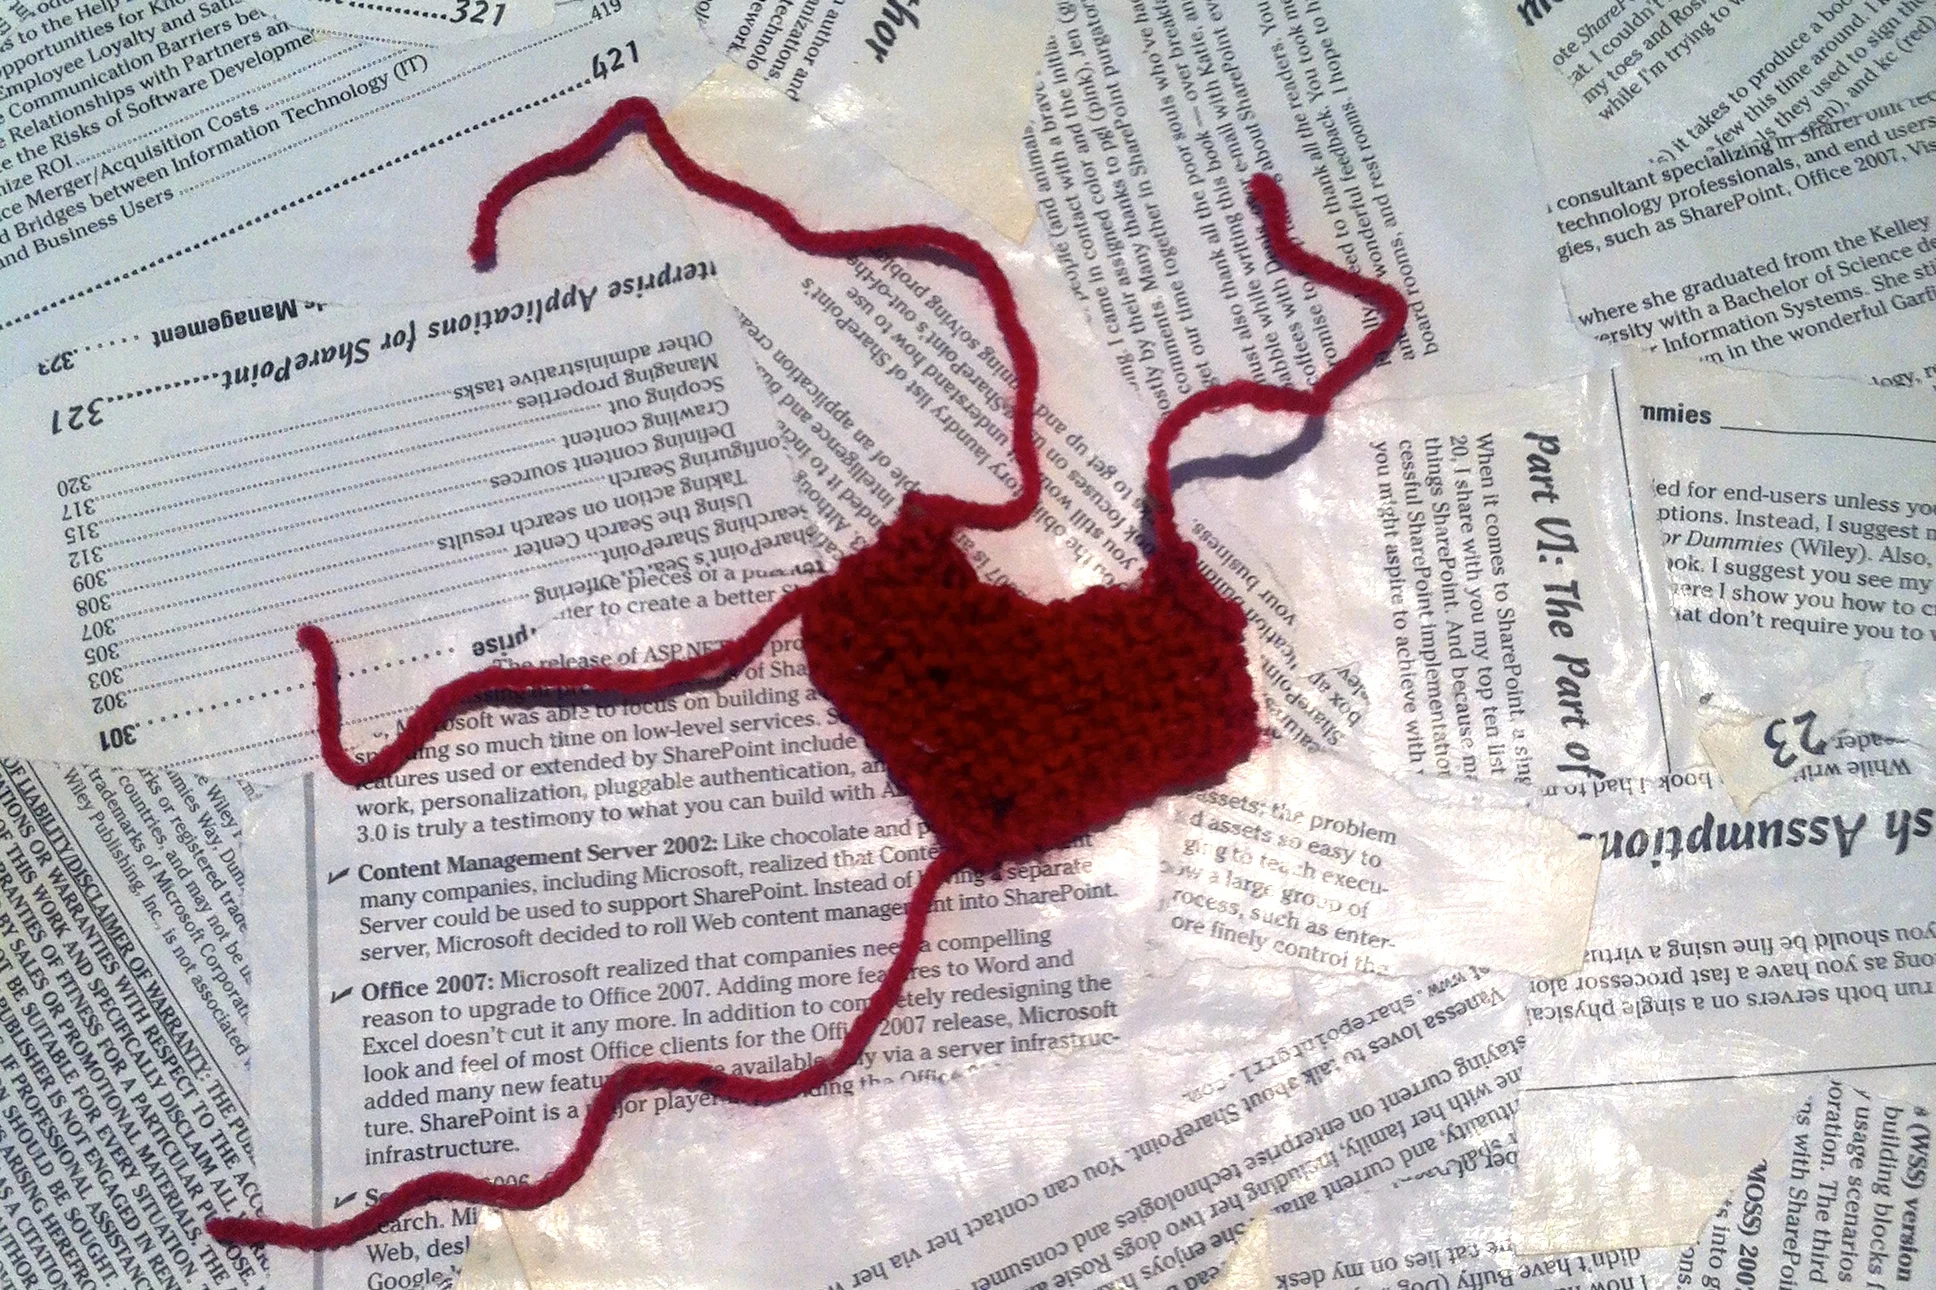
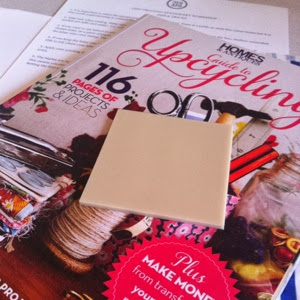
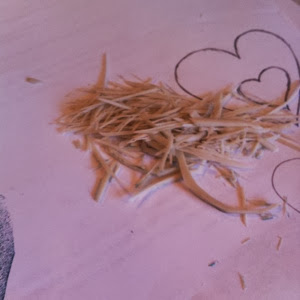
1. I started with some colourful pages from an old magazine and cut them into oblongs around 5cm x 12cm - just large enough to cover my heart die.

rolledscrapsofpaperoncard.jpg

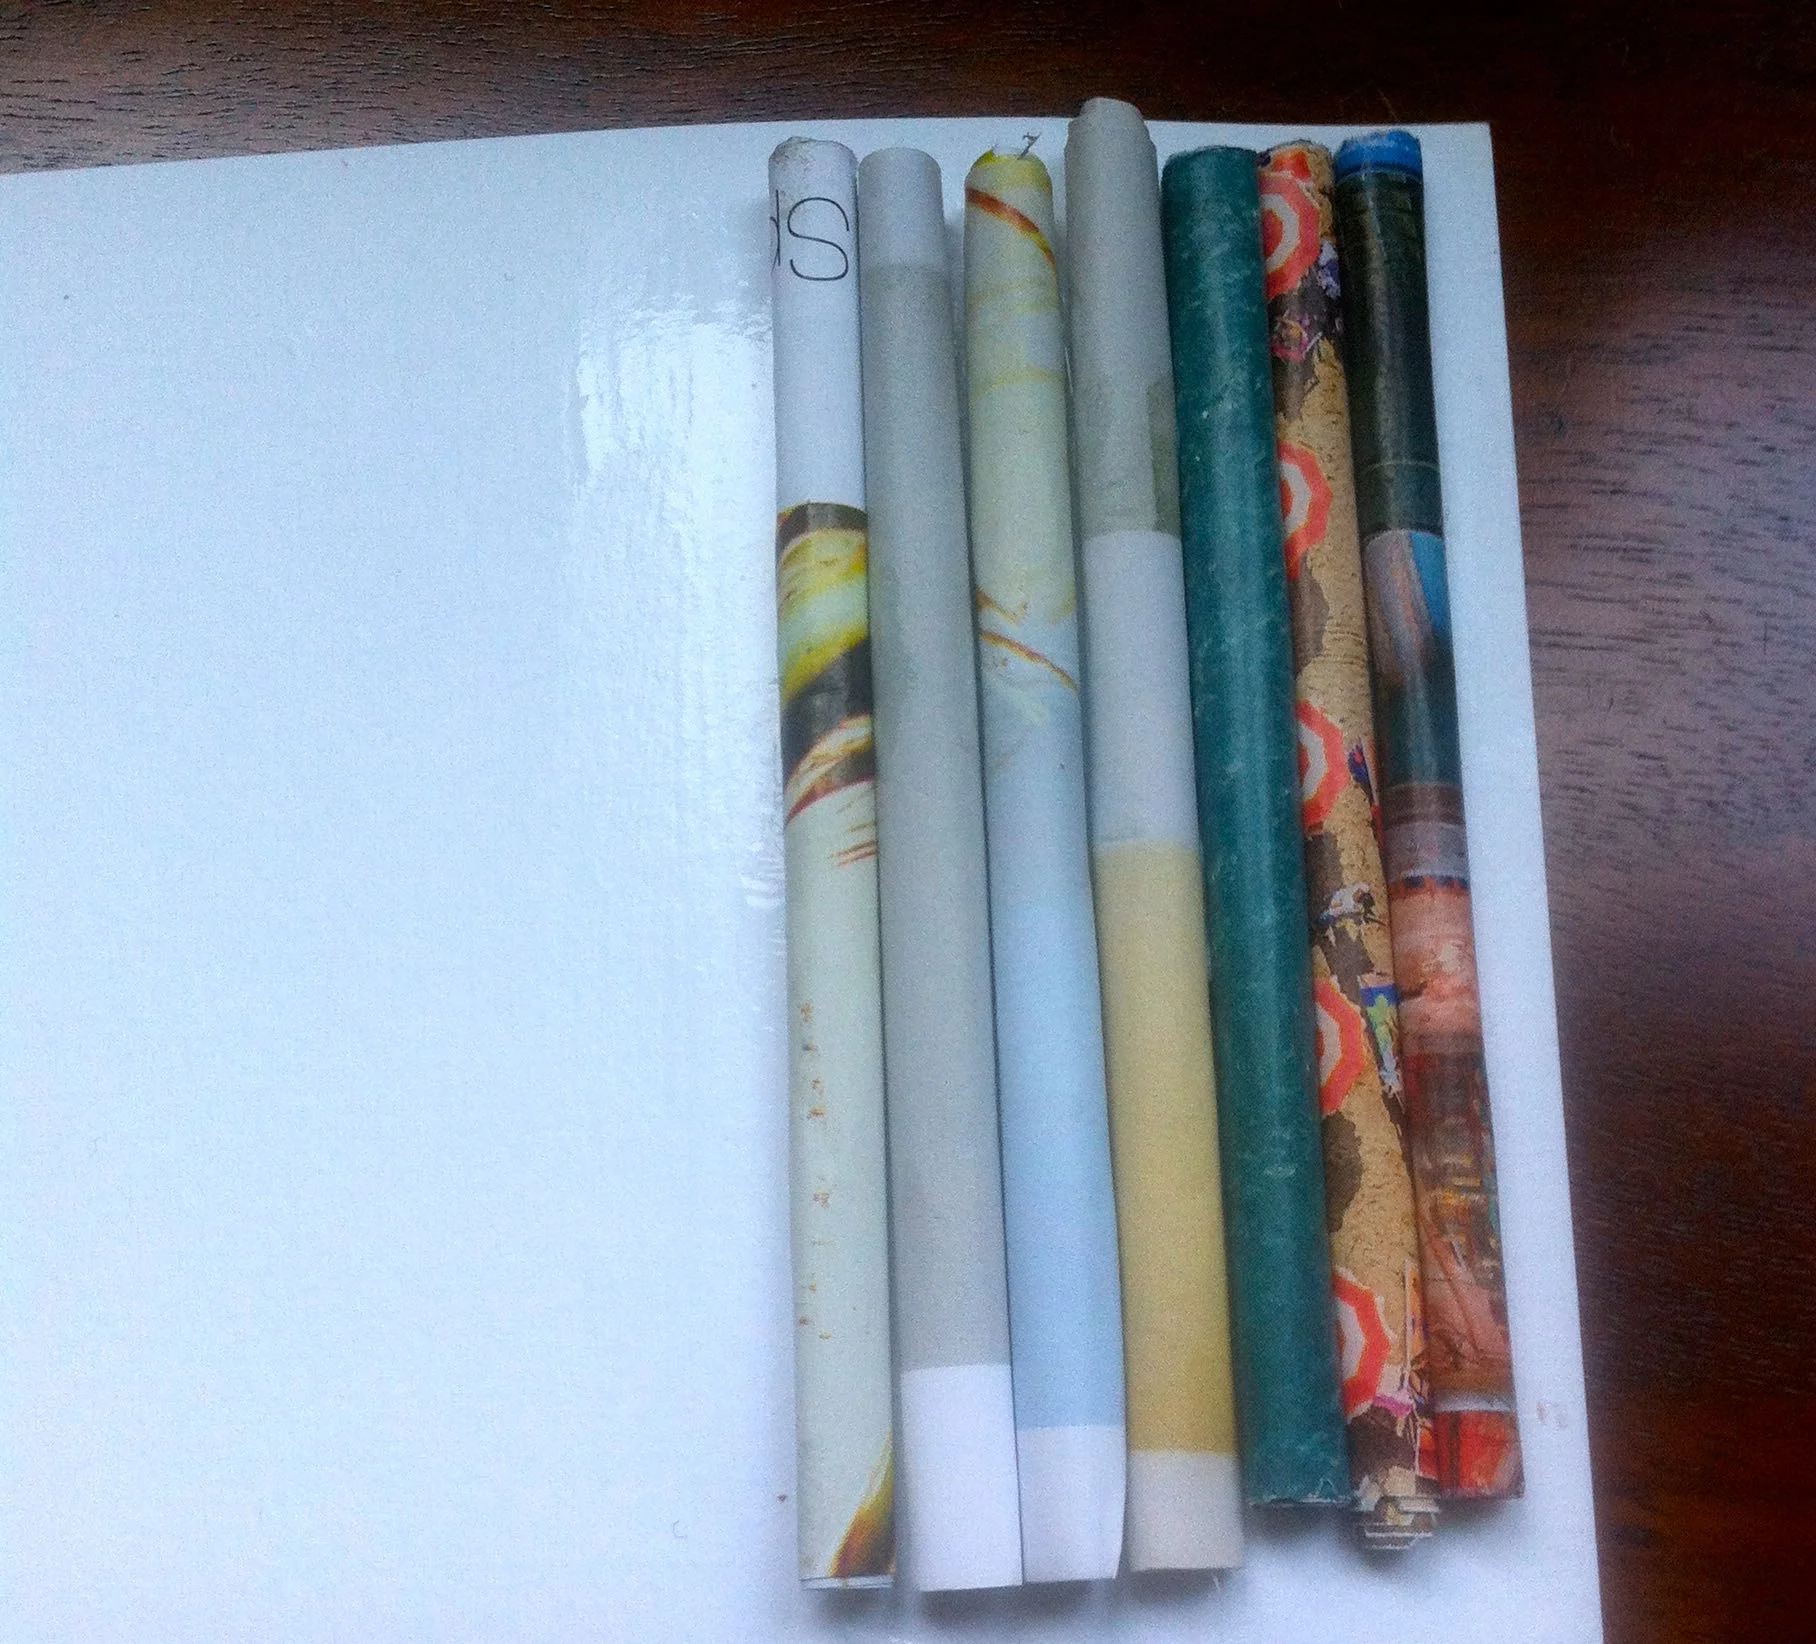
My plan was to roll these pieces of paper up and stick them onto a piece of backing card, and then use my die cutting machine to cut a heart shape.

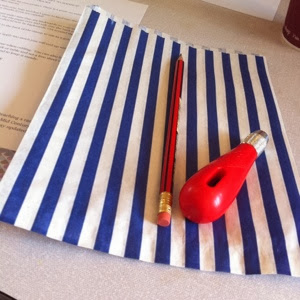
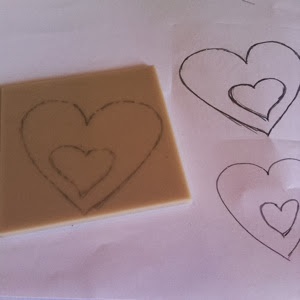
If you don't have a die cutting machine you can follow a similar approach but you'll need to draw a heart template and cut that out by hand.

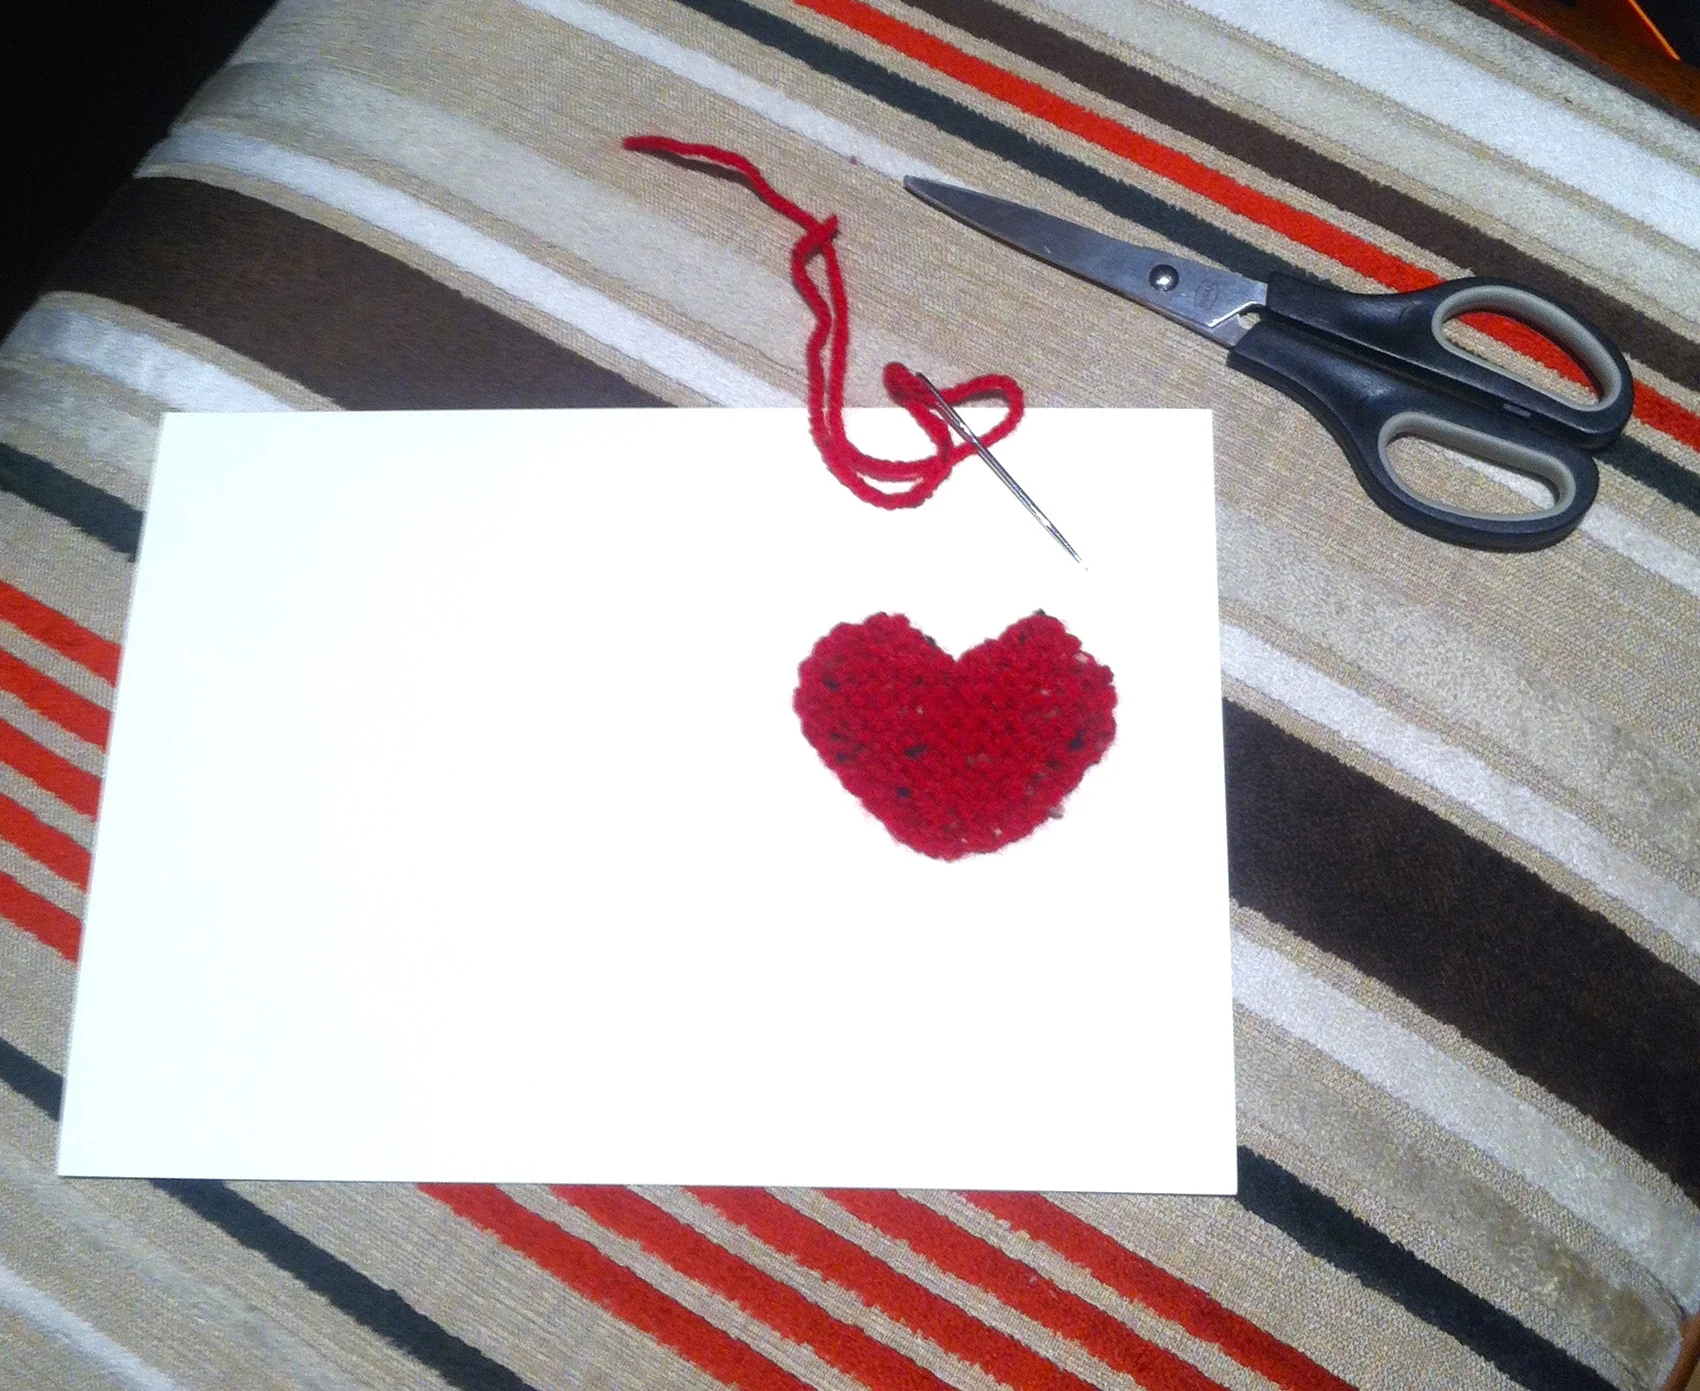
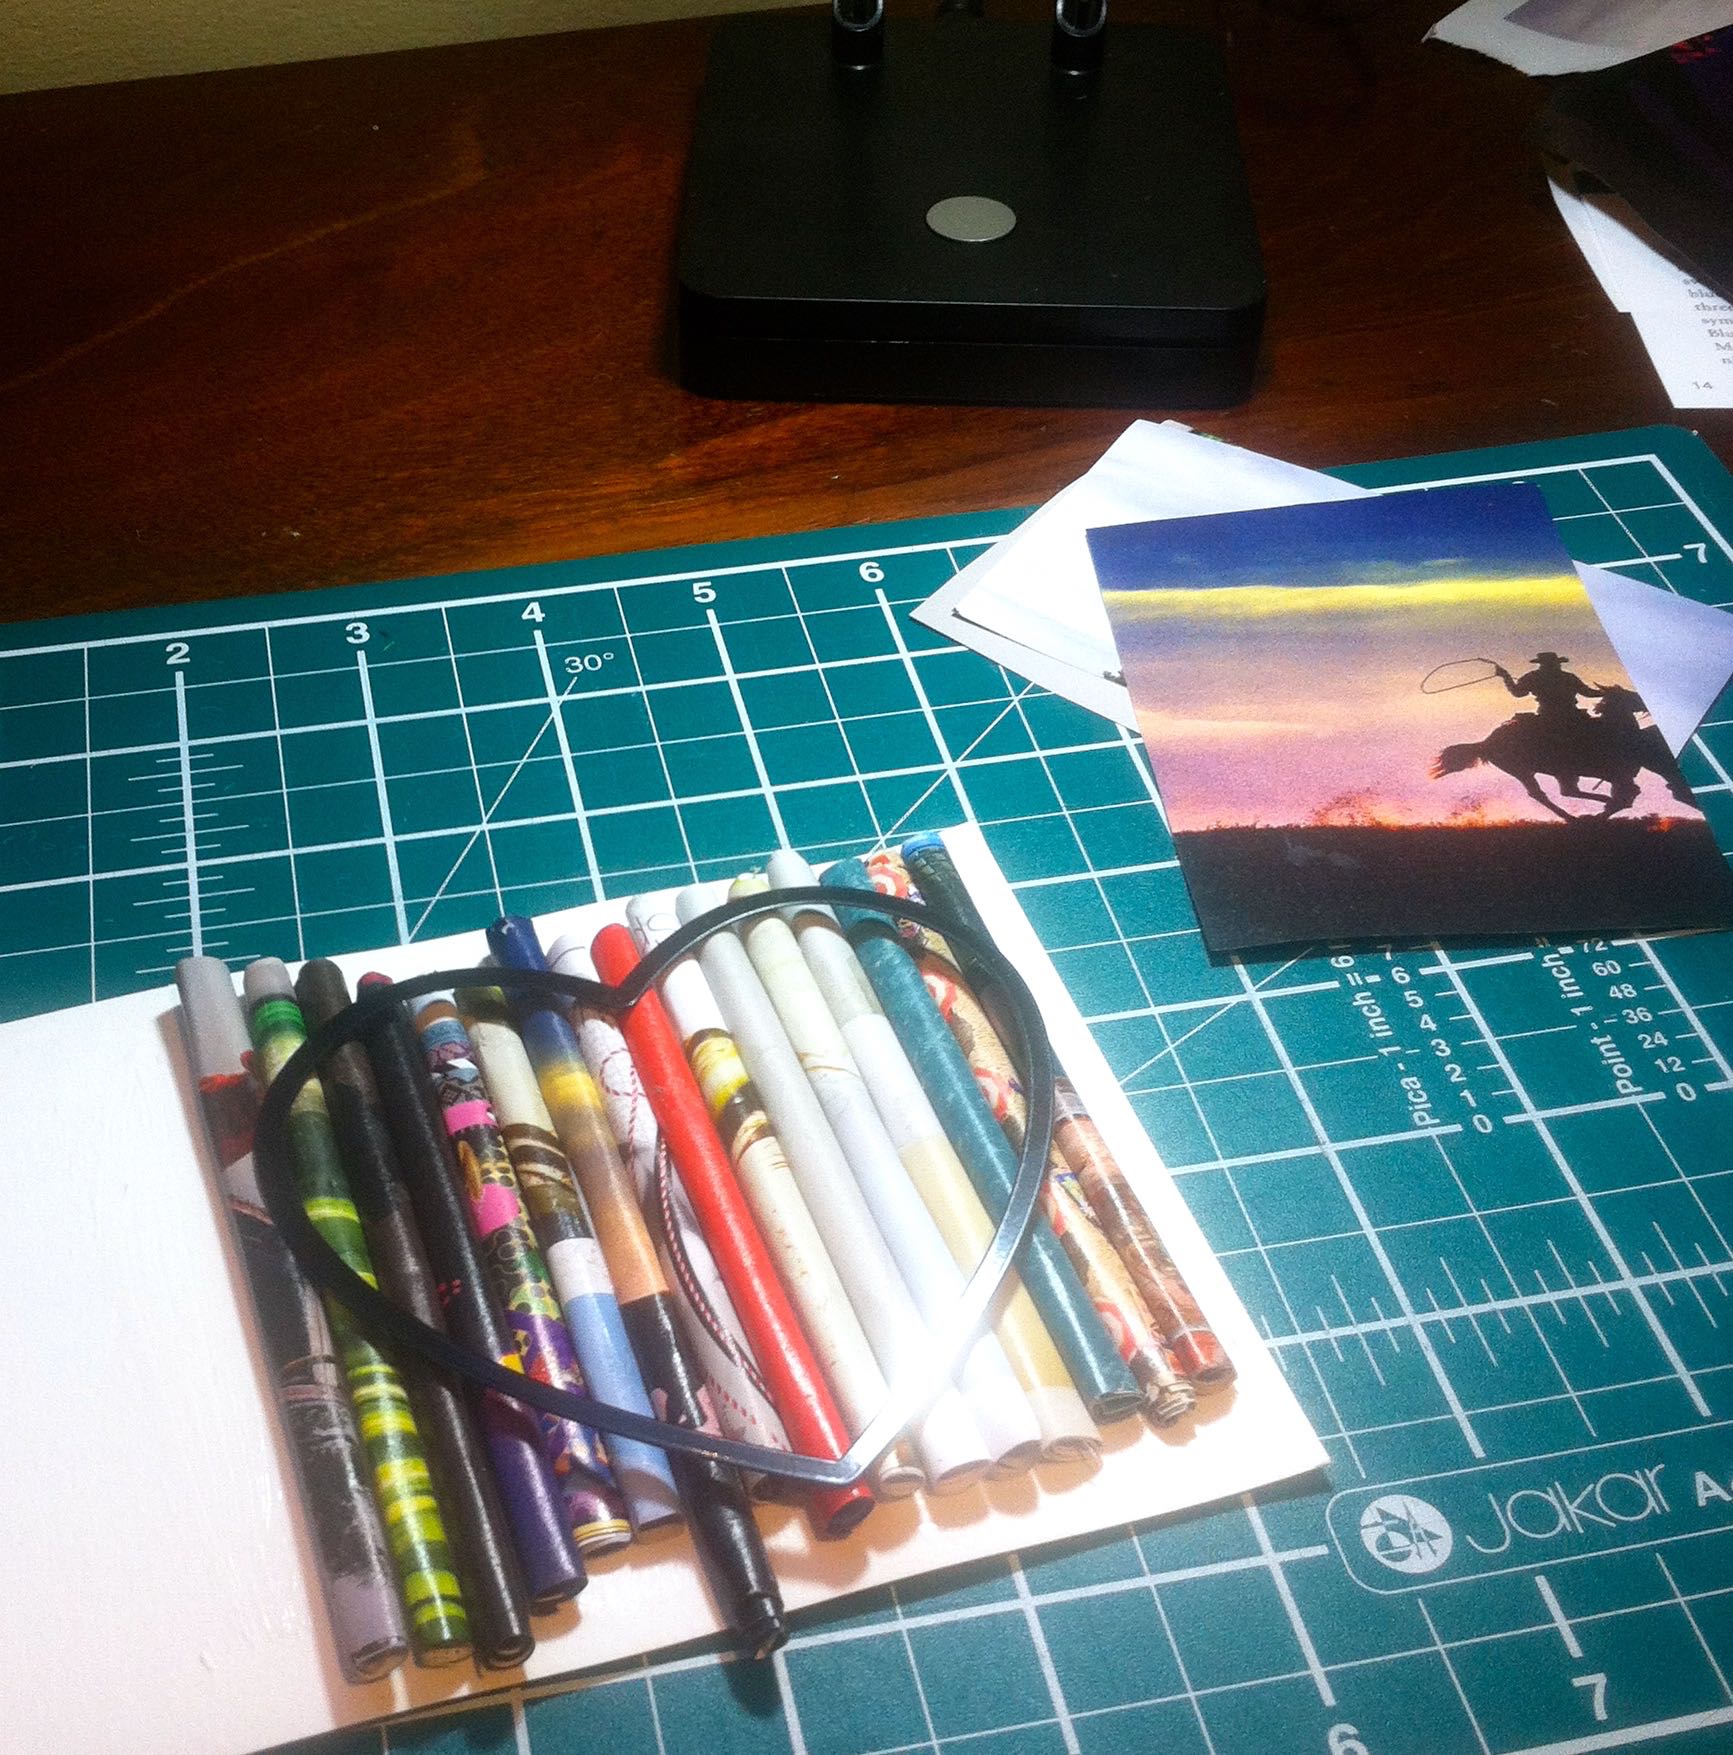
2. I used a small amount of PVA Craft glue as I rolled each piece of paper up to stop it unrolling as soon as I'd turned my back, and then attached them to some scrap backing card using the same glue.  

Already you can see how the pattern is building up, and while you only see part of the magazine page I think it's interesting watching the pattern develop.

Before we carry on with the card, let me tell you more about my new light from Iconic Lights. I am clearly using it as a craft lamp, but it's more regularly known as a 'Stell' LED Telescopic Adjustable Desk Lamp. It comes in black and white and folds flat when not in use - so a mega-plus if you're using it for a specific purpose, like me and don't have room to keep it on show all the time.

It gives out a decent amount of light and really helped me focus on the close work. At £18 I think it's very reasonable and am considering buying some as presents for fellow crafters.

iconiclightsadjustabledesklamp

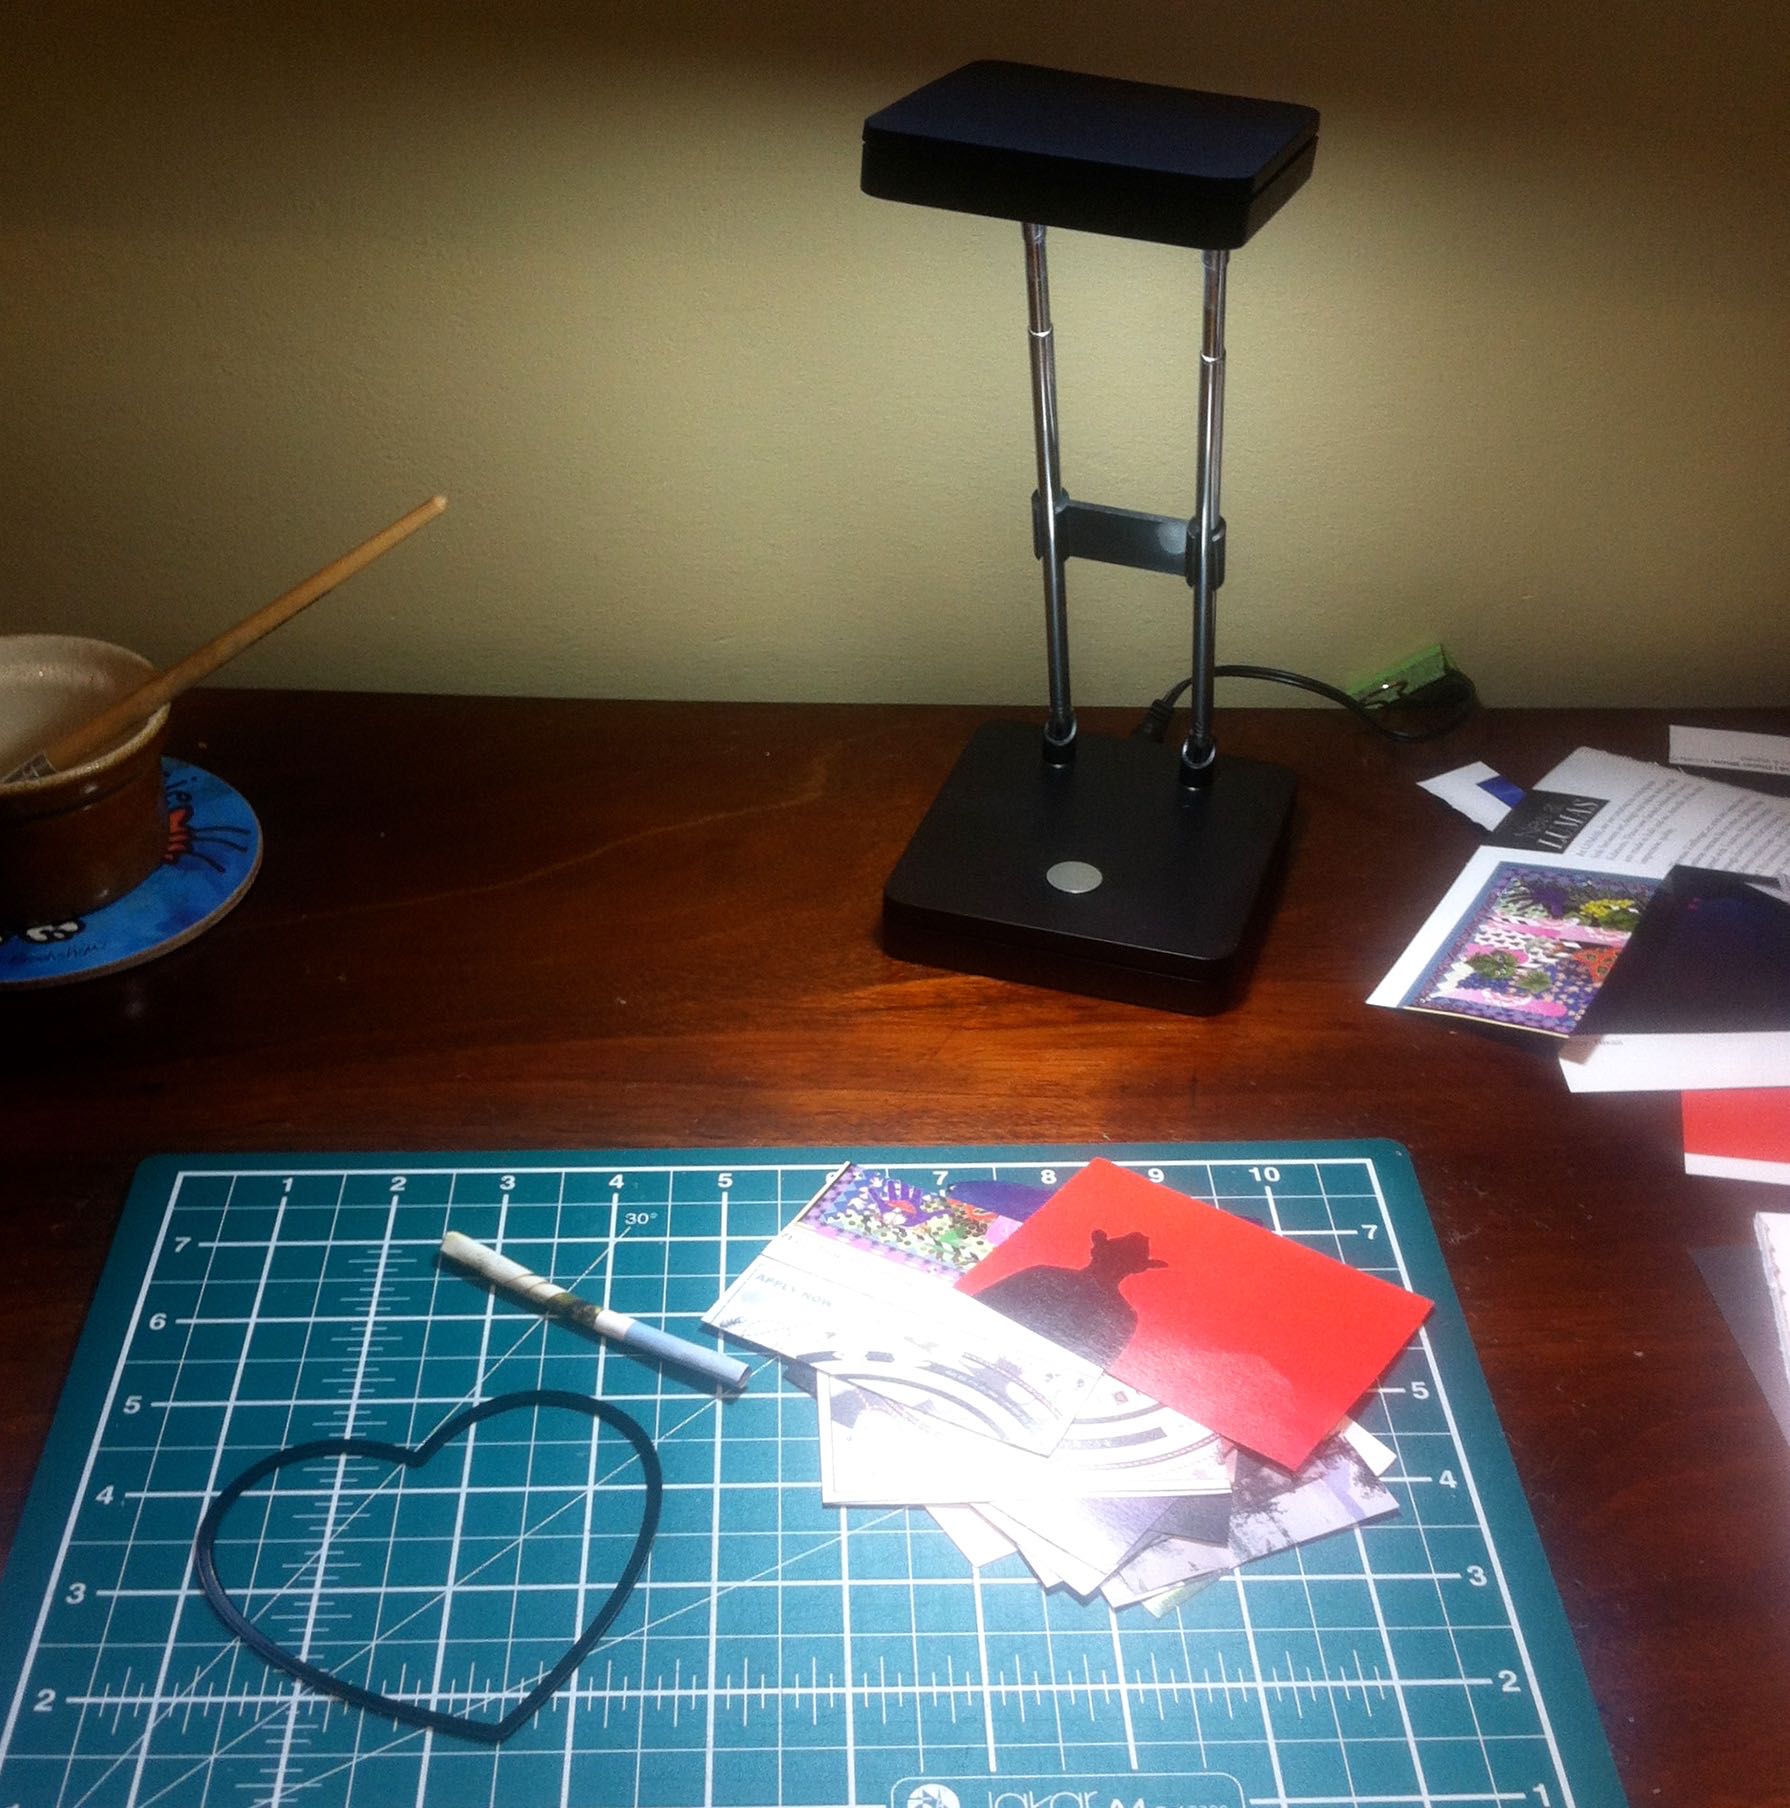
Here's a few photos of it fully extended, unextended, tilted and folded flat. What I especially like about this lightweight light is the telescopic bits which remind me of telescopic aerials we used to get on radios - perhaps they still exist, but I don't have those any more.

FULLY EXTENDED

FULLY EXTENDED

UNEXTENDED

UNEXTENDED

TILTED

TILTED

AND FOLDED FLAT

AND FOLDED FLAT

Right, back to the card.

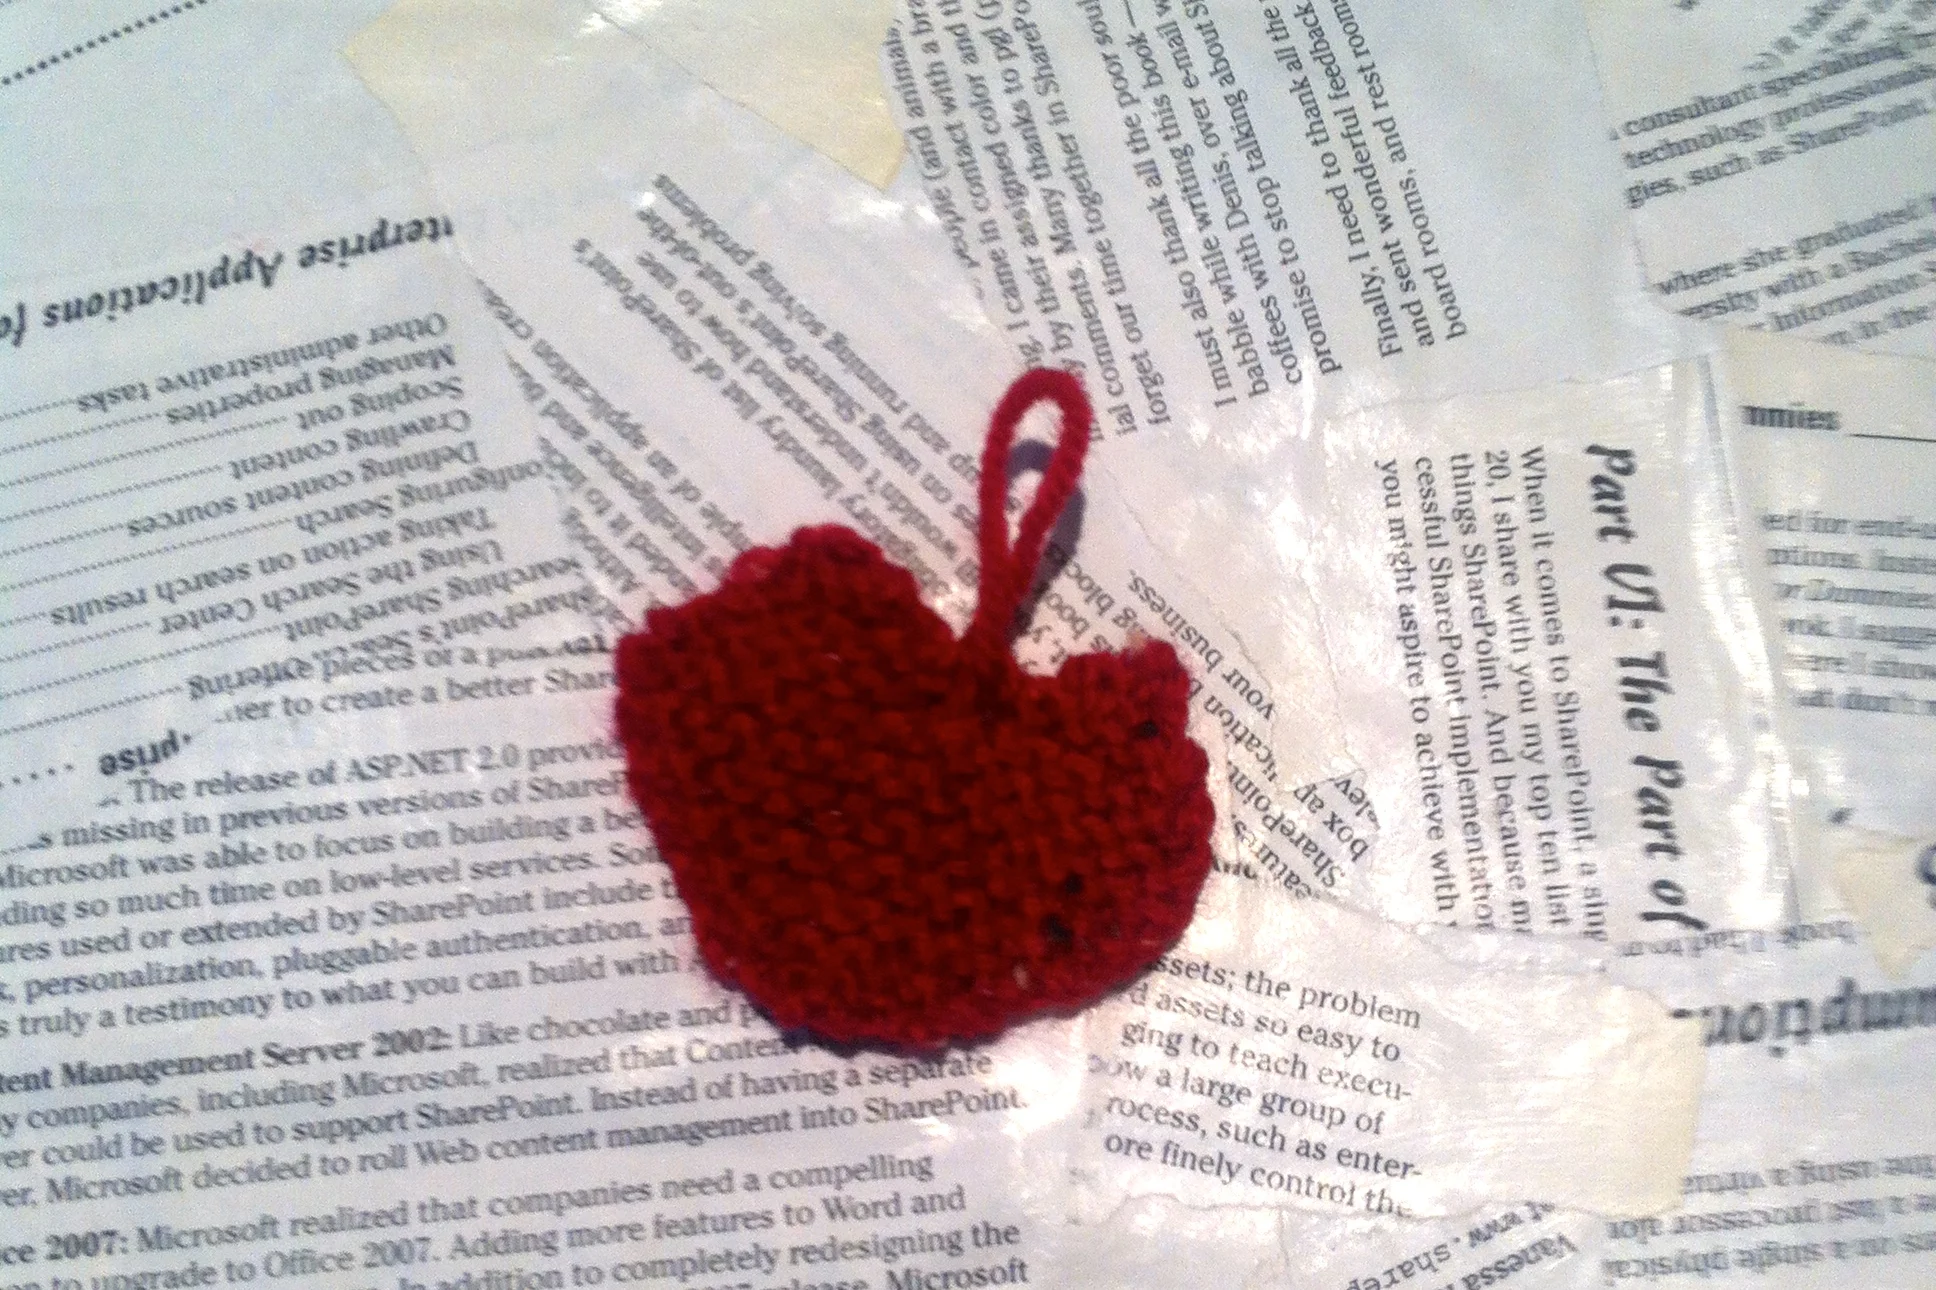
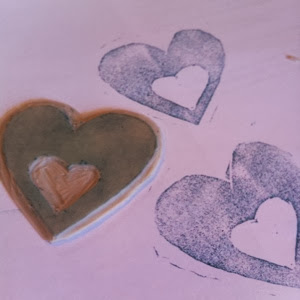
3. Once you have stuck sufficient rolled paper pieces to cover your die or template, it's time to leave it to dry. If you're using a die cutting machine you can place it under a large book (or something equally heavy) while it dries, but if you're cutting your shape by hand be careful about how much weight you add, or you'll flatten your rolls of paper.

The rolls of paper will flatten in the die cutting machine which is why it is less important to keep the shape at this stage.

valentinescard

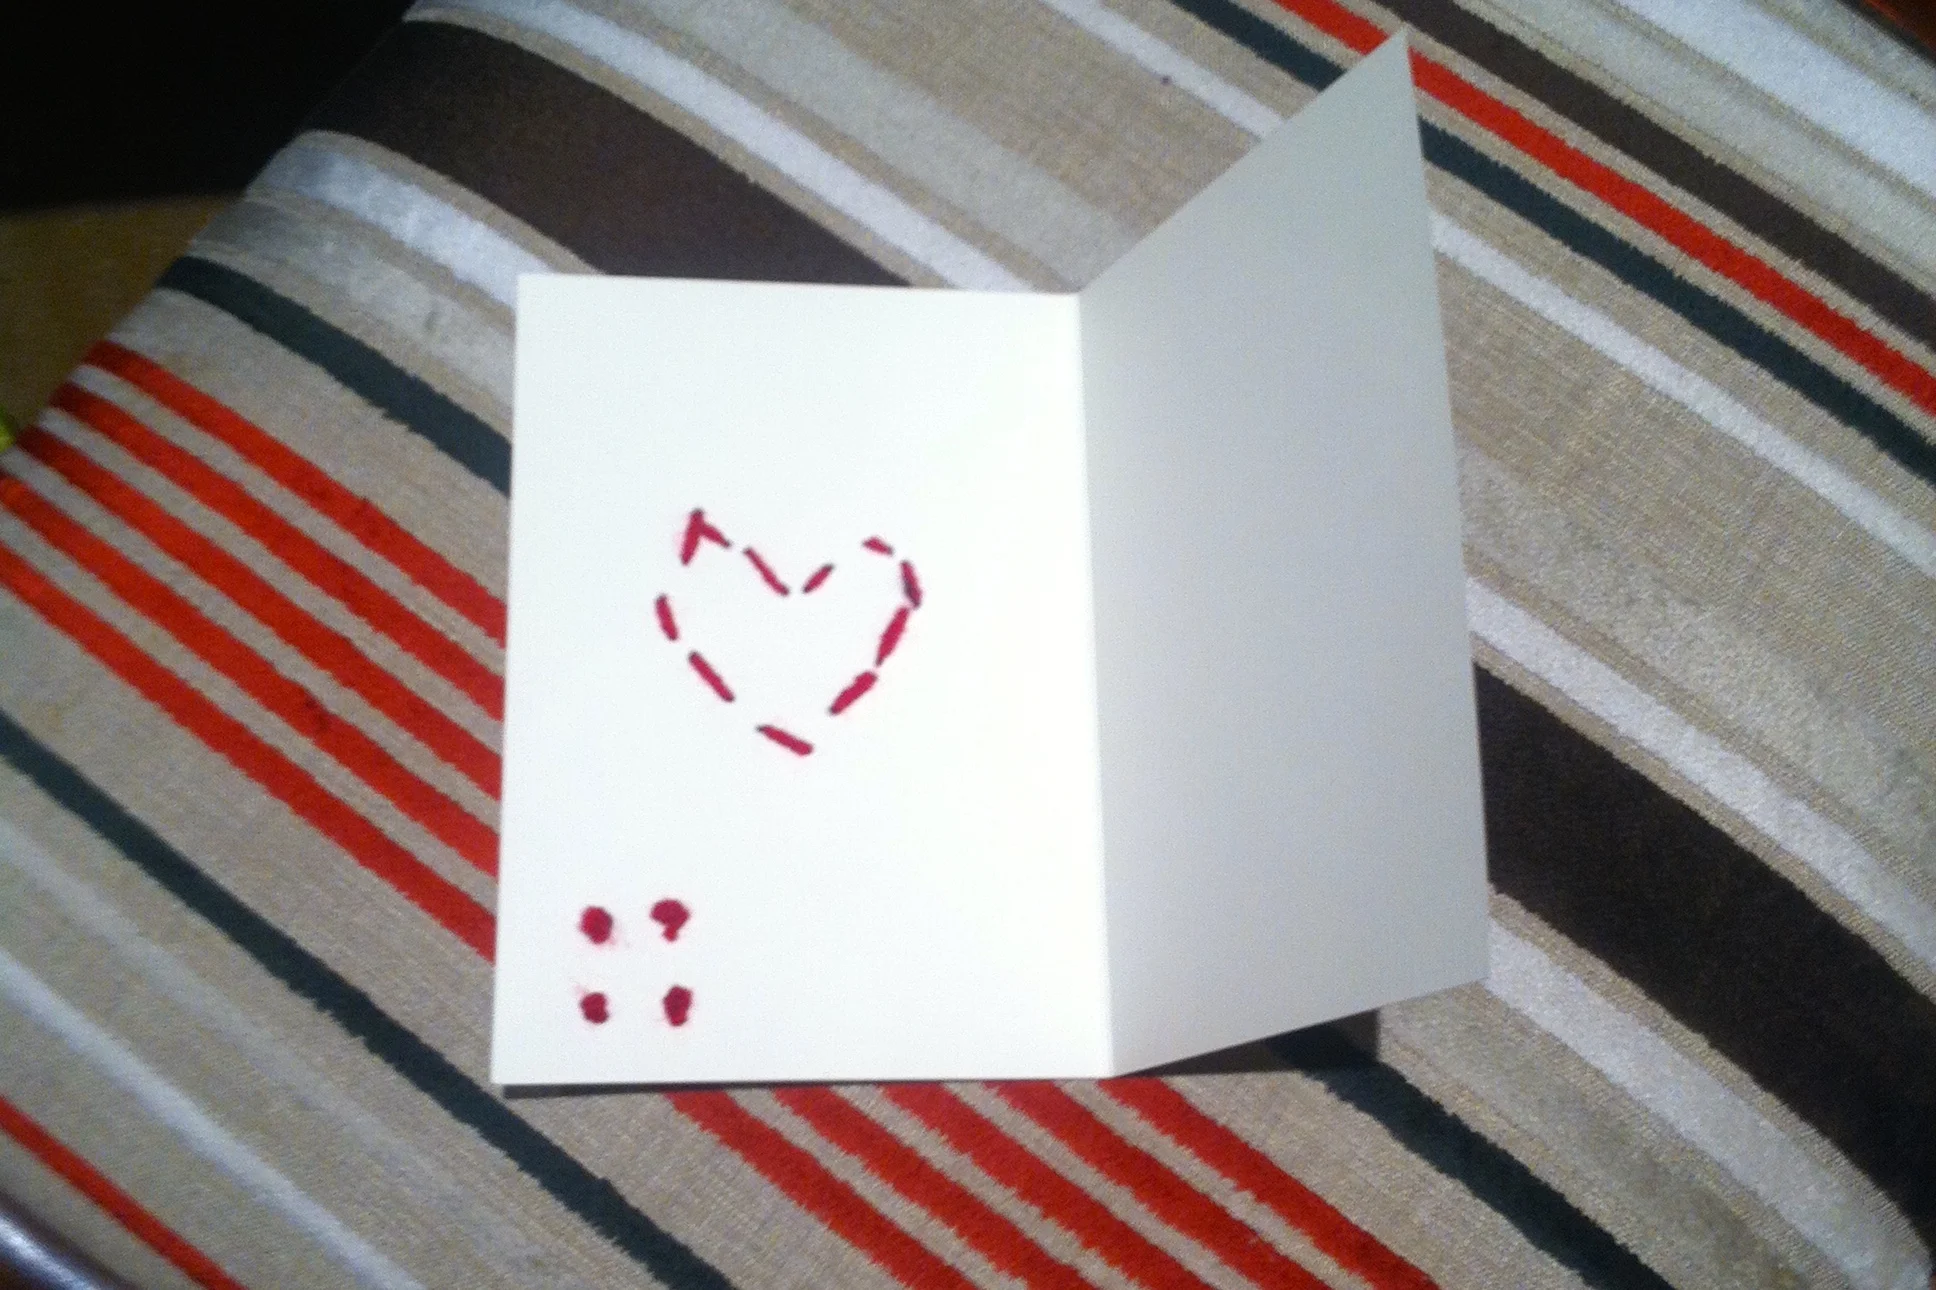
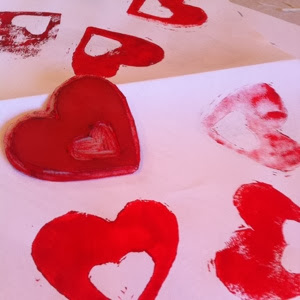
4. Now all that you need to do is to attach your newly created heart to a blank card. I've chosen a brown card to reflect the recycled nature of my card, and I think it shows off the heart well. 

completedheartsvalentinecardfromscrappaper

It really is as easy as that.  And as with my other cards, the possibilities are endless - who knows how else I use this technique. I'm pretty sure I'll be using it again though.

What green Valentines crafts are you planning this year?


I was sent the Stell LED Telescopic Adjustable Desk Lamp to review as part of my role as one of Iconic Lights' approved blogging ambassadors, but all views and opinions are my own.

A handmade Valentine card

I like handmade cards and this year for Valentine's Day I thought I'd carry on the tradition I started last year (with the lino print handmade card) and make my own.  I originally thought I may try something I'd seen on Pinterest which involved putting wool in glue and then shaping the gluey-wool into hearts and bought some wool in preparation, on eBay no less. However it seemed a bit messy for me and as the day approached I started to have second thoughts.  Left looking for alternative inspiration, would you believe it an email popped into my mailbox from Love Knitting urging me to knit a quick heart - well, it seemed just the inspiration I needed so I dug out my knitting needles.

The heart was quick to knit - intact I knitted eight of them in a couple of hours last Thursday afternoon, and for the record I only sent one Valentines Card!  I had hoped to make an impromptu garland with the remaining hearts but was stumped for the actual garland part as I didn't want to use a length of wool, or string, or ribbon.  On Friday morning I knew exactly what I wanted to make the garland and that was a crochet hook... I can't crochet, well not anything that is recognisable but my forte is a crocheted string.  Or it would have been if I'd found a crochet hook.  I looked in all of the usual places and some of the more unusual ones too before giving into the thought that I'd put the small selection of hooks that I did have in the charity shop bag, because I never used them.  So my garland was scuppered for this year, next year I'll be more prepared!

So I chose my best heart-shaped heart and weaved in the ends.  I'd left them long enough that I used one of the ends to sew the heart to the card.  I used a darning needle which was sharper than I expected so real blood, sweat and tears went into the production of this card.

It's quite a simple design, but it's the simplicity that I like.  That's clearly a theme because if you remember my 2014 Christmas cards they were simple too.  I decided to add a kiss in the bottom right corner, though I was conscious of how it would look on the reverse. 

I like the detail of the running stitch heart visible on the inside of the card

I like the detail of the running stitch heart visible on the inside of the card

And I think it held it's own alongside the card MOH bought me.  Actually I think he does well choosing cards I like and I was spoilt this Valentine's Day with a pink champagne afternoon tea to be booked for a future date and a pair of pink cycling gloves, which I shared on my Facebook page.  In return he's now expecting two new tyres for his bike - how romantic - for the other love of his life!

IMG_7962.jpg

For the hearts destined for the garland after weaving in the ends, I added a loop to attach them to the garland.  It's just that I'm saving the garland for next time!

Did you make anything for your Valentine?

Getting to grips with Lino Printing

My word for 2014 is active, and I'd clearly been active earlier in the year and booked myself onto one of Nancy Straughan's Lino Printing Stationery classes, this one was held at Smug in Islington's Camden Passage last Sunday.  For me active was always going to be more than getting physically active. I wasn't really sure what to expect from this workshop and if I'm honest with everything else going on this workshop kind of crept up on me.

This was what met me when I arrived:

And then we were off. The first thing was to choose a design. With Valentines day approaching and wanting to keep it relatively simple I chose a heart with a heart shaped cut-out. It took me a couple of attempts to get the size and shape right.

Cutting the shape was easier than I expected, and heeding Nancy's advice to take it slowly I didn't even cut myself!  But look at the pile of scrapings I gathered:

Next was to test it out, and learn where some fine tuning was needed. To make printing easier I cut around the shape too. You'll see in the bottom right heart below I had a slip at the top of the heart which needed some work...

Happy with my practice runs, it was time to move from the ink pad to acrylic paint.  There really was only one colour choice. 

Once I'd (mostly) mastered loading the stamp with paint, it was time to make something for real. That something was a Valentines card, and as that hasn't been delivered yet I'm not posting a picture of that. I also only made a single card, which I'm sure MOH will be relieved by - I mean, what use would I have for more than one? 

I've also decorated a paper bag and a gift tag. I love the texture on both and the fact that neither are perfect. I agree with the discussion during the class, if it's perfect you want you may as well print the image!

As you can see we were an industrious and studious class, here's a photo proving just that (I'm centre top in this picture)

This is something I'd definitely do again and infact I'm waiting for some supplies to arrive!  I think the design you choose is important and for beginners you definitely want something more blocky than intricate - remember you need to get your blade around the design and it's always helpful to keep you fingers intact too!

So all in all I had an inspiring afternoon - thanks Nancy! 

See, being active is paying off!