My garden in May

If April was about the promise of new growth, then this month has been about nurturing that and seeing how far things have come. Unsurprisingly it’s our first May in this garden, and so I’ve been watching new things flower and have realised that we have three young mock oranges, rather than the single and very old one we had in our previous garden. I’m amazed at how many plants we had there, we have here - and without even trying, though of course they are much younger plants than those we had.

But anyway, let’s see what’s been going on in my garden in May.

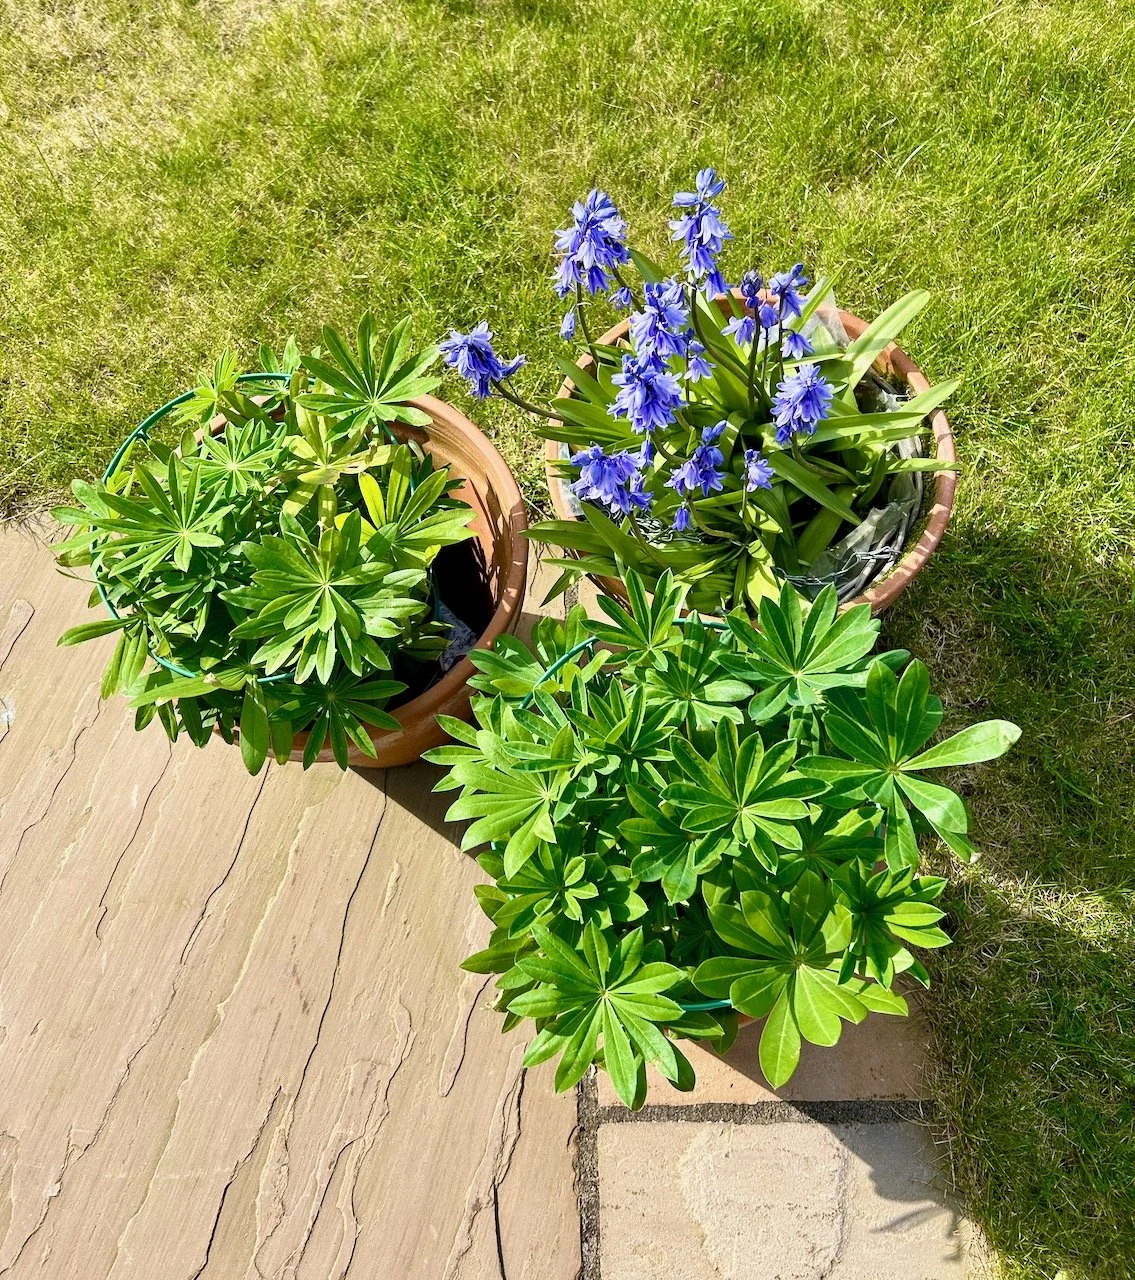
The lupins we bought at the Newark Garden Show paired up with some bluebells from dad on the edge of the patio, replacing the tulips and before them the daffodils. I’m enjoying having a burst of colour here, though it’ll be interesting to see how and if I can keep this going throughout the summer, especially when the patio space is more in demand!

I’d intended to plant out the bluebells, which dad had planted into an old hanging basket for easy transportation, into our outer beds - but what with life and the weather I hadn’t gotten around to it, and so they flowered where they were planted. As a stroke of genius I realised the hanging basket could perch on the top of the pot, and in fact that worked so well I’m now wondering if this could be a more permanent arrangement. We’ll see.

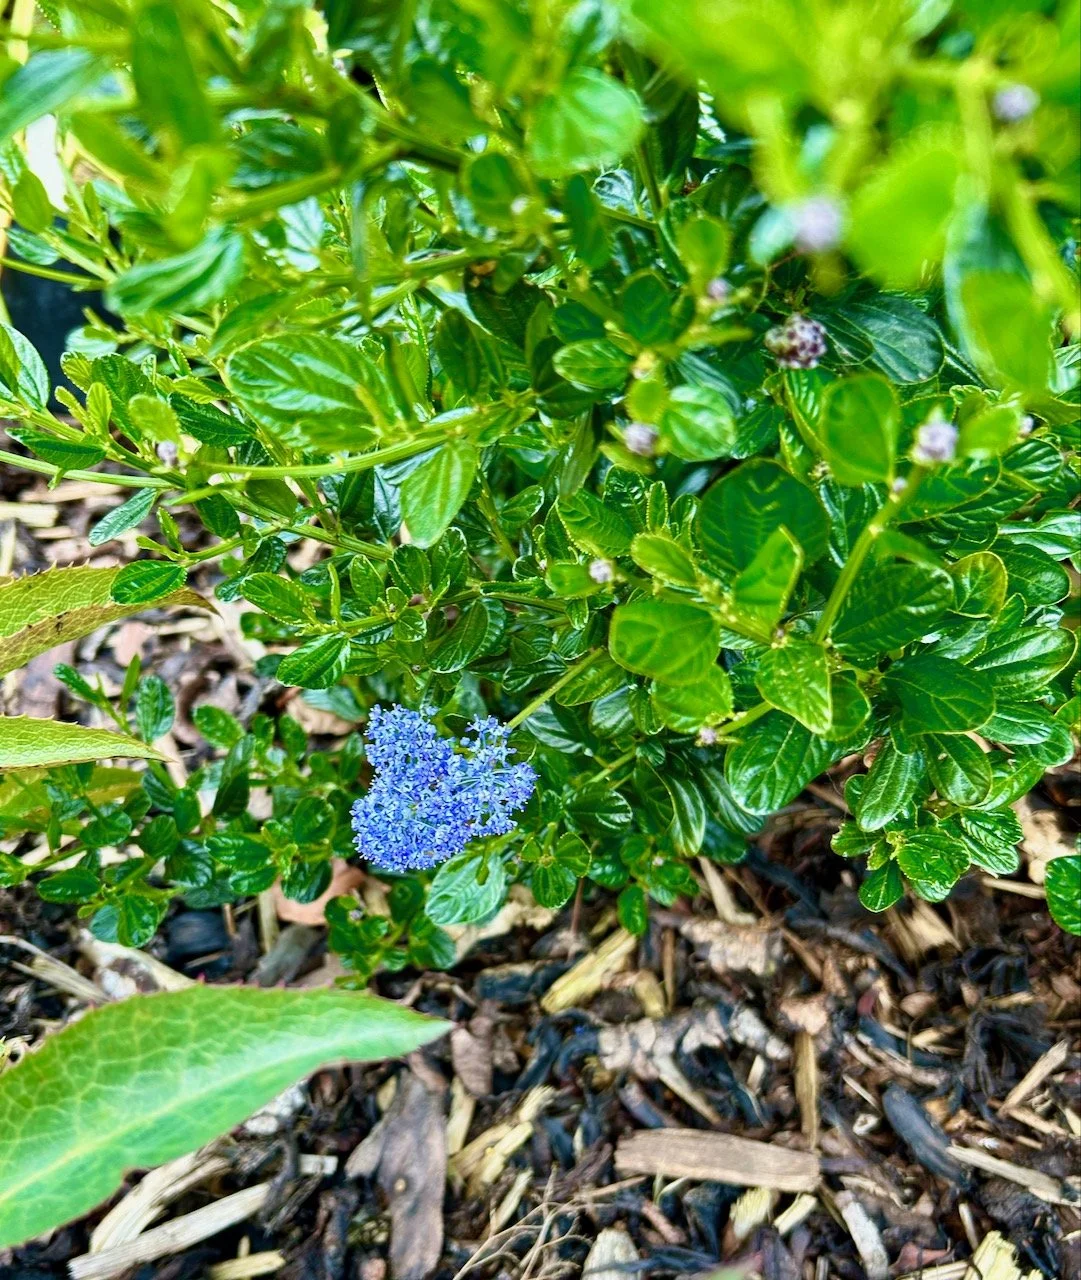
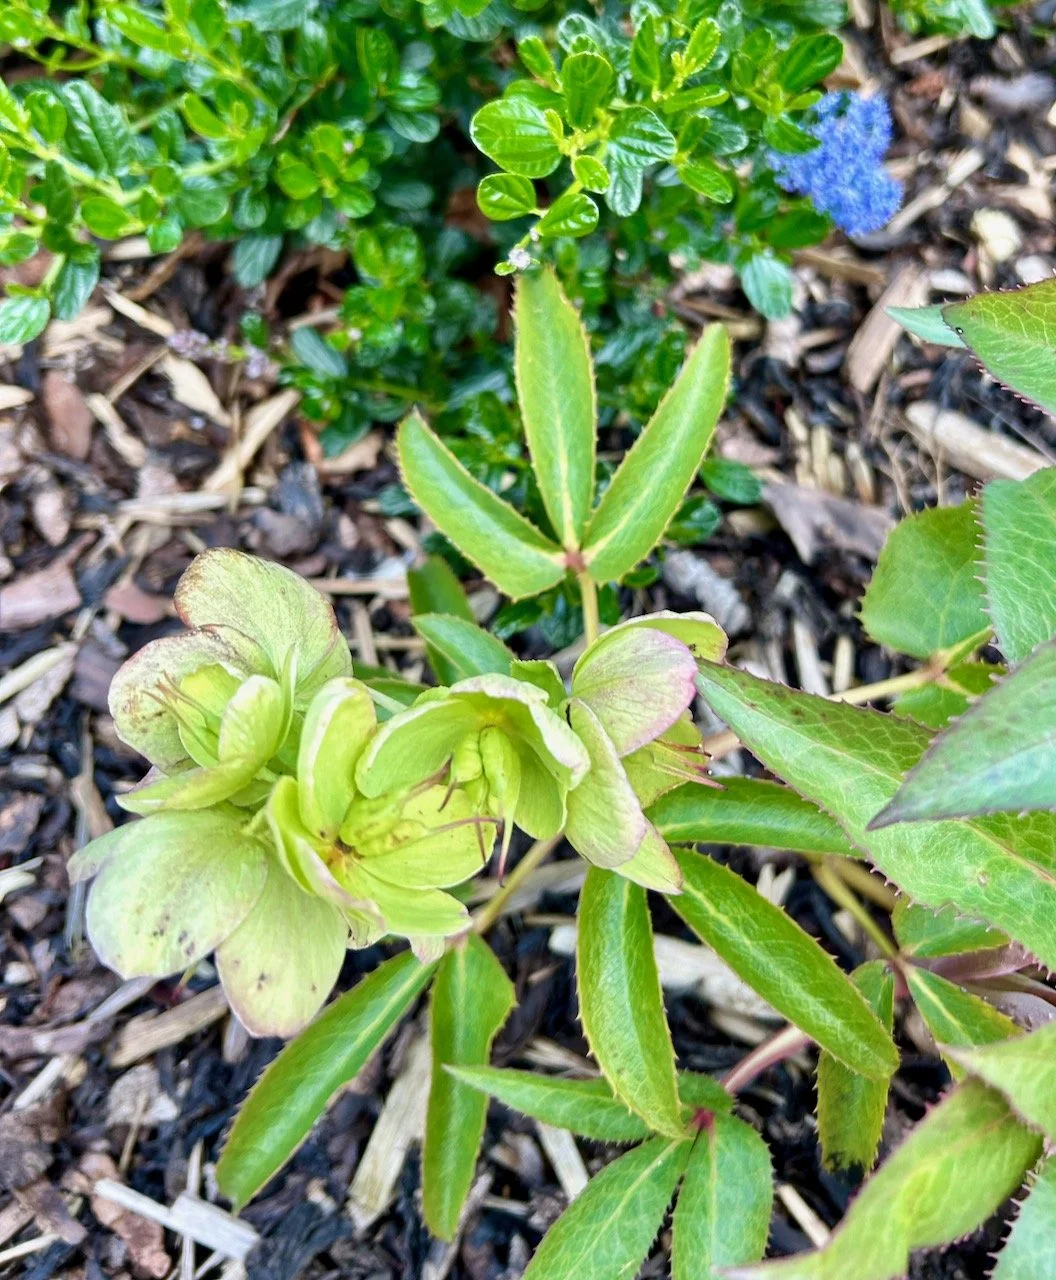
Elsewhere in the garden there were more signs of life, with an early ceanothus flower just visible if you looked hard enough - though the hellebores were also still in flower - isn’t it great when the seasonal blooms mix and merge like this?

The pale green hellebores are still flowering just in front of the ceanothus bush

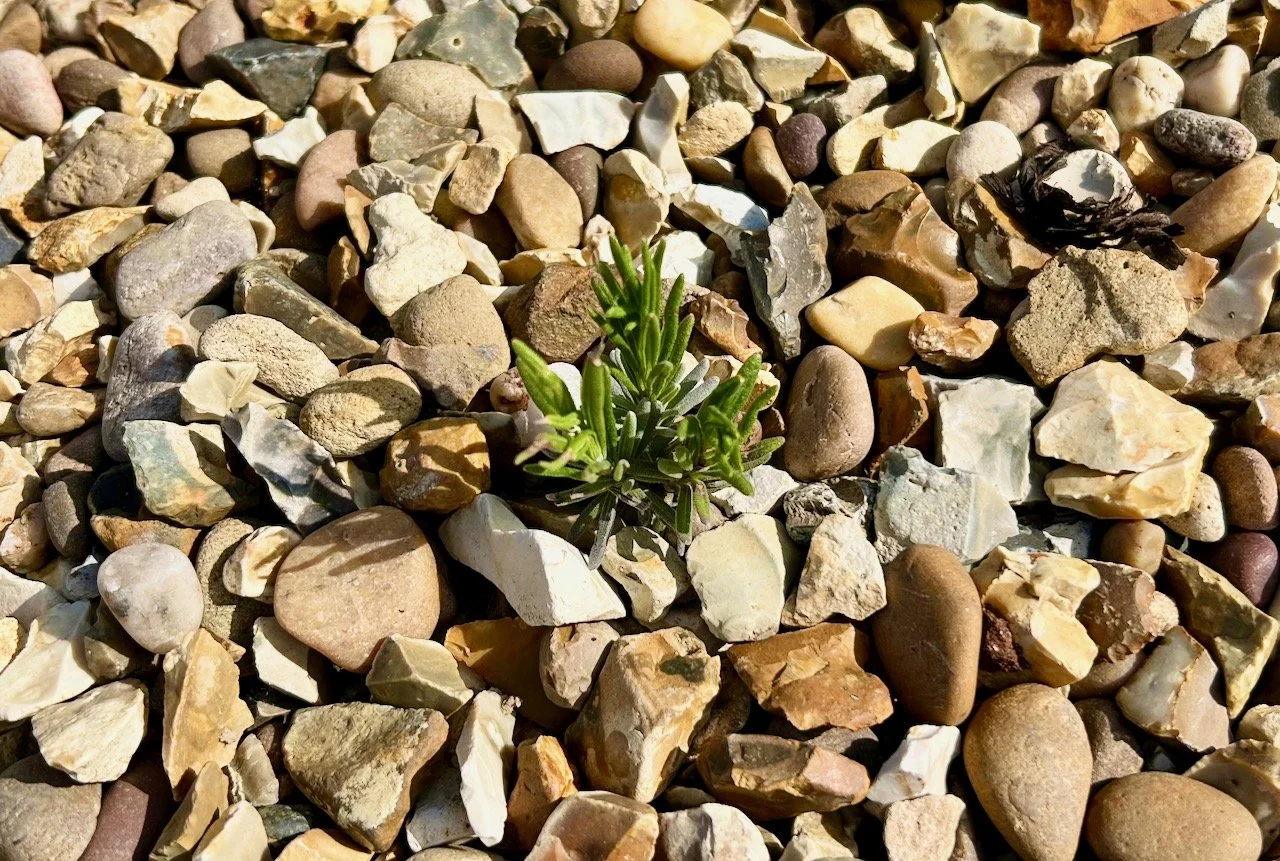
Whilst weeding the gravel - it is an never ending job - I found a larger than the weeds but still small lavender plant, and while we have five or six lavender bushes, I never sniff at free plants so was quick to pot this one up to see if it would survive - and it has so far. The gravel has been a great place for seedlings as along with the weeds I’ve also found many, many small buddleias, some lady’s mantle and towards the end of the month we’ve also had some flowering red poppies.

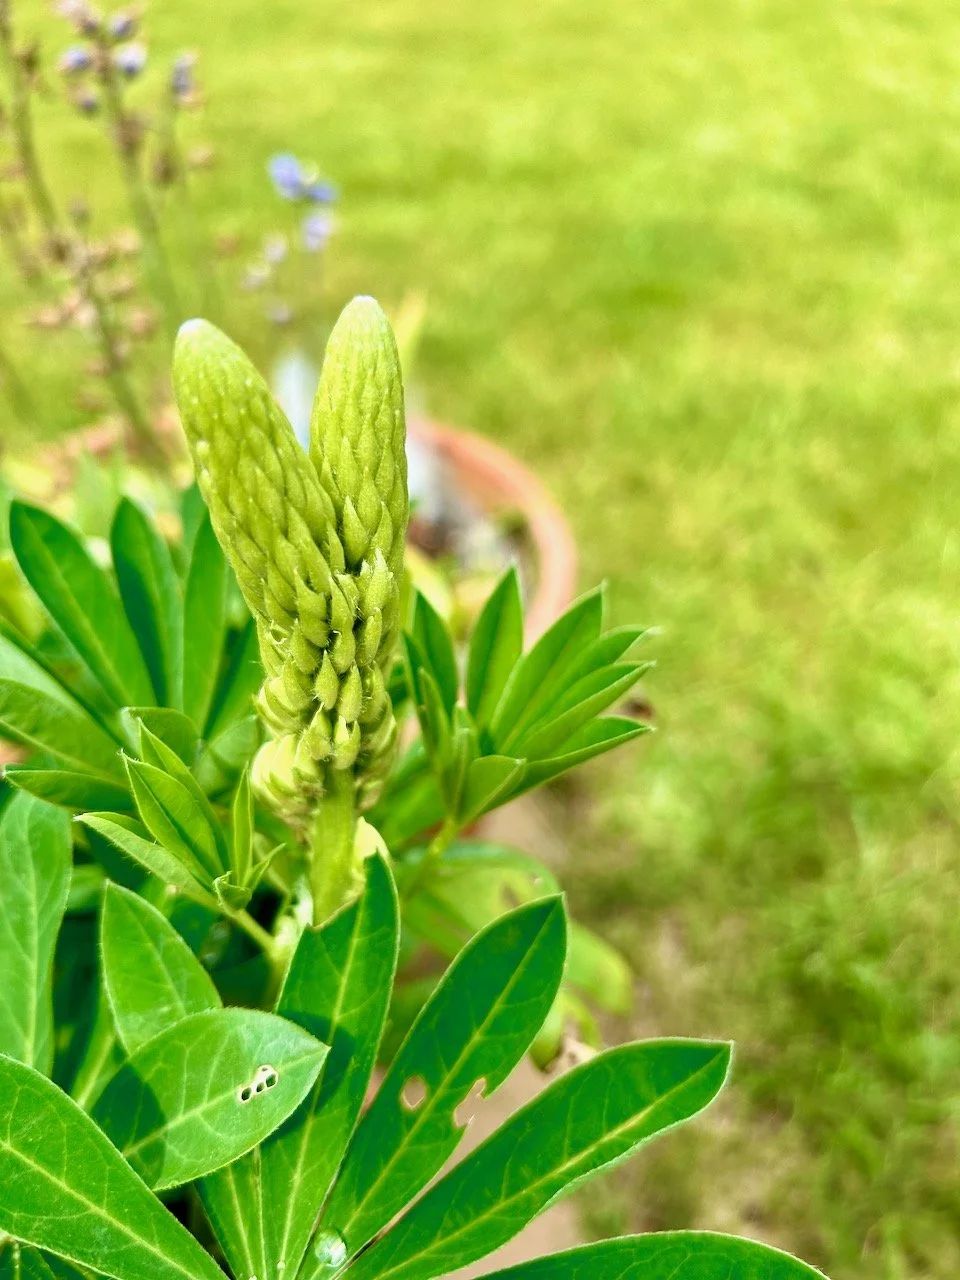
a double headed lupin flower not quite yet flowering

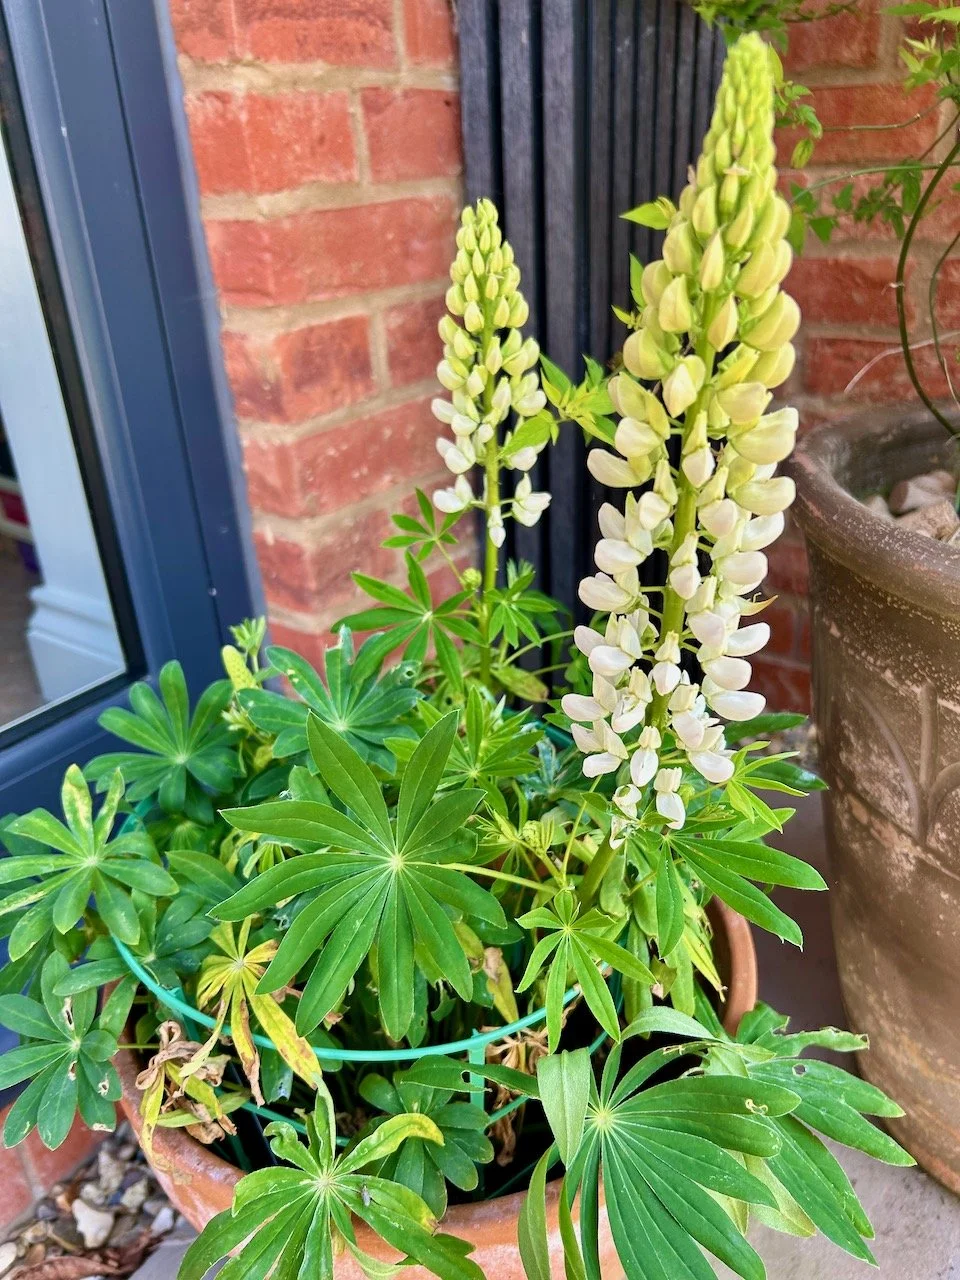
One of the lupins surprised me by producing a double headed flower, which looks more like bunny ears than a lupin. It’s since flowered and was thankfully the only one that split this way - with more normal looking flowers greeting us when we got back from our trip to Italy. I’d moved them into a more shaded part of the garden before we went and this helped them cope unaided I think.

Two white single stem flowering lupins in the shade

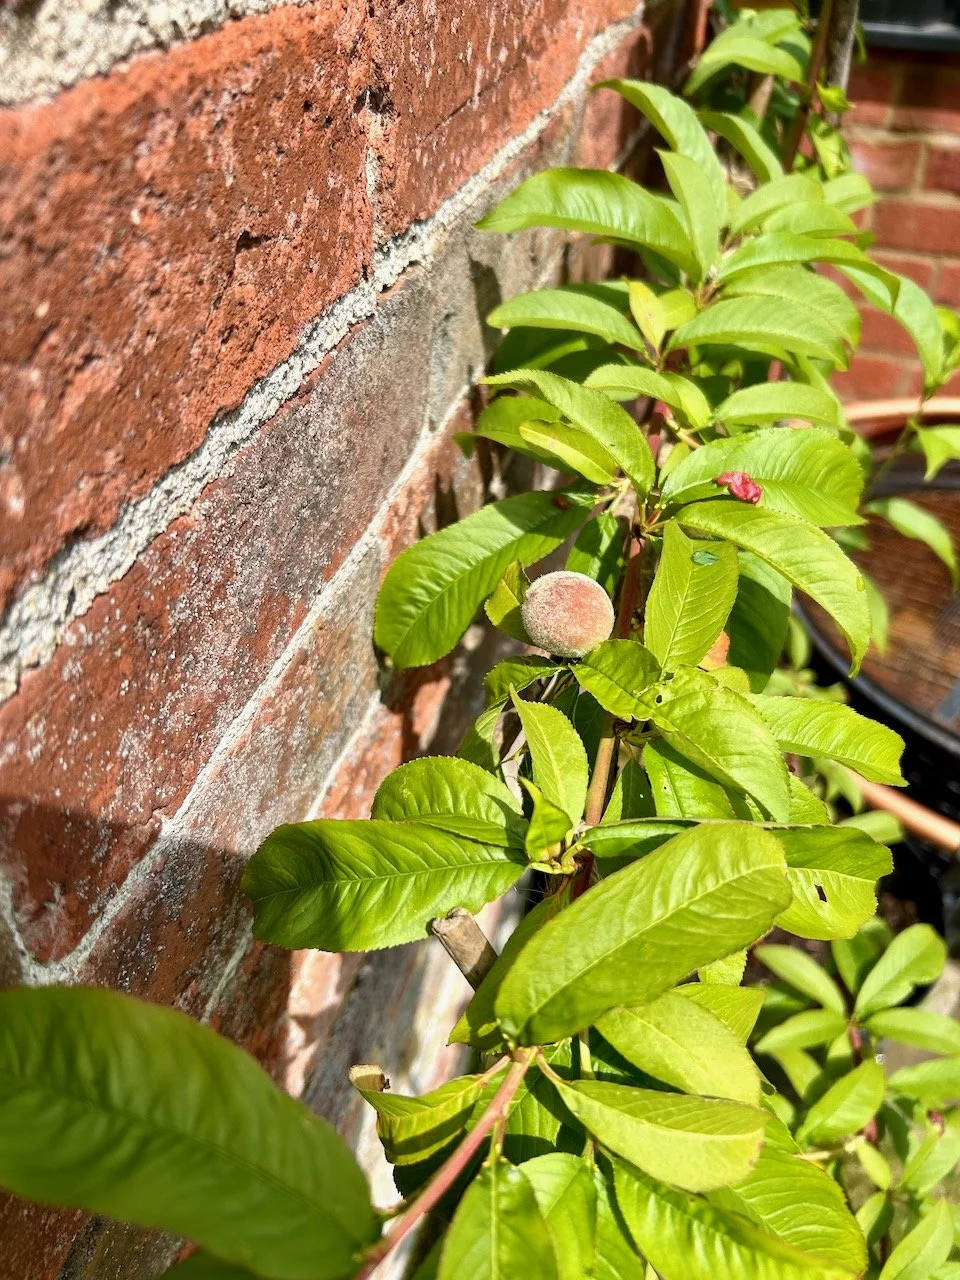
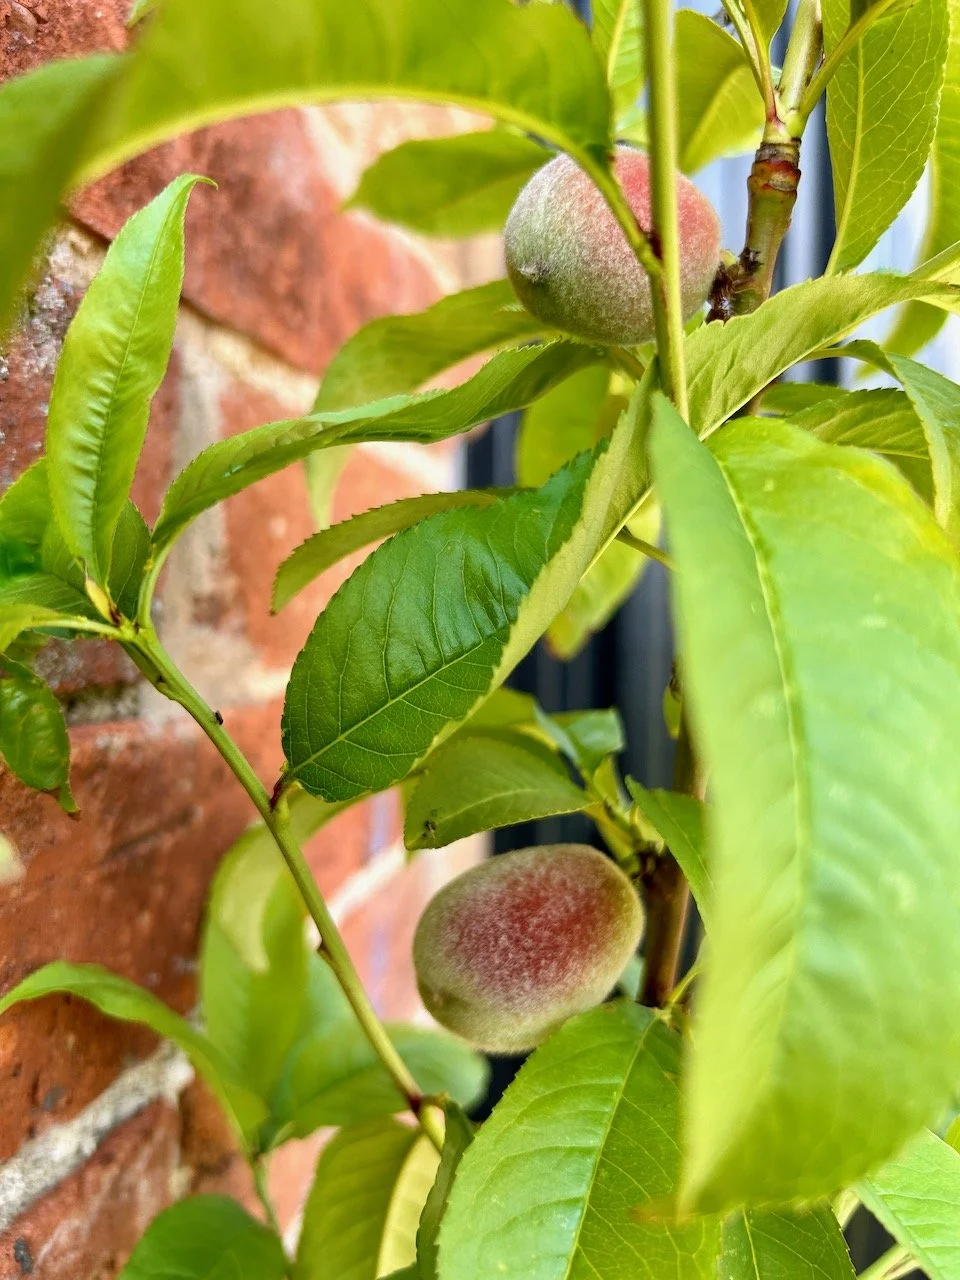
Just before we went away MOH spotted some small furry fruits on the nectarine tree which I planned to grow against the old brick farm wall - I was grateful that my longer term plan looked as if it would come to fruition (sorry!), though not really sure if they would last for long. And while there were fewer when we returned, there were still definitely some on the plant, and they were larger, so who knows, at some point this summer MOH and I may share a small nectarine, or two if we’re lucky.

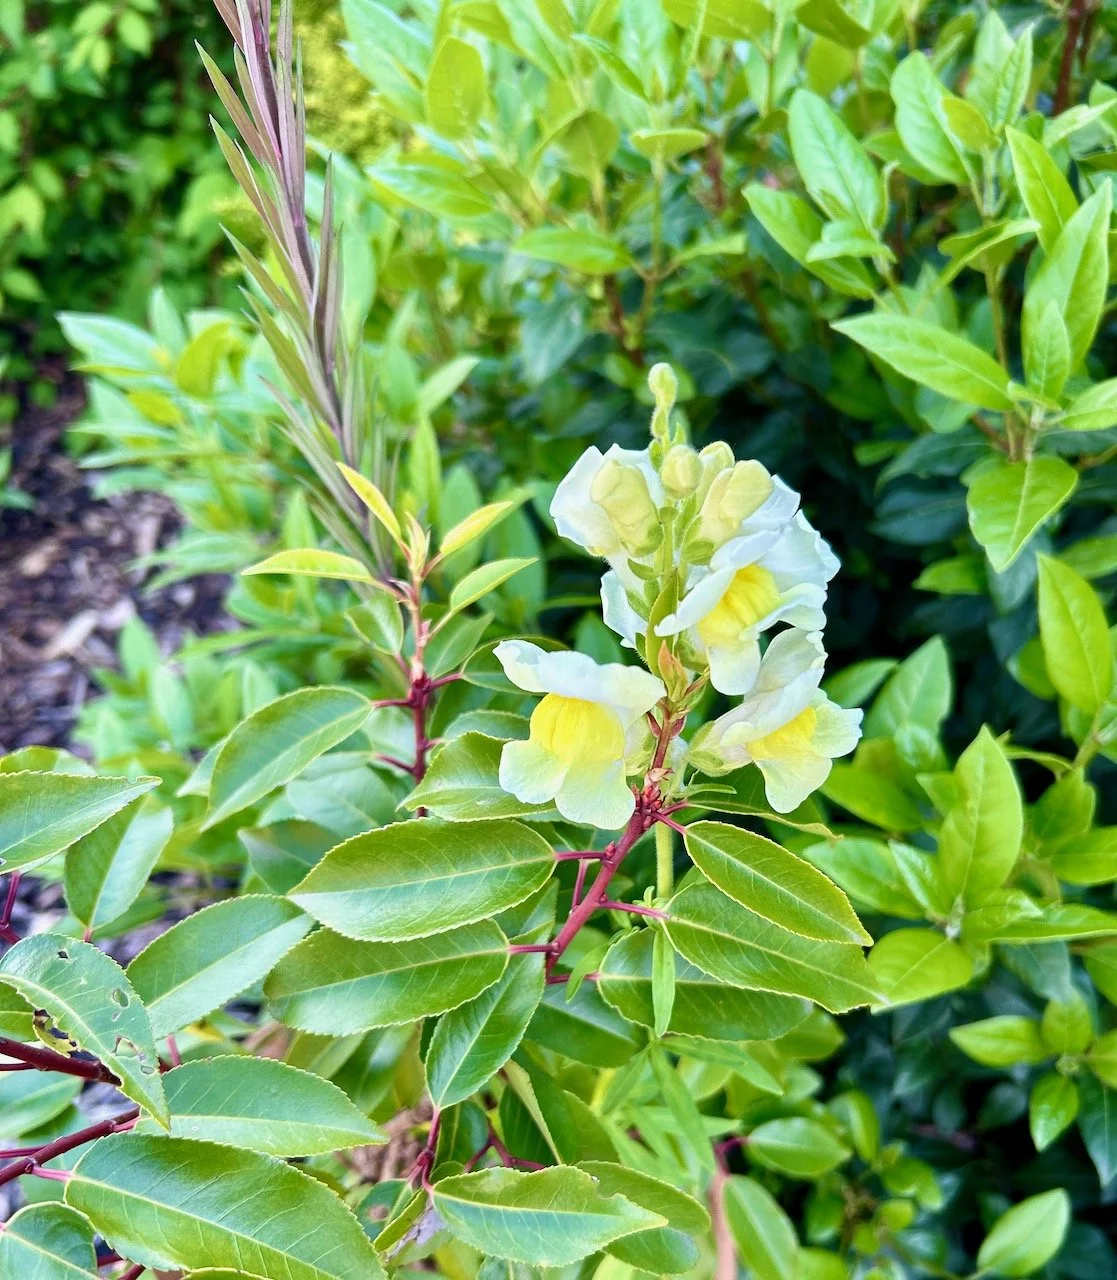
It’s always a thing for me to check on the garden when we’re back after a holiday, and it’s no different in this garden. It’s interesting to see what’s grown and appeared in that time and often it’s more pronounced as you’ve been away. I did have a small smile when I spotted this pale yellow antirhinnum in flower - it clearly planted itself in one of the pots we brought with us, as did the taller toad flax (which if it hangs around with be a purple cone of flowers)

a yellow flowering antirhinnum amongst the potted twisted cherry tree
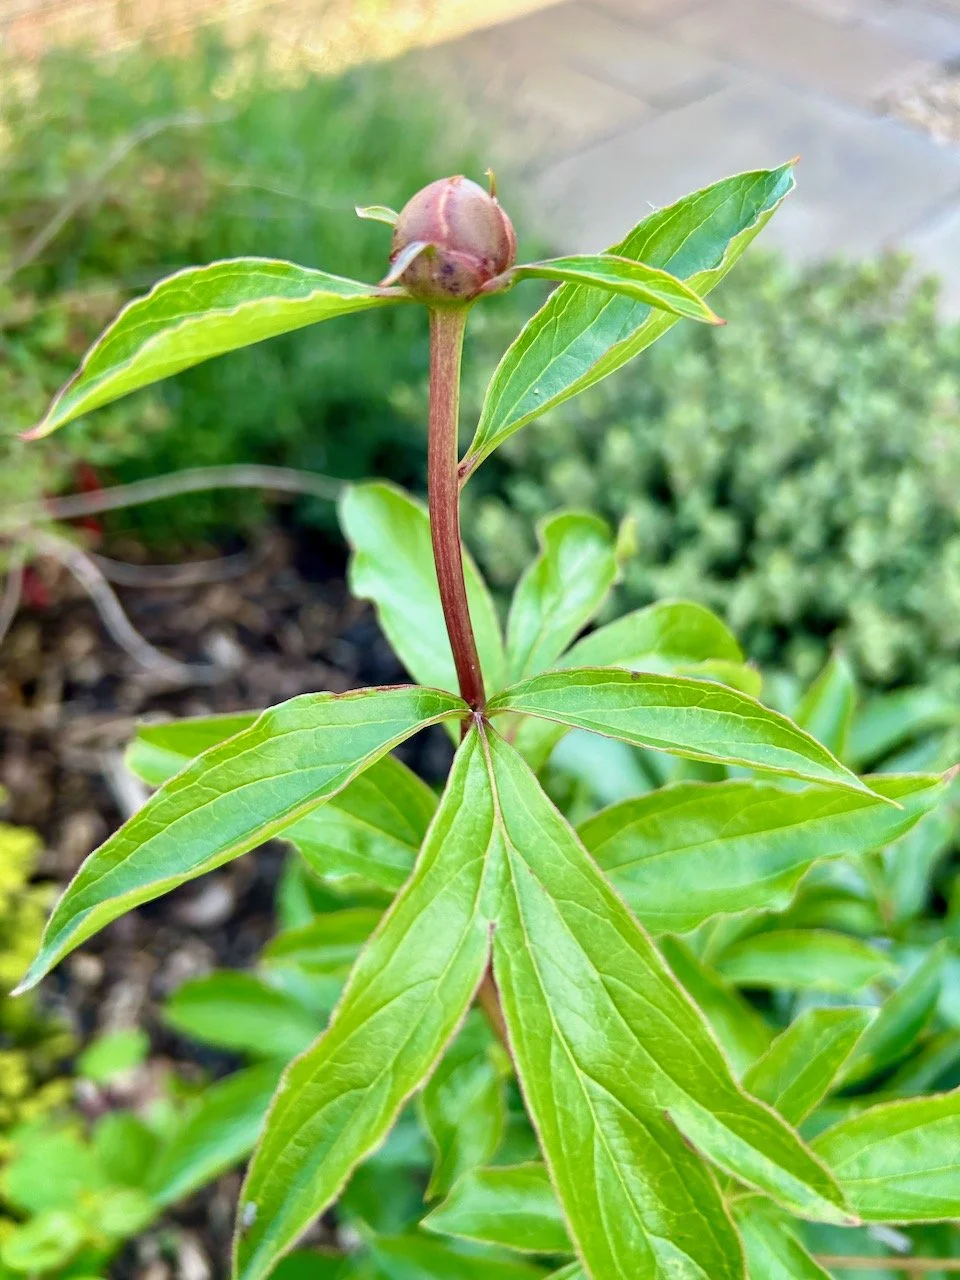
A single tightly balled bud on one of the peonies I brought from London

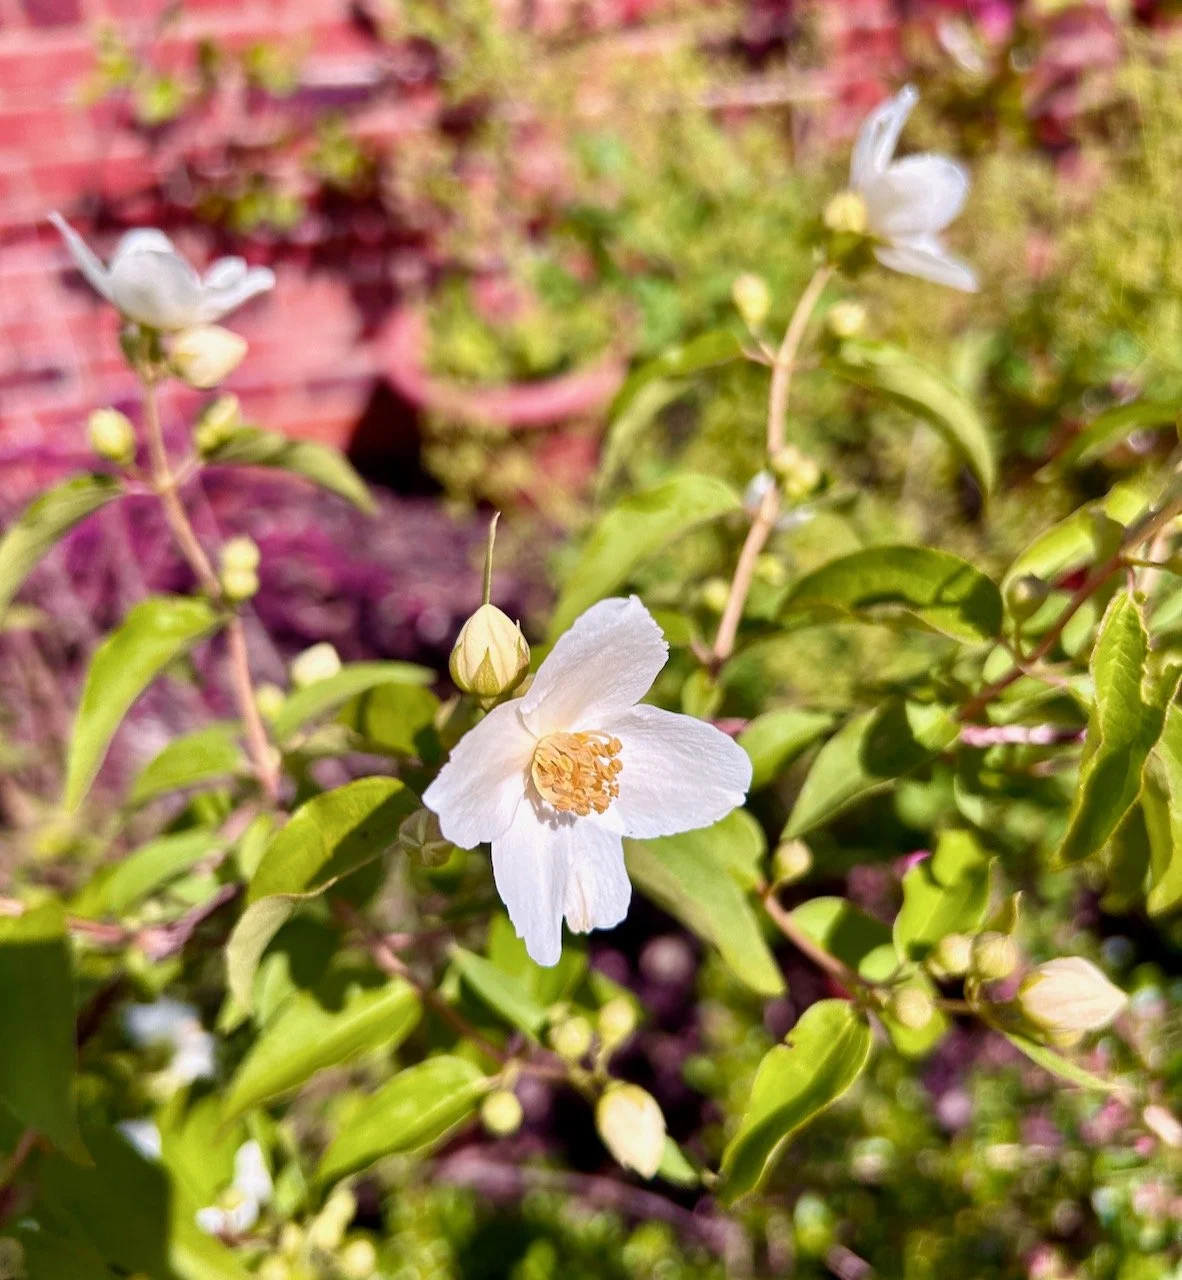
I’d brought the two potted peonies further into the border and away from their winter shelter spots and was pleased to see that each had a bud, just the one but that’s more than I thought I might get after disrupting them ahead of our house move. Whilst walking through the now overgrown shrubs I realised I was brushing past an in flower mock orange - I recognise that smell anywhere. When I looked more closely we have two further small bushes, so that was a really great discovery.

The mock orange in flower
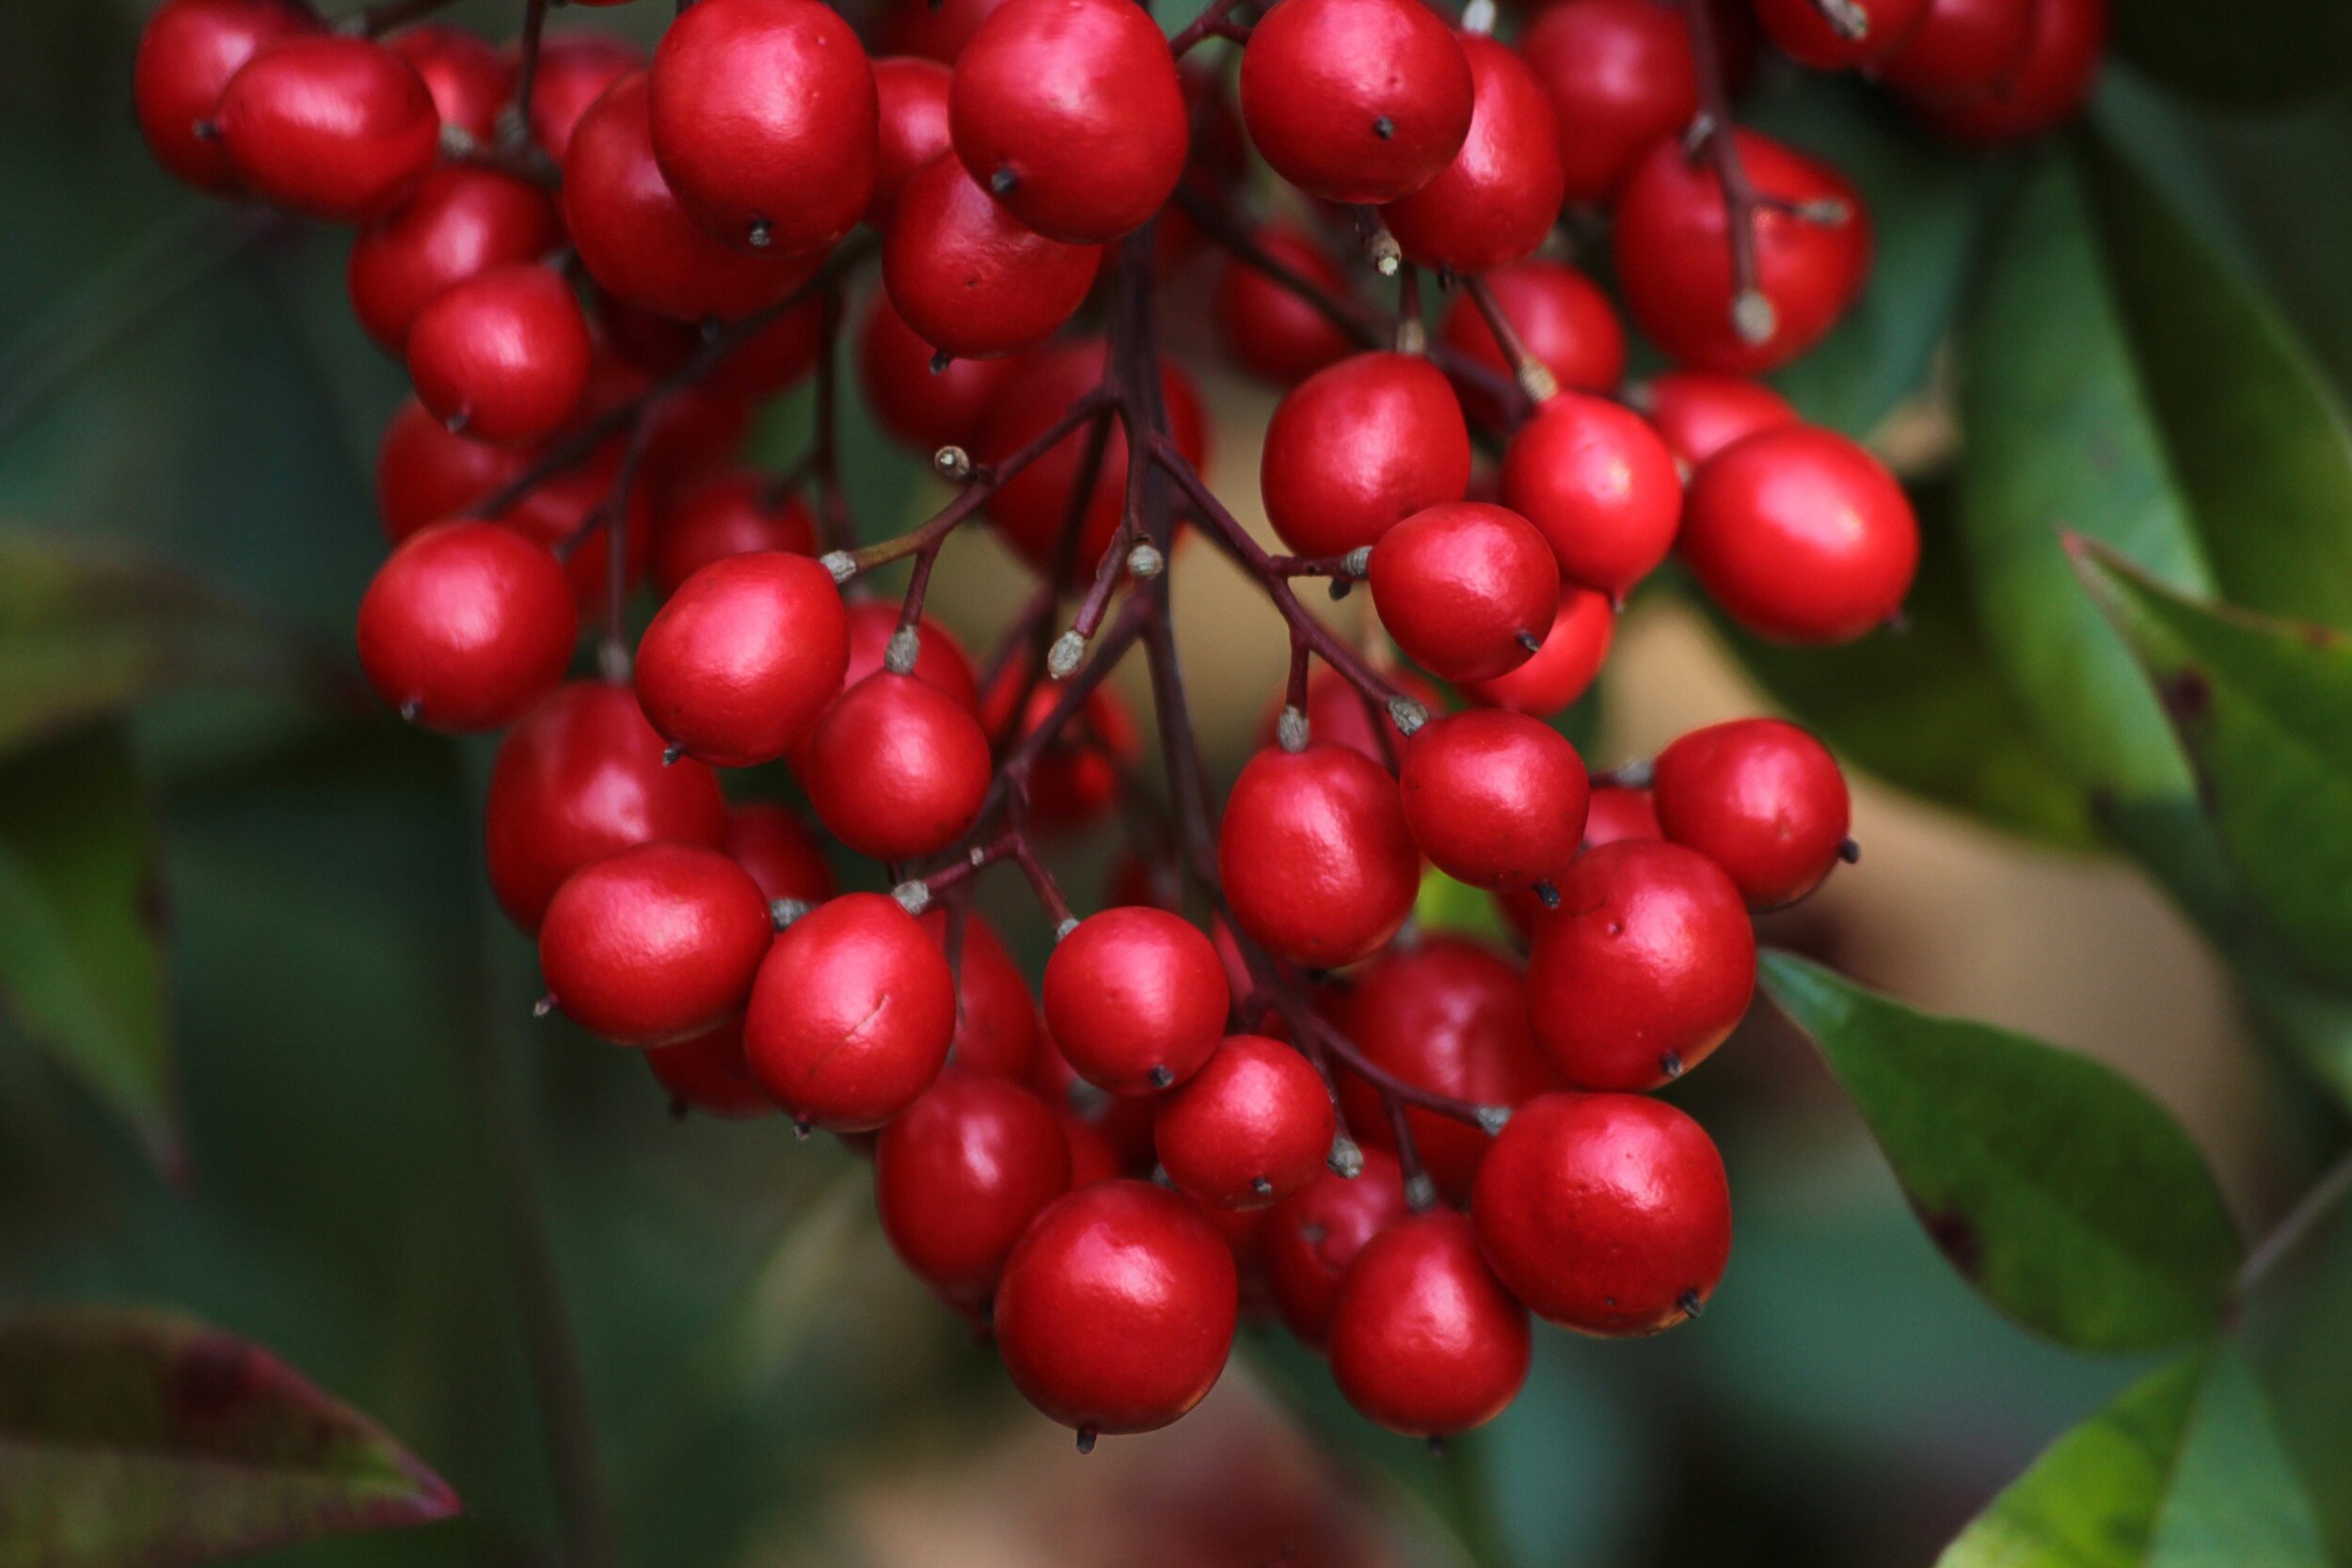
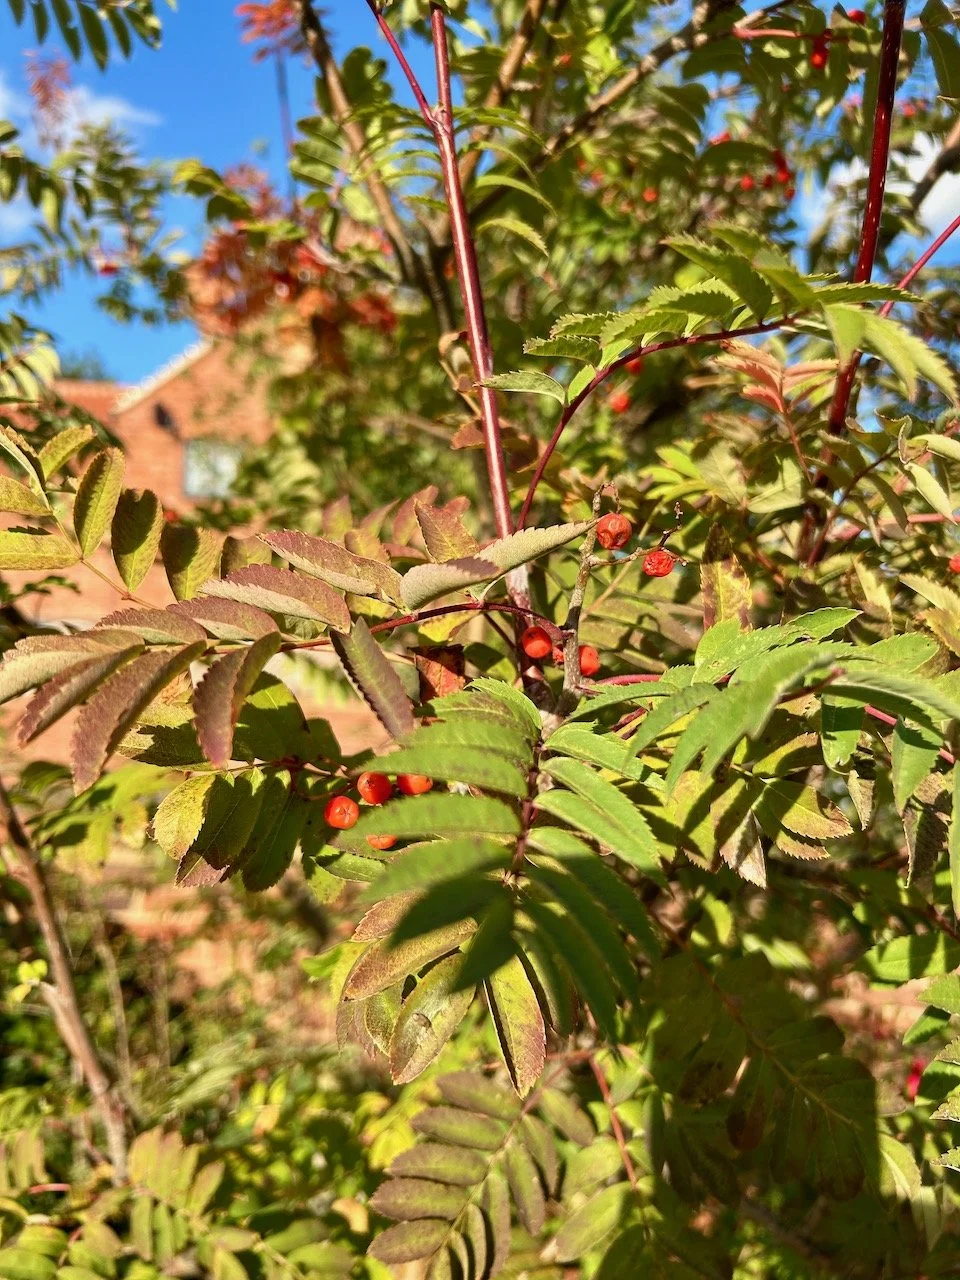
Berries on the rowan tree

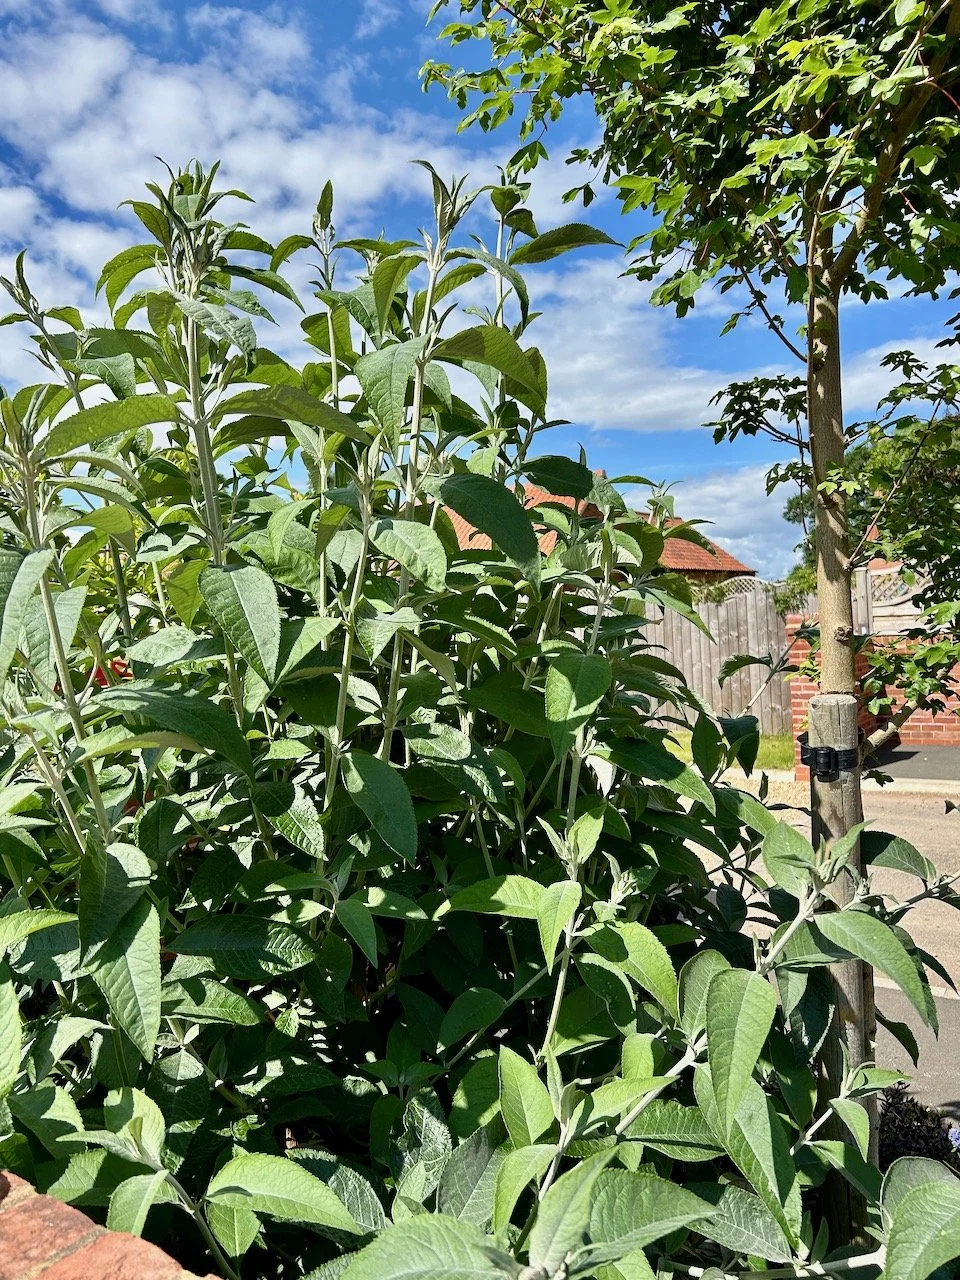
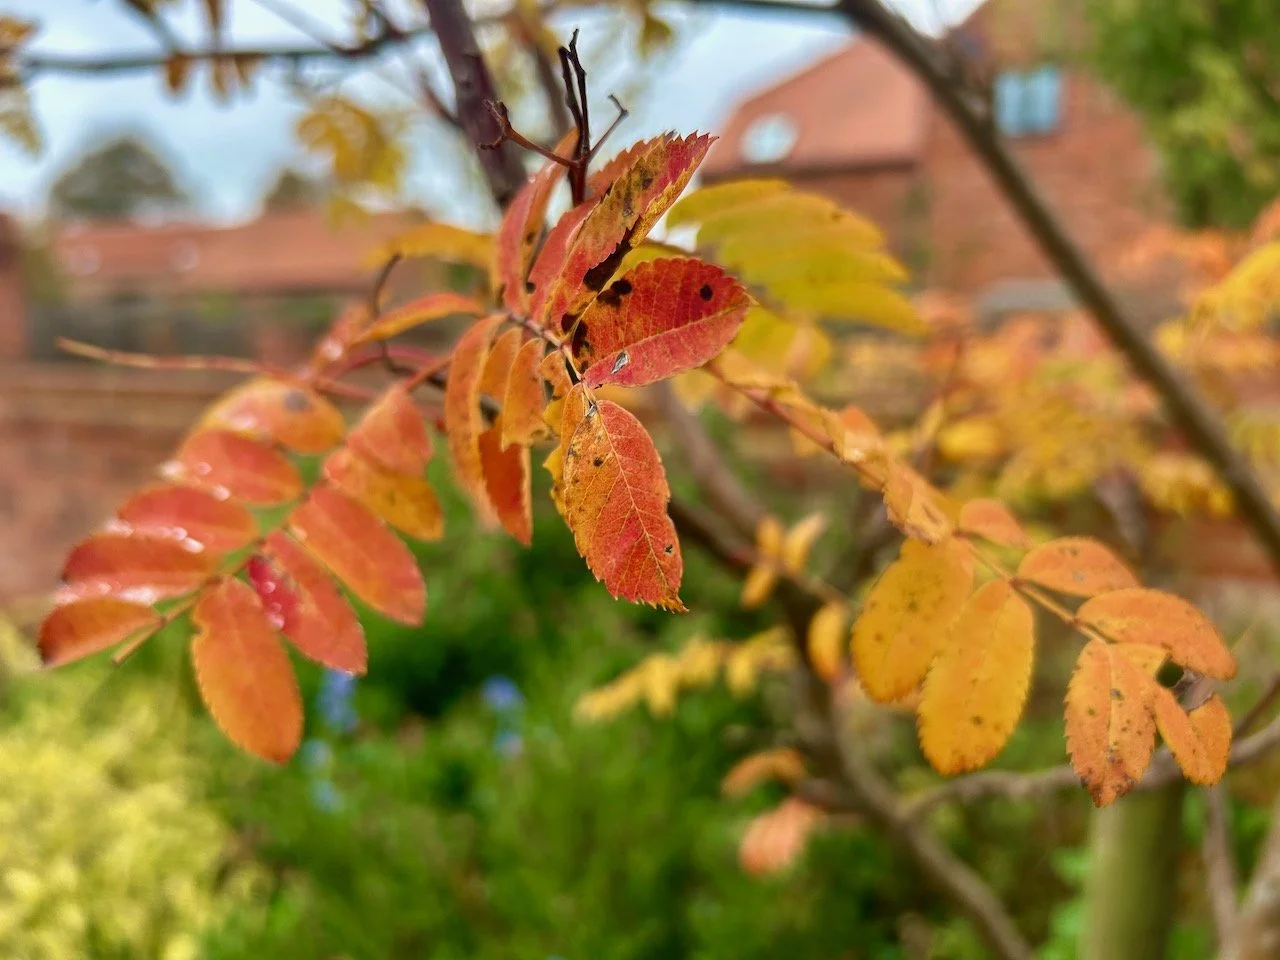
The rowan tree has filled out, and the local bird population has been feasting on some of the berries already; the buddleias has also shot up from my rather brutal prune earlier this month - it’s easily back to where it was before, and ready to flower. My discovery here when clearing some of the lower branches is that this was intentionally planted, rather than self seeded as I thought. I know this because on its main stem it has a paper label, and not many self seeded plants have those!

It’s growth is so vigorous though it was crowding out a smaller hebe, now it’s cut back again in part I’m hoping that there’s enough light and space for the smaller plant to come through.

the buddleia bush and its rapid growth this month
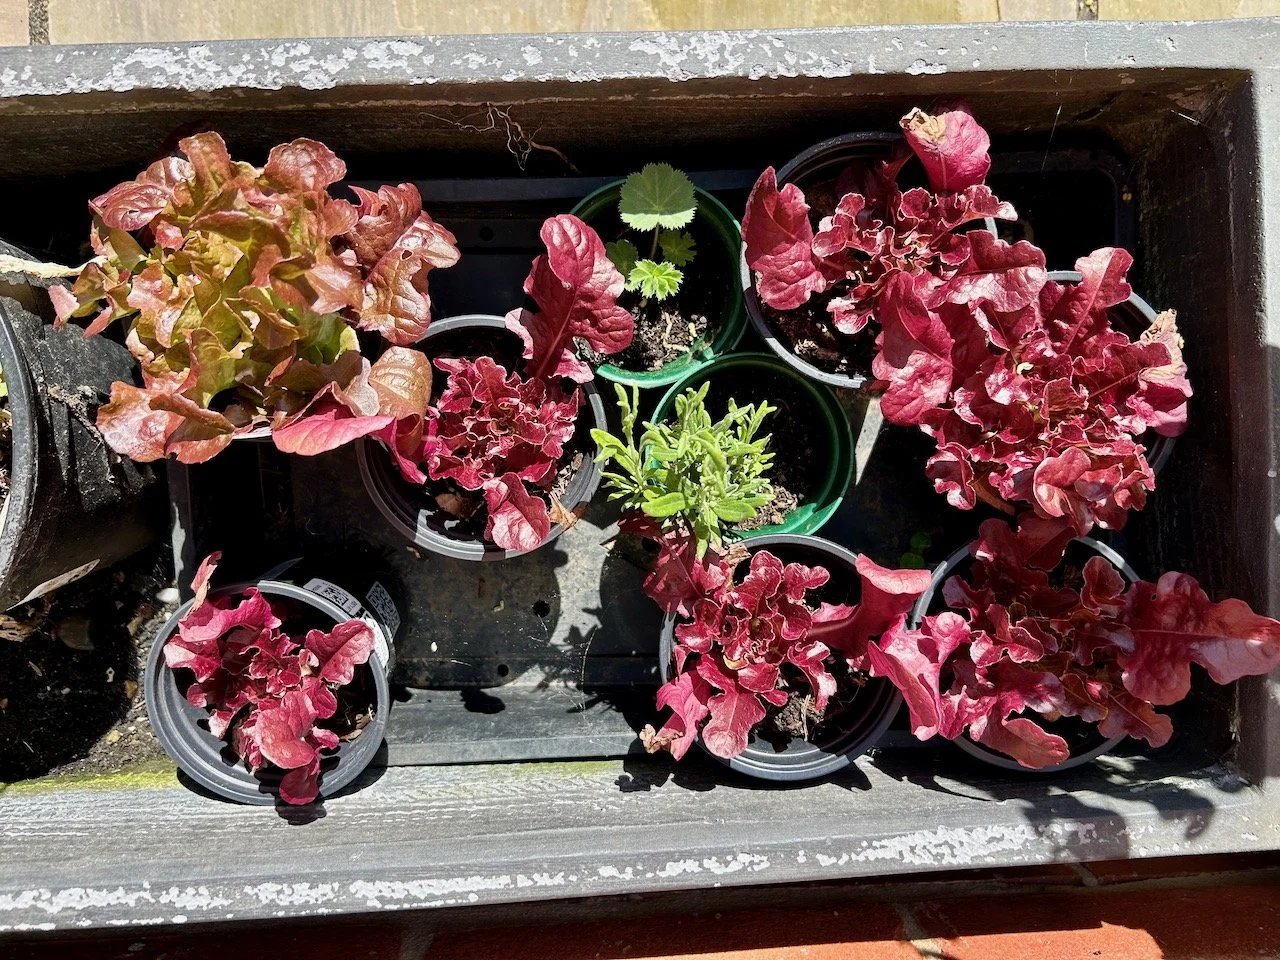
Lettuces - one almost ready to eat, the lavender and ladies mantle from the gravel seedlings

The lettuces survived snuggled down in one of the trugs, as did the gravel lavender and lady’s mantle. One of the lettuces looks almost ready to eat, and the others could probably benefit from a slightly larger pot - so that’s something to add to my to do list.

A couple of small nectarines growing towards the end of the month

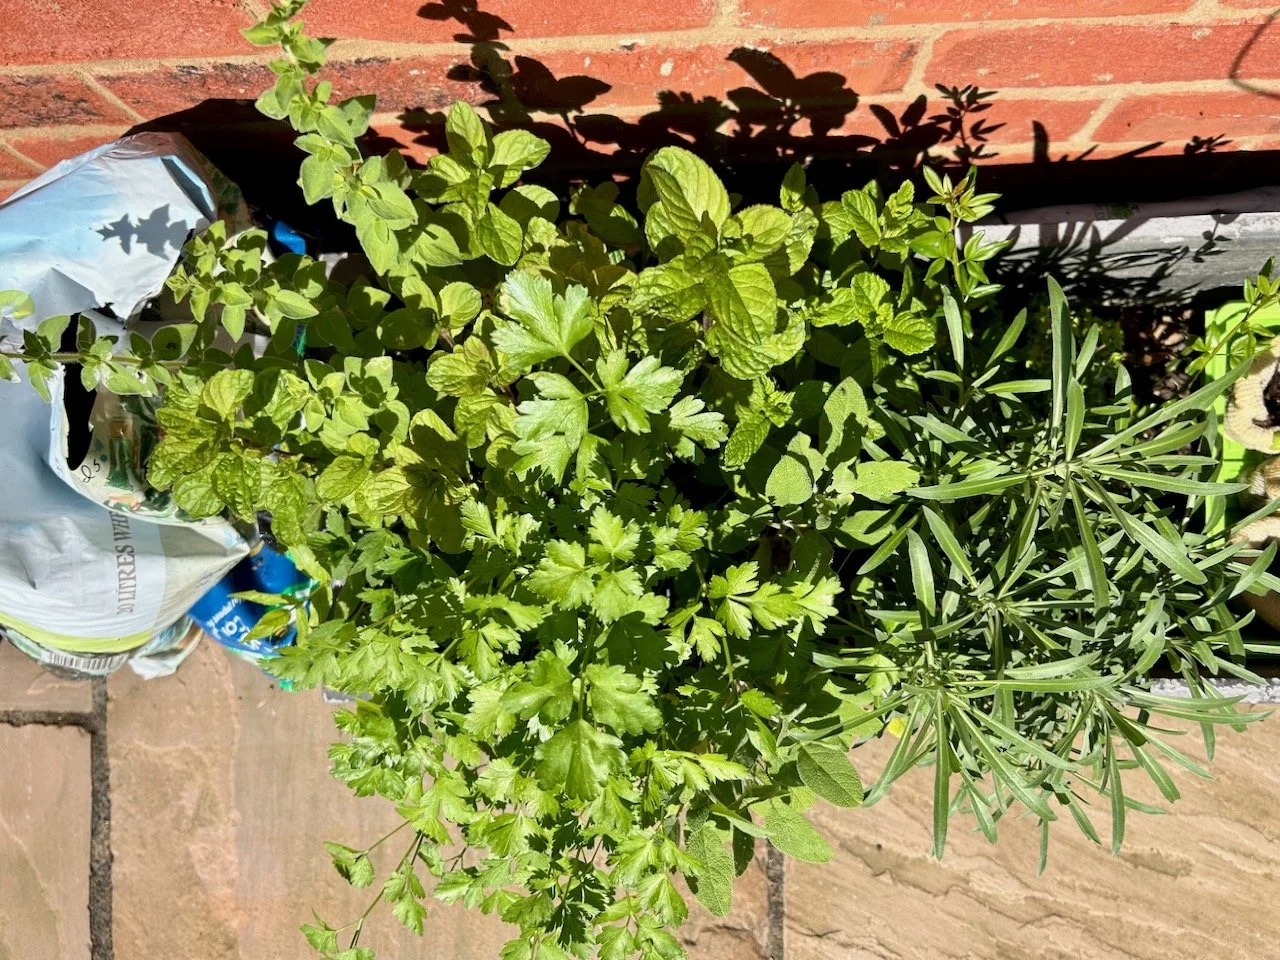
Another thing on that list, apart from regular checks on the nectarines, is to sort out these herbs. I’ve finally realised where I can put them - and it’s in one of these trugs, so it wasn’t a huge departure from their temporary home - but my plan is to relocate the planter so it’s easy to access from the kitchen - more on that next month, hopefully.

A melee of herbs - mint, oregano, sage & parsley - waiting to be potted on
A bunch of crab apples on the small crab apple tree

The crab apples have also come on and small apples have formed where once there was blossom - this year I’m determined to use them, and not to leave them on the tree so long. I’m not sure yet whether I’ll use them in the kitchen or on a wreath, but use them I will.

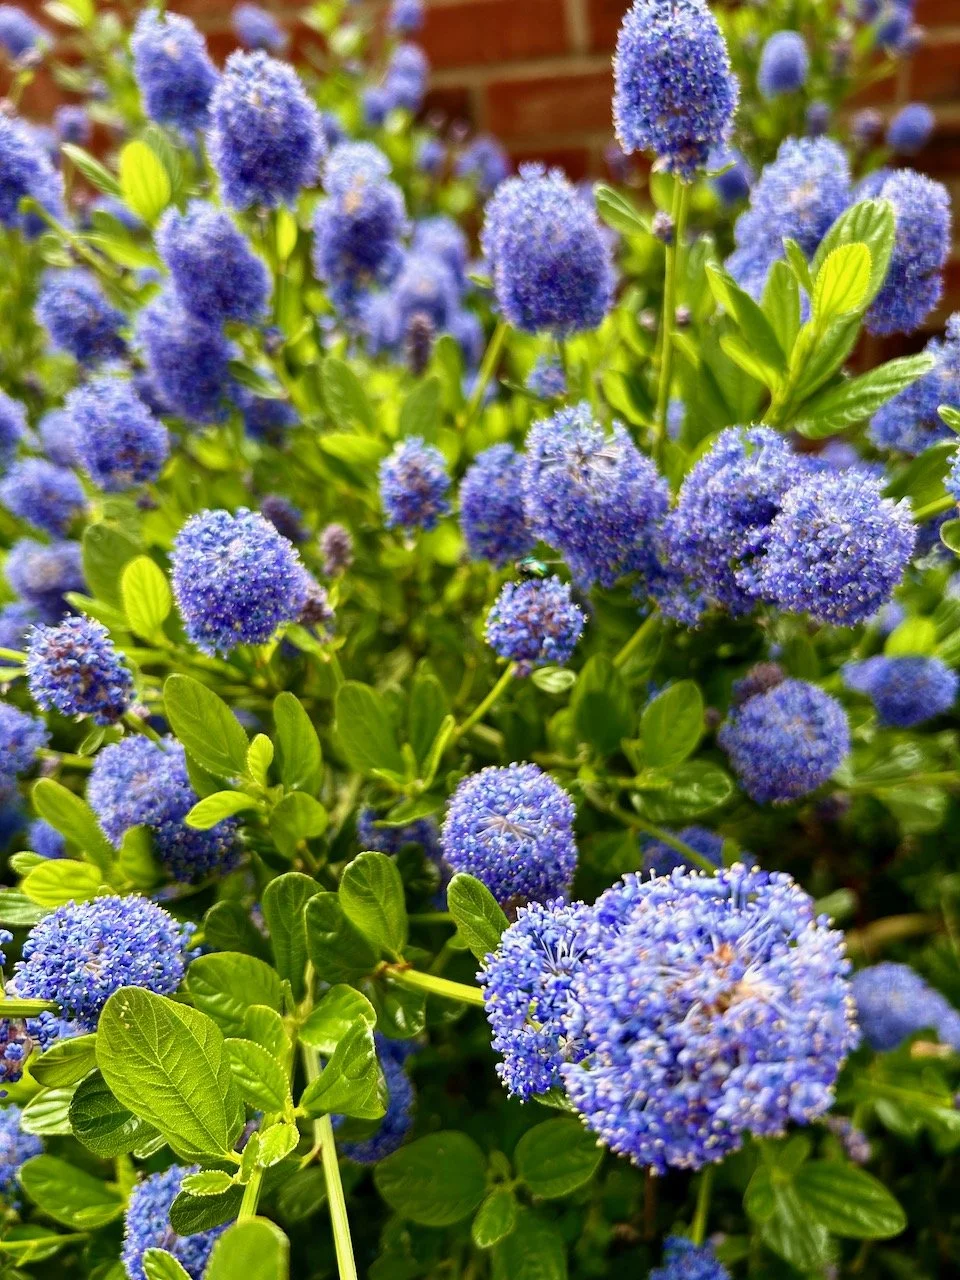
The ceanothus bush in full flower!

And like any garden there’s still much to do, and much to learn - but I’ll leave you with a fully flowering ceanothus bush, whose flowers always remind me of those blue bobbly liquorice allsorts, though in all honesty, I much prefer the flowers! (Though just to be clear, I’m happy to eat most other liquorice allsorts).

Sunflower watch: sowing seeds into Wool Pots

I was given a free sample of these Wool Pots - an alternative to plastic plant pots - to try for myself, and so I’m marking this post as an ad, as usual my views and opinions are very much my own.

It’s been a fair while since I’ve sown some seeds, and far too long really. There’s been a number of reasons why I haven’t, but one of the big factors was the lack of success the last time I tried - well, not with the seeds, but with the actual growing on. That was a lot to do with the lack of light in our old garden given the tree canopy, which because of lockdown was way behind its usual pollarding schedule.

And then we decided to put our house on the market, and our priorities were to sell the house, and naively I thought it would be relatively quick, so I wanted to avoid moving more plants than we needed to - and no, I wasn’t planning on leaving them for the new owners! All in all moving house ran over two growing seasons, and so when we arrived here in July planting seeds couldn’t have been further from my mind.

I don’t have a greenhouse here (yet), so it’s not ideal for sowing seeds but I was keen to get growing again. Dad also gave me some seeds for a multi-headed sunflower and so with seeds, wool pots and the will to get sowing, what could go wrong?

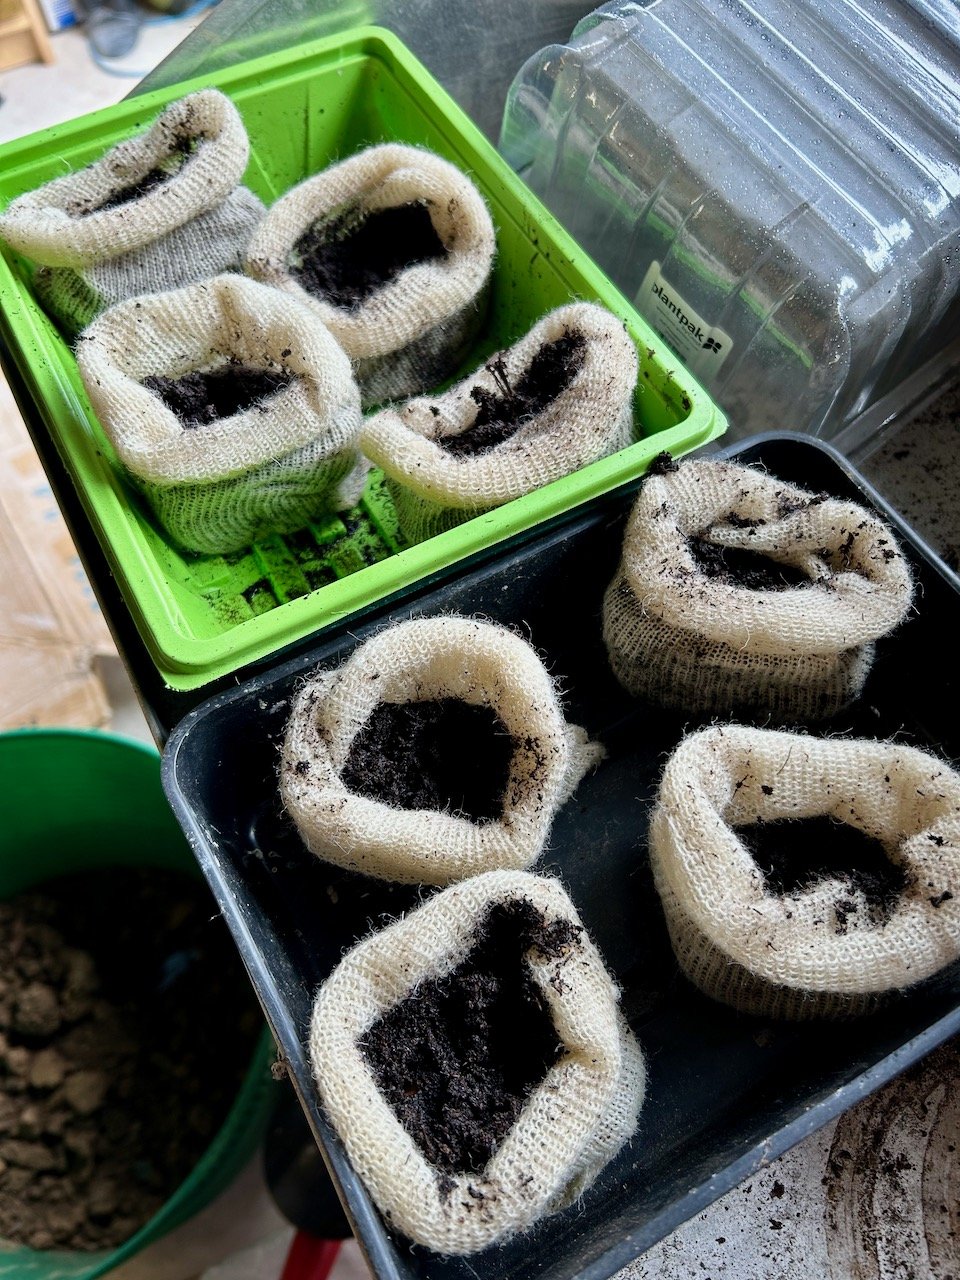
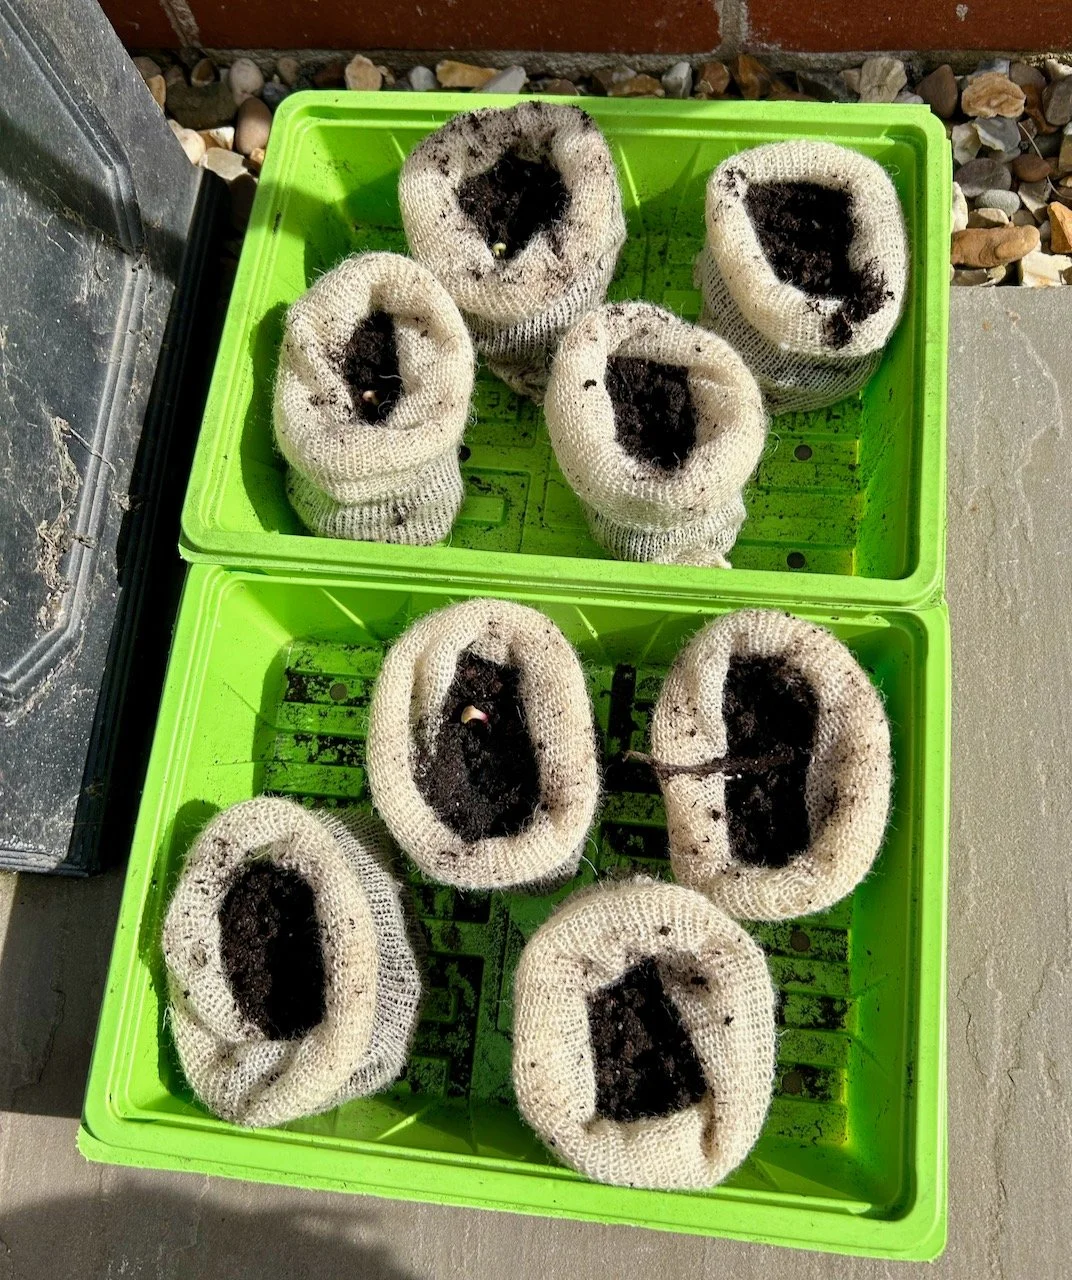
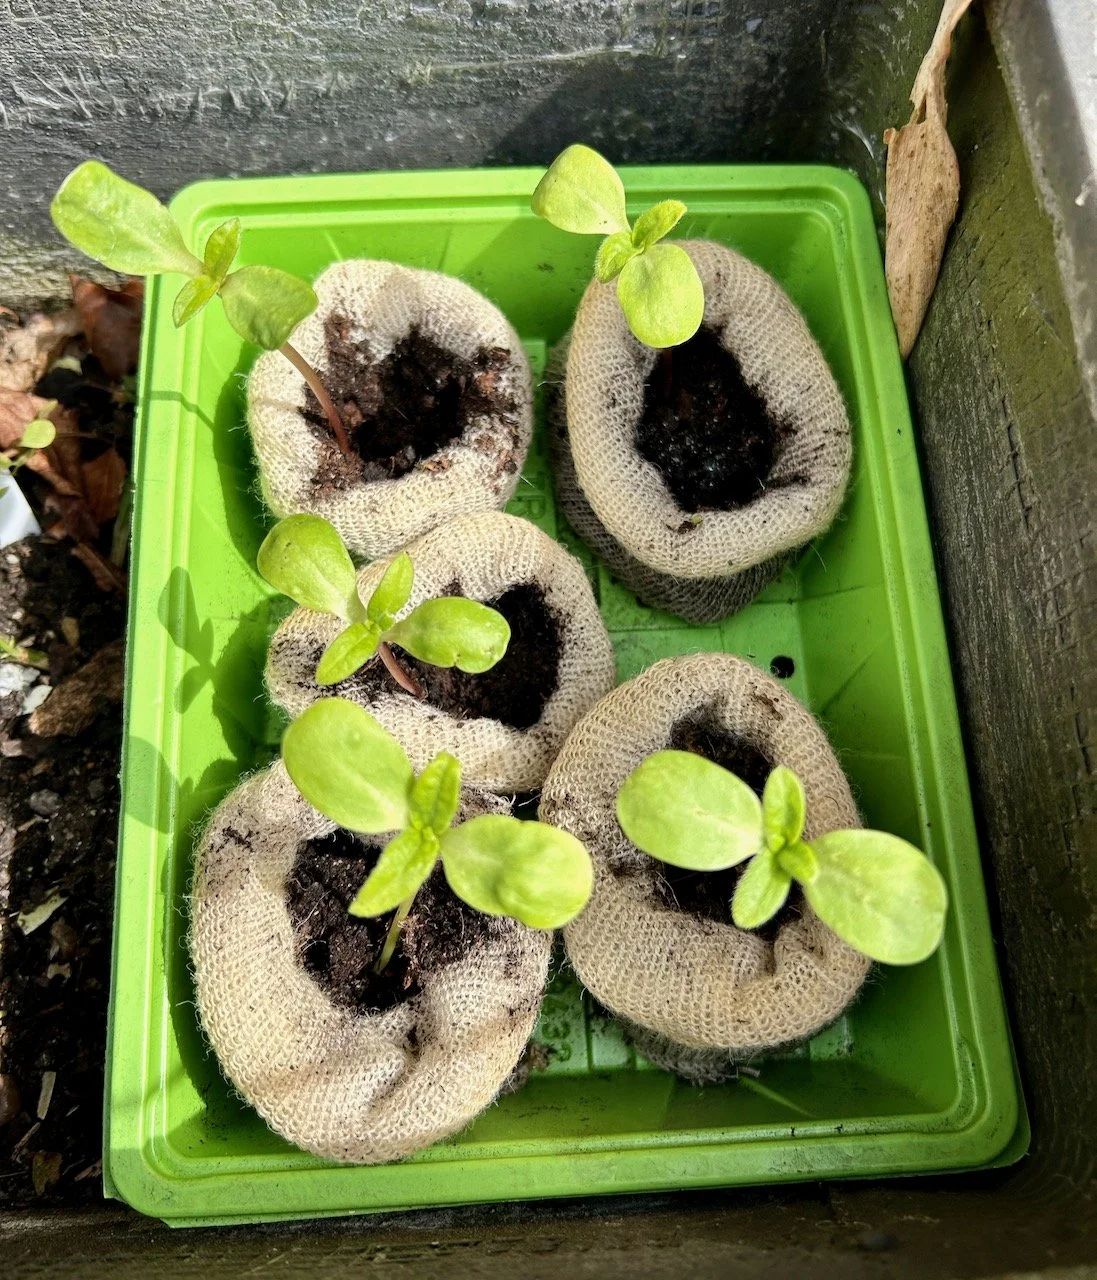
Four wool pots in each half seed tray, filled with compost and planted with sunflower seeds

And yes, the wool pots are well named - they are made of wool, and are pots!

They are knitted from washed wool… and while knitting plant pots sounds strange but the makers assure that Wool Pots are strong, naturally biodegradable, environmentally friendly and plants love them. The company aims to raise the awareness of the plastic problem in horticulture and let people know there is an alternative, and show them a solution. Wool pots are also proud members of the Campaign for Wool and are thrilled to be helping farmers find a new market for their wool.

Rather than bring the seeds indoors, which is an obvious way of giving them some heat, I kept them in the garage opting to use my heated propagator, and bring them out into the sun during the day, which was a fair bit of faffing but it did result in a majority germination - with five out of eight pots producing seedlings, though some were slower to germinate than others.

The start of some seedlings outside enjoying the sun
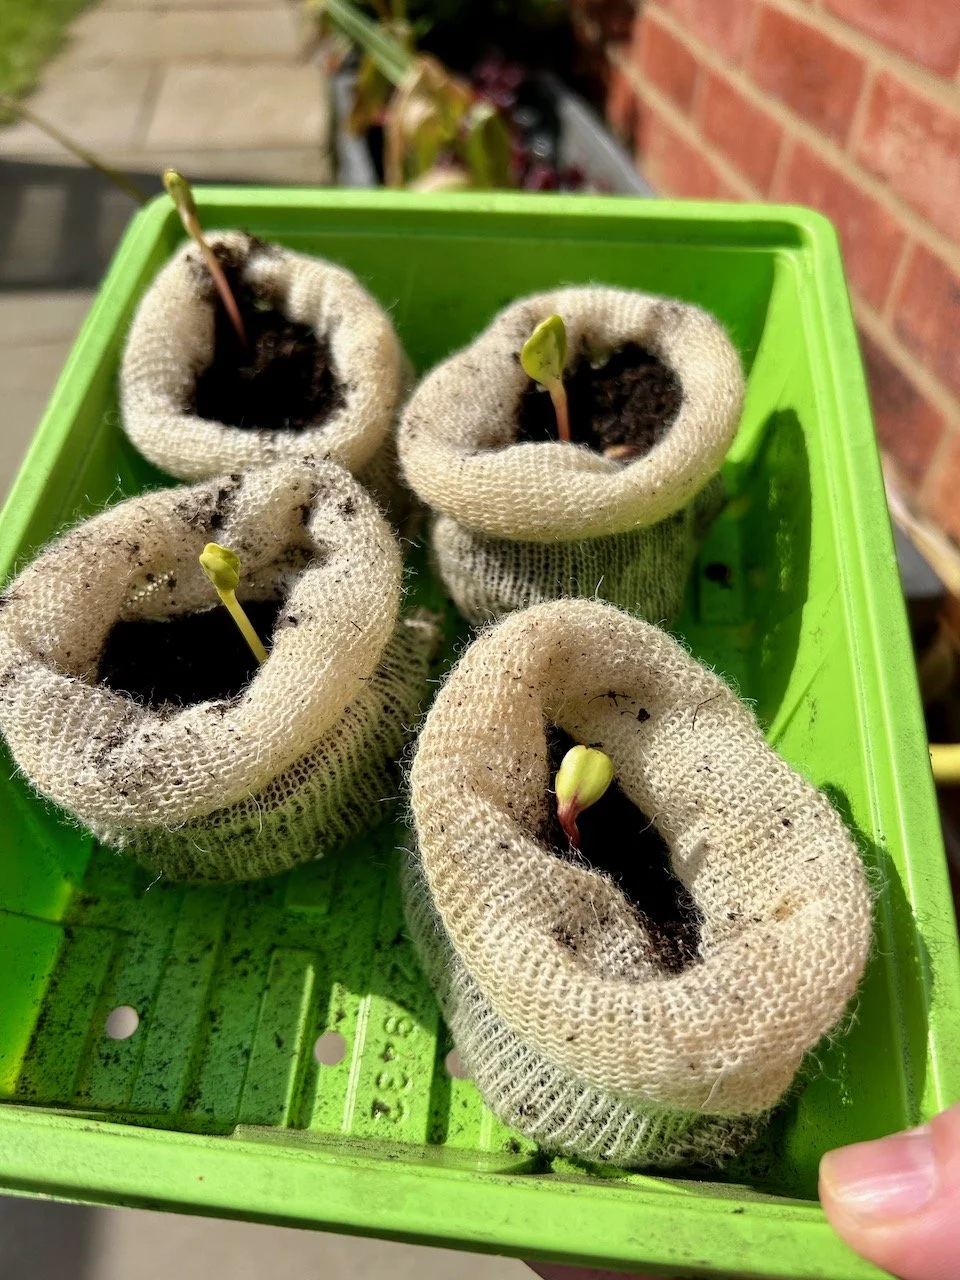
Four tiny seedlings starting to form leaves

As the days went on, the seedlings started to grow their true leaves, not just the seedling leaves. It’s worth noting that the wool pots should have space between them to prevent the roots merging into each other - the space enables ‘air pruning’ and will make it easier to plant them on when the time comes.

But my biggest concern now that they’d germinated was when to leave them outside, but thankfully the weather decided to improve to help with that. With the seedlings nestled down in one of my currently half-empty pots, and in a more sheltered part of the garden I braved it, and they all survived!

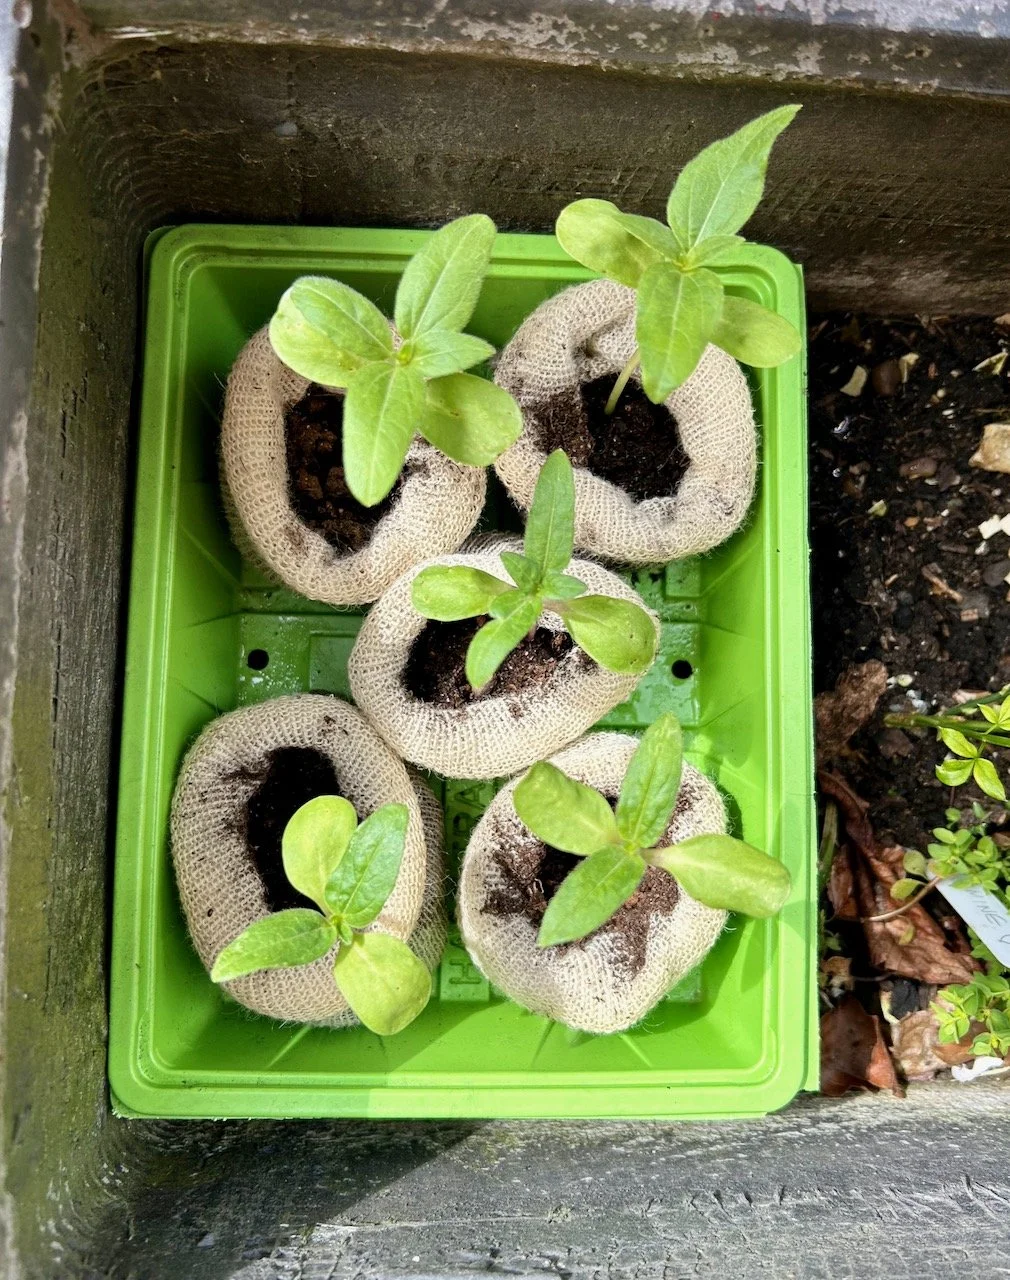
Five wool pots with sunflower seedlings, now developing their own leaves rather than seedling leaves

In fact they’re all doing really well, with more leaves developing and getting taller too. Now instead of bringing them out of and into the garage each day, I’m checking that they’re not growing into each other - and so far so good.

The five seedlings continue to grow outside - phew

I’m sure it won’t be long before I need to work out where to plant them so that they can grow to their full potential. And the best bit, is you can pot on the whole wool pot - I’ll share how I get on when the time comes.

* With thanks to Wool Pots for providing a sample of their innovative project for me to try.

PostCommentLove

A pincushion and two pouches for starters

My journey with the Adult Learning classes here in Newark continues, I’m currently attending the Machine Sewing for Beginners class for bags, and while I’m not a beginner with my sewing machine, I am new to bags. I also want to up my skill levels on putting in zips and buttonholes and as both of these are covered in the 6 week course, and knowing how good the courses I’ve been on so far have been, I signed myself up.

This is actually my third course - I started with the Gelli Plate Printing class and then quickly followed that with an Indian Block Printing and Stitch course, which was amazing and I’m hooked on printing onto fabric. I’ve not shared much of that yet, and none here though you may have seen some on my Instagram feed and stories, but I have so much to share from that one, so keep an eye out for that.

The bag making class is small - there’s just five of us and the tutor, and the skill level is mixed which is something I anticipated when I signed up. However there is still much to learn, especially as I’m using a machine provided by the course which is a newer model than mine and has a top loading bobbin which I’d not seen before, and it’s also nice to spend time with other people doing the same thing.

It’s also been hands-on too, some theory obviously, but not overly so. In fact the first week we all left having made a pincushion, so that was nice. As I wasn’t sure what it’d be like or what we would start with, I decided to take along fabric that wasn’t at the top of my favourites list, and that which I’d probably not rush to use.

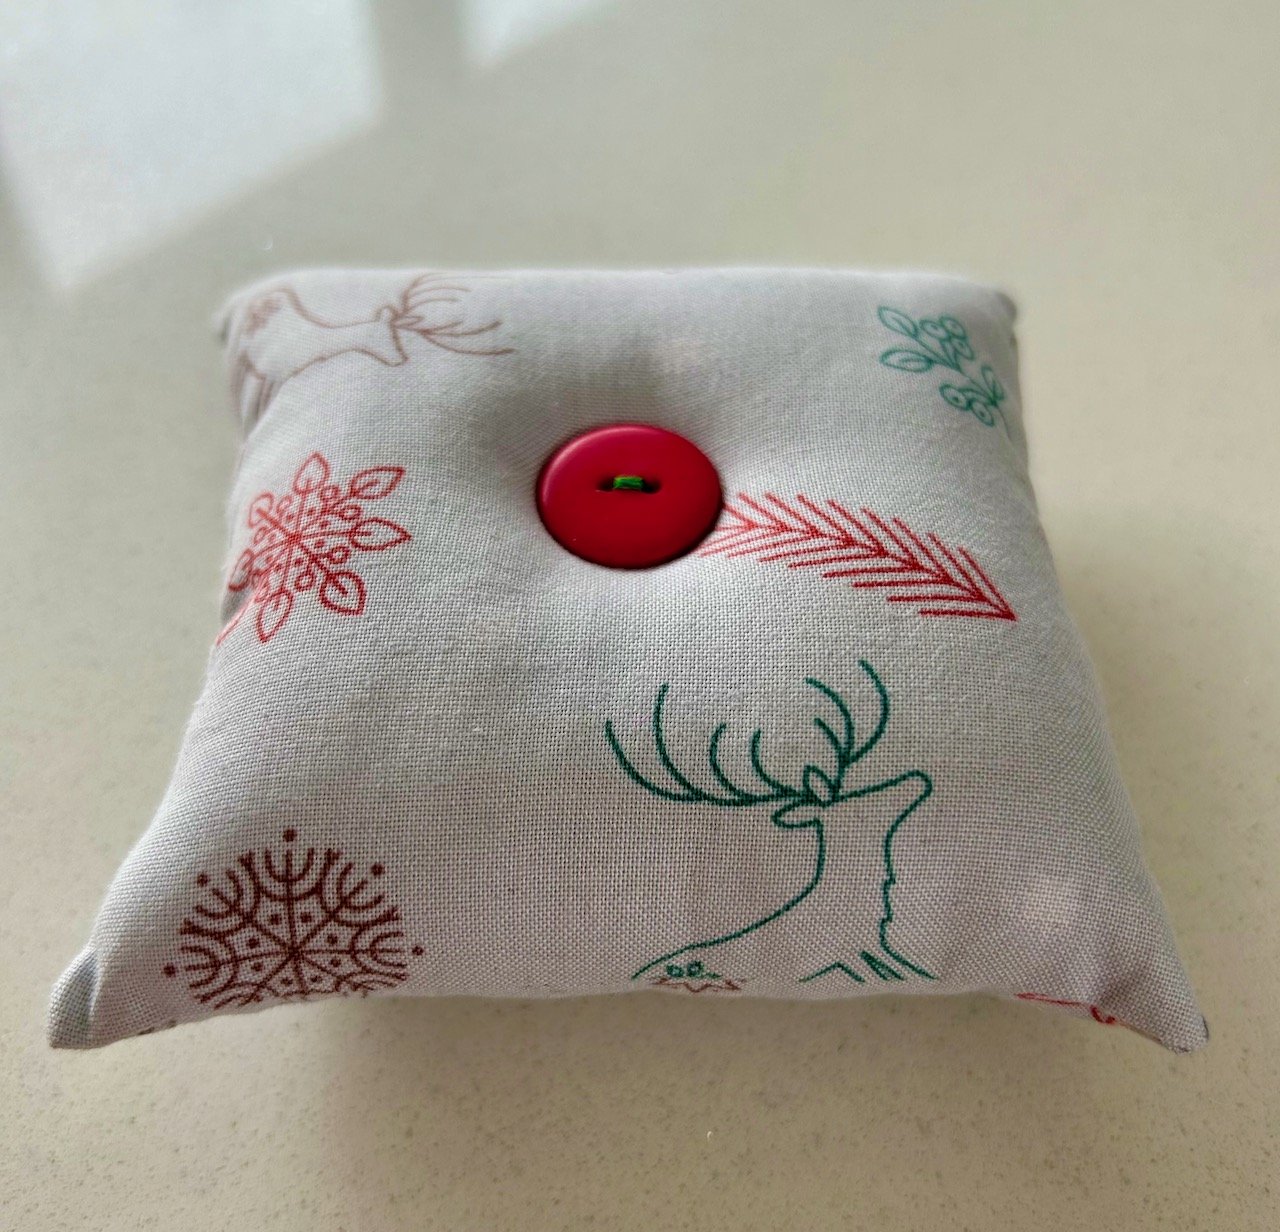
And so that first week I made a Christmas pincushion, like you do!

A light grey square fabric pincushion, the material has snowflakes arrows and reindeers in red, green and brown line drawings - and there's a large red button at the centre

I’d misjudged the seam allowance on the new-to-me machine and only realised once I’d turned the pincushion the right way through, which meant that hand sewing the closure was more tricky than it needed to be and therefore it wasn’t as neat as it could have been.

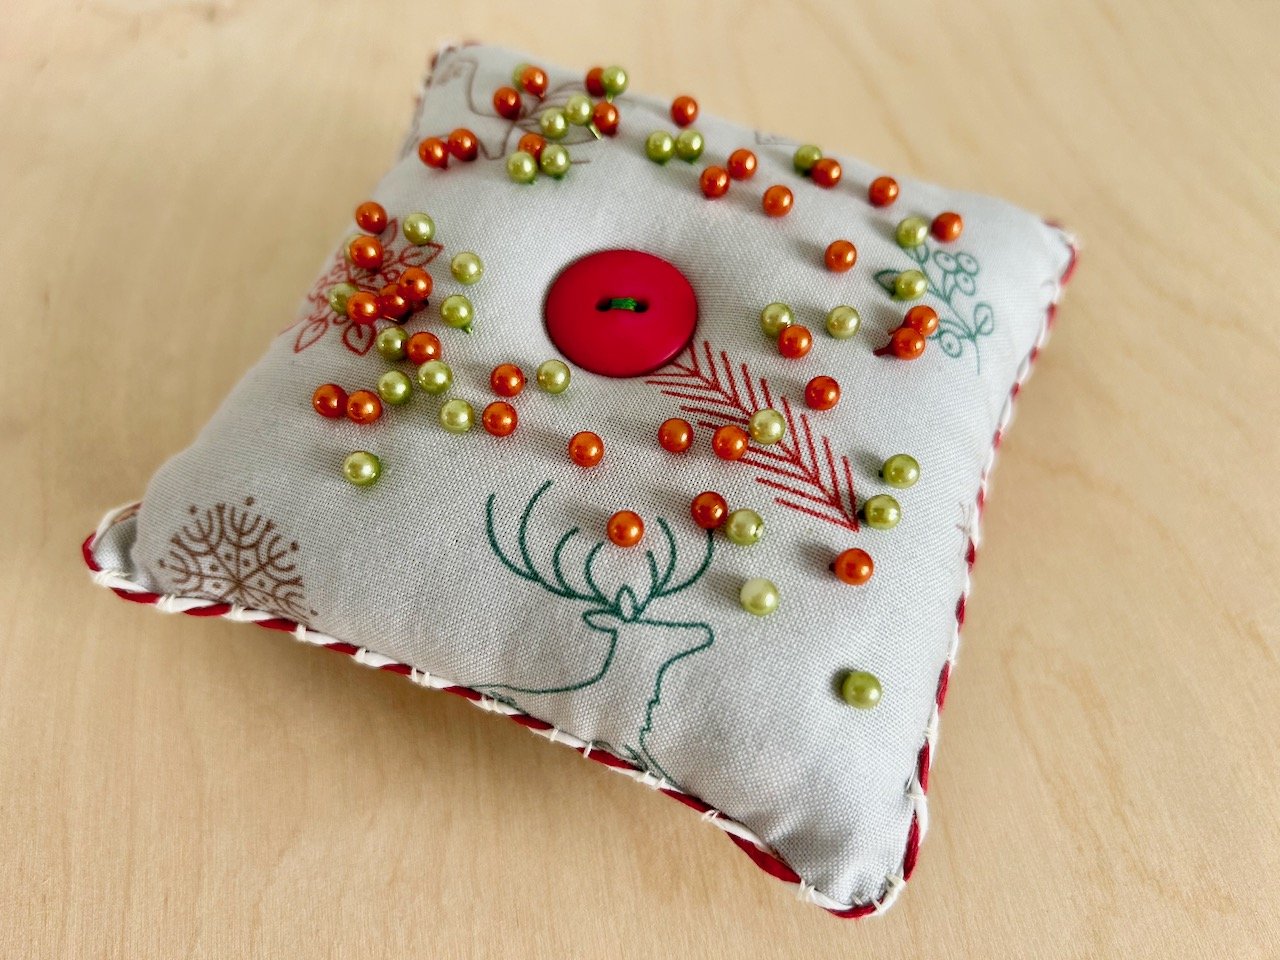
That annoyed me in a minor way, but later on I realised that I could pimp up my pin cushion and make it even more Christmassy by adding a simple red and white twine around the edge. The ‘twine’ I used is actually paper (but quite solid) which I’d saved from Christmas presents last year!

the same pincushion as the previous photo, now with orange and green pins pressed into the top and a red and white trimming around the seamed edge

There was nothing wrong with it before, but I’m much happier with it now!

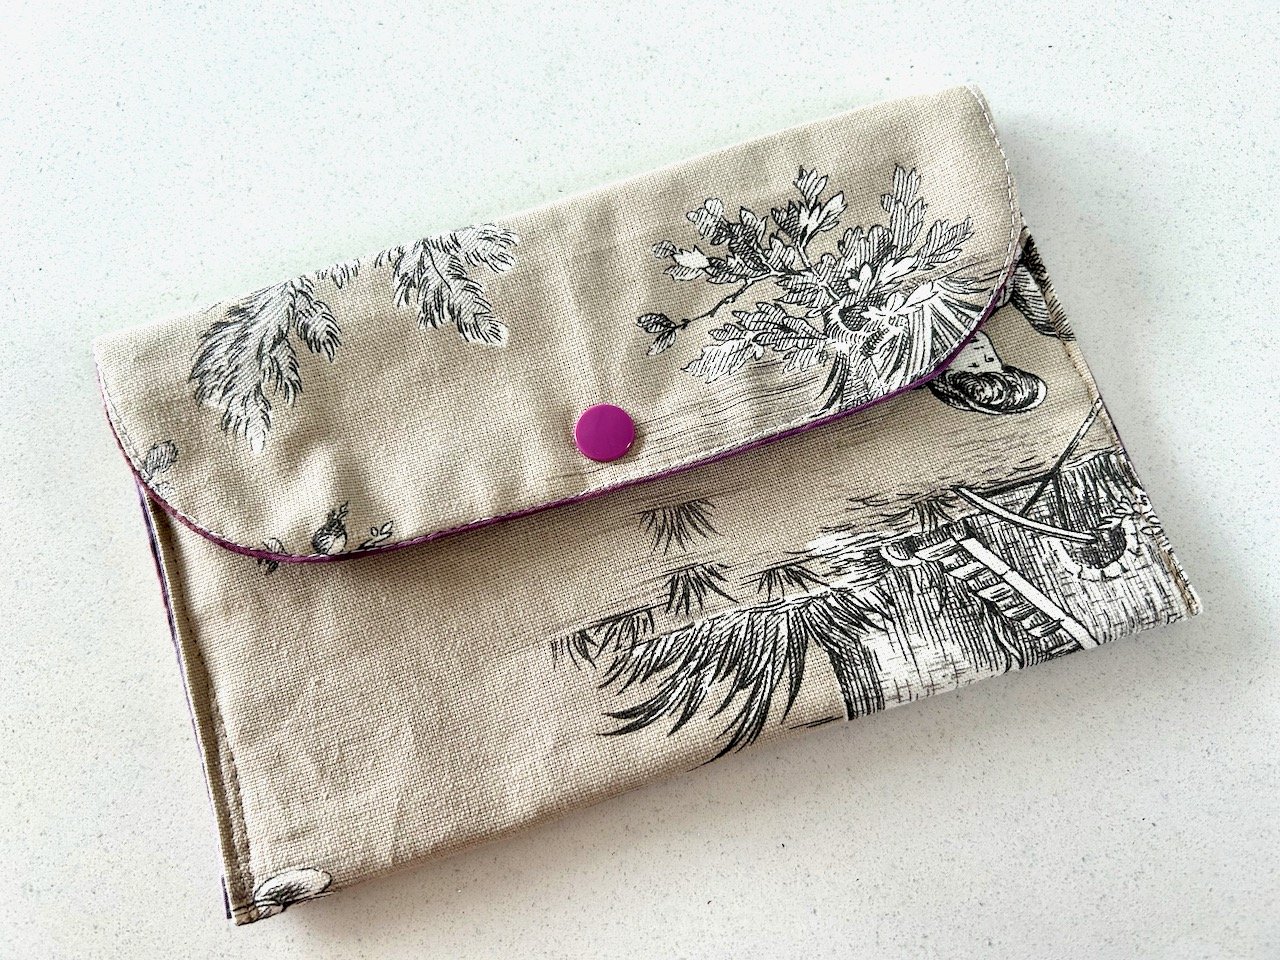
Next up it was a simple pouch, and for this we needed two pieces of material - outer material and lining - approximately the size of an A4 sheet of paper. While I had my B team material to choose from, I also had something else in mind. It was a bit smaller than needed but as this sort of pouch can be flexible on size I decided to go for it, and left with this completed pouch.

A cream pouch with black and white printed detail and a purple popper

I’ve not made anything like this for a long time, and this was easier than I remembered. As the tutor said she’s a big fan of straight line sewing, and this is mostly that - and the purple popper sets it off nicely too, and complements the purple batik lining (which was firmly in my B team fabric list).

There was one part that I wasn’t entirely happy with (again) - if you look in the bottom left hand corner you can see the sewing is a bit wild where I started off and revved the machine a little too much and off it went! It was a shame it was on the plain background of the material, had it been on the other side in the pattern I don’t think I’d have noticed it quite so much.
But I wasn’t undoing it, this was a practice pouch and it still worked perfectly well.

Then I realised I had some ribbon that was very similar to the background colour, so I dug that out and added an embellishment in that corner, front and back.

The opened pouch showing purple batik lining, and the addition of a toning trim in the bottom left hand corner

Now it looks as if it was always meant to be there, and I’m much, much happier.

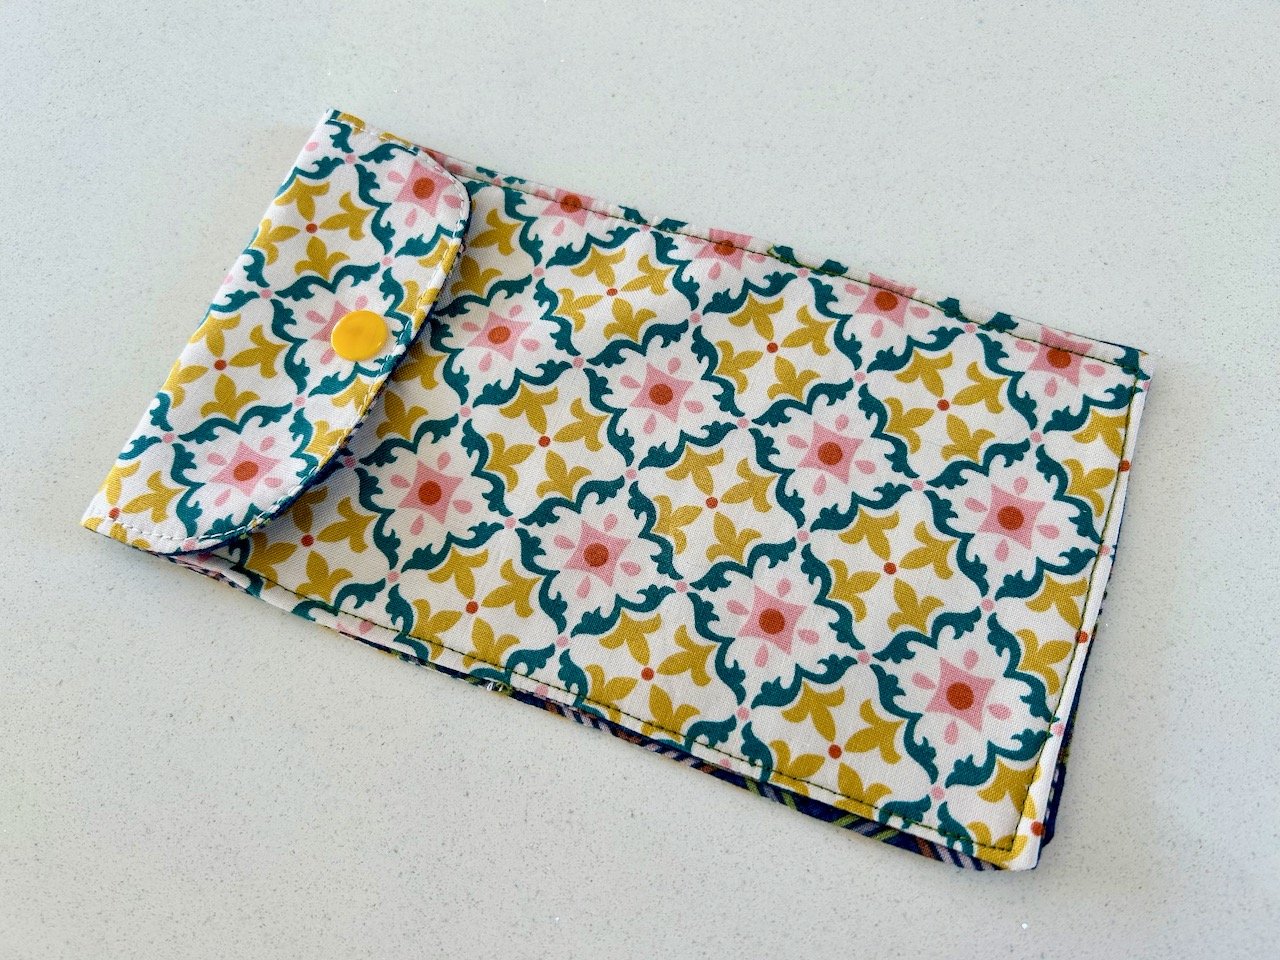
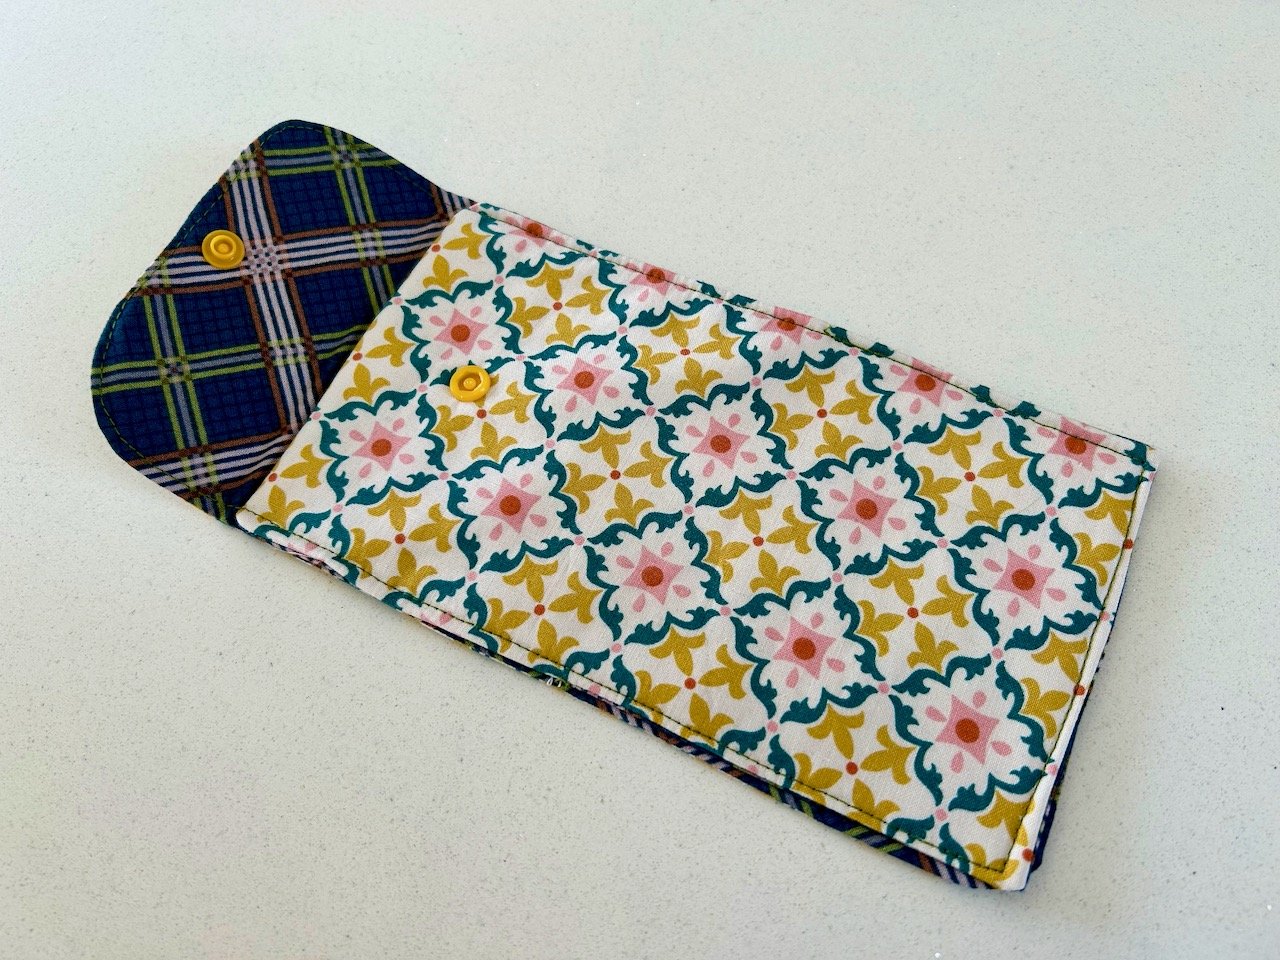
I also got to start another similar but different pouch - one that’s ideal for sunglasses, and as I didn’t have sunglasses case it was perfect for me. I choose A team material for the outside, and again B team material for the lining. There’s nothing wrong with the lining material, but I think a lot of what I’m calling my B team materials just look better in small doses!

The same pouch as the photo above, this time with the flap open to show the lining - navy with a green/blue and white/brown checked design

The outer material reminds me of Portuguese tiles, and the lining of a man’s shirt from the 1970s!

And for a change this one hasn’t been pimped up, I finished it in the third week of the course just as the sun decided to make an appearance (at last!) - so I couldn’t have timed it better!