It's back on the wall. Finally.

It’s been one of those things that we’ve been meaning to do. One that wouldn’t take long, but also one that never quite made it to the top of the list, until now. But first let me share how they got on the list…

They had been on the wall since 2016, and looking back at the photos from then, it’s clear that over the years they’ve attracted more and more stuff, both in the cubby holes and on top. So it’s really no surprise that one summer’s afternoon, while I was unsuspectingly on a Teams call, it fell off the wall causing one almighty bang.

A crash so loud that my colleagues also heard and could see that the noise was troubling me, especially as I was home alone. So I left the meeting to take a look, and I quickly discovered that it was these which had jumped off the wall, so was able to rejoin the call and reassure my colleagues too. Phew.

The fall had caused some damage to the shelves, as well as shedding its contents across the room. My plan had been to make these repairs before rehanging the shelves, as the fixings still looked to be secure - and in fact they haven’t needed anything more than a quick once over to double check.

But the repairs didn’t happen (but still will one day!) and finally we got fed up of walking around it and moving it around. So back up it went. Along with a resolution not to overload it again.

And as it goes, I’m pretty happy with how it turned out.

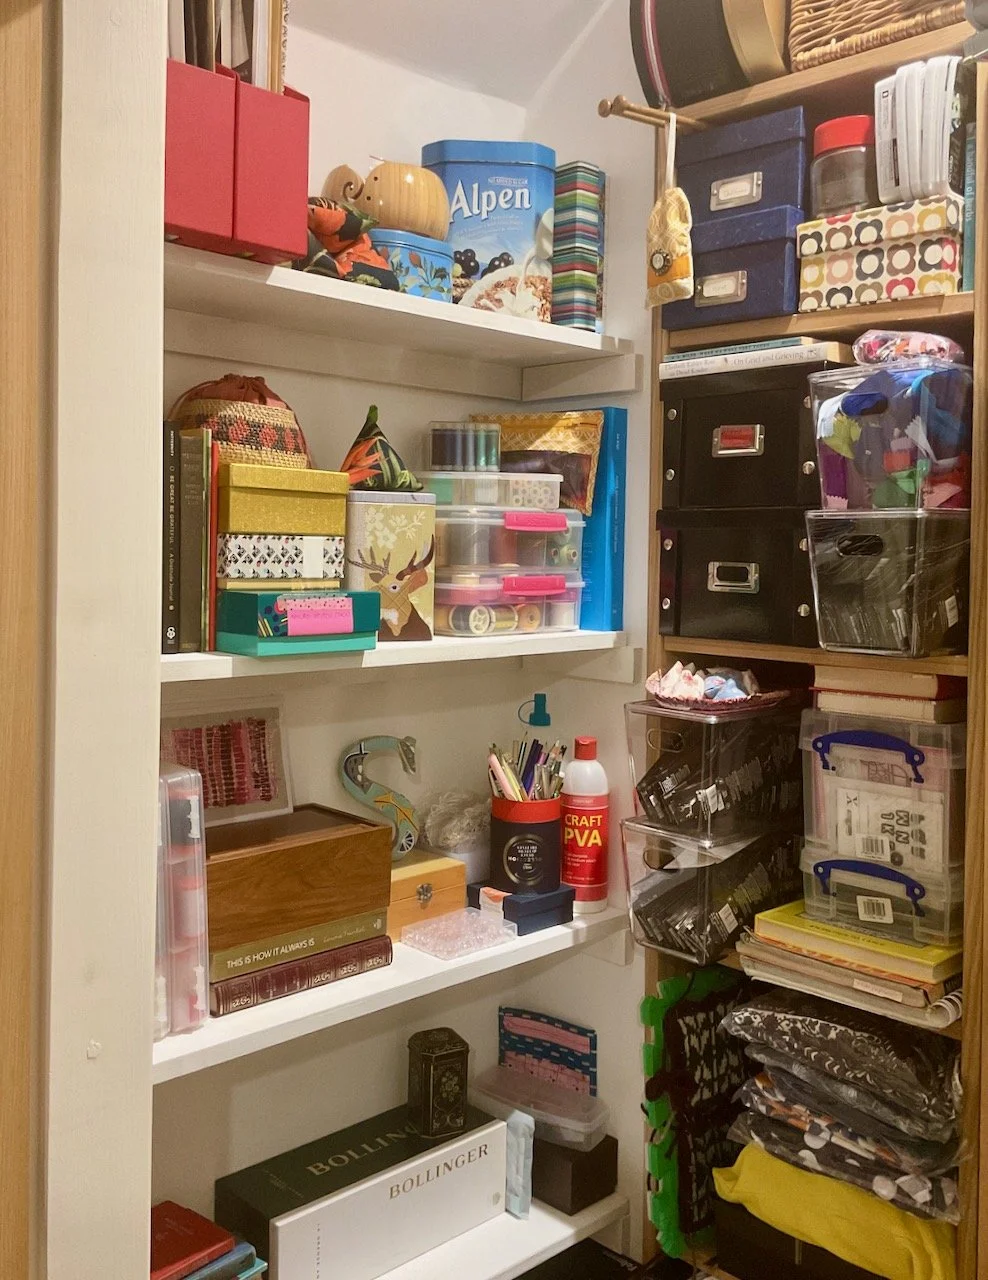
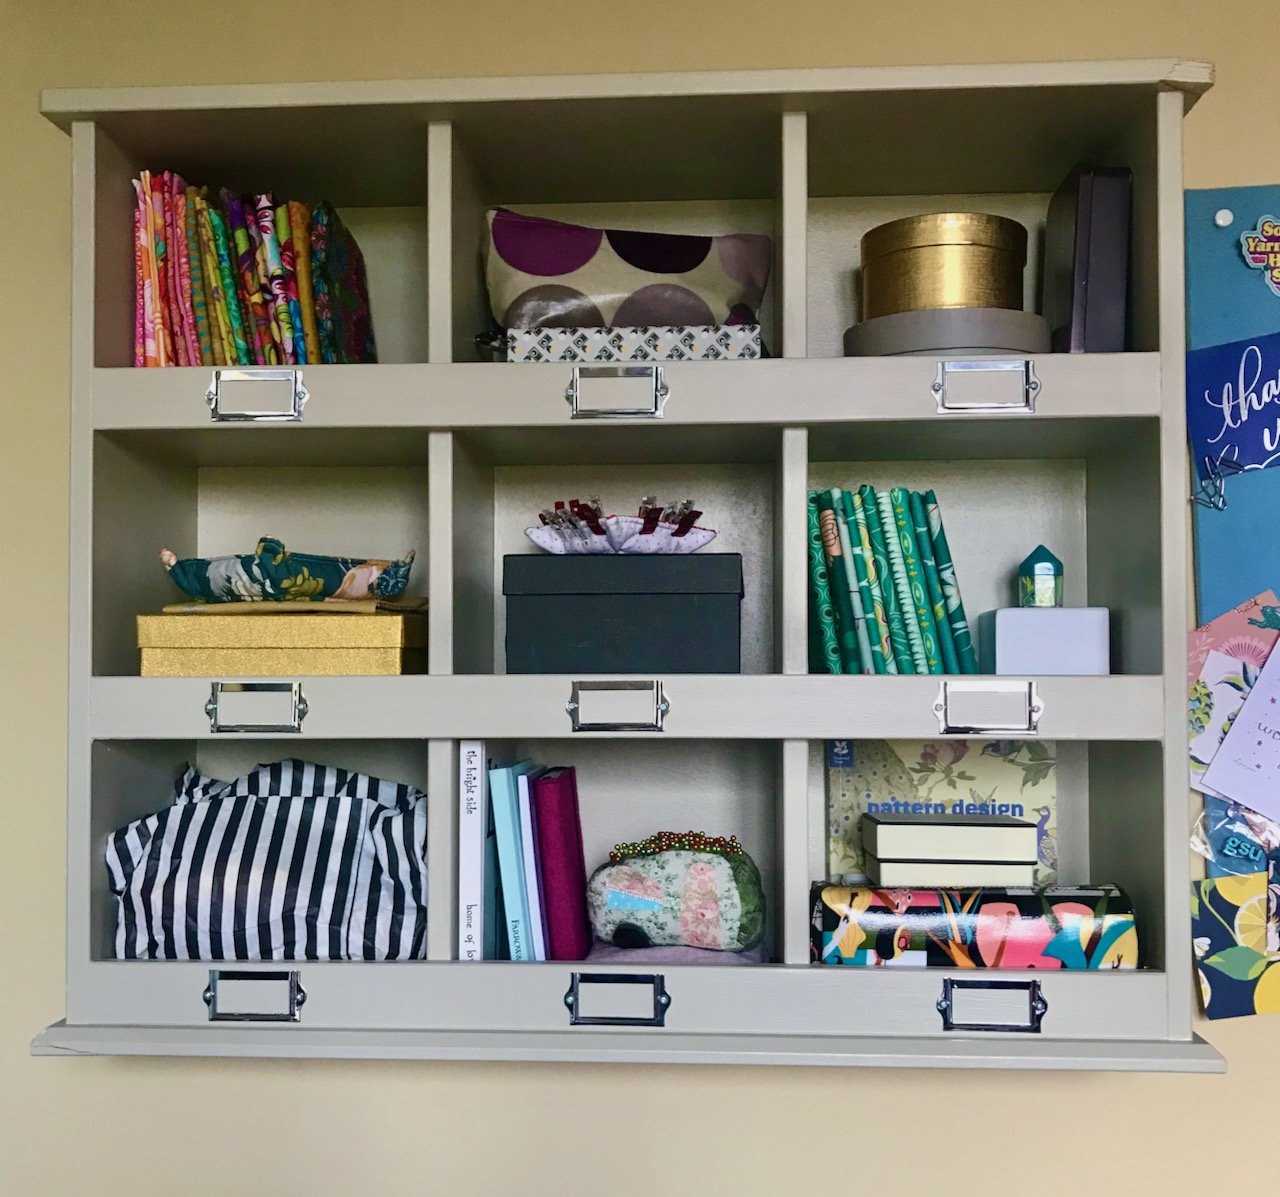
The pigeon shelves hung back on the wall, with craft supplies in each of the 9 holes (but not too many this time!)

A lot of the other stuff it held has since found other homes, and so there was less to weigh it down and off the wall, but it’s handy to get these pieces off the bookshelves and small table. It’s a space that has become a great afternoon spot for a bit of crafting or an afternoon cup of tea.

It’s currently my favourite spot for sewing together my Vintage Sweetheart crochet throw. That has 143 squares and most of those still need attaching to each other, so it could take a while - to keep up my momentum, I’m sharing progress over on my Instagram stories so do pop over there to see how I’m getting on.

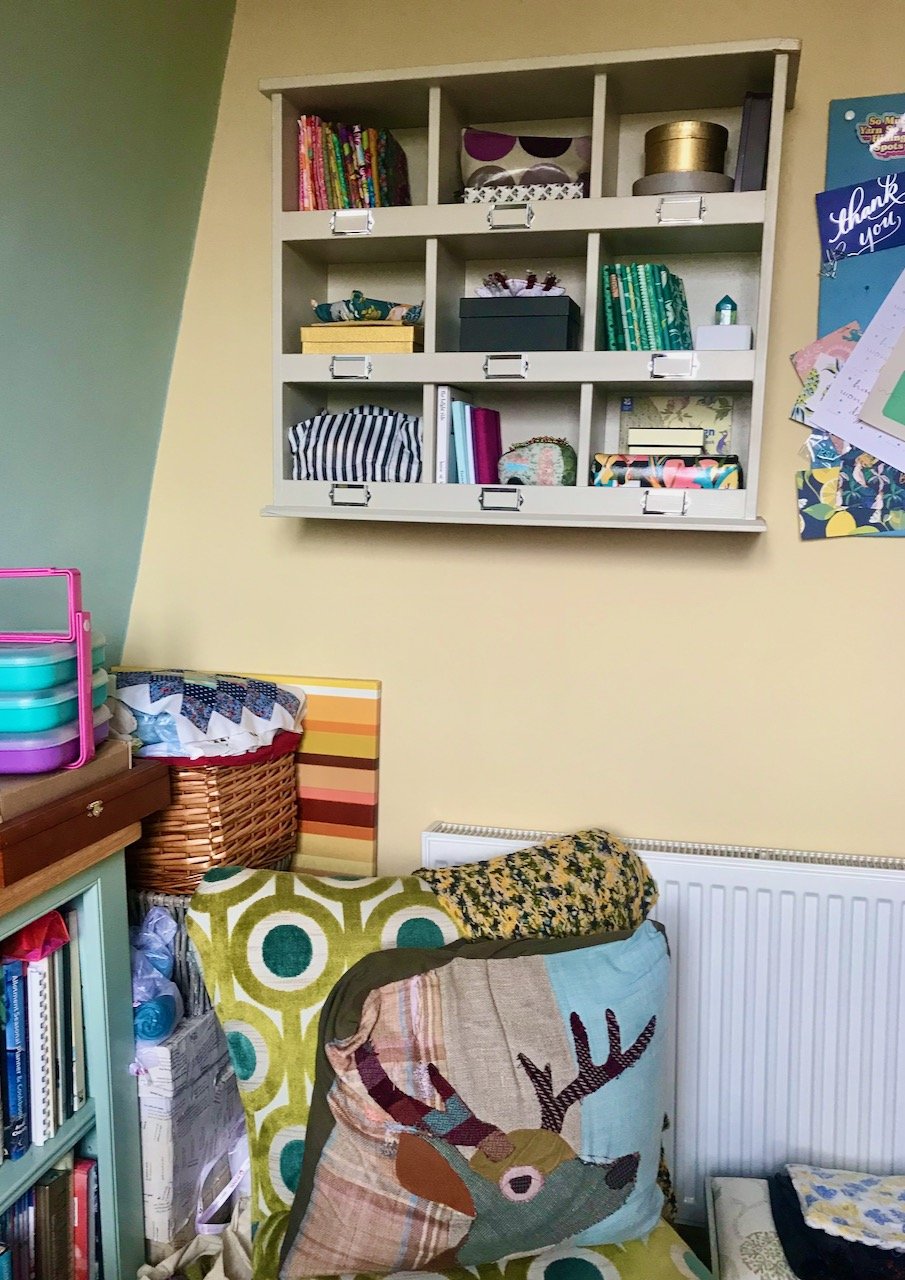
A longer shot of the shelves above showing more of the room with an arm(less) chair in front and bookshelves to the left.  A real cosy place to sit and relax (and craft!)

The repairs are still on the list, but thankfully most of the damage doesn’t show. I’ve a feeling that when we move (no details yet) that a repaint will be on the cards, so we’ll be able to tackle both jobs at the same time. That’s my revised plan anyway.

The bottom side edge (nearest the wall thankfully) is a bit dented from its fall off the wall
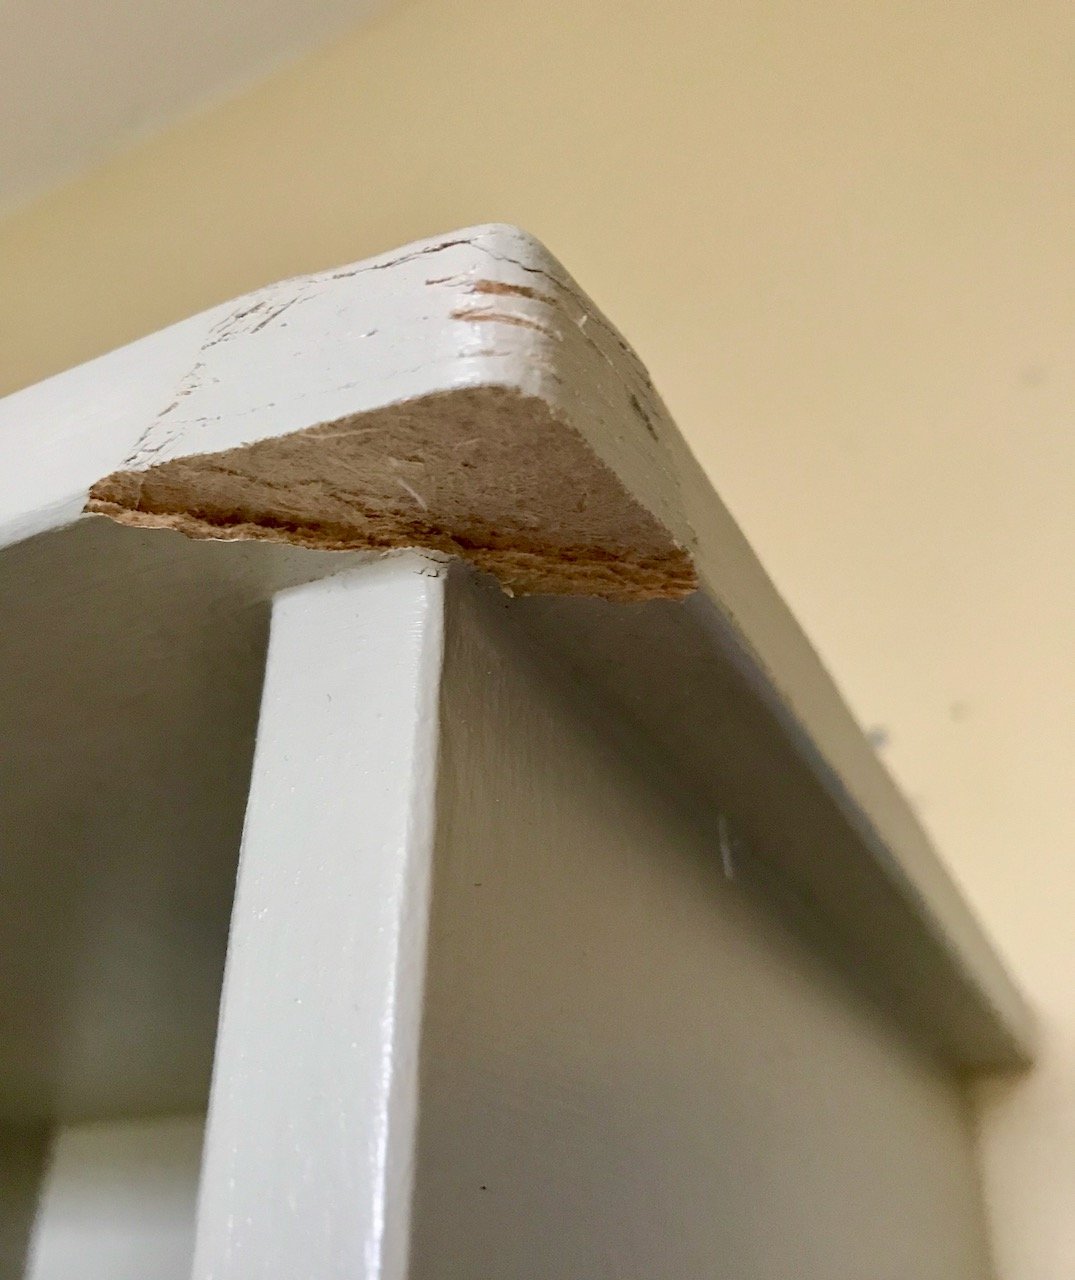
A close up of the front top corner which is showing some wear and has a missing triangular section
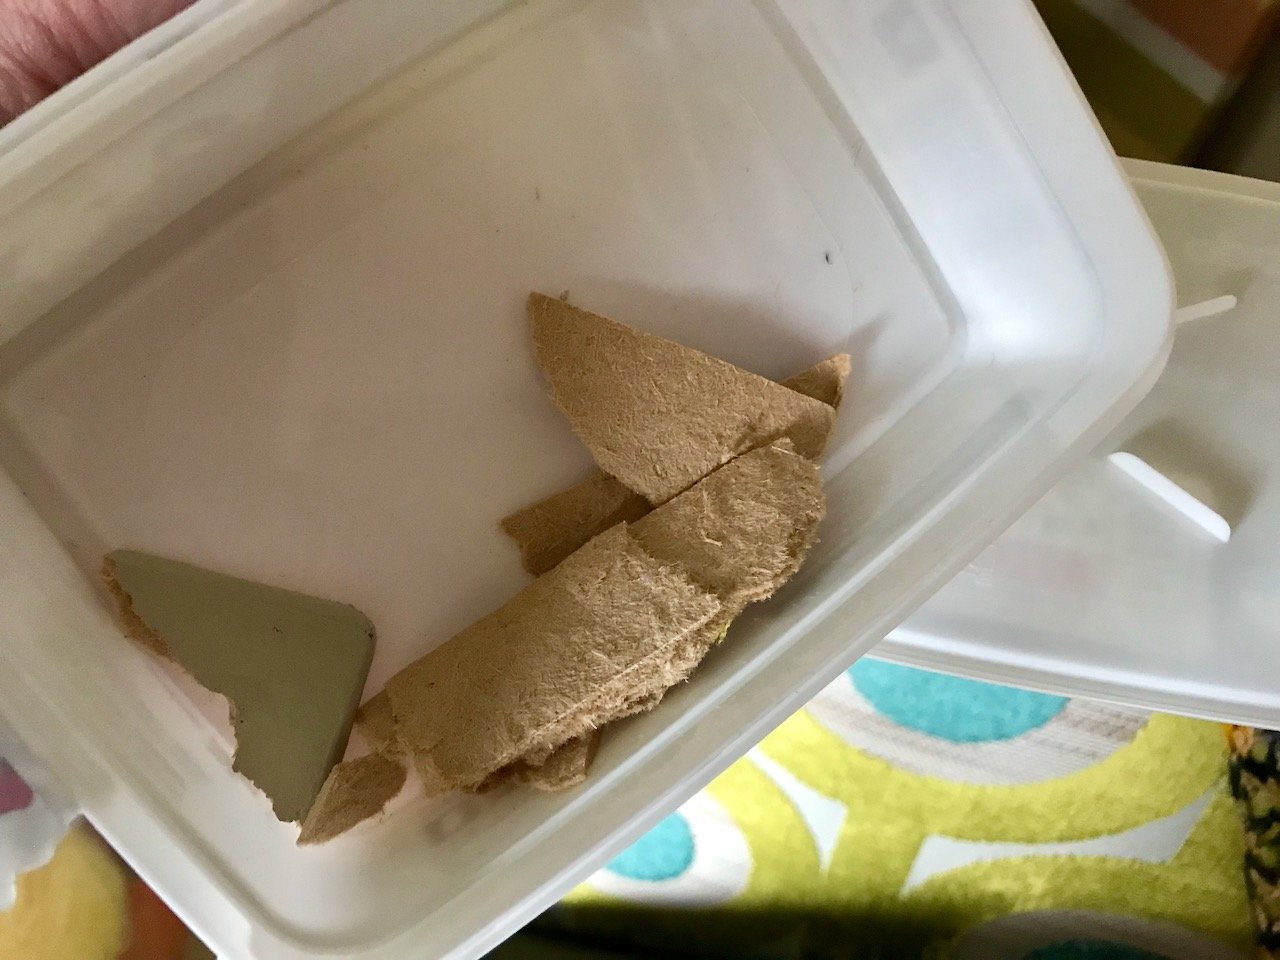
A plastic tub of 'broken bits' including the triangular section missing from the photo above

And thankfully, I have a box of bits that should help with those repairs. They’re staying close to the shelves in one of the cubby holes, so finding them again doesn’t become a separate job!

I was featured on Blogger Showcase

My garden in November

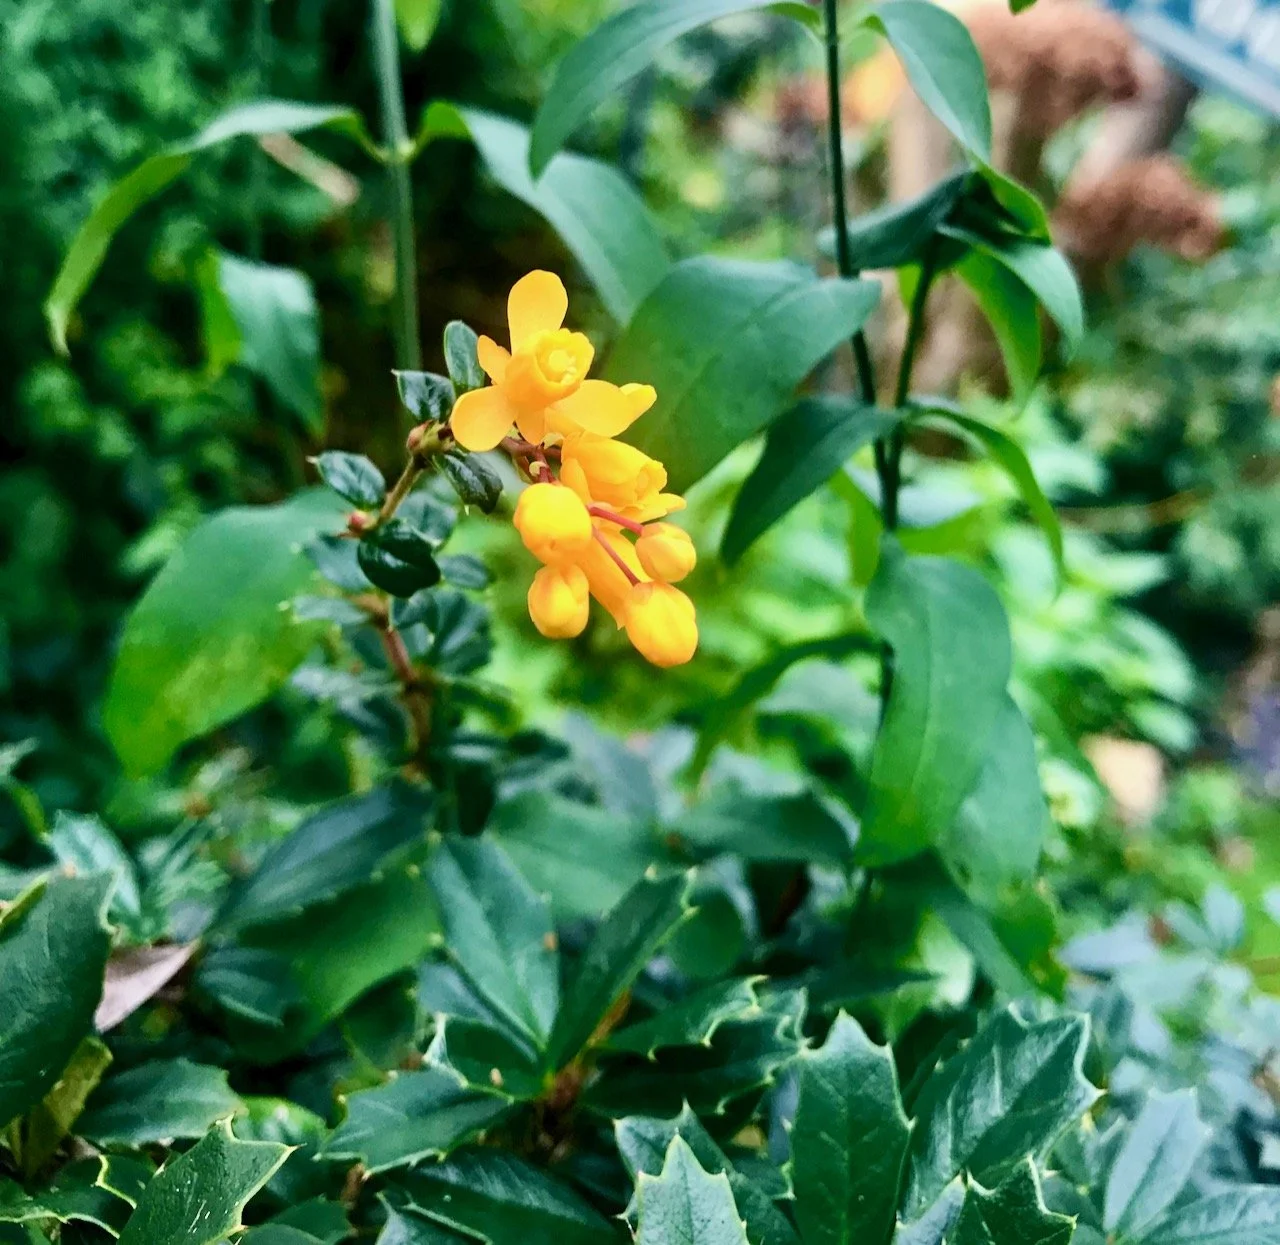
Amazingly there’s still plenty of colour in our garden - some of that is winter colour, but more unusually some of that is from summer plants which continue to flower in the mild weather. It’s good to see the more wintery plants start to shine though, and the bright orange of the flowers on the berberis are always a favourite.

orange flowers on the berberis

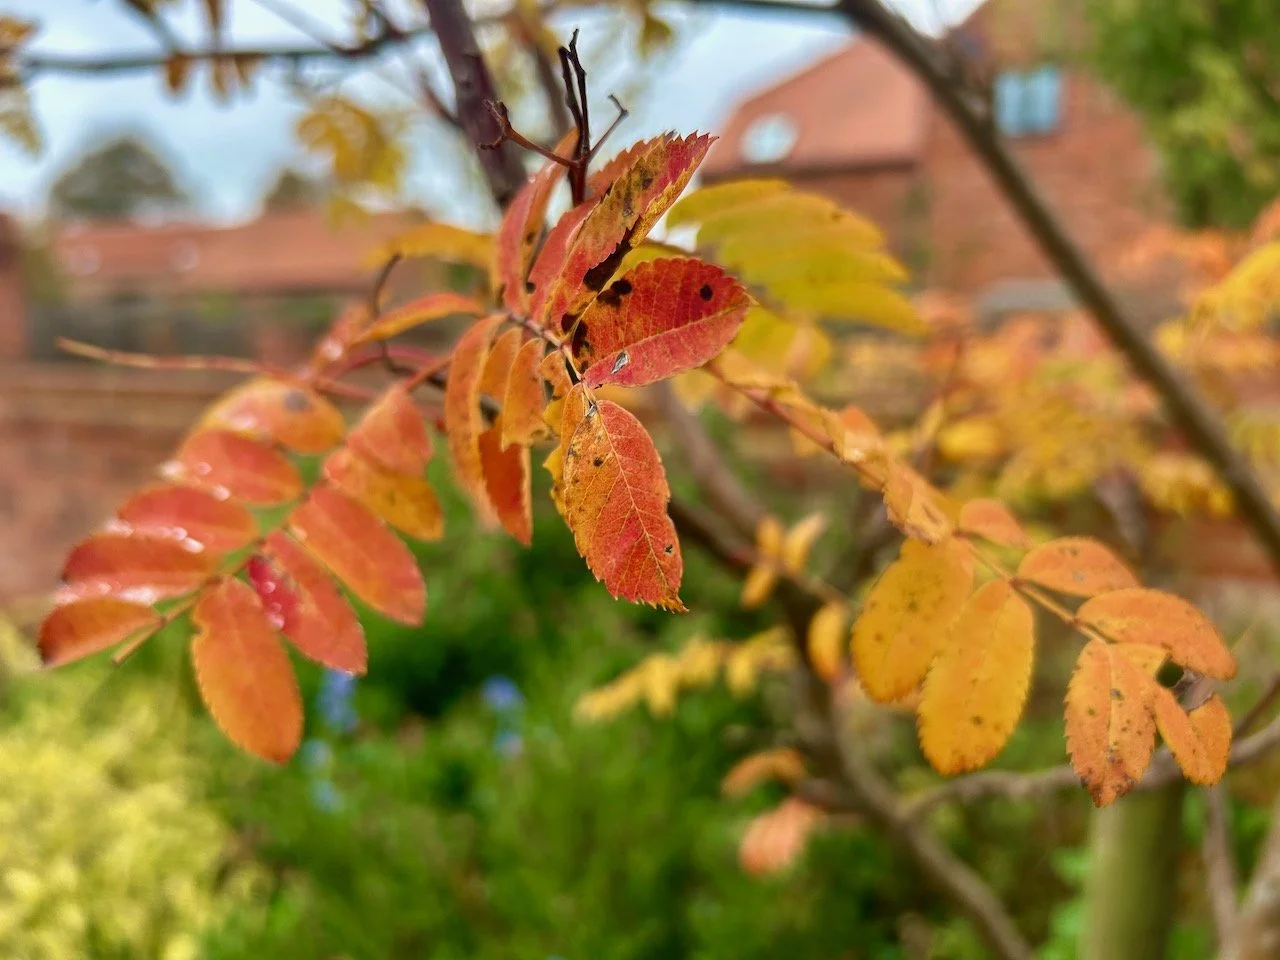
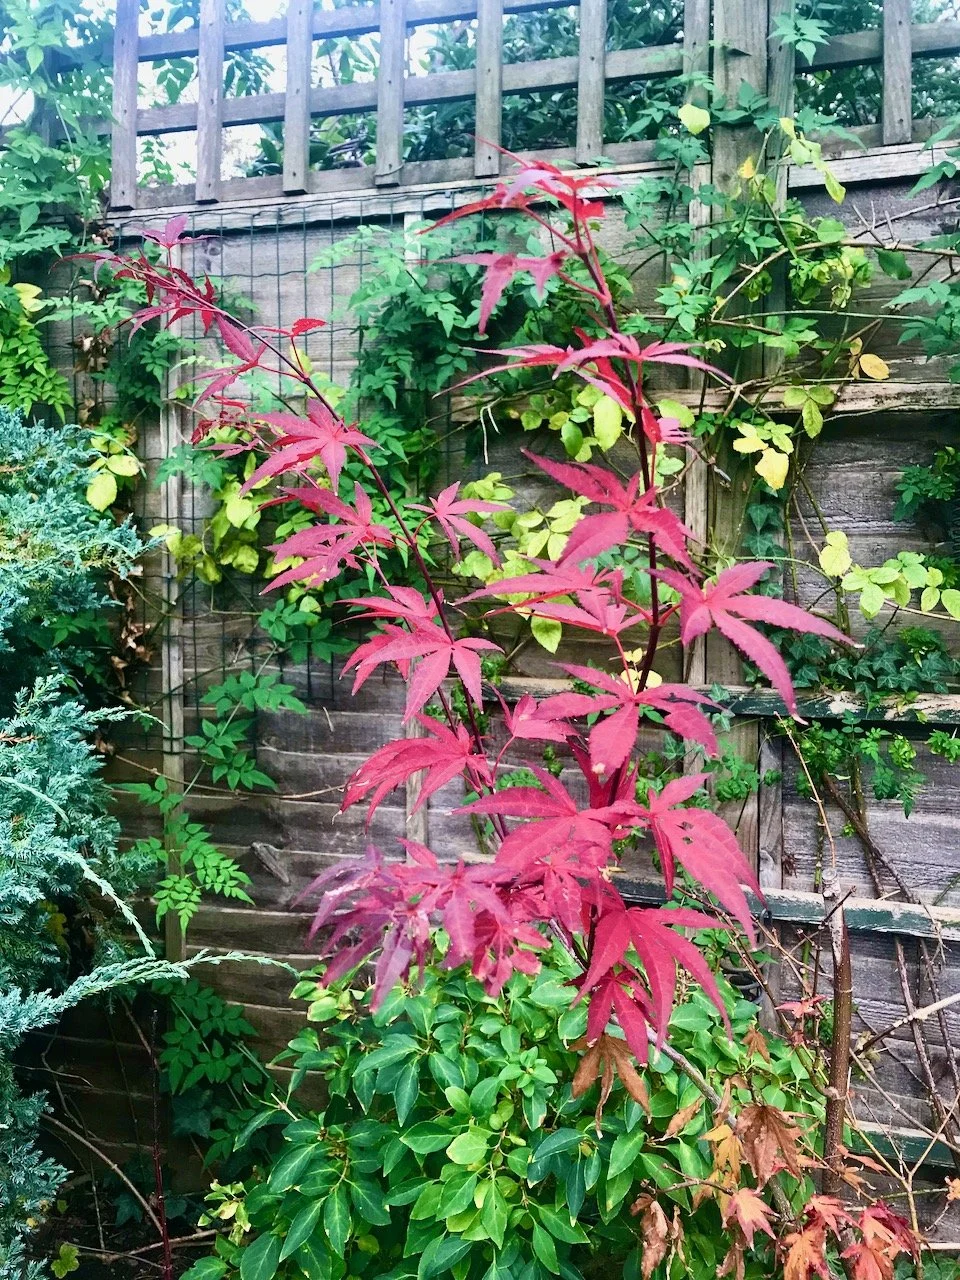
The potted acer, which has grown so well this year, kept its leaves for most of the month. I was glad to get a picture of it when I did, as wouldn’t you know it but the very next day the leaves had completely gone. Not one remained!
Red acer leaves still (but not for long)

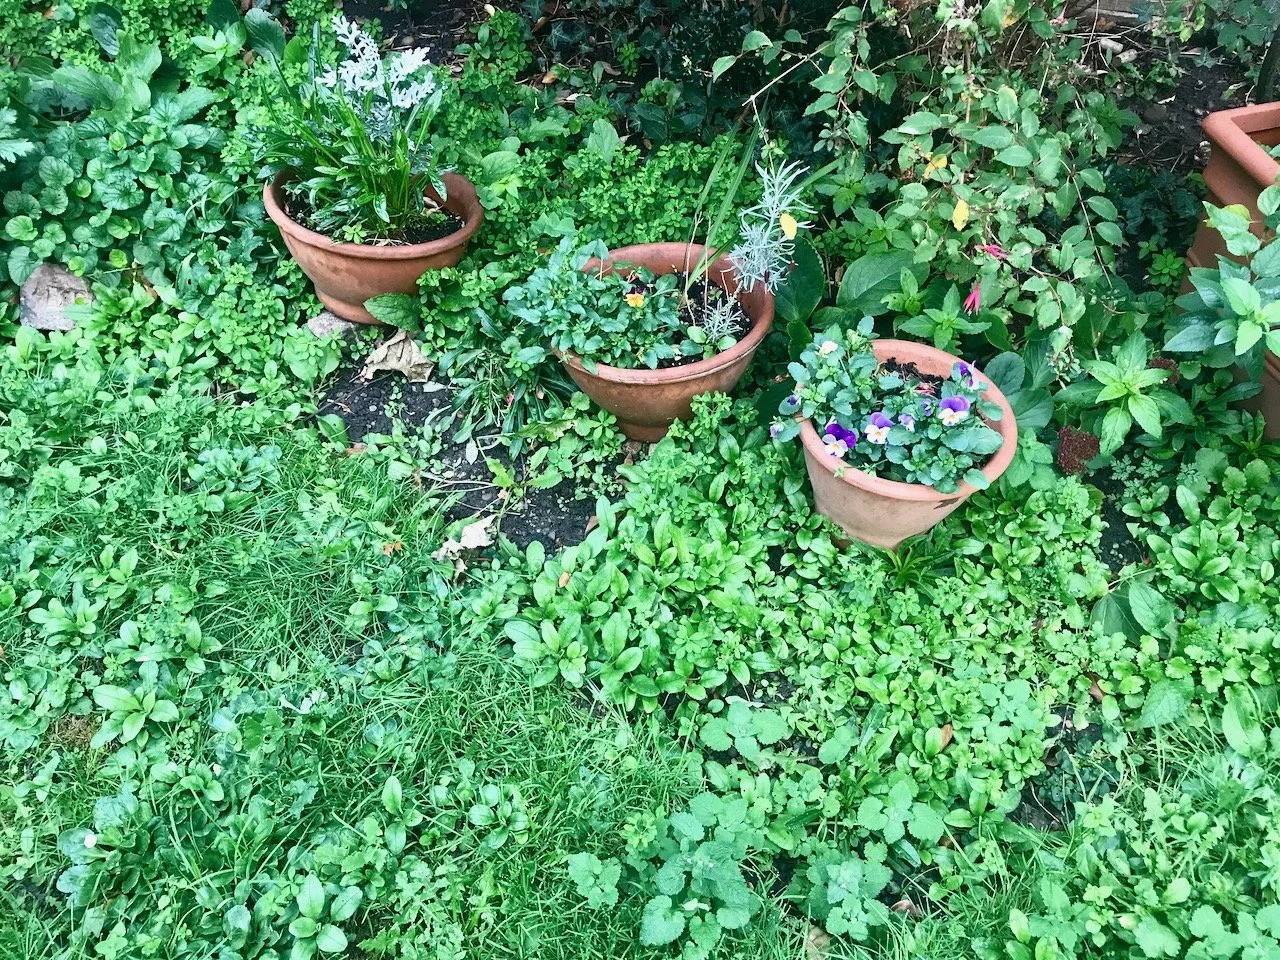
The weeds are still there though. And the forget-me-nots. And I’ve weeded, more than once. So these exact ones are most likely not there, and there might have been a temporary reprieve, but as weeds do - some are back. As I said last month, they seem to have been given a burst of life by this summer’s drought. Our hosepipe ban has been lifted, but obviously it’s been too wet to need to water the garden…

Weeds and forget-me-knots running rampant around 3 terracotta pots

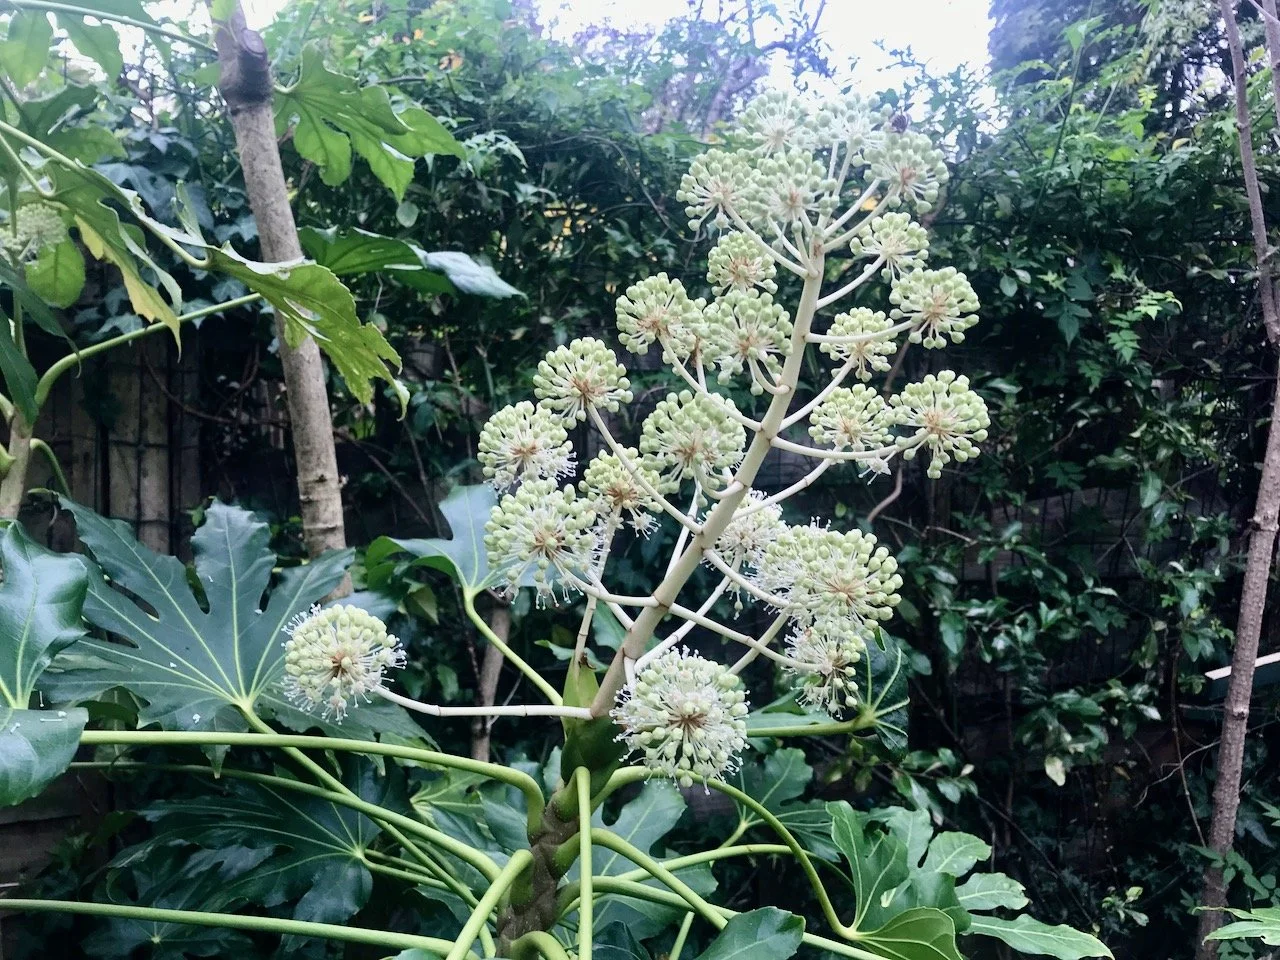
The fatsia is another of the plants which shines in winter - these ‘flowers’ are always stunning and are definitely worth having a plant in your garden for.

A cone/stem of fatsia flowers

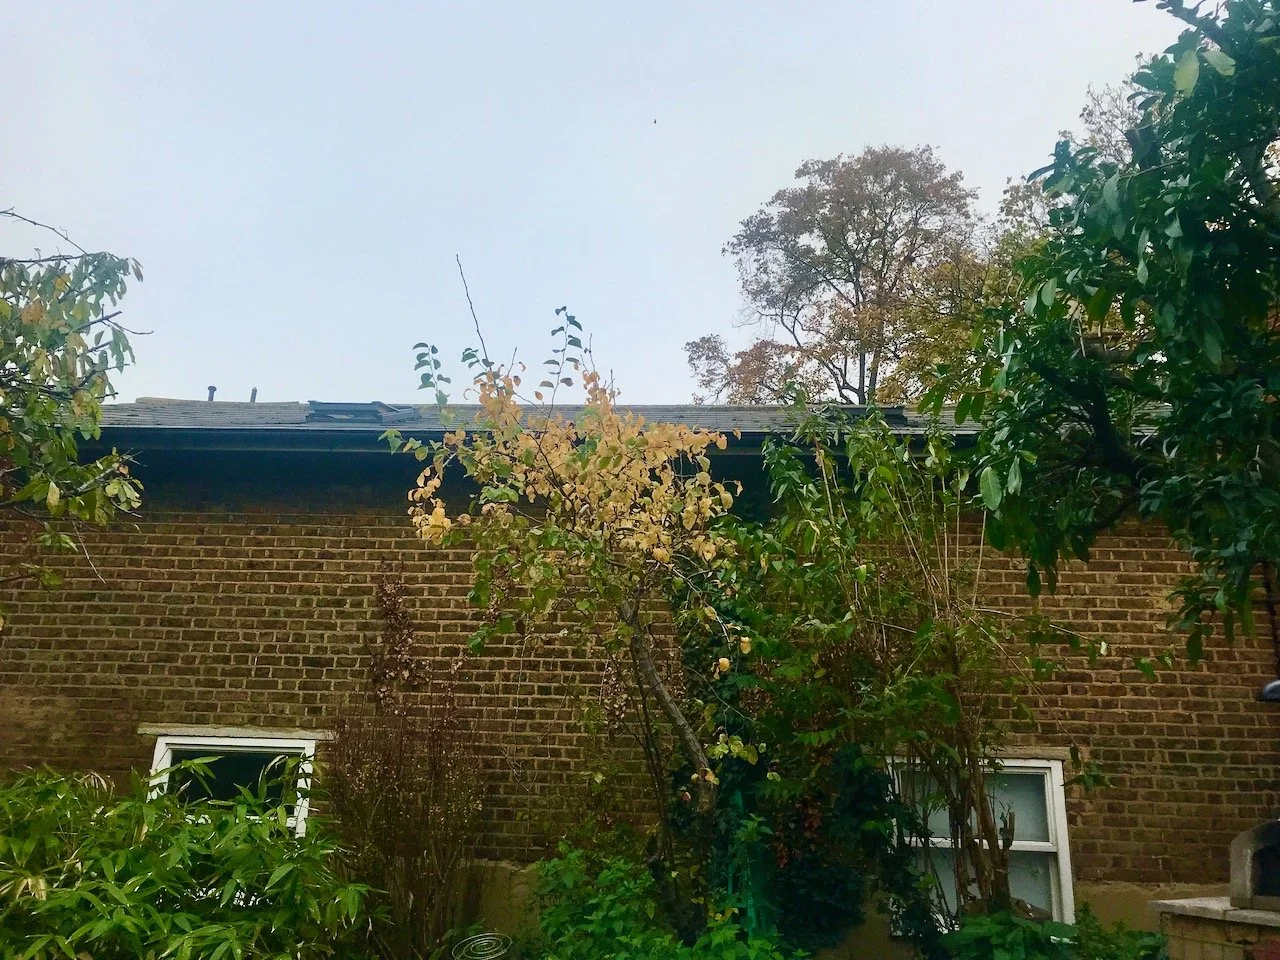
At the back of the garden on sunny days the pear tree and its yellow leaves have been catching the sun and providing almost a ‘burning’ focal point. That is until the leaves dropped, and all of a sudden that view was bare. One morning over breakfast MOH noticed and wondered why it looked so different all of a sudden. That old thing where things are familiar, until they change and you can’t work out why.

The golden leaves of the pear tree against the brick of the cottage at the end of our garden
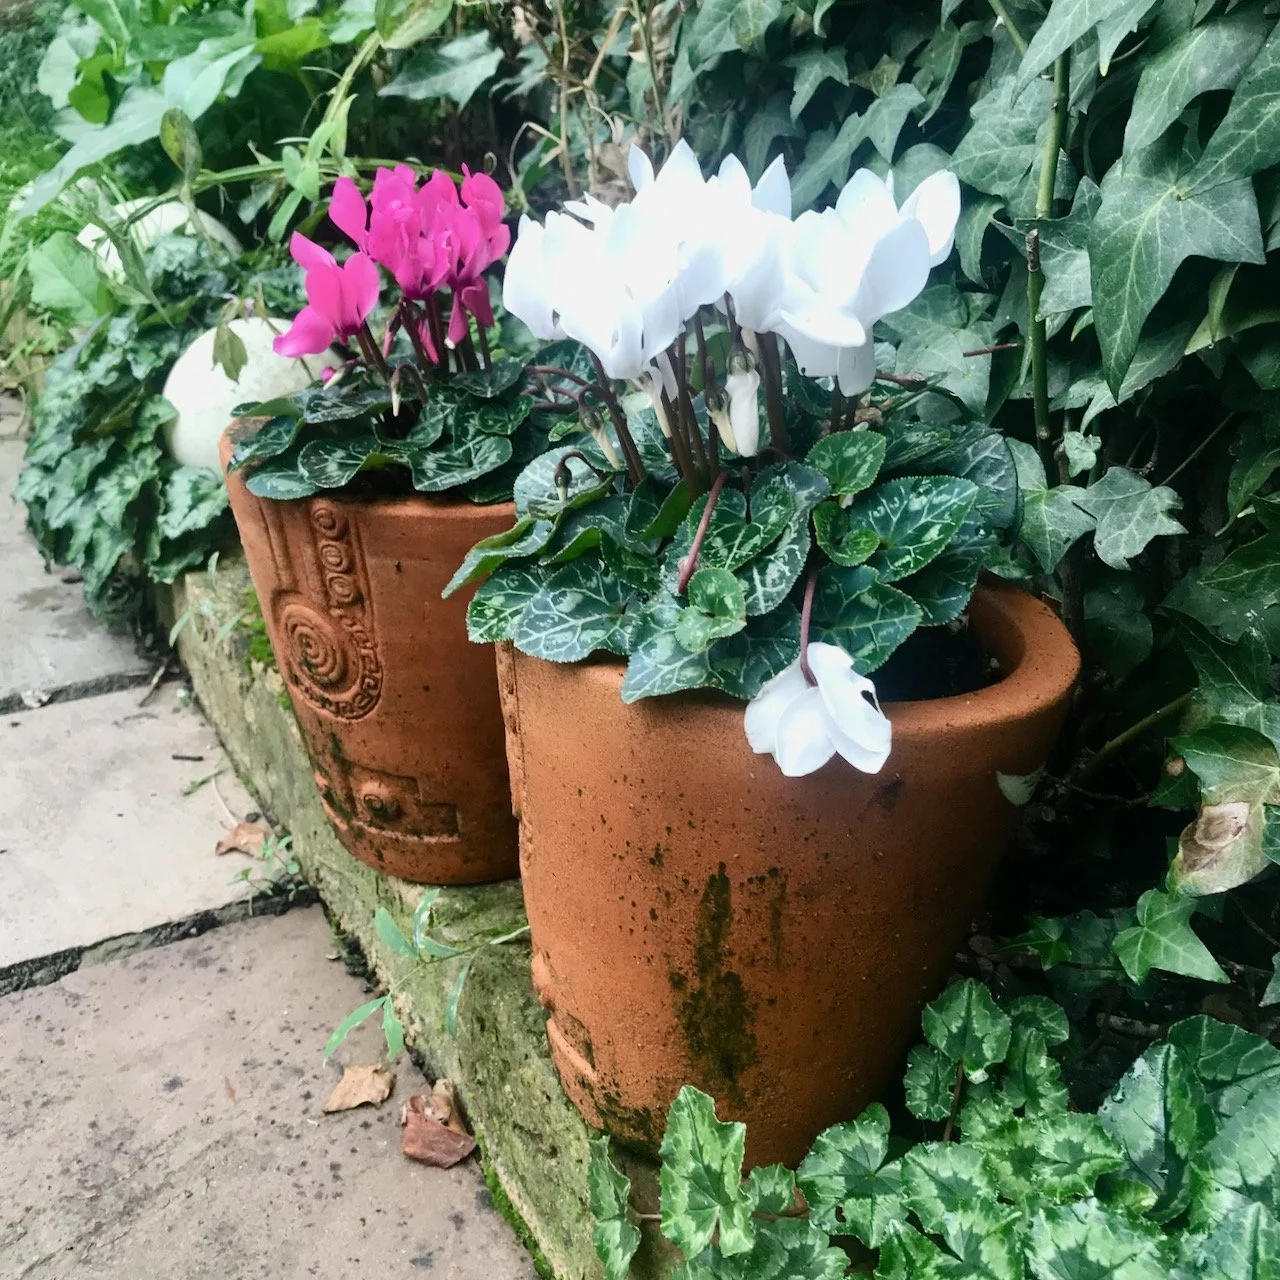
A bright pink and white cyclamen in terracotta pots - still flowering on the side of the patio

The winter bedding planted up last month is continuing to do well, though the cyclamens are doing much better than the violas which seem to be having a bit of a flowering break. Hopefully they’ll be back - they’re not as bold as the cyclamen though, so perhaps they’re just doing their thing in a more subtle way. Though it’s not really a season for subtlety when mostly the garden is viewed from indoors.

One thing that we’re seeing first hand how it develops is this rosebud which has the tenacity to bud and bloom in November, and to be followed by another bud too. The plants are confused by the weather clearly, even in this pretty sheltered and sunless (at this time of the year) spot.

A rosebud - in November!

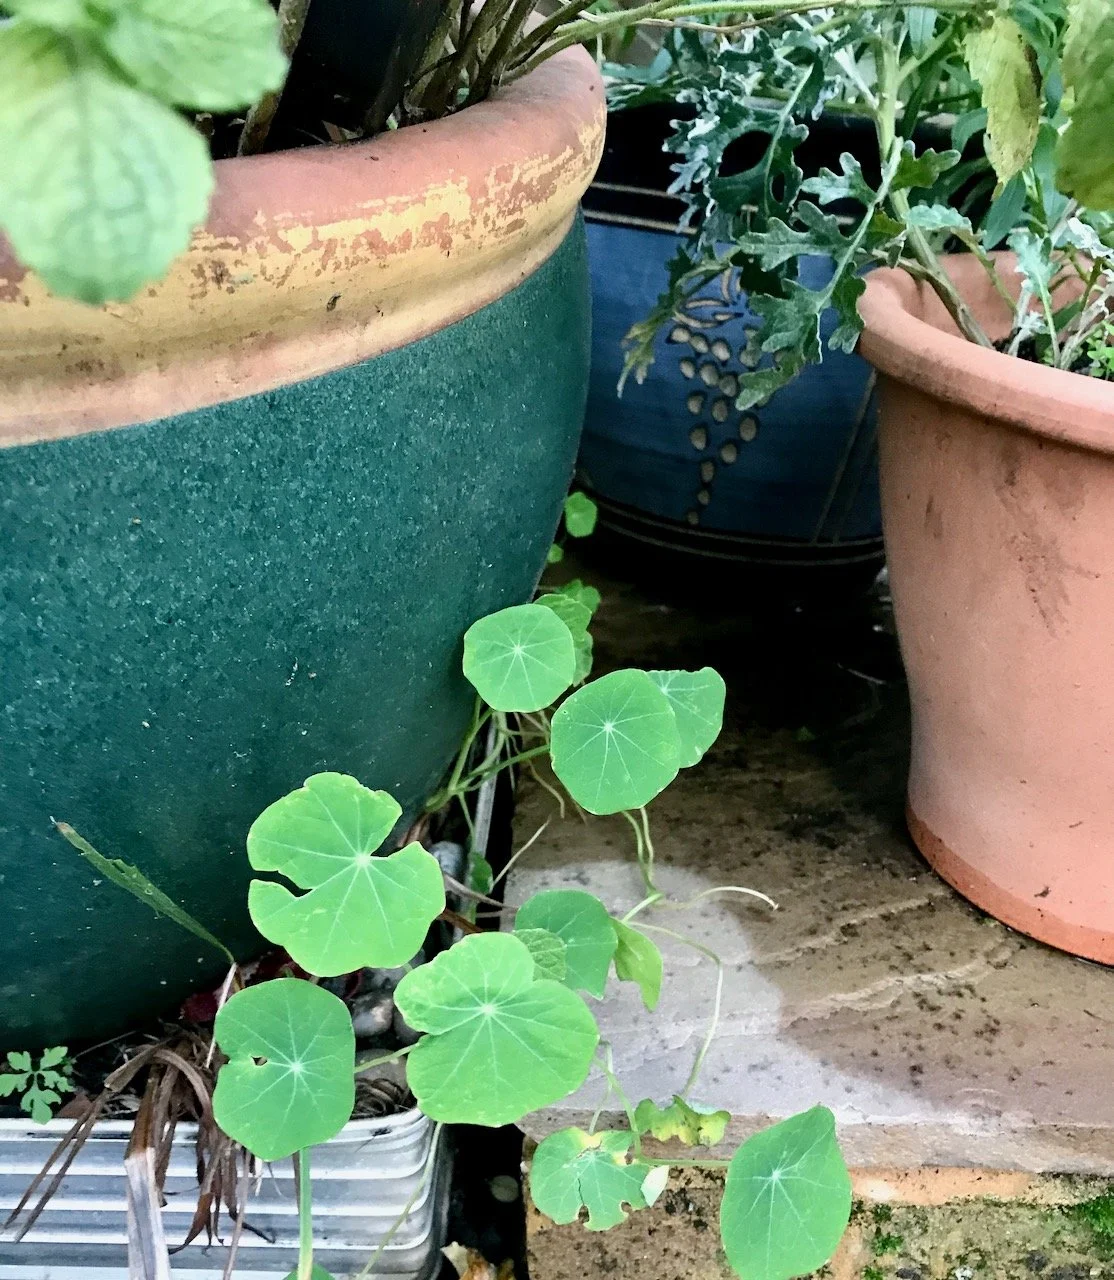
While out weeding one afternoon I spotted these young nasturtium leaves, which have self seeded themselves here. We had none all summer, but come November there they are. I’m not sure if they’ll last or even get to flowering, especially now we’re having a bit of a cold snap, but we’ll see.

self-seeded nasturtiums growing at the base of a collection of pots

And yes, that is my summer bedding. Still going strong and putting on quite a show to rival the winter bedding. Crazy times.

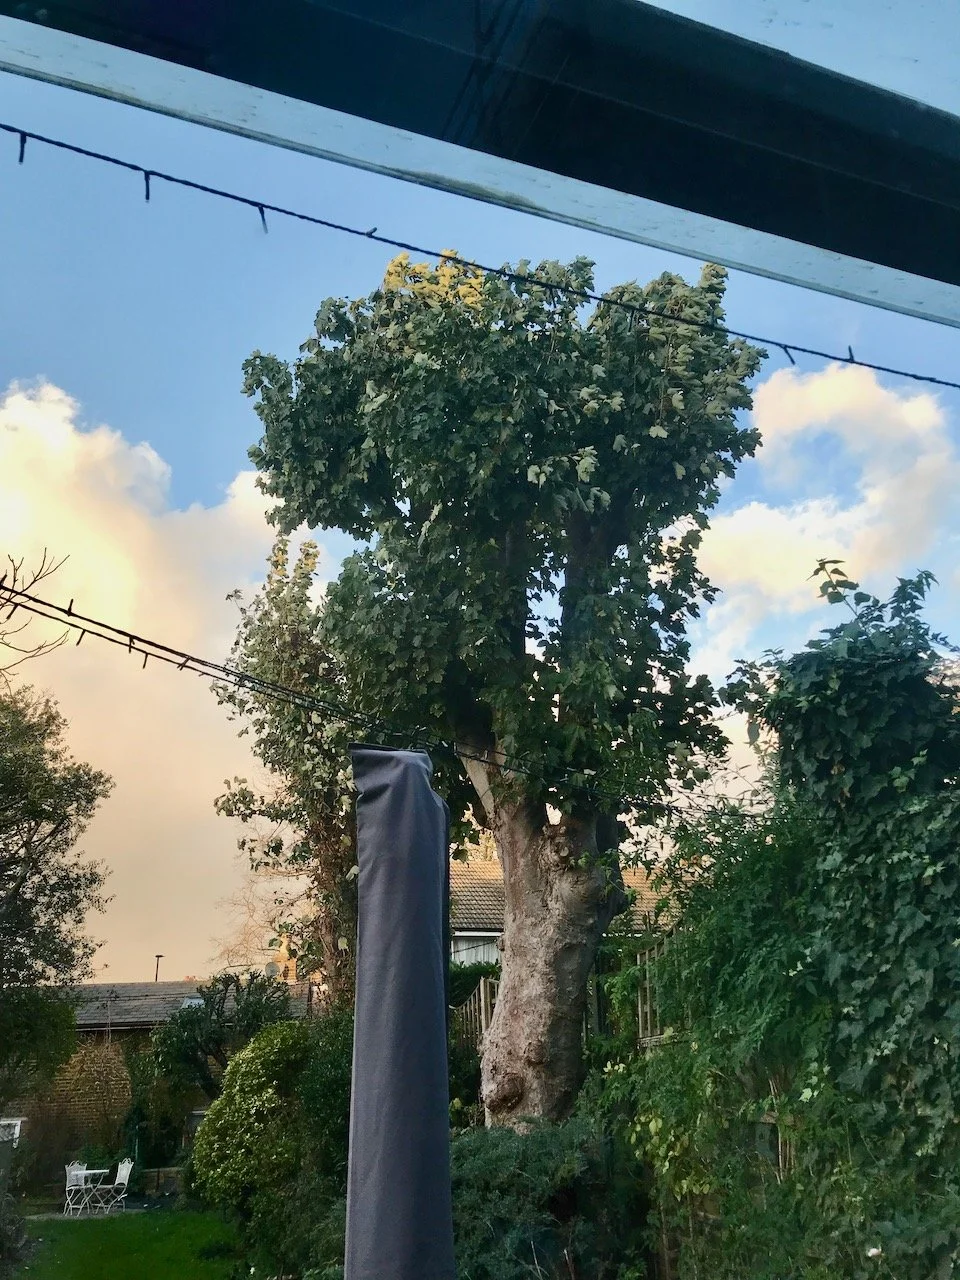
And finally before I end this post, an update on the trees we had pollarded in the summer. They’re still in leaf where usually they would have completely shed their leaves by now. We’re not really complaining as once the leaves come down, they need to be picked up again and dealt with - but this is highly unusual behaviour for the end of November. It’ll be interesting to see what they do over the next few months, but until then let me know if you’ve also noticed unseasonal behaviour in your gardens.

I was featured on Blogger Showcase

Digging out my watercolours

I’ve been experimenting. It’s been a long time since I used my watercolours, but I’ve been mesmerised by the many tutorials and reels on Instagram, as well as the fab artwork they seemingly easily produce. So rather than keep watching and wondering what if, I had a go.

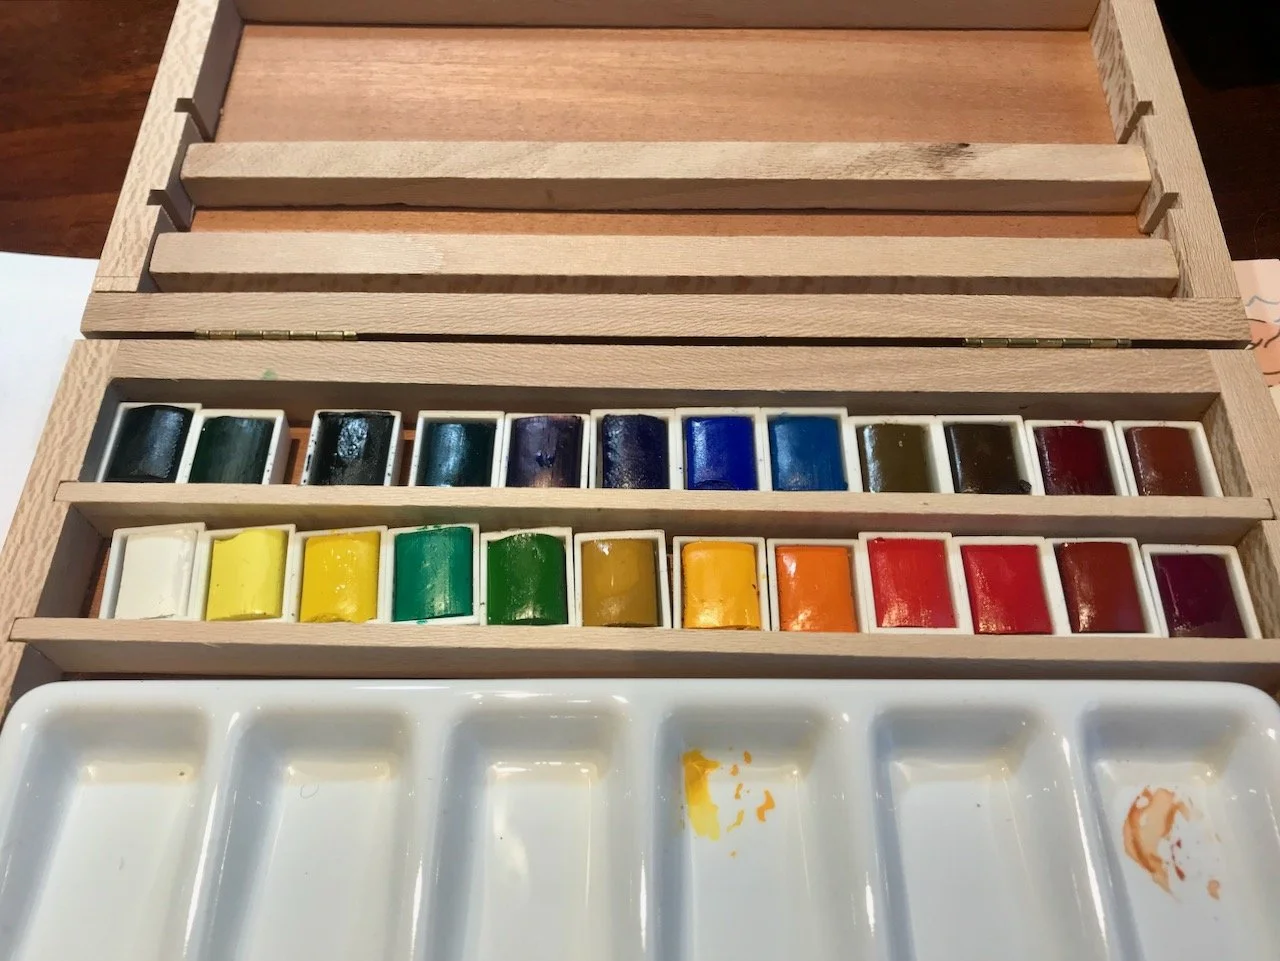
I was quickly reminded that it’s been a long time since I used my watercolours, and as you can see they’ve probably had minimal use previously.

My watercolours - two rows - in a wooden box with a white mixing tray at the front end of the box

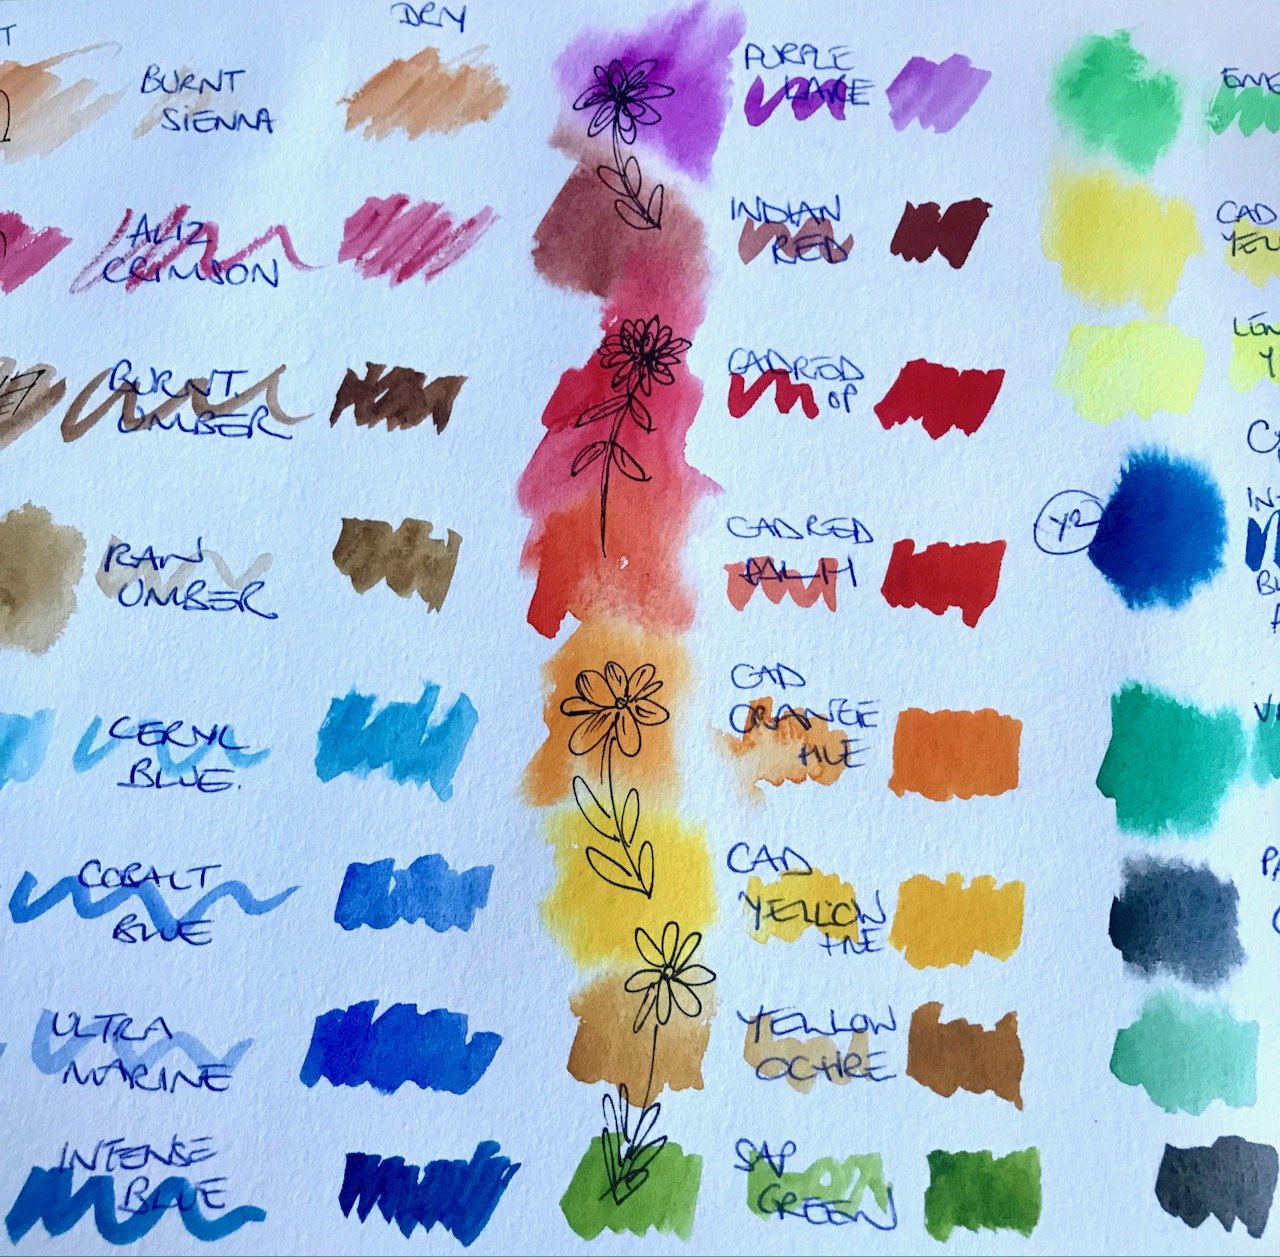
But I figured it couldn’t be hugely different to other crafts, even though a paintbrush is perhaps a less familiar tool. So I thought I’d start with something easy and explorative, as well as useful - what colours are what, and how they were different on wet and dry paper. It’s the wet paper approach that had really caught my eye, and it worked well in real life too.

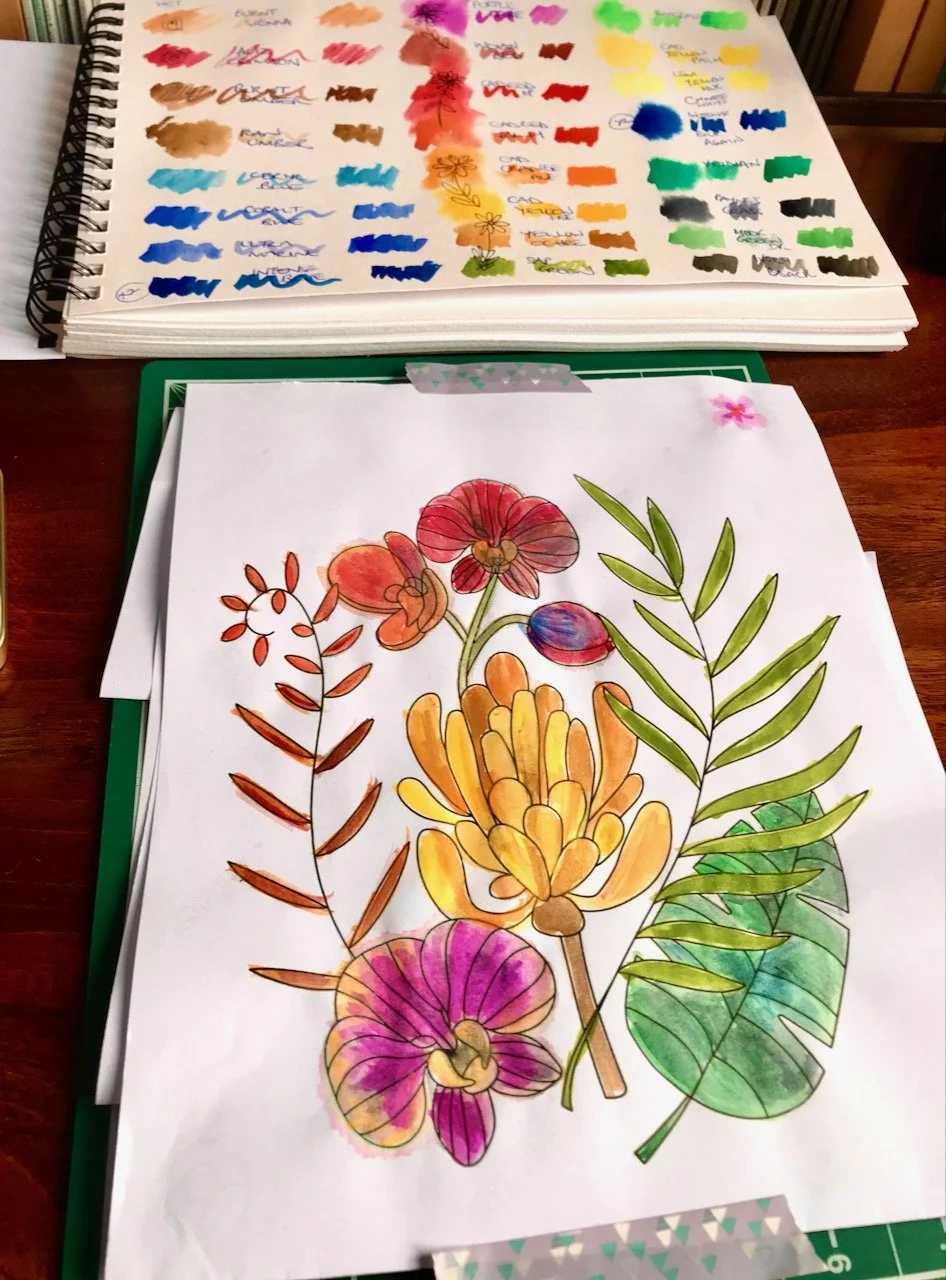
Trying all of the colours on wet and dry applications.  In the central column of 'wet' colours I've doodled flowers in black pen.  The names of the colours are written alongside each.

Where I think it really works is with the doodled flowers, which are in pen rather than with a brush. Again they’re rough and unplanned but they also show that that’s ok, and I think this is something that I’ll be exploring further.

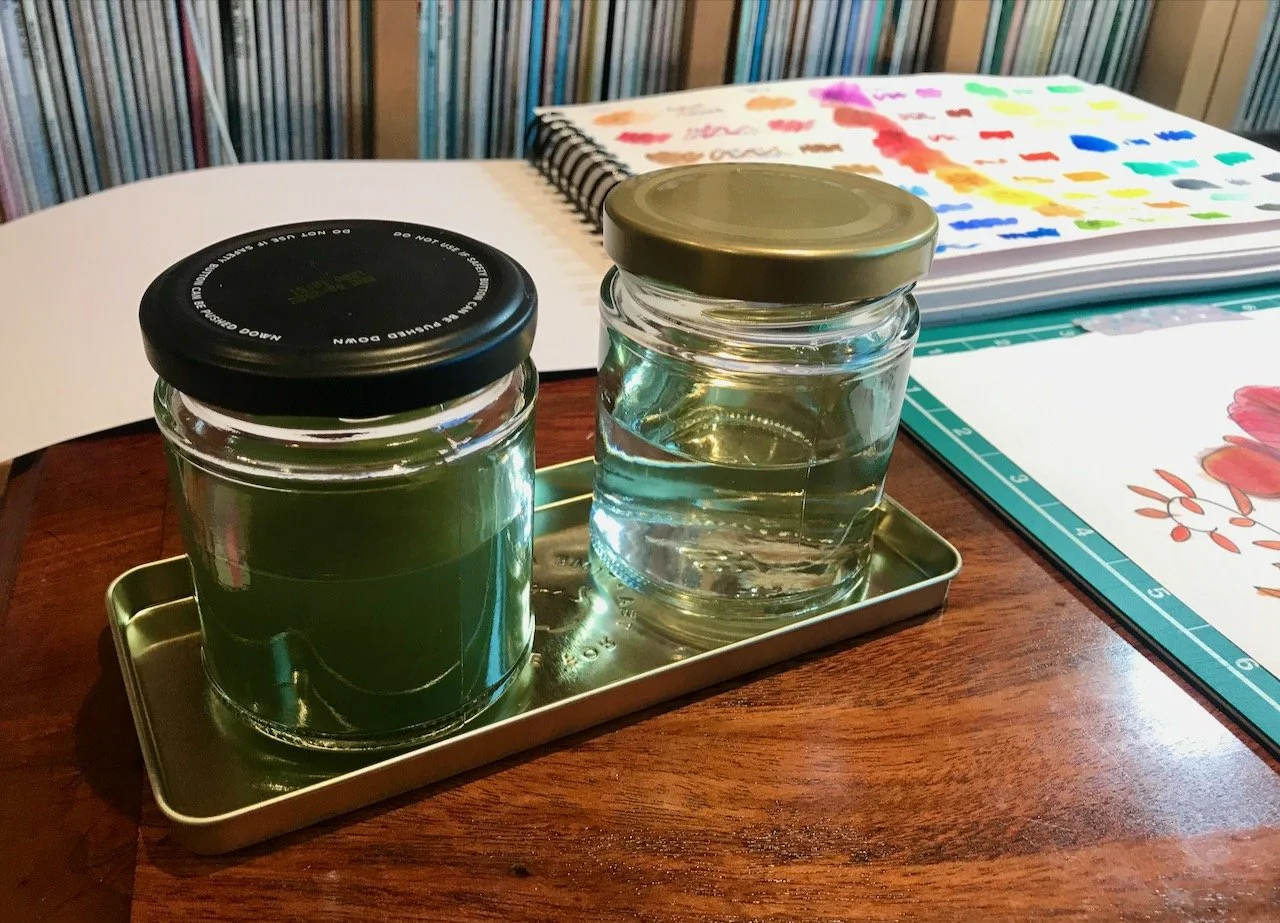
It was definitely worth watching some ‘how to’ videos before I started, both for inspiration and practical tips. The most practical tip was to have two water jars, one for cleaning brushes and allowed to get dirty, and the other for applying on the paper and paints. And it’s working. The other tip related to this which is probably even more important is to keep your mug of tea in a separate part of the desk so you don’t dip your brush in that by mistake!

Eminently sensible.

A dirty and clean lidded jar of water on an upturned lid on my desk

Not feeling quite brave enough yet to go freehand, but wanting to do more than squiggles. I decided my next step would be some ‘watercolour colouring in’ and so I found a design which could be printed. Of course this meant it was on usual printer paper, rather than the paper I’d used for the colour test in my sketchbook, and so it performed differently.

A first attempt at "colouring in" using watercolours and rough blending, with the colour palette sheet in the background

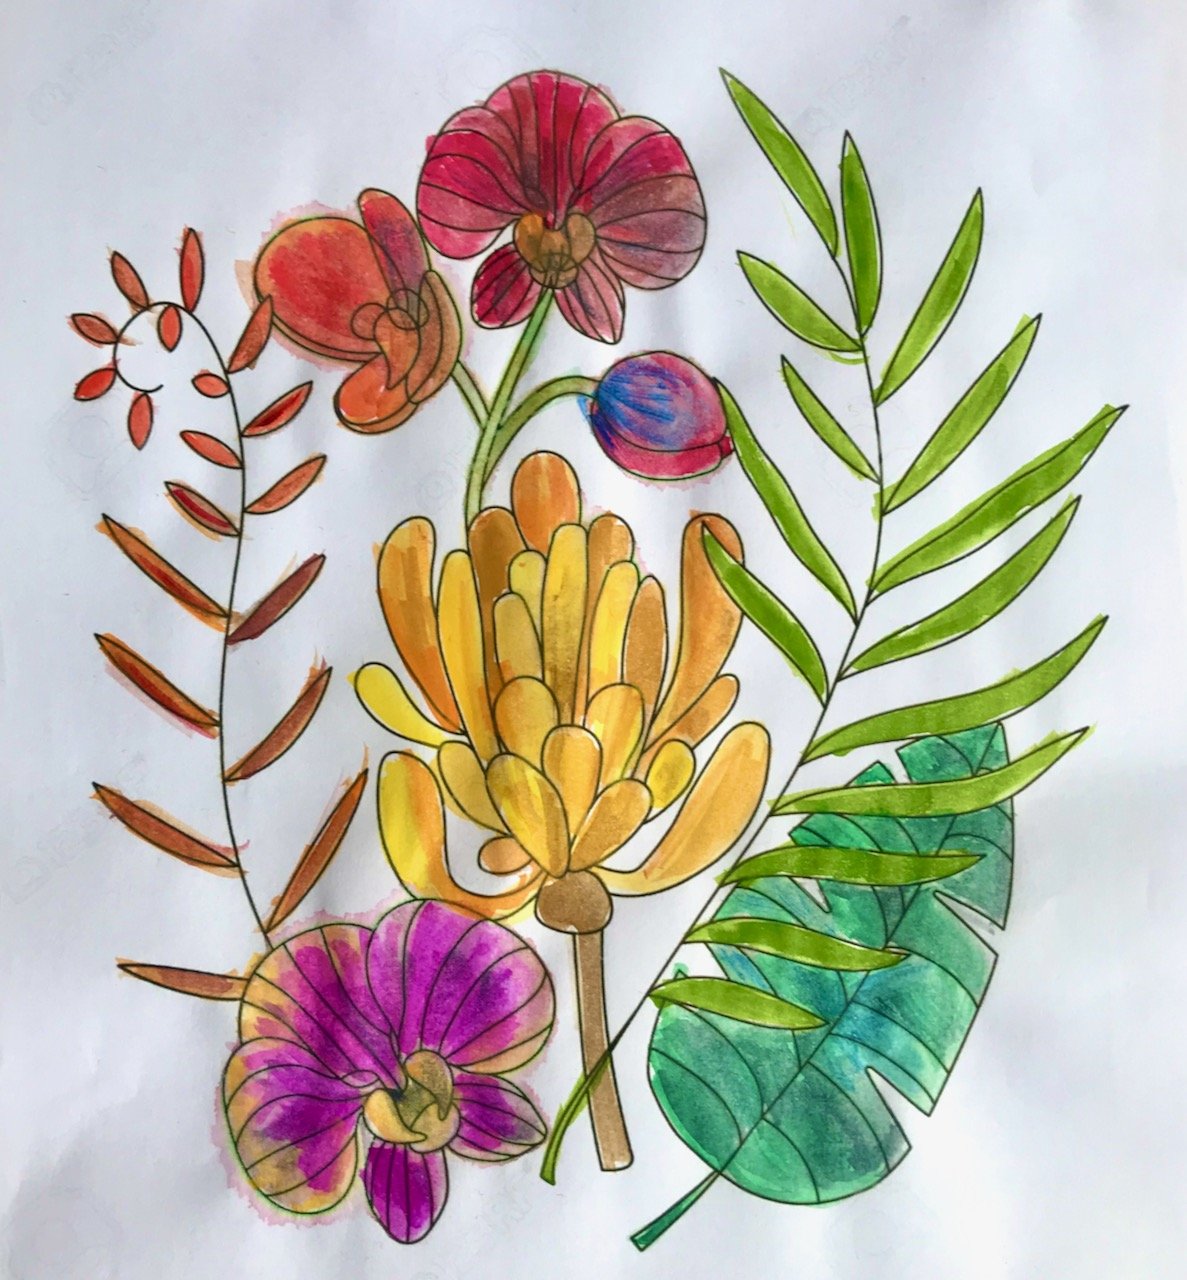
But it worked well enough for what I wanted. The blending is a bit rough, the colours are over the lines - but it was great fun, worthwhile and part of my learning journey. Now I just need to be braver and try something freehand - though I’ll be watching a few more of those tutorials before I start.

My finished colouring with watercolours - over the lines and all

I’ve a feeling I’ve a few more afternoons ahead of me experimenting and refining (or picking up) some technique!

I was featured on Blogger Showcase