
5 Handbag essentials for DIY projects

So for the past year or so as we redecorate our entire house my handbag has contained many decorating items from sample pots of paint to "screws we mustn't lose" and other random decorating paraphenalia. I've found though there's five things I wouldn't be without and these are my five handbag essentials:

1. At least one tape measure!

I prefer to use a pocket tape measure as it's much easier to measure something on your own and you can lock the it to any length, so you can measure things against the space you have. Also it says you mean business, especially in builders merchants and the likes, they aren't always ready for you to pull a builder's tape measure from your bag.

However they can be bulky so I usually have a more compact dressmakers tape measure in my bag too for the times when I don't want to carry the larger version. For me that's likely to be a quick pop into Oxford Street ahead of meeting MOH for dinner.  Believe me, rummaging through your handbag in a restaurant and pulling out the larger tape measure does illicit strange looks! 

Handy tip: if you have tradesmen working in your house make sure they don't mistakenly go off with your larger tape measure. I find a blob of pinky-red nail varnish on the back helps me identify which is mine!  Washi tape would also work. 
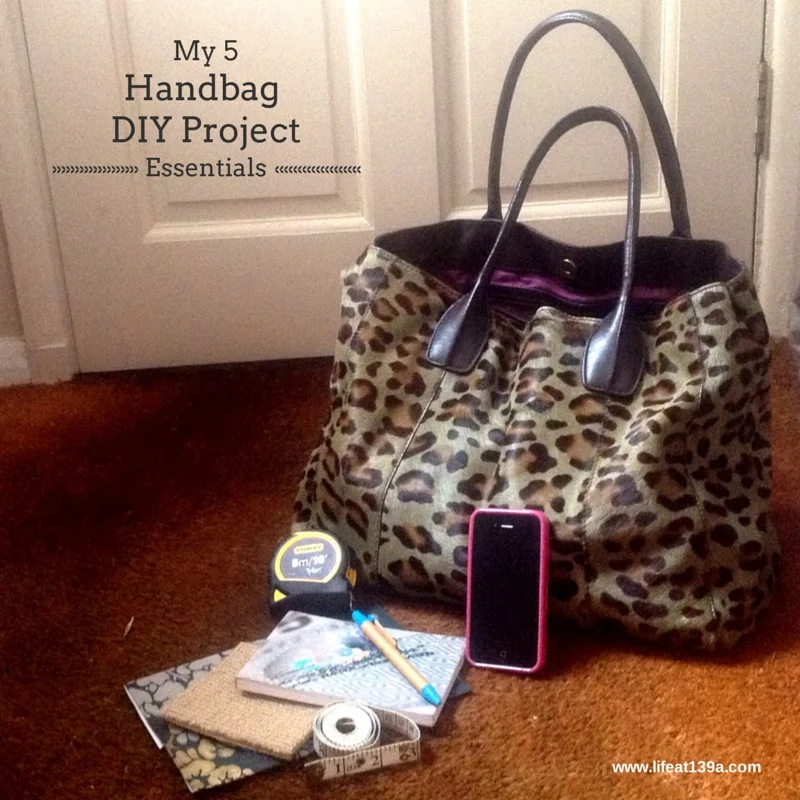
image.jpg

2. Your measurements  

Well not your measurements exactly, the ones of the room you're decorating. Get the most out of your tape measure and measure everything and note it down. Measure the room dimensions obviously, the window size and so on but also measure spaces between things. For example, how much room do you have between the bed and the wall?  How long, deep, tall is your sofa?  How big is the rug in your living room, and what's the largest or smallest it could be?

You'd be surprised at how often you'll refer to your measurements when you're shopping. Or how often you re-measure things because you didn't note them down. And if you're going to note them down then you might as well have them with you, it takes the guesswork out of shopping as you never know when inspiration may strike...

3. Your swatches and paint charts  

Keep them in a plastic wallet or a zip-lock plastic bag in your handbag. I use a small sandwich bag, the sort that you take liquids through security in. That means if you pop to the shops in your lunch break or get a chance to unexpectedly browse round the shops, if you see the perfect thing for your room, you'll know if it's perfect or not and you'll save having to make a return trip (either to buy it or return it!).  And the plastic bags helps protect them from everyday handbag life!

4. A smartphone 

Sometimes it's just easier to snap a picture of the thing you want and aren't sure about - or want to find cheaper elsewhere. As they say a picture speaks a thousand words...

5. A notepad and a pen that works

Yes I know you've got your smartphone but there's times where you'll be able to write faster than you can tap it into your phone -  even if you have your phone unlocked and your note app open.  Plus, it's much easier to read your own scribbled handwriting than a hastily and incorrectly typed note (spellcheck often gets in the way too), it's even more handy when your pen actually works!  Plus it means you'll have found a use for one of those lovely notebooks you've got... 


So there's my five handbag essentials during DIY projects, what's yours? 
 

52 Cookbooks 43: A simple stew of onions, beer & beef

Now the weather's chillier I was looking for a one-pot slow-cooked dinner and I thought Nigel Slater might have just the thing. And he did. There wasn't frost on the ground on the day I cooked this, but we were heading off for fireworks so it was great to have this cooking away in the oven for our return. 

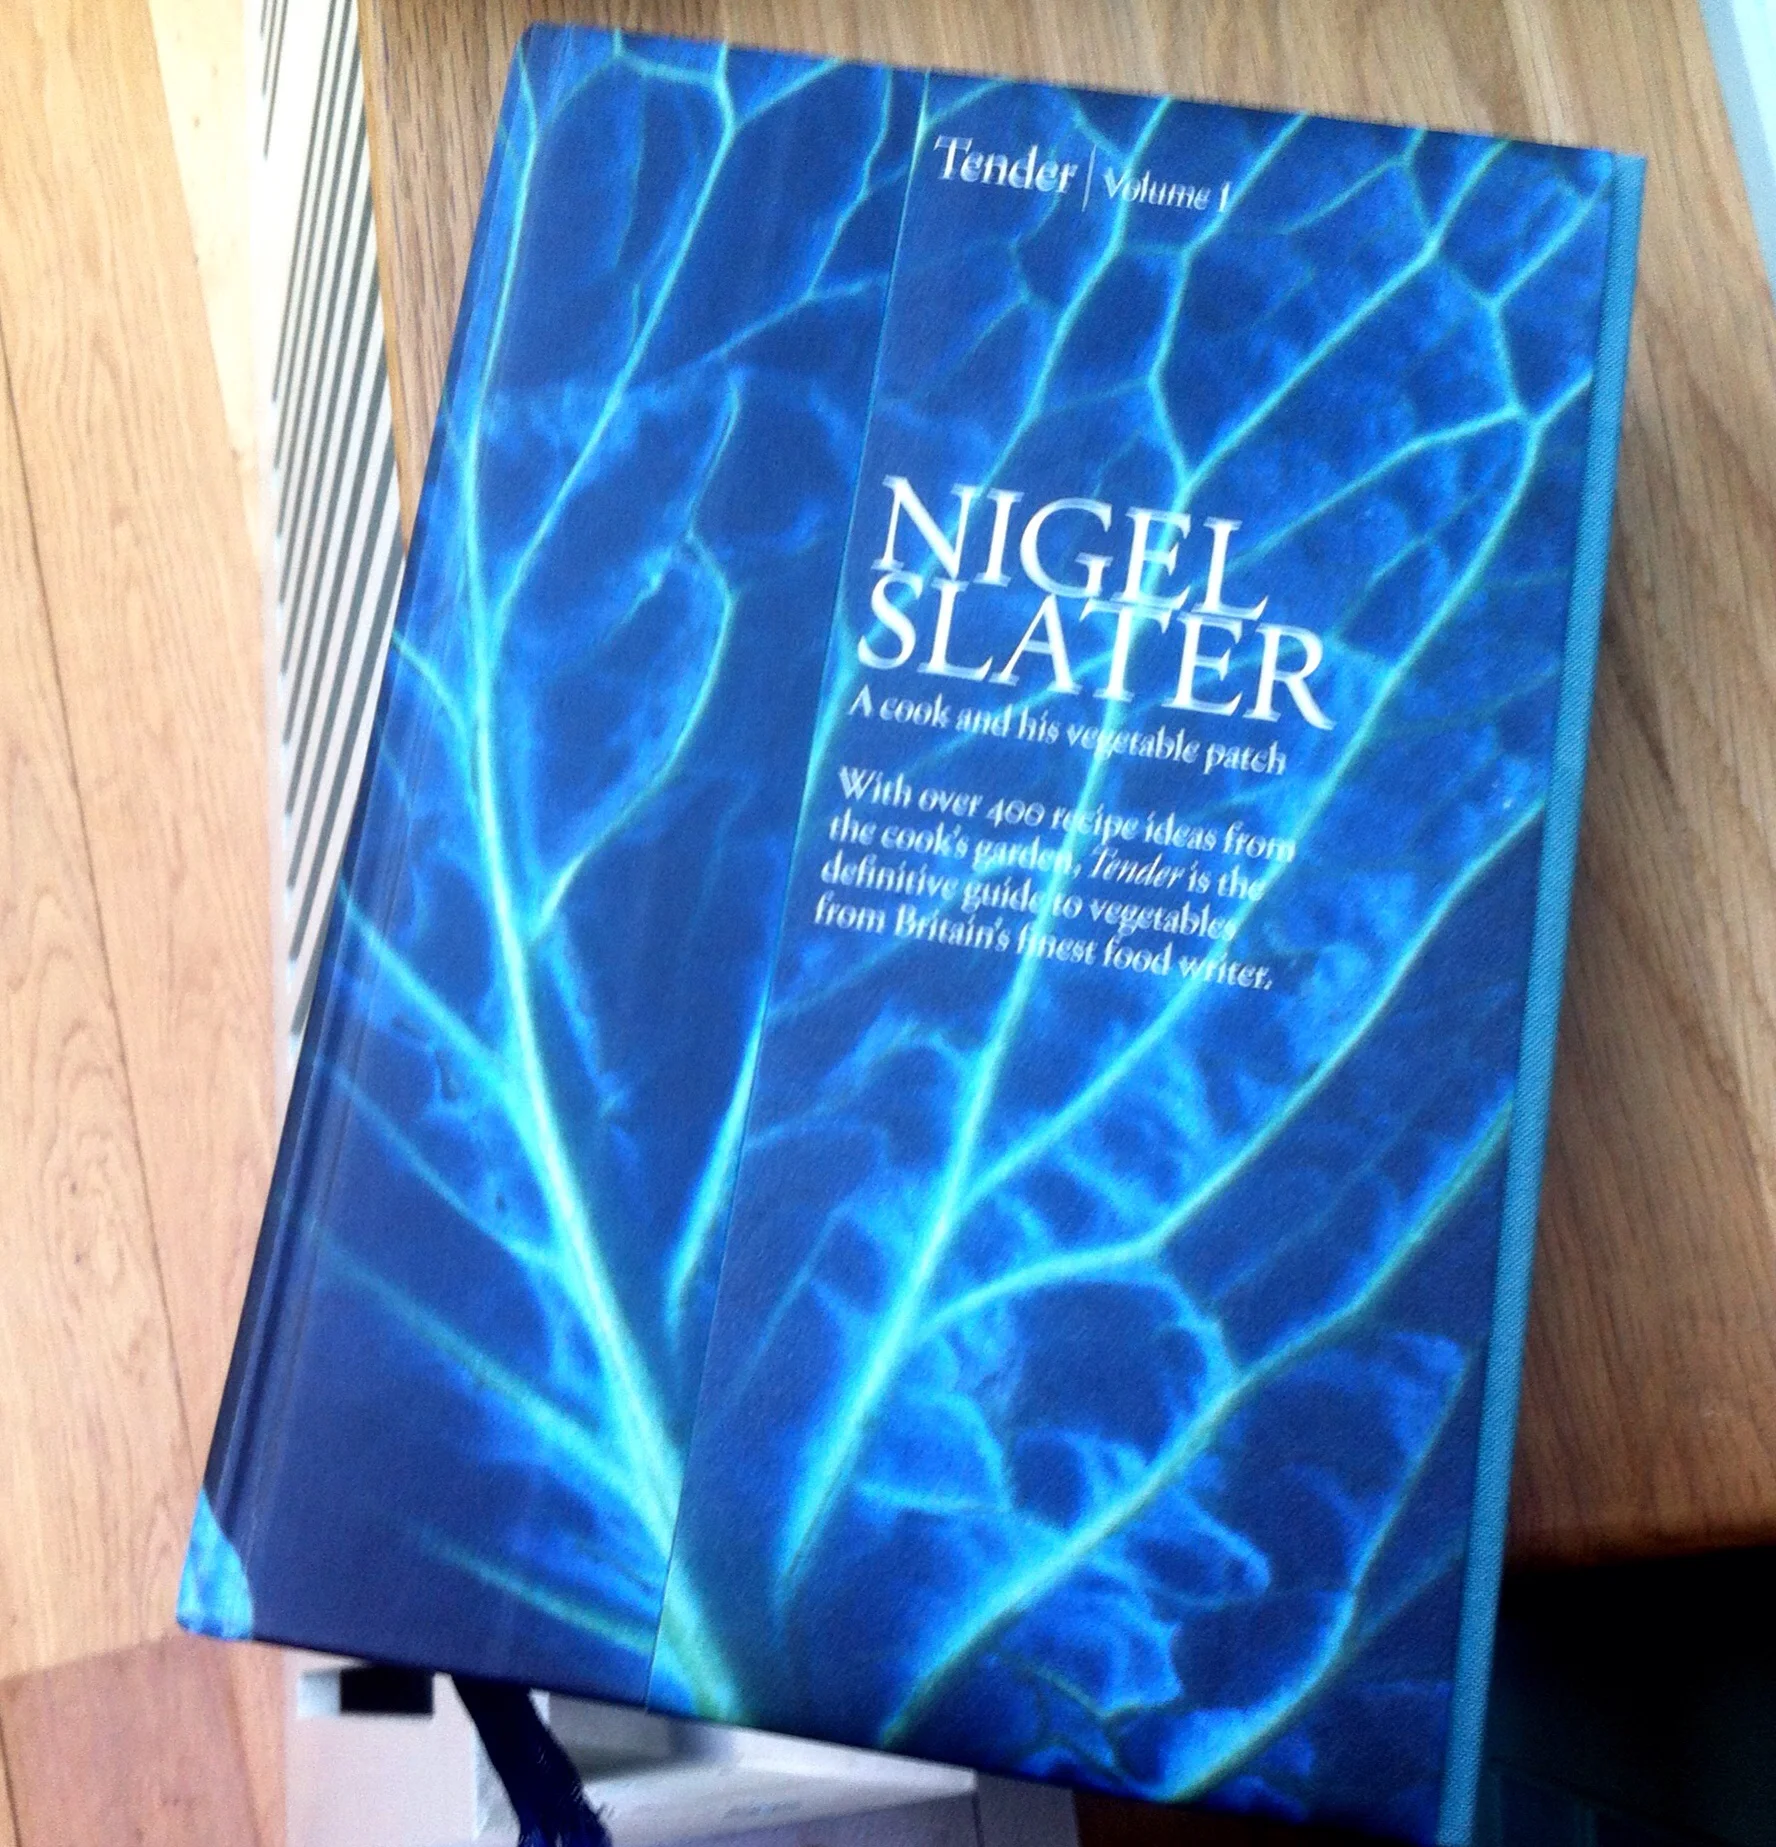
The book I've used this week is Nigel Slater's Tender Volume 1 - it's another book I don't use enough and it's chapters are split by vegetable. As well as an intro for each subject title - this one was in onions - there's advice on how to grow onions and which varieties to grow and how an onion behaves and mixes in the kitchen too, as well as the recipes. 

52 Cookbooks, where I cook a recipe each week from one of my (ahem) many cookbooks

52 Cookbooks, where I cook a recipe each week from one of my (ahem) many cookbooks

This recipe has few ingredients and like many of the things I'm cooking in this series I already had most of them. The recipe called for stewing beef, well I had skirt so as that was a slow cooking cut of meat I used that. There's also butter, onions, thyme, plain flour, bay leaves, red currant jelly and the only ingredient I needed to buy - beer (shocking I know!) The recipe said Trappist beer, but this was the closest I could find (and it may not be that close):

image.jpg

I started by melting the butter and browned the seasoned meat. I did this in batches removing it from the pan and replacing it with the thinly sliced onions and thyme leaves and cooked these until they were soft and pale, before adding in some flour and cooking a little more.  

Then it was time to add the beer and bay leaves. The recipe said to wait until the sizzling had subsided - and boy did it sizzle - before returning the beef and it's juices to the pan. Then bring the pan to the boil, pop on the lid and transfer to the oven. The recipe says for at least one and a half hours - mine needed longer.  I'm not sure if that was solely due to the cut of meat I was using or because I used a lower oven temperature for the Le Cruesuet casserole dish.  

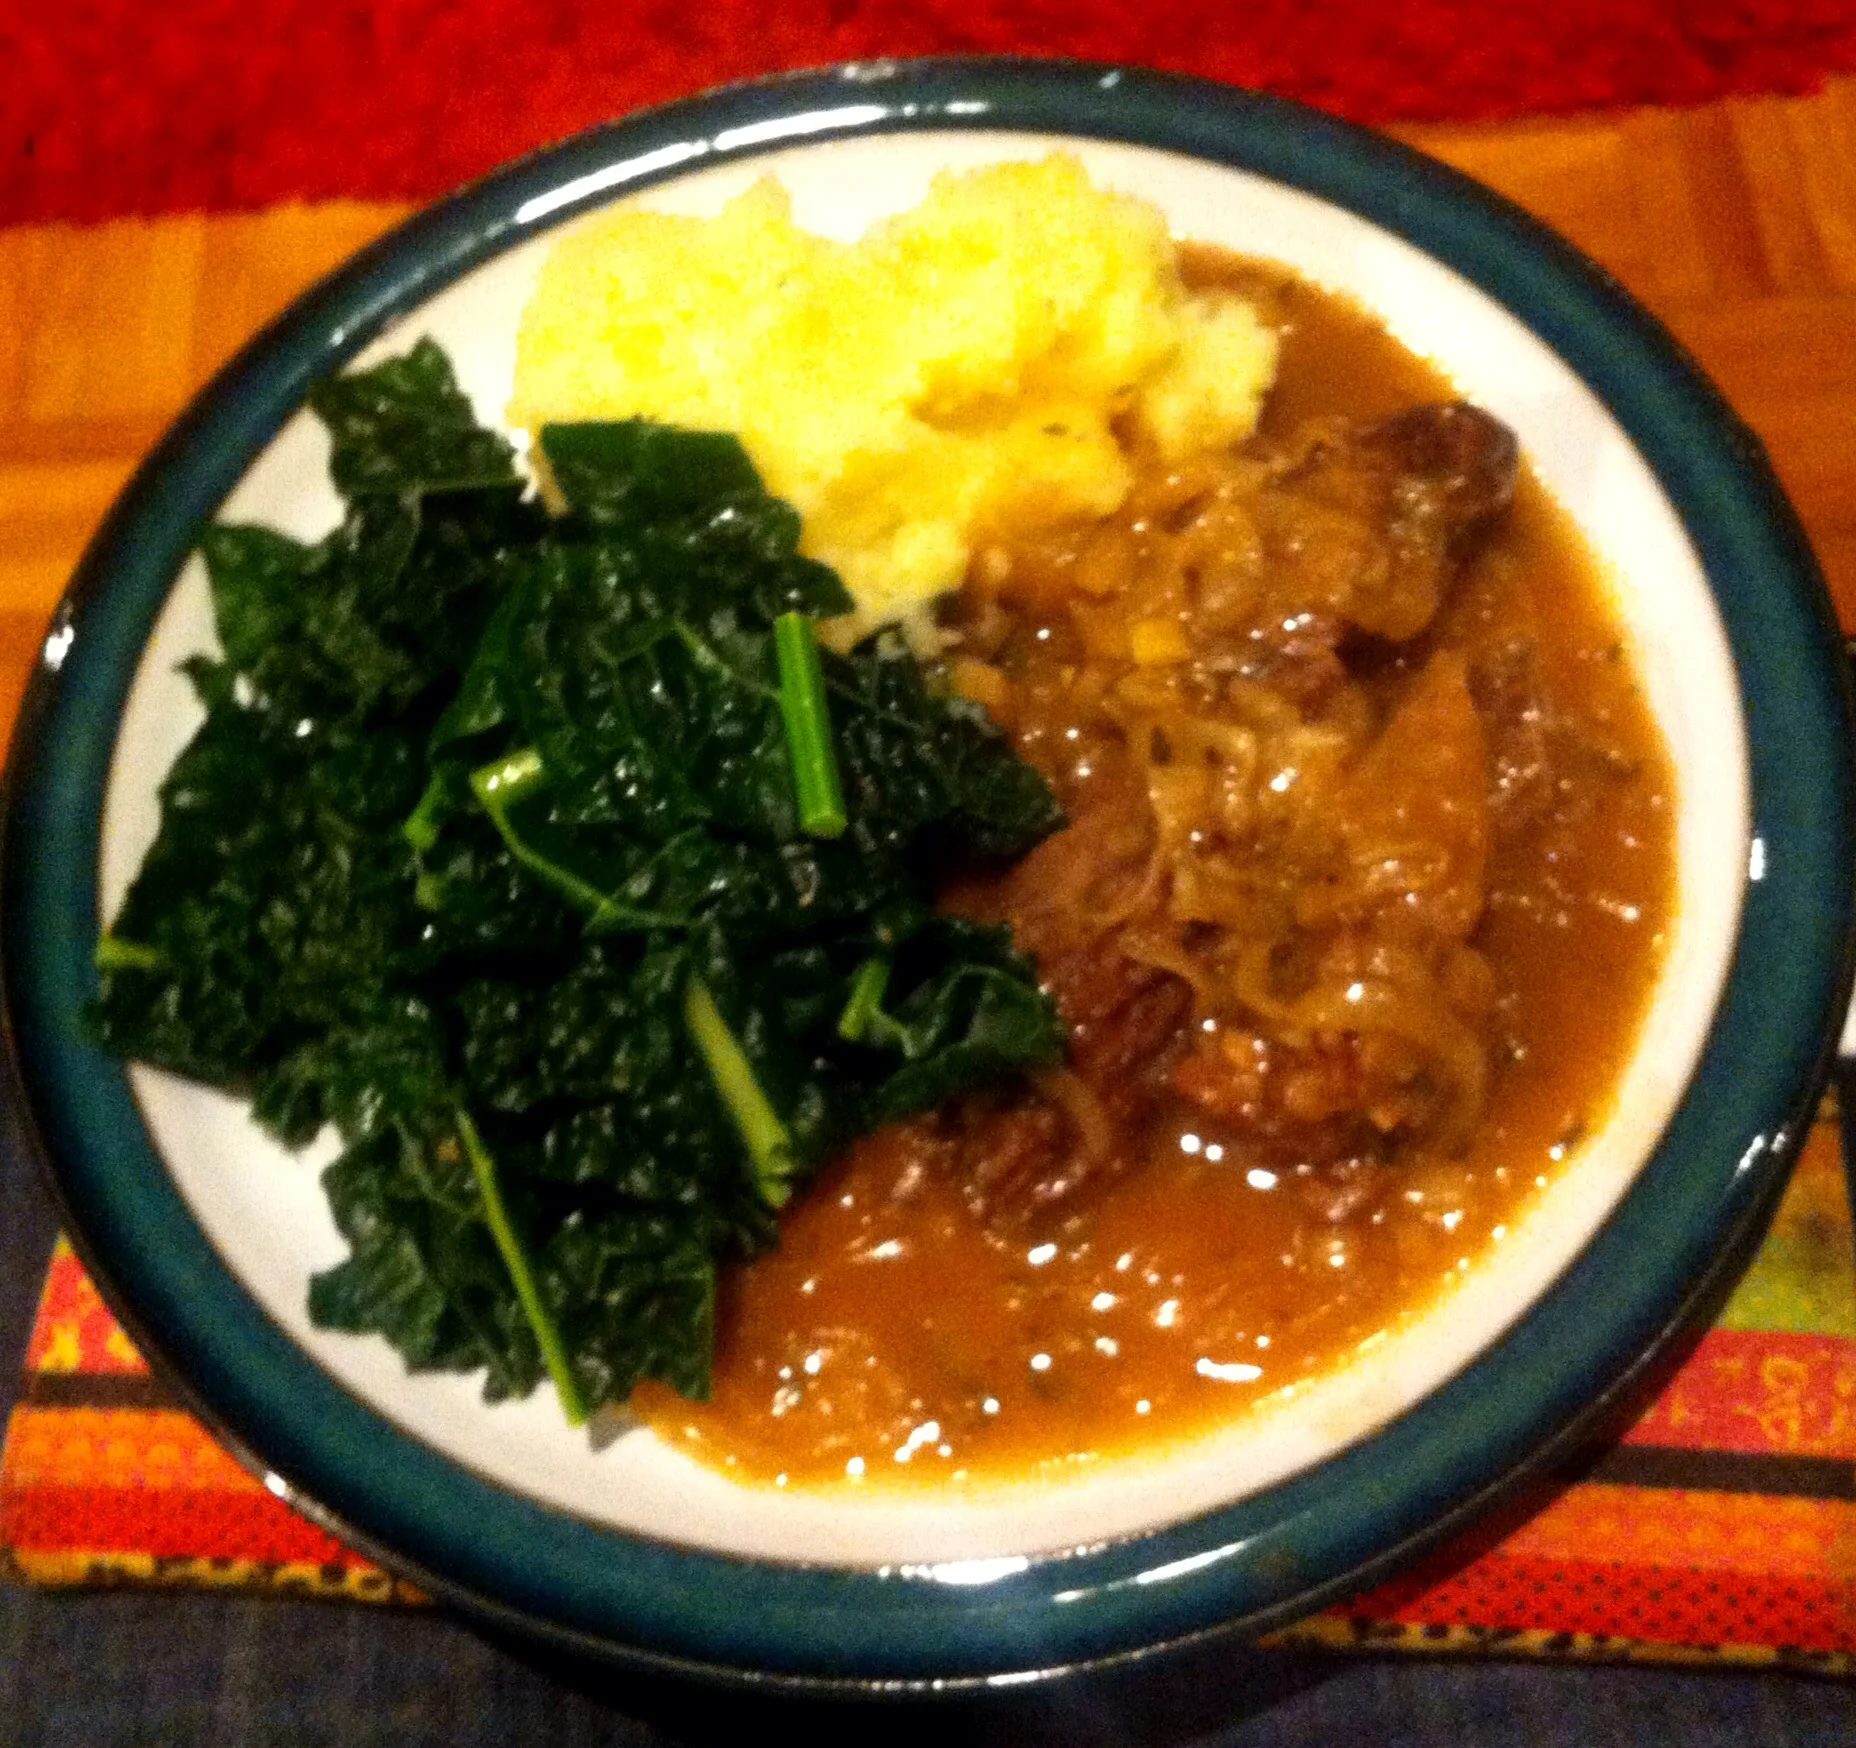
Then just before serving stir in a tablespoon of redcurrant jelly and check the seasoning. Nigel suggests serving this with an apple sauce - yes with beef - however I decided against that, as we were out most of the time it was cooking. I did serve mashed potato and kale.

image.jpg

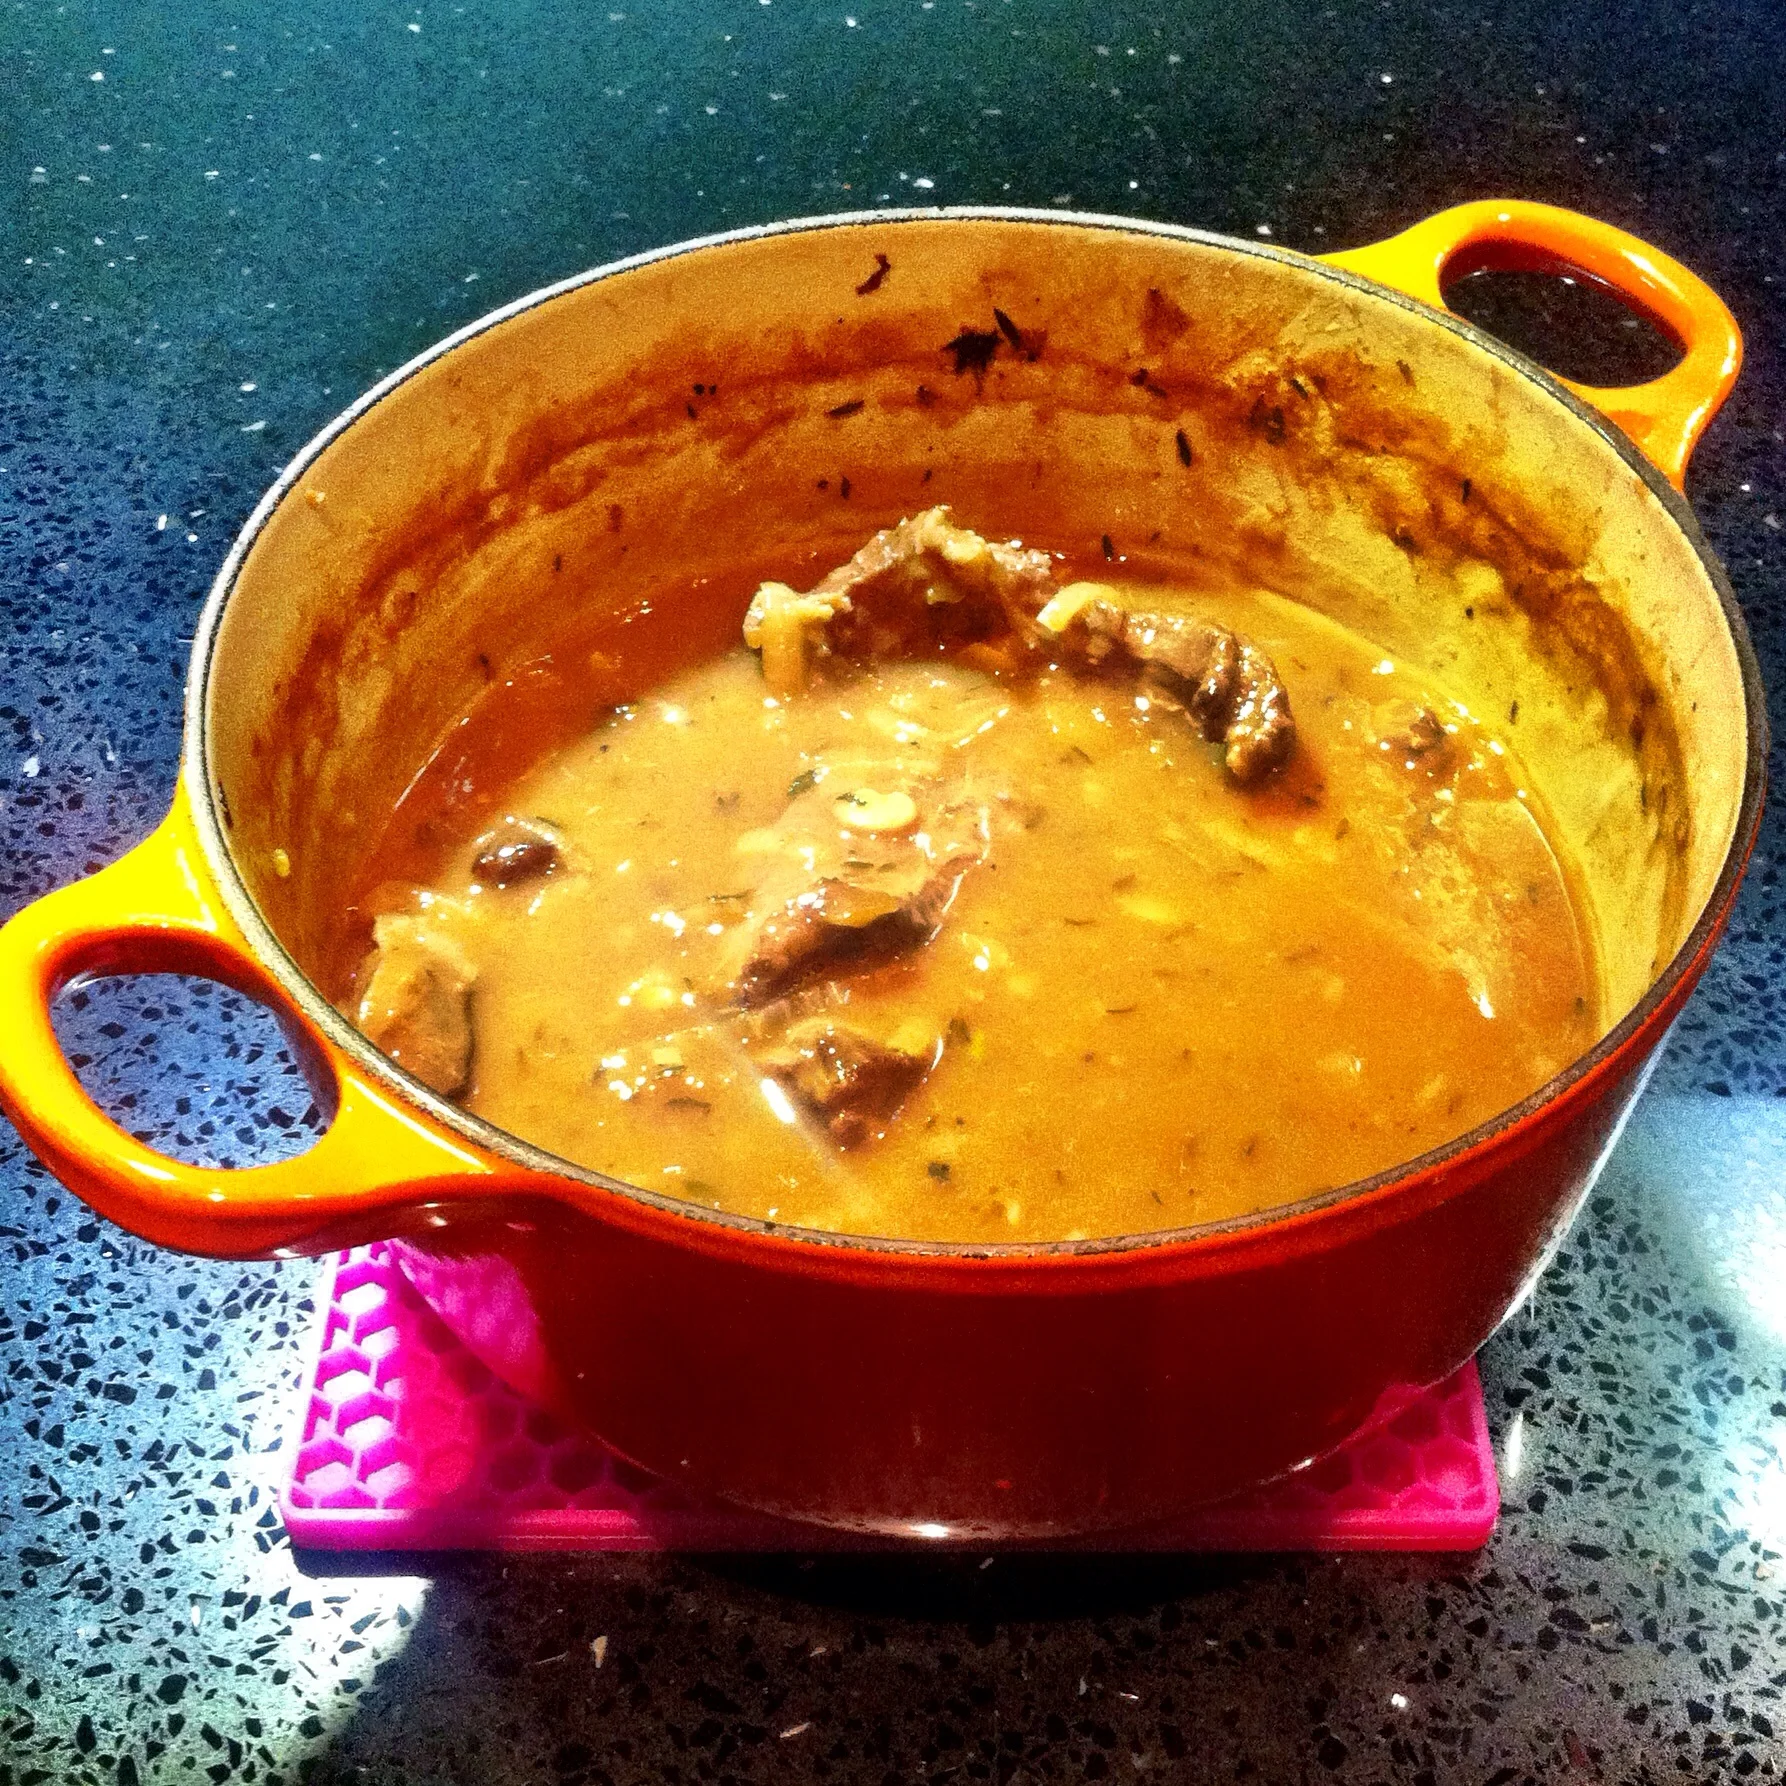
I did forget to photograph the casserole dish before we ate dinner, but there was plenty left for dinner another day (it's in the freezer ready and waiting). 

The verdict

- this was an easy but tasty one-pot; because I used blond bier I also added a beef oxo cube to help deepen the colour which worked well

- the sauce was relatively sweet, most likely down to the amount of onions - but still good

- I'd cook this again because it's so simple and as with any slow-cook cut of meat the longer you cook it the better

- I'm considering adding mushrooms and carrots to the leftovers along with a puff pastry top to form a nice warming pie...

image.jpg

Our "twiglet" Sycamore trees

You may remember back in the summer we had a couple of branches down from our Sycamore trees, which was causing concern rather than damage - although the greenhouse did have a lucky escape, see Timberrr! Again. And pesky wildlife.  After a couple more smaller branches came down we decided it was time to call someone in to look at them and tell us what might be causing them to shed their branches. 

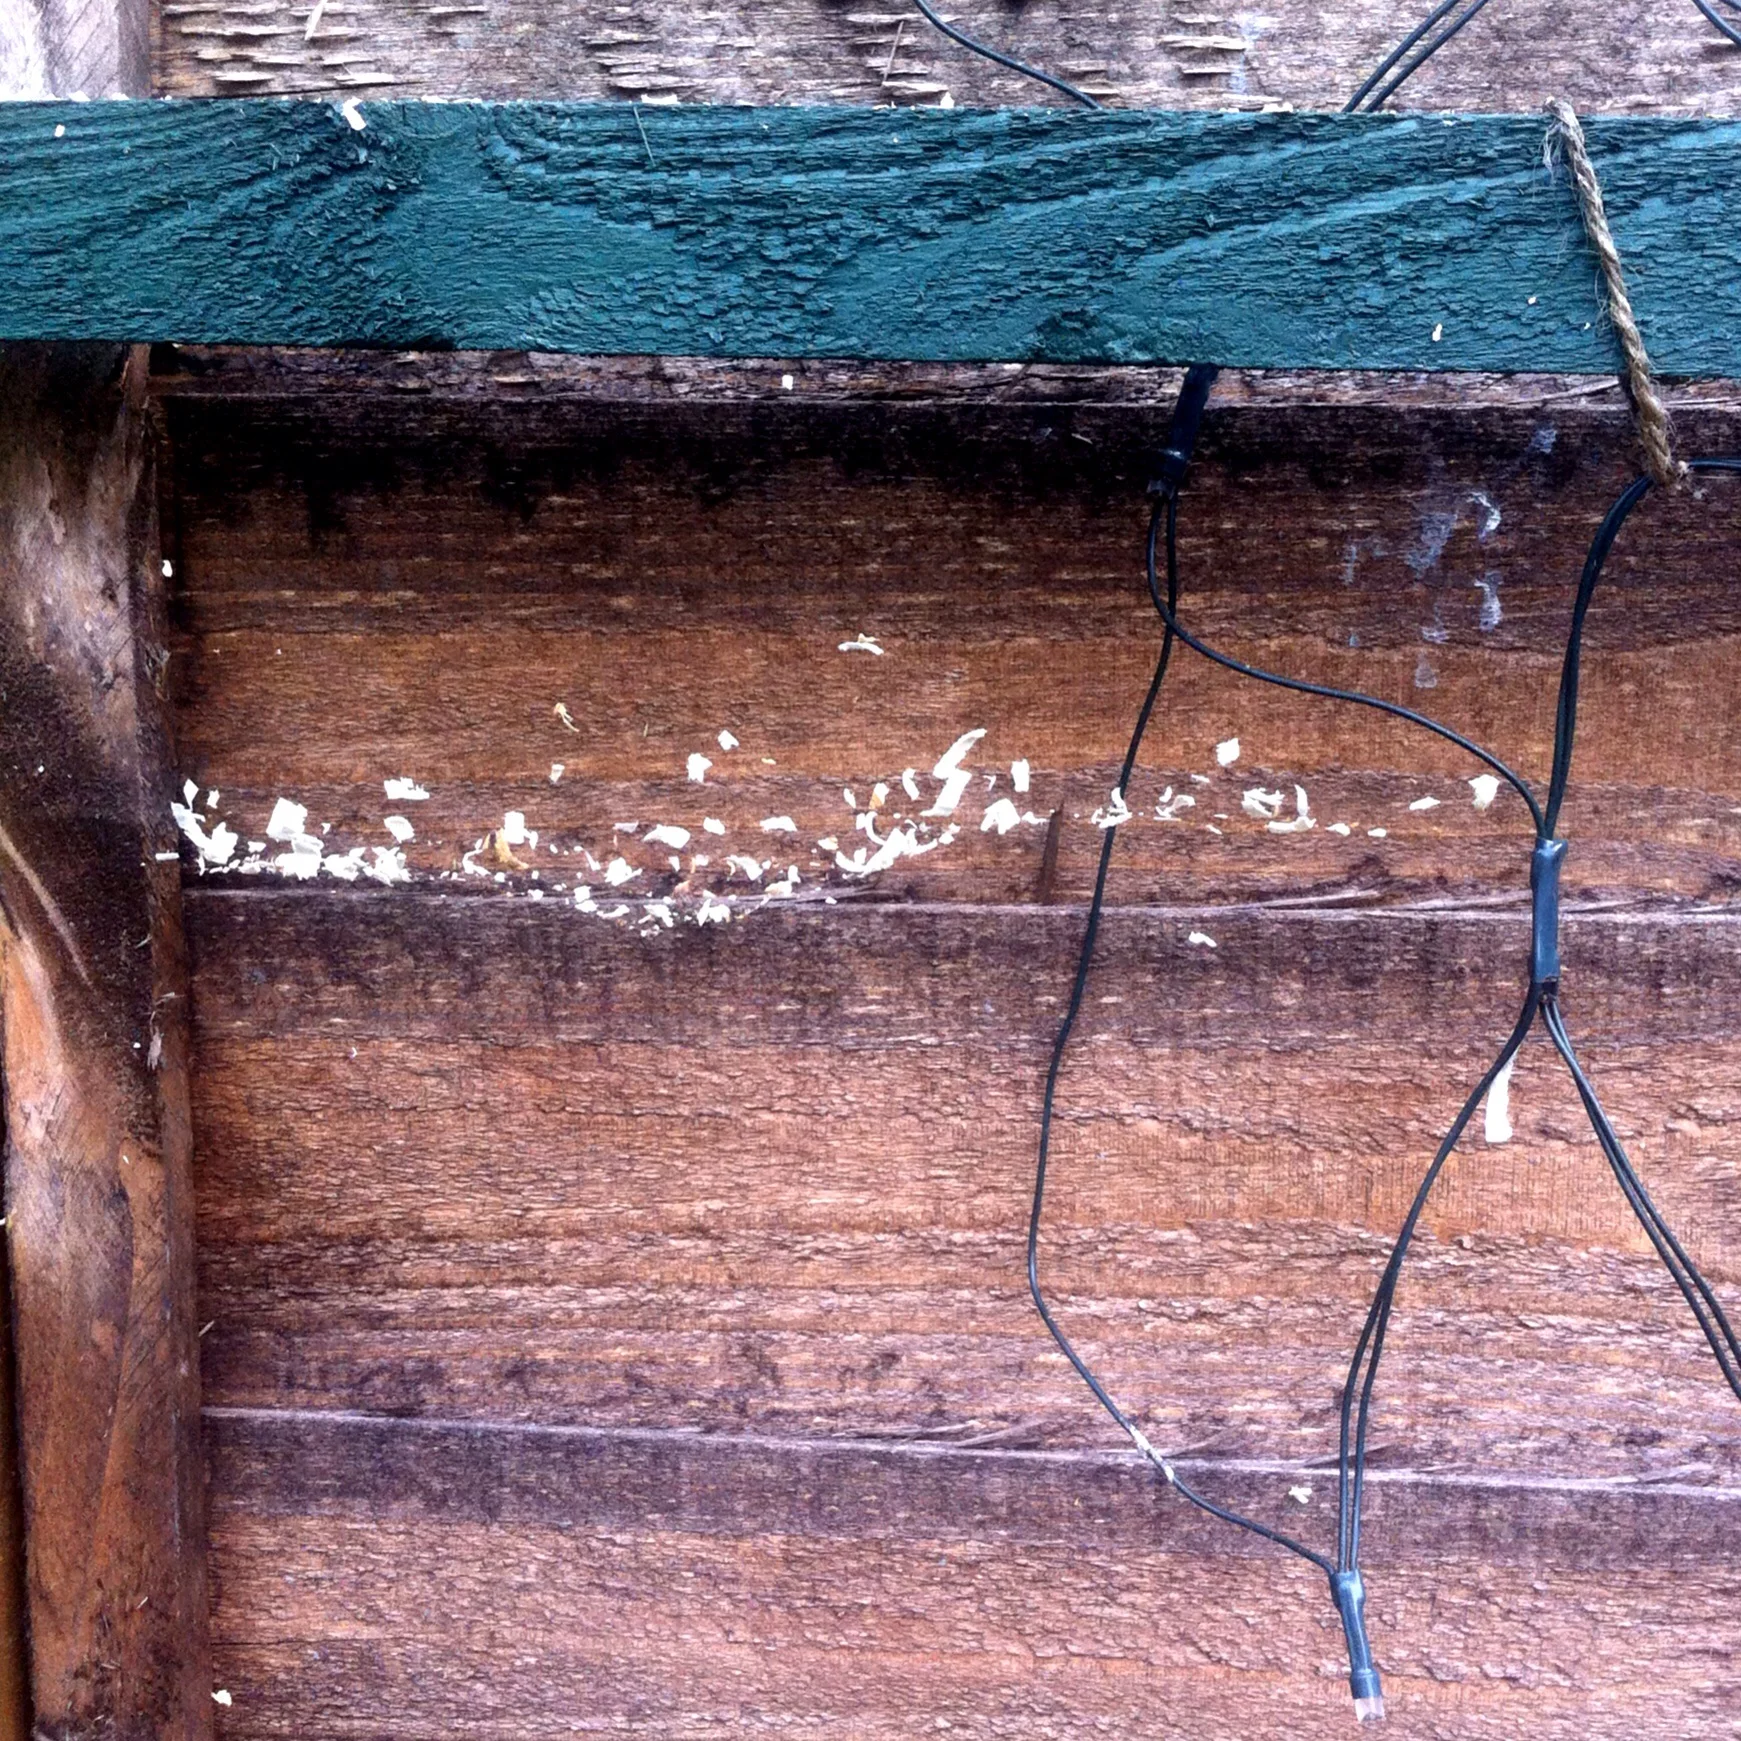
The tree surgeon made short work of diagnosing our issue. Squirrels. Yes, the pesky wildlife (although thankfully not the digging sort, see How my garden fared for itself) had taken things to a new level, quite literally and had been stripping the bark off our sycamores so they could get to the sweet, milky sap. And where they'd stripped the bark the whole way round, that branch died and eventually fell down.  Timberrr!

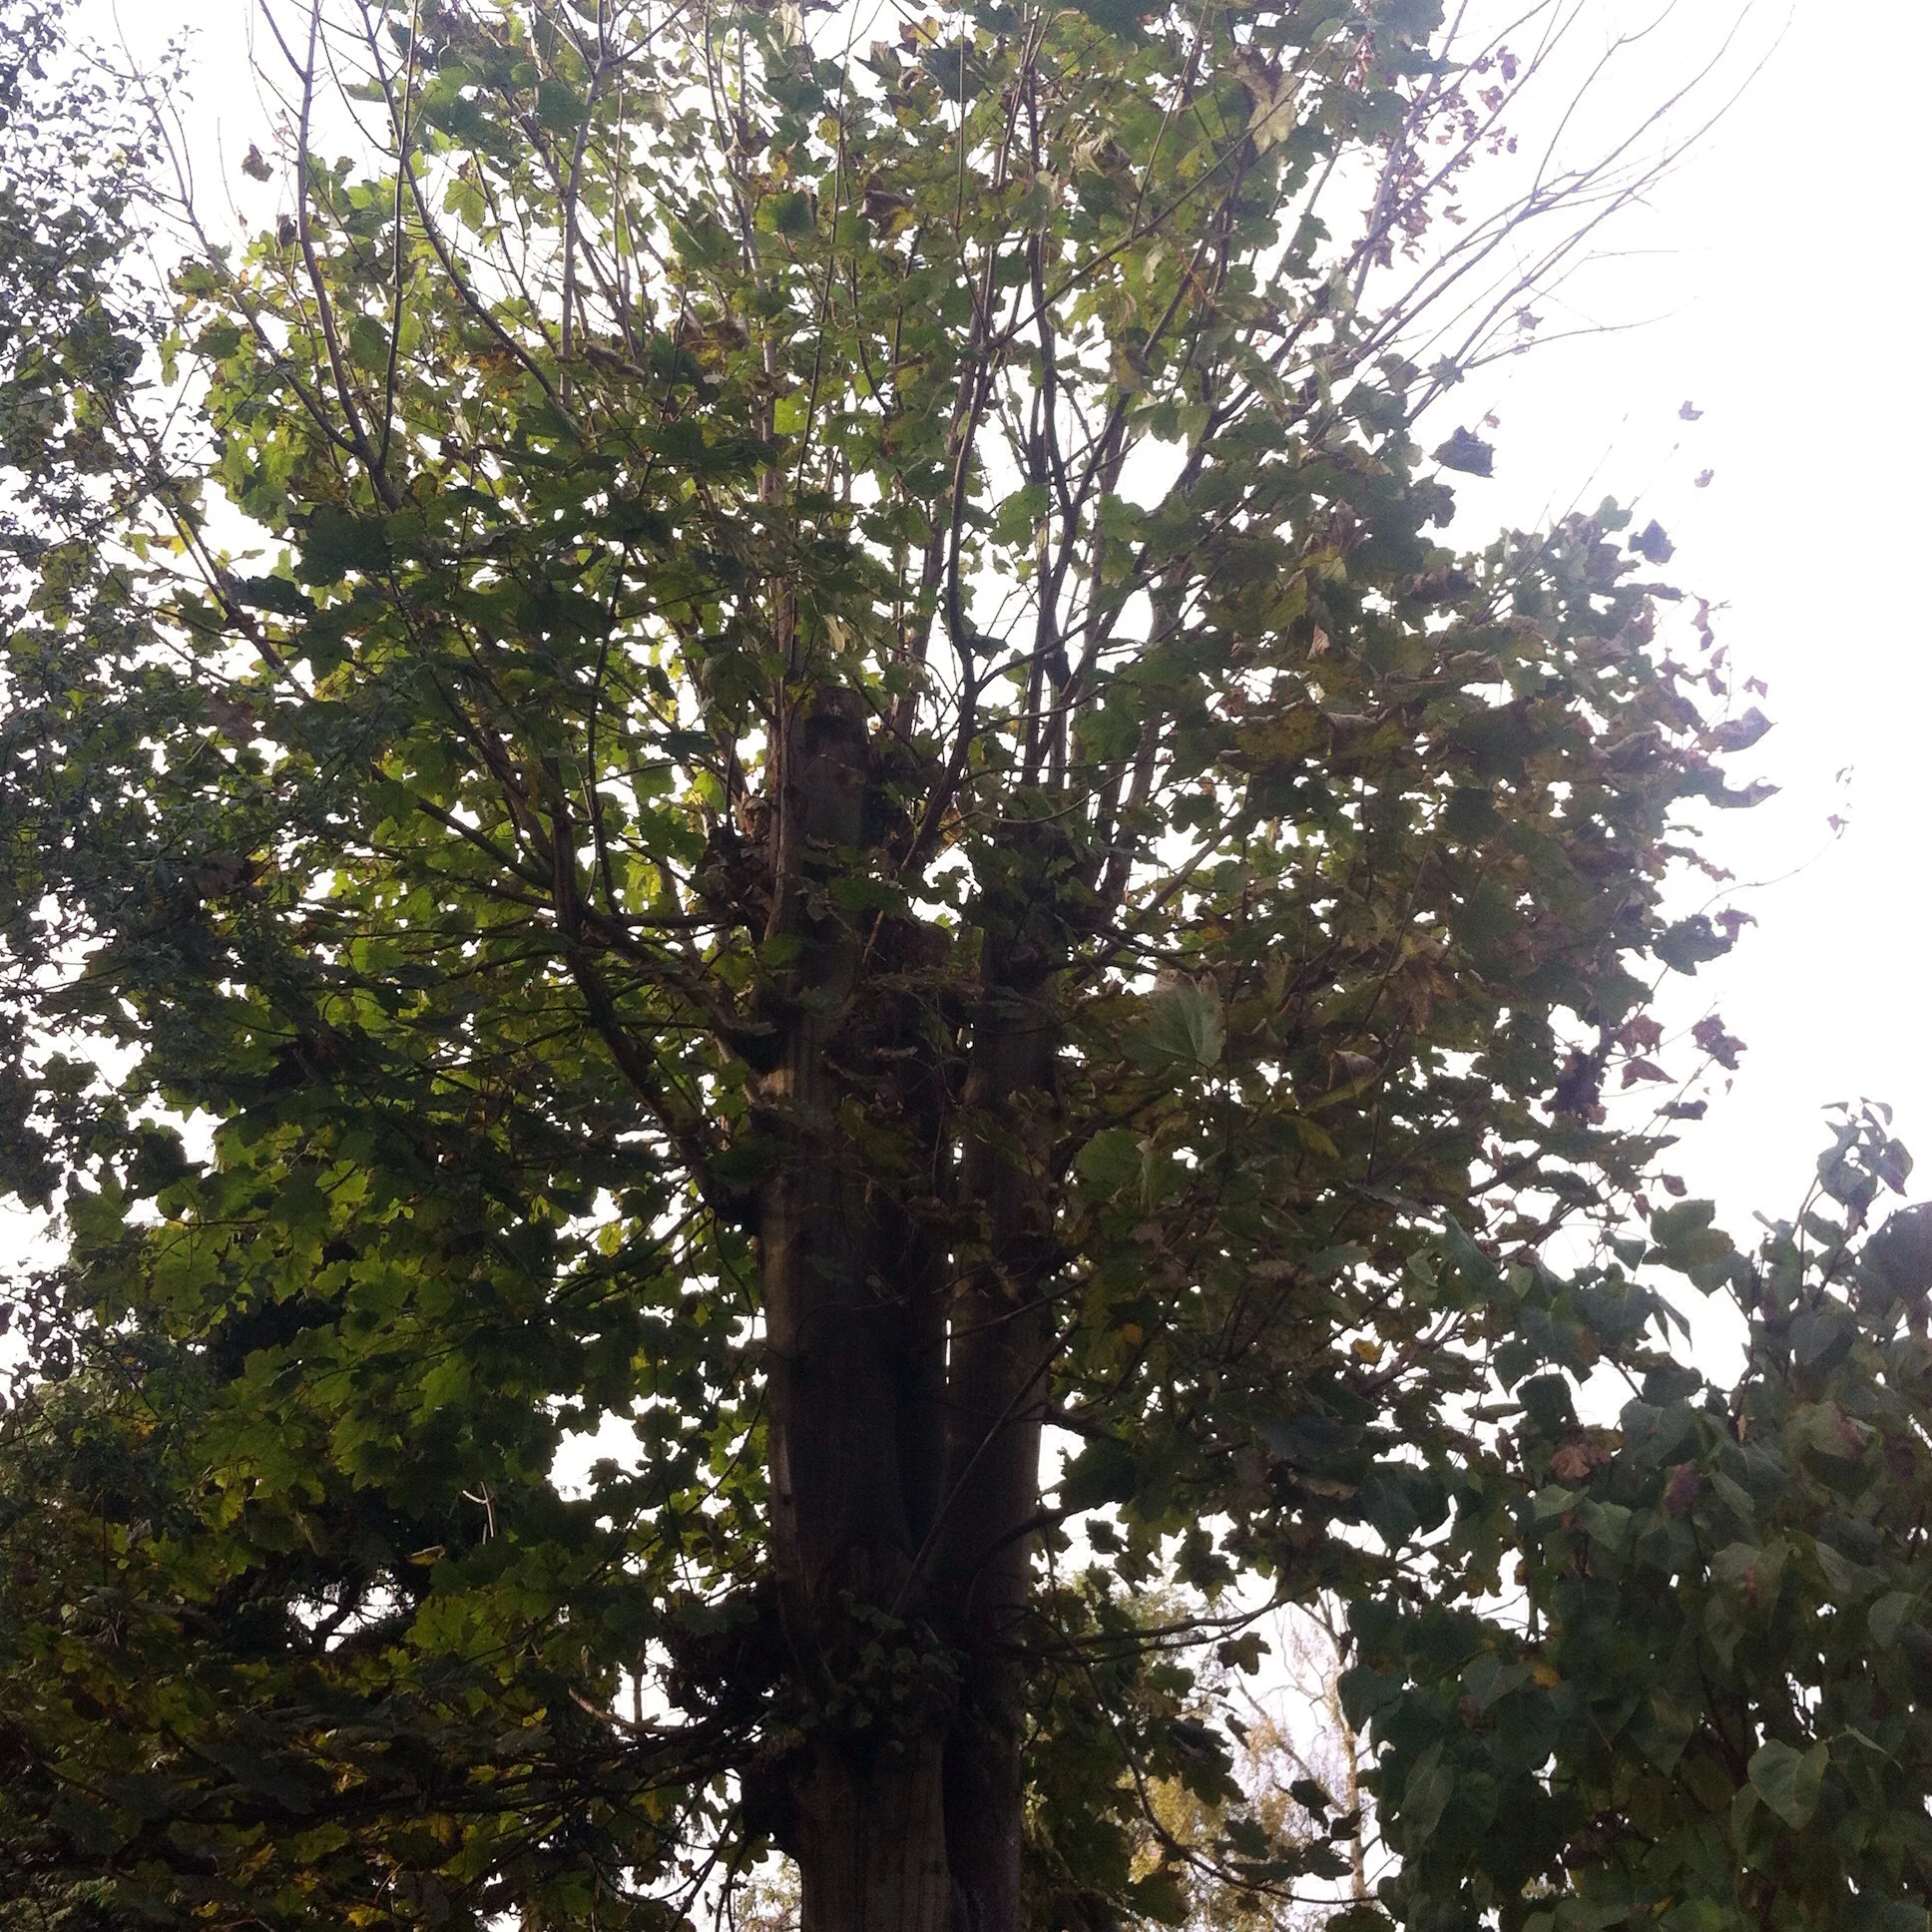
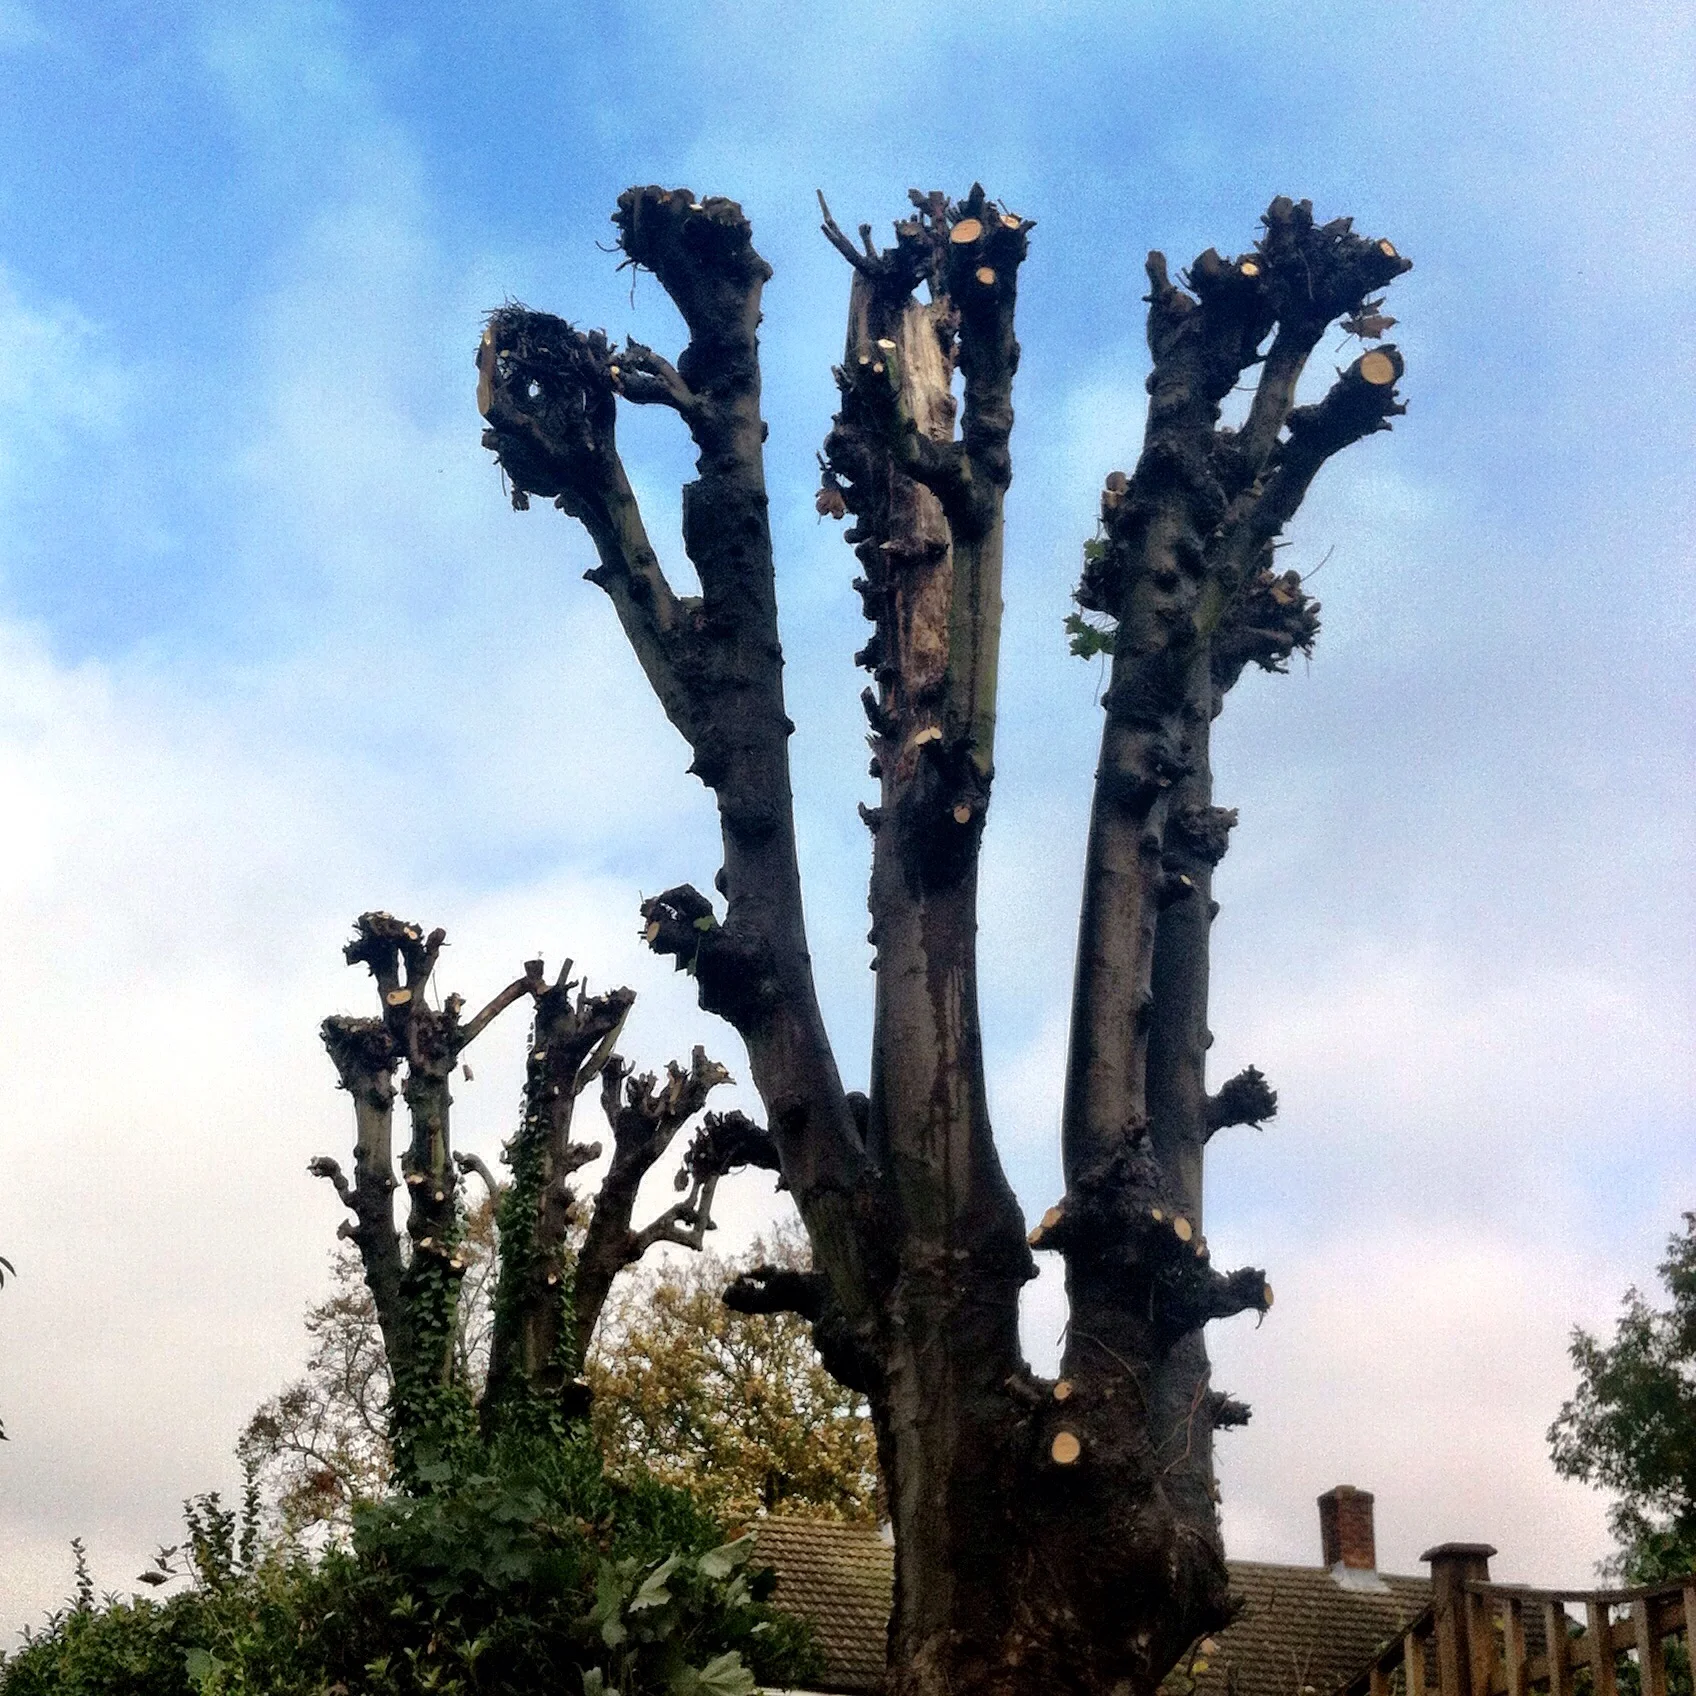
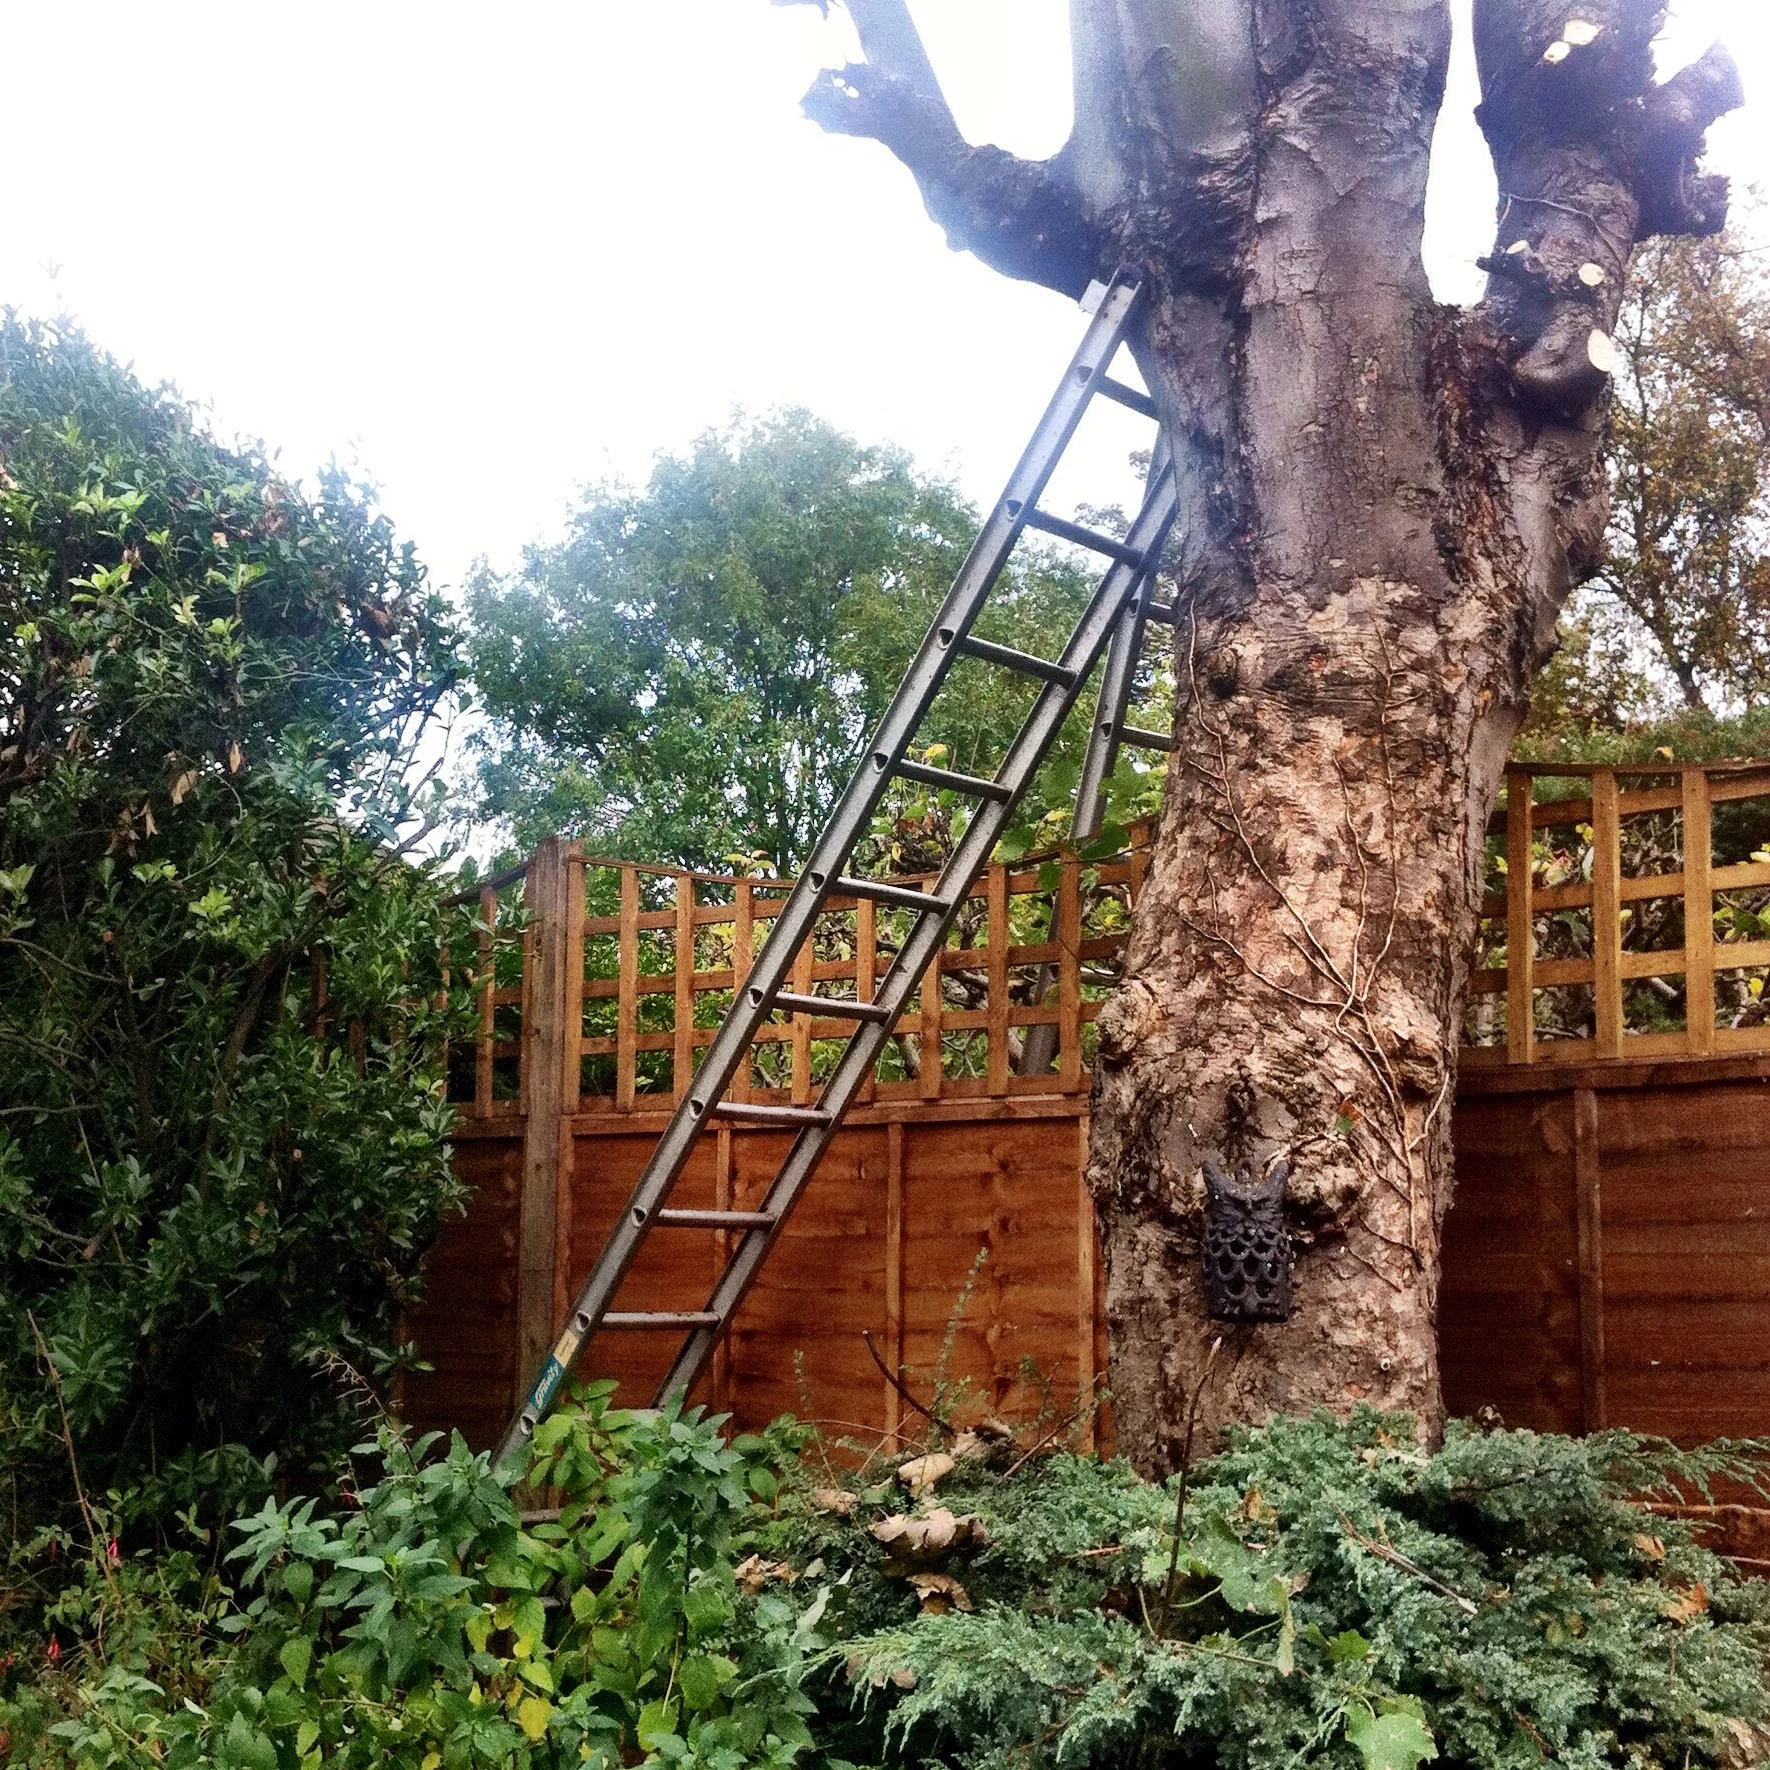
To resolve this, and to prevent any further branches falling we needed all three trees pollarded. And planning permission. Luckily the tree surgeon could sort this out and so last week the big cut took place.  Here's one of the trees before the work started:

image.jpg

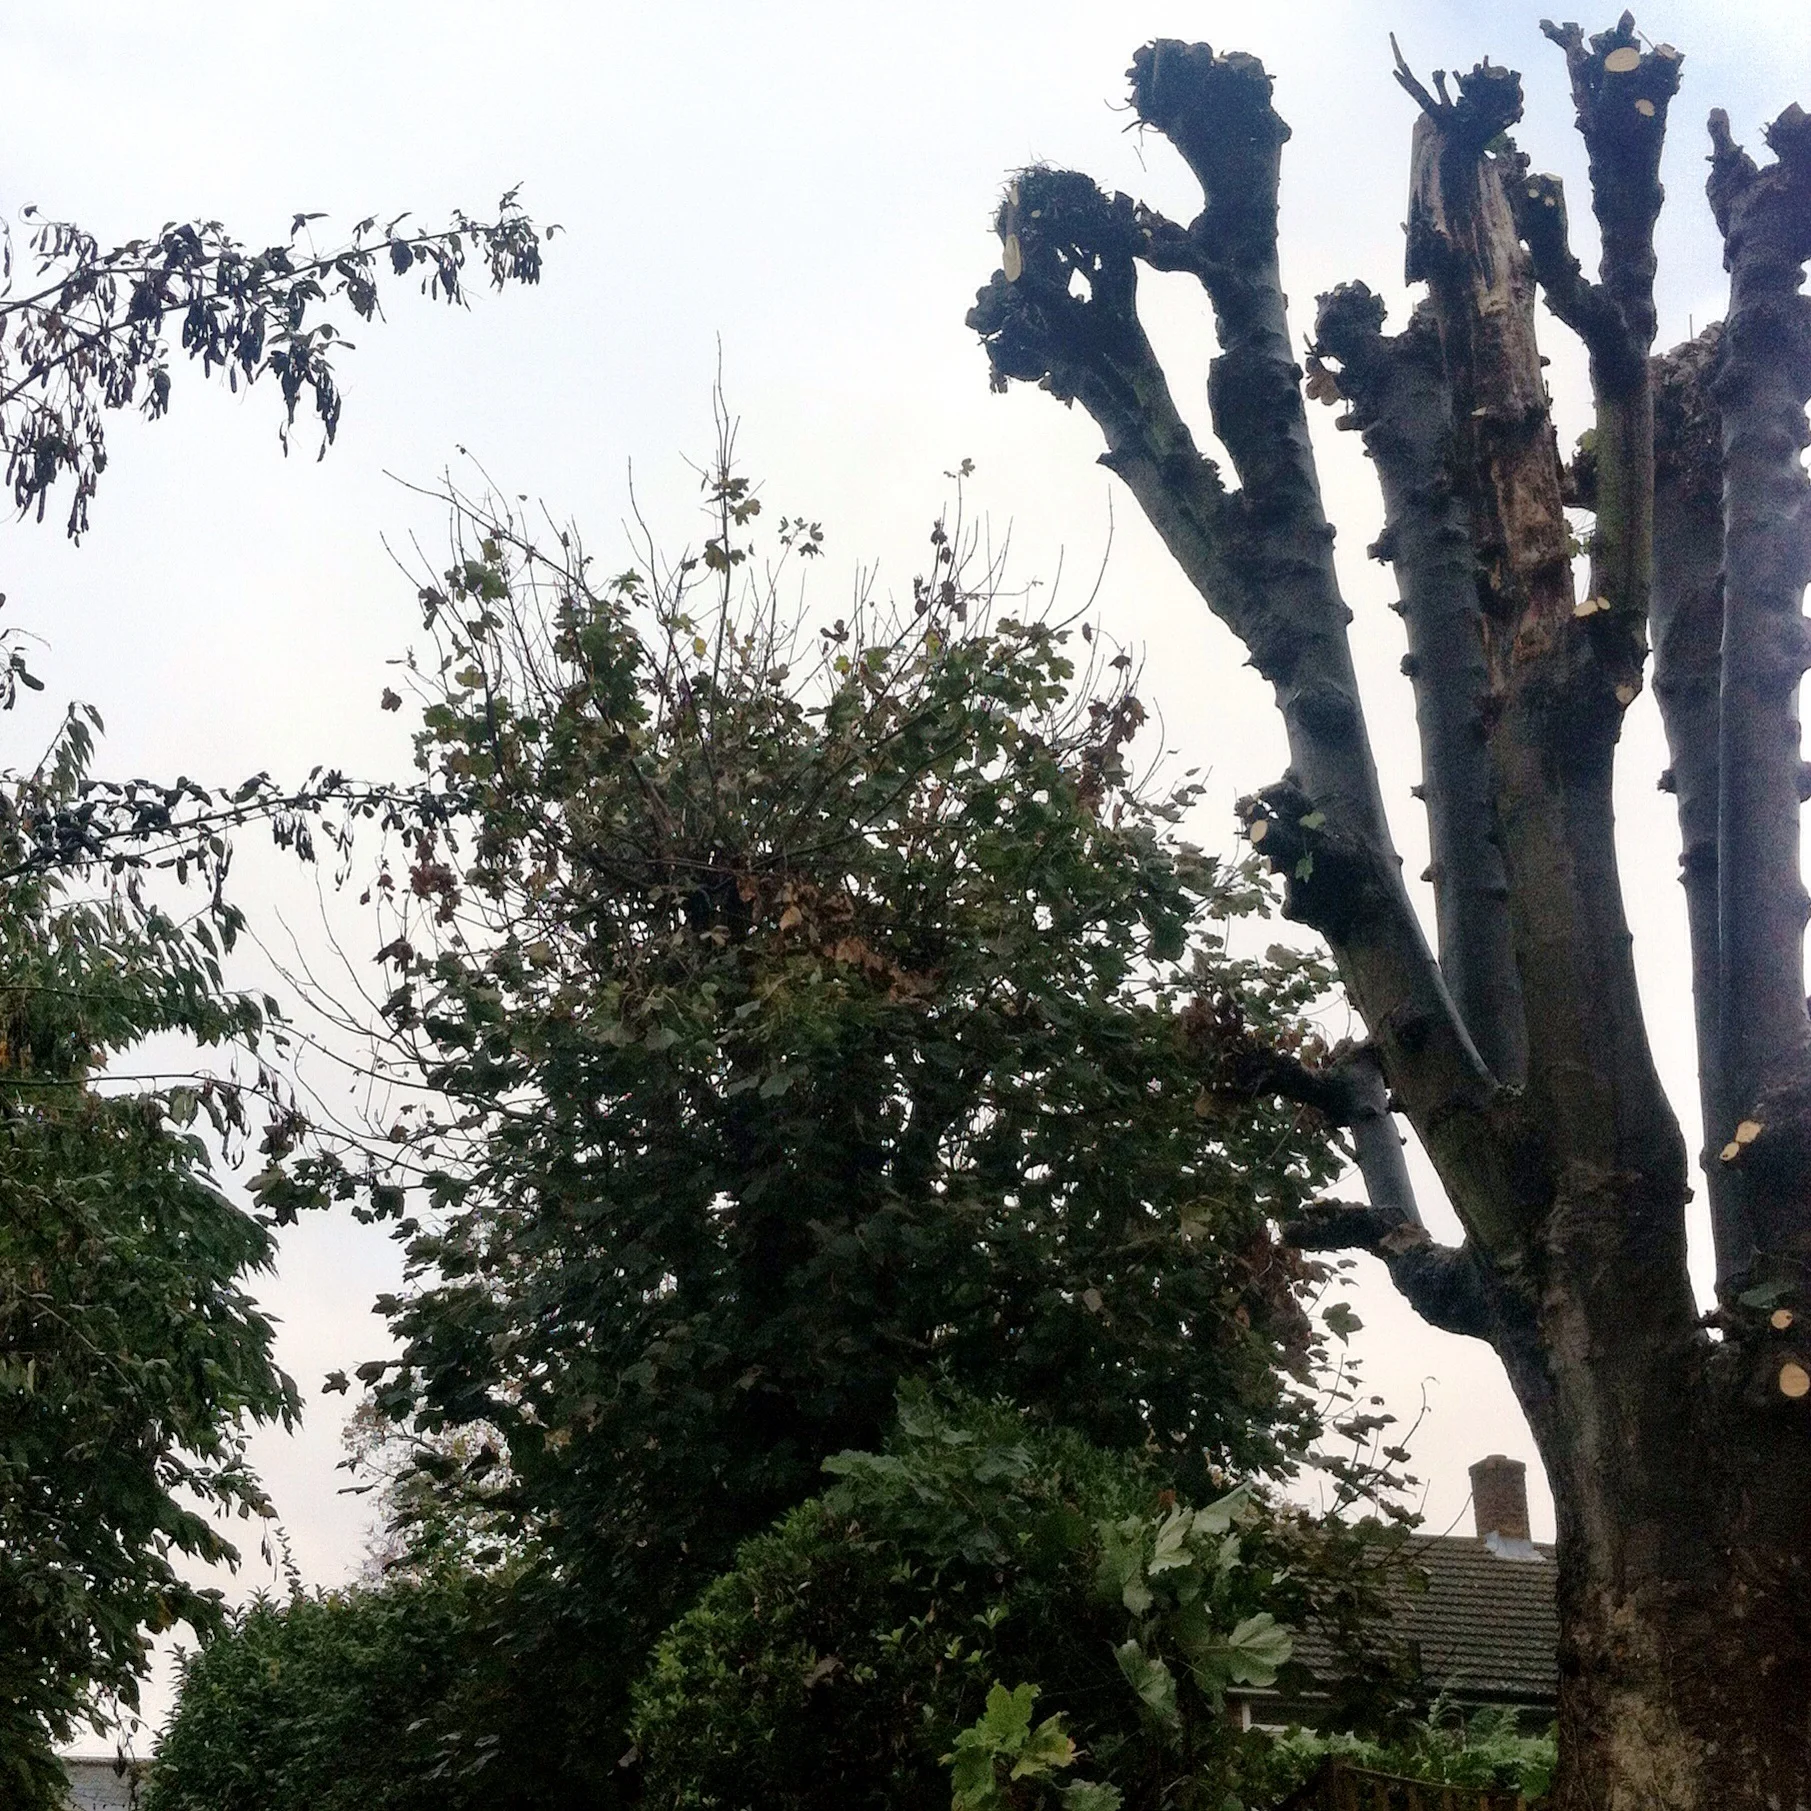
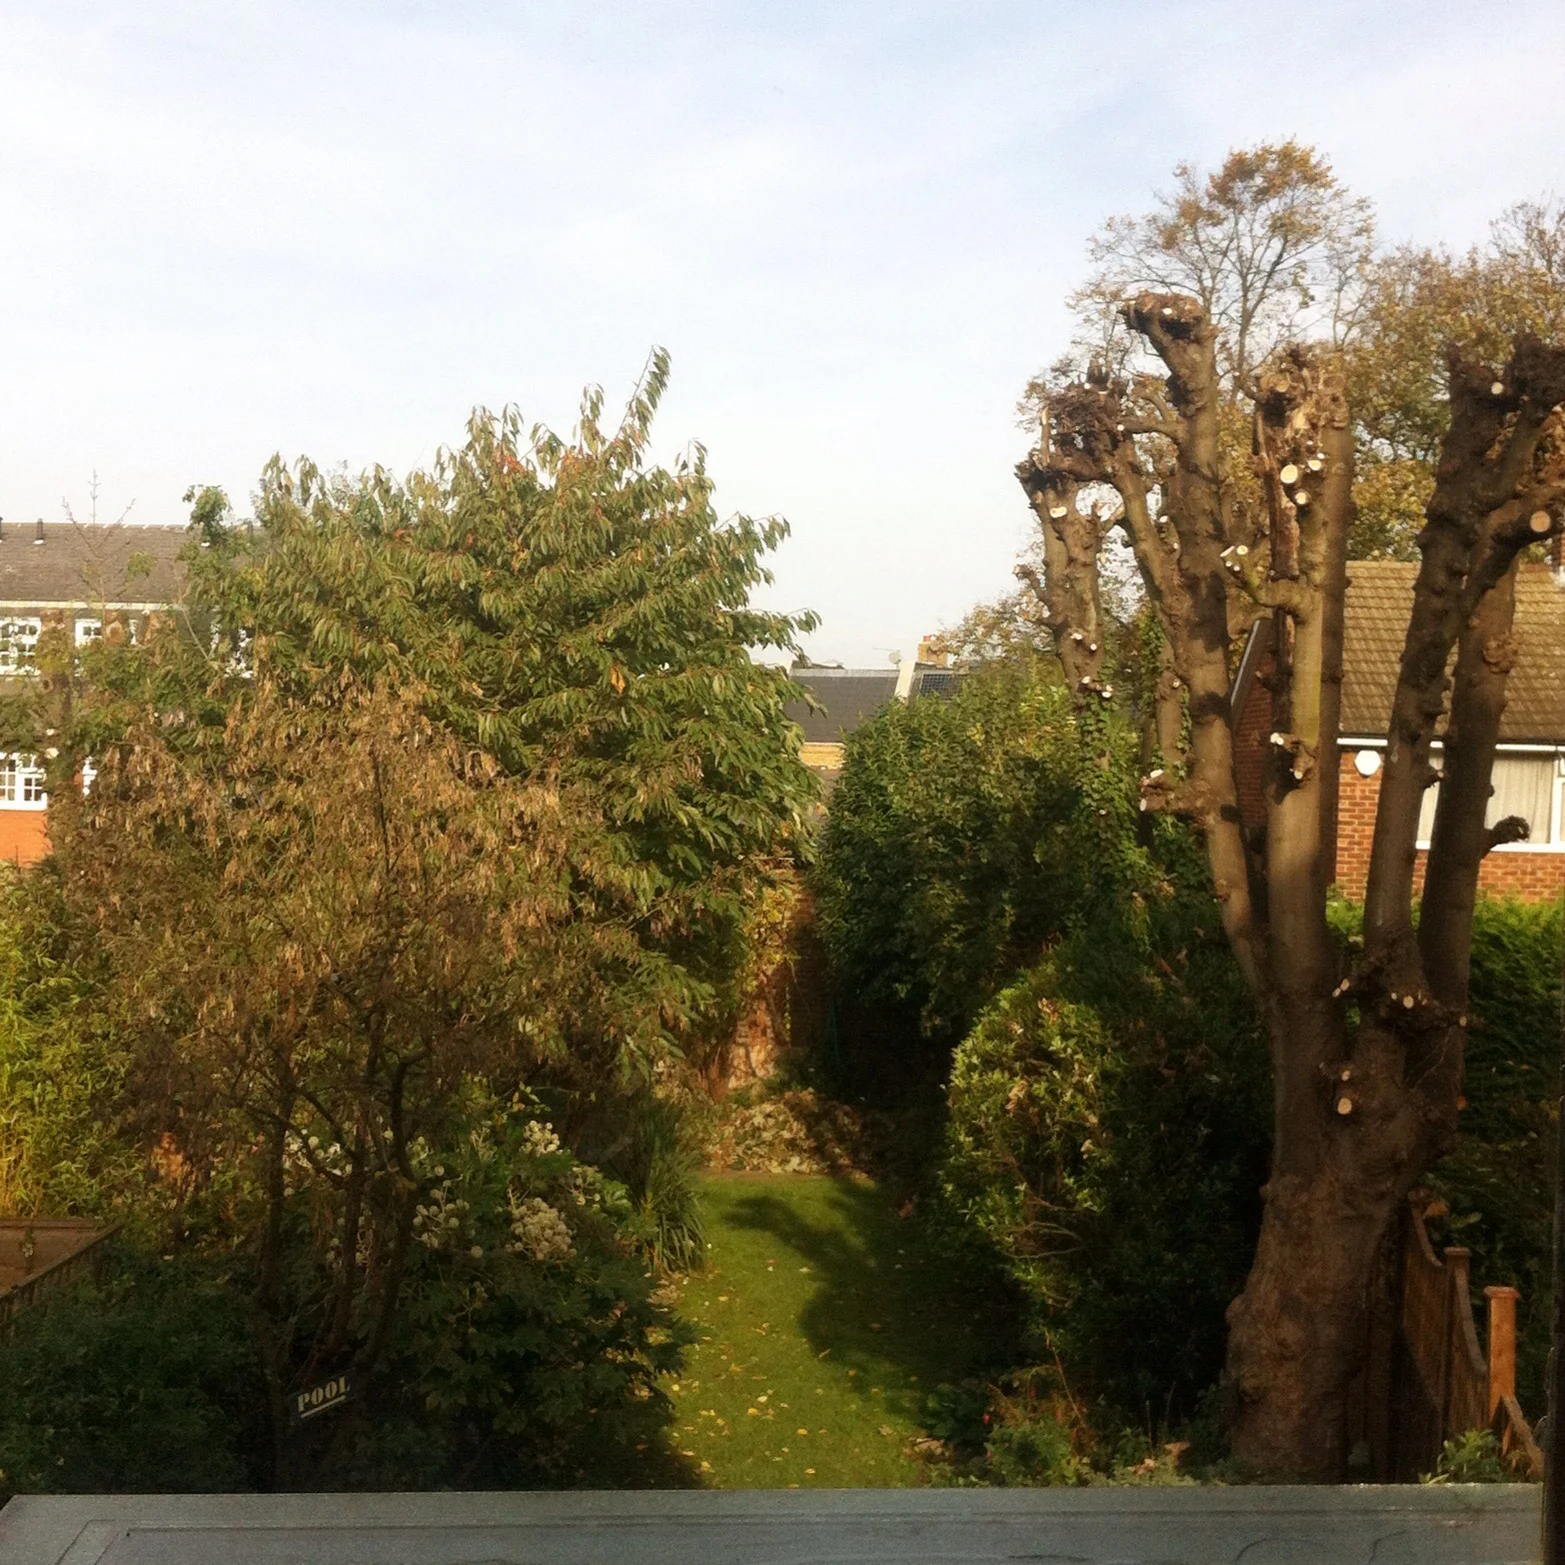
And with the first tree - the one nearest the house - complete, I was amazed at how much more light there was now in our conservatory. 

image.jpg

Two done, one to go. The first tree had suffered quite a bit of squirrel-chewing - it's most noticeable on the central branch. And don't they look like twiglet's now?

image.jpg

There was quite a lot to cut off, and there was only one way for it to go. And that was down!  

image.jpg
image.jpg

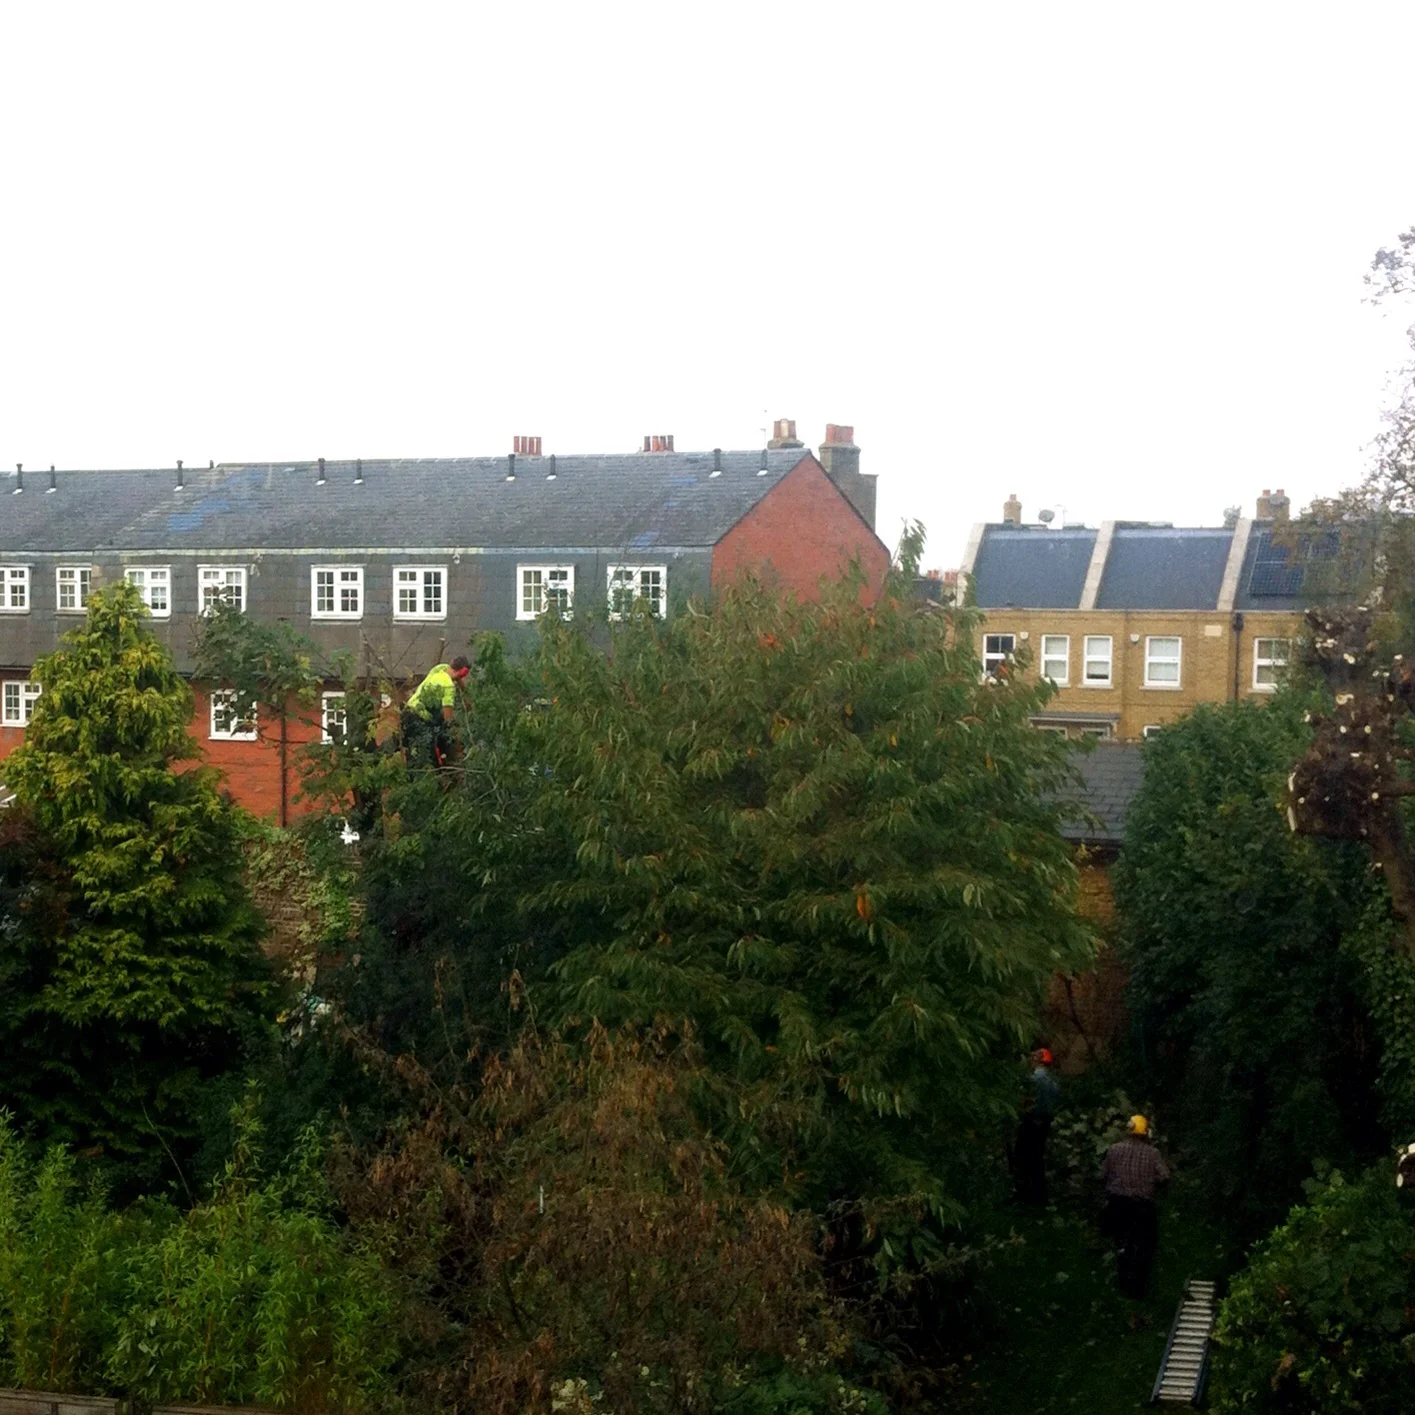
I didn't fancy their job at all, but did manage to climb the stairs indoors to get this photo of the man in our tree, who looks as if he's completely engulfed by one of our cherry trees - he isn't, it's just perspective playing tricks on you. 

image.jpg

They had a nifty way of avoiding muddy footprints through the house though, which I'm grateful for!

image.jpg

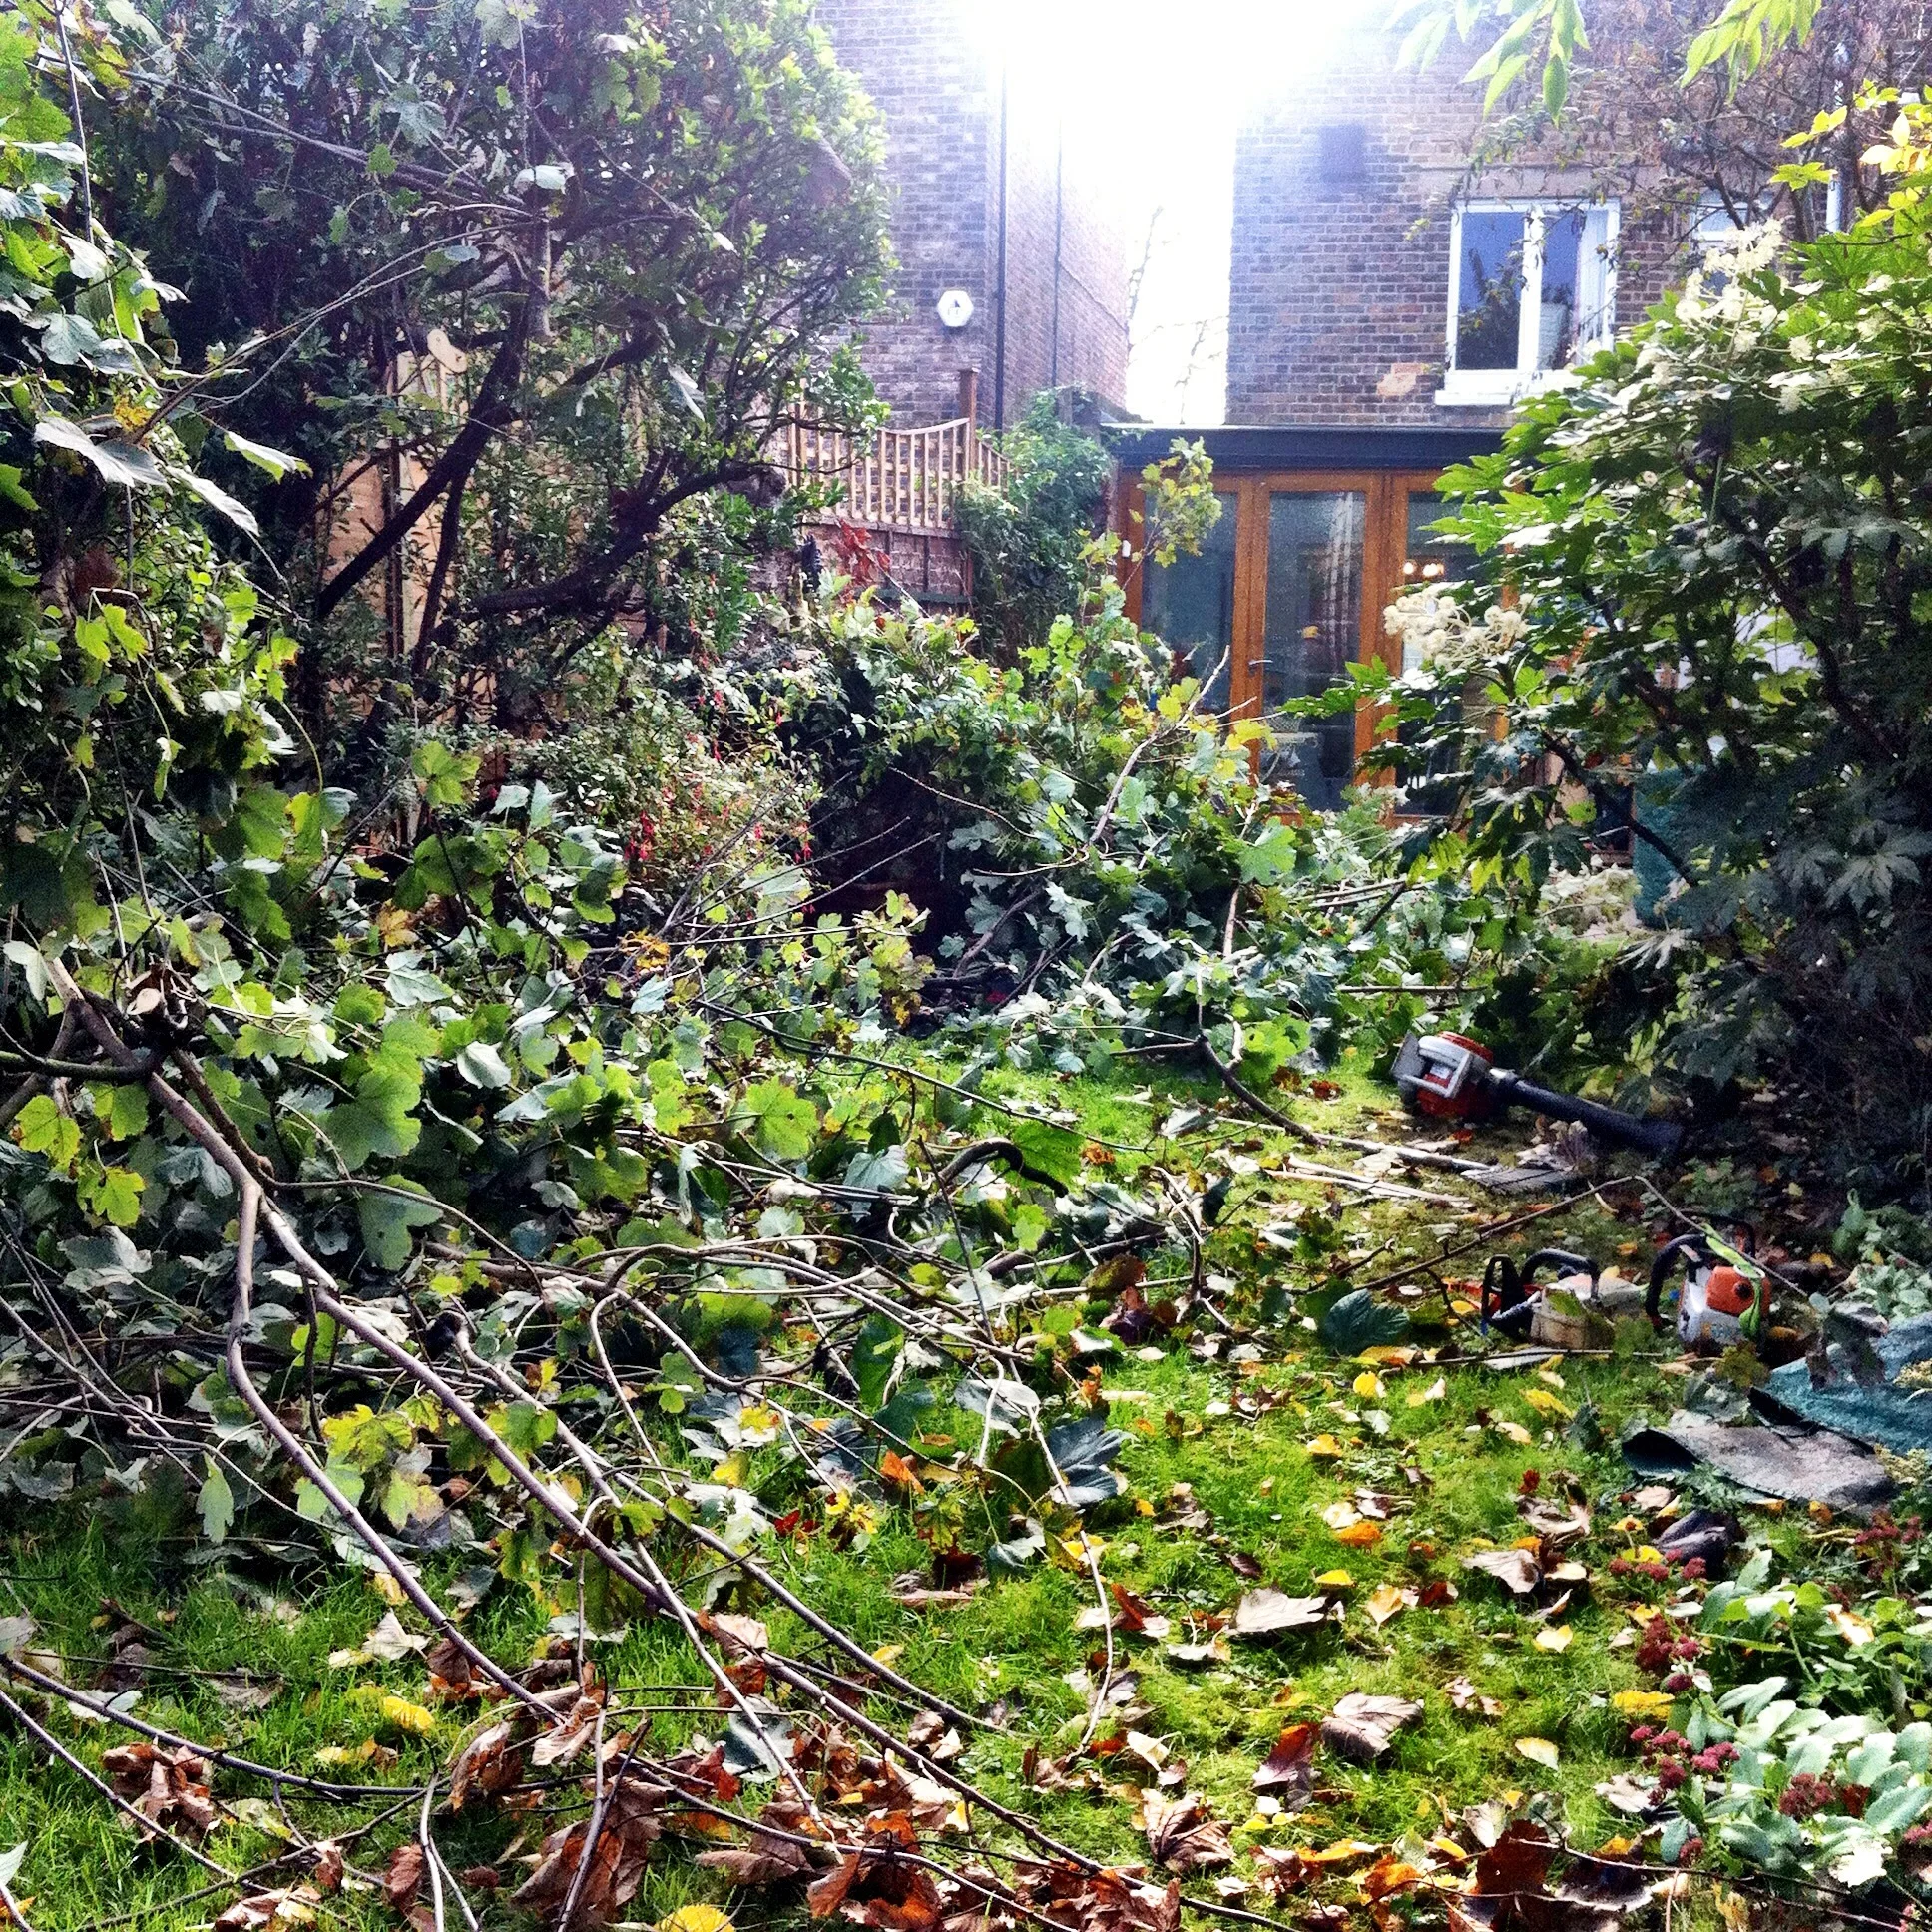
And they did a fab job of tidying the garden afterwards too. 

image.jpg

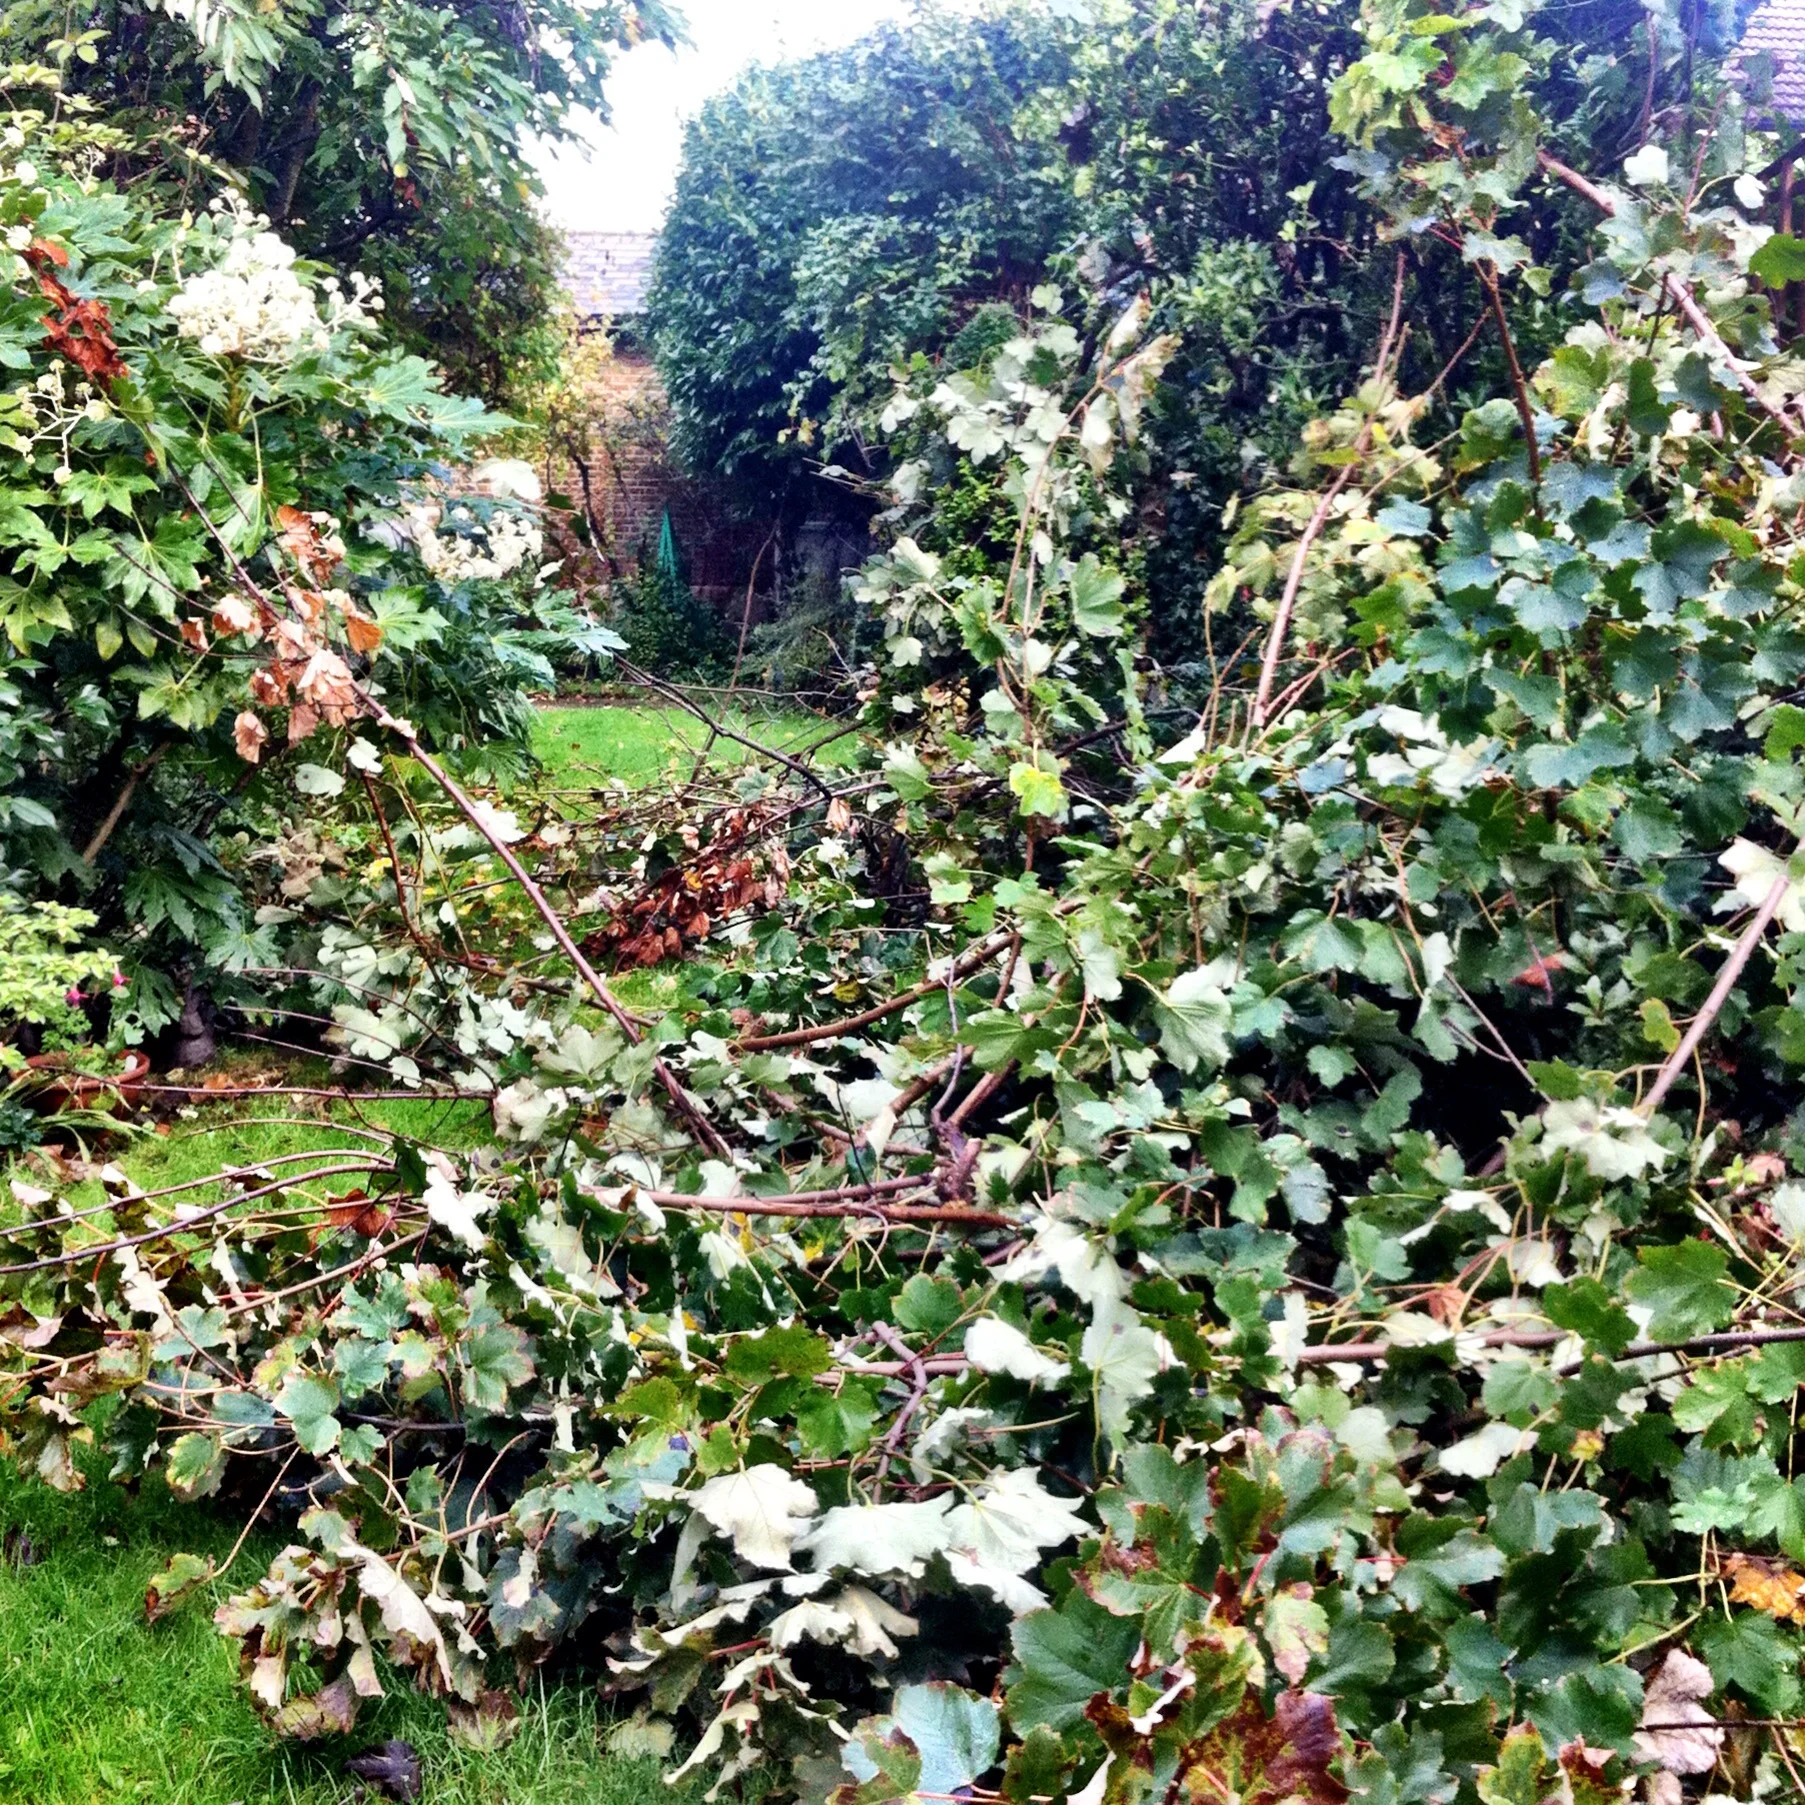
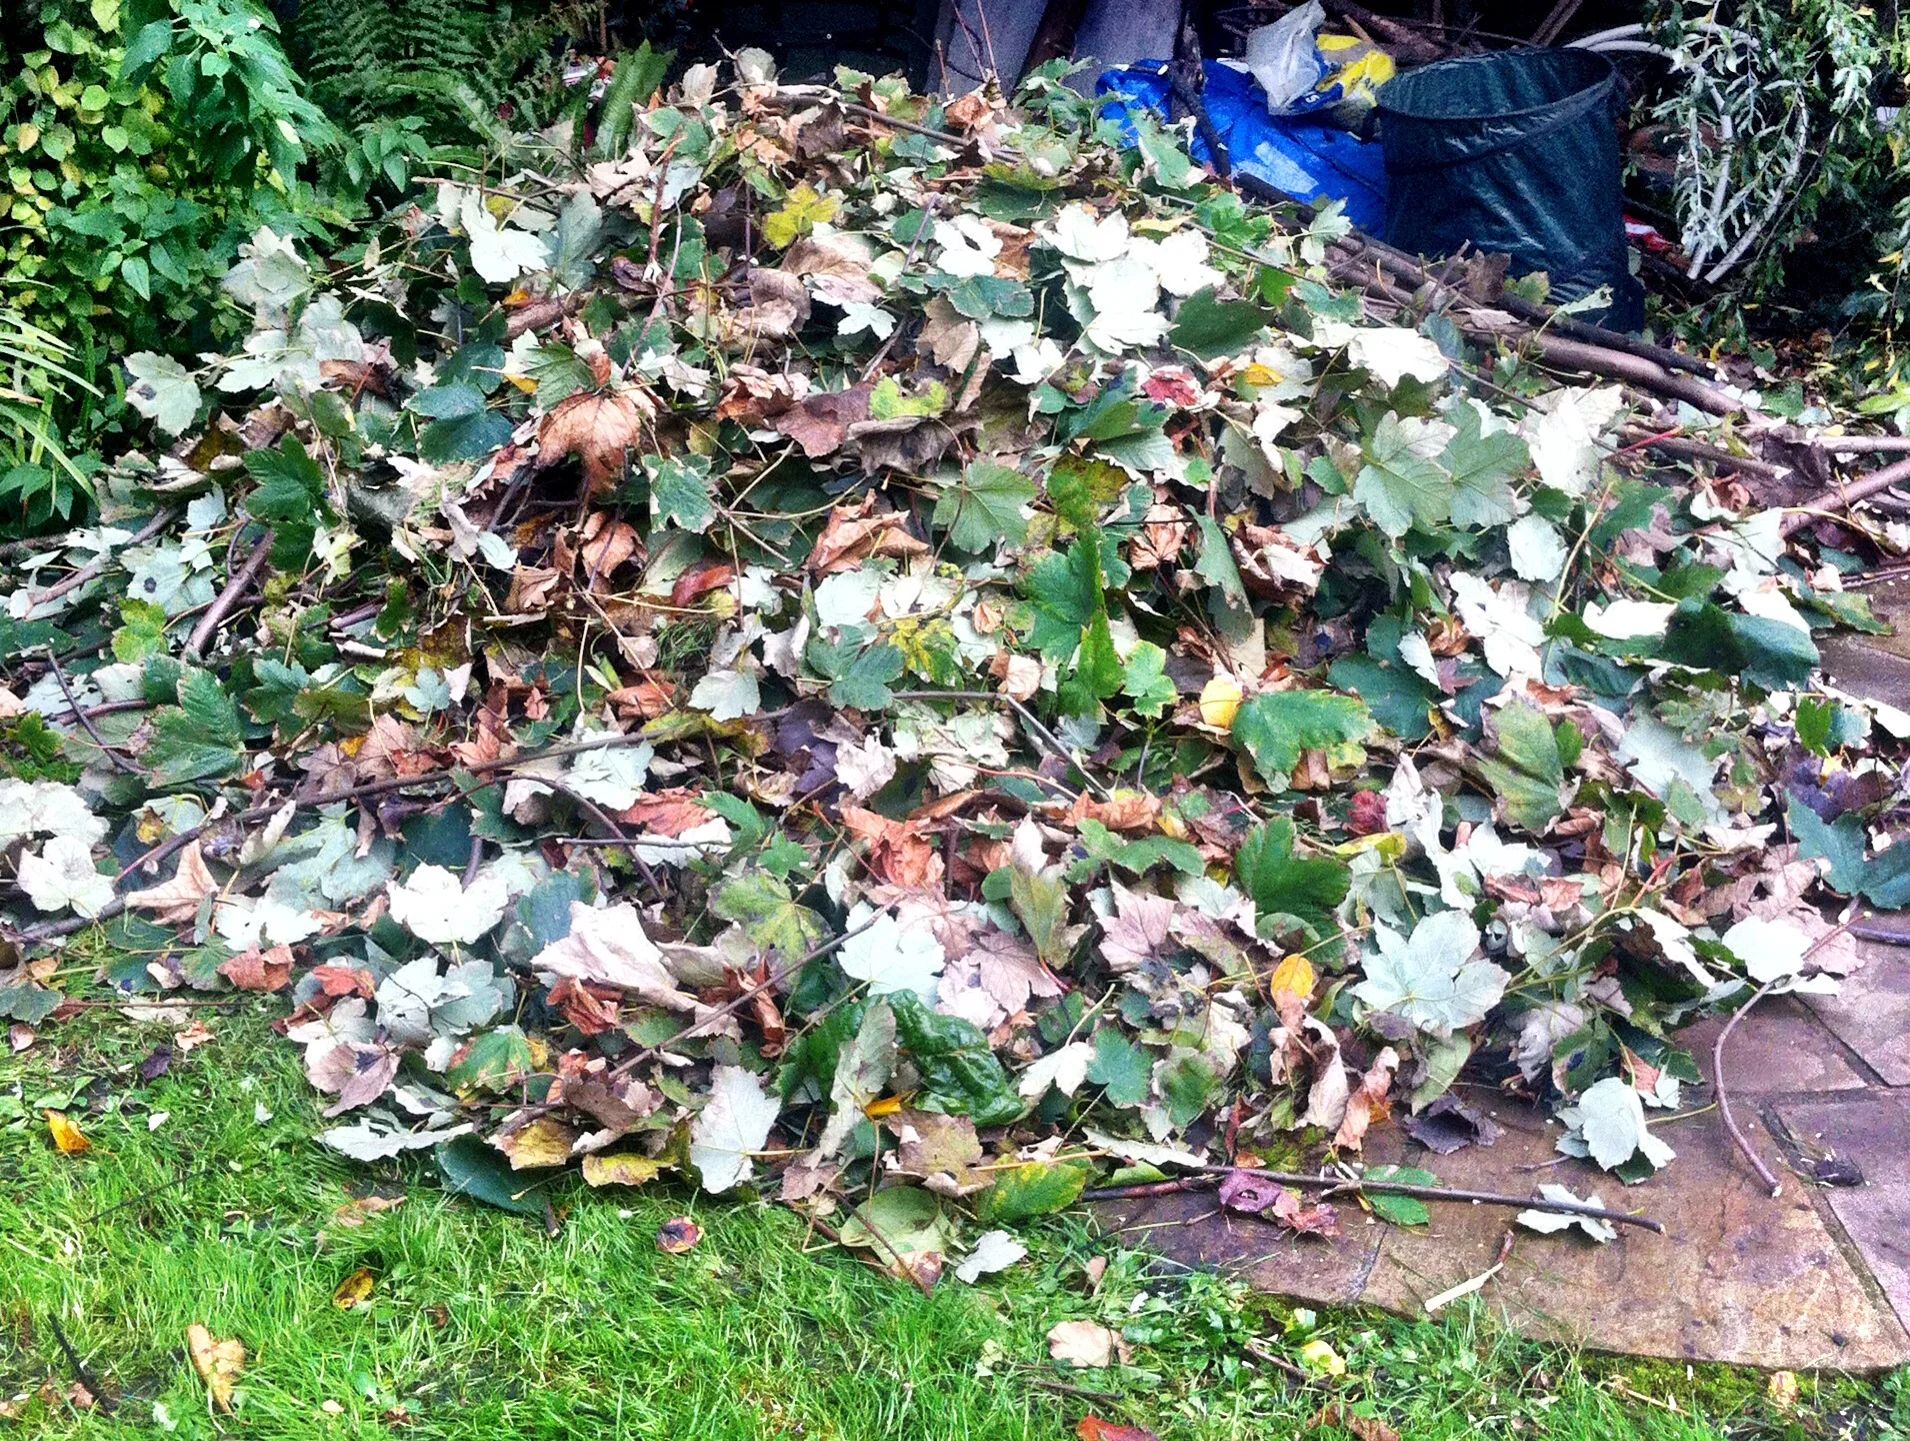
And they left us with a heap of leaves and a pile of logs from just one of the trees.  With our leaf bin already full we spent an afternoon putting leaves into black sacks for even more leaf mould and ferrying the thinner branches mixed in with the leaves to our green waste bin. Three full black sacks later and a full wheelie bin and we've hardly made a dent in this pile.  On the plus side most of the leaves are down so while there's still more to do, once it's done, it's done!

image.jpg
image.jpg

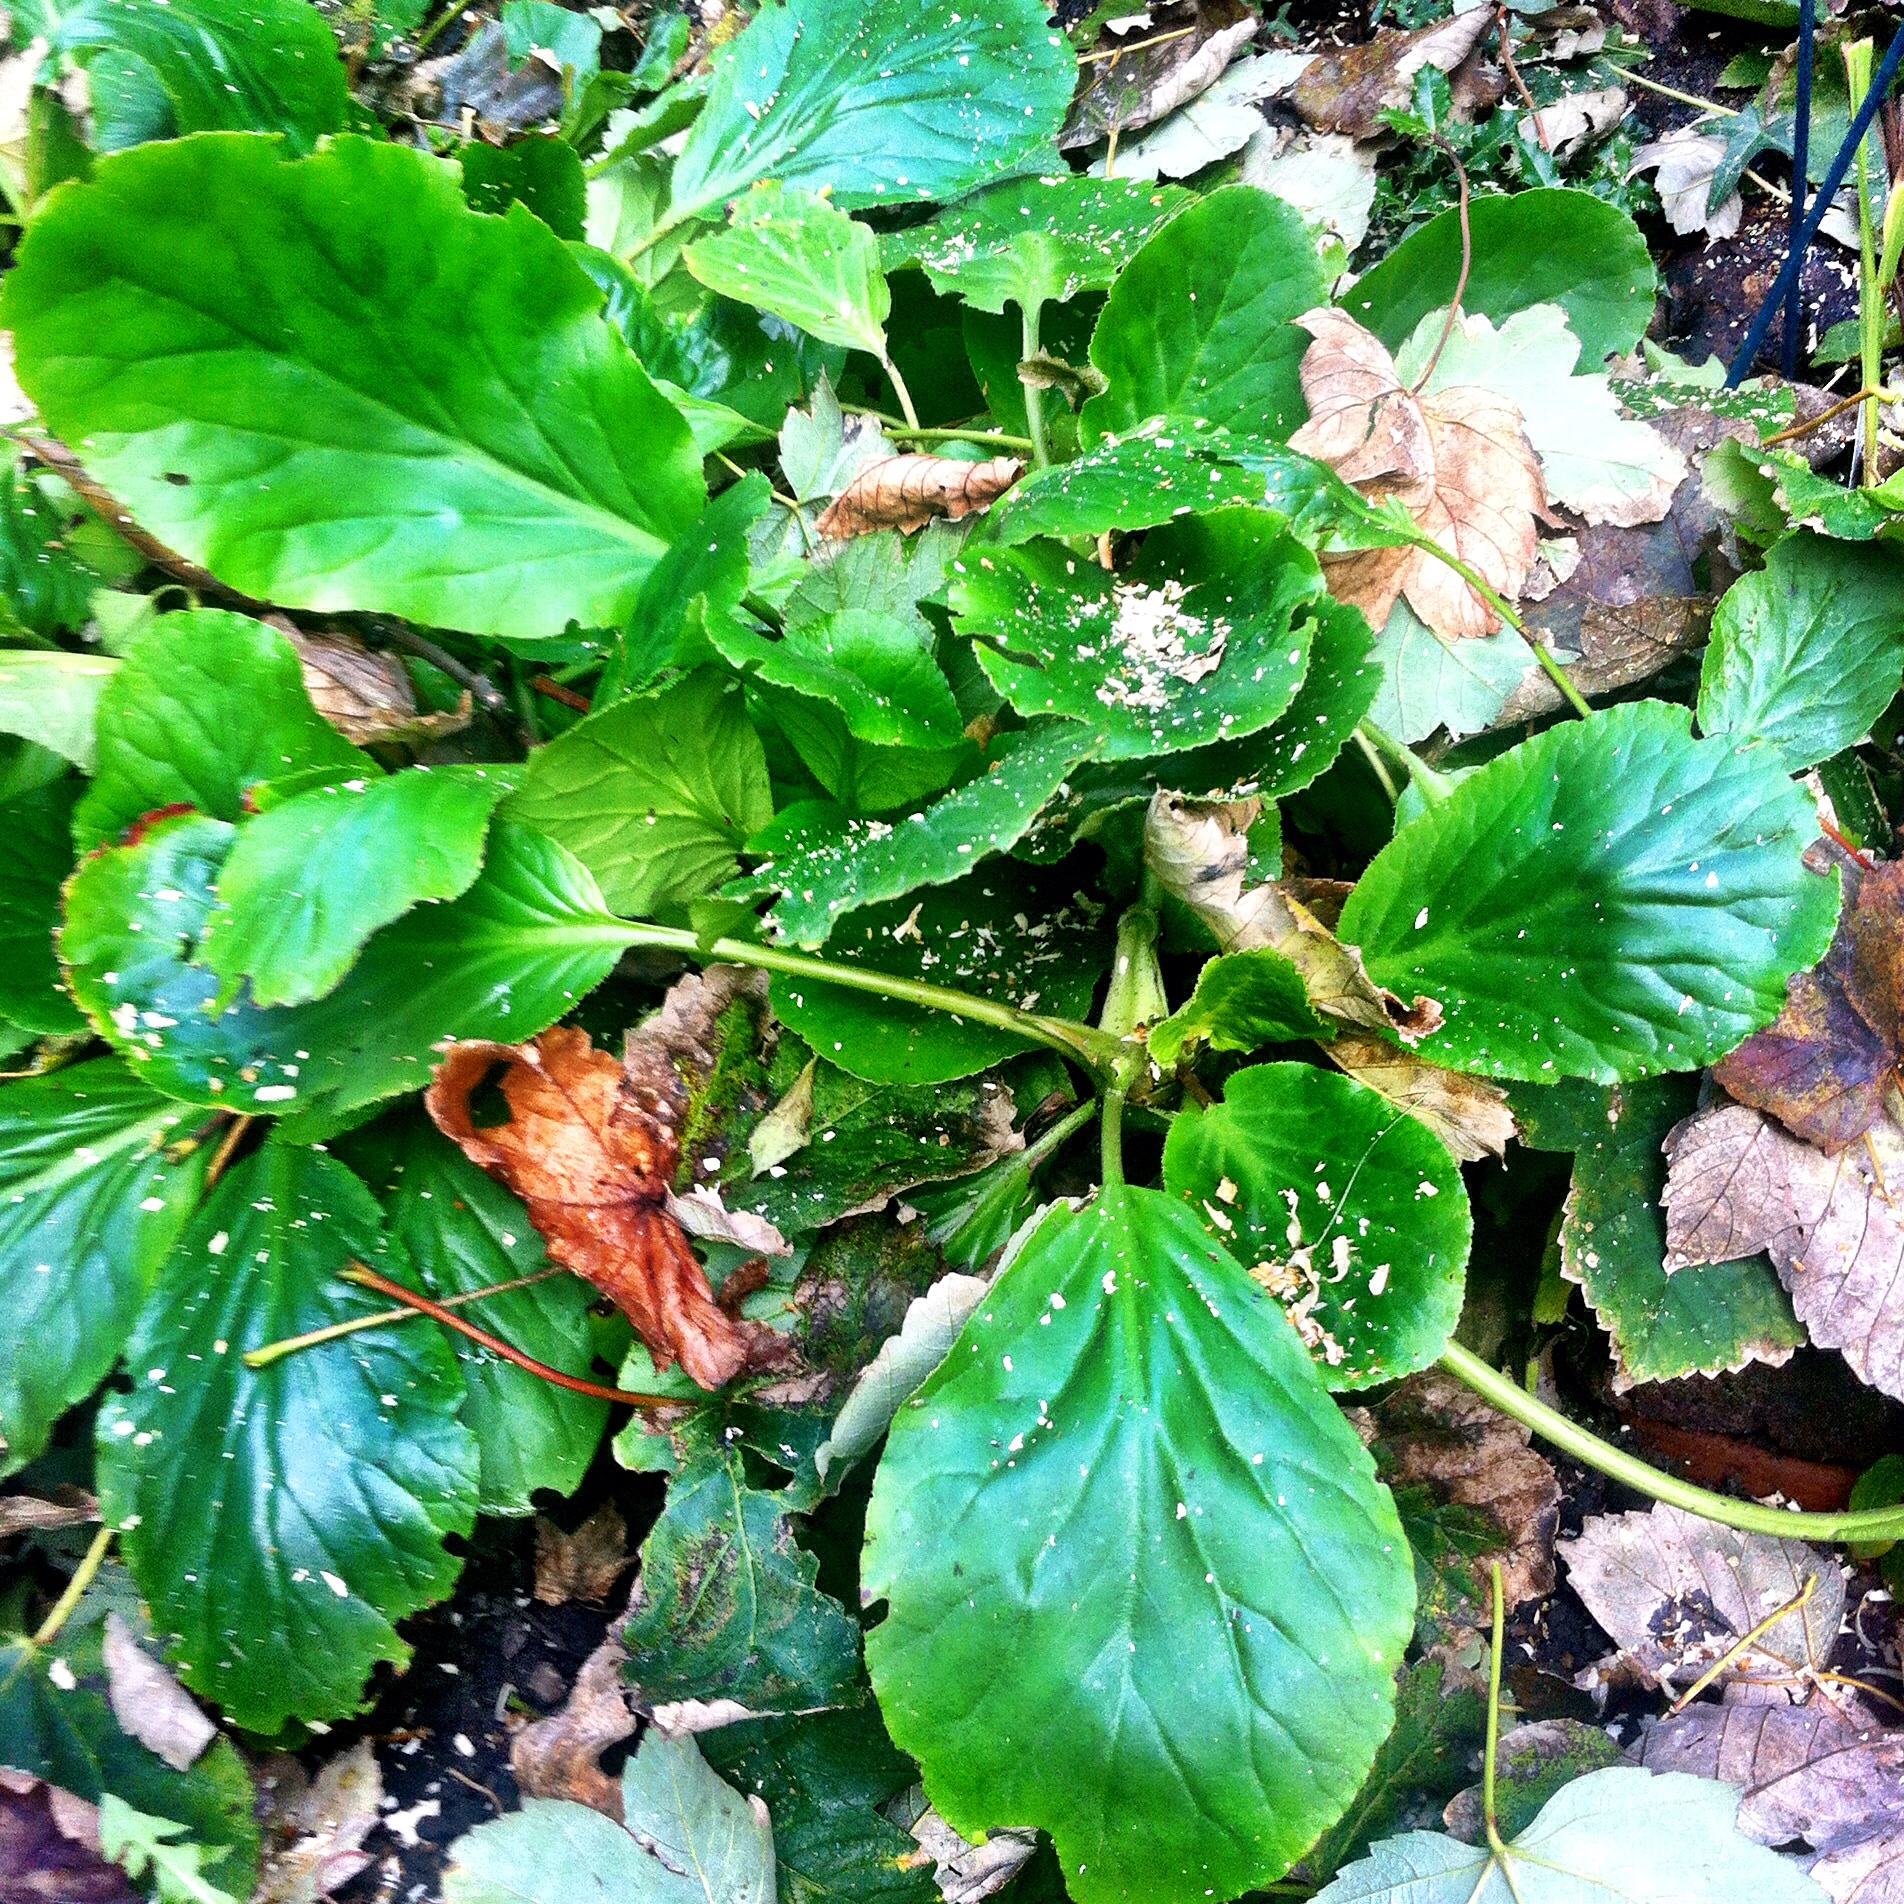
Most of our garden had a covering of sawdust too, the hostas seem to be carrying it off well!

image.jpg
image.jpg

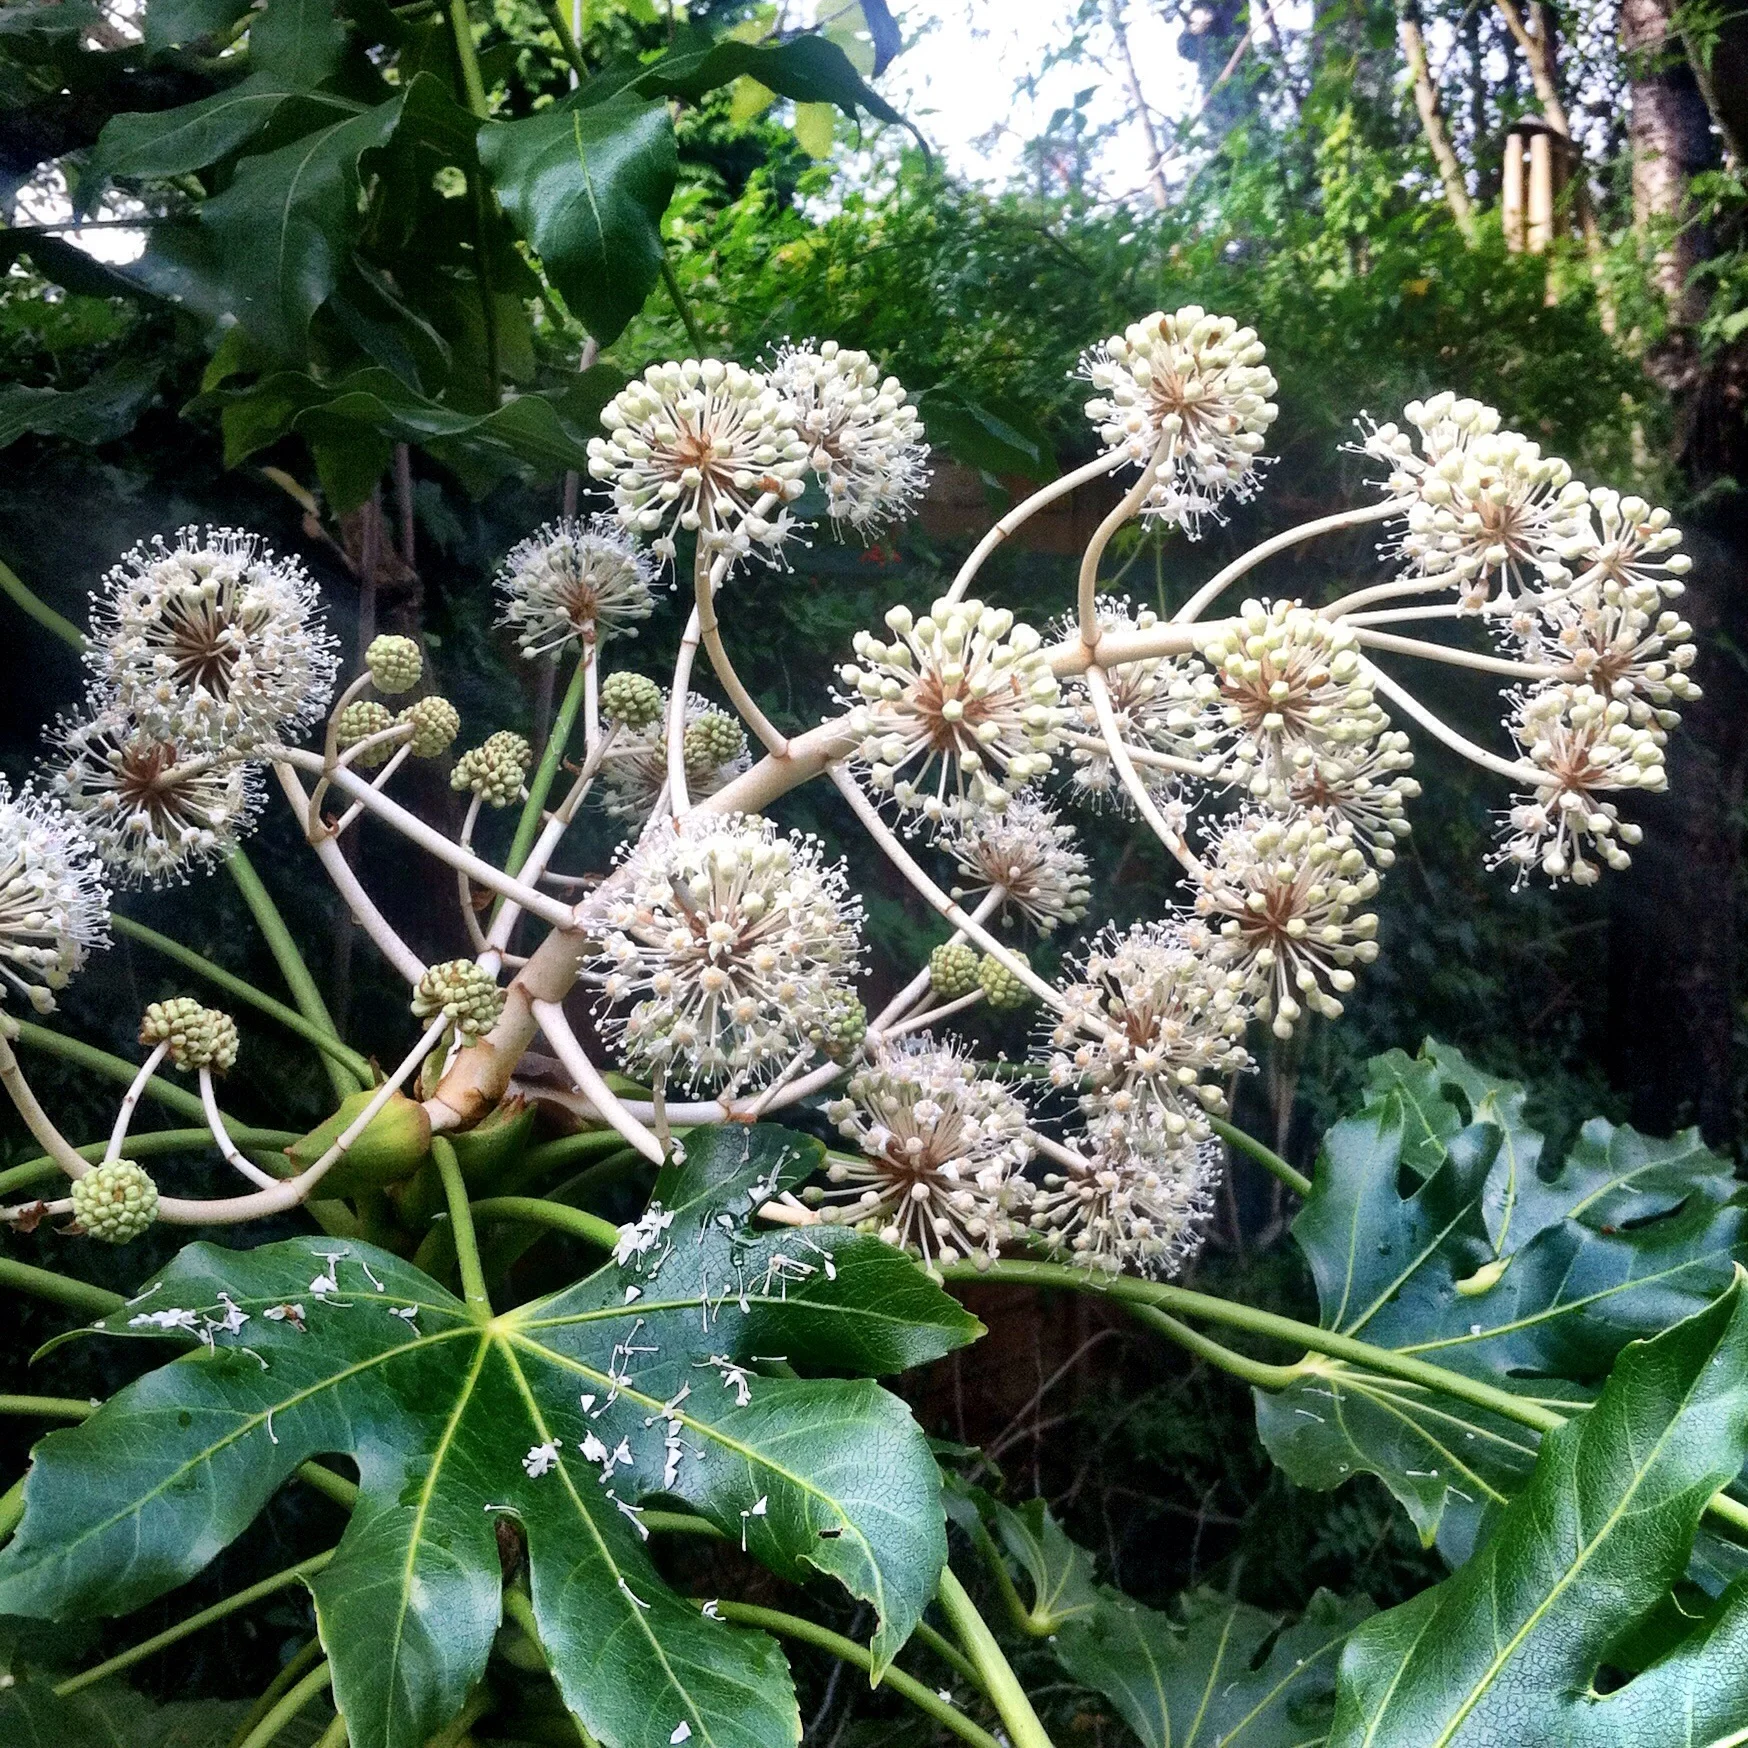
But all is not sawdust. The Fatsia is in flower and it's looking beautiful. I'm hoping to spend some more time with it and my camera so if the photos turn out well there could be some Fatsia infatuation in a Thursday or two. All the photos in this post are iPhone photos as I was trying to avoid getting in the way - but not always managing it!

image.jpg

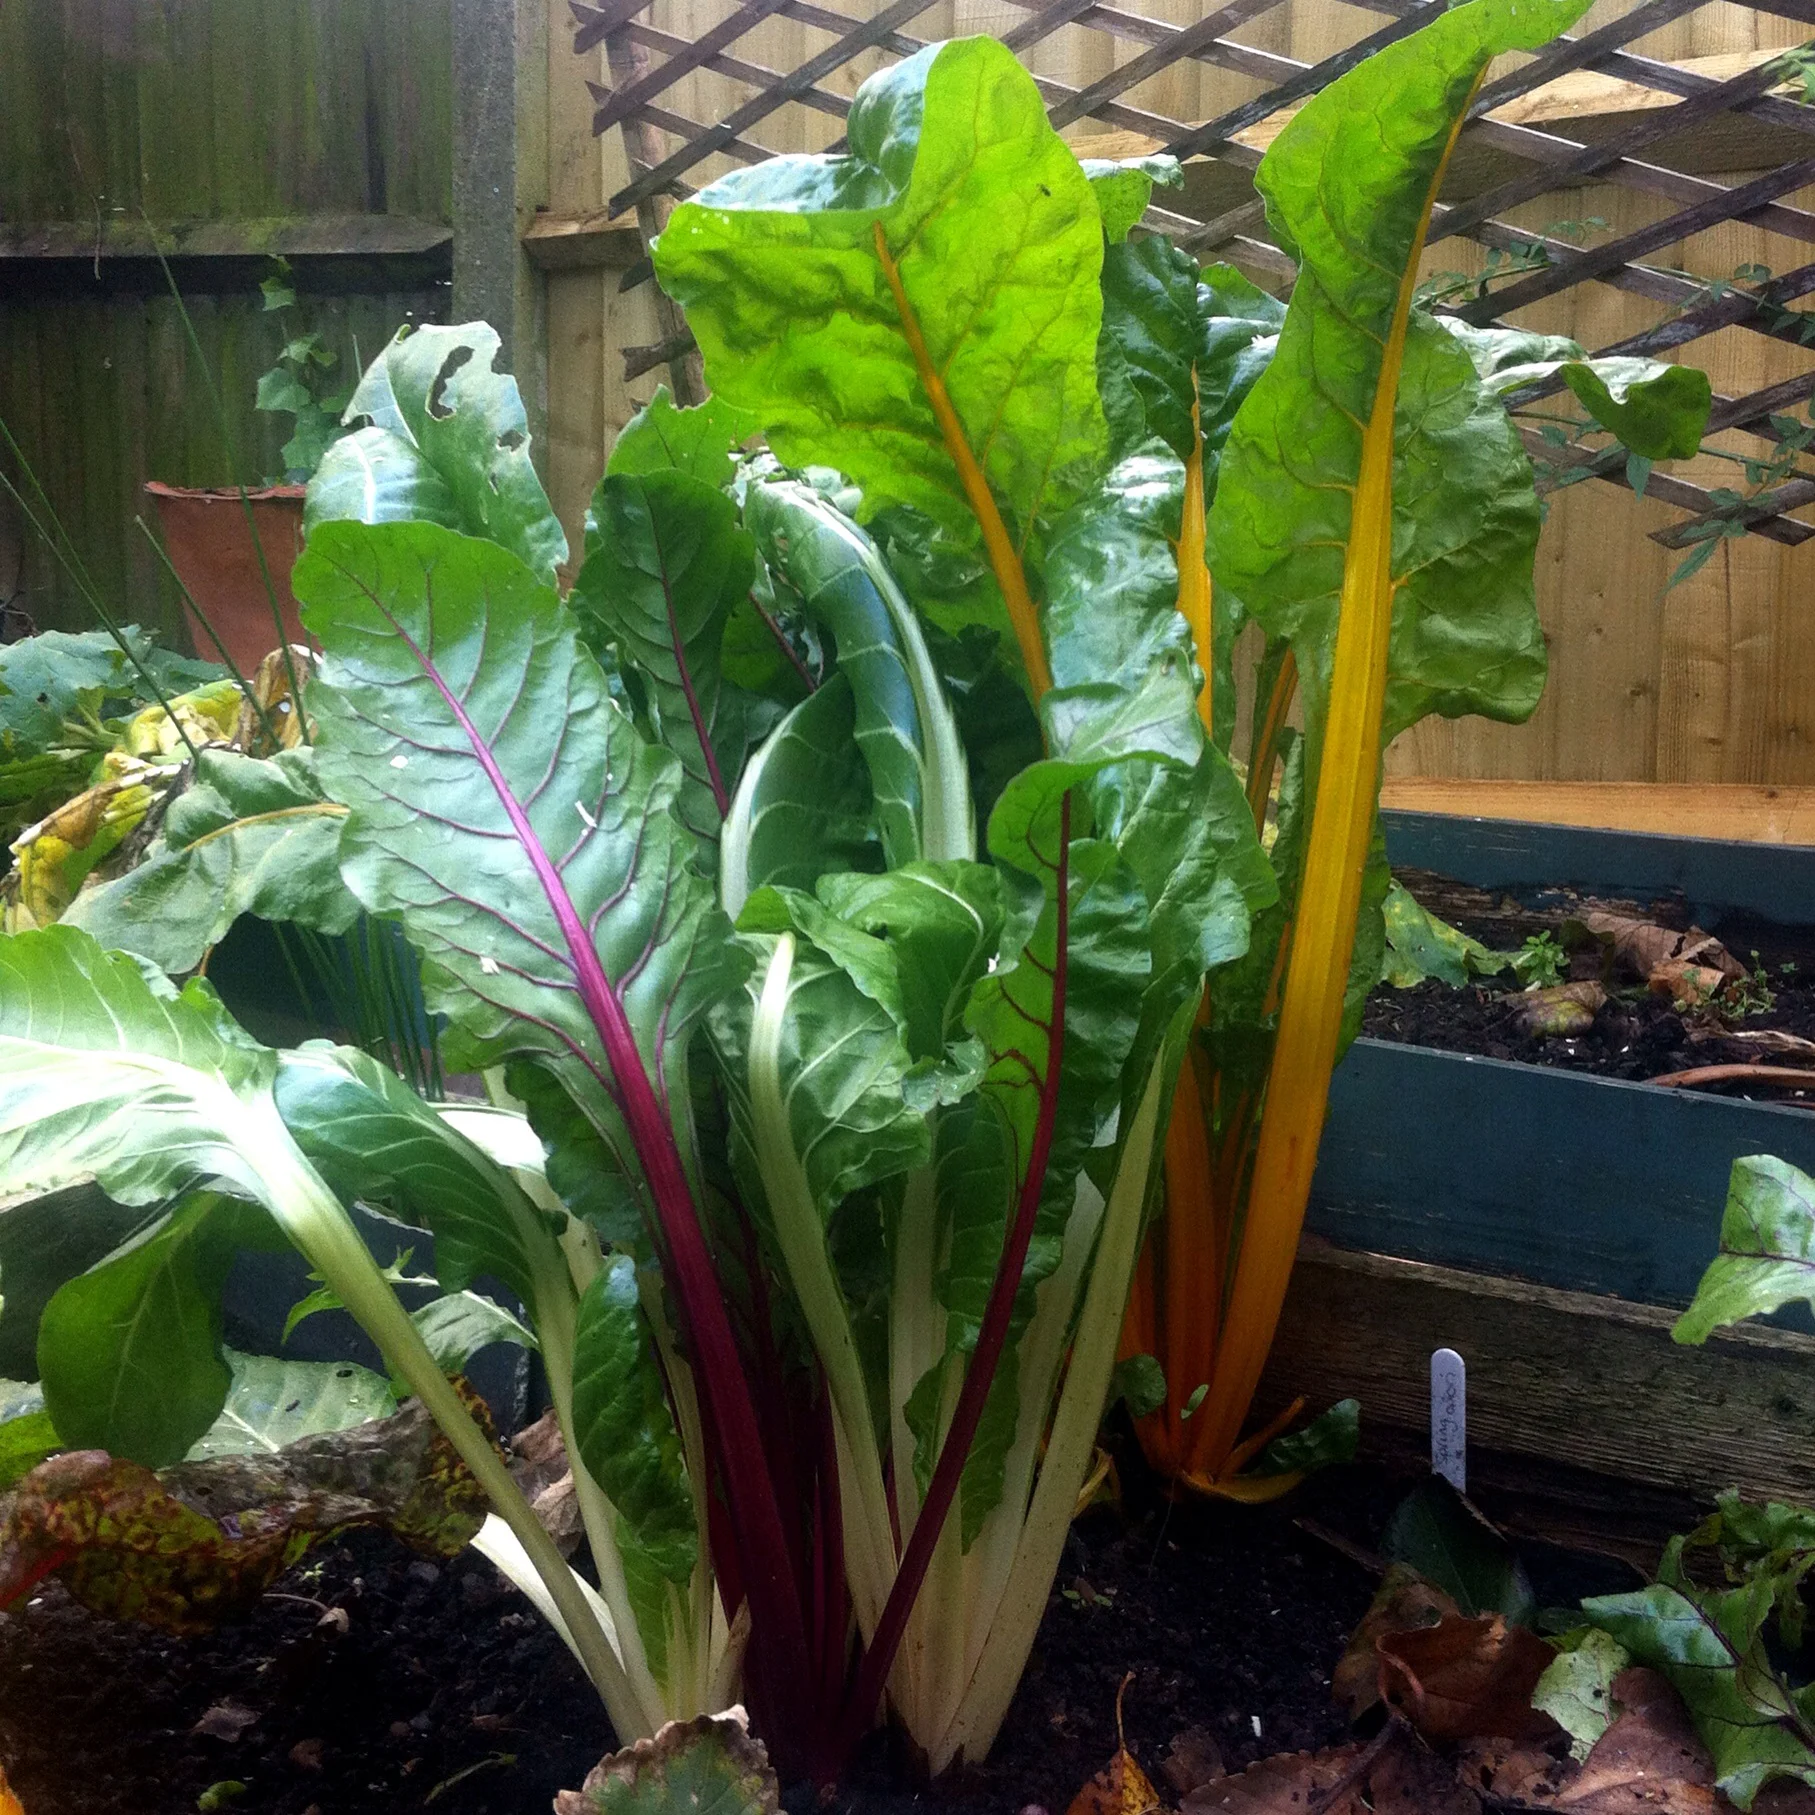
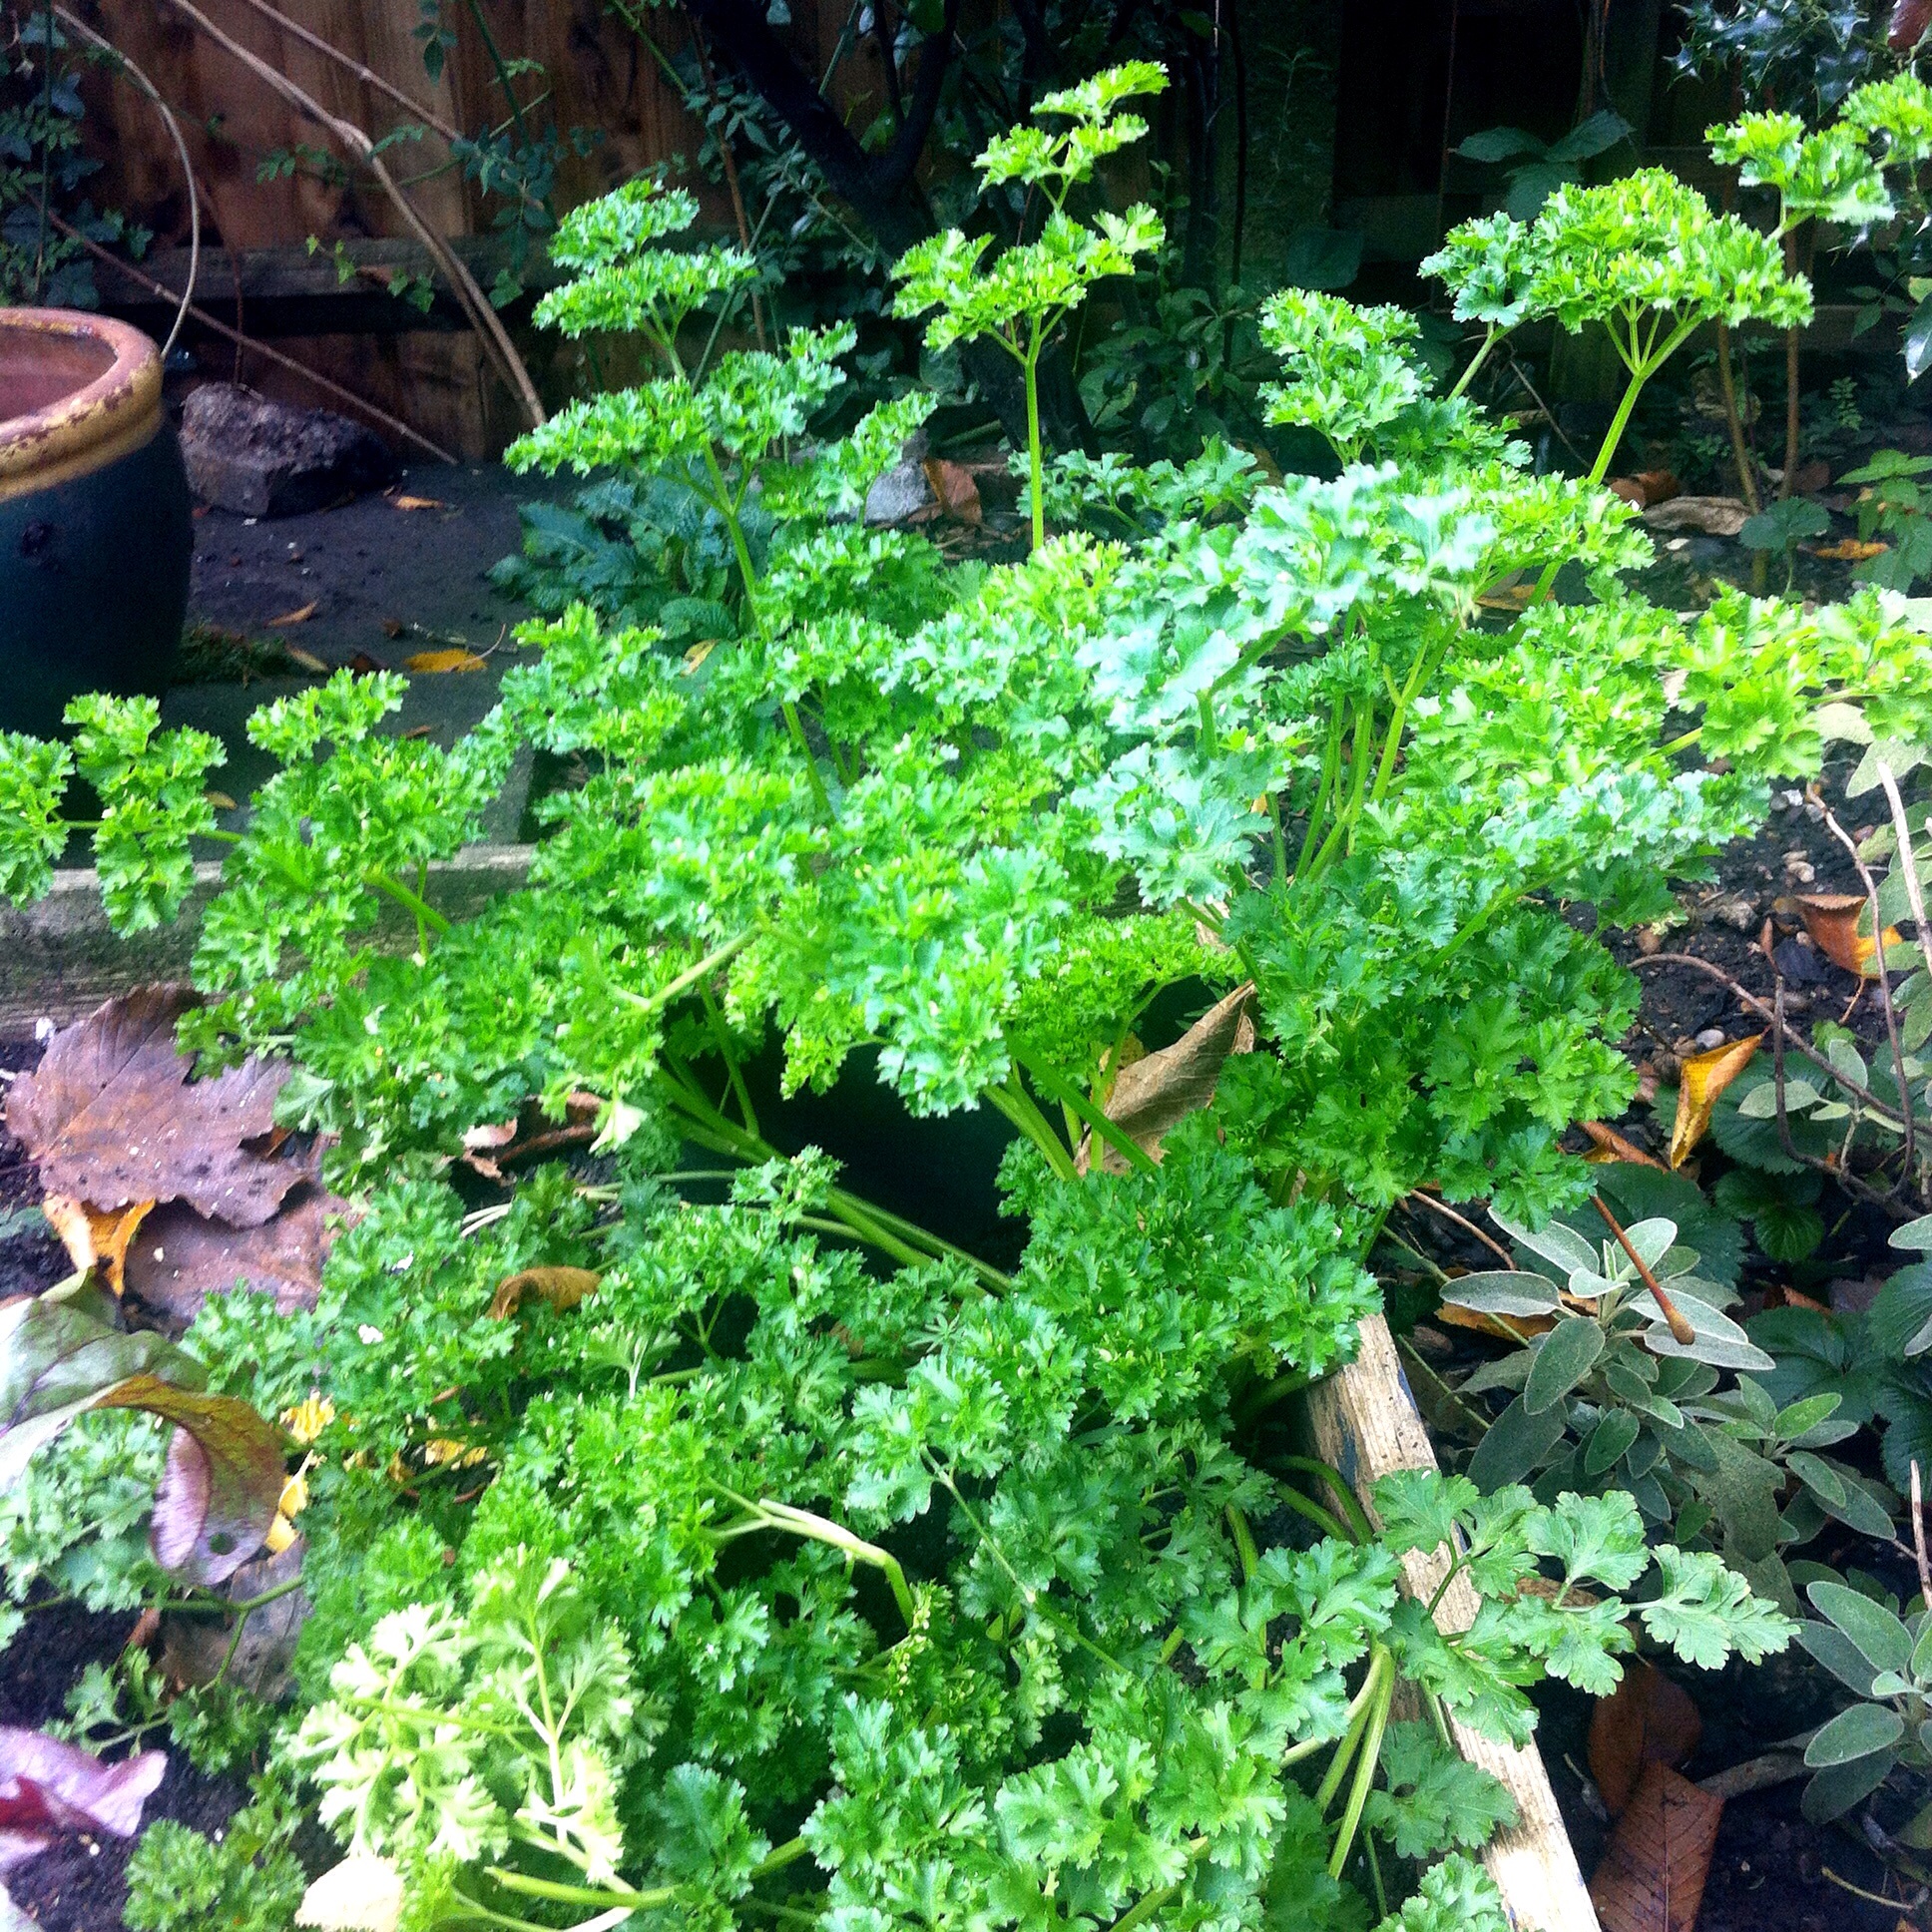
In my raised beds the rainbow chard, parsley and beetroot are still going strong. But in the last week my rhubarb has slumped and I hope it enjoys its winter mulch. 

image.jpg
image.jpg

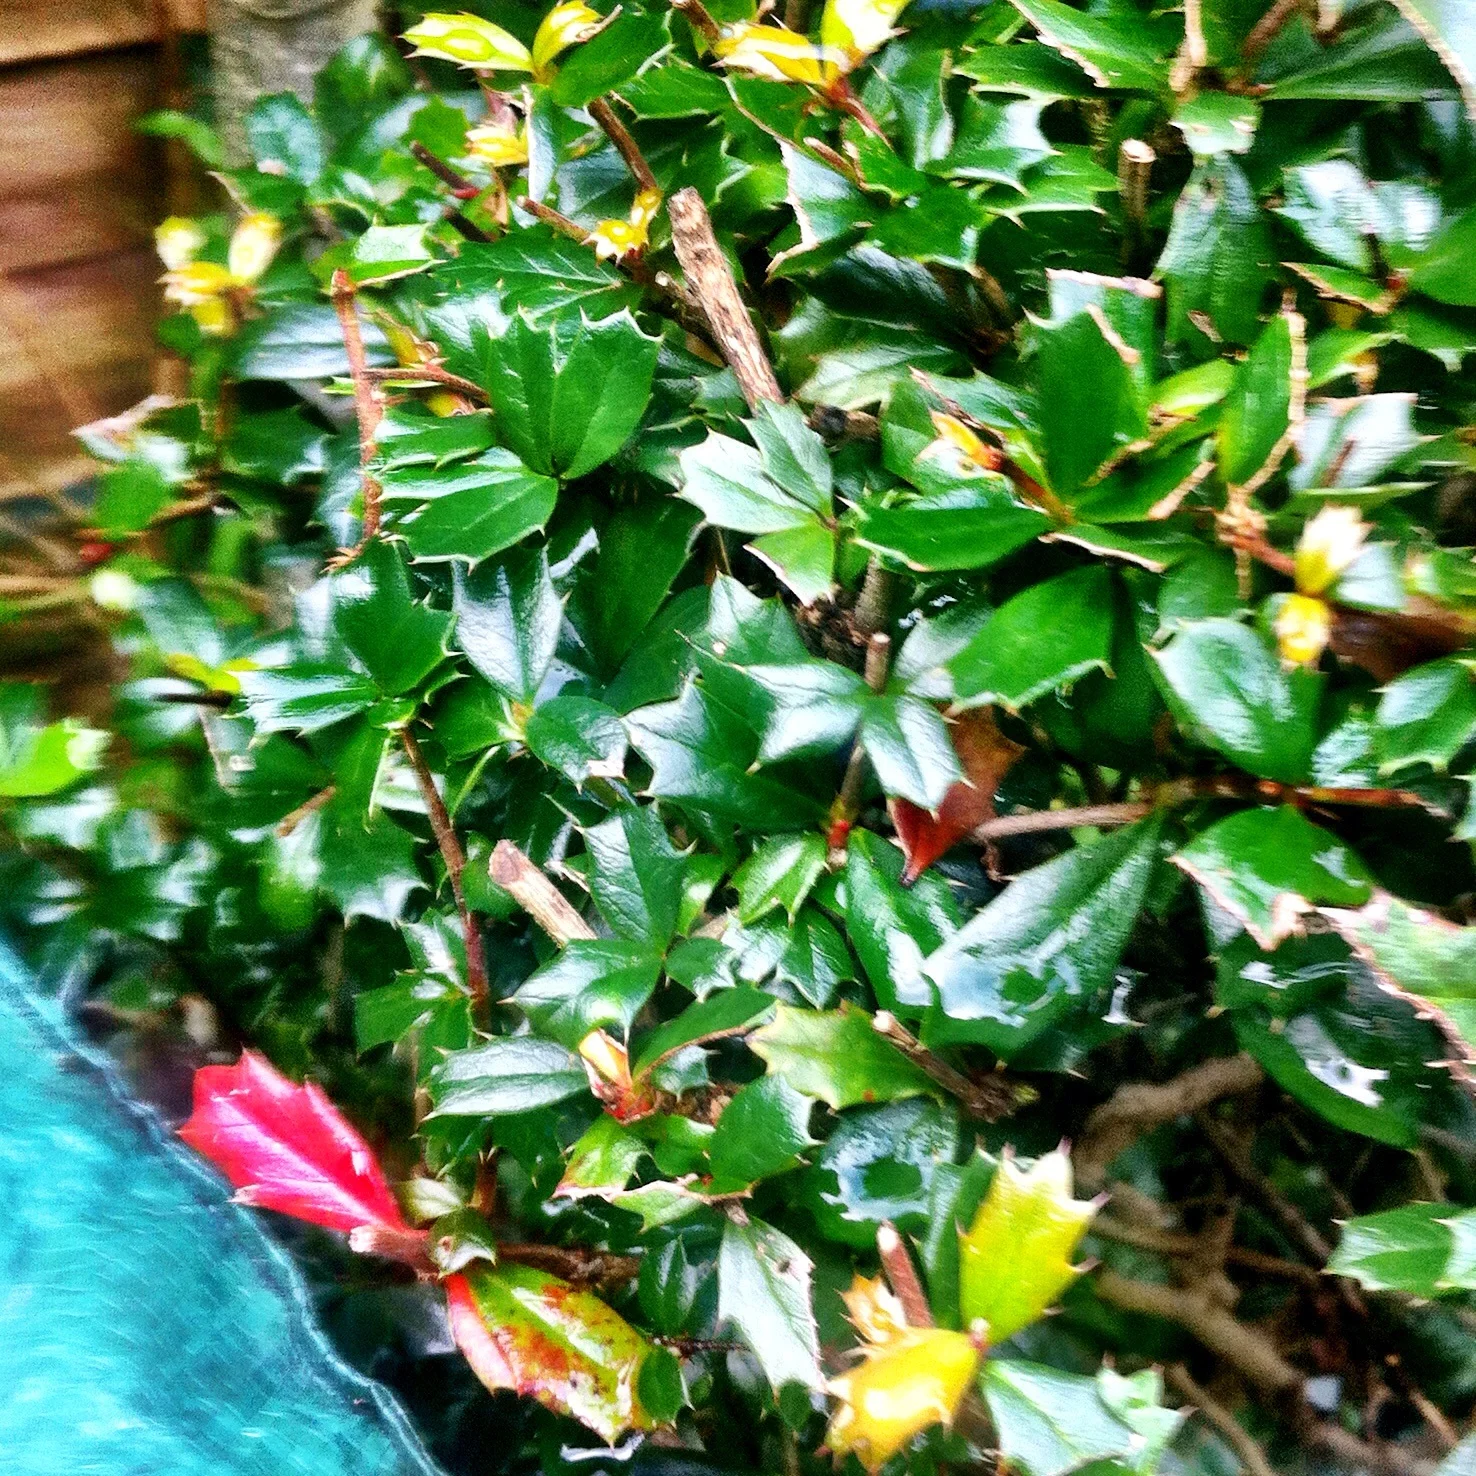
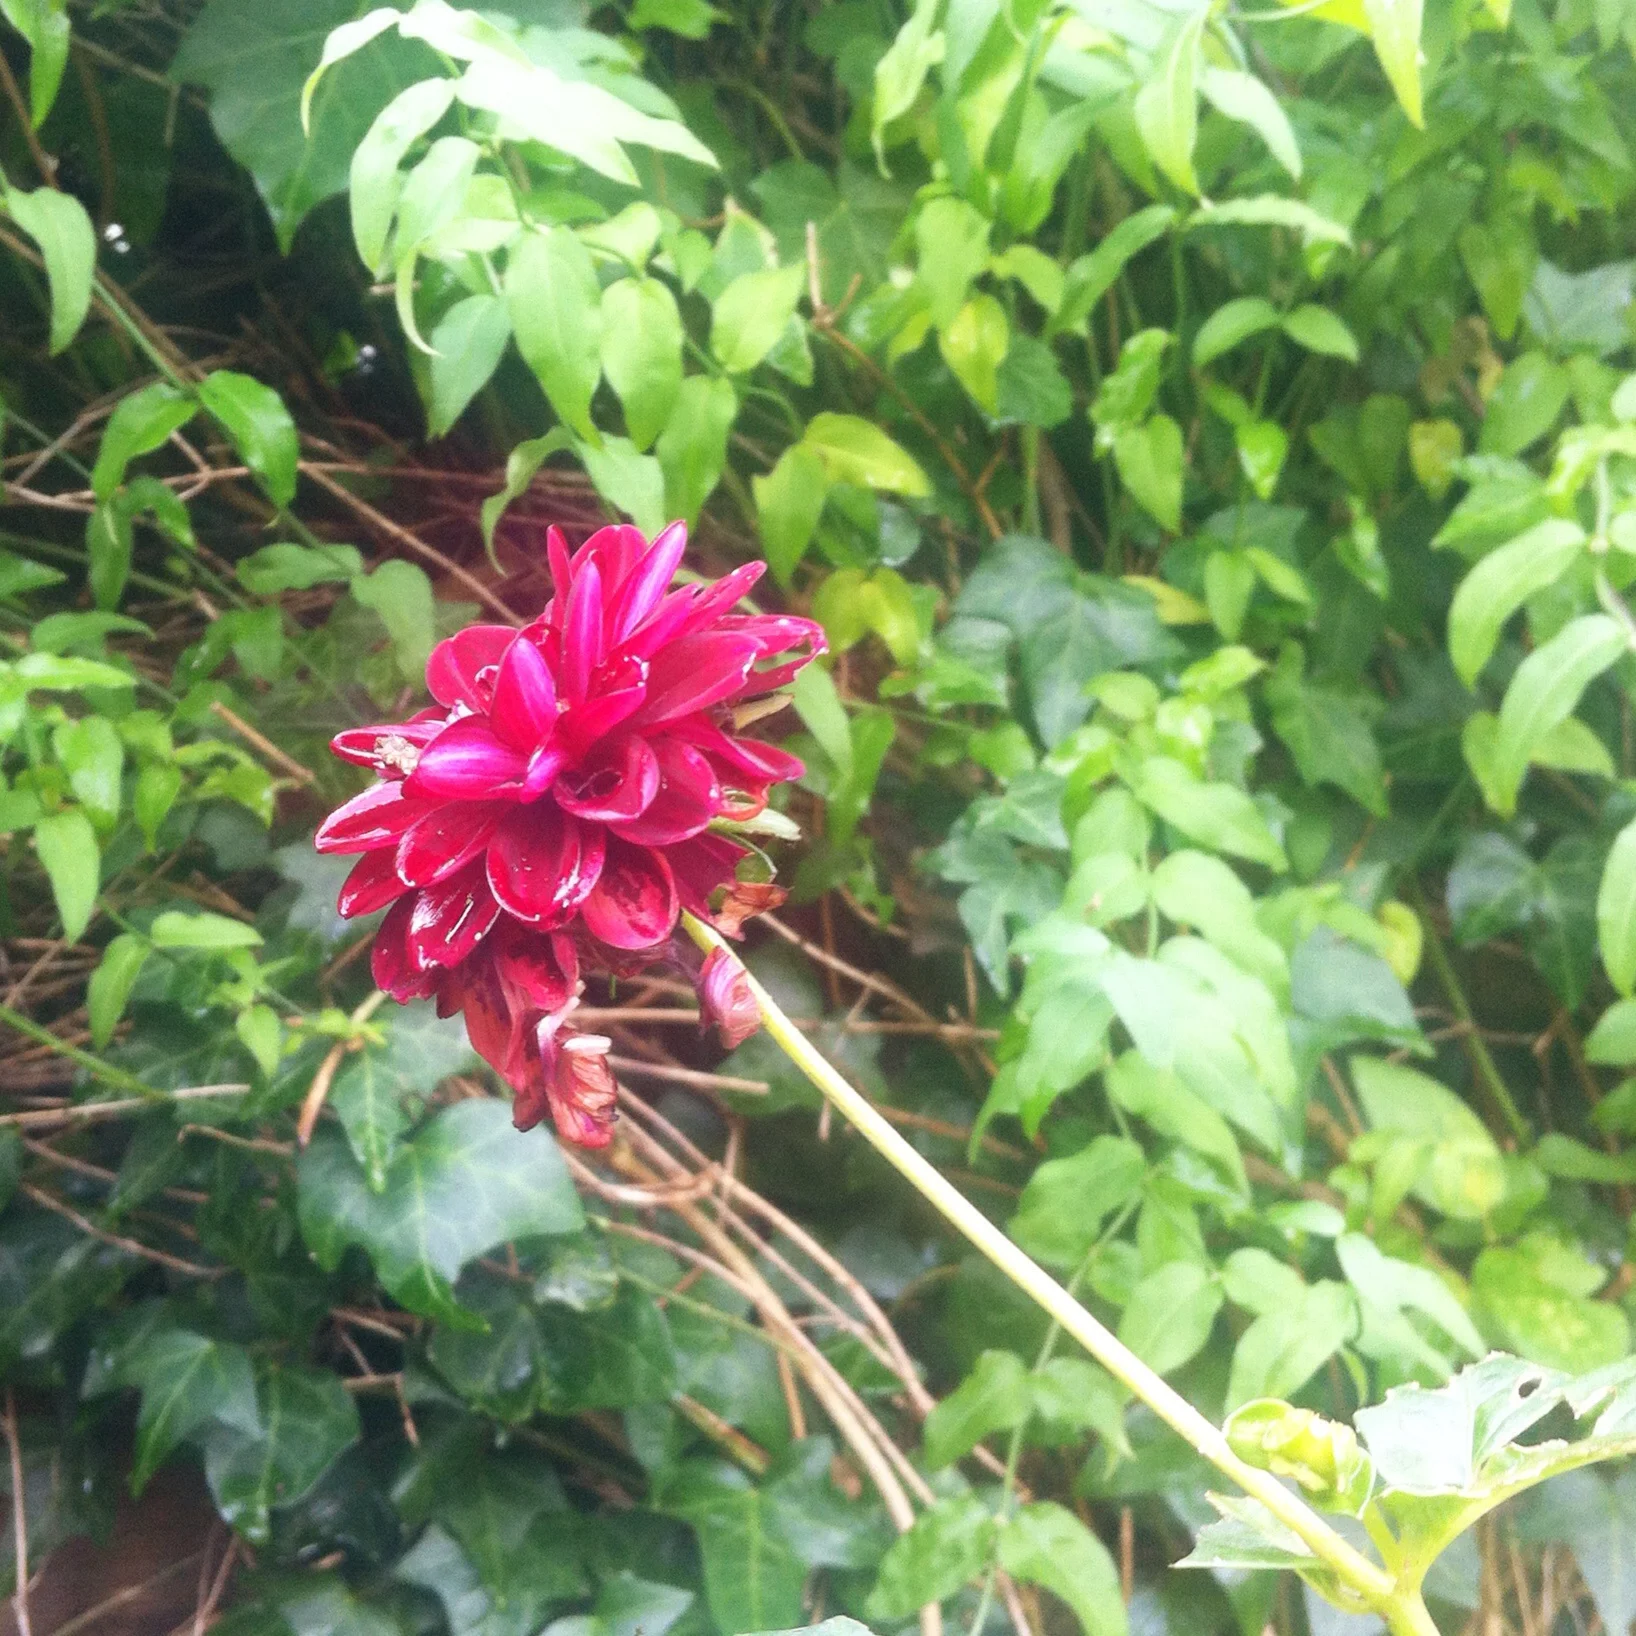
The berberis is beginning to show signs of autumn with the leaves starting to turn red. But my garden's still confused as the dahlia is still in flower. 

image.jpg
image.jpg

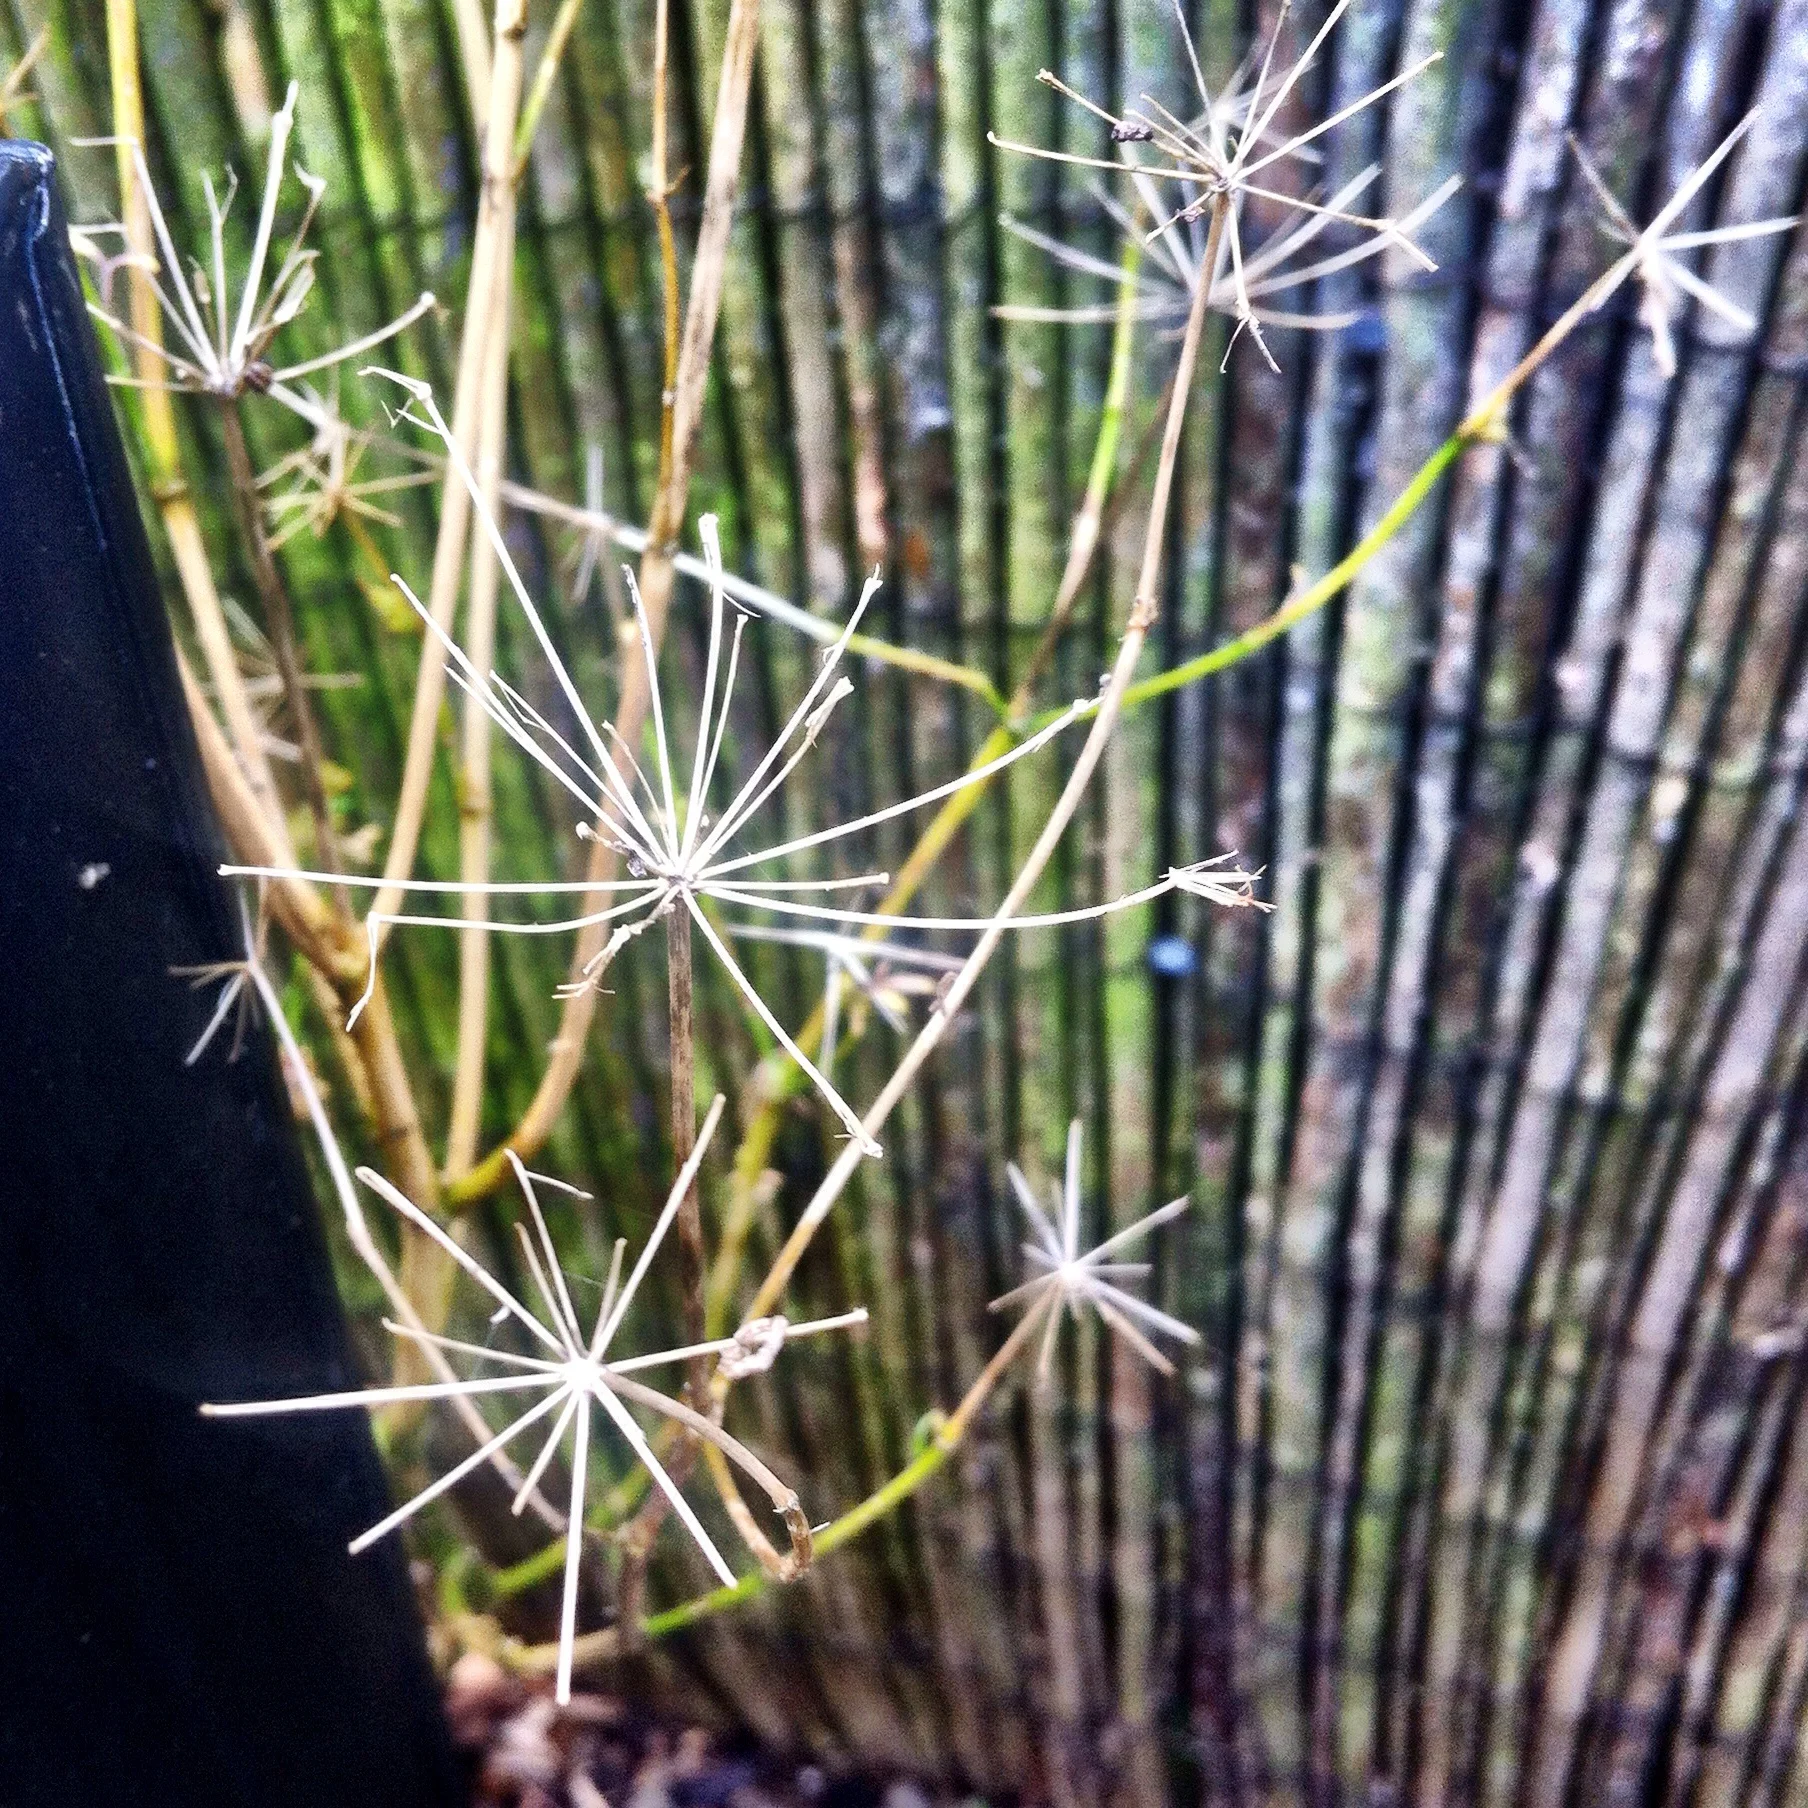
I couldn't resist snapping these parsley seed heads, I really should pull them up and compost them, but not just yet...

image.jpg

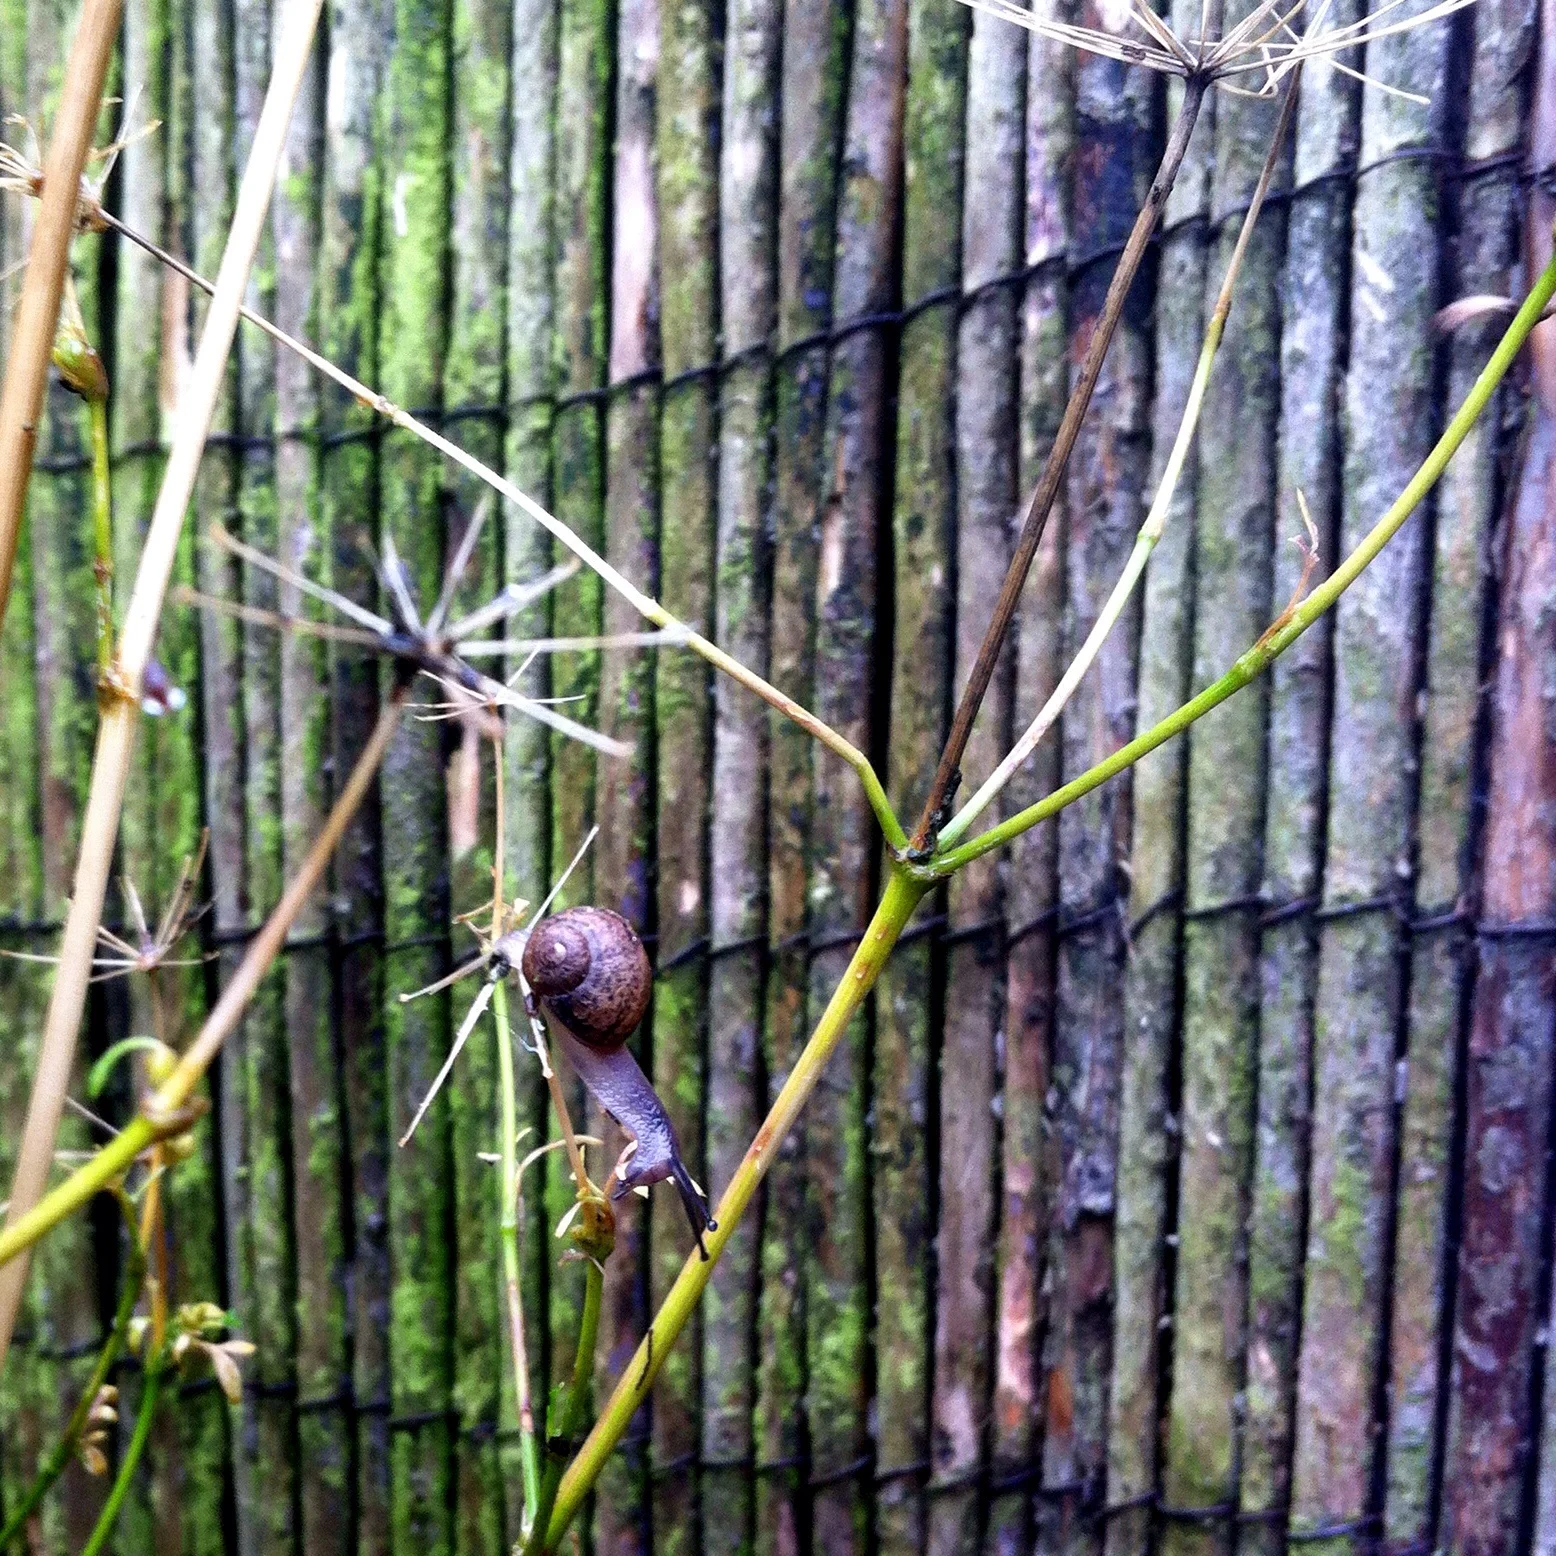
And I think this little fella probably agrees with that!

image.jpg