* This item was gifted by Von Haus UK
When this fire pit arrived earlier in May the weather wasn’t so good, and it wasn’t looking as if there’d be any improvement to it any time soon, so it was looking like that a fire pit could be a good addition to our garden for the “summer” ahead. In truth, I’m still convinced about the heatwave that the forecasters are continuing to predict, and I’ve a feeling (which I’m happy to be wrong about) that the summer ahead of us may not live up to summers of recent memories.
But there’s something magical about spending more time outside, equally after a hard days gardening or a hard day relaxing. It’s even better when you don’t have to wrap up like it’s the middle of winter too, or huddle under blankets. And that’s where I hope this fire pit will come into its own, especially if the weather doesn’t deliver - I’ve already got some marshmallows at the ready for toasting, but first we needed to put it together.
On the Von Haus website, it says that “simple assembly” is needed, and that usually worries me. As usually it’s not that simple. So with a jobs that needed jobbing well underway, this was the perfect job to end the weekend. I’d hoped to put those marshmallows to the test, but in the end that wasn’t to be.
Was it easy - and simple - to put together?
Quite simply, yes it was. It needs two people for part of it as it’s quite a large fire pit at just under a metre in diameter and it’s not easy for one short person to hold the rim up on both sides and attach the leg. And he needed supervising to ensure the legs didn’t go on the wrong way round.
But he is methodical, and with the pieces laid out and checked against what we should have (which is always worth doing to avoid a potential headache later on) and the instructions briefly perused we were good to go. The instructions were the visual sort, which remove the need for lots of words and multiple translations, which are both good and bad. Good that it removes the need for over complicated and lengthy instructions, there’s nothing more off putting than a thick instruction booklet is there? But not so good, because I’m one of those people that struggle with the visual instructions, I’m the person that couldn’t do the picture crosswords as a child, because I had no idea what the picture was much of the time.
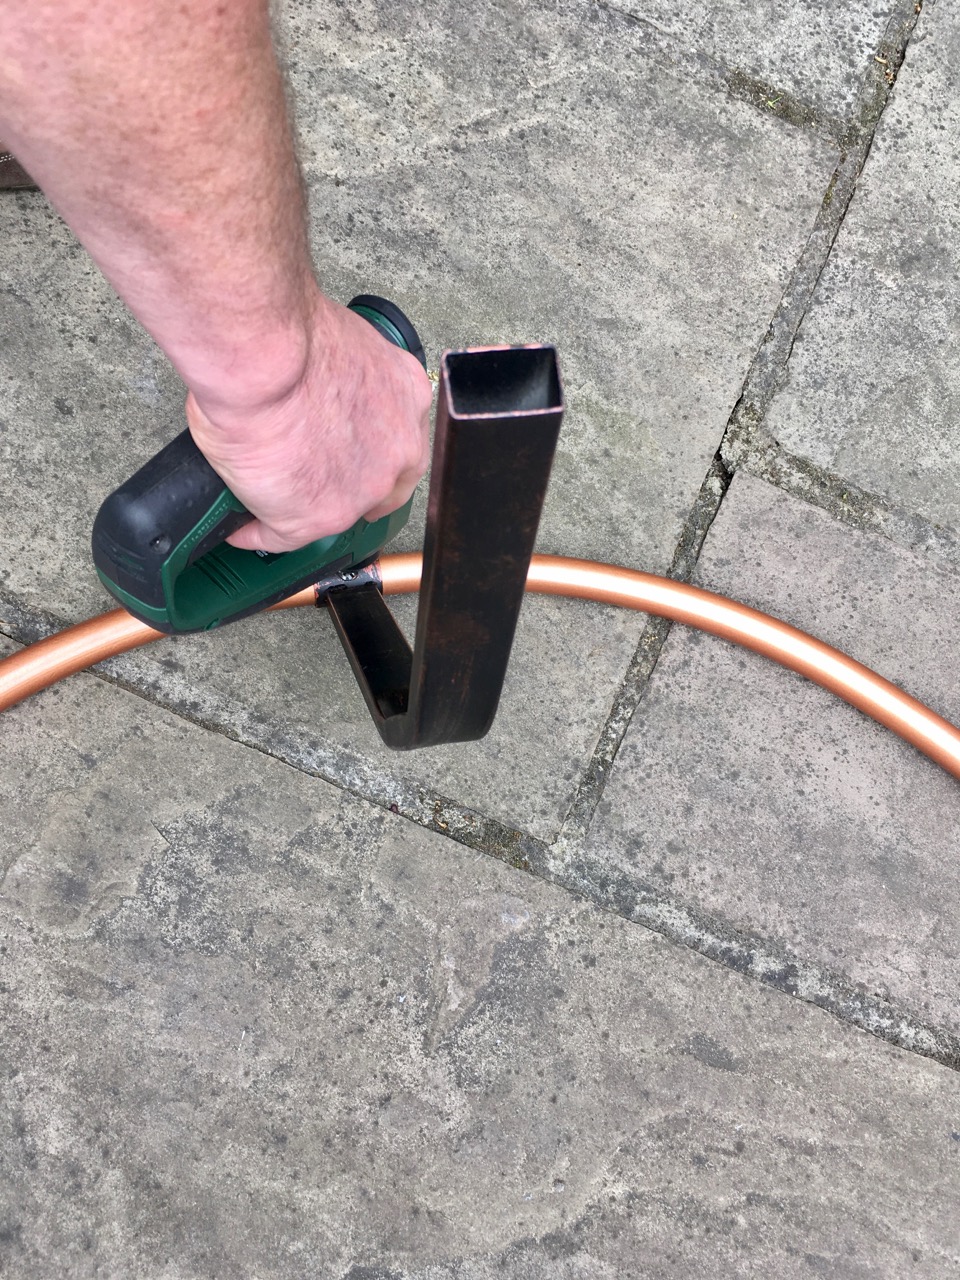
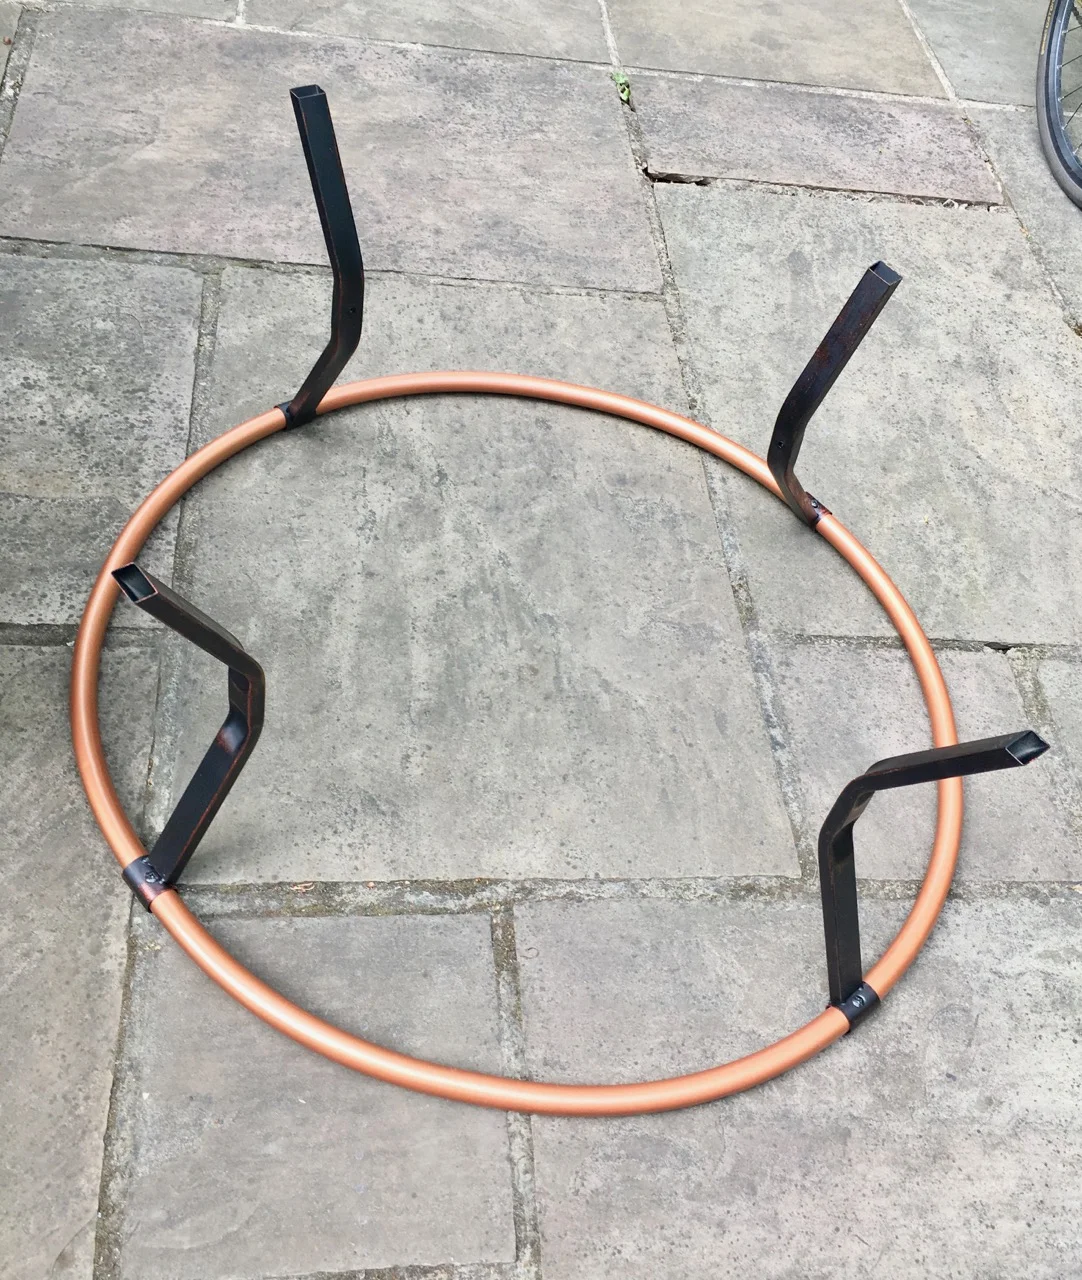
We assembled the rim and the legs first, and set that aside in an upturned kind of beetle way while we attached the brackets for the grill. That’s easily doable by one person, and very little supervision is needed at this point.
The trickiest bit, but still not hard, was attaching the legs complete with rim to the actual fire pit. It’s not heavy, I’d call it sturdy rather than heavy, but it’s wide. The copper rim is decorative - and looks great - but I suspect is also functional in that you can’t get close to the sides, and so prevents an unwanted singe.
As well as the grill, it also comes with a protective mesh spark guard and a heat resistant poker, all shown in the picture below. From start to finish once we’d started to assemble the fire pit, I’d say it took us just over quarter of an hour, which is much less time than we’d anticipated.
So yes, I’d agree that the assembly was simple. Now all I need is some time to be able to enjoy some evenings watching the embers die down.
* This firepit was gifted by Von Haus UK to review here on my blog, as usual all views and opinions shared here and in my future posts are and will be my own.


