


Right from the off, back in May when our plans were hastily redrawn after just happening to buy a pizza oven, I planned to have a second row of gabion baskets and plant them up with plants from our garden. MOH was less sure about this part of the plan, but as he wanted a pizza oven he went along with it. I thought that adding at least a tonne of hardcore at the back of our garden would need some softening and I think the two photos below show that I was right.
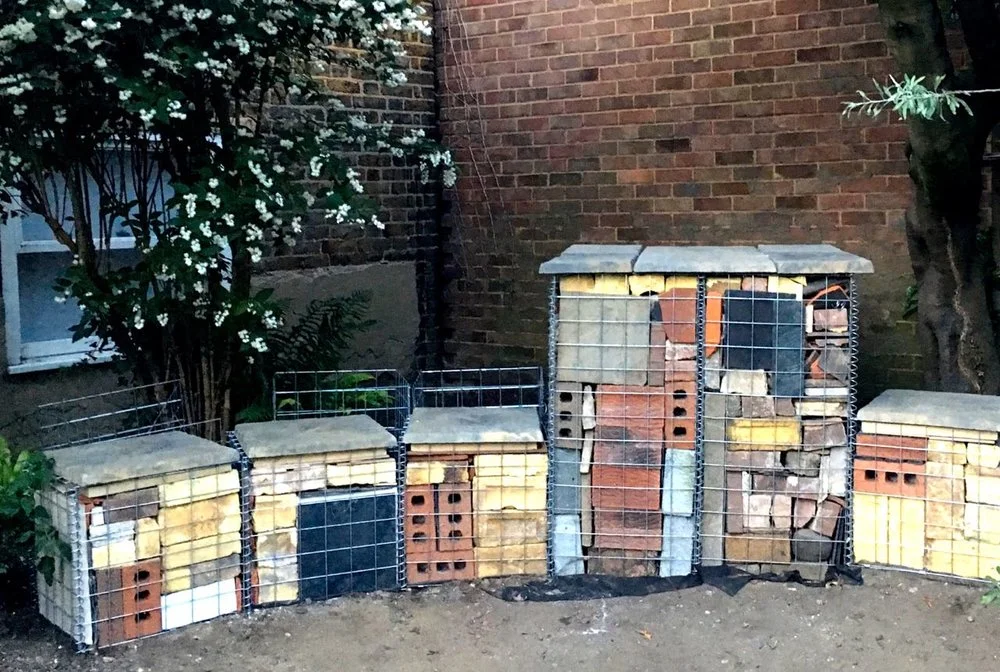
GABION BASKETS INSTALLED AND FILLED, BUT STARK...

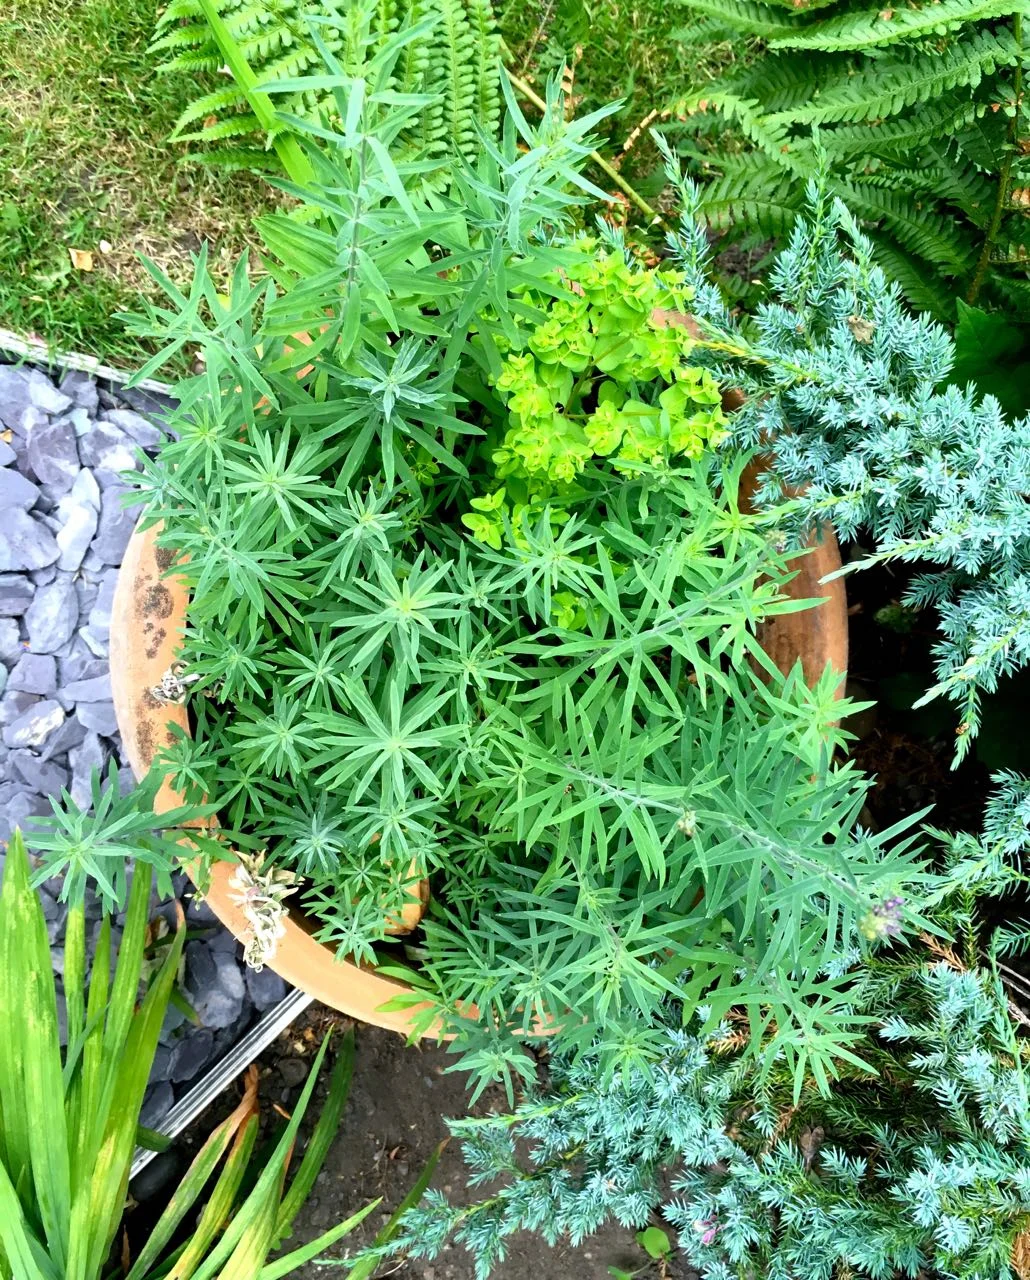
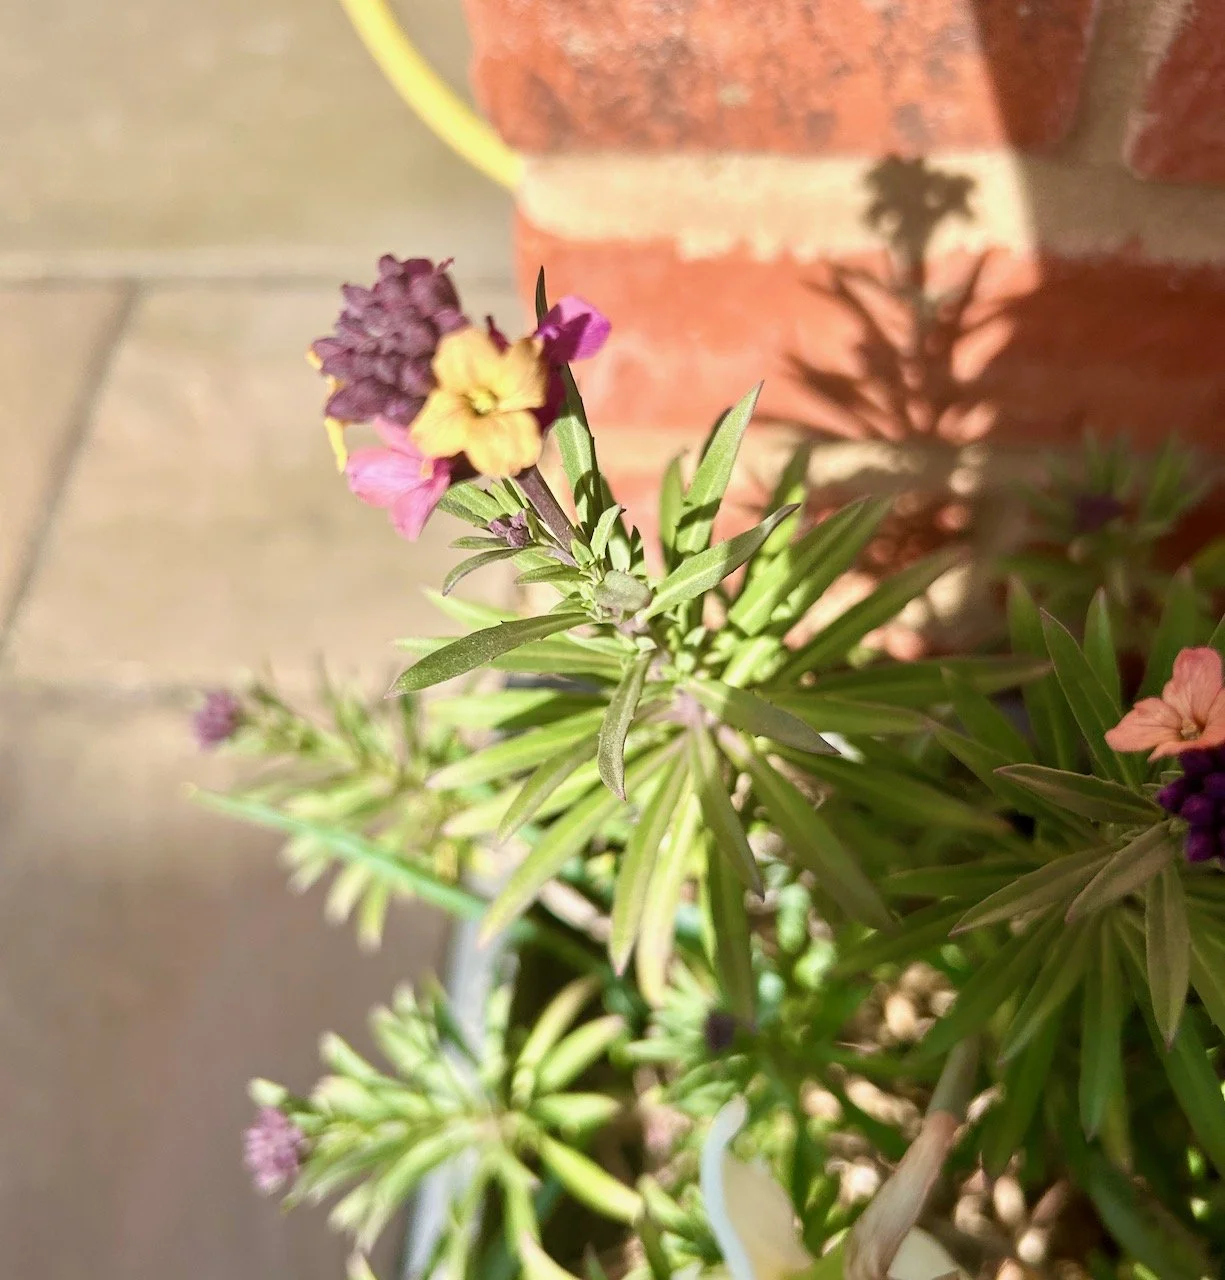
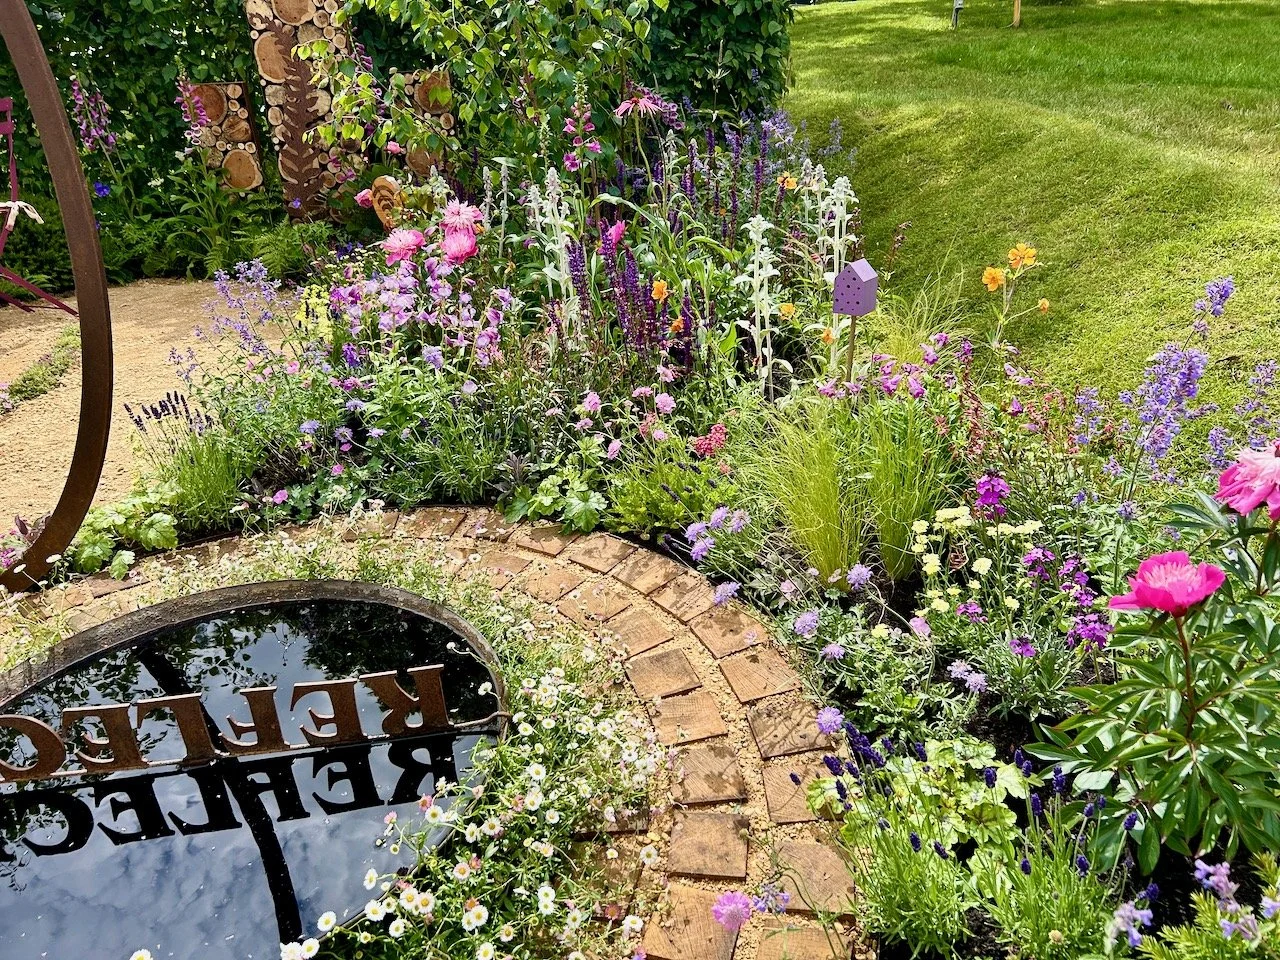
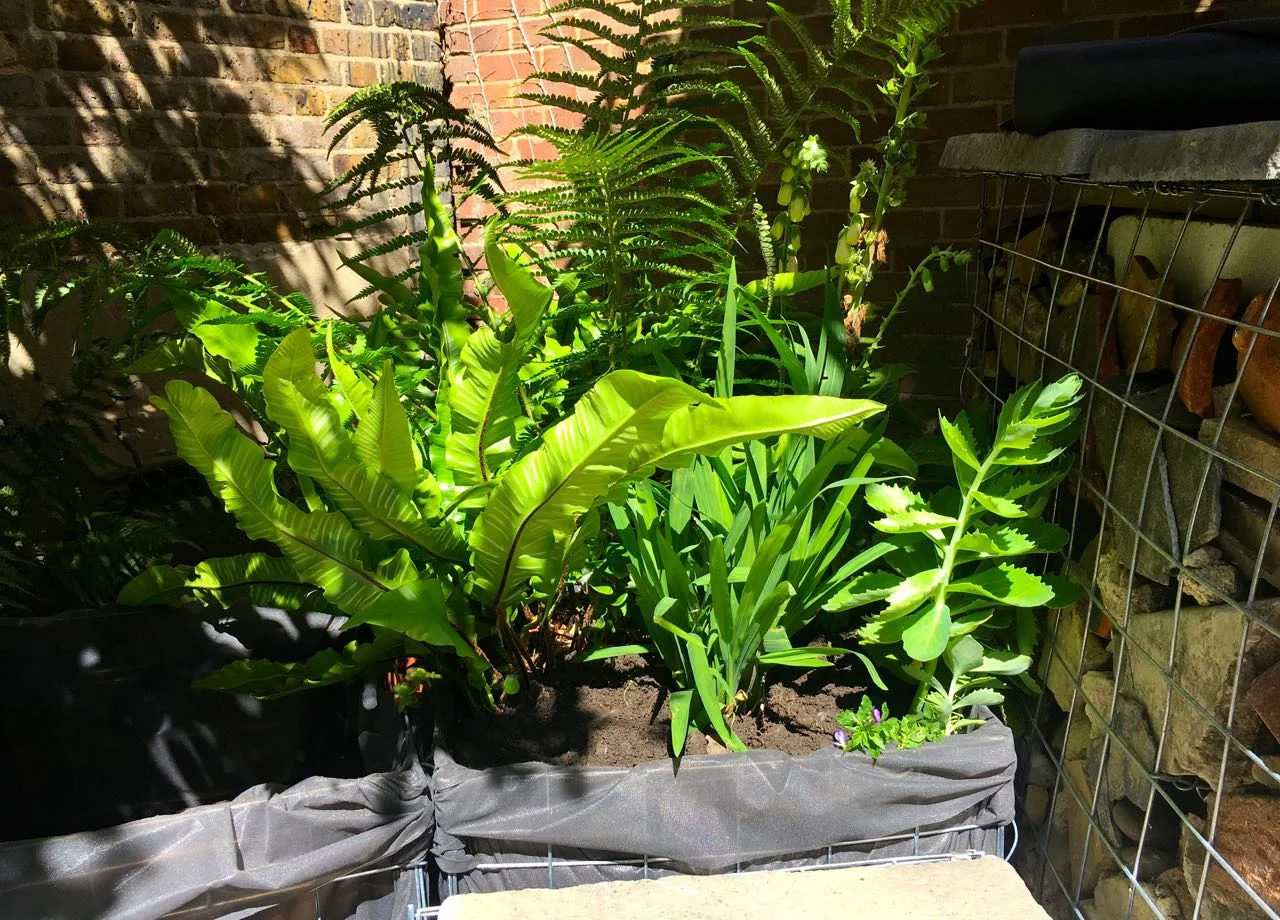
PART OF THE SECOND ROW OF GABION BASKETS PLANTED UP WITH FERNS, CROCOSMIAS, SEDUMS AND DIGITALIS
The difference is amazing isn't it? I'm pleased I persevered with this as not only did it help us lose some of the soil we've been collecting but it helps the new structure stand out less, which may seem an odd thing to say but it gives it a more natural feel.
So how did I turn them into planters?
The answer is membrane. I could have used plastic but that's non-permeable and so they would eventually become like mini bog gardens, that's fine if that's the look you're going for, and if you're planting plants that like those conditions, but I wanted to use the plants that I'd displaced - the ferns, as well as some other plants from around our garden. Crocosmias seem to grow two a penny and I had a pot of those from where I laid some of the old patio paving slabs under the cherry tree. I'd also been collecting sedums and so those were destined for their too. The final plant I wanted to include was a foxglove that was growing in a pot. Not the usual place for foxgloves but I wasn't sure if it was a weed or a plant (it was a plant) so had moved it there for observation.
But first things first, membrane.
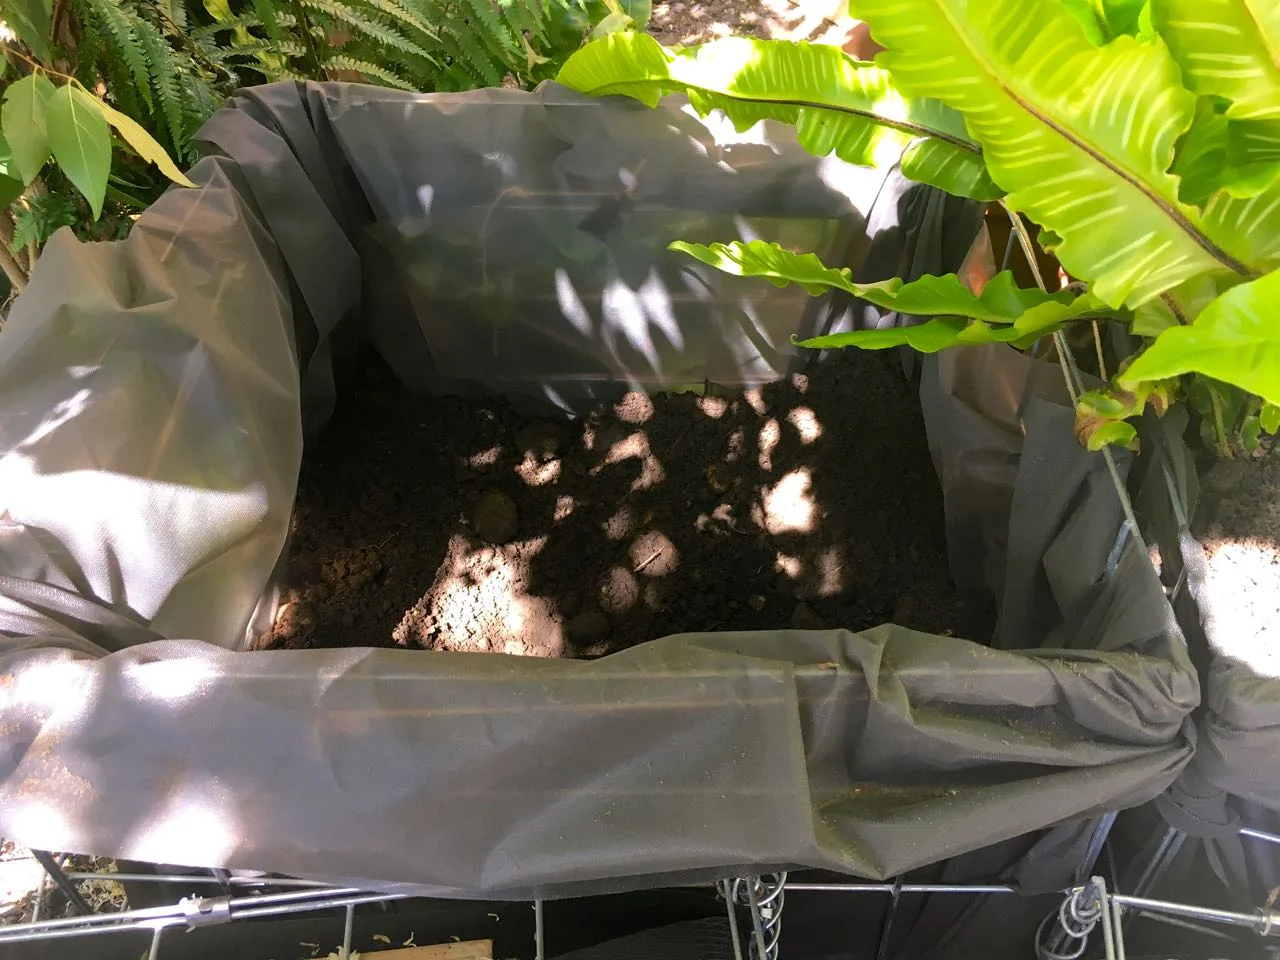
I cut two ultra-long lengths and used them to line the baskets in a cross form. I found that securing them with string worked well and quickly found a way to do this so the string was out of sight. On seeing them MOH said they looked like waste bins... Hmmmm. With soil added, less so I think?
In went the plants, and more soil to top up the baskets. And as with any planting they got a good long water.
And they seemed to thrive. Even the foxglove that was moved while it was flowering seemed happy - phew.
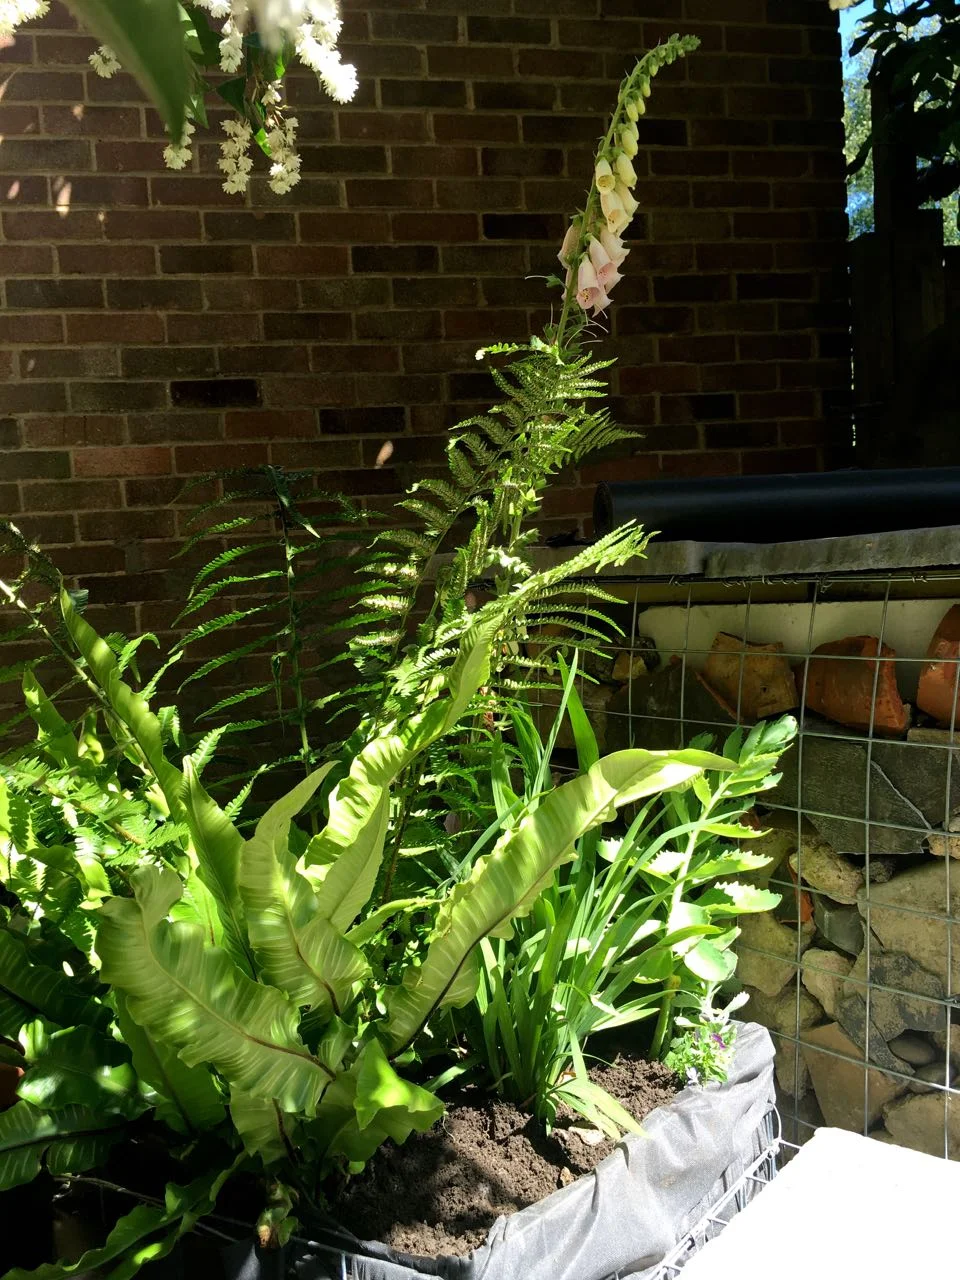
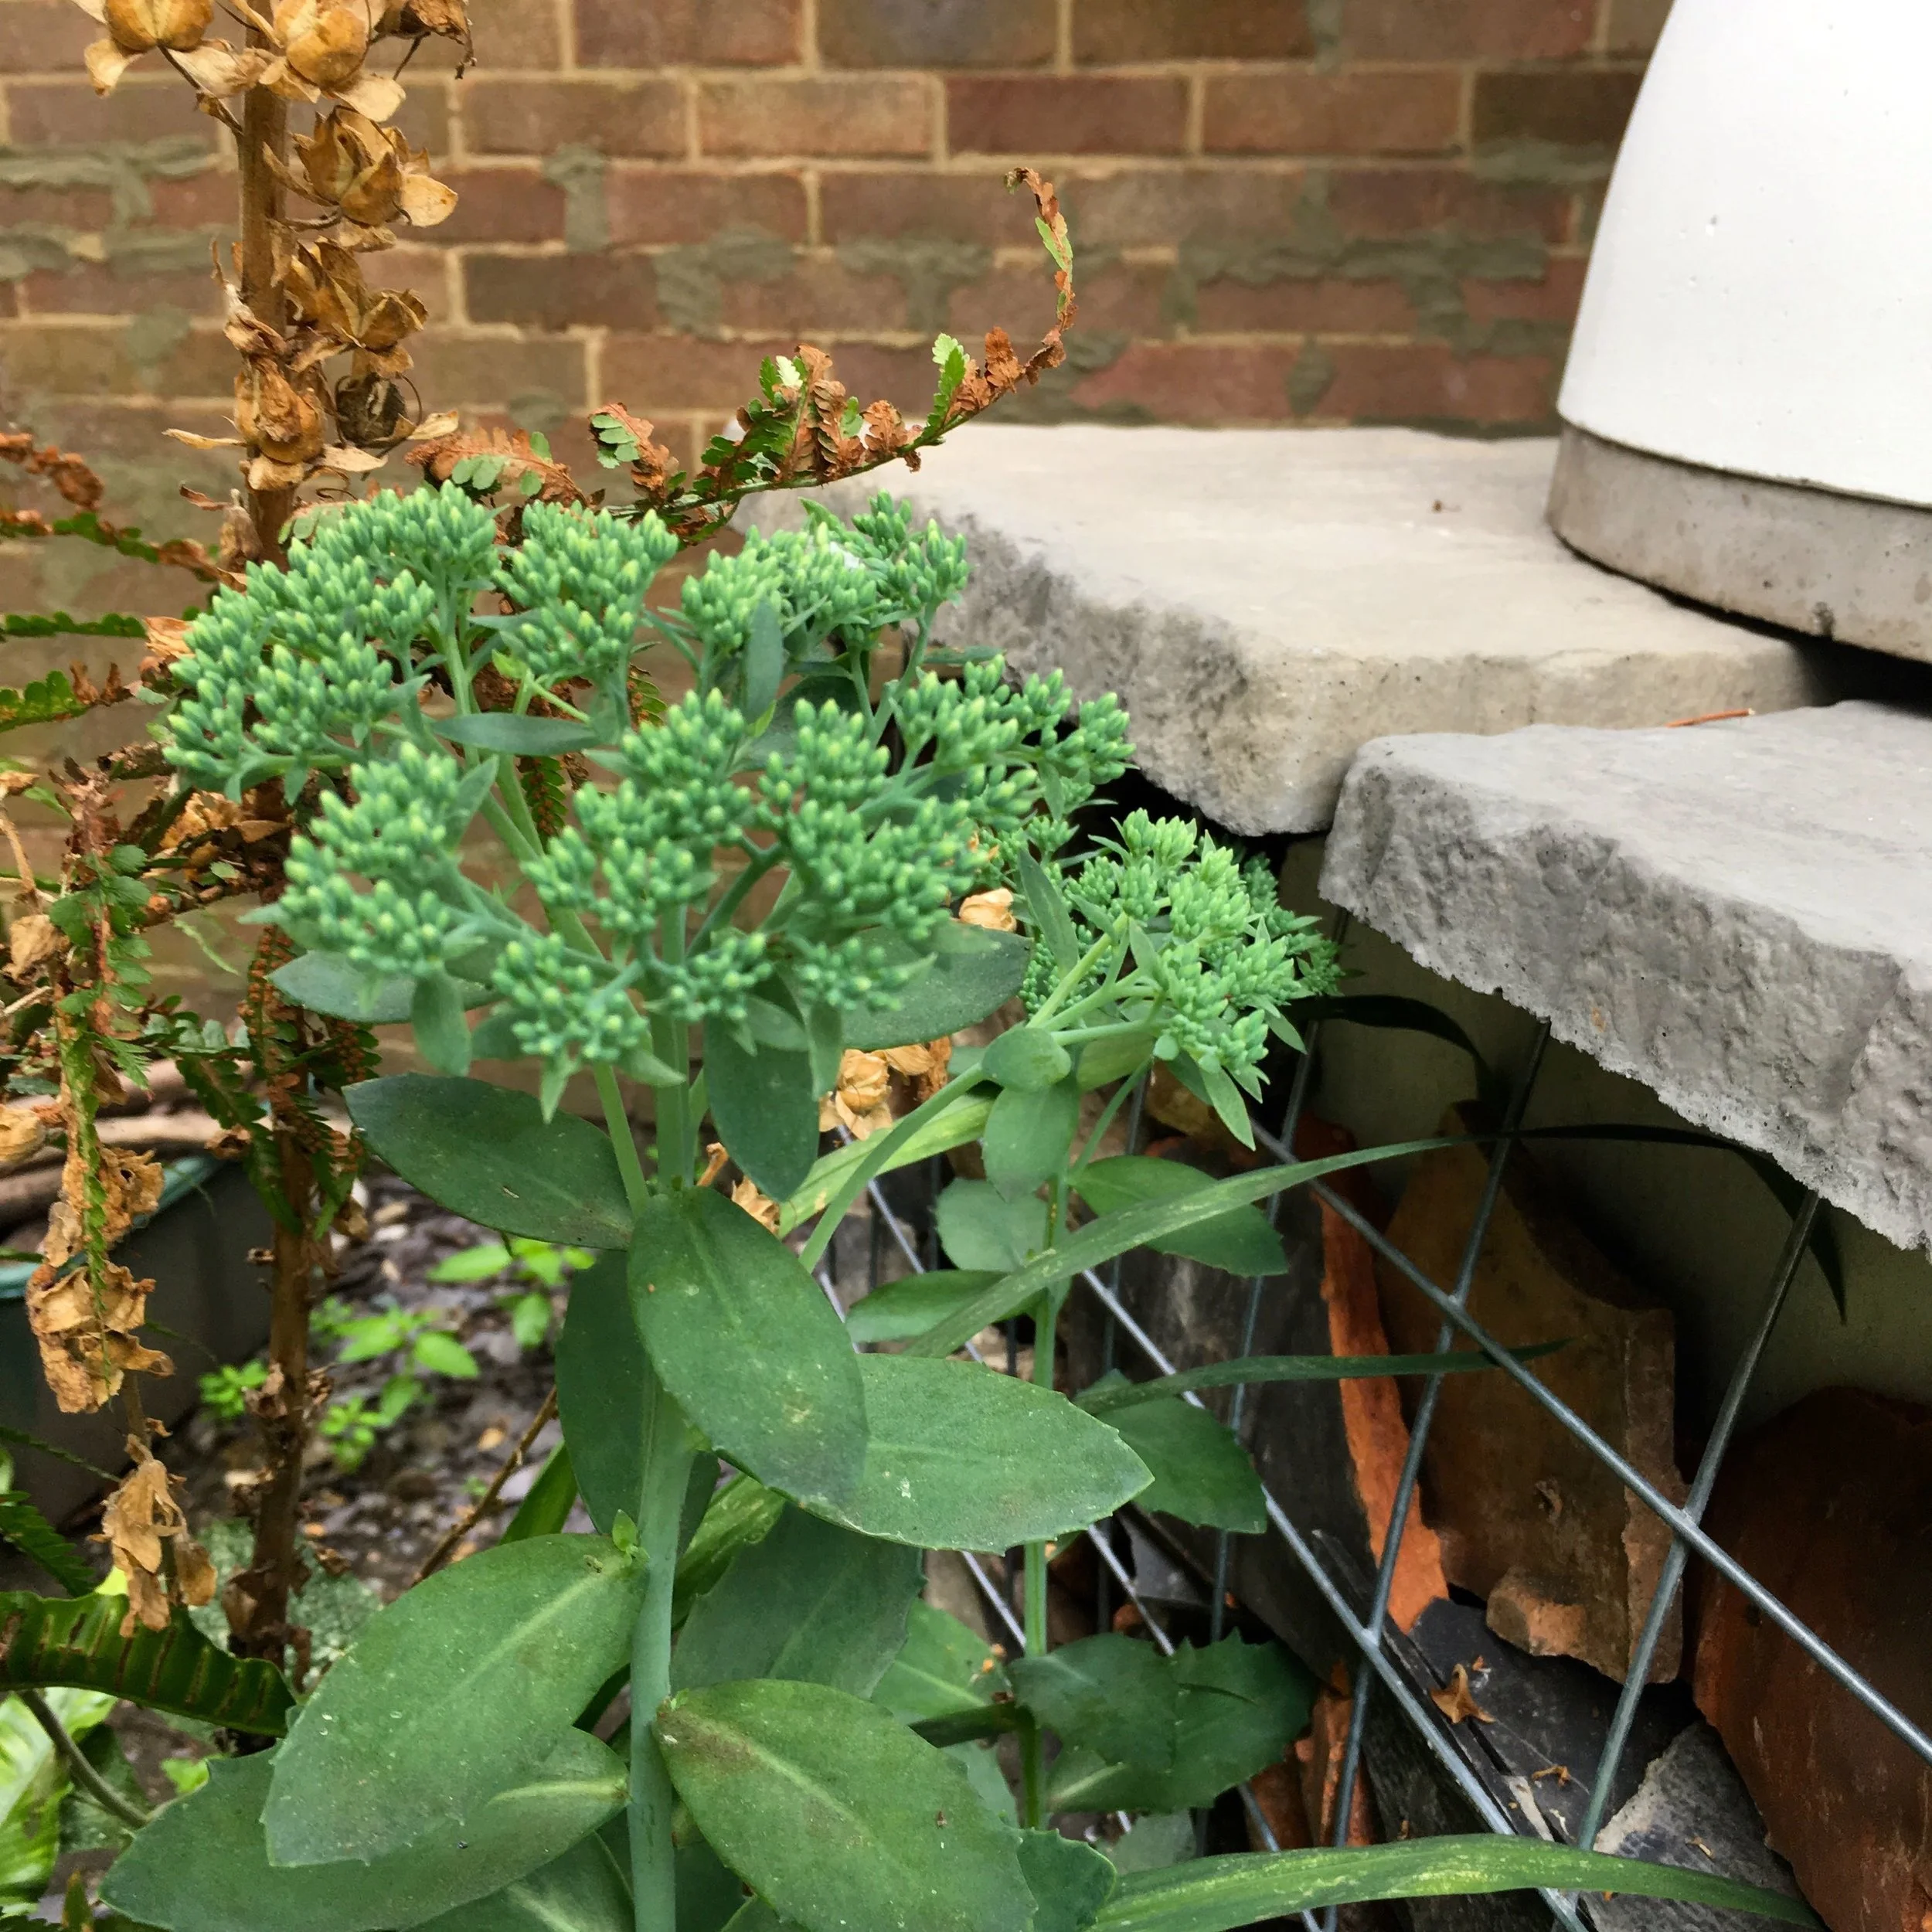
I'm a fan of dense planting and especially in this kind of space it's worked well. Nearly two months later and the plants have settled in really well, filling out and softening the space as I'd hoped.

We've still a little more to do, as I want to add a further gabion basket planter on the end so that each of the three seats have plants behind them, but that's just finding the time to level the soil, line the basket and fill it with soil. I've a couple more ferns and crocosmias waiting to go into that space, so the plants are sorted.
I also want to line the three triangular spaces between the seats with membrane in the same way and plant those up with camomile, penny royal (a ground covering mint variety) and thyme, so that when you sit there and brush against the herbs you get a waft of scent too. This, alongside sorting out the front of the baskets - I think it needs some kind of step - and then I'll happily declare this part of the garden finished.
What do you think?